General Howitzer’s Field Guide to Memoir 44

A Memoir 44 Strategy & Tactics Community

GENERAL HOWITZER

Scenarios

Explore Memoir ’44 battlefields, maps, and player statistics.

GENERAL HOWITZER

Campaigns

Relive historic campaigns through linked Memoir ’44 battles.

GENERAL HOWITZER

Strategy Tips

Sharpen your tactics and take command of the battlefield.

GENERAL HOWITZER

Field Manuals

Explore field guides and manuals for your next battle.

GENERAL HOWITZER

Tournaments

Find Memoir ’44 tournaments, events, and fellow commanders.

GENERAL HOWITZER

My War Room

Track your battles, campaigns, achievements, and next mission.

The Sausage War [Winter War]

The Sausage War [Winter War]

The Sausage War [Winter War]

The Sausage War scenario map

Victory
6 Medals

Card Balance
Finnish: 5
Soviet: 5

First Player
Soviet

Conditions
Winter

Date: December 10–11, 1939   Location: Finland

Theater: Eastern Front   Campaign: Winter War

Historical Background

On the evening of Sunday 10 December, as the Finns continued to hold the vital Tolvajärvi village, news of a threat to their rear reached Commander Talvela. After a long march, the Soviet 718th Rifle Regiment had finally arrived in the area. Instead of settling down to rest, these troops had immediately pressed on. Swinging west around the side of Tolvajärvi village, they were now about to encircle the Finns, threatening the undefended supply columns.

Despite their initial success in overcoming the surprised defenders, the Soviet attack halted as soon as the Finnish soup kitchens had been secured. After their five-day forced march, the men of the 718th Rifle Regiment were so hungry and tired that they now forgot all about fighting and proceeded to gorge on hot sausage stew.

As luck would have it, Commander Pajari also happened to be in the area. The unwitting Soviets had given the Finns the respite needed to organise their defences by pausing their attack to feast. Now, with his usual alacrity, Pajari formed up a couple of ragtag companies from cooks, clerks and other rear-echelon staff who had been previously scattered by the Soviet assault.

In the dead of night, the Finns began their counter-attack; this soon turned into fierce hand-to-hand combat.

In the cold light of dawn, it came apparent that the supply troops had emphatically blocked this Soviet pincer movement. During the fighting, the Finns had lost 20 dead and 55 wounded, but left over 100 dead Red Army troops on the field. Pieces of sausages were recovered from the freezing bodies of the fallen foes; the surprise had been so complete that some had even died with food still in their mouths. This episode was spoken of afterwards by the Finns as the “Sausage War”.
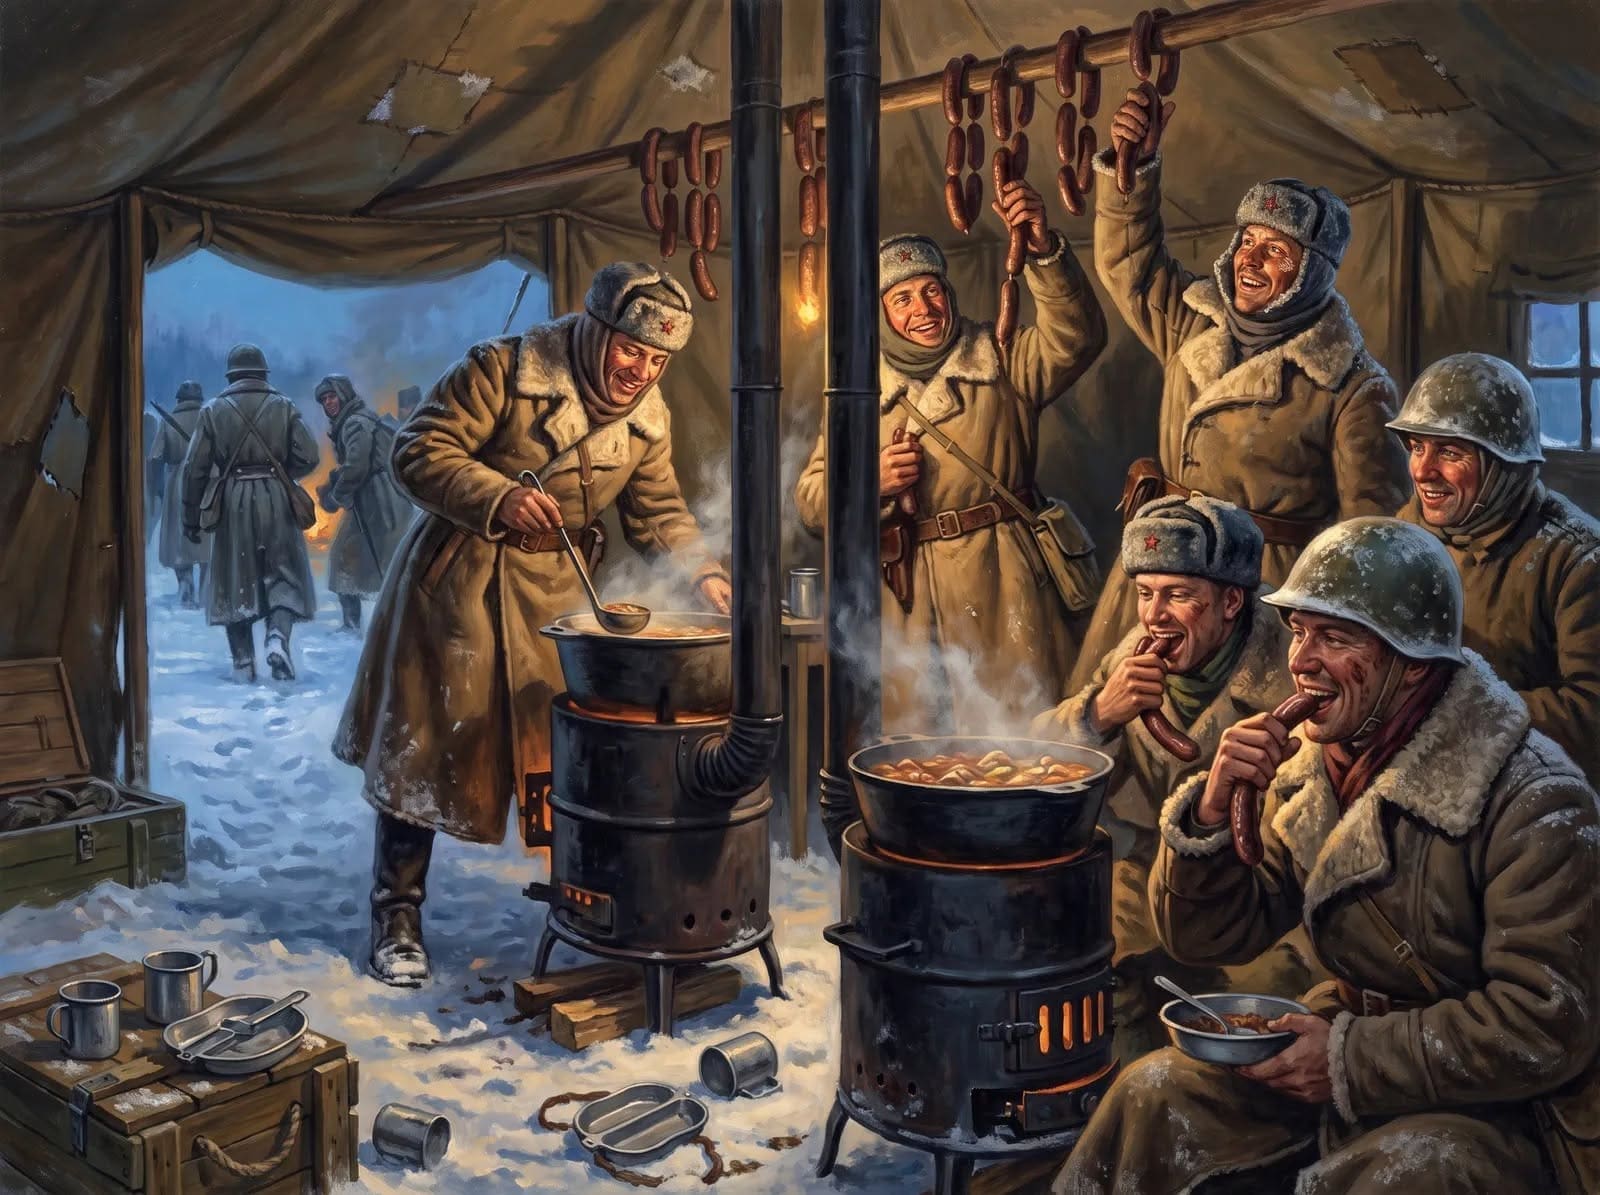
Illustration of Soviet soldiers eating at a captured field kitchen

Briefing

Finnish Player: Take 5 Command Cards.

Soviet Player: Take 5 Command Cards. You move first.

Conditions of Victory

6 Medals

Tolvajärvi village is a Temporary Objective Victory Medal for the Soviet Player.

The kitchen trench is a Temporary Objective Victory Medal for both players.

Special Rules

Russian Command Rules [Nations 2] are in effect.

Finnish Ski Troops [Troops 9] rules are in effect for only the Finnish units marked with the badges. The other three figure units represent the supply and kitchen troops.

Heroic Leader rules [Actions 8] are in effect for the Finnish unit marked with the Battle Star, representing Commander Pajari.

The Marsh hexes represent the frozen lakes. The ice was not thick enough for tanks, so these hexes are impassable for tanks. Infantry may enter the hexes with no effect upon them, except that any unit on a Frozen Lake Hex is considered exposed and is thus also hit by any Stars rolled against it.

When the Soviet Player occupies the kitchen trench hex, flip the Commissar token as you would a coin. On heads, there is no effect; the Commissar keeps the hungry troops in line. If it lands on the star though, that unit may not be ordered on the Soviet players next turn. (It can also not use an Ambush card if targeted by the Finns). At the beginning of the turn, repeat the process to see if they get their act together or keep feasting into the next turn. Repeat the process again next turn if needed.
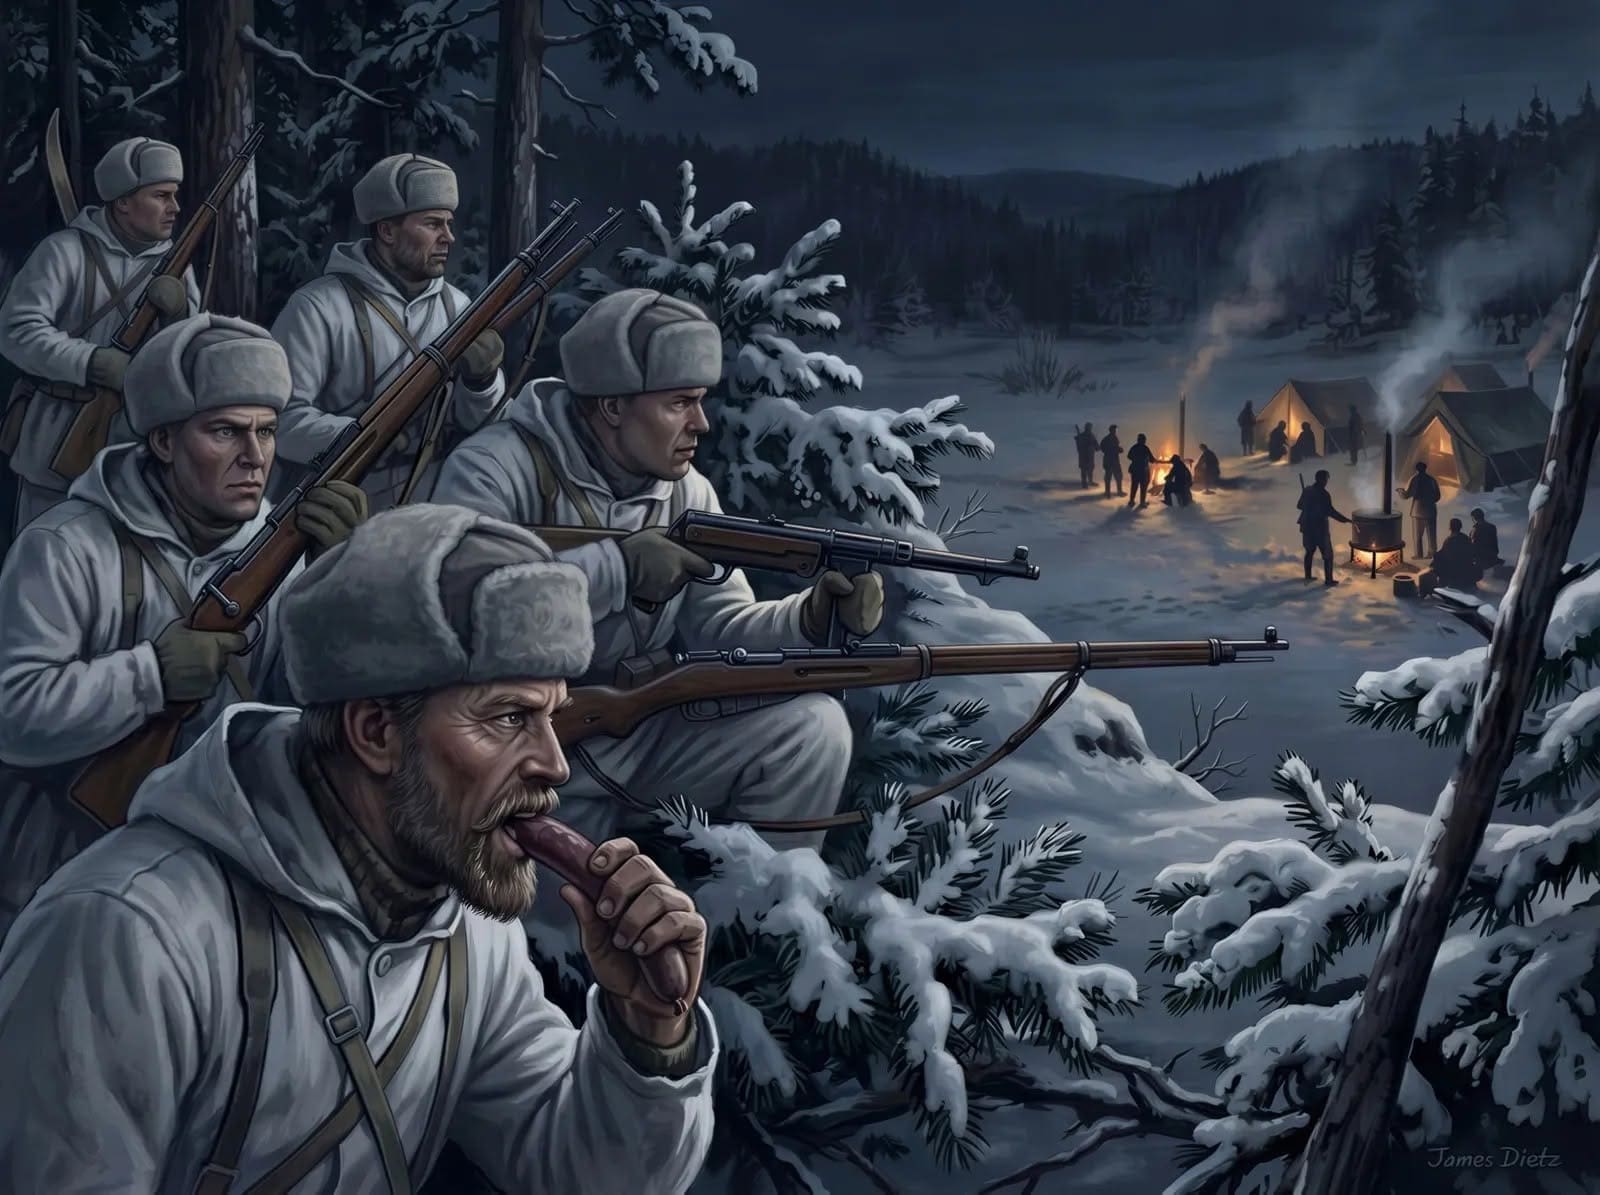
Illustration of Finnish soldiers approaching a winter field kitchen at night

Source/Authorship:  Harley Southwell

Scenario map and text reproduced from the supplied scenario PDF. Symbols & Graphics Copyright (c) 2004–2026 Days of Wonder, Inc. Produced with permission, for non-commercial use only.

Uomaa Village [Winter War]

Uomaa Village [Winter War]

Uomaa Village [Winter War]

Uomaa Village scenario map

Victory
6 Medals

Card Balance
Finnish: 5
Soviet: 5

First Player
Soviet

Conditions
Winter

Date: December 5, 1939   Location: Finland

Theater: Eastern Front   Campaign: Winter War

Historical Background

The Soviet 208th Rifle Regiment encountered strong fortified positions at Uomaa, where the Finns prepared to fight a delaying action. In front of Uomaa they were faced with barbed-wire obstacles, behind these was a minefield, and on the edge of the village there were dugouts for forward observers. Brigade Commander Kondrashev gave orders for a series of direct attacks, but they all failed. Two Soviet tanks hit mines and were destroyed. Machine-gun fire mauled the soldiers. At noon the Soviets dragged up their heavy howitzers; they struck the machine-gun dugouts with direct fire. By the evening they had nearly surrounded the village. The Finns started to burn down the houses and then headed into the woods, retreating toward Kitila where they would make their next stand.

Briefing

Finnish Player: Take 5 Command Cards.

Soviet Player: Take 5 Command Cards. You move first.

Conditions of Victory

6 Medals

Exit medal rules are in effect for the Soviet Player.

Uomaa village is a Temporary Objective Victory Medal for the Soviet Player

Special Rules

Russian Command Rules [Nations 2] are in effect.

Finnish Ski Troops [Troops 9] rules are in effect for only the Finnish units marked with the badges.

The Finnish player lays out the minefields.

The Marsh hexes represent the frozen lakes. The ice was not thick enough for tanks, so these hexes are impassable for tanks. Infantry may enter the hexes with no effect upon them, except that any unit on a Frozen Lake Hex is considered exposed and is thus also hit by any Stars rolled against it.

Source/Authorship: Harley Southwell

Scenario map and text reproduced from the supplied scenario PDF. Symbols & Graphics Copyright (c) 2004–2026 Days of Wonder, Inc. Produced with permission, for non-commercial use only.

Tightening the Noose

Tightening the Noose

Tightening the Noose

“Listen up! In August ‘39, the Red Army under that tough son of a gun, Zhukov, went to work along the Khalkhin-Gol River—right on the border of Mongolia and Manchuria. The Japanese wanted to push their luck and bite off a chunk of land, but Zhukov wasn’t about to let that happen.

He took tanks, infantry, artillery, and air power, and he tightened that noose like a hangman on payday! Those Japanese 23rd Division boys didn’t know what hit ‘em—no way out, no way to retreat, just the iron hammer of the Soviets crushing them from every side.

The result? A total victory for Zhukov and his Red Army, driving the Japanese back and showing the world that these Russians could fight, surround, and destroy like nobody’s business. That’s the kind of operation I like, boys—surround ‘em, cut ‘em down, and don’t stop until the job’s done!”

~~ General Howitzer

8 VP’s

Card Balance:

Allies – 7

Axis – 4

Complexity:

4

Conditions:

Countryside

countryside

Context:

Historical

Location:

Mongolia

Year:

1939

Theater:

Eastern

Campaign:

Codename:

Summary:

Objectives:

8 VP’s, plus Territorial Objective Medals for each side

Battlefield:

Countrsyide with a road and a river stretching up and down the battlefield

Troops:

Allies (Soviet Union) – 9 Infantry, 9 Armor, 3 Artillery

Axis (Japanese ) – 10 Infantry, 2 Armor, 1 Artillery


medal allies

Allied Strategy:

1.

medal axis

Axis Strategy

1. 

Battle Reports

Author:

Days of Wonder

Place Battle Reports on a scenario page, or specify its scenario name in the shortcode.

The Khalkhin-Gol Encirclement

The Khalkhin-Gol Encirclement

The Khalkhin-Gol Encirclement (Overlord Map)

“Let me give it to you straight, boys—back in ‘39, before the big show kicked off in Europe, there was a damn fine brawl brewing out east along the Khalkhin-Gol River. The Soviets, under that iron bastard Zhukov, took on the Japanese who were itching for a scrap in the borderlands.

Those Russians didn’t just trade blows—they went for the kill. They wrapped the Japanese 23rd Division up tight in a steel trap—tanks on the flanks, artillery in the rear, and air power pounding them into the dirt. No escape, no second chances—just one big, smoking ruin when the Red Army was done.

The result? The Japanese learned a lesson in modern warfare and didn’t forget it, and Zhukov walked out of there with a reputation as the man who could gut an enemy army whole. That’s how you fight a battle, boys—encircle, crush, and leave nothing but wreckage behind!”

~~ General Howitzer

18 VP’s

Card Balance:

Allies (Russia) – 12

Axis (Japan) – 8

Complexity:

4

Conditions:

Countryside

countryside

Context:

Historical

Location:

Mongolia

Year:

1939

Theater:

Eastern

Campaign:

Codename:

Summary:

Objectives:

18 VP’s with various Medal Objectives for various territorial control.

Battlefield:

Countryside with many rivers, roads,  rivers, and hills

Troops:

Allies  – 16 Infantry, 18 Armor and Trucks, 3 Artillery

Axis  – 21 Infanty, 7 Armor, 4 Artillery


Allied Strategy:

1.  

Axis Strategy

1.  

Battle Reports

Author:

Days of Wonder

Link:

Place Battle Reports on a scenario page, or specify its scenario name in the shortcode.

Battle of Westerplatte

Battle of Westerplatte

Battle of Westerplatte

Battle of the Westerplatte_small

September 1st, 1939—0448 hours. That was the shot that lit the damn fuse on World War II.

The Germans kicked things off by bringing in the battleship Schleswig-Holstein, sitting nice and cozy in Danzig harbor, and then—boom—she opened up with a full broadside on the Polish outpost at Westerplatte. They thought they’d scare the Poles into folding before breakfast.

Then came the assault: crack German marines, three platoons strong, storming across the land bridge, expecting a little parade through the depot. They even blew open the rail gate like it was just another drill. They thought they were walking into a skirmish.

Wrong.

They walked straight into a kill zone. The Poles were locked, loaded, and waiting—concealed firing positions, crossfire, barbed wire, the whole damn package. And those German troops? They didn’t find a pushover—they found hell on Earth.

The plan was for the Poles to hold for twelve hours. Instead, they held that godforsaken strip of land for seven damn days—against artillery, naval fire, and relentless infantry assaults. They bled, they fought, and they showed the world what grit looks like under fire.

Westerplatte didn’t stop the war. But it told the Nazis one thing loud and clear: this wasn’t going to be easy. It became a symbol—of resistance, of courage, and of never giving an inch when everything’s on the line.

The lines were drawn, the fuse was lit, and history roared to life in a blaze of fire and steel.

Now the only question left is—when it’s your turn to hold the line… will you stand, or will you fold?

~~ General Howitzer

6 VP’s

Card Balance:

Allies – 5

Axis – 6

Complexity:

4

Conditions:

Countryside

Context:

Historical

Location:

Poland

Year:

September 1, 1939

Theater:

Western

Campaign:

The Invasion of Poland

Codename:

Fall Weiss / Case White

Summary:

Objectives:

6 VP’s, plus one Permanent Medal Objective for each side (The Destroyer and the Supply Shed.)

Battlefield:

Contains countryside with a road, a railway, and a river.

Troops:

Allies – 10 Infantry (3 figures each), 2 Artillery 

Axis – 10 Infantry, 1 Artillery, 1 Destroyer!


Allied Strategy:

1.  Because of the surprise nature of the attack, all of the Polish Allied Infantry only have three figures each.  They are therefore very quickly overrun by the German forces.  Gain the hits you can, and protect the Supply Shed!

Axis Strategy

1.  You have a Destroyer at your disposal, with massive range. Use it every chance you get. 

Battle Reports

Author:

Originally developed for the Belgium Open, 2017; Also used by The Finest Hour Open, Chicago, 2025.

Link:

View

Place Battle Reports on a scenario page, or specify its scenario name in the shortcode.

Bain Tsagan Heights

Bain Tsagan Heights

Bain Tsagan Heights

BTH_map_breakthrough_overhead

“Listen up, boys! In early July ‘39, over in the dusty wilderness of Mongolia, the Japanese thought they’d pull a fast one at the Bain Tsagan Heights—cross the river, flank the Soviets, and wrap the whole show up in a bow. But Zhukov wasn’t about to let those plans play out!

Zhukov hit back hard and fast, bringing in tanks, artillery, and infantry to pound those Japanese troops into the dirt. They fought like hell on those heights—bayonets flashing, guns roaring, tanks rolling—and the Soviets broke that flanking move right in half.

This wasn’t just a local scrap, boys—it was a turning point. That Soviet victory at Bain Tsagan sent a clear message: you mess with the Red Army, you pay in blood. It helped push Japan to shift its focus away from Siberia and toward the Pacific, changing the whole game for the coming war.

So remember this—when you see the enemy making a move, you don’t wait—you smash him before he knows what hit him! That’s the way to win!”

~~ General Howitzer

10 VP’s

Card Balance:

Allies – 7

Axis – 5

Complexity:

4

Conditions:

Countryside

Context:

Historical

Location:

Siberia

Year:

1939

Theater:

Eastern

Campaign:

Khalkin Gol

Codename:

Summary:

Objectives:

10 VP’s, including four! objective medals; ( two ridges and a 2-medal bridge)

Battlefield:

Countryside with a river cutting through the Allies left flank, and long road cutting at an angle through the terrain directly to the two-medal bridge.

Troops:

Allies (Russia) – 12 Infantry, 9 Armor, including two Armored Cars, plus two Supply Trucks, 1 Big Gun!

Axis (Japan) – 12 Infantry, 7 Armor, including 3 Tankettes, 2 Armored Cars, 1 Artillery.


medal allies

🔥 Winning as Allies:

1.  Big Picture: Allies are initially on the defense, due to the attack by the Japanese.  But they have enormous armor resources at their disposal on their left flank to bring to bear upon the battle in both the left flank and the center section.  And historically, this is what General Zukhov did.  In fact a pivot by the Allied Armor on the left flank over the ridgeline at river will allow them to reign down terror upon the Japanese forces assaulting the Remisova Hill.

2.  Your puny Armor and Infantry forces in the right flank are pretty useless, as they need to cross the river before they can engage the enemy.  But if they can at least move forward one hex, so that they do not get pinned against the backwall, that will be sufficient.

3.  Guard the bridge crossing the river. It is worth two medals.

4.  You have a Big Tom Gun, which has massive range of 8 hexes, and allows you to zero in on forces in a hex and increase your attack strength by another 1D.  Use it early and often.

medal axis

🔥 Winning as Axis

1.  Big Picture Strategy: this was a long-shot for the Japanese historically, which they lost, but they have been known to win this scenario.  Use your Tankettes, which have good movement, to get into the battle and score some wins.  Advance forcefully with your infantry and overwhelm them using your Seishin Kyoiku Doctrine might combined with your Bonzai speed.

Battle Reports

Author:

Days of Wonder

Link:

Place Battle Reports on a scenario page, or specify its scenario name in the shortcode.

Secret Link