General Howitzer’s Field Guide to Memoir 44

A Memoir 44 Strategy & Tactics Community

GENERAL HOWITZER

Scenarios

Explore Memoir ’44 battlefields, maps, and player statistics.

GENERAL HOWITZER

Campaigns

Relive historic campaigns through linked Memoir ’44 battles.

GENERAL HOWITZER

Strategy Tips

Sharpen your tactics and take command of the battlefield.

GENERAL HOWITZER

Field Manuals

Explore field guides and manuals for your next battle.

GENERAL HOWITZER

Tournaments

Find Memoir ’44 tournaments, events, and fellow commanders.

GENERAL HOWITZER

My War Room

Track your battles, campaigns, achievements, and next mission.

Tightening the Noose

Tightening the Noose

Tightening the Noose

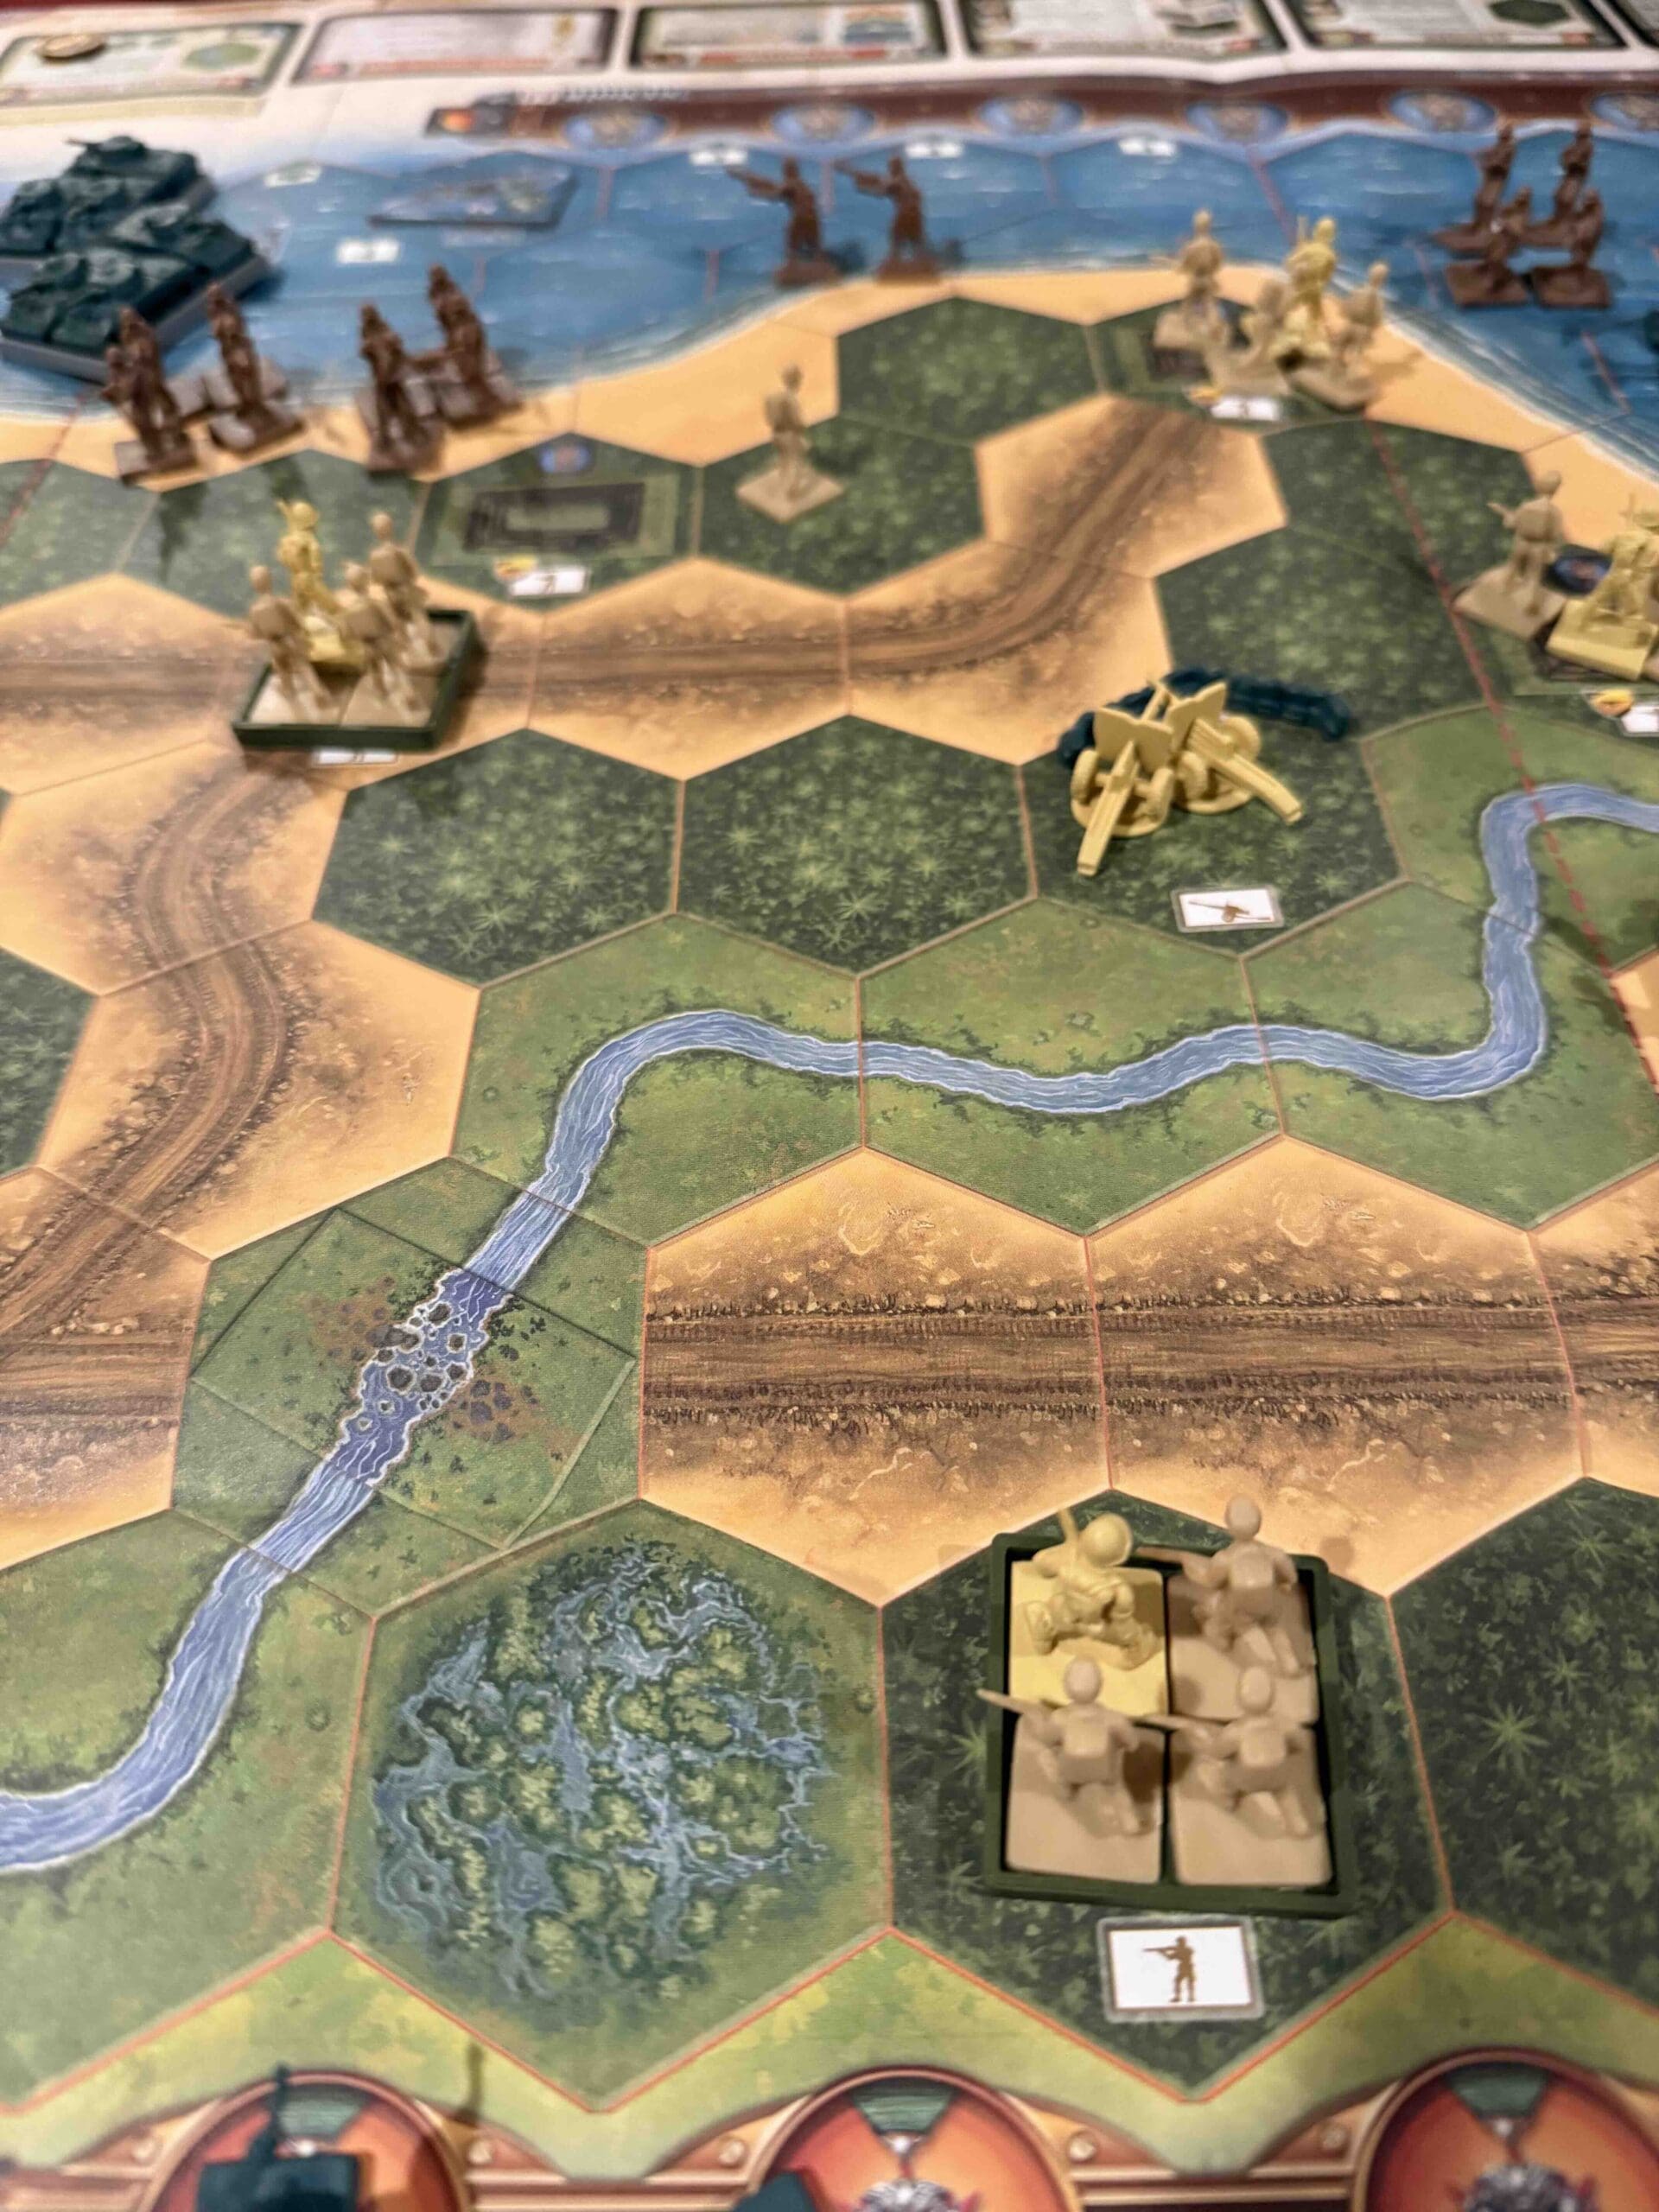
“Listen up! In August ‘39, the Red Army under that tough son of a gun, Zhukov, went to work along the Khalkhin-Gol River—right on the border of Mongolia and Manchuria. The Japanese wanted to push their luck and bite off a chunk of land, but Zhukov wasn’t about to let that happen.

He took tanks, infantry, artillery, and air power, and he tightened that noose like a hangman on payday! Those Japanese 23rd Division boys didn’t know what hit ‘em—no way out, no way to retreat, just the iron hammer of the Soviets crushing them from every side.

The result? A total victory for Zhukov and his Red Army, driving the Japanese back and showing the world that these Russians could fight, surround, and destroy like nobody’s business. That’s the kind of operation I like, boys—surround ‘em, cut ‘em down, and don’t stop until the job’s done!”

~~ General Howitzer

8 VP’s

Card Balance:

Allies – 7

Axis – 4

Complexity:

4

Conditions:

Countryside
countryside

Context:

Historical

Location:

Mongolia

Year:

1939

Theater:

Eastern

Campaign:

Codename:

Summary:

Objectives:

8 VP’s, plus Territorial Objective Medals for each side

Battlefield:

Countrsyide with a road and a river stretching up and down the battlefield

Troops:

Allies (Soviet Union) – 9 Infantry, 9 Armor, 3 Artillery

Axis (Japanese ) – 10 Infantry, 2 Armor, 1 Artillery


medal allies

Allied Strategy:

1.

medal axis

Axis Strategy

1. 

Battle Reports

Author:

Days of Wonder

Place Battle Reports on a scenario page, or specify its scenario name in the shortcode.

Cape Torokina Landings

Cape Torokina Landings

Cape Torokina Landings (Overlord Map)

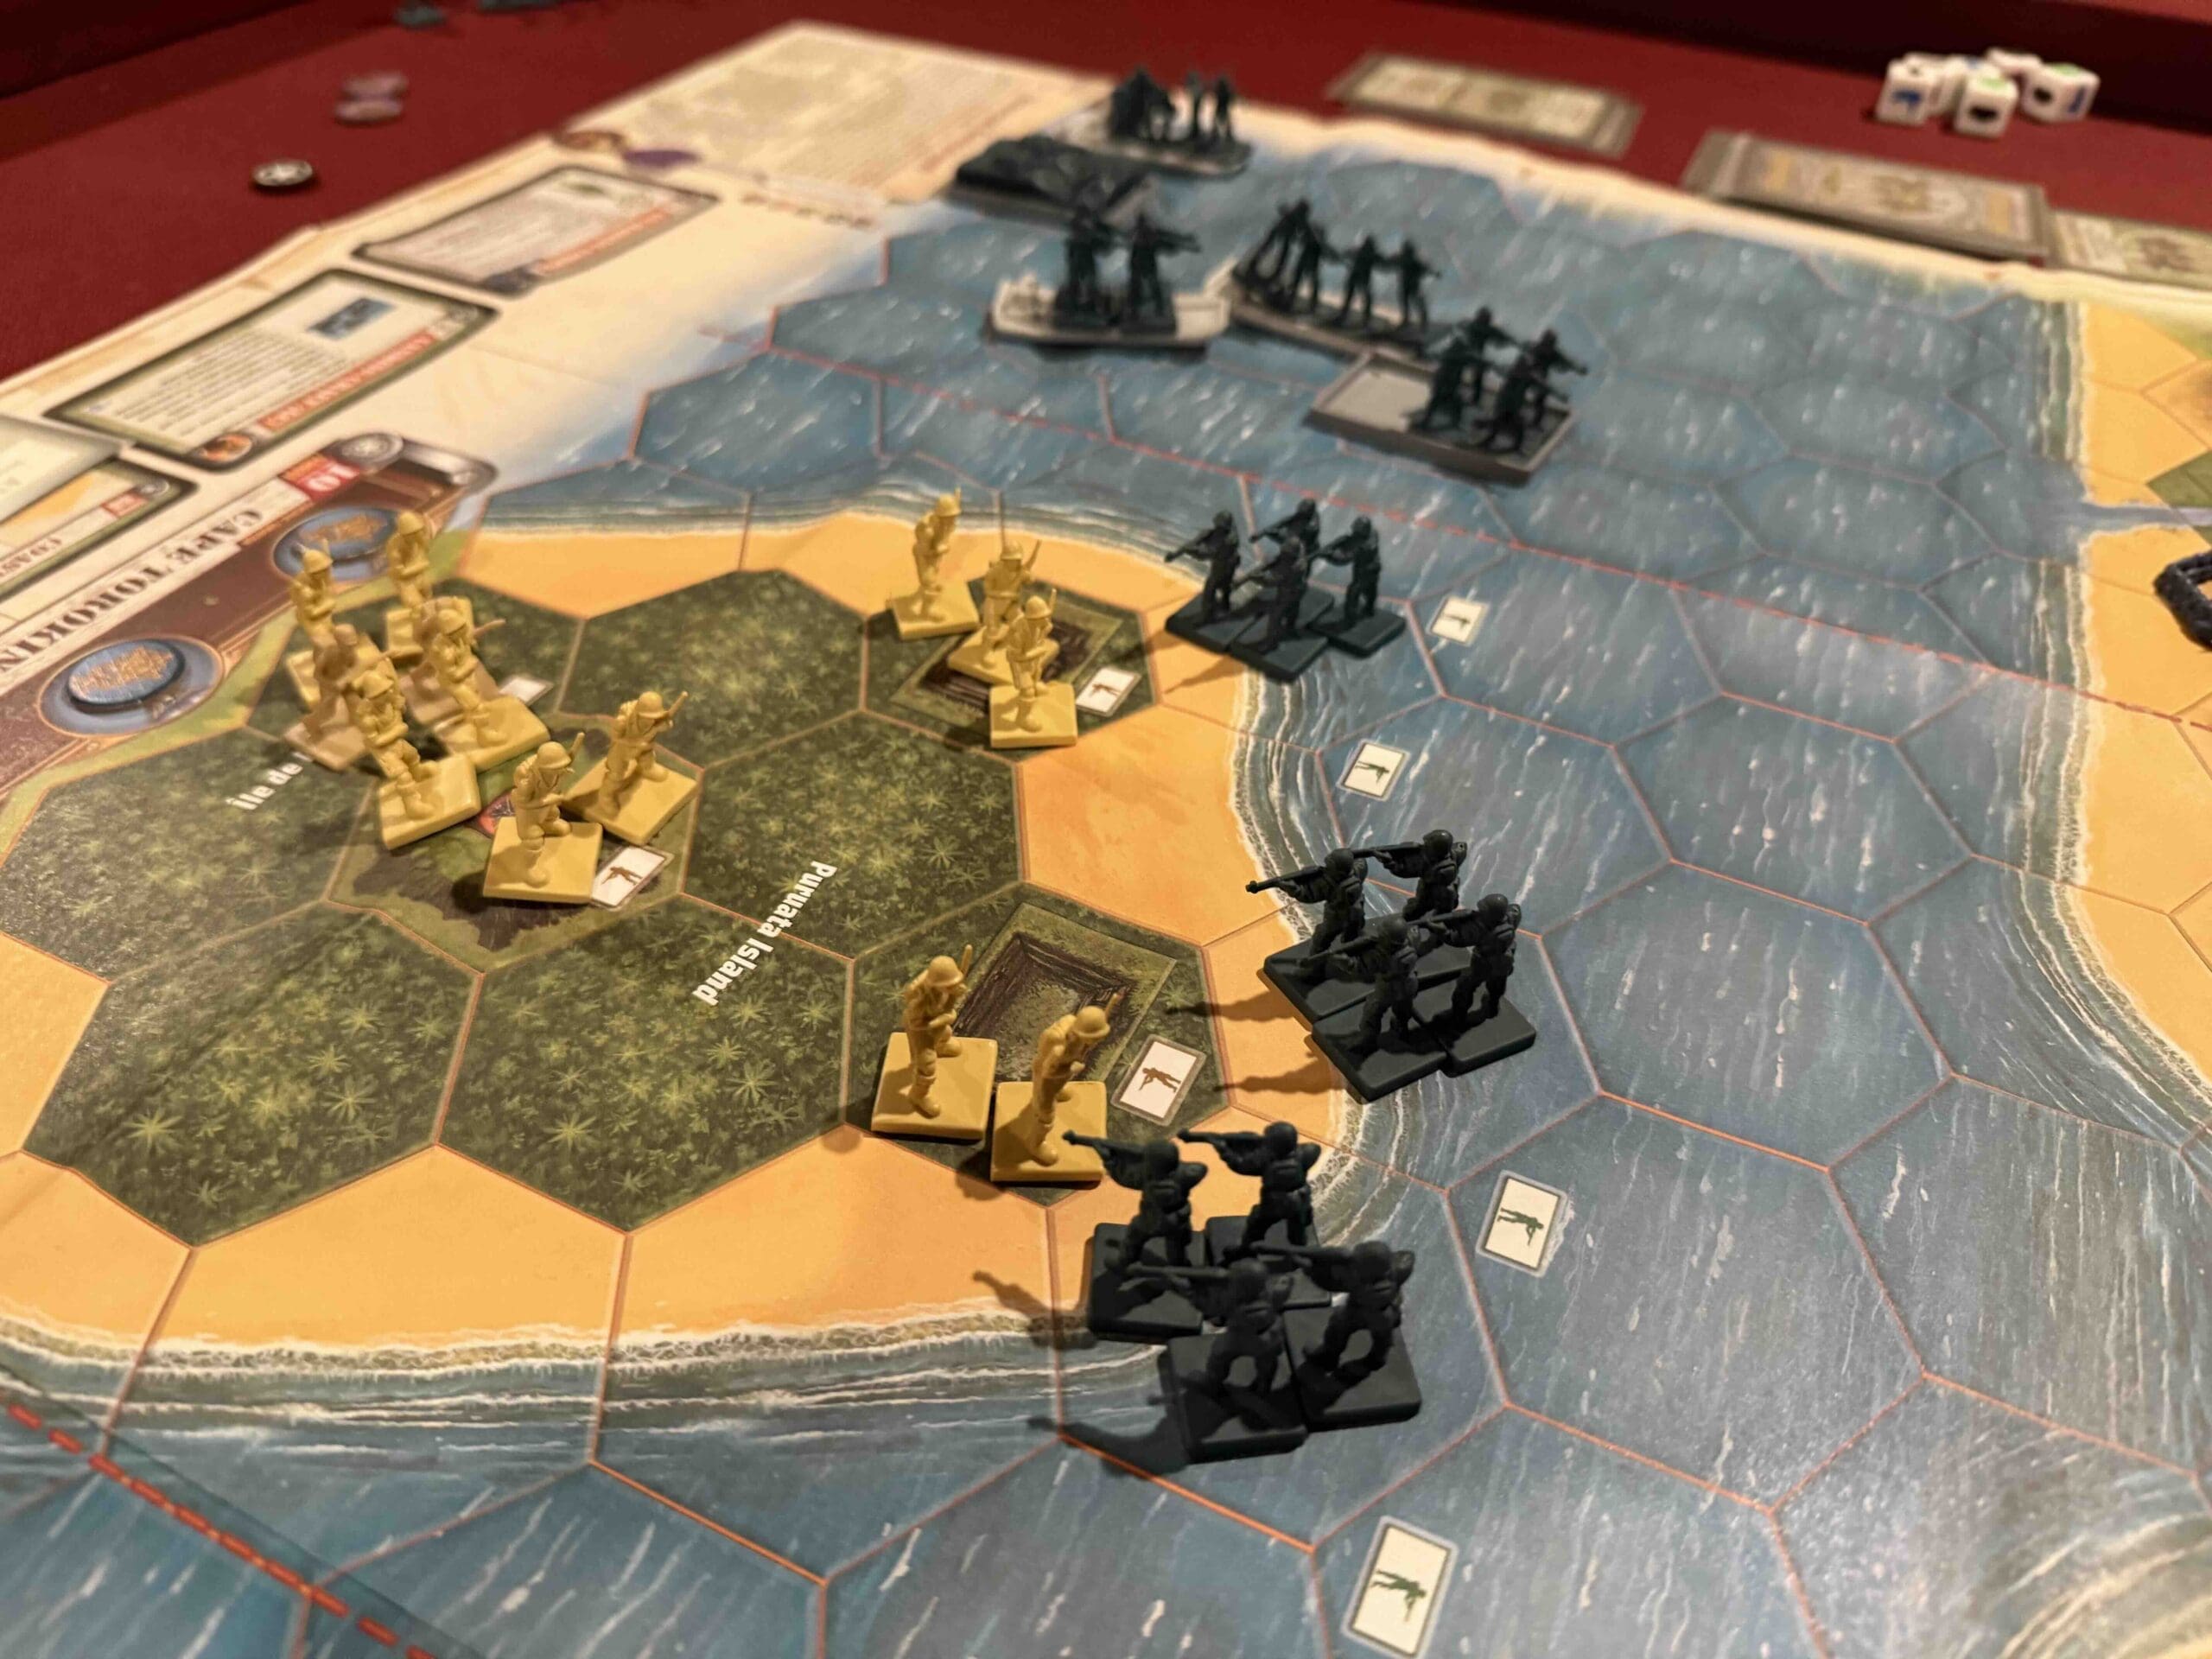
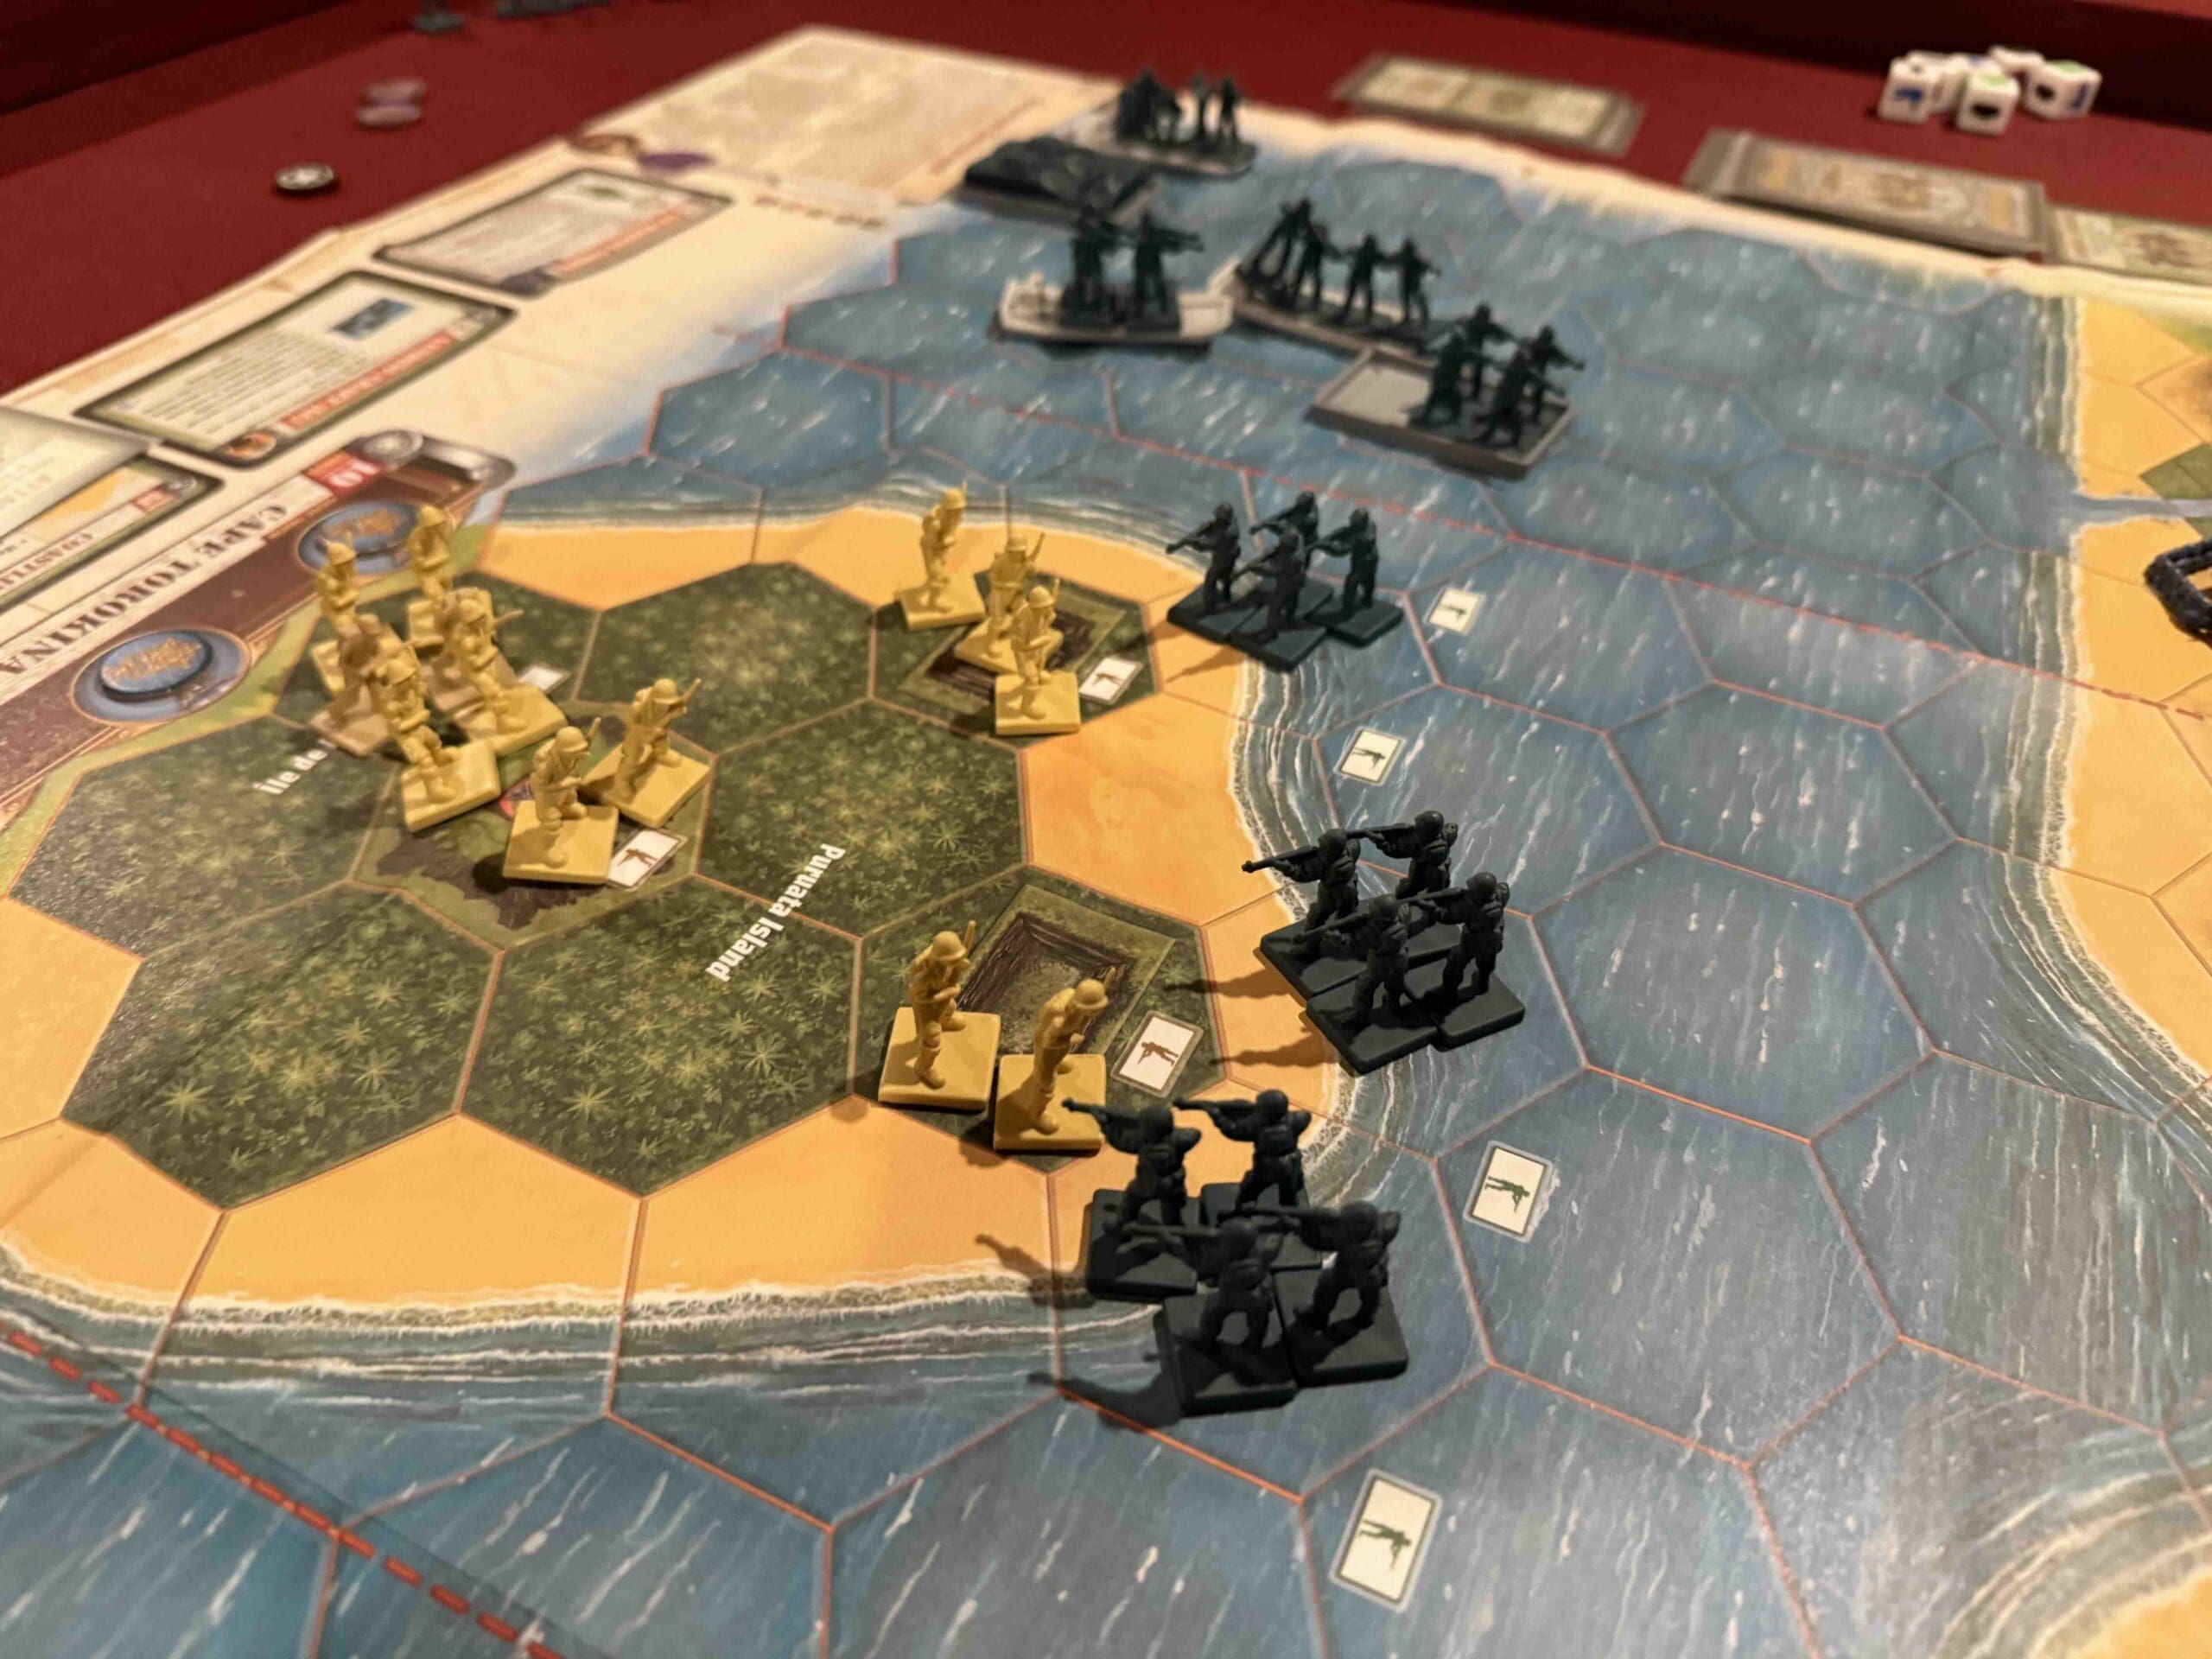
“Listen up, men! On November 1st, 1943, our boys hit those beaches at Cape Torokina like a thunderbolt. Those Marines of the 1st and 3rd Divisions didn’t blink at the sight of jungle, mud, and dug-in enemy troops. They took that beachhead by the throat and held on like bulldogs!

This wasn’t just another island—it was the gateway to busting open Rabaul and cutting off those Japanese forces. The jungle was a green hell, but we cut through it, took the ground, and started building the airstrips and supply bases to keep the hammer coming down.

That’s how you do it, boys—land hard, fight harder, and don’t stop until you’ve got a fortress behind you and the enemy on the run. That’s what those Marines did at Cape Torokina—they paved the road to victory in the Pacific!”

~~ General Howitzer

Timeline of the Cape Torokina Landings (Bougainville)

  • November 1, 1943 – D-Day for Cape Torokina:
    U.S. 1st and 3rd Marine Divisions land at Cape Torokina. Initial beachhead secured despite Japanese resistance and tough jungle terrain.

  • November 2–3, 1943 –
    Marines expand the perimeter, clearing Japanese defenses in nearby jungle areas.

  • Mid-November 1943 –
    Seabees and engineers begin constructing airfields and supply bases within the beachhead.

  • December 1943–January 1944 –
    Marines fortify positions, repel repeated Japanese counterattacks.
    Japanese strongpoints isolated and bypassed.

  • March–April 1944 –
    U.S. Army relieves Marines; continuing operations to expand and secure the beachhead.

15 VP’s

Card Balance:

Allies (Marines) – 9

Axis (Japan) – 8

Complexity:

4

Conditions:

Beach

Context:

Historical

Location:

Solomon Islands

Year:

1943

Theater:

Pacific

Campaign:

Bougainville

Codename:

Summary:

Objectives:

15 VP’s with various Medal Objectives for various territorial control.

Battlefield:

Islands with many rivers, roads, jungles, and hills

Troops:

Allies  – 21 Infantry, 4 Armor, 2 Destroyers, with Landing Crafts to bring them ashore

Axis  – 18 Infantry some with Special Weapons, 1 Armor, 1 Artillery


medal allies

🔥 Winning as Allies

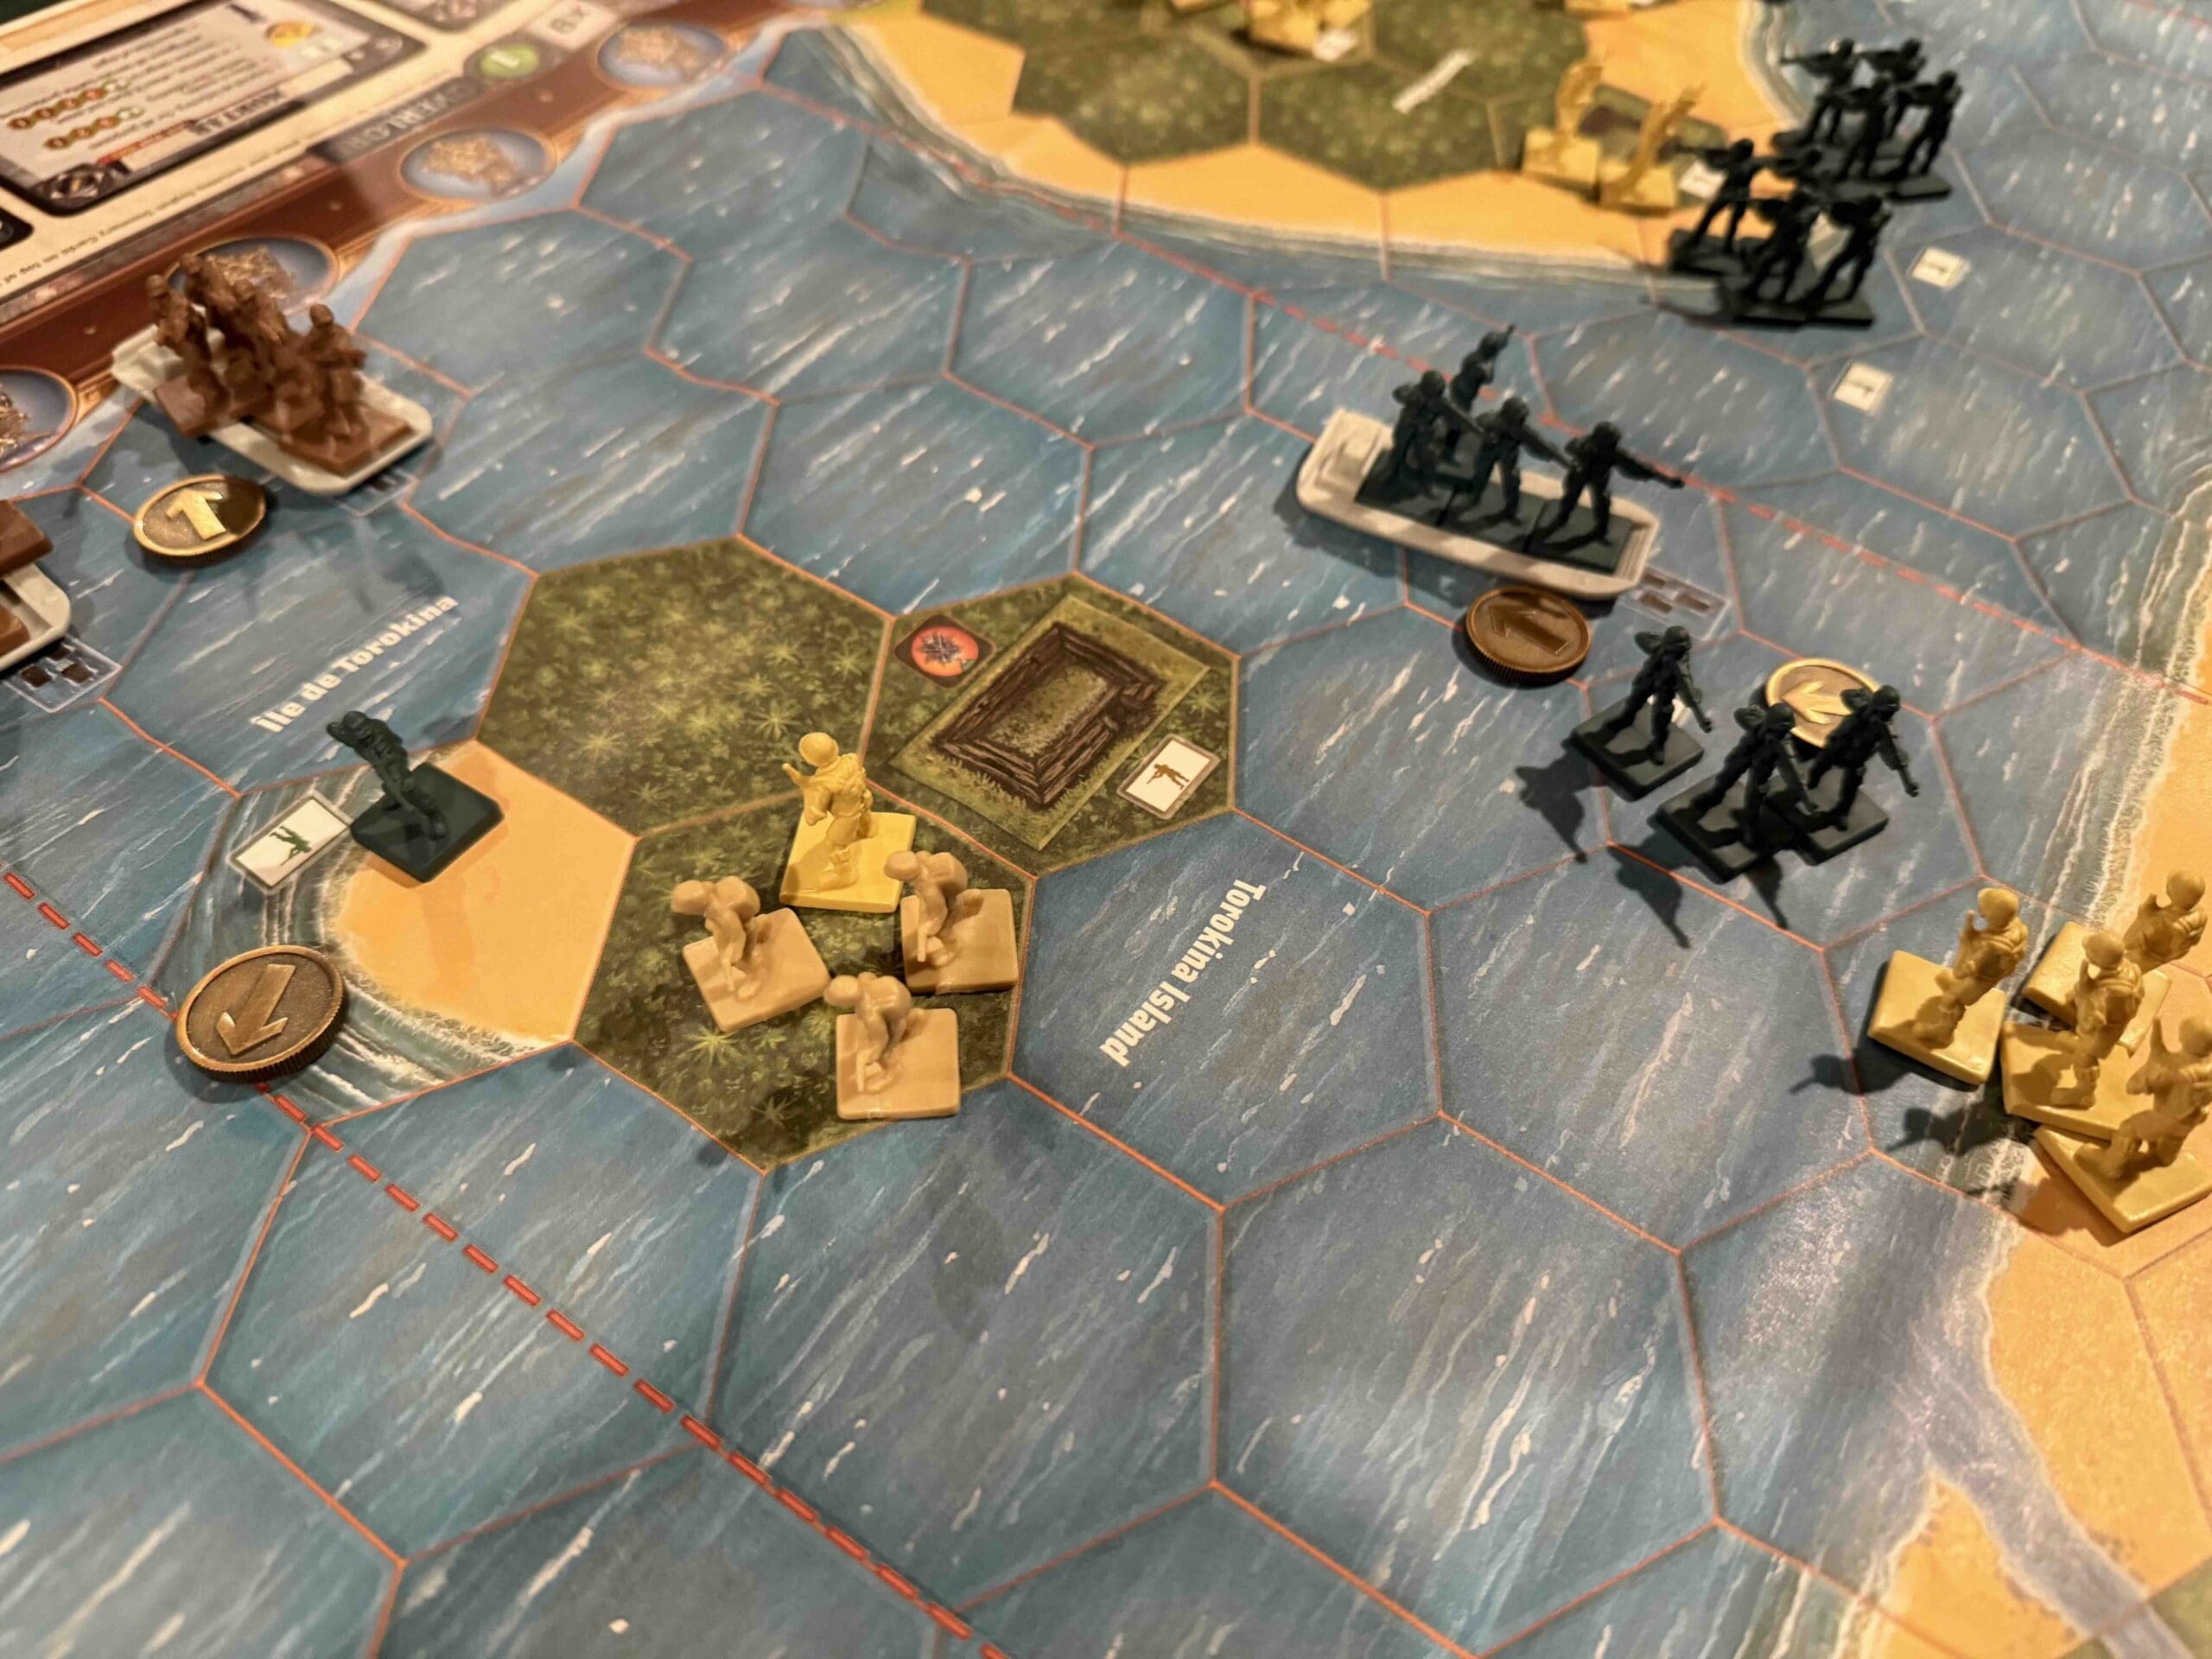
1.  There are a number of special rules which you need to be aware as commander of the Allied forces.  First, there are two islands (Torokina & Puruata), which must be taken. Because the enemy begins the battle with forces on the islands, they start the battle with two victory medals.  As soon as you eliminate the enemy from an island, you will cause them to lose a victory medal, but you will NOT gain one.    Also note that because the Landing Crafts (LC’s) leave after dropping off your troops, they will be stranded on that island. So make sure you commit enough troops to win, but not too many.

2.  There are also three Field Bunkers which provide Temporary Territorial Medals to whichever side occupies them.  But you must remain in the bunker to keep the medals. 

3.  What this means then, is that although you begin the battle with overwhelming force, in order to clear the islands, and then occupy the Field Bunkers, you will need to be leaving troops at each of those locations.  So your attack force will be diminished for each parcel of land which you capture.  This must be factored into your planning commander!

medal axis

🔥 Winning as Axis

1.  Your primary role in this battle is a defensive one, but that does not mean passive.  You have troops which need to be prepared to fight and brought into the battle arena.

2.  You have an Armor unit stuck in the corner in the right flank. Get it into the action as soon as you can.

3.  You also have an Artillery which you should use at every opportunity to attack the enemy as they come ashore.

4.  Make use of the Seishin Kyoiku doctrine to attack with your full force units at every opportunity in order to maximize your extra firepower while they are still strong.

5. You have a lot of forces on the two islands.  Make the enemy pay for every inch of ground they take on the islands in order to reduce their main attack force.

Battle Reports

Author:

Days of Wonder

Link:

Place Battle Reports on a scenario page, or specify its scenario name in the shortcode.

The Khalkhin-Gol Encirclement

The Khalkhin-Gol Encirclement

The Khalkhin-Gol Encirclement (Overlord Map)

“Let me give it to you straight, boys—back in ‘39, before the big show kicked off in Europe, there was a damn fine brawl brewing out east along the Khalkhin-Gol River. The Soviets, under that iron bastard Zhukov, took on the Japanese who were itching for a scrap in the borderlands.

Those Russians didn’t just trade blows—they went for the kill. They wrapped the Japanese 23rd Division up tight in a steel trap—tanks on the flanks, artillery in the rear, and air power pounding them into the dirt. No escape, no second chances—just one big, smoking ruin when the Red Army was done.

The result? The Japanese learned a lesson in modern warfare and didn’t forget it, and Zhukov walked out of there with a reputation as the man who could gut an enemy army whole. That’s how you fight a battle, boys—encircle, crush, and leave nothing but wreckage behind!”

~~ General Howitzer

18 VP’s

Card Balance:

Allies (Russia) – 12

Axis (Japan) – 8

Complexity:

4

Conditions:

Countryside

countryside

Context:

Historical

Location:

Mongolia

Year:

1939

Theater:

Eastern

Campaign:

Codename:

Summary:

Objectives:

18 VP’s with various Medal Objectives for various territorial control.

Battlefield:

Countryside with many rivers, roads,  rivers, and hills

Troops:

Allies  – 16 Infantry, 18 Armor and Trucks, 3 Artillery

Axis  – 21 Infanty, 7 Armor, 4 Artillery


Allied Strategy:

1.  

Axis Strategy

1.  

Battle Reports

Author:

Days of Wonder

Link:

Place Battle Reports on a scenario page, or specify its scenario name in the shortcode.

Bain Tsagan Heights

Bain Tsagan Heights

Bain Tsagan Heights

BTH_map_breakthrough_overhead

“Listen up, boys! In early July ‘39, over in the dusty wilderness of Mongolia, the Japanese thought they’d pull a fast one at the Bain Tsagan Heights—cross the river, flank the Soviets, and wrap the whole show up in a bow. But Zhukov wasn’t about to let those plans play out!

Zhukov hit back hard and fast, bringing in tanks, artillery, and infantry to pound those Japanese troops into the dirt. They fought like hell on those heights—bayonets flashing, guns roaring, tanks rolling—and the Soviets broke that flanking move right in half.

This wasn’t just a local scrap, boys—it was a turning point. That Soviet victory at Bain Tsagan sent a clear message: you mess with the Red Army, you pay in blood. It helped push Japan to shift its focus away from Siberia and toward the Pacific, changing the whole game for the coming war.

So remember this—when you see the enemy making a move, you don’t wait—you smash him before he knows what hit him! That’s the way to win!”

~~ General Howitzer

10 VP’s

Card Balance:

Allies – 7

Axis – 5

Complexity:

4

Conditions:

Countryside

Context:

Historical

Location:

Siberia

Year:

1939

Theater:

Eastern

Campaign:

Khalkin Gol

Codename:

Summary:

Objectives:

10 VP’s, including four! objective medals; ( two ridges and a 2-medal bridge)

Battlefield:

Countryside with a river cutting through the Allies left flank, and long road cutting at an angle through the terrain directly to the two-medal bridge.

Troops:

Allies (Russia) – 12 Infantry, 9 Armor, including two Armored Cars, plus two Supply Trucks, 1 Big Gun!

Axis (Japan) – 12 Infantry, 7 Armor, including 3 Tankettes, 2 Armored Cars, 1 Artillery.


medal allies

🔥 Winning as Allies:

1.  Big Picture: Allies are initially on the defense, due to the attack by the Japanese.  But they have enormous armor resources at their disposal on their left flank to bring to bear upon the battle in both the left flank and the center section.  And historically, this is what General Zukhov did.  In fact a pivot by the Allied Armor on the left flank over the ridgeline at river will allow them to reign down terror upon the Japanese forces assaulting the Remisova Hill.

2.  Your puny Armor and Infantry forces in the right flank are pretty useless, as they need to cross the river before they can engage the enemy.  But if they can at least move forward one hex, so that they do not get pinned against the backwall, that will be sufficient.

3.  Guard the bridge crossing the river. It is worth two medals.

4.  You have a Big Tom Gun, which has massive range of 8 hexes, and allows you to zero in on forces in a hex and increase your attack strength by another 1D.  Use it early and often.

medal axis

🔥 Winning as Axis

1.  Big Picture Strategy: this was a long-shot for the Japanese historically, which they lost, but they have been known to win this scenario.  Use your Tankettes, which have good movement, to get into the battle and score some wins.  Advance forcefully with your infantry and overwhelm them using your Seishin Kyoiku Doctrine might combined with your Bonzai speed.

Battle Reports

Author:

Days of Wonder

Link:

Place Battle Reports on a scenario page, or specify its scenario name in the shortcode.

Secret Link