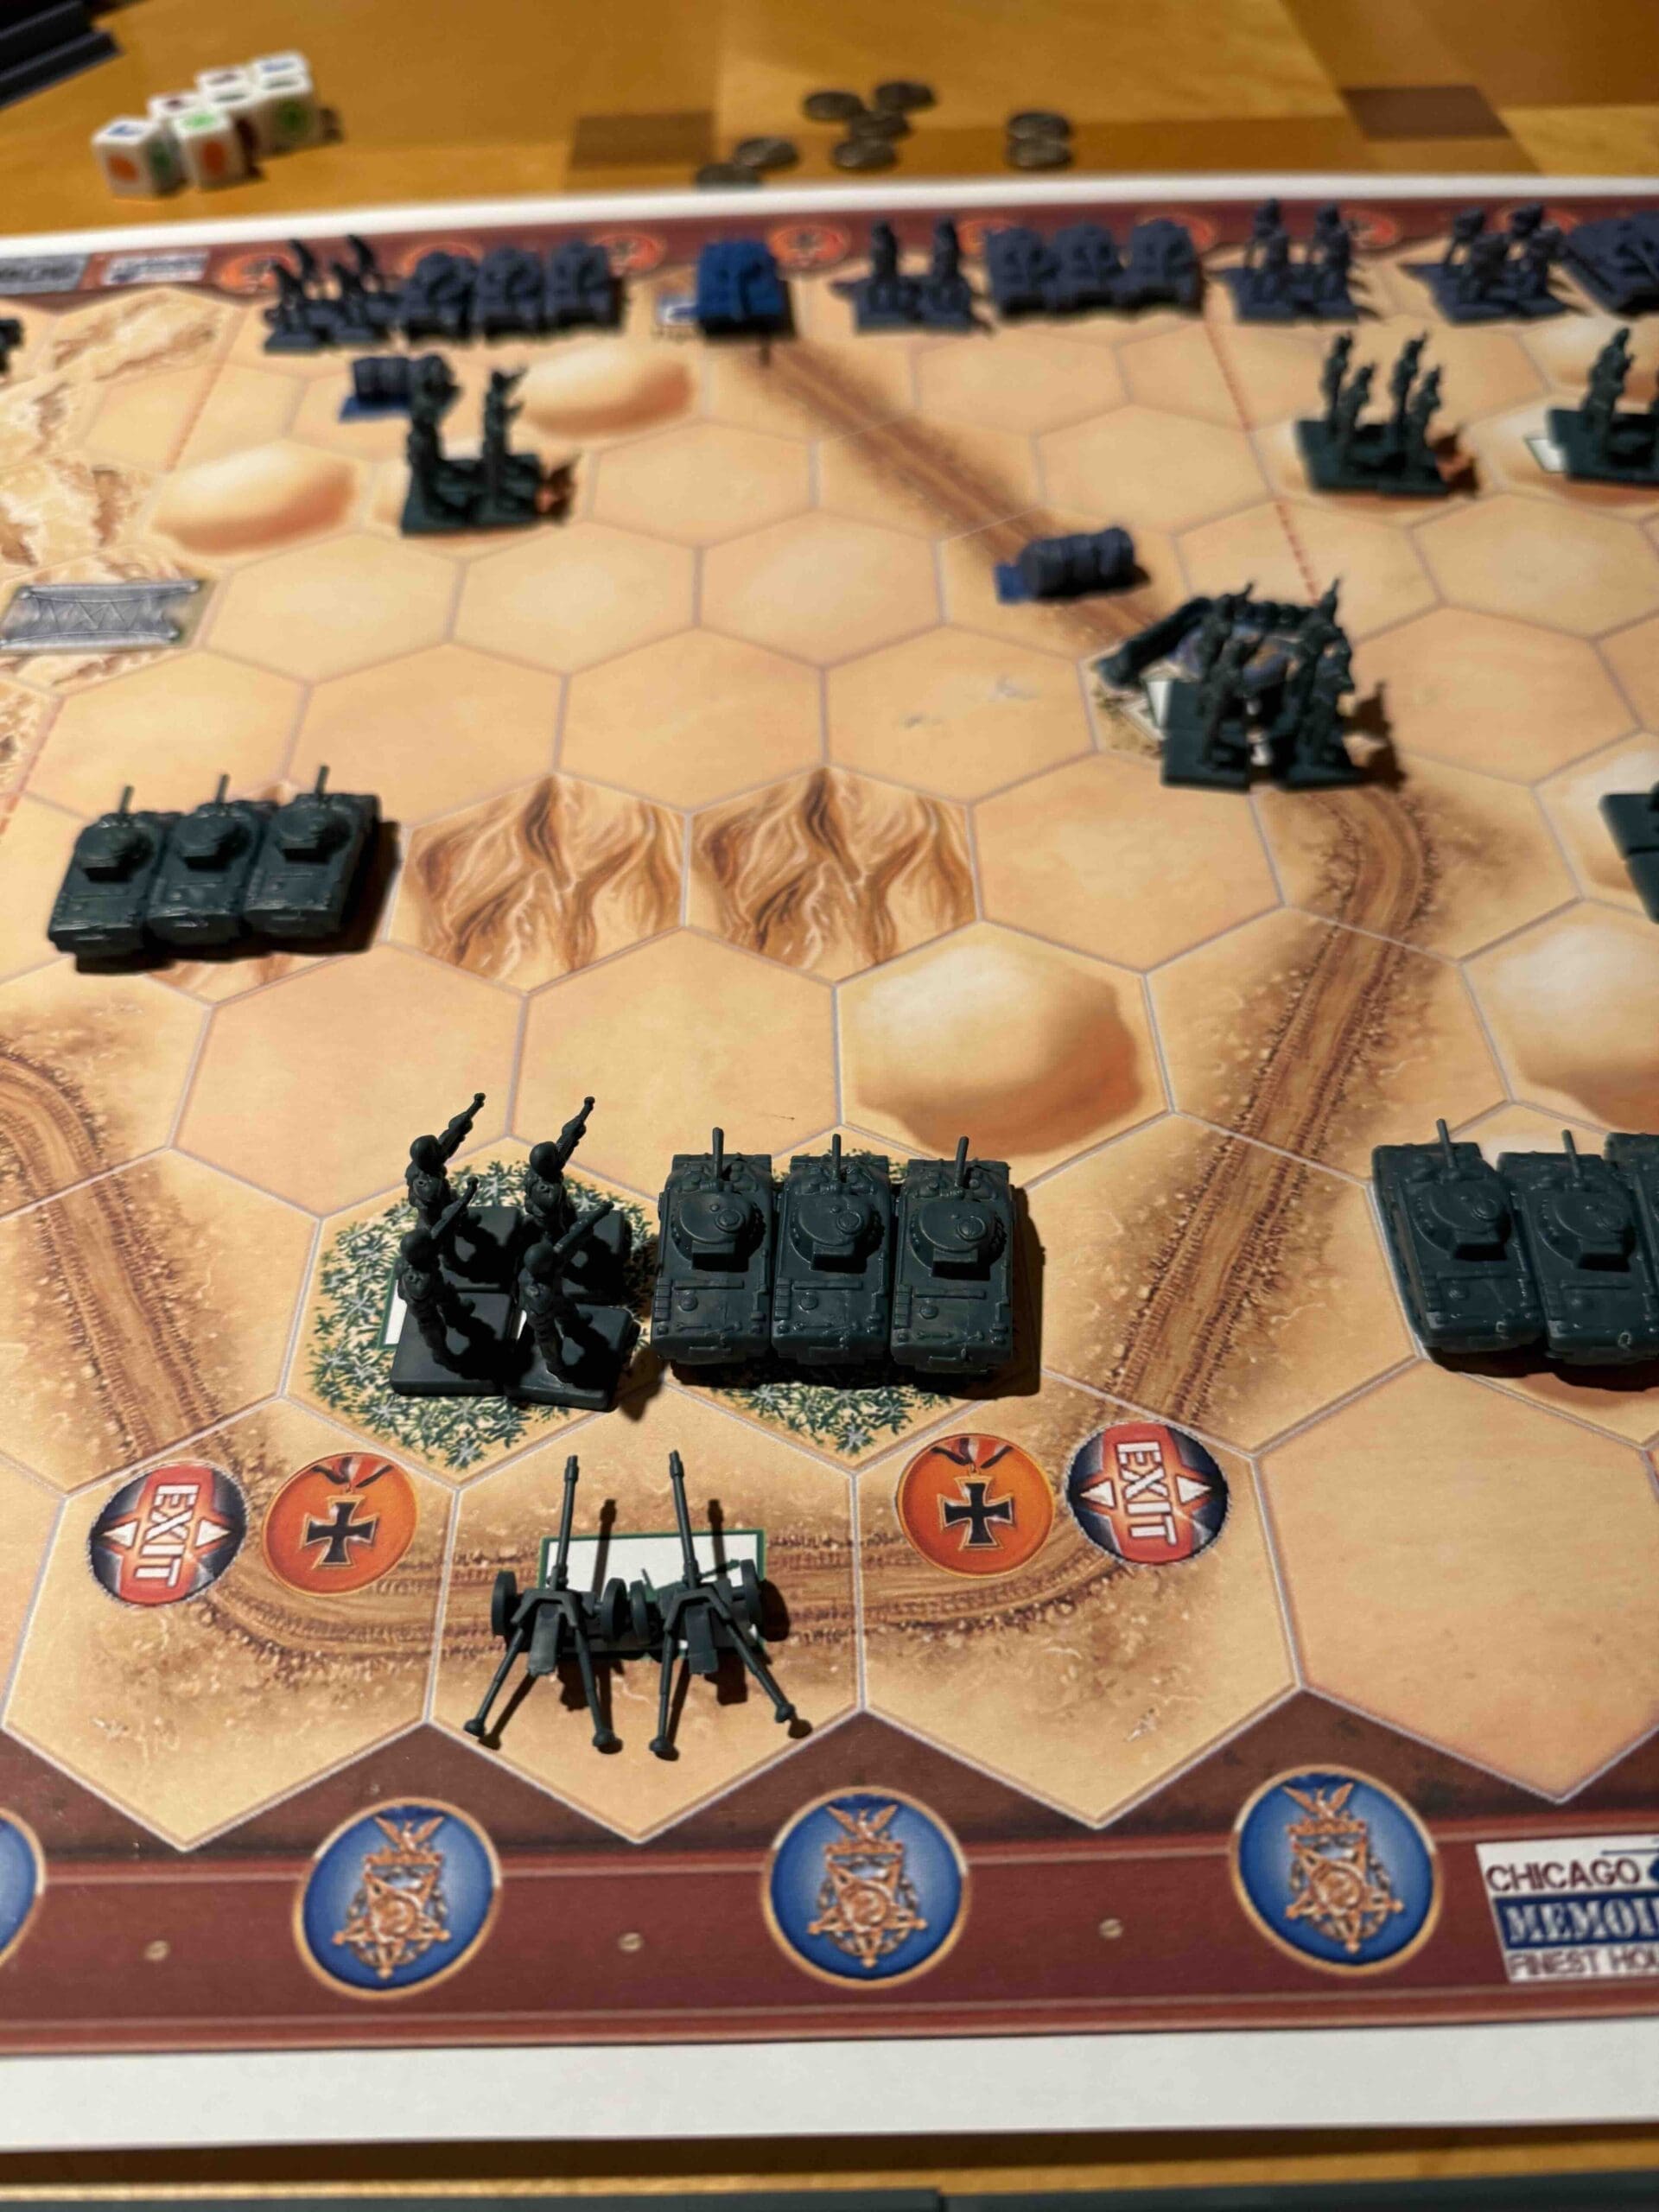
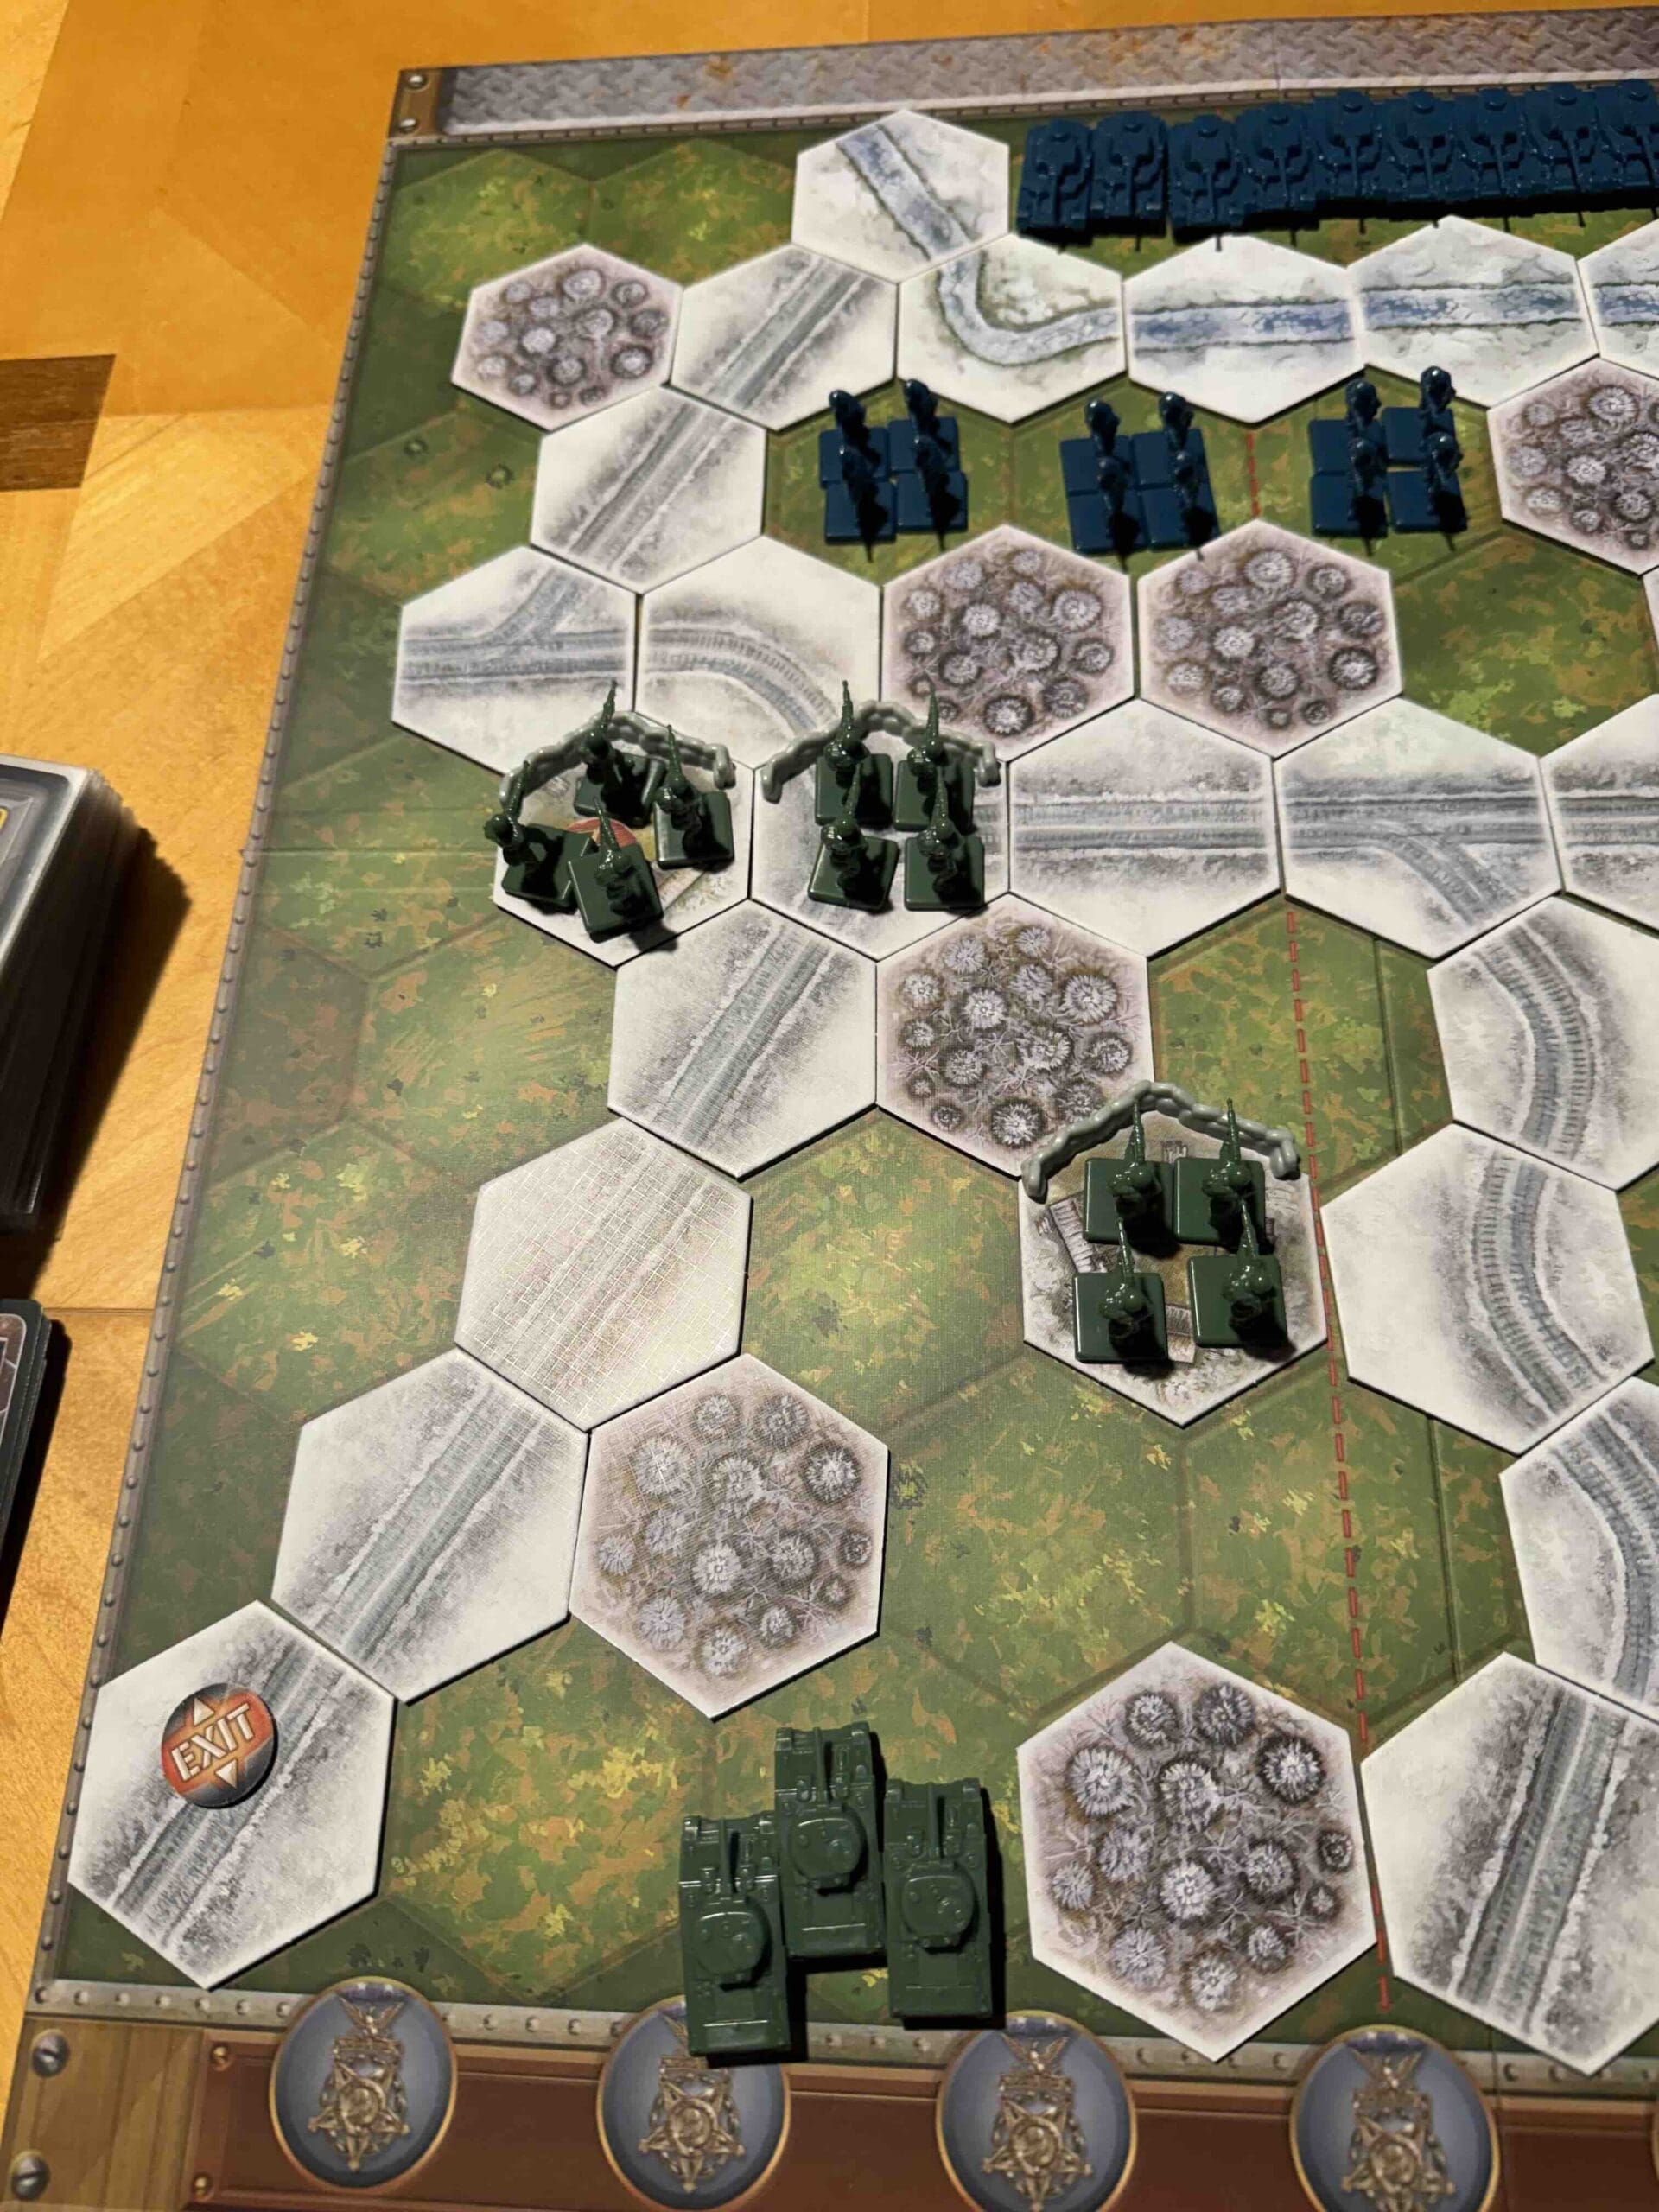
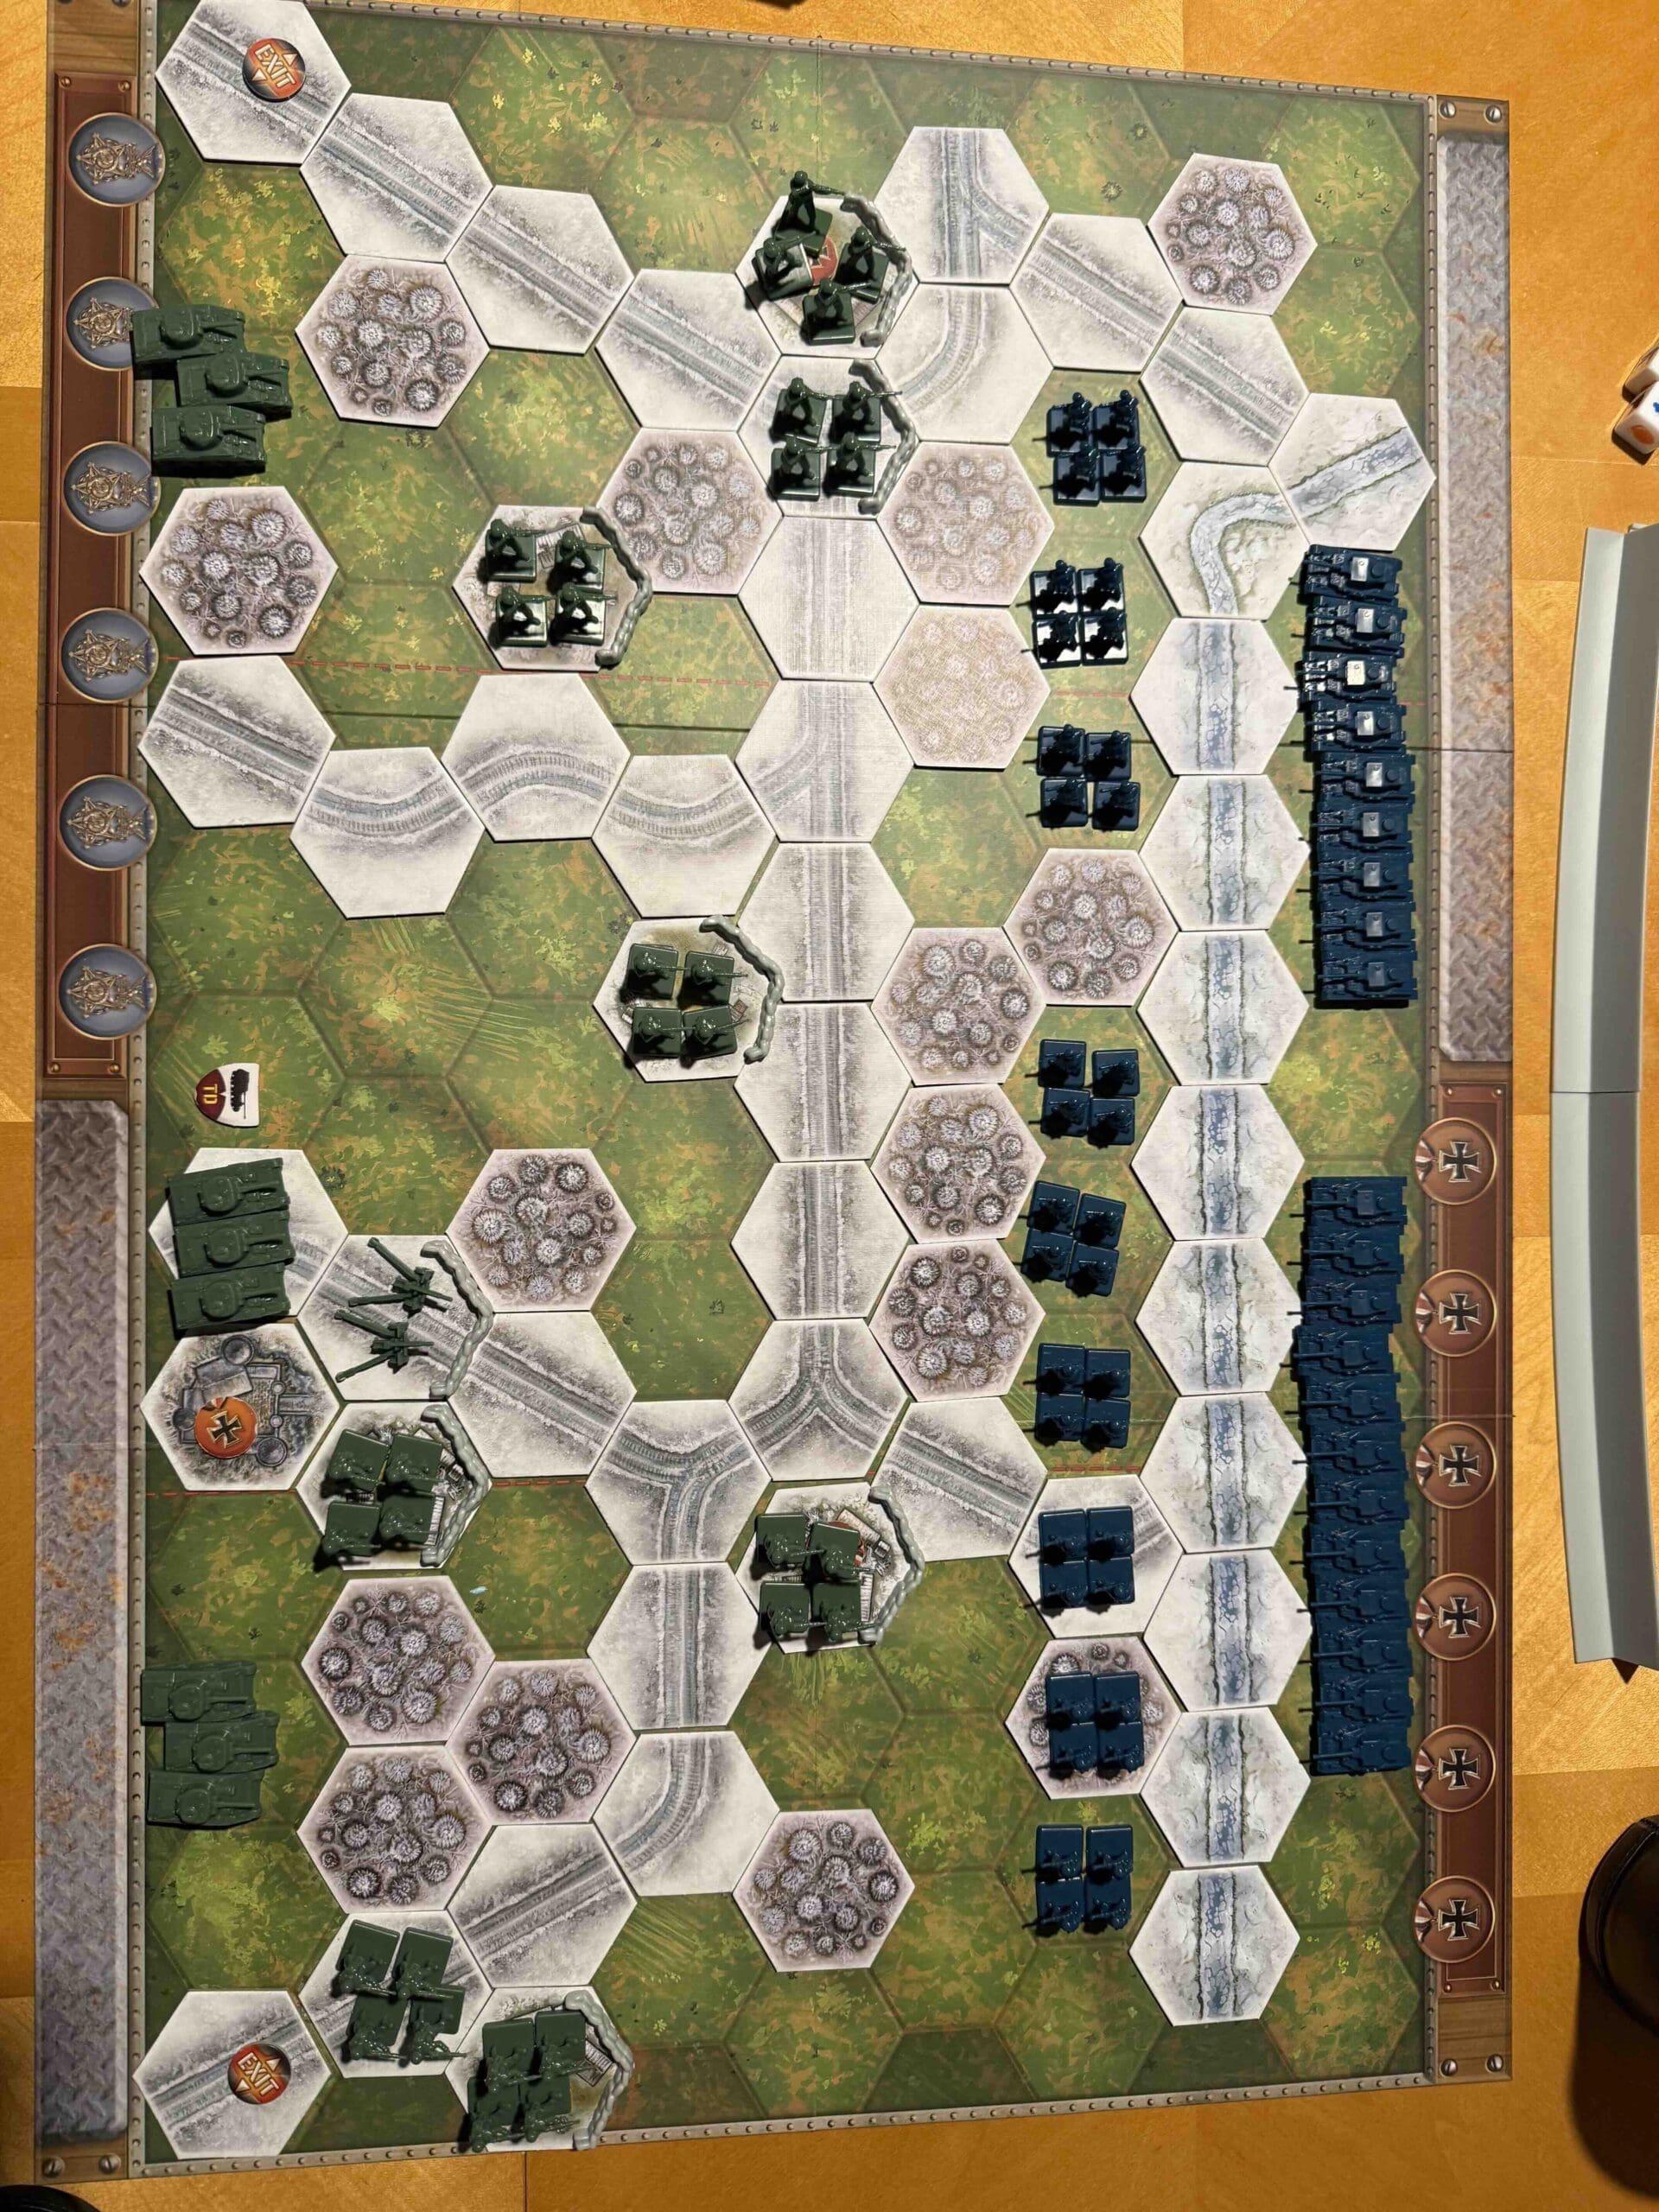
Capture of Foy

Capture of Foy

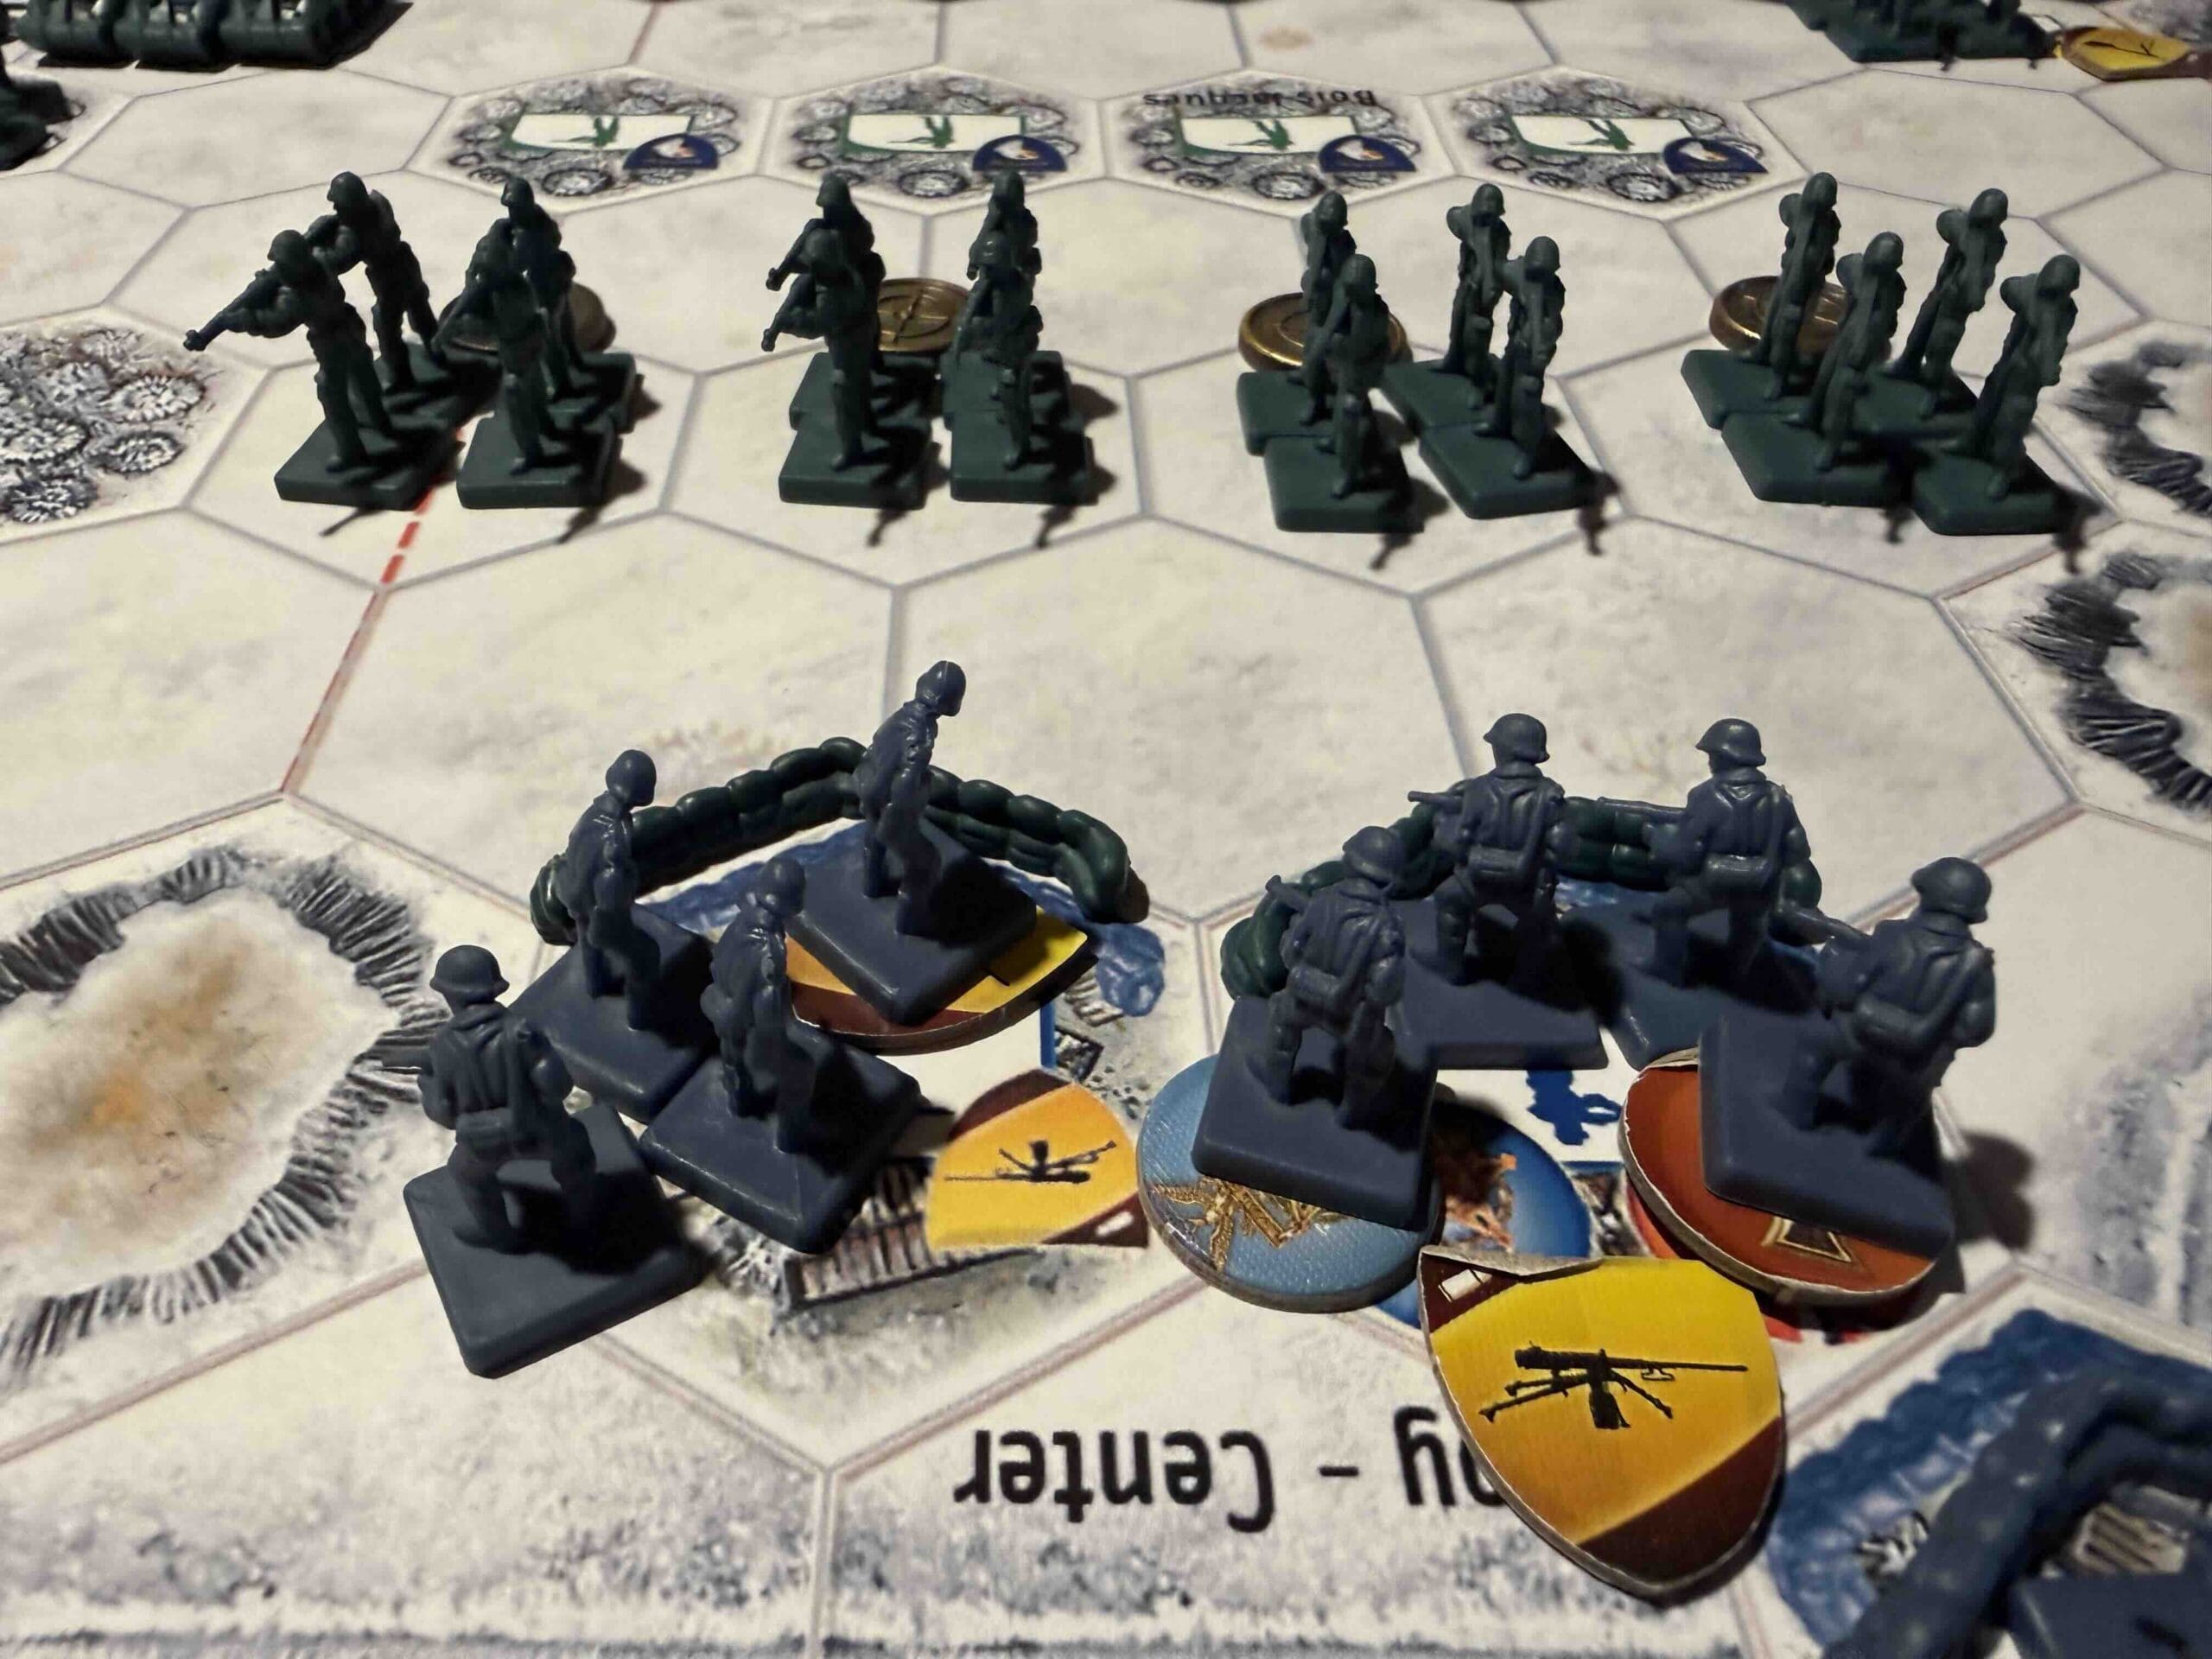
By January 1945, the Germans were battered but still fighting. Holding Foy was their last attempt to cling to the Ardennes. The men of the 101st Airborne, hardened by weeks of cold, shellfire, and misery in the woods of Bois Jacques, were ready to finish the job.

On January 13th, those paratroopers charged across open snow under enemy fire and slammed into Foy. They fought house to house, room to room, until the village was ours and the Germans were either prisoners or running for their lives.

The enemy tried to take Foy back the next day. He failed. Once American airborne troops seize ground, they do not give it back.

Foy mattered because it marked the moment we stopped defending and started hunting. The Germans were pushed farther from Bastogne, their offensive was broken, and the road to victory led straight through the Ardennes and into Germany. That’s how wars are won—by attacking, advancing, and never letting the enemy catch his breath.

~~ General Howitzer

8 VP’s

Card Balance:

Allies – 5

Axis – 4

Complexity:

3

Conditions:

Countryside – Winter

winter

Context:
Historical

Location:
Belgium

Year:
1945

Theater:
Belgium

Summary:

Objectives:

8 VP’s

There are three Medal Objectives for the Allies, and one for the Axis.

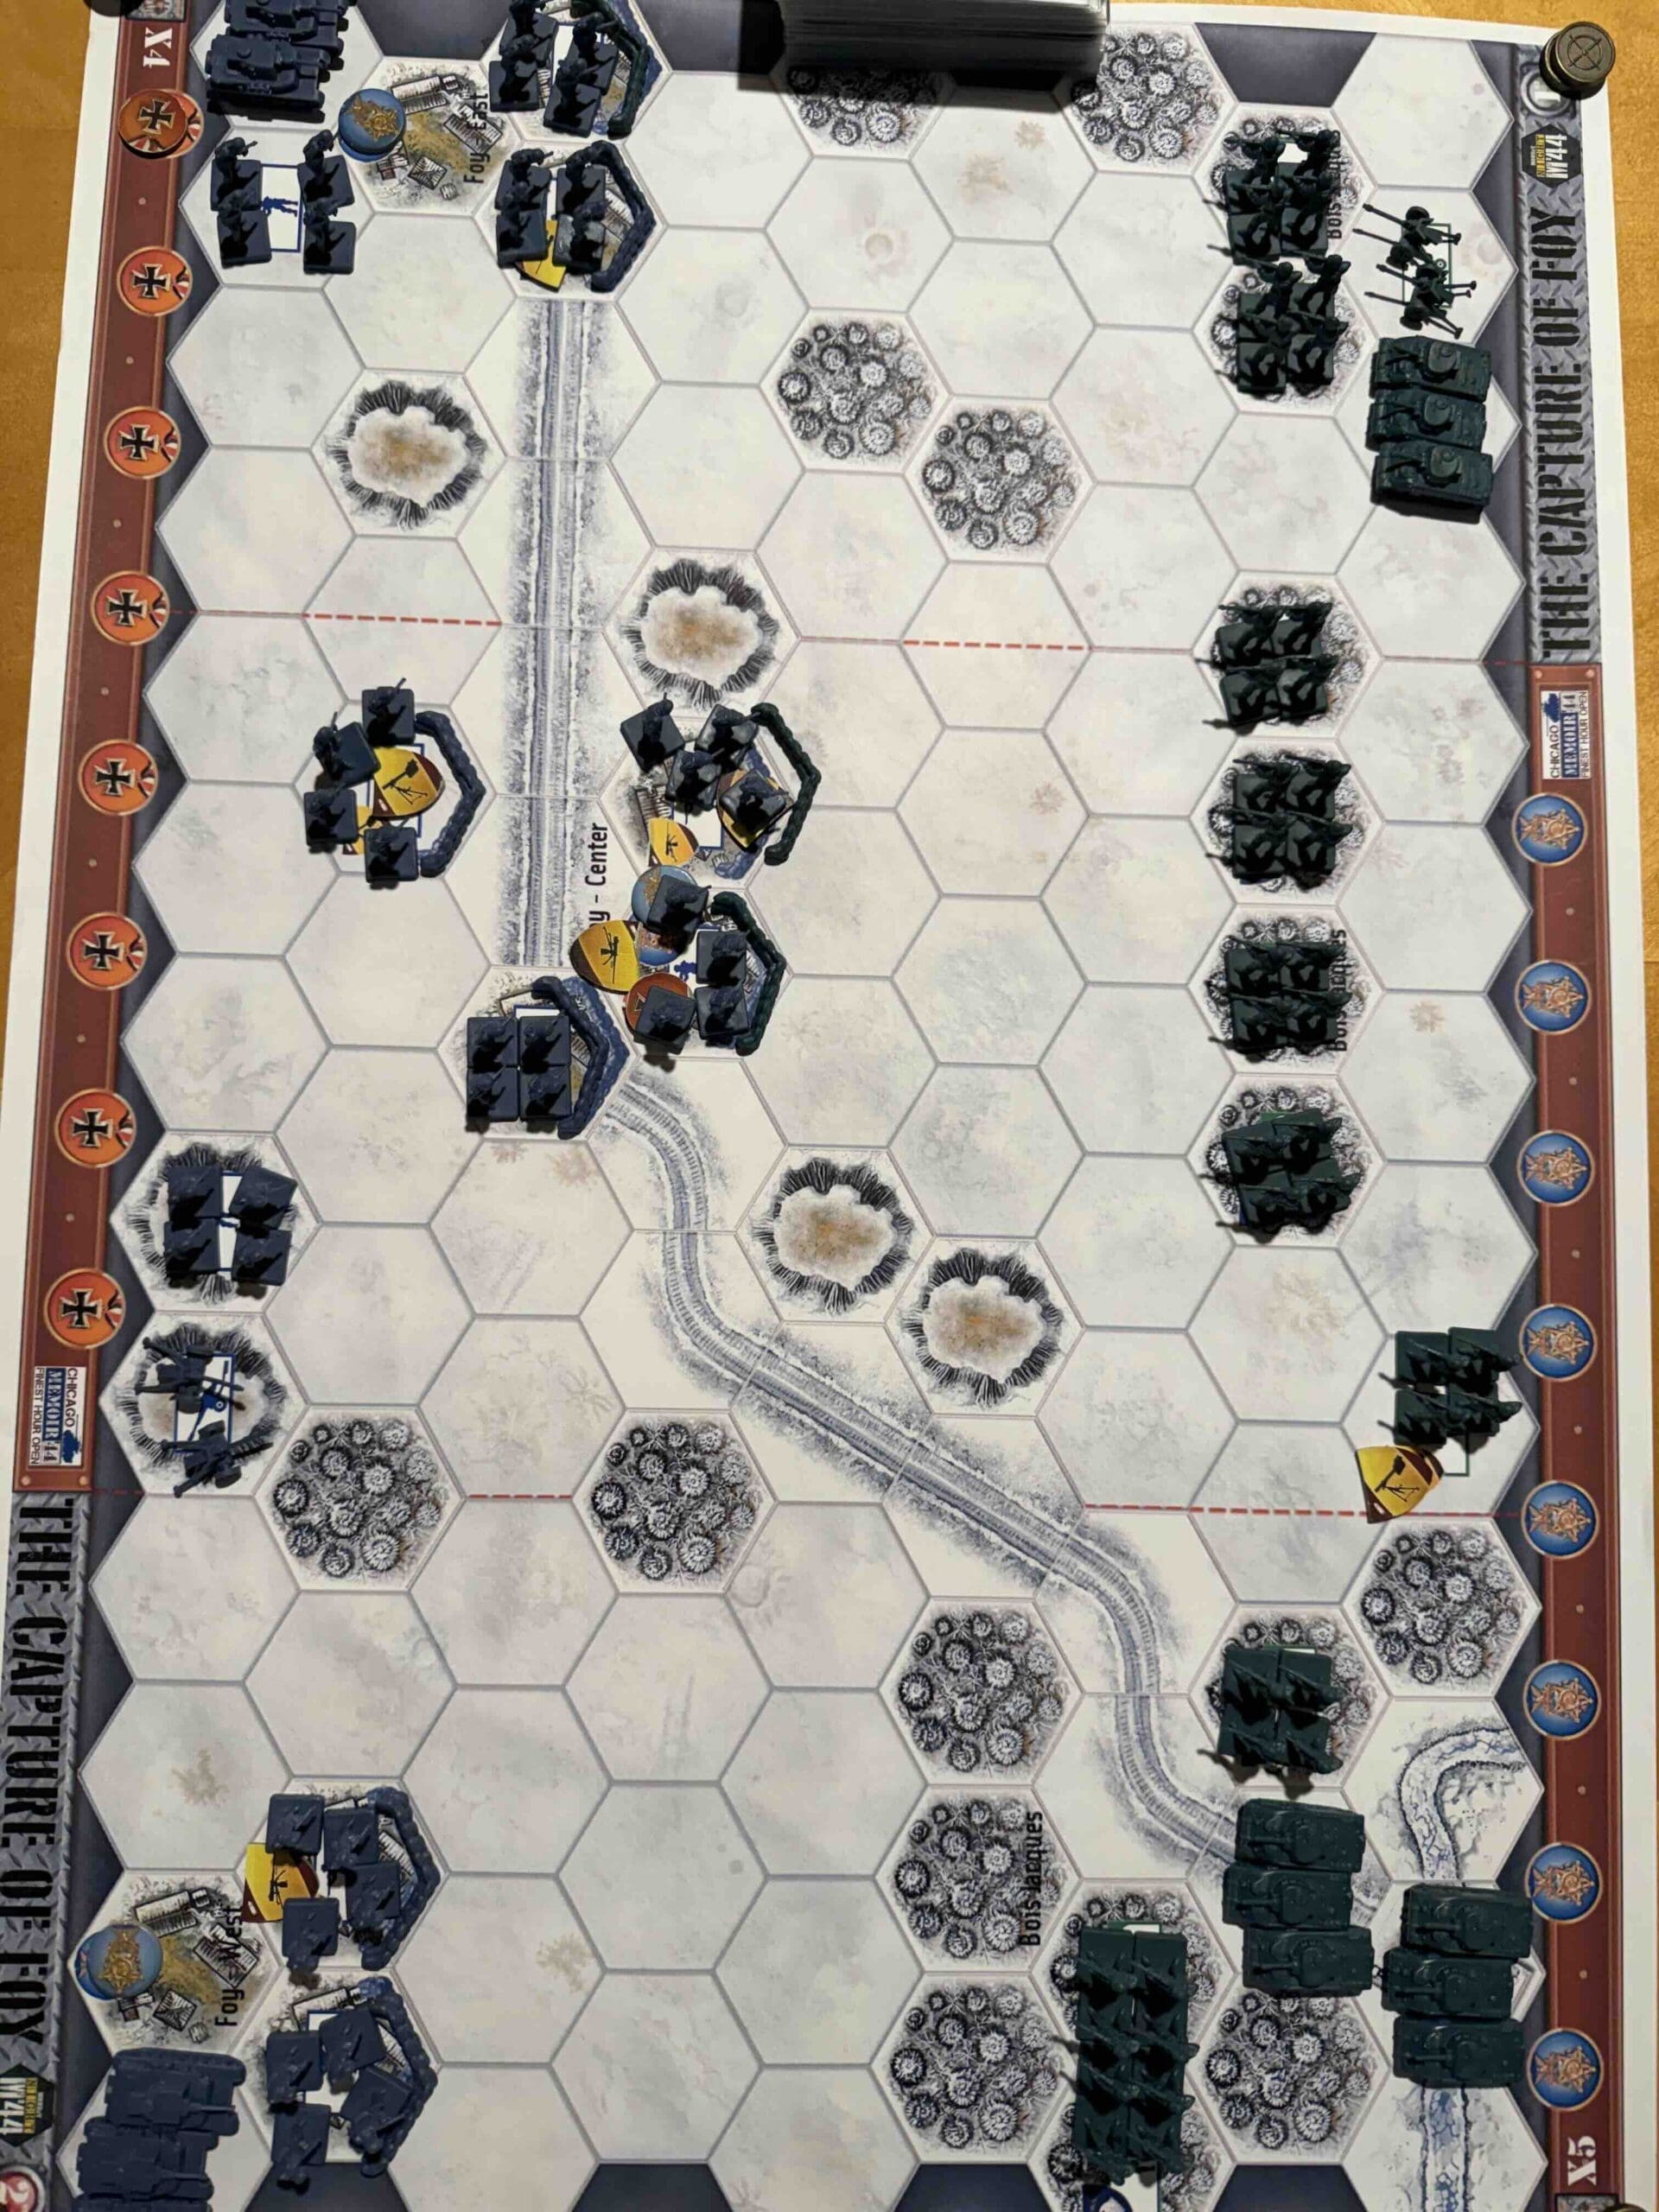
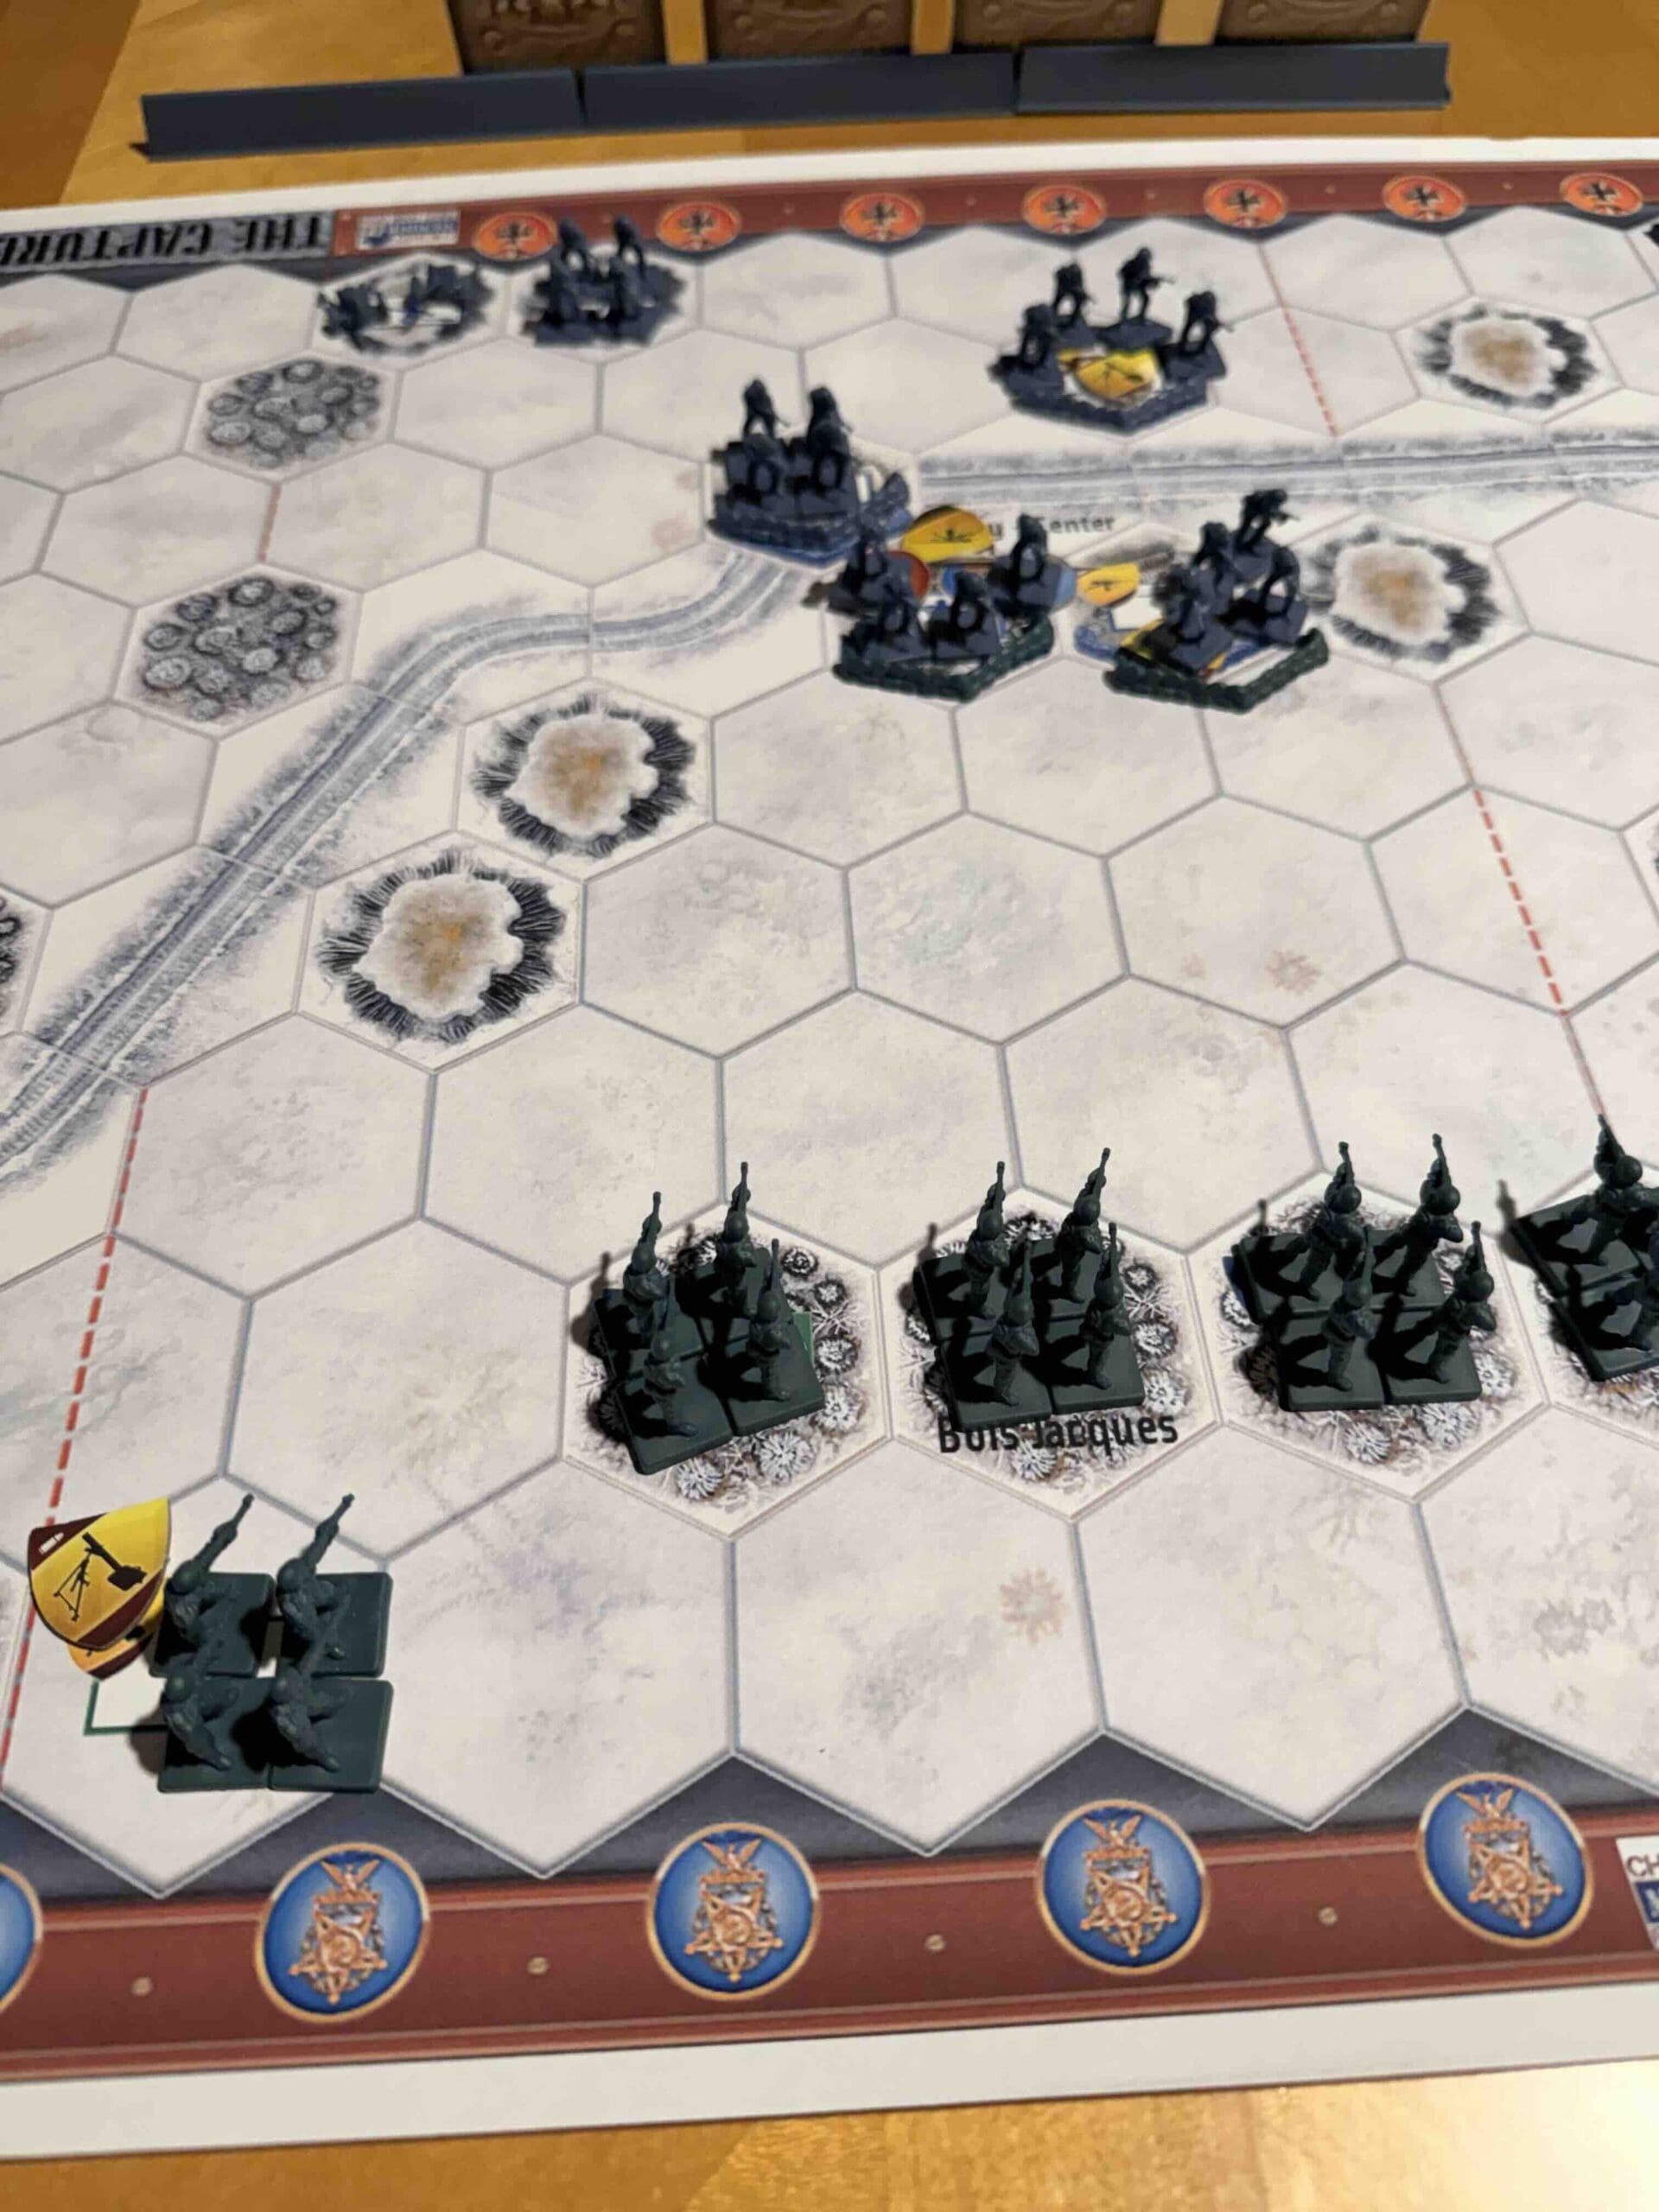
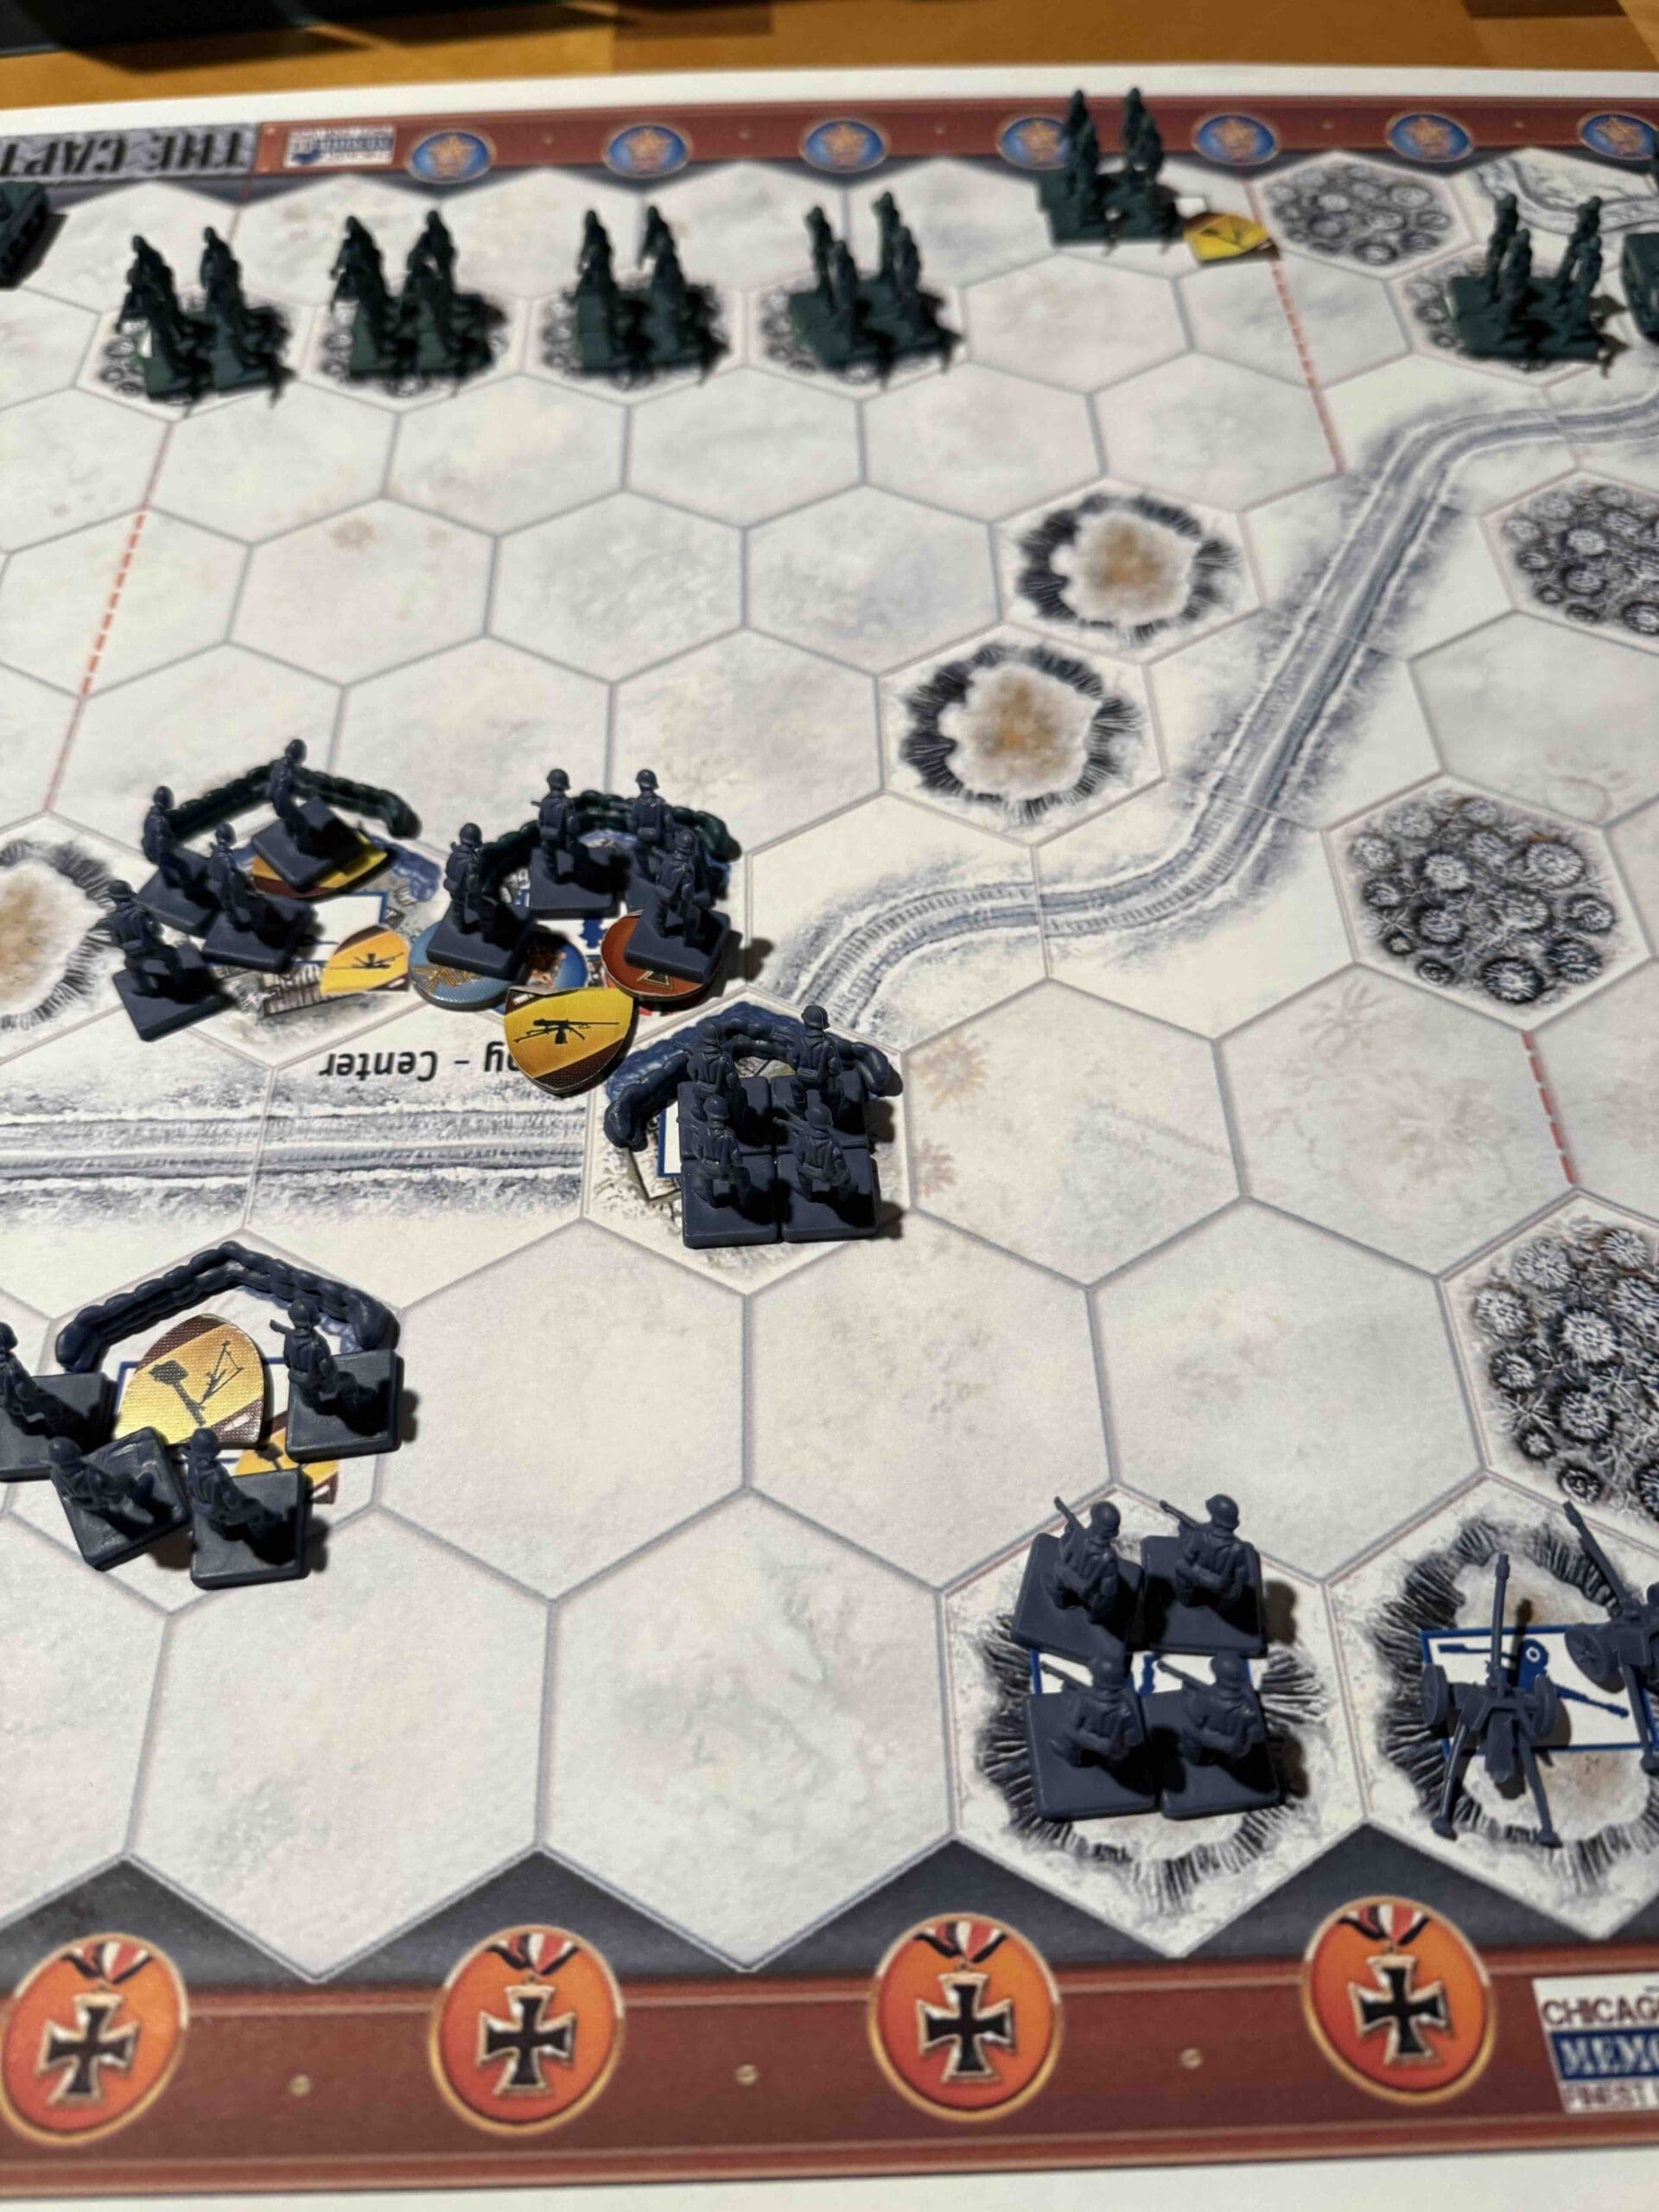
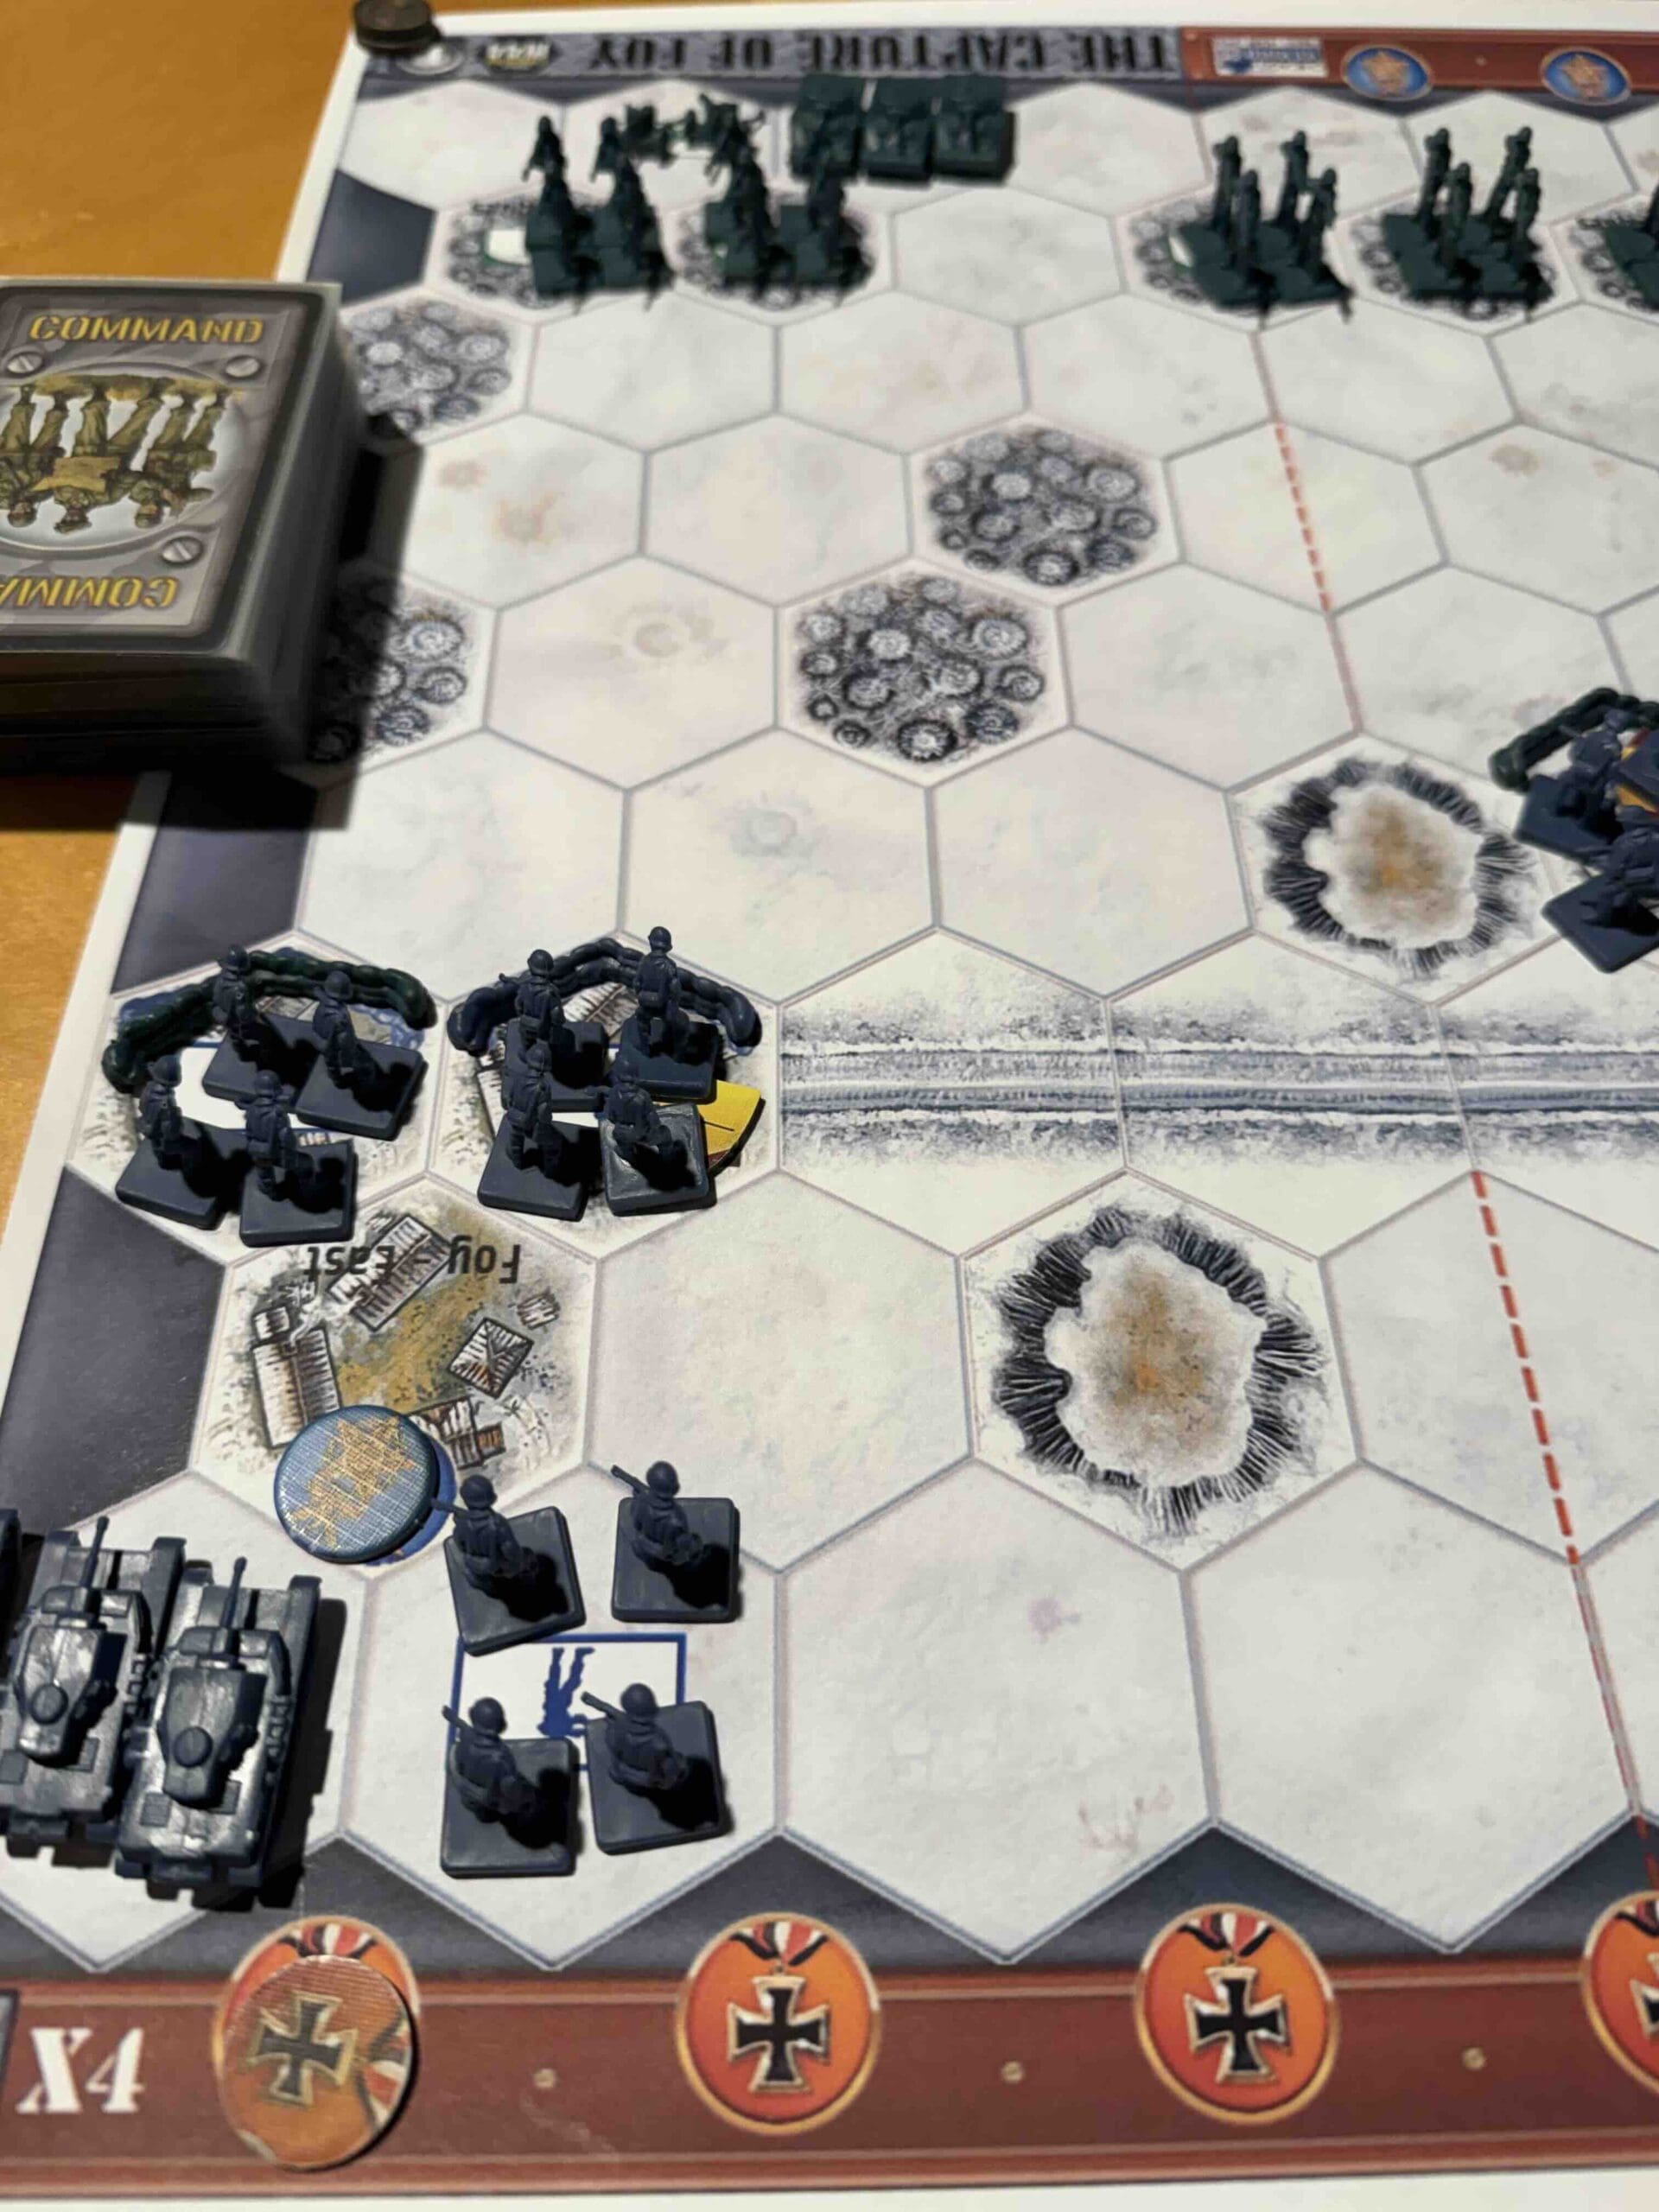
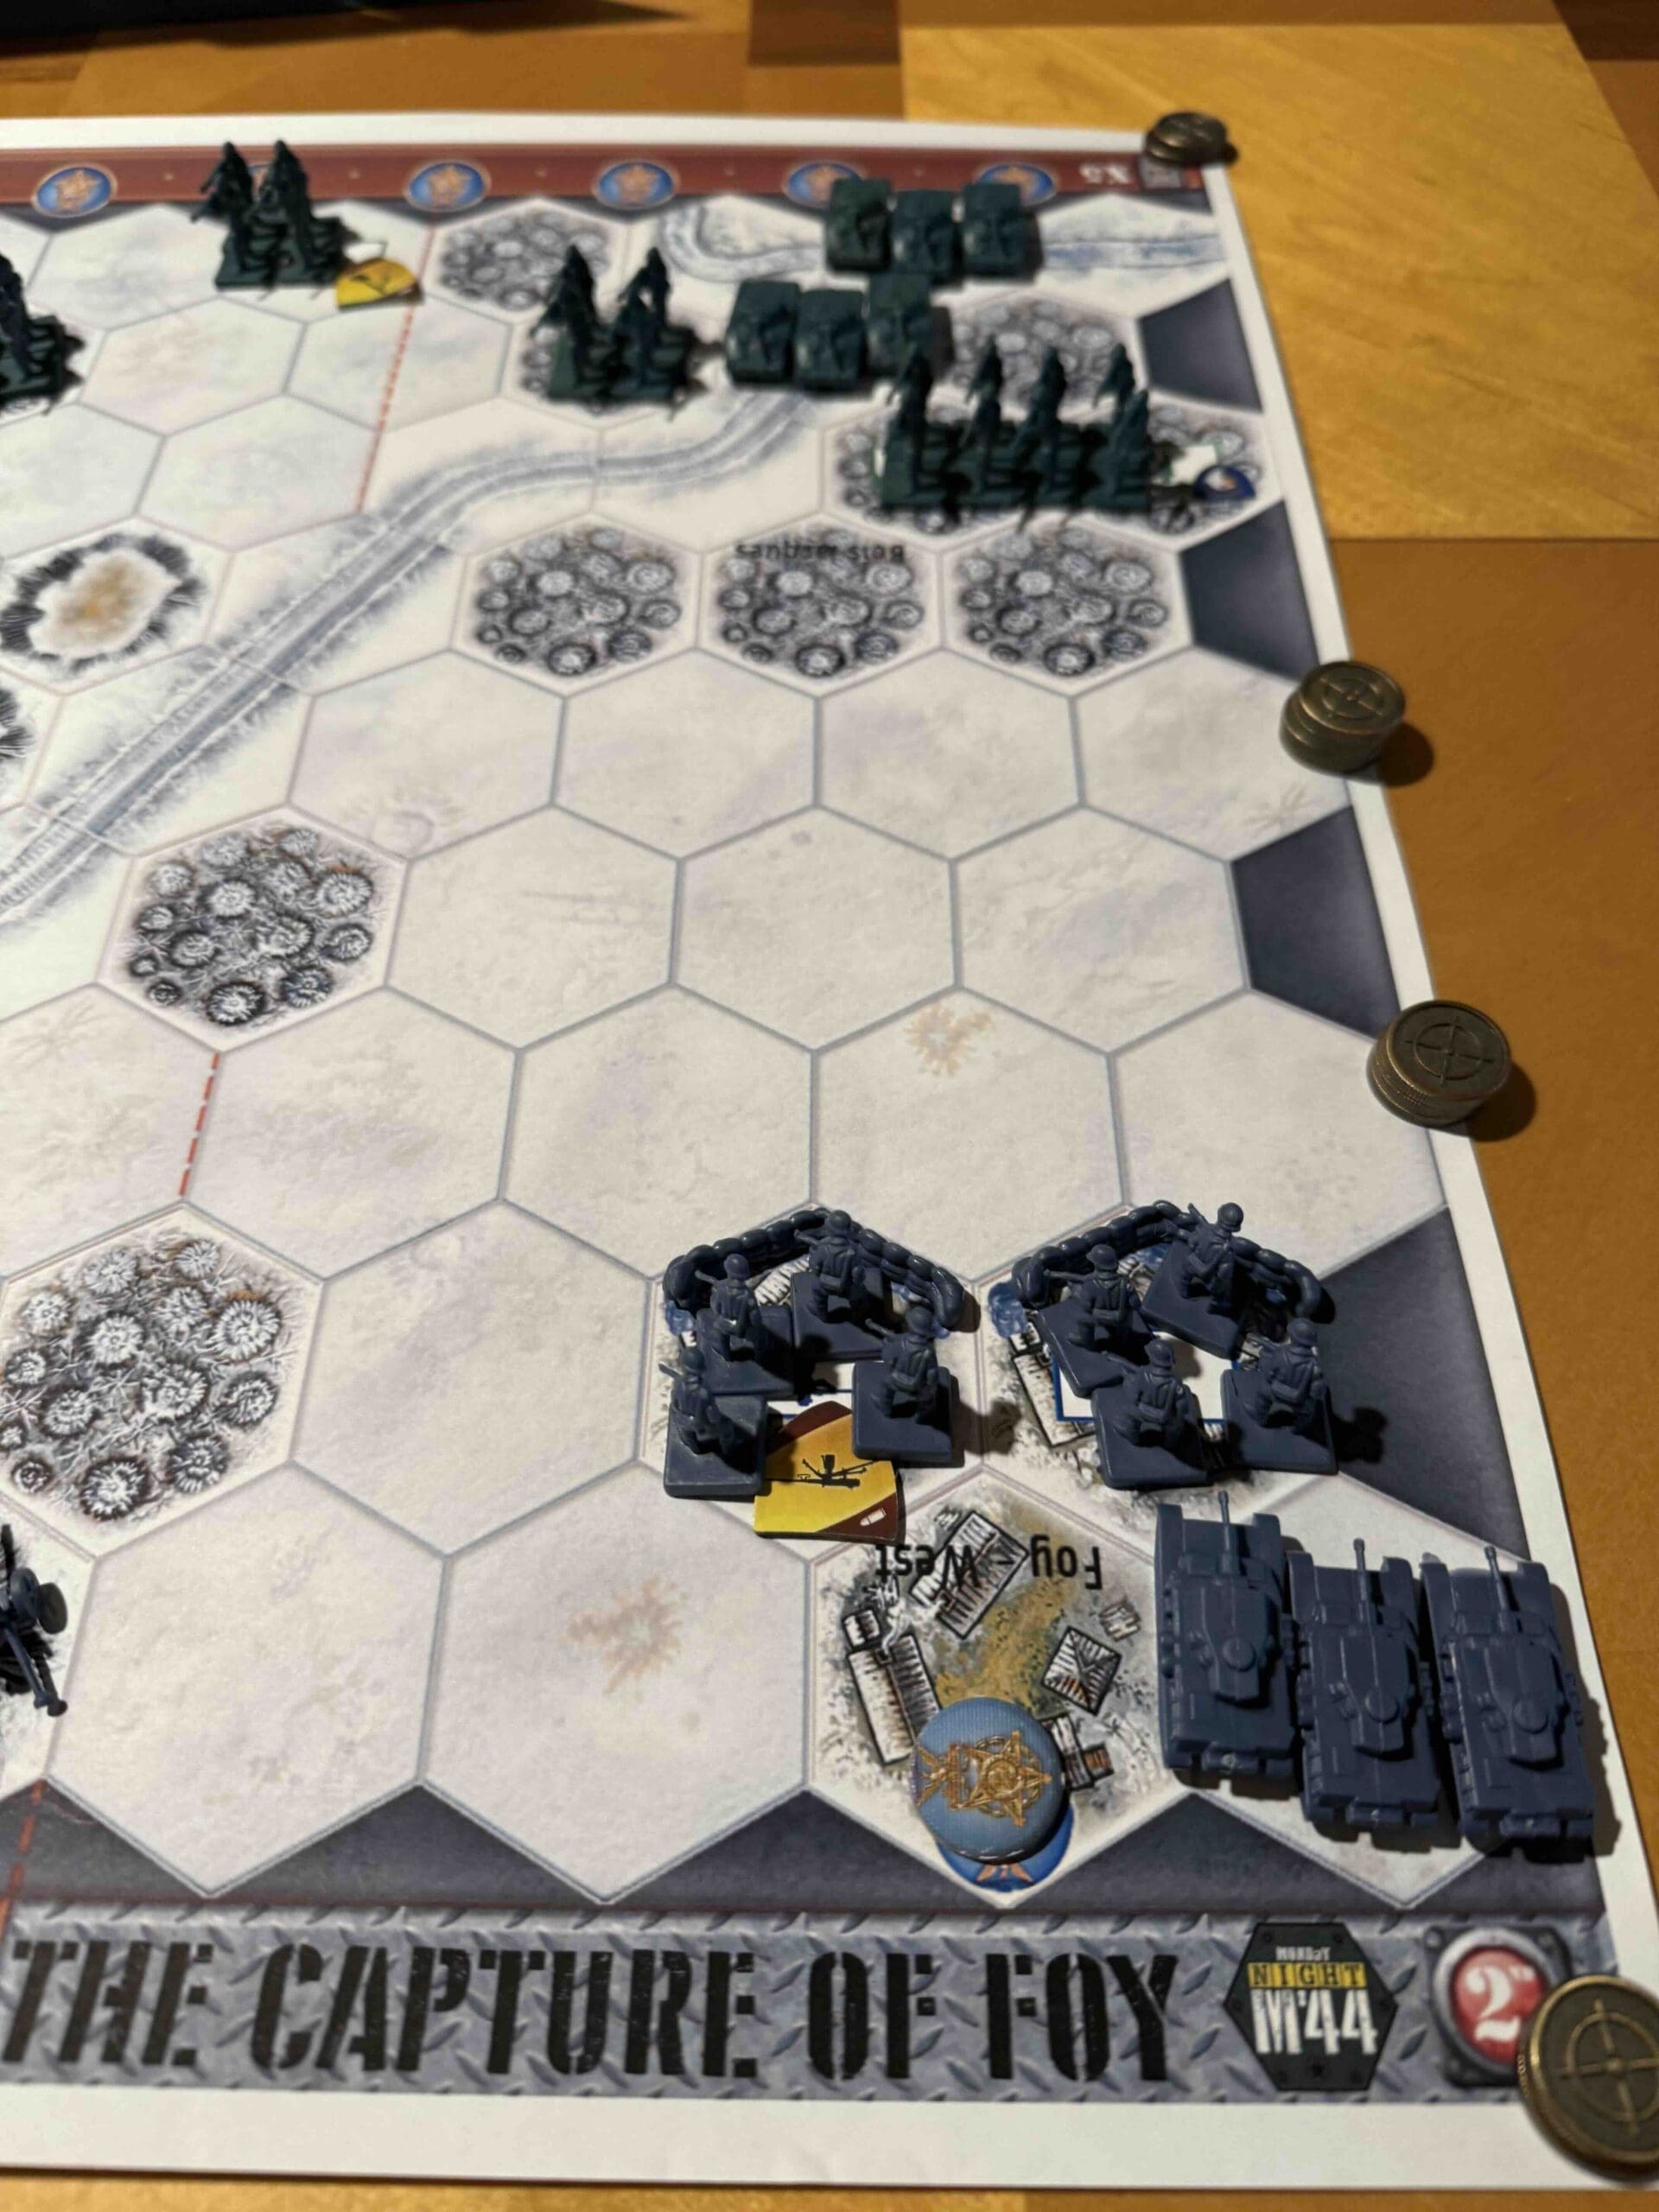
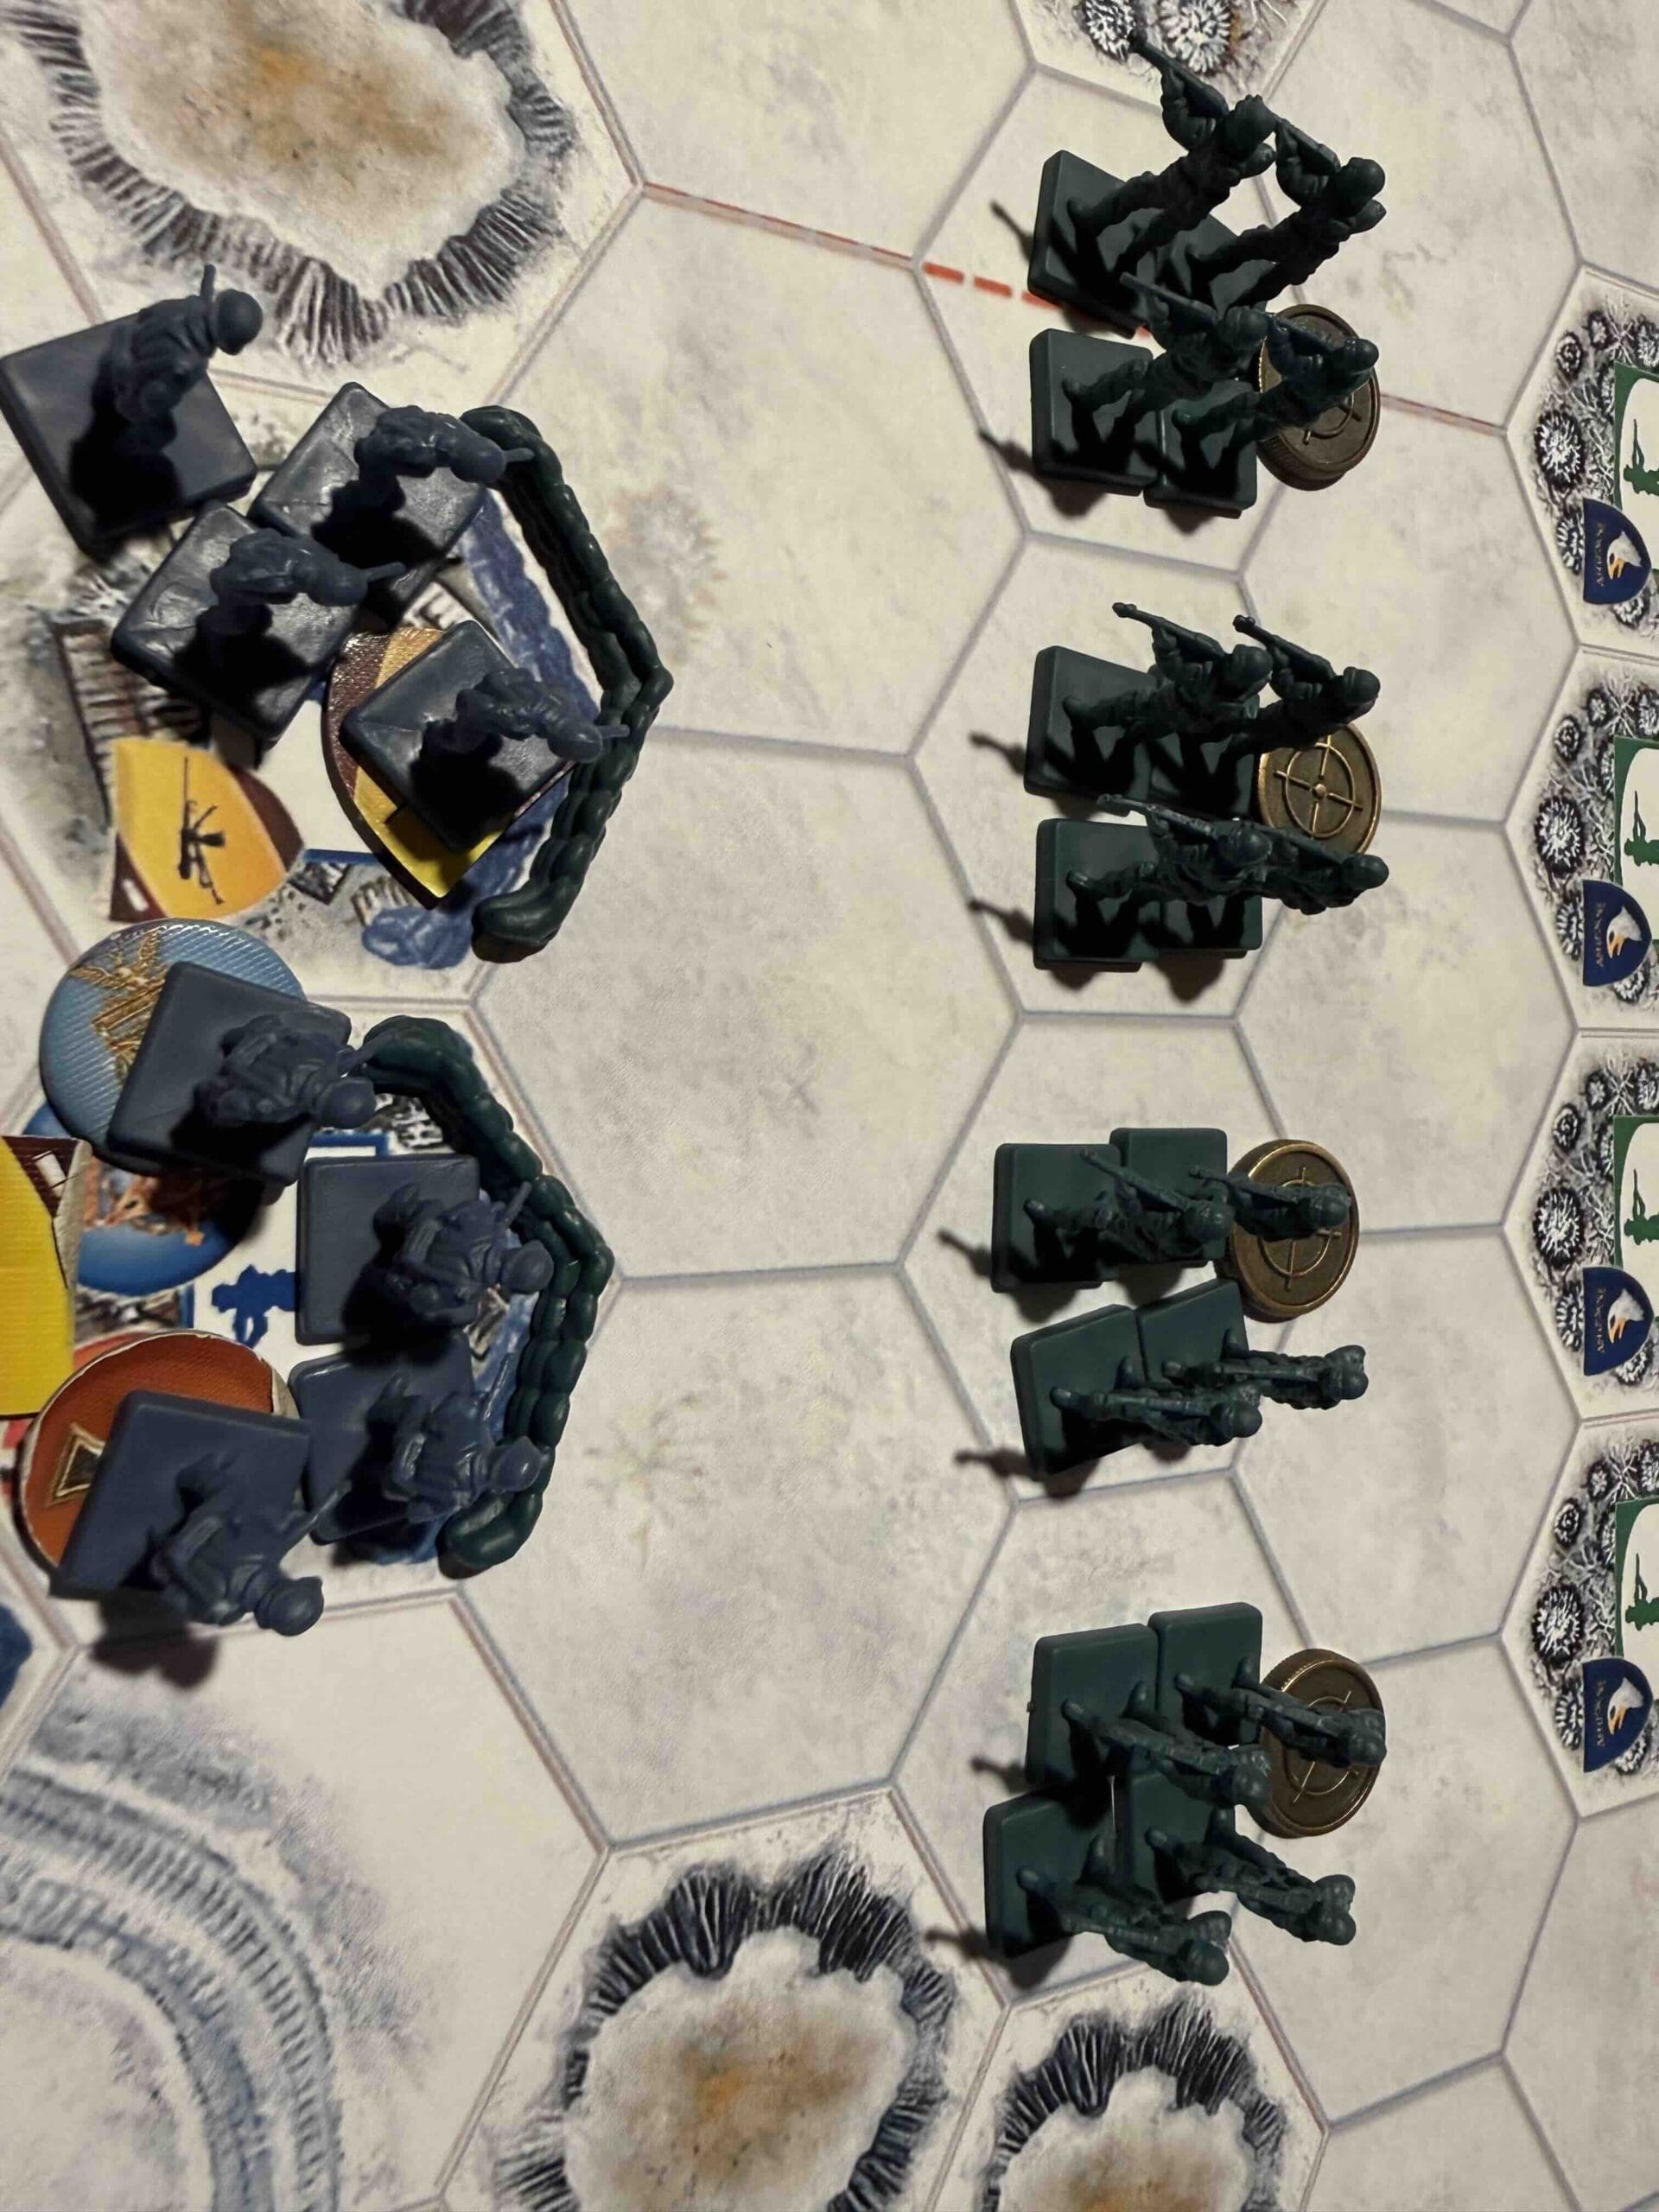
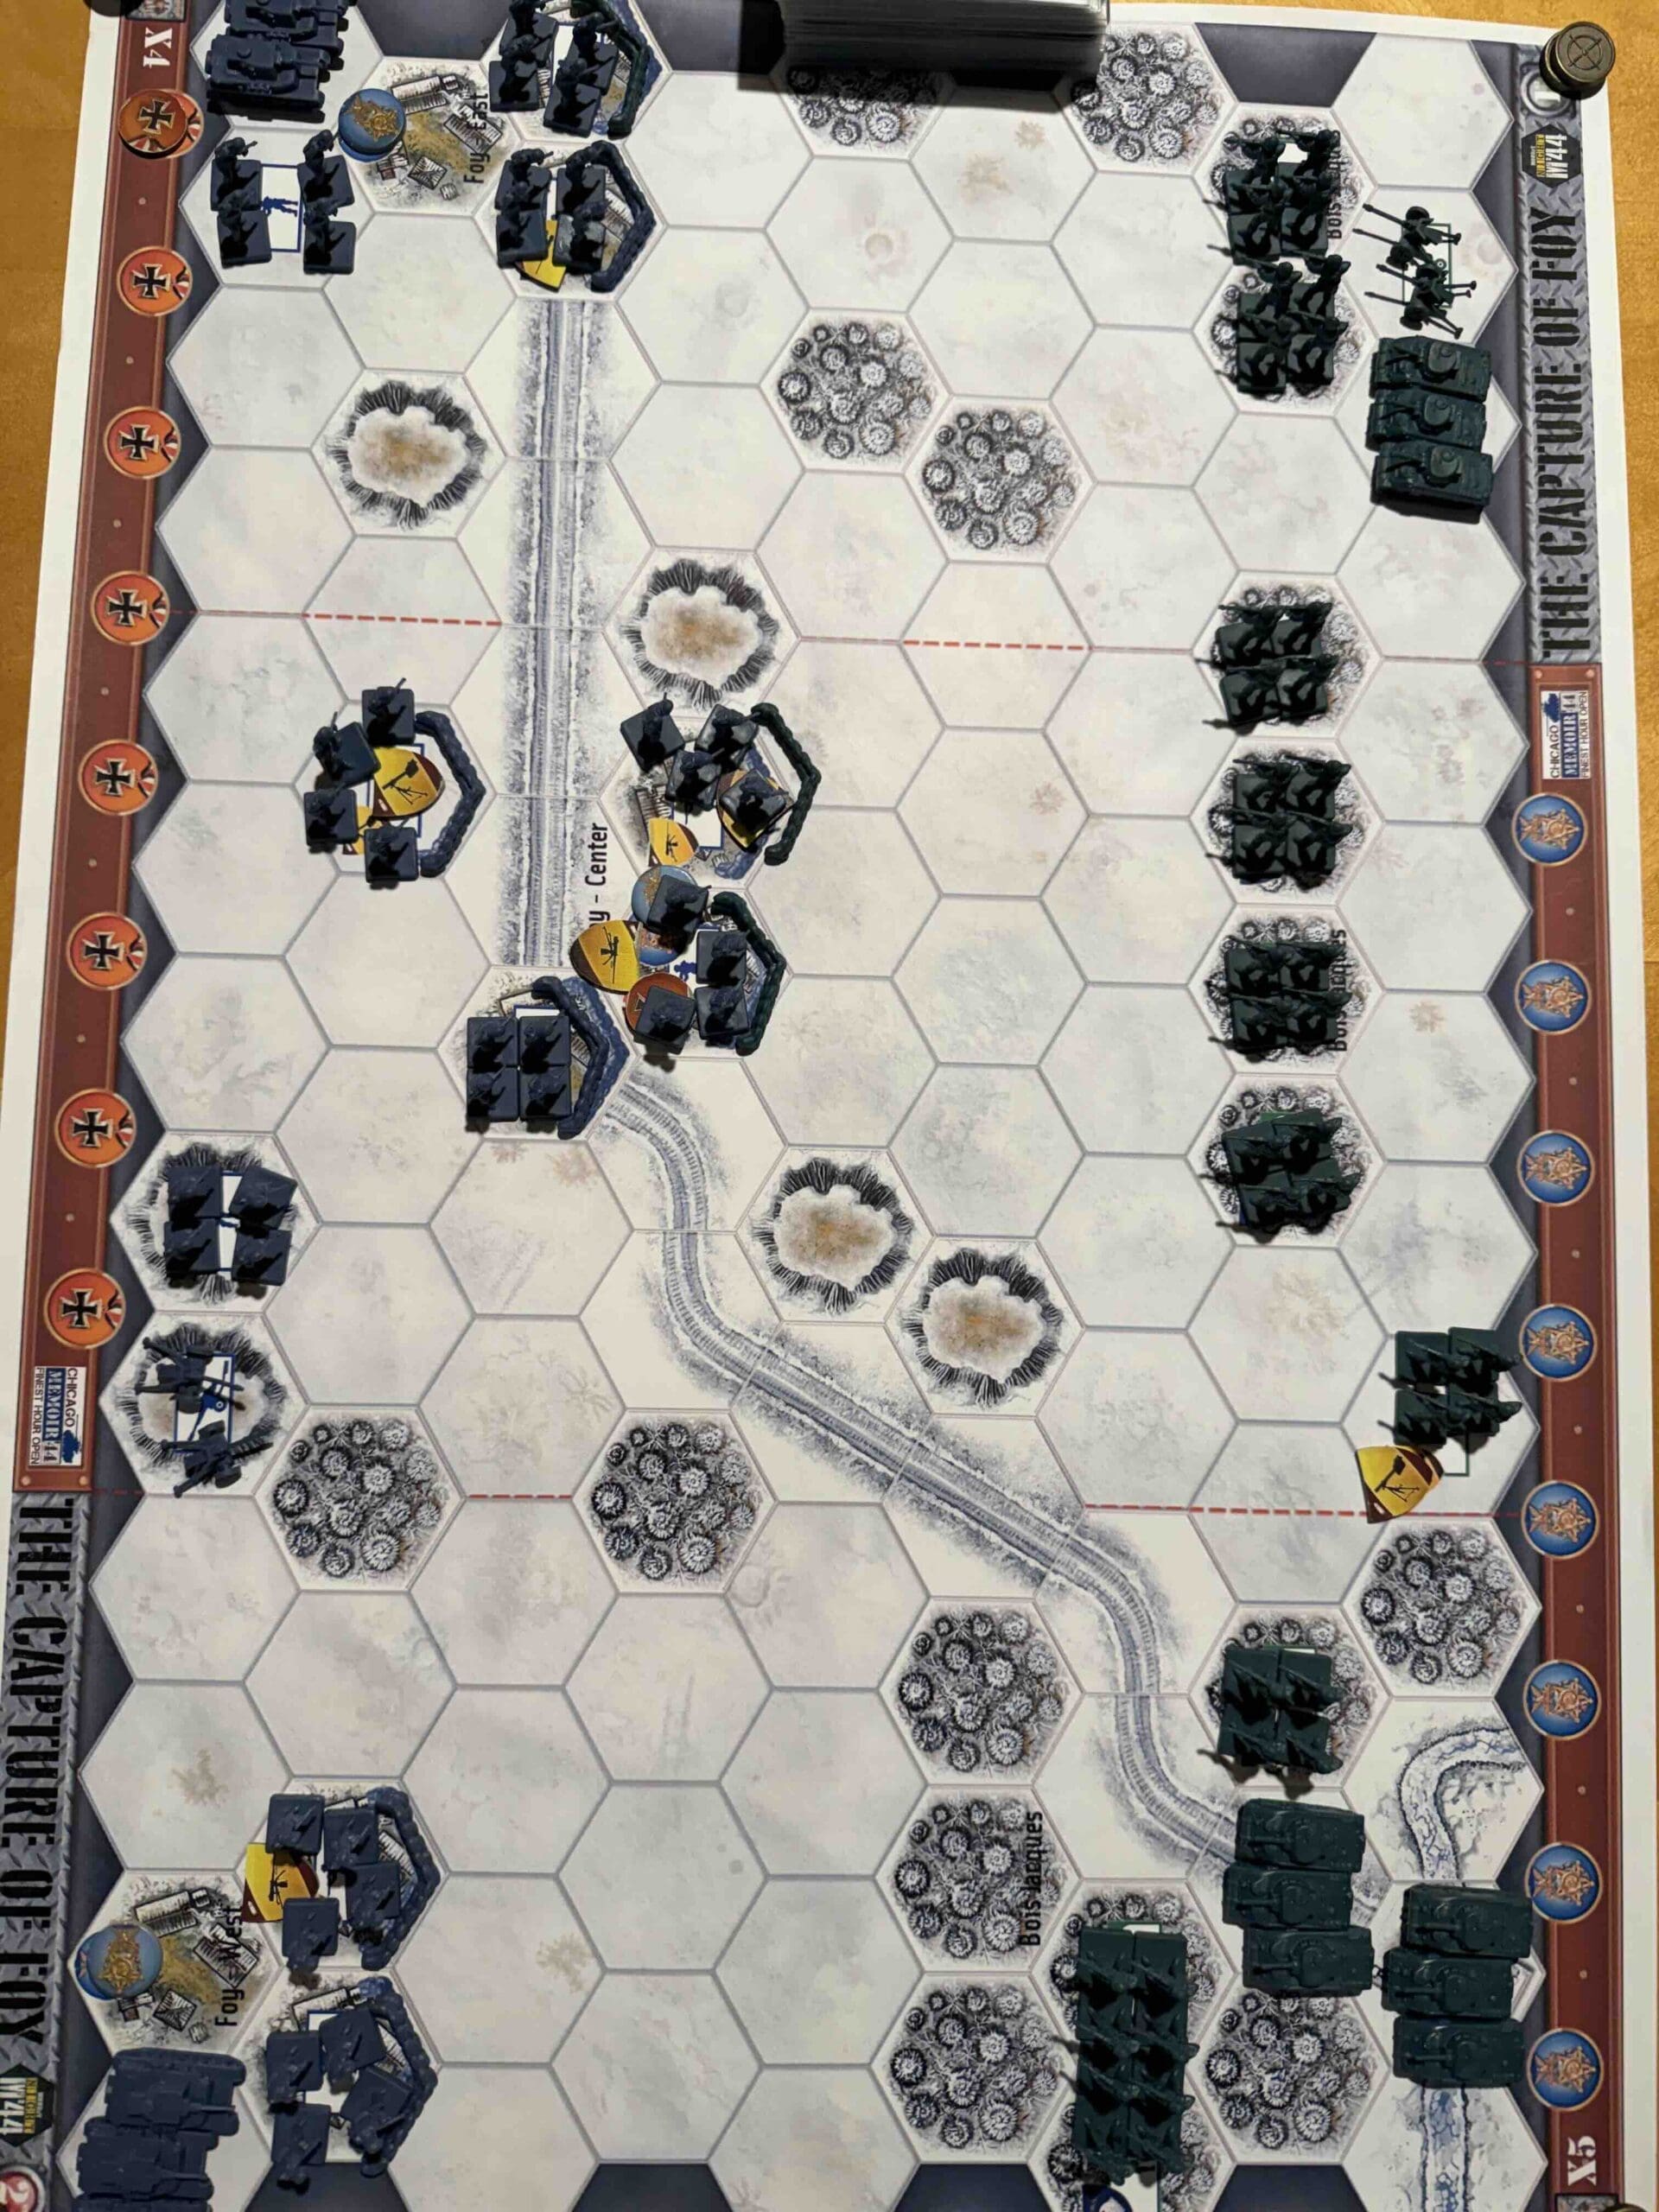
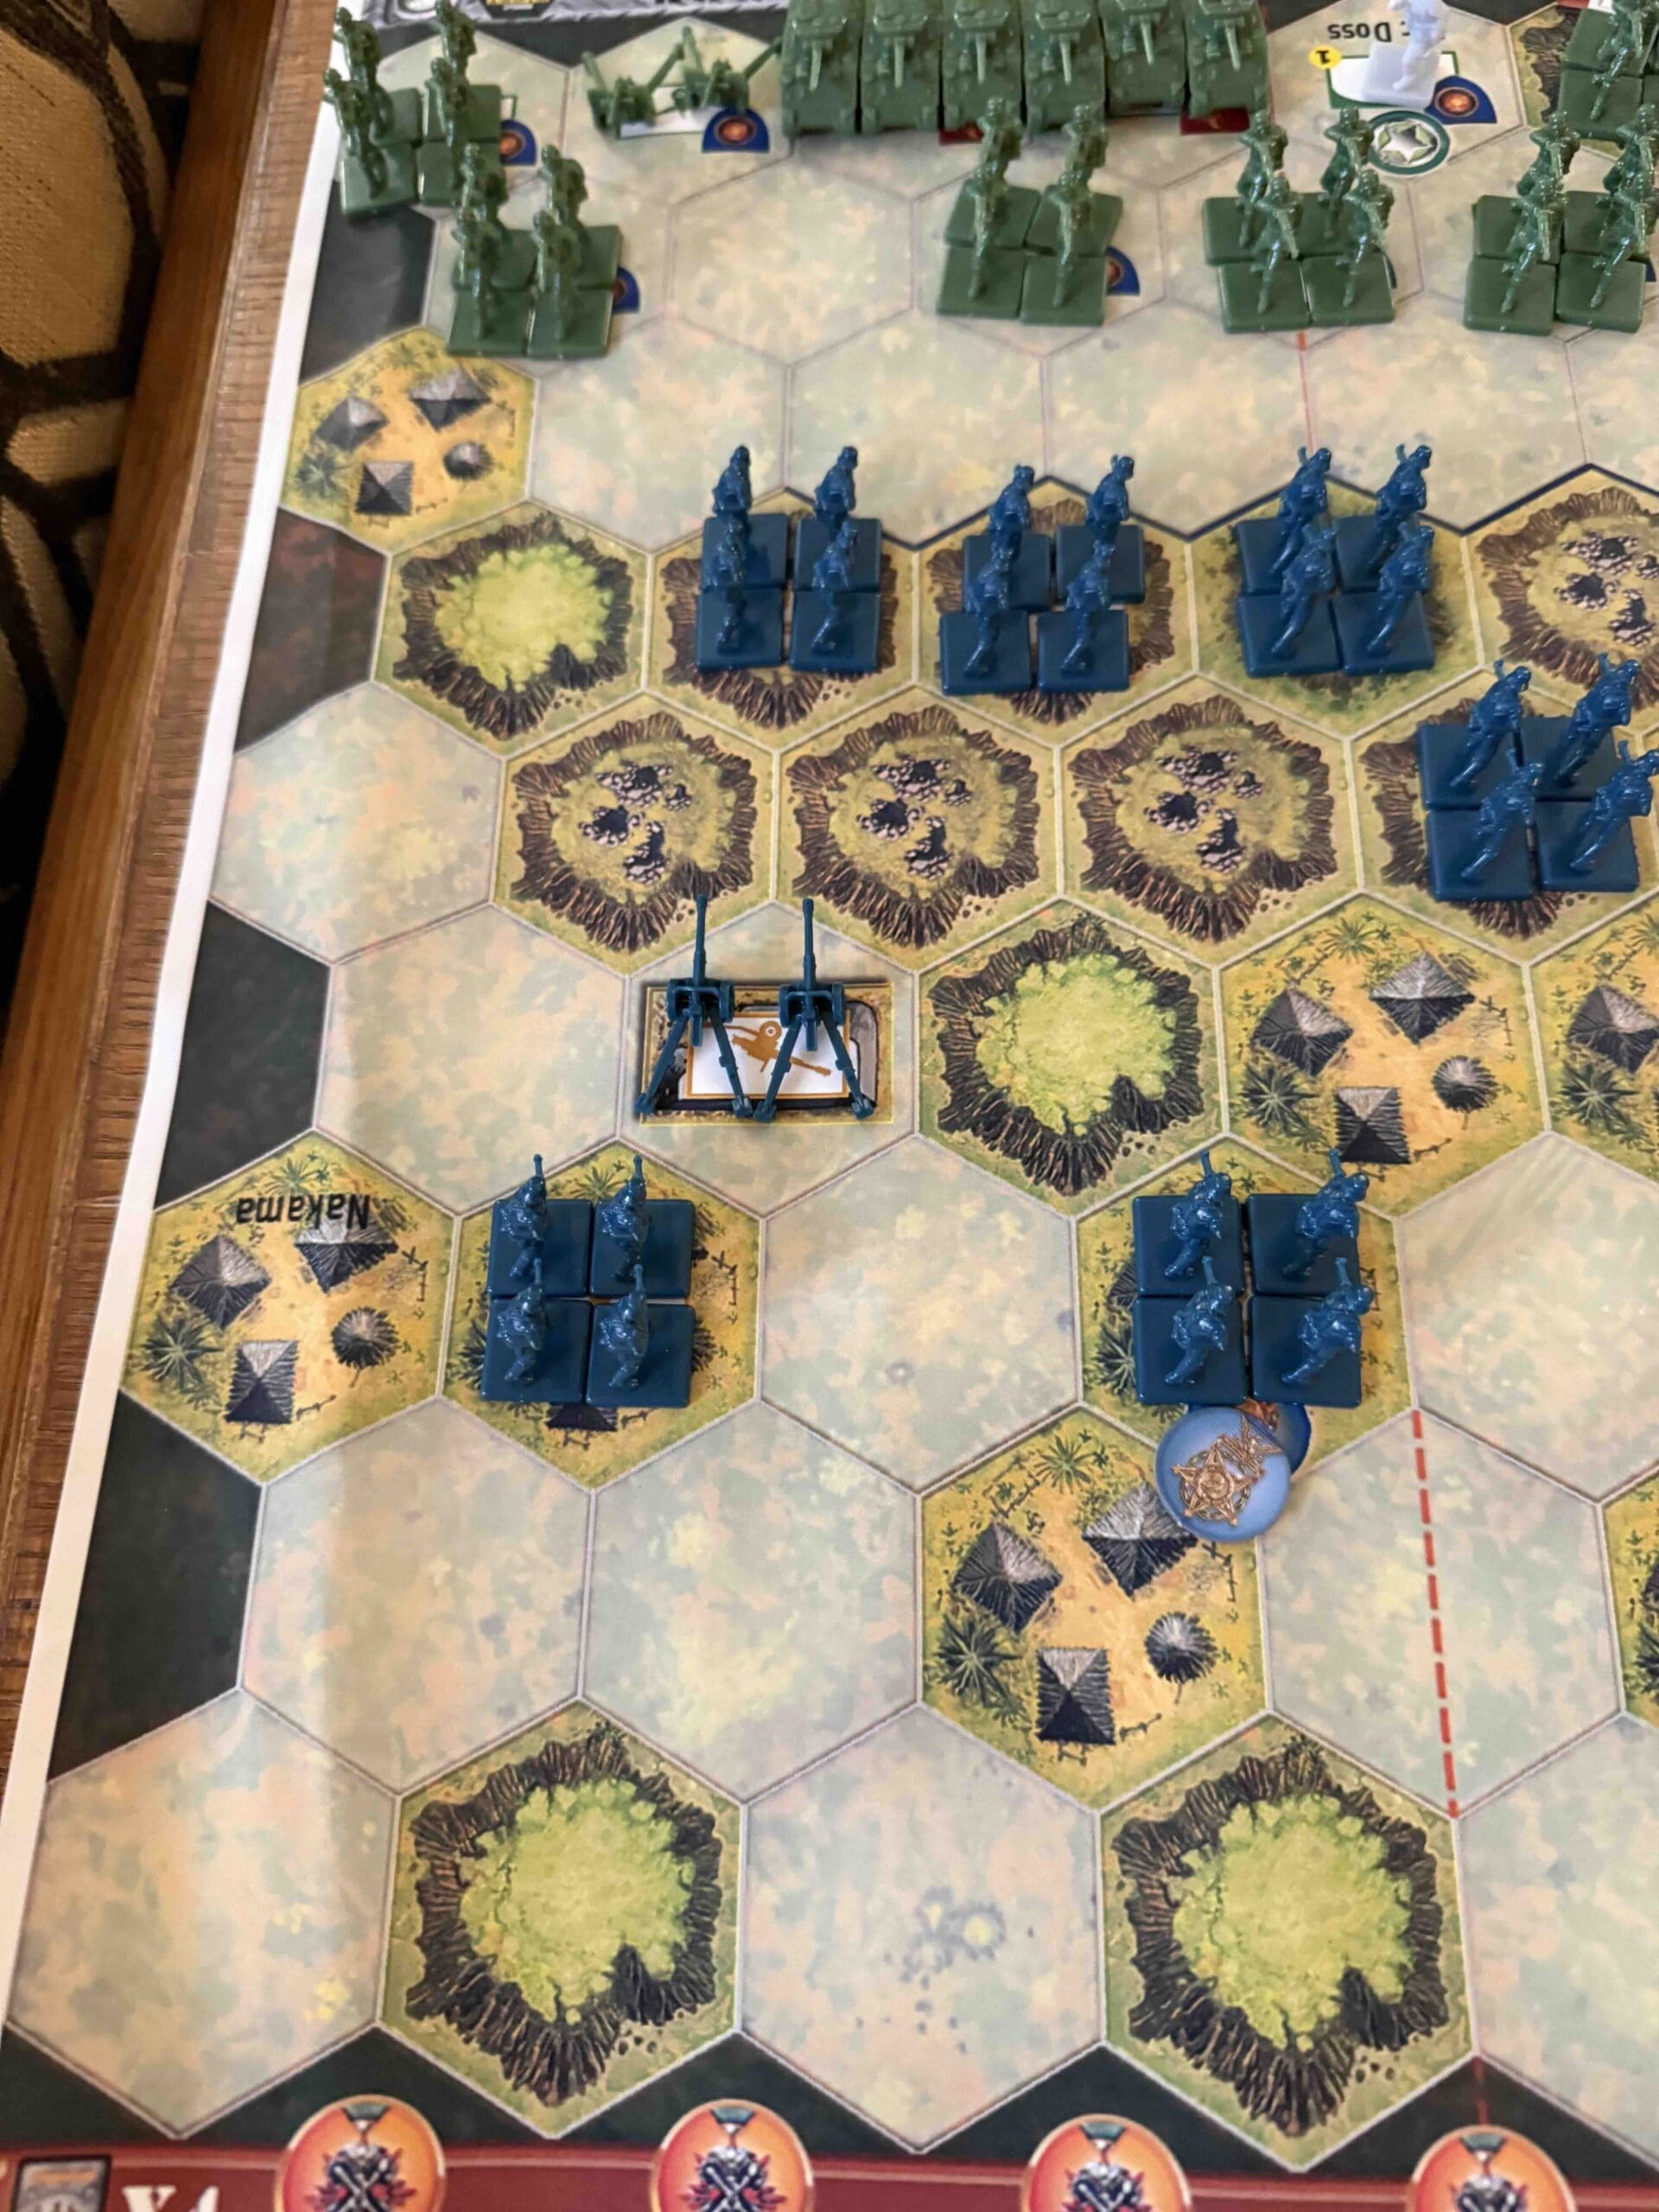
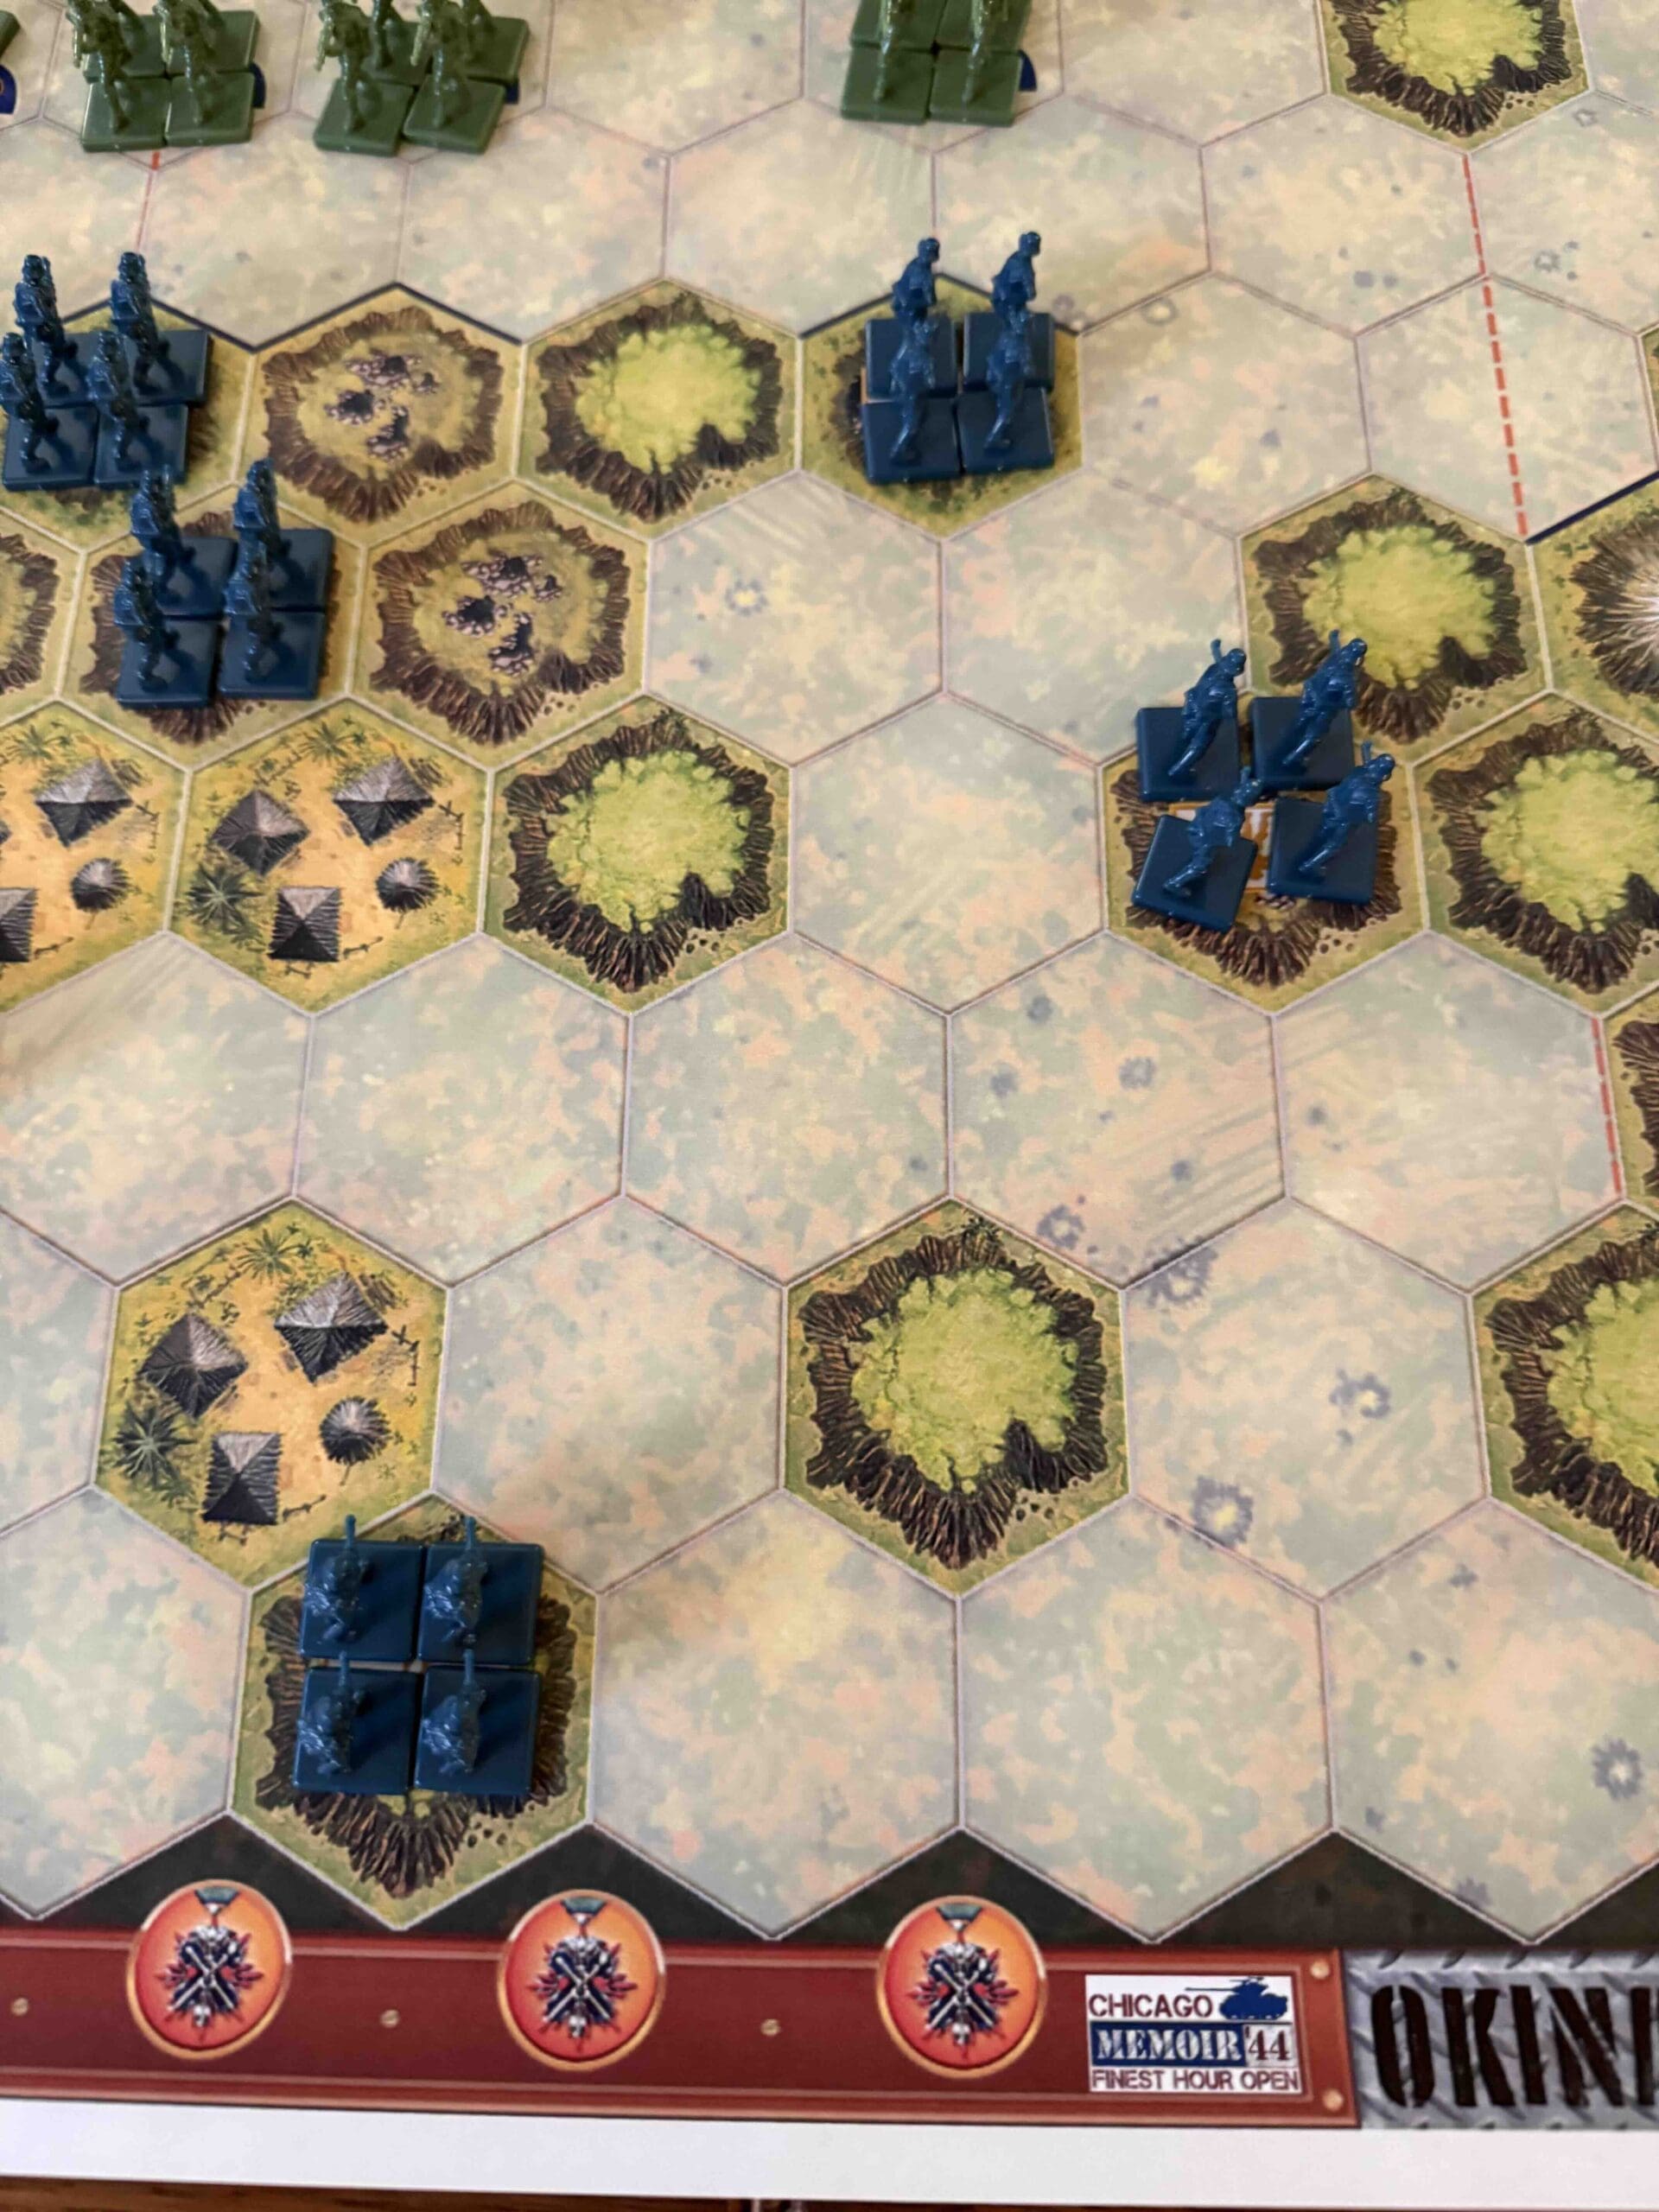
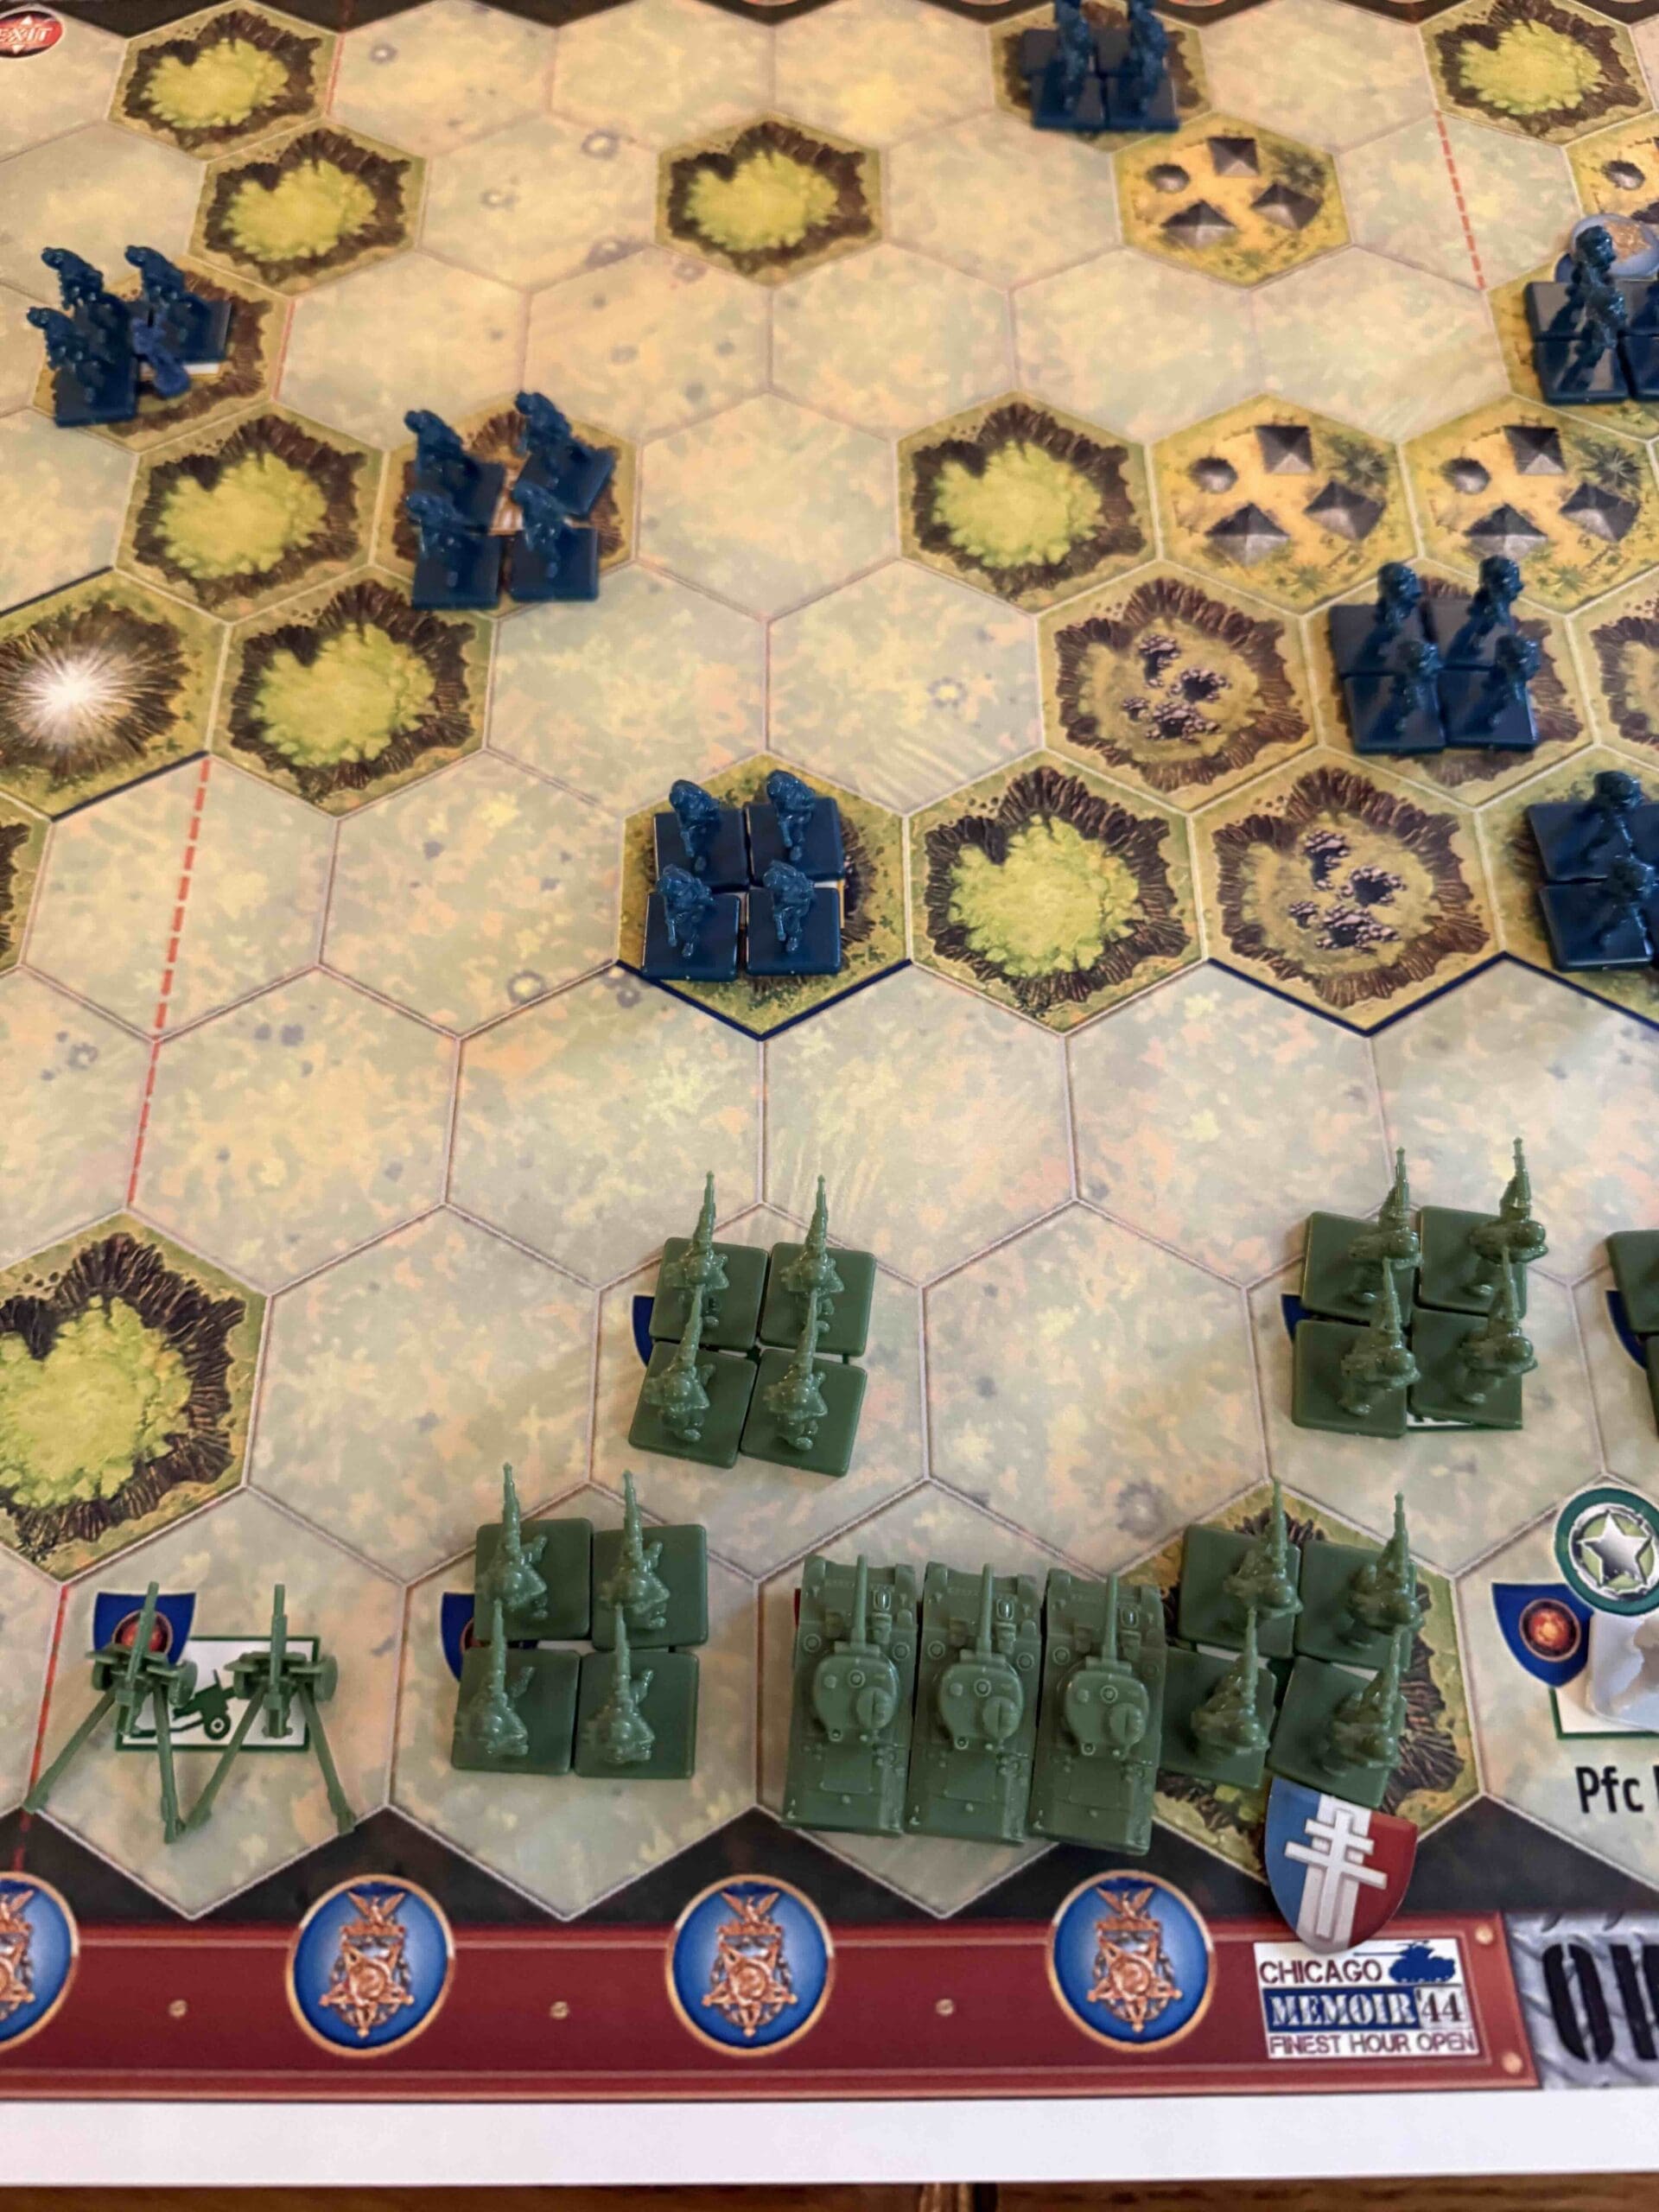
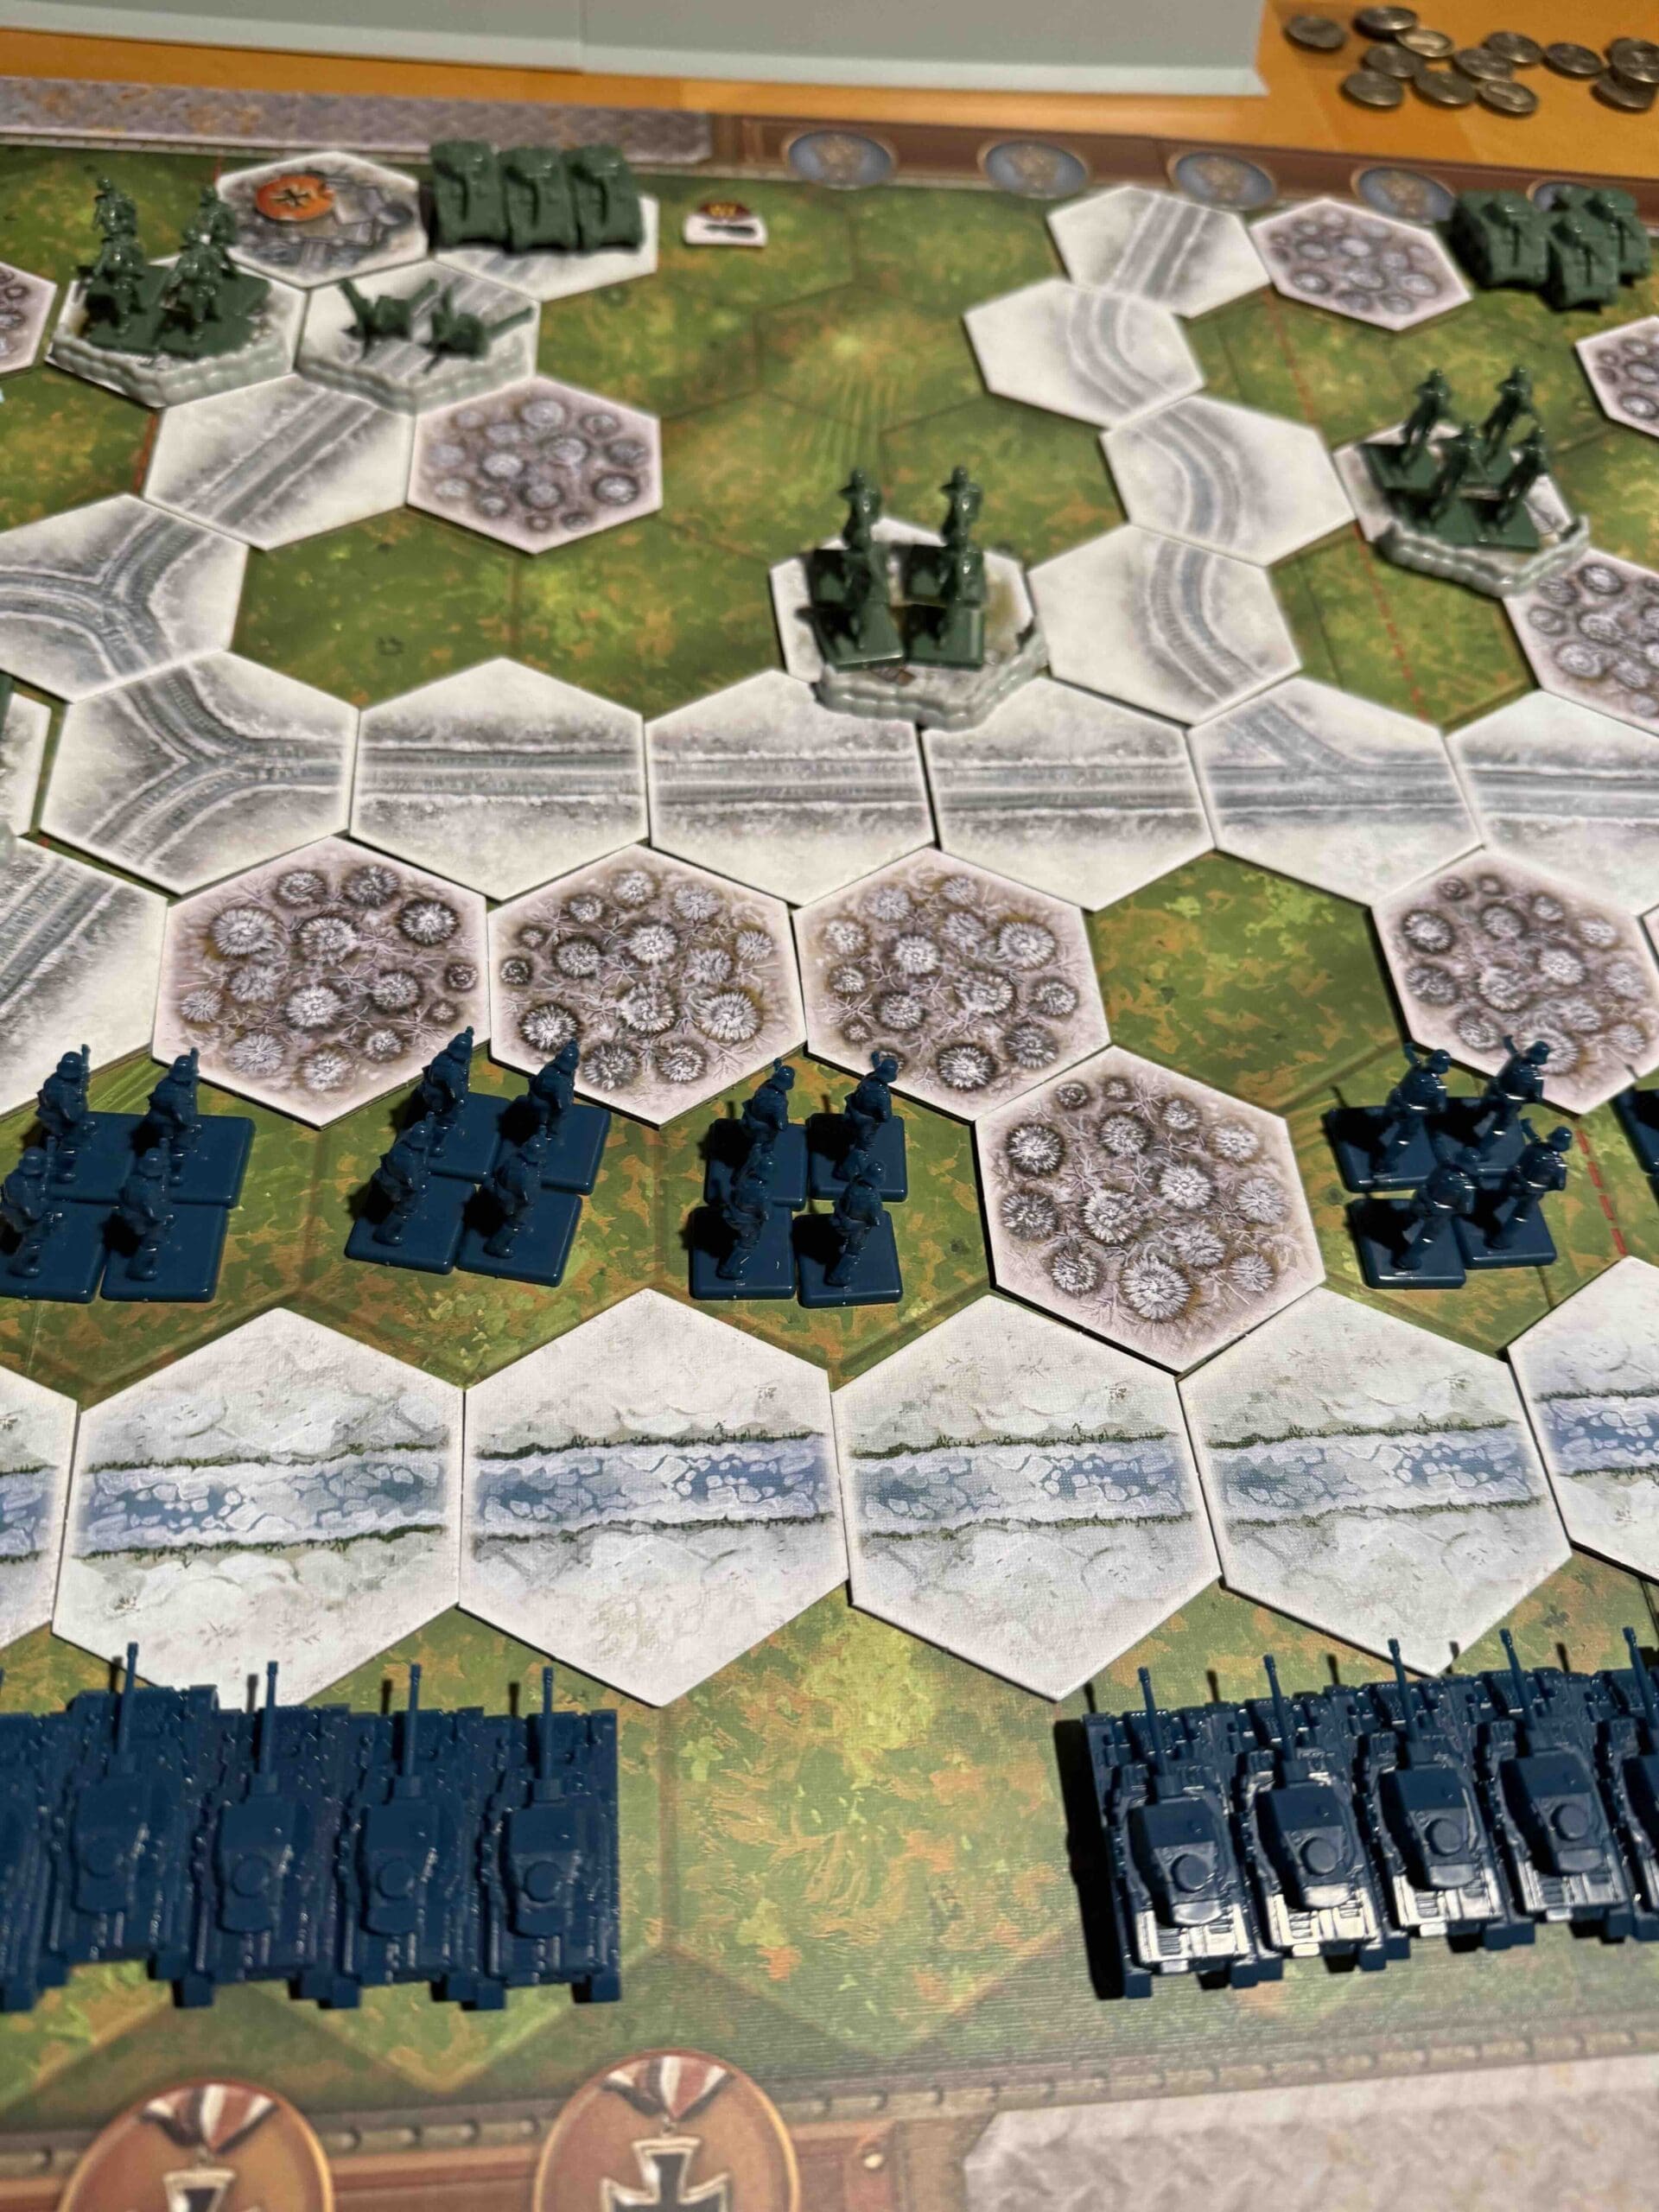
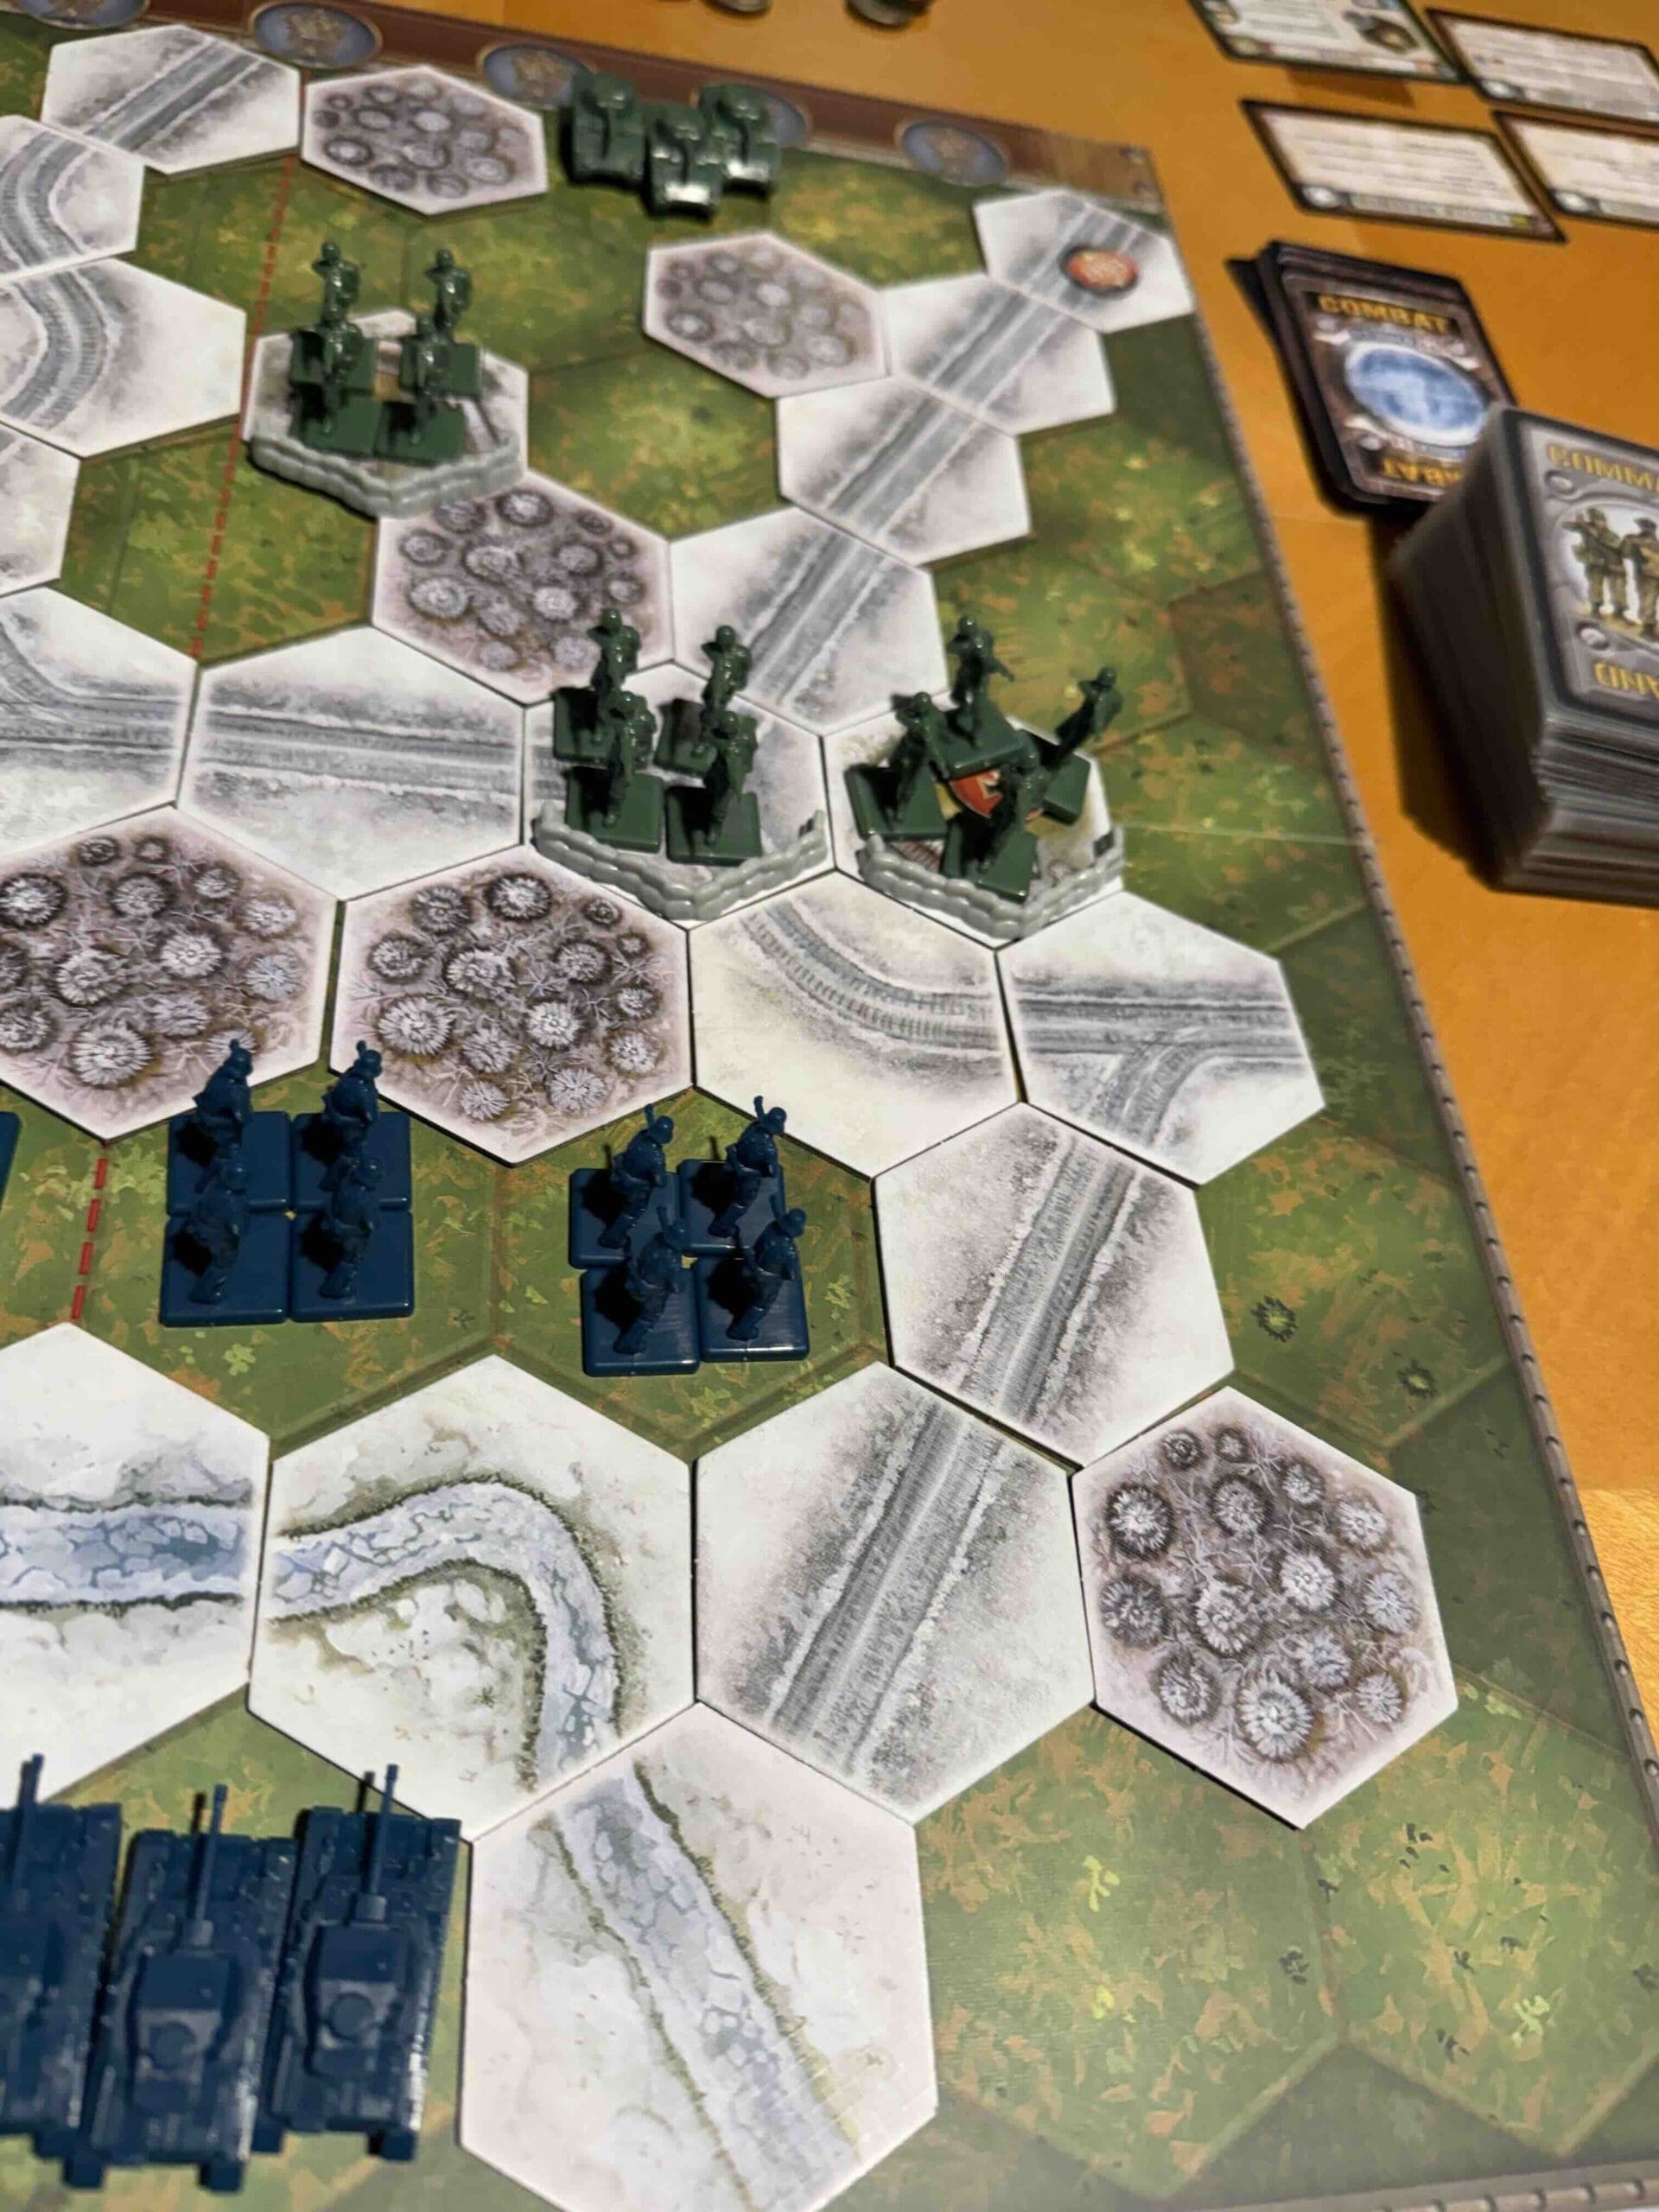
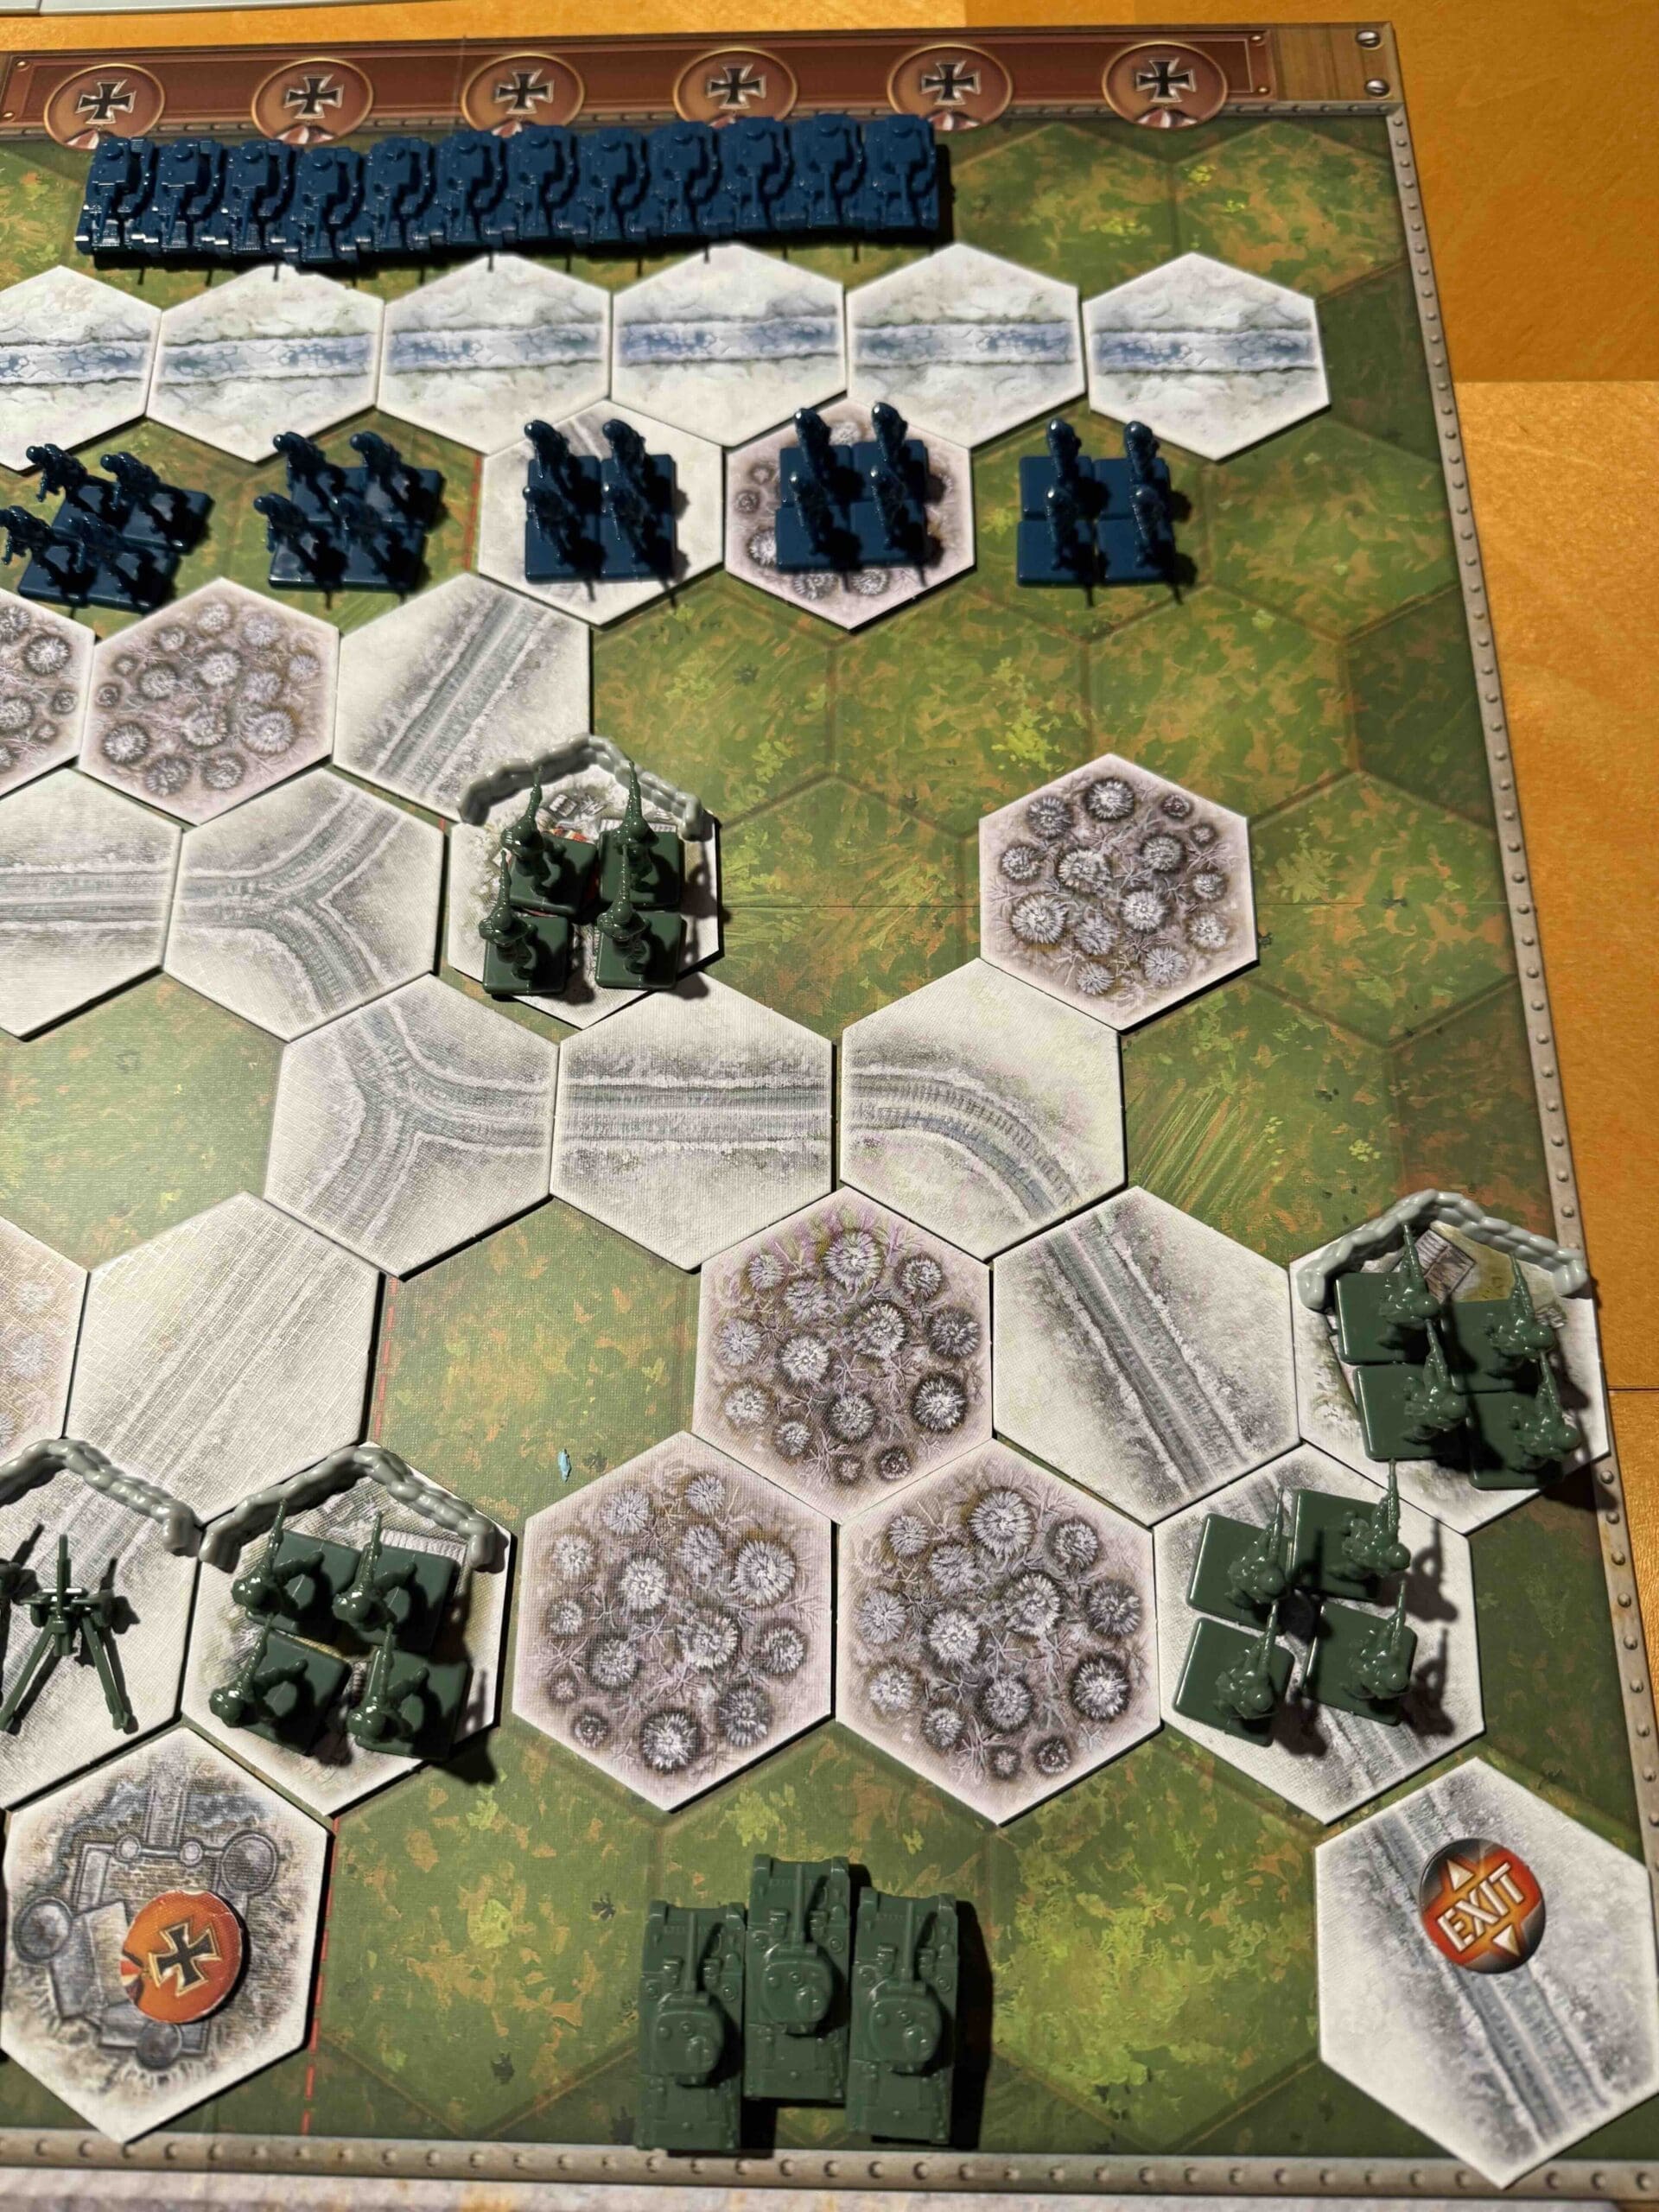
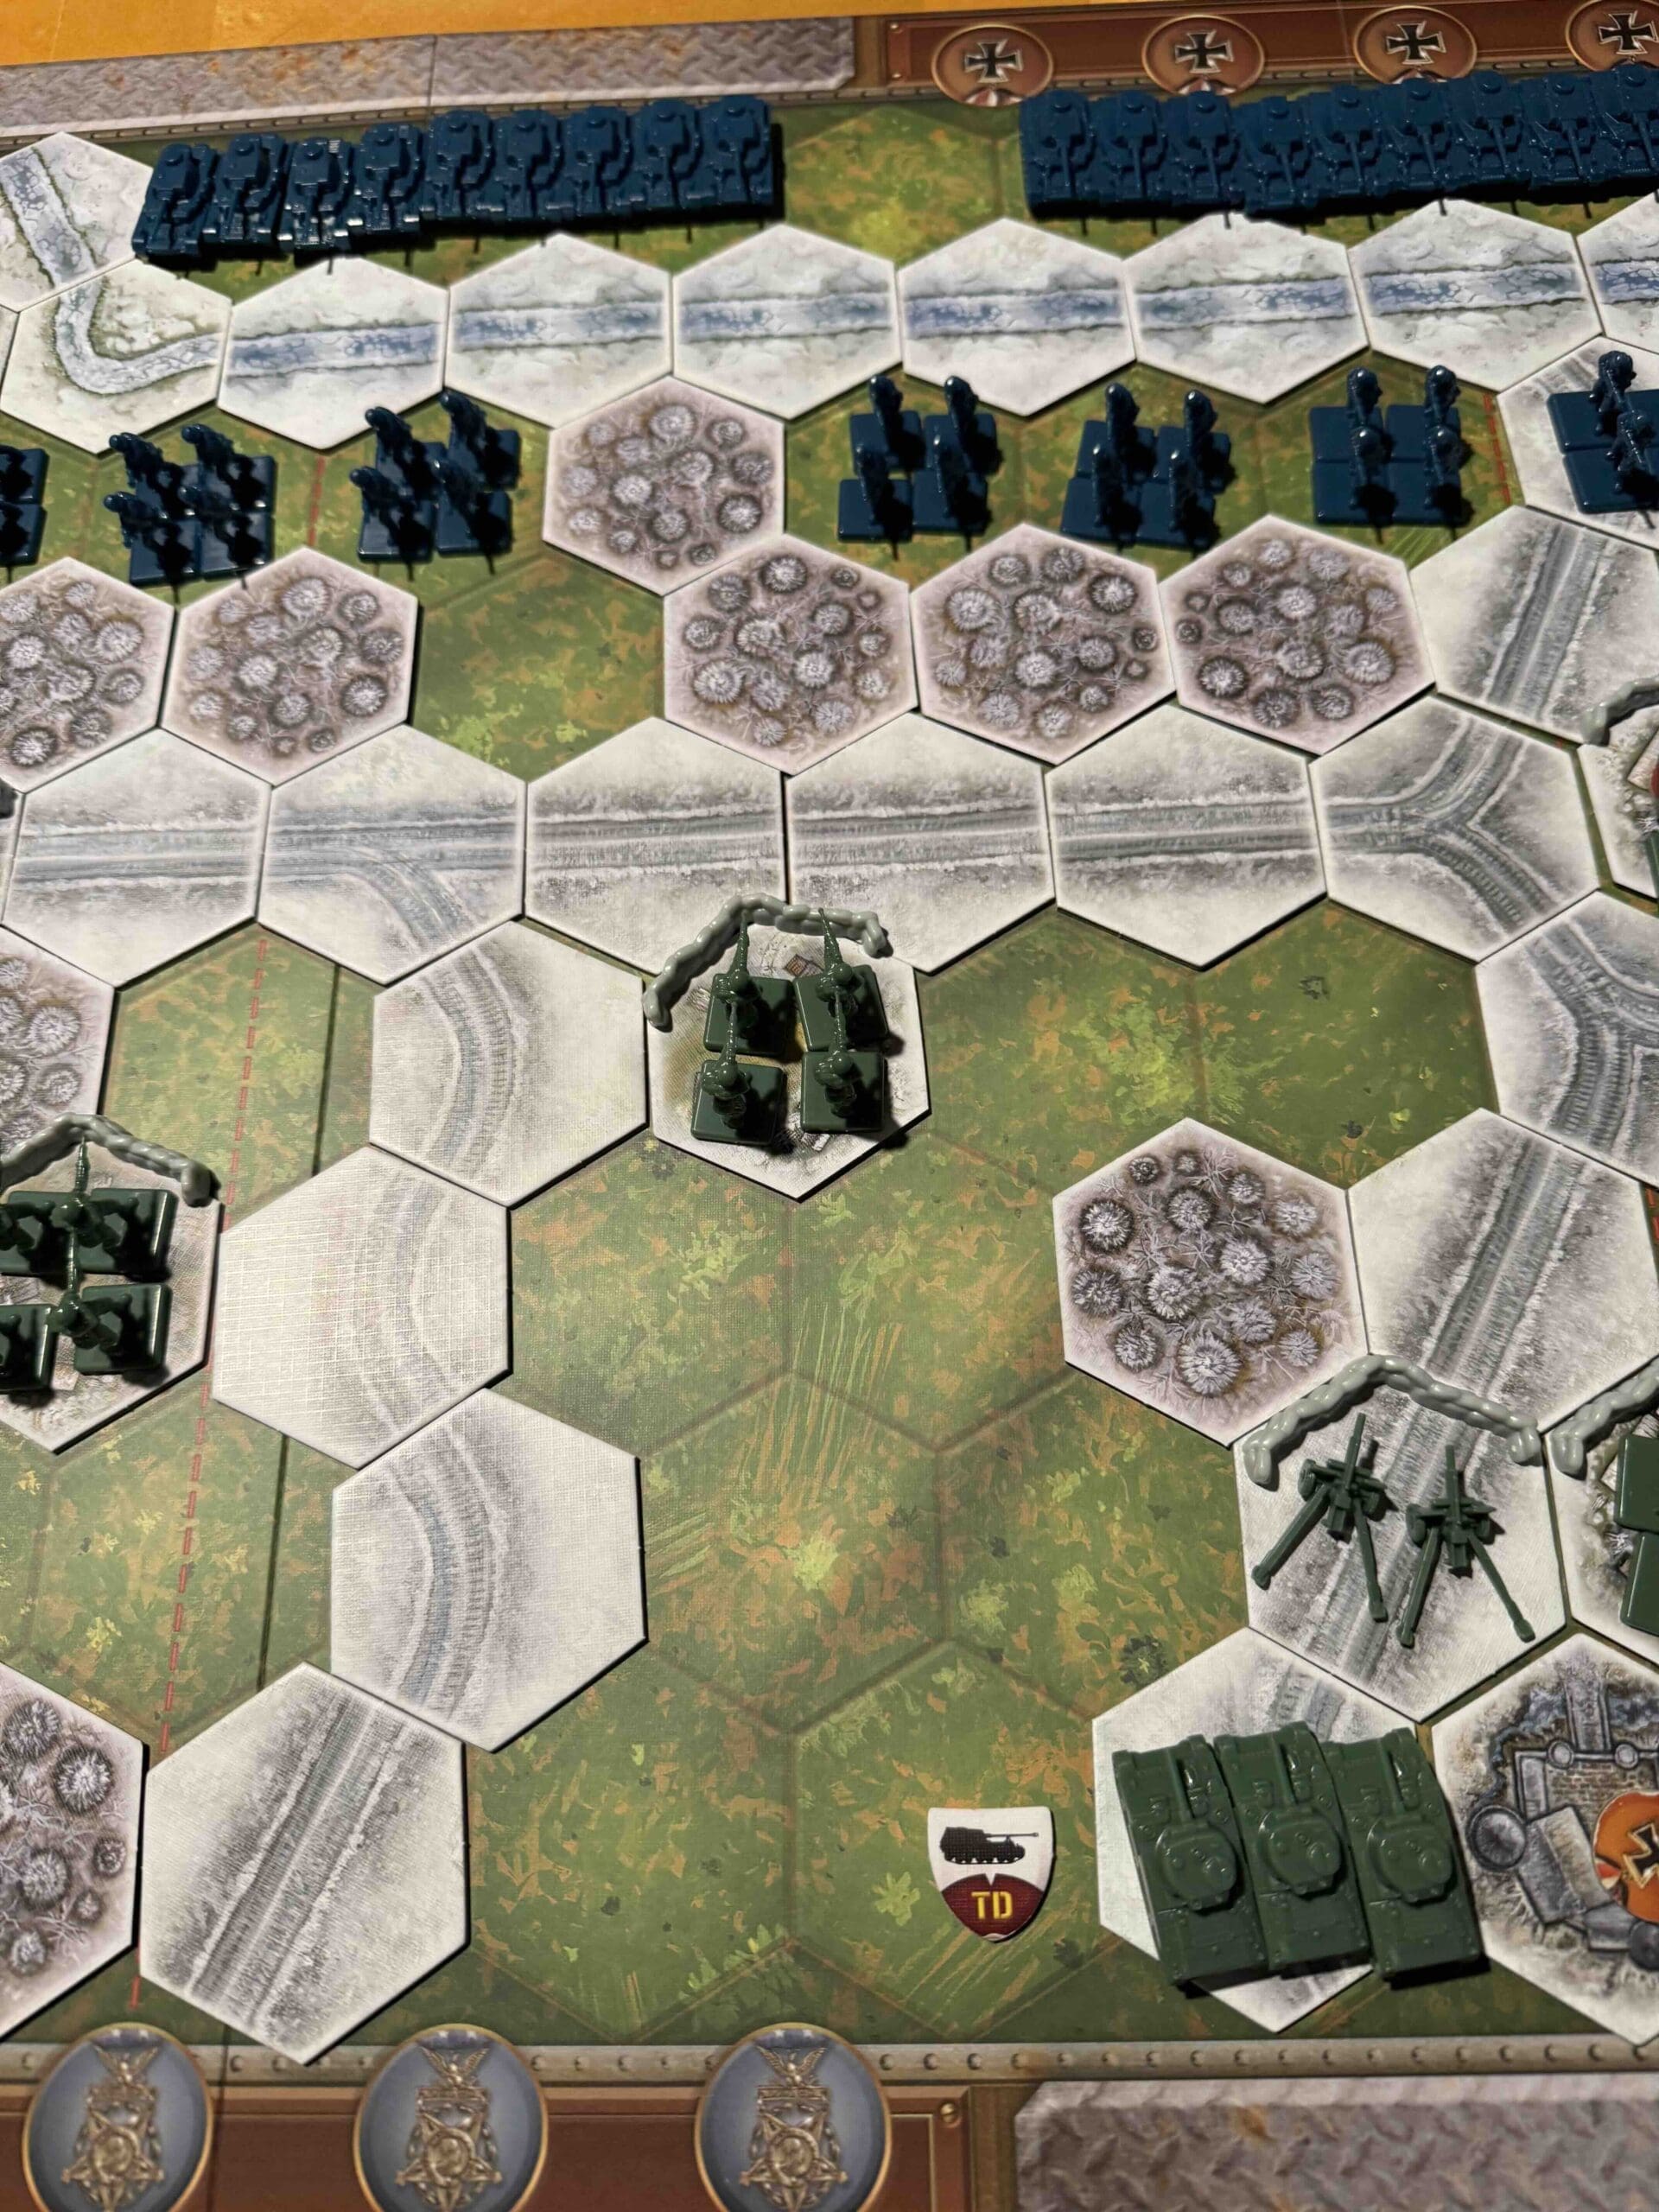
Foy has three sections, Center, West & East.  Each has three hexes and count as a Temporary Medal Majority Objective.  Axis gets one by maintaining possession of Foy Center, but Allies can obtain all three.

Battlefield:

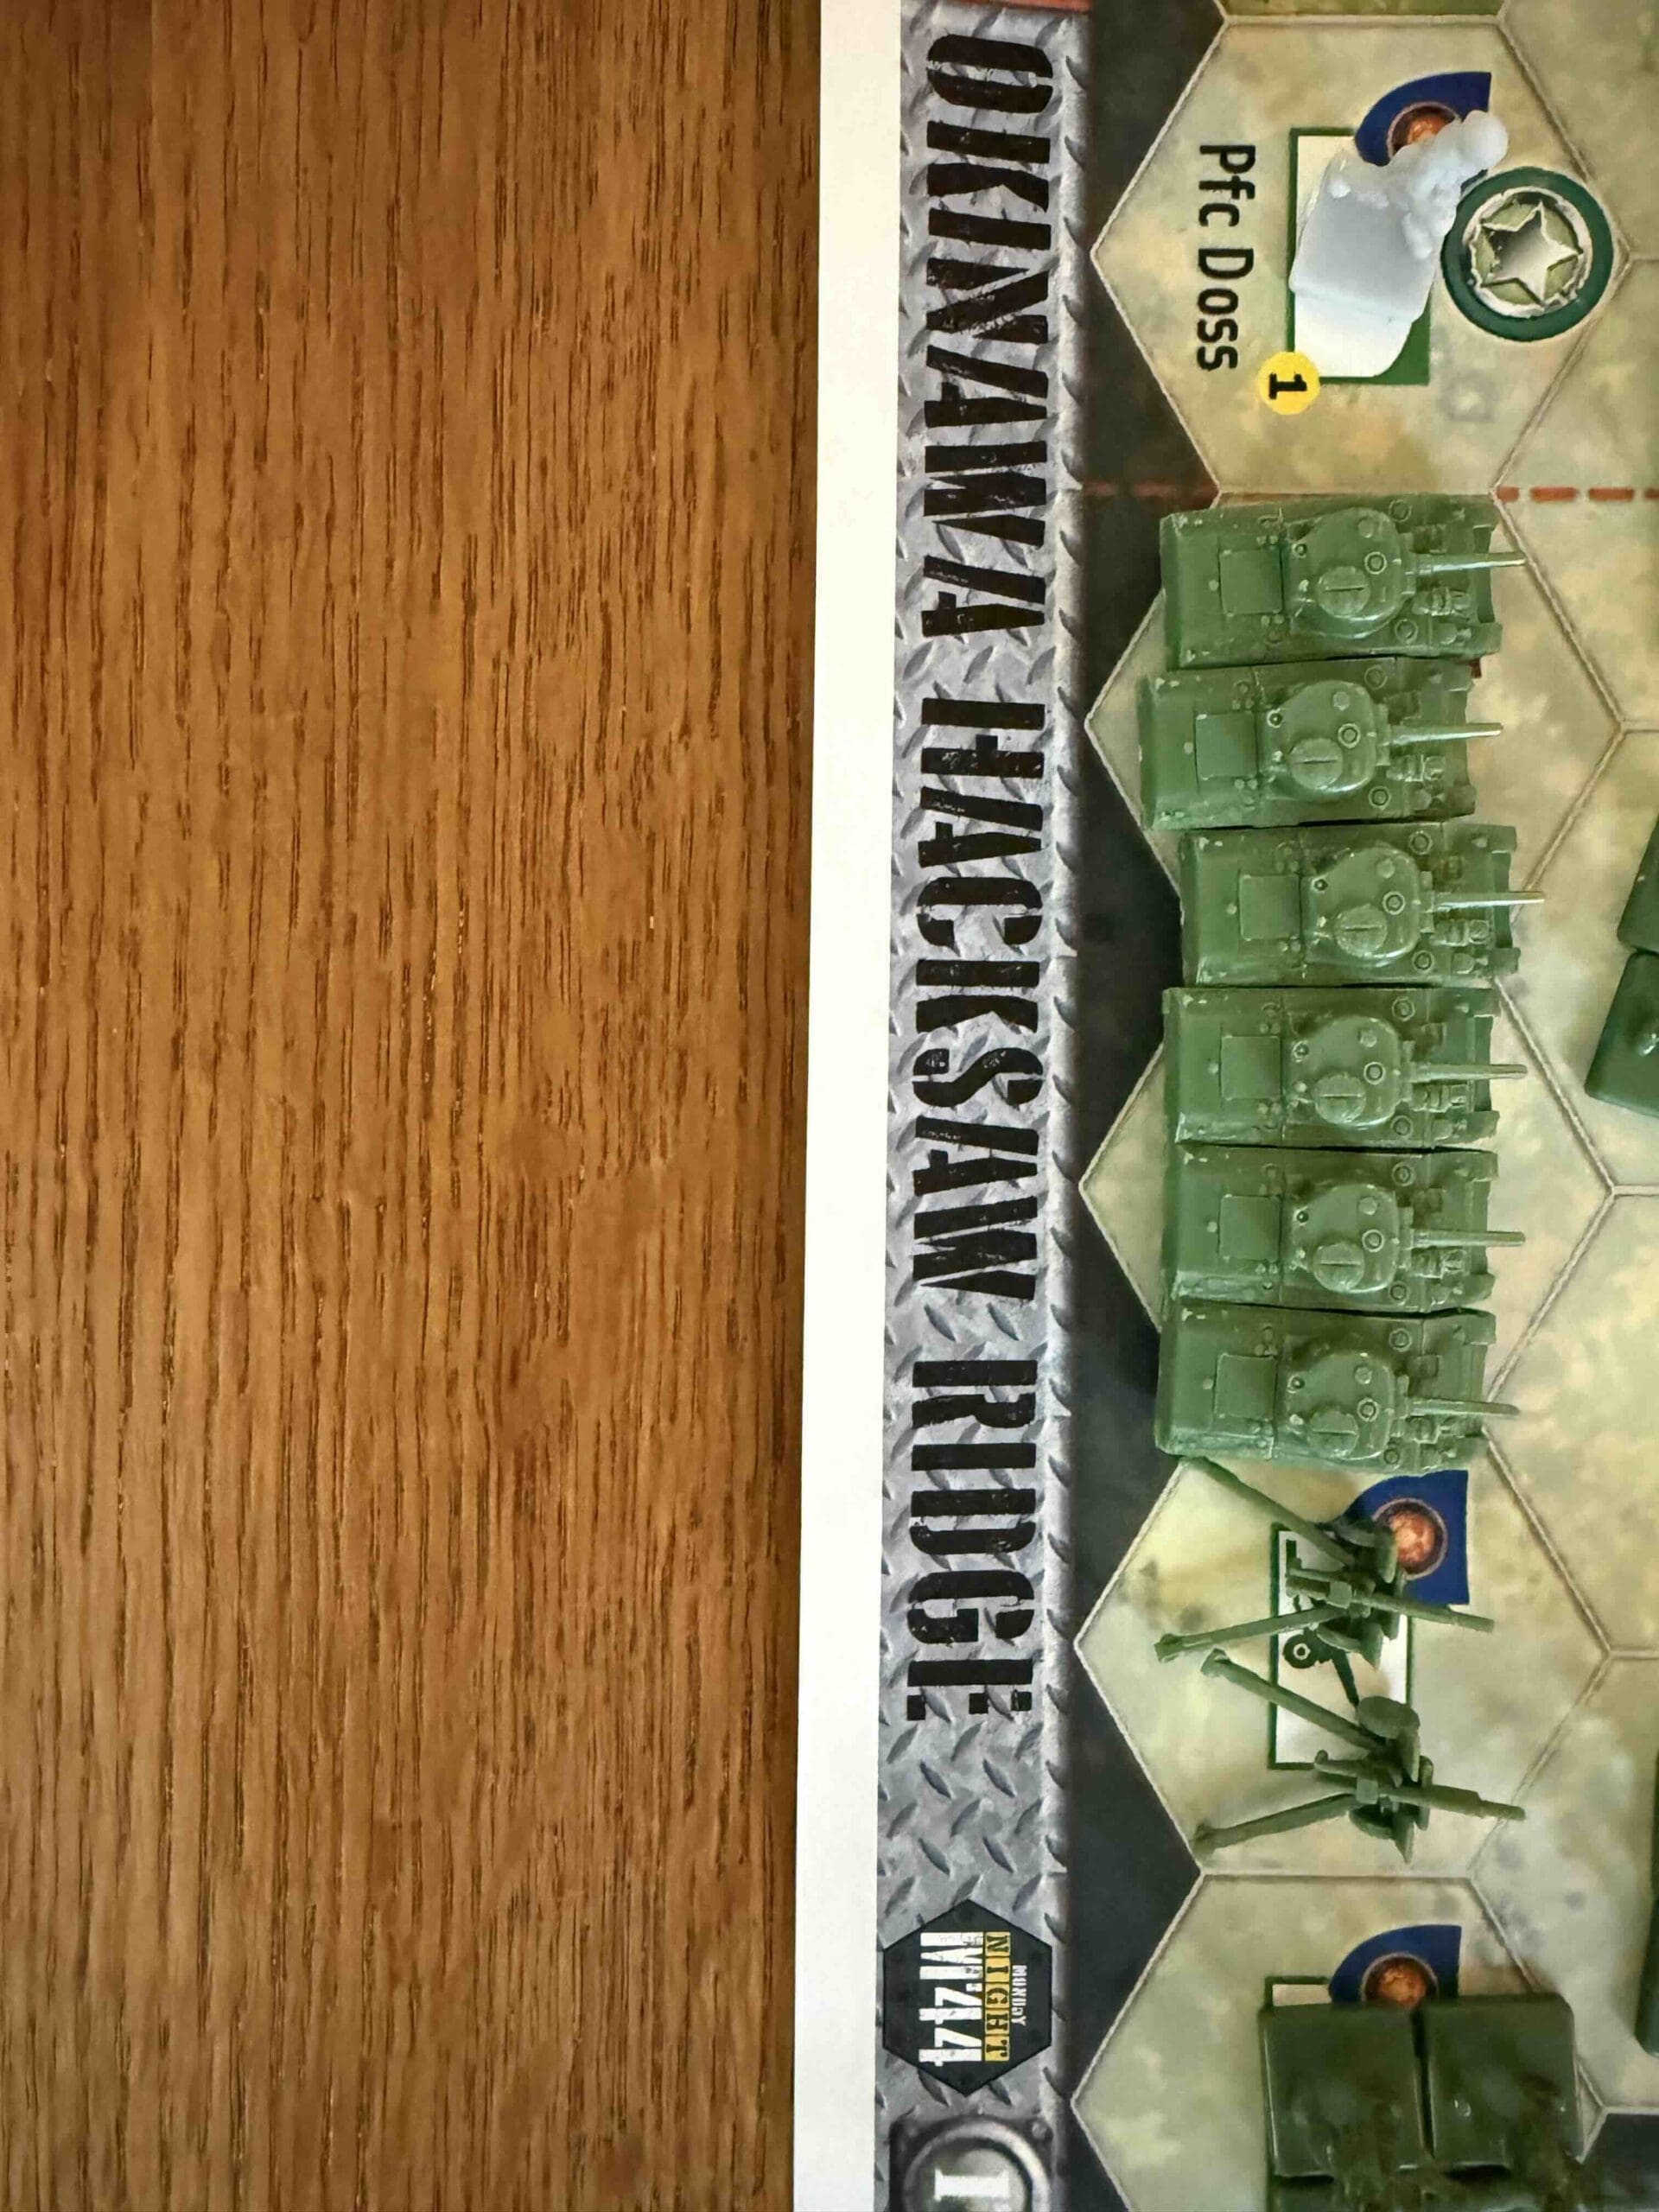
Winter countryside with forests, hills, and a road runnng through the center.

Troops:

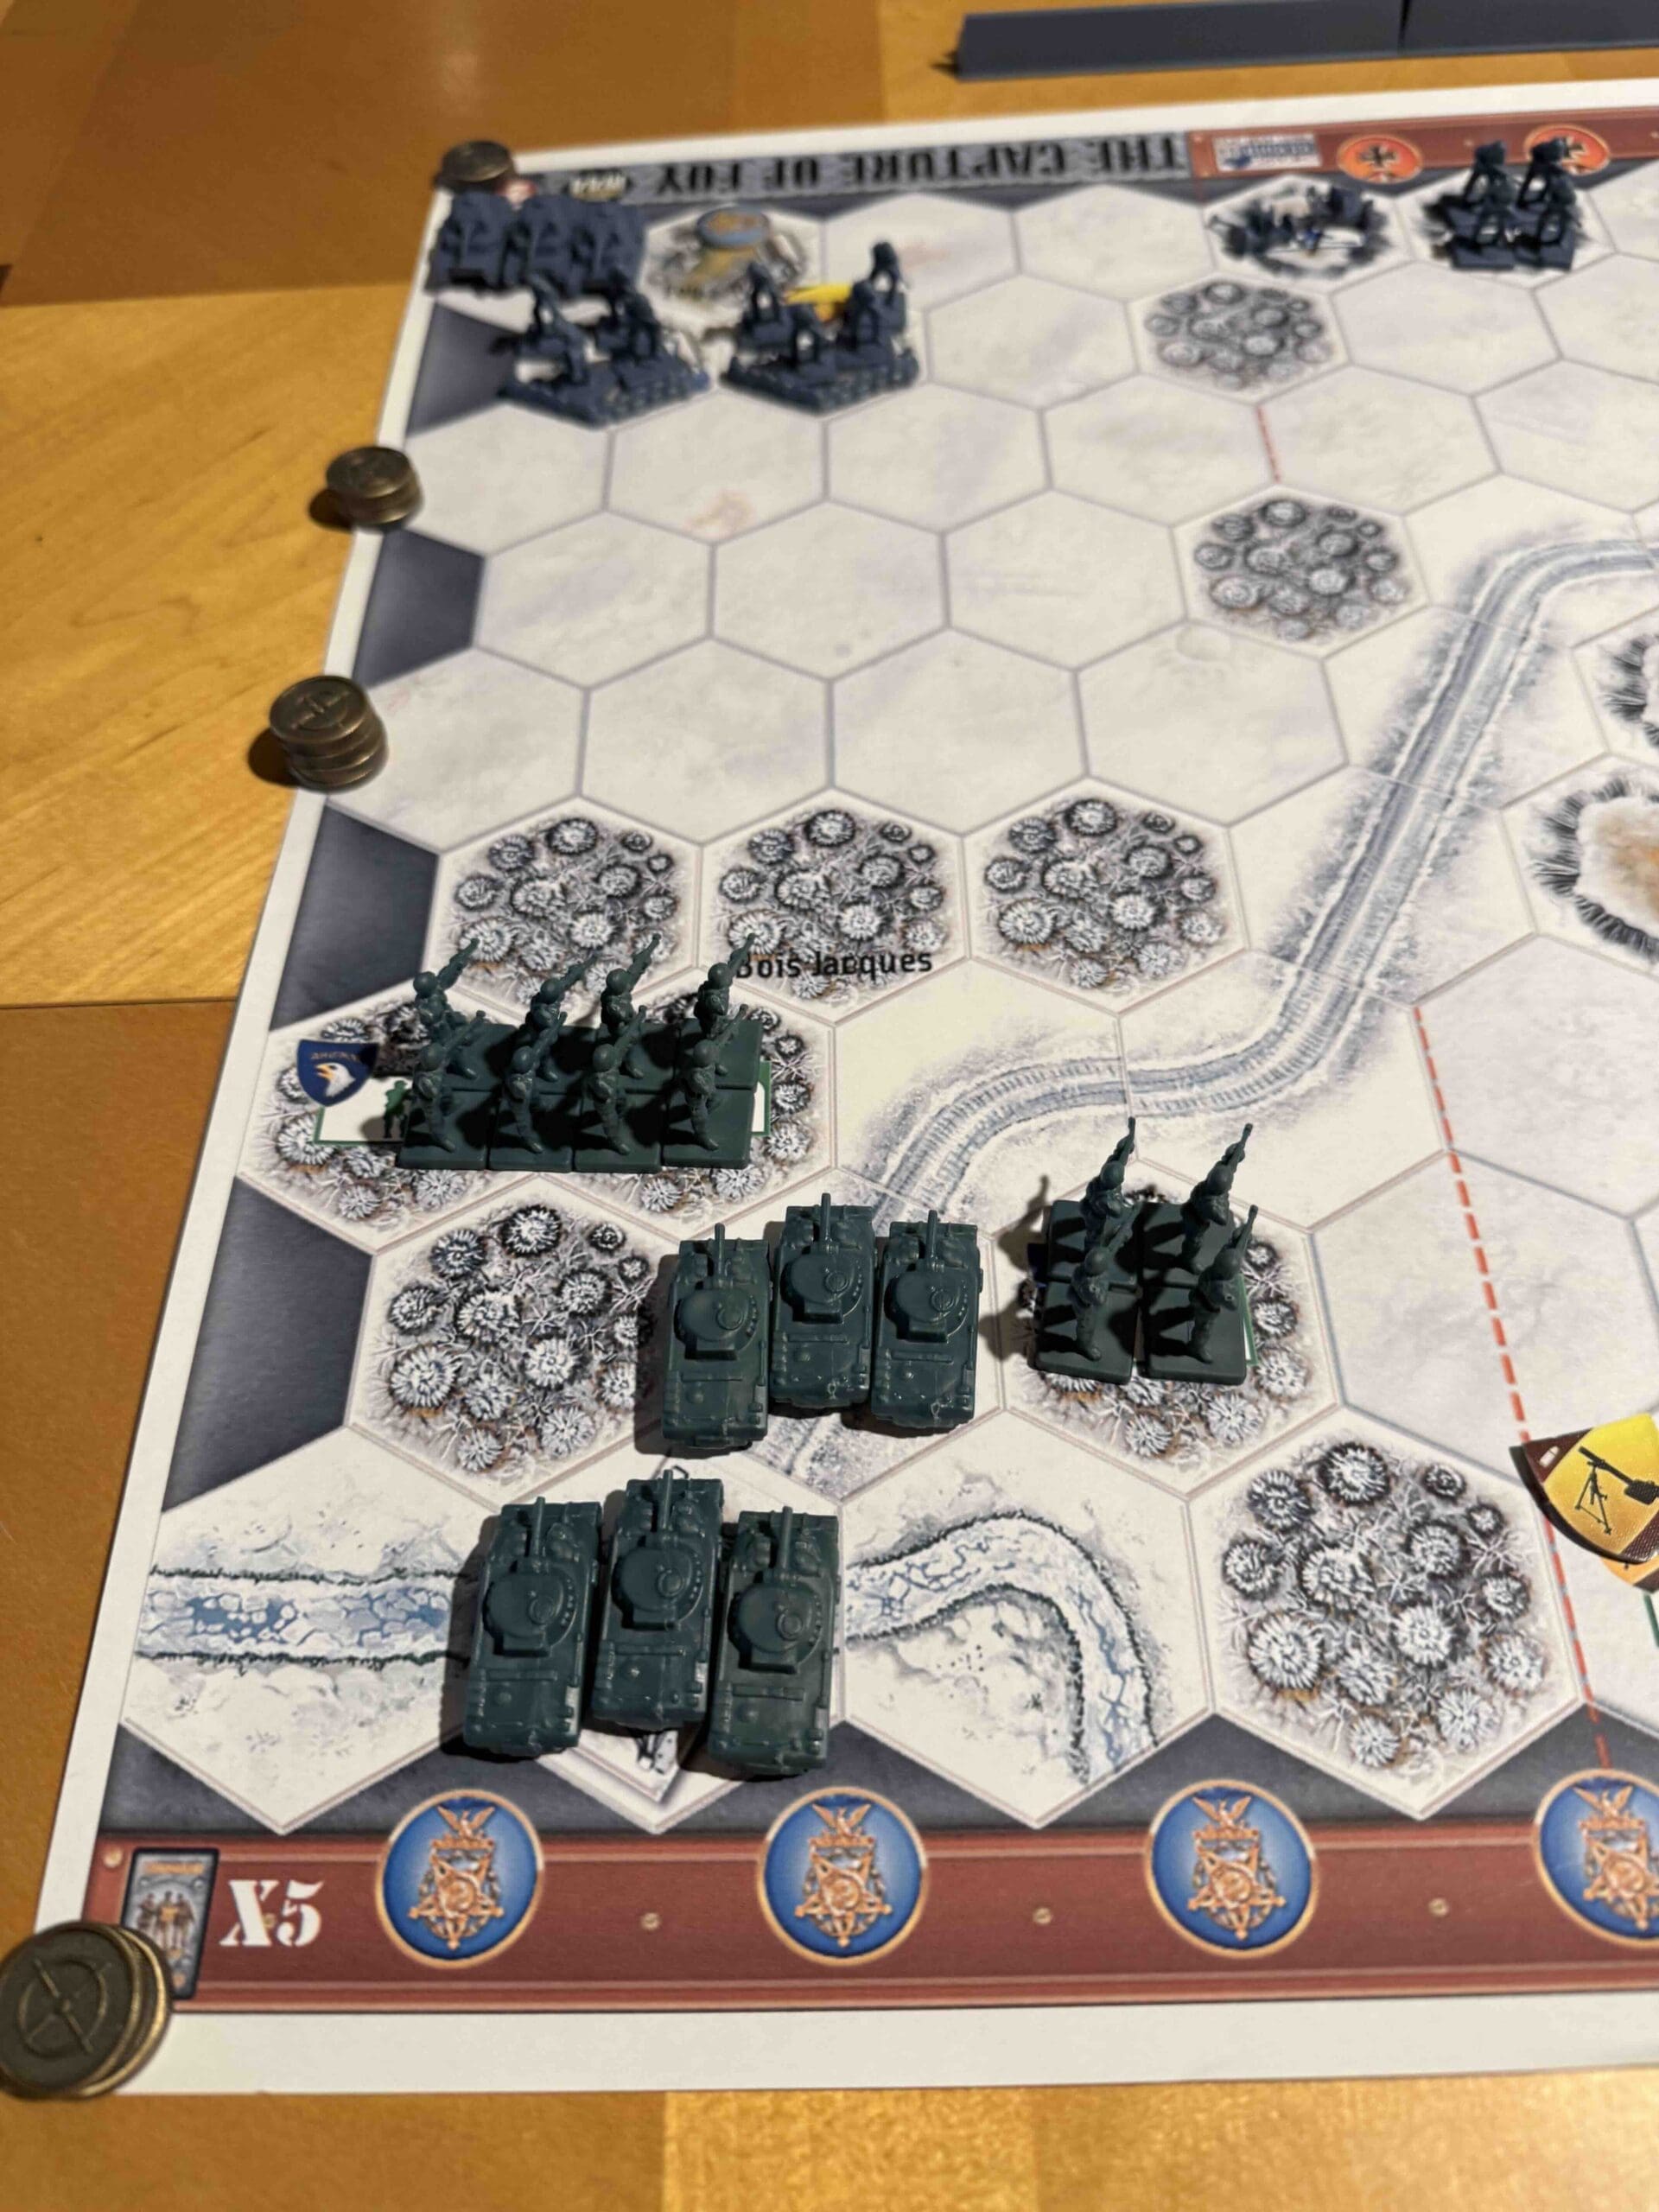
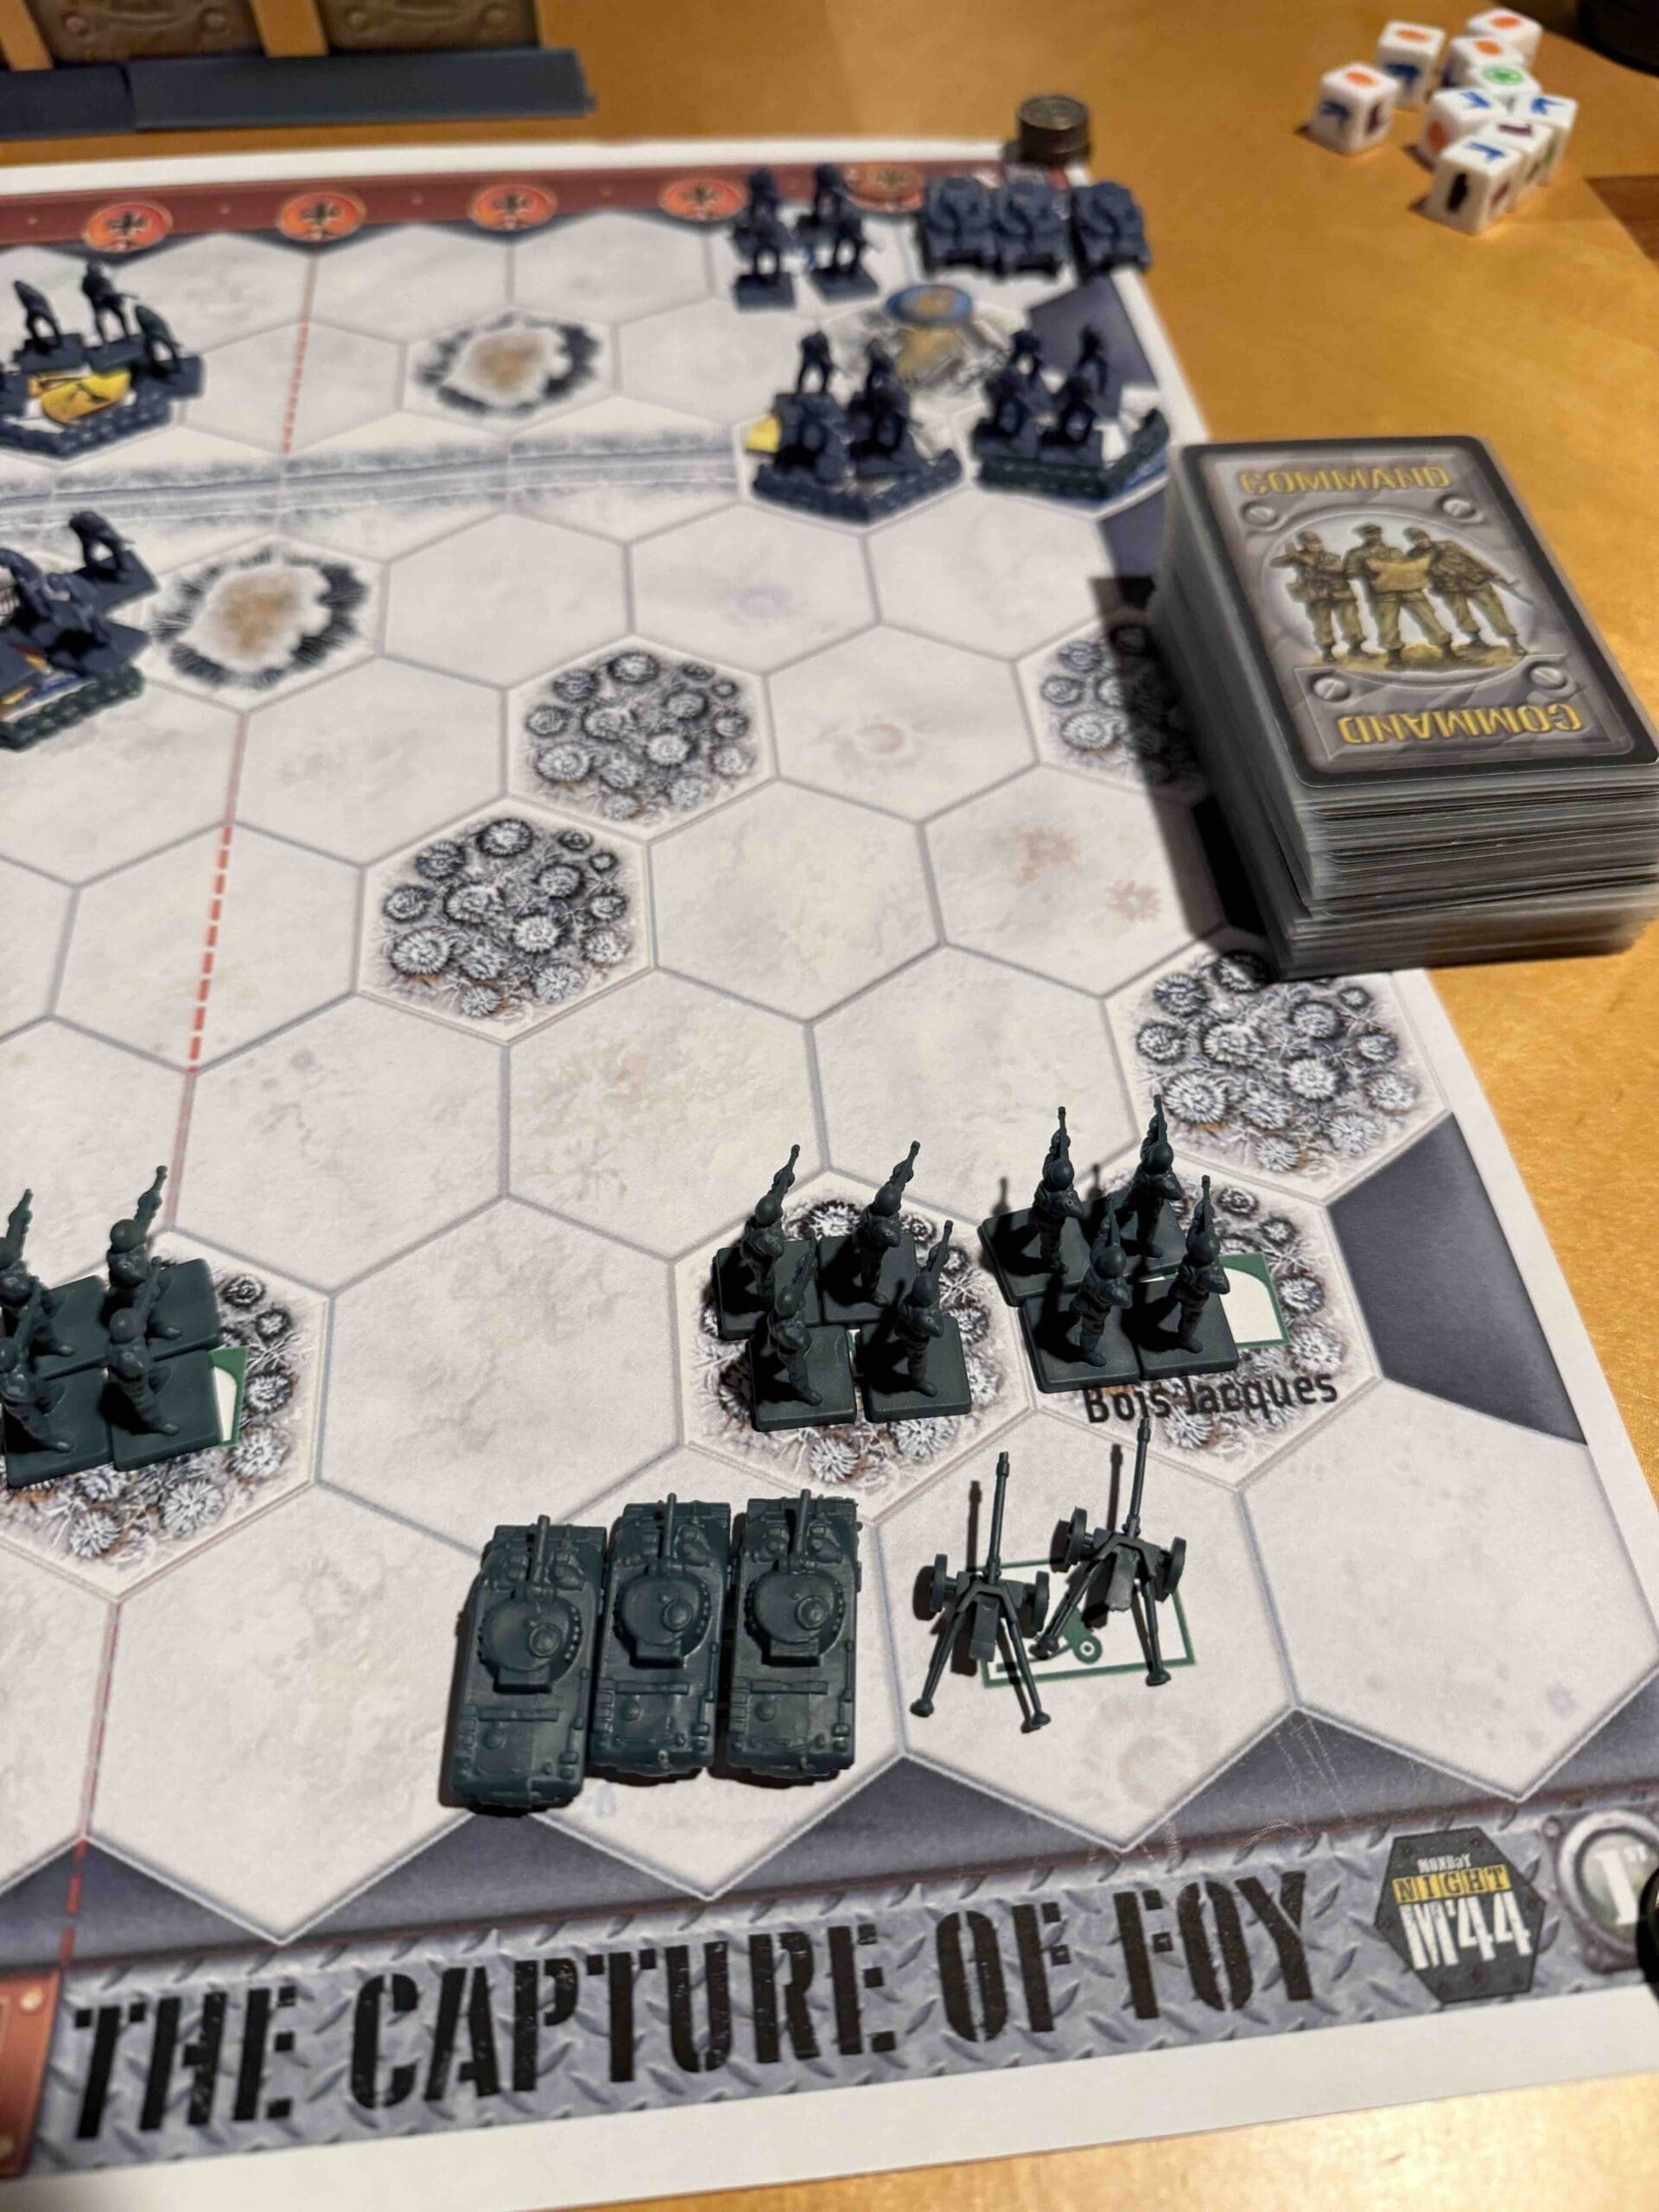
Allies – 10 Infantry including 1 Mortar, 3 Armor, 1 Artillery

Axis – 8 Infantry including three Machine Gun units, and one Mortar, 2 Armor, 1 Artillery. There are two Machine Gun units in Foy Central.

Special Rules: 

1.  Nightime Rules – Start with daylight and roll two dice at the end of each turn; Stars increase darkness.

2.  Special Weapon Assets:

– Machine Guns hit Infantry on Stars, if the unit hasn’t moved

– Mortars hit at 3,2,1,1 and ignore terrain restrictions

3.  The river is impassable

medal allies

Allied Strategy:

1.  Big Picture Strategy:  Foy Center presents the best opportunity for attack.  But it needs to be supported by bringing up your forces from both your right and left flanks. Once you bring your Armor in from the left along the road, and move your Infantry and Artillery from the right, then you will be ready to move your Infantry in the center forward to attack Foy Center.

2.  All of your Infantry are Airborne special forces, and therefore can move two hexes and then attack.

3.  Get your Armor on the left into action ASAP. The road will help you to move one extra hex for each unit.

4.  Progressively advance forward your Artillery on the right so that you can attack Foy Center and Foy East with 2D rolls.

medal axis

Axis Strategy:

1.  Big Picture Strategy: The primary battles in this scenario will surround Foy Center.  Bring as many of your forces as you can to support and defend Foy Center. 

2.  You have Armor hidden away in both of your flanks. Move them out and get them into the battle as soon as possible.  

3.  Your Artillery needs to be moved forward at least one row in order to better defend Foy Center.

Battle Reports

1
BR - Foy

Source:  Chicago’s Finest Hour Open

Link:

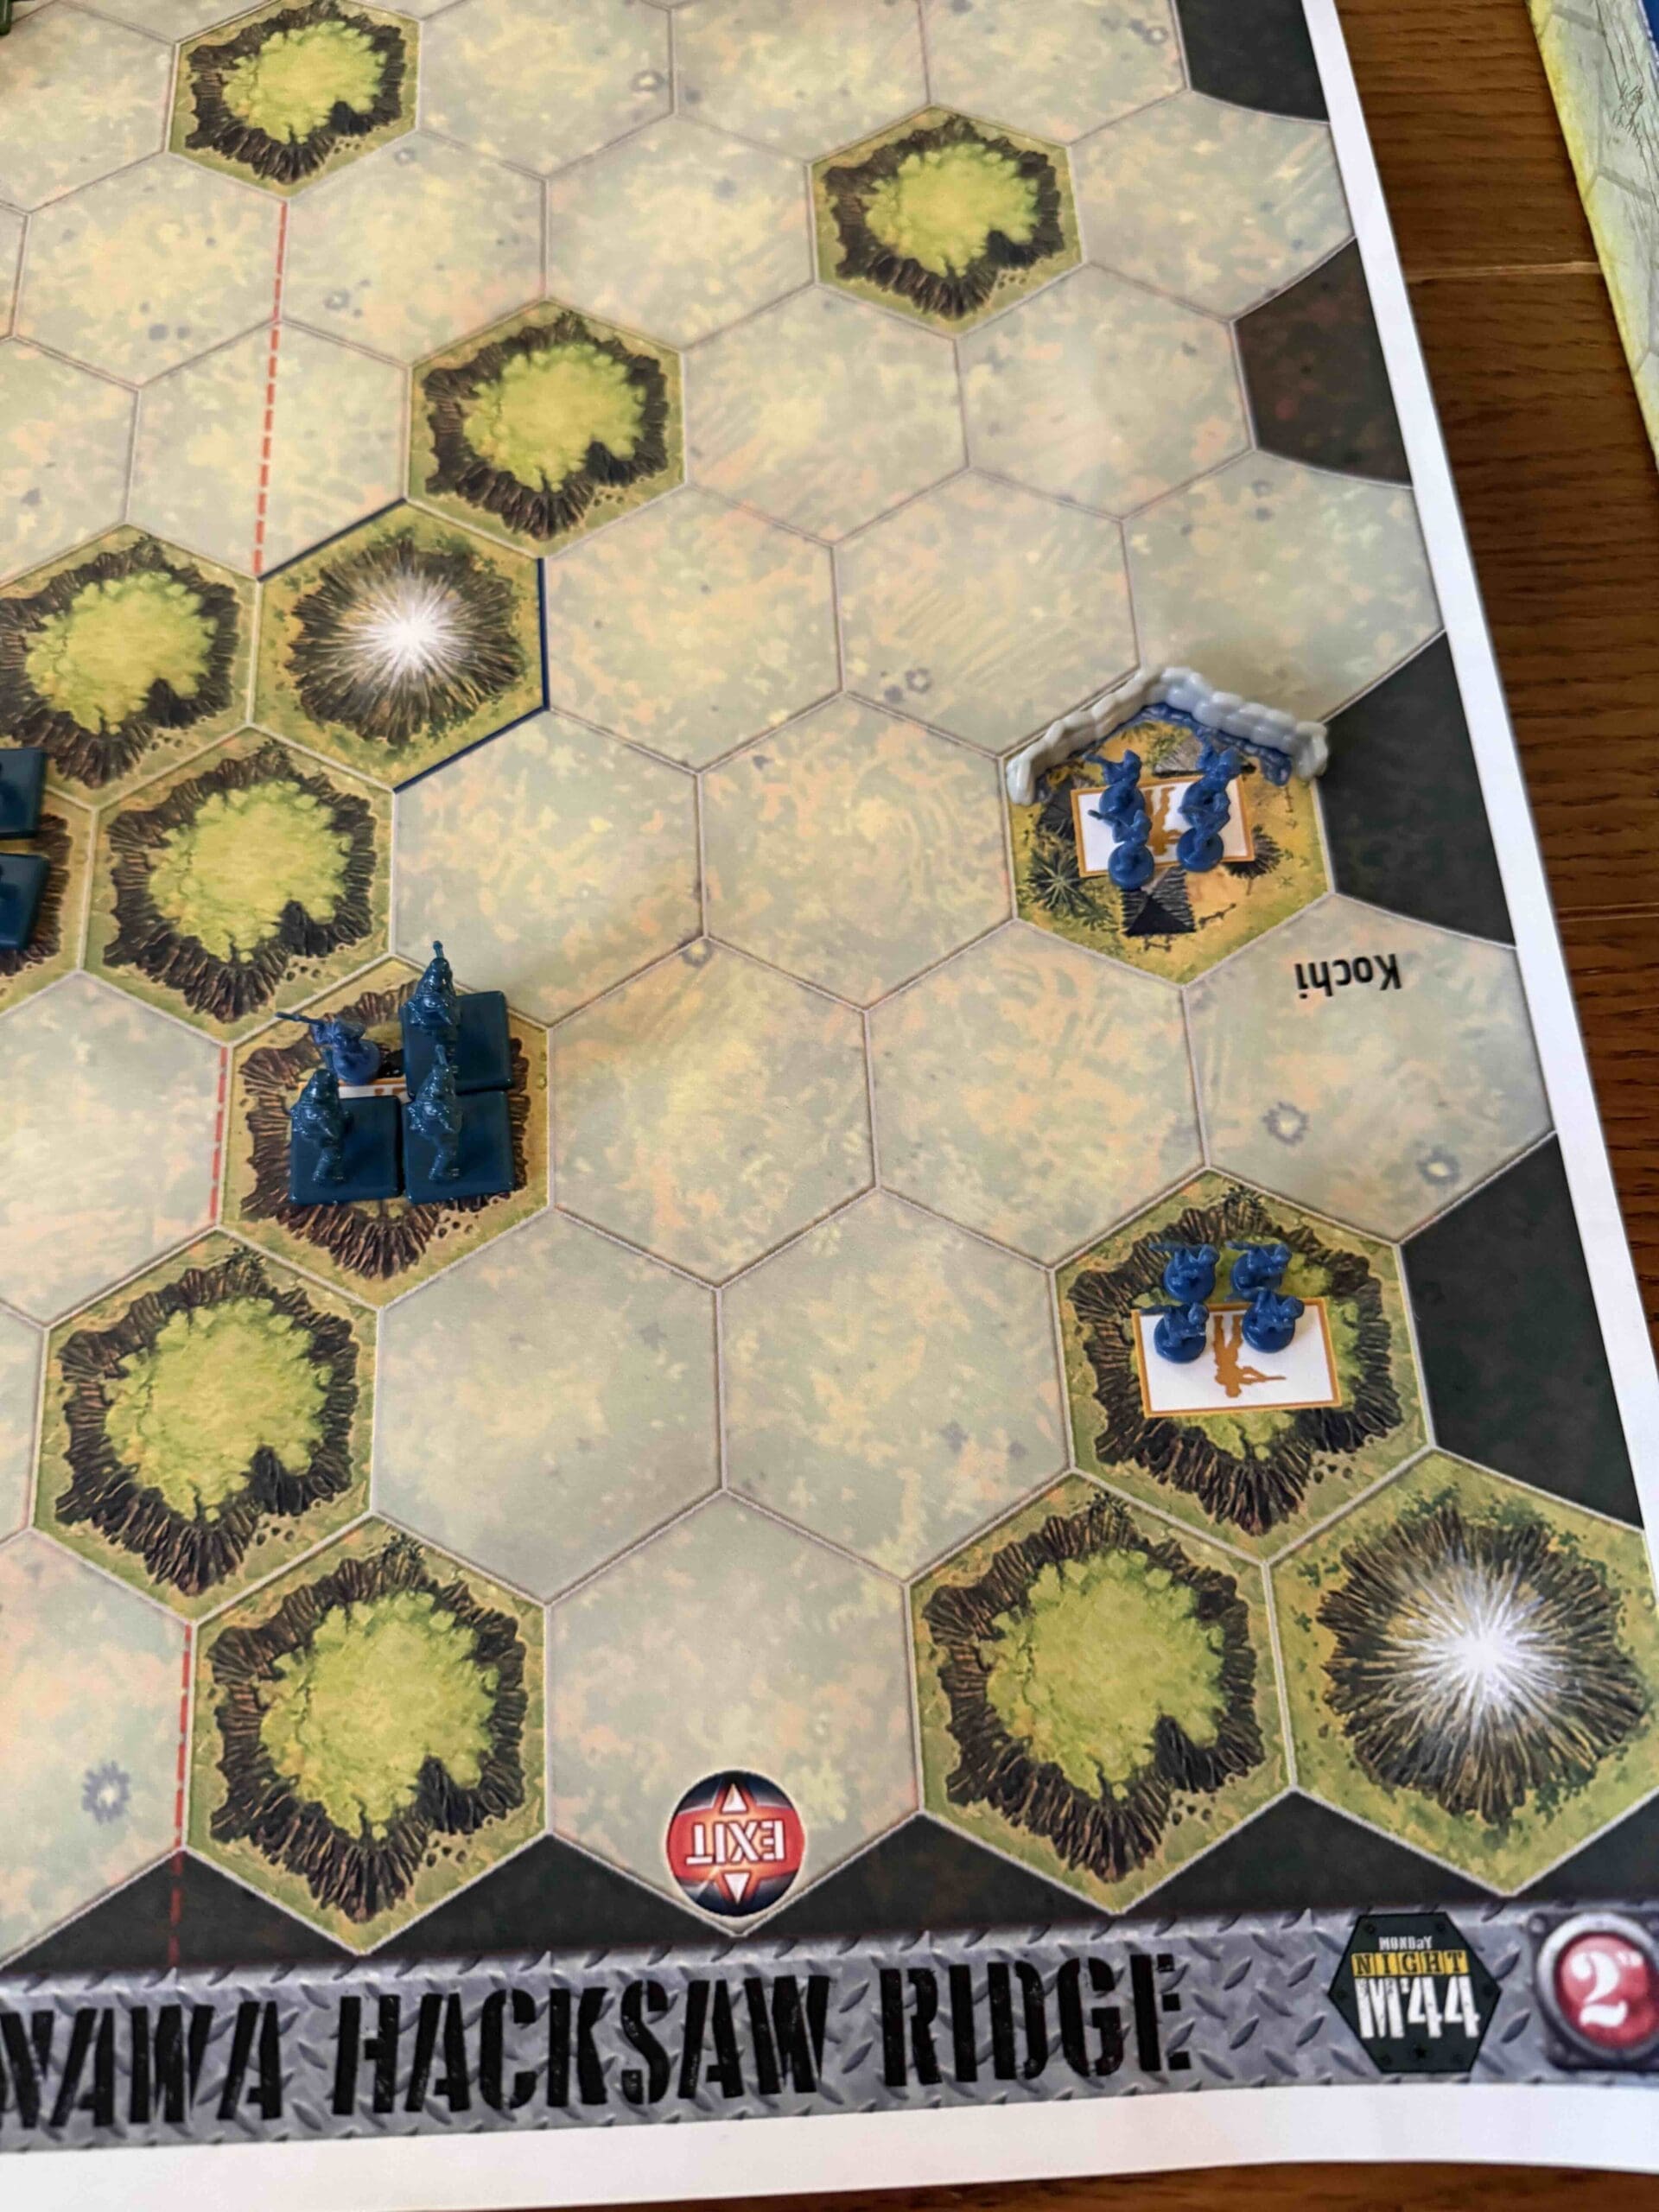
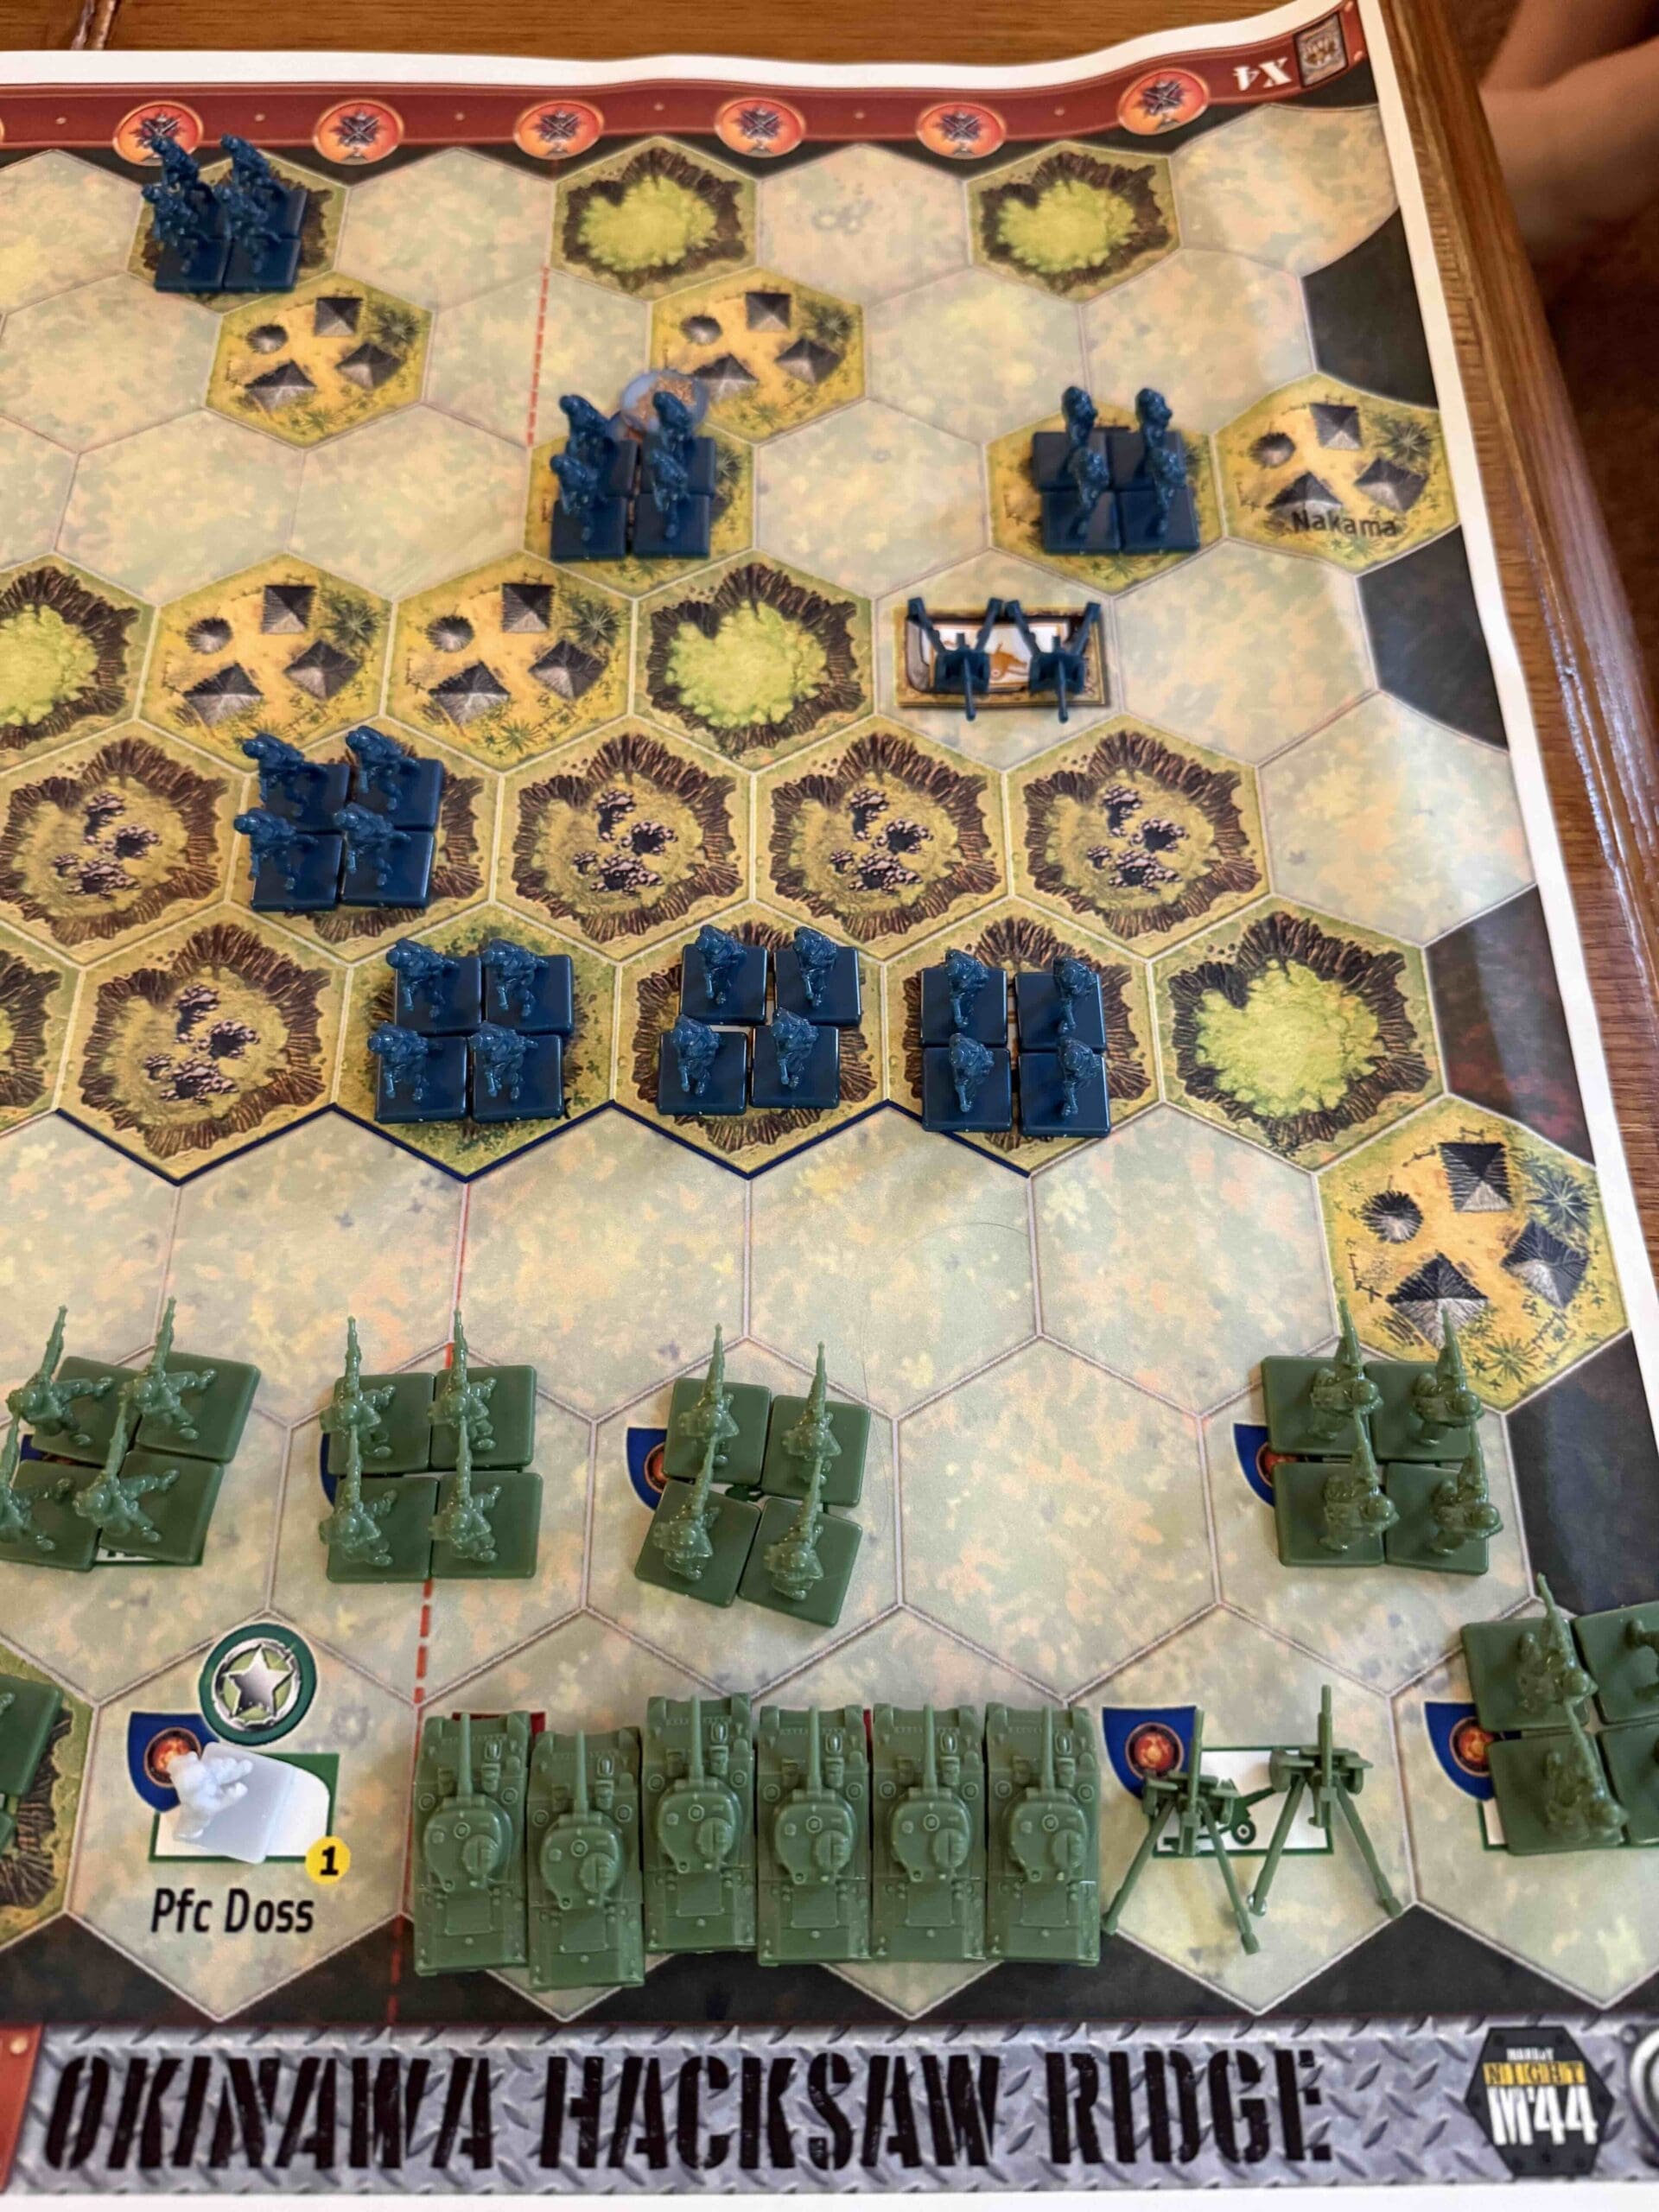
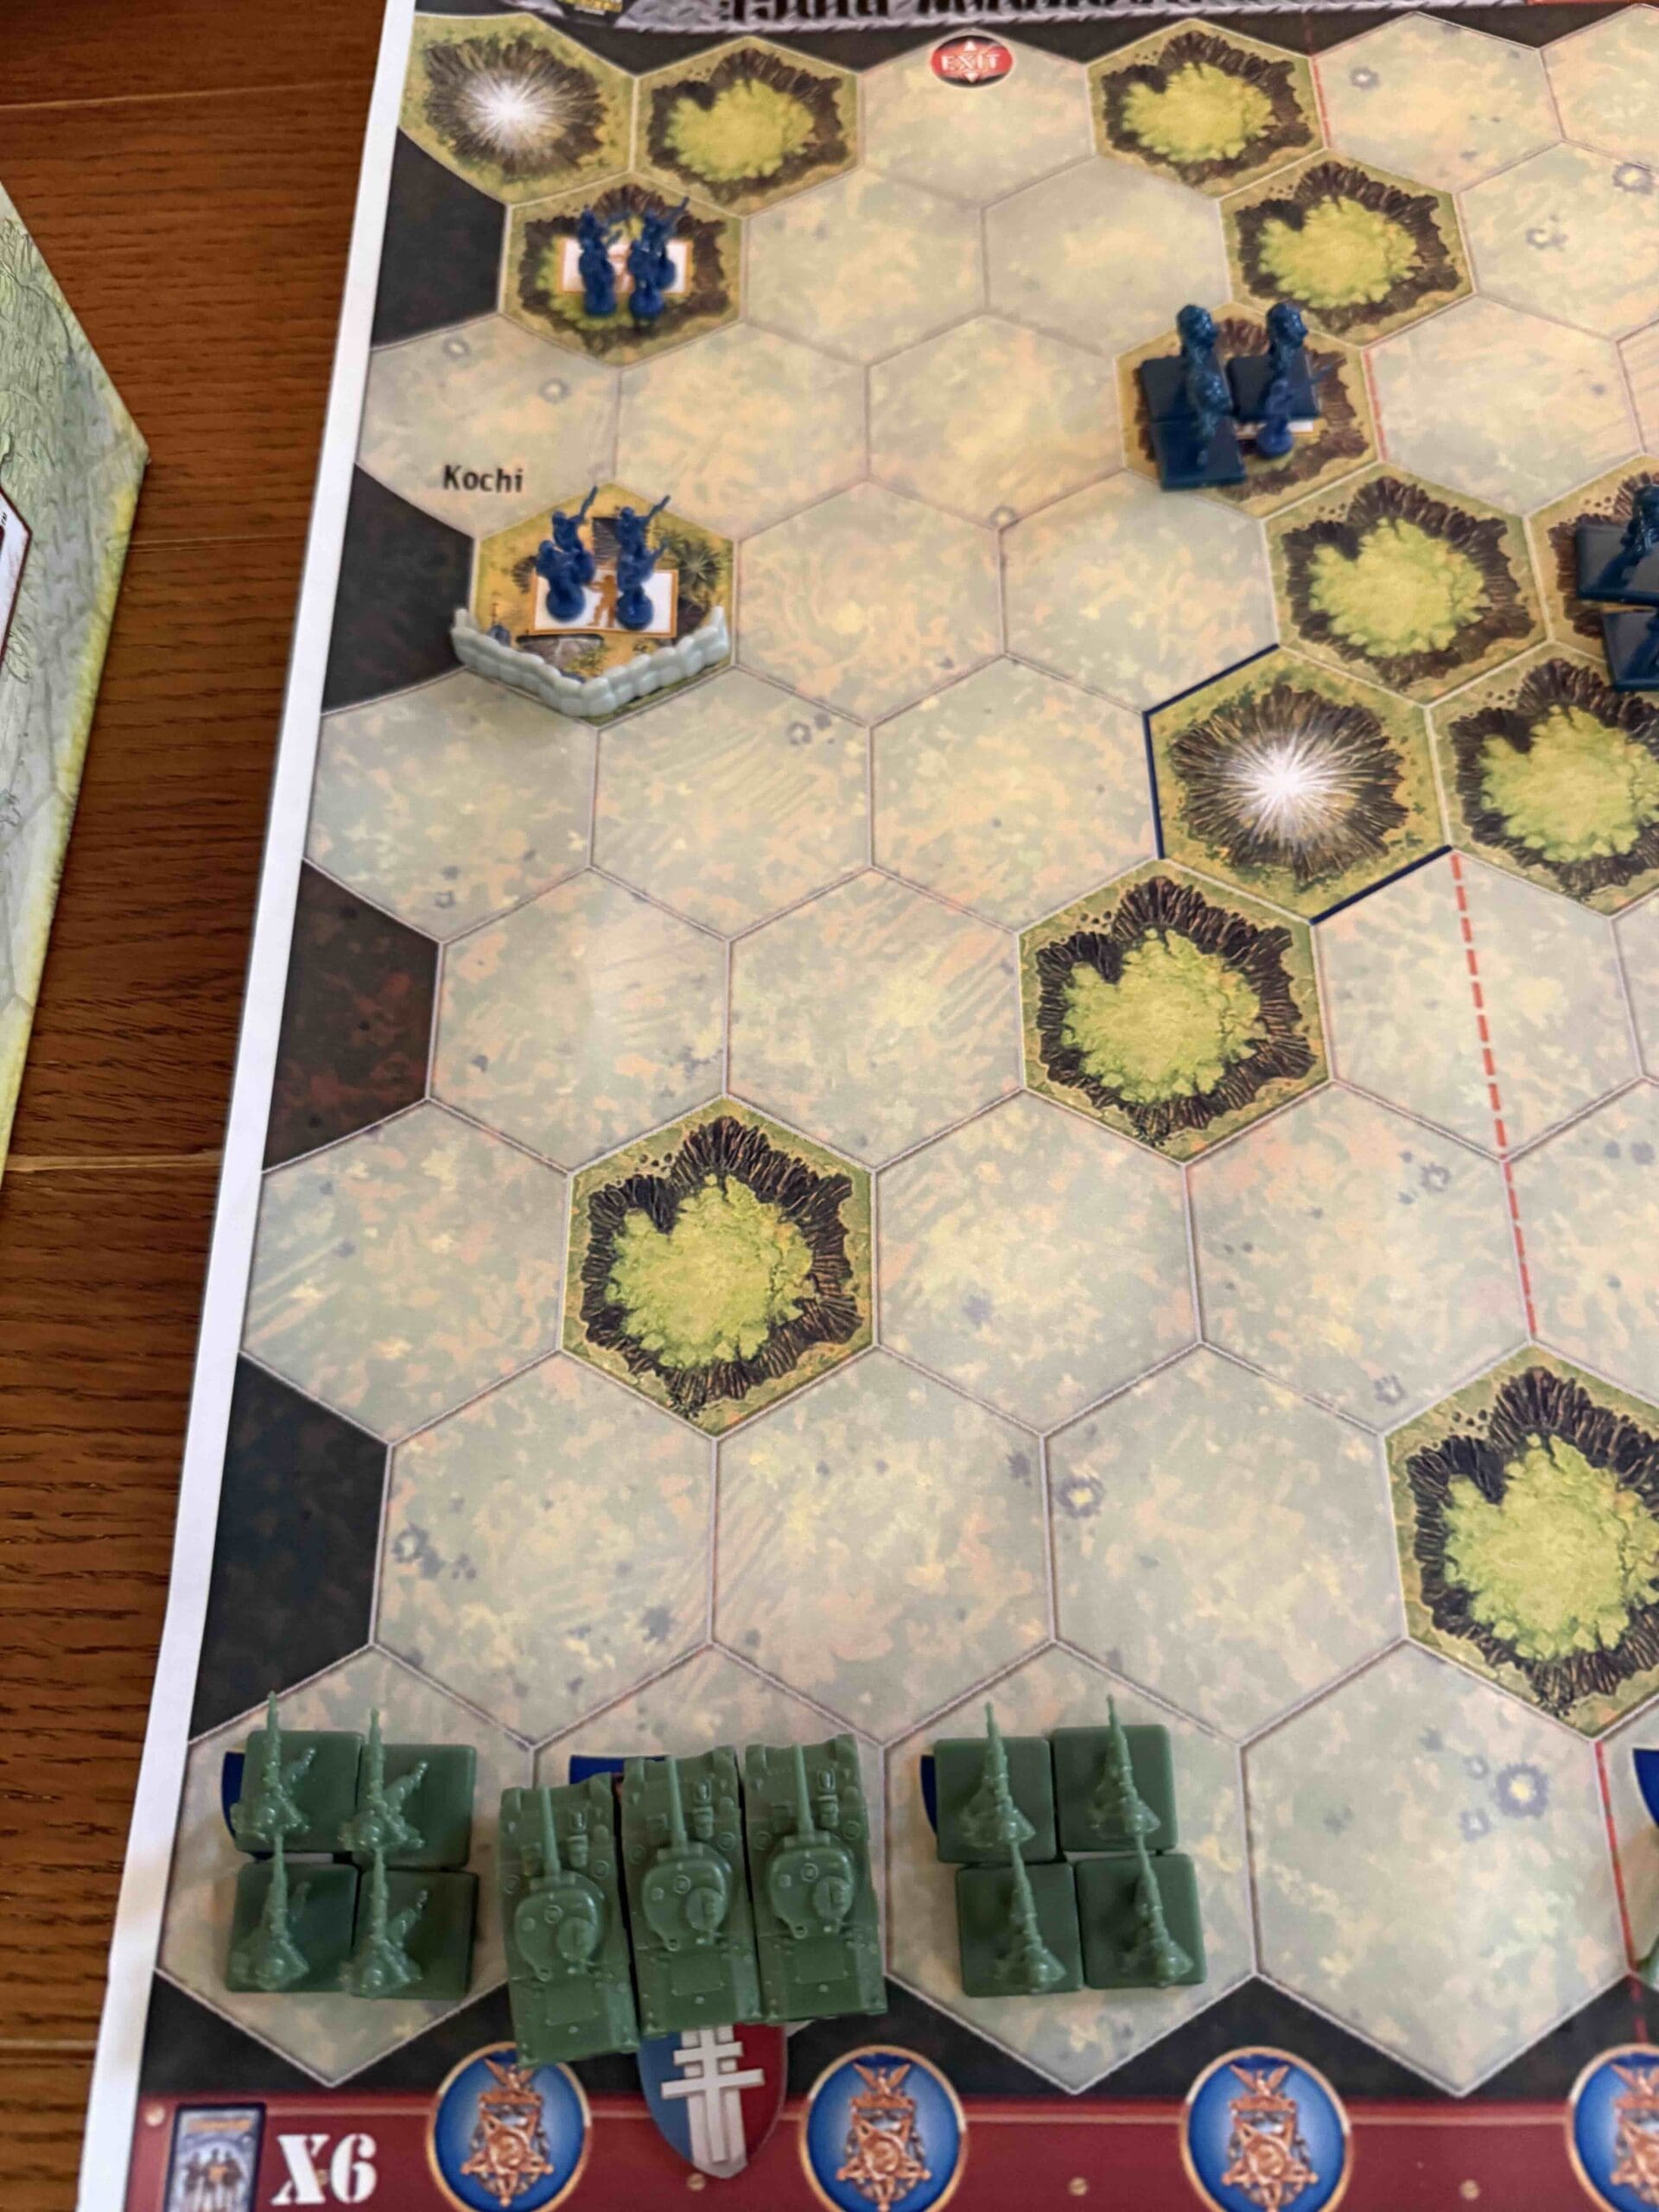
Okinawa Hacksaw Ridge

Okinawa Hacksaw Ridge

7 VP’s

Card Balance:

Allies – 6

Axis – 4

Complexity:

4

Conditions:

Jungle

Memoir 44 jungle

Context:

Location:

Okinawa

Year:

Theater:

Pacific

Summary:

Objectives:

7 VP’s

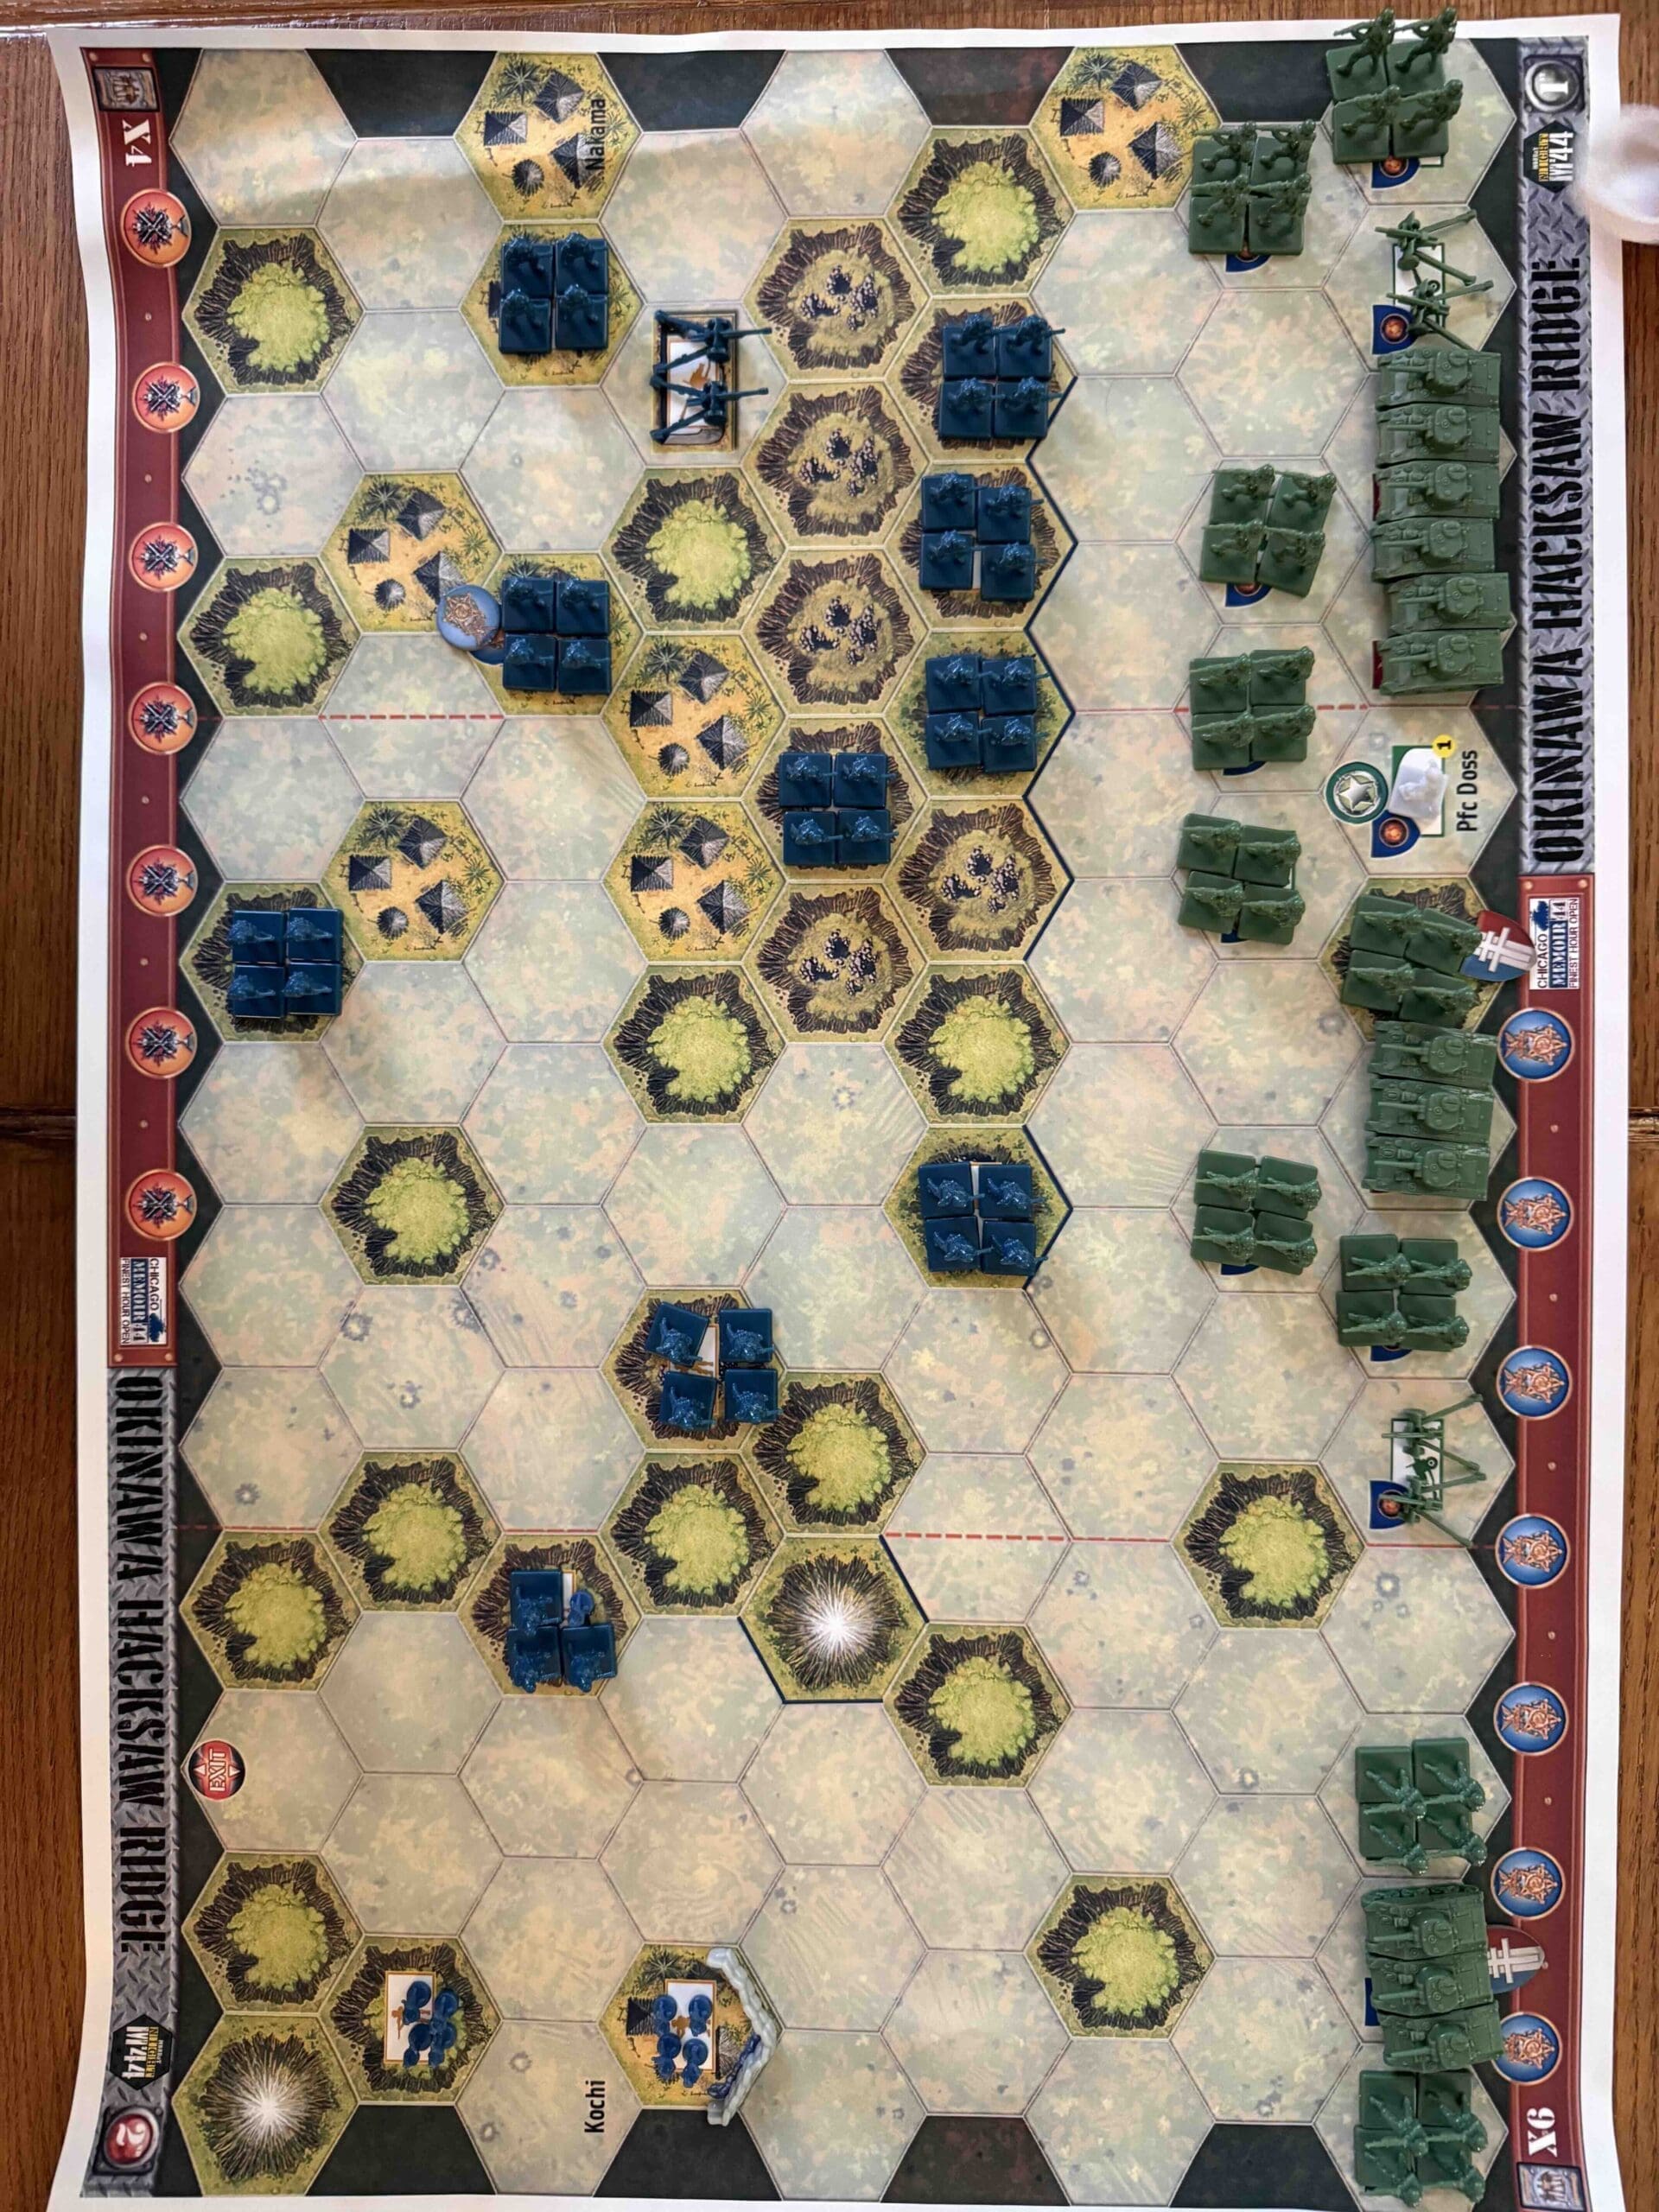
There is one Medal Objective for the Allies, the Axis HQ.

There is also an Exit Hex for the Allies which will result in one VP for every Allied unit that escapes.

Battlefield:

Jungle with a severe ridge and hills with tunnels

Troops:

Allies – 10 Infantry, 4 Armor including 3 Fire Tanks, 2 Artillery

Axis – 11 Infantry, 1 Artillery

Special Rules: 

1.  Air Power – Remove the Air Power card

2.  Pfc. Desmond Doss – is able to heal any adjacent infantry, as long as enemy units are not adjacent to him.  Process is the same as the Medics & Mechanics card. But he only heals Infantry.  He is a non-combatant and cannot attack anyone.  If eliminated, it does not result in a Victory Point.

3.  HQ rules – should the Allies capture the Axis HQ, the Axis will lose one card from their hand until they regain control of it.

4.  Fire Tanks – they attack with +1 dice when in Close Assault; perfect for attacking units in Caves on a Hill.

medal allies

Allied Strategy:

1.  Use your Fire Tanks as much as possible in Close Assault, so that they can help you conquer the Japanese units on the top of Hacksaw Ridge.

2.  The Armor on your left flank should keep pushing toward the Exit Hex.

3.  There is a pathway on the right flank which will allow you to get beyond the ridge and attack the Artillery near the Japanese HQ.

4.  Make good use of Pfc. Doss to heal any injured Infantry so that they can keep fighting!

medal axis

Axis Strategy:

1.  Guard the Exit Hex on your right flank.

2.  Guard the passage to your HQ on your left flank.

3.  Attack with your full-strength Infantry units at every opportunity so that you can make use of the Japanese Seishin Kyoiku Doctrine, and attack with four dice while in Close Assault.

4.  If Pfc Doss tries to heal Infantry units, you will have to take him out with your Artillery, or Infantry, but you will not gain a Victory Point for eliminating him.

Battle Reports

1
BR - OHR

Source:  Chicago’s Finest Hour Open

Link:

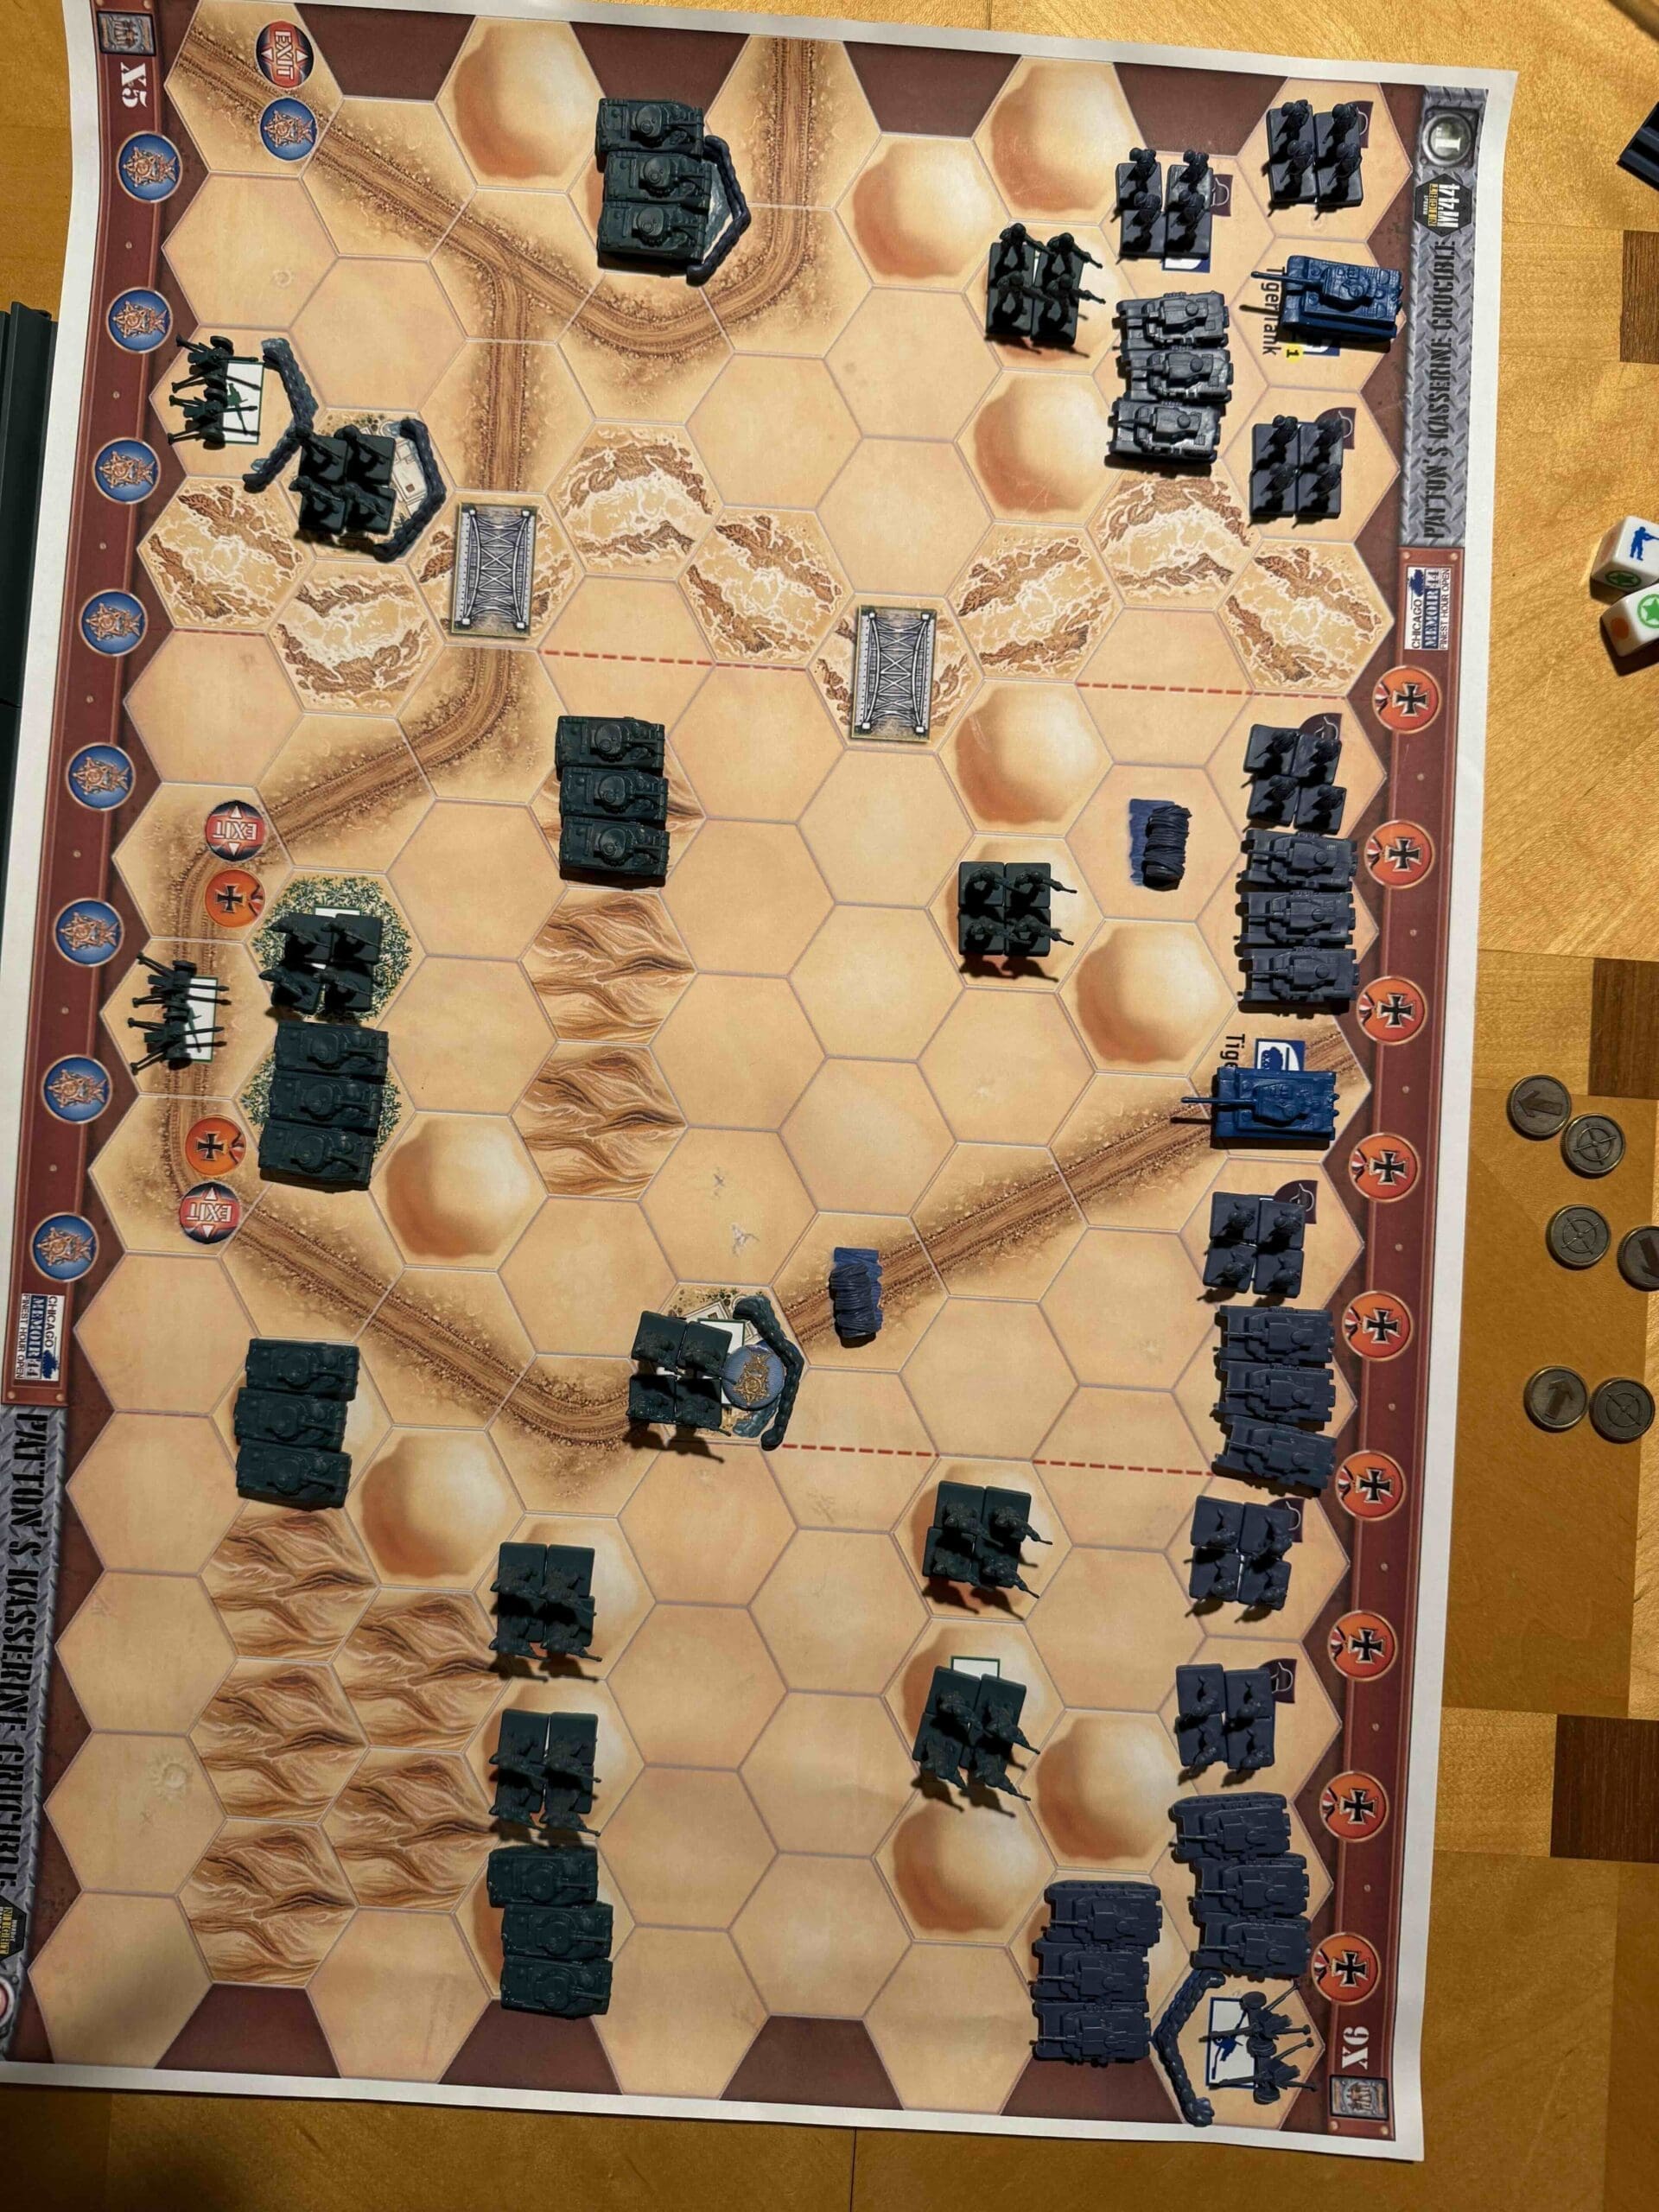
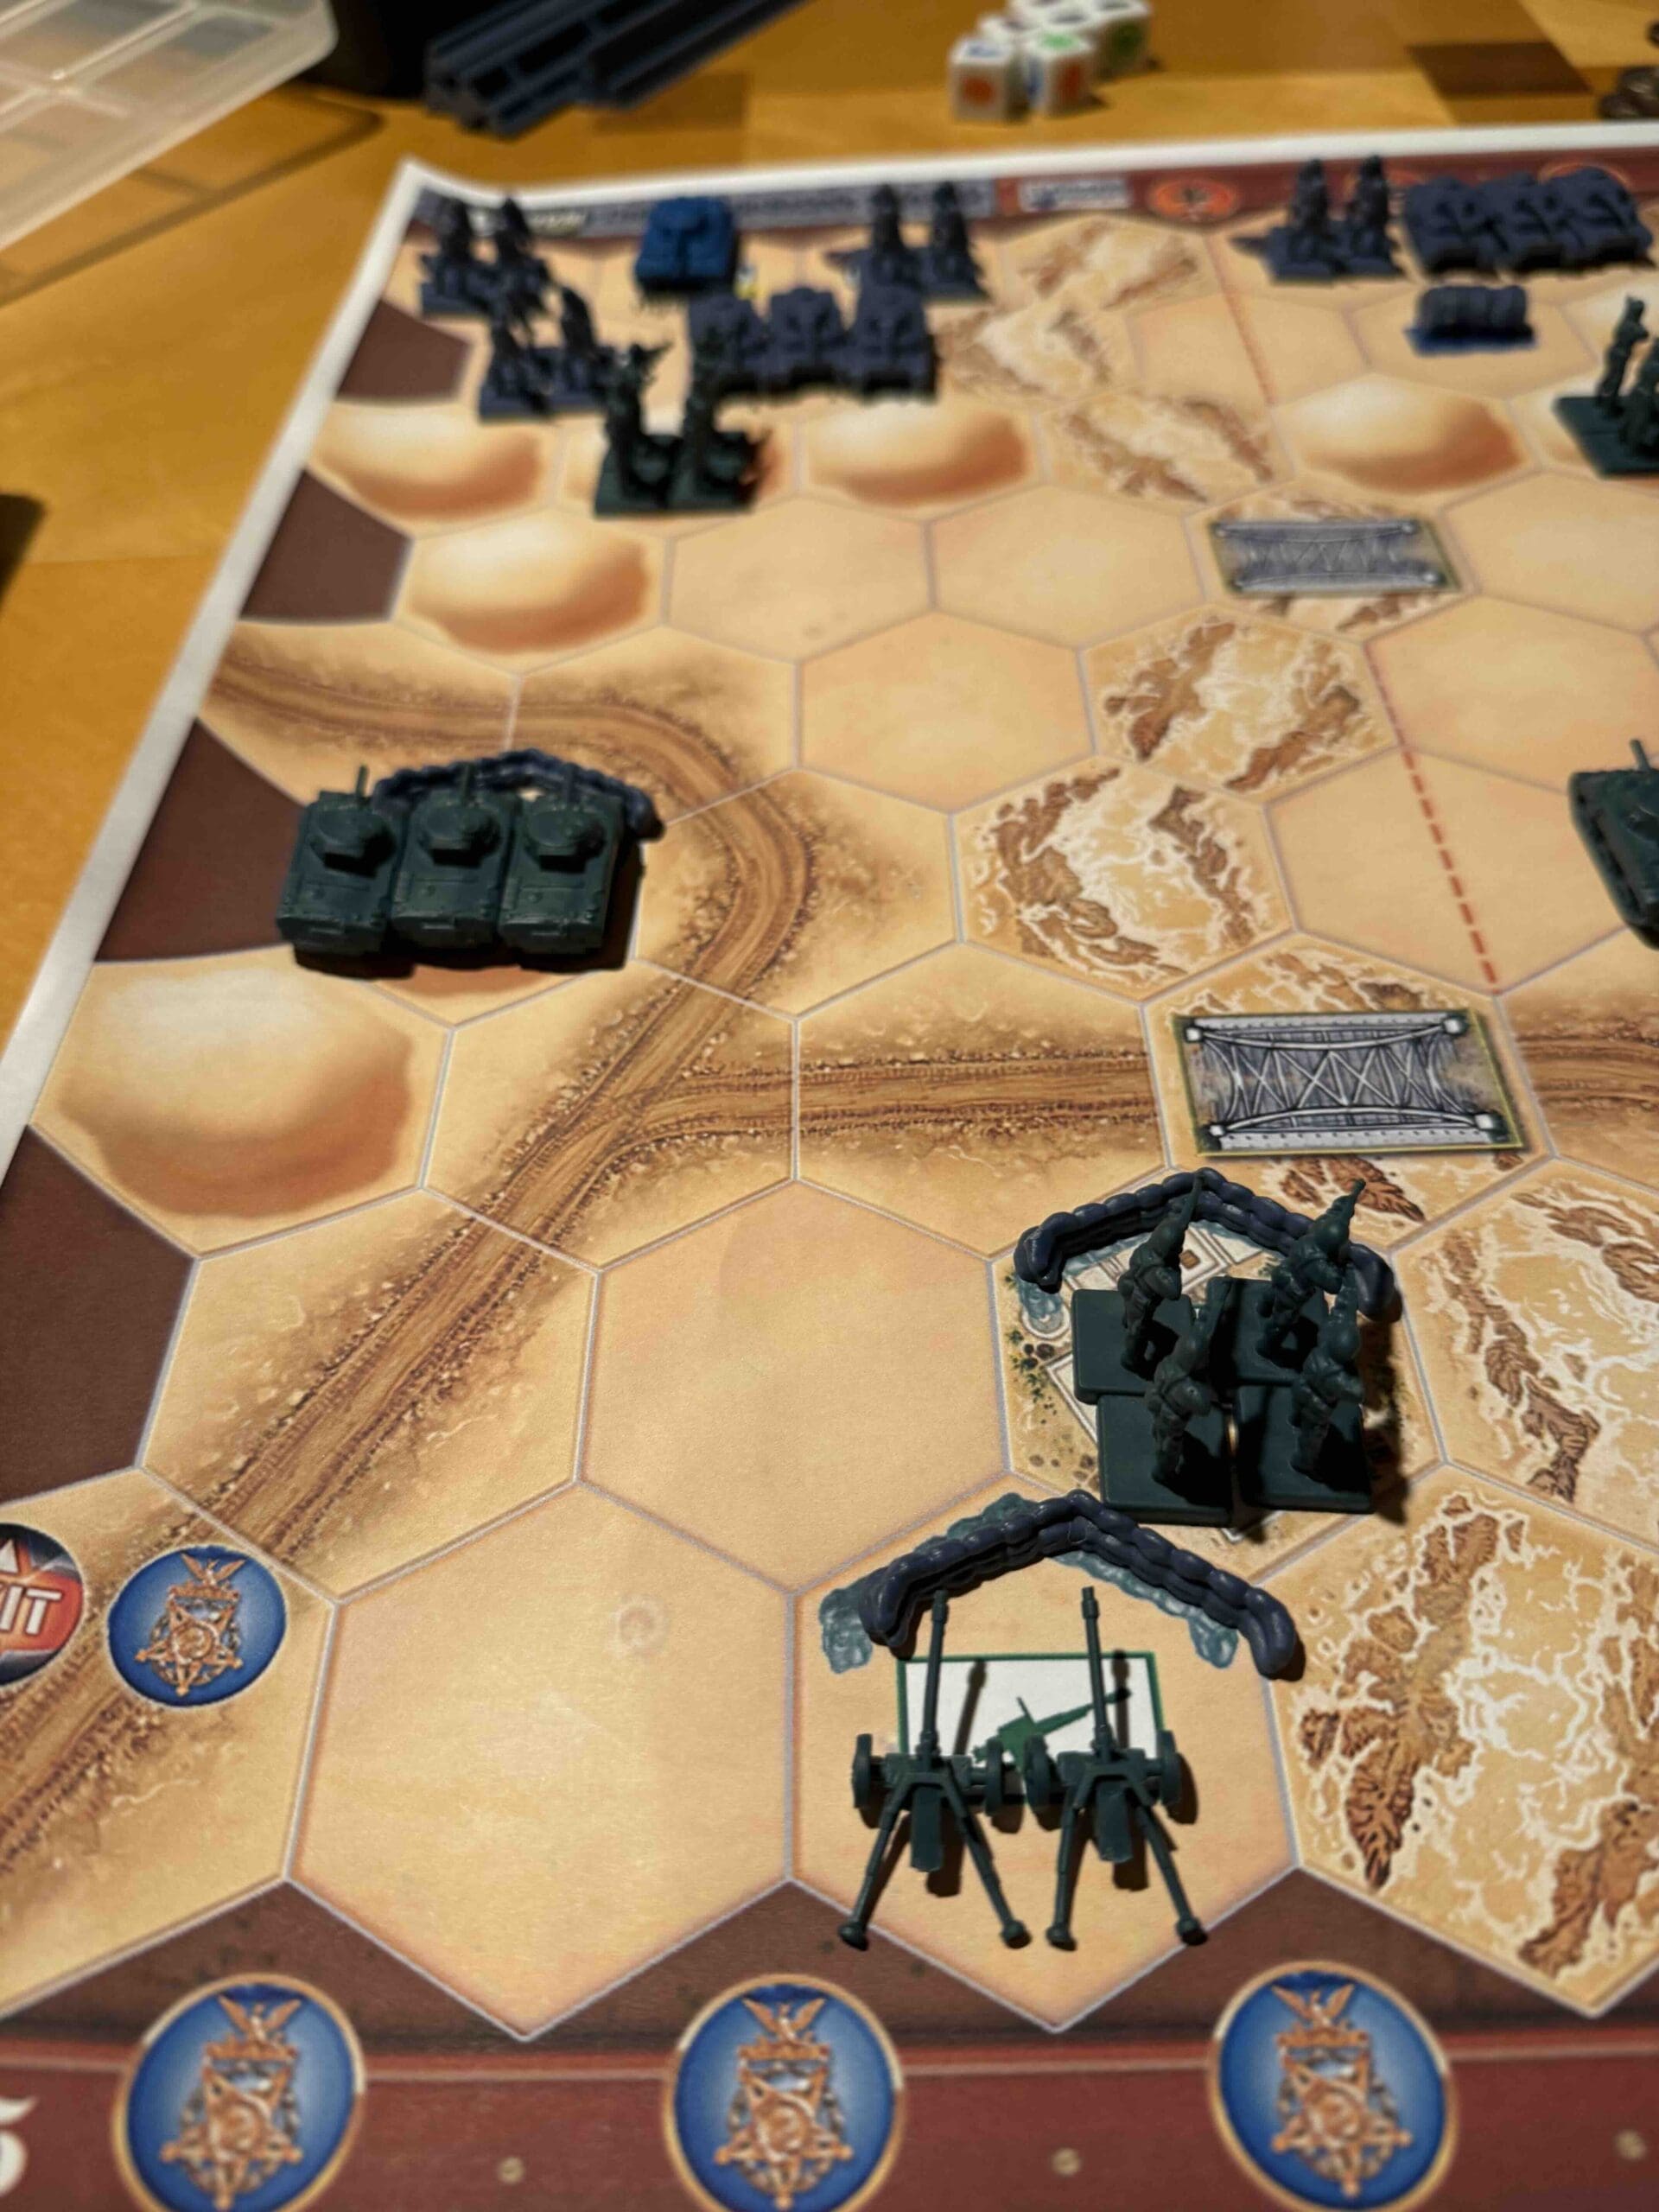
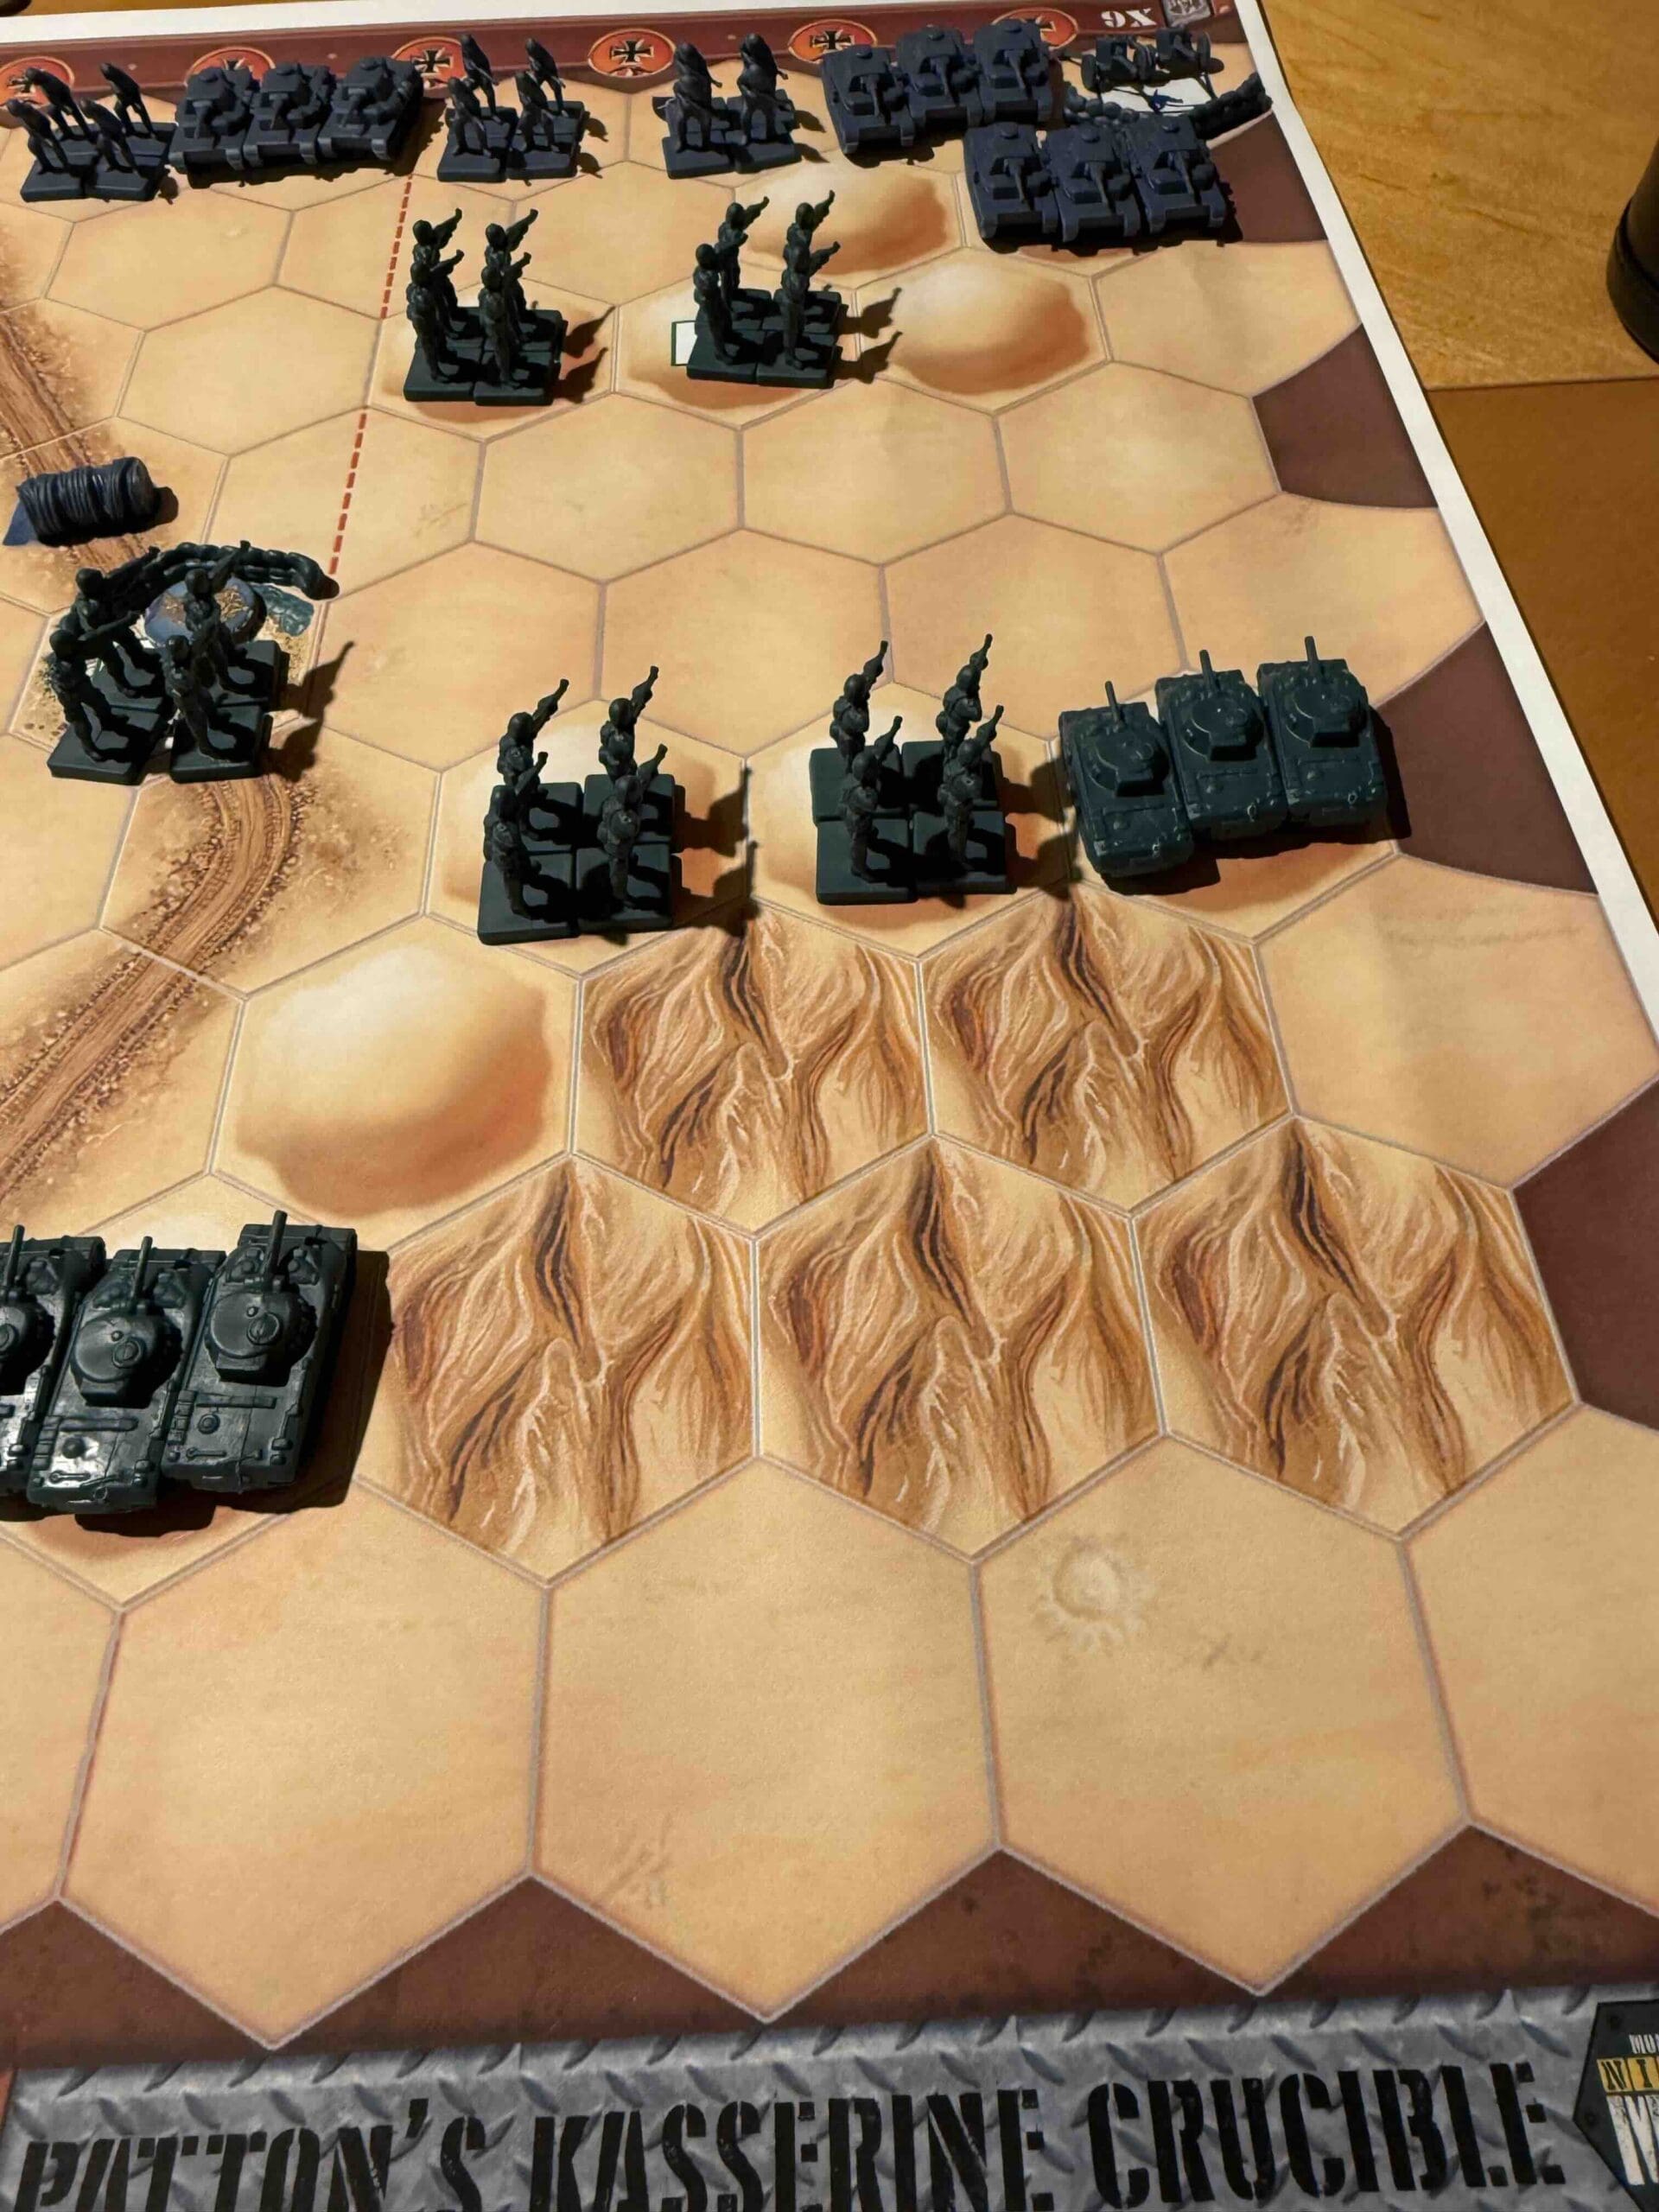
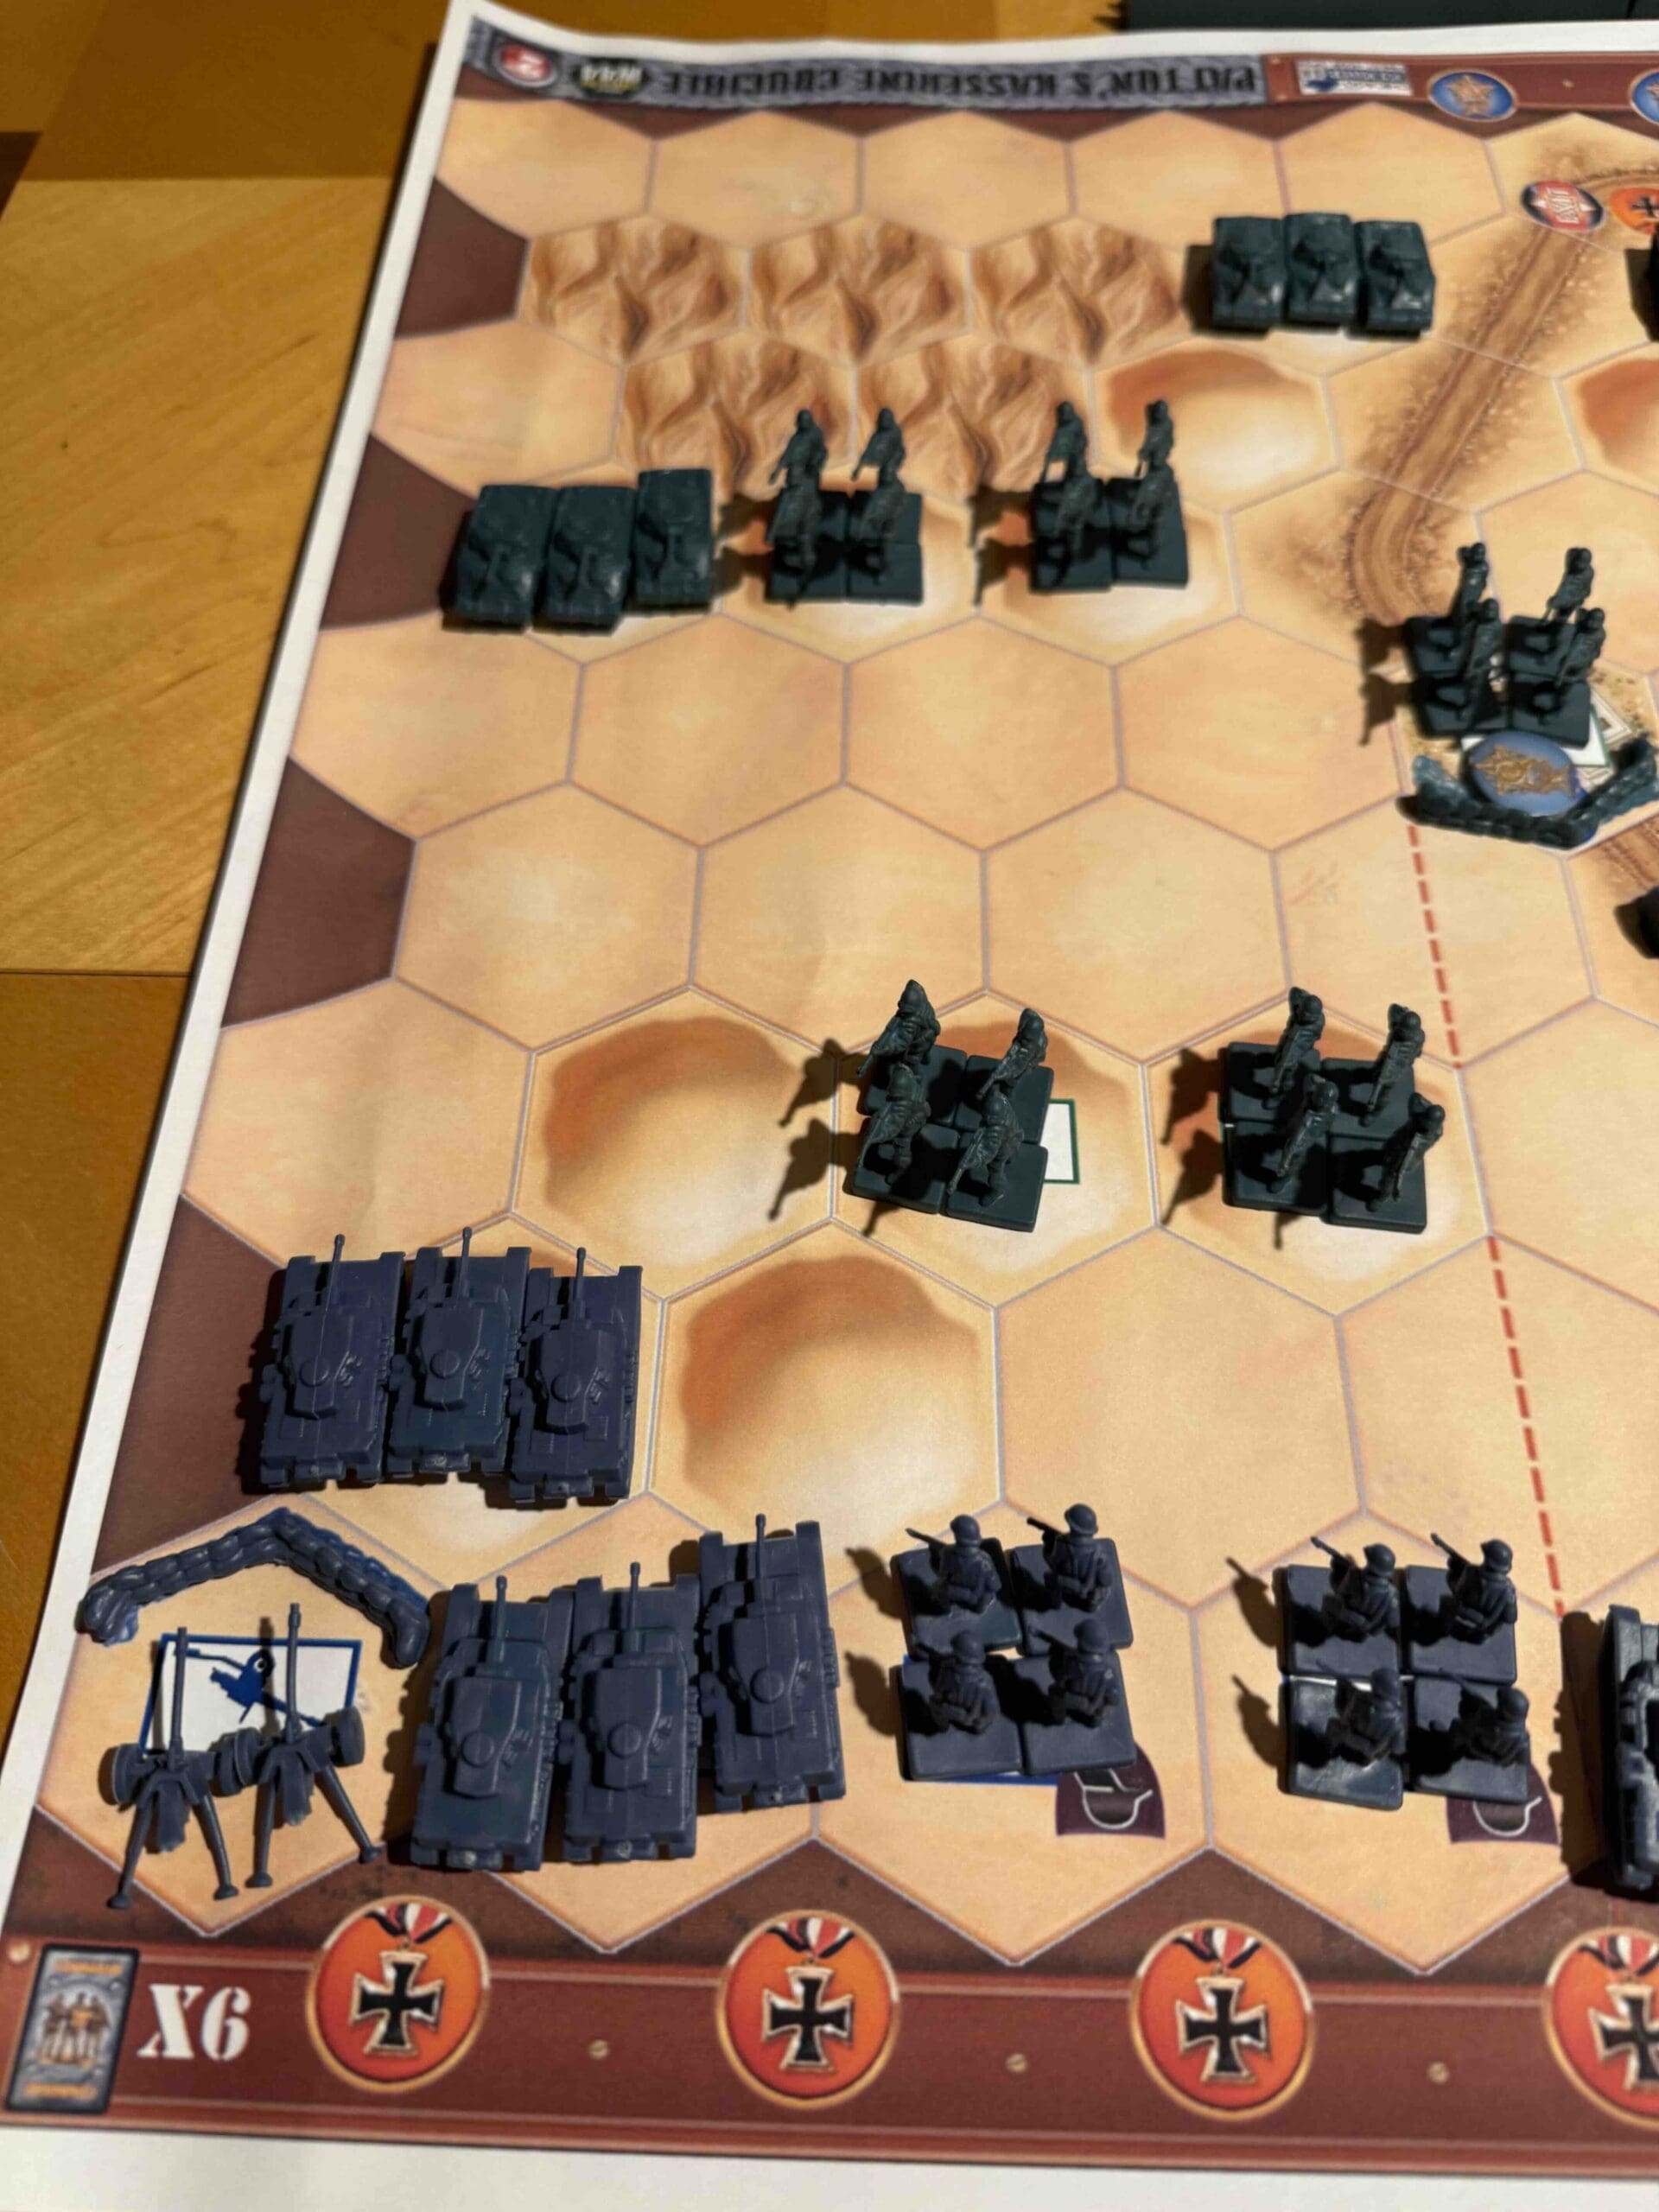
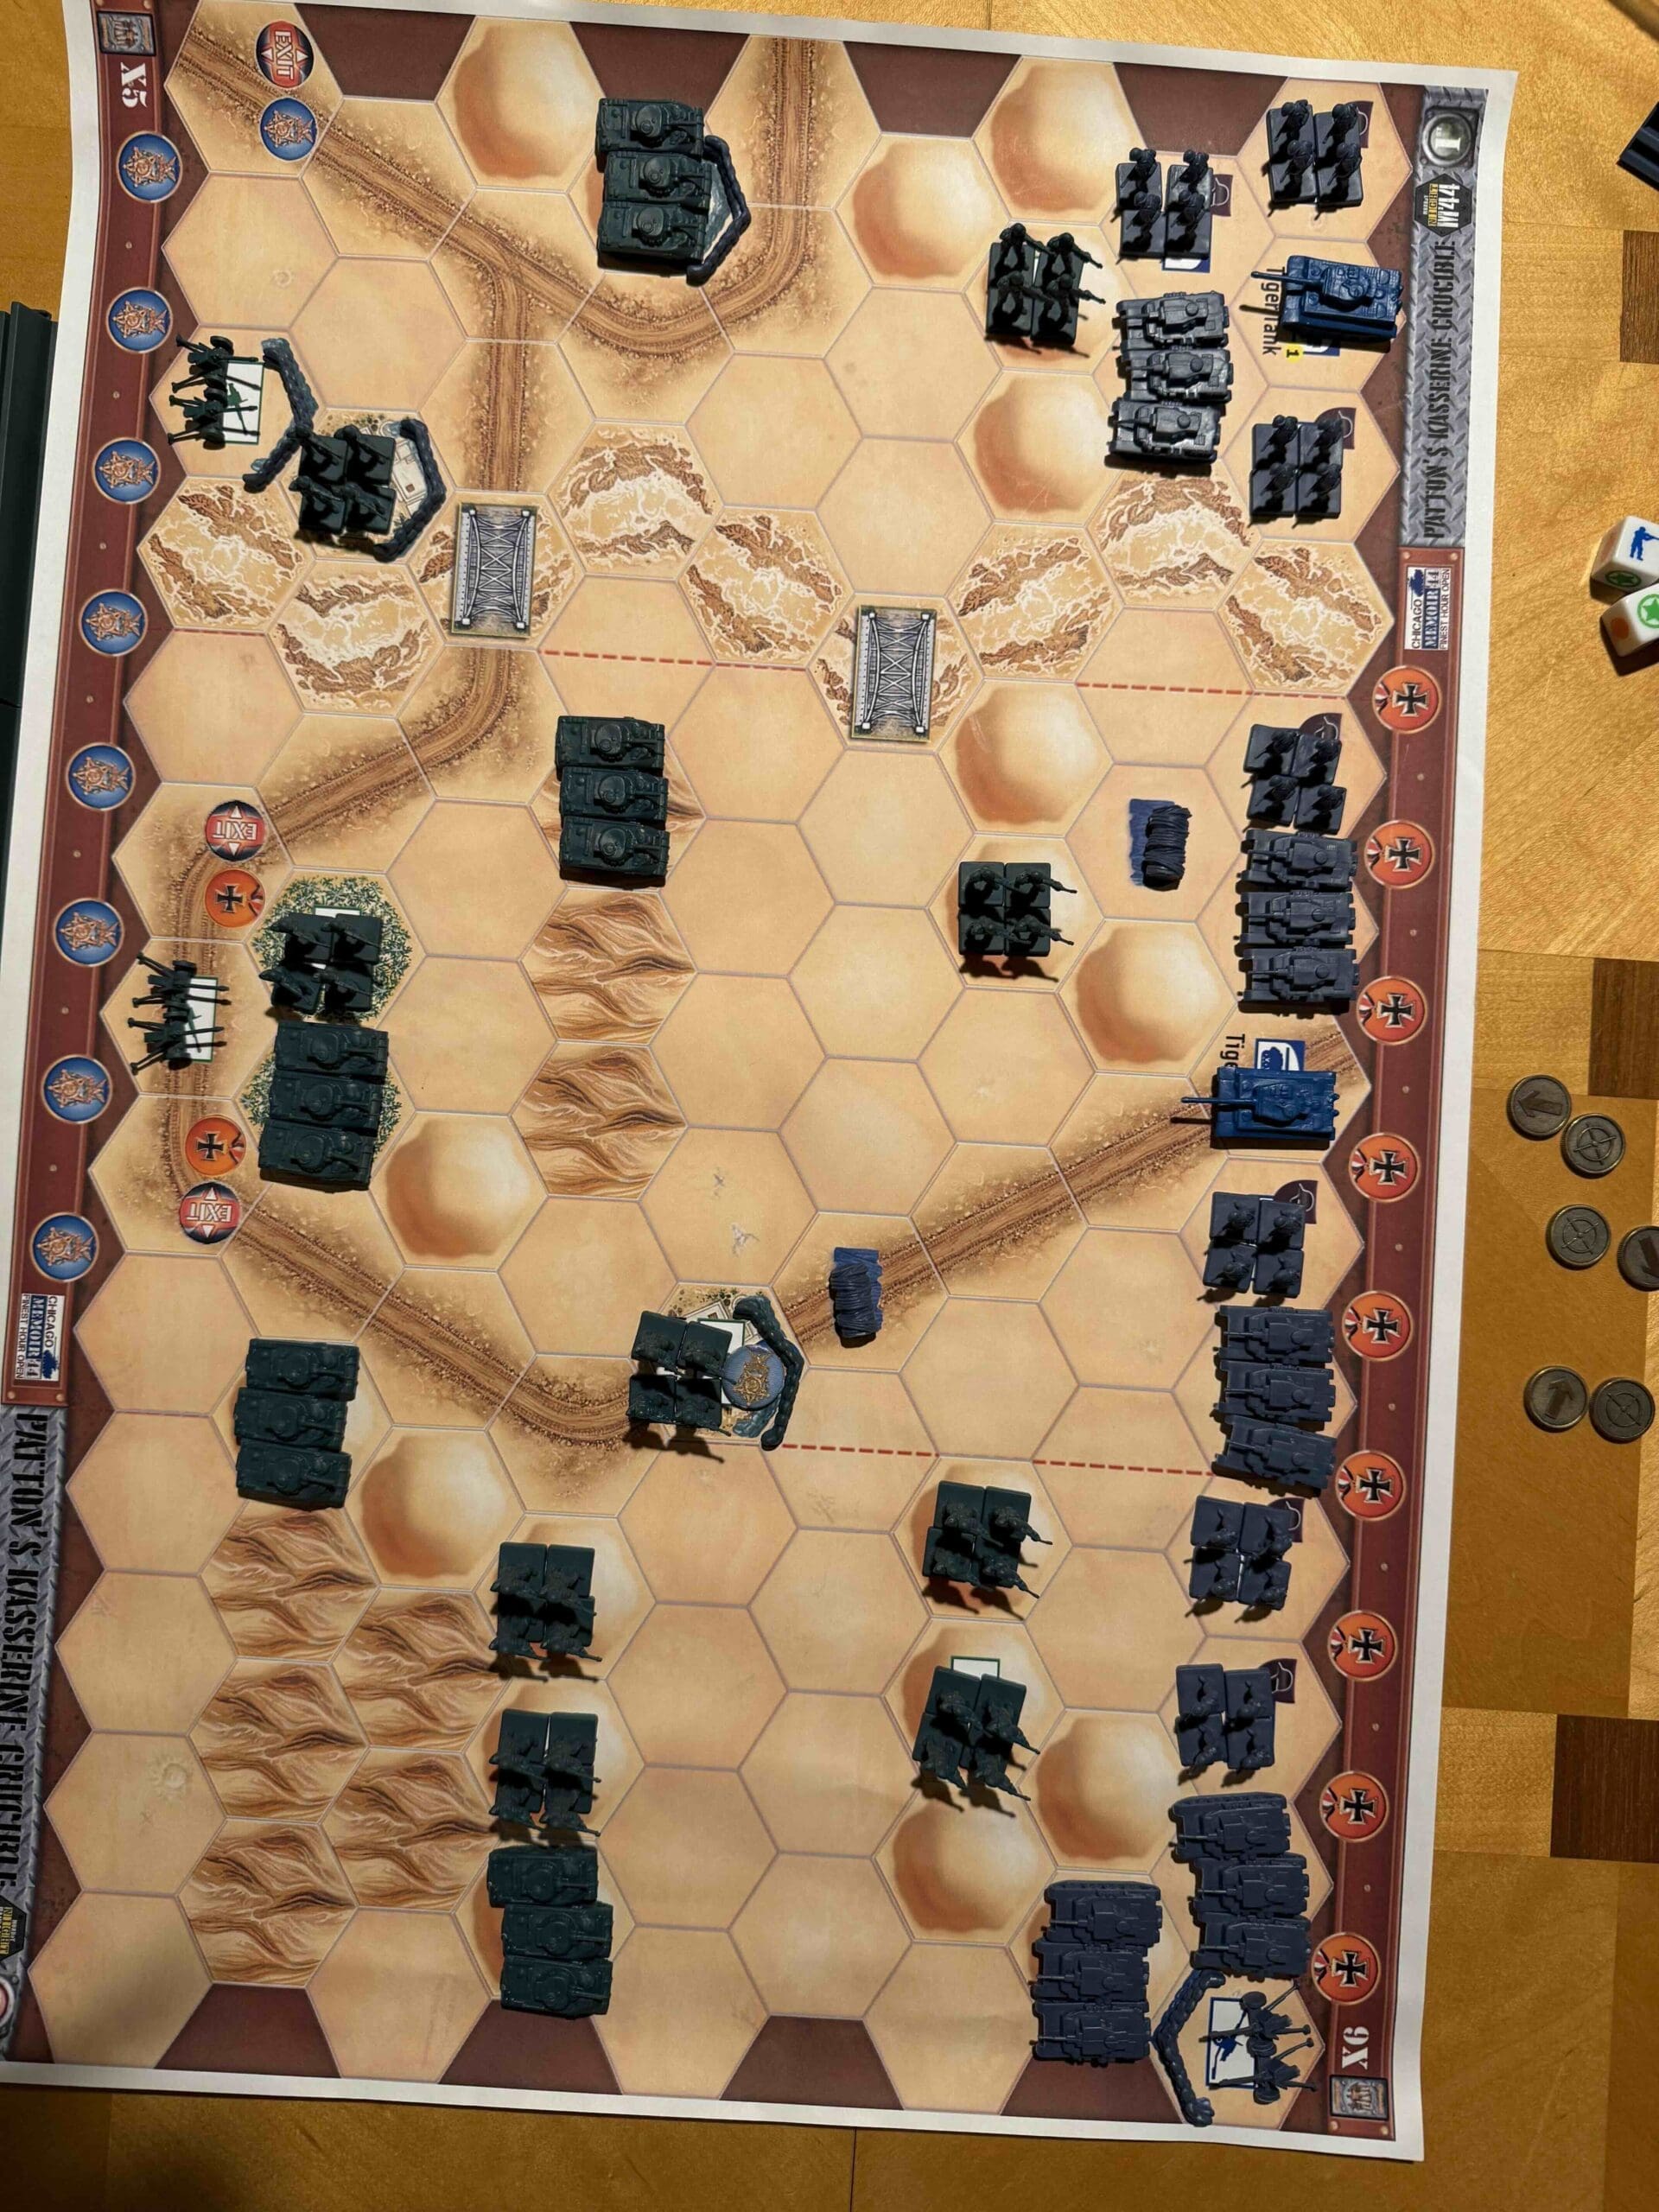
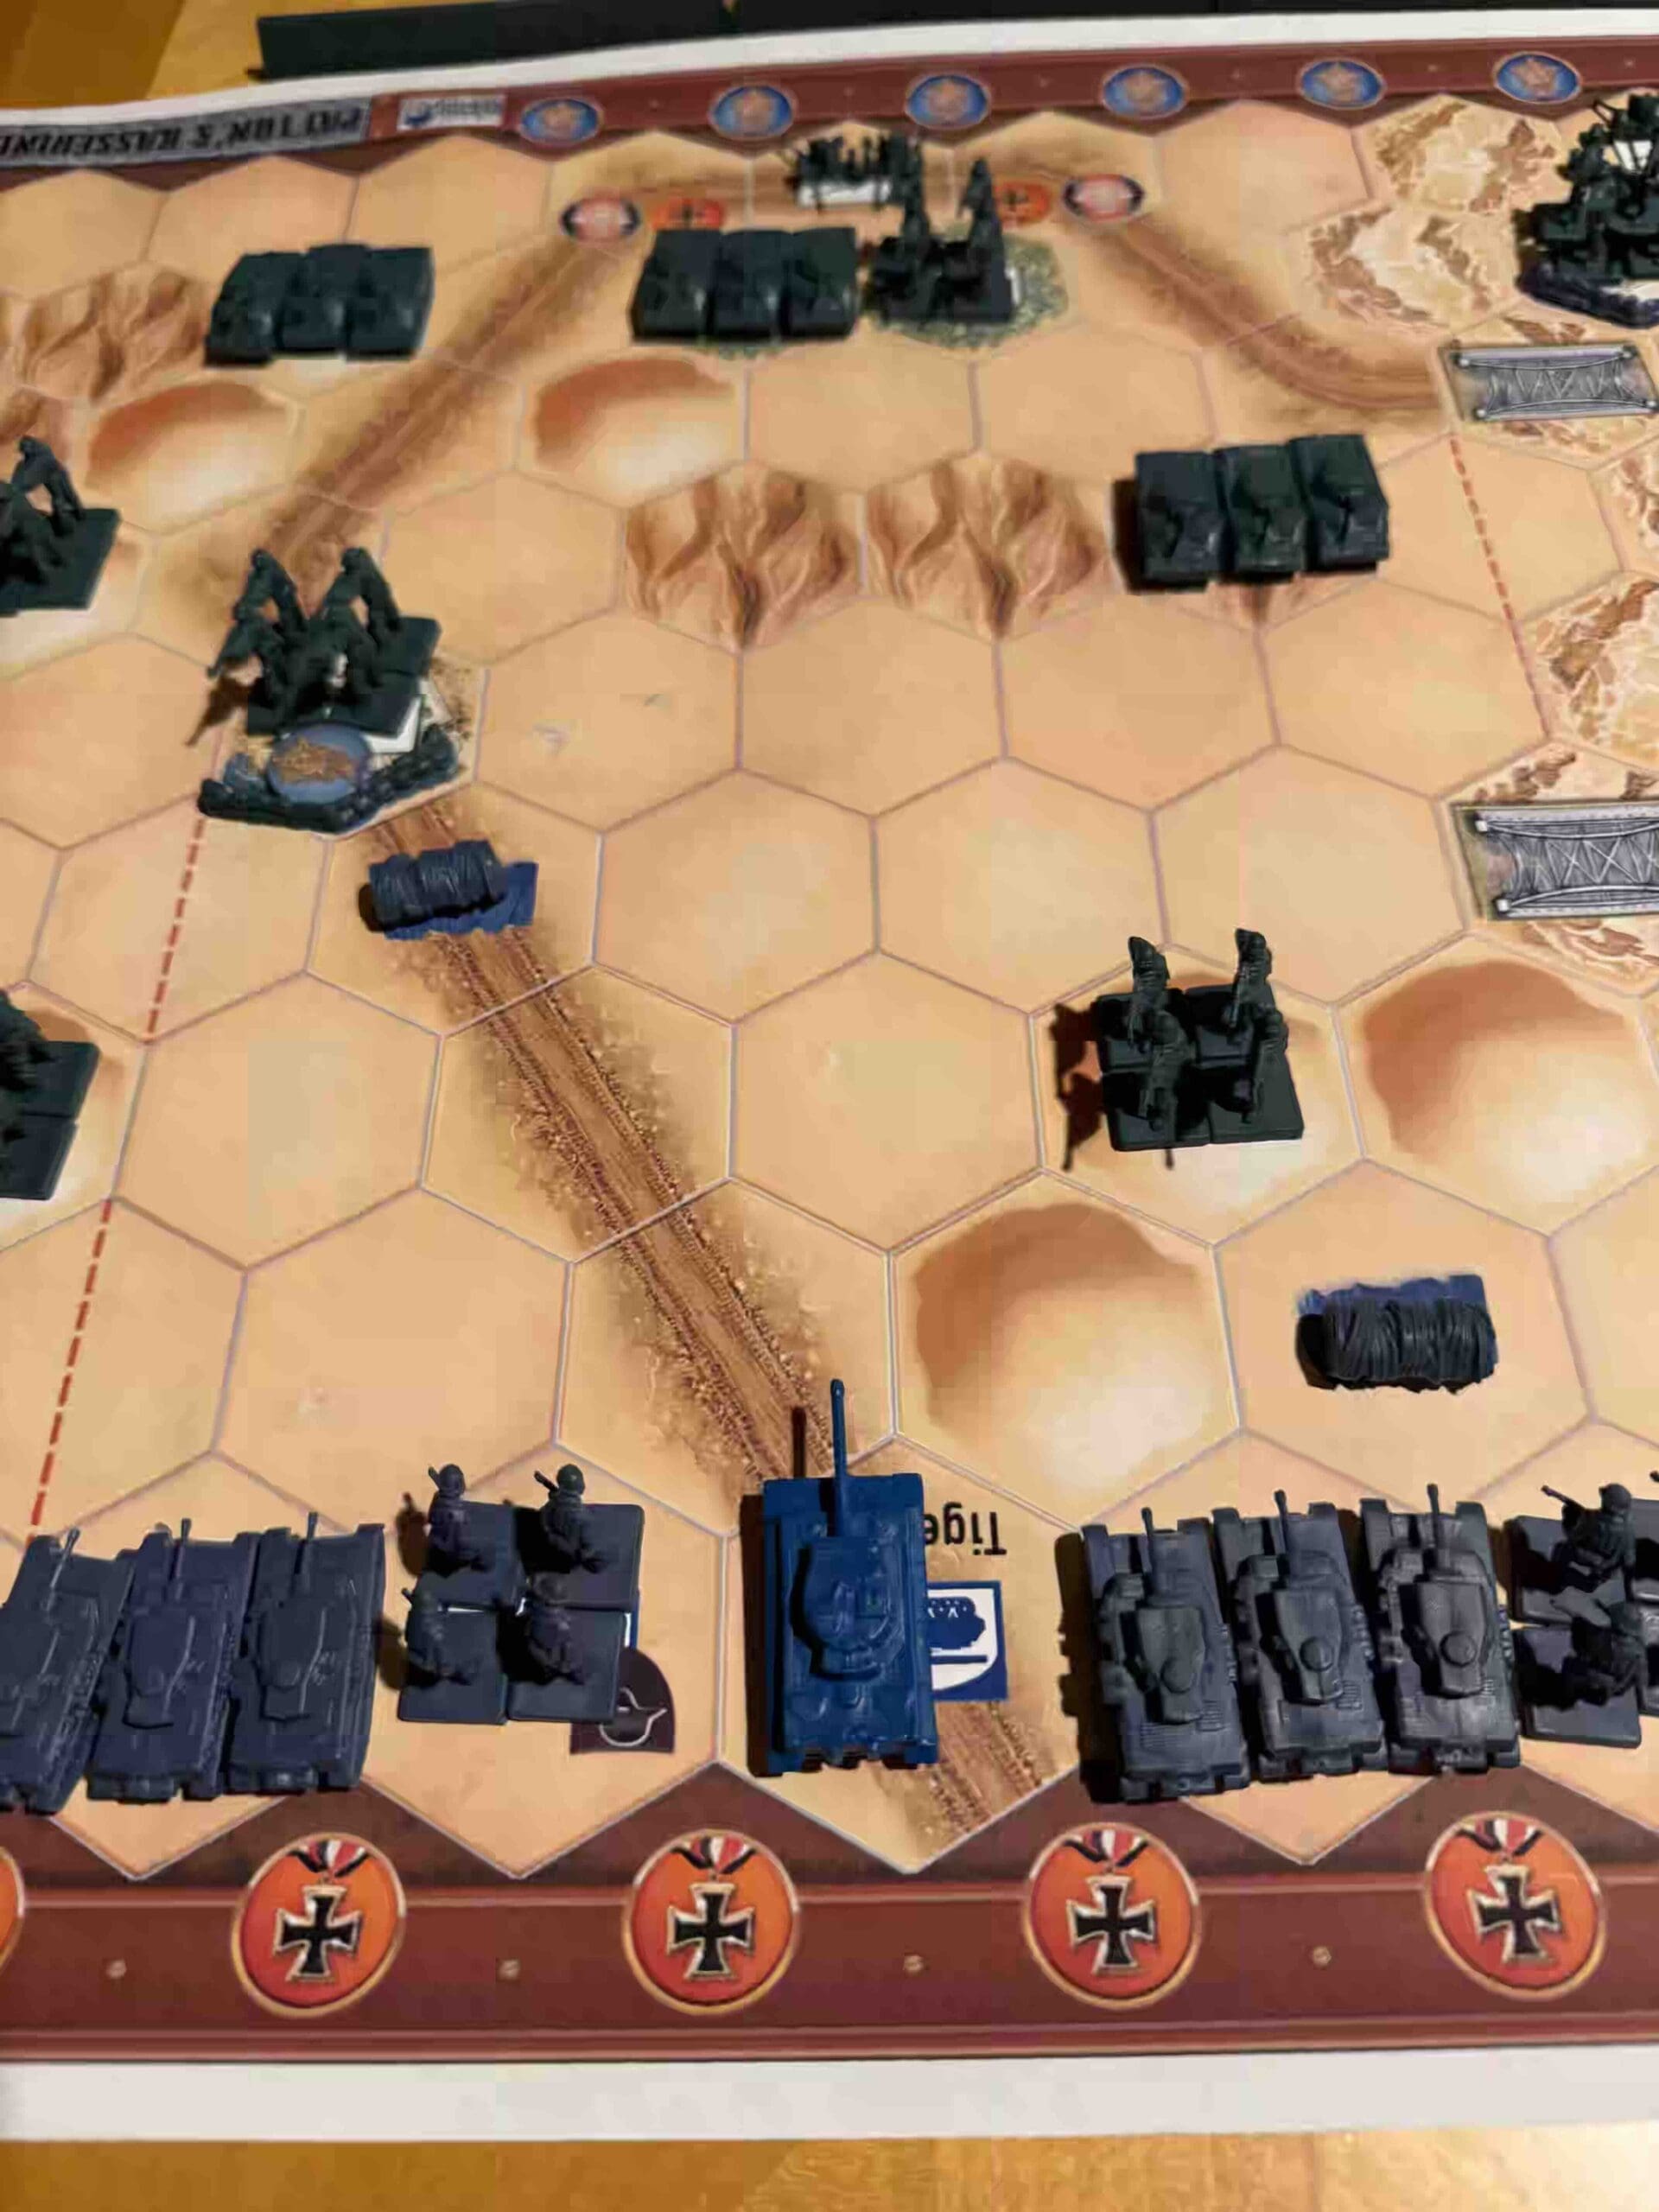
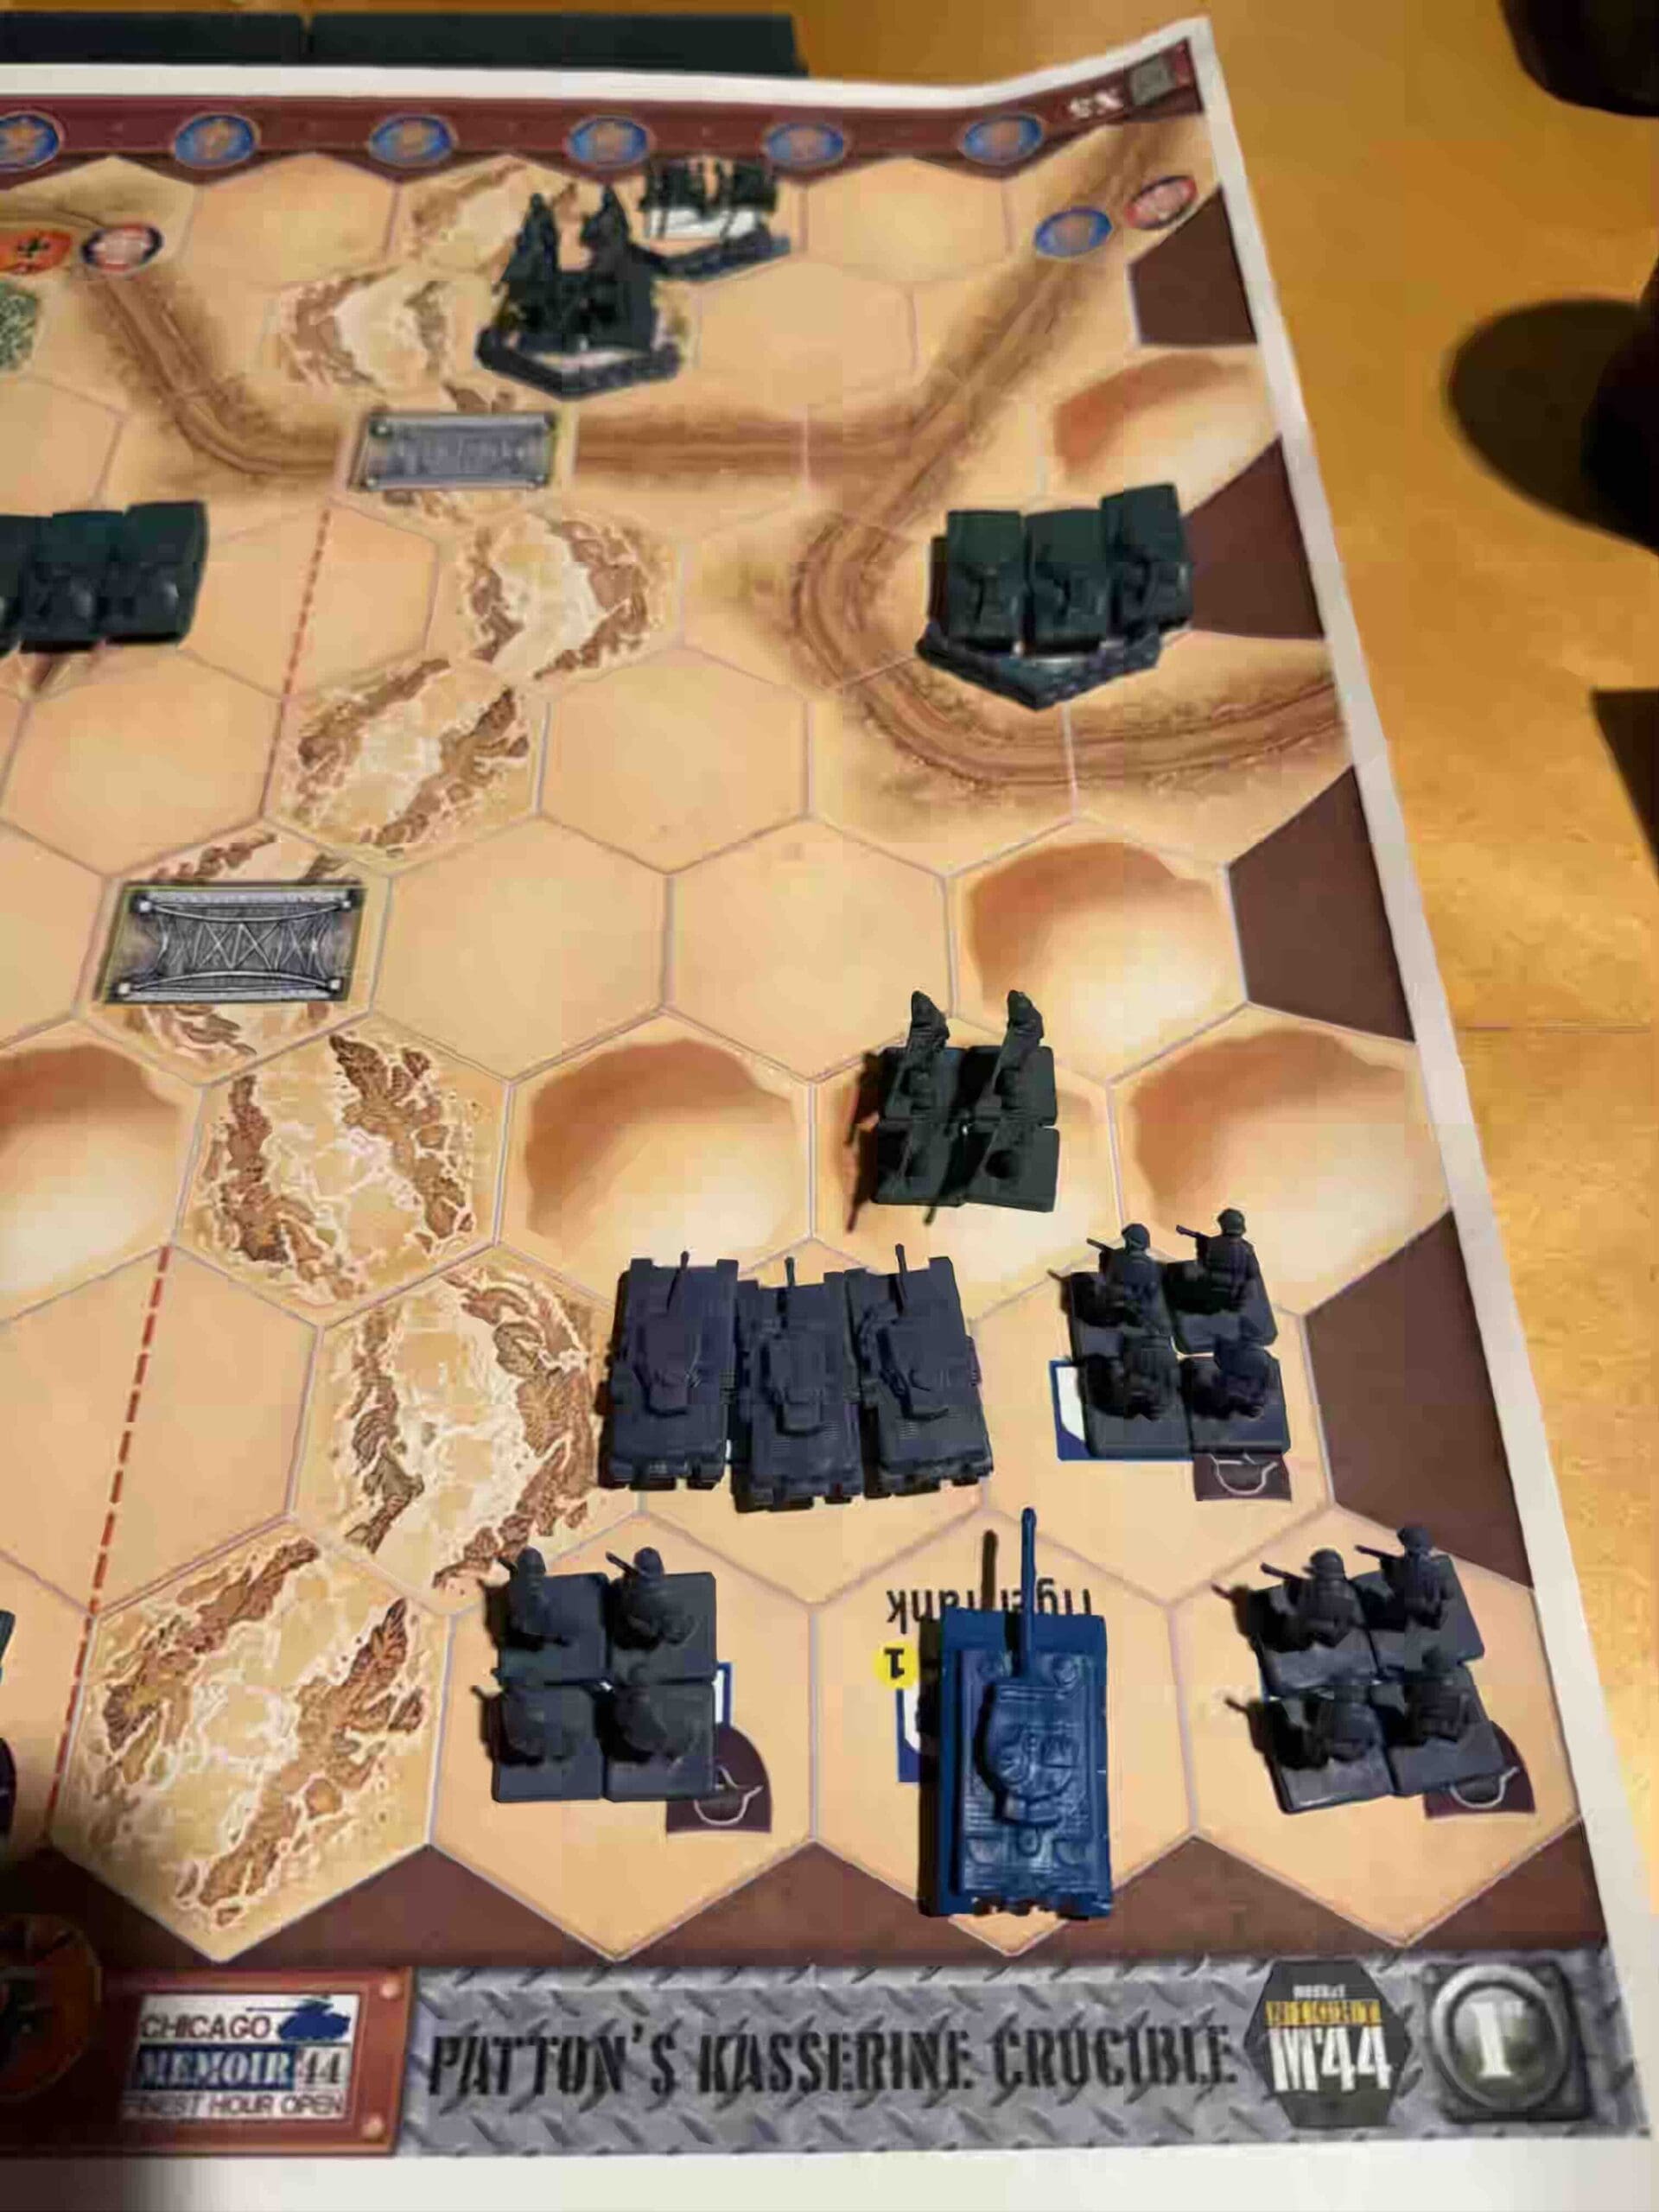
Patton’s Kasserine Crucible

Patton's Kasserine Crucible

8 VP’s

Card Balance:

Allies – 8

Axis – 8

Complexity:

3

Conditions:

Desert

desert

Context:

Historical

Location:

North Africa

Year:

1943

Theater:

Mediterranean

Summary:

Objectives:

8 VP’s

Battlefield:

Desert with dunes, ravines, hills & ergs

Troops:

Allies – 8 Infantry, 5 Armor, 2 Artillery

Axis – 7 Infantry, 7 Armor, 1 Artillery

Special Rules: 

1.  Air Power – Remove the Air Power card

2. Patton’s Iron Fist – As Allies, at the end of your turn, when it is time to draw a new card, you may choose any one card from the discard file and place it back into your hand.  This may only be done once. 

3.  Tiger Tanks – Axis have two Tiger Tanks

4.   Ravine – the Ravine is impassable

5.  Ergs – the swirly terrain is an Erg. It is like a Hill, but once a unit moves onto it, the unit must stop. 

6.  Bridges – Allies can destroy either of the two bridges, with an Infantry unit on it, can roll two dice, and a Grenade will destroy it. The Infantry unit is not destroyed.

7.  German Infantry Units – they are all Special Forces, and can move two hexes and still attack.

medal allies

Allied Strategy:

1.  The Allies have an Escape Hex on their left flank. Each unit making it out wins a medal for the Allies.  But do not make a mad dash for it with all of your forces, as this is an eight medal game, and if you run, the Axis forces will overwhelm your troops, killing many of them and then escaping out their own Escape Hex.  So you need to practice a strategic retreat where some of your forces practice a delaying action.

2.  Attack with your Infantry on the forward front dunes. They are close to the enemy and can cause lots of damage.

3.  Do not advance your Infantry on the right flank rear dunes forward.  If your Infantry tries to attack enemy Armor in the open desert, they will get slaughtered.

4.  Stay behind your sandbags as long as you can.

medal axis

Axis Strategy:

1.  Immediately attack the enemy Infantry on the dunes right in front of you.

2.  Get your two Tigers into action ASAP.

3.  As you move and attack, keep pushing your forces toward the center Escape Hexes to put pressure on the enemy forces.

Battle Reports

1
BR - PKC

Source:  Chicago’s Finest Hour Open

Link:

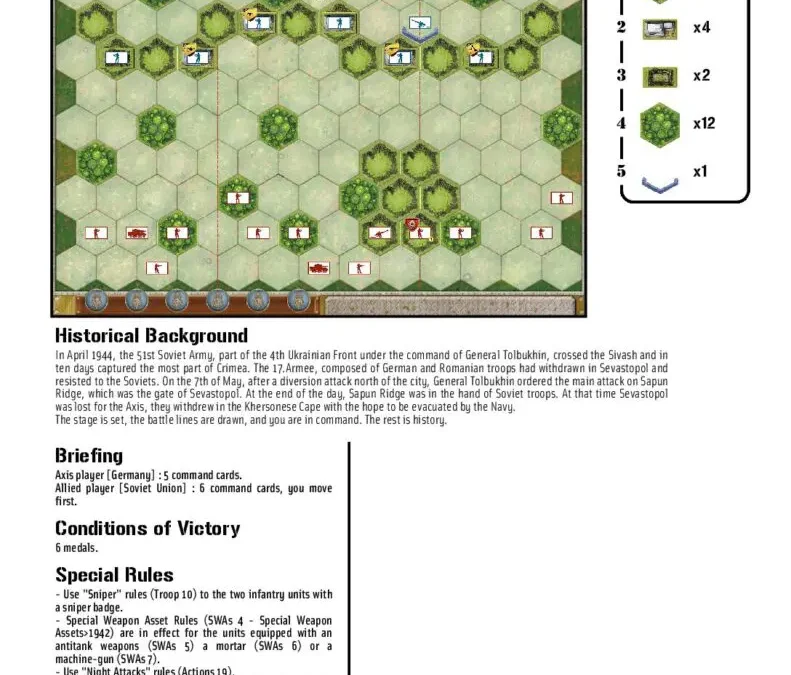
Capture of Sapun Ridge

Capture of Sapun Ridge

Scenario_Toulon_start_Allies

6 VP’s

Card Balance:

Allies (Soviet Union) – 6

Axis (Germany) – 5

Complexity:

2

Conditions:

Countryside

countryside

Context:

Historical

Location:

Crimea

Year:

1944

Theater:

Eastern

Campaign:

Codename:

Summary:

Objectives:

6 VP’s

Battlefield:

Countryside with trees and hills

Troops:

Allies – 11 Infantry, 2 Armor, 1 Artillery

Axis – 9 Infantry, 1 Artillery

Special Rules: 

1.  Sniper

2. Special Weapons

3. Night Attacks

4.   Steep Hills

medal allies

Allied Strategy:

medal axis

Axis Strategy:

Author:

Link:

Download

Clervaux – The Road to Bastogne

Clervaux - The Road to Bastogne

December 16-17th, 1944:

Clervaux was the first hard punch the Germans threw on their dash toward Bastogne during the opening of the Battle of the Bulge, and our boys met it head-on.

At Clervaux, the men of the 110th Infantry Regiment were badly outnumbered and staring down German armor—but they didn’t blink. They fought from roadblocks, stone buildings, and that old castle like seasoned professionals, squeezing every minute they could out of the enemy. They knew the mission wasn’t to win ground; it was to bleed time.

Clervaux fell, but it fell hard—and that delay threw sand in the German gears. Those precious hours helped seal Bastogne’s defenses and turned a German gamble into a fight they couldn’t win. That’s how wars are won: not by retreating fast, but by making the enemy pay for every damned mile.

~~ General Howitzer

VP’s: 8

Card Balance:

Allies – 5

Axis – 6

Complexity:

3

Conditions:

Winter

winter

Location:

Belgium

Year:

1944

Theater:

Western 

Campaign:

Battle of the Bulge

German Name:

Unternehmen Wacht Am Rhein

Summary:

This is a fun and exciting scenario as the Americans attempt to hold off a German onslaught of tanks and infantry in the Battle of the Bulge.

Objectives:

Eight Medals.  There are also two Exit Medals for the Germans to breakthrough, and three Permanent Medal Objective (Turn Start), including the castle at Clervaux.

Battlefield:

Winter conditions, with roads and rivers cutting through the battlefield.

Troops:

Allies – 8 Infantry, 3 Armor, 1 Artillery

Axis – 9 Infantry, 7 Armor

Special Rules:

1.  Winter Weather rules – two hex armor movement

2.  Reduced Visibility rules – only hit with Grenades unless in Close Assault

3.  Tank Destroyer (2,2,2,2), and hits Armor on Stars

3.  The river is frozen, but impassable.

4.  Pontoon Bridge rules – use an Attack card to build a bridge; instead of moving three units, build one Pontoon Bridge.

5.  Also play with Winter Combat cards in addition to regular Combat cards

6.  Winter Combat Cards – two per player; 

medal allies

🔥 Winning as Allies

1.  The enemy has overwhelming force against you – if they can get their Armor across the river. So your strategy includes two phases; Phase One: Attack while you can before the Armor shows up.  Phase Two: once the Armor makes it into the battle, then retreat to defensive positions.

2.  Defend the Exit Hexes.

3.  Defend the three Permanent Medal Objectives.

medal axis

🔥 Winning as Axis

1.  First priority is to get some bridges built across the impassable Our River, so that your tremendous tank force can make a difference in this battle.  Play an Attack card, and instead of moving three units, build a Bridge in that section. The goal will be to build one bridge in both the left and right sectors.

2.  Once you have the Pontoon Bridge built, get your Armor across immediately and start pushing towards the Objective Medal Hexes on both your right and left sectors.  They are Permanent Objectives (Turn Start), so you will need to get your forces onto the hex and hold out for one turn to win it.

3
BR - Clervaux

Author: Days of Wonder

URL

Utah Beach [Breakthrough]

Utah Beach [Breakthrough]

At Utah Beach, the Americans did exactly what winning armies do—they adapted, moved fast, and drove inland with purpose.

The sea shoved our boys off target, but instead of whining about it, they took advantage of it. They came ashore where the Germans were weaker, reorganized on the fly, and went straight at the enemy. The leadership of Brigadier General Theodore Roosevelt Jr., made the difference—clear orders, aggressive movement, and no hesitation. By linking up with the airborne troops and punching inland, the U.S. forces turned what could have been confusion into momentum.

Casualties were light because the attack was bold and decisive. Utah wasn’t a grind; it was a lesson. War rewards speed, initiative, and commanders who seize opportunity. On Utah Beach, the Americans did all three—and that’s how you win.

~~ General Howitzer

12 VP’s

card

Card Balance:

Allies – 

Axis – 5* (first turn starts with 4)

Complexity:

4/5

Conditions:

Beach

beach

Context:

Historical

Location:

Normandy

Year:

1944

Theater:

Western

Campaign:

D-Day

Summary:

This is an Breakthrough game, so make use of the Breakthrough Command cards.

Objectives:

12 Medals 

Terrain:

Beach terrain

Troops:

Allies –  Infantry, Armor, one Destroyer

Axis – Infantry, Armor, Artillery with Big Guns

Special Rules:

1.  Destroyer – attacks at 3,3,2,2,1,1,1,1 (with a locked in targeting reticule upon a successful hit)

2.  Entry hexes for the Axis (Use one initiative roll [see Overlord rules] before each turn for the Axis.)

3.  Big Gun rules – attacks at 3,3,2,2,1,1,1,1 (with a locked in targeting reticule upon a successful hit)


medal allies 

Allied Strategy:

1.  You have a Destroyer in the bay. Use it as much as you can to target the enemy Big Guns. Once you hit them once, you can assign a Target Reticule to the hex if you make one hit, allowing you to roll one extra Dice until the unit is eliminated or moves from the hex.  Do not move the Destroyer too close, or the two enemy Big Guns can eliminate you. 

2. You need to break through all the Infantry blockades in the bunkers and sandbags, and escape out the Exit Hexes as soon as you can before the tanks show up.

3.  Take the time to remove the barb wire lining the beach. It will take one turn to remove it, but it will speed up the escape for all the troops who follow. 

4.  You can win this scenario and never venture beyond row twelve.  Make use of the Exit Hexes. 

BIG PICTURE STRATEGY FOR BOTH SIDES:

1.  This is a Breakthrough version of the Utah Beach attack, so it is long, 12 hexes, and you will need to use the Breakthrough cards, to get some additional movement options for each side. 
medal axis

Axis Strategy

1.  You will need to get your troops down to the Allied Exit hexes in the upper part of your left section, ASAP.  Move all Armor up the road to block the Exit Hexes.  If you succeed in rolling any Armor on your initiative roles, start them at the Entry Hex on your left section to try to get as many forces as you can into play near the Exits.

2.  You have two Big Guns alongside the bay.  You can wipe out a lot of troops if you use them at every chance. 
2
BR - Utah Beach [Breakthrough]

Author:

Days of Wonder

Link: