Scenario of the Week: Sainte-Mère-Église

Sainte-Mère-Église, Normandy, in June 1944
Sainte-Mère-Église, June 1944 · U.S. Army · Public domain · Wikimedia Commons

Scenario of the Week

Sainte-Mère-Église

  • Western Front · Normandy
  • Difficulty: 2 · Moderate
  • 4 medals to win

In the first hours of D-Day, paratroopers of the U.S. 82nd Airborne dropped around Sainte-Mère-Église to seize the town and block German reinforcements from reaching Utah Beach. The scattered landing turned the fight into a fast, unpredictable struggle.

Strategy tips

  • Allies: Check your command cards before the opening paradrop, then reinforce the section where you can build overwhelming force.
  • Axis: Absorb the surprise attack, bring your armor forward, and press the section the Allied paradrop left weakest.
Explore the scenario →
Easy Company – Paradrop in the Night

Easy Company – Paradrop in the Night

Easy Company - Paradrop in the Night

They dropped our boys all over hell and back—but that didn’t stop them. The 506th Parachute Infantry hit the Normandy bocage scattered, disorganized, and under fire. But Americans don’t wait for perfect conditions—we make them. Lieutenant Richard Winters pulled together what he had—35 men—and went looking for the fight. Through hedgerows thick as walls and Germans lurking in every field, they pushed forward, linked up, and took the initiative.

At first light, Winters and his men didn’t hesitate—they struck. That German artillery battery at Brécourt Manor? Neutralized. Clean, aggressive, textbook assault under pressure. That’s how you win: move fast, hit hard, and never let the enemy regain his footing. Easy Company didn’t just survive the drop—they turned chaos into combat power. And from that moment on, they were on the march to victory.

~~ General Howitzer

Medals

7 VP’s

card

Card Balance:

Allies – 6

Axis – 5

Complexity:

3

Conditions:

Countryside

Location:

France

Year: 
1944

Theater:

Western Front

Summary:

The asymmetrical starting pattern of this game makes for an interesting and challenging battle for both sides.  The many bocages means that both sides will need to be patient as they slowly attack and degrade enemy forces.

Objectives: 7 Medals

There are three Objective Medals available for the Allies, one Temporary Medal, and a Double Permanent Medals award if they are able to take out the Artillery unit near Grand Chemin.

Terrain: 

Countryside with hedgerows and forests.

Troops:

Allies – up to 10 Infantry units

Axis – 8 Infantry, 1 Artillery

Special Rules:

1.  Paradrop Rules

2.  Night Attack Rules

3.  Heroic Leader Rules

medal allies

Allied Strategy:

1. 

medal axis

Axis Strategy:

1. 

Battle Reports

Author: Jdrommel

Link:

Place Battle Reports on a scenario page, or specify its scenario name in the shortcode.

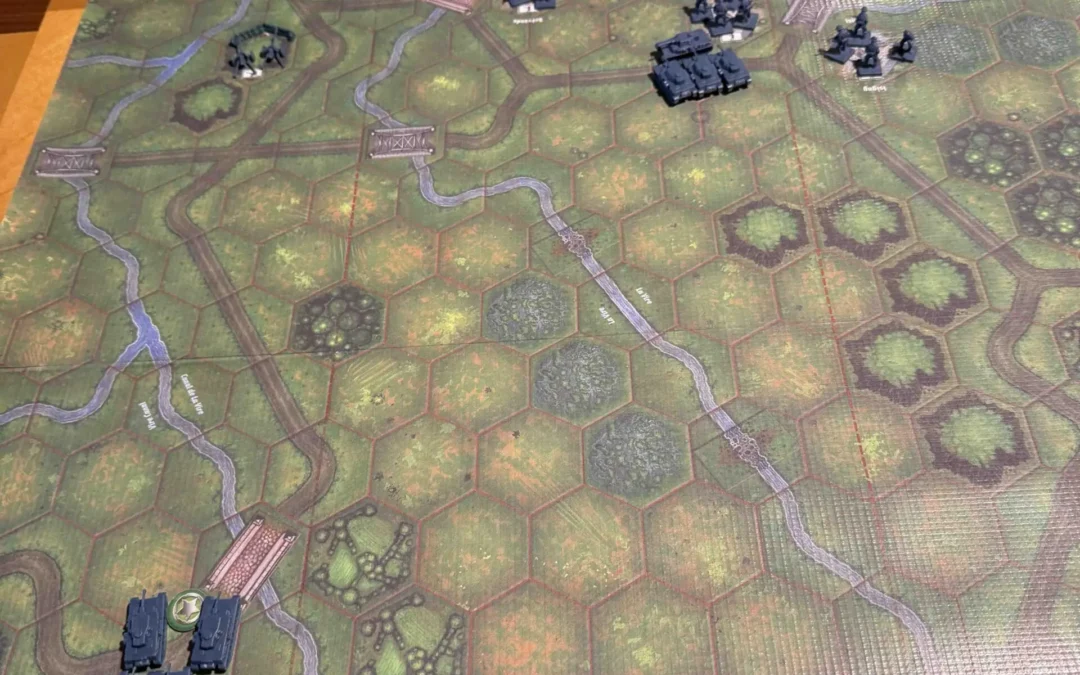
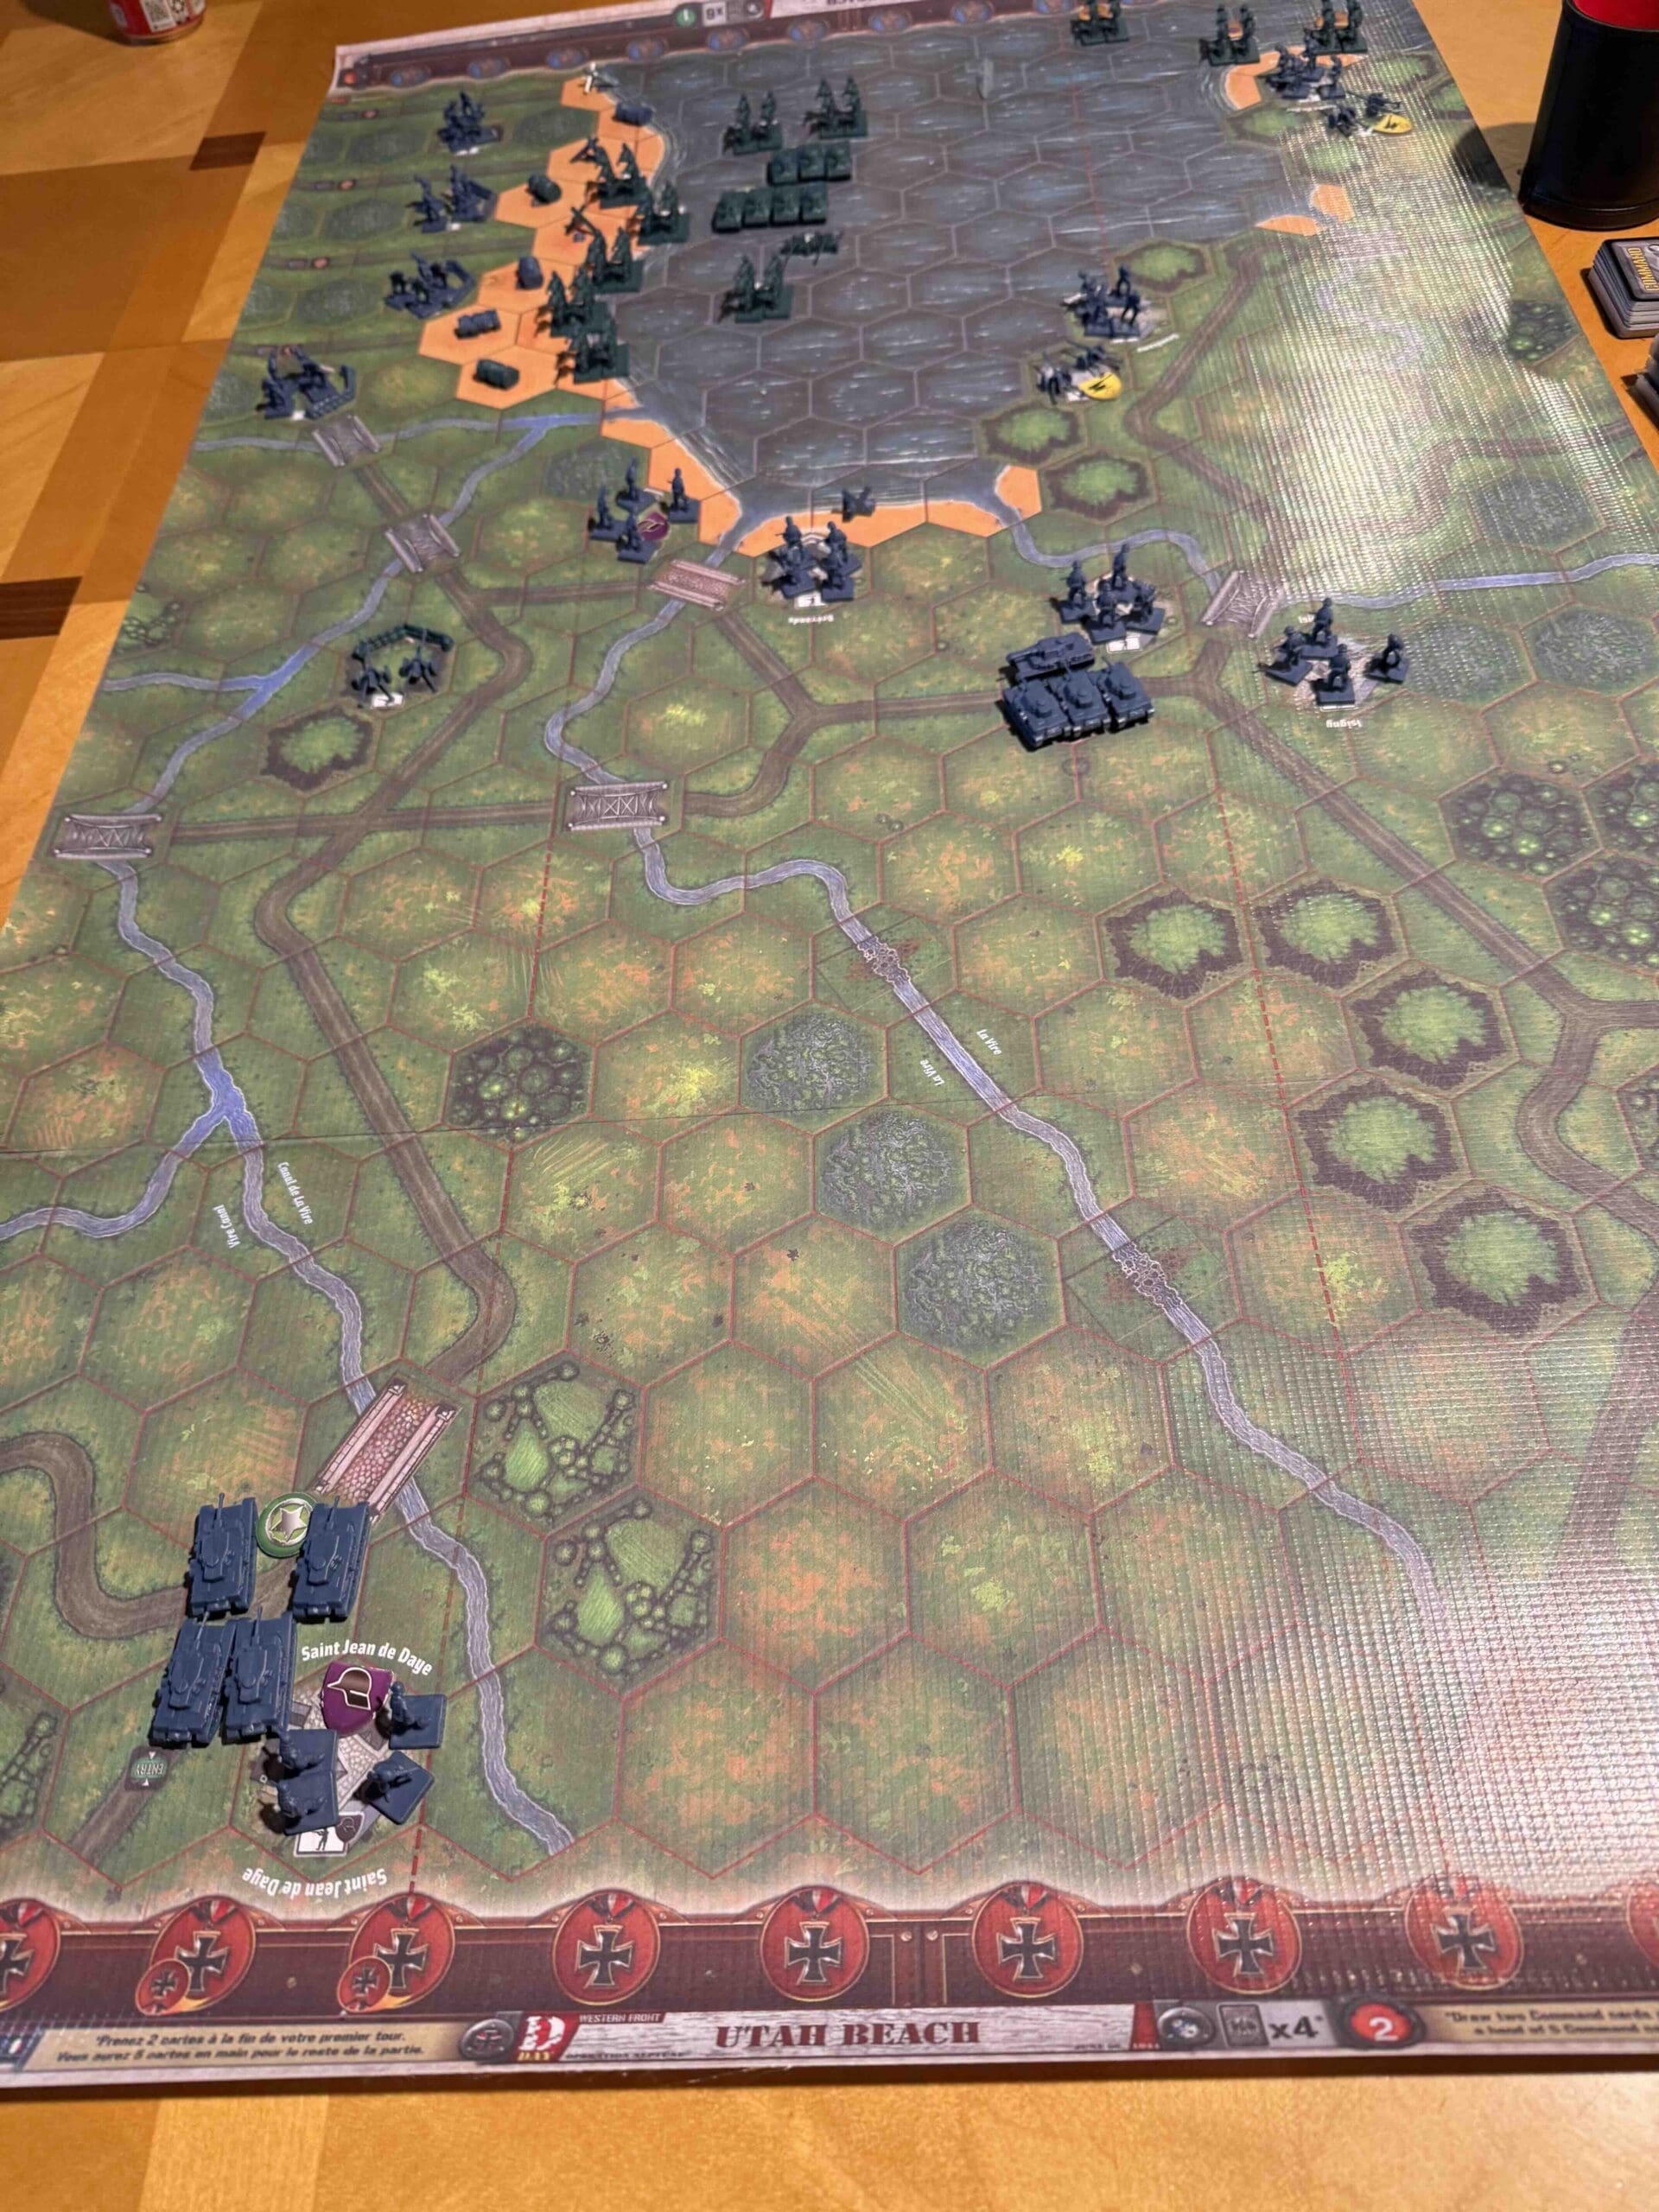
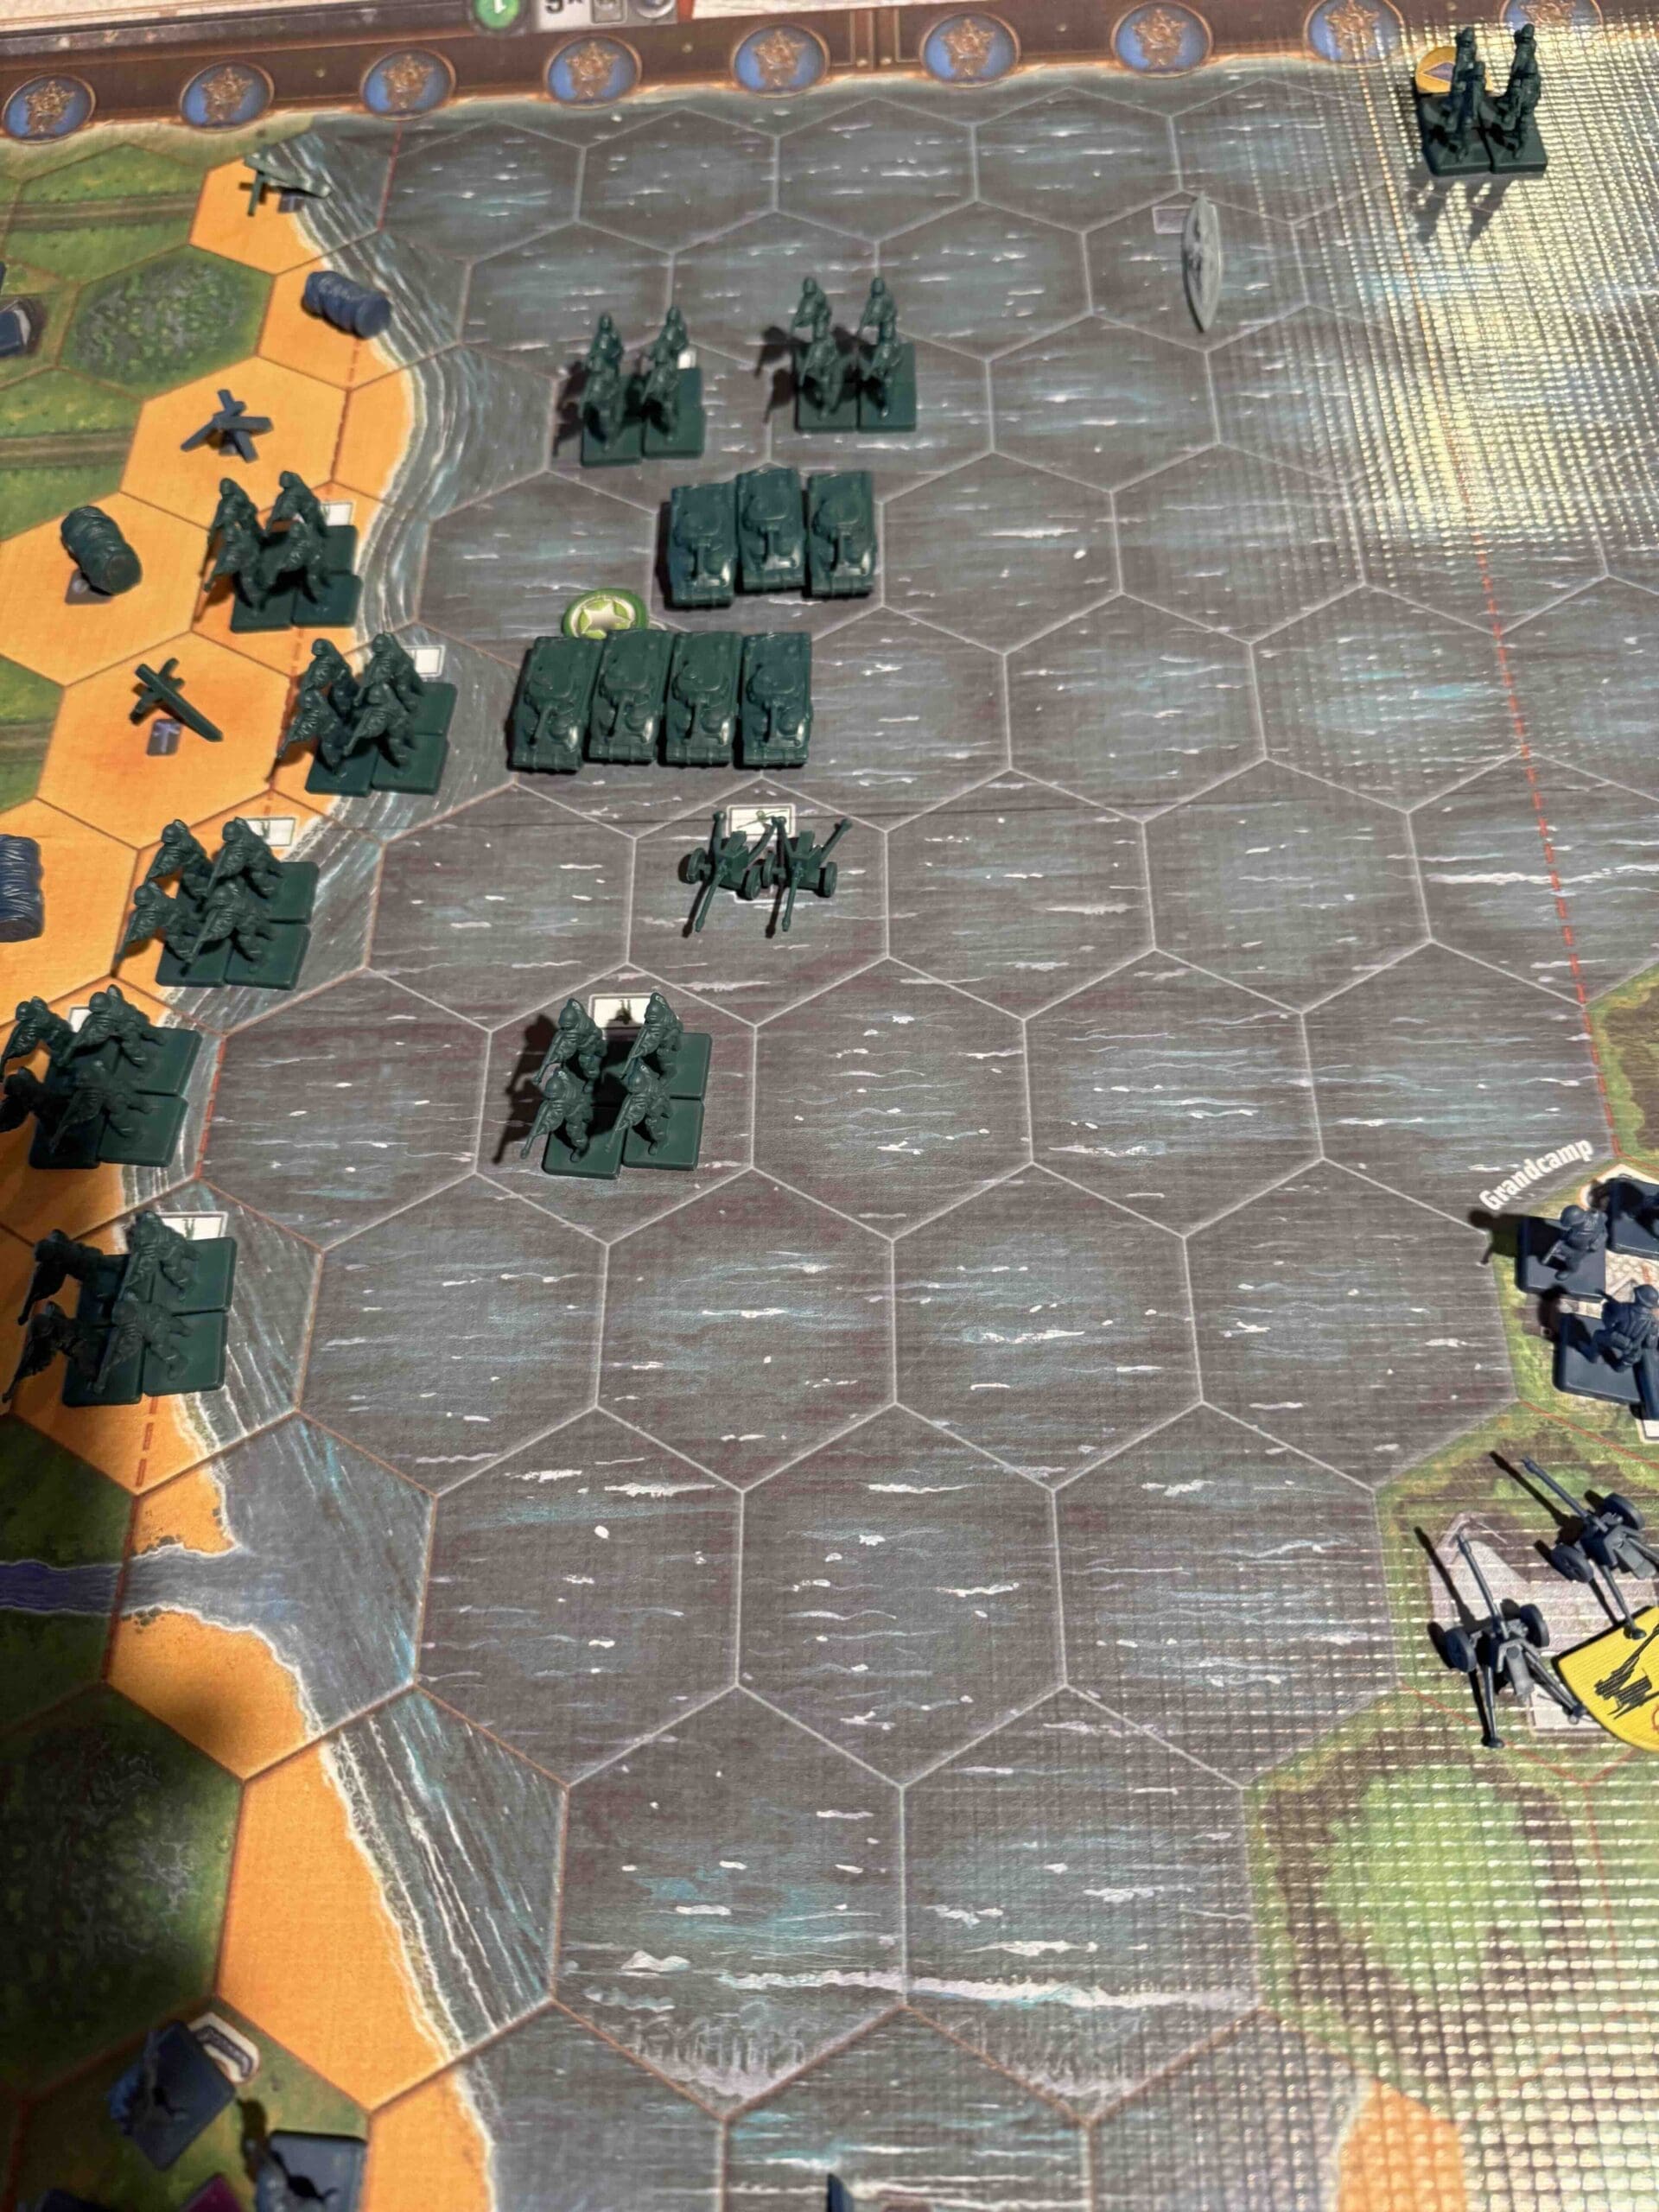
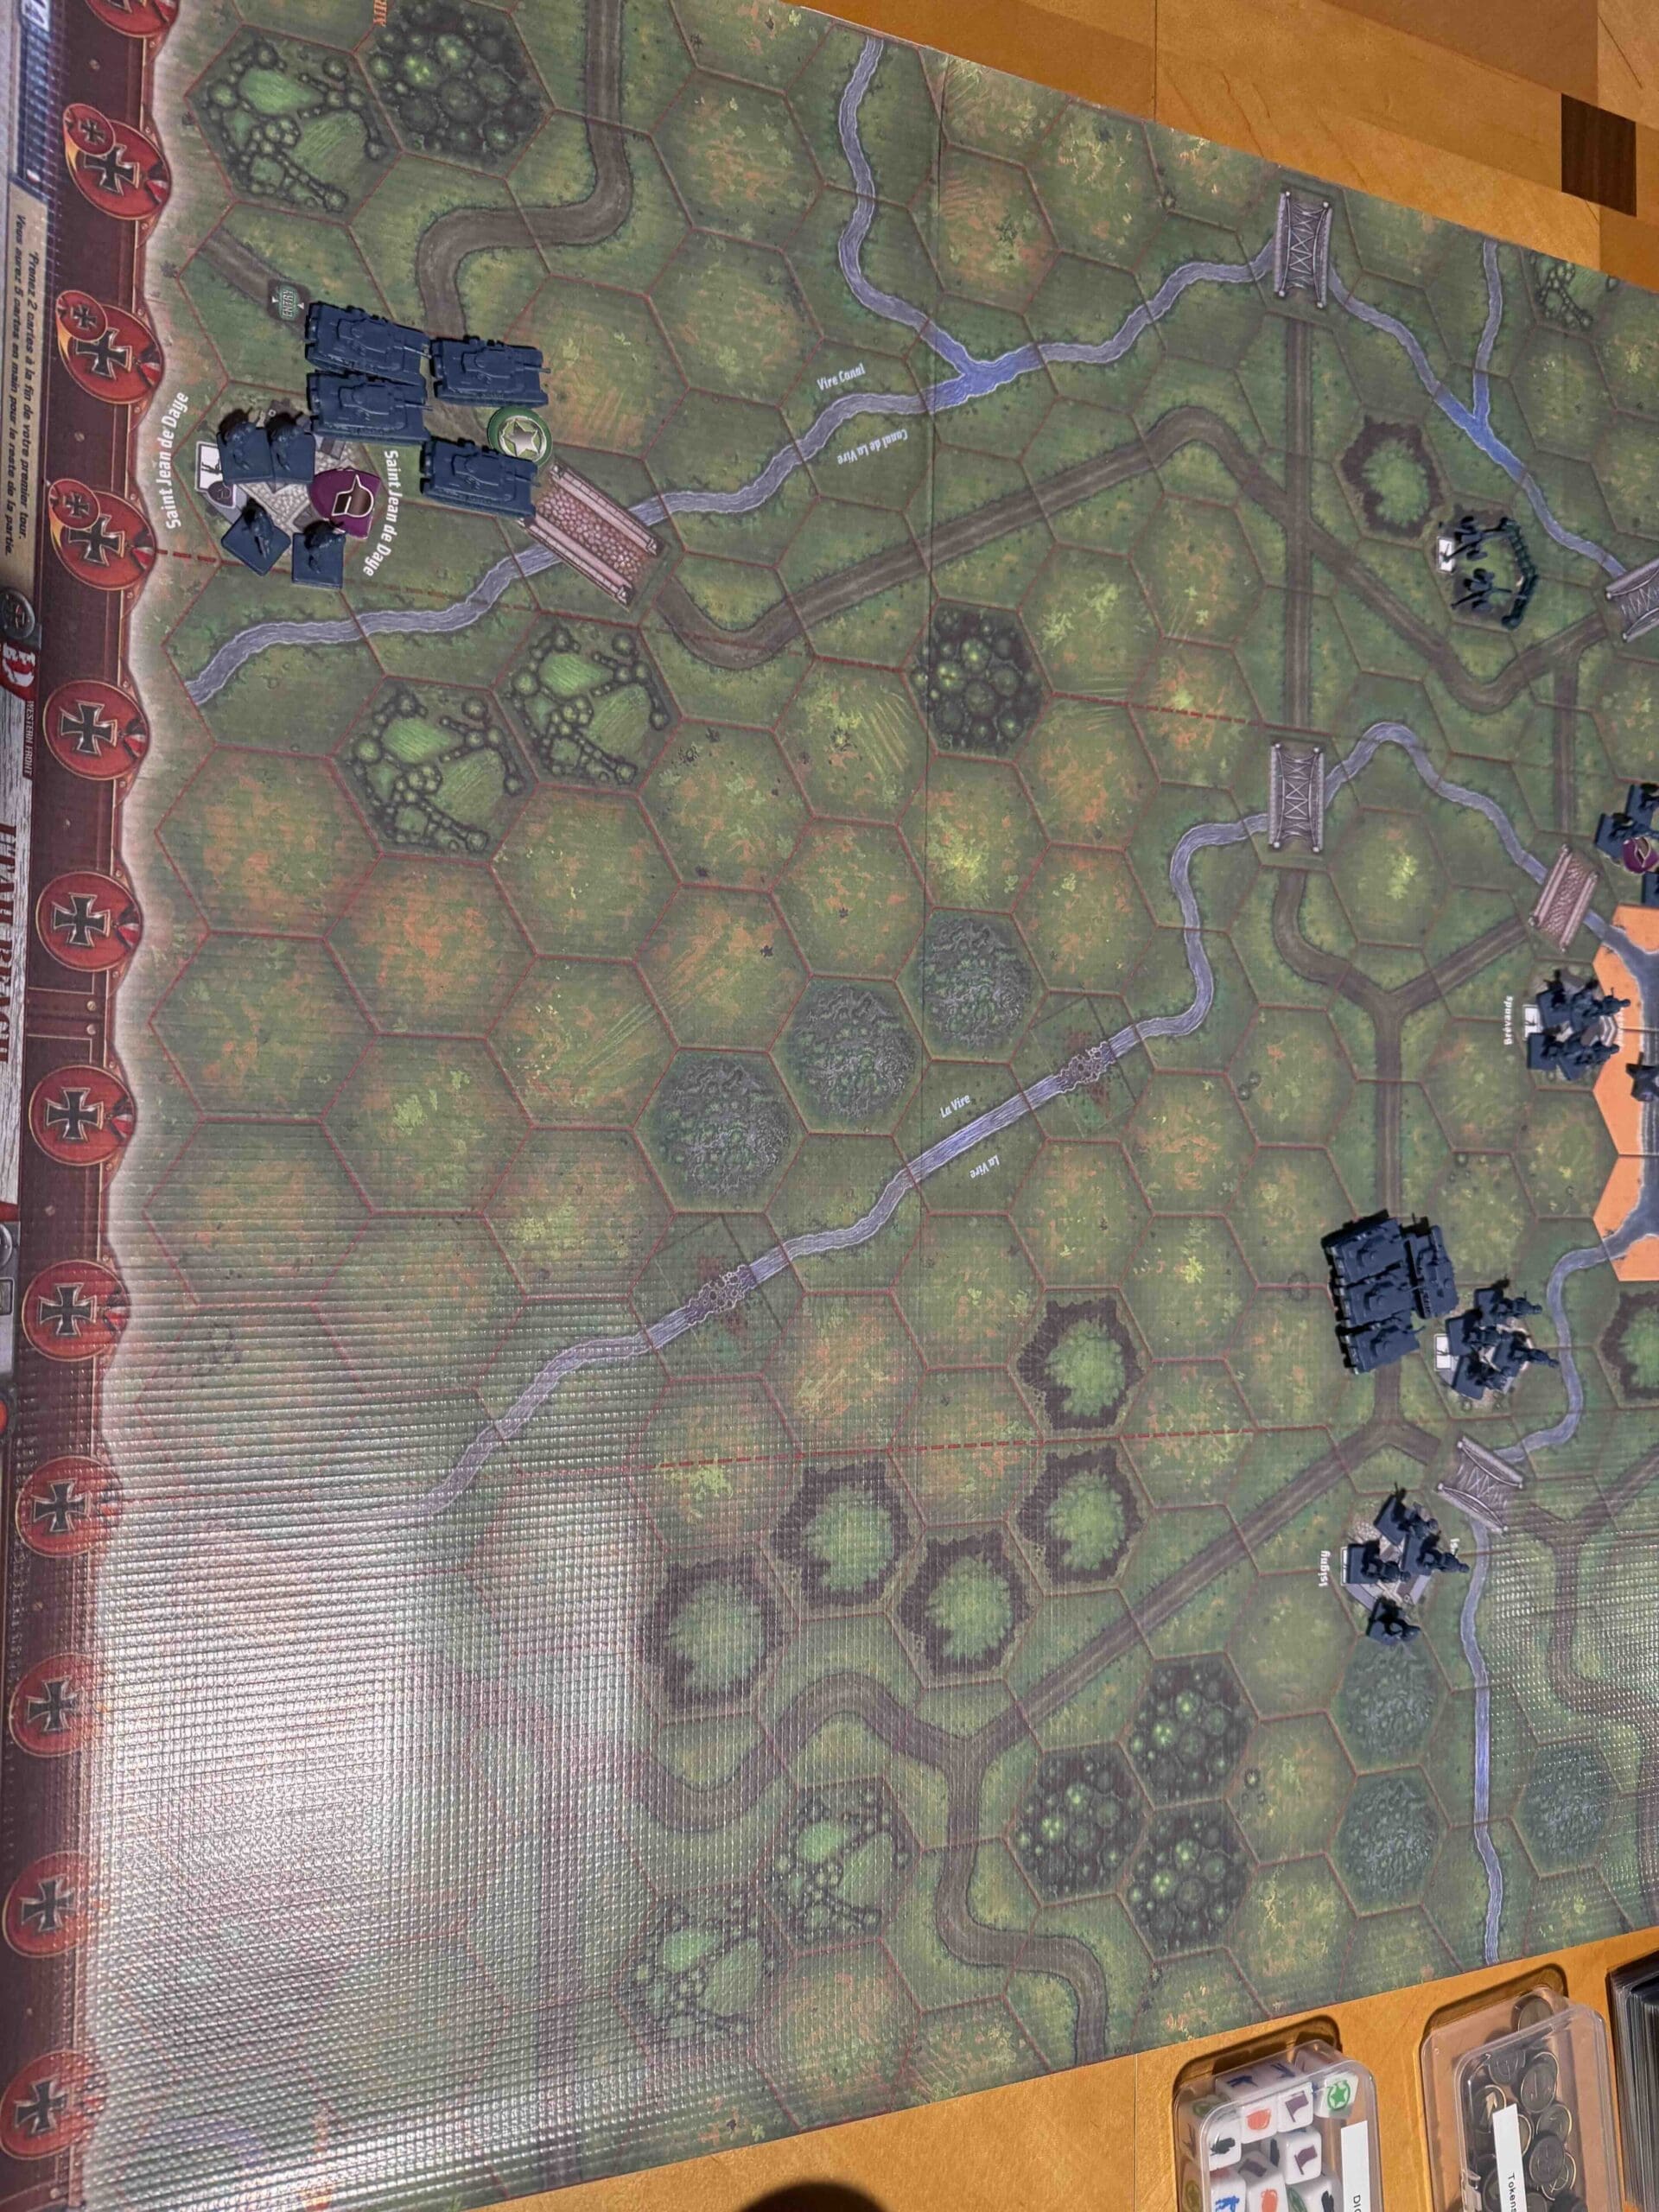
Utah Beach [Breakthrough]

Utah Beach [Breakthrough]

Utah Beach [Breakthrough]

At Utah Beach, the Americans did exactly what winning armies do—they adapted, moved fast, and drove inland with purpose.

The sea shoved our boys off target, but instead of whining about it, they took advantage of it. They came ashore where the Germans were weaker, reorganized on the fly, and went straight at the enemy. The leadership of Brigadier General Theodore Roosevelt Jr., made the difference—clear orders, aggressive movement, and no hesitation. By linking up with the airborne troops and punching inland, the U.S. forces turned what could have been confusion into momentum.

Casualties were light because the attack was bold and decisive. Utah wasn’t a grind; it was a lesson. War rewards speed, initiative, and commanders who seize opportunity. On Utah Beach, the Americans did all three—and that’s how you win.

~~ General Howitzer

12 VP’s

card

Card Balance:

Allies – 

Axis – 5* (first turn starts with 4)

Complexity:

4/5

Conditions:

Beach

beach

Context:

Historical

Location:

Normandy

Year:

1944

Theater:

Western

Campaign:

D-Day

Summary:

This is an Breakthrough game, so make use of the Breakthrough Command cards.

Objectives:

12 Medals 

Terrain:

Beach terrain

Troops:

Allies –  Infantry, Armor, one Destroyer

Axis – Infantry, Armor, Artillery with Big Guns

Special Rules:

1.  Destroyer – attacks at 3,3,2,2,1,1,1,1 (with a locked in targeting reticule upon a successful hit)

2.  Entry hexes for the Axis (Use one initiative roll [see Overlord rules] before each turn for the Axis.)

3.  Big Gun rules – attacks at 3,3,2,2,1,1,1,1 (with a locked in targeting reticule upon a successful hit)


medal allies 

Allied Strategy:

1.  You have a Destroyer in the bay. Use it as much as you can to target the enemy Big Guns. Once you hit them once, you can assign a Target Reticule to the hex if you make one hit, allowing you to roll one extra Dice until the unit is eliminated or moves from the hex.  Do not move the Destroyer too close, or the two enemy Big Guns can eliminate you. 

2. You need to break through all the Infantry blockades in the bunkers and sandbags, and escape out the Exit Hexes as soon as you can before the tanks show up.

3.  Take the time to remove the barb wire lining the beach. It will take one turn to remove it, but it will speed up the escape for all the troops who follow. 

4.  You can win this scenario and never venture beyond row twelve.  Make use of the Exit Hexes. 

BIG PICTURE STRATEGY FOR BOTH SIDES:

1.  This is a Breakthrough version of the Utah Beach attack, so it is long, 12 hexes, and you will need to use the Breakthrough cards, to get some additional movement options for each side. 

medal axis

Axis Strategy

1.  You will need to get your troops down to the Allied Exit hexes in the upper part of your left section, ASAP.  Move all Armor up the road to block the Exit Hexes.  If you succeed in rolling any Armor on your initiative roles, start them at the Entry Hex on your left section to try to get as many forces as you can into play near the Exits.

2.  You have two Big Guns alongside the bay.  You can wipe out a lot of troops if you use them at every chance. 

Author:

Days of Wonder

Link:

Place Battle Reports on a scenario page, or specify its scenario name in the shortcode.

Sword Beach (Breakthrough)

Sword Beach (Breakthrough)

Sword Beach [Breakthrough]

Sword Beach

The Battle of Sword Beach took place on June 6, 1944 (D-Day) — the easternmost of the five Allied landing beaches during the Normandy invasion. It was assigned primarily to British forces, with support from Free French commandos, as part of Operation Overlord.

By nightfall on June 6, the Allies had:

  • Landed over 28,000 troops

  • Secured a beachhead about 5 miles deep

  • Linked up with Canadian forces from Juno Beach

  • Held their positions despite German counterattacks

Listen up, men — Sword Beach wasn’t just another patch of sand; it was the gateway to Caen and the key to cracking open Hitler’s Atlantic Wall on the eastern flank. At dawn on June 6th, the British 3rd Infantry hit that beach under a storm of lead and steel. Mines, wire, and concrete — it didn’t matter. They went straight through it, methodical as a tank rolling downhill.

While naval guns thundered from offshore, the Royal Engineers cleared obstacles like veterans of a hundred storms. And those Free French commandos — they fought like lions, linking up with the boys from Pegasus Bridge to lock down the flank before Jerry could regroup.

The Germans tried to hit back with their 21st Panzer Division, and for a moment, they even reached the coast — but our airmen and artillery smashed them flat. By nightfall, the British held Sword, linked up with the Canadians at Juno, and built a bridgehead five miles deep.

Caen didn’t fall that day — but Sword showed the world how an army fights when it’s trained, disciplined, and led with purpose. That’s how you take a beach — with steel in your hands and fire in your gut.

~~ General Howitzer

VP’s

12

card

Card Balance:

Allies – 6

Axis – 4

Complexity:

4

Conditions:

Beach

Context:

Historical

Location:

Normandy

Year:

1944

Codename:

Operation Overlord

Summary:

12 Victory Points:

12 Medals, including Permanent Medal Objectives for Allied control of Casino Riva Bella, Strong-point Cod, and Strong-point Trout.   Also a 2-Medal Temporary Objective for which ever side controls the Orne River and Canal.  Finally,  massive 3-Medal Temporary Objective for whomever controls the two Hexes representing Caen. Initially the Axis player gets these three medals at game start. 

Terrain:

Countryside and Beach

Troops:

Allies – 8 Infantry including 3 Elites, 5 Armor, 2 Artillery

Axis – 10 Infantry, 3 Armor, 2 Artillery

medal allies

Allies:

Big Picture Strategy:  Like all beach scenarios, the number one primary goal for your forces is to Get Off the Beach!.  Do not pause to capture the three frontline enemy medals.  You can encircle them and then attack from all sides.

1.  Once you have gotten your forces out of the water, then you can encircle the enemy at the three Permanent Medal Objectives at Casino Riva Bella, Strong-point Trout and the Chateau.  Those medals are almost a given, so do not lose an excessive number of forces attacking them before you are out of the water. 

3.  Get your Artillery out of the water as soon as possible. They will be vital to breaking through the strongholds of the enemy on the beach. It will be especially important to take out the Artillery in the bunker as soon as possible, or it will destroy your forces.

medal axis

Axis:

Big Picture Strategy: Get your forces forward. Bring the battle to them.

1. You have Armor stuck in your lower left flank which you need to get forward to the beach as quickly as possible. Practice some delaying techniques for a couple of turns to allow your Armor forward. You will be in a much better position to repel the enemy forces.

2.  Two approaches to deal with the enemy forces in your lower right flank:

Option A: Eliminate the enemy forces on your lower right flank along the Canel de Orne as quickly as possible so that you will not have to worry about a rear-action attack. Then you can move your forces forward towards the beach.

Option B:  Surround them and slowly pick them off throughout the game, saving the coup-de-grace for the end, when you can kill off the final Infantry for one Medal, and then move onto the bridge for two Medals.  This will earn you three! medals in a single turn. Save it for last to win the round.

Author: Days of Wonder

URL

Place Battle Reports on a scenario page, or specify its scenario name in the shortcode.

Drop in the Night: 82nd

Drop in the Night: 82nd

Drop in the Night: 82nd

scenario_Drop-in-the-Night-82nd

In the dead of night before D-Day, the All Americans of the 82nd Airborne didn’t tiptoe into Normandy—they dropped in like thunder. C-47s hauled them over the Channel, and under flak, wind, and pure hell, they jumped straight into the enemy’s lap. The plan was simple: grab the crossroads, smash German lines of communication, and choke off any counterattack toward Utah Beach.

They got scattered to hell and gone, fighting in small bands with nothing but guts and rifles. But by God, they took Sainte-Mère-Église—the first French town freed—and held the line until the rest of the army came ashore. It was messy, it was costly, but it damned well crippled the Germans and locked down the flank for the greatest invasion in history.

~~ General Howitzer

VP’s

8

card

Card Balance:

Allies – 5

Axis – 5

Complexity:

4

Conditions:

Countryside

countryside

Context:

Historical

Location:

Normandy

Year:

1944

Summary:

Victory Points:

8 Medals, including some objectives for capturing towns, bridges, and permanent medals for blowing up bridges.

Terrain:

there is a lot of terrain here with the battlefield being a breakthrough that is 17 rows deep, composed of countryside, rivers and marches.

Troops:

Allies – 10 elite Infantry units

Axis – 10 Infantry, 1 Armor

Special Rules:

1.  Allies do three Paradrops around the stars on the map.

2.  Nightime Rules: Then once daylight appears, you may be given a chance to do a fourth paradrop, using lost figures, up to three total over the town of Les Forges.

3.  Blowing up Bridges – once Allied forces are adjacent to a bridge, they may have an opportunity to blow it up, for a Permanent Victory Medal.

medal allies

Allies:

1. Big Picture Strategy:  This scenario is about consolidating and coordinating your forces.  Because of the paradrops, they end up scattered across the battlefield in a semi-random formation.  You need to pull them together and then make a plan to target sets of the enemy forces, sector by sector: isolated, attack, destroy, move to the next sector.

2.  Note that you have three Temporary Medal Objectives, made up of two bridges and one town.  You also have two Permanent Medal Objectives if you can blow up the designated bridges of Pont-l’Abbe, and Beuzeville.

3.  Concerning the paradrops at the start of the game.  The rules instruct you to center each drop around one of the three stars on the battlefield.  While you may be required to do this when playing IRL with friends, the BGA site will allow you to drop them anywhere you like, subject to the same random losses and displacement issues.

Some commanders have been quite successful in dropping all of their paratroops in the same sector, and then wiping out the enemy before moving on to the next sector.

4.  A second paradrop occurs at dawn.  Once you hit daylight, more reinforcements will be coming your way. So hang in there!

medal axis

Axis:

1.  Be aware the the two bridges across La Douve River are each permanent medal objectives for the Allies. If they succeed in destroying your bridges, they will gain one Medal for each one, plus any forces you have locked behind the river will be stranded as the river is impassable.

2.  The other two bridges with the marked Allied Medals are temporary objectives, in which the Allies must remain on the hex to keep the medal.

3.  Because this is an 8 medal battle, you will need to eliminate almost all of the Allied units to win. 

4.  Get your kills in before daylight. Once that happens, the enemy will do another paradrop of reinforcements.

Author: Ddrommel

URL

Place Battle Reports on a scenario page, or specify its scenario name in the shortcode.

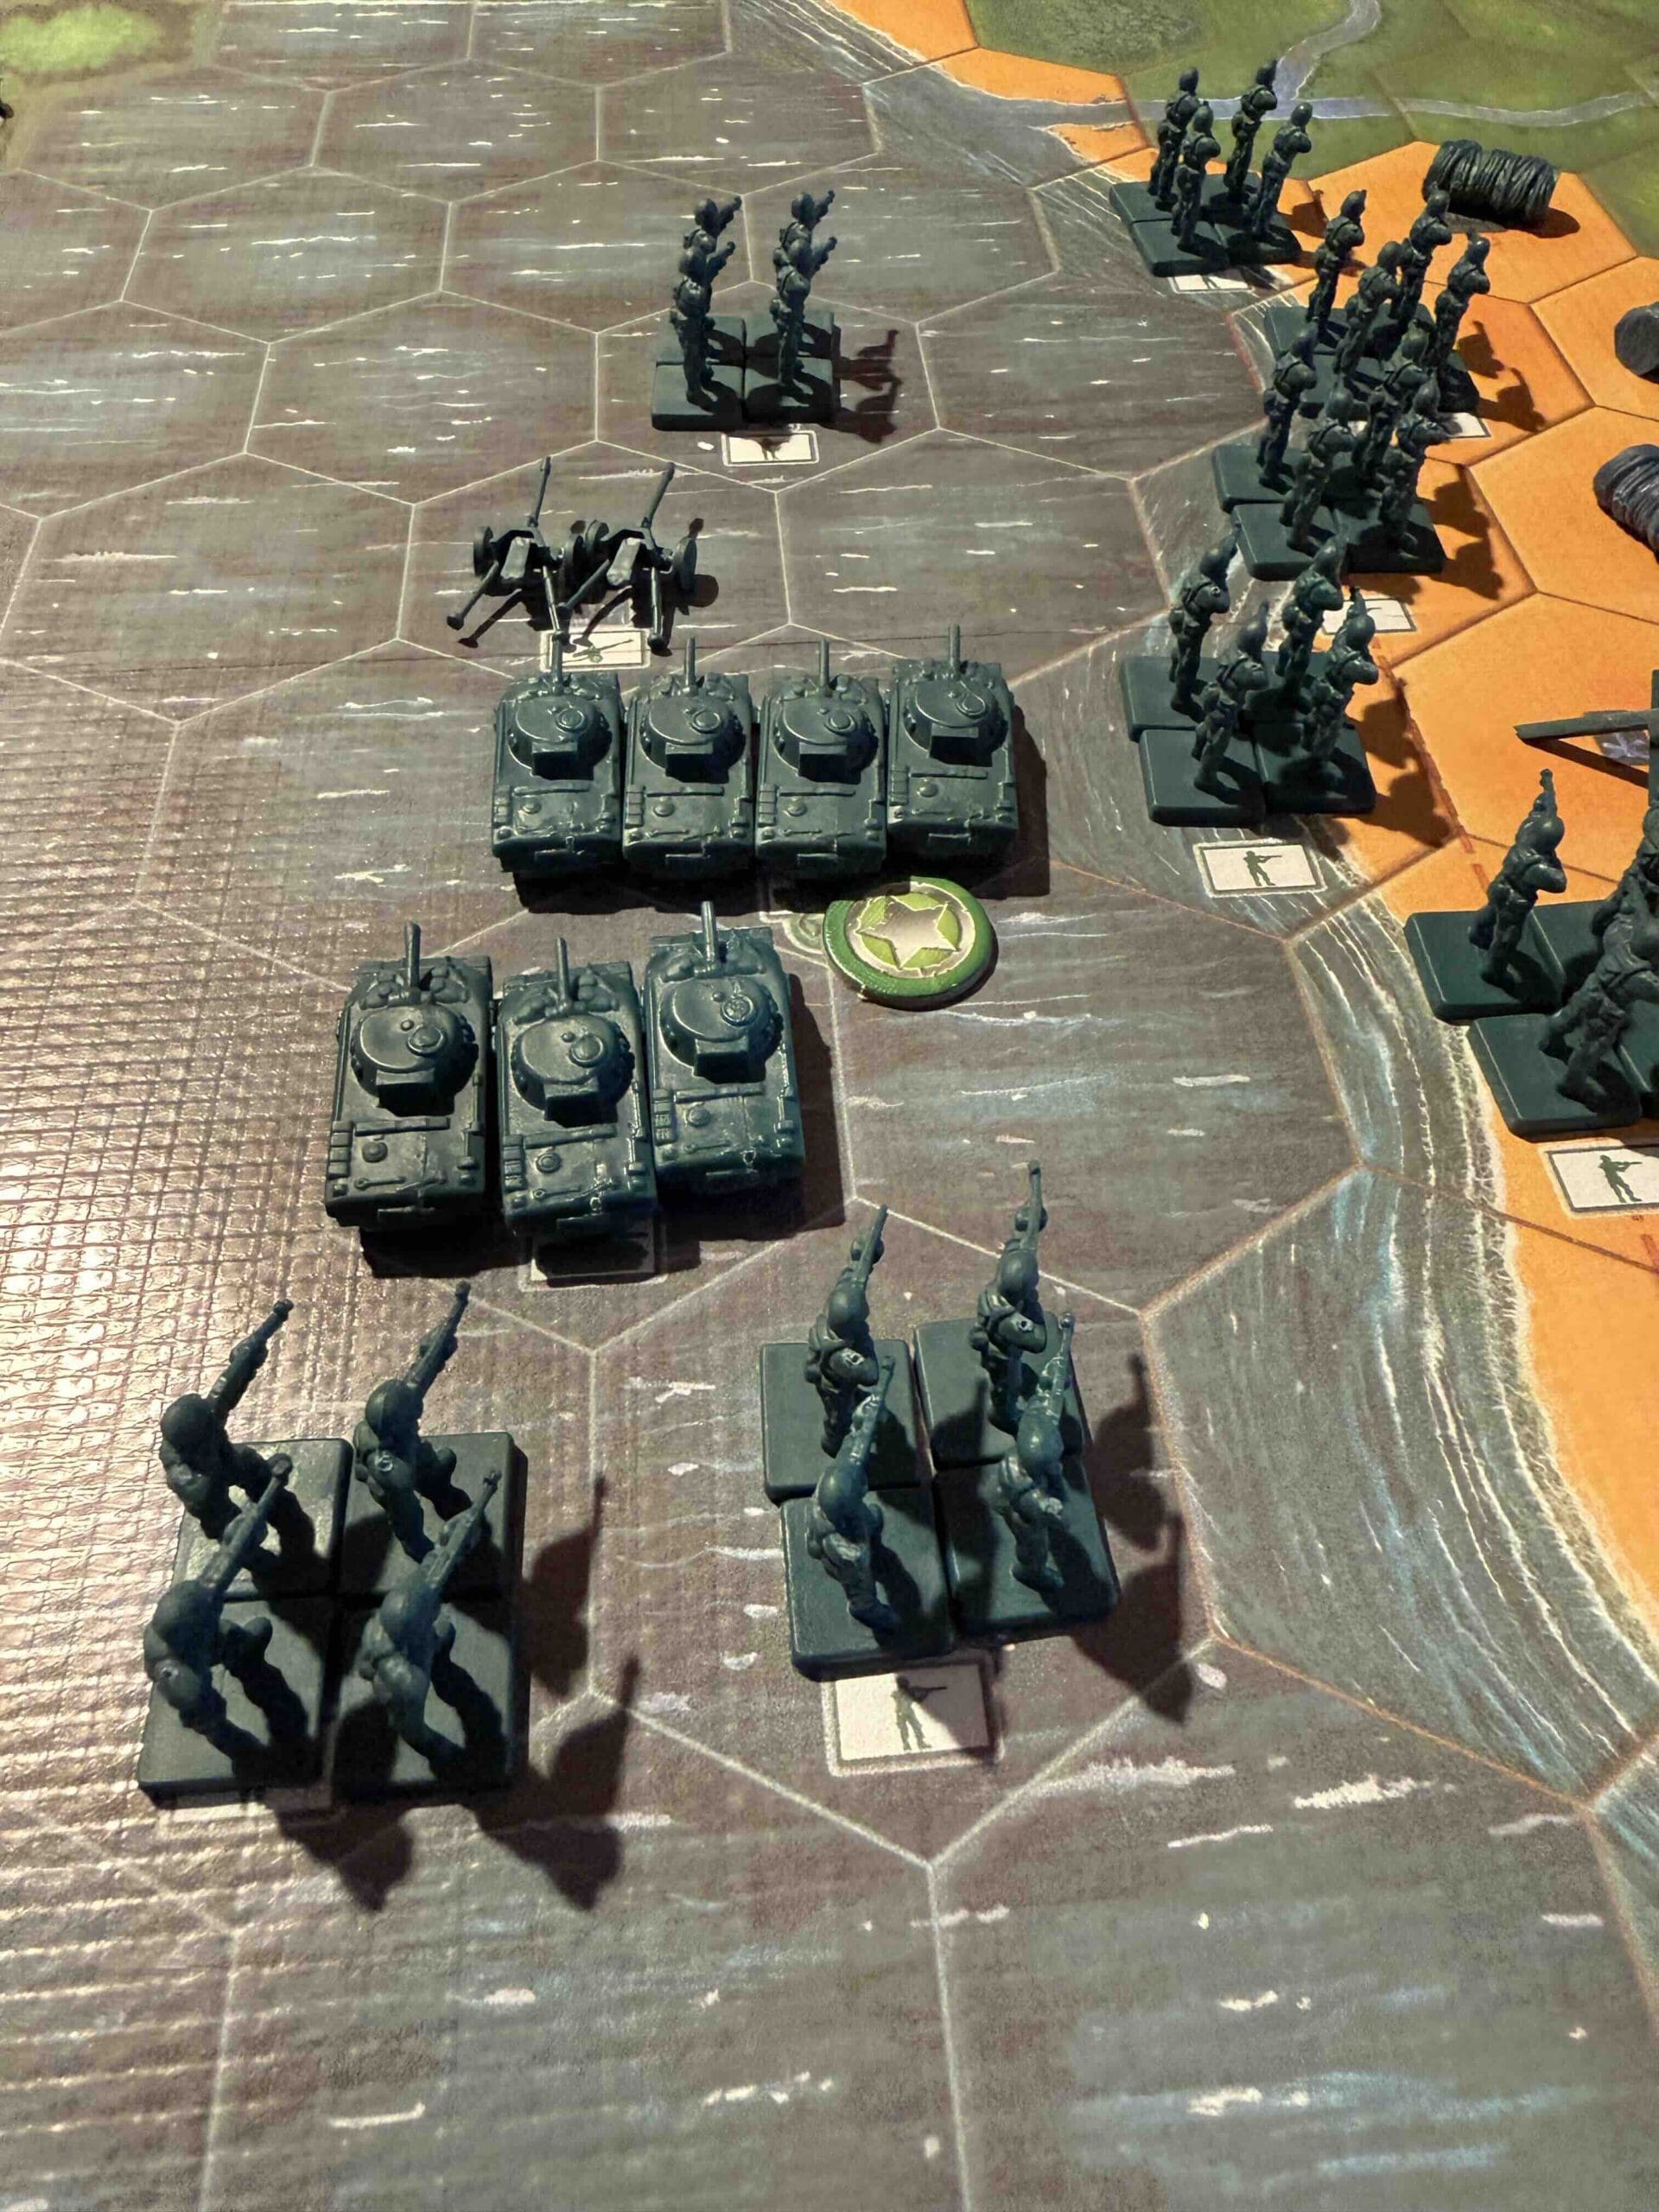
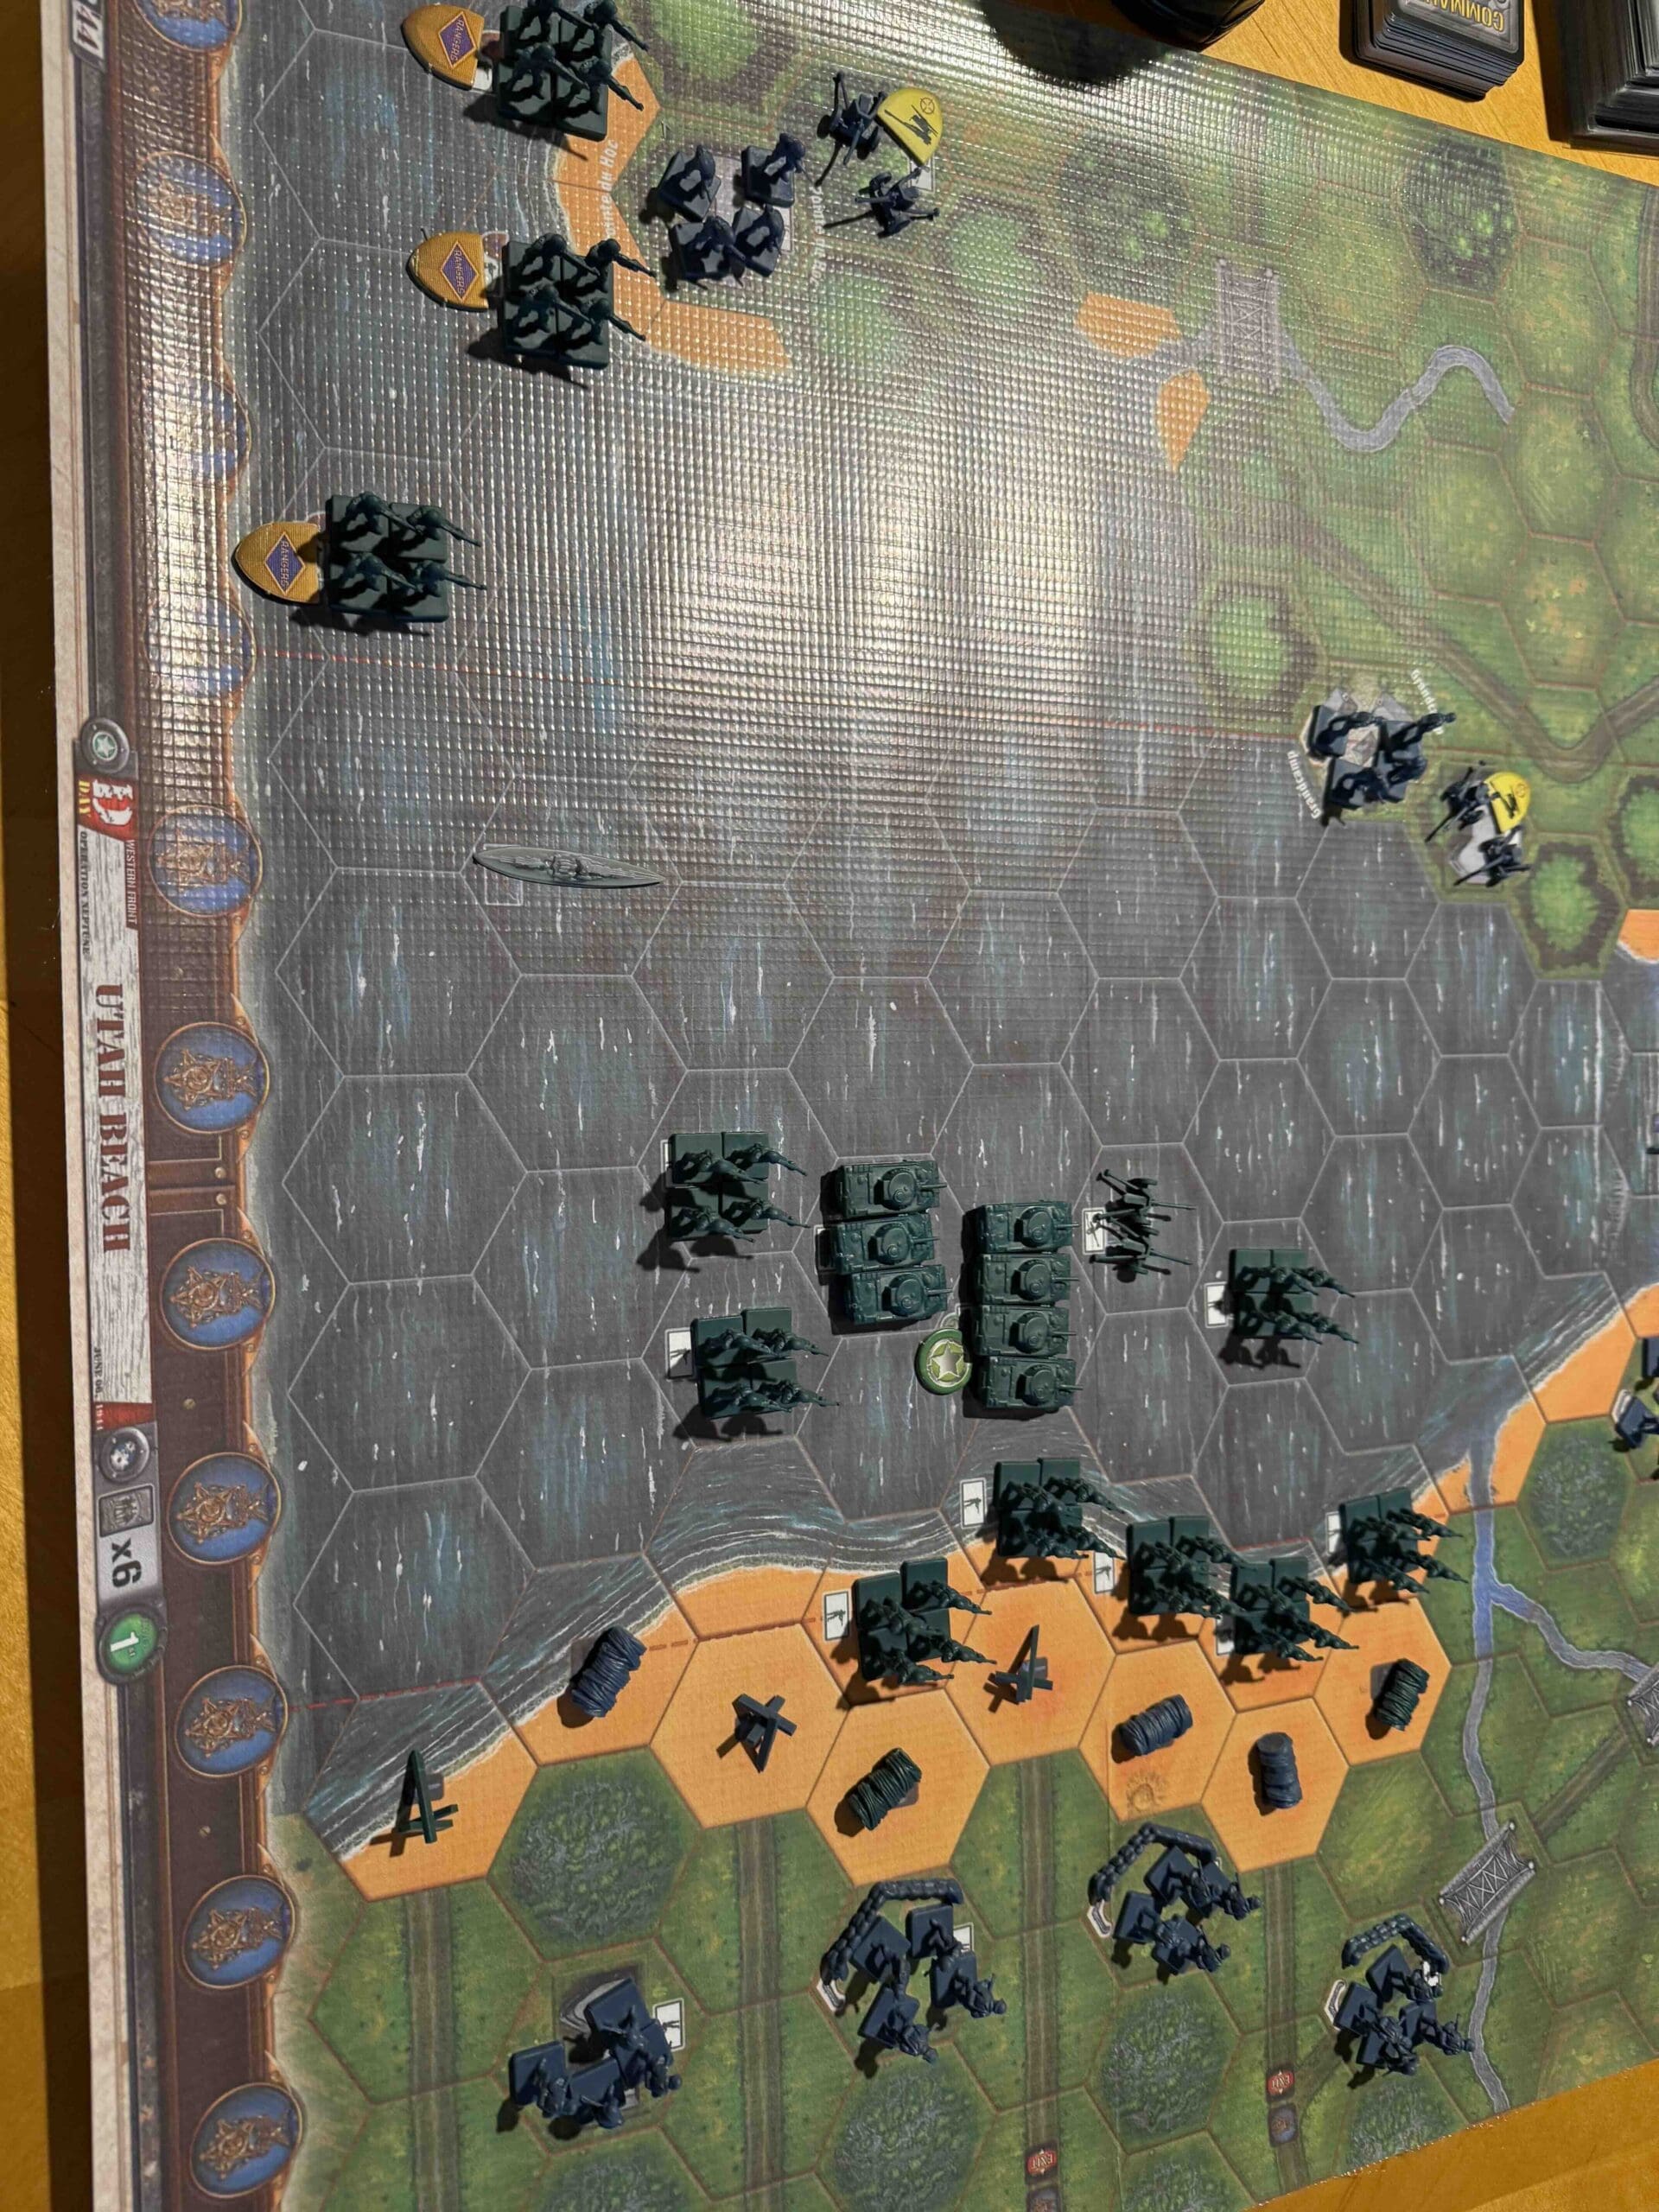
Utah Beach

Utah Beach

Utah Beach

The invasion of Utah Beach was part of the Allied D-Day landings on June 6, 1944, during World War II. Utah Beach was the westernmost landing area, assigned to U.S. forces, primarily the 4th Infantry Division, under Major General Raymond O. Barton. The objective was to secure the beachhead, push inland, and link up with airborne troops dropped earlier to capture key roads and bridges.

Strong currents caused some landing craft to drift about a mile south of the intended target area. This accidental landing proved advantageous, as it placed the troops in a less heavily defended section of the beach. The U.S. forces quickly overwhelmed the German defenses, suffering relatively few casualties compared to other D-Day beaches.

Listen up.

At Utah we hit fast, secured the sand, and drove inland until we shook hands with the paratroopers. That link-up turned a strip of beach into a springboard—men, guns, and fuel pouring ashore to feed the advance. With the beachhead anchored, momentum was ours. That’s how you start a liberation: seize, link, expand—and keep moving.

~~ General Howitzer

5 VP’s

Card Balance:

Allies – 6

Axis – 4

Complexity:

3

Conditions:

Beach

Location:

Normandy

Year:

1944

Theater:

Western Front

Campaign:

D-day Invasion

Codename

Summary:

The challenge for the Allies in this scenario is to get off the beach as quickly as possible, and exit out one of the three exit hexes. The Axis are protected in towns and bunkers in order to slow down the advance of the Allies.

1. Objectives

This is a 5 VP game, so it moves rather quickly, and the Allies will need to minimize losses while they pick away at the Axis forces inside their bunkers, all the while making their way towards the exit hexes.

2. Battlefield

There are three exit hexes at the top of the battlefield. The Allies can seek two objectives: First to destroy enemy units, Second to exit out the back.

3. Troops

Allies – 10 Infantry, 4 Armor

Axis – 5 Infantry, 1 Artillery

Allied Strategy:

1. Allies begin with their forces congested together in the left and center sections. This is not all bad, as they need to stay away from the artillery in the right flank. But they do need to disengage their forces from one another and create some separation from the shores of the beach.

2. Keep attacking! As you approach the enemy forces in their bunkers, you may be tempted to pause and amass more forces for the attack. This depends on your circumstances. If you are out in the open and under enemy attack with two-dice attacks, you need to just keep attacking with those forces. Create the beachhead by continuing to attack, attack, attack.

3. You can expect to receive a fair number of casualties as you progress up the beach. But as soon as you get your armor out of the water, things will change for any enemy units unfortunate enough to be found outside their bunkers.

4.  The big picture strategy for Utah Beach is to: Stay Left, Take Out the Infantry, Escape out the back.  The scenario only needs 5 VP’s.  All five of those are available to you on the left and middle section.  Take out the three infantry for your first three points; then send two units out the escape hexes, and you are golden!

Axis Strategy:

1. The general rule for this scenario, is to stay in your bunkers! With no hilly ridge slowing the movement of the Allies onto the beach, they are able to very quickly reach your bunkers and begin attacking. If you make a fool-hardy rush forward in an attempt to knock out a few more figures, they will make you pay with an overwhelming retaliation of their forces. The only exception to this is your infantry unit in the bunker at M7 on your left flank. The Allies are going to avoid much of that section due to your artillery at J7, so it is best to get that unit into play in the central section as soon as you can. Also, there are so many wire bails in your left flank, that they will severely slow down any troops who try to come in there, allowing your artillery to demolish them.

2. The goal for Axis is to slow down their movement. Besides actual hits, retreat flags on the Allies are your friend, as it will push them back and give you more time to build up your deck with powerful attack cards. A last ditch effort, if needed would be to move your infantry onto or in front of the exit hexes, to prevent the Allies from escaping before you have given them a good beating.

3. Your one saving grace as the Axis player is your artillery. Use it as much as you can, especially while the enemy is still in the water, where retreat flags count as hits.

Scales-Allies-Weighted

Author:

Days of Wonder

Link:

Place Battle Reports on a scenario page, or specify its scenario name in the shortcode.

Secret Link