Twin Villages

Twin Villages

Memoir 44

The Battle of the Twin Villages took place in December 1944, during the Battle of the Bulge in World War II. Located near Krinkelt and Rocherath in Belgium, these “twin villages” became key defensive positions for American forces as German troops launched a surprise offensive in the Ardennes.

U.S. infantry and armored units held strong defensive positions in the villages, facing fierce attacks from German forces, including tanks and infantry. Despite being heavily outnumbered and subjected to intense artillery fire, the American defenders managed to delay the German advance through skillful use of terrain and resilient fighting.

At Krinkelt-Rocherath the Germans thought they could roll through and keep their offensive charging forward—but the men dug in there had other ideas. Those towns became roadblocks of fire and steel. The resistance was fierce enough to choke the enemy’s advance, bleed their momentum, and give the rest of our forces time to regroup and fortify the Ardennes. That stand wasn’t just stubborn defense—it was the kind of fight that blunted the Bulge and helped turn the tide toward ultimate Allied victory.

~~ General Howitzer

6 VP’s

Card Balance:

Allies – 6

Axis – 4

Complexity:

3

Conditions:

Winter / Countryside

Context:

Historical

Location:

Belgium

Year:

1944

Theater:

Western Front

Campaign:

Ardennes

“Battle of the Bulge”

Codename:

Unternehmen Wacht am Rhein 

Summary:

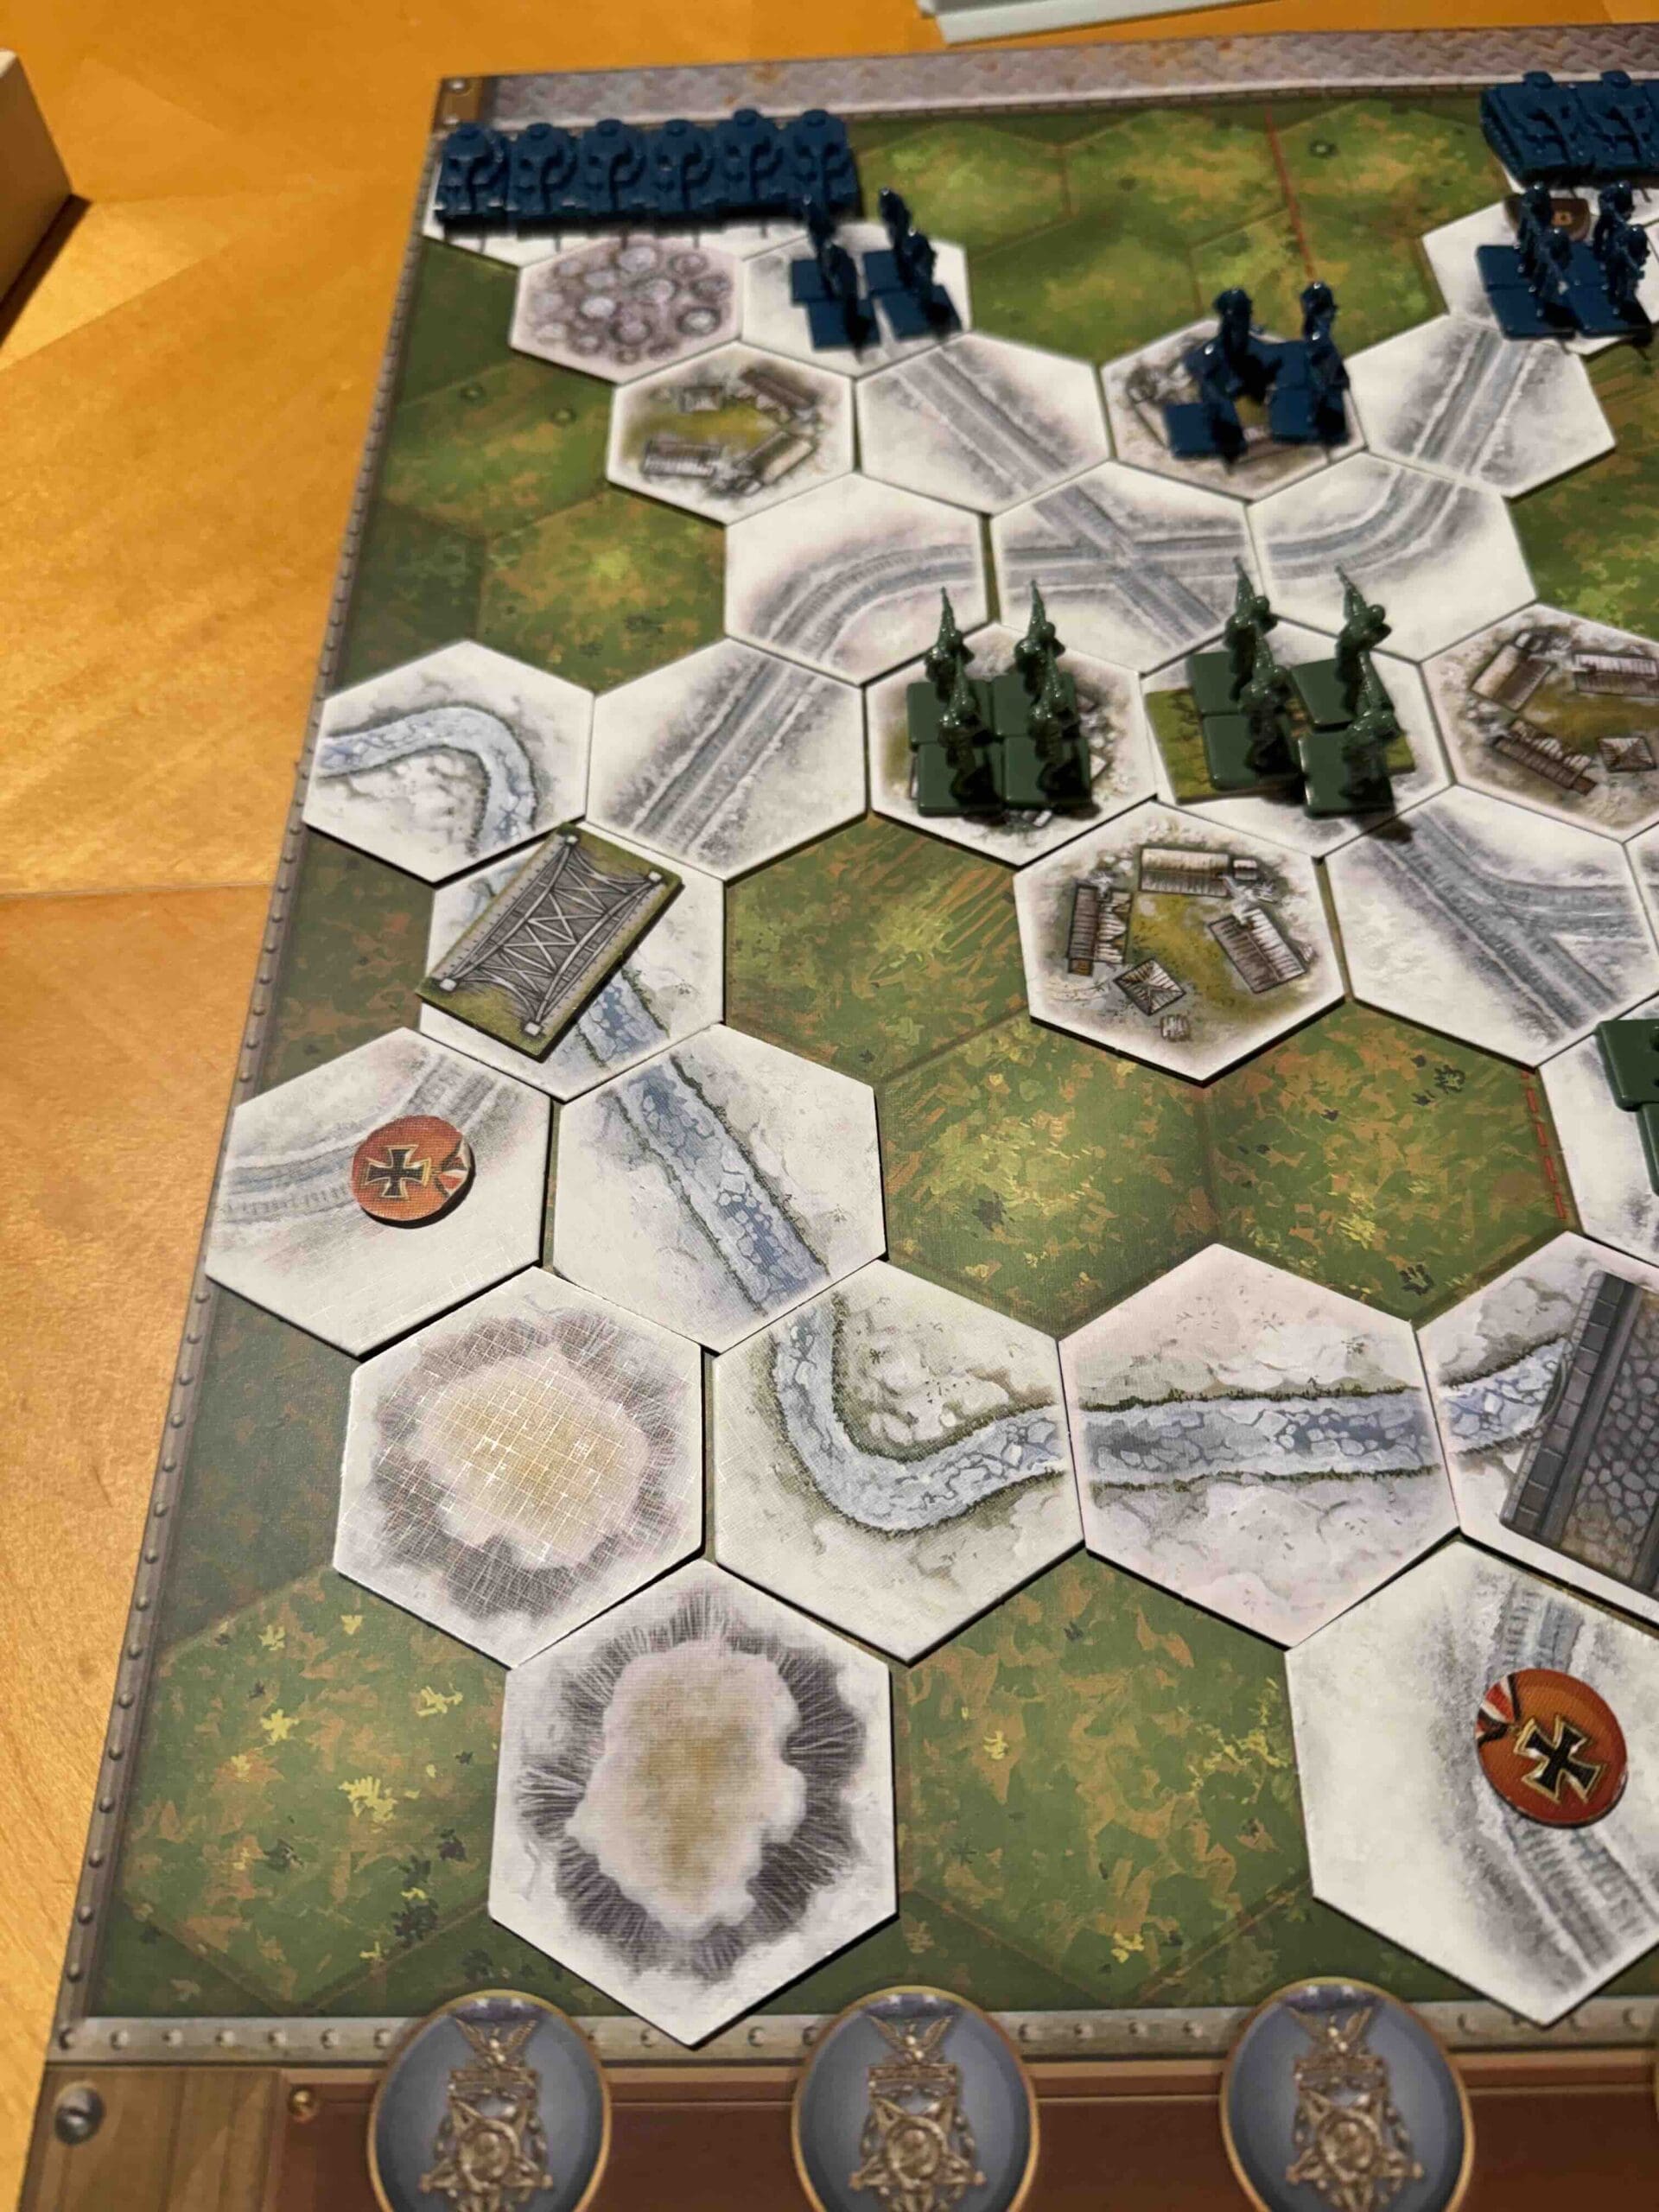
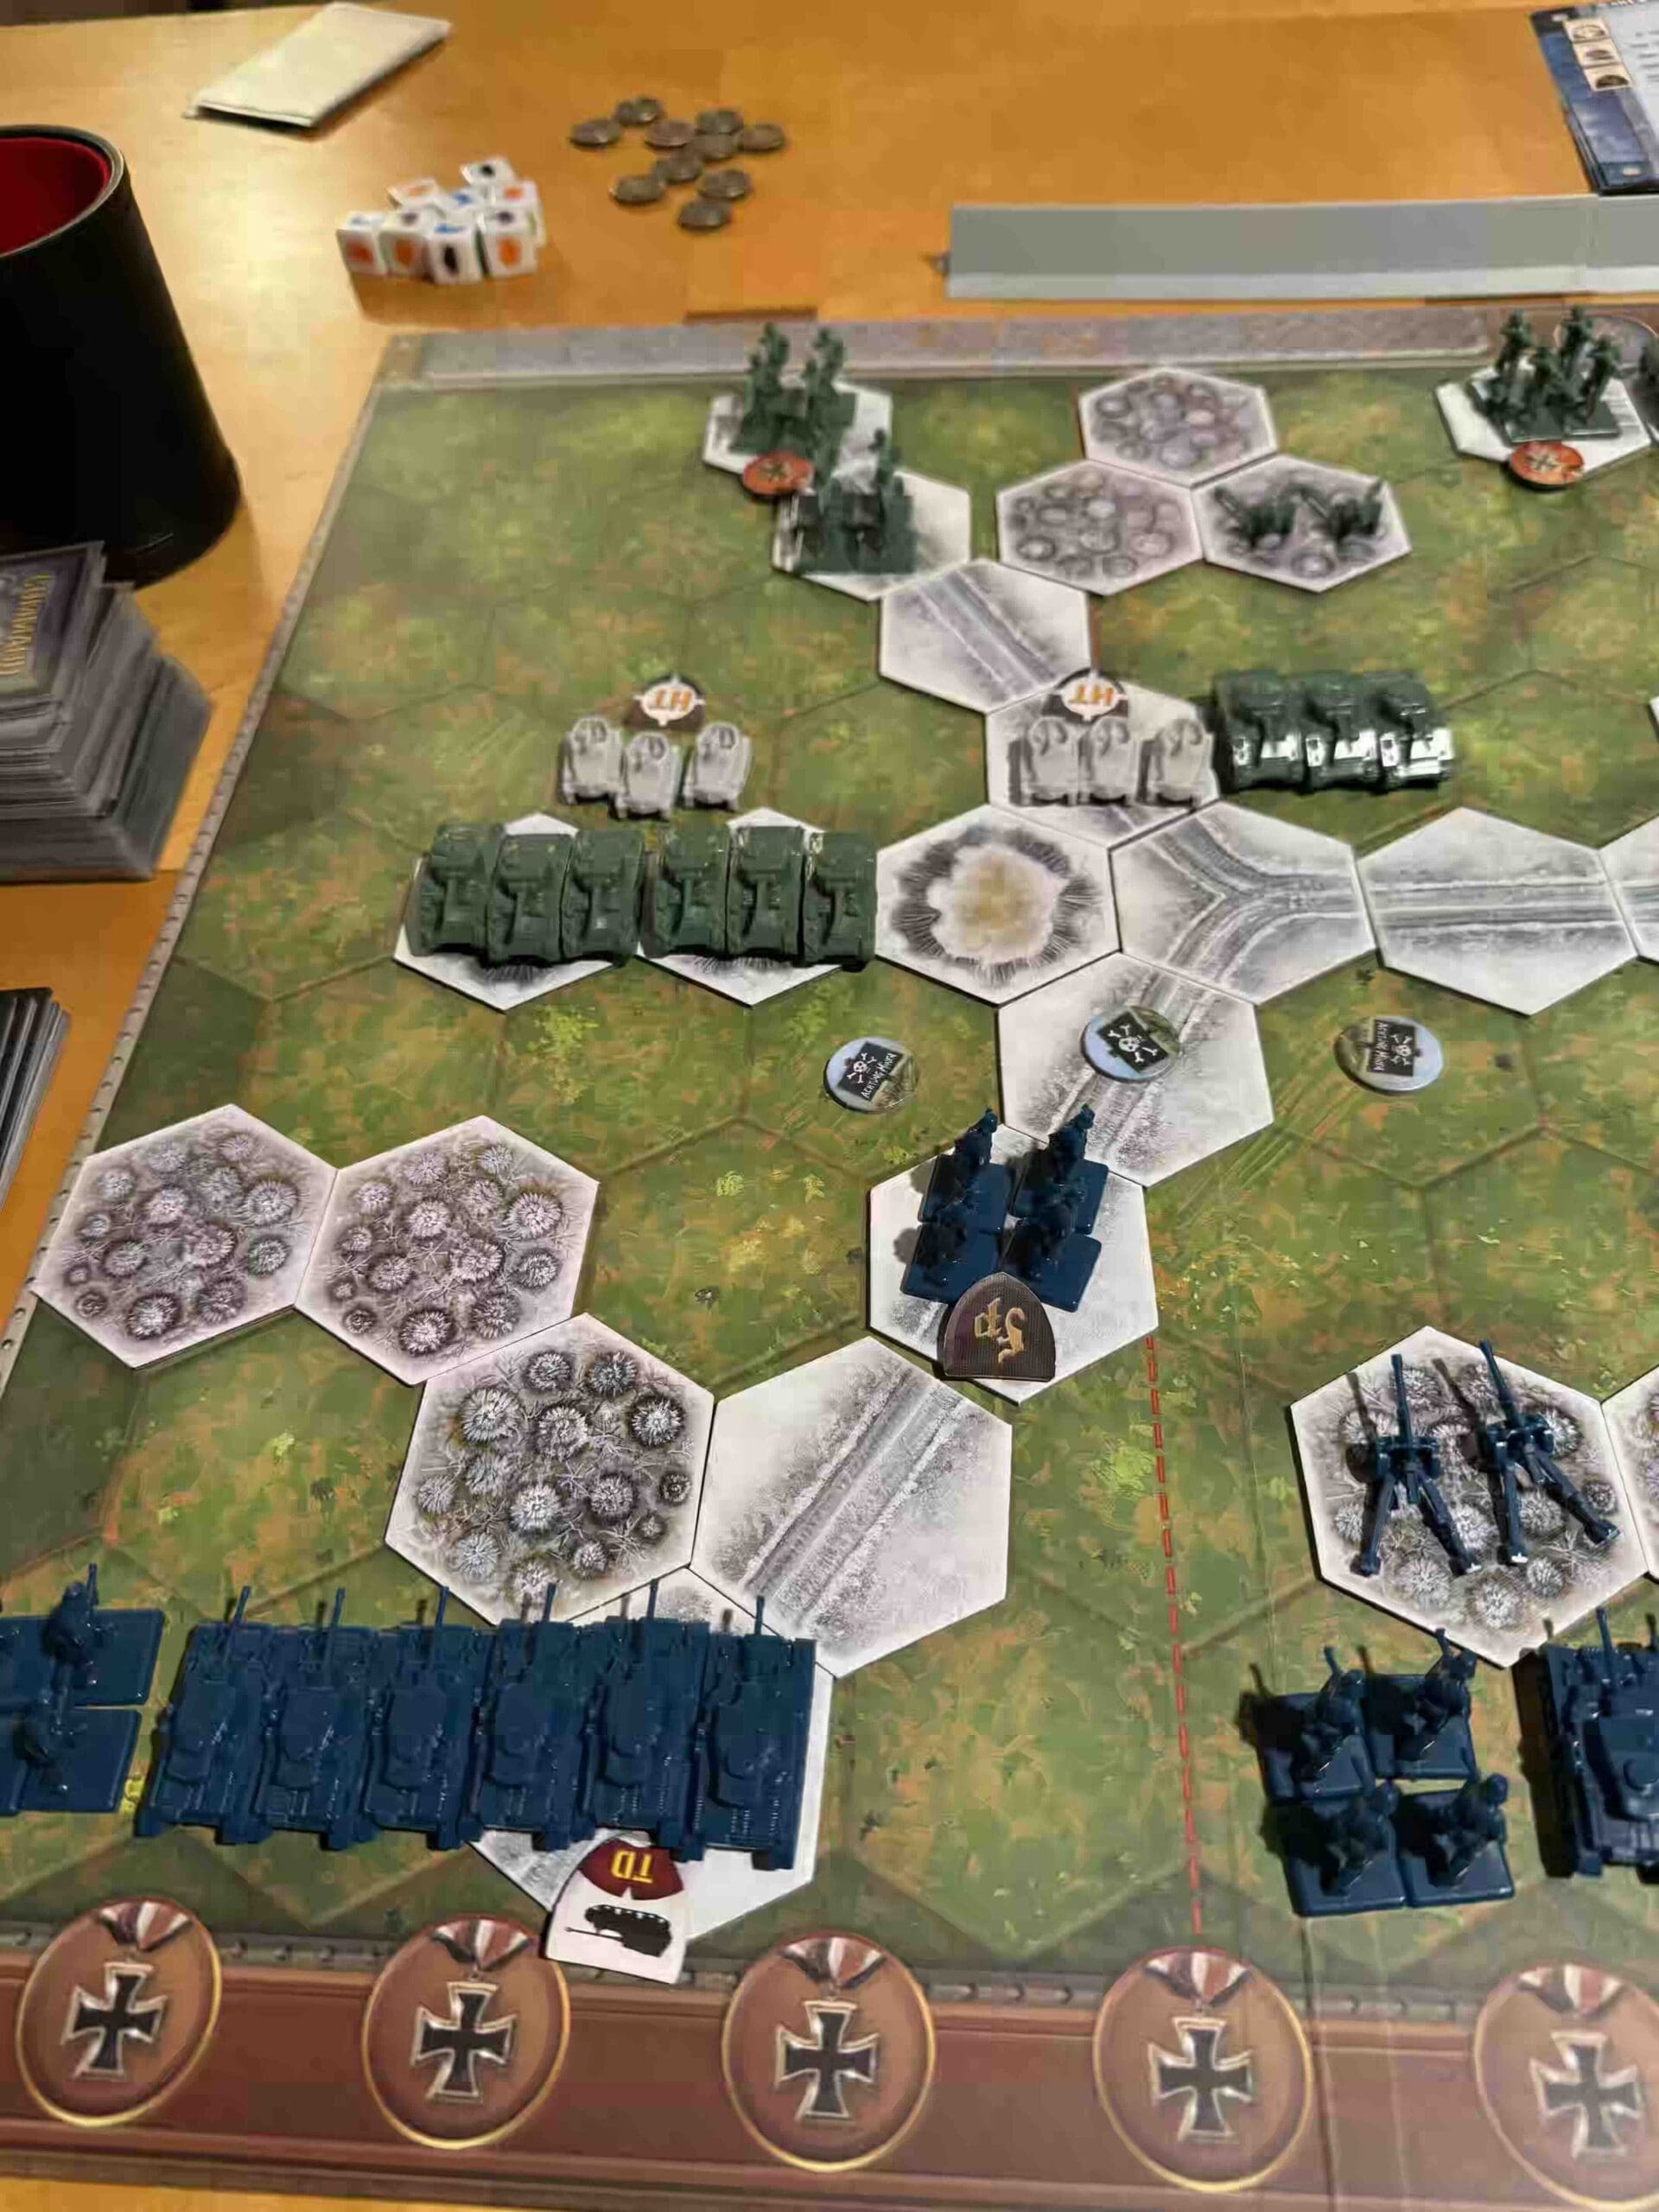
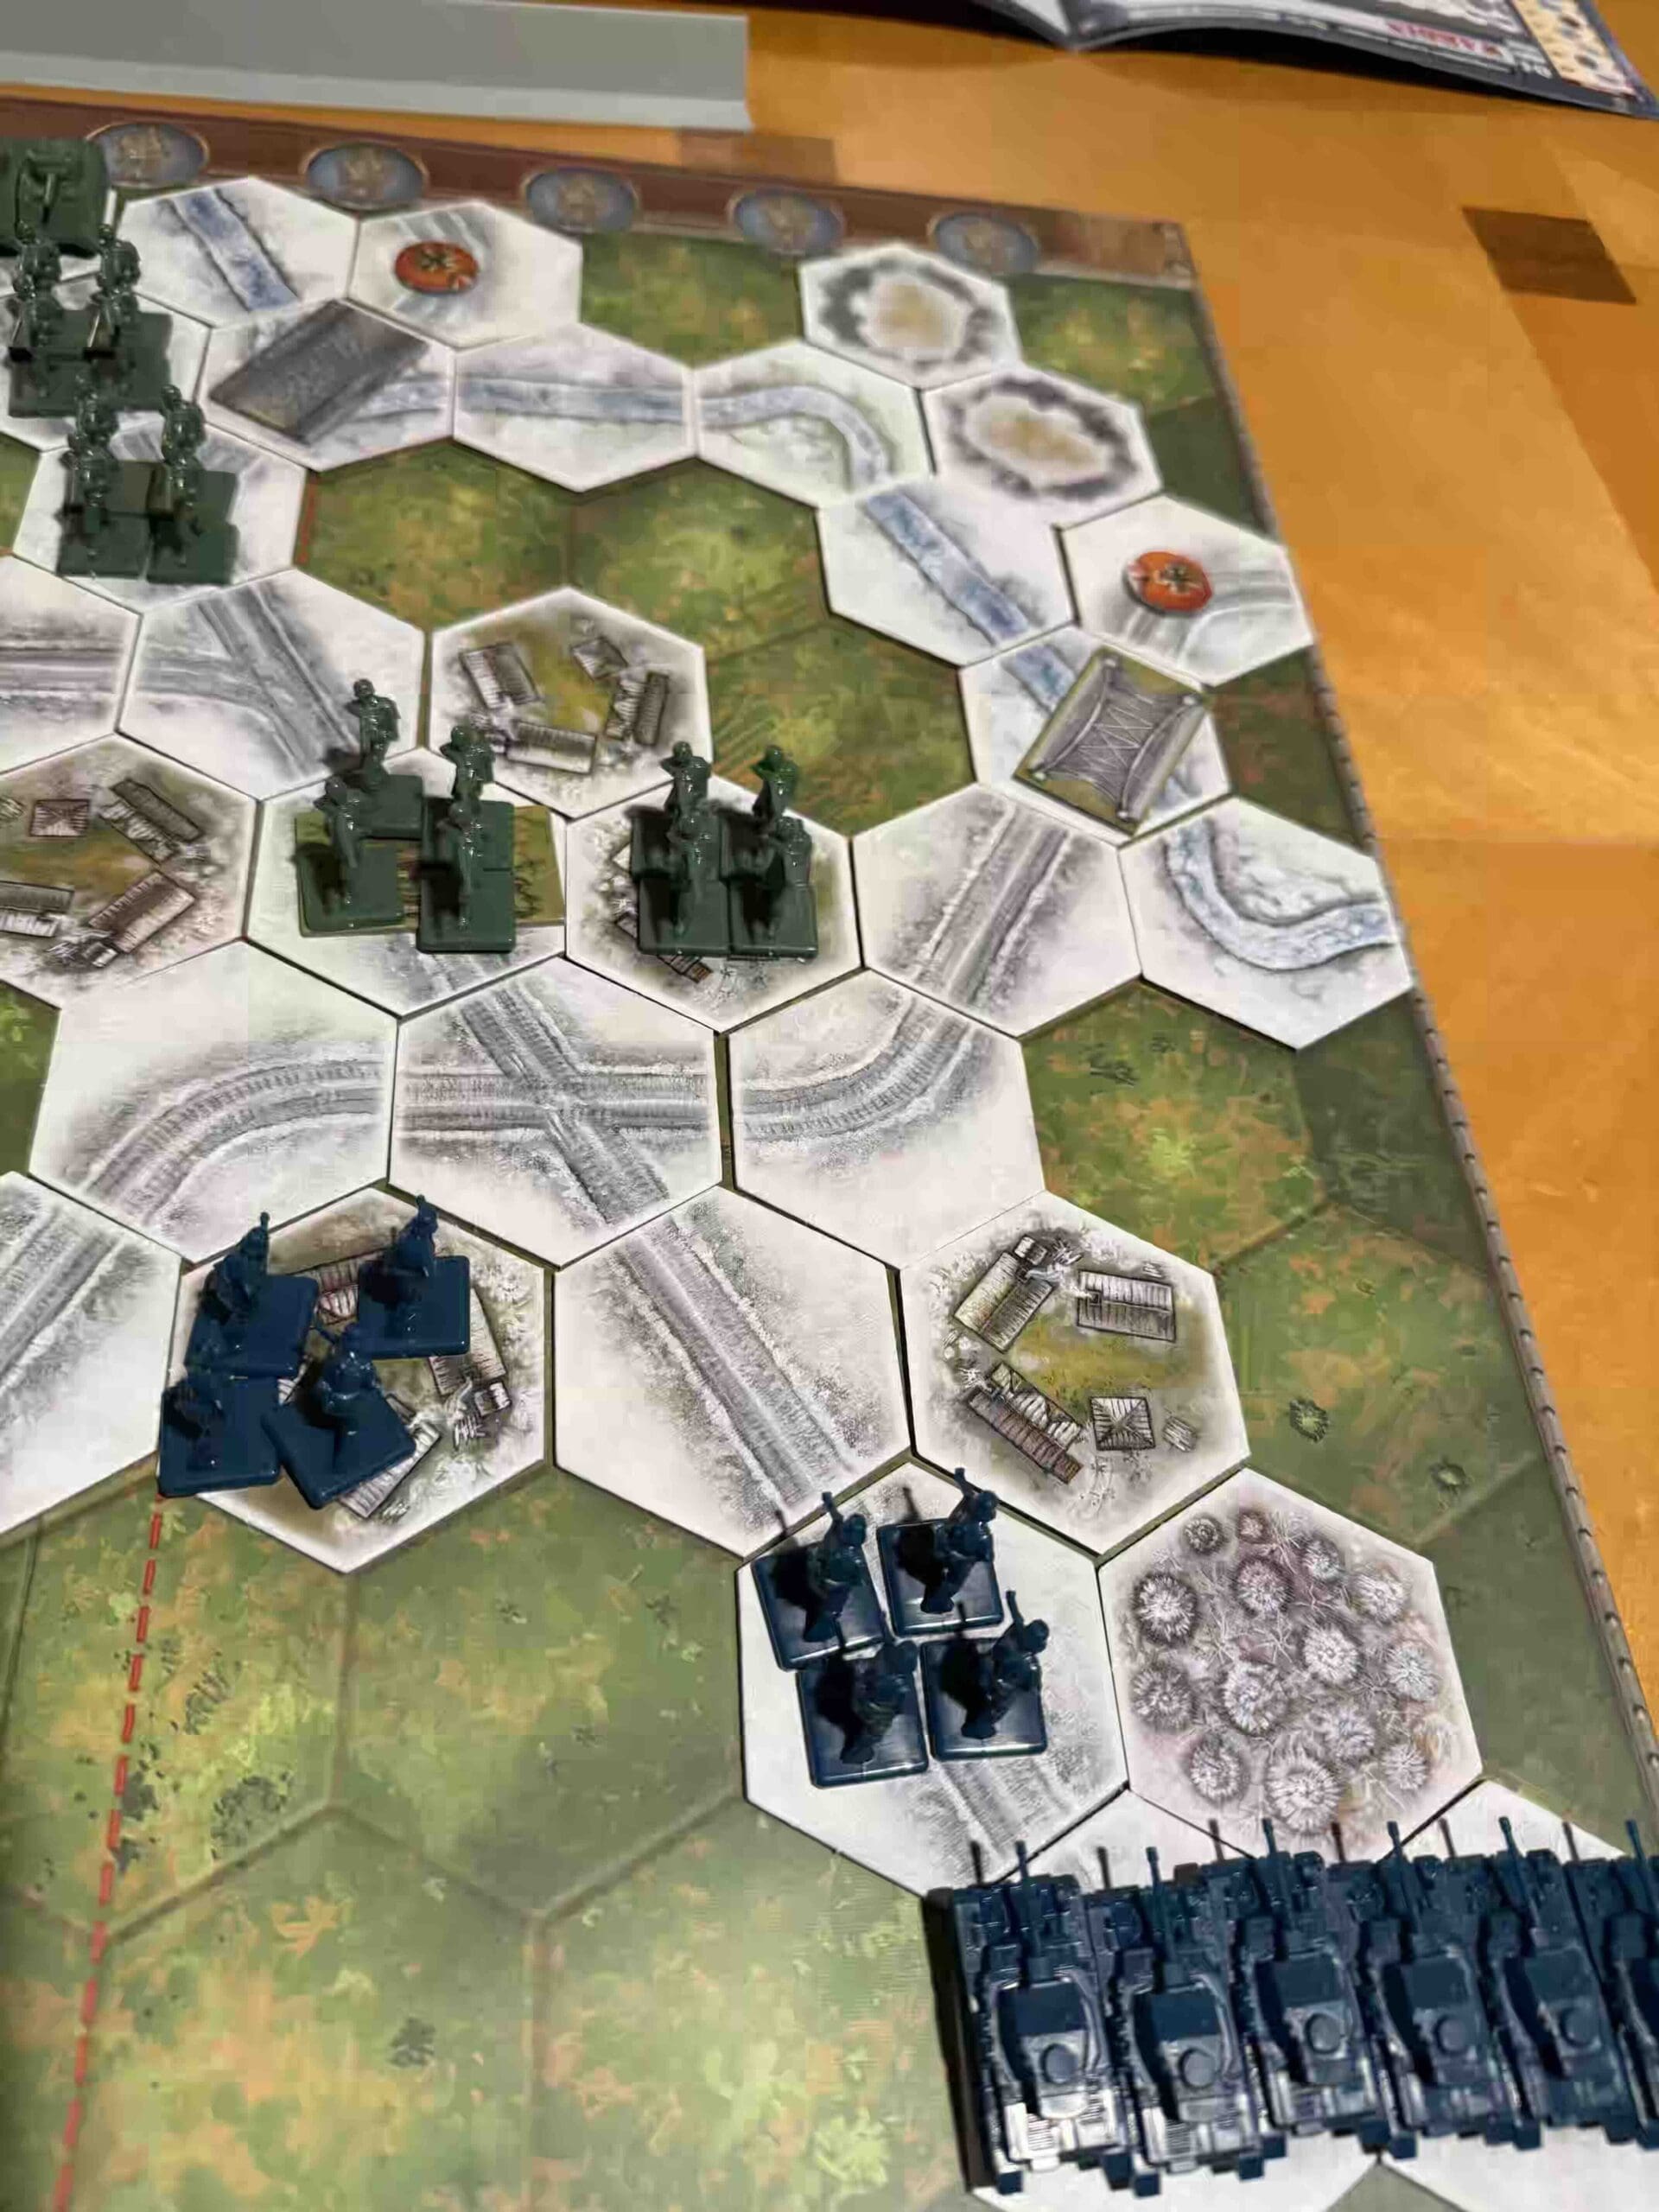
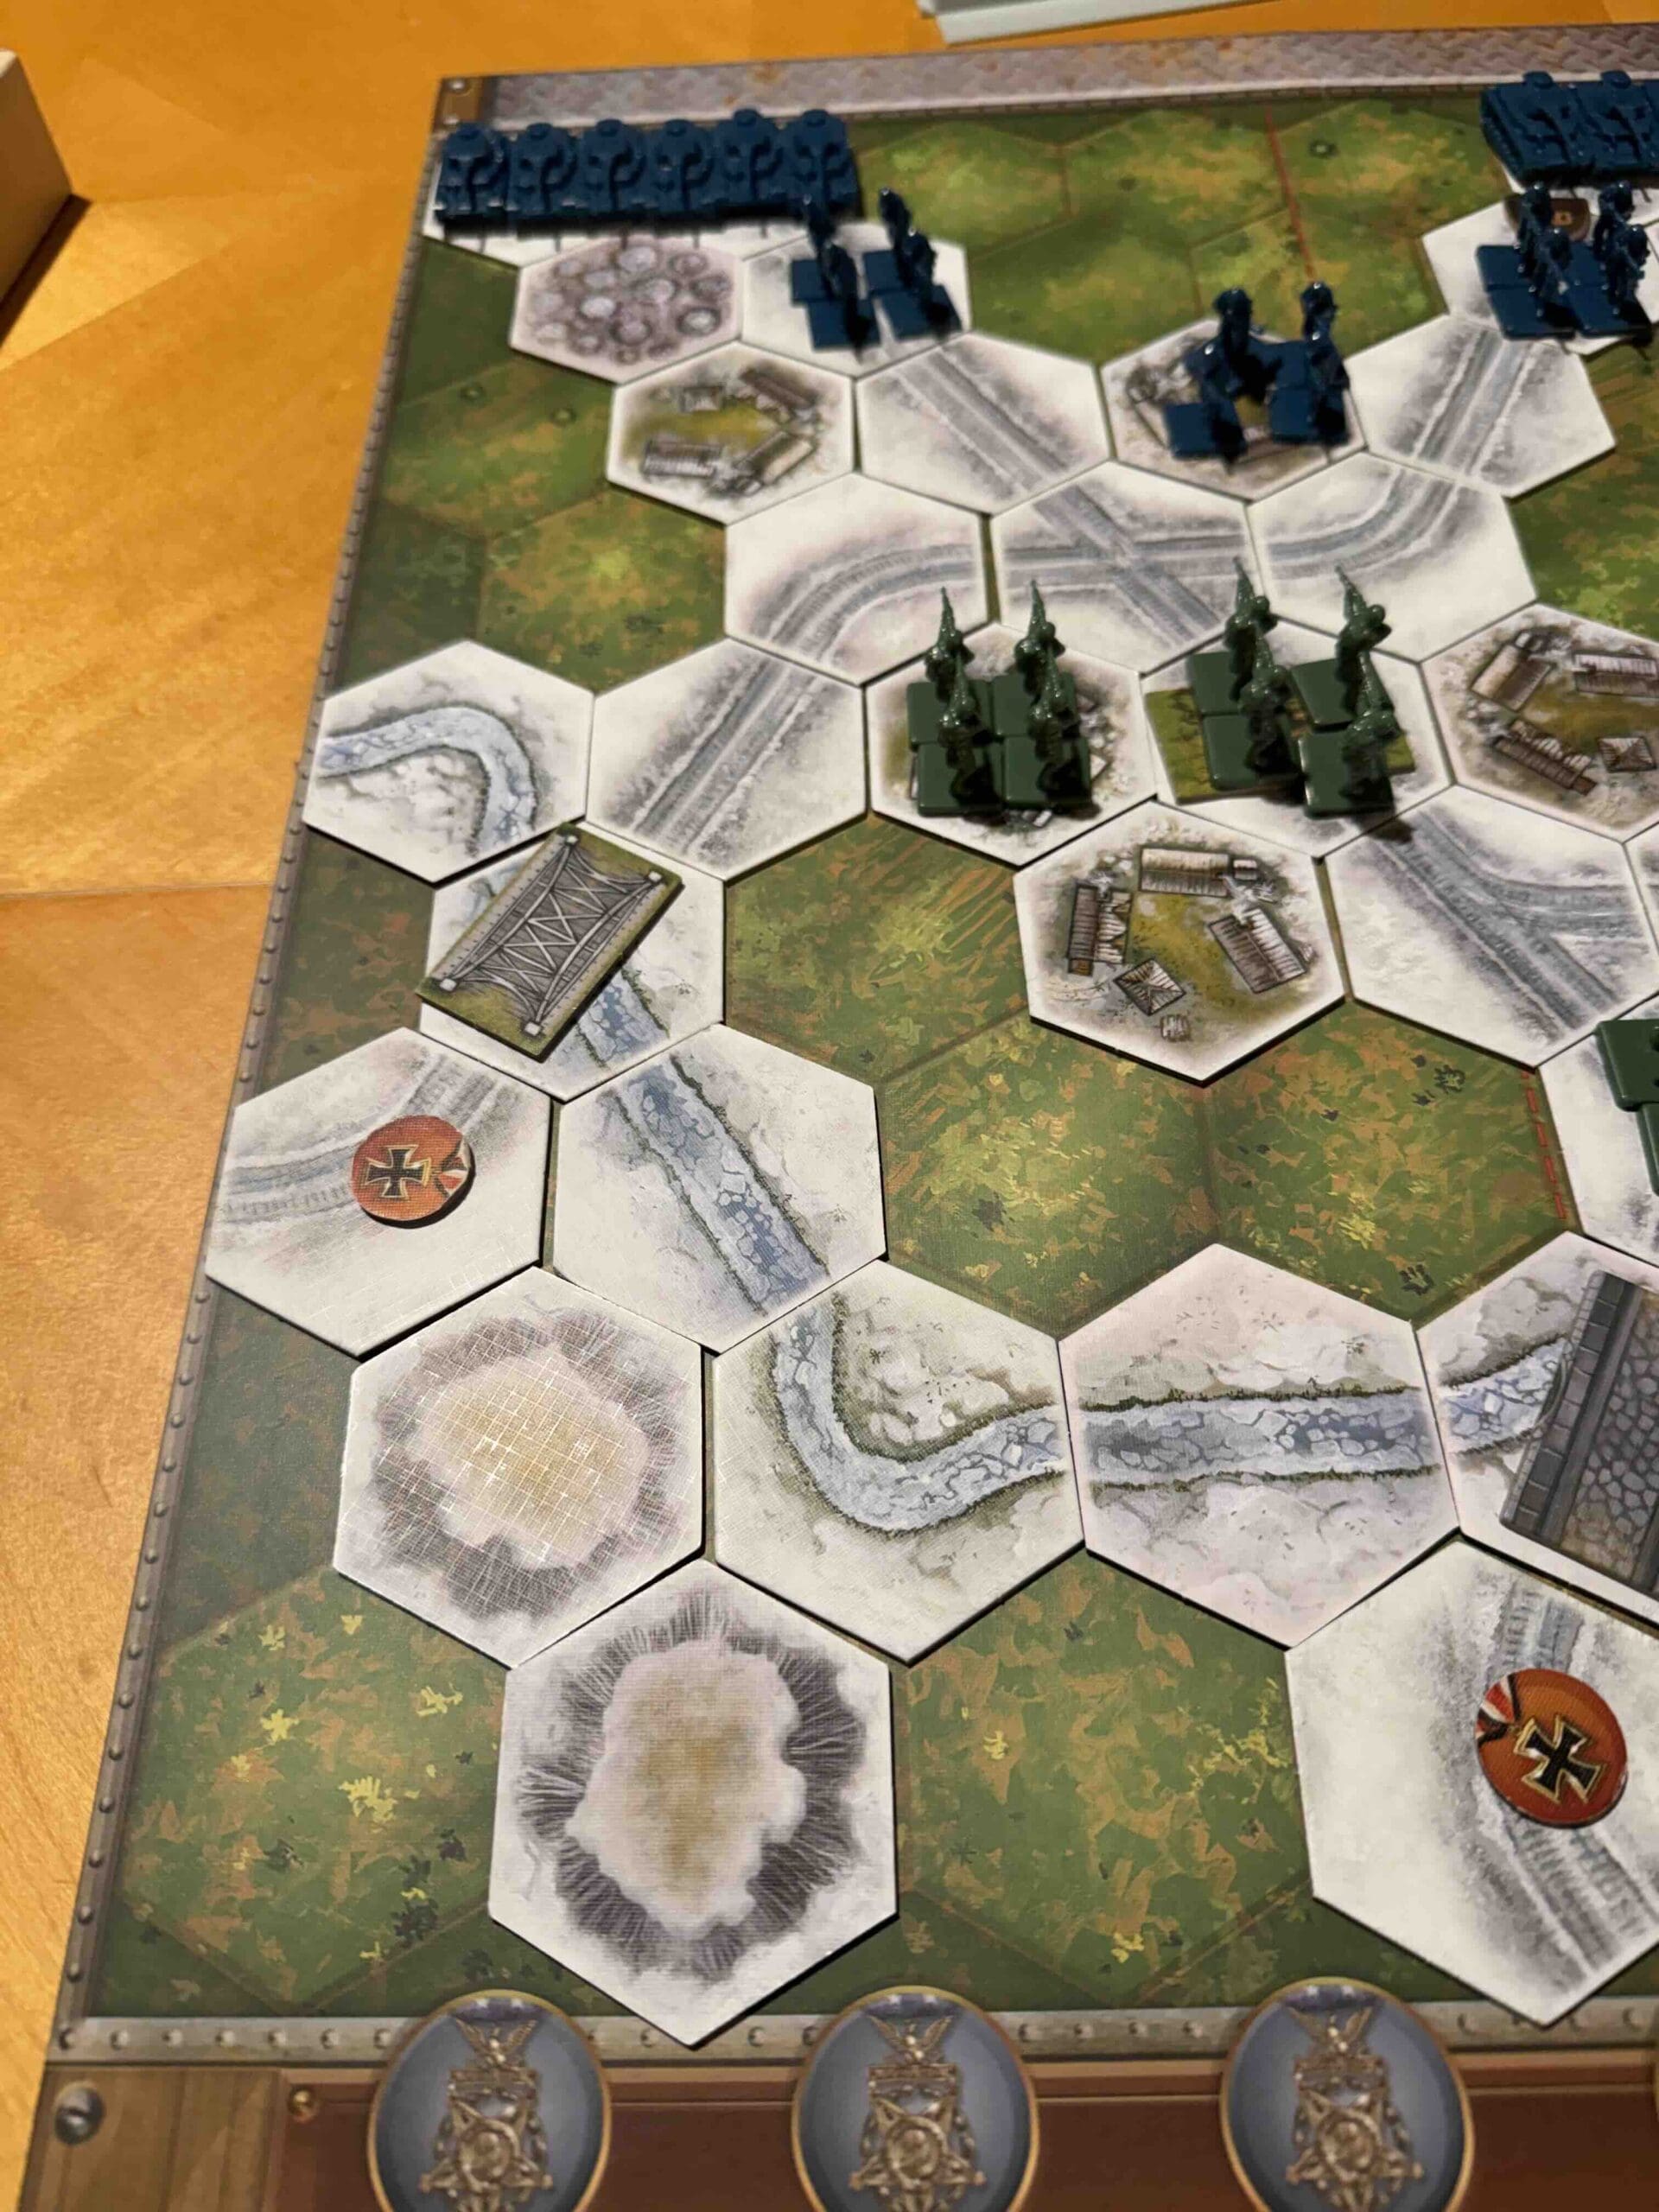
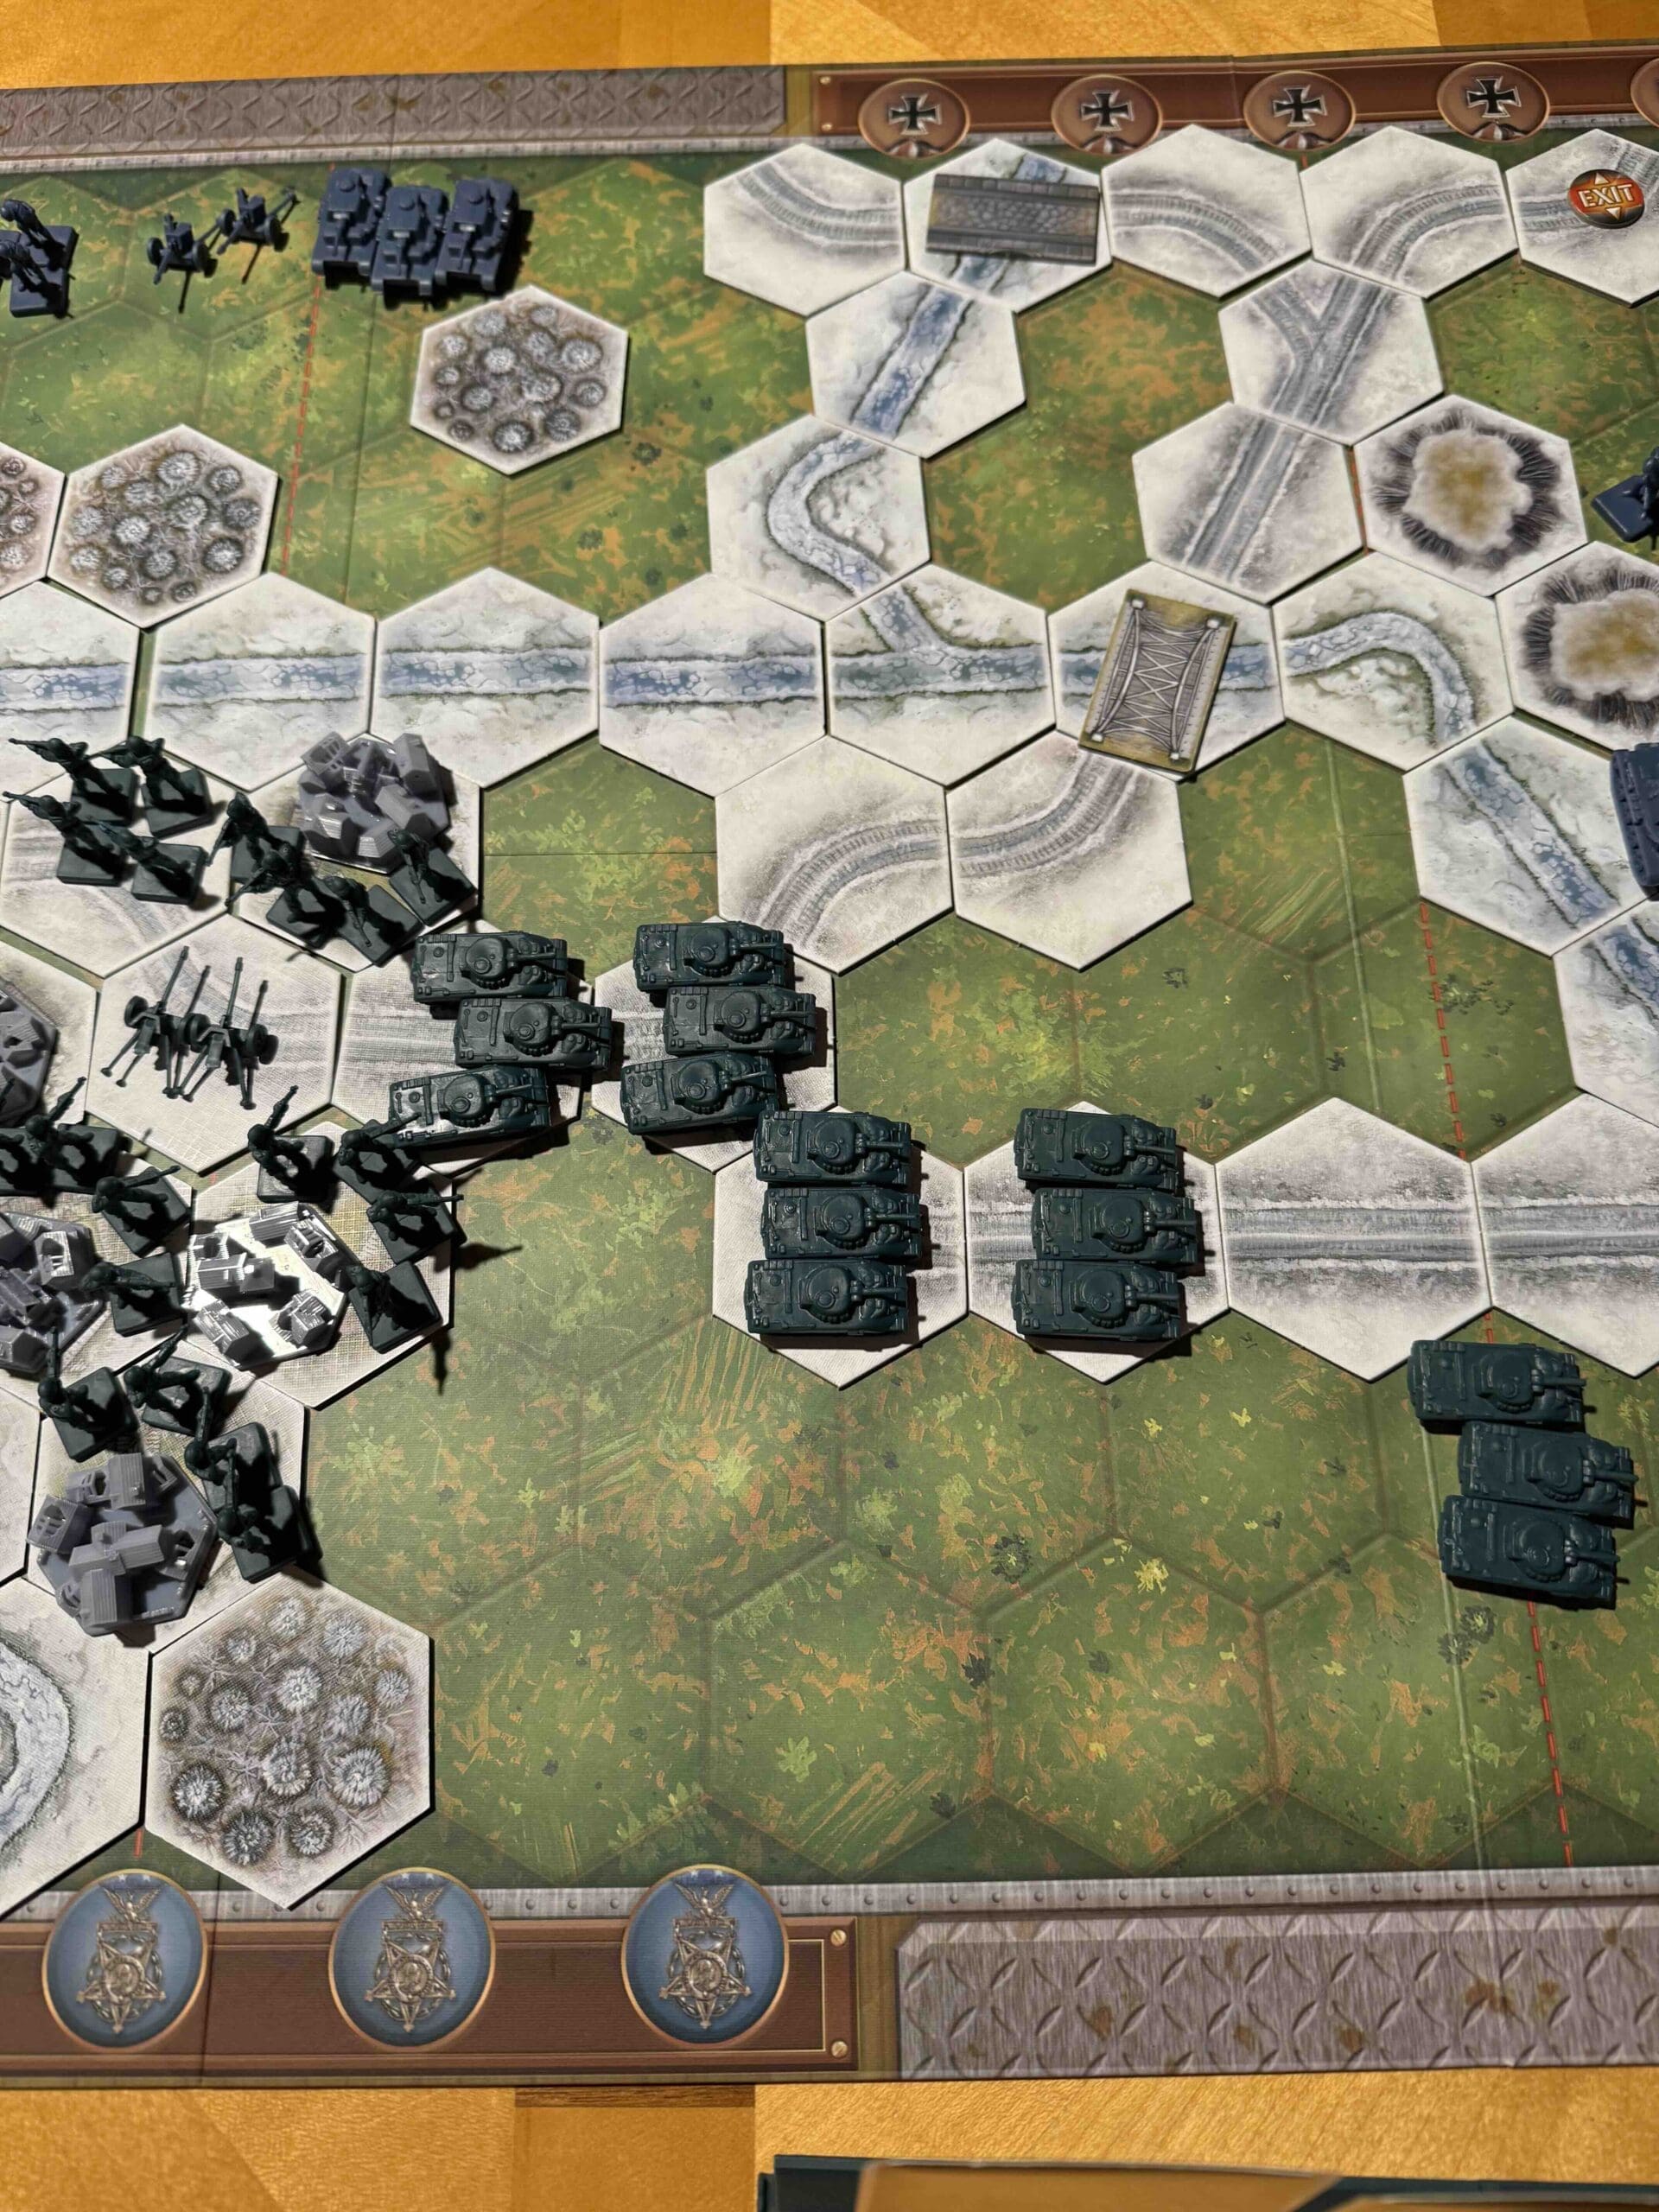
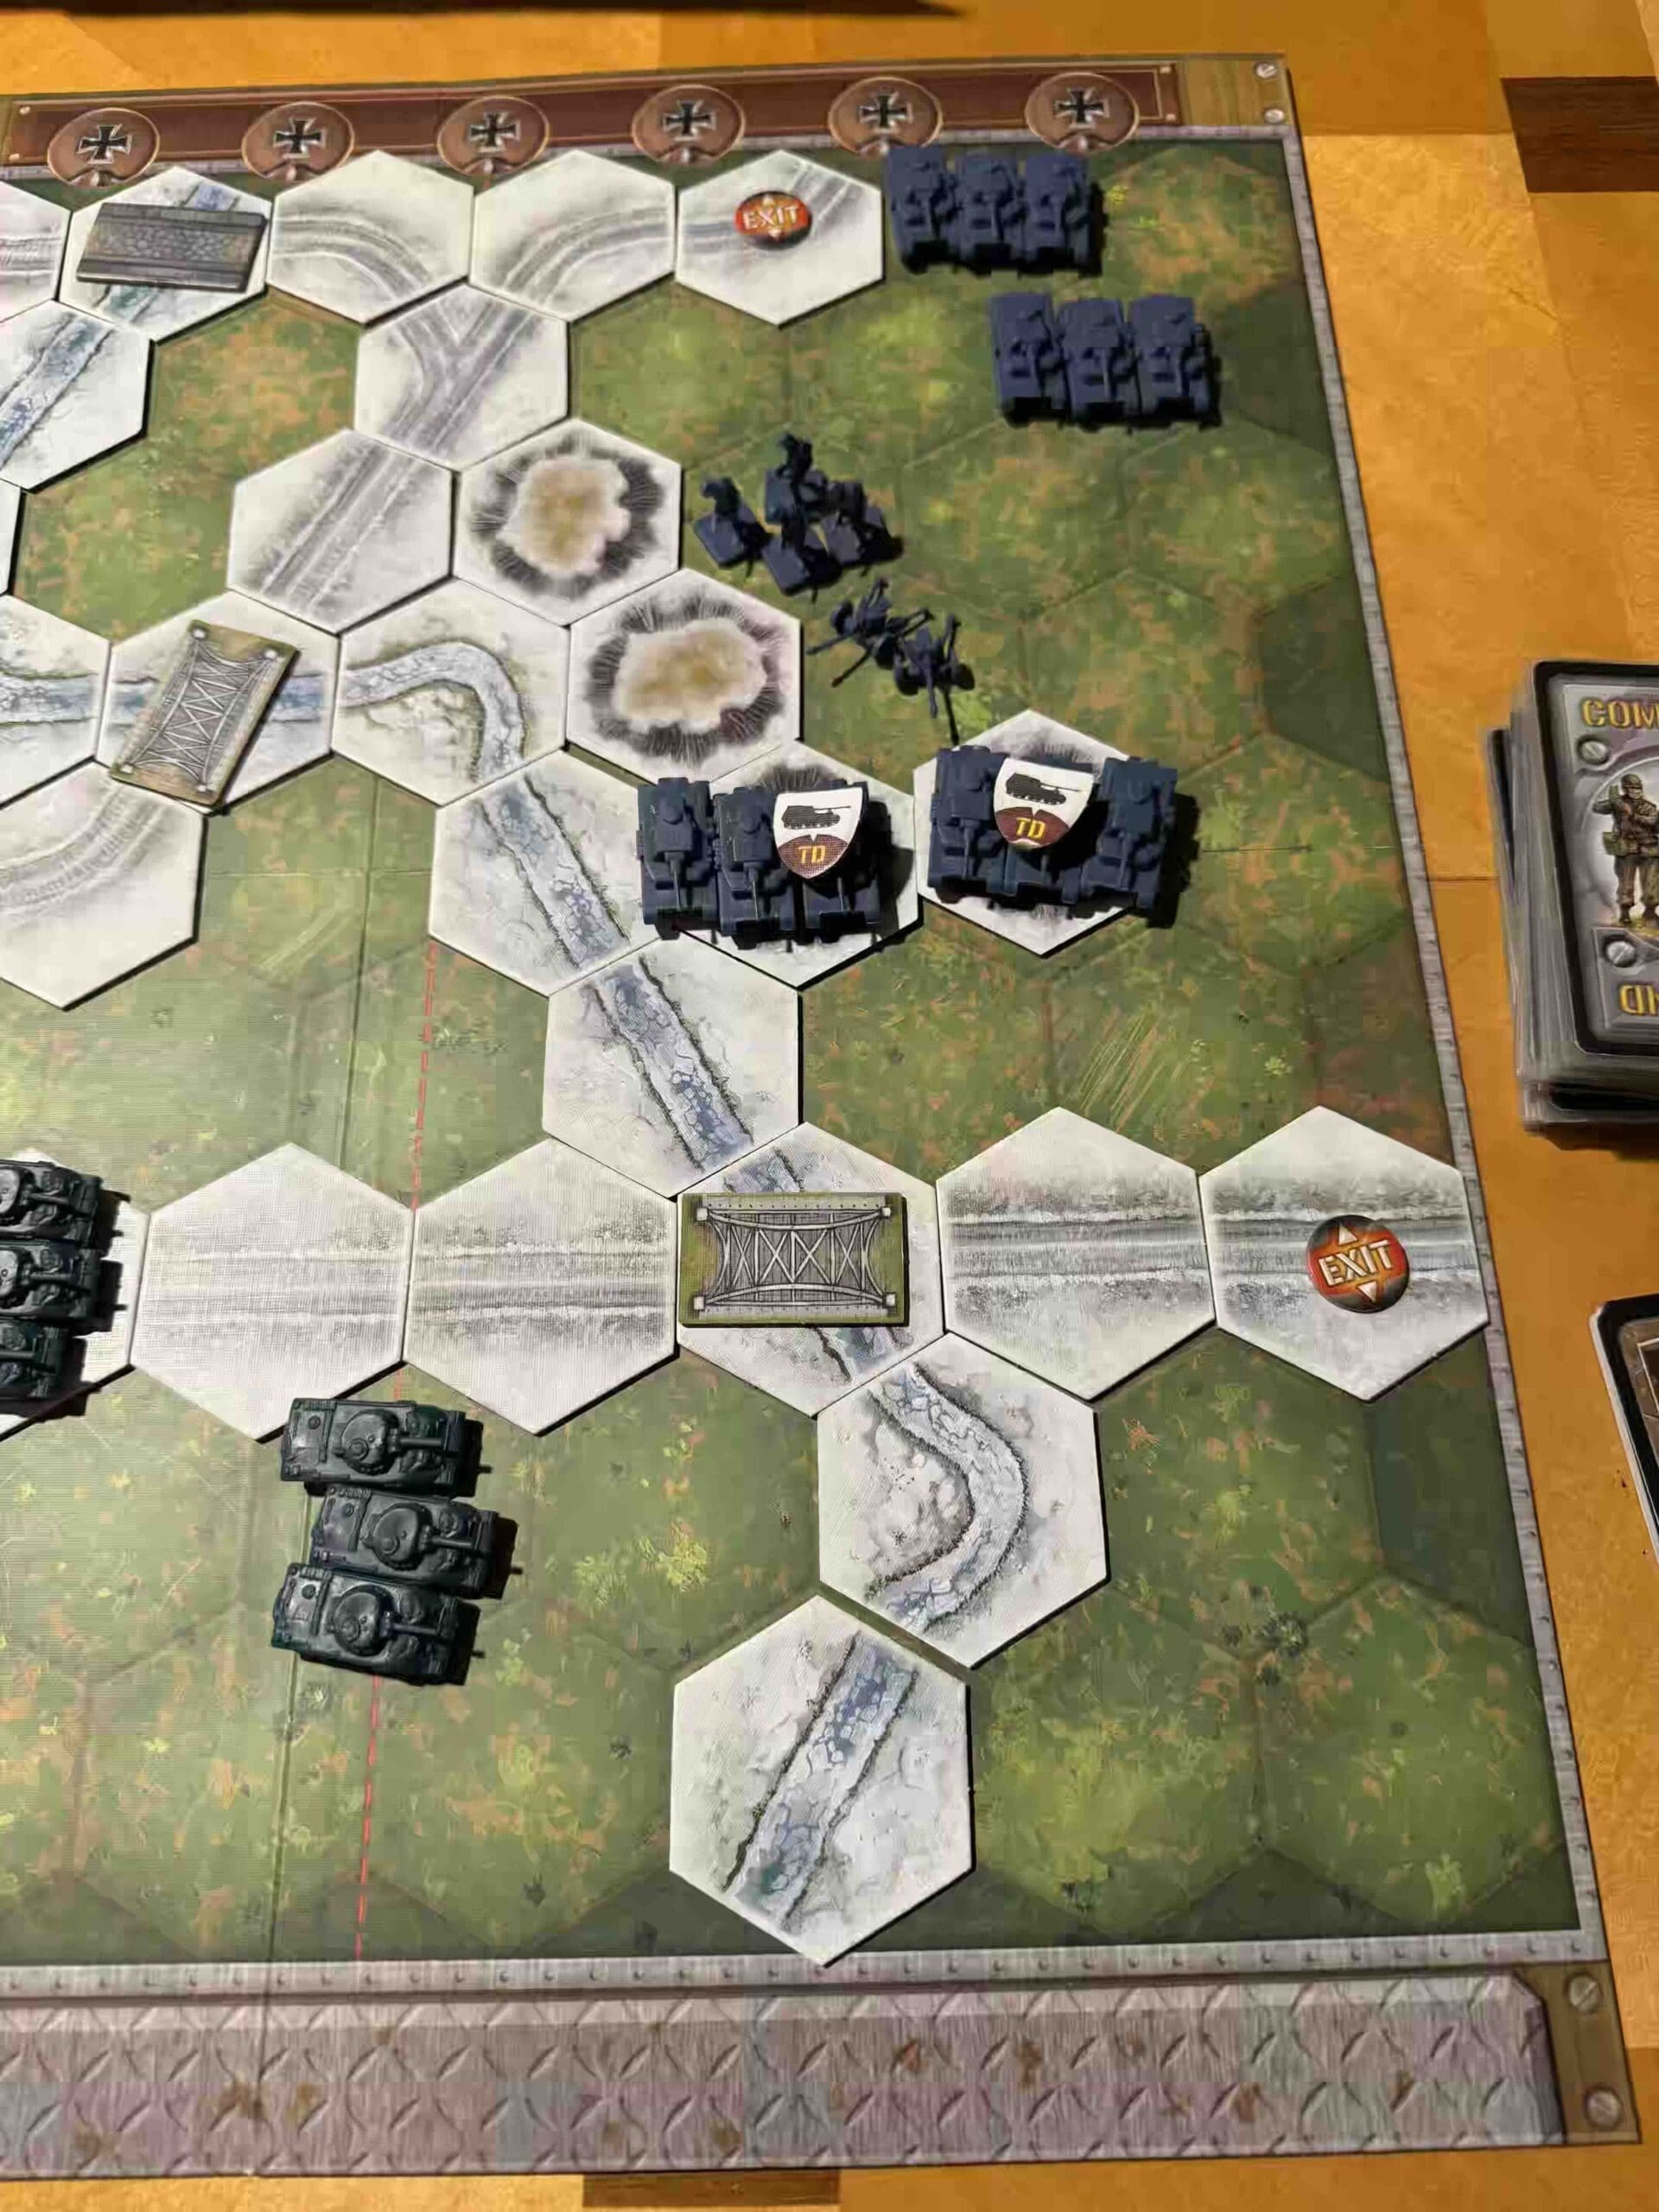
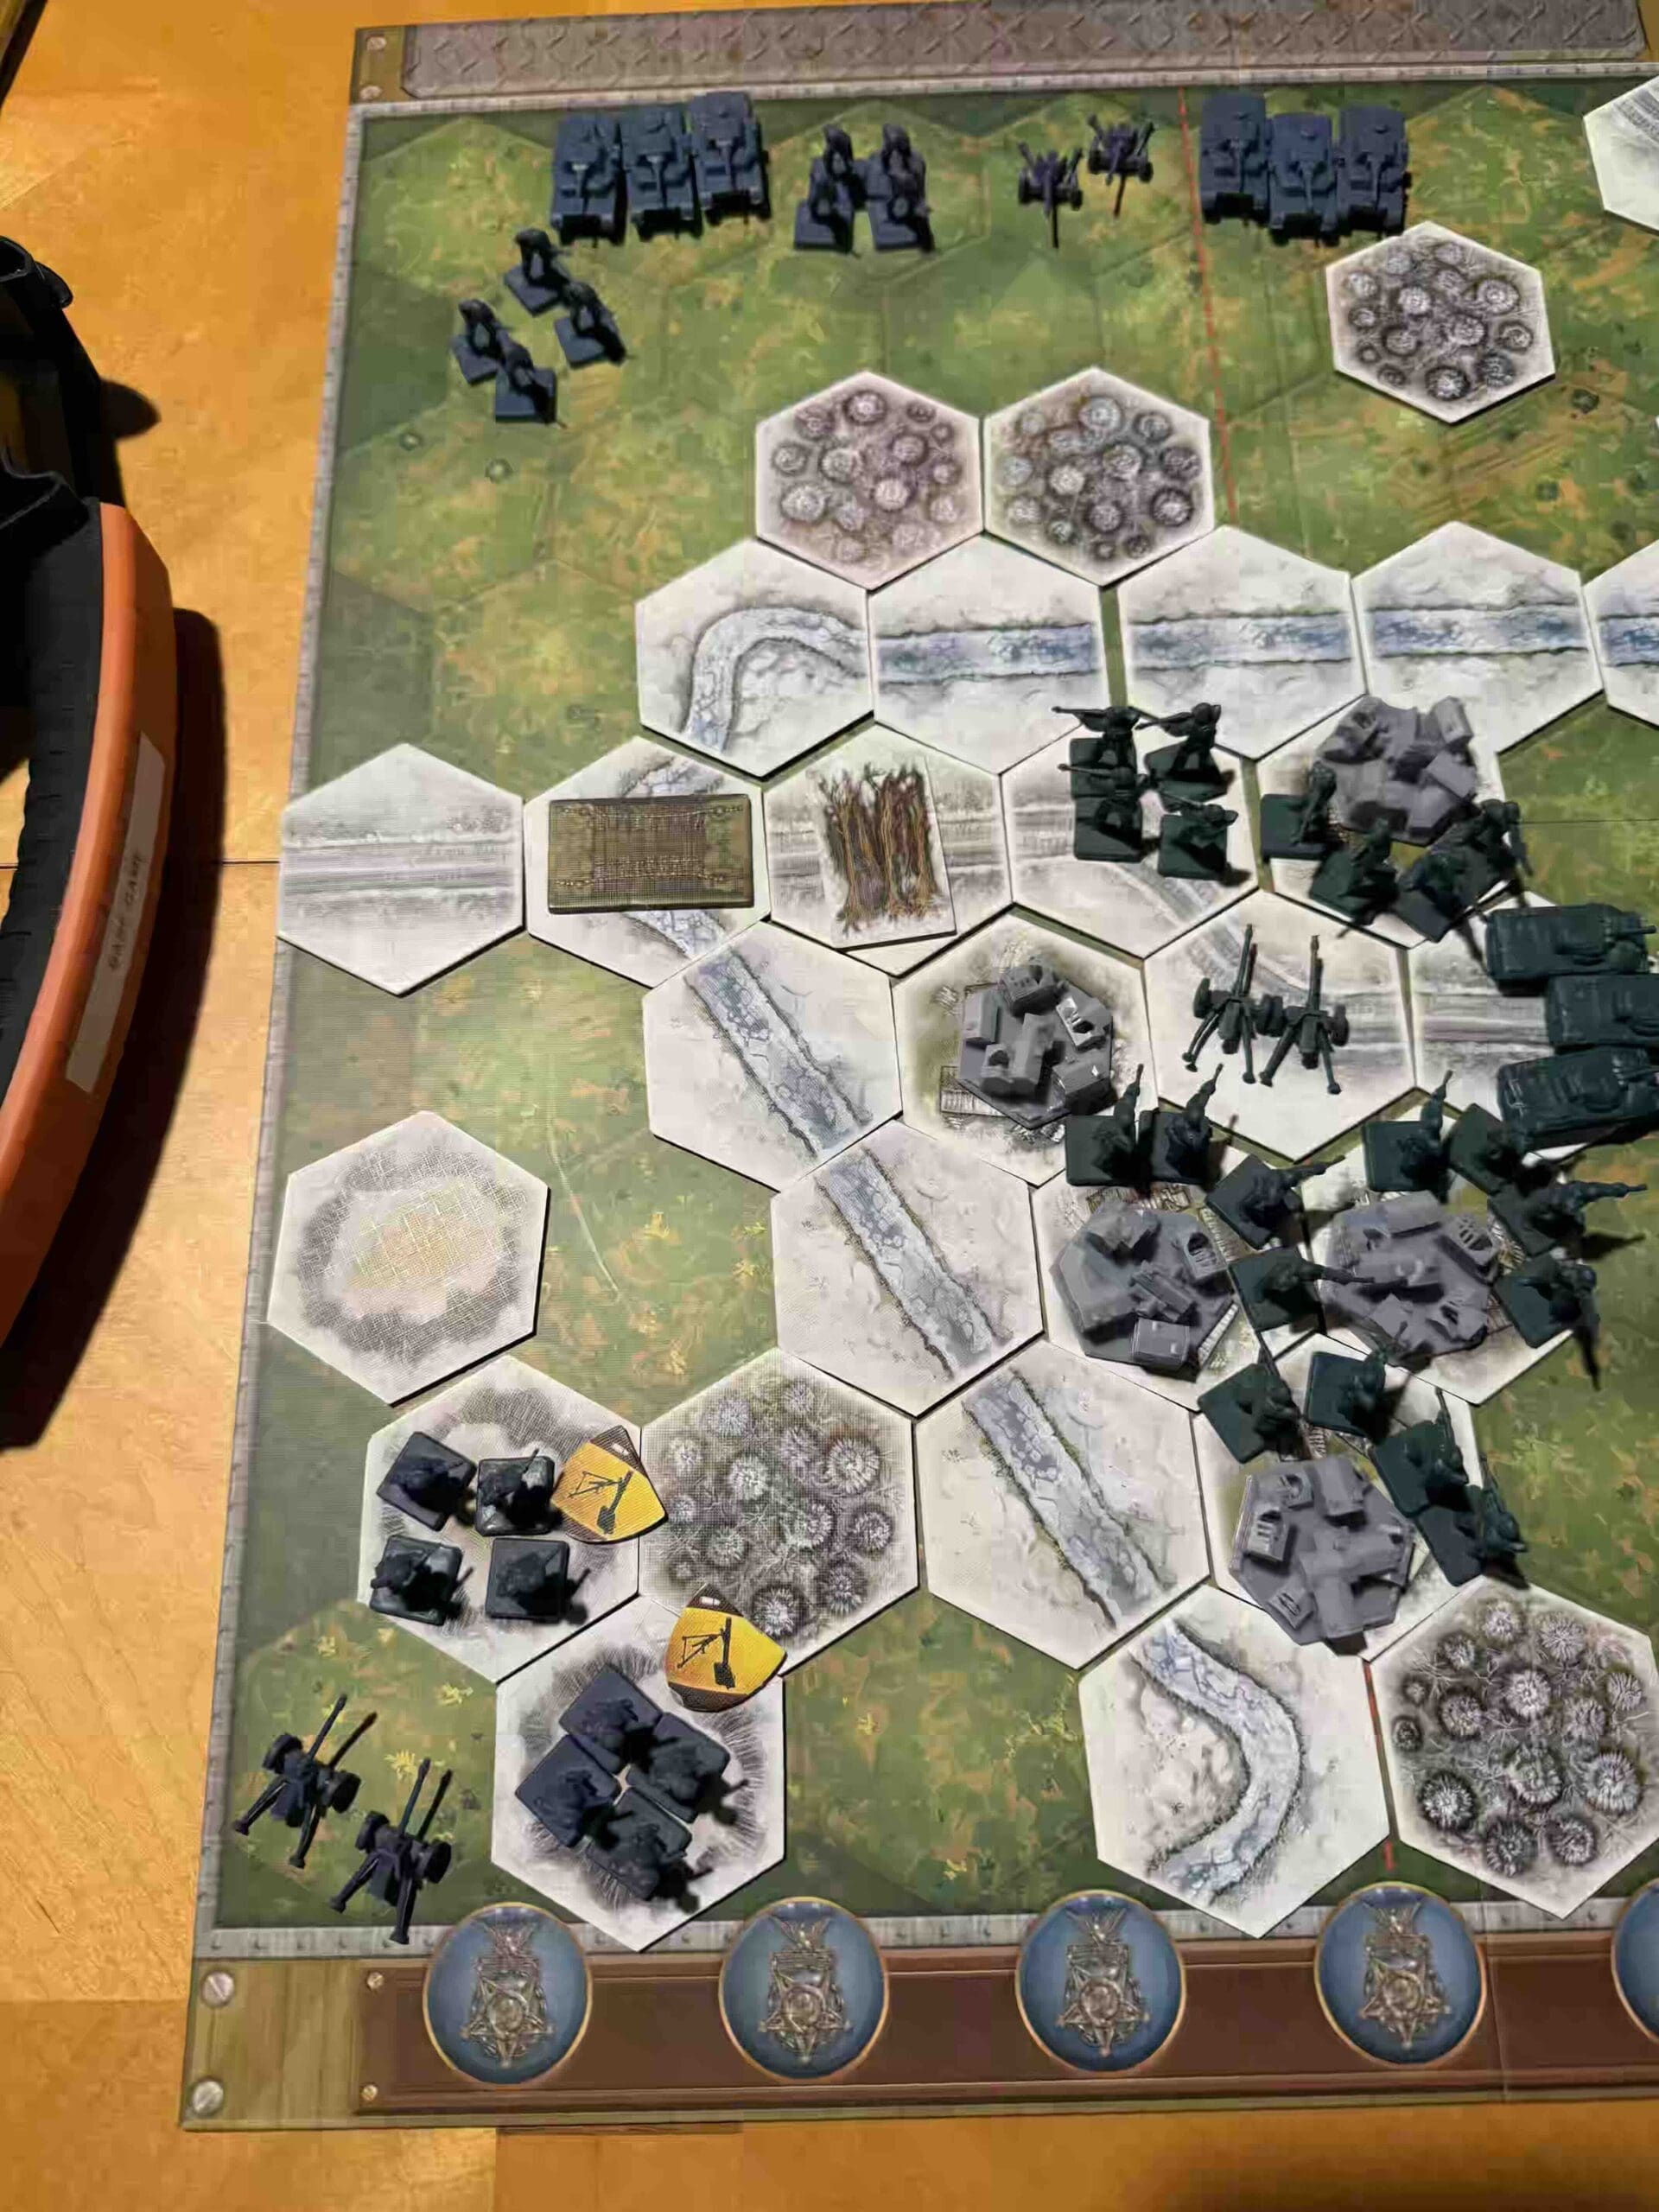
In Twin Villages, the Axis commander begins with almost all of their forces locked behind a wall of forest. The goal for Axis is to get out of the forest as quickly as possible in order to be prepared for battle. For Allies, the goal is to take out as many Axis units as possible before they break free.

Objectives:

6 VP’s ; no territorial medals

Battlefield:

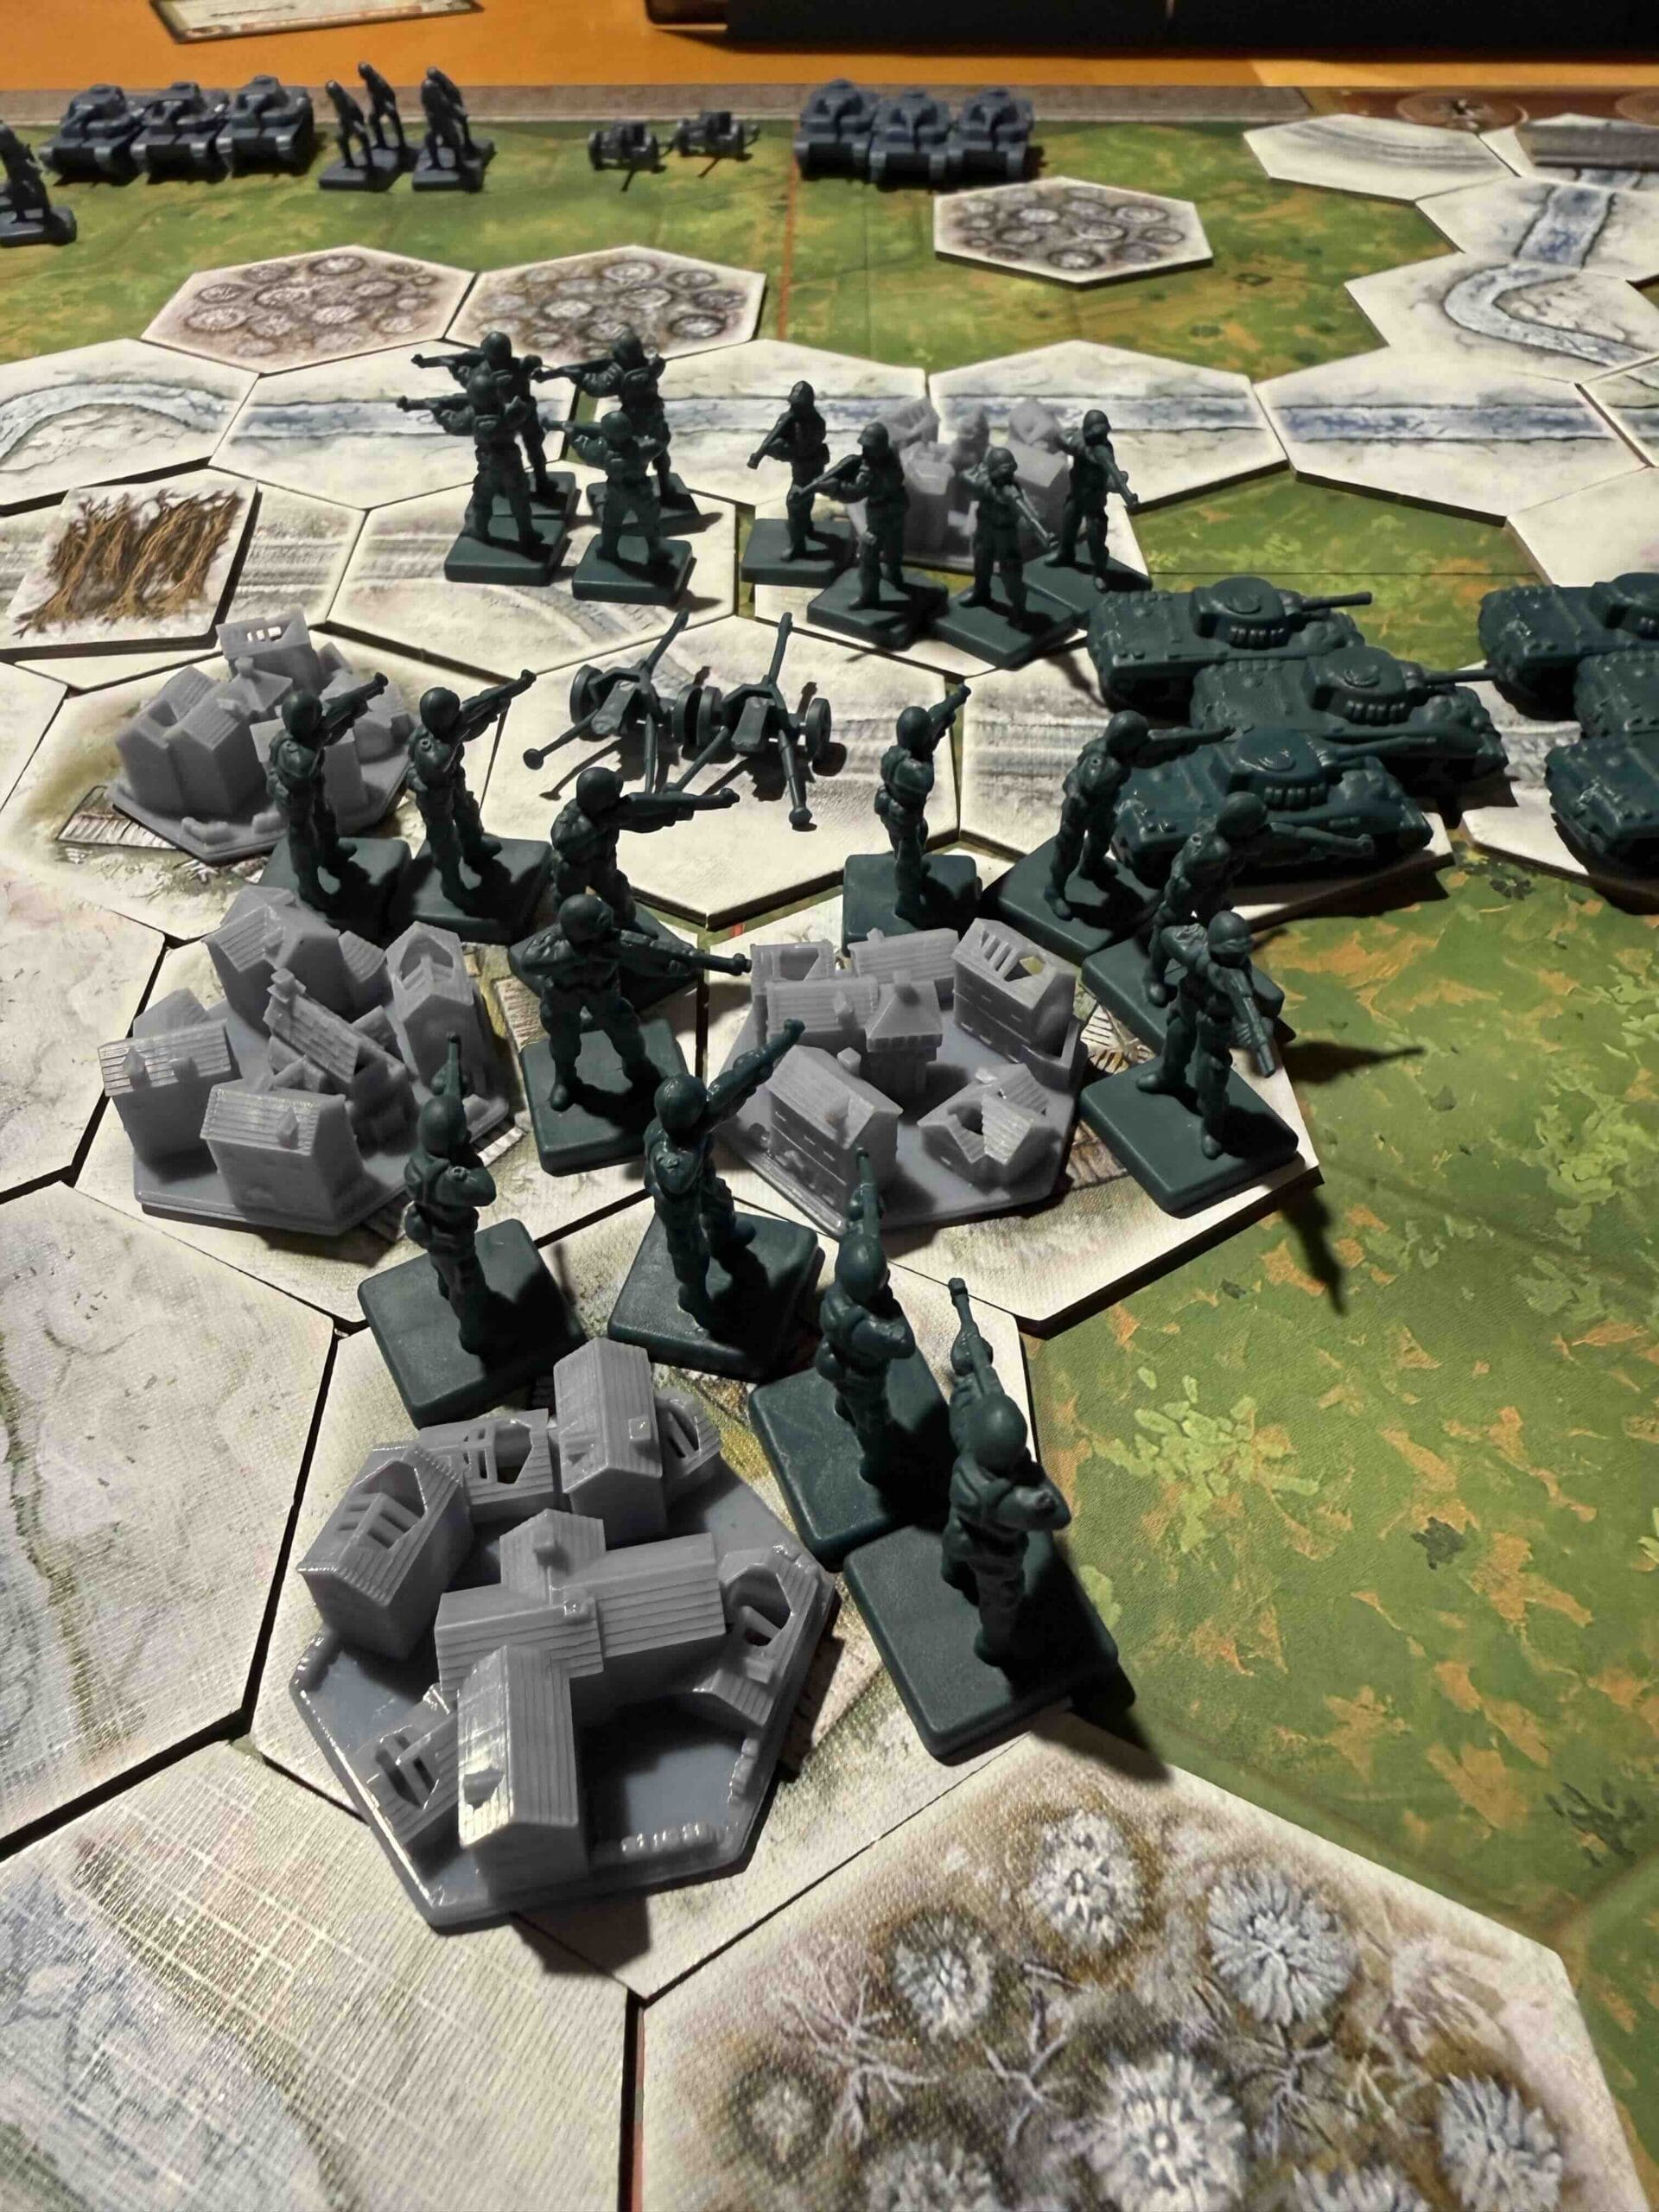
The twin villages of Krinkekt and Rocherath are in the center of the map, and provide cover for whomever can control them. There is a large forest towards the Axis side, blocking their initial movement.

Troops:

Allies – Infantry 9, Armor 3, Artillery 1

Axis – Infantry 9, Armor 5

Allied Strategy

1.  Remember, that historically, the Allies are on the defensive early in this campaign. But you have the opportunity to score some hits with your advance Infantry units, before you are forced to pull back. Once you remove (or lose) your Infantry at the Lausdell Crossroads, the path is clear for your tank to blast any enemy units that attempt to make their way up through the gap in the trees.

2. Early goals are to get your Infantry into the Twin villages, prepared to defend. Also, get your tanks mobile on the flanks to prevent any advances from the enemy.

Axis Strategy

1.  Mobility is the first order of the day. Your Infantry and Armor are congested and need to start advancing.

2. Your infantry at h8 is only two hexes from the enemy, with no means of retreat. You need to move and attack with that unit ASAP.

3.  Your right flank is very weak, with just a single infantry unit. Do not launch attack there until you move more units into the section. Once the infantry advances into the woods, your back row will be clear for the armor to move out into attack position on the right flank.

4. An early goal will be to target the two advance Allies infantry near the Lausdell Crossroads.

5.  Until you get the gap cleared on the way to the Crossroads, your armor is trapped in the woods, and it will take you two turns to get them into play.

Battle Reports

(percentage of Allied victories):

57%

15
BR - Twins

Author:

Days of Wonder

Link:

Suomussalmi – Russo-Finnish War

Suomussalmi

scenario_Suomussalmi_start

Let me tell you about Suomussalmi, a frozen corner of Finland where, in the winter of ’39, a handful of tough, stubborn Finns showed the world how a smaller force—if it’s smart, fast, and mean enough—can tear a lumbering giant to pieces.

The Russians came in heavy, marching two full divisions down those narrow forest roads, thinking they could just roll over Finland and split the country in half. But those Finns didn’t fight the war the way the textbooks said. They didn’t stand still and get crushed. They moved. They lived on skis, slipping through the woods like ghosts, striking the Soviet columns where they were weakest—supply lines, roadblocks, isolated pockets of troops.

While the Russians froze in the open and bogged down in snowdrifts, the Finns carved them up piece by piece. They cut those long Soviet columns into little “motti” bundles—isolated groups with no food, no ammunition, no rescue. And then they finished them.

By early January, the Finns had smashed one Soviet division entirely and sent the other running back the way it came. What happened at Suomussalmi wasn’t luck; it was proof that speed, ingenuity, and the will to win can turn a frozen forest into a fortress and a small army into a battering ram.

The Finns didn’t just win a battle—they delivered a lesson every commander ought to remember:
Victory belongs to the side that fights smarter, moves faster, and never stops hitting.

~~ General Howitzer

6 VP’s

Card Balance:

Russian – 4

Finnish – 6

Complexity:

3

Conditions:

Winter

Location:

Finland

Year:

1939

Theater:

Eastern Front

Campaign:

Russo – Finnish War

Summary:
The Finns switched sides during WW2, all in the name of defending themselves.  

Objectives
Six VP’s, plus if the Finns occupy three of the four hexes of Suomussalmi, they win immediately, which I have done, and is a very satisfying win.

Battlefield
The battlefield for this scenario is marked by three frozen rivers cutting across the field of play and creating hazardous conditions for troop movements.

Troops:
Finns: 10 Infantry, 1 Artillery
Russians:  10 Infantry, 2 Armor, 1 Artillery


🔥 Winning as Russians

1.  The Russians must defend the town of Suomussalmi, as it will be instant defeat if the Finns occupy 3 of the 4 town hexes. But the town is heavily defended with sandbagged troops, so your best course of action is to stay behind the sandbags and make the enemy throw themselves against your hardened defenses. 

2.  You have an Armor and three Infantry units in your lower right flank.  They are being prevented from assisting the defense of Suomussalmi with what was historically a roadblock across the river.  Quickly breakthrough the defending Infantry units by moving in for the attack and freeing up your Armor for some long-distance attacks which will blow that blockade away.

3.  Use, at every opportunity,  your heavily defended Artillery in the town of Suomussalmi to attack any Finish troops who would dare come near you. 

4.  Use your Armor in your left flank to attack any Ski Troops who are caught out in the open.  Don’t waste your ammo on shooting into the woods until you have dealt with the easy targets. 

Big Picture Strategy

1.  This is a confusing scenario, as the Finns are not actually formally aligned with the Allies at this point (1939) in the war.  They had to fight the Russians alone.  Then from 1941-44, they were aligned with Germany. Finally in 1944-45, they made peace with Russia and began to attack the Germans in their country.   The key power of the Finns are their Ski Troops. Use them to attack from the protection of cover.  No need to leave them exposed in the open. 


🔥 Winning as Finns

1.  Finnish ski troops have a major movement advantage. They can move 0-3, and fire at 3 or 2. Plus they can move onto any terrain and still fire. So your infantry movement cards will allow you to quickly mass your troops for an attack.

2. You have an Artillery in your left section. Take every opportunity to move it forward to assist your Ski Troops in their attack. 

3.  Remember that your Ski Troops can move into terrain like woods and still attack the enemy.  This is a powerful advantage you should use whenever you can.

4.  Because your Ski Troops only have three figures per unit they are much easier to destroy, so save your attacks until you have massed your troops together to hit the enemy repeatedly in a single attack.  If you try to attack with just one or two units at a time, you are likely to get wiped out.

Battle Reports

(percentage of Allied victories):

54%

16
BR - Suomussalmi

Author:

Days of Wonder

Link:

Rzhev – The Meat Grinder

Rzhev (the Meat Grinder)

Memoir 44 scenario Rzhev

“Listen up, men! The Battle of Rzhev in that God-forsaken winter of ‘42 was a real bloodbath—some called it the ‘Rzhev Meat Grinder’ and they weren’t kidding. Those Russians threw everything they had at the Germans, trying to smash their lines and give Stalin a breather for Moscow. But the Germans had their trenches dug deep and those Red boys paid for every inch of dirt with buckets of blood.

The snow and ice turned the whole mess into a living hell—no damn place for a man or a tank. Despite all that, the Soviets never stopped coming. Sure, they didn’t take Rzhev right then and there, but they hammered the Germans so hard they finally had to pack up and haul ass out of there later on.

So here’s the lesson, boys: courage is the fuel, and persistence is the blade—but even the toughest steel can wear down when you keep pounding it. The Rzhev campaign was brutal, but it was one more nail in the coffin of that damn Nazi war machine.”

~~ General Howitzer

6 VP’s

Card Balance:

Allies – 4

Axis – 6

Complexity:

4

Conditions: 

Winter

winter

Location:

Russia

Year:

1942

Theater:

Eastern Front

Summary:

Rzhev is a complex scenario recreating the Soviet counter-offensive with a 10 VP goal. This requires a long-term plan, as quick tactical hits will not win such a long battle.  Night rules are in effect.

Objectives:

10 VPs,
including Objective medals for both Axis and Allies, plus Exit objectives for Allies.

The town of Belyi is a temporary medal objective worth 1 medal for both sides. If any unit occupies any of the three hexes marked with an ‘A’ they gain a medal irregardless if an opponent occupies any of the other hexes. Both sides can earn 1 medal at the same time.
The town of Rzhev is a temporary medal objective worth 2 medals for both sides. If any unit occupies any of the 3 hexes marked with a ‘B’ they gain 2 medals irregardless if an opponent occupies any of the other hexes. 

Terrain:

The Axis forces already control much of the battlefield, as sandbagged troops who are very difficult to dislodge, while the Russians are pressed up against the wall.

Troops:

Allies – 9 Infantry including a Sniper, 5 Armor, 1 Artillery

Axis – 10 Infantry including a Sniper, 4 Armor, 1 Artillery

medal allies

🔥 1. Winning as the Soviets (Allies)

Soviets must be surgical, not brute-force.
Your troops have numbers but terrible defensive terrain.
So your victories come from forcing the Axis out of their woods.

Do NOT Push the Center First

The center looks juicy… but it’s a trap.

If you push center:

  • You feed medals to the German artillery in the woods

  • You take 2-dice fire from multiple directions

  • You lose tempo

2.   You can attack the well-protected Axis Infantry units by placing your Armor in the forest and degrading them over several turns. Time is on your side, so there is no need to rush the attack until you are ready.

3. You have a well-placed Artillery right in the center of the battlefield.  Use it at every opportunity to take out enemy forces. If you get the chance to concentrate firepower using a card like Firefight, Barrage, or Airpower, then use it to destroy the enemy Artillery against the back border before it moves forward.

4.  Possible Attack Vector: Your left flank. The enemy is weak and will have to work hard to get Armor over there to defend.  You can push down towards the Medal Objective.

medal axis

🔥 1. Winning as the Germans (Axis)

Because this is a Russian counter-attack scenario, the Germans are primarily in a defensive position and out-numbered. So use your protections well.  You must get your Armor into a good defensive tactical position to allow for mobility when needed, and defense of open terrain in the center and left section.

2. Your artillery is well-placed in the center. Use it to good effect before it is overwhelmed by the enemy.

3.  Your weak sector is your right flank.  There is a lot of open territory undefended.  With the right cards, the enemy will be able to push their way down toward the Medal Objective. 

Battle Reports

(percentage of Allied victories):

31%

38
BR - Rzhev

Author:

Days of Wonder

Red Barricades Factory (Stalingrad)

Red Barricades Factory (Stalingrad)

By October ’42, the Germans were throwing more and more of their 6th Army into the meat grinder at Stalingrad. On the 22nd, the 79th Infantry, backed by engineers, tanks, and guns, went charging across the railroad embankment straight at the Red Barricades Factory.

It was hell—Russian snipers in every shadow, tanks dug in like fortresses, fire pouring in from every angle. The Germans clawed their way forward inch by inch, breaking the Soviet line by sheer weight. But after all that blood and fury, by nightfall they had only managed to seize a corner of the factory. A costly gain, proving again that in Stalingrad, every brick was paid for with lives.

~~ General Howitzer

10 VP’s

Card Balance:
Allies – 3
Axis – 5

Complexity:

5

Conditions:

Urban / Winter

Location:

Stalingrad

Year:

1942

Theater:

Eastern Front

Campaign:

Battle of Stalingrad

Summary:

The scenario is complex battle with a lot of different terrain, both urban and winter, that complicates troop movement. There are also snipers which add an extra element of suspense.

Objectives:

10 VP’s , including 3 Objective Medals for either side

Battlefield:

Battlefield is the Red Barricades Ordnance factory in the winter, surrounded by rubble.

Troops:

Allies – 9 Infantry, 2 Armor, 2 Artillery, and 2 Sniper

Axis – 9 Infantry, 4 Armor, 2 Artillery, and 1 Snipers

🔥 Winning as Allies

1.  You can quickly grab the Medal Objectives which are very close to you in the city ruins and the factory, and then try to hold them for the game. This will give you an early advantage and force the enemy to come to you, and fight against you while you are in a well-protected positions.

2. You have two Snipers which can fire five! hexes away. You can use them to harass the enemy and force them to pay attention to the Sniper, even though it doesn’t count as a VP, thus diverting energy away from other units.

3.  Use your forward infantry to attack the enemy before they destroy you.  At two hexes away, you should be able to get some good hits in first.

4. The strategic reality is that your forward units will get destroyed rather quickly, so the real battle will take place along the second front in rows 3,4,5 where you have armor protected behind sandbags, and city ruins for your infantry.

5.  Give careful consideration before moving your armor away from their sandbags. The enemy outnumbers your armor two to one, and once they become mobile, will be coming for yours.

6.  This scenario makes it easy for Allies to quickly grab 4 medal objectives by entering the town and factory hexes, but the trick comes in trying to hold them. The enemy will push through your first line of defense pretty quickly, and then you will need to hold your second line on rows 3,4,5, in order to prevent the enemy from taking out your units on those town and factory hexes.

🔥 Winning as Axis

1.  Mobility is the first order of business when you start. In fact, at the start of the game, the Axis have 16 units, and not  a single one can retreat. [ Admiral Frigate ] You have a lot of firepower stuck against your back wall, and hidden behind the hills.  You need to move it out and begin attacking the Allies immediately.

2.  You have three no-retreat Infantry units that are only two hexes away from the enemy.  You either need to bring your Armor up between the enemy and your infantry, or, better yet, move in and attack the enemy at close assault range.

3.  Once you get some mobility going to avoid the no-retreat attacks, you can use your Artillery to degrade the forward enemy units which are barricaded in the City Ruins.

4.  Use your Sniper to good effect. They can move two and battle against Infantry, hitting on grenade, infantry, or star dice faces, increasing your odds of a hit to 67%.

5. Most of the middle game of this battle will take place with your forces arrayed across the sixth row, while the Allies are defending from rows 4 and 5. So once you take out the advanced Allied forces, you can overtake those same city ruins and launch your attack from there against the Allies.

Battle Reports
( percentage of Allied victories ):

57%

31
BR - Barricades

Author:

Days of Wonder

Link:

Longvilly Trap

Longvilly Trap

December 19th, 1944: They sprang the Longvilly Trap because we were stretched thin and caught standing still—never a good idea in a shooting war. Near Longvilly, ahead of Bastogne, the enemy pushed armor hard through the Ardennes and found American units sitting exposed on narrow, jammed roads with broken communications. The Germans hit fast and coordinated tanks with infantry, rolled right over isolated formations, and smashed them before they could maneuver. It was a bloody setback, no question—but it bought the enemy only time, not victory. Longvilly opened the road to Bastogne, yes, but it also set the stage for us to dig in, turn, and hit back harder—because wars aren’t won by trapping men, they’re won by destroying the enemy, and that bill was coming due.

~~ General Howitzer

VP’s: 6

Card Balance:

Allies – 4

Axis – 5

Complexity:

4

Conditions:

Winter

winter

Location:

Belgium

Year:

1944

Theater:

Western 

Campaign:

Battle of the Bulge

German Name:

Unternehmen Wacht Am Rhein

Summary:

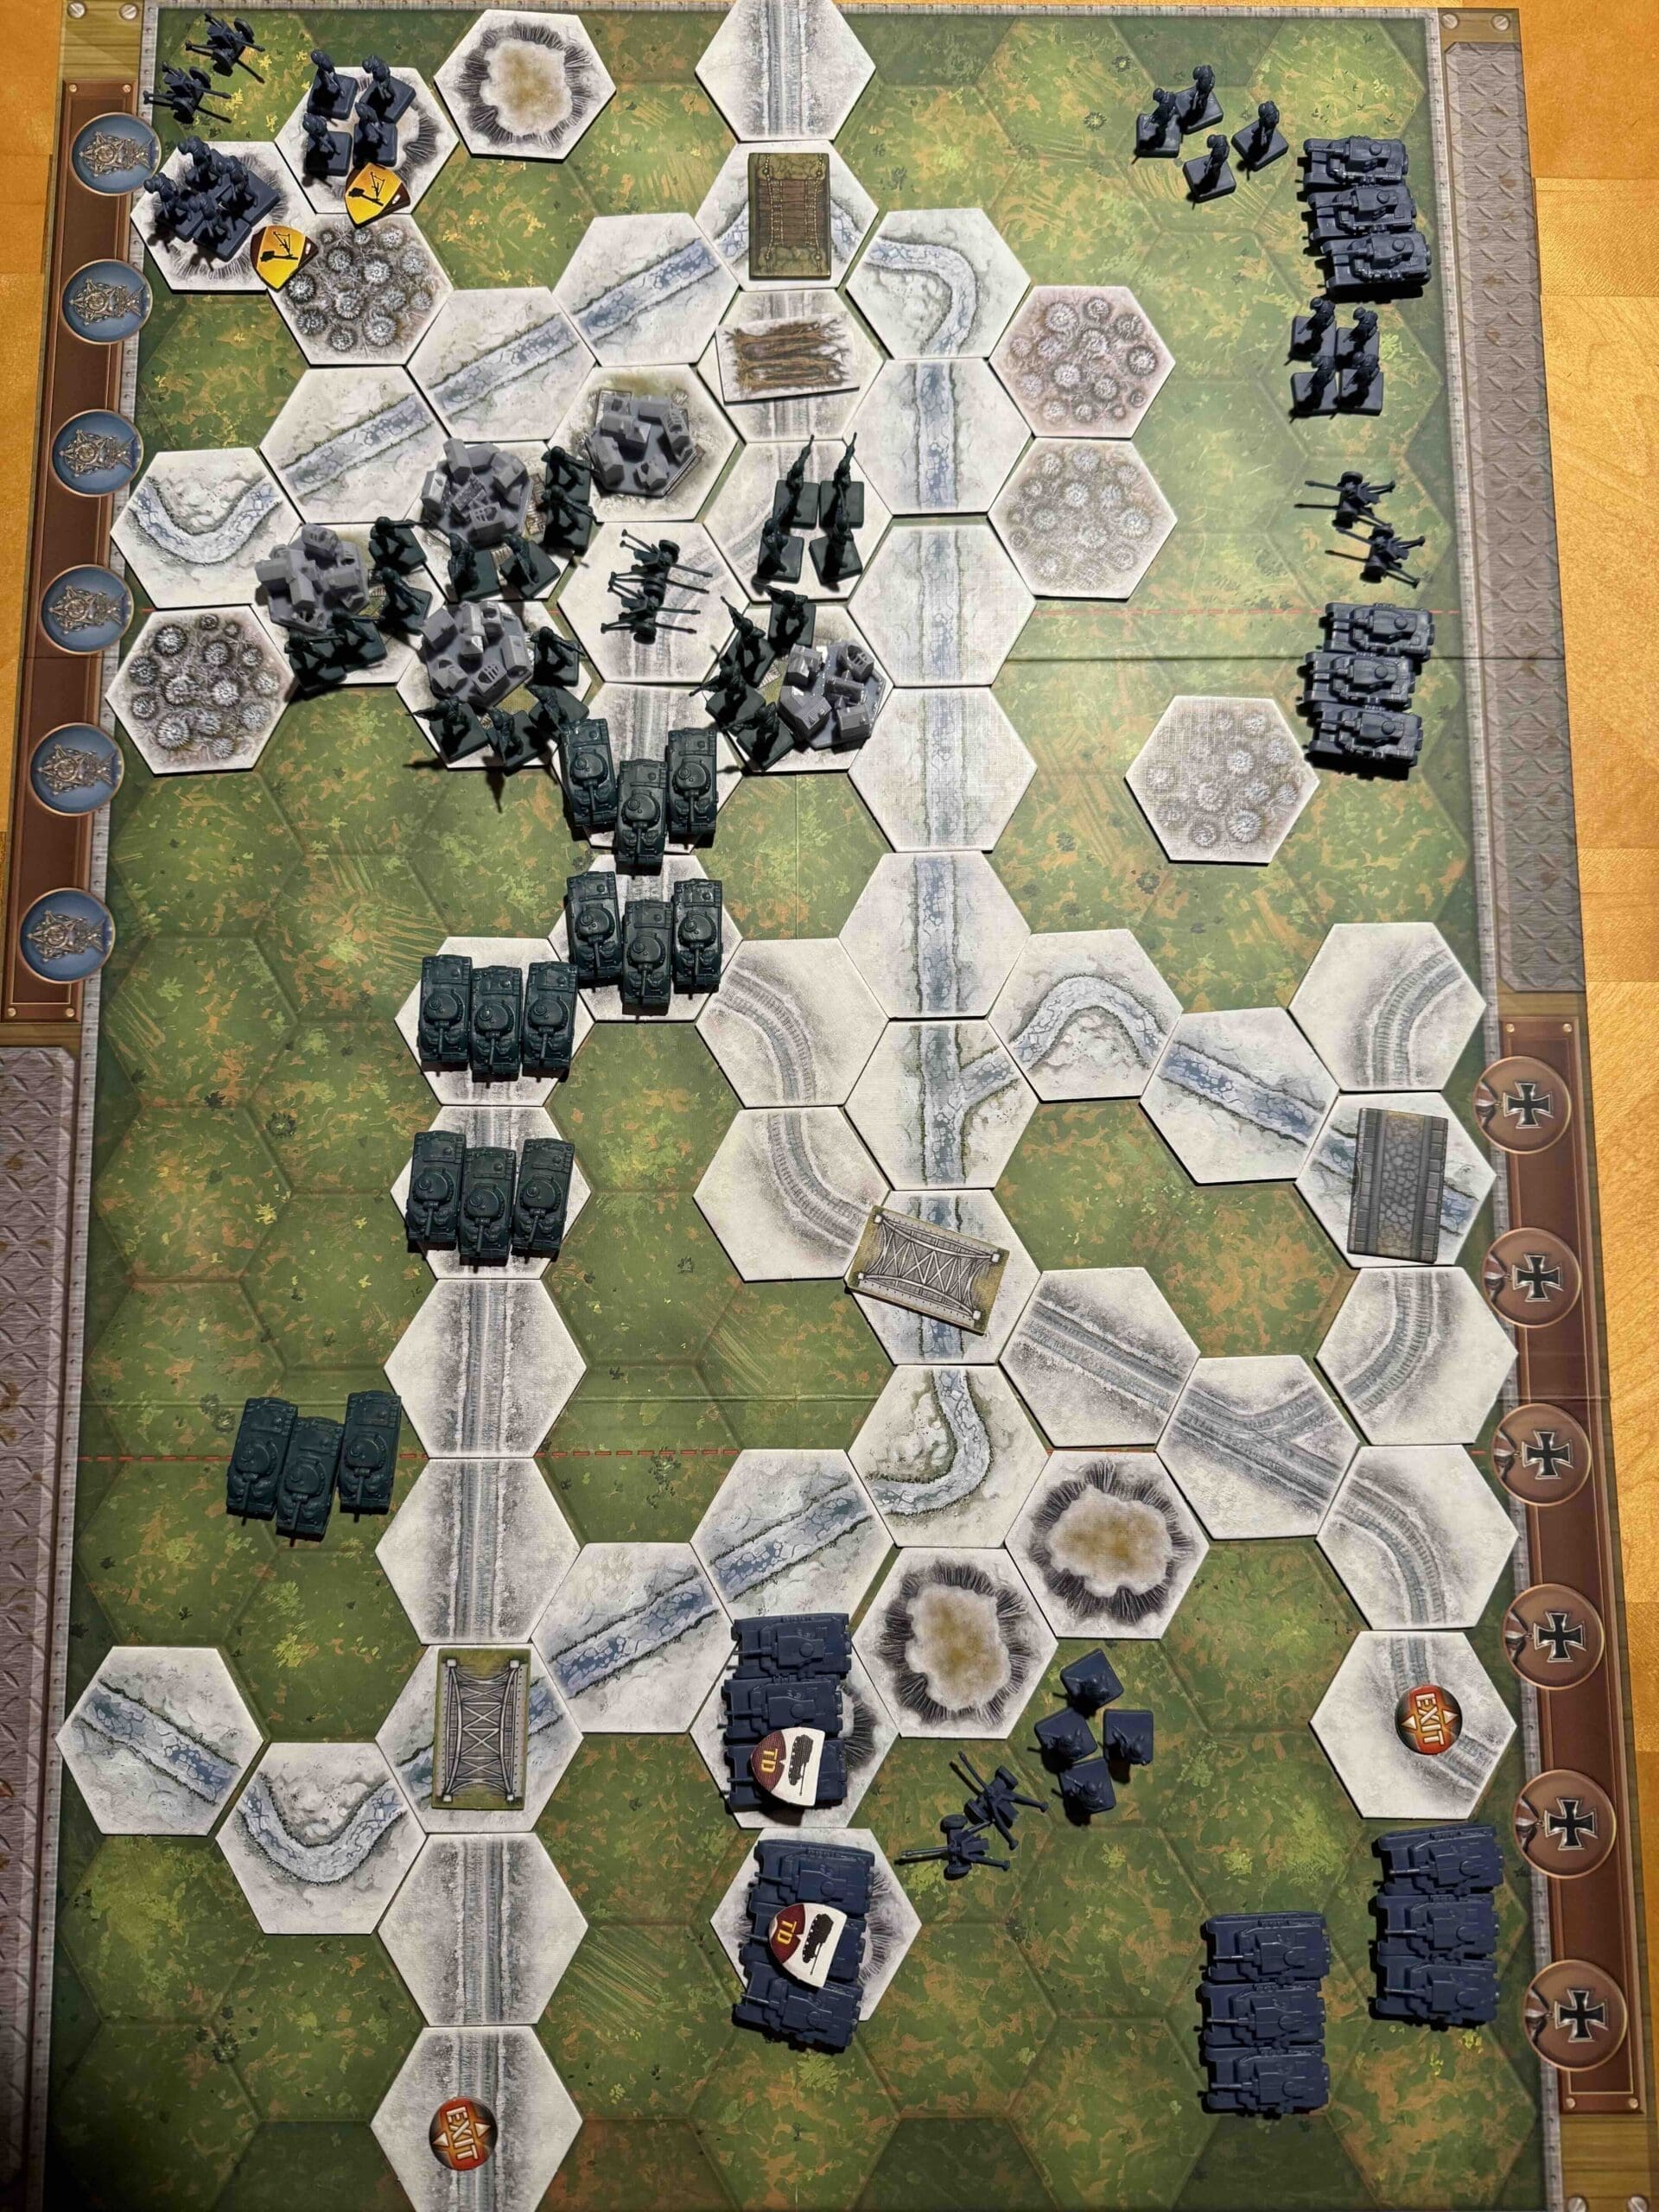
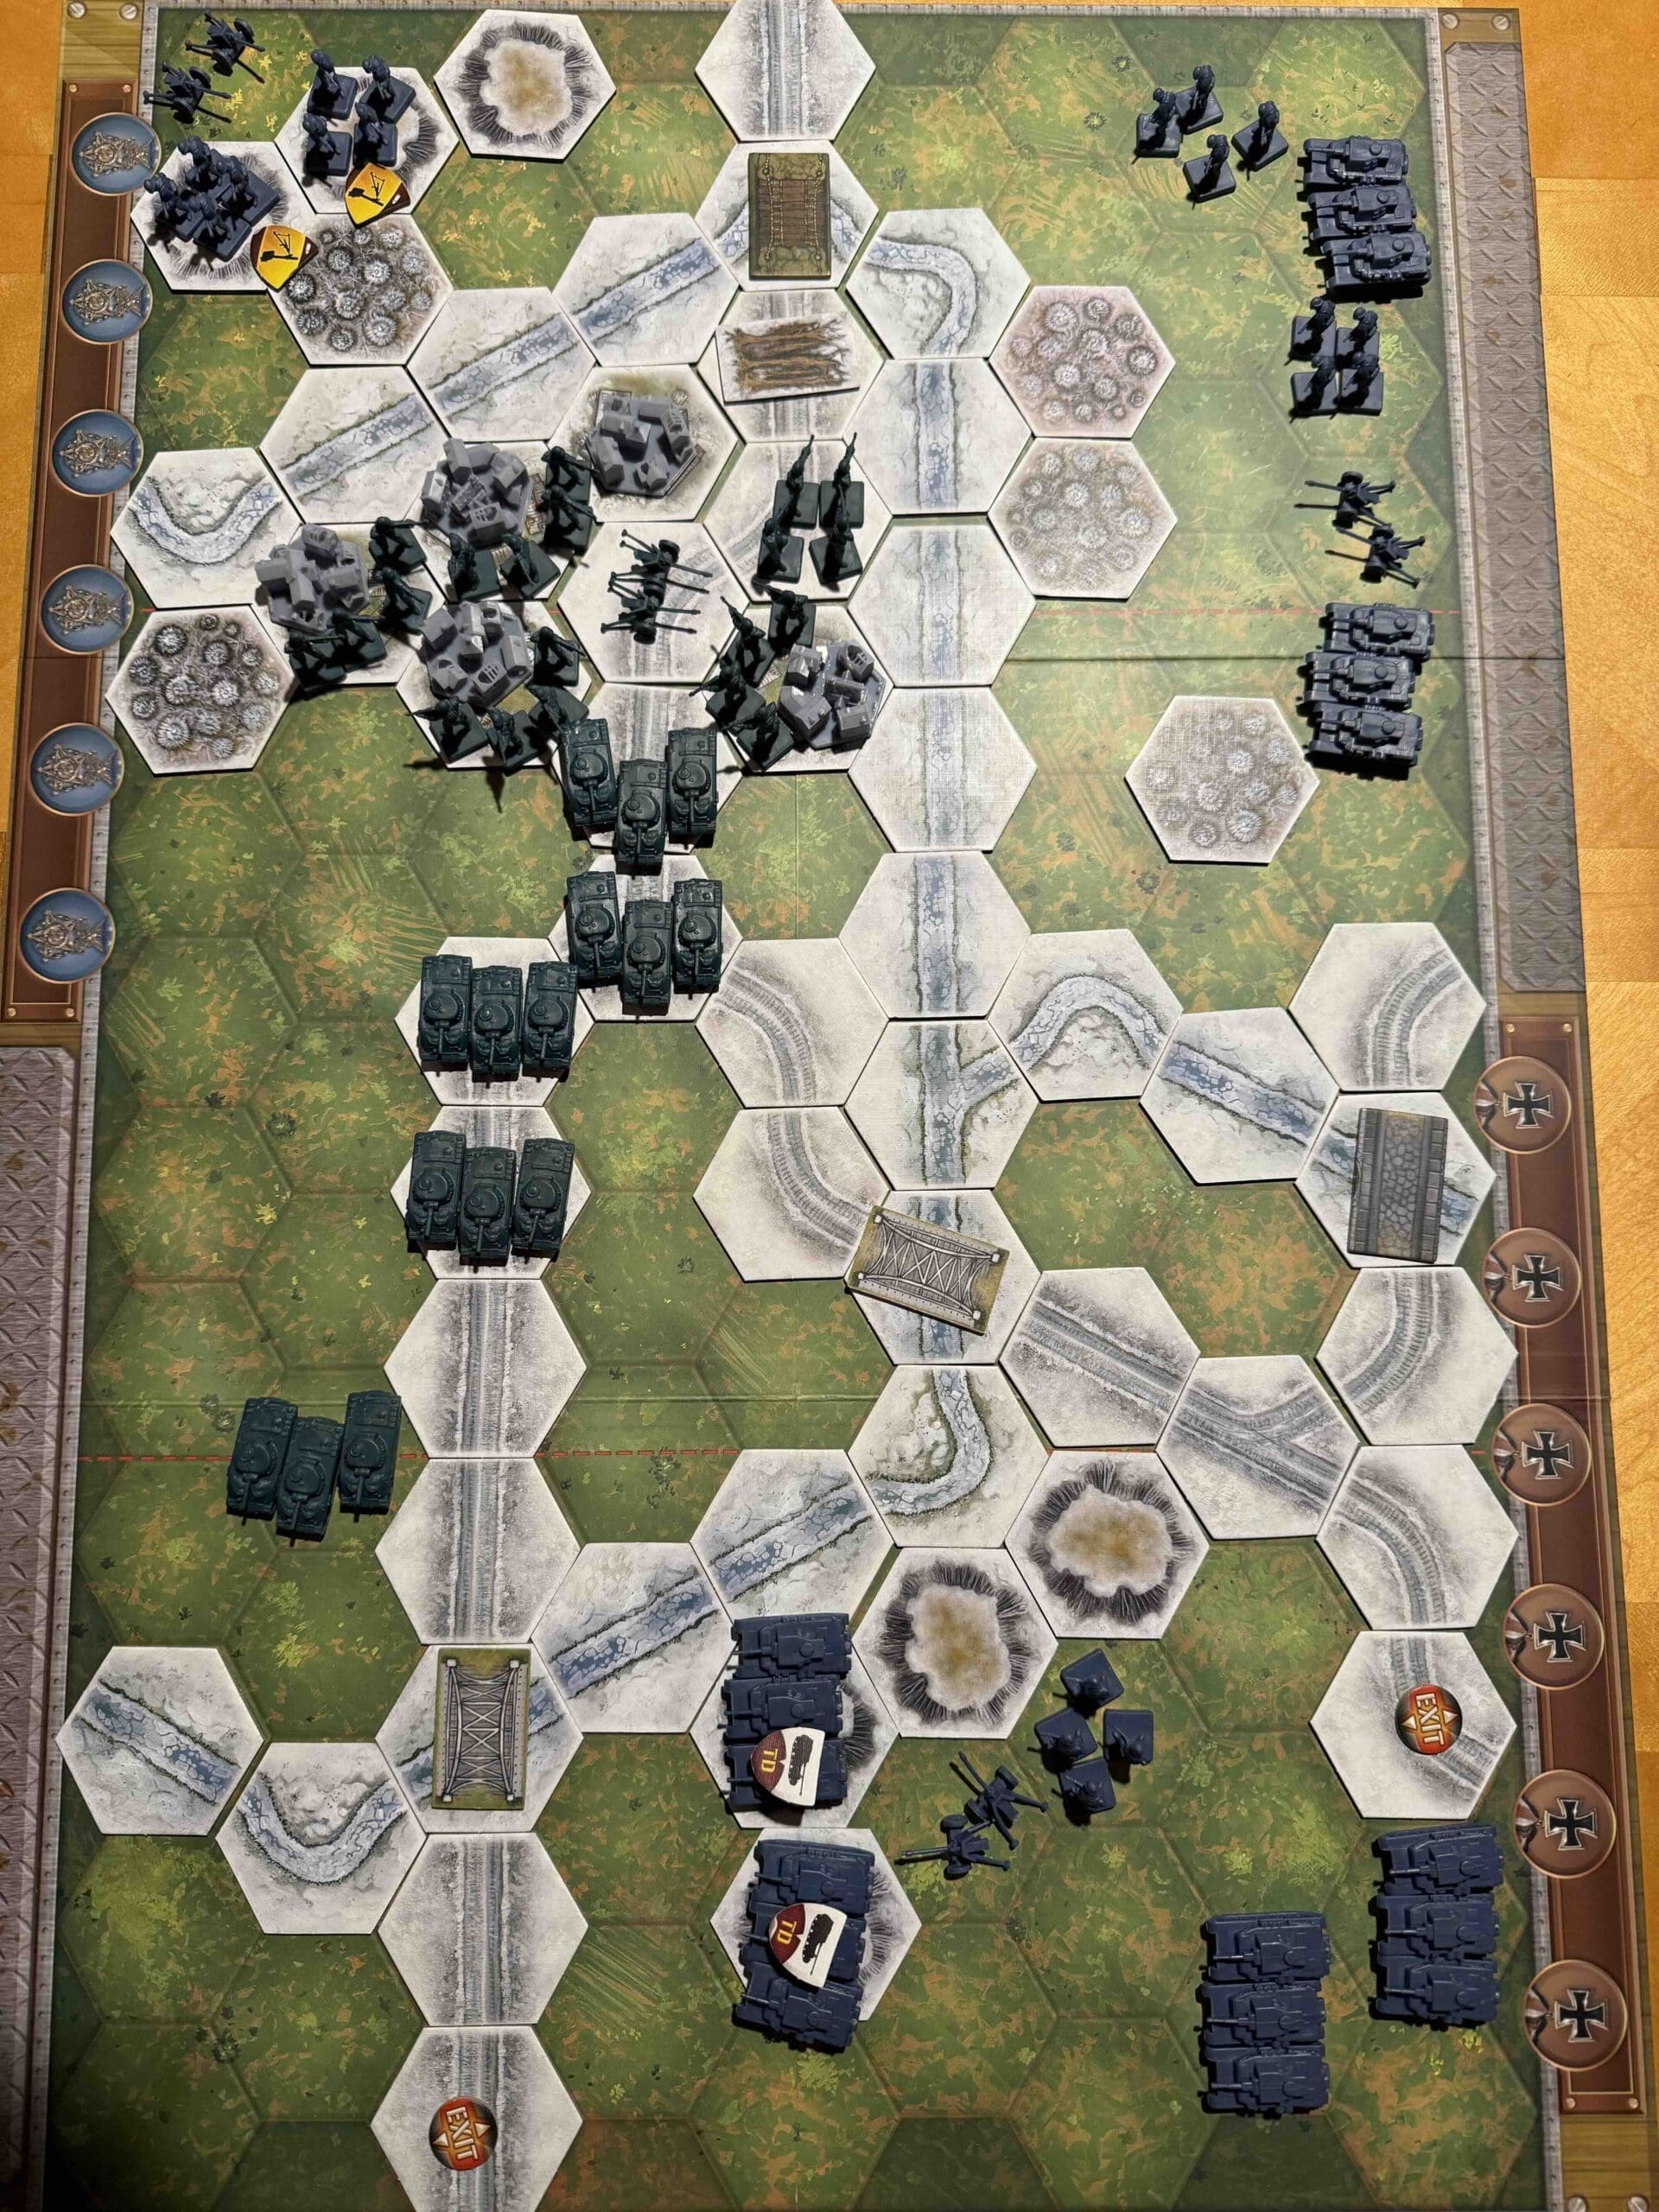
This is a fun and exciting scenario as the Americans attempt to survive the seige of Bastogne and open up an escape route.  The Axis are able to pummel the Americans from all directions with Artillery, Mortars, and Tanks, while the Americans force their powerful Armor across the countryside and toward the Exit hexes.

Objectives:

The Americans need to break through the German roadblock and open the way to Bastogne.

Six Medals.  There are also two Exit Medal Objectives for the Americans to breakthrough.

Battlefield:

Winter conditions, with roads and rivers cutting through the battlefield.

Troops:

Allies – 5 Infantry, 6 Armor, 1 Artillery

Axis – 5 Infantry, including some SWA’s (Mortars), 6 Armor including two Tank Destroyers (2,2,2,2),  3 Artillery

Special Rules:

1.  Winter Combat rules – two hex armor movement

2.  Reduced Visibility rules – only hit with Grenades unless in Close Assault

2.  Special Weapon Asset rules for Mortars – 3,2,1,1

3.  The river is frozen, but impassable.

4.  Roadblock rule

5.  Also play with Winter Combat cards in addition to regular Combat cards

medal allies

🔥 Winning as Allies

1.  Primary Objective is to break through and provide a passage to Bastogne so the troops can be rescued, as they were, historically.  You may want to keep the roadblock in place, so that your Armor can exit to the east without worry about rearguard action.

2.  Your forces are congested in the town of Bastogne.  Retreat flags from the enemy will cause losses, so you will want to spread them out by moving your forces east along the road toward the Exit hex.  Remember that with winter conditions, you will only be able to move your Armor three hexes at a time on the road (instead of the usual four).

3.  If you have the cards for it, some gains can be had by removing the roadblock and heading west to attack the enemy directly. Otherwise, they will continue to pummel you from the woods in the north, and with their Artillery and Mortars to your southwest.

medal axis

🔥 Winning as Axis

1.  You have the enemy completely surrounded, except for that pesky escape route along the road.  Move to block the Exit hexes ASAP.  It will only take two turns for the Allies to begin evacuating along the road.

2.  With three Artillery and two Mortar units, you can continuously attack the enemy and decimate their forces.

3.  Remember that the Limited Visibility rules require that, unless you are in Close Combat, typically only Grenades will score a hit.  But Retreat Flags can be a very effective way to reduce the enemy in their congested situation in Bastogne.

3.  Move the two Armor on your right and center section into the two forest hexes across the river from Bastogne.  From there you will be able to safely pick off the enemy bit by bit throughout the battle.

4.  Take the time to move the Artillery on your right flank forward at least one row forward.  It will pay off every turn afterwards with increased firepower against the enemy hiding like cowards in Bastogne.

1
BR - Longvilly Trap

Author.

URL

Gates of Moscow (Typhoon)

Gates of Moscow (Typhoon)

scenario_GatesMoscow_start

Operation Typhoon was the German military campaign to capture Moscow during World War II, launched in early October 1941 as part of their broader invasion of the Soviet Union (Operation Barbarossa). The offensive aimed to deliver a decisive blow by taking the Soviet capital before winter set in.

German forces, under Field Marshal Fedor von Bock, advanced with two large army groups and made initial gains, encircling and destroying significant Soviet forces. However, stiff Soviet resistance, logistical challenges, and worsening weather slowed the German advance. Muddy conditions in October, followed by the onset of harsh winter, further hampered their progress.

By December ’41, the Germans thought they had Moscow in their grip—but Zhukov and his Siberian wolves had other plans. Hardened for winter, those Red Army troops stormed forward in a counteroffensive that drove the Wehrmacht off the city’s doorstep. It was the first time Hitler’s war machine got its teeth kicked in, proof that Blitzkrieg had limits when it slammed into a determined foe with steel in its spine and snow in its veins.

~~ General Howitzer

7 VP’s

Card Balance:

Allies – 5

Axis – 5

Complexity: 

4

Conditions:

Urban

Location:

Russia

Year:

1941

Theater:

Eastern Front

Campaign:

Barbarossa

Codename:

Operation Typoon

Summary:

The Gates of Moscow is a complex scenario which results in a brutal battle with many digital ‘casualties’ on both sides.

Objectives:

7 VP’s, including two Objective Medals for Axis

Terrain:

Frozen field with Kaluga river cutting vertically and a ridge of hills cutting across horizontally.

Troops:

Allies – 10 Infantry, 2 Armo, 2 Artillery

Axis – 10 Infantry, 8 Armor, 1 Artillery

🔥 Winning as Allies

1. Big picture strategy for the Allies. This is a defensive scenario, so stay behind your sandbags and defend the two medal objectives.  Move your Artillery and Armor forward into the battle.

2.  Although there is a large Axis force massed against the Allies, the Axis side starts back against the game border. Allies can use this to their advantage, by turning retreat flags into deadly kills. Target the Axis forces which have no retreat available to them. This will increase your odds of a kill by another 17%. This increases the likelihood of an armor hit from 33% to 50%, and an infantry hit from 50% to 67%.

3.  Attack Vector Left Flank:  The enemy forces are congested. If you have a good set of cards, you can move in, and clear out many of the forces, including the armor.

🔥 Winning as Axis

1.  Big picture strategy for Axis is to disperse your bunched-up troops and concentrate your forces on the front-line enemy to eliminate them as quickly as possible before they score too many hits against your forces.

2.  Keep pushing forward as you attack with the goal to eventually be to capture the bridge hex medal (often as a final decisive move to end the game).

3.  This is a long scenario of 7 medals, so you will have to take out the centrally located enemy Artillery. It is sand-bagged on a hill, but it needs to be attacked quickly.

4.  Beware of your armor trapped behind the row of trees on your right flank.  Do not try to take out the enemy infantry in the woods, because they will inflict heavy penalties on such an attempt.  Best option is to get them into the tree line and then out into the open for more fruitful attacks.


Battle Reports (percentage of Allied victories):

34%

(These are historical records. The poll on the right is new results.)

30
BR - Gates

Author:

Days of Wonder

Link: