Namur

Namur

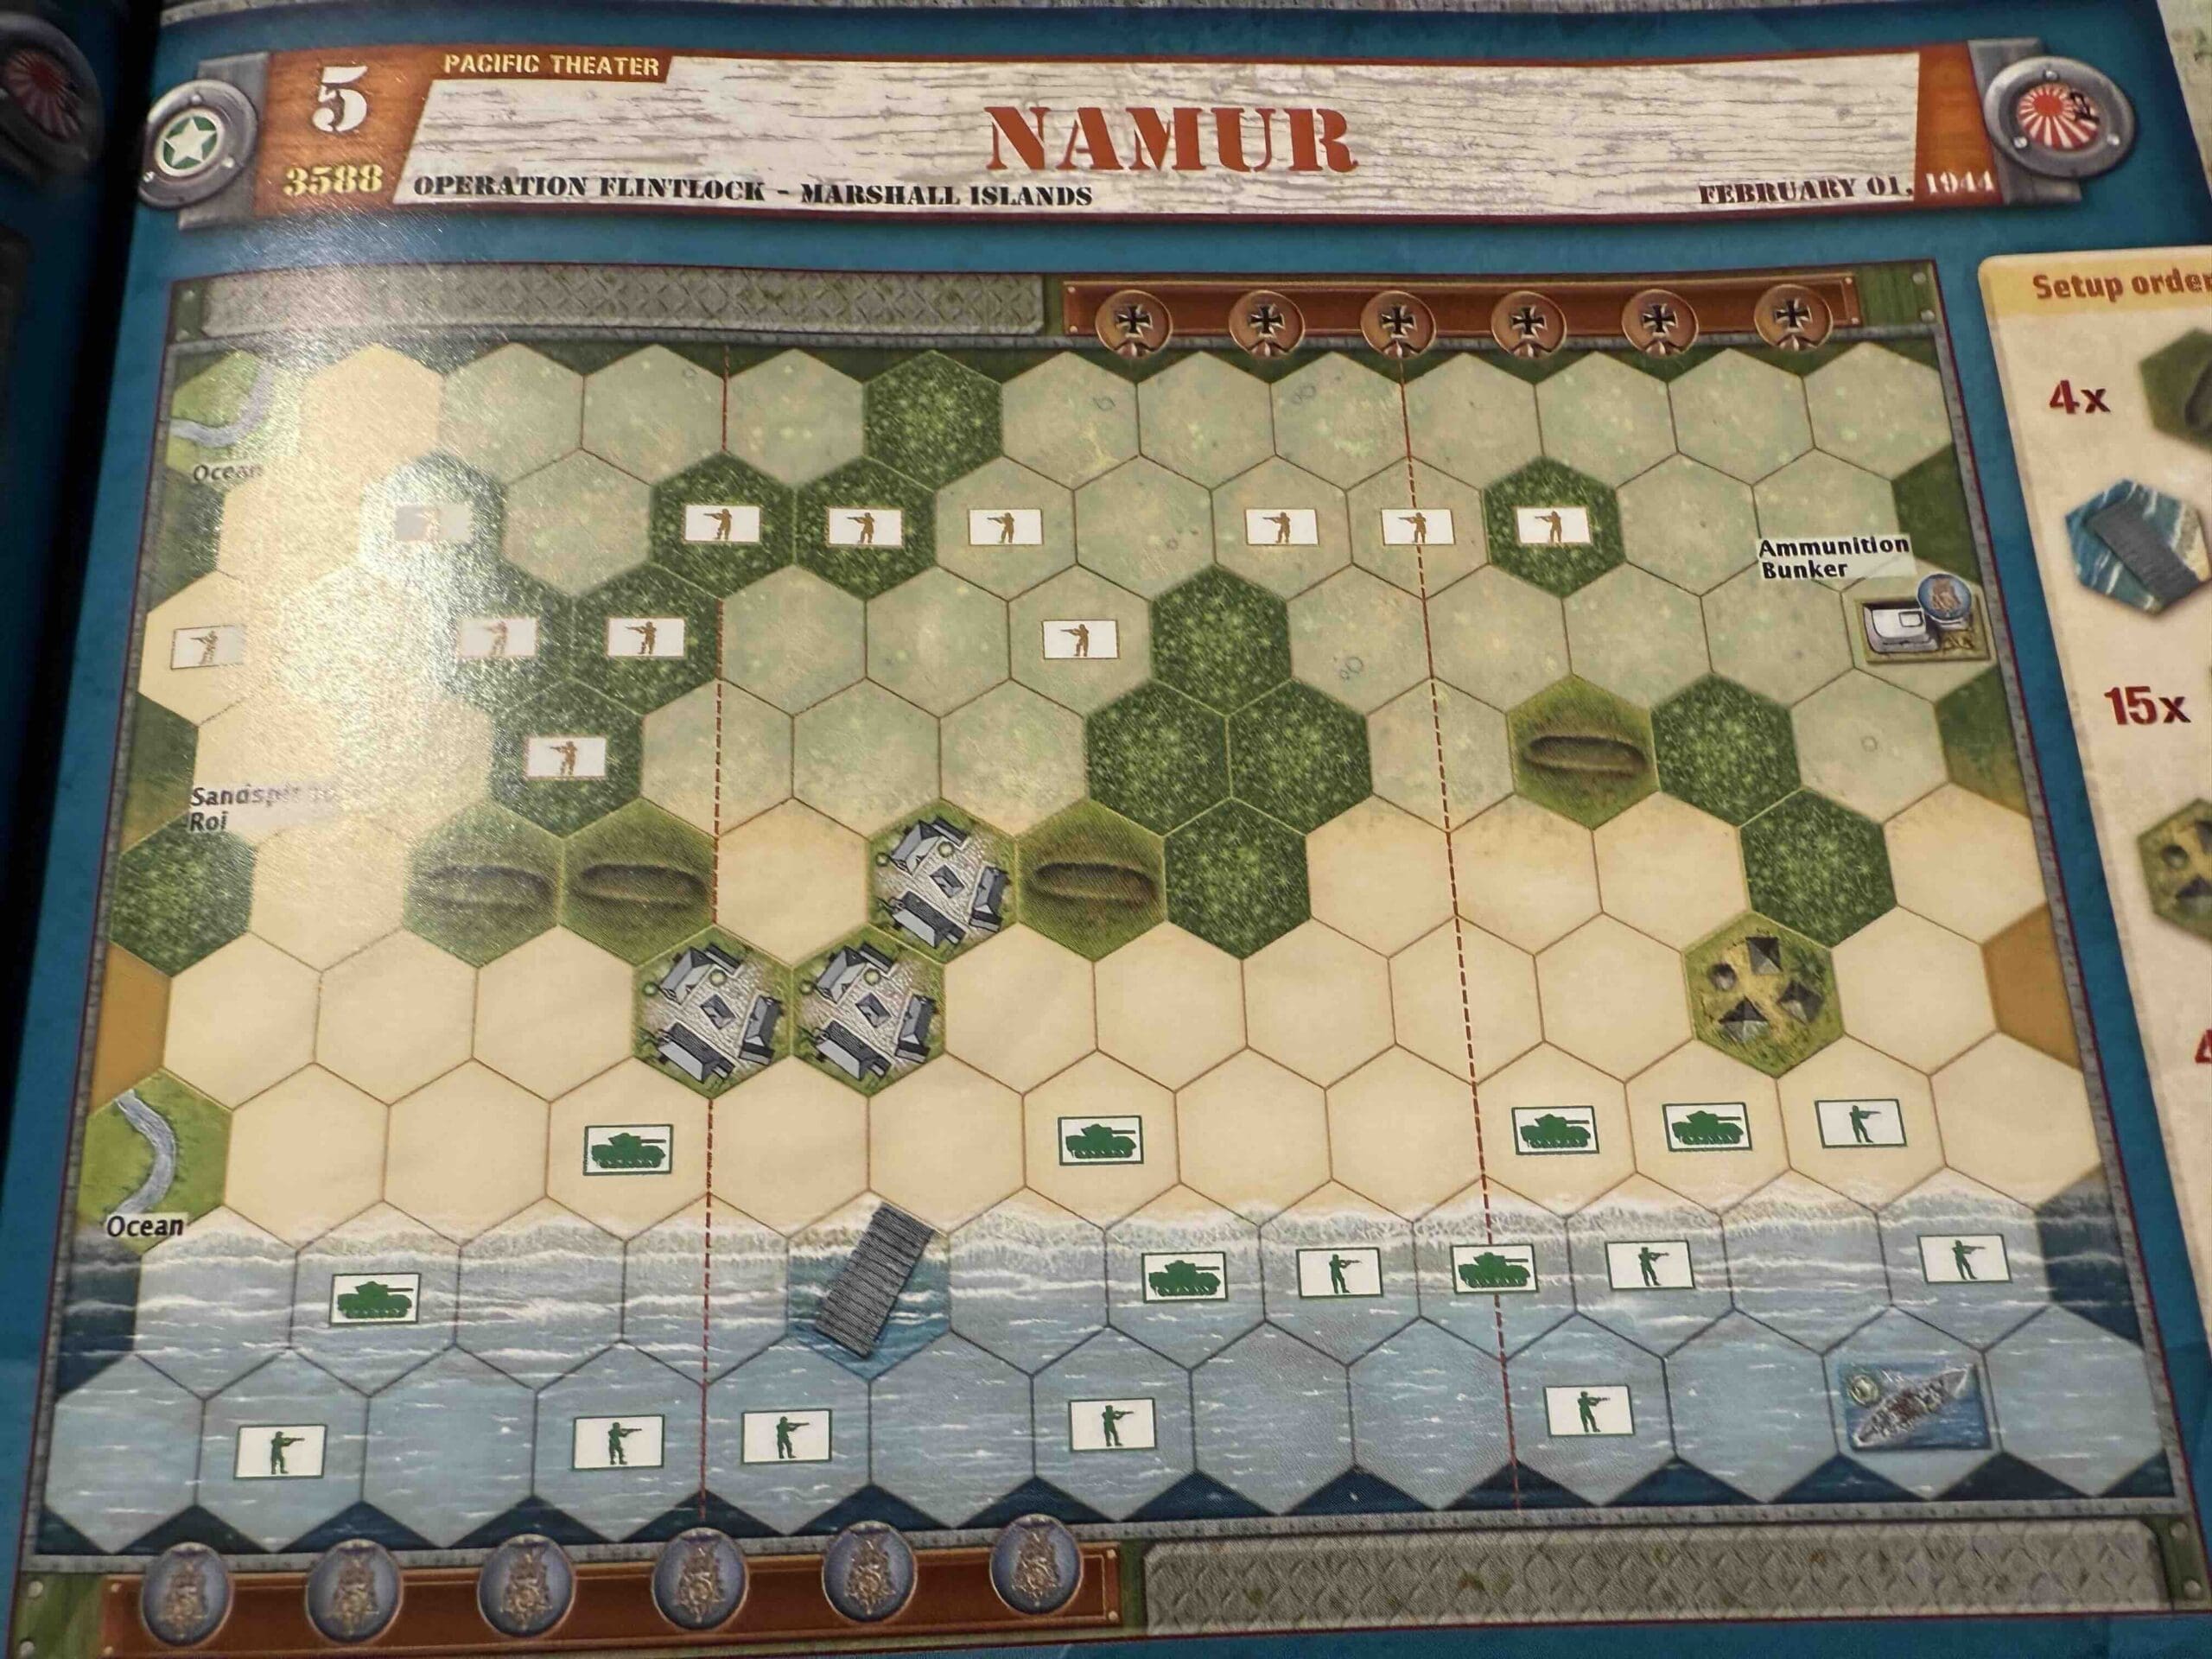
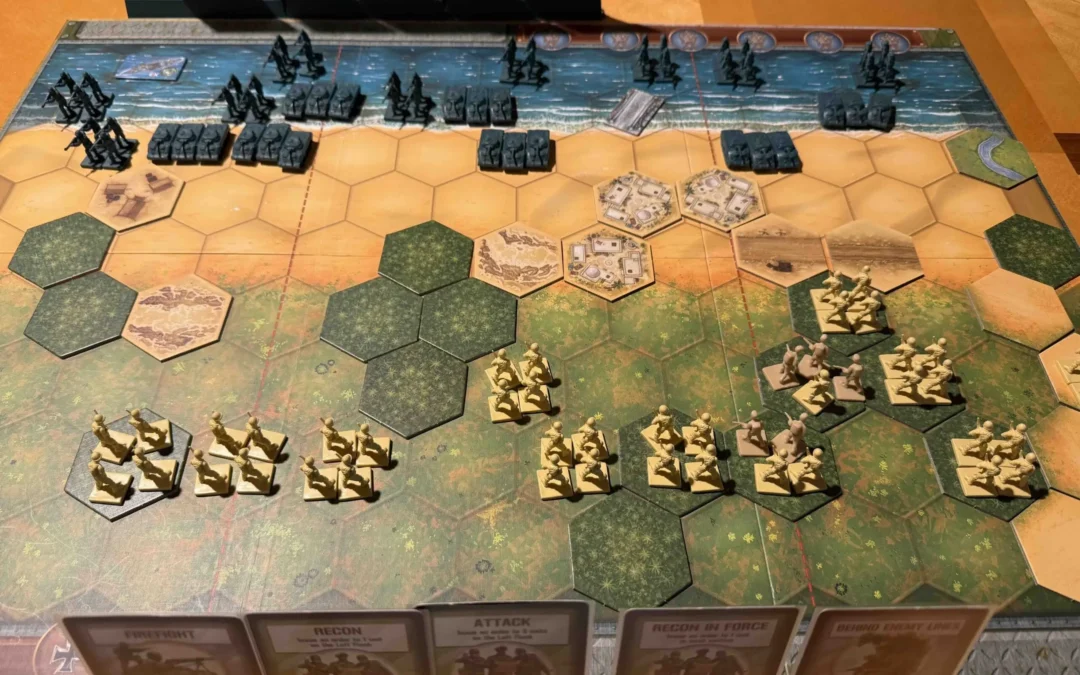
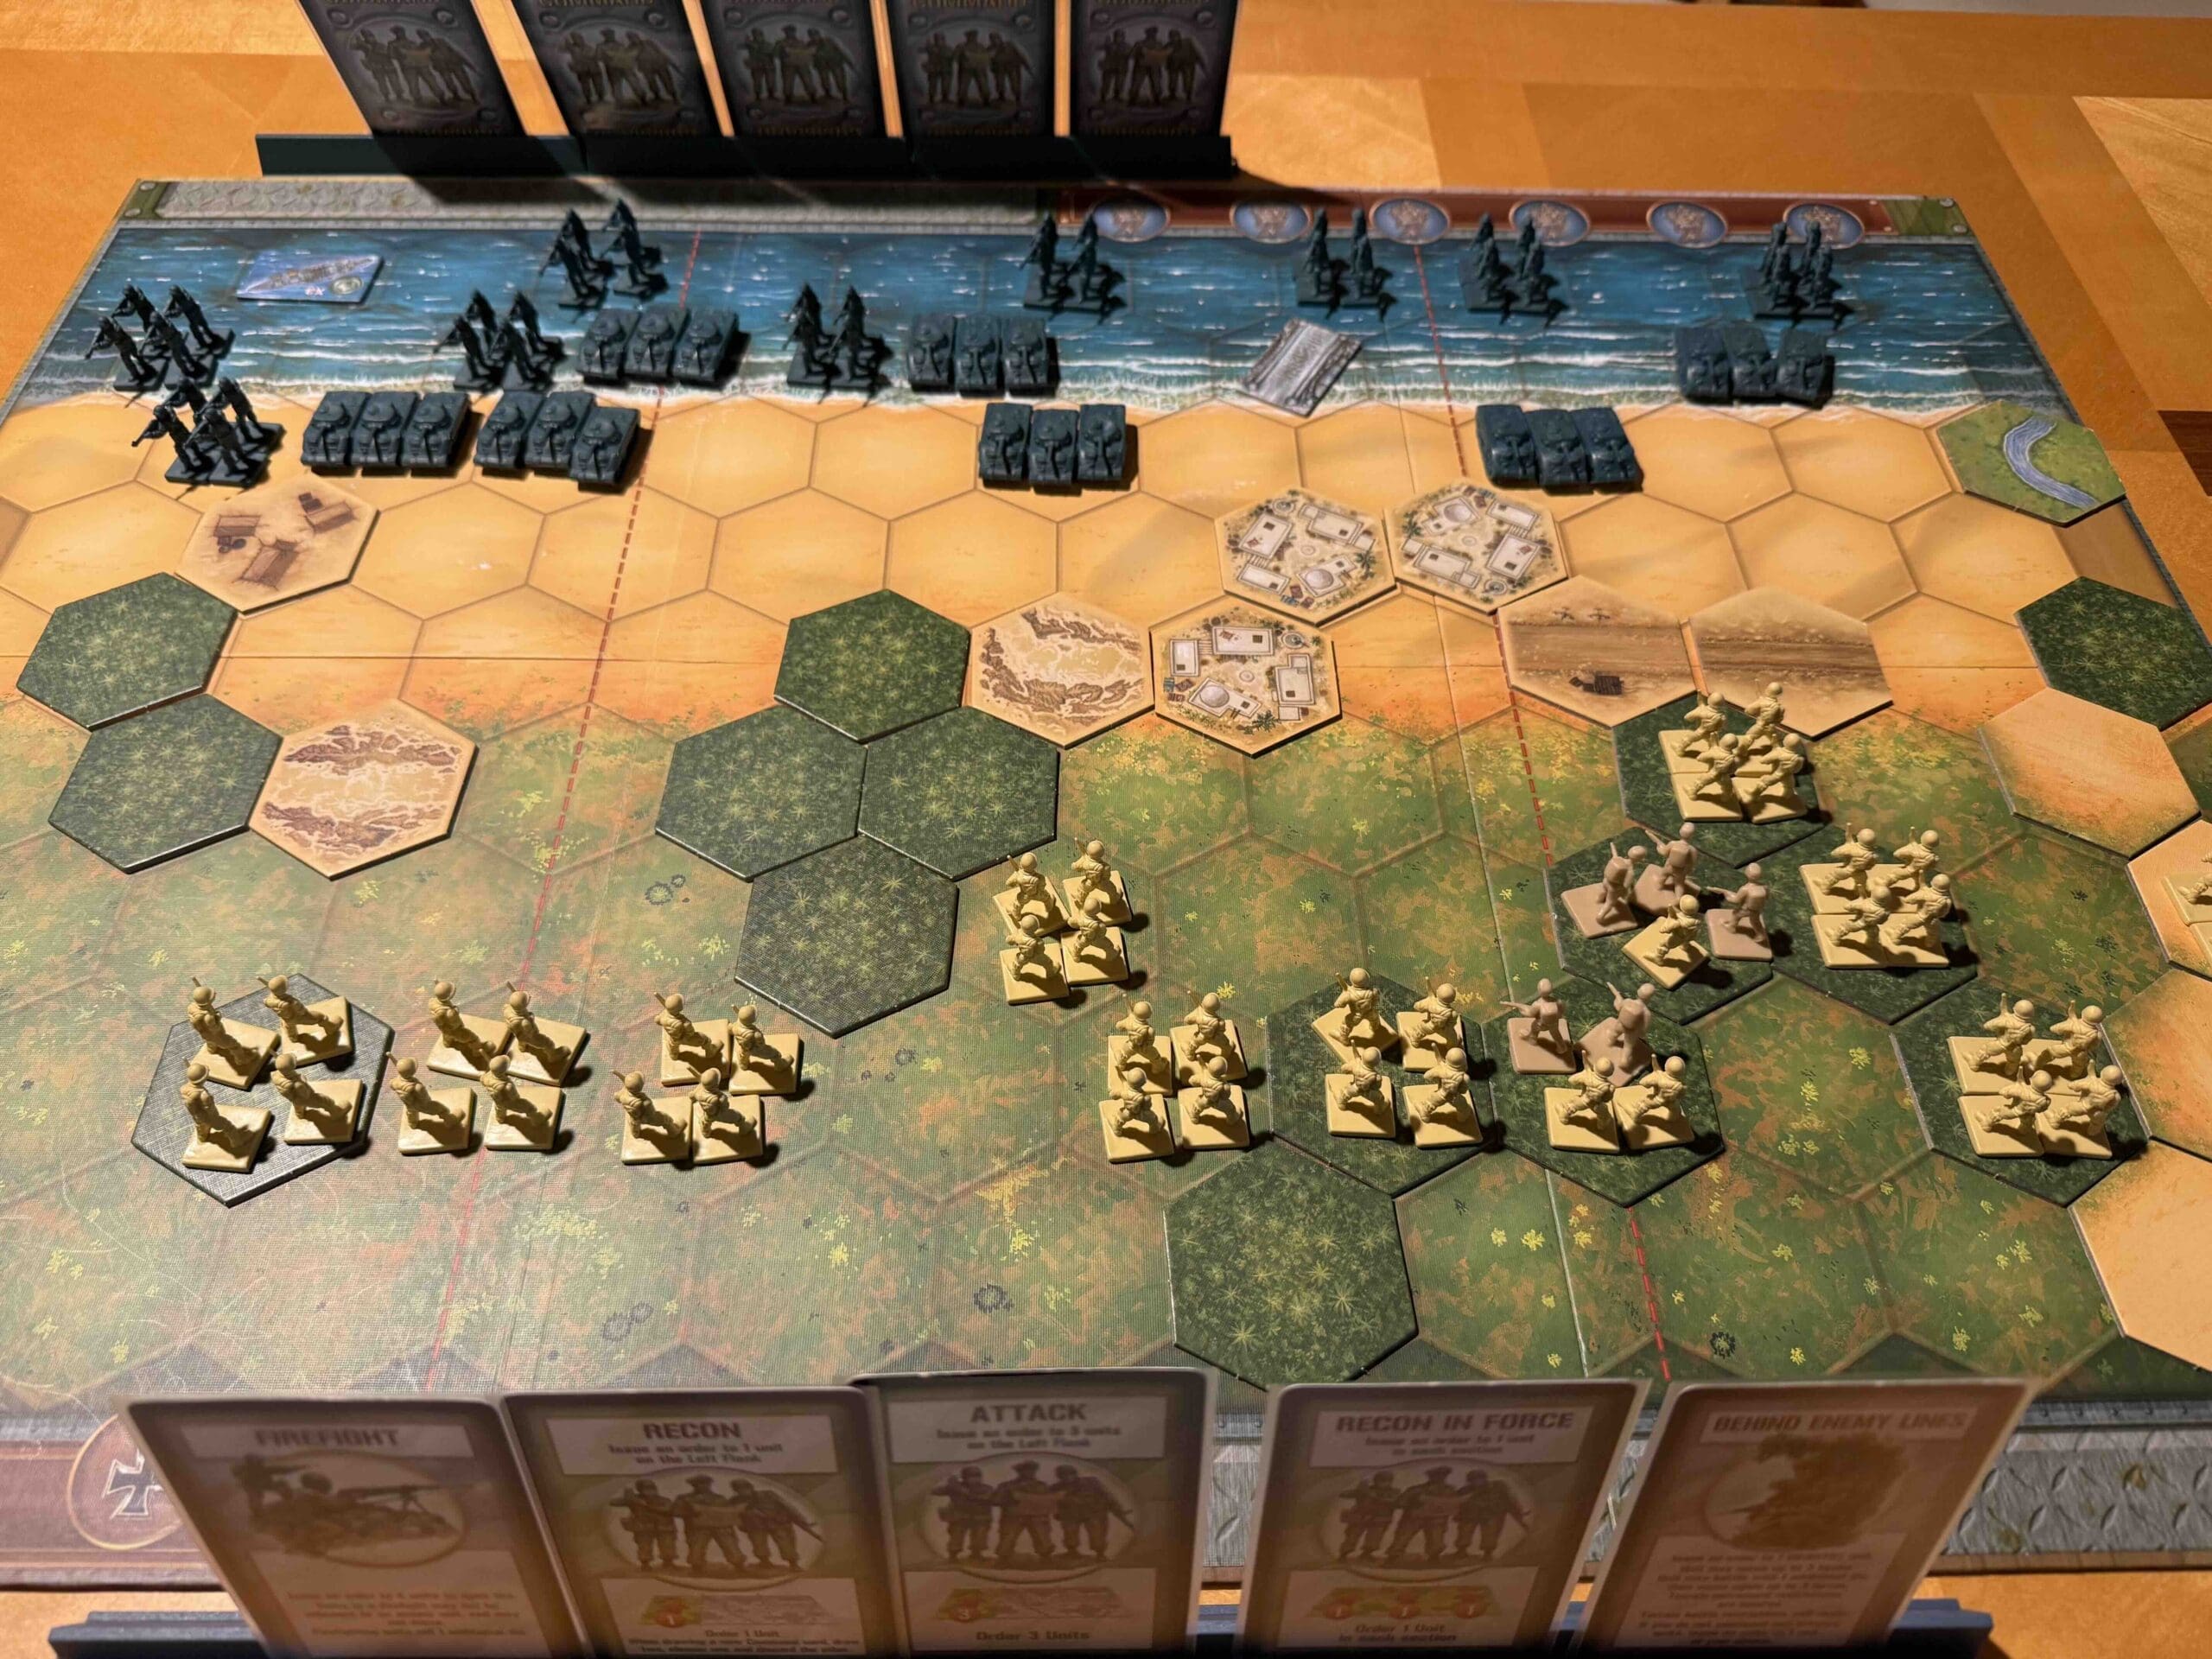
The Battle of Namur took place on February 1–2, 1944, as part of the U.S. assault on the Marshall Islands during World War II. U.S. 2nd Marine Division forces landed on Namur Island, part of the Kwajalein Atoll, facing fierce resistance from well-entrenched Japanese defenders. The battle saw intense close-quarters combat, complicated by Japanese bunkers, sniper fire, and booby traps. A massive explosion at a Japanese ammunition dump—triggered by American fire—caused heavy U.S. casualties but also disrupted enemy defenses. After two days of brutal fighting, the Marines secured the island. Namur’s capture was a key step in the U.S. island-hopping campaign, giving the Allies a critical foothold in the central Pacific and weakening Japan’s outer defensive ring.

General Howitzer’s summary:

Namur was a two-day slugfest—our 2nd Marines hit the beach and ran headfirst into bunkers, snipers, and traps laid by fanatical Japanese soldiers dug in like ticks. One hell of a blast tore through their ammo dump—and some of our boys with it—but it cracked their line wide open. When the smoke cleared, Namur was ours, and we had a solid damn grip in the Marshalls. Another island down, and one step closer to Tokyo.

5 VP’s

card

Card Balance:

Allies – 5

Axis – 5

Complexity:

3

Conditions:

Jungle Beach

Context:

Historical

Location:

Marshall Islands

Year:

1944

Theater:

Pacific

Campaign:

Codename:

Operation Flintlock

Summary:

Objectives:

5 VP’s plus the Ammunition Bunker Permanent Medal Objective

Battlefield:

Combination of beach assault and jungle terrain with some small villages.

Troops:

Allies – 9 Infantry, 7 Armor, and a Destroyer ship

Axis – 12 Infantry


medal allies

🔥 Winning as Allies

1.  Like all beach scenarios, the first objective is to get off of the beach as quickly as possible and assemble all of your forces into a cohesive fighting unit. 

2.  You have a Destroyer which has an attack range and power of 3,3,2,2,1,1,1,1; so 8 hexes deep!  Plus with a successful hit you gain a targetting reticule upon the hex, which increases the dice by one until the hex is destroyed or vacated.   Use it!

3.  Use your Armor to soften up the enemy at a distance, should any of them venture near the shore.  Remember that because of the Seishin Kyoiku principle, and full-force Japanese units attack with four dice at Close Range.  So hit each one at least once before venturing near them.

4.  The Ammunition Bunker is a Permanent Medal Objective(!) – if you can blow it up.  So occupy it and roll two dice, and hope for a star; but a grenade will kill one of your Marine figures, so be careful!

medal axis

🔥 Winning as Axis

1.  You have superior numbers on your right flank and central section.  So move your forces into the jungles and town hexes to hold off the enemy forces.

2.  Get close and then by combining the Banzai two-hex Close Assault attack with any full-force units, you can hit them with the Seishin Kyoiku princple and roll four-dice with each attack.

3.  Guard the ammunition bunker so that the enemy does not get an easy Permanent Medal Objective.

4.  With all of the enemy tanks in the area, do not get any of your forces caught in the open.

Battle Reports

1
BR - Namur

Author:

Days of Wonder

Resource:

Campaign Book, Volume 2

Cape Torokina Landings

Cape Torokina Landings (Overlord Map)

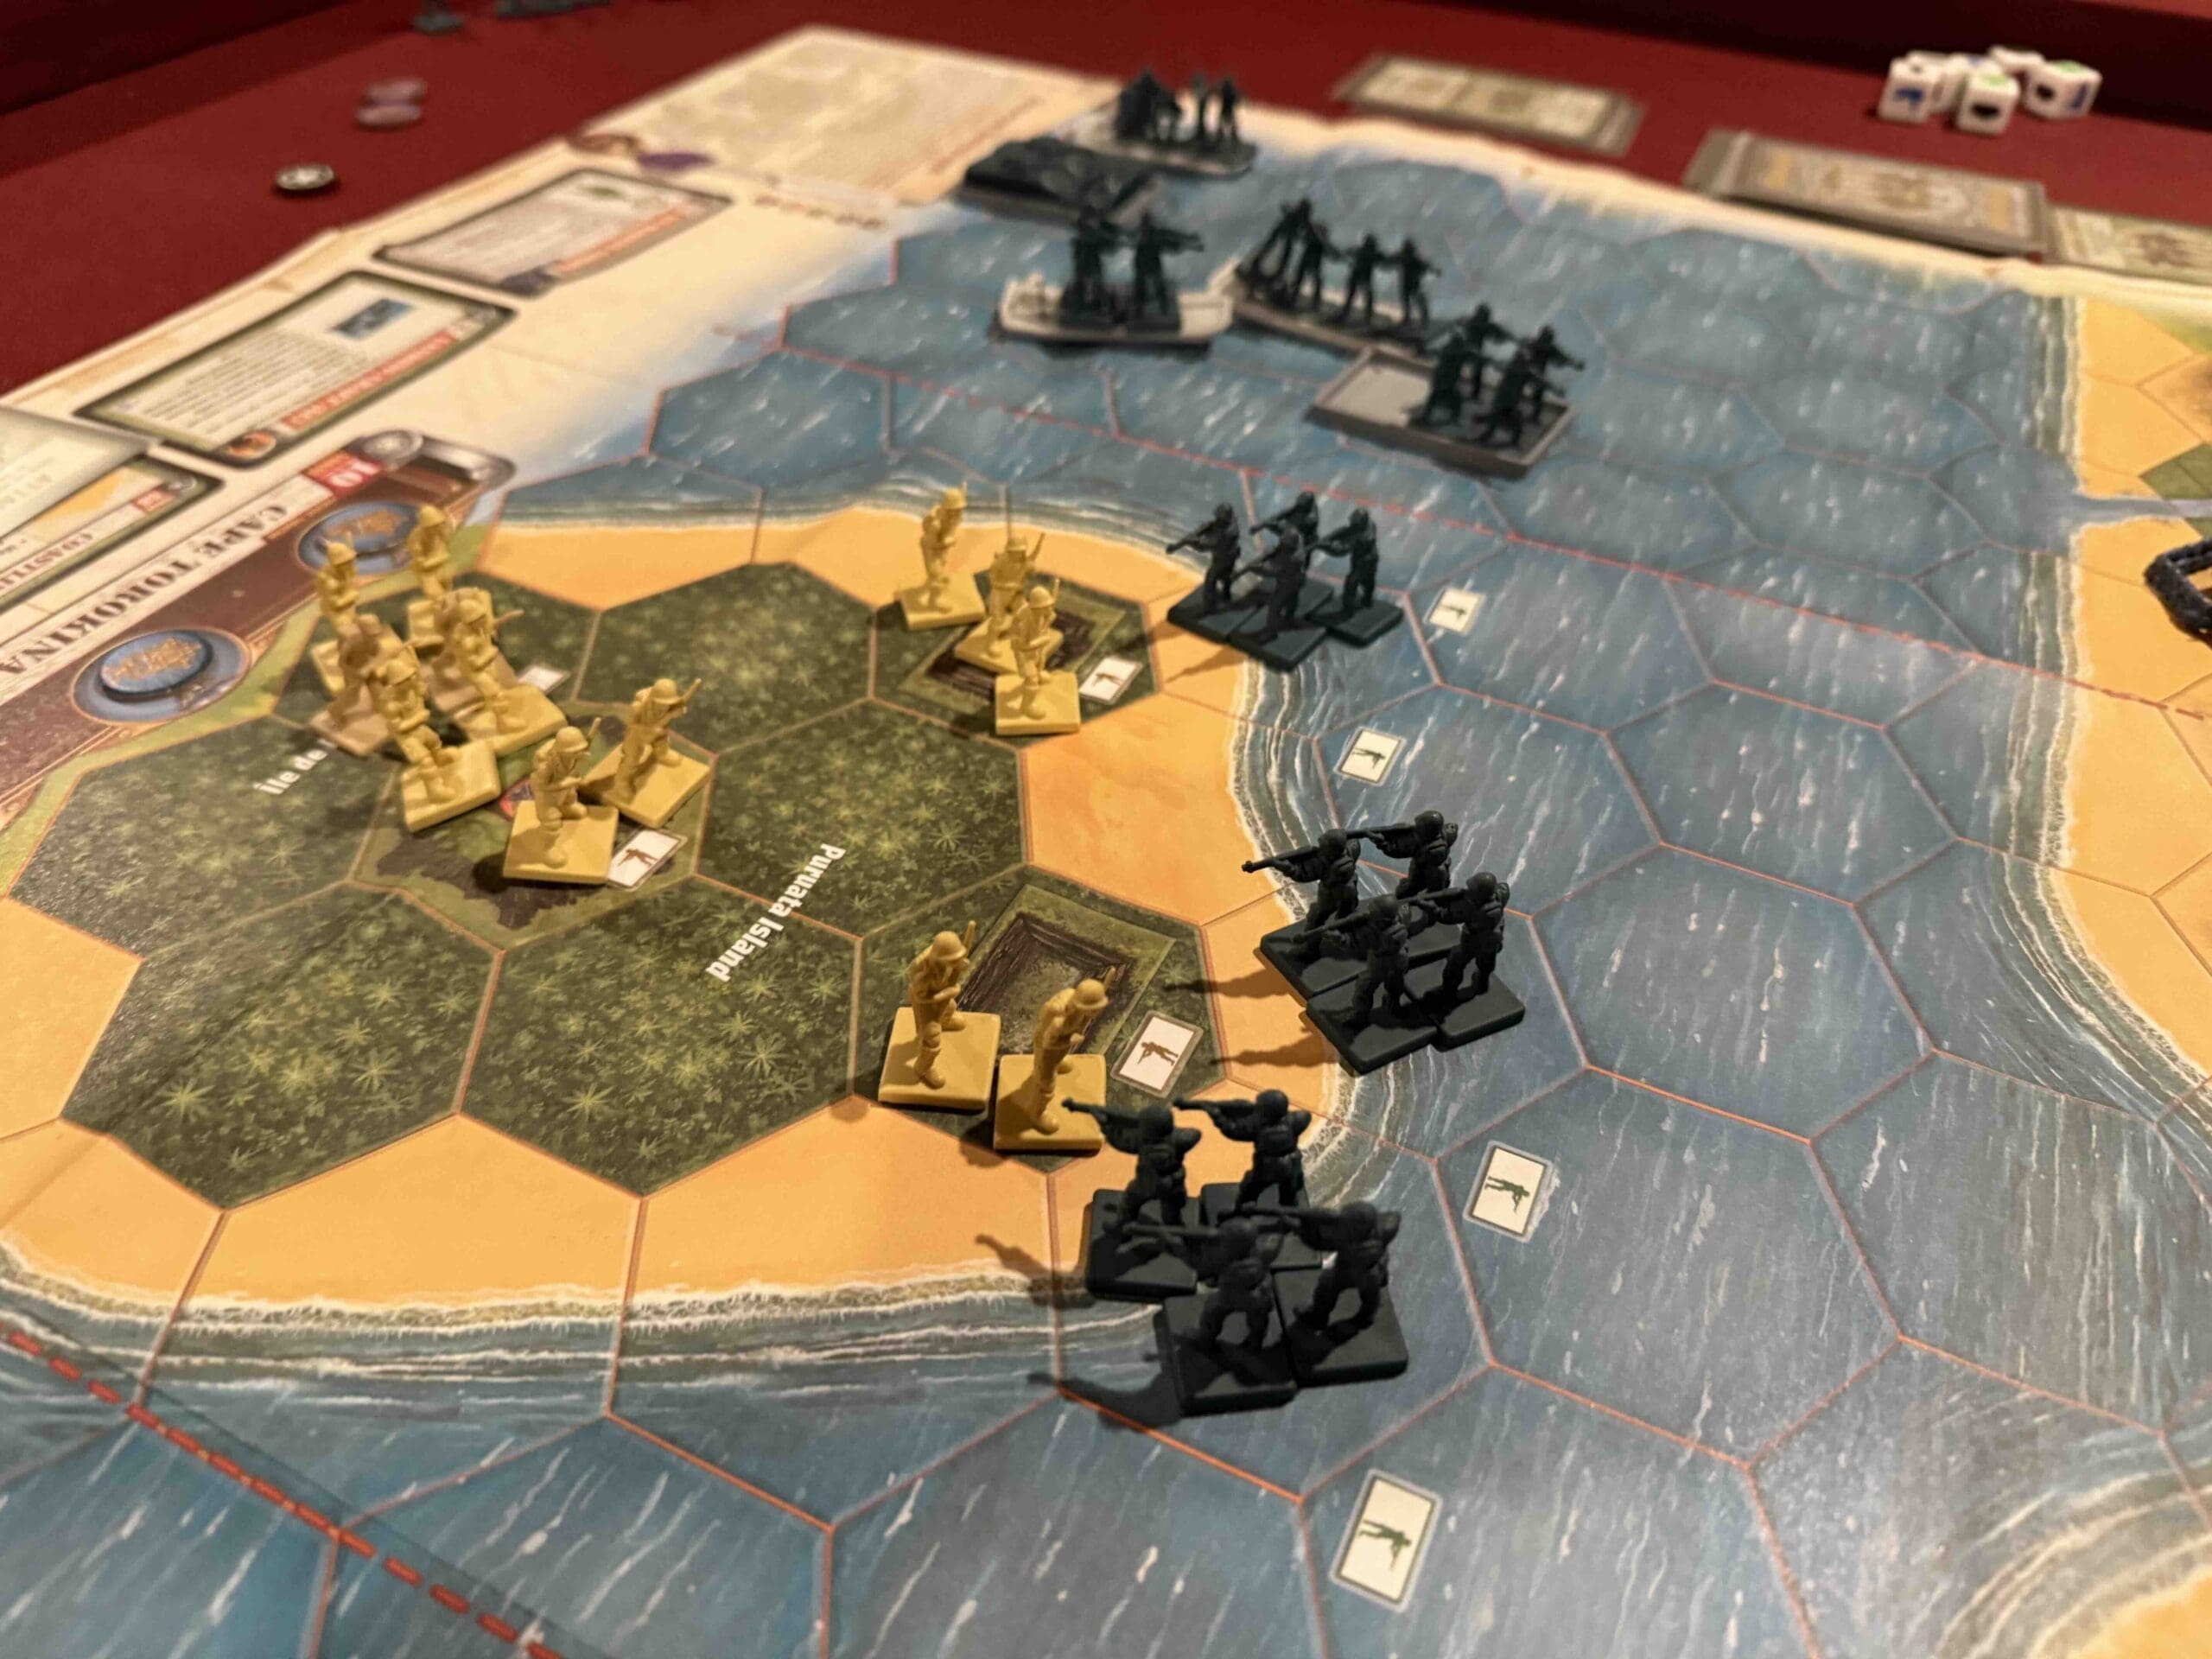
“Listen up, men! On November 1st, 1943, our boys hit those beaches at Cape Torokina like a thunderbolt. Those Marines of the 1st and 3rd Divisions didn’t blink at the sight of jungle, mud, and dug-in enemy troops. They took that beachhead by the throat and held on like bulldogs!

This wasn’t just another island—it was the gateway to busting open Rabaul and cutting off those Japanese forces. The jungle was a green hell, but we cut through it, took the ground, and started building the airstrips and supply bases to keep the hammer coming down.

That’s how you do it, boys—land hard, fight harder, and don’t stop until you’ve got a fortress behind you and the enemy on the run. That’s what those Marines did at Cape Torokina—they paved the road to victory in the Pacific!

~~ General Howitzer

Timeline of the Cape Torokina Landings (Bougainville)

  • November 1, 1943D-Day for Cape Torokina:
    U.S. 1st and 3rd Marine Divisions land at Cape Torokina. Initial beachhead secured despite Japanese resistance and tough jungle terrain.

  • November 2–3, 1943
    Marines expand the perimeter, clearing Japanese defenses in nearby jungle areas.

  • Mid-November 1943
    Seabees and engineers begin constructing airfields and supply bases within the beachhead.

  • December 1943–January 1944
    Marines fortify positions, repel repeated Japanese counterattacks.
    Japanese strongpoints isolated and bypassed.

  • March–April 1944
    U.S. Army relieves Marines; continuing operations to expand and secure the beachhead.

15 VP’s

Card Balance:

Allies (Marines) – 9

Axis (Japan) – 8

Complexity:

4

Conditions:

Beach

Context:

Historical

Location:

Solomon Islands

Year:

1943

Theater:

Pacific

Campaign:

Bougainville

Codename:

Summary:

Objectives:

15 VP’s with various Medal Objectives for various territorial control.

Battlefield:

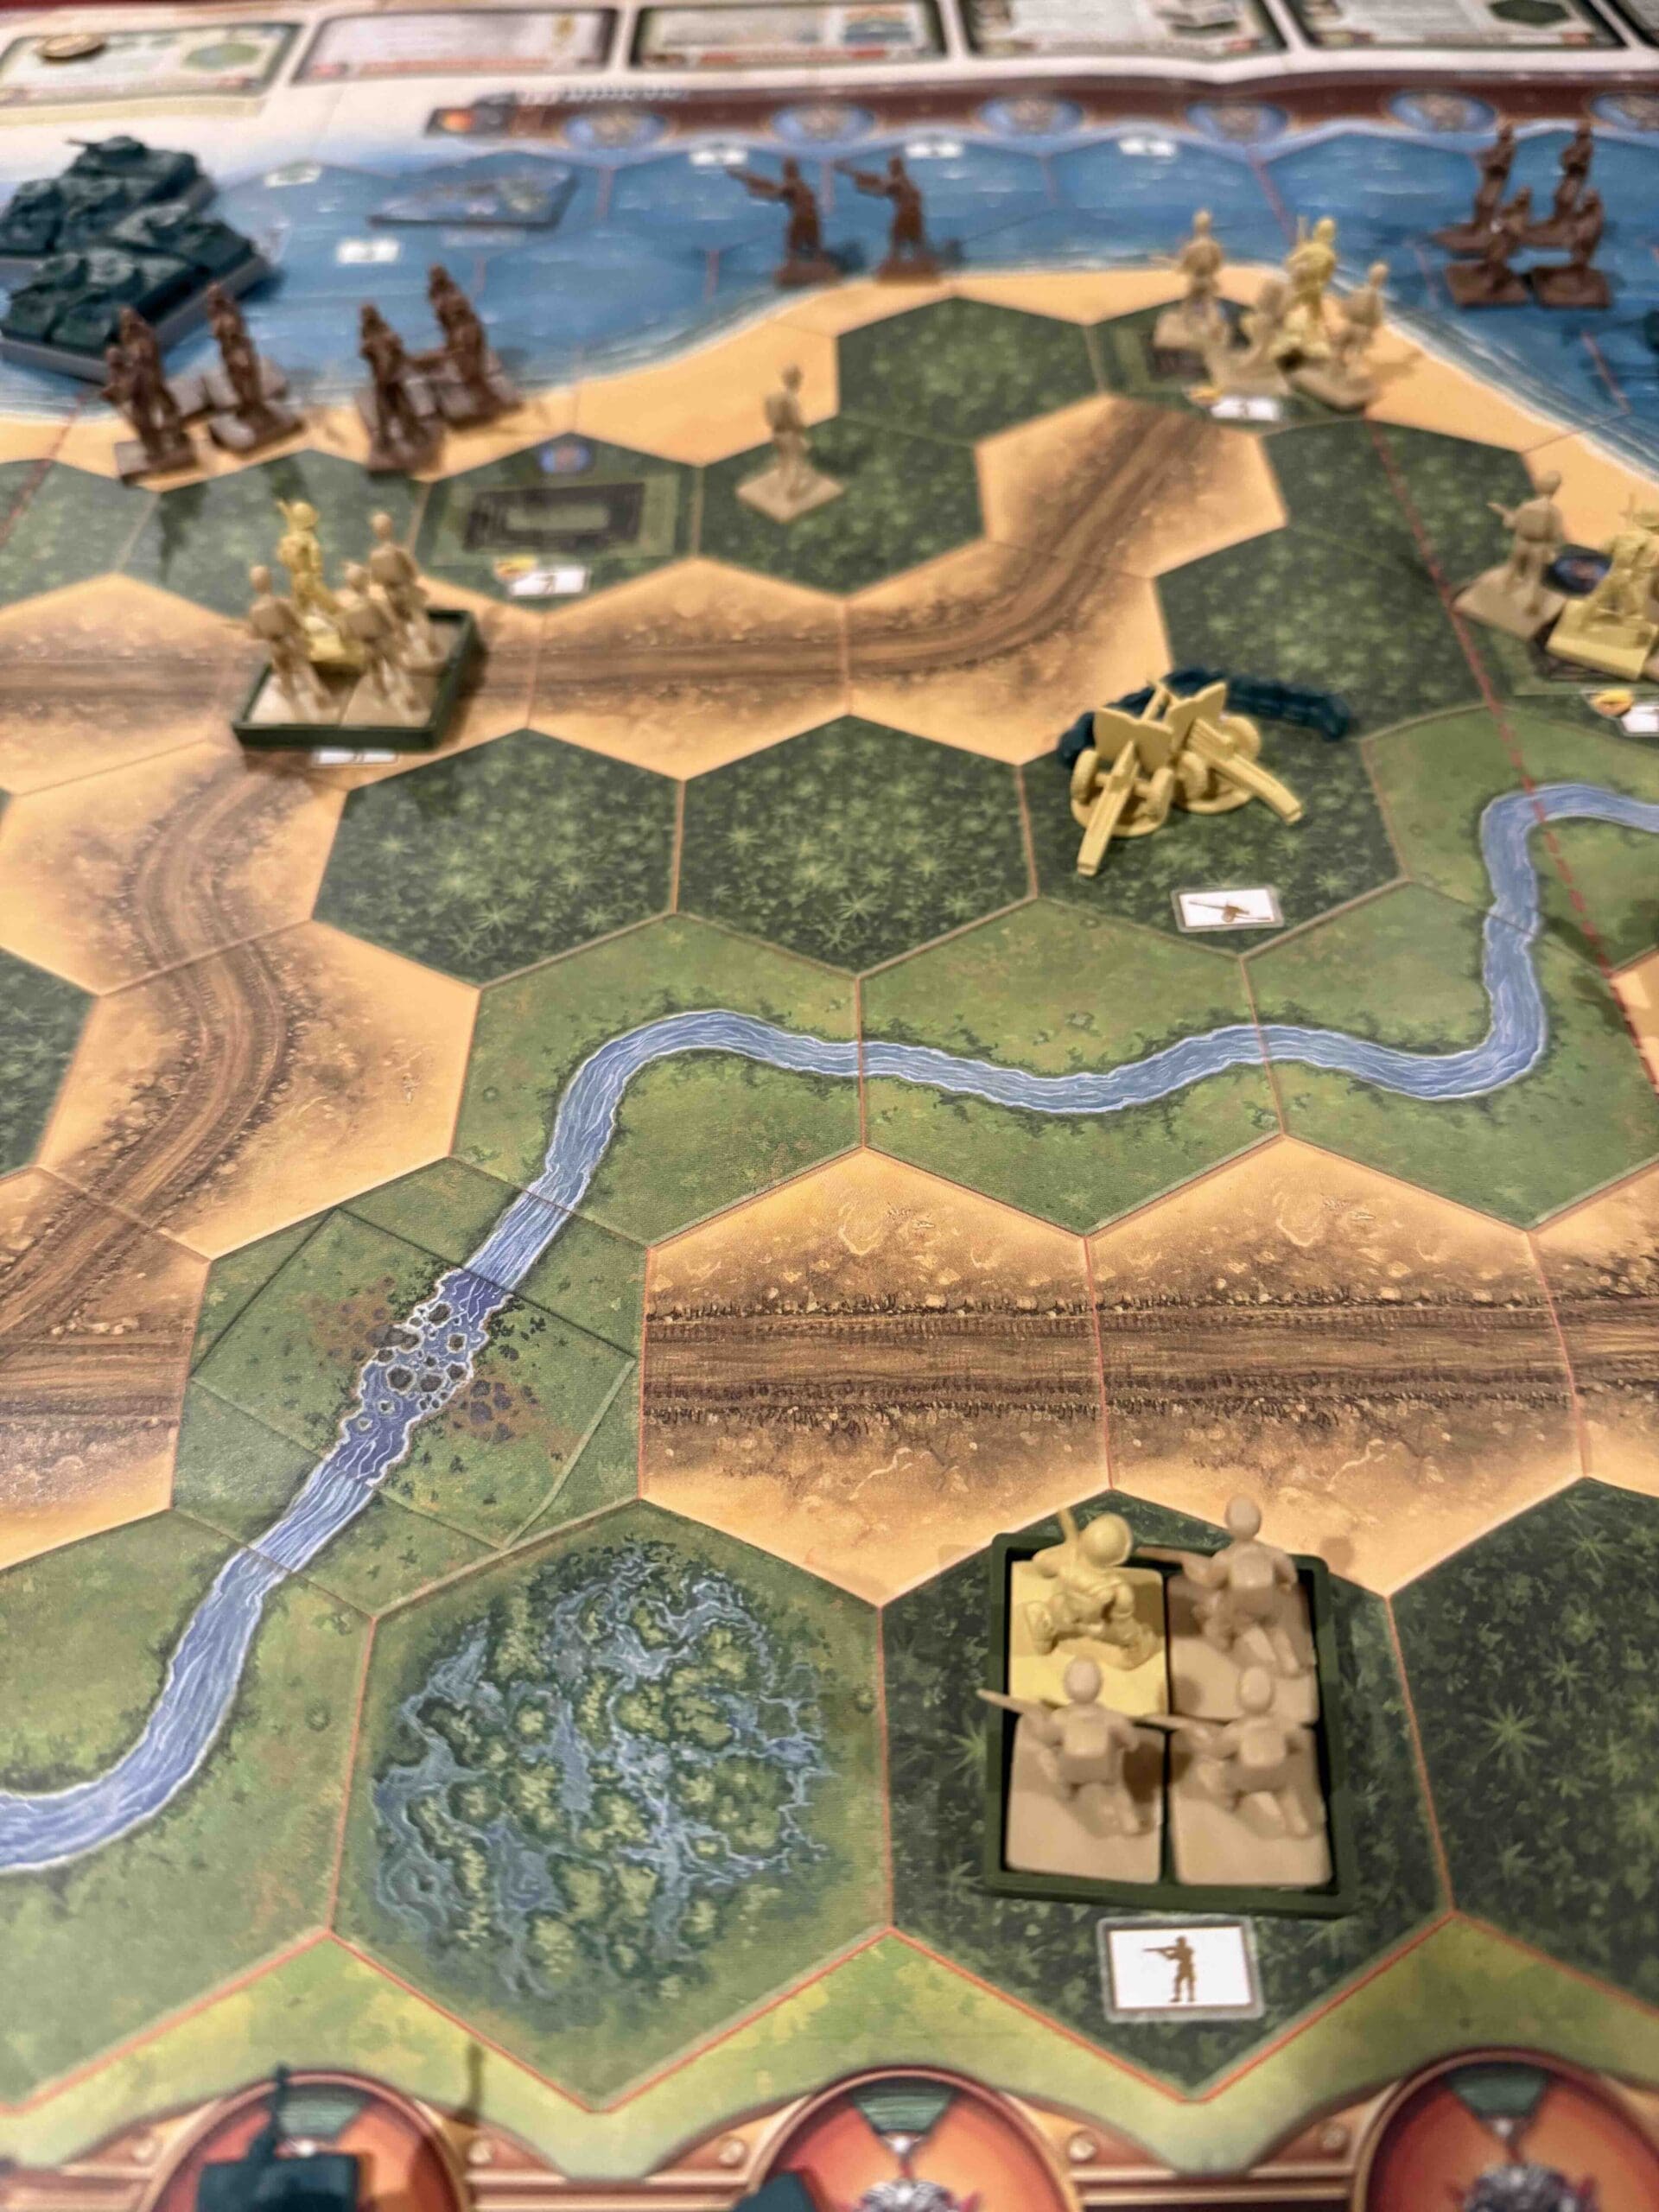
Islands with many rivers, roads, jungles, and hills

Troops:

Allies  – 21 Infantry, 4 Armor, 2 Destroyers, with Landing Crafts to bring them ashore

Axis  – 18 Infantry some with Special Weapons, 1 Armor, 1 Artillery


medal allies

🔥 Winning as Allies

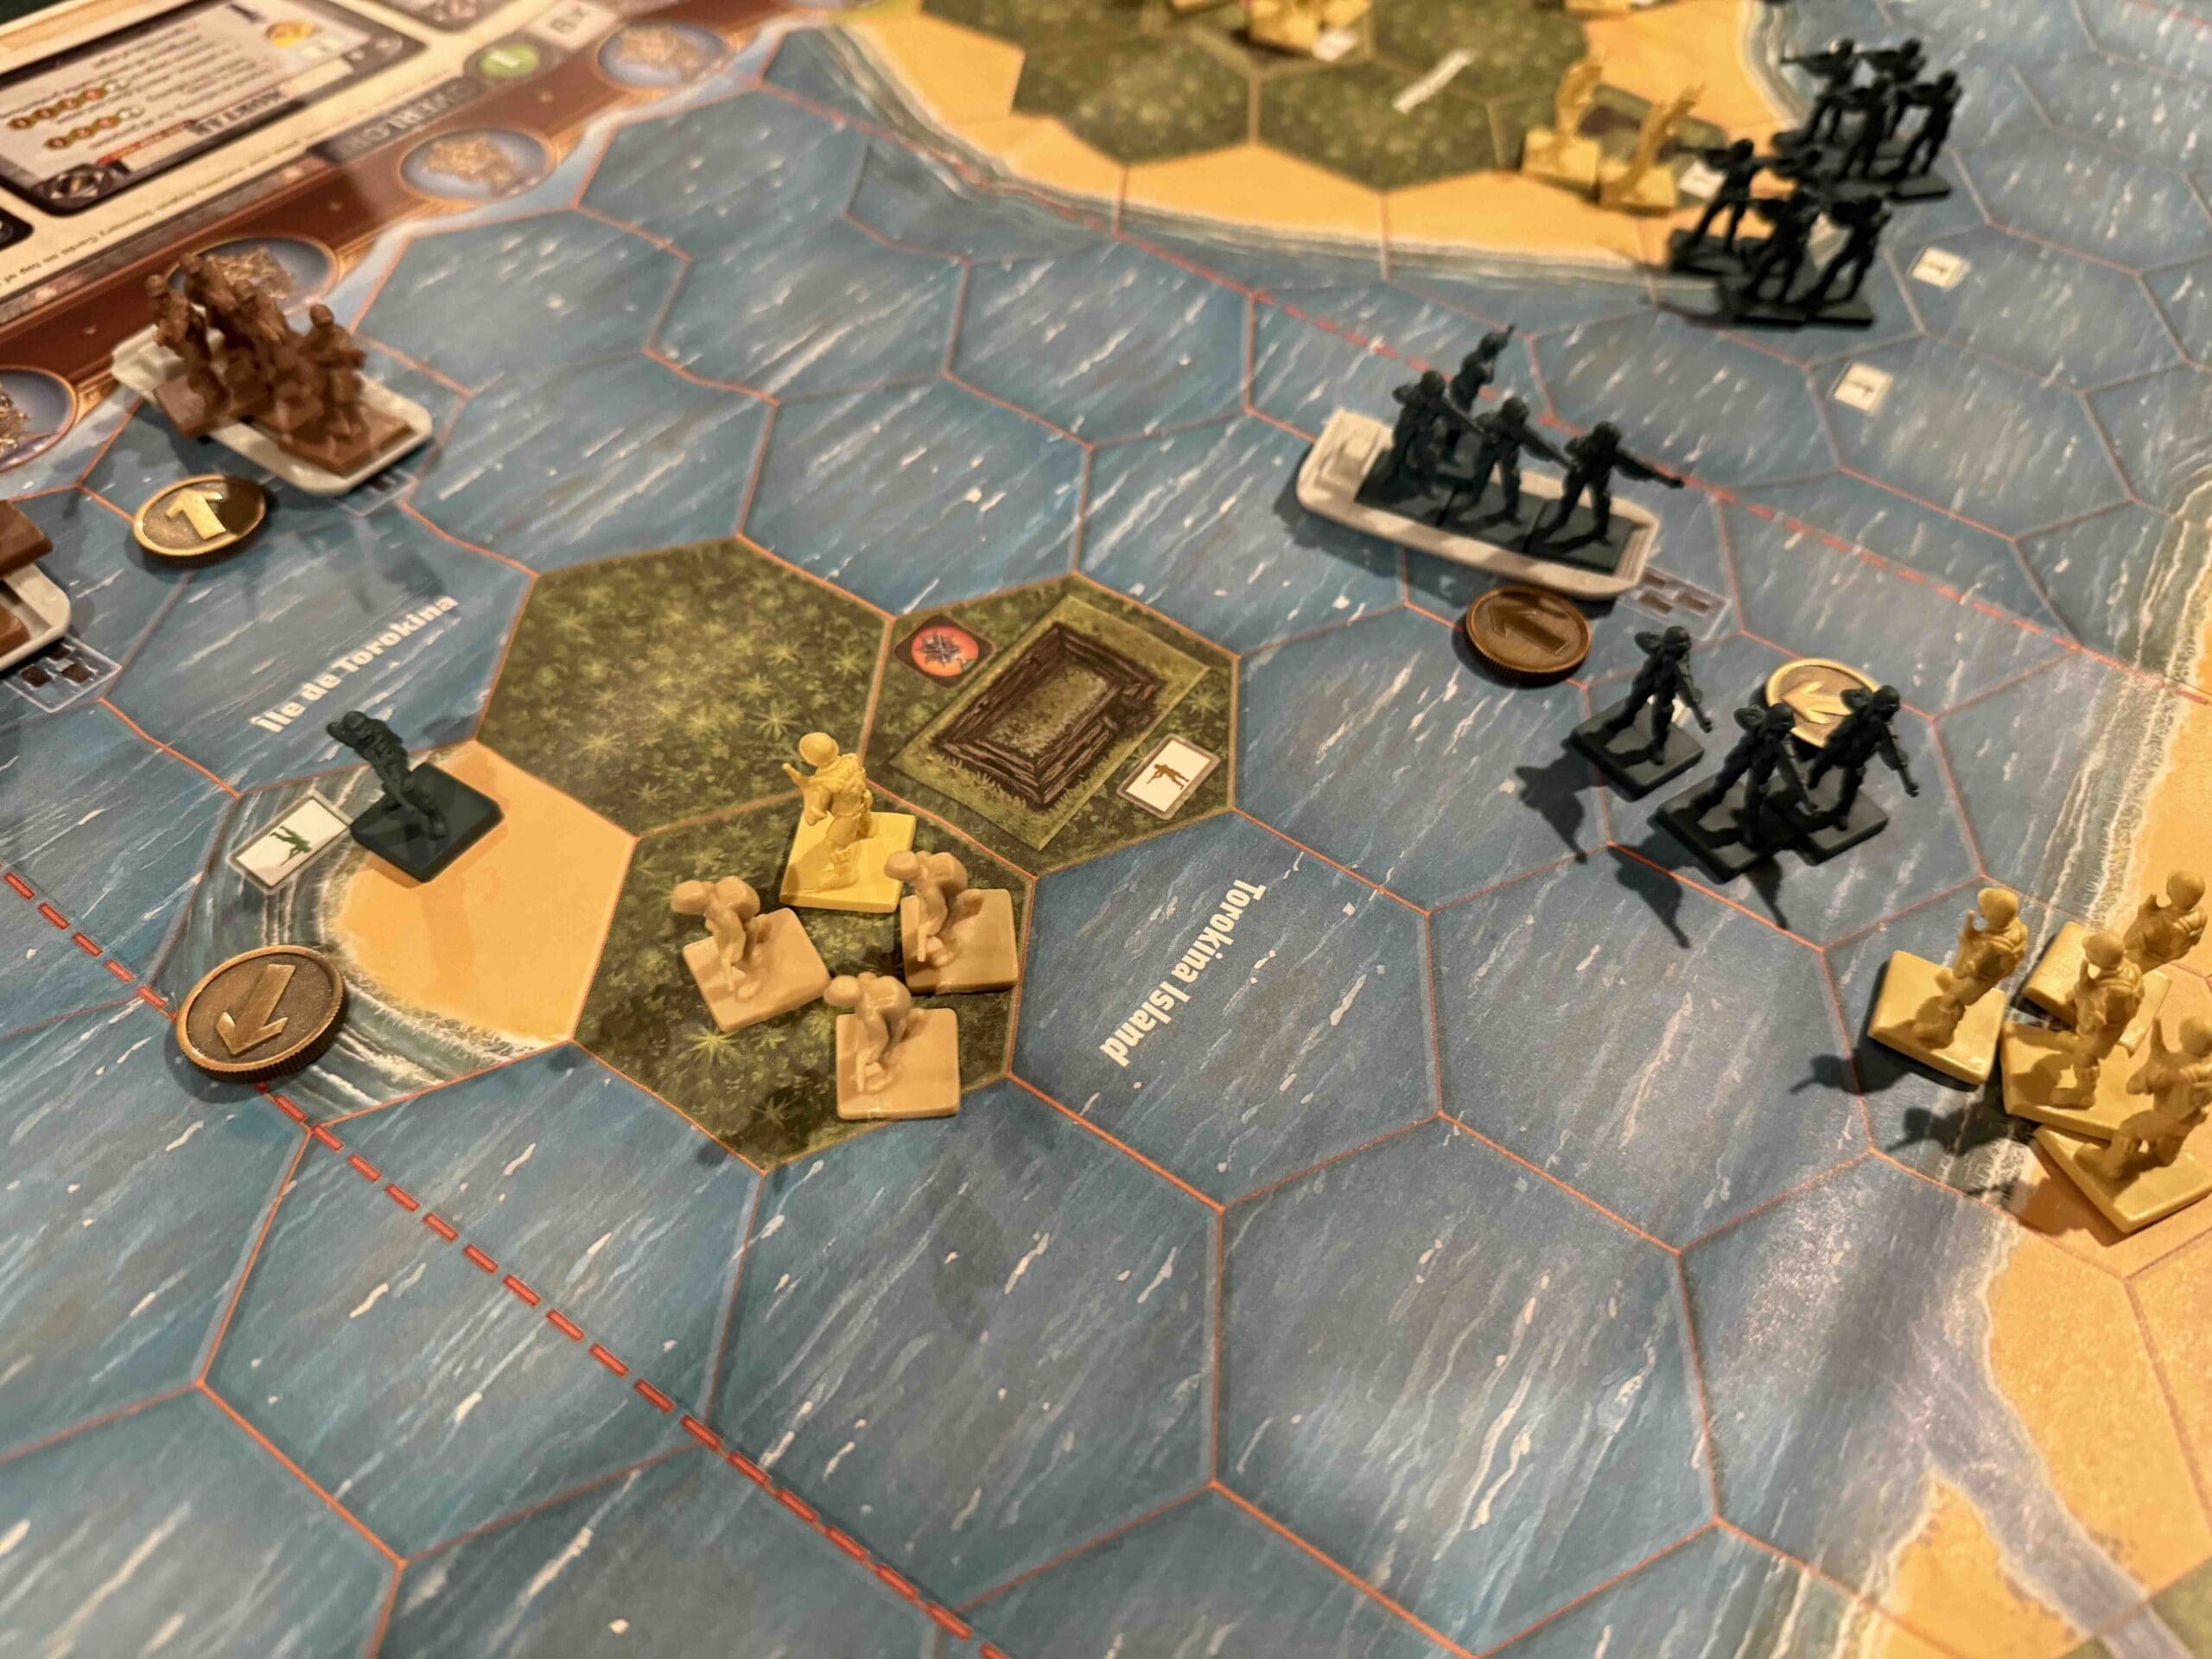
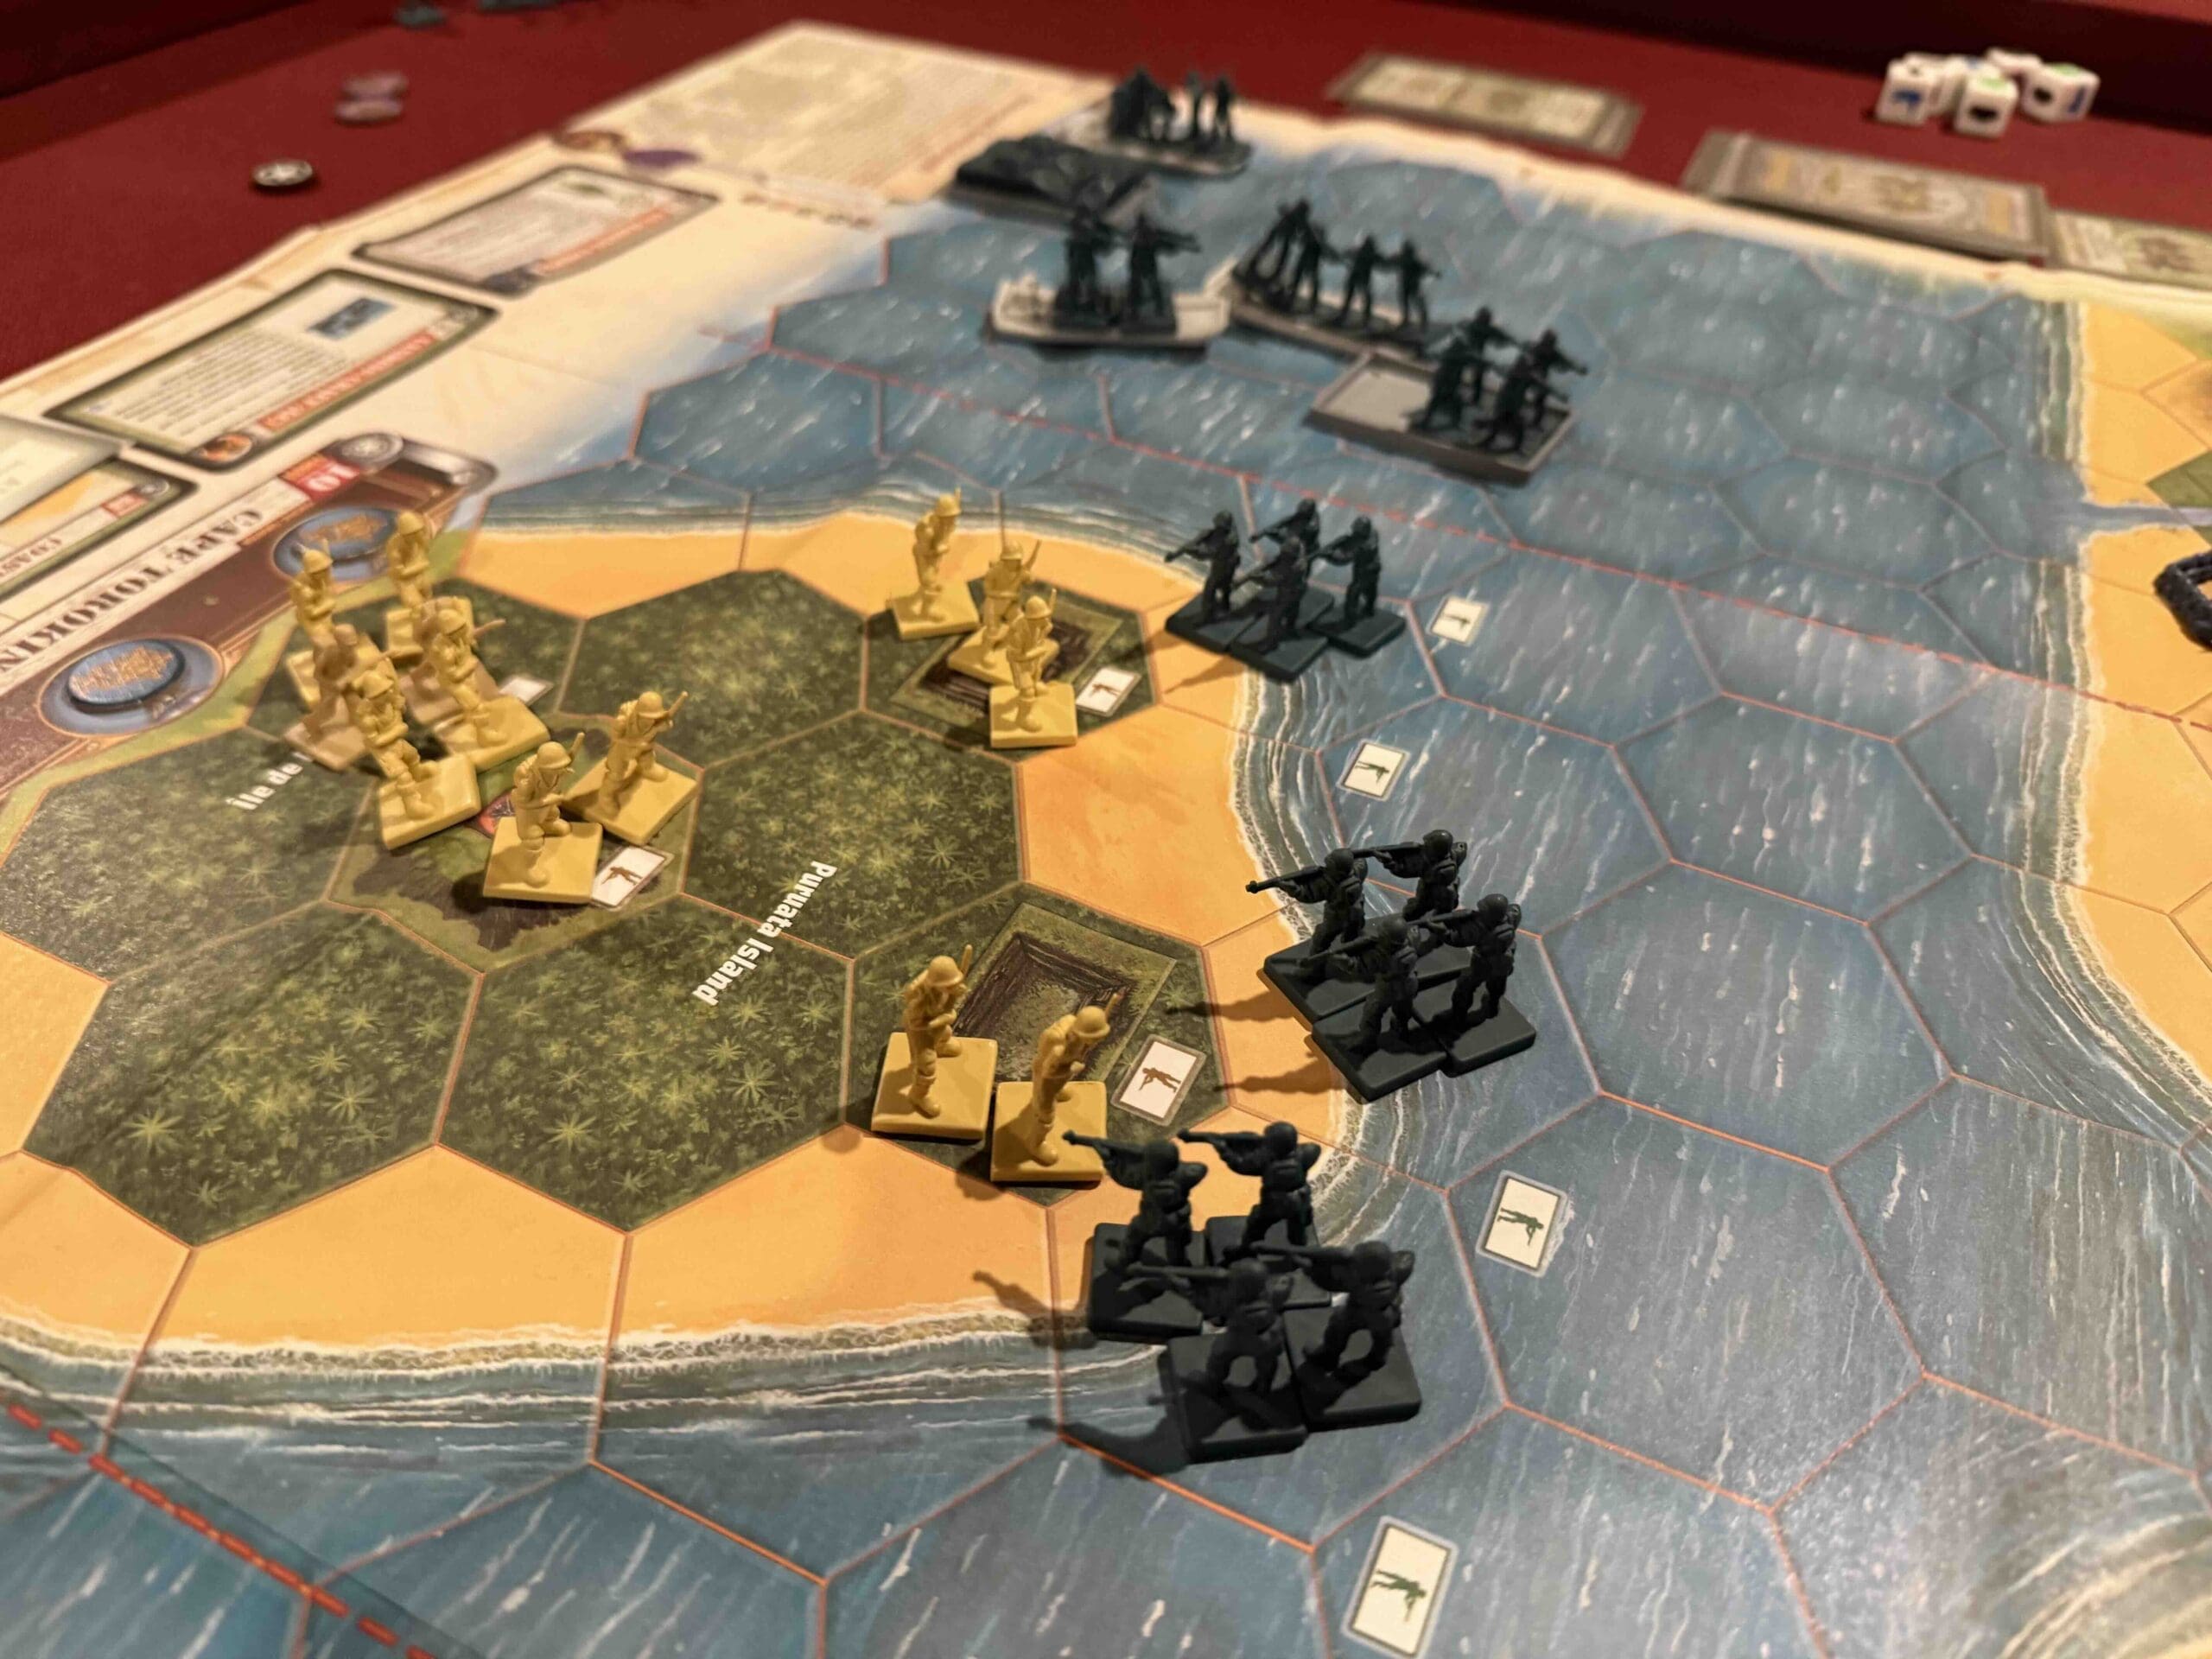
1.  There are a number of special rules which you need to be aware as commander of the Allied forces.  First, there are two islands (Torokina & Puruata), which must be taken. Because the enemy begins the battle with forces on the islands, they start the battle with two victory medals.  As soon as you eliminate the enemy from an island, you will cause them to lose a victory medal, but you will NOT gain one.    Also note that because the Landing Crafts (LC’s) leave after dropping off your troops, they will be stranded on that island. So make sure you commit enough troops to win, but not too many.

2.  There are also three Field Bunkers which provide Temporary Territorial Medals to whichever side occupies them.  But you must remain in the bunker to keep the medals. 

3.  What this means then, is that although you begin the battle with overwhelming force, in order to clear the islands, and then occupy the Field Bunkers, you will need to be leaving troops at each of those locations.  So your attack force will be diminished for each parcel of land which you capture.  This must be factored into your planning commander!

medal axis

🔥 Winning as Axis

1.  Your primary role in this battle is a defensive one, but that does not mean passive.  You have troops which need to be prepared to fight and brought into the battle arena.

2.  You have an Armor unit stuck in the corner in the right flank. Get it into the action as soon as you can.

3.  You also have an Artillery which you should use at every opportunity to attack the enemy as they come ashore.

4.  Make use of the Seishin Kyoiku doctrine to attack with your full force units at every opportunity in order to maximize your extra firepower while they are still strong.

5. You have a lot of forces on the two islands.  Make the enemy pay for every inch of ground they take on the islands in order to reduce their main attack force.

Battle Reports

1
BR - Torokina

Author:

Days of Wonder

Link:

Taukkyan Roadblock

Taukkyan Roadblock

Taukkyan-Roadblock

The Battle of the Taukkyan Roadblock? That was a brutal wake-up call in the jungles of Burma.

It was April 1942, and the British were pulling out of Rangoon, trying to stay one step ahead of a fast and ruthless Japanese advance. But they weren’t sitting back—they were moving like ghosts through the jungle, and they slammed a roadblock right down at Taukkyan, a vital choke point on the only damn road out.

It was a classic ambush—sliced right through the retreating columns. Trucks jammed, units scattered, and bullets flying like hellfire. The 17th Indian Division fought like lions to break through, but the jungle was tight, the fire was heavy, and the enemy was dug in and deadly.

A lot of brave men didn’t make it. That roadblock caused chaos, real chaos. It wasn’t just a firefight—it was the kind of sharp, surgical move that the Japanese were damn good at: fast, quiet, deadly. It wasn’t just a fight—it was a message.

The collapse at Taukkyan was a key reason why southern Burma slipped right through our fingers. It forced the Allies to fall back all the way into India. But mark my words—every inch we lost, we learned from. And when we came back, we came back with fire in our guts and iron in our fists.

~~ General Howitzer

5 VP’s

Card Balance:

Allies – 5 + 2 Combat Cards

Axis – 5 + 2 Combat Cards

Complexity:

3

Conditions:

Jungle

Context:

Historical

Location:

Burma

Year:

1939

Theater:

Pacific

Campaign:

Burma Campaign

Codename:

Summary:

Objectives:

5 VP’s

Battlefield:

Jungle with two intersecting roads, a roadblock, a village, and some hills.

Troops:

Allies  – 8 Infantry, 4 Armor

Axis (Japan) – 9 Infantry with some machine guns and anti-tank special weapons.


Allied Strategy:

1.  Big Picture: while you do not have to get through the roadblock, it does present a challenge for the British as a rallying point for the enemy.

2.  Before you attempt an Infantry attack, use your Armor units to attack the Japanese units at a distance, and reduce each unit by at least one figure, in order to eliminate their Seishin Kyoiku Doctrine power. 

3.  You have some powerful forces on your right section.  Get the Infantry moved forward and into the nearby jungle, so that the roadway is clear to allow your Armor to advance and get into the attack.

 Axis Strategy

1.  Big Picture Strategy:  with their special weapons of machine guns and anti-tank guns, plus the roadblock present a significant opportunity for the Japanese to hold off the Brits.

2.  Because of the British tanks, you cannot just stay behind your sandbags the whole time. They will slowly pick you off, and degrade your attack ability.  You will have to deal with the tanks, perhaps through specialized cards such as Barrage, Air Power, Behind Enemy Lines, or the Combat Card ‘Giretsu’, the Japanese BEL card. 

3.  With the right set of cards, and as long as most all of your forces are still at full ‘Seishin Kyoiku Doctrine’ strength, a full scale assault on your right flank could prove successful.   

Battle Reports

2
BR - Taukkyan

Author:

Days of Wonder

Link:

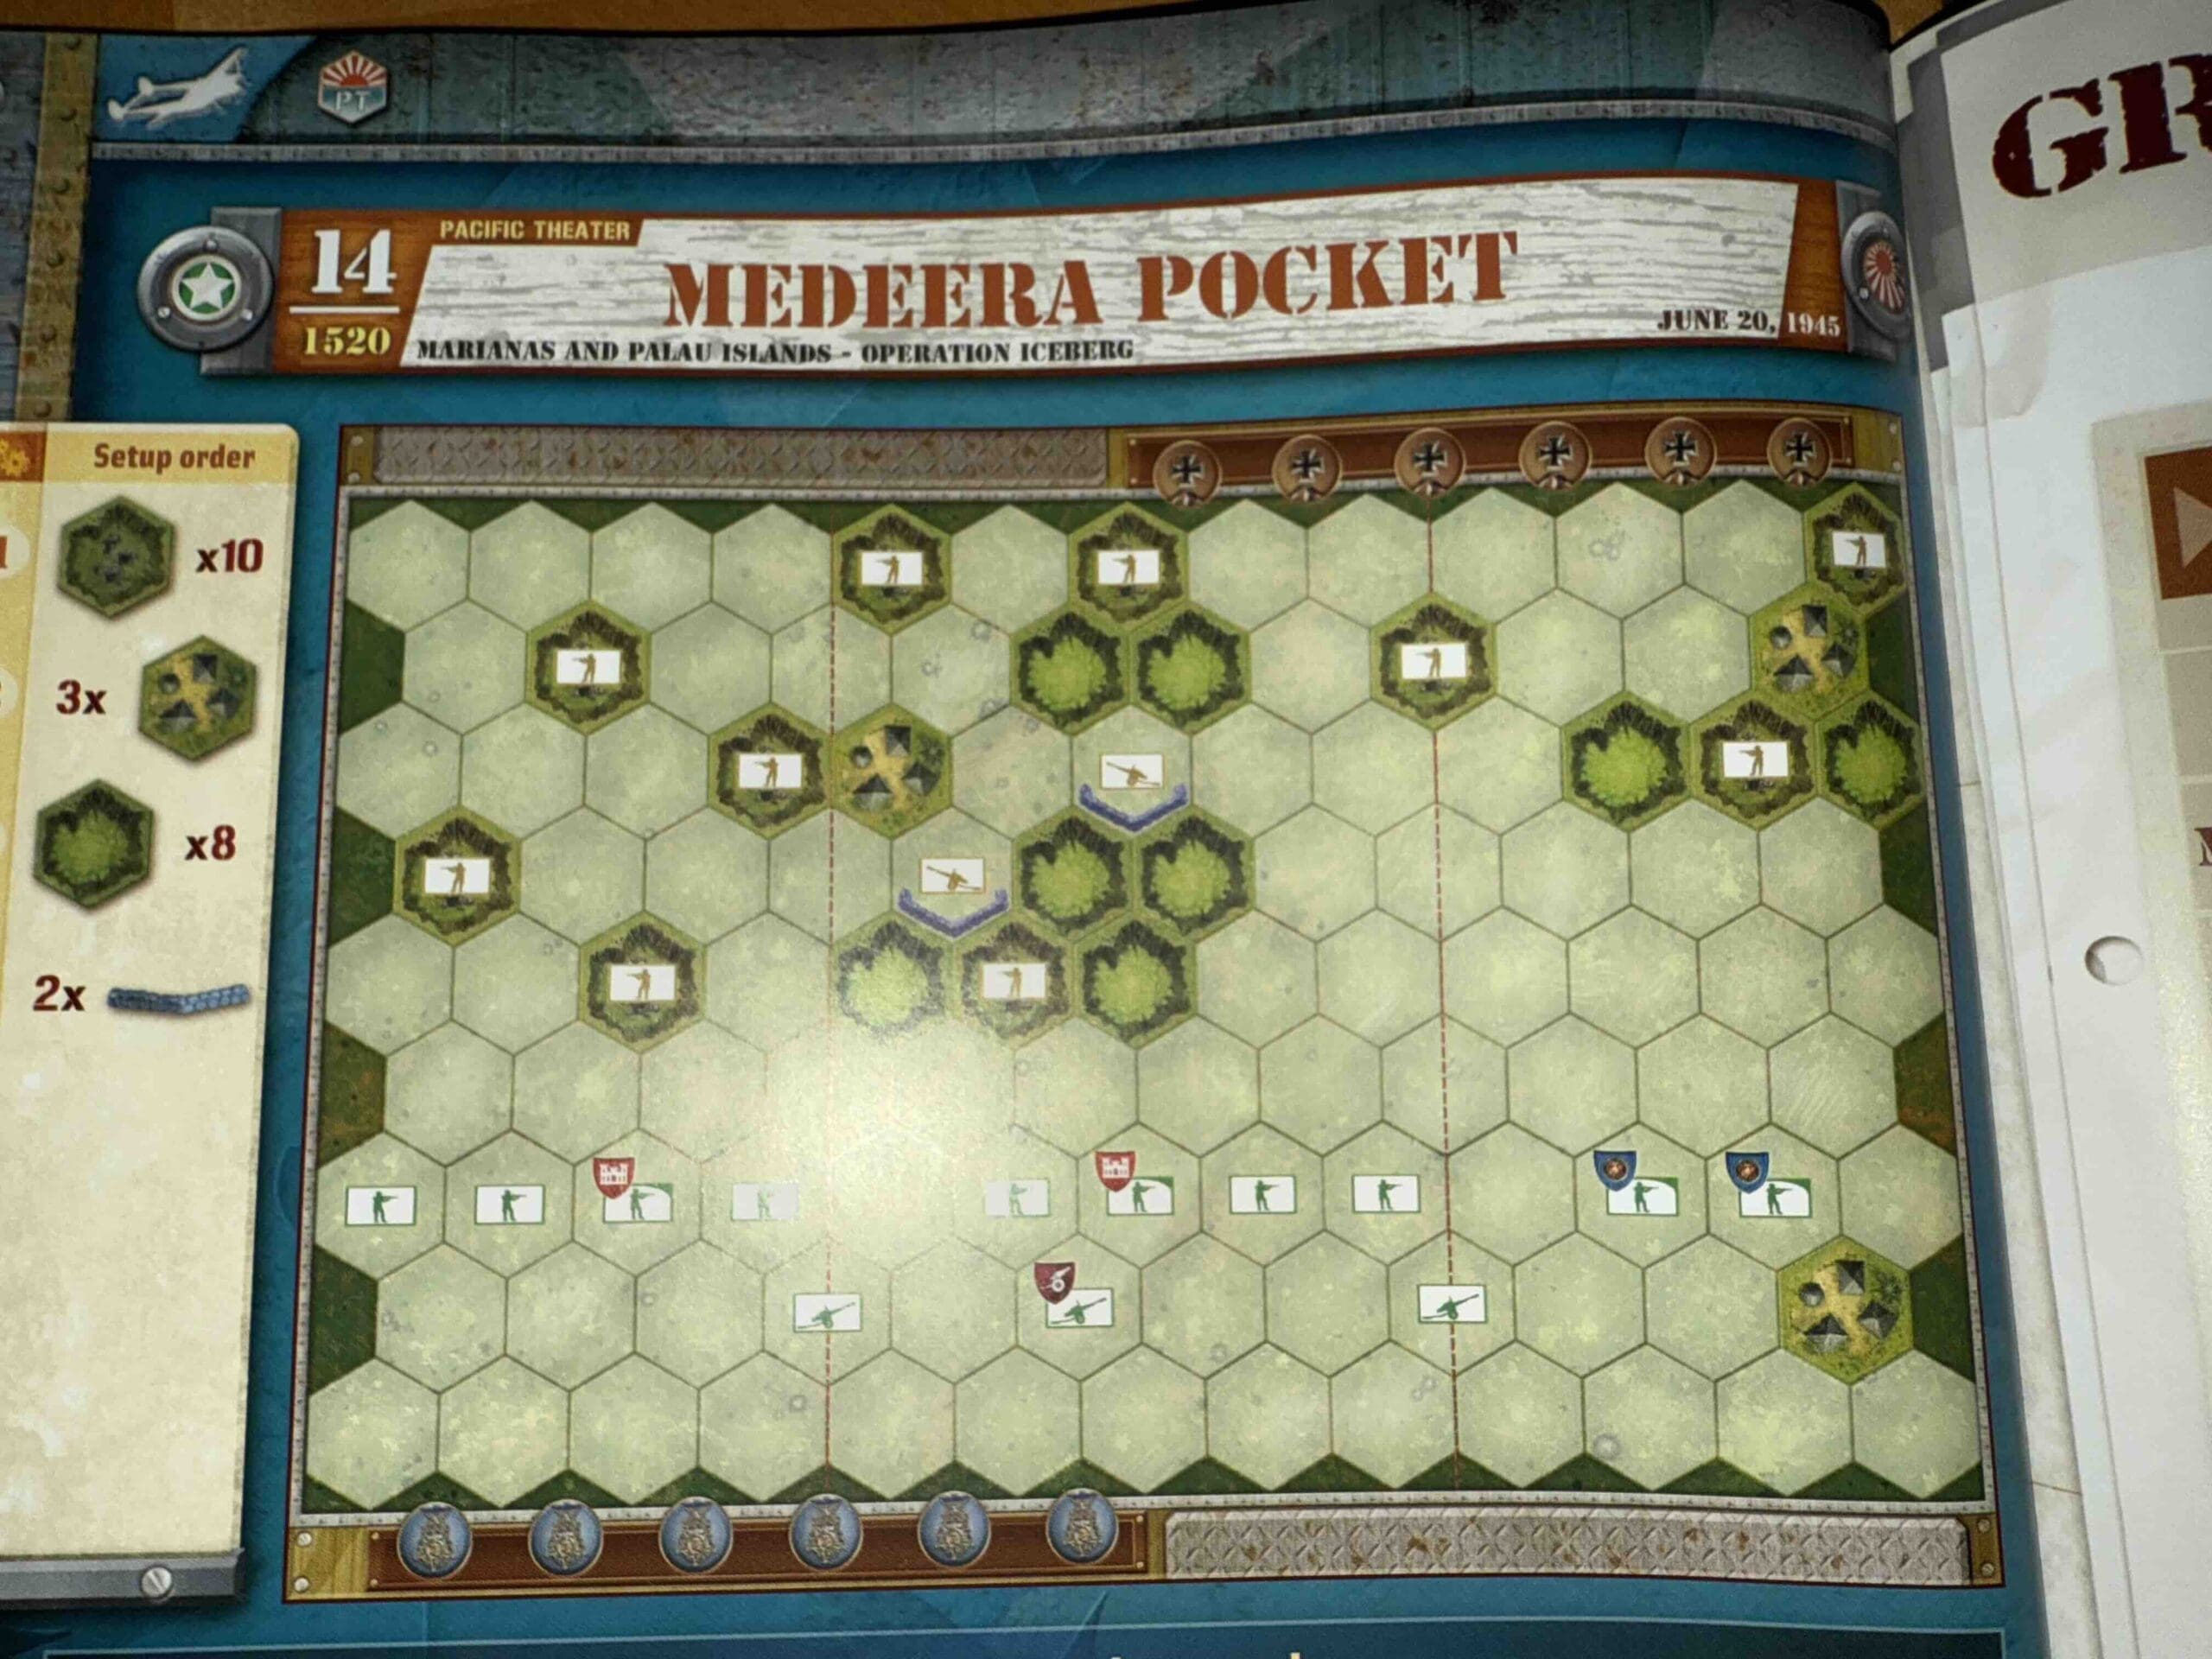
Medeera Pocket

Medeera Pocket

The Battle of the Medeera Pocket in June 1945 was a late-stage engagement during the Marianas and Palau Islands campaign of World War II.

Located on northern Peleliu, the Medeera Pocket was one of the last strongholds of Japanese resistance. U.S. Marines and Army forces faced fierce, dug-in Japanese defenders who refused to surrender, fighting from caves and fortified positions. The battle involved intense close-quarters combat, flamethrowers, explosives, and coordinated assaults to clear the terrain.

Despite being outnumbered and cut off, Japanese troops fought to the death, inflicting significant U.S. casualties before being wiped out.

The elimination of the Medeera Pocket marked the final clearing of organized resistance on Peleliu, securing the island for Allied operations and reinforcing the brutal nature of Pacific island warfare.

General Howitzer summarizes:

The Medeera Pocket was one hell of a last stand—the Japanese  were holed up in caves, dug in deep, and determined to die where they stood.  They fought like fanatics, even when they were cut off and outgunned, but our Army and Marines finished the job. Clearing that pocket sealed Peleliu for good and reminded everyone that in the Pacific, every inch costs blood.

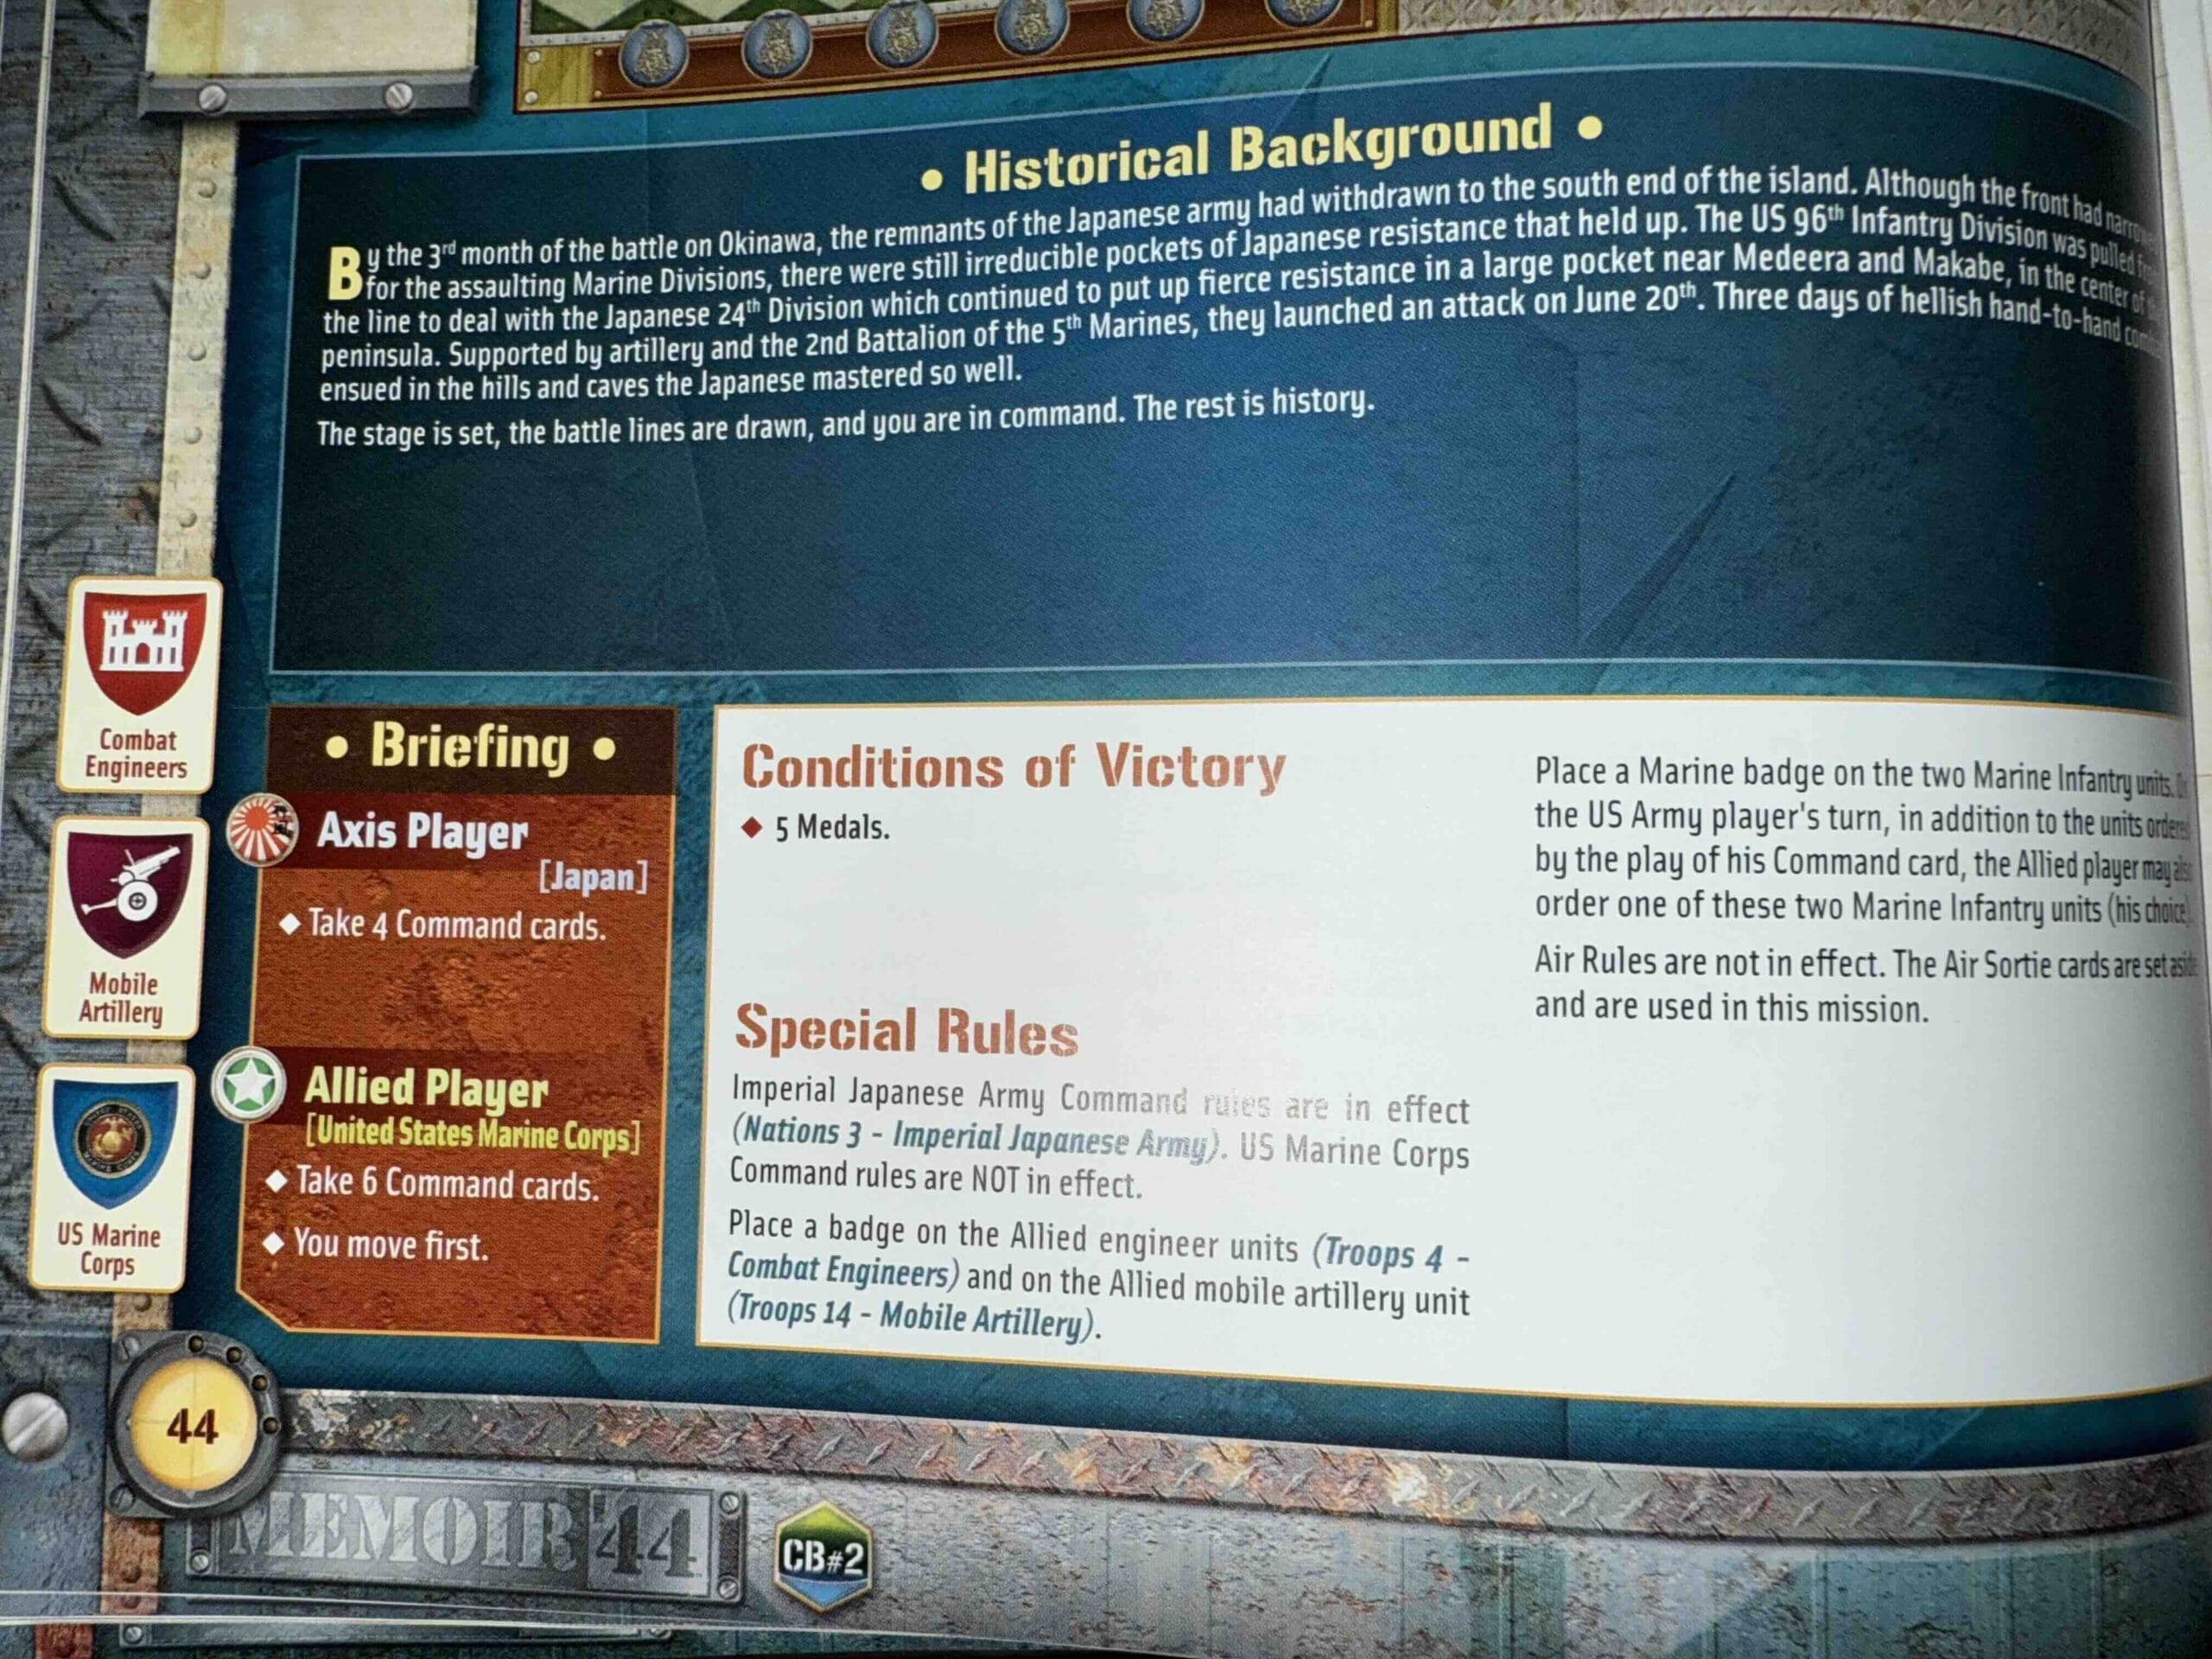
5 VP’s

card

Card Balance:

Allies – 6

Axis – 4

Complexity:

3

Conditions:

Jungle

Context:

Historical

Location:

Palau Islands

Year:

1945

Theater:

Pacific

Campaign:

Codename:

Operation Iceberg

Summary:

Objectives:

5 VP’s 

Battlefield:

Jungle terrain , hills with caves and some small villages.

Troops:

Allies – 8 Army Infantry, 2 Marine Infantry, 3 Artillery including a Mobile Artillery

Axis – 10 Infantry


medal allies

Allied Strategy:

1.  The center section is the key to victory.  You have a Mobile Artillery, plus two other Artillery units which can all focus their firepower upon the center.  

2.  You have two Engineer units which can overcome the terrain disadvantages of caves on hills.  Use them to clear out the entrenched enemy.

3.  You have two Marine units which can be commanded every single turn, so they can conduct their own operation on your right flank, if they are supported by the Artillery unit on that side. 

medal axis

Axis Strategy

1.  Remember the three special abilities of your Japanese forces (Seishin Kyoiku Doctrine, Yamato Dashi Concept, and the Banzai War Cry).  You will need these to stand up against the enemy.

2.  There are many Caves on Hills which give you both a defensive and mobile advantage.  Infantry units can quickly move from one Cave on a Hill to another one, so that you can rapidly replenish your forces when they are destroyed.  

3.  You have two Artillery units well-protected in the center of the battlefield.  Use them at every opportunity to push back the attacking Infantry, and when it comes into range, to also destroy the Mobile Artillery.

Battle Reports

1
BR - Medeera Pocket

Author:

Days of Wonder

Resource:

Campaign Book, Volume 2

Hlegu Burma

Hlegu Burma

Hlegu-Burma

The engagement at Hlegu in March 1942 was a minor yet notable skirmish during the British retreat from Rangoon amid the Japanese invasion of Burma in World War II.

As part of the broader Battle of Pegu, British forces, including the 7th Queen’s Own Hussars equipped with Stuart “Honey” light tanks, advanced toward Hlegu, only to find it occupied by Japanese troops who had established a roadblock. The Japanese defenders employed Molotov cocktails, successfully disabling one British tank. Despite this resistance, the British forces ultimately overcame the roadblock, forcing the Japanese to retreat under heavy fire. 

This encounter was part of a strategic effort by the British to delay the Japanese advance and facilitate the evacuation of Rangoon. Although the city fell shortly thereafter, the actions at Hlegu exemplify the determined resistance offered by British and Commonwealth forces during the challenging Burma campaign.

6 VP’s

Card Balance:

Allies – 6 + 2 Combat Cards

Axis – 4 + 2 Combat Cards

Complexity:

2

Conditions:

Jungle

Context:

Historical

Location:

Burma

Year:

1942

Theater:

Pacific

Campaign:

Codename:

Summary:

Objectives:

5 VP’s, plus a Sudden Death Exit Hex for the Allies.

Battlefield:

A jungle scenario with a road running vertically through the map, with a roadblock in the center.

Troops:

Allies – 8 Infantry, 3 Armor

Axis – 9 Infantry

Special Rules:

Roadblock Rules in “Hlegu, Burma”

According to the Terrain Pack Rulebook, roadblocks have the following effects:1j1ju

  • Movement: Only Infantry units may enter a hex containing a roadblock. Upon entering, the Infantry unit must stop and cannot move further that turn.

  • Combat:

    • A unit positioned on a roadblock hex is protected on all sides.

    • When attacked by Infantry or Armor, the attacking unit rolls one fewer Battle die.

    • Artillery attacks are unaffected; they roll their normal number of Battle dice.

    • A unit on a roadblock hex may ignore the first flag rolled against it.

  • Line of Sight: Roadblocks do not obstruct line of sight

medal allies

🔥 Winning as Allies

1. The Allies have a Sudden Death Exit Hex Objective Medal. If a unit begins the turn on the hex and exits, a victory is declared for the Allies. 

2.  You have Armor units, and the enemy has none.  Use them to good effect, but don’t get too close or they will hit you with Molotov cocktails.

medal axis

🔥 Winning as Axis

1. At all costs, defend the Exit Hex.

2.  The roadblock is your best chance to surround and destroy the enemy.  As they try to cross it, bring all your Infantry to bear against them.

Battle Reports

0
BR - Hlegu Burma

Author:

Days of Wonder

Link:

Burma Troops

Courtesy of Imperial War Museum

Sugar Loaf and Half Moon

Sugar Loaf and Half Moon

The Battle of Sugar Loaf and Half Moon took place during the Battle of Okinawa in May 1945, one of the final and bloodiest battles of World War II. Sugar Loaf Hill and Half Moon Hill were heavily fortified Japanese positions that U.S. Marines needed to capture to advance on the island.

Listen up. Sugar Loaf and Half Moon weren’t just two lumps of dirt on Okinawa—they were the kind of fortified hellholes the enemy turns into a butcher shop. The Japanese were dug in deep, with bunkers you couldn’t see and tunnels you couldn’t count, and they poured out artillery, machine-gun fire, and counterattacks like they had an endless supply of men and steel.

Our Marines fought inch by inch, bleeding for every blasted ridge. They stormed those heights again and again, under fire hot enough to melt the paint off a helmet. Casualties were heavy, but the boys never broke. After days of slugging it out—crawling, climbing, charging—they took both hills and tore the heart out of the enemy’s northern line.

Seizing Sugar Loaf and Half Moon opened the door to Okinawa’s southern defenses, and it proved a cold, hard truth: fighting in the Pacific demanded guts, grit, and sacrifice on a scale few can imagine. And it was a grim preview of what it might have taken if we’d ever had to storm Japan itself.

~~ General Howitzer

6 VP’s

Card Balance:

USA – 6

Japanese – 4

Complexity:

2

Conditions:

Jungle


Location:

Pacific

Year:

1945

Theater:

Pacific

Campaign:

Battle of Okinawa

Codename:

Summary:

Objectives:

6 VP’s
(Special Rule: Note that if the Marines clear out an entire section of Japanese forces, it counts as a temporary VP.)

Battlefield:

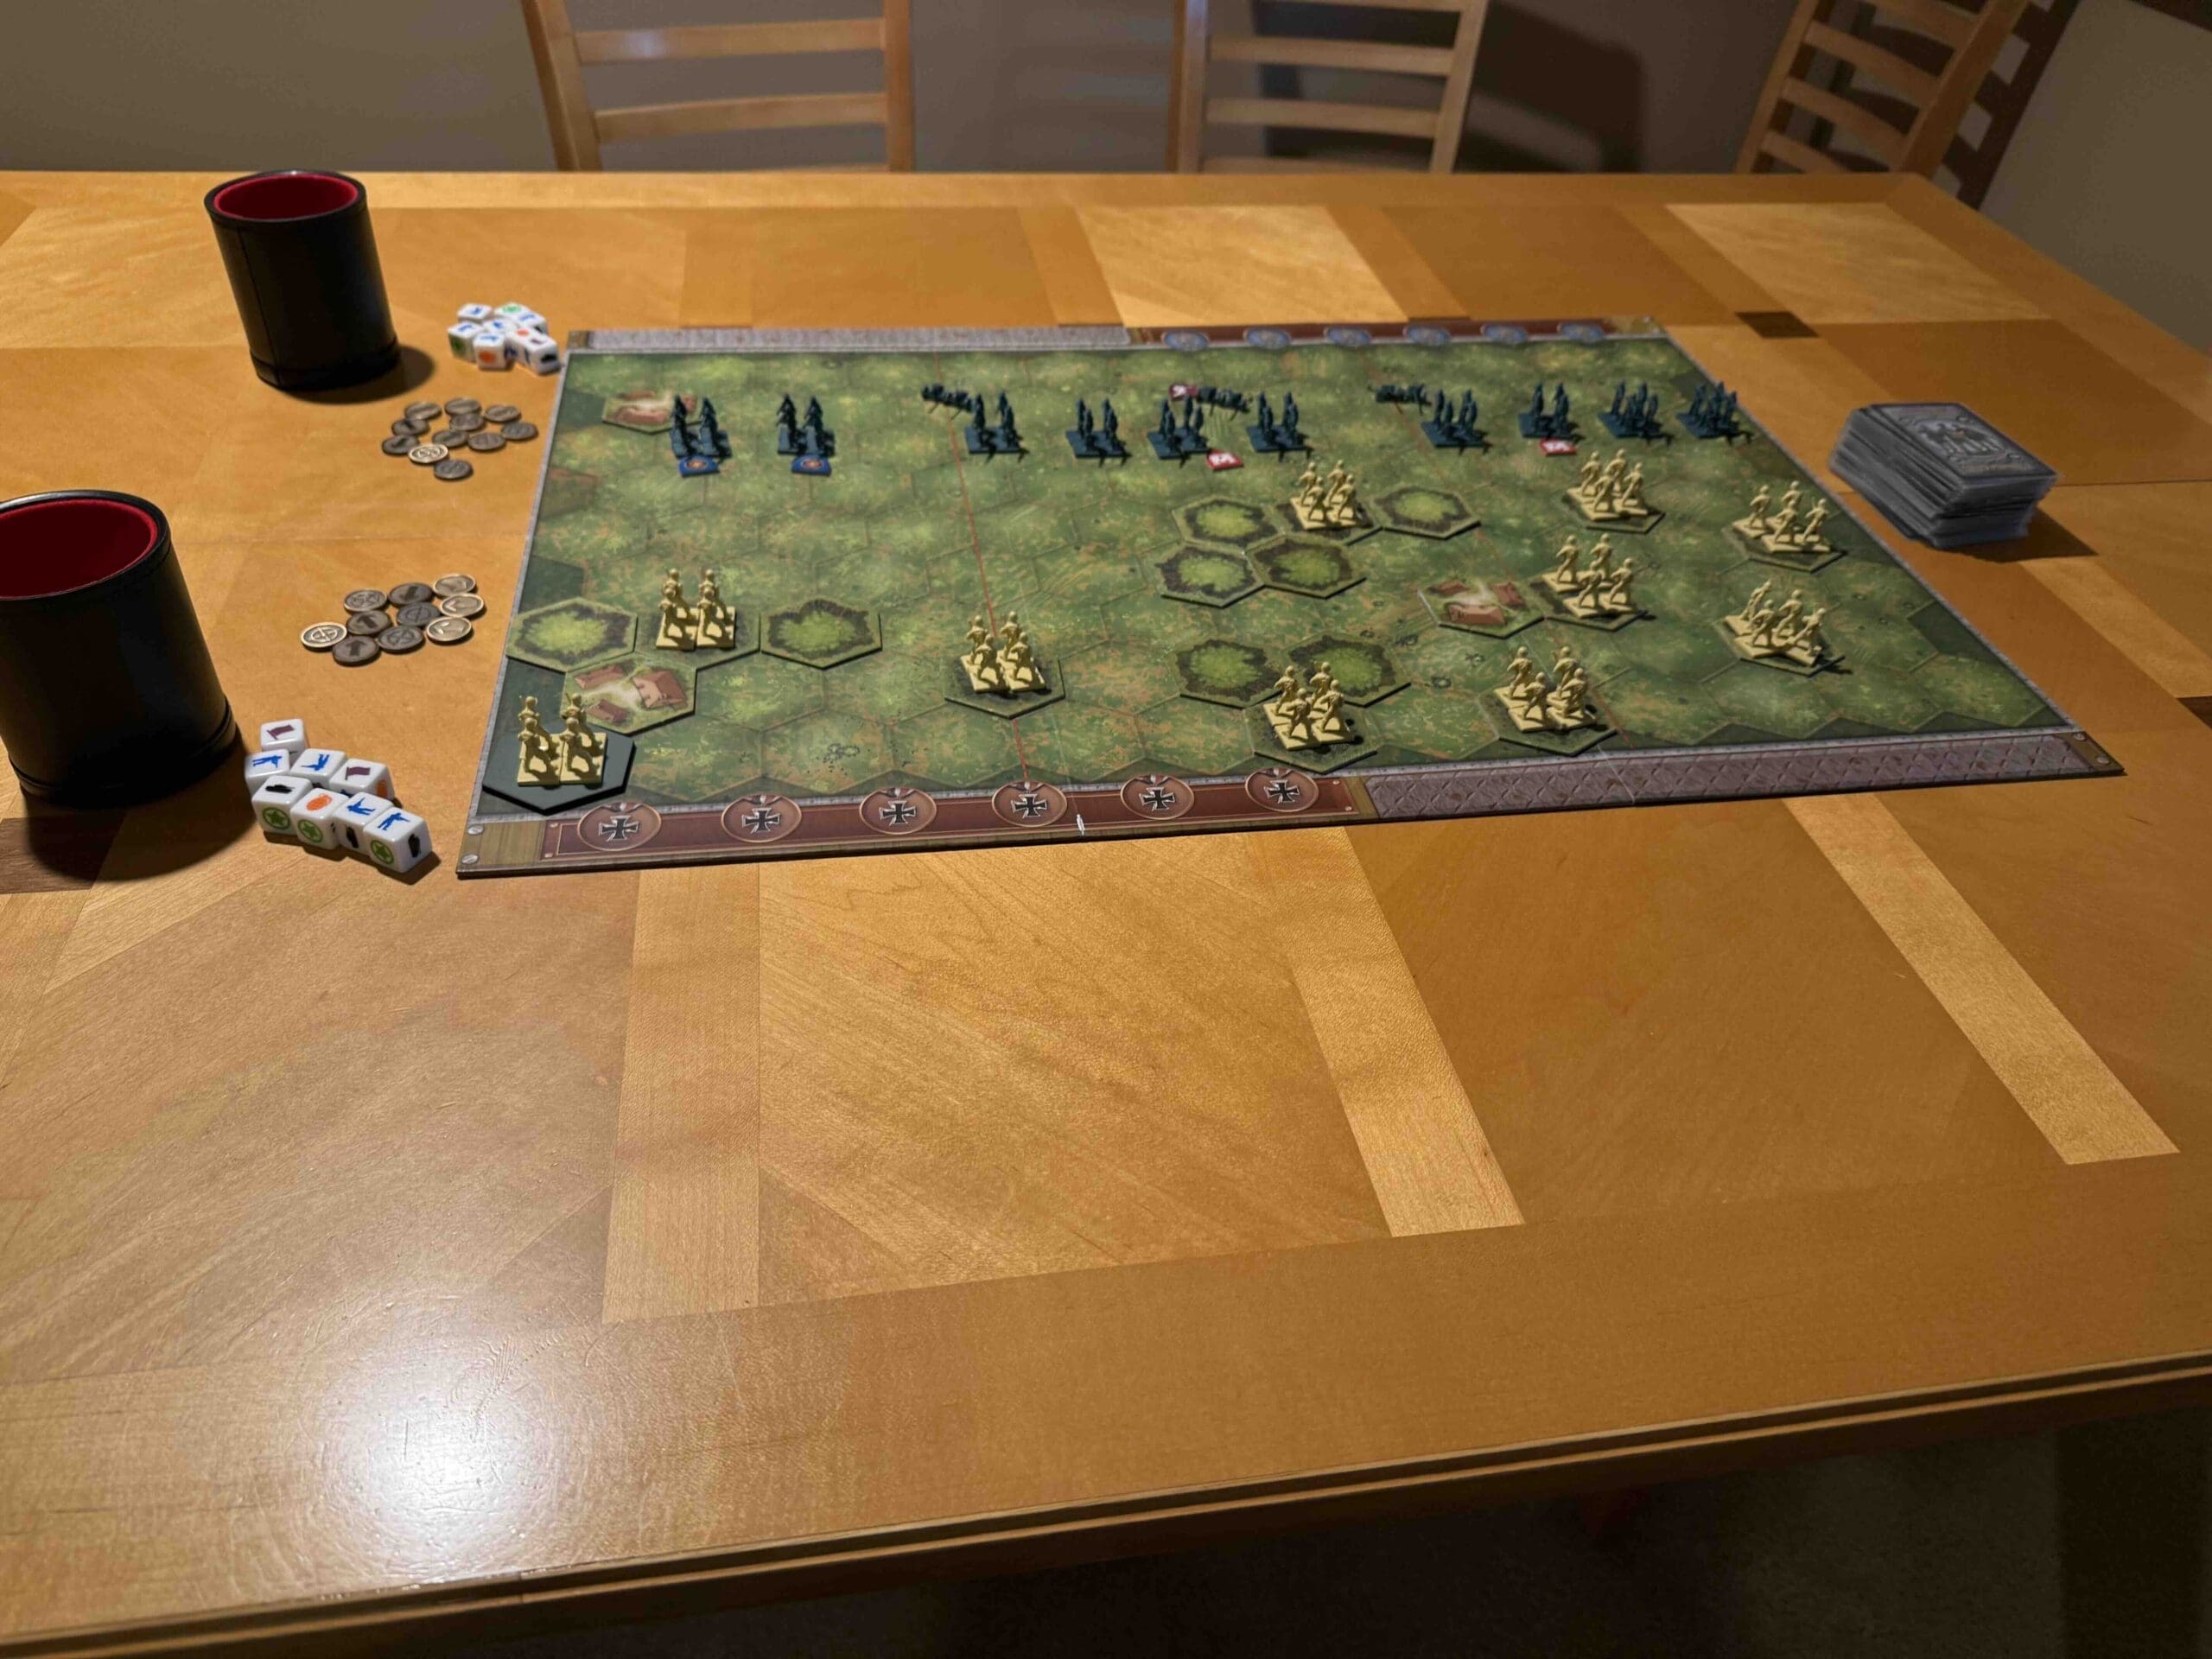
This scenario begins with both forces arrayed across the battlefield and ready to engage in immediate warfare. It is a countryside with hills and caves spread across all three sections. The caves allow for rapid movement of Japanese troops.

Troops:

Allies – 10 Infantry, 2 Armor, 2 Artillery

(Infantry practices the Gung-Ho! rule.)

Axis – 10 Infantry, 2 Artillery

(Japanese Infantry practices the Seishin Kyoiku Doctrine (SKD), and the Yamato Damashi Concept, and the Banzai War Cry.)

Allied Strategy:

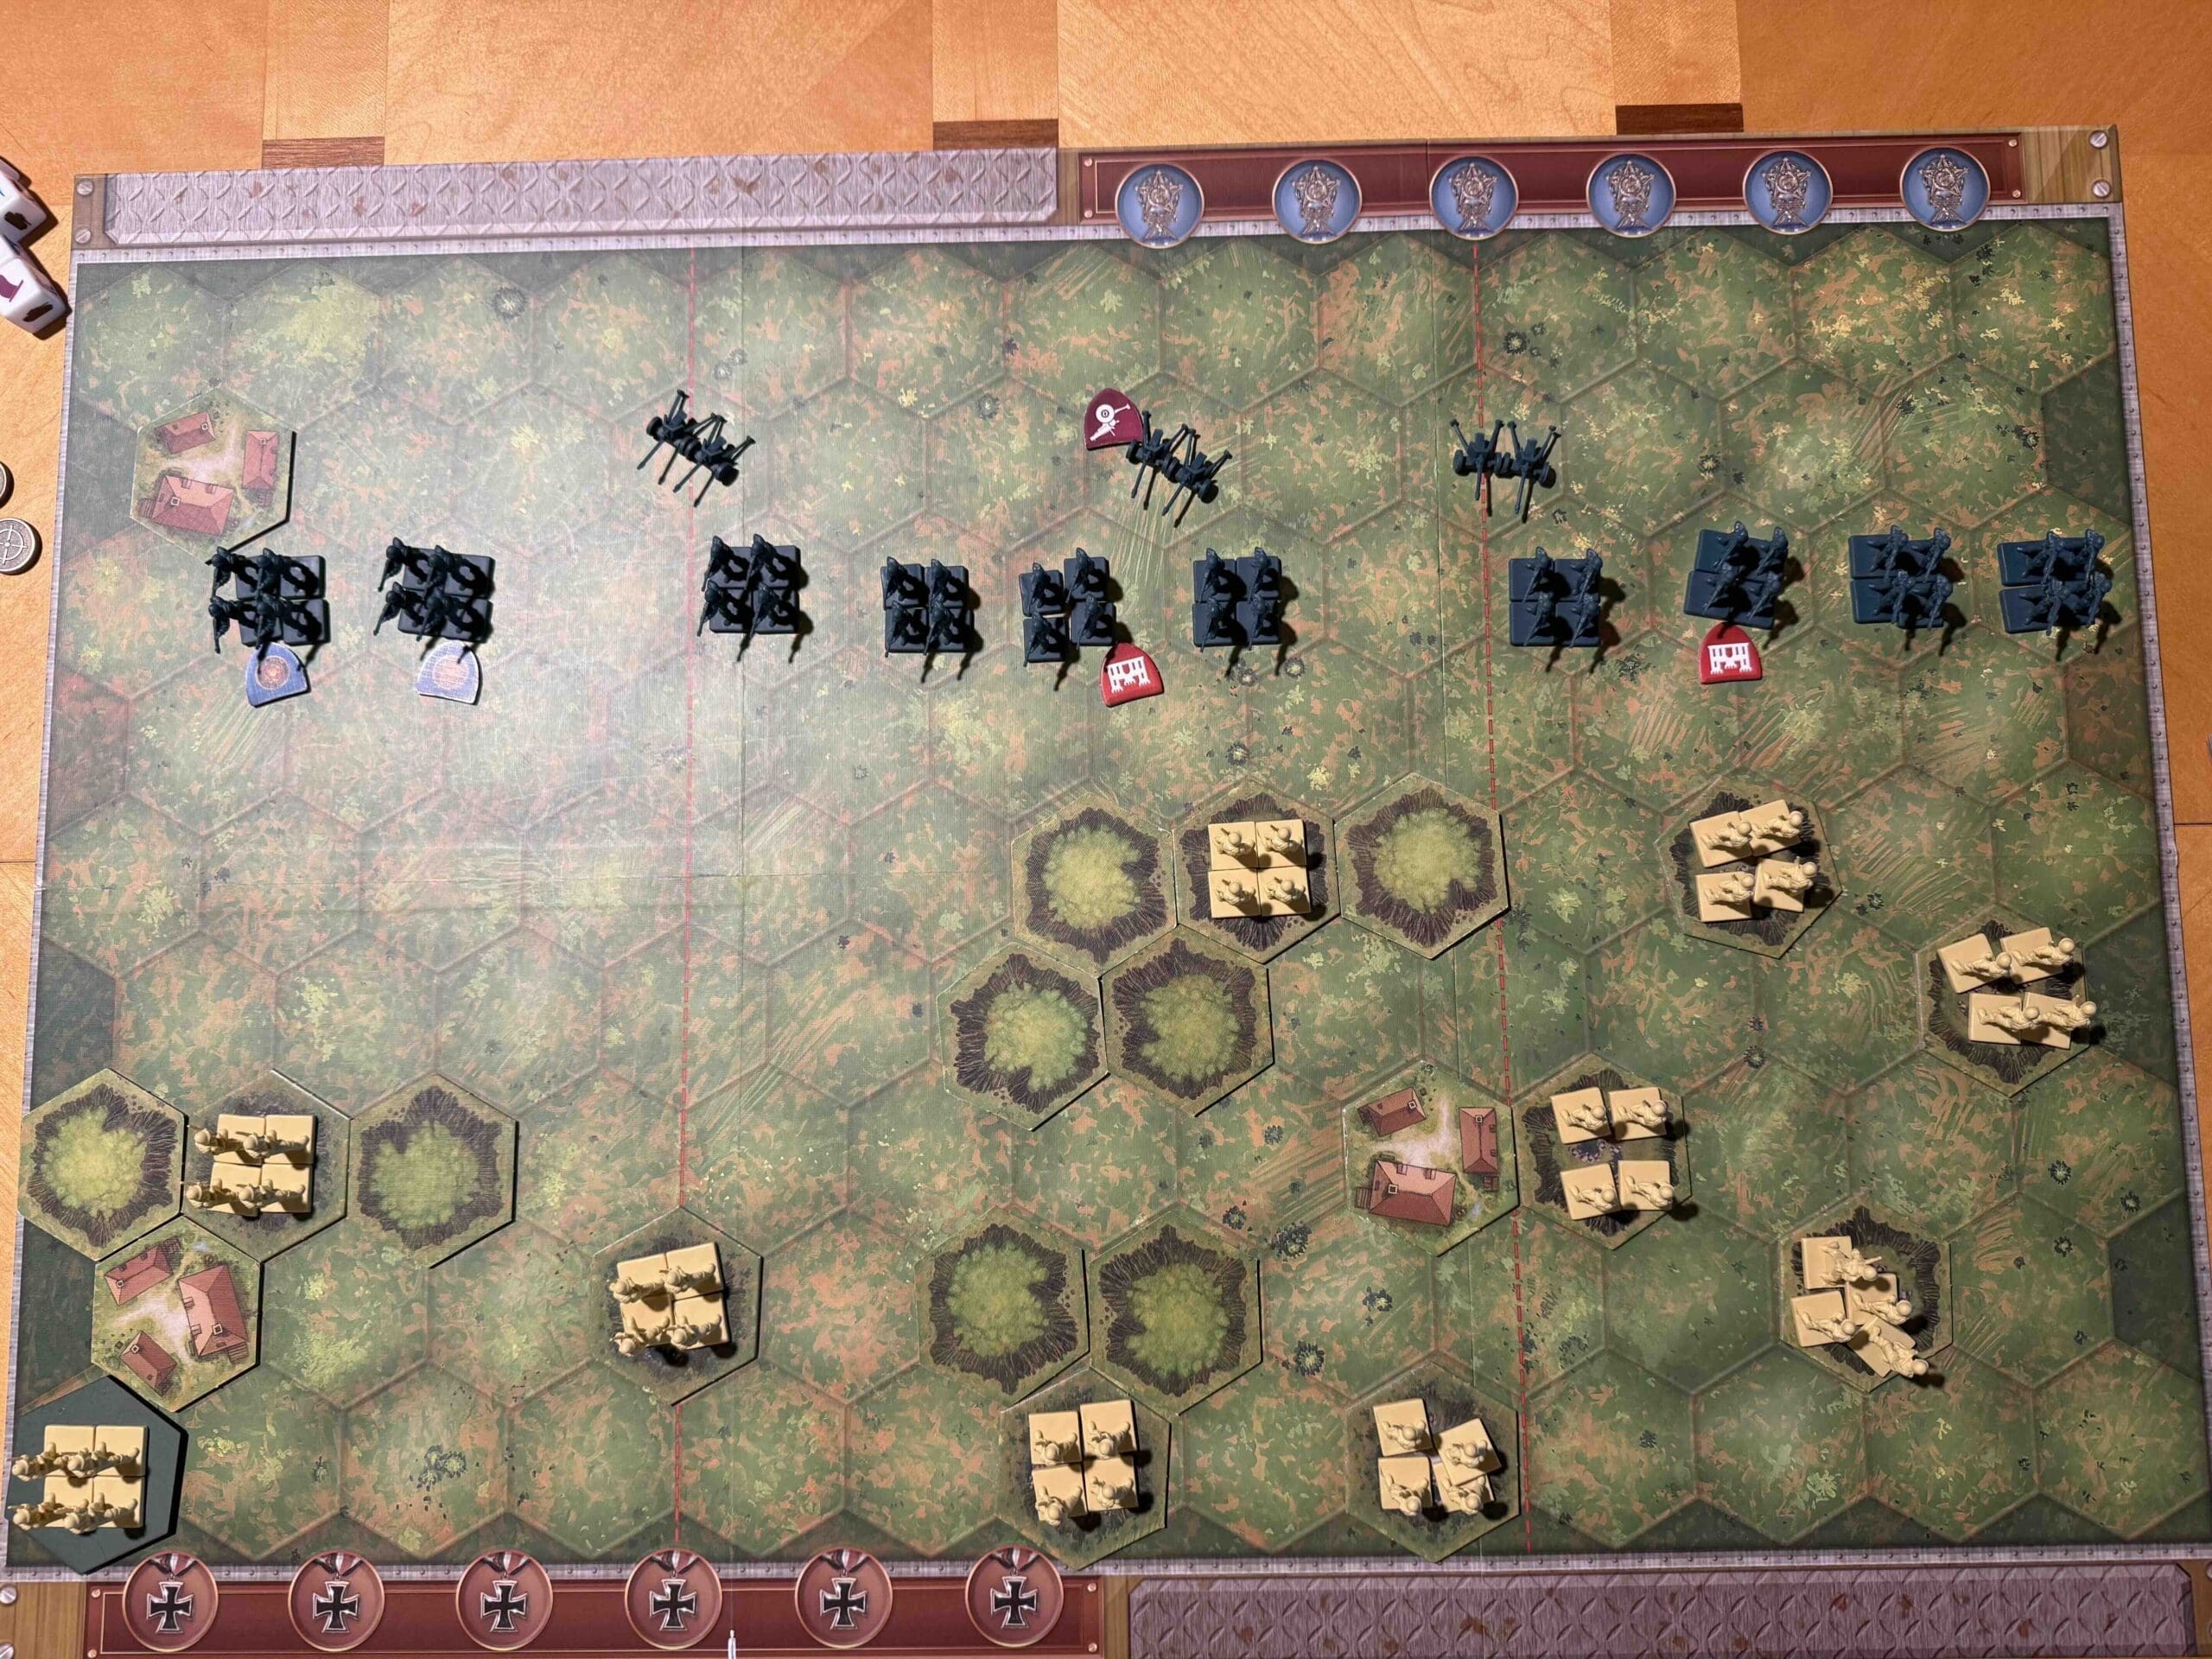
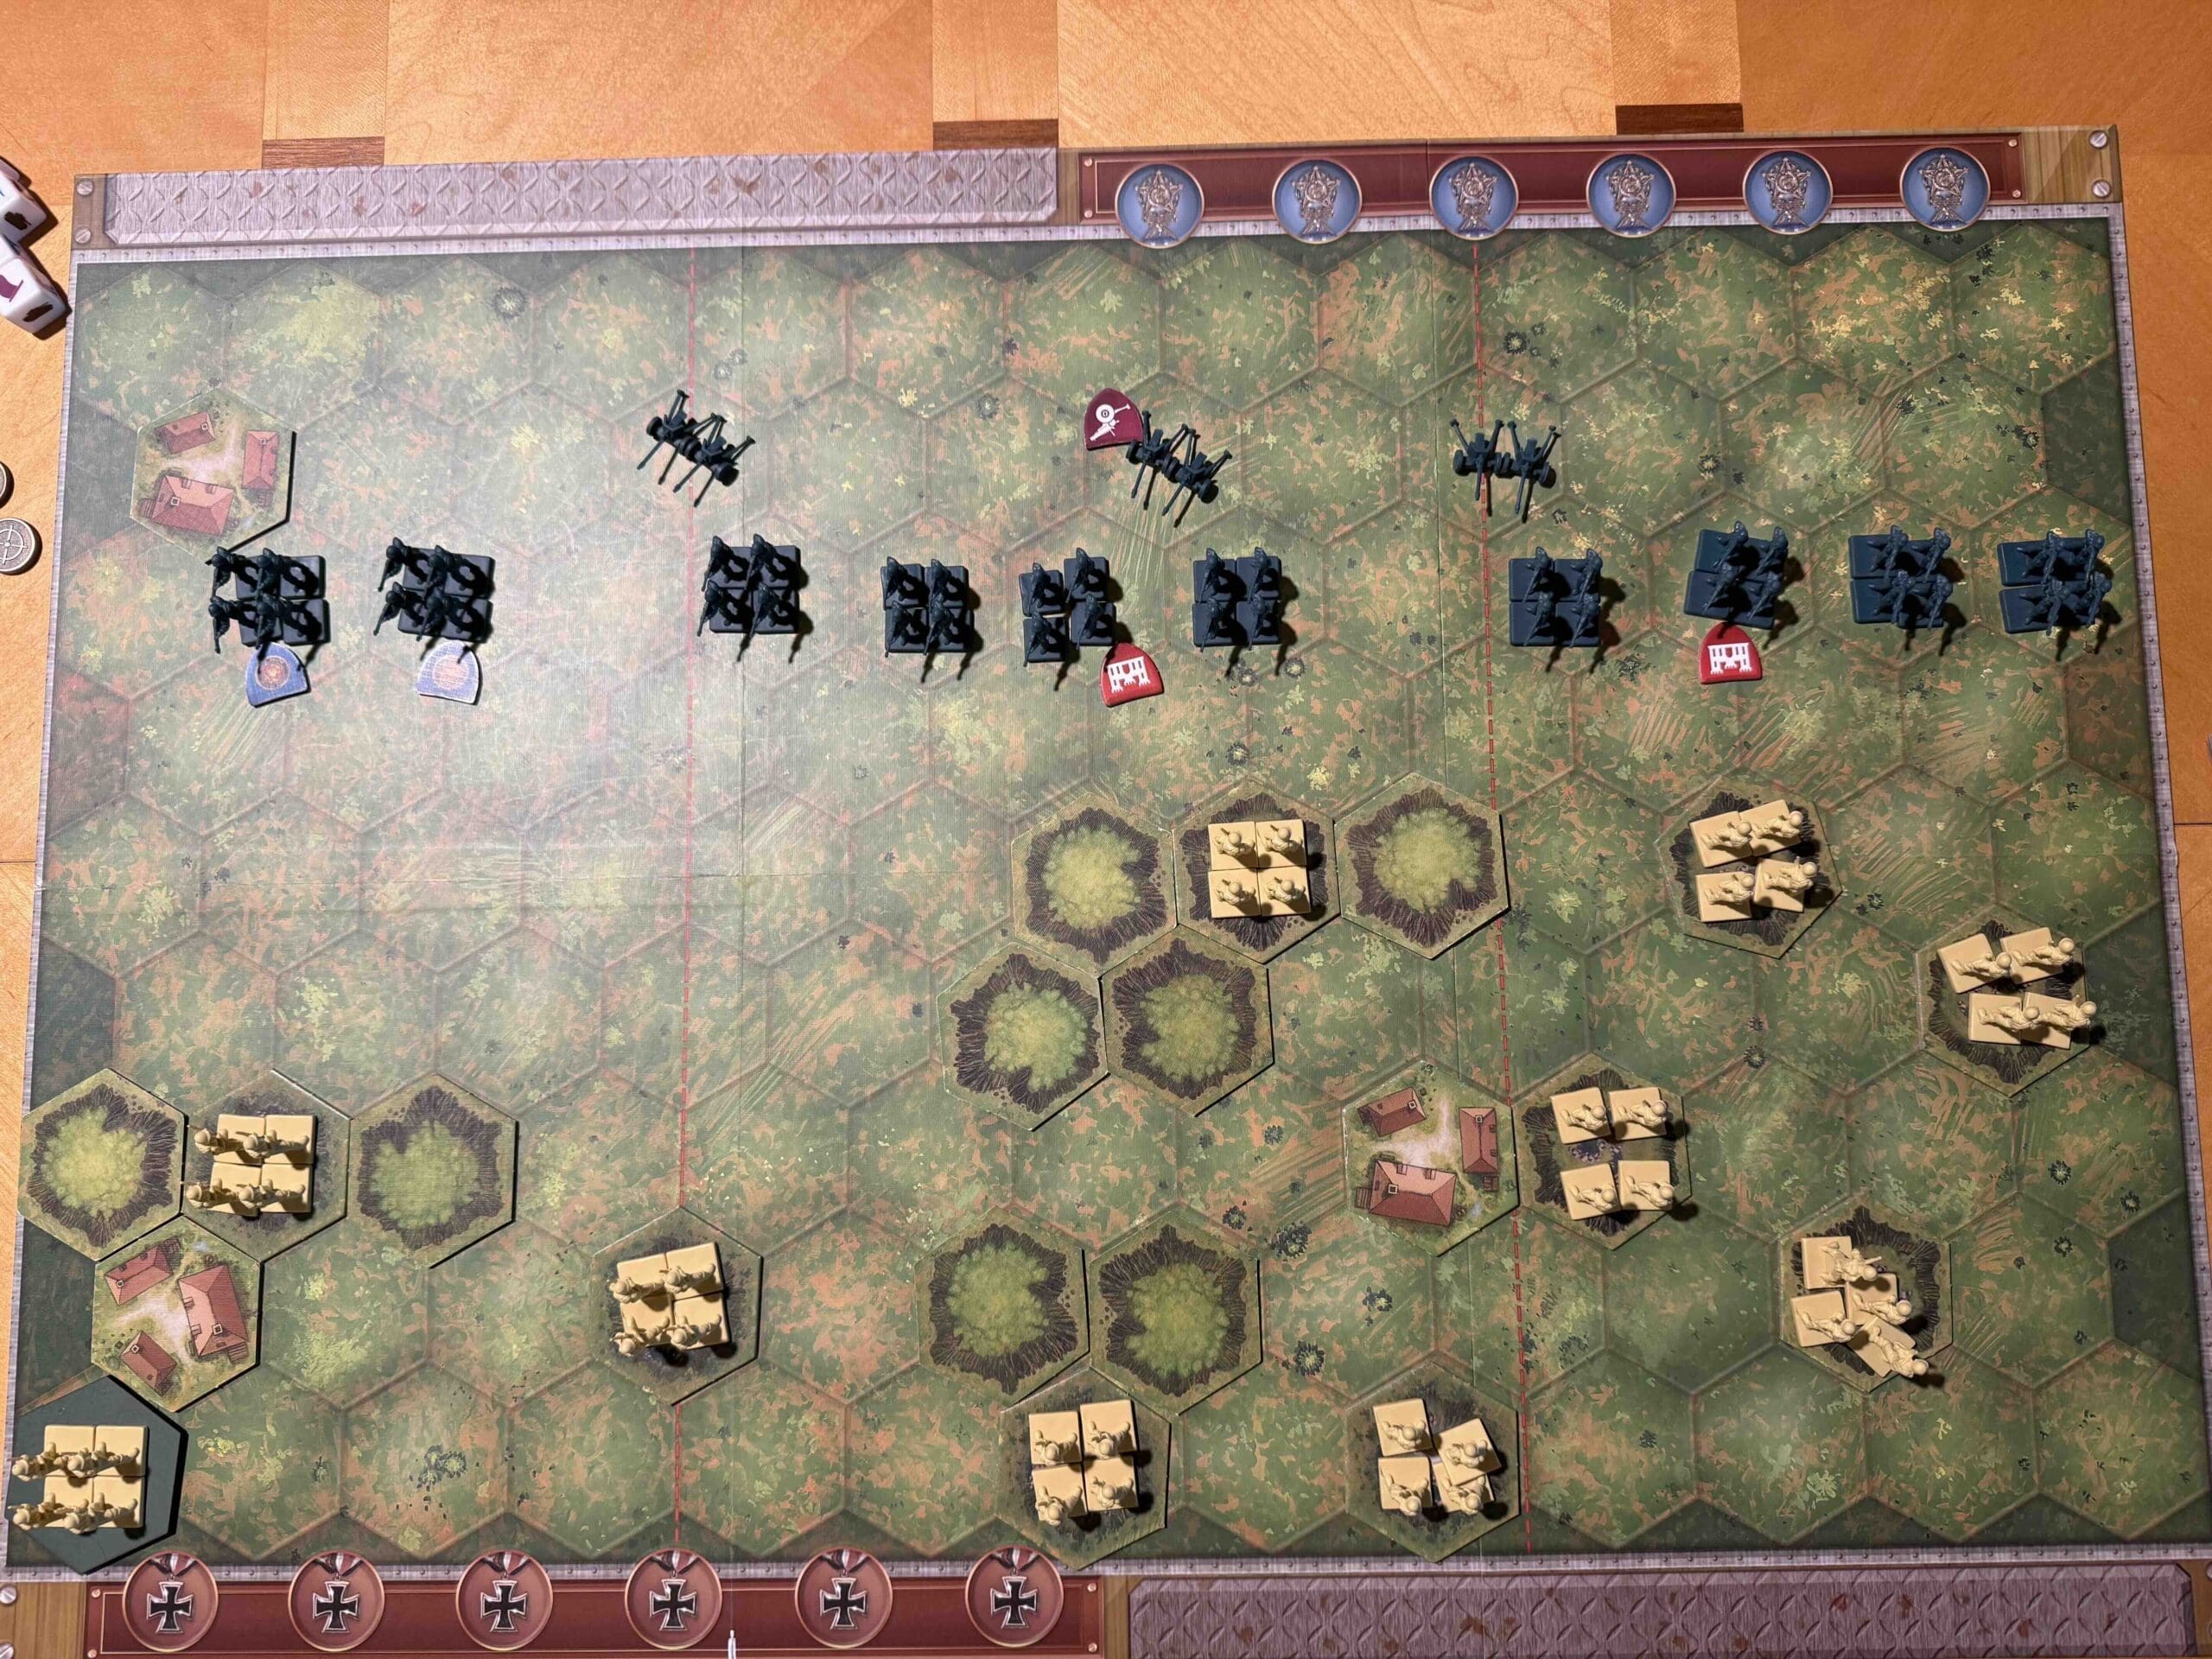
1. The enemy is weak on your right flank. They have no artillery protection on half the flank. With your artillery, you have a slight numeric advantage. If you can work up the cards, you could launch an attack on tht side, and gain half the VP’s you need. Once you overwhelm that section, your remaining forces can combine with your center section troops to finish off the job and gain your final three VP’s.

2.  Use your Artillery to hit every full force Infantry unit at least once in order to cancel out the SKD advantage they have.

3.  Note that one of your artillery is mobile, so you can move in and fire. But do not move in too close prematurely, or the Japanese forces will overwhelm you with their SKD power.

4.  Strategic consideration based on this special rule:
“When all the Japanese units in a section of the battlefield (right, center or left) are eliminated, the Marines gain one Victory Medal.”  This means that if you can concentrate all of your attacks in one section, you will gain not only the medals for eliminating units, but also one extra Victory Medal for clearing out the section. Your most likely focus for this is the right section, since there are no enemy Artillery to eliminate.

Axis Strategy:

1.  Use the Banzai War Cry combined with the Seishin Kyoiku Doctrine to quickly advance your full-power Infantry units to attack any enemy who are within striking range. With the additional dice roll that SKD provides, you can quickly weaken the enemy.

2. Remember to use the tunnel system to quickly move infantry from hill to hill to get your forces into the action.

3. Use your artillery at every opportunity on any enemy forces that approach.

4.  Your Infantry are sitting mostly on Cave on a Hill hexes, which give a massive defensive advantage of minus 2 (only one dice attack), for normal attacks.  This allows you to fend off many attacks. And when they get weak, you can do a quick swap out with fresh units using the cave system.  So do not be quick to leave such a defensive position unless you can launch a decisive attack.

Battle Reports

(classic percentage of Allied victories):

68%

31
BR - SugarLoaf
Scales-Allies-Weighted

Author:

Days of Wonder

Link: