Normandy – Bretel Wood
Normandy - Bretel Wood
6 VP’s
![]()
Card Balance:
5 – 5
Complexity:
3
Conditions:
Countryside

Location:
Normandy
Year:
1944
Theater:
Western Front
Context:
Historical
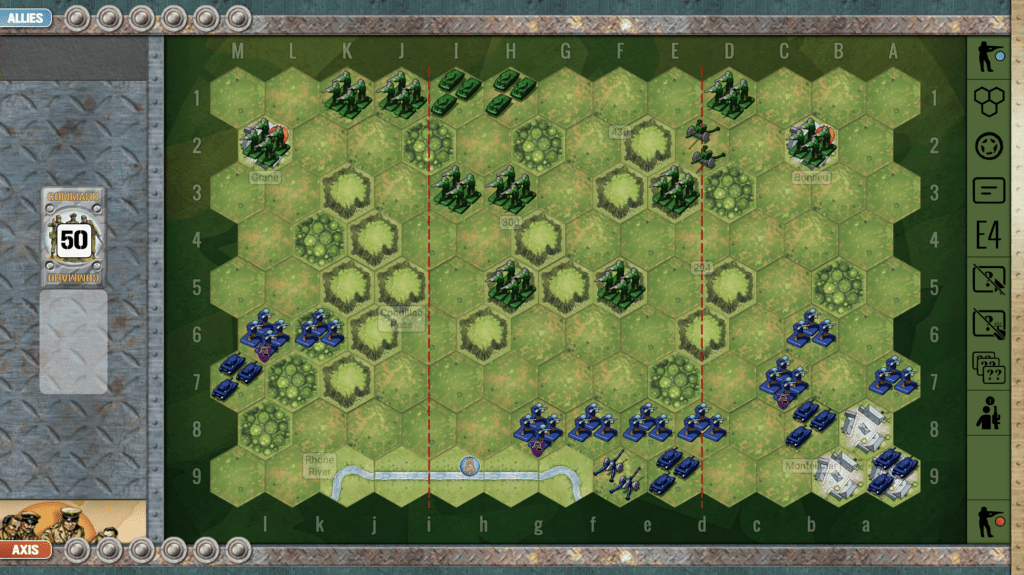
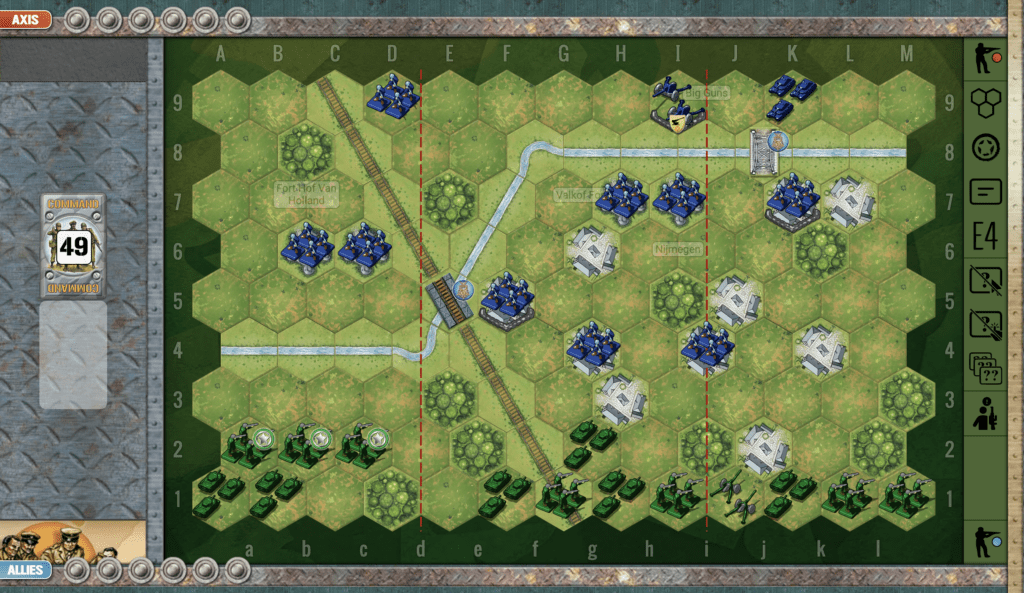
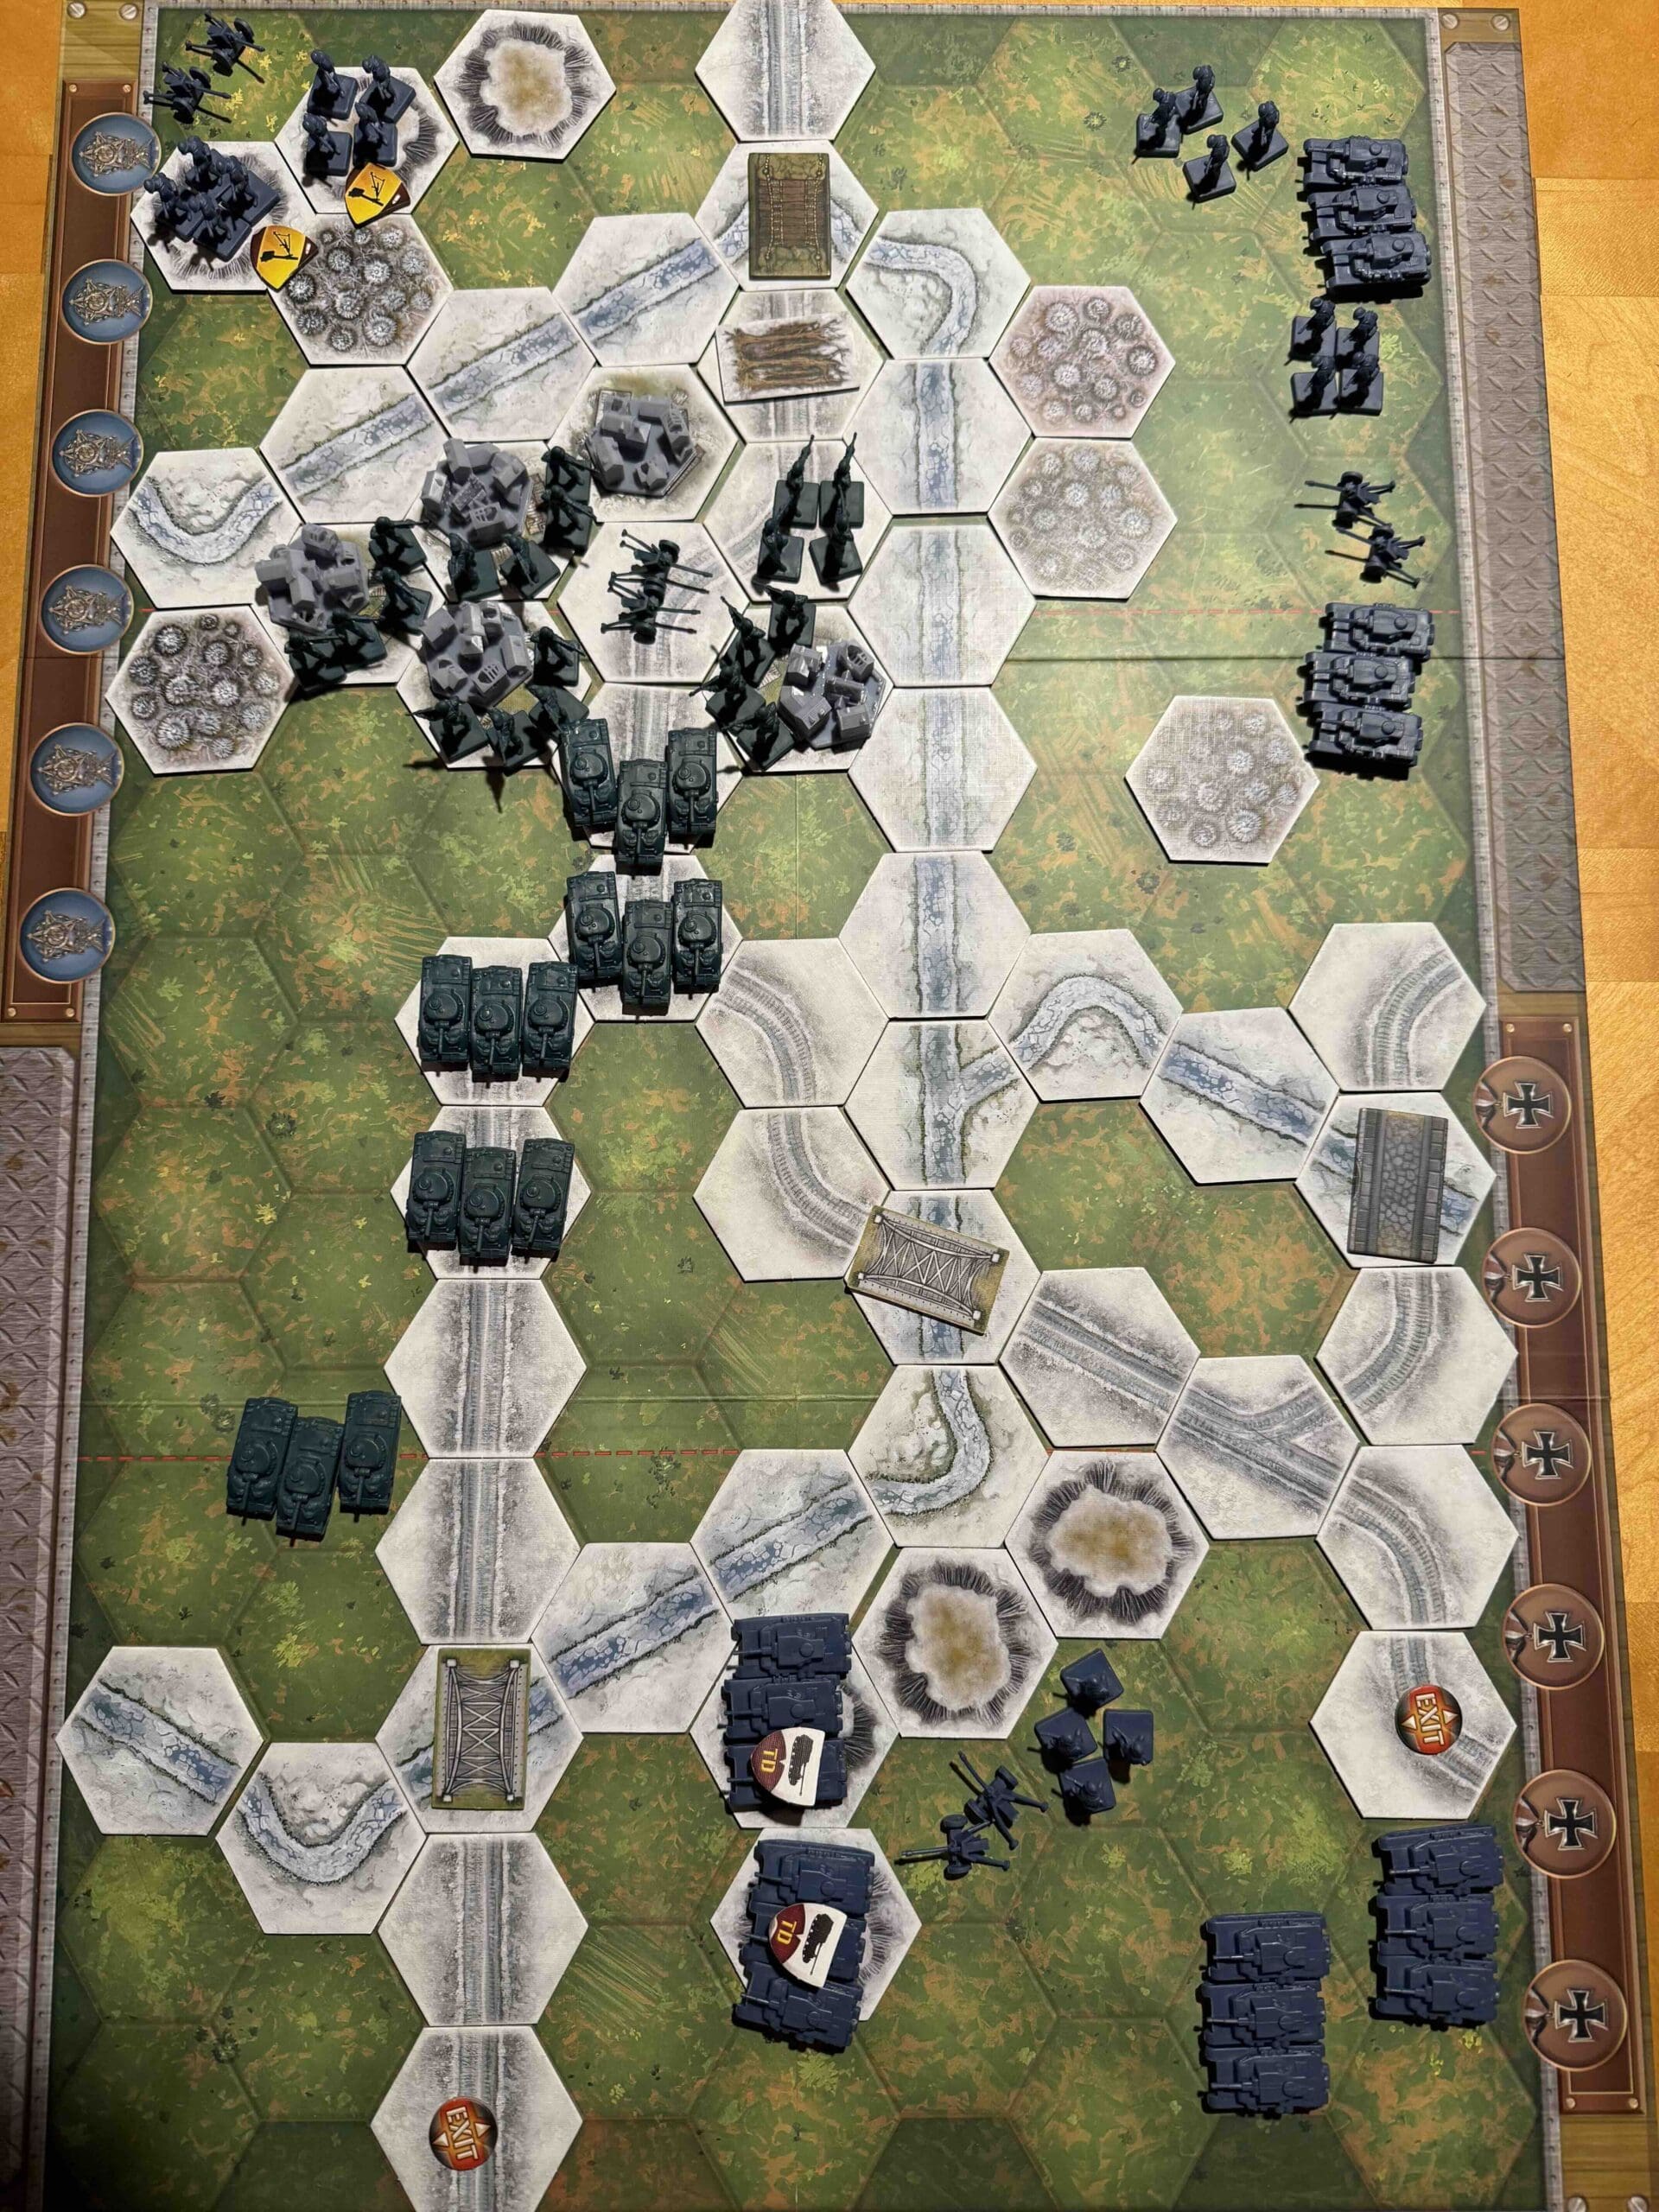
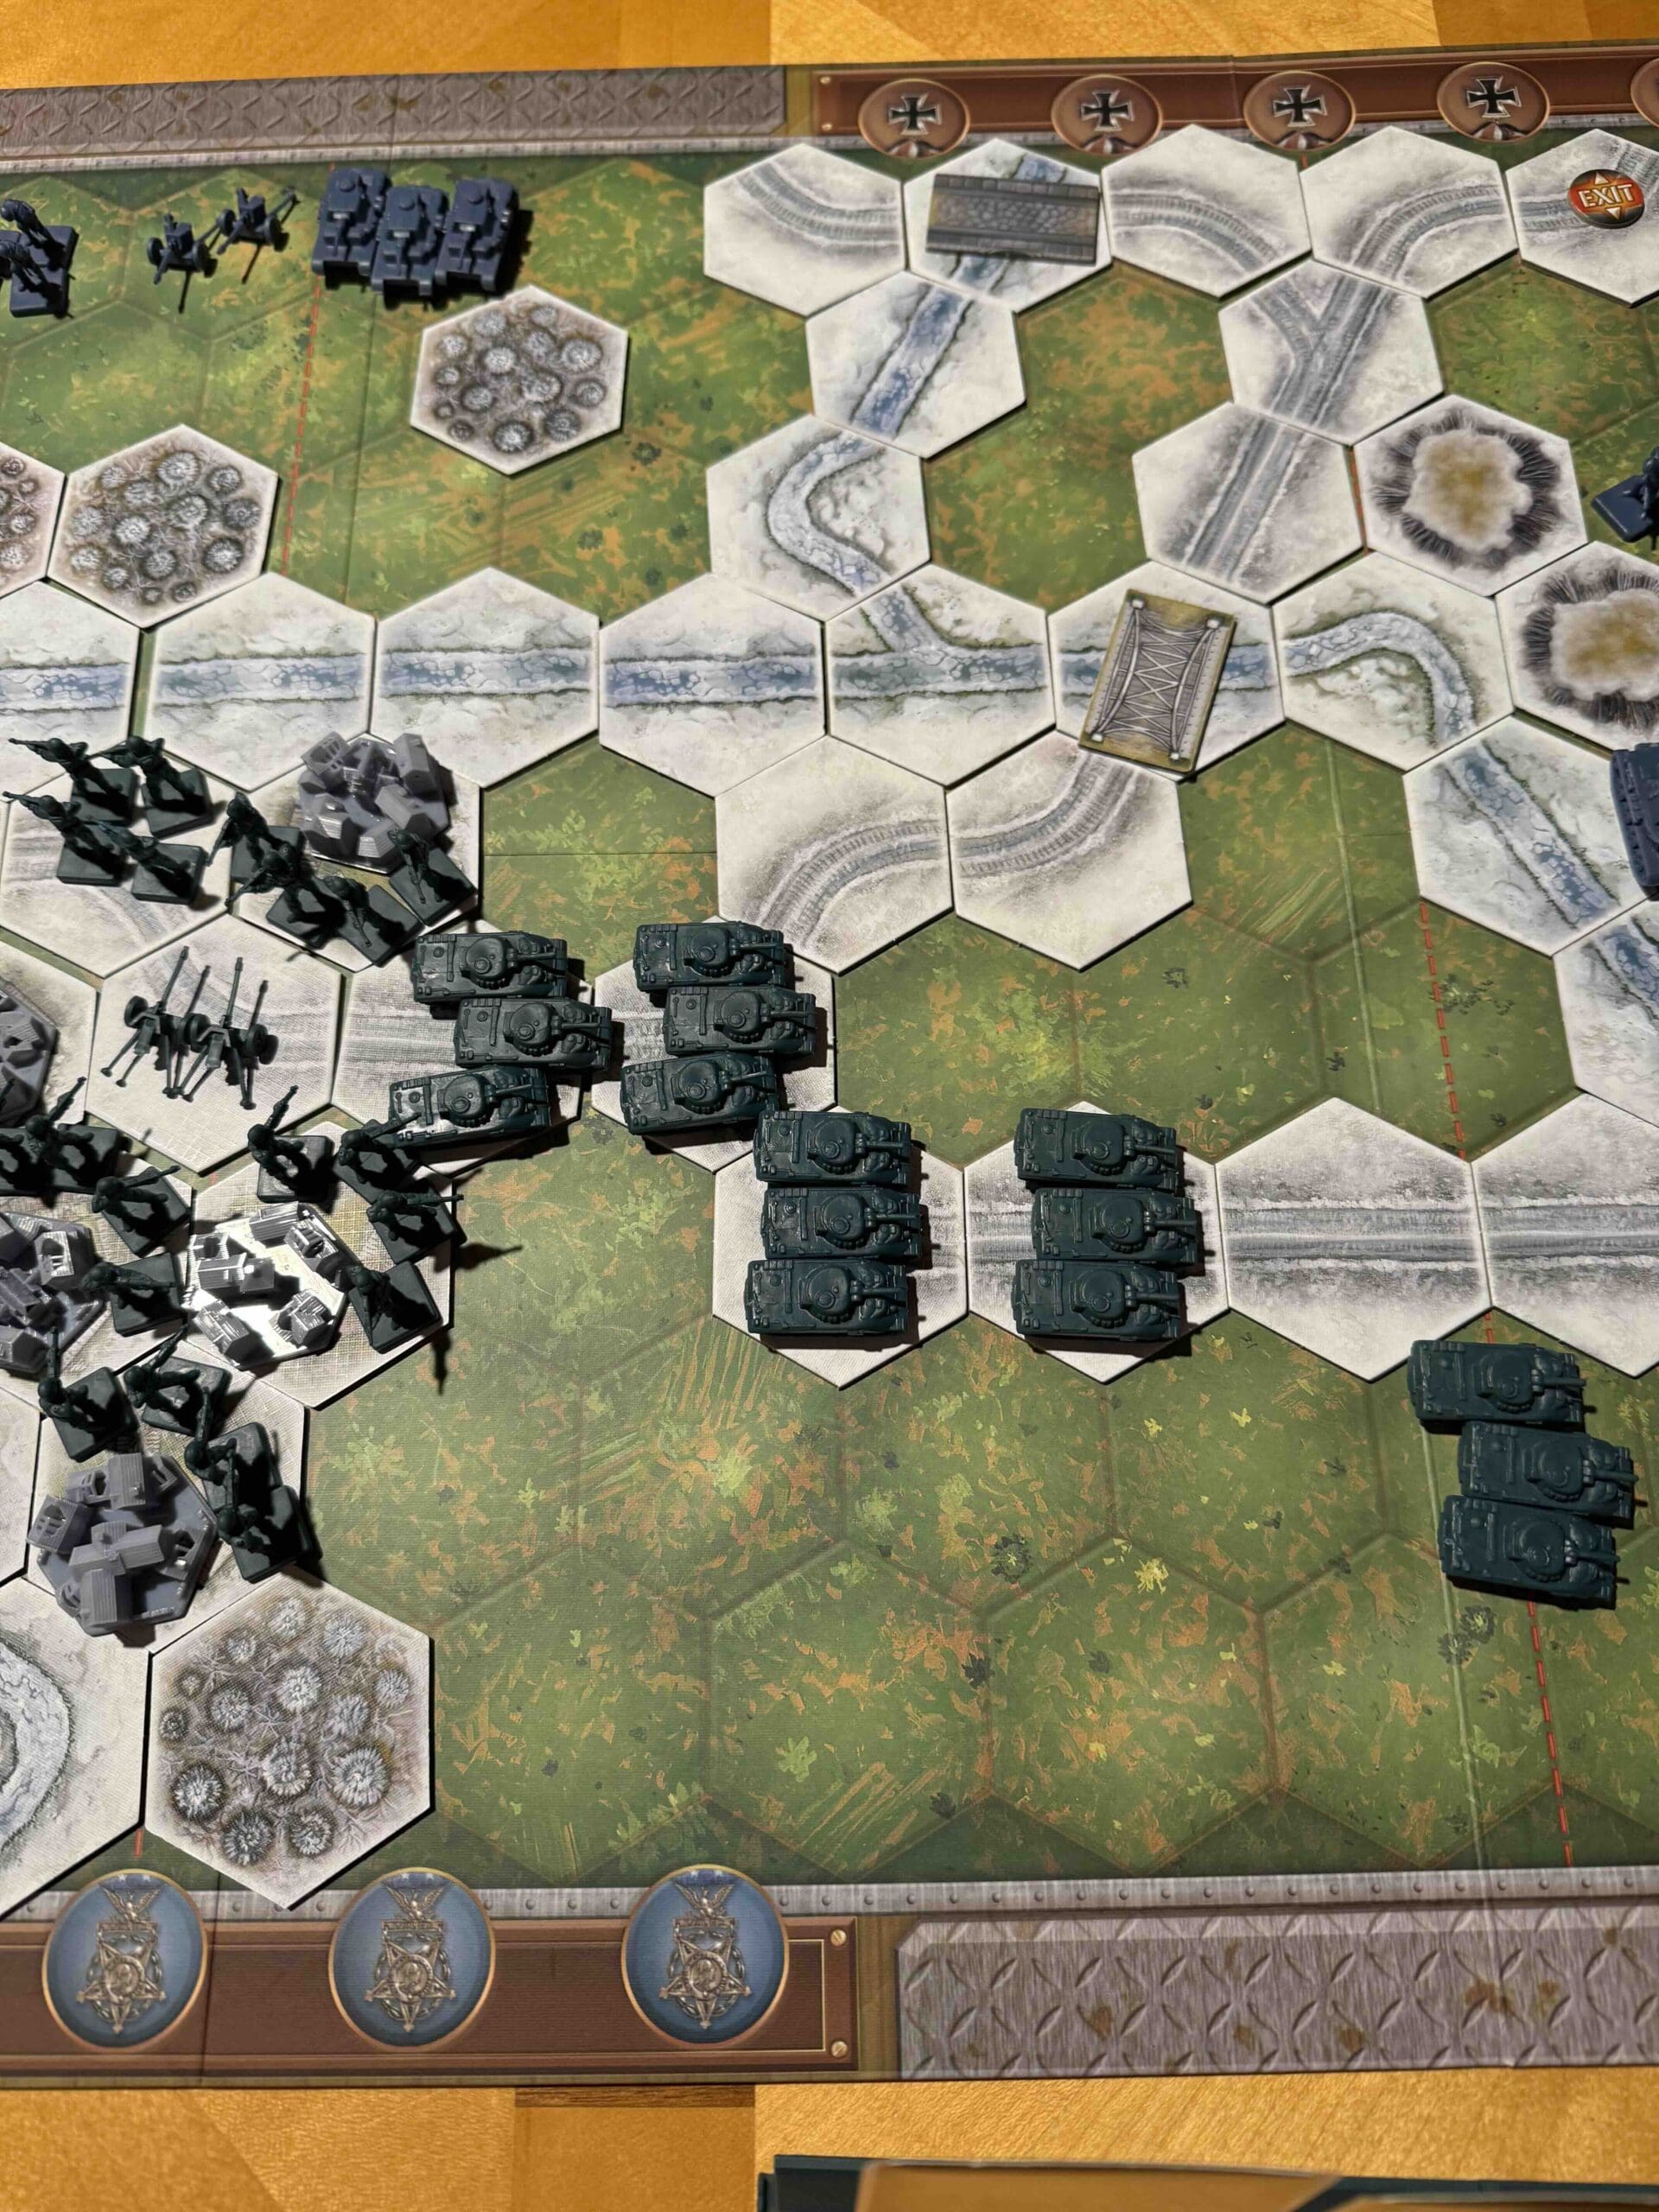
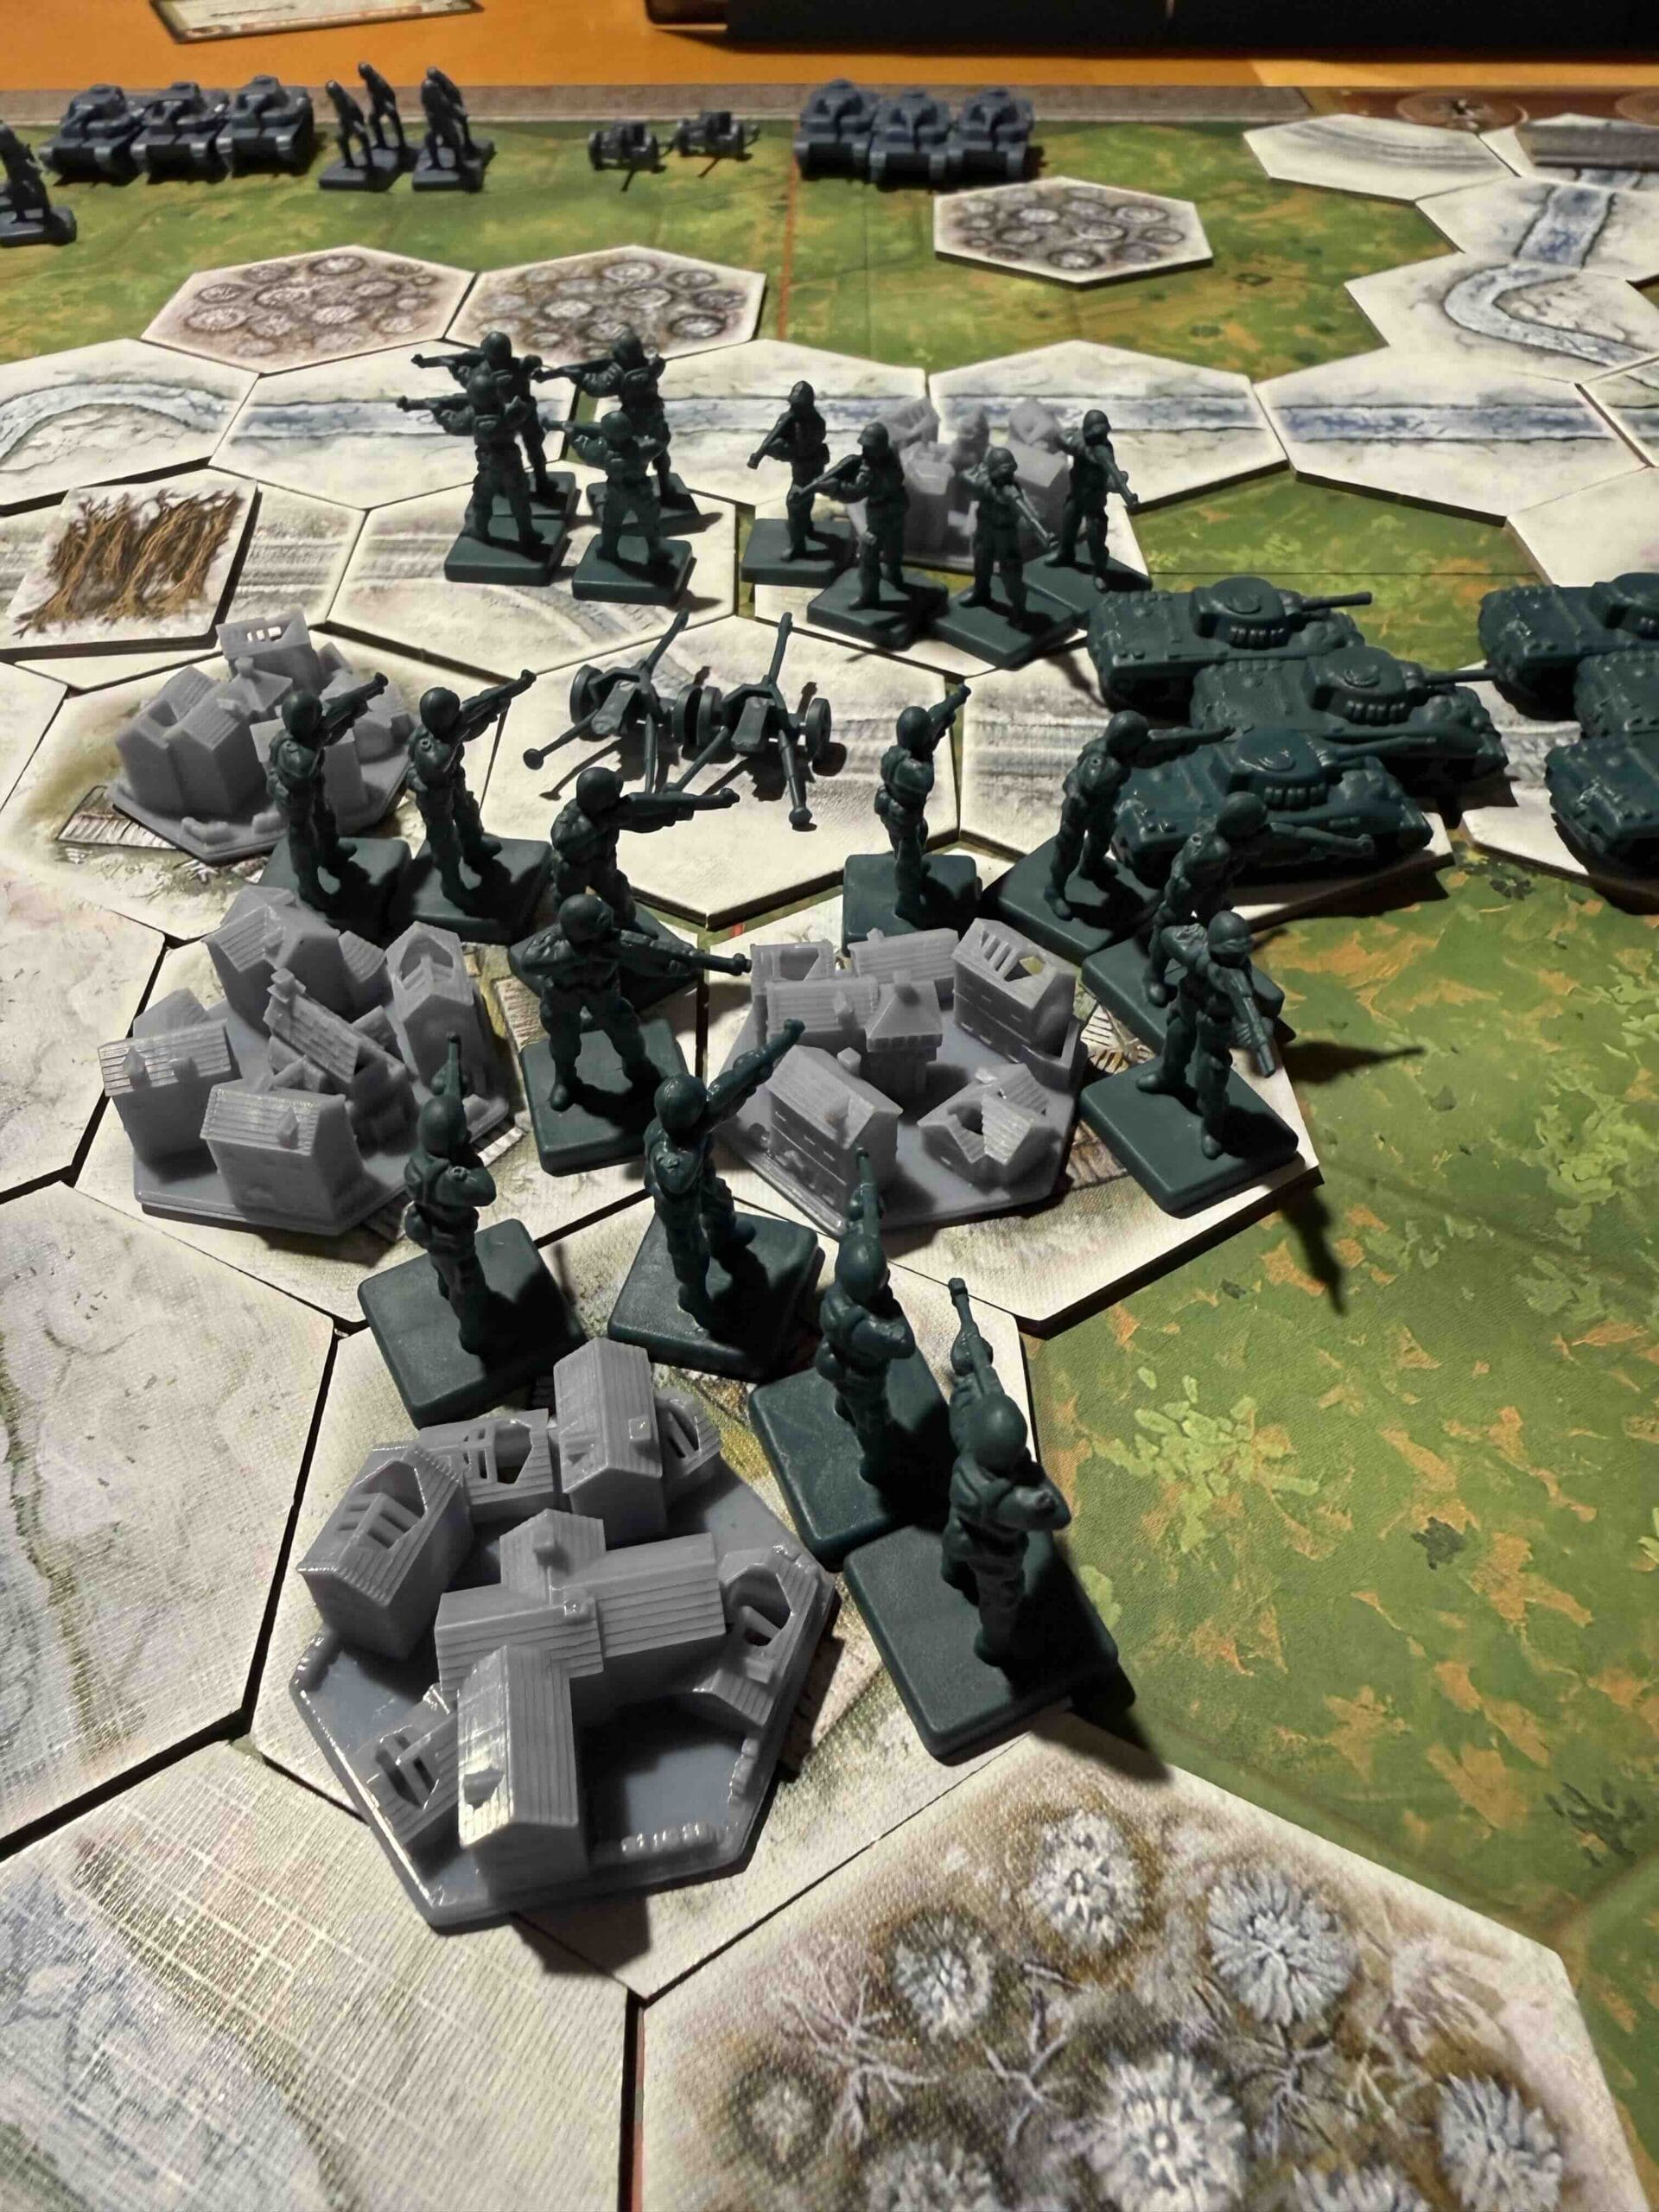
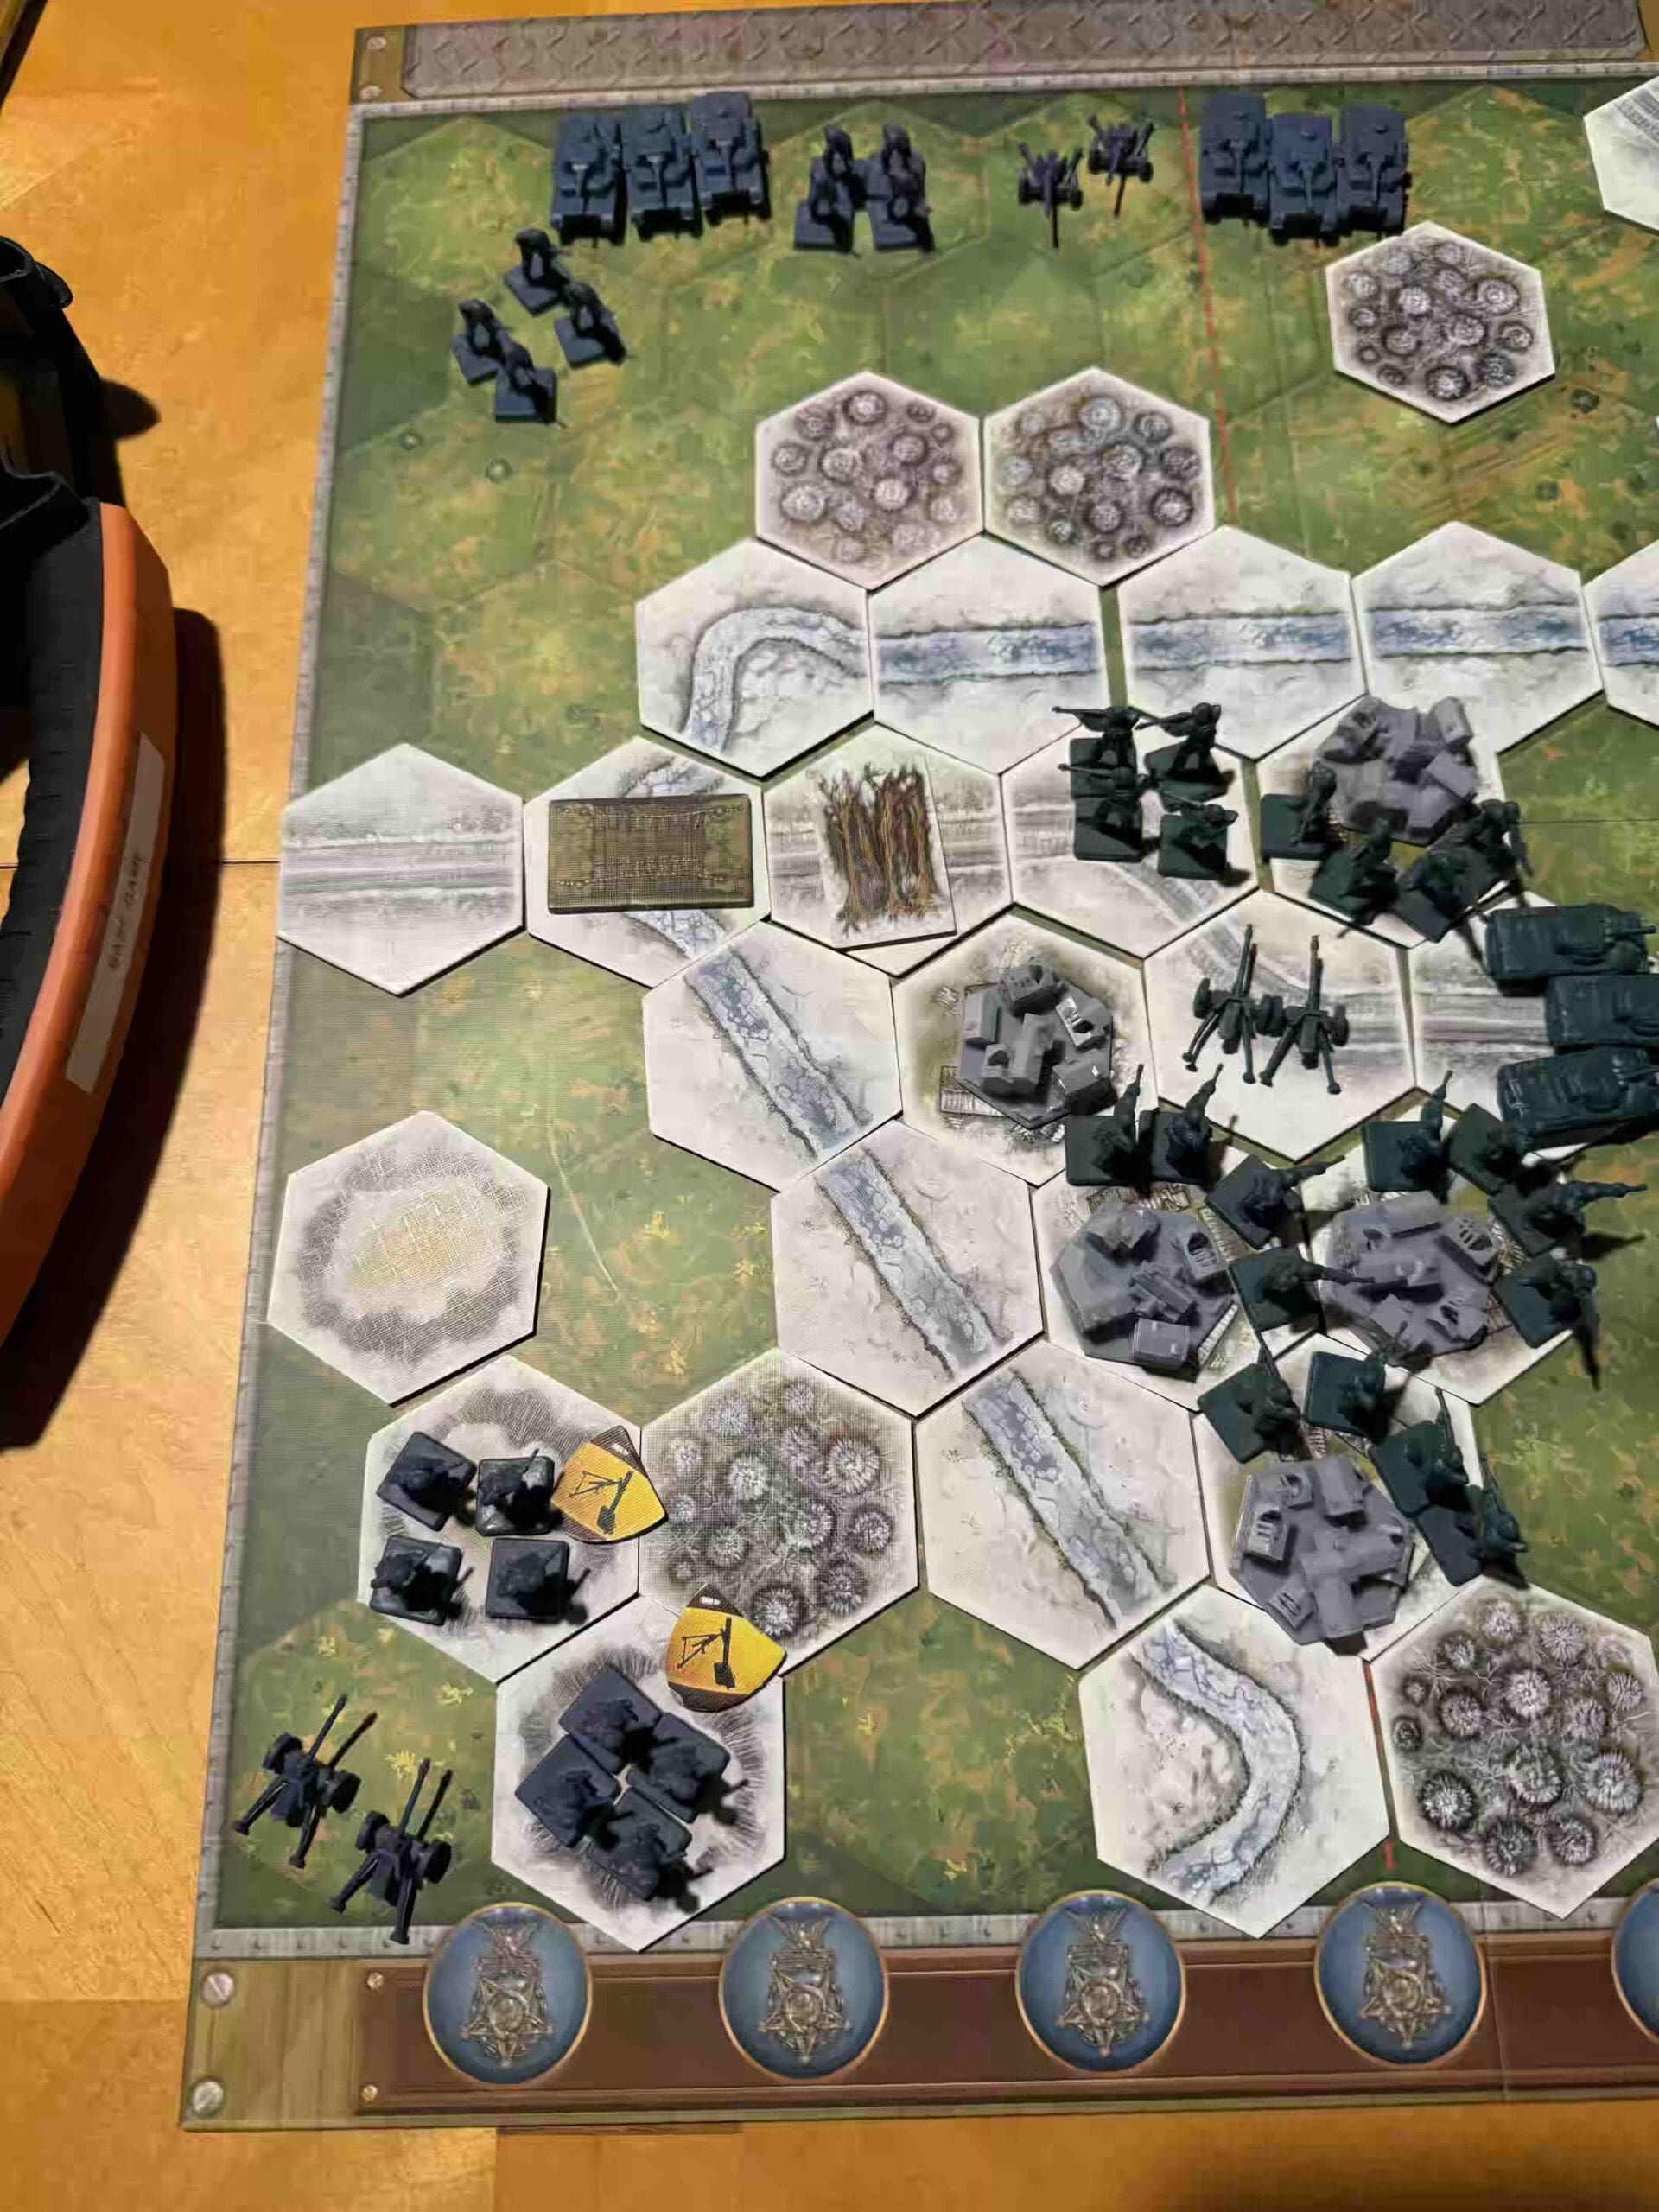
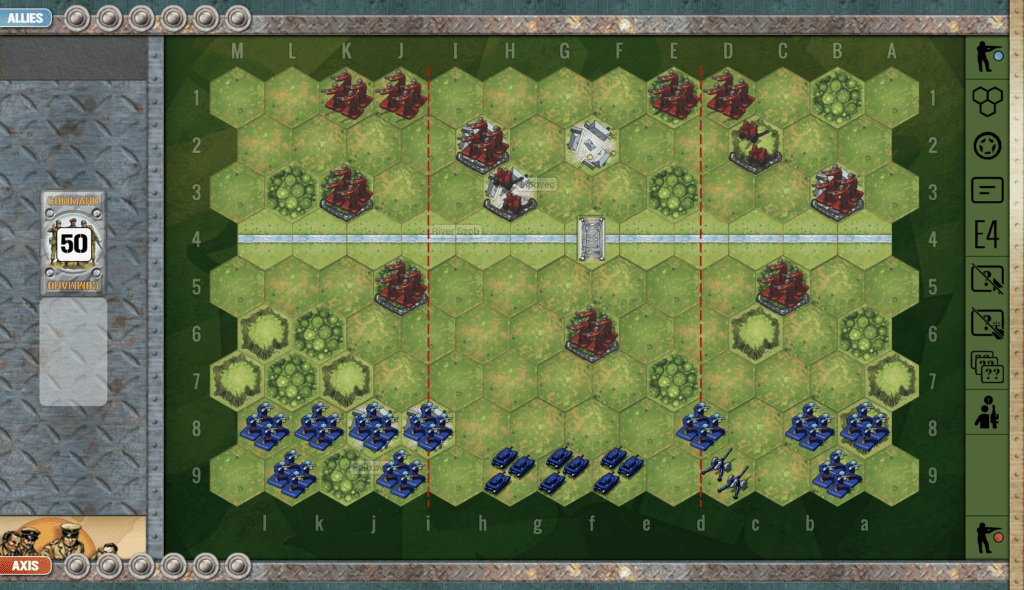
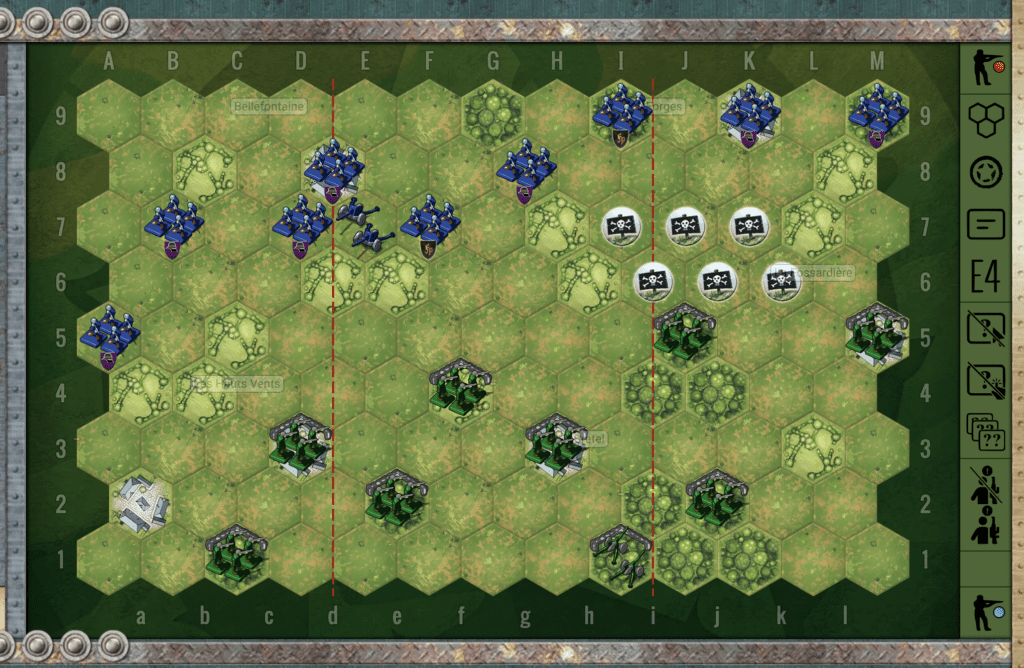
Summary:
This scenario begins in a state of relative chaos with Axis and Allied troops scattered across the battlefield without a clear pattern. The number of hedgerows and minefields also considerably slow down troop movements across the terrain. Brettle Wood is a game of inches. The hedgerows only allow for limited attack at a time so each commander will have to be content (usually) with small gains per turn.
Objectives:
6 Victory Points
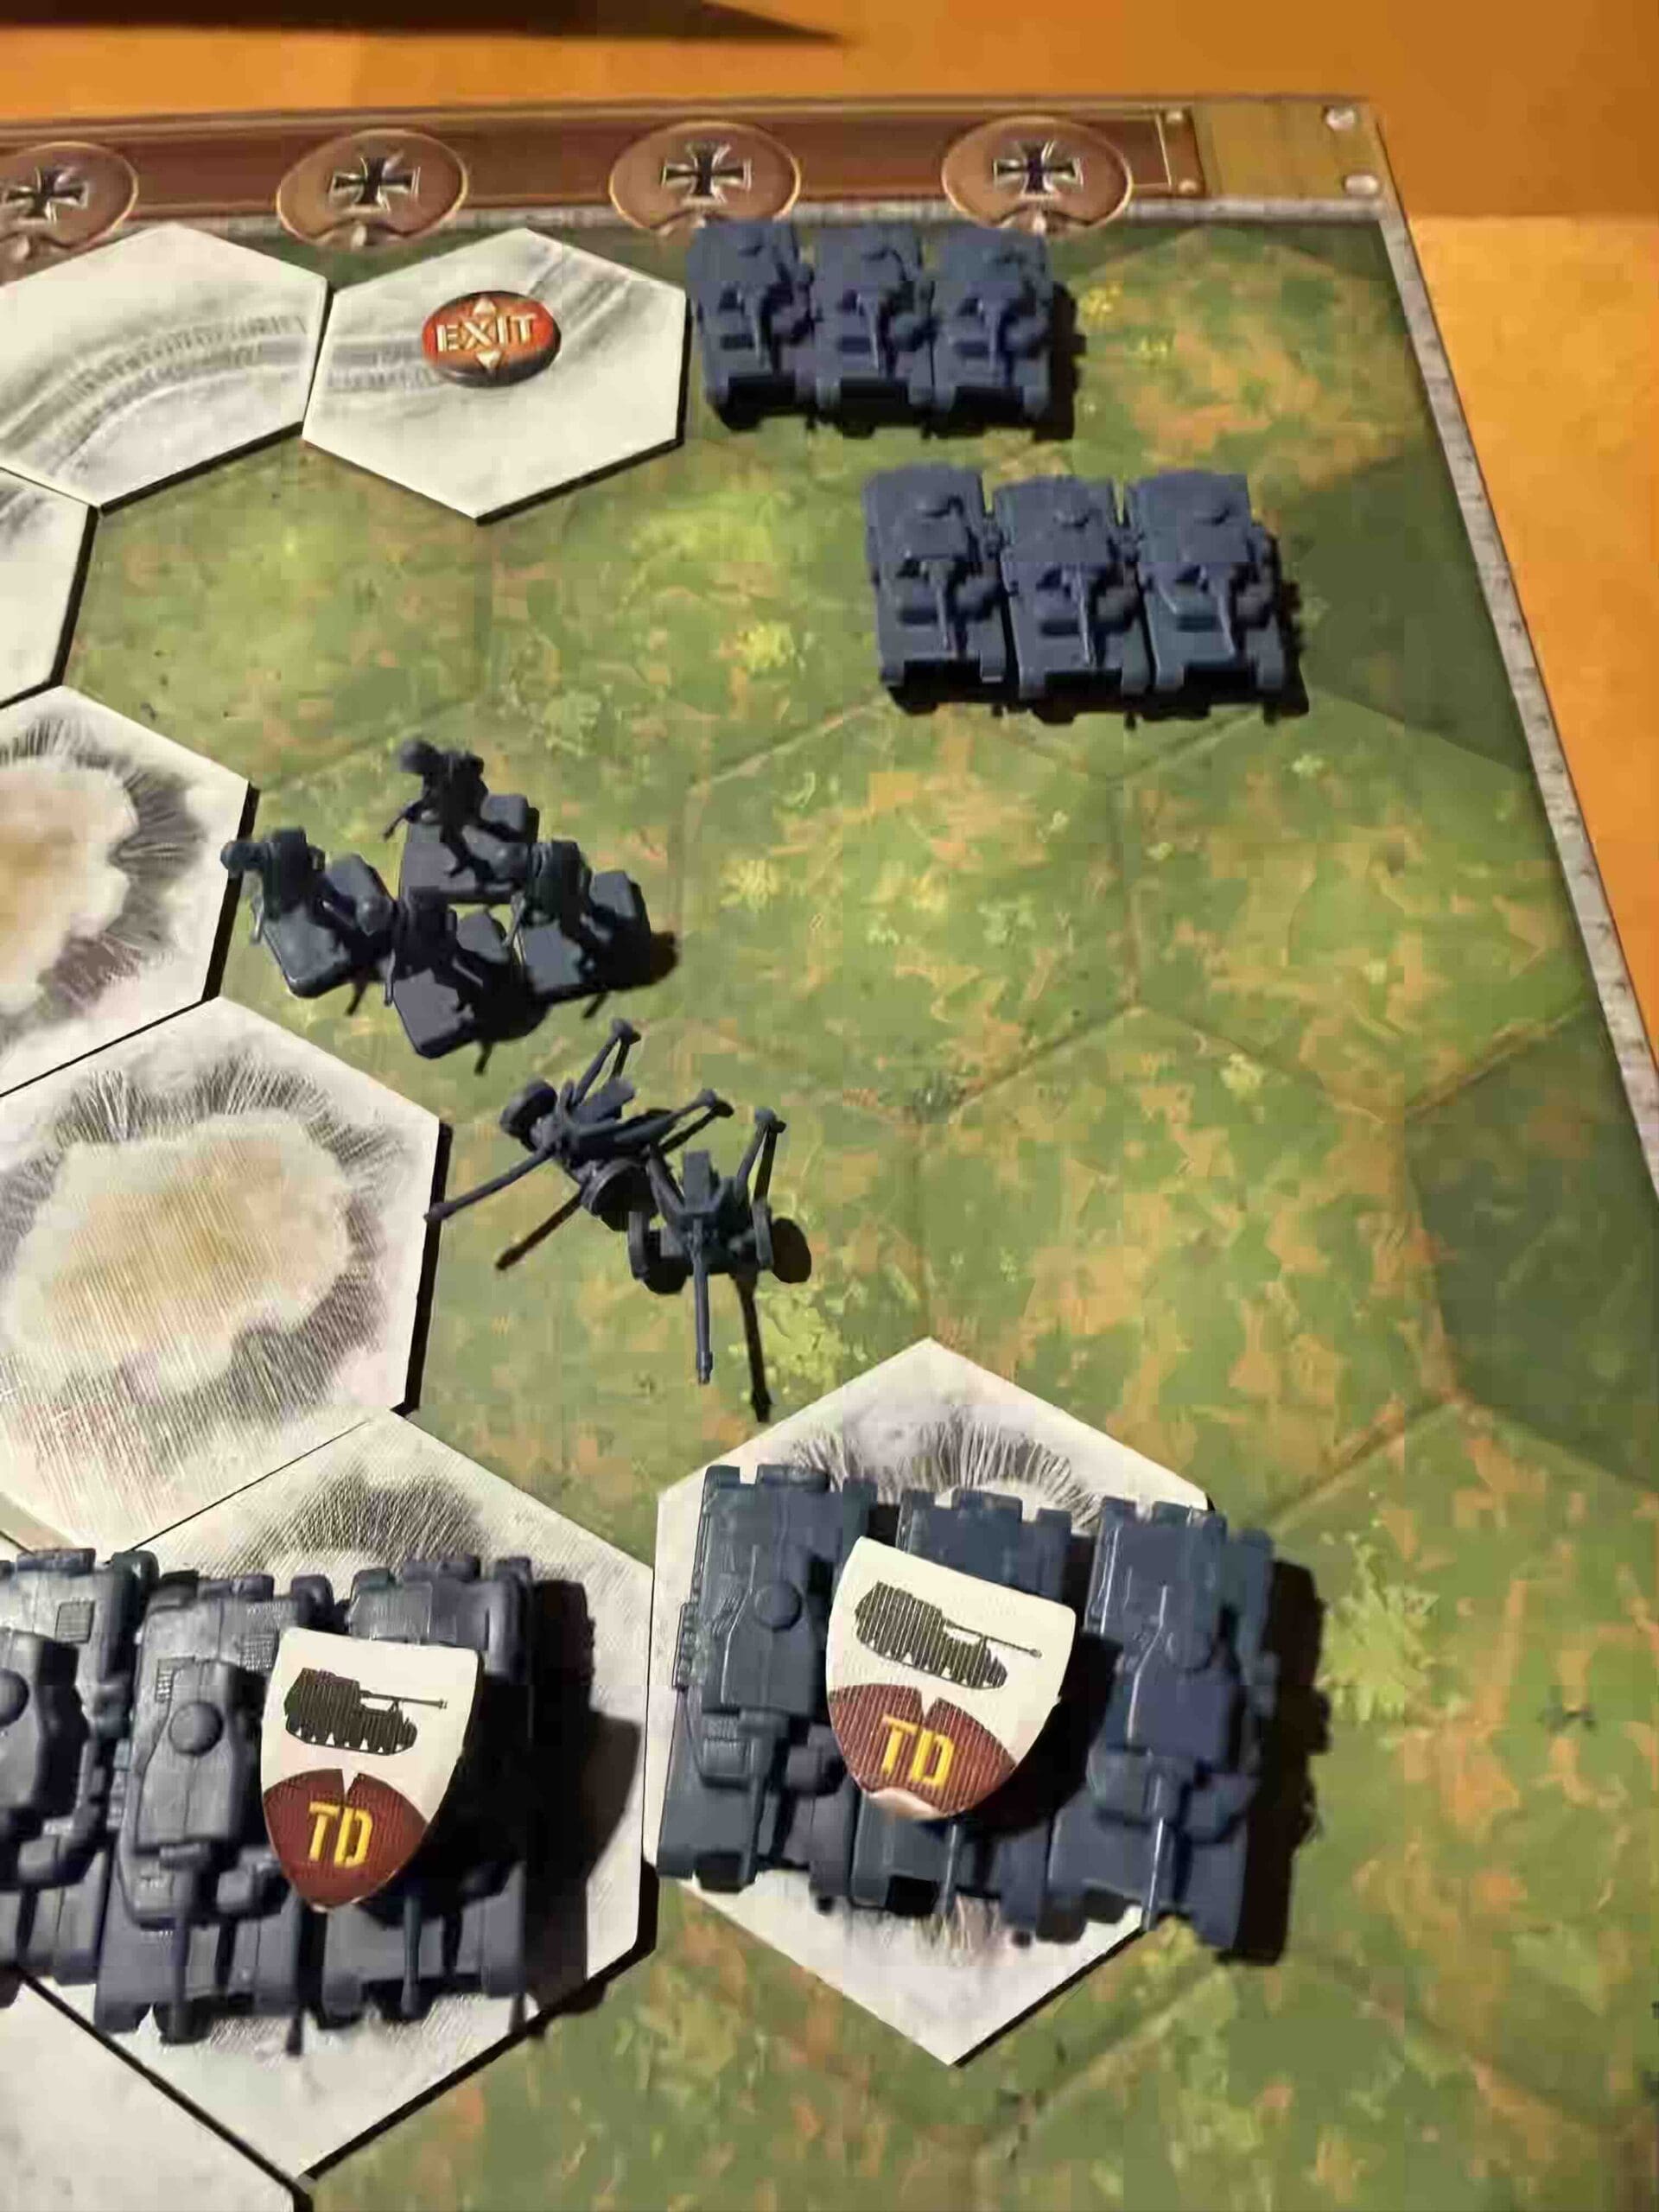
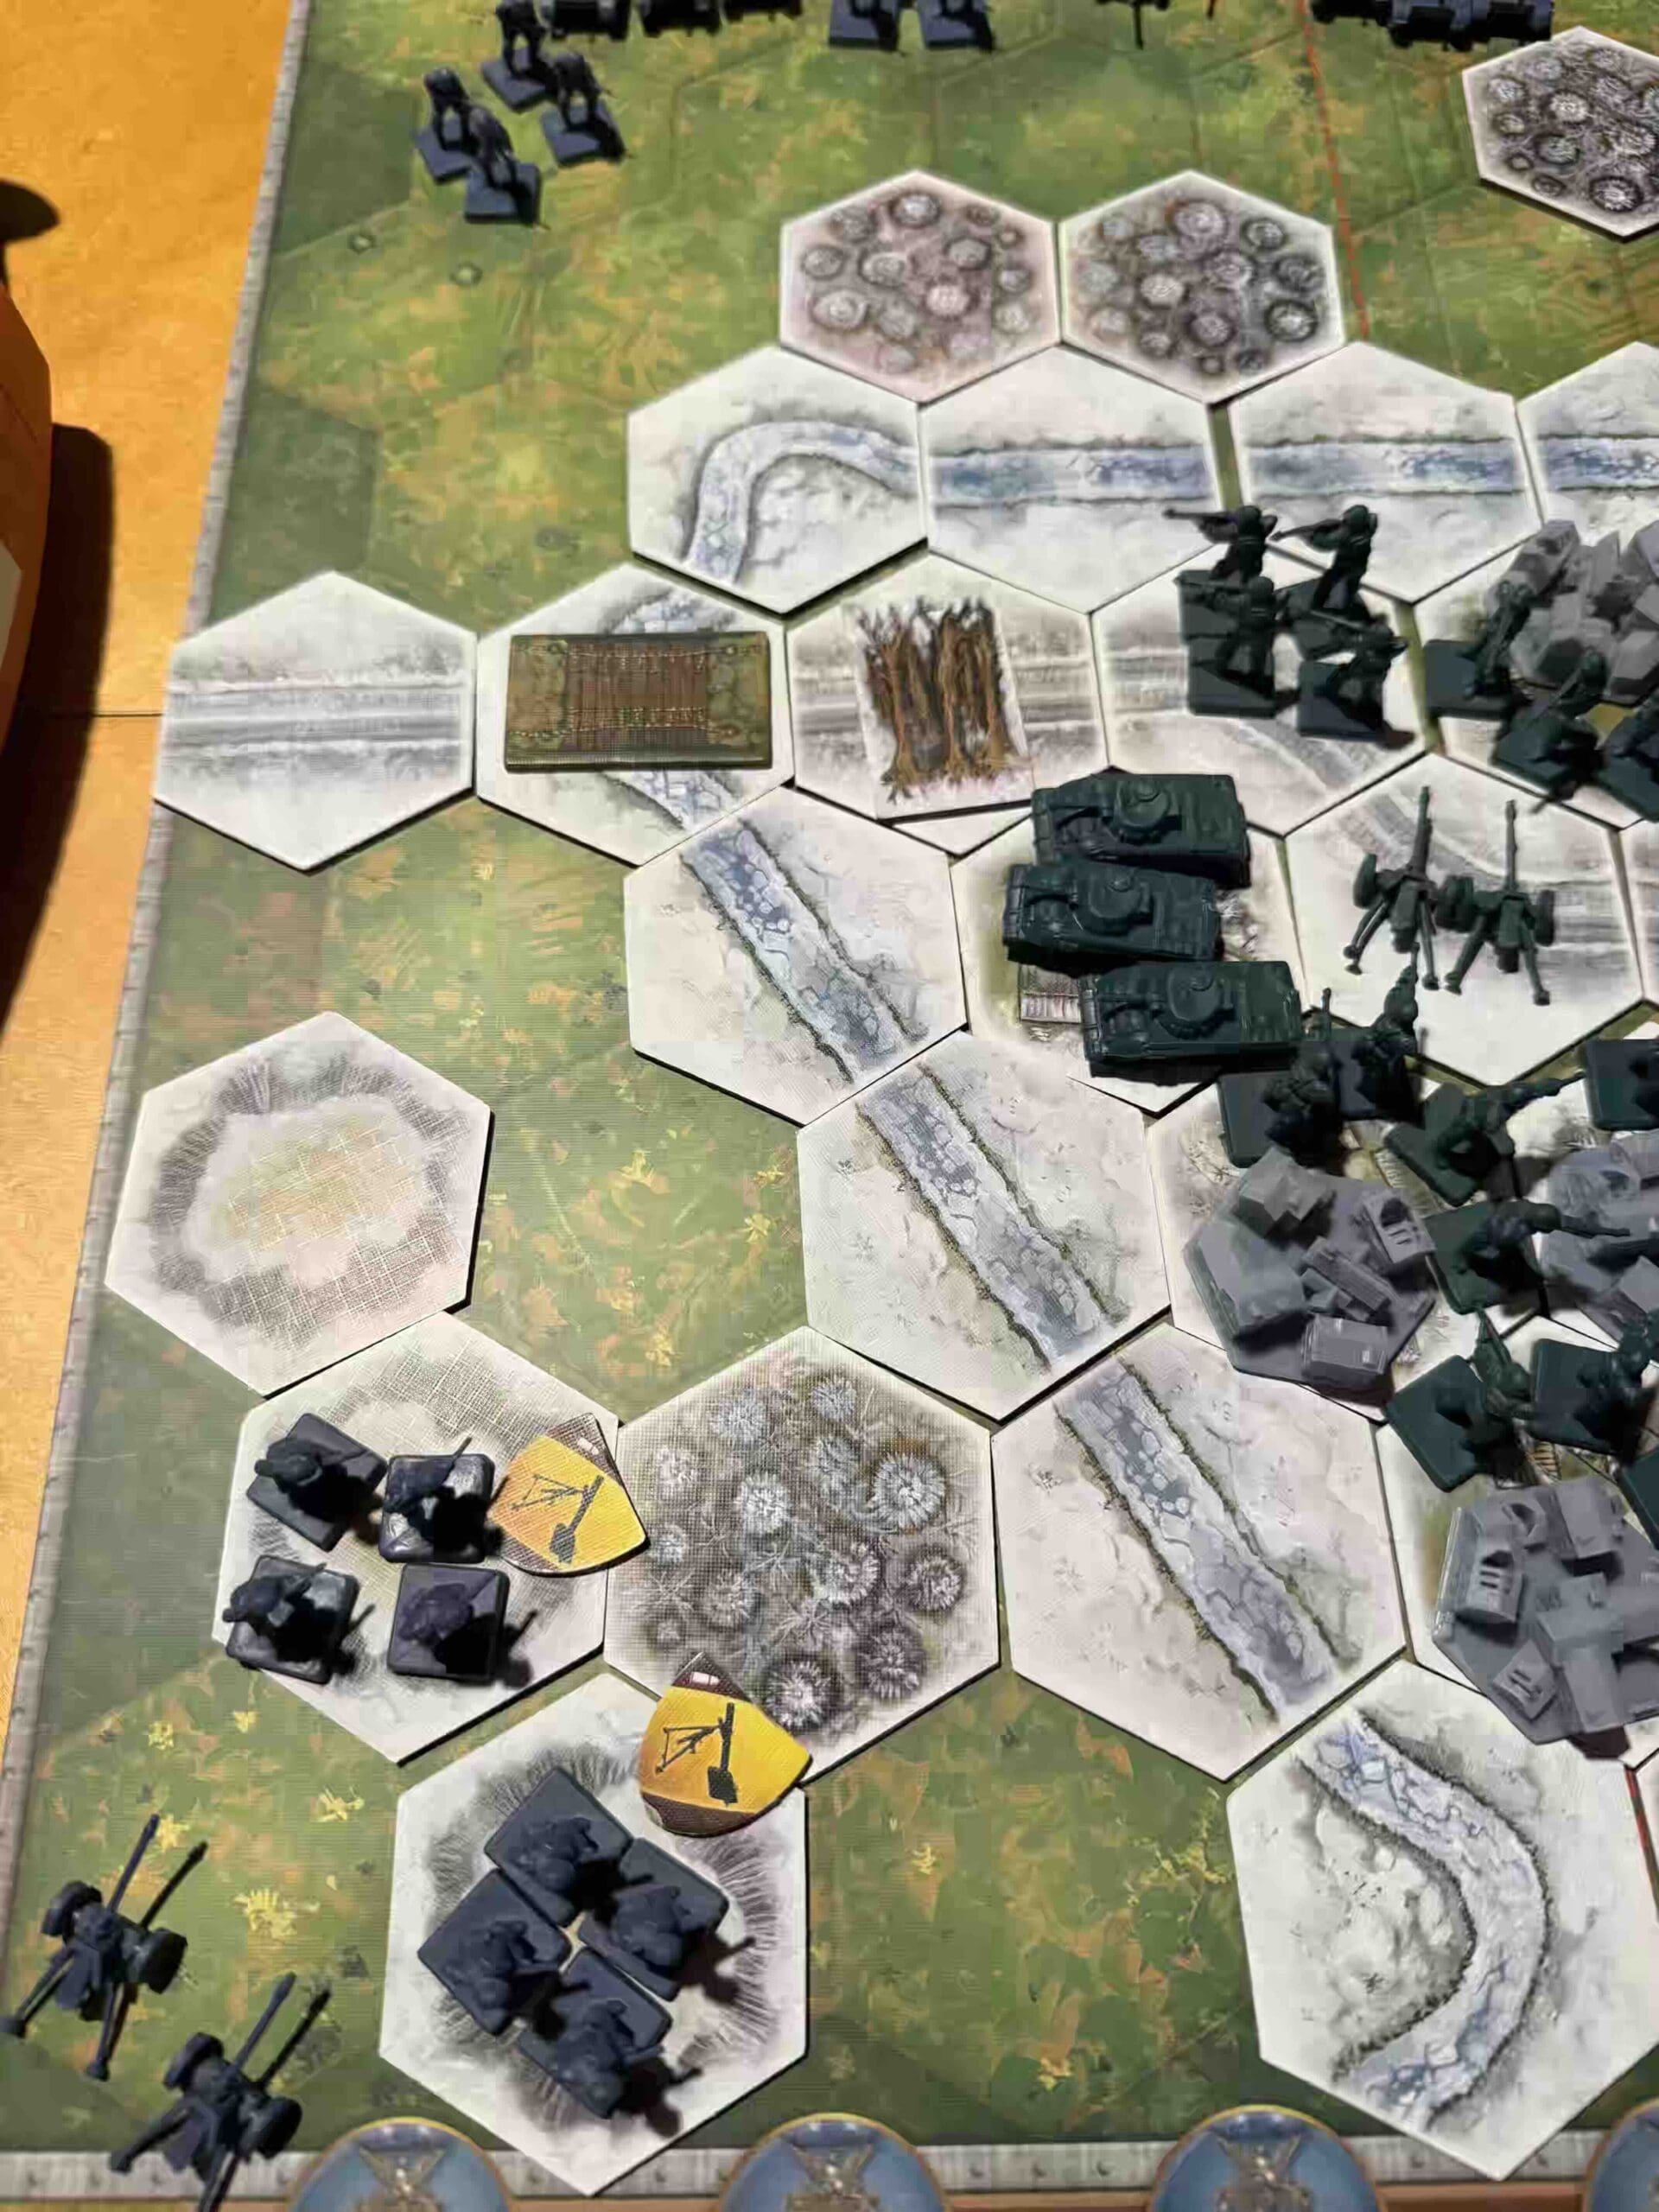
Terrain:
Hedgerows are scattered across the battlefield, with mines slowing advance on one flank.
Troops:
Allies – 8 Infantry, 1 Artillery
Axis – 9 Infantry, 1 Artillery

🔥 Winning as Allies
1. Big Picture plan for Allies, is primarily a defensive role, unless you have the cards for a significant advance in one section.
2. Because this is a hedgerow hell scenario, make good use of your artillery which can supercede all terrain restrictions. If you can get it moved forward early in the game, it will significantly improve your attack abilities. However, this is a Nightime Strategy game, so you will be unable to use that Artillery for several turns.
3. This is a long scenario of six medals, but the enemy only have nine Infantry plus the Artillery, so you are going to have to handle the Artillery in order to win.

🔥 Winning as Axis
1. Big picture plan for Axis is to move forward in a coordinated way and press your advantage in whichever section the cards warrant. All your Infantry are Elites (besides the two Engineers), so you will be able to move two and battle. This will help you to cross the open terrain quickly into a defensive position for attacks.
2. You have a two to one advantage on your right flank. Move your infantry forward, hiding behind the hedgerows until your forces and cards are in place for an assault. If you can move some forces from the center section into your right flank, you will gain an overwhelming attack force.
3. You have two Engineer units which should be used to clear the mines and attack the enemy on your left flank.
4. This is a long scenario for six medals and the enemy only has eight Infantry, so it is pretty much a fight to the death. You are more than likely going to have to deal with the Artillery in order to win this scenario.

Author: Ddrommel
URL