Umurbrogol Pocket
Umurbrogol Pocket
IMG_0923
IMG_0922
IMG_0921
IMG_0920
IMG_0919
IMG_0917
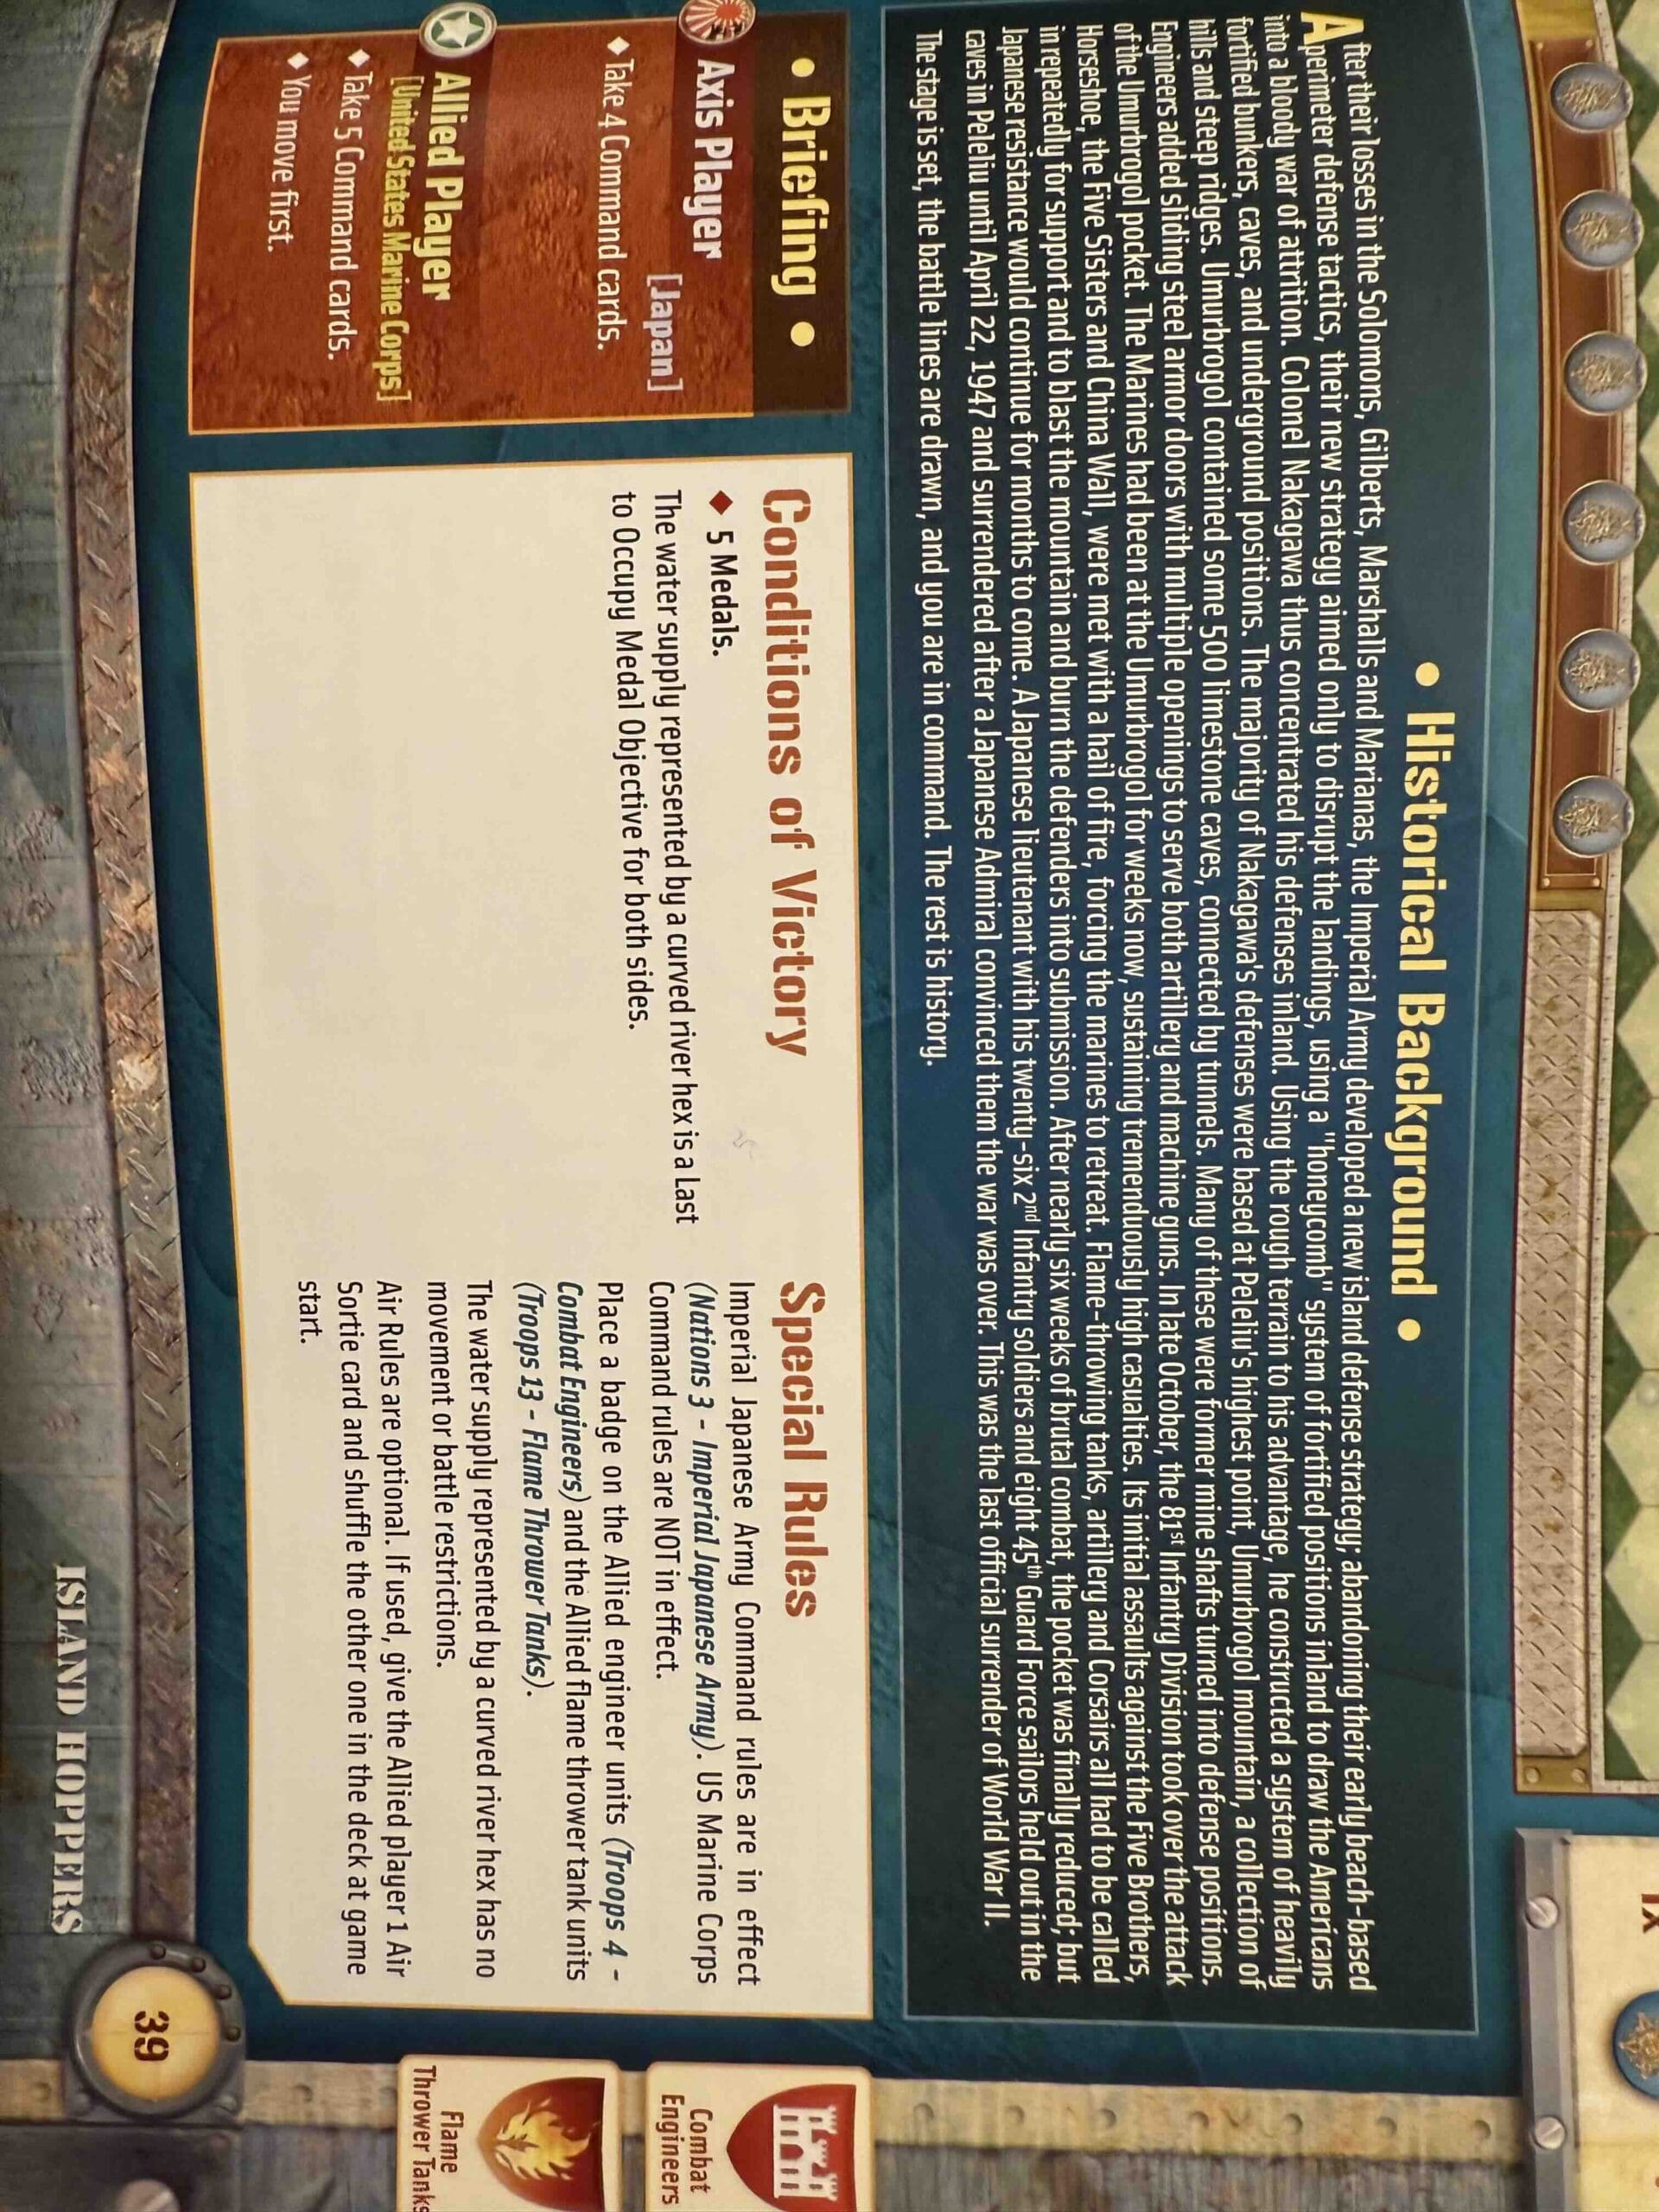
The Battle of the Umurbrogol Pocket in November 1944 was one of the fiercest and most grueling phases of the Battle of Peleliu during World War II. U.S. Marines faced deeply entrenched Japanese defenders in a mountainous, cave-ridden area known as “Bloody Nose Ridge.”
General Howitzer’s summary:
The Umurbrogol Pocket was a nightmare carved into rock—our Marines went up against die-hard defenders holed up in caves. The Japanese were dug in deep, fighting to the last man, and made us pay for every inch in blood. Flamethrowers, grenades, and guts—that’s what it took to root them out. It was slow, savage, and costly, but in the end, we crushed them. That ridge showed just how far the enemy would go—and how much farther we were willing to go to win.
5 VP’s
![]()
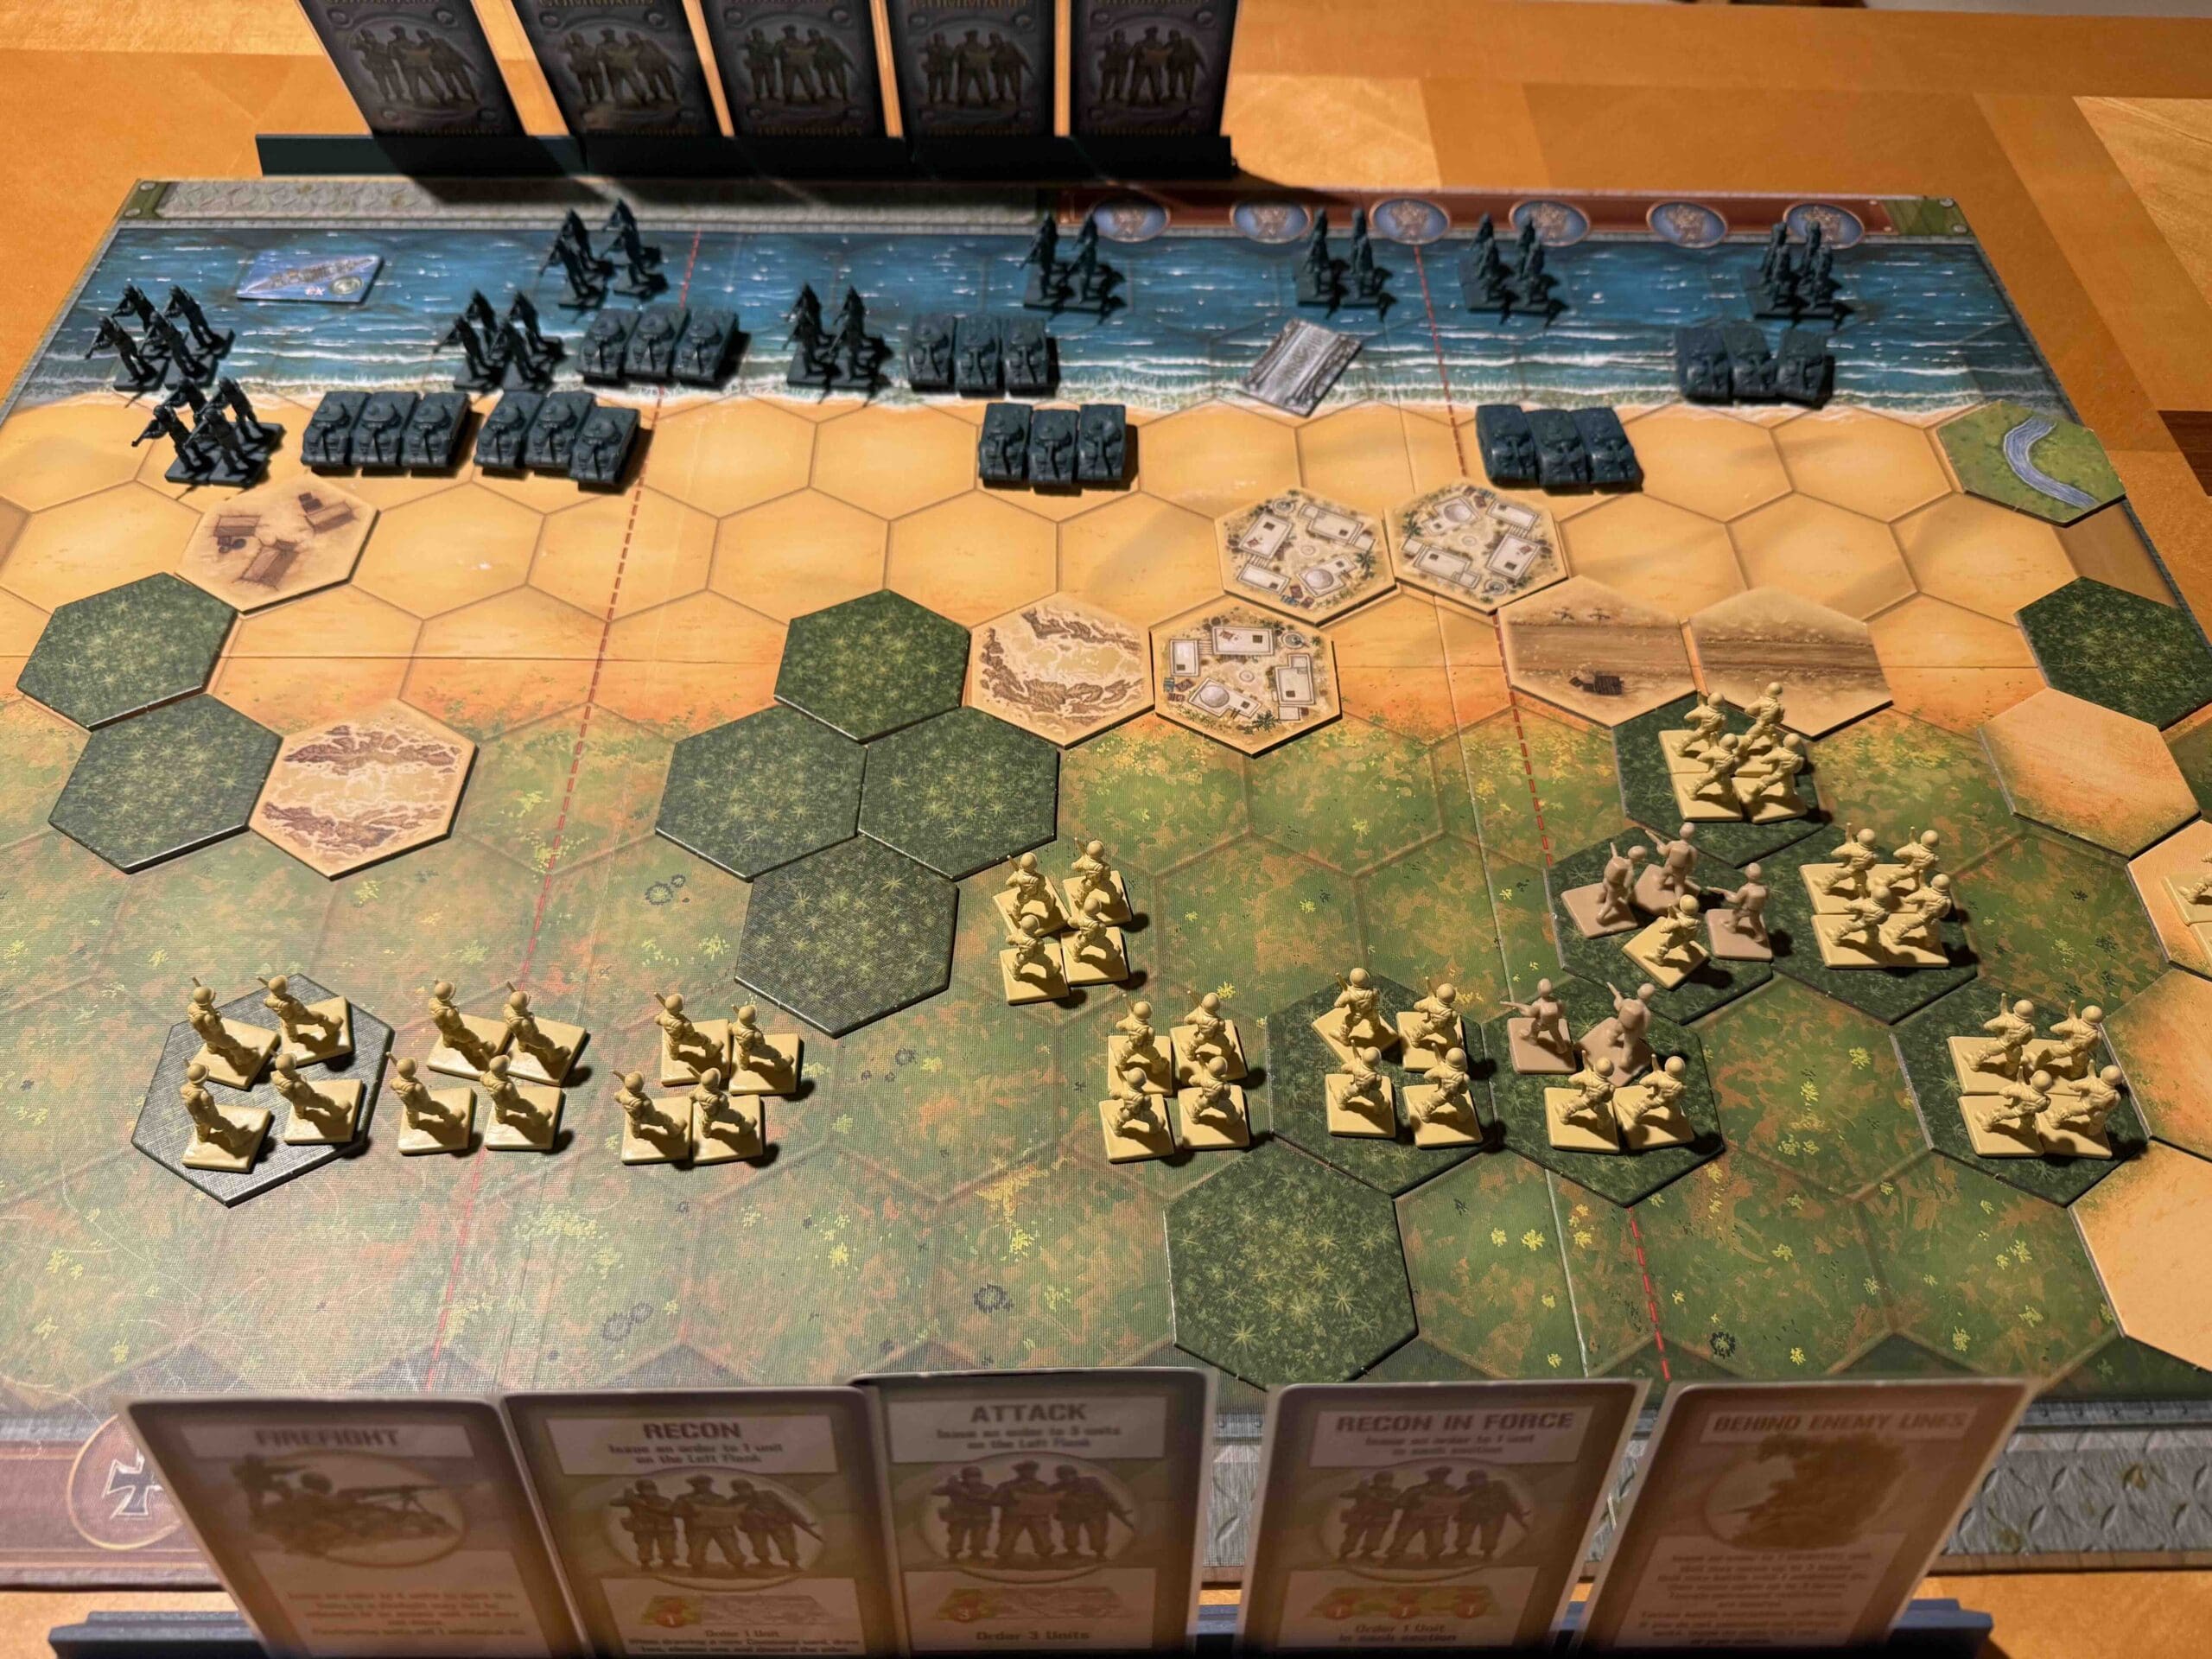
Card Balance:
Allies (US Marines) – 5
Axis – 4
Complexity:
3
Conditions:
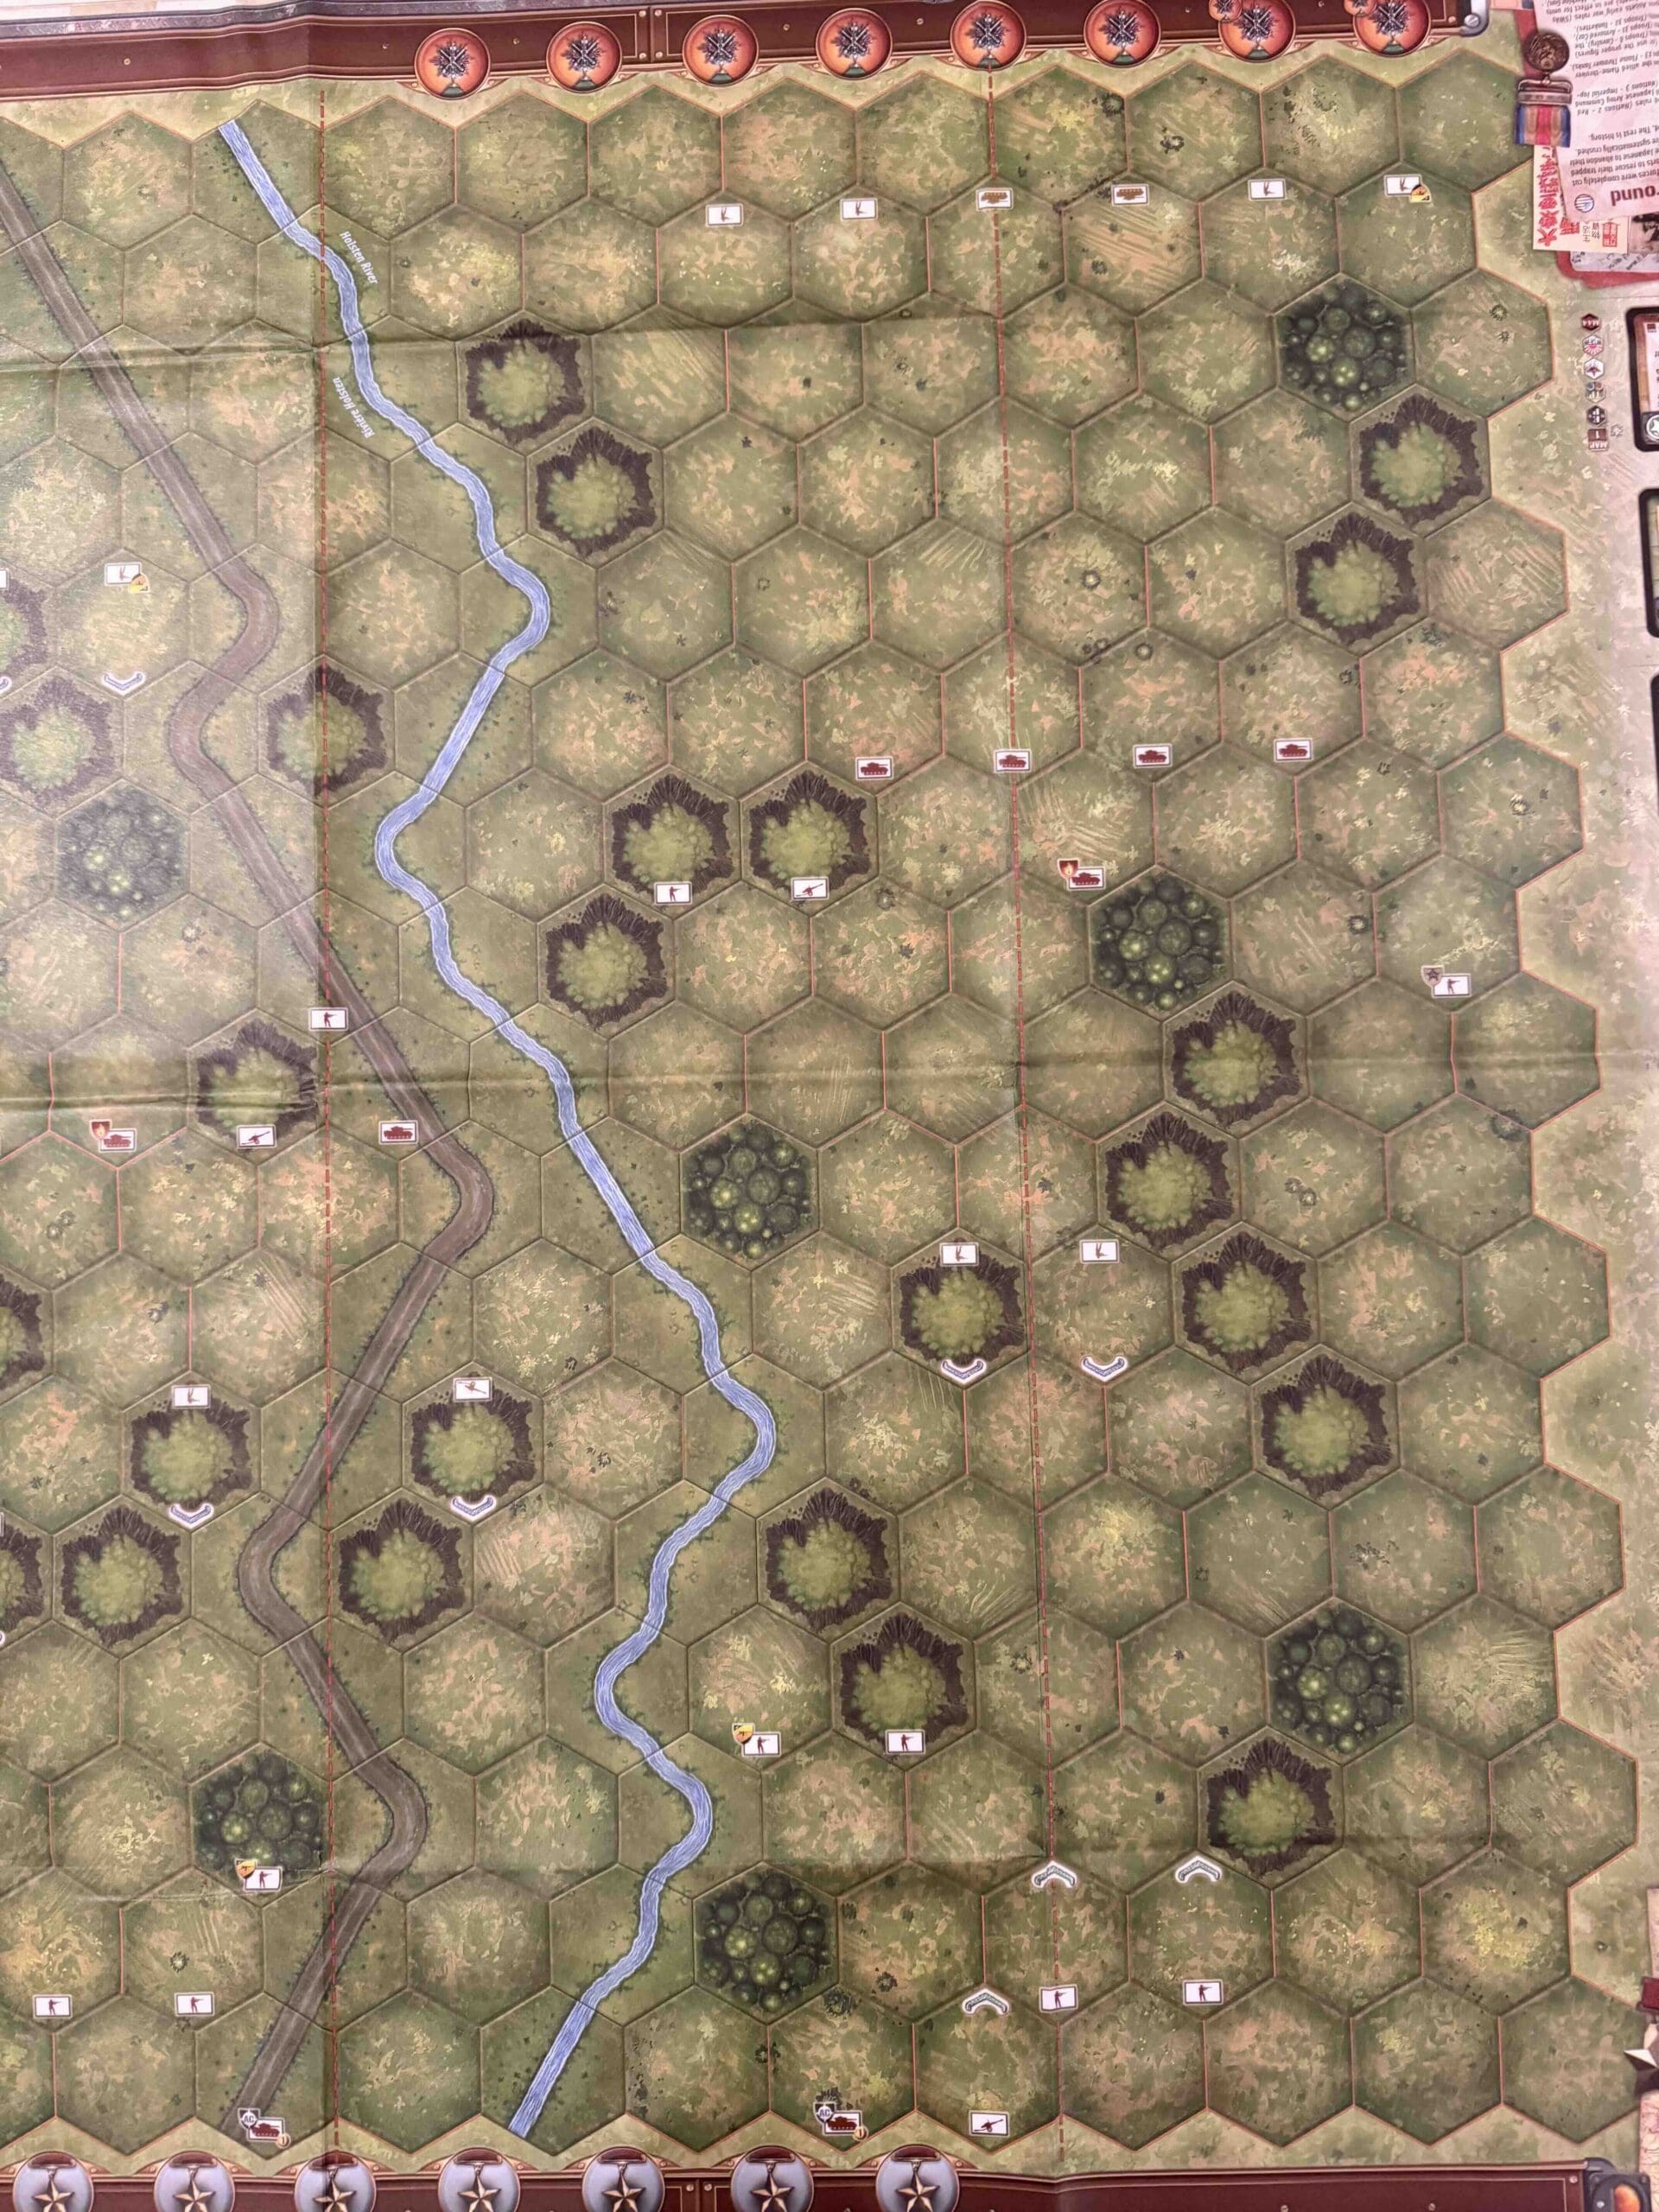
Jungle Beach

Context:
Historical
Location:
Marianas & Palau Islands
Year:
1944
Theater:
Pacific
Campaign:
The Battle of Peleliu
Codename:
Operation Stalemate II
Summary:
Objectives:
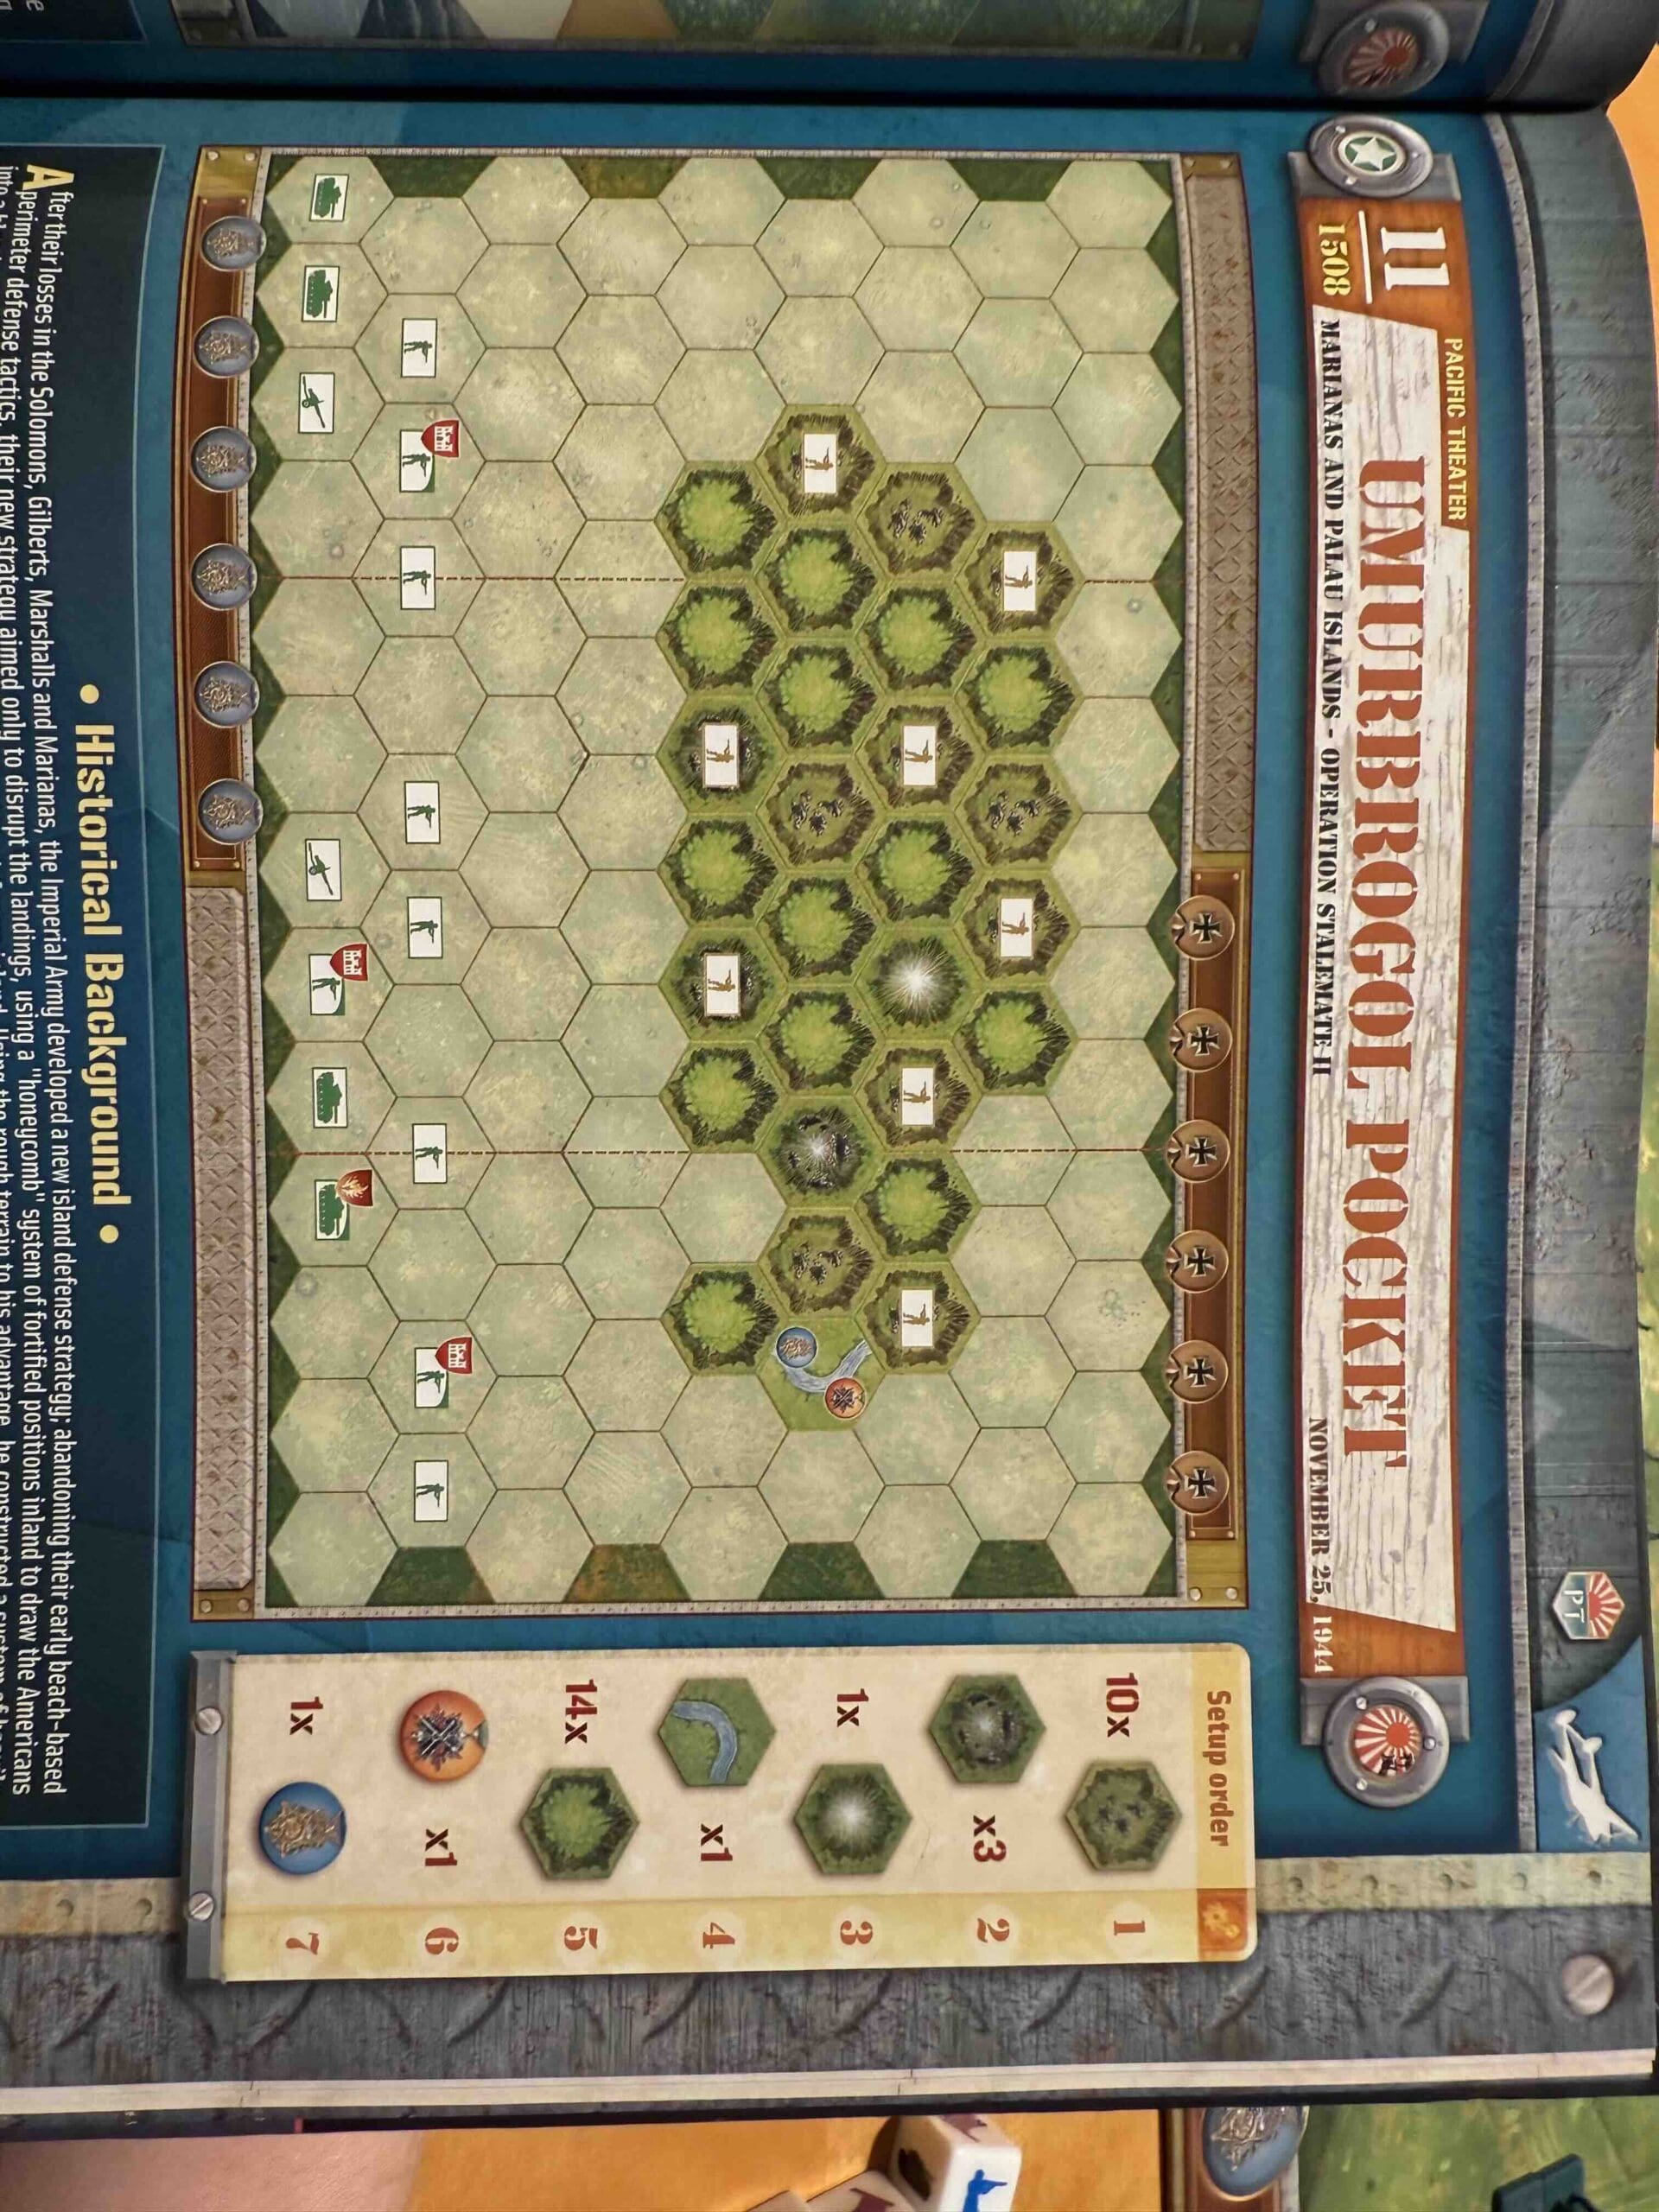
5 VP’s plus a Last to Occupy Medal Objective
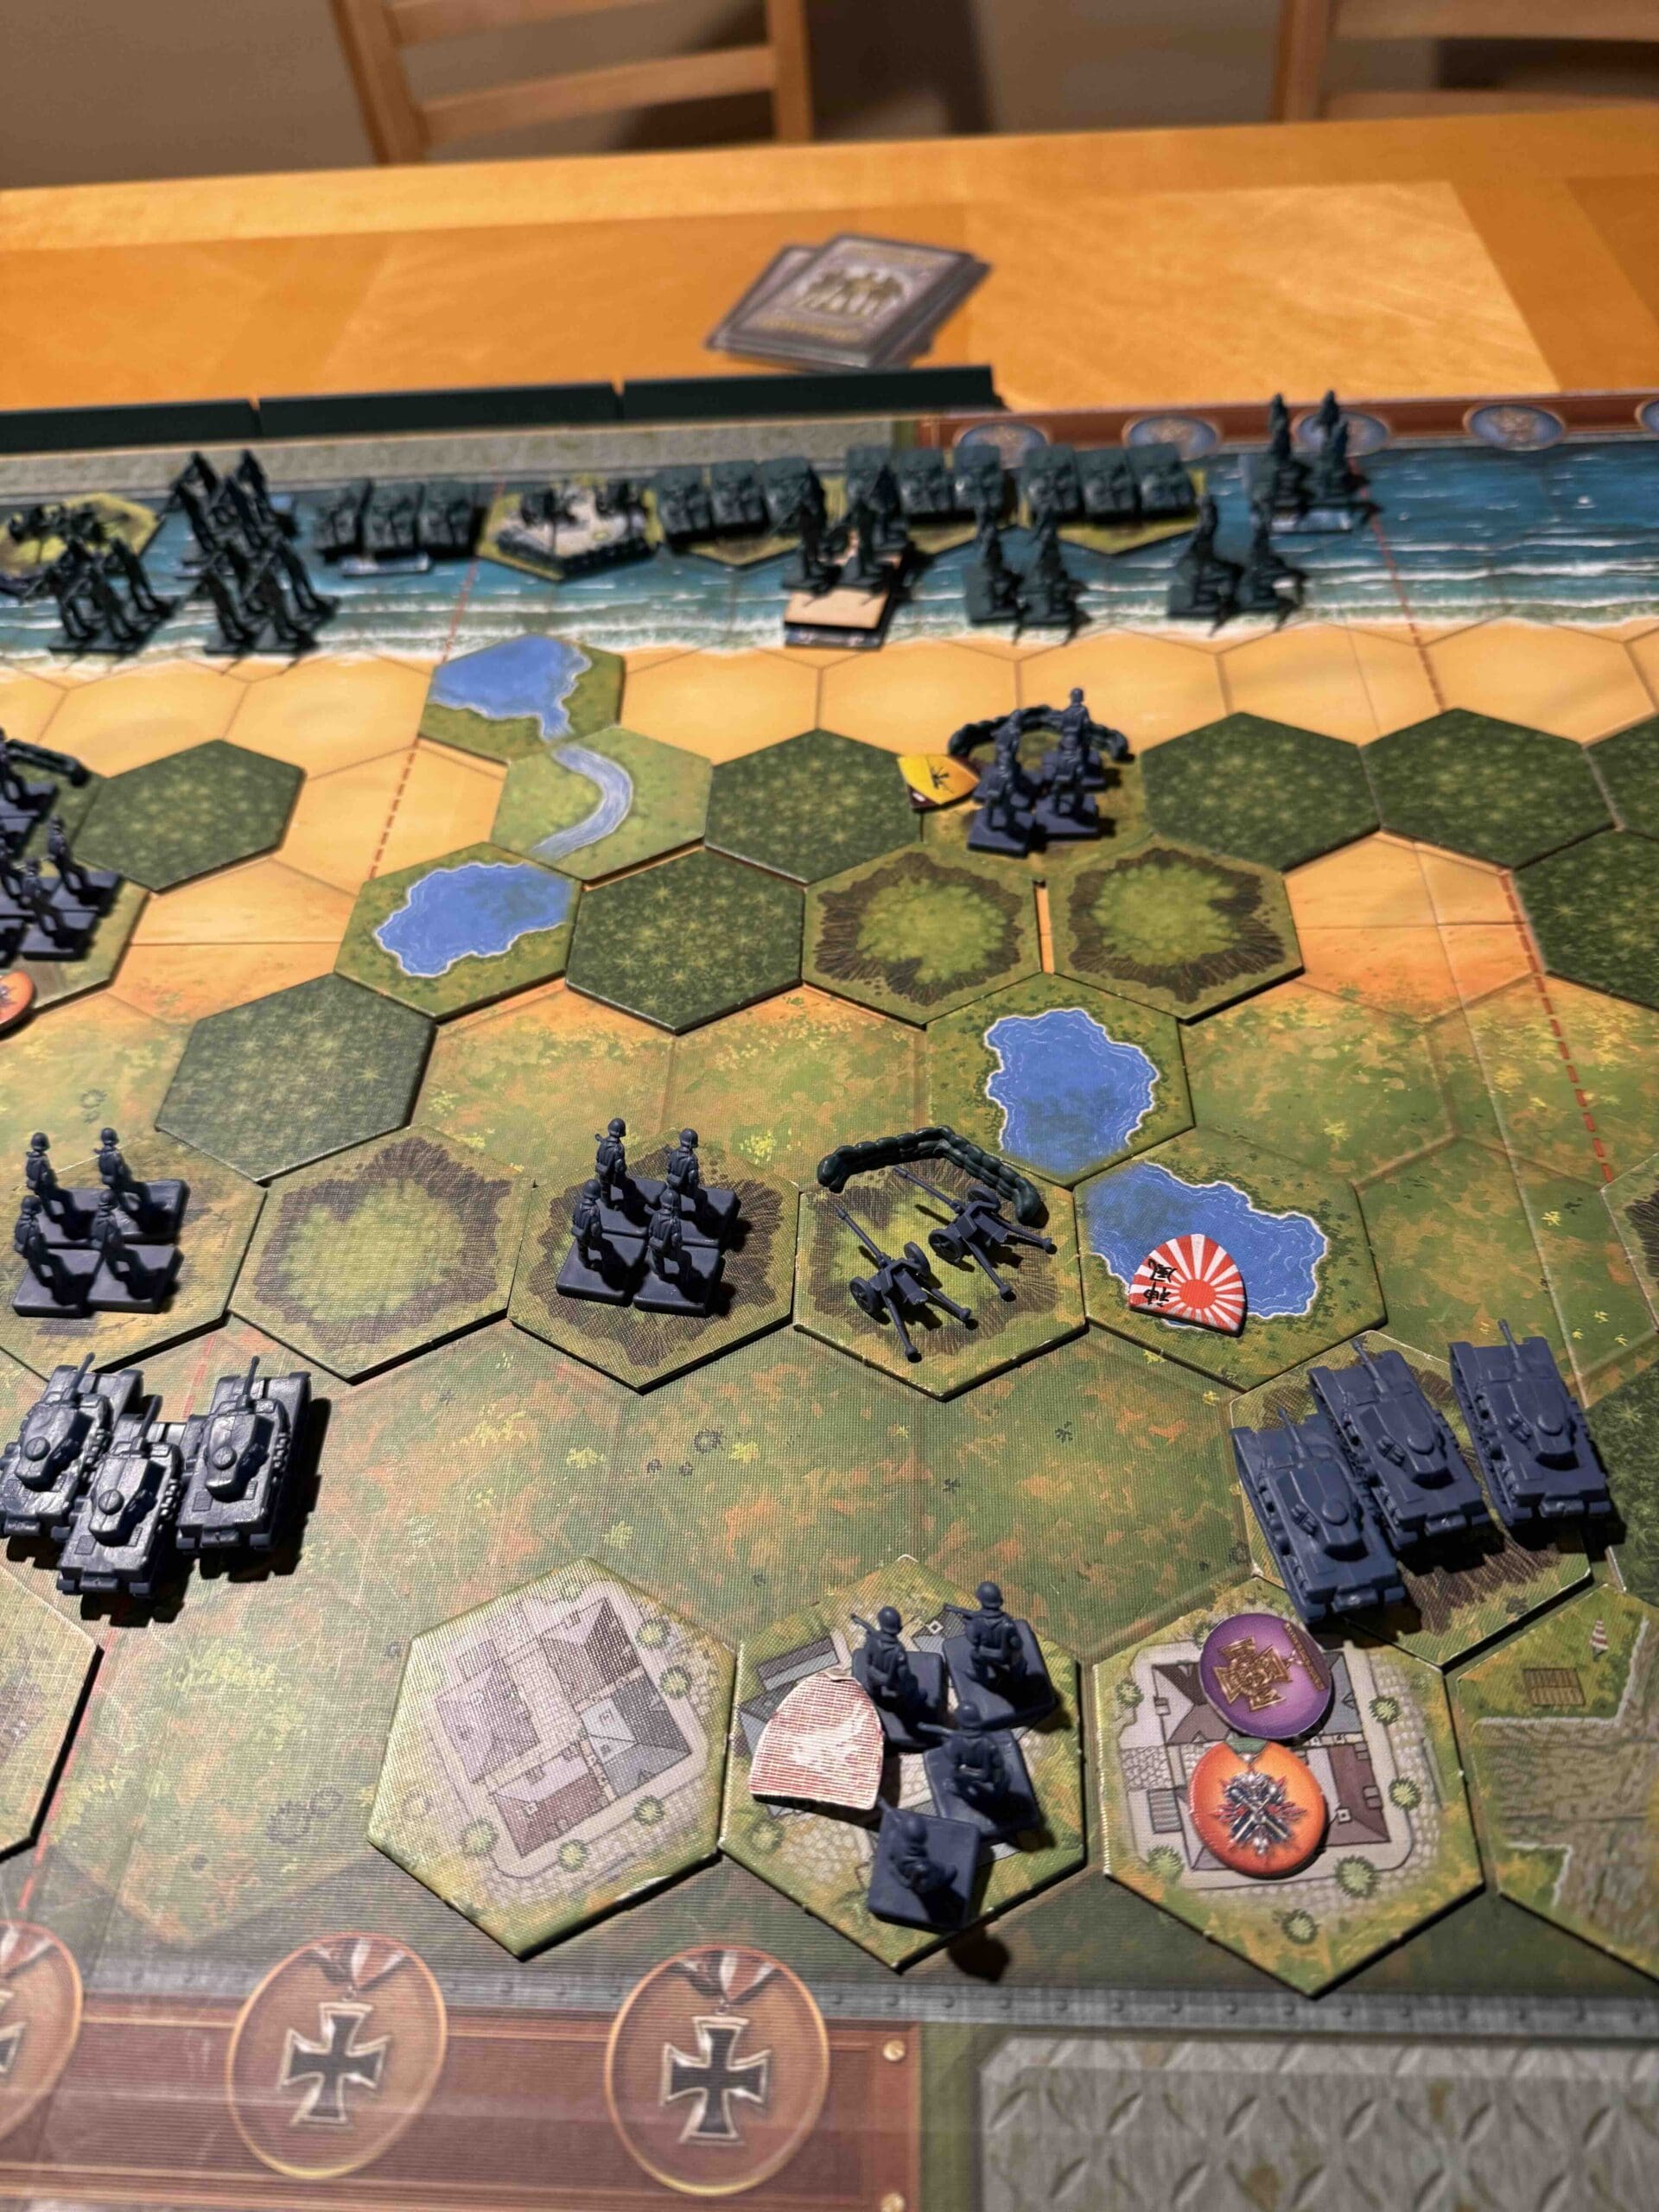
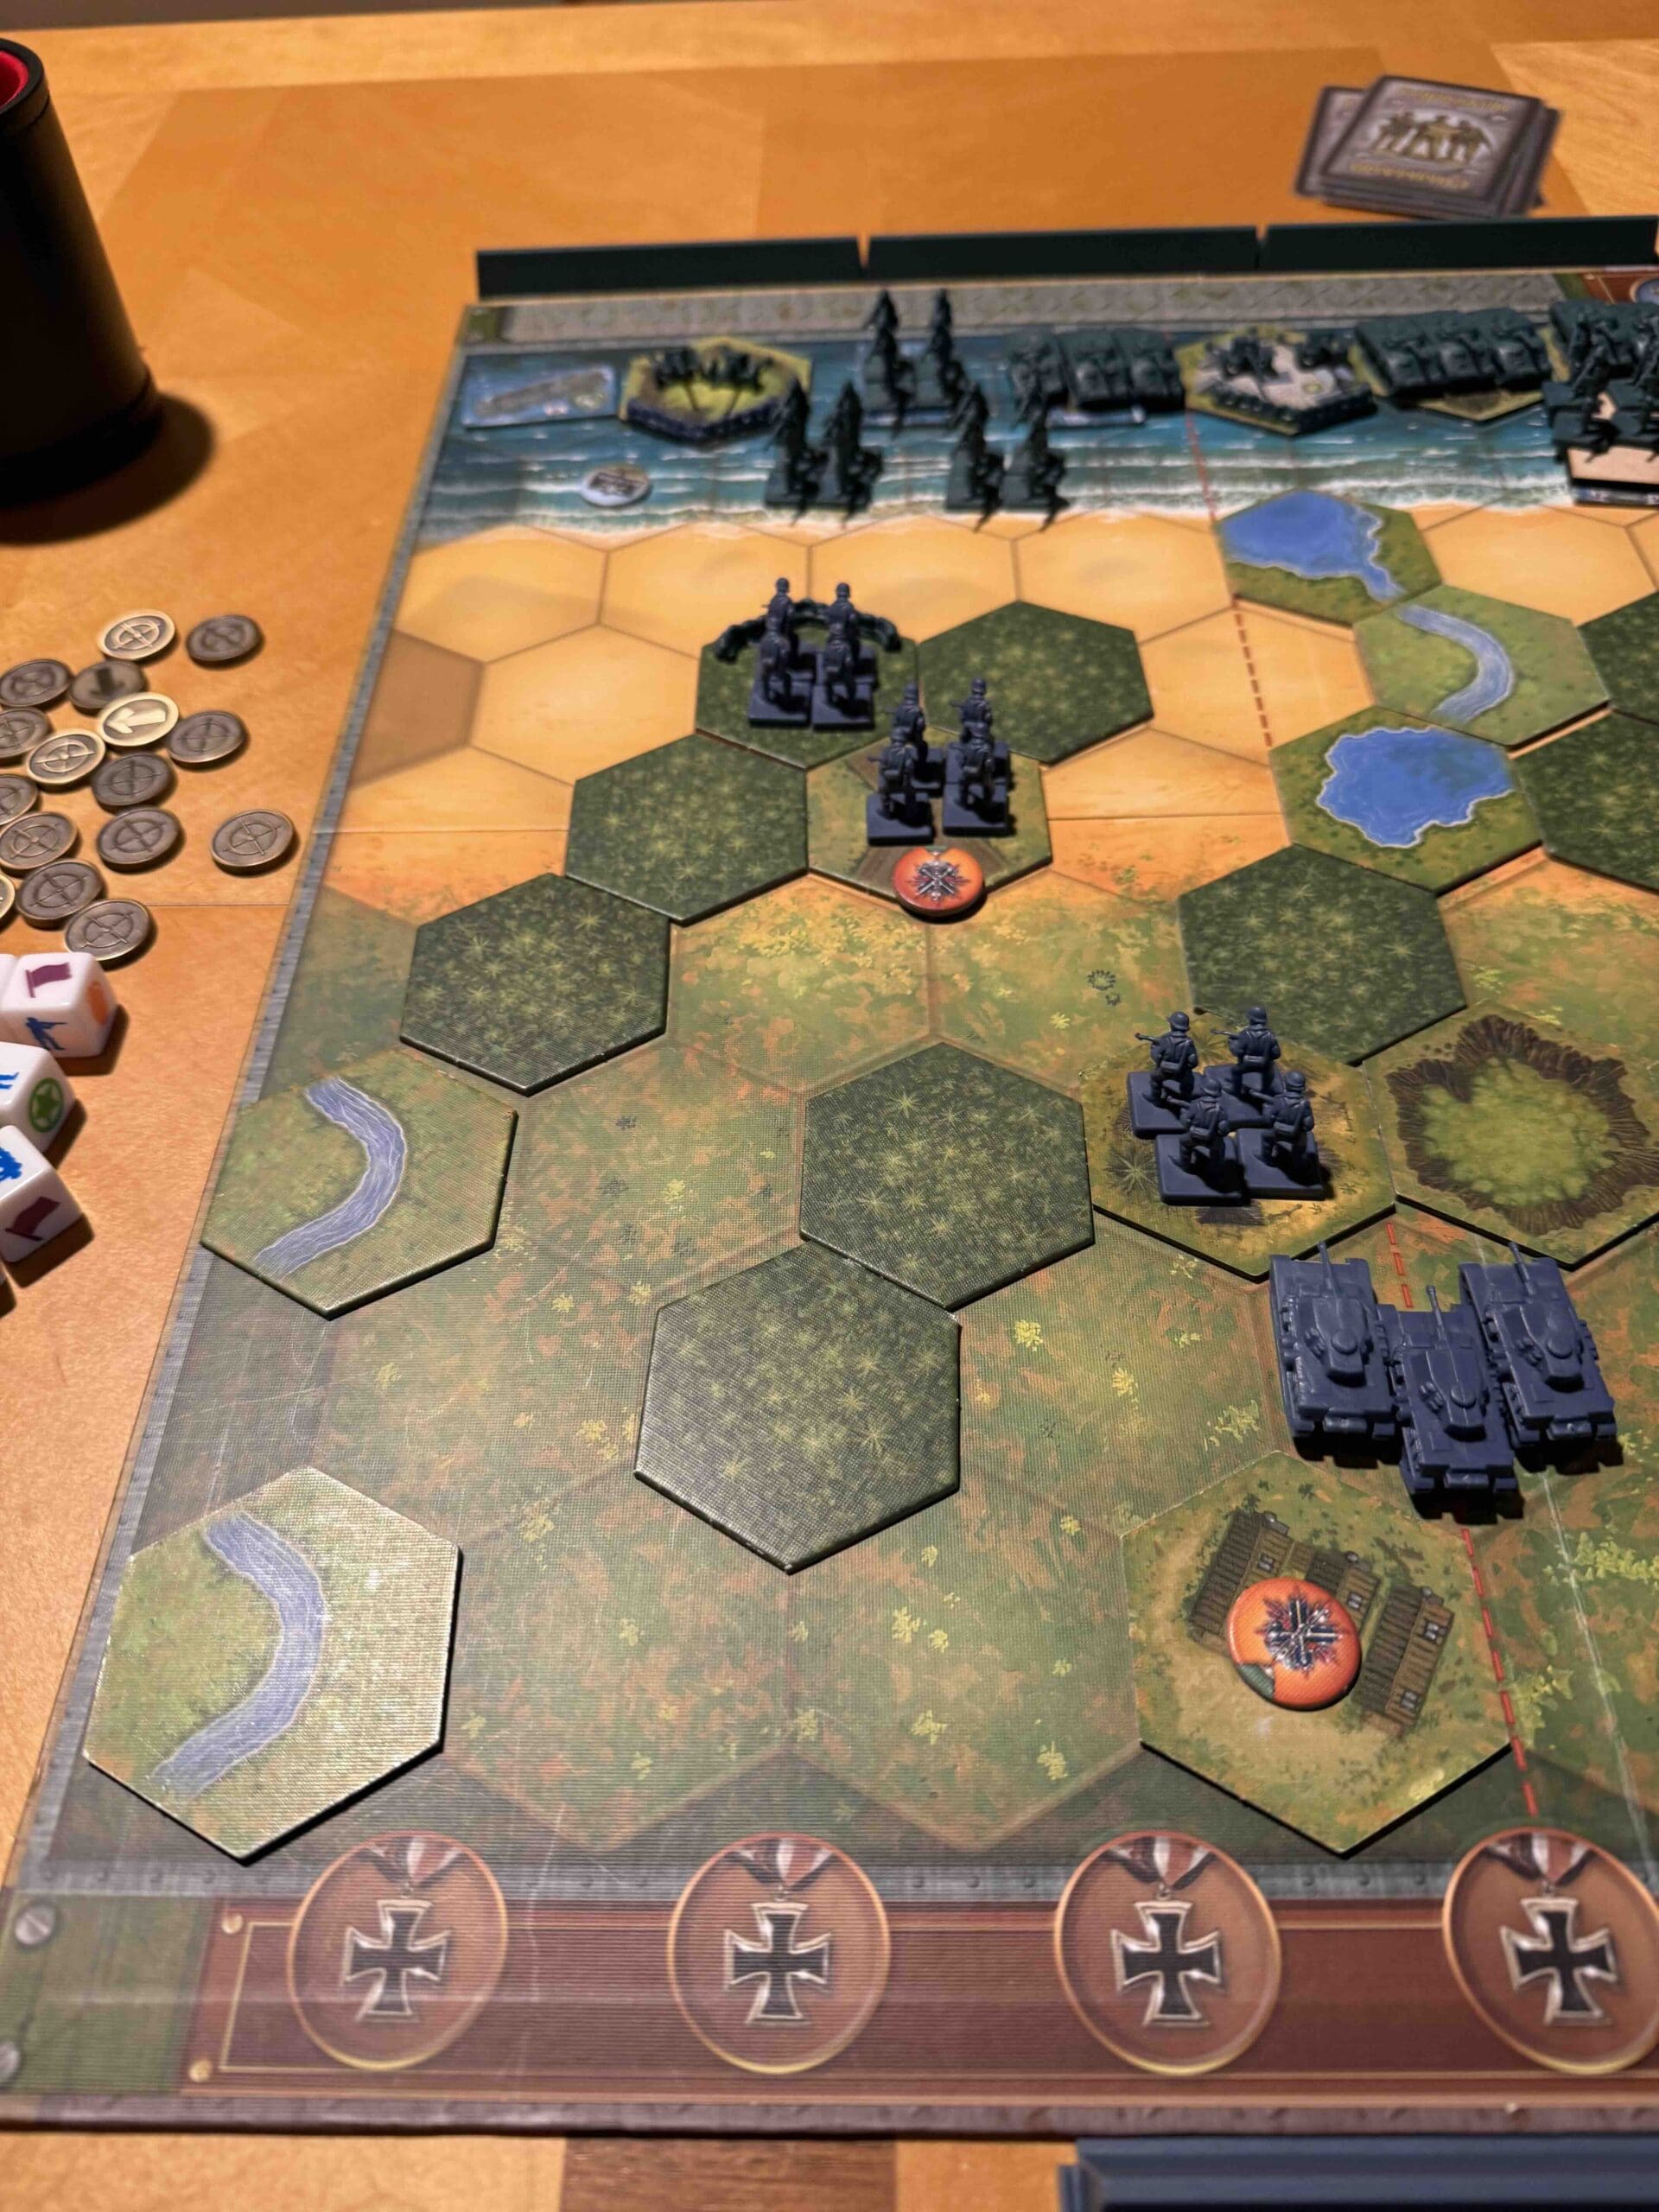
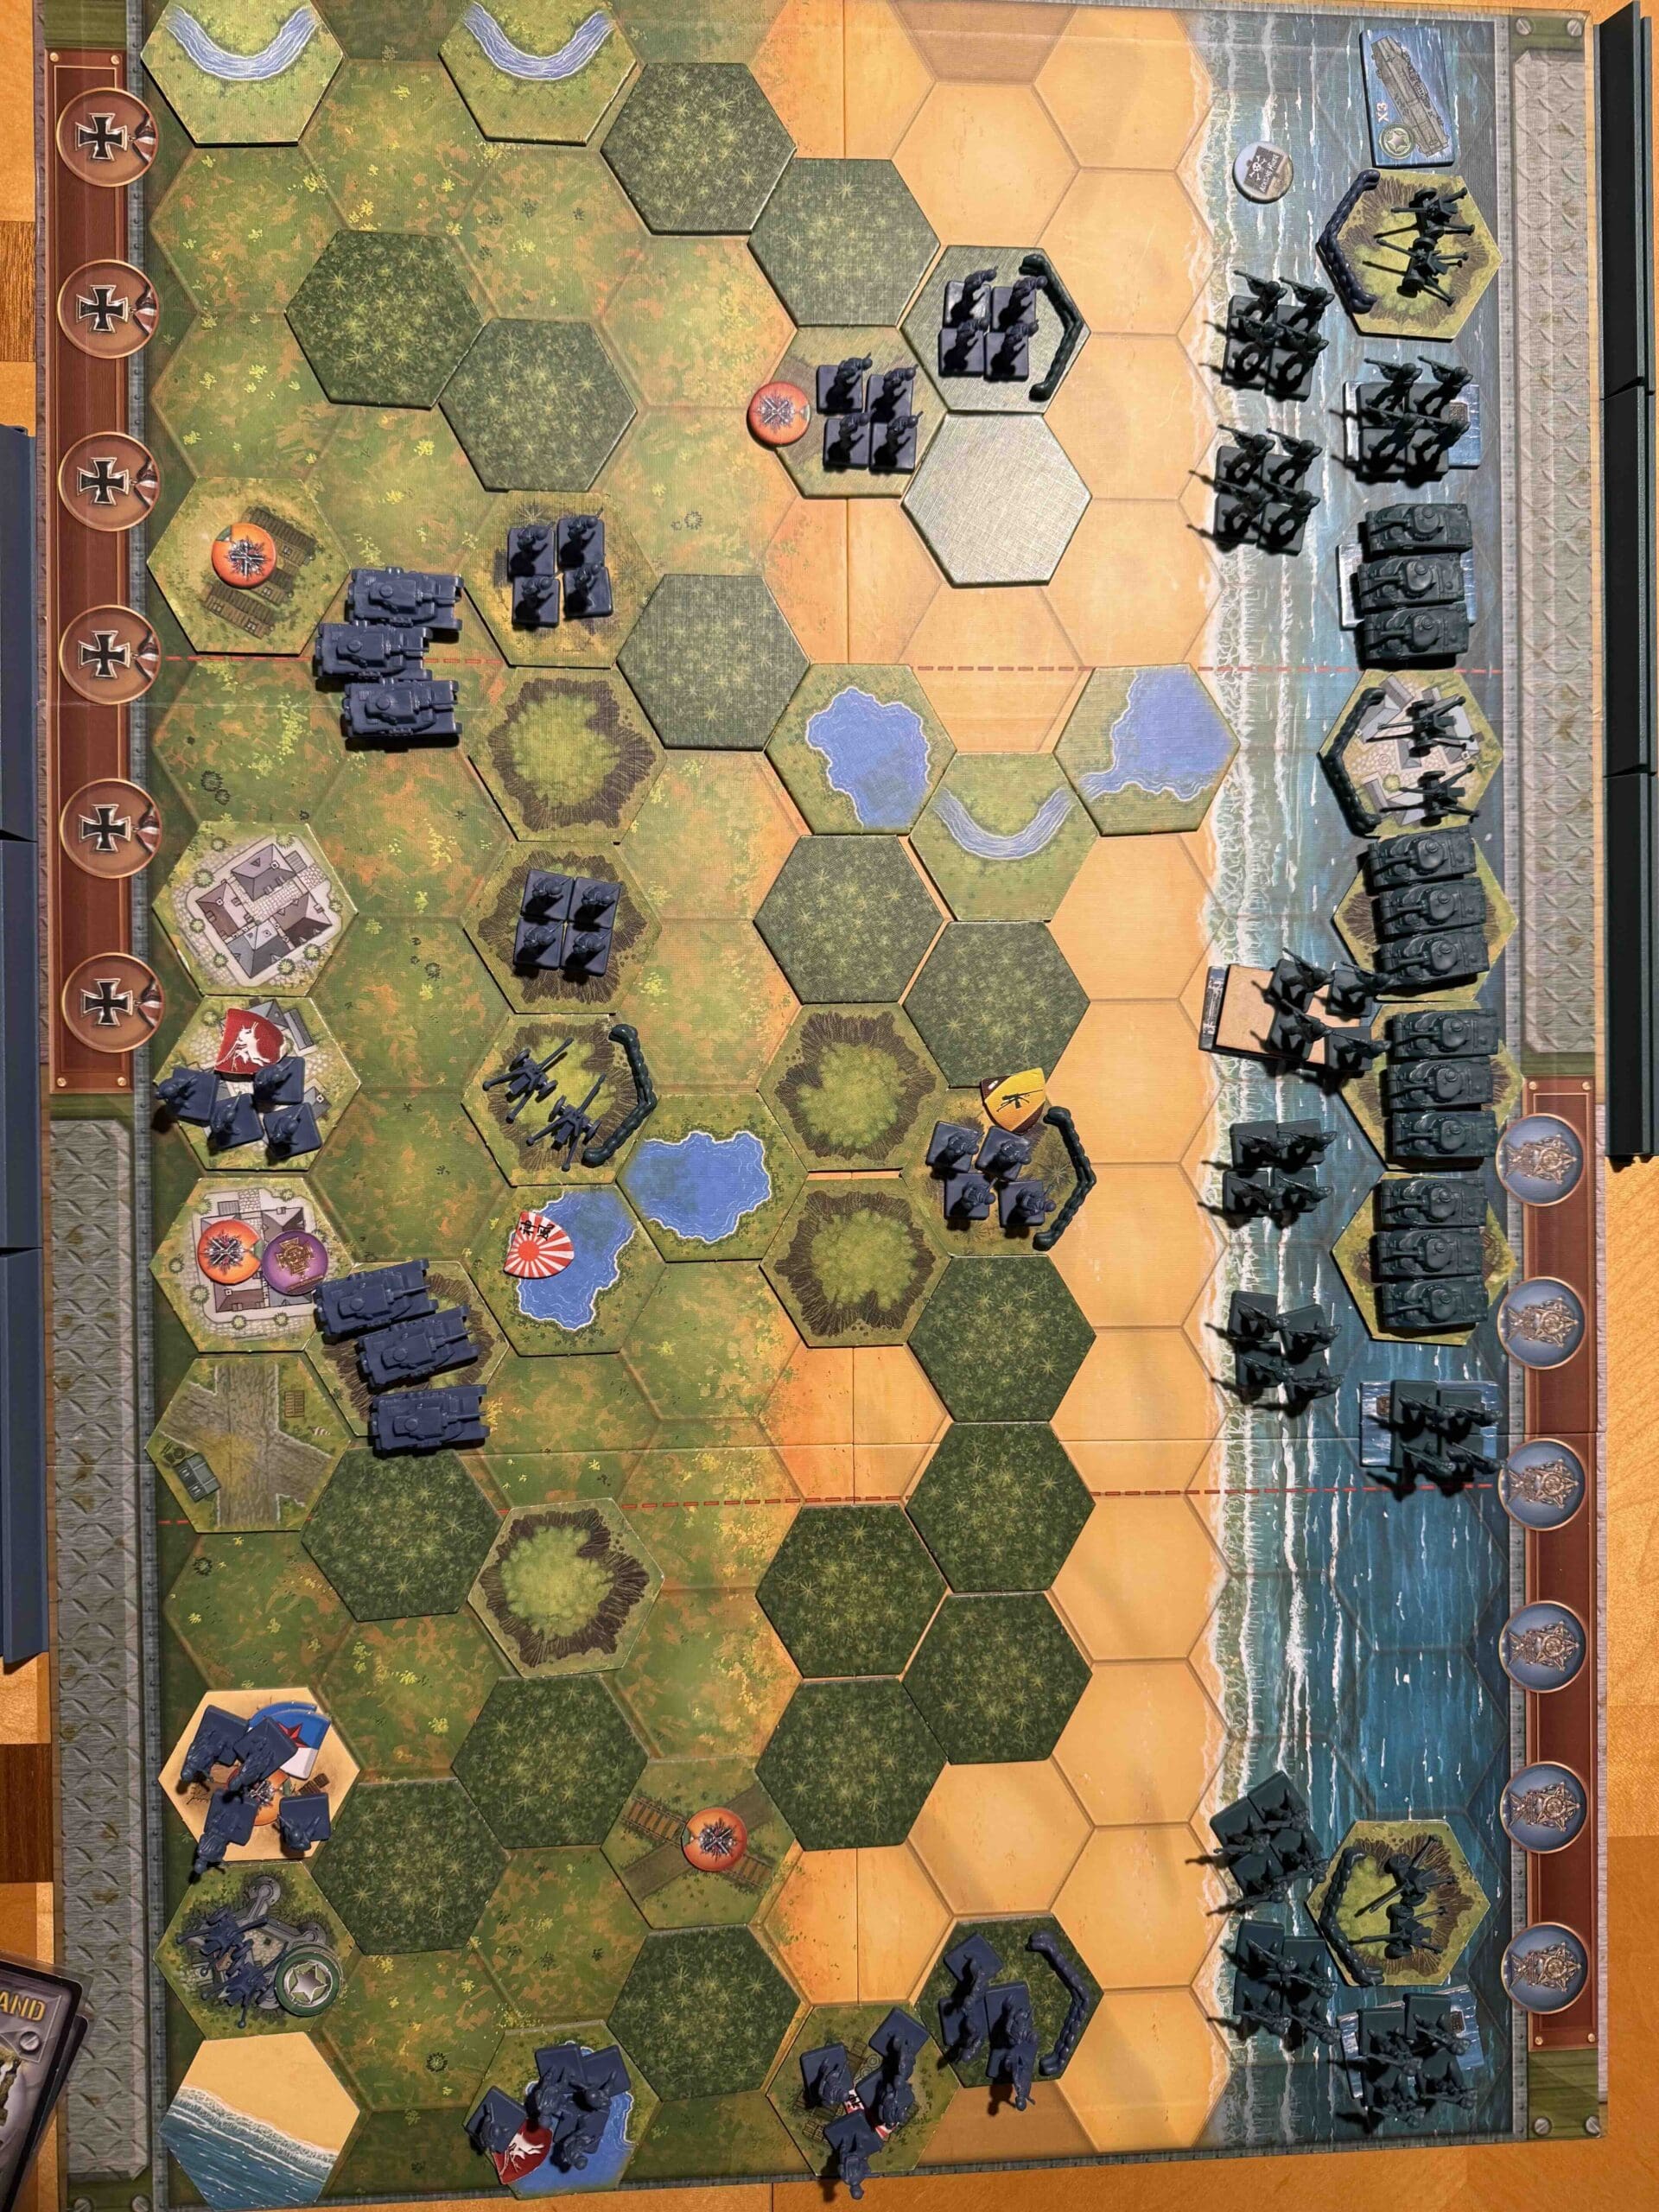
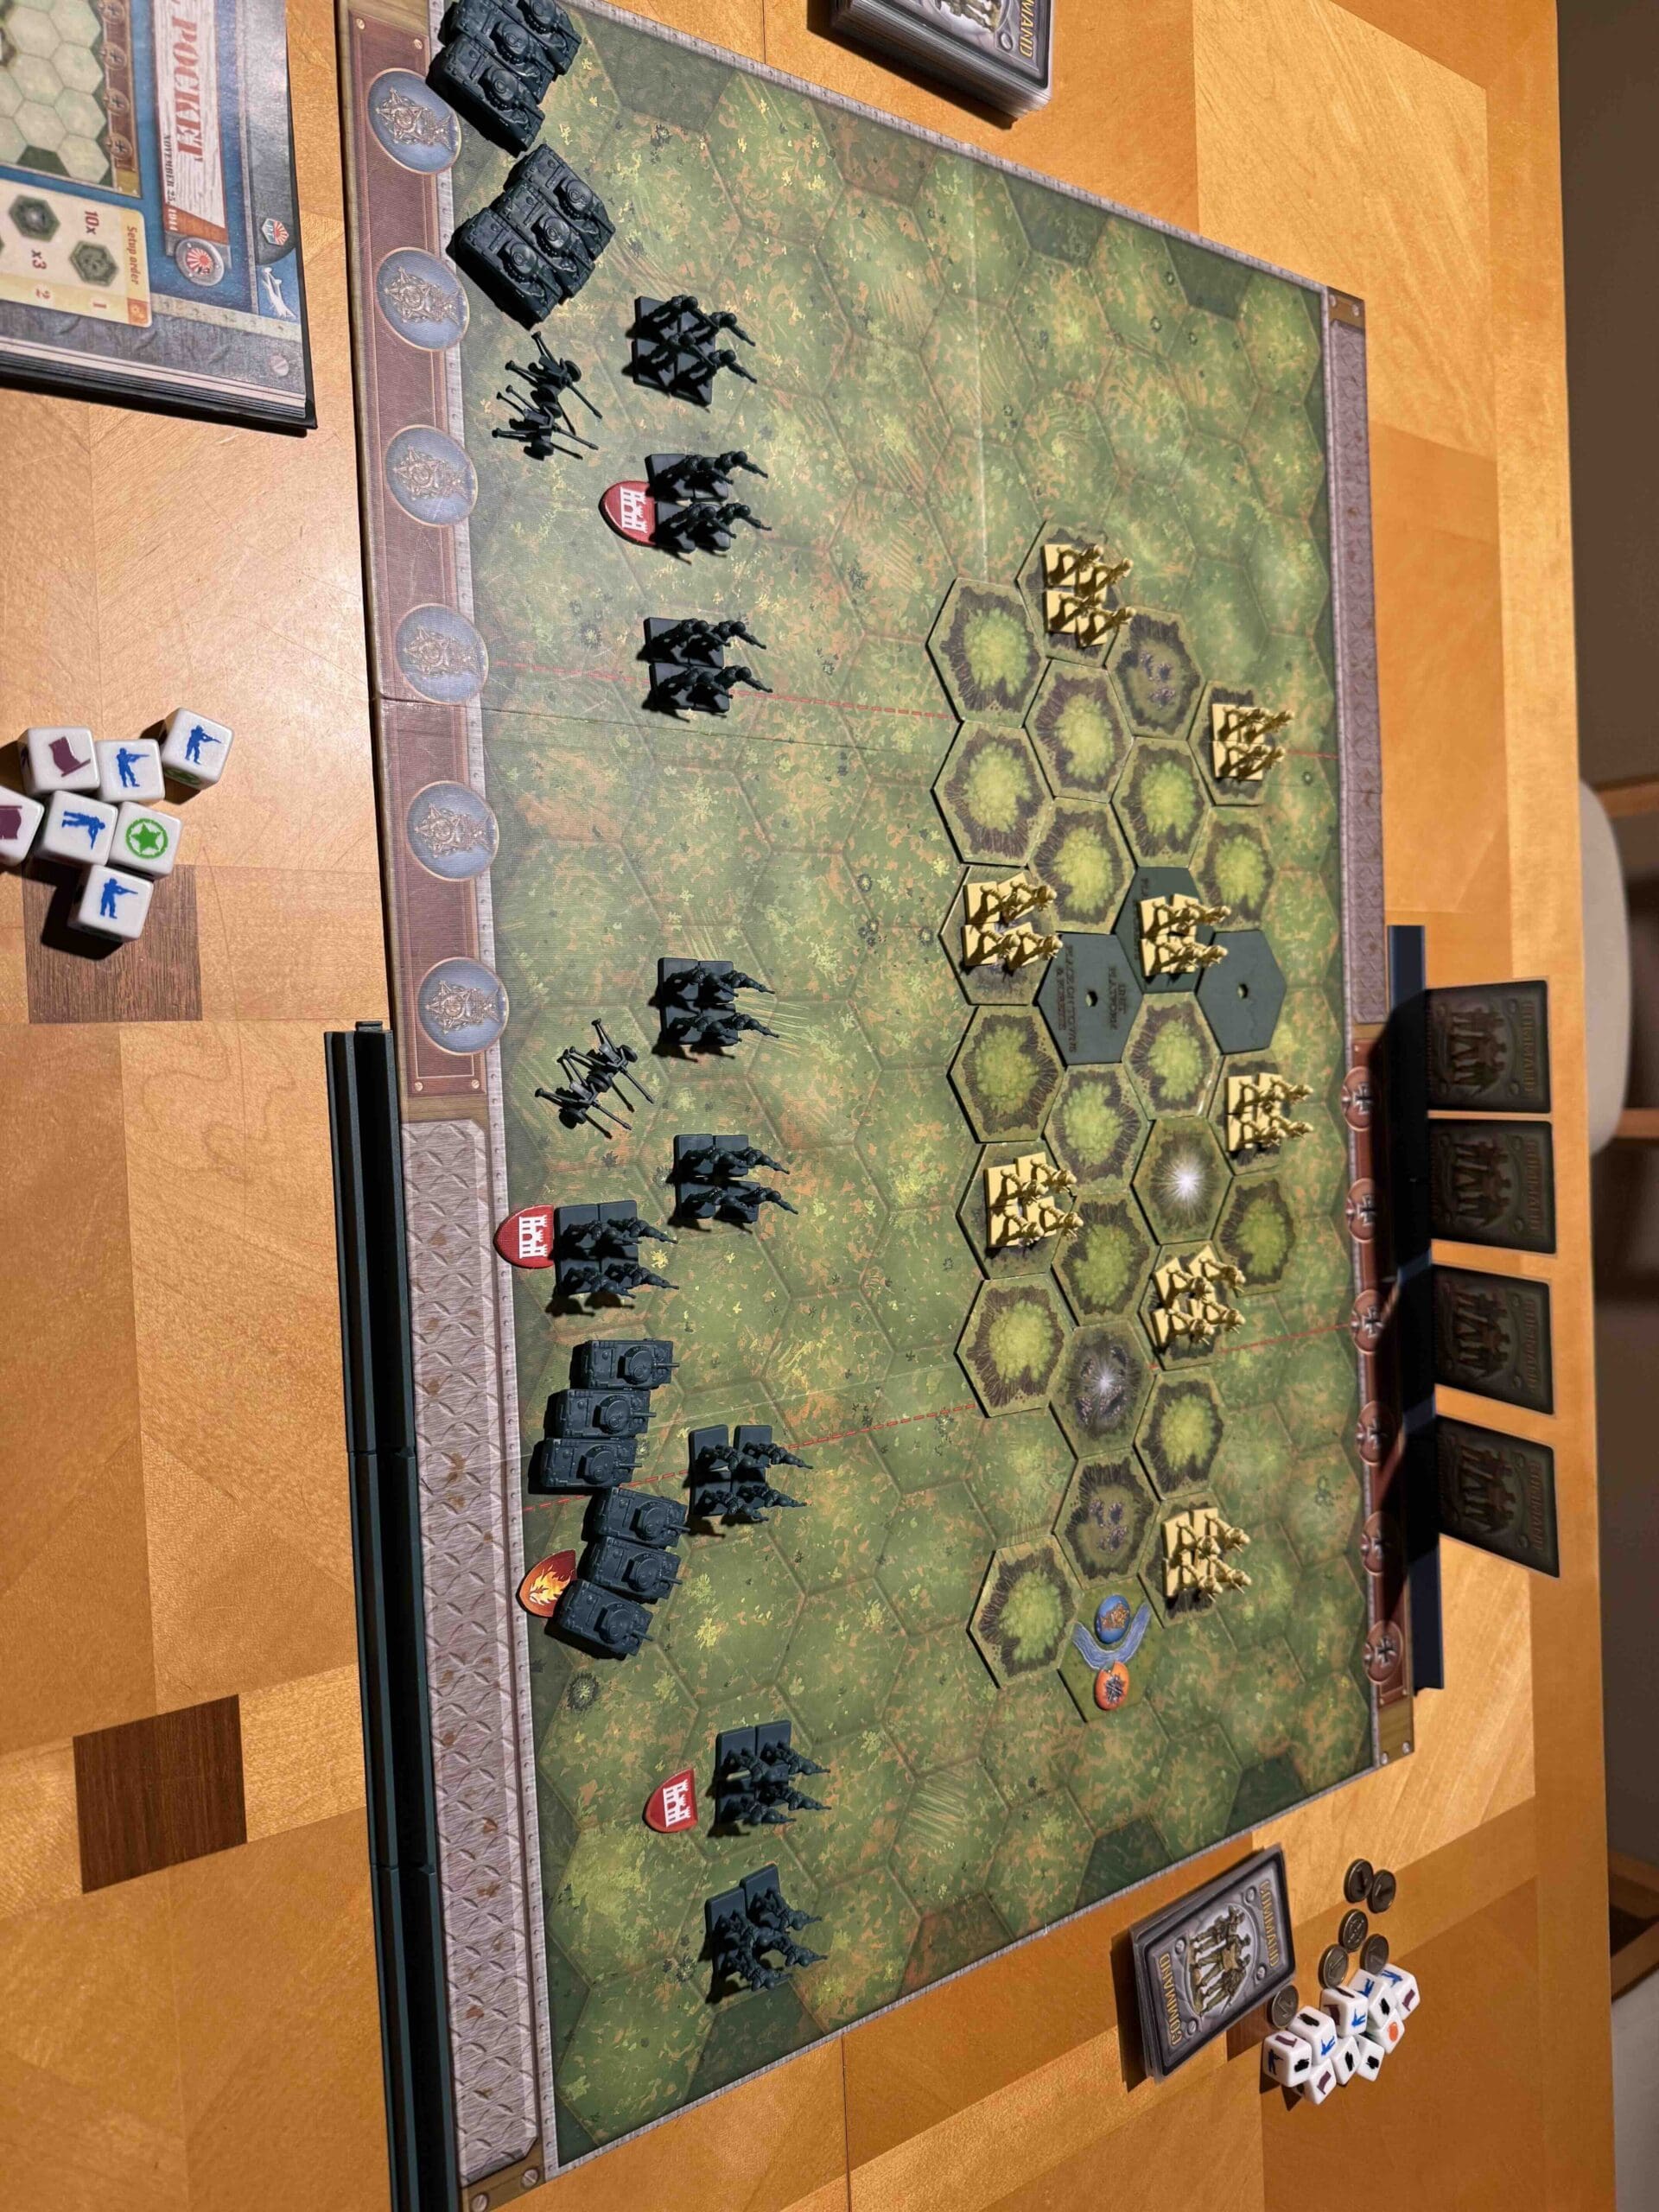
Battlefield:
Combination of hills and hills with caves .
Troops:
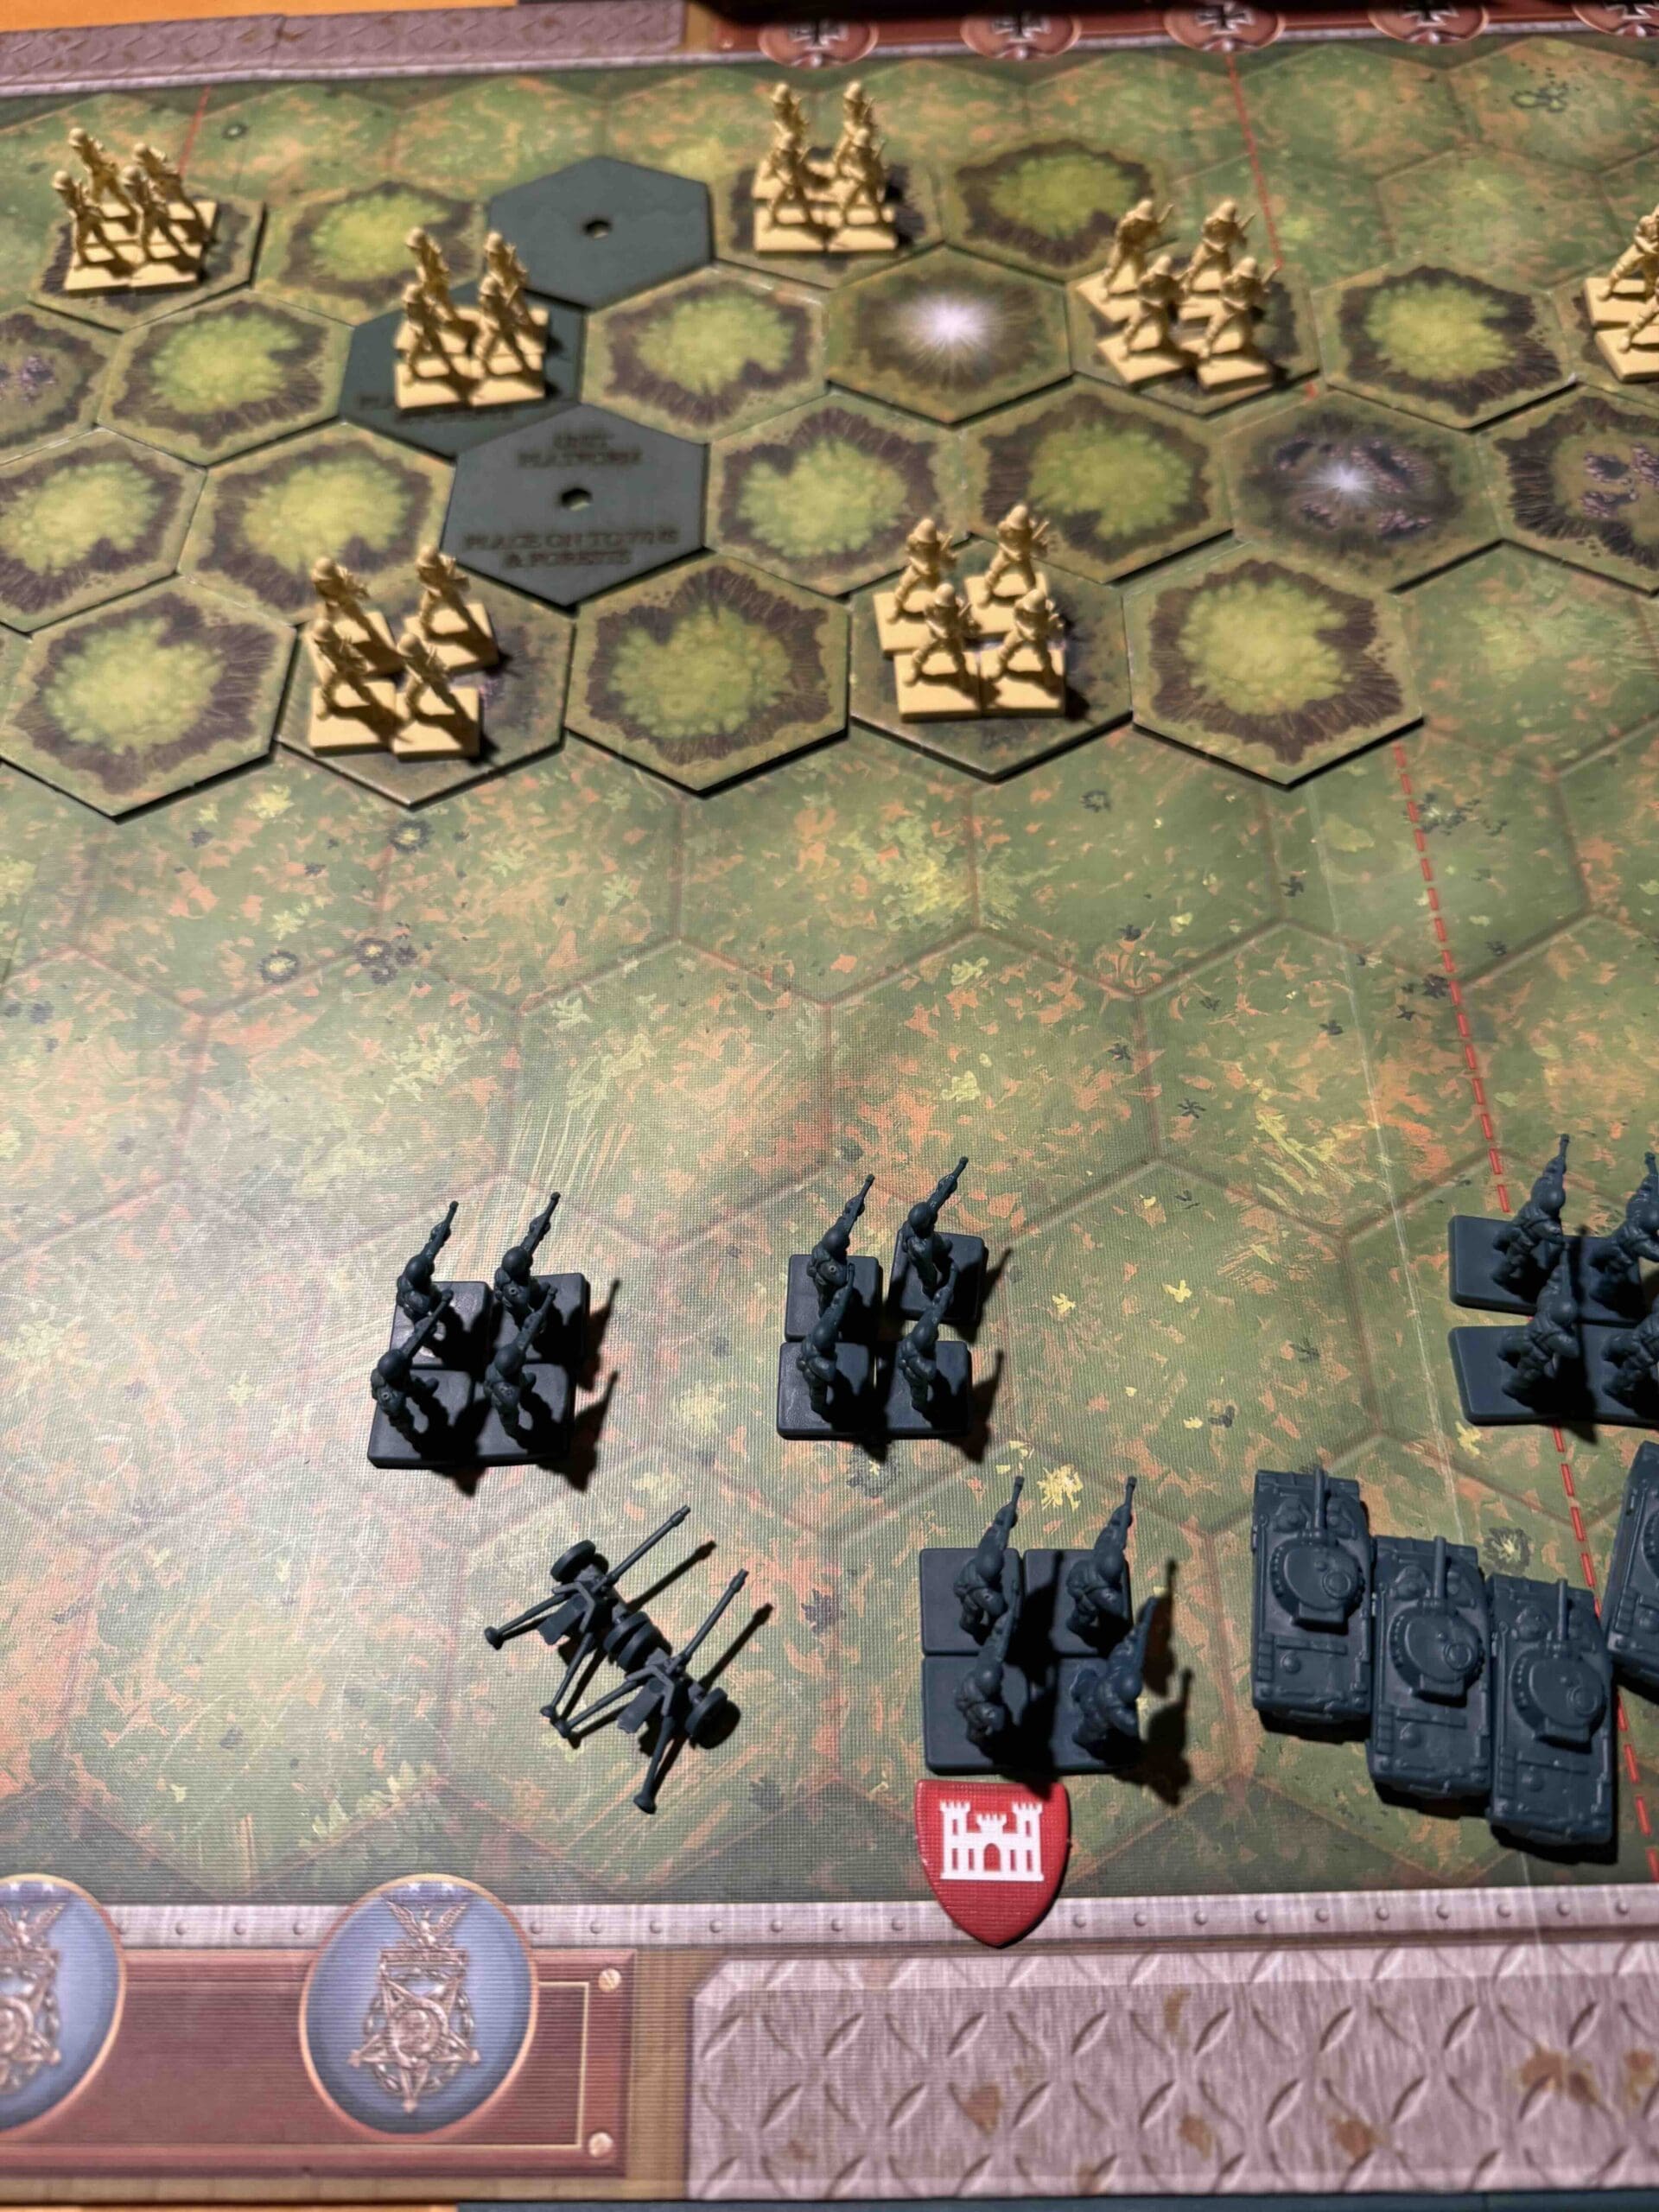
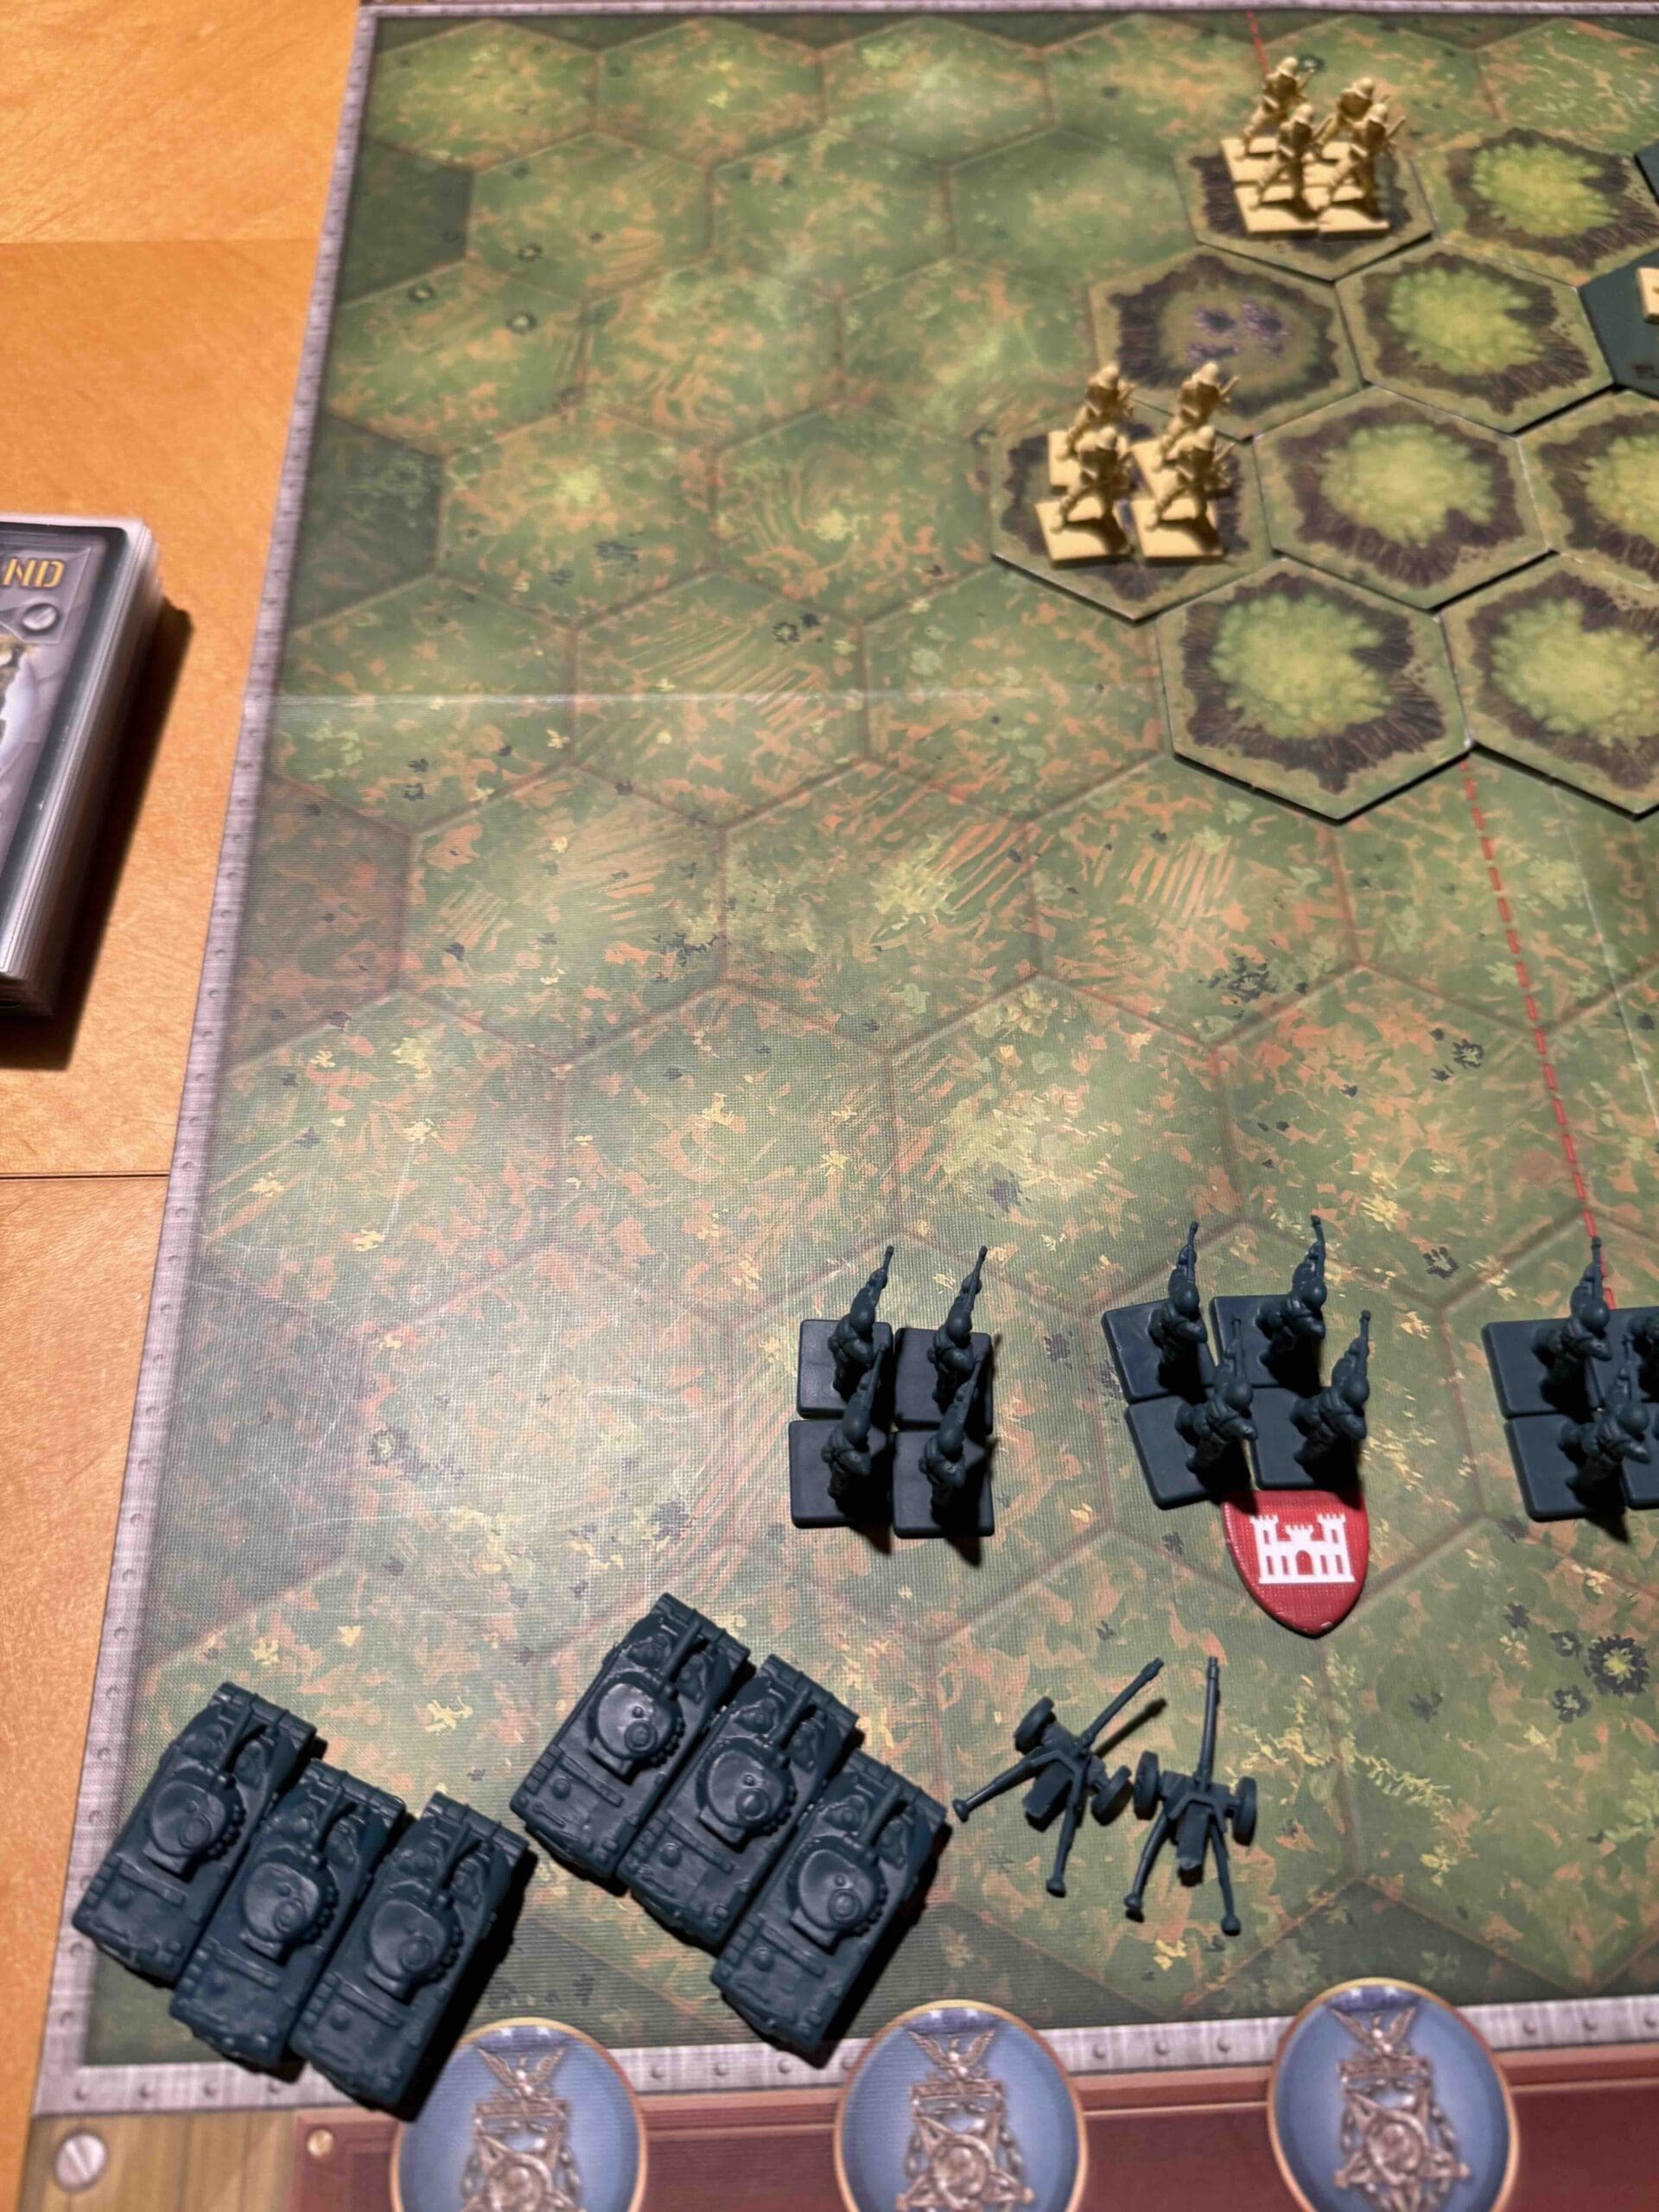
Allies – 9 Infantry, 4 Armor, and 2 Artillery
Axis – 8 Infantry

Allied Strategy:
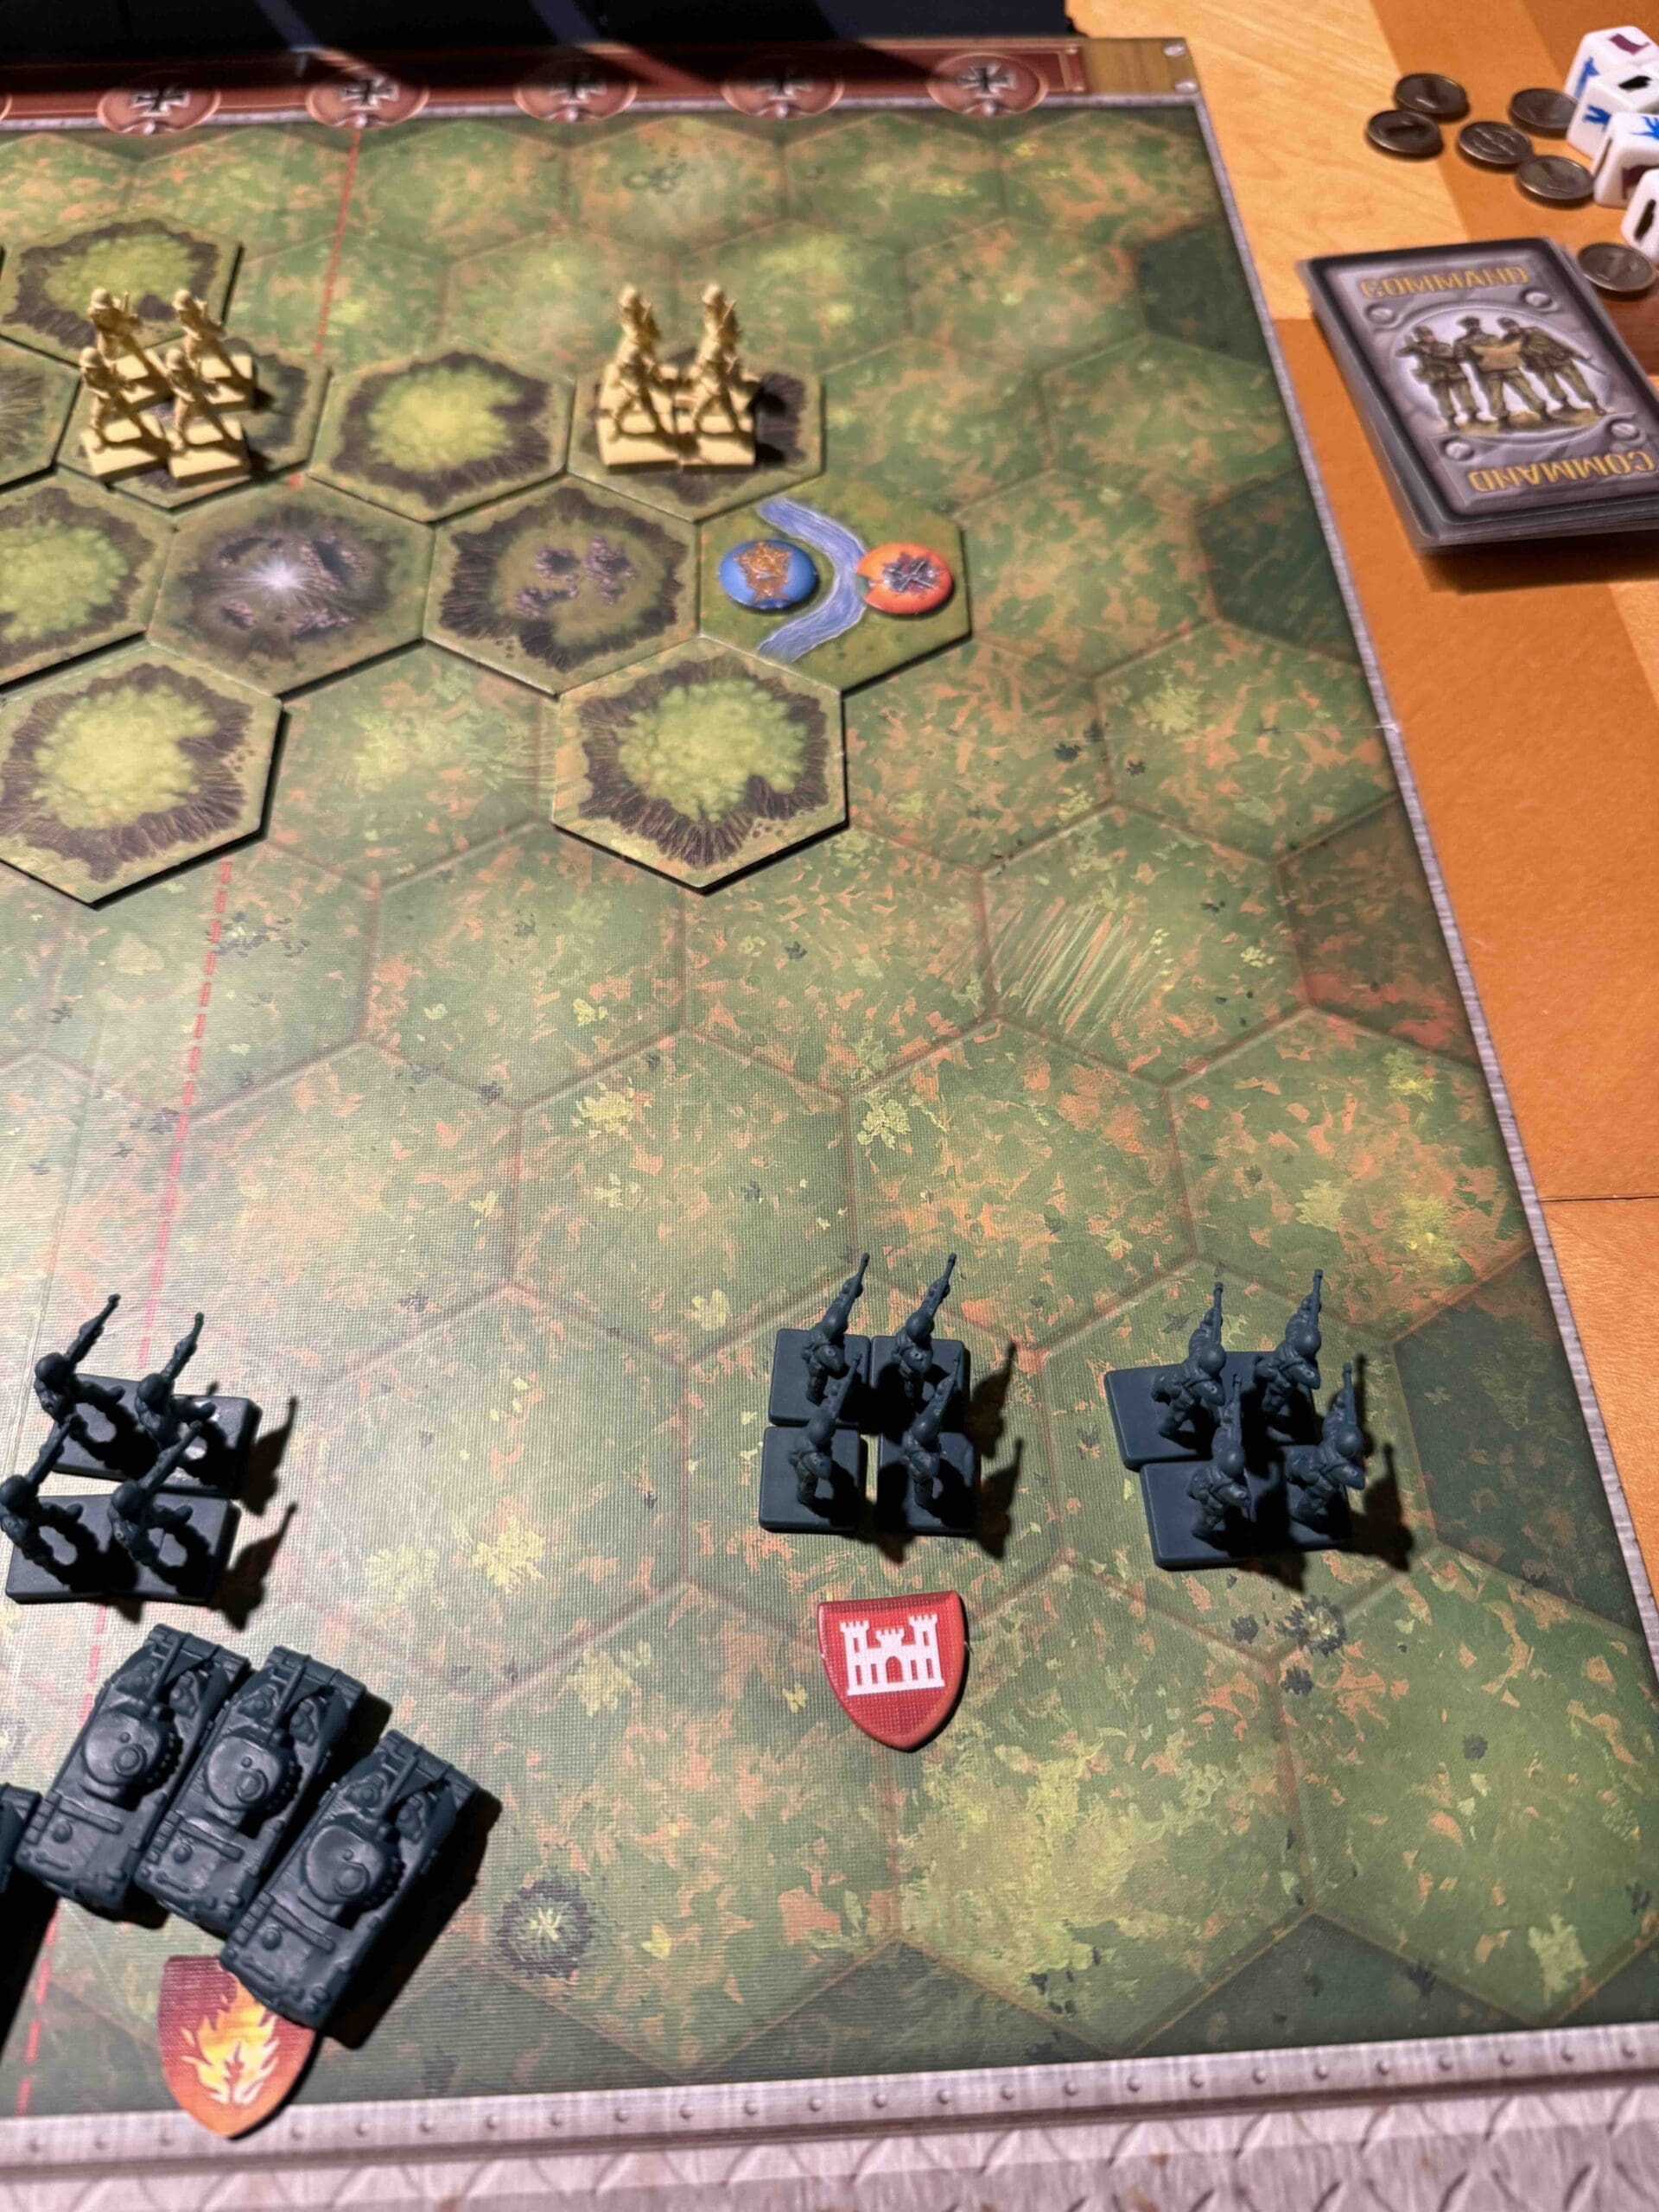
1. Use your Artillery and Armor as much as you can to attack the Japanese defenders at a distance. When they are sufficiently weakened, you can move in your infantry, beginning with your Engineers to finish up the forward units.
2. The fresh water river is a victory medal which goes to the Last to Occupy. Keep some forces on hand to grab it as a final victory point.

Axis Strategy
1. You have a very strong defensive position which allows you to quickly move between caves and hide your weak units when necessary.
2. Take advantage of your Seishin Kyoiku powers and attack any enemy troops using the Banzai War Cry which come within two hexes of your Infantry.
3. Guard the fresh water source, and keep the enemy away from it, as they will attempt to grab it on their final move.
Battle Reports
Author:
Days of Wonder
Resource:
Campaign Book, Volume 2