Rats in a Factory
Rats in a Factory [ Overlord ]

Rats-Factory_title
Rats-Factory_right2

Rats-Factory_right1
Rats-Factory_Left2
Rats-Factory_Left1
Rats-Factory_center2
Rats-Factory_center1
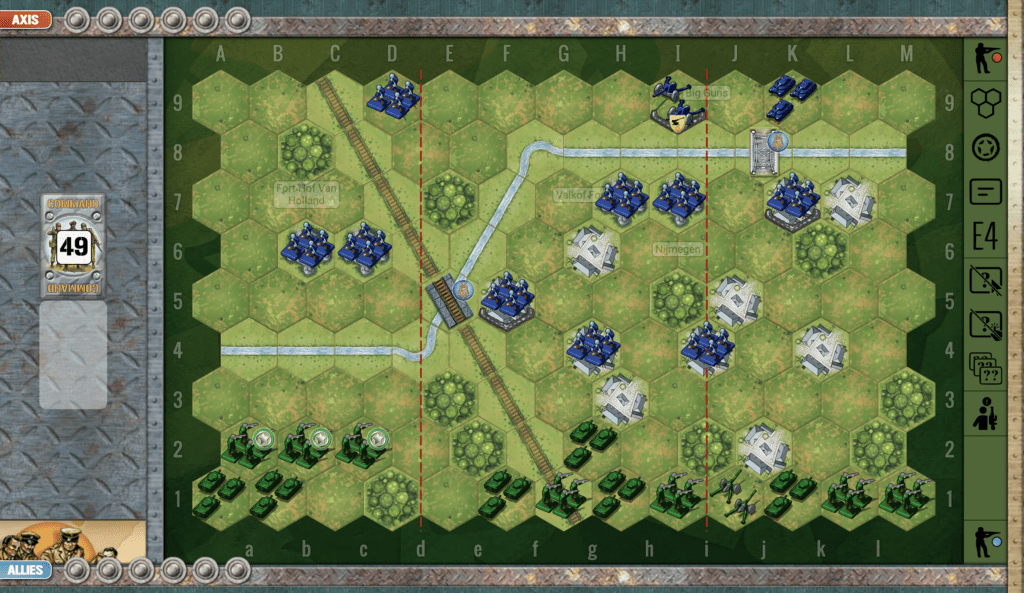
“Rats in a Factory”—Stalingrad, late ’42. You want to know what hell looks like? This was it.
The Germans thought they could storm into those Red October, Barrikady, and Tractor factories like it was just another checkpoint. What they walked into was a damn grinder. Concrete, steel, smoke, and blood—that’s what those factories became.
The Soviets didn’t fight for blocks—they fought for bricks, for stairwells, for every bolt and beam. One room would belong to the Germans, the next to the Soviets. Sometimes they were fighting in the same building—on different floors. It was war in a cage, and every inch came with a cost.
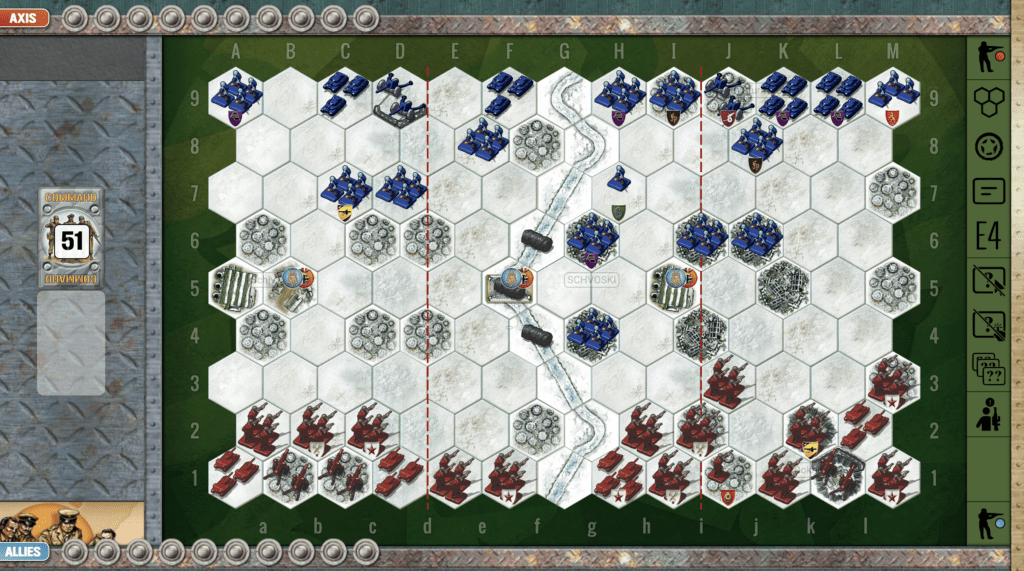
The term “Rats in a Factory” wasn’t poetry—it was reality. Men crawled, fought, and died like animals in a twisted maze of rubble and twisted metal. **Snipers in shadows, ambushes around corners, grenades down stairwells—**no rules, no rest, no mercy.
And guess what? The Soviets held. They bled the German 6th Army dry, right there in that industrial slaughterhouse. That stand helped snap the spine of the Nazi push in the East.
You want a lesson in raw, unbreakable resolve? Look no further. That’s what it means to fight like you’ve got nothing left to lose—and no intention of backing down.
~~ General Howitzer
18 VP’s
![]()
Card Balance:
Allies – 9
Axis – 10
Complexity:
5
Conditions:
Urban
Context:
Historical
Location:
Stalingrad
Year:
1942
Theater:
Eastern
Campaign:
Summary:
This is an Overlord game.
Objectives:
- 18 Medals including both Permanent and Temporary Medal Objectives.
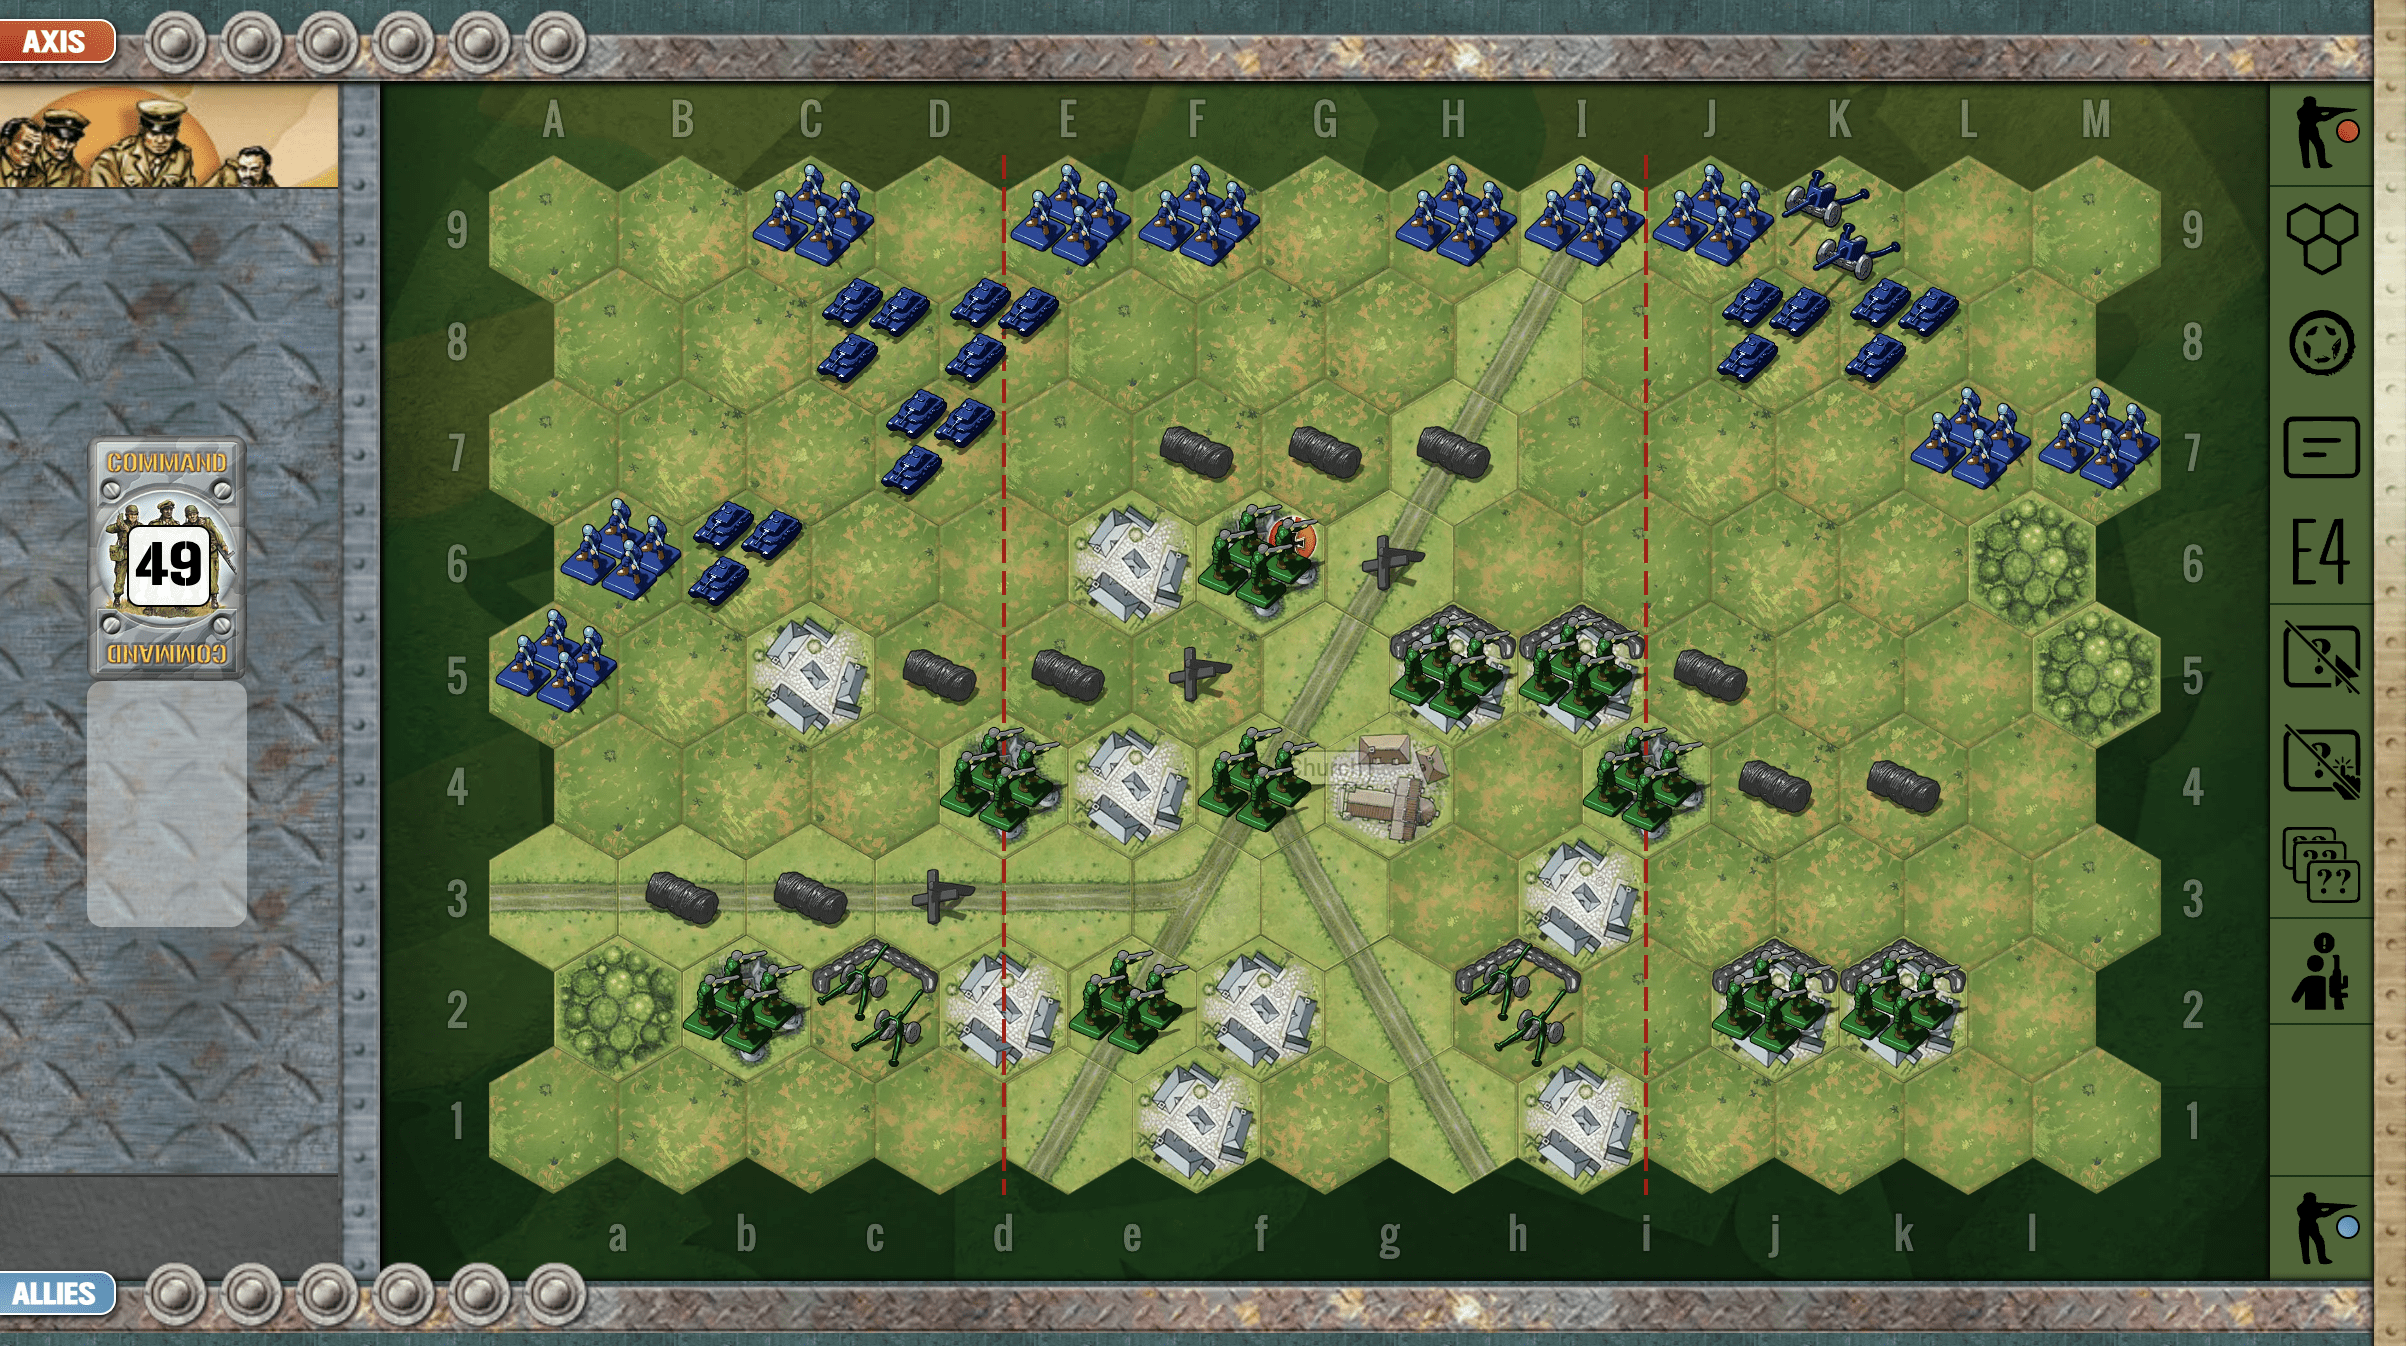
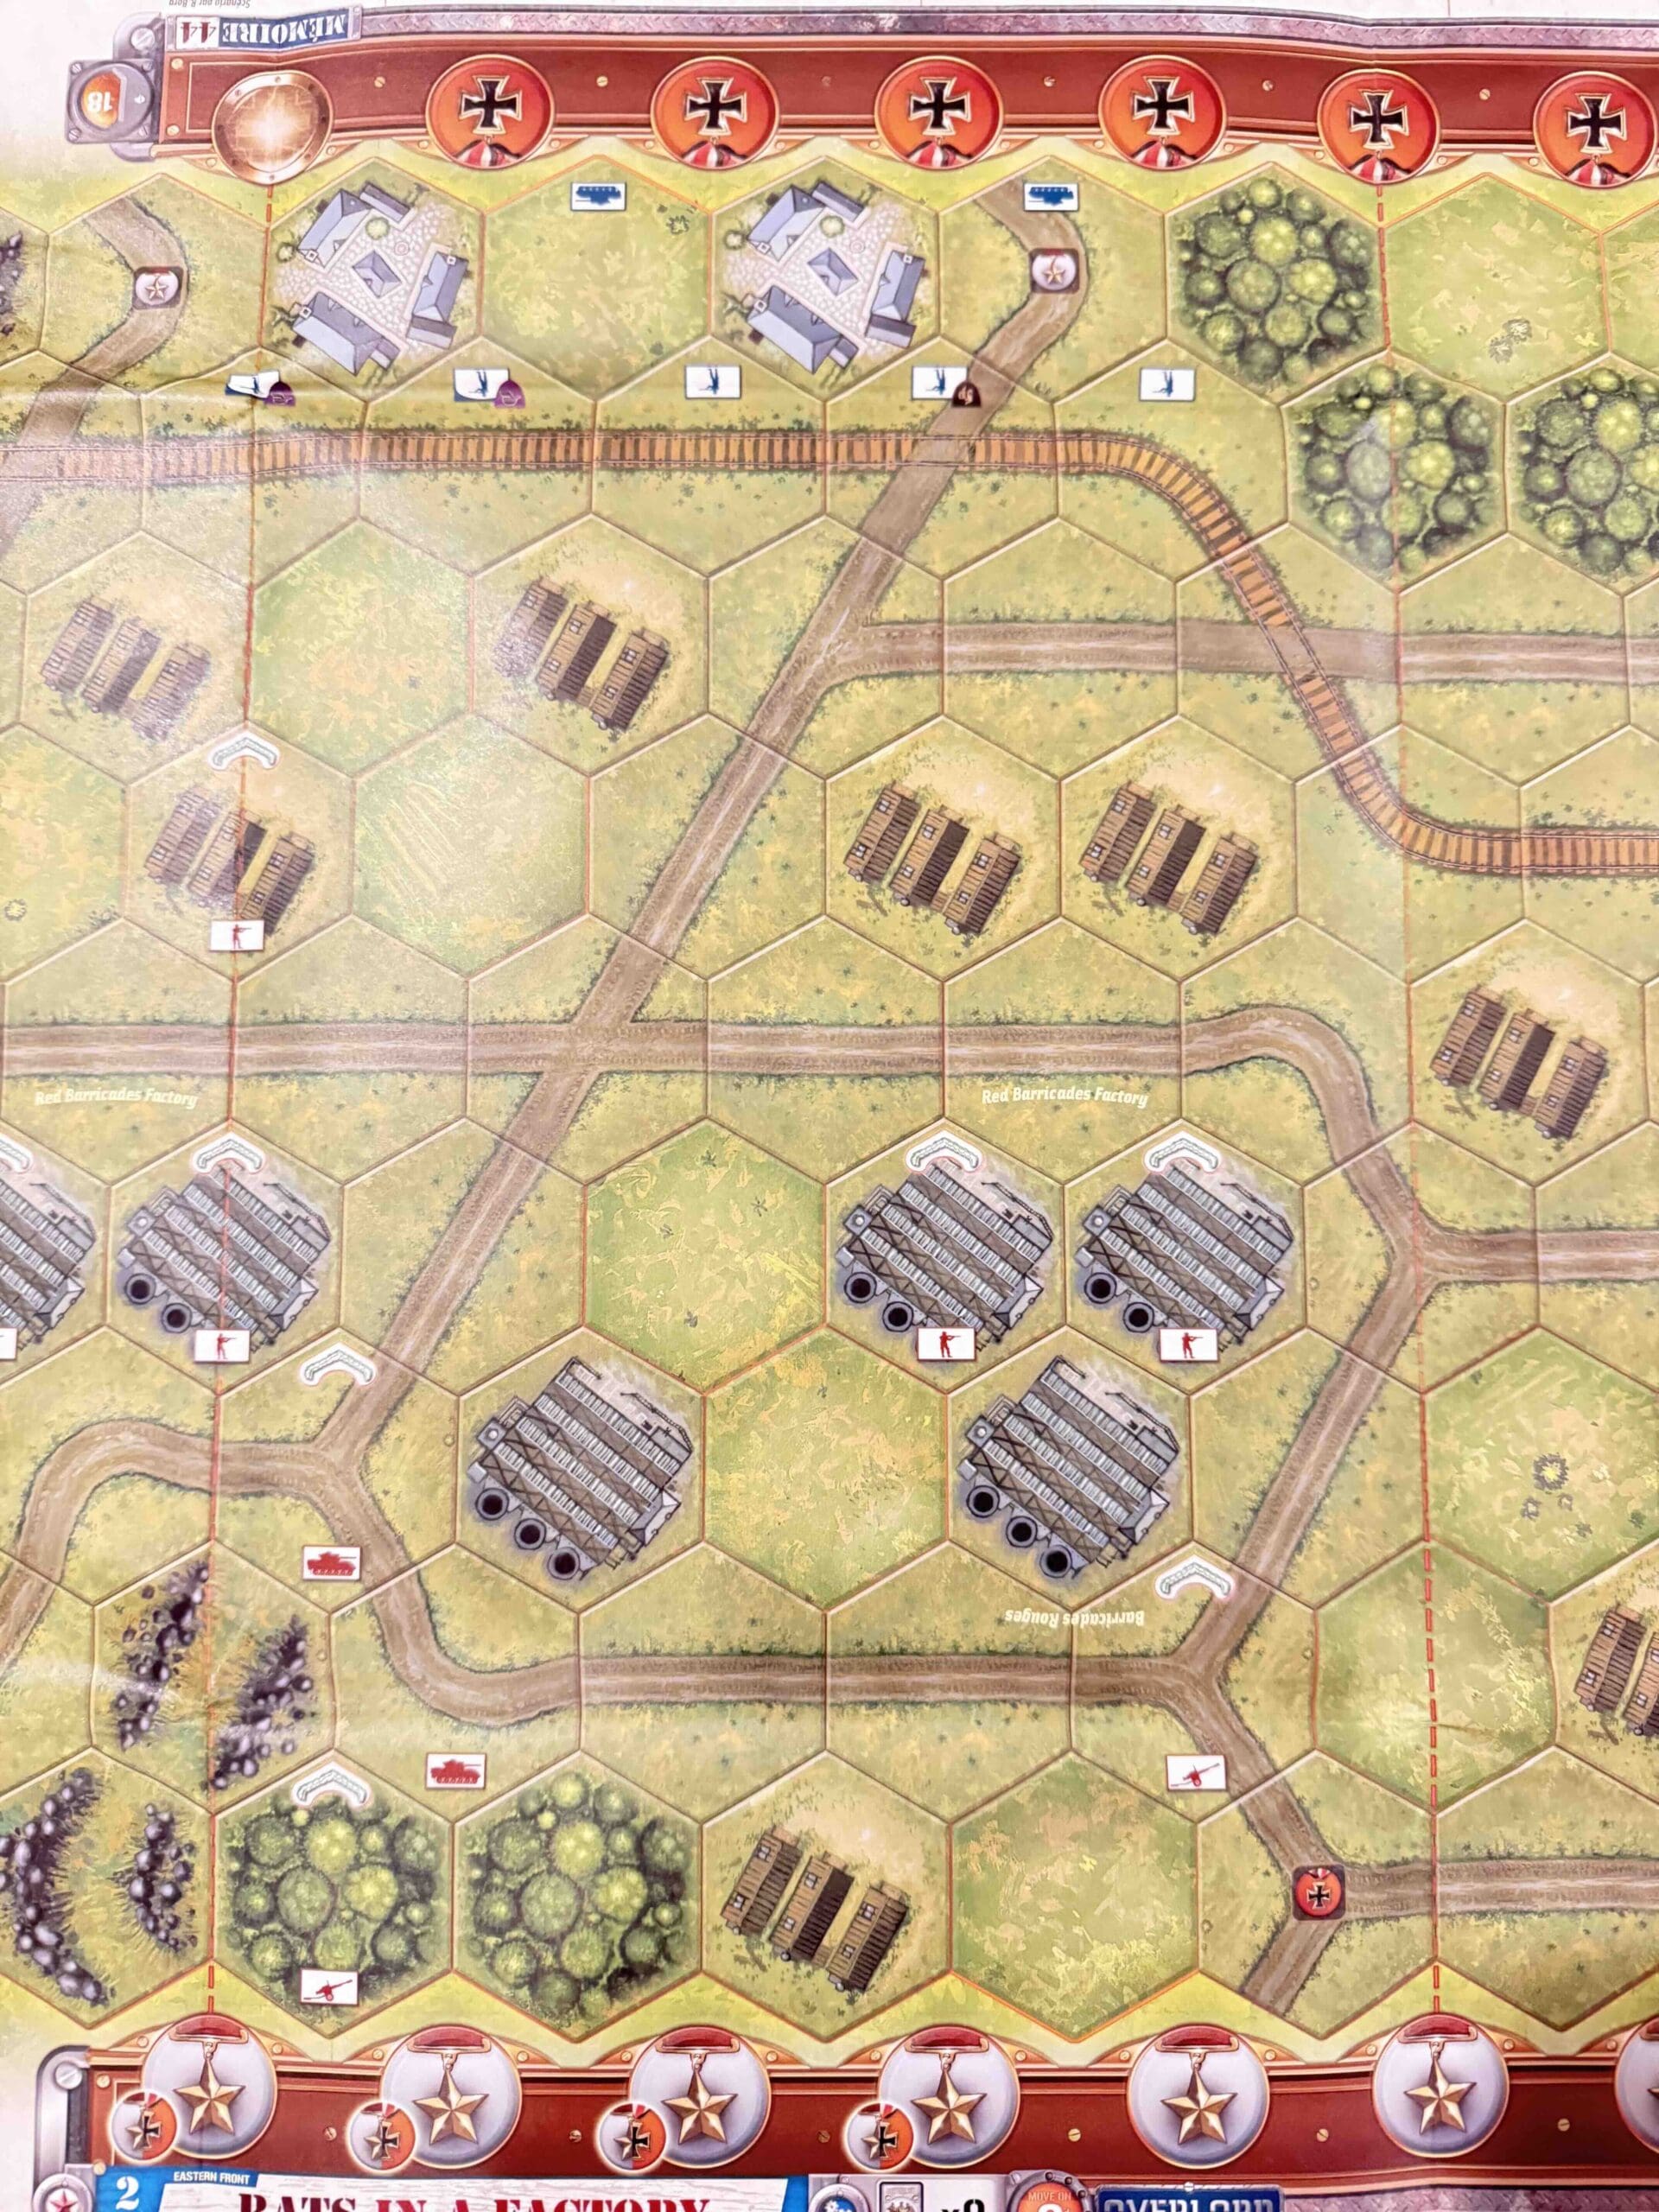
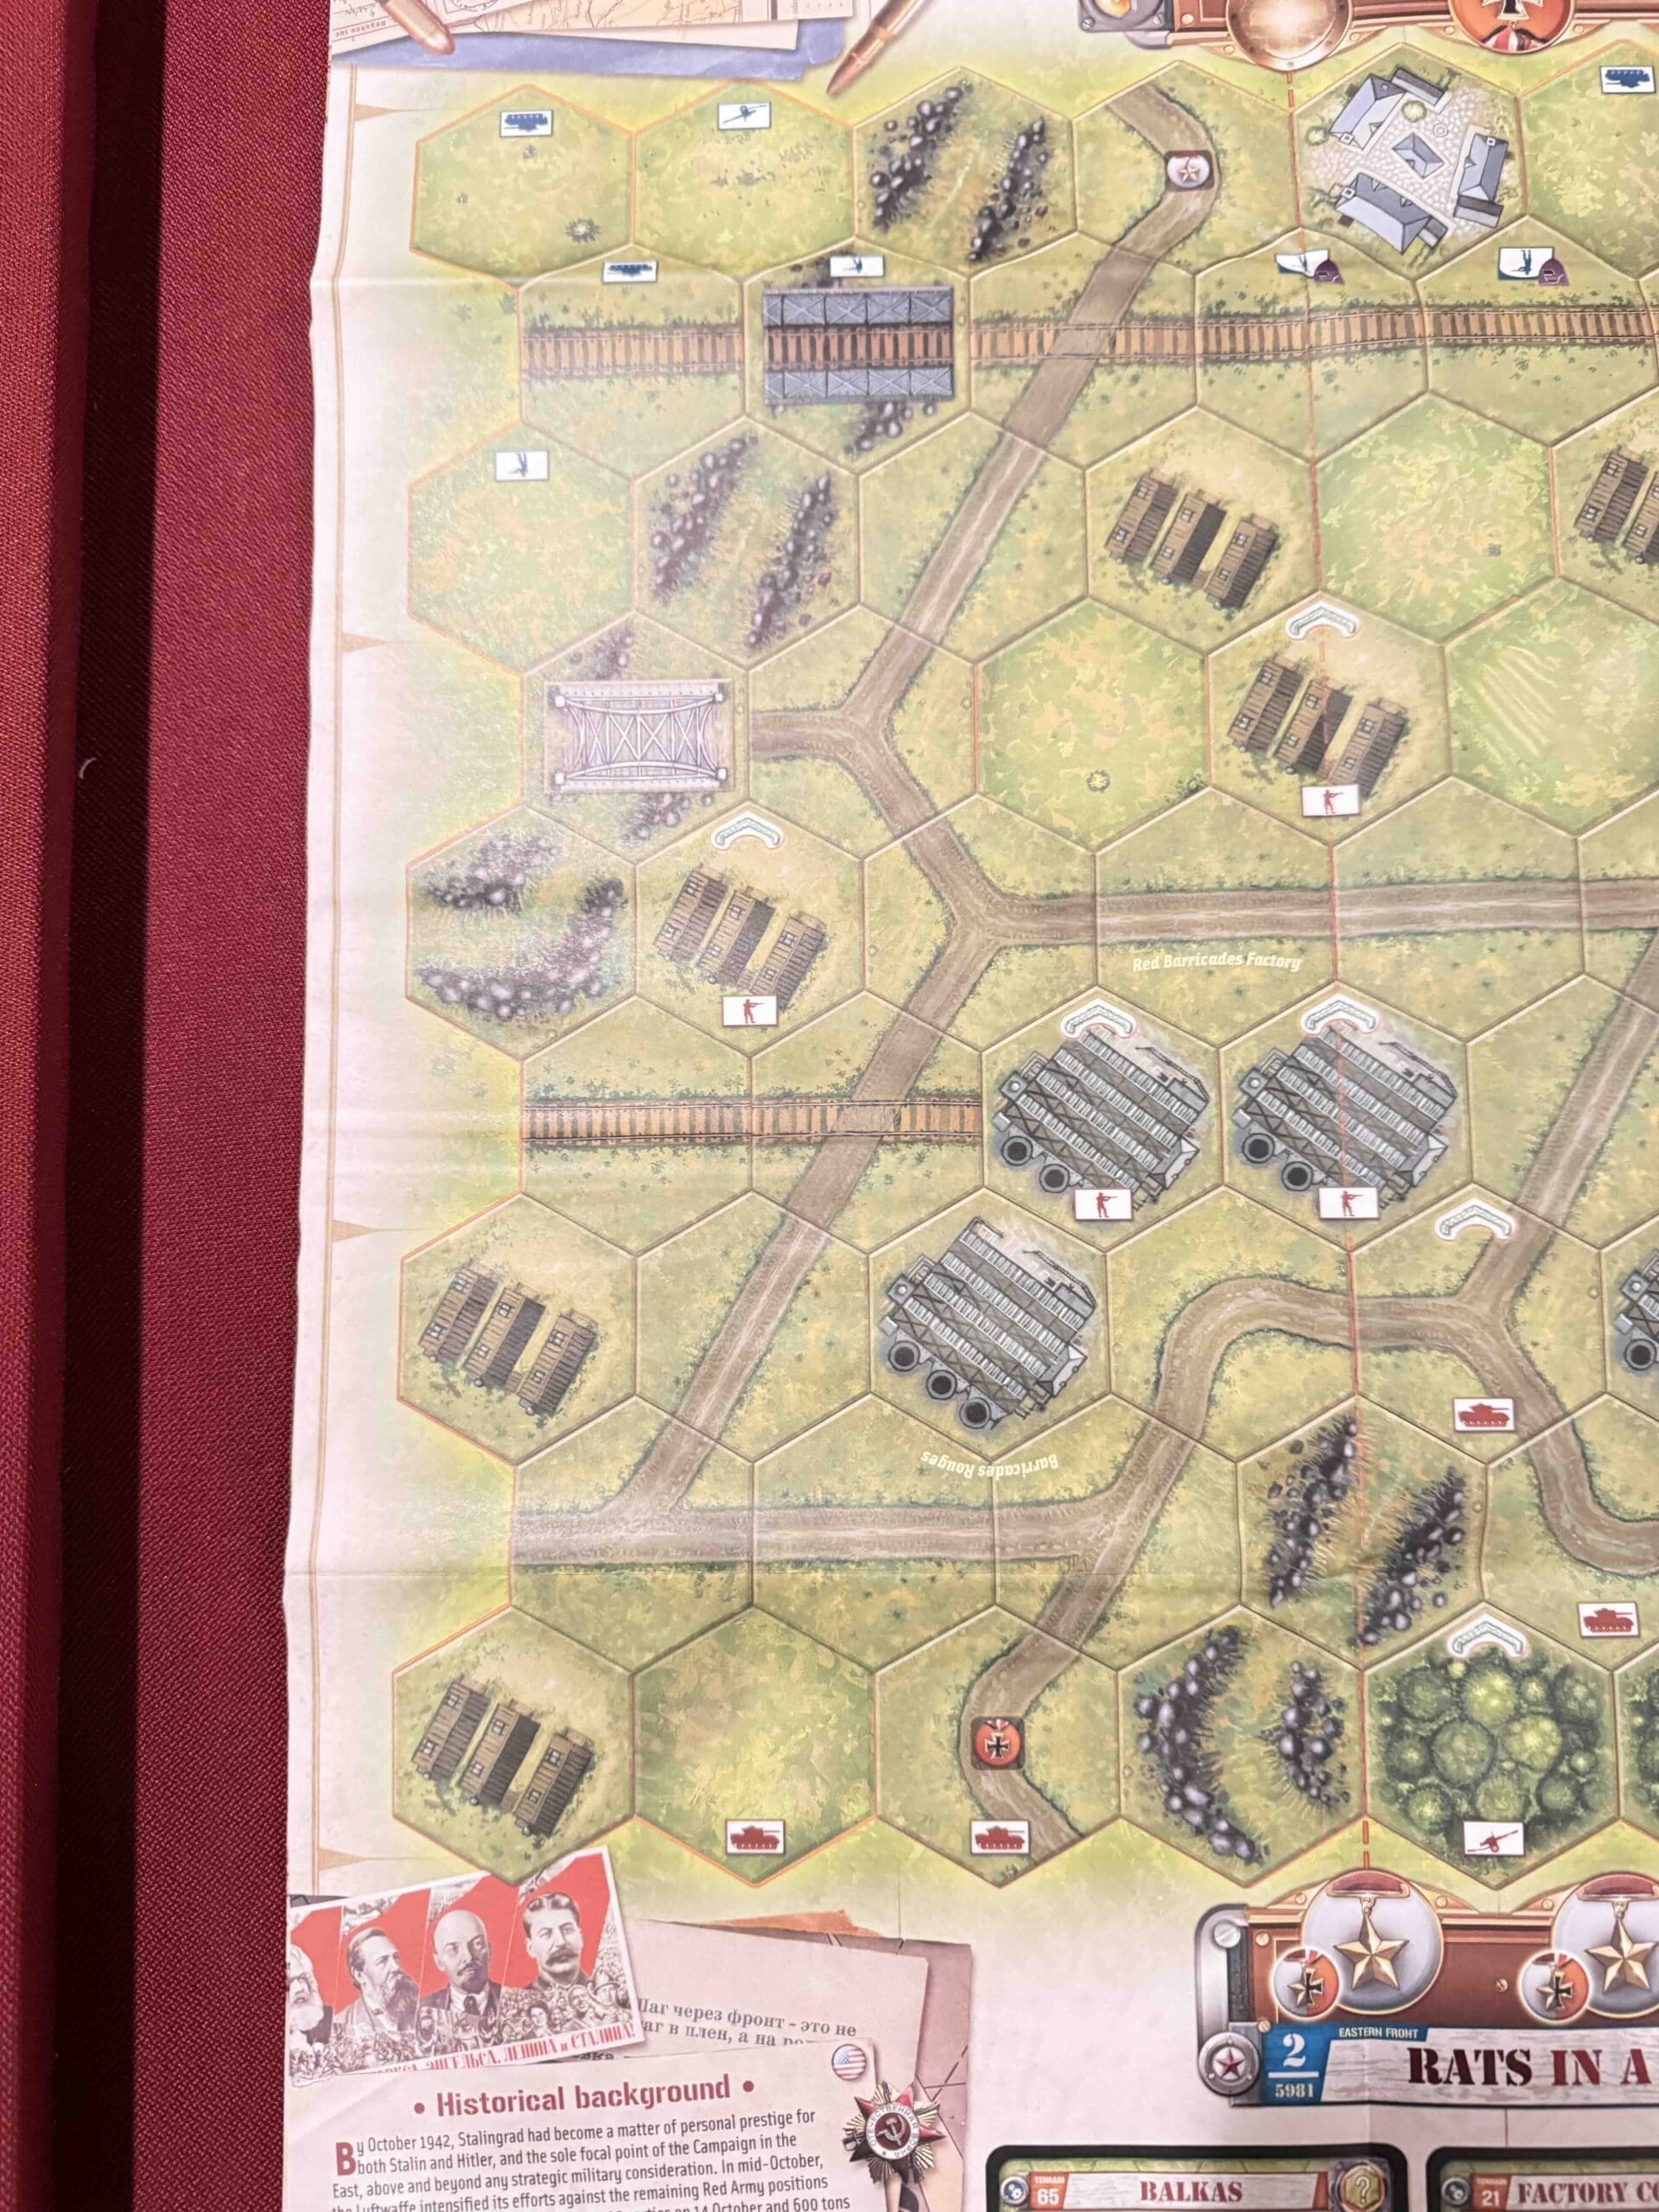
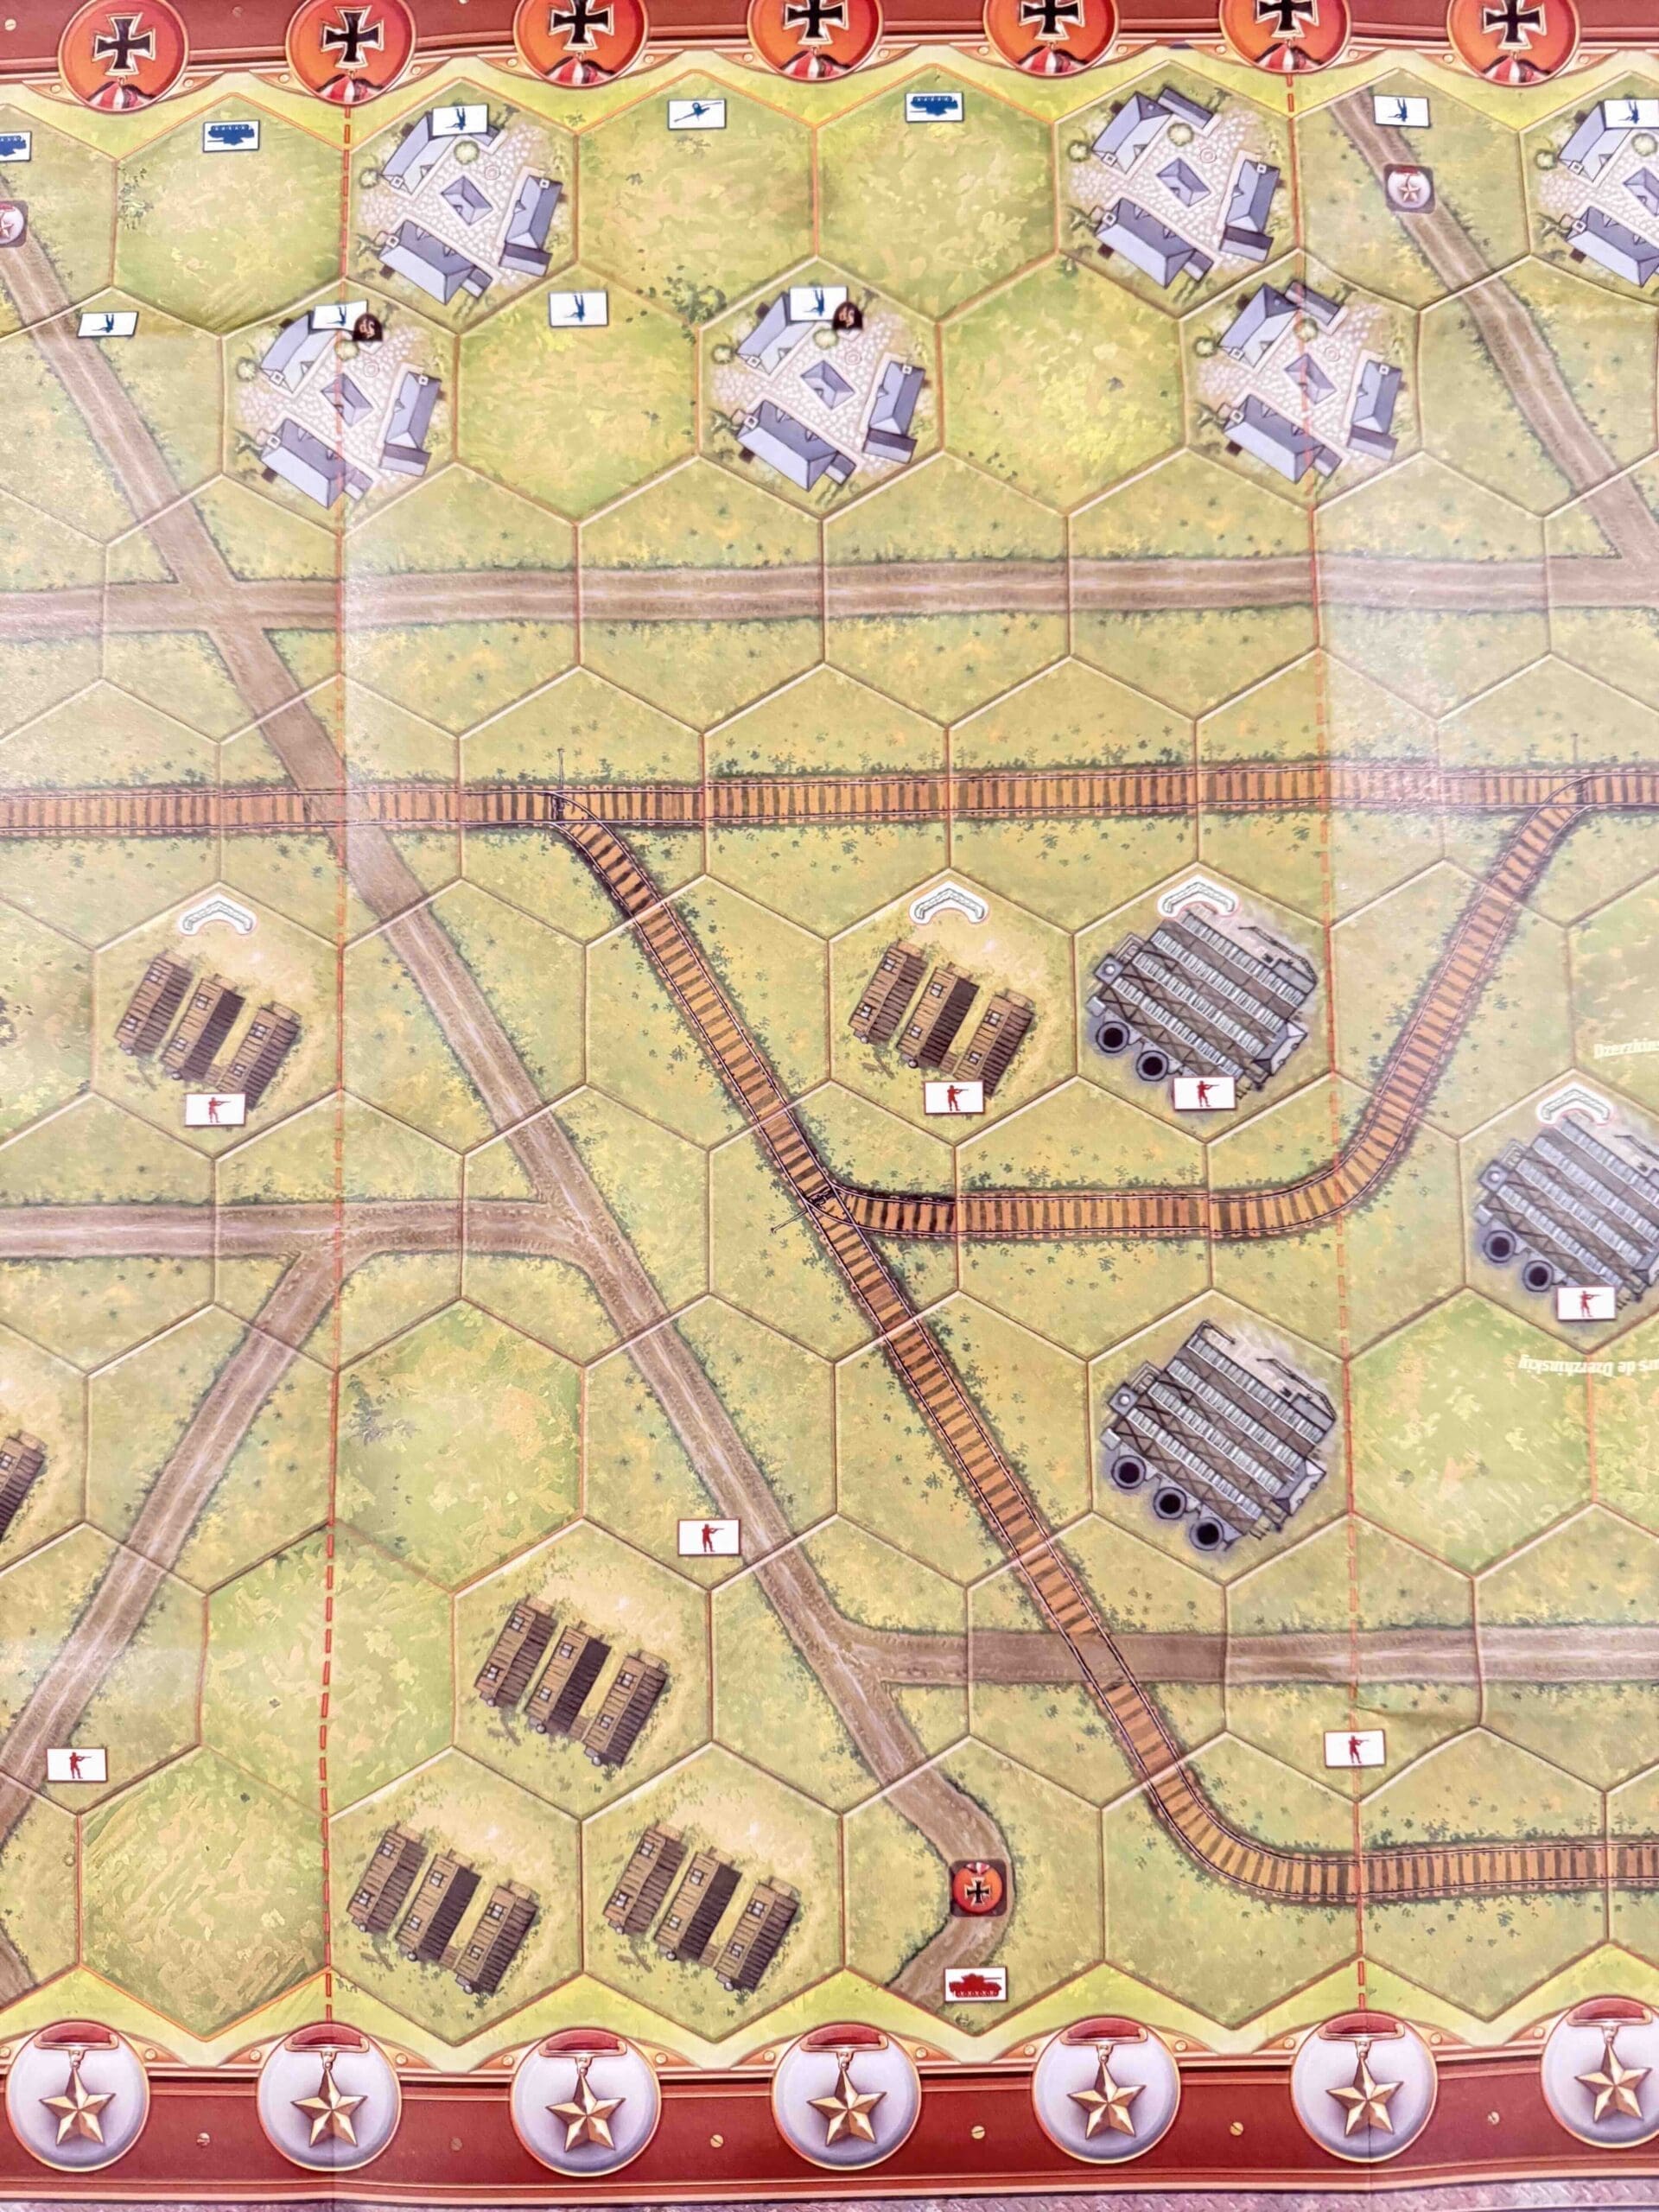
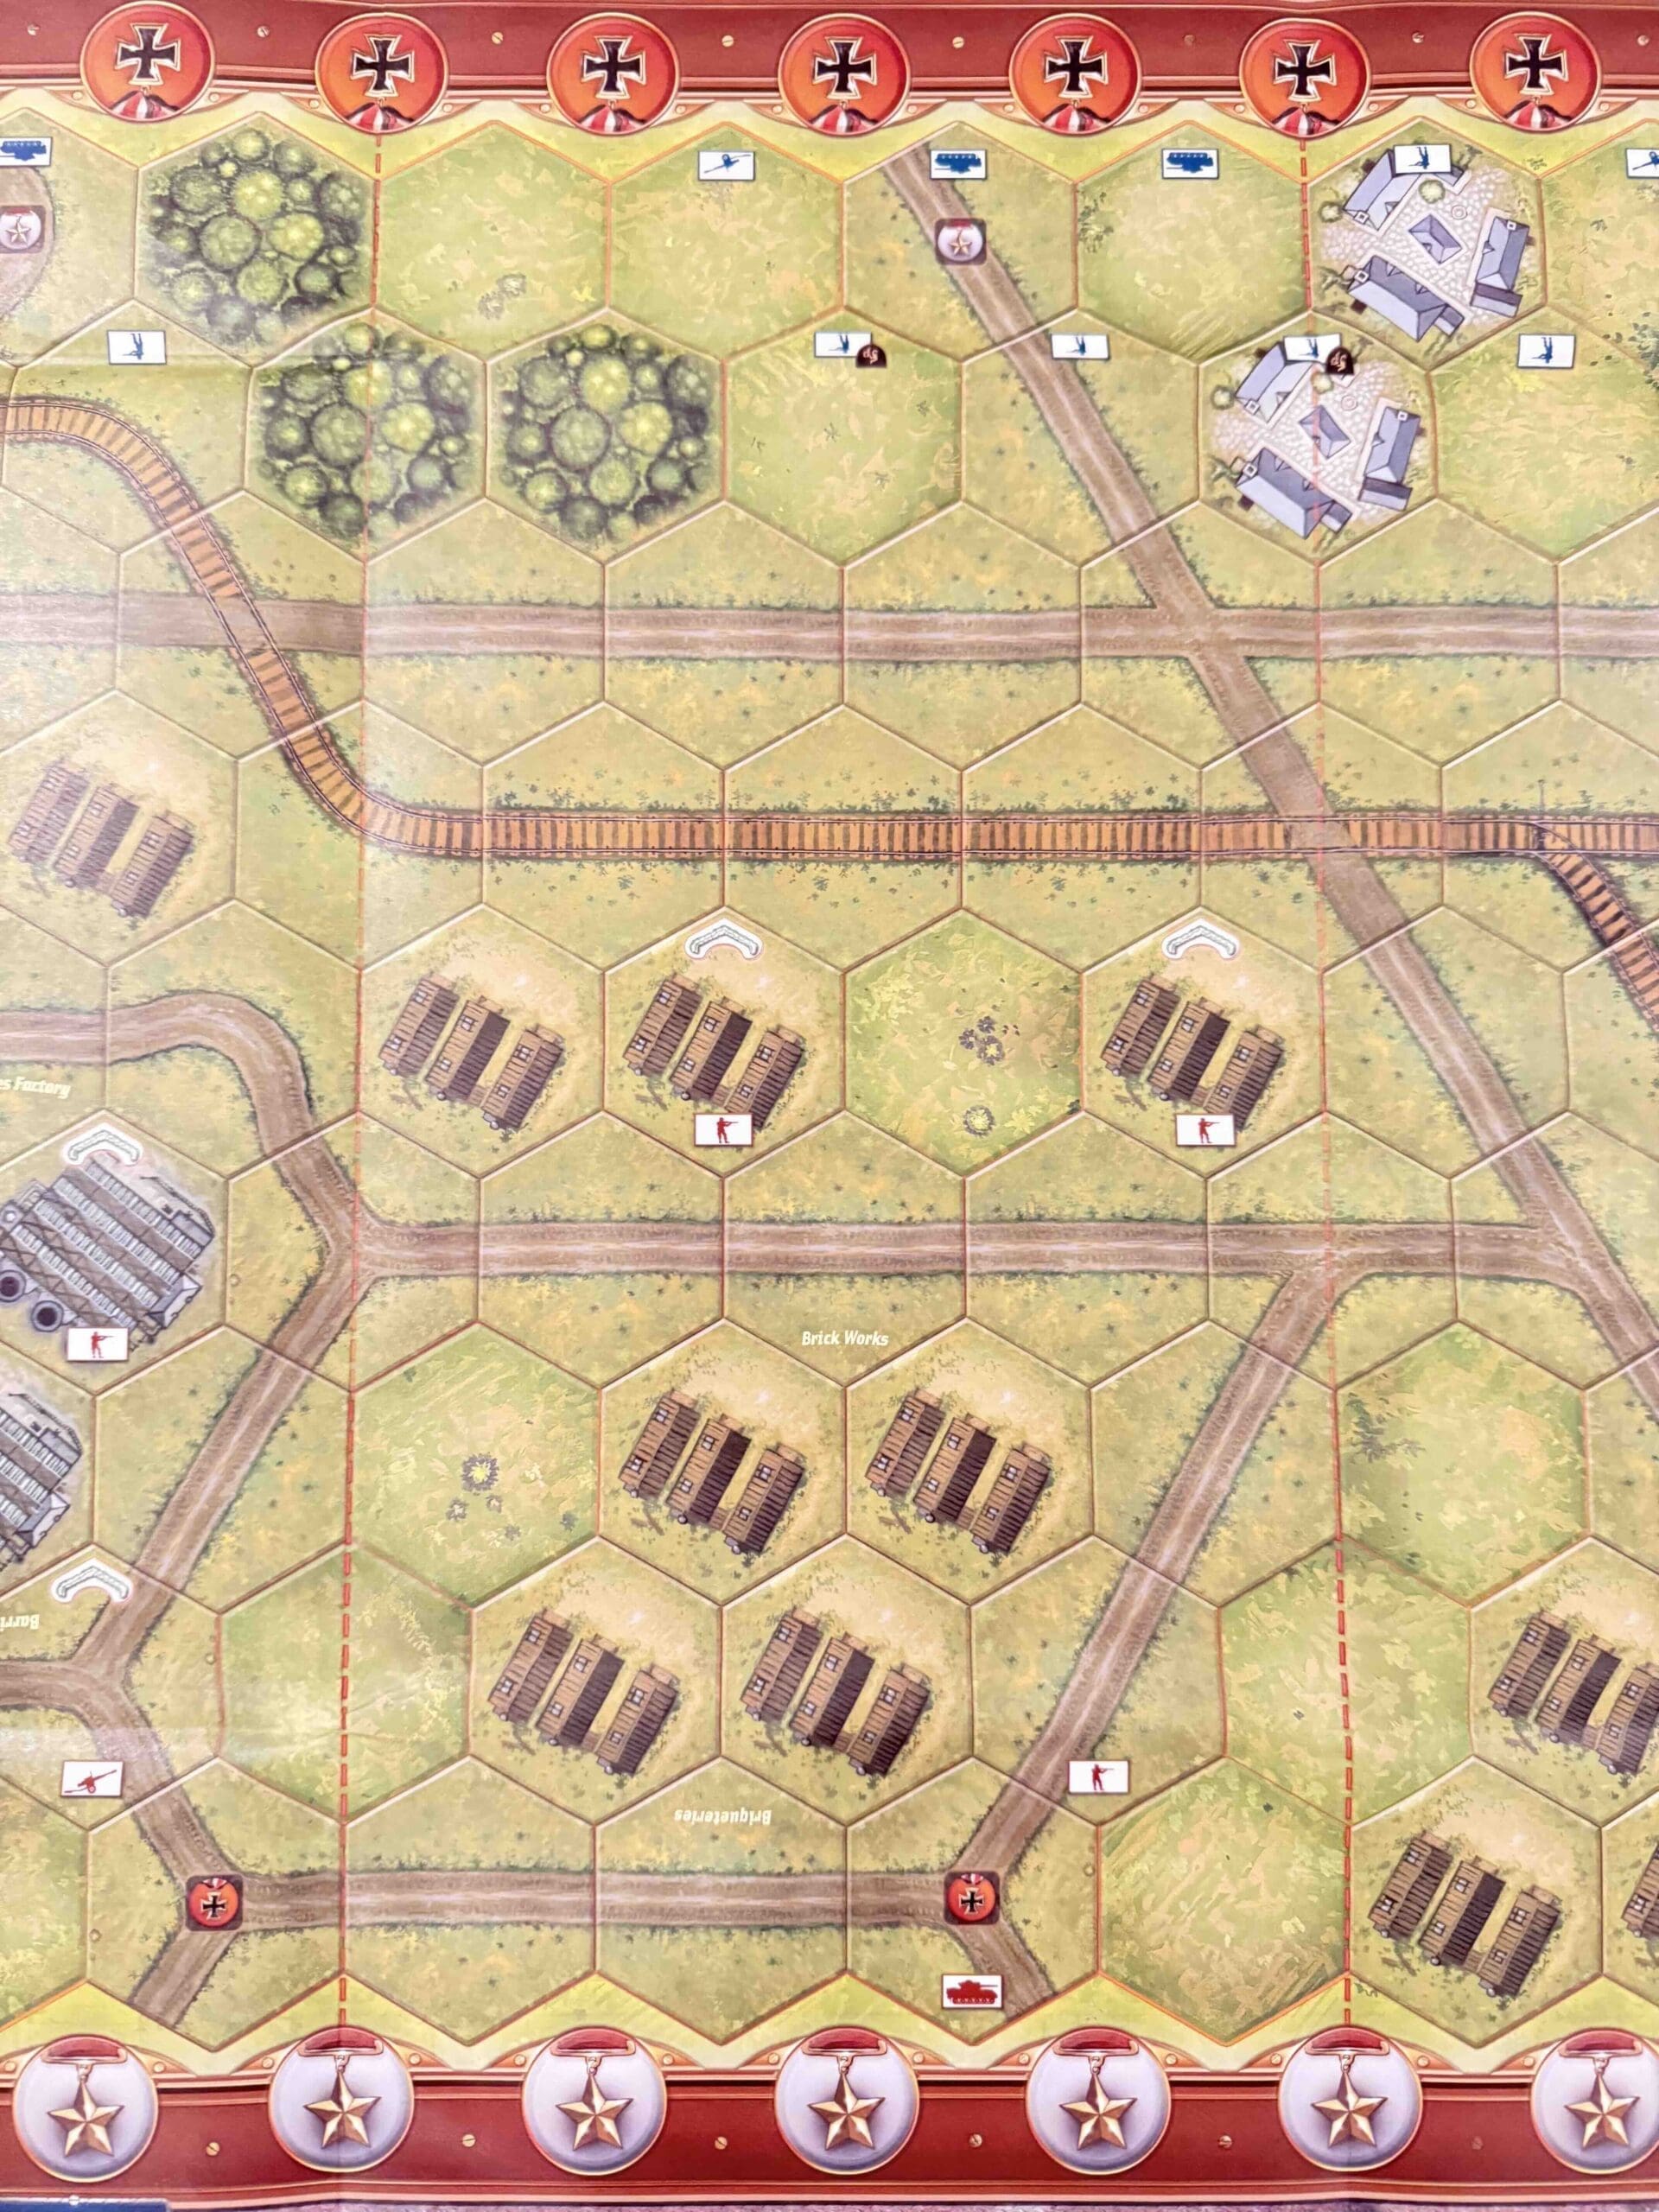
- The 5 road hexes exiting the Axis player’s baseline are Permanent Medal Objectives for the Allied forces. The Allied player gains the Medal when he occupies the hex at the start of his turn.
- The 5 road hexes on the Allied player’s baseline are Permanent Medal Objectives for the Axis forces. The Axis player gains the Medal when he occupies the hex at the start of his turn.
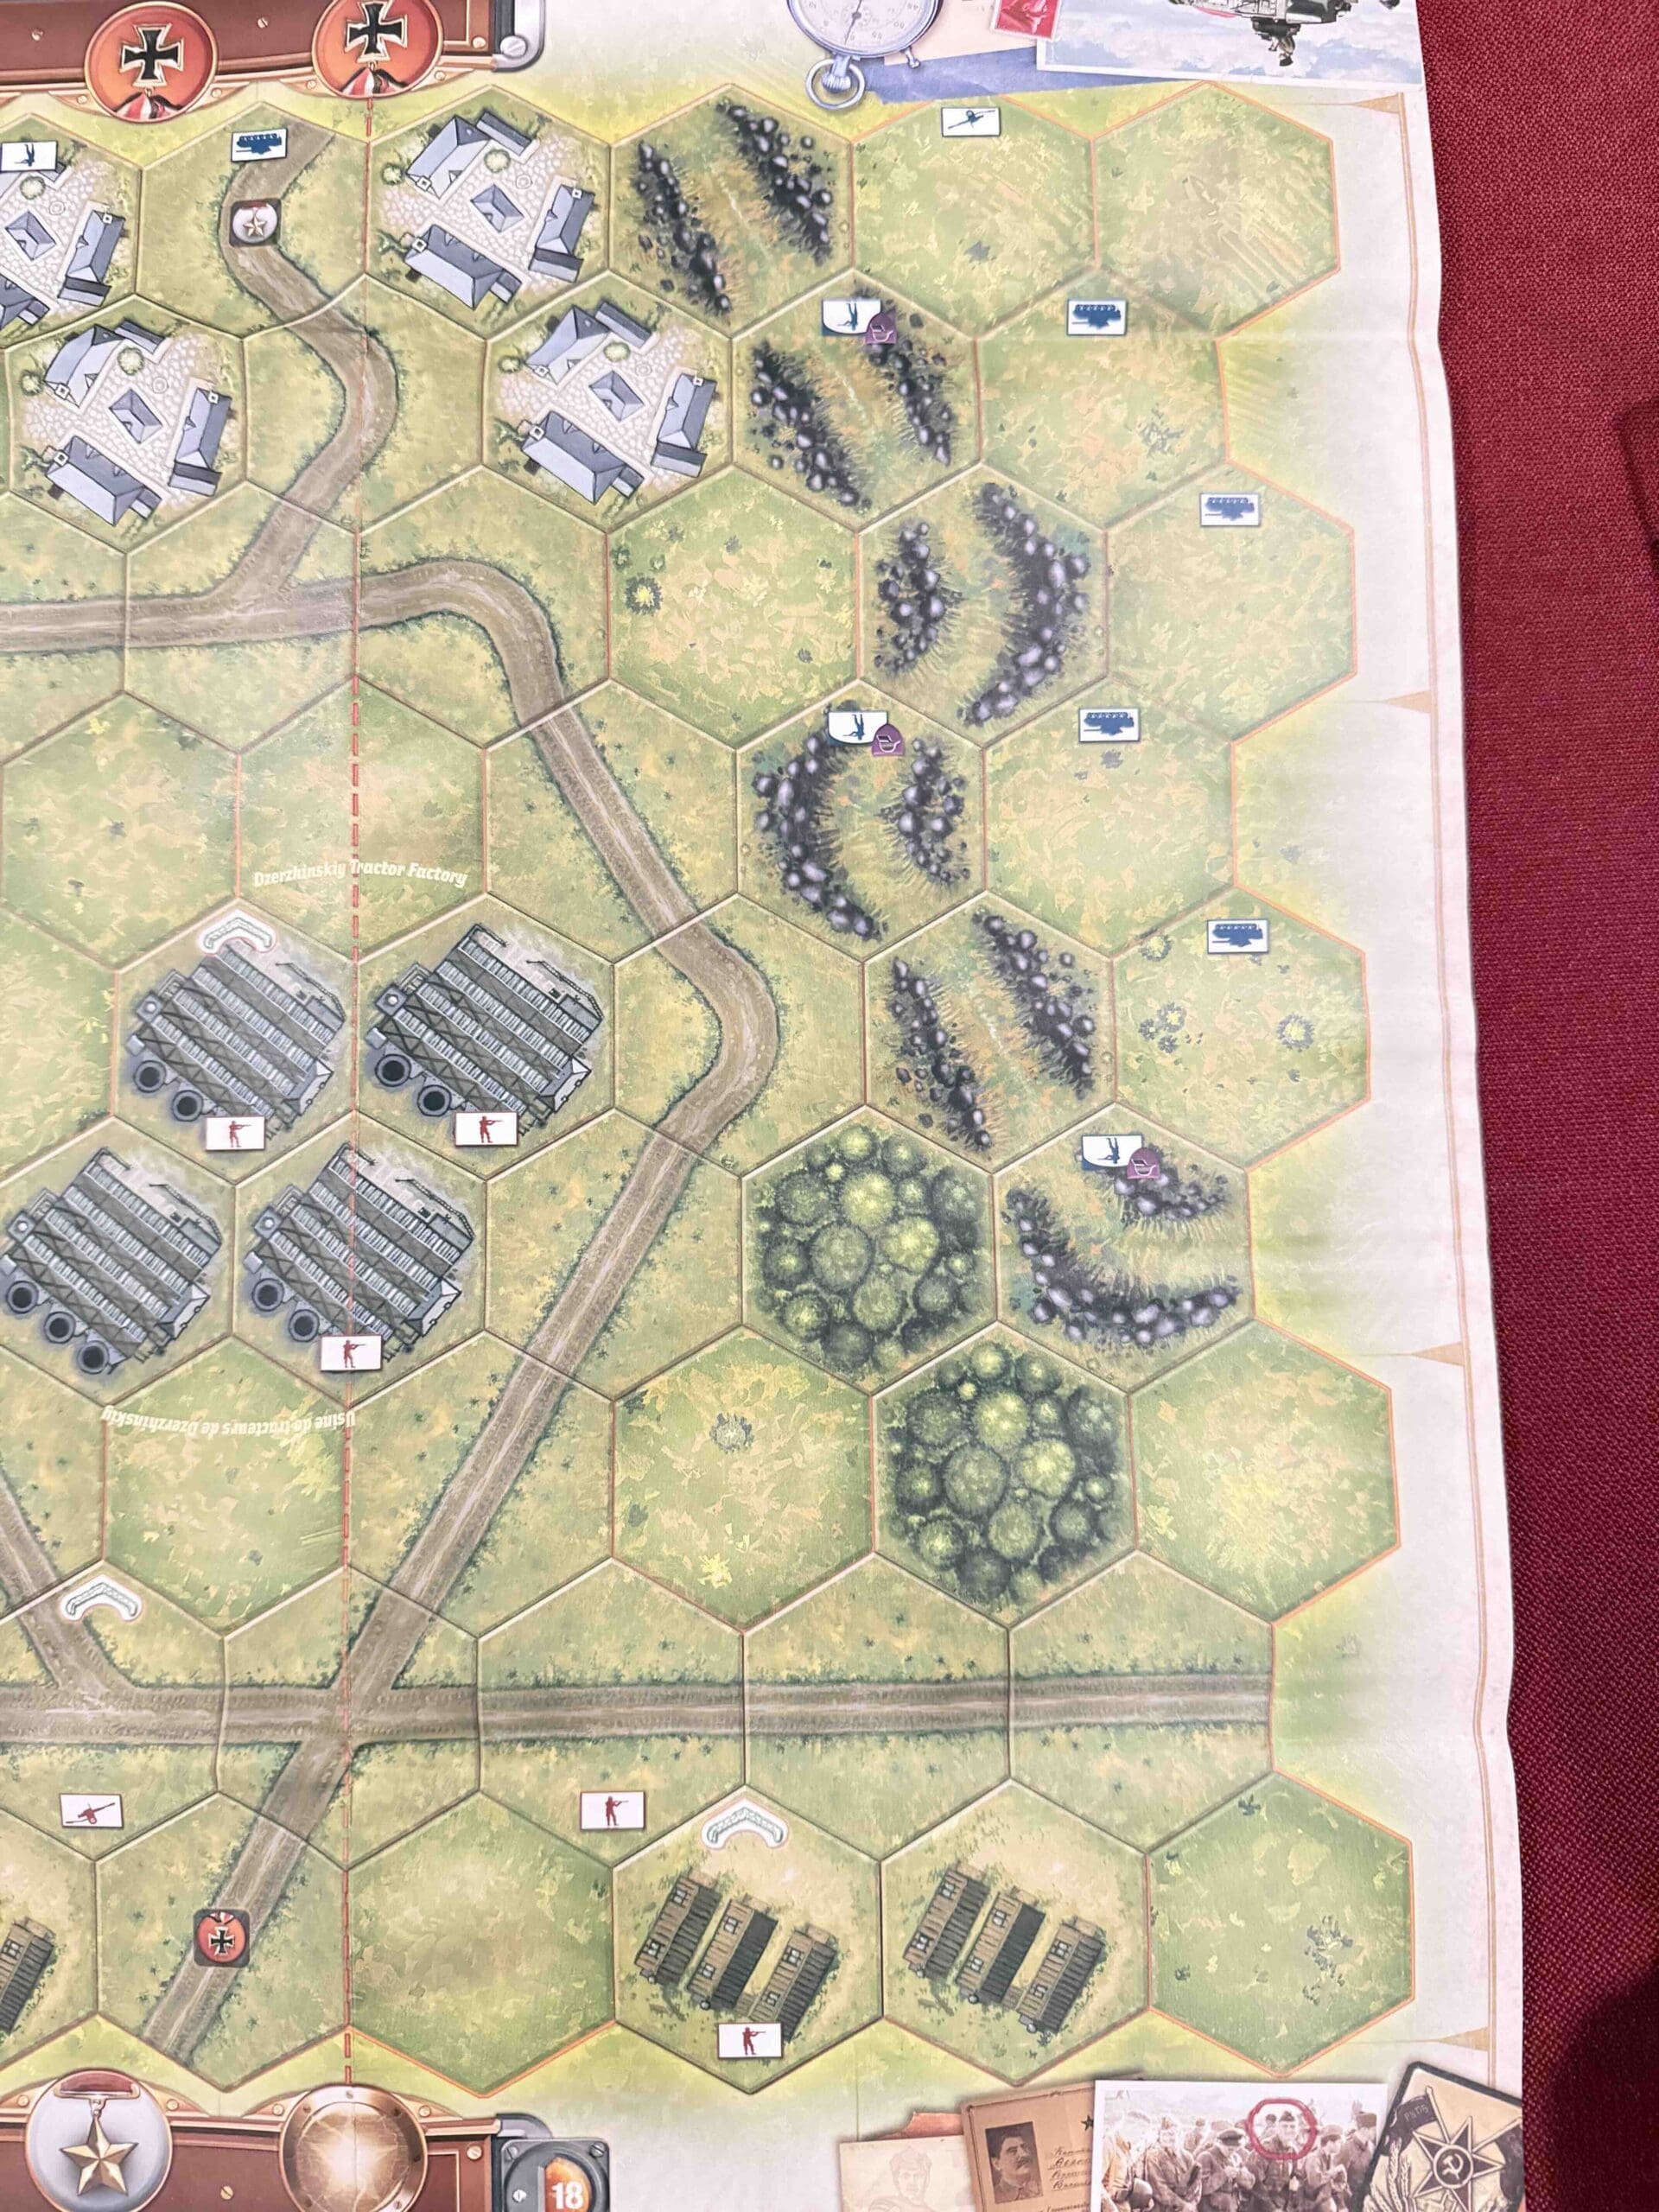
- The 9 factory hexes of the Dzerzhinskiy Tractor Factory form a Temporary Majority Medal Objective worth 2 Medals for whoever controls the majority of its hexes.
- The 7 factory hexes of the Red Barricades Factory form a Temporary Majority Medal Objective worth 2 Medals for whoever controls the majority of its hexes.
Terrain:
Urban factory complex with any factory and city hexes.
Troops:
Allies – 21 Infantry, 6 Armor, 3 Artillery
Axis – 20 Infantry, 12 Armo, 4 Artillery
Special Rules:
1. Temporary Medal Objectives
2. Permanent Medal Objectives
3. Temporary Majority Medal Objectives

Allied Strategy:
1.

Axis Strategy
1.
Author:
Days of Wonder
Link: