[Ukraine] Soviet raid on Grigorevka

Soviet Raid on Grigorevka

memoir 44 scenario Raid on Grigorevka

September 1941—Odessa’s under siege, and the Soviets are getting hammered by Romanian artillery. So what do they do? They go on the offensive—hard.

Captain Koren takes the lead at sea with the 3rd Naval Infantry Regiment, nearly 2,000 marines, while a small team of 23 paratroopers drops inland. The plan? Hit ’em from the front and the rear—paralyze their command, cut their lines, and blow those damned guns to hell.

Night of September 21st, the paratroopers jump near Hill 57.3—not clean, not pretty, but they get the job done. Took out a whole Romanian regimental HQ—with two dozen men. Meanwhile, Koren’s marines land at Grigorevka under a curtain of naval fire from the destroyers Bojkij and Bezuprechnyj, and they take those artillery batteries by storm.

By sunrise, they’re linking up with the 421st Rifle Division, and the Romanians? They’re pulling back—the 13th and 15th Divisions, thrown into reverse. That’s pressure off Odessa, and a big black eye for the Axis.

This wasn’t some massive Soviet steamroller. This was initiative, coordination, and guts. A rare joint strike—air, land, and sea—and it worked. Captain Koren didn’t wait to be hit—he hit first.

That’s how you win a war. Not by sitting in the trenches—but by getting out, striking hard, and making the enemy bleed where they thought they were safe.

~~ General Howitzer

12 VP’s

Card Balance:

Allies – 5

Axis – 4

Complexity:

4.5

Conditions:

Countryside

countryside

Context:

Historical

Location:

Ukraine

Year:

1941

Theater:

Eastern

Campaign:

Codename:

Summary:

Objectives:

12 VP’s, plus Objective Medals for Allies for the Romanian HQ, and each Artillery battery destroyed.

Battlefield:

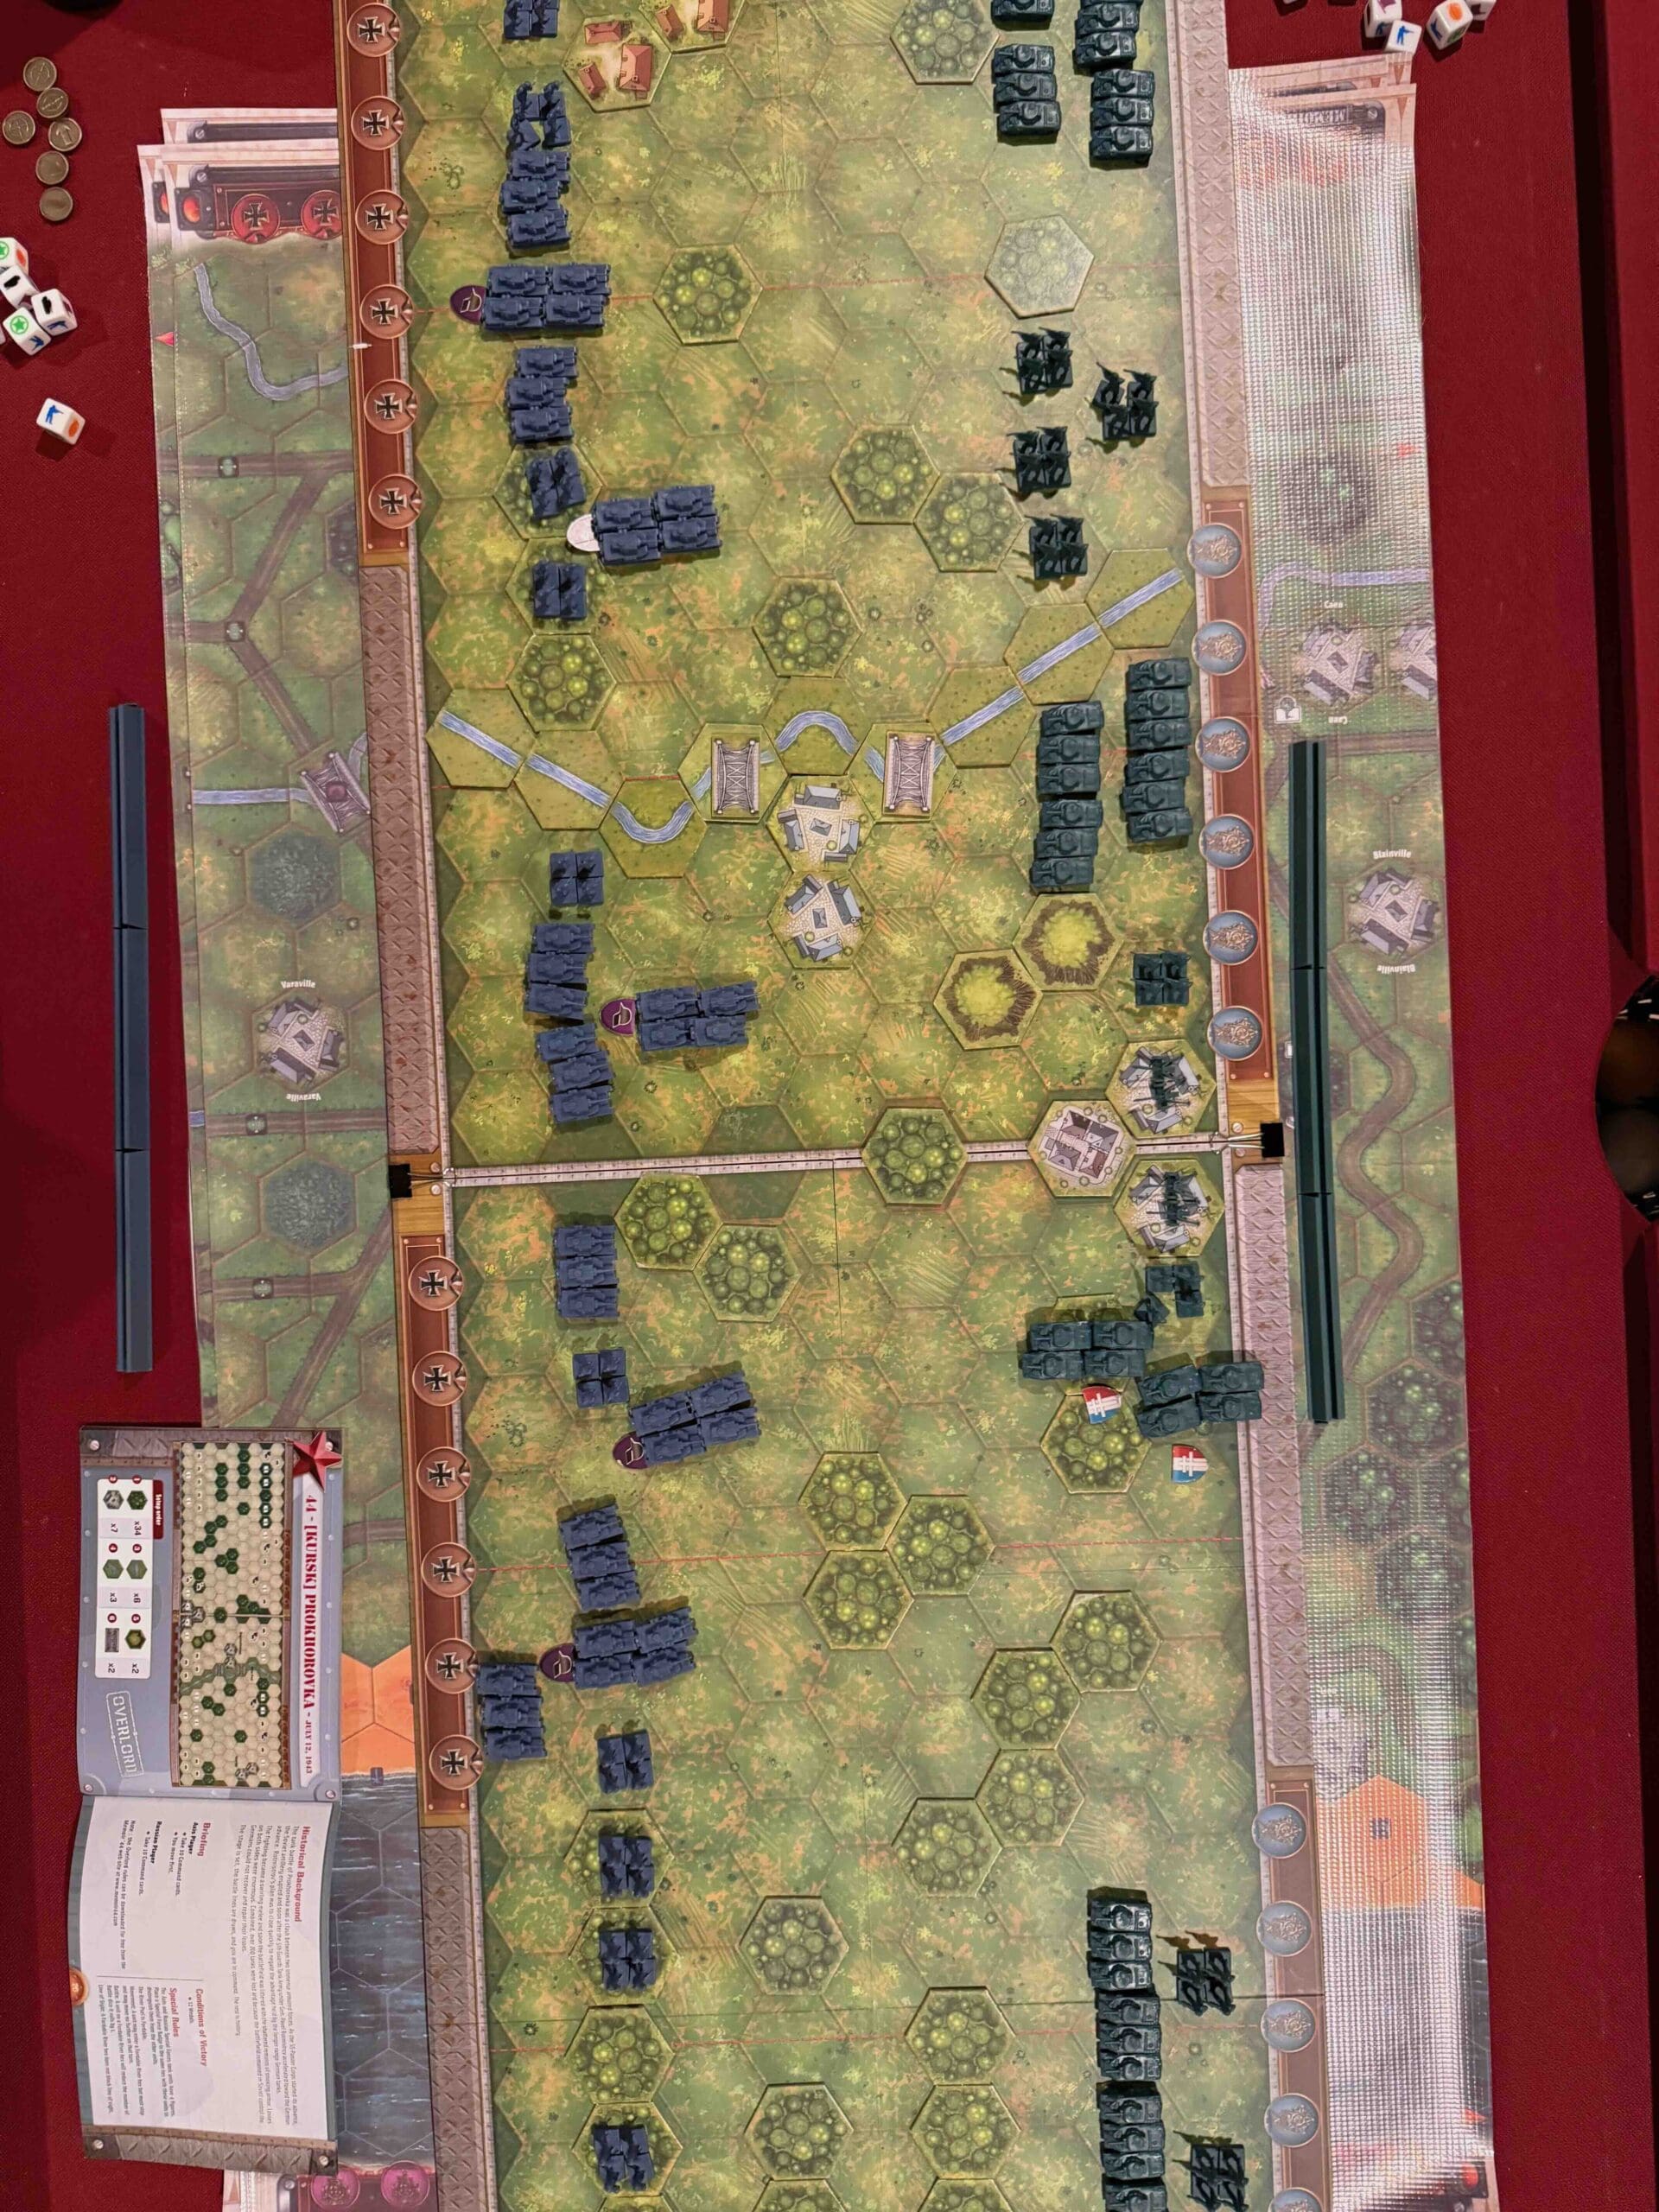
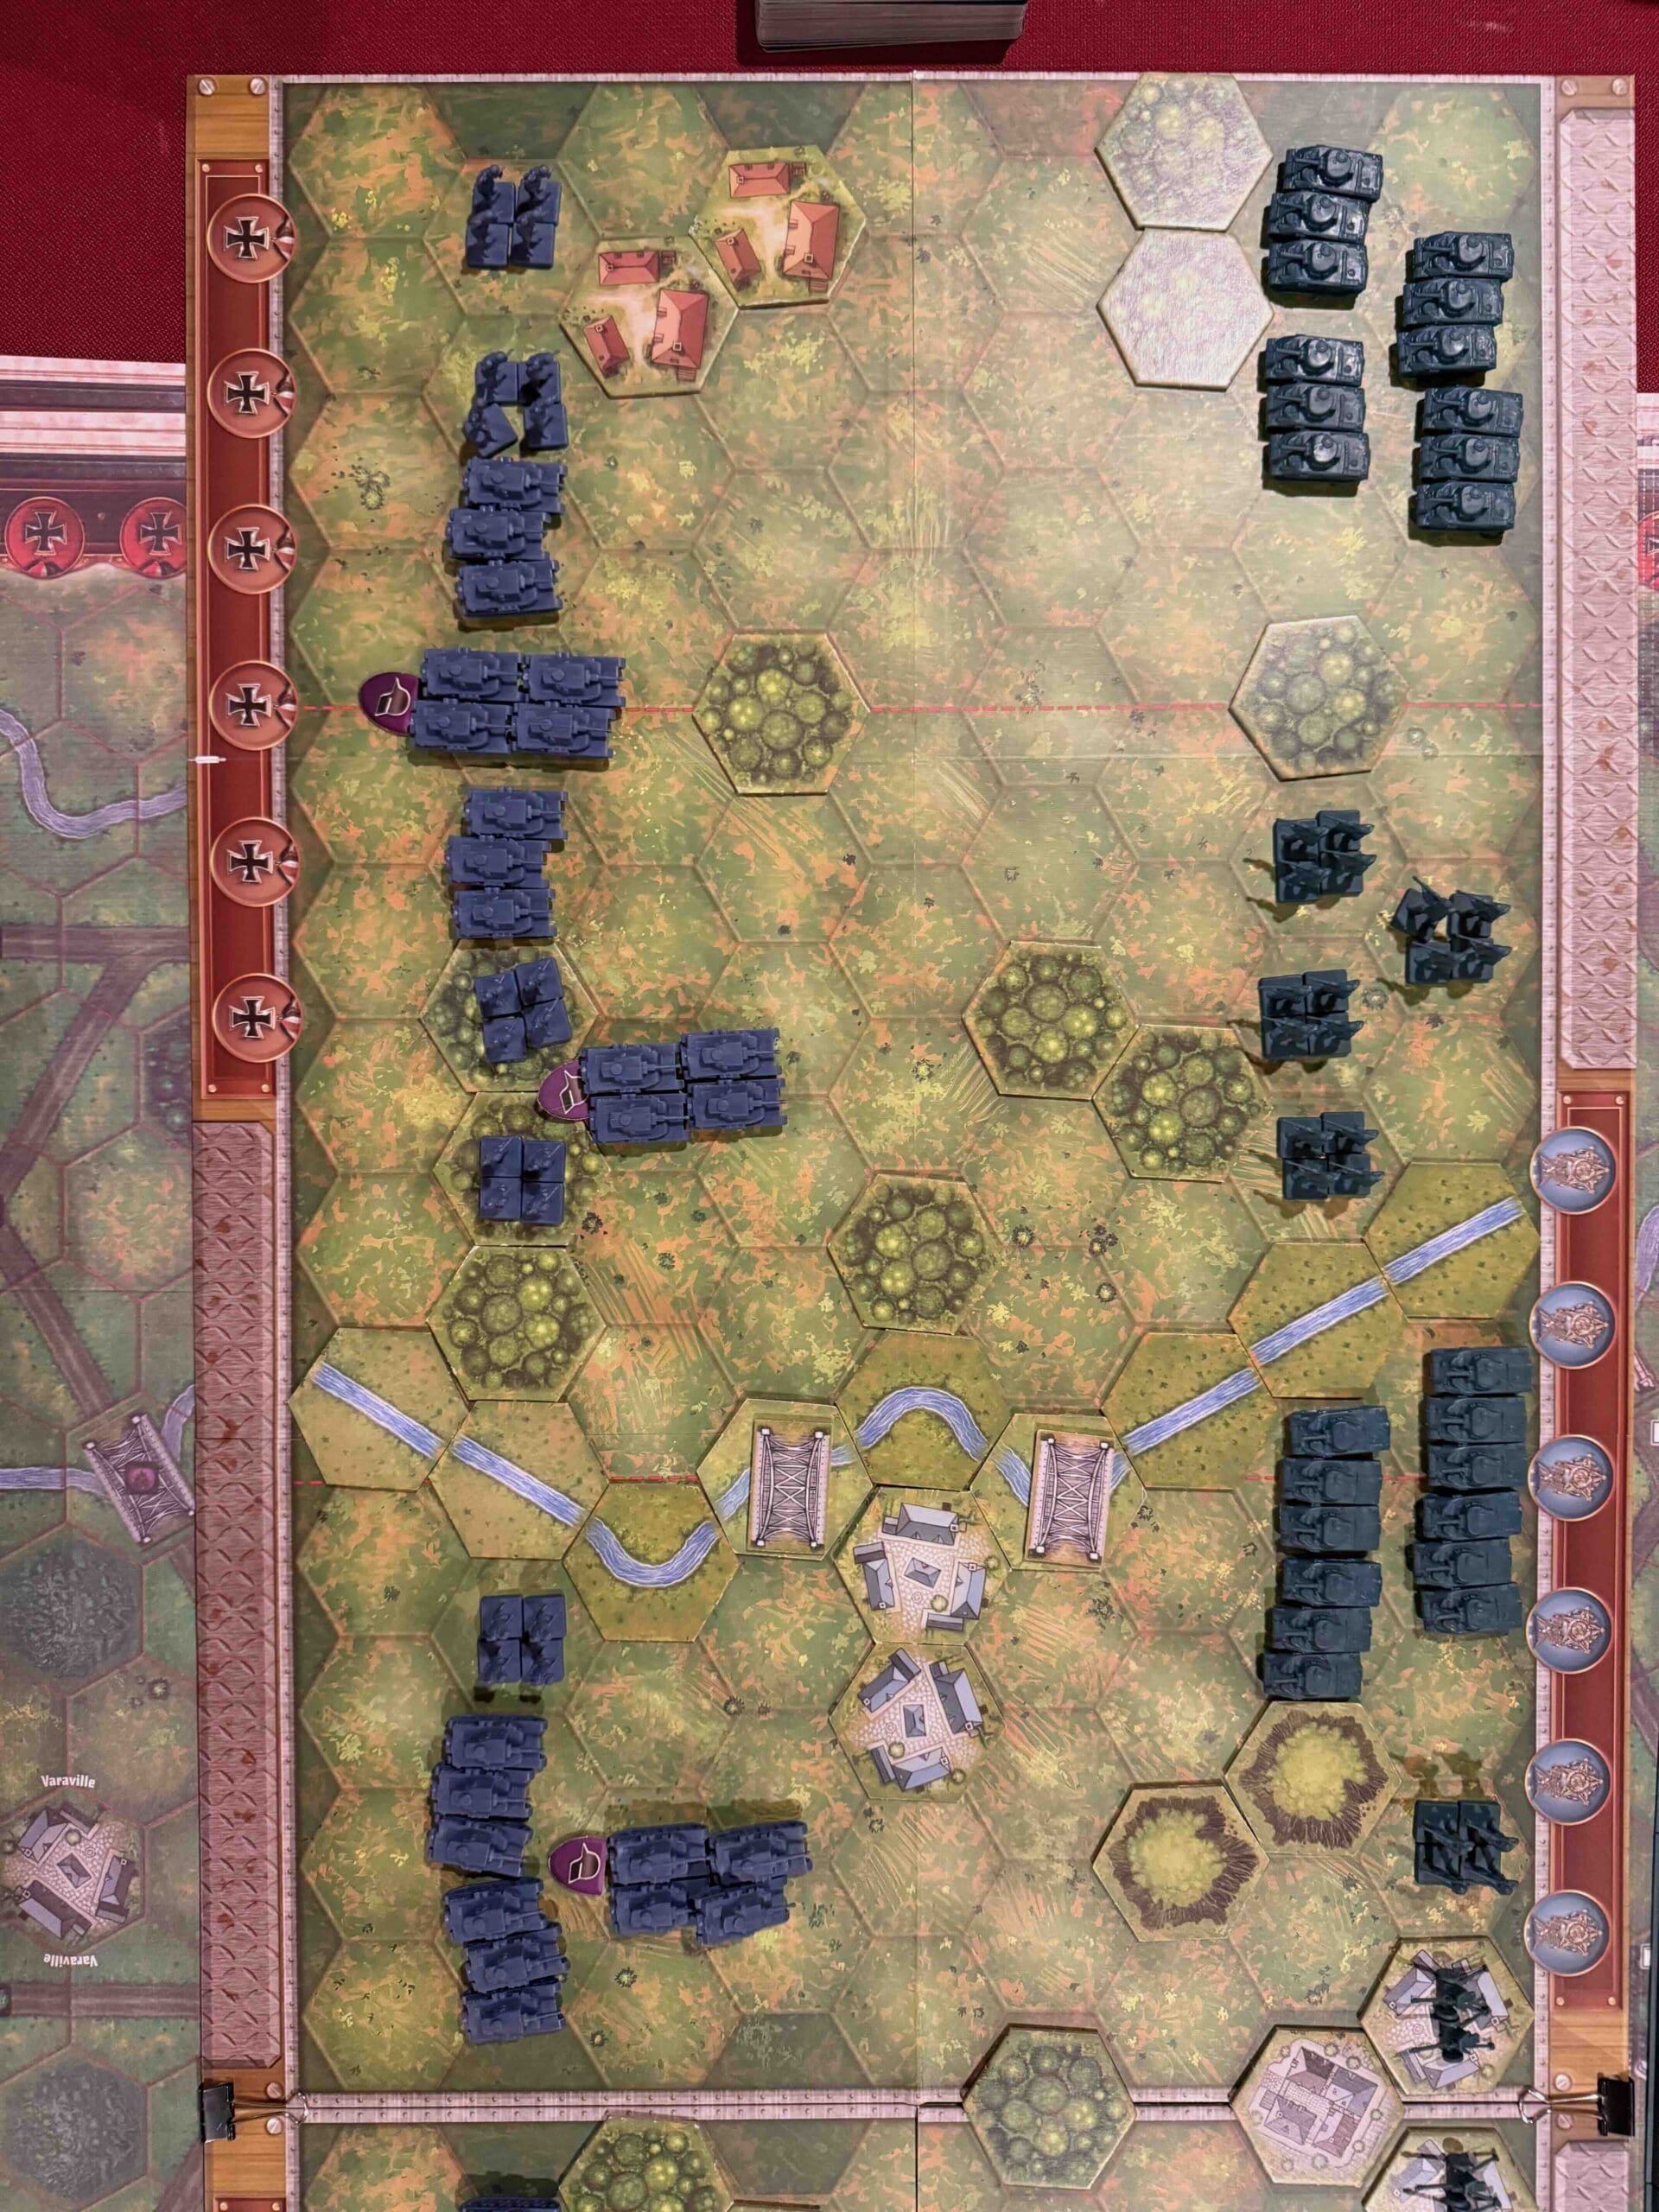
Countrsyide  and beach in a deep breakthrough battlemap

Troops:

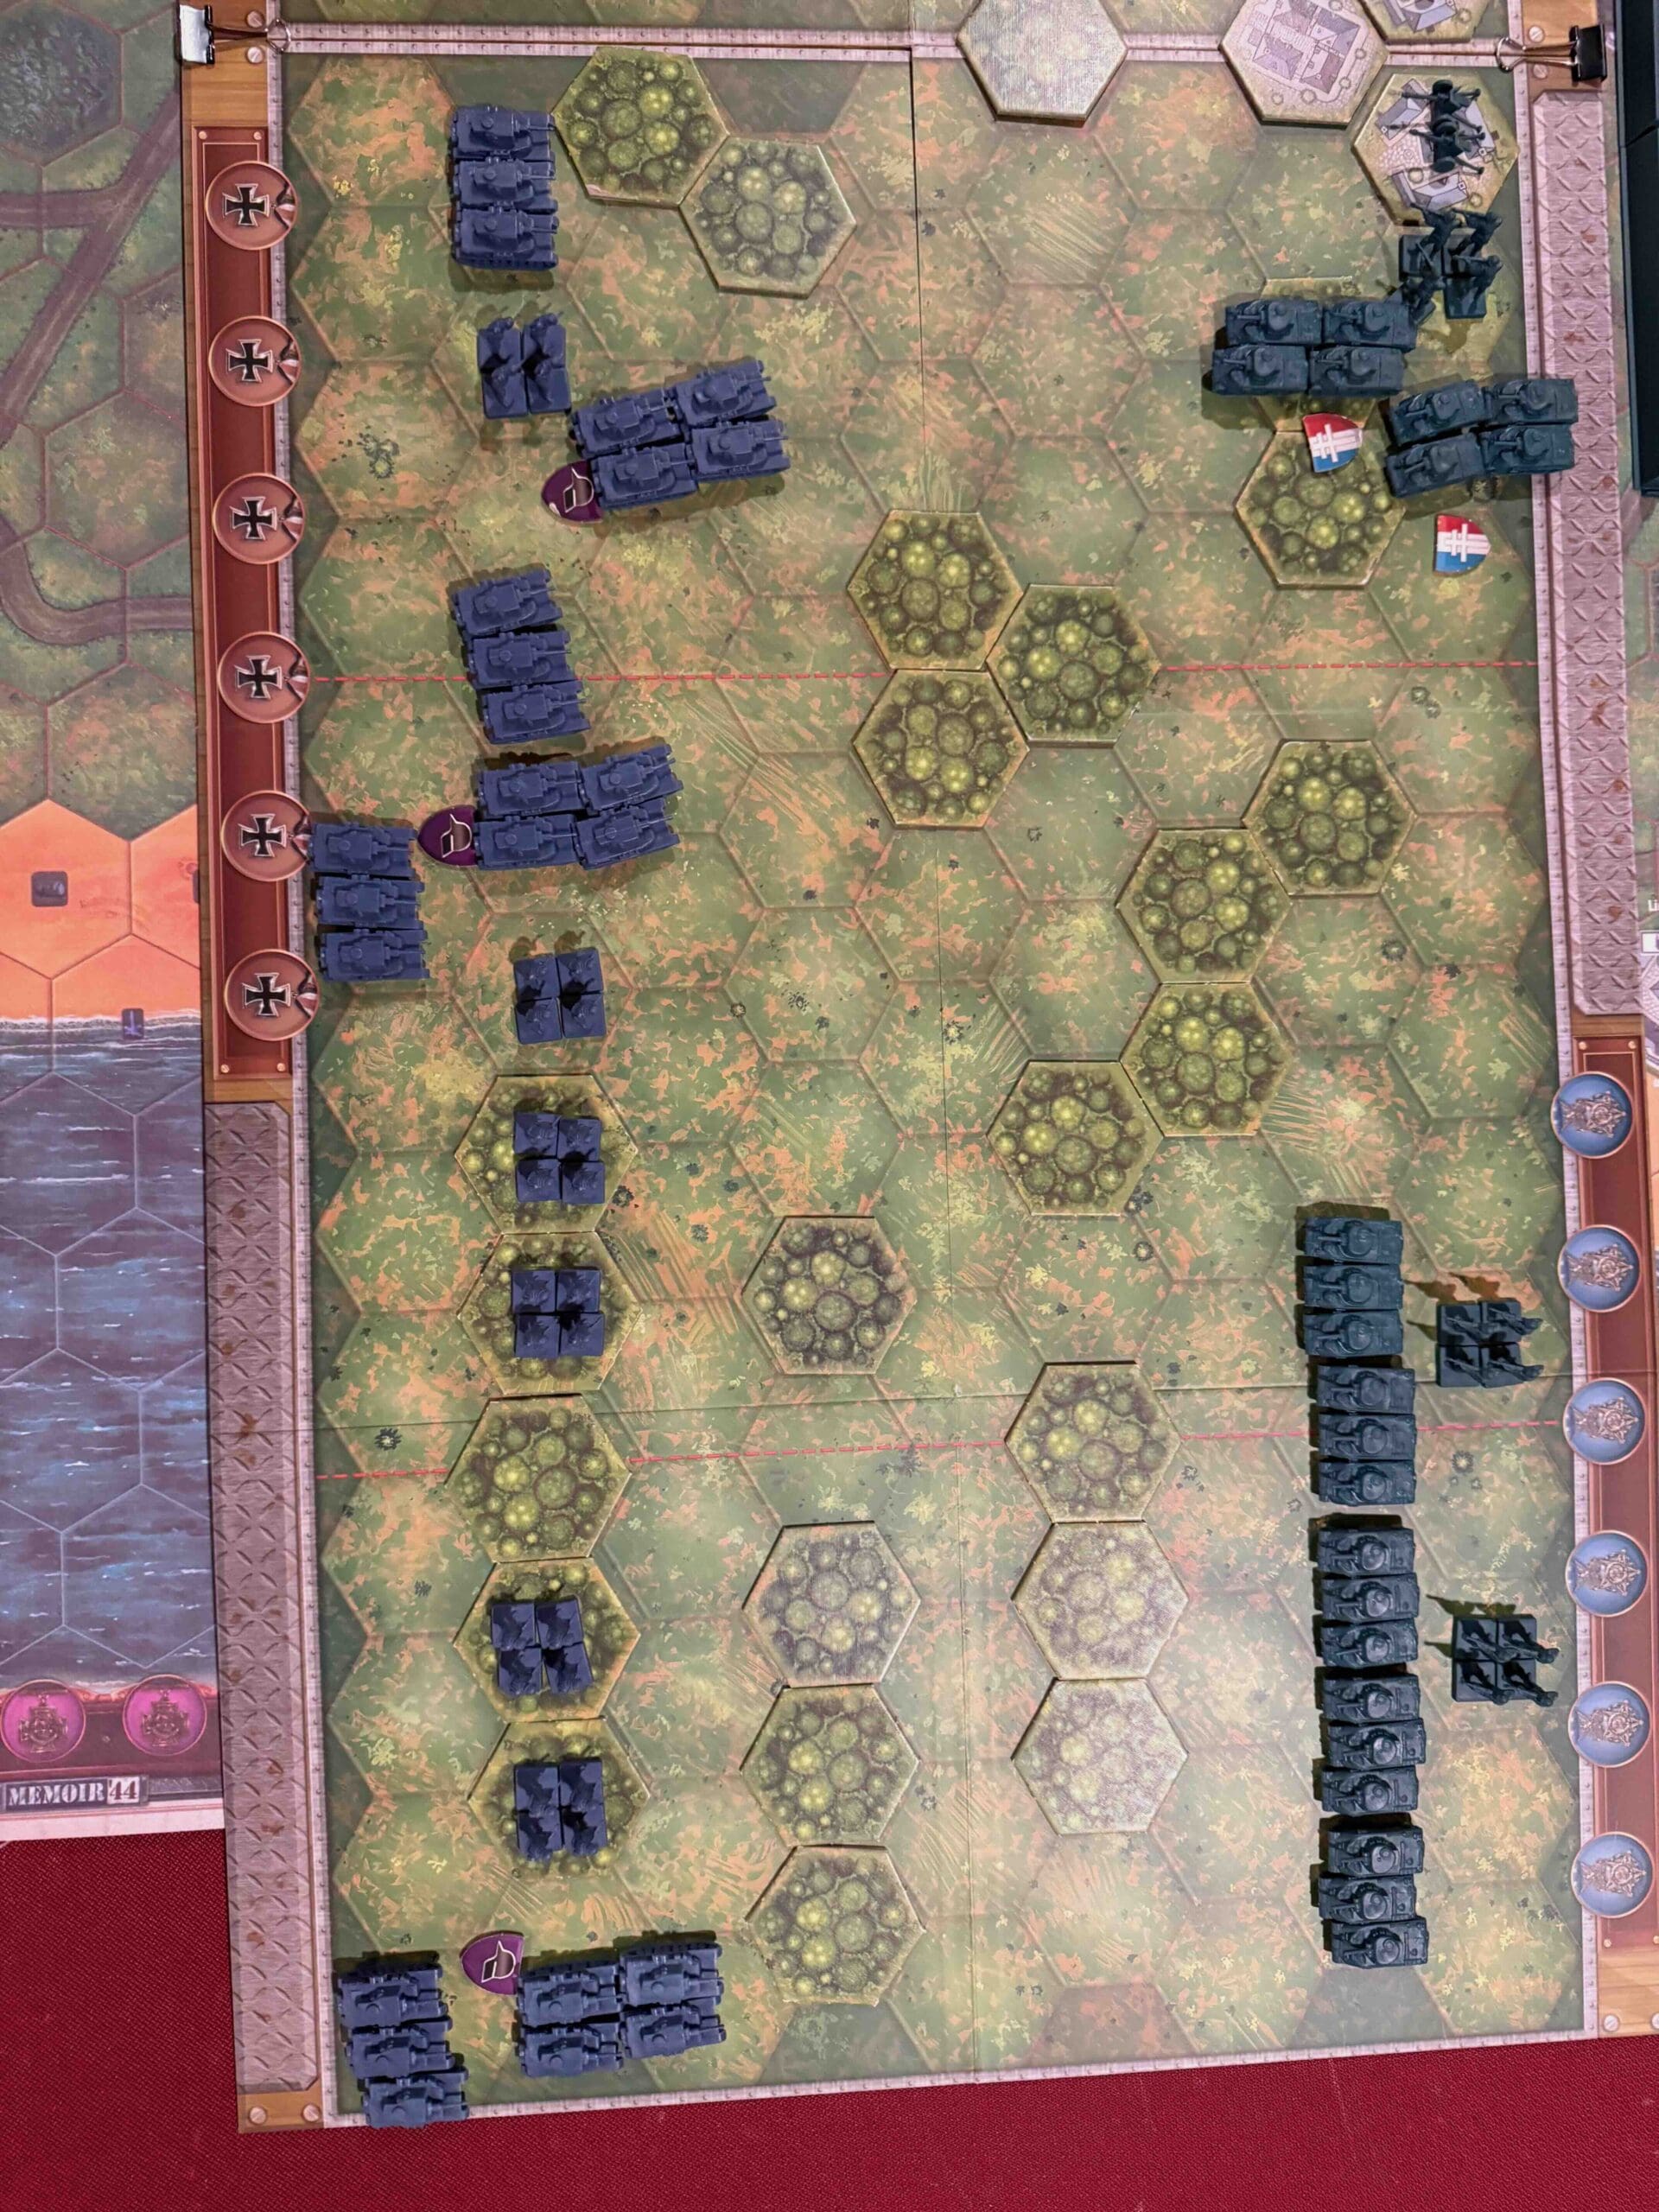
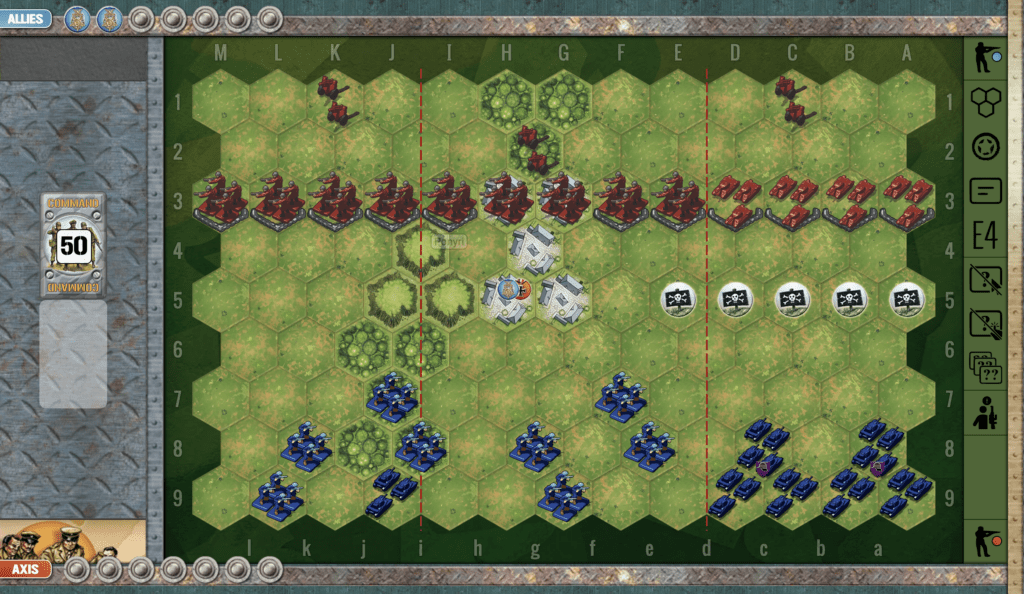
Allies (Soviet Union) – 14 Infantry, 2 Destroyers!

Axis (Romania ) – 10 Infantry, 3 Artillery


medal allies

Allied Strategy:

1. Soviets, as Allies, do a six unit paradrop.  Drop them where you have the best set of cards to assist your attack.

Also, note that the paratroopers will not battle the first turn they are dropped, so they have to endure one round of enemy fire before they can attack.

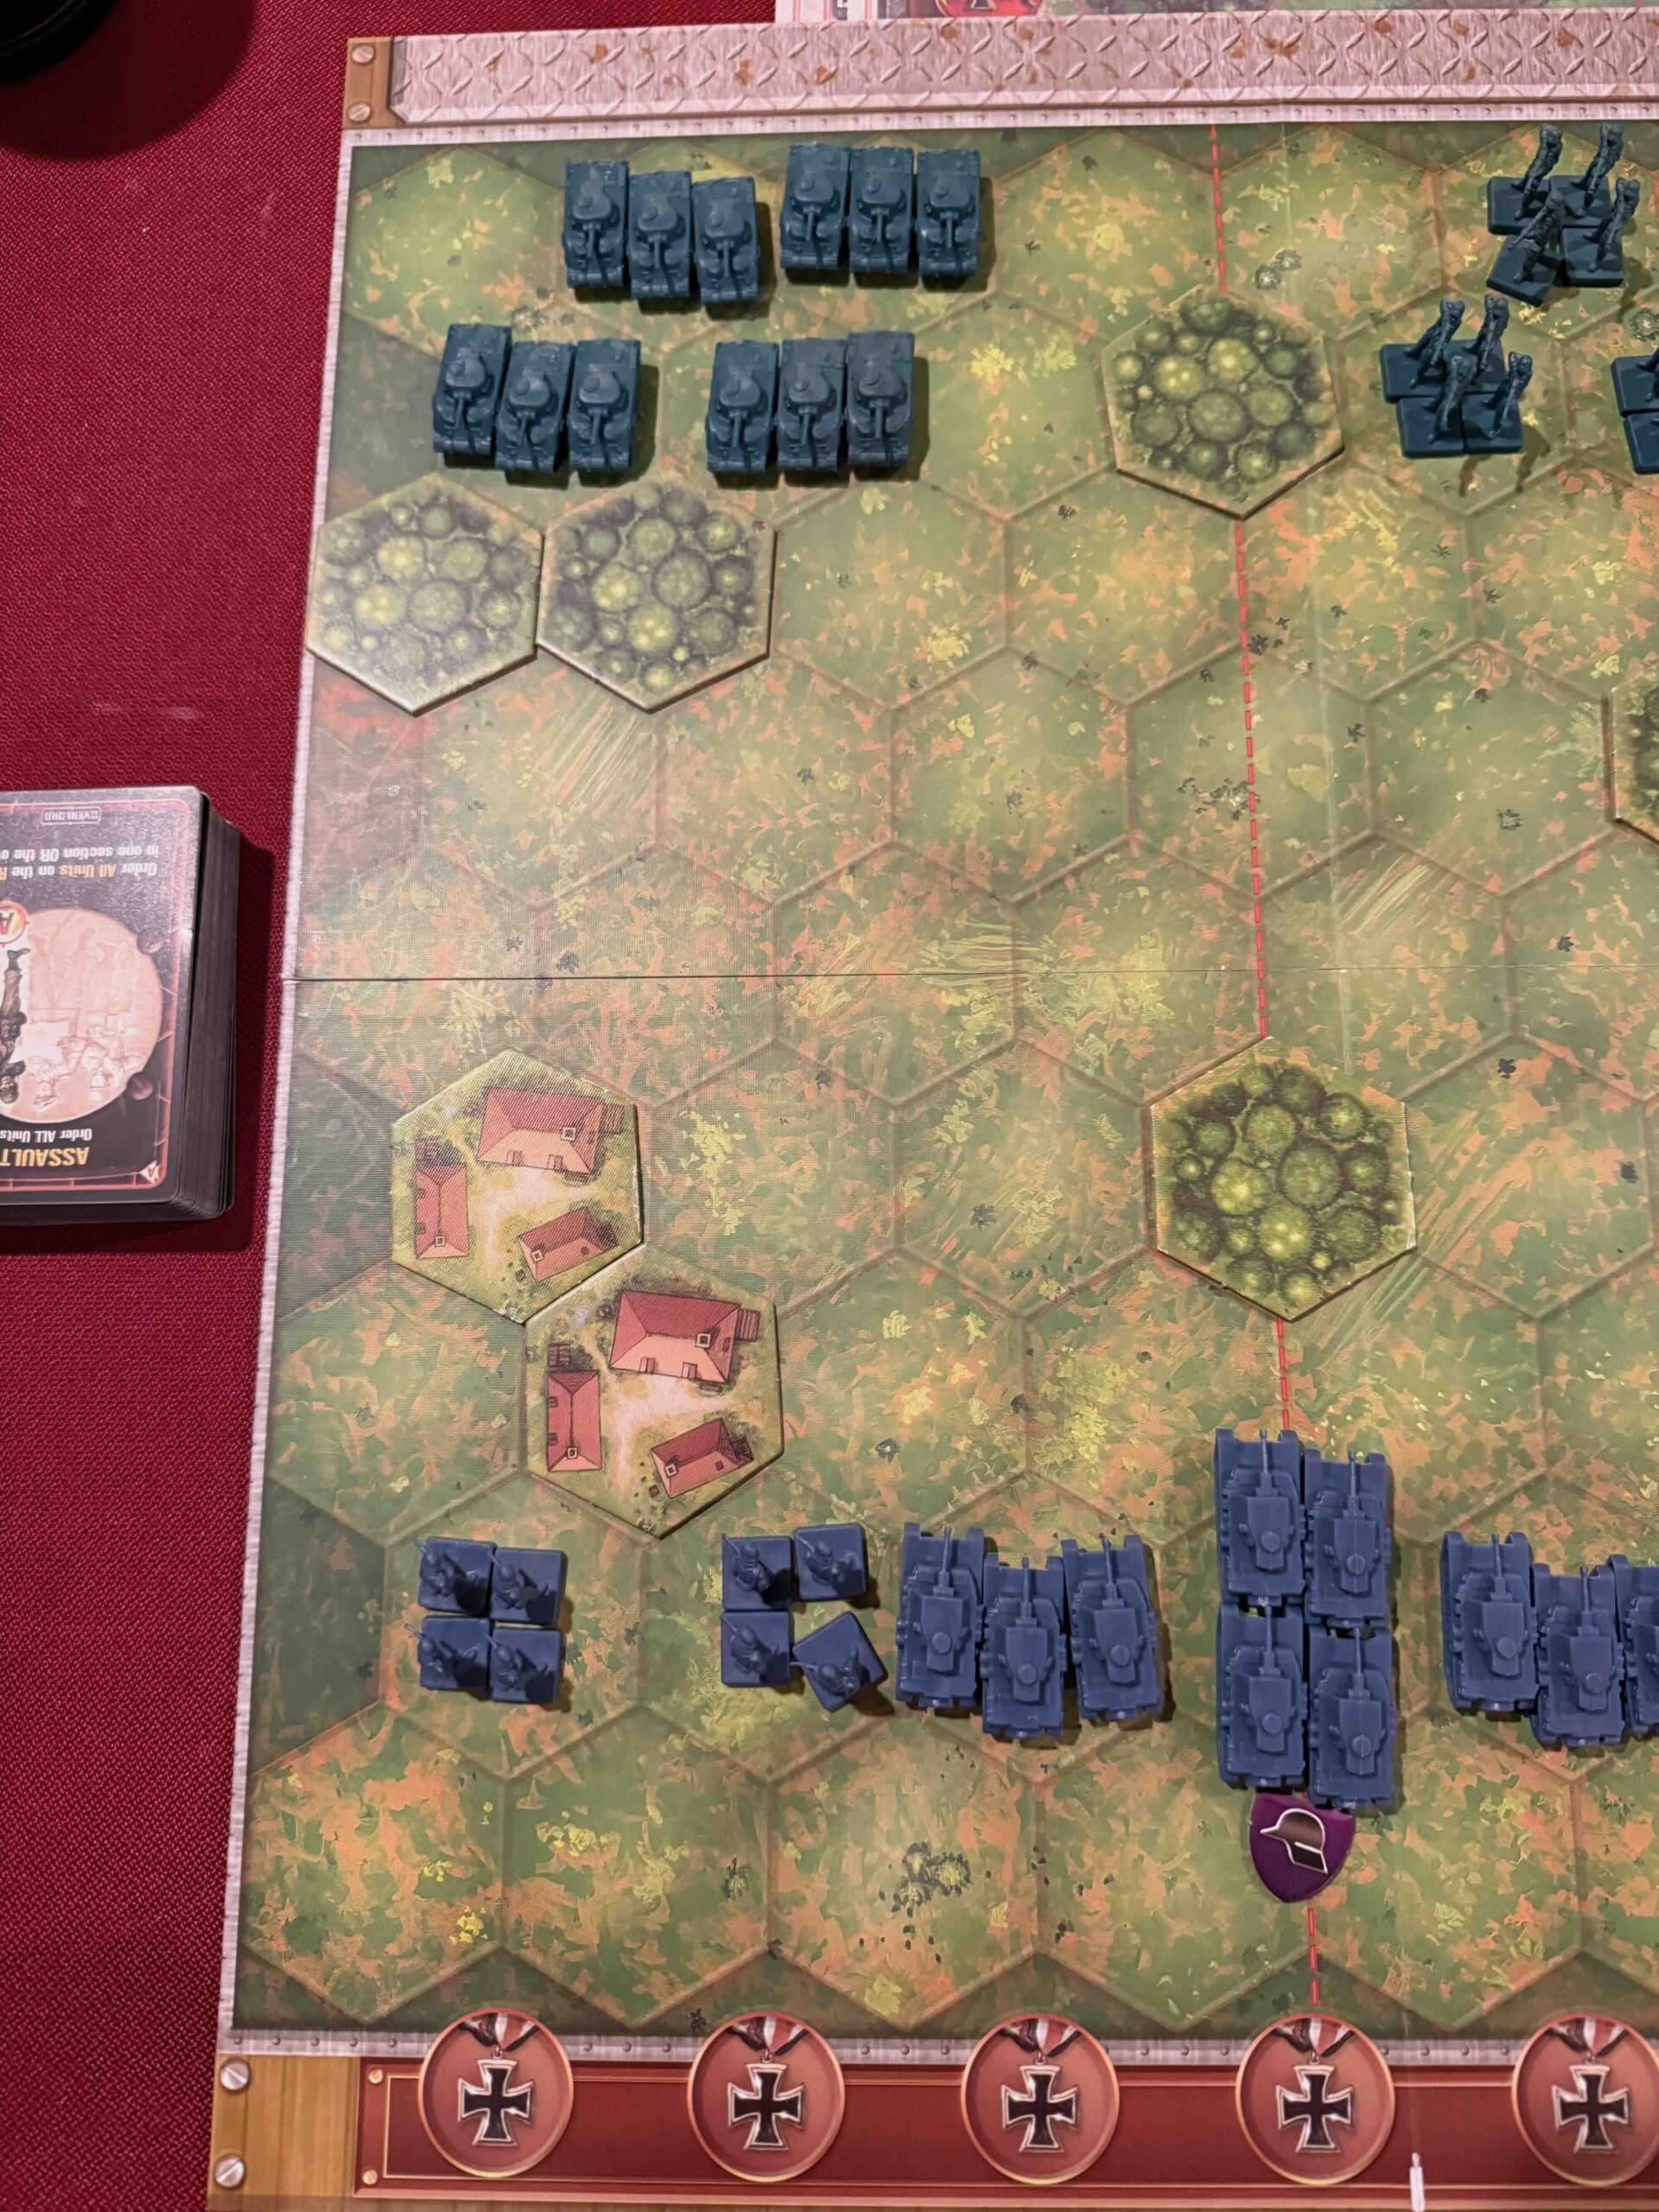
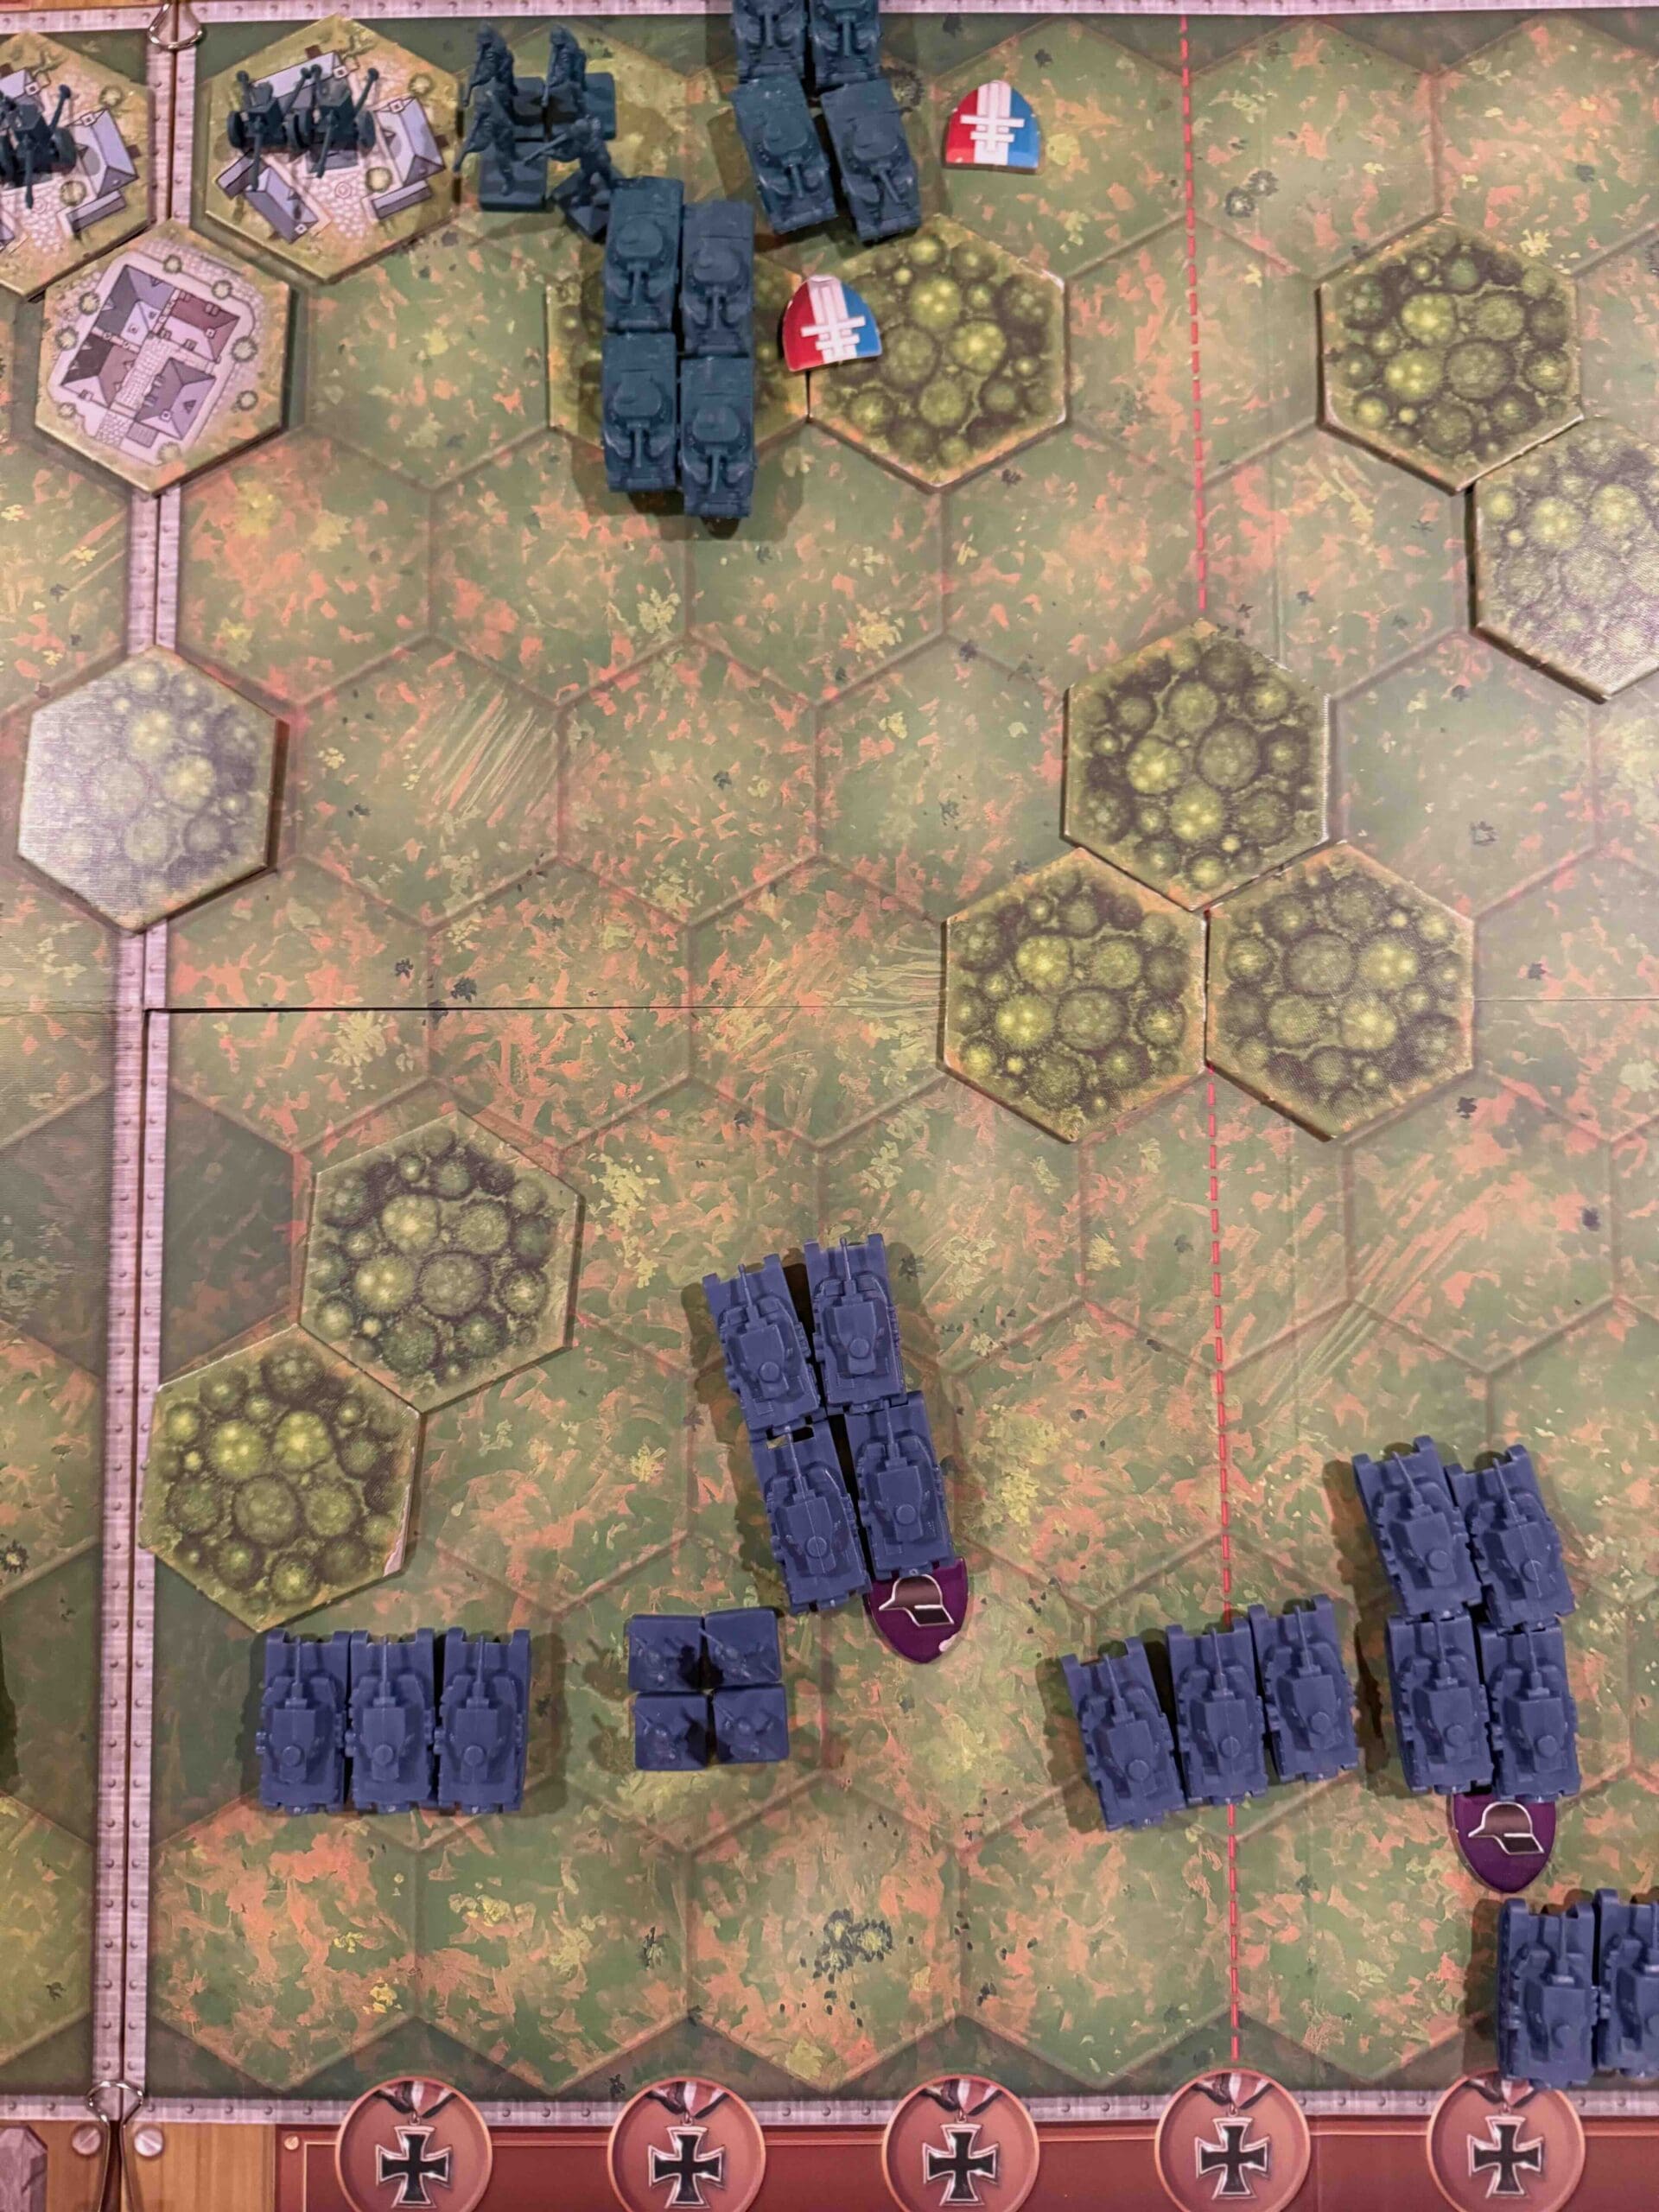
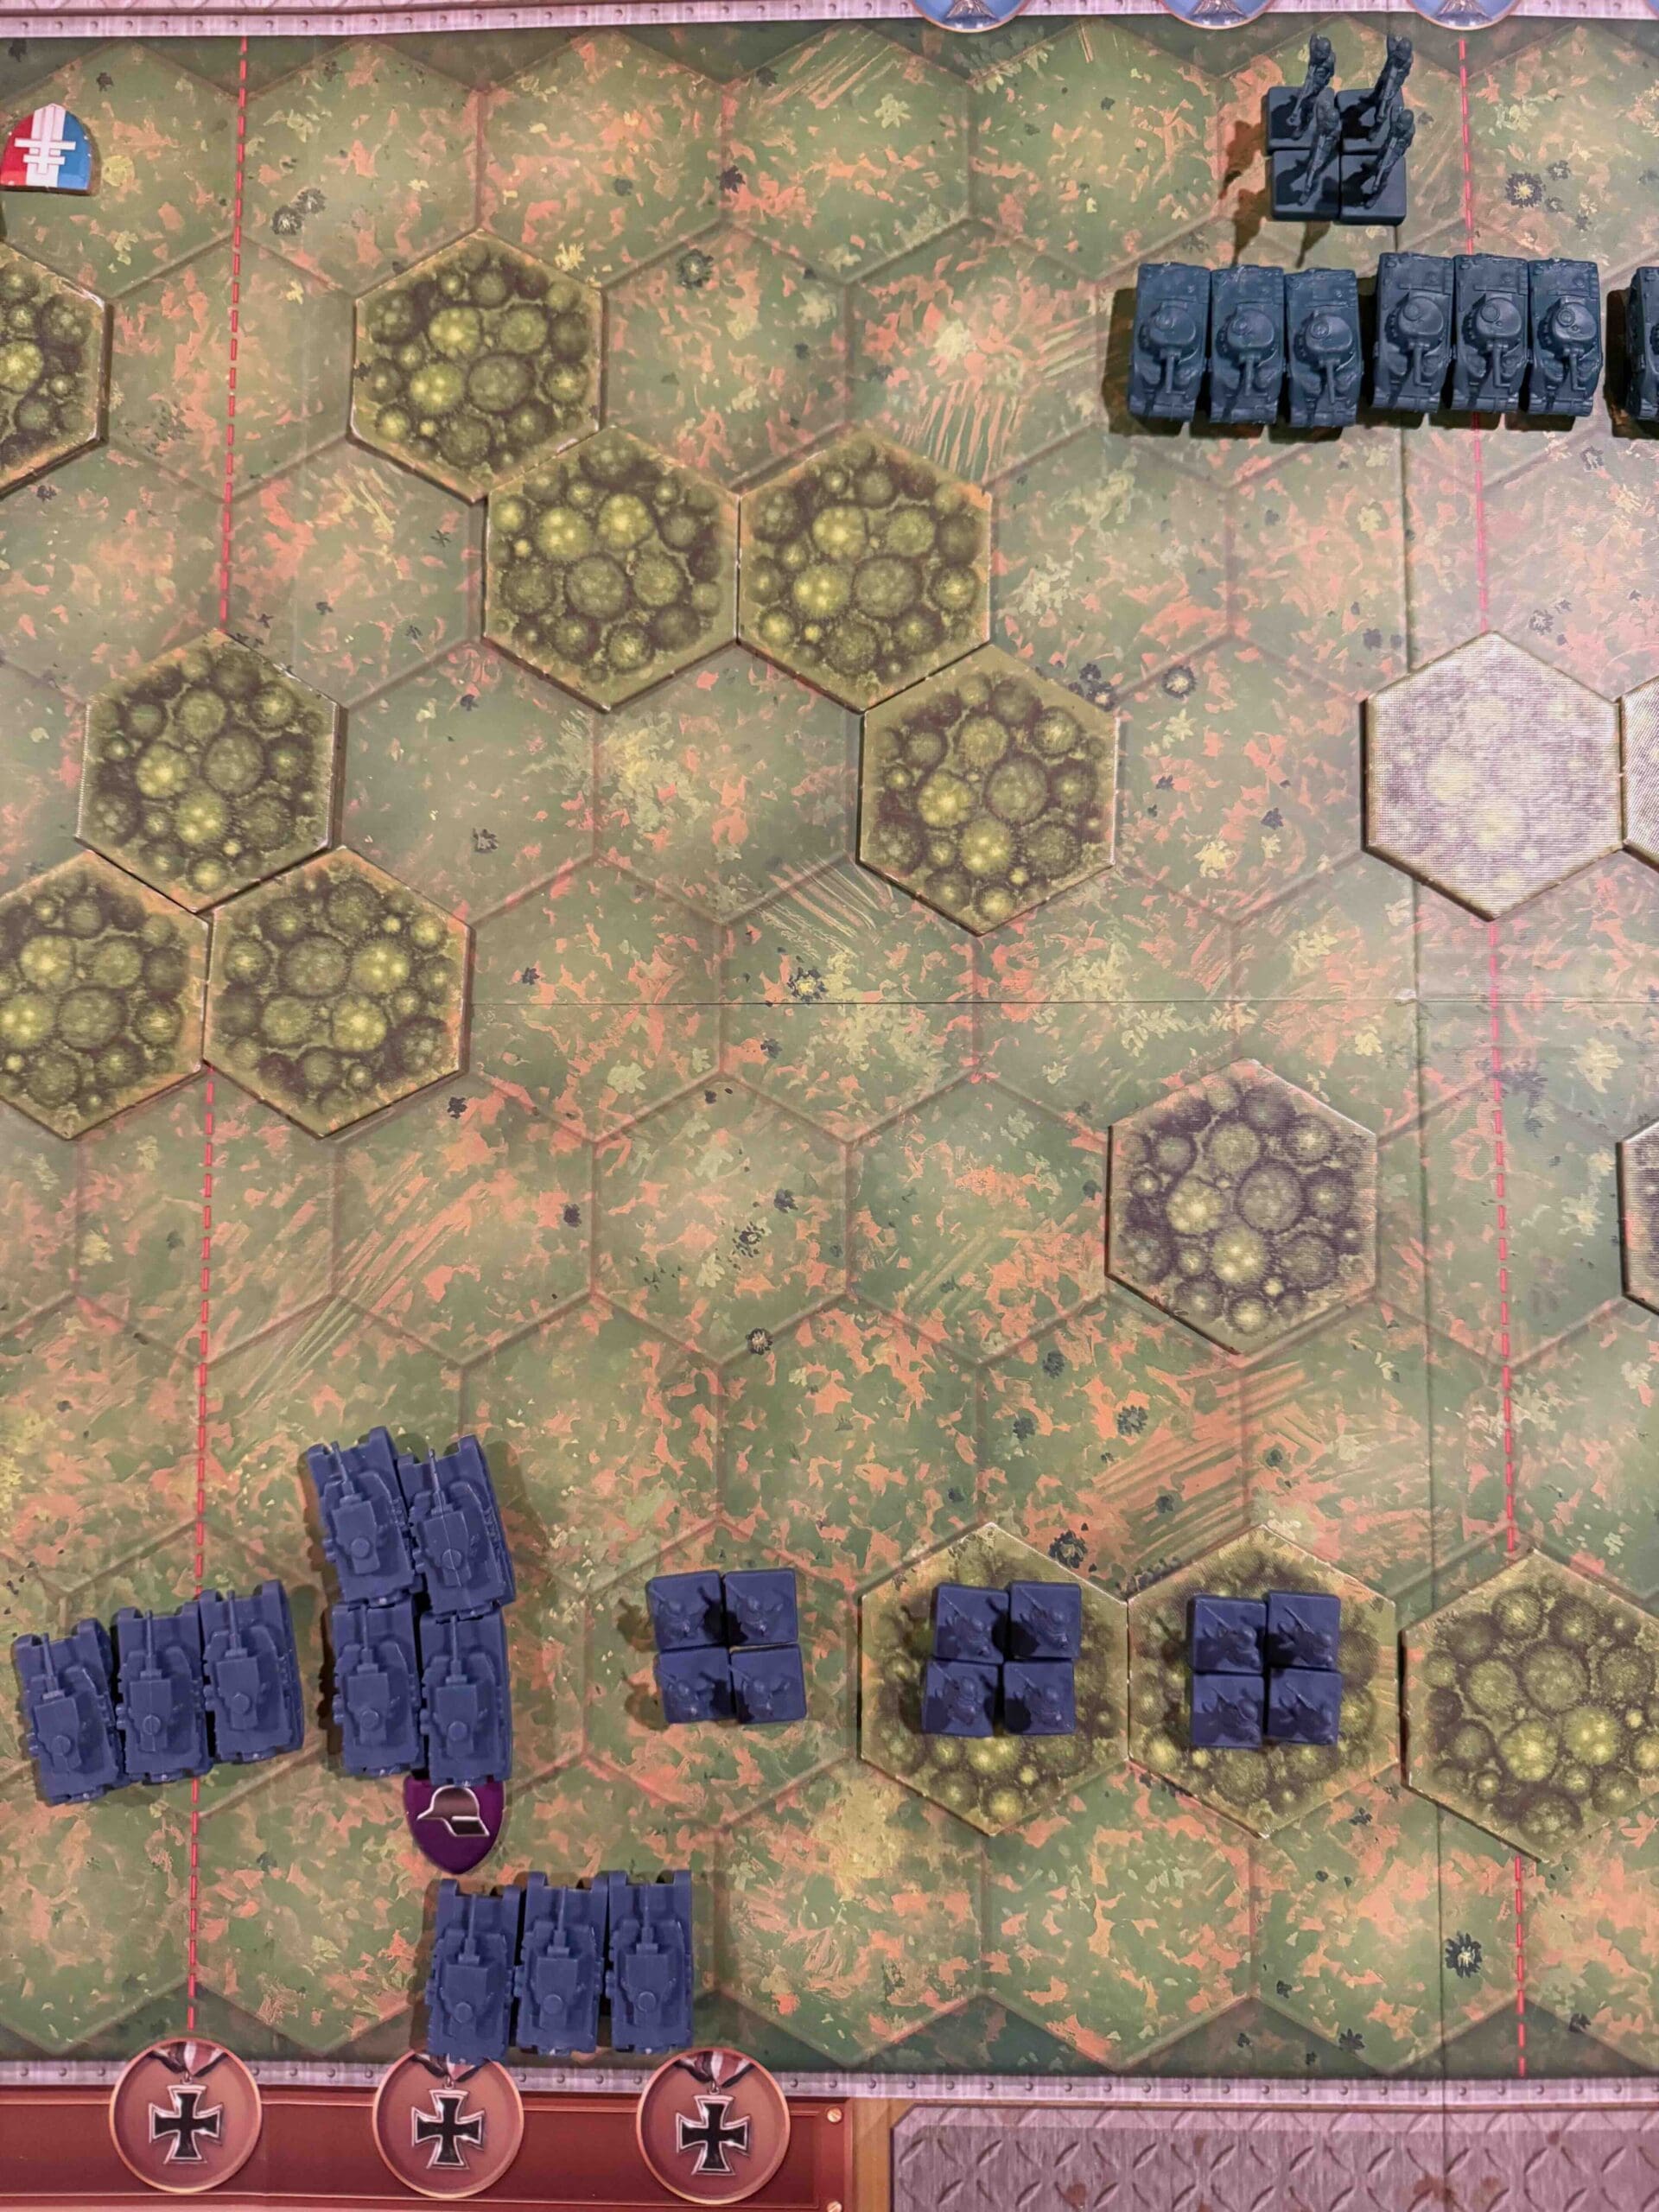
2.  The Axis outnumber you on your right flank at the start of the game, and the three forward units are in strong defensive positions, which suggests attacking elsewhere.

3.  As Allies, you have two Destroyers at the start of the game.  Two factors affecting their performance are visibility and location.

Visibility:  Because of the night visibility rules, the Axis units may have time to move out of range of the ship guns before daylight arrives.

Location: This concerns the ability to get the Destroyers onto the border line so they have more flexibility on which section cards can activate them.

Once daylight arrives the Destroyers have a range of eight hexes, so their maximum firing range is row ten.  Of course, that is their maximum range, but their effective firing range (of 2D attacks), is actually row six.

4.  There is a Temporary Medal Objective at the Romanian HQ on row 13. If you keep pushing in that direction to keep pressure on the enemy, it should afford you some success.

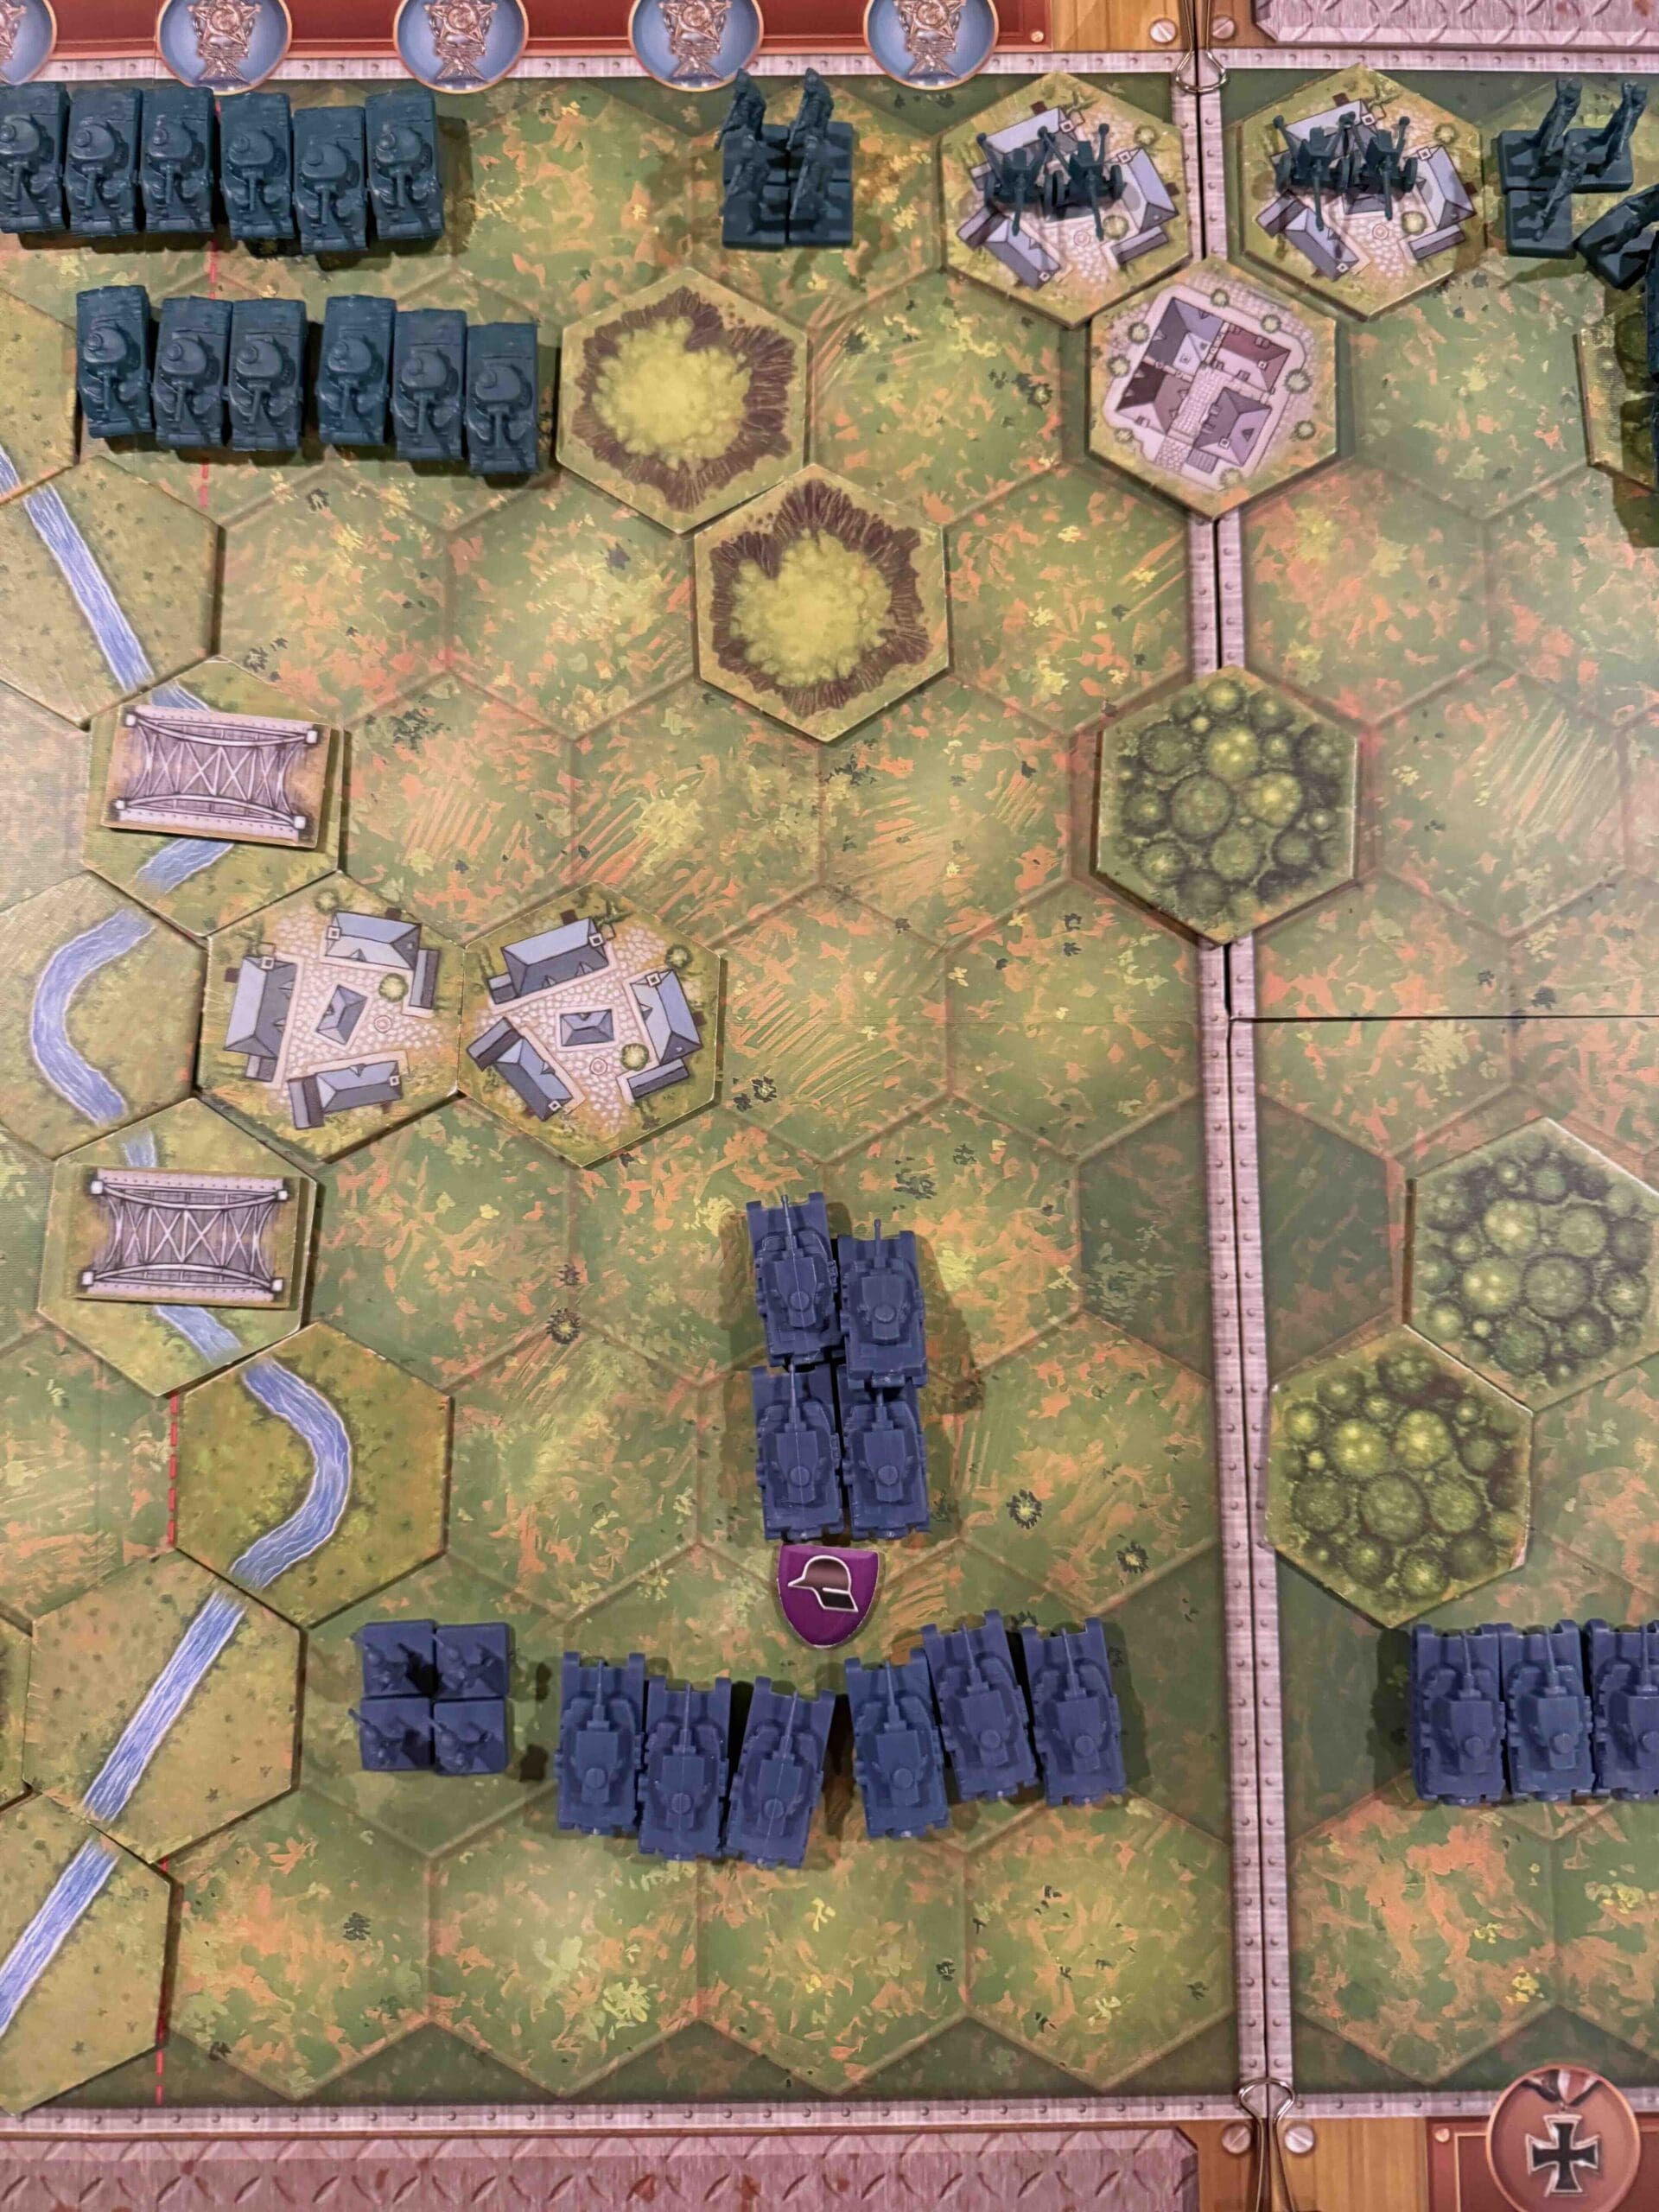
5.  Each of the enemy Artillery is worth two! victory points, so target them when you can.

6.  Because the enemy has three very powerfully placed artillery, and you have a lot of artillery, your plan will have to be to so overwhelm the artillery that you are able to take them out with your superior numbers before they take you out with with their superior firepower. 

7.  Possible Attack Vector: completely by-pass the territory controlled by the enemy Artillery when you do your para-drop.  Aim for the back of the battlefield around the Romanian HQ, and the town of Novi Bilvari. There are plenty of Infantry units to take out, while you wait for daylight to arrive, so that your Destroyers can engage with the Artillery batteries.

Big Picture Strategy:

1.  This is a Breakthrough game. 
The field of battle is very deep. It is more than likely your troops are not going to be placed where they need to be.  Therefore, all the section cards which allow you to attack in one section and then move units anywhere, are your friend.  In the beginning of the game it is actually as important to make use of cards that might have limited attack power (like 1 or 2), but allow you to move two units around.  This will allow you to get them into play.

2.  Nightime attack rules. 
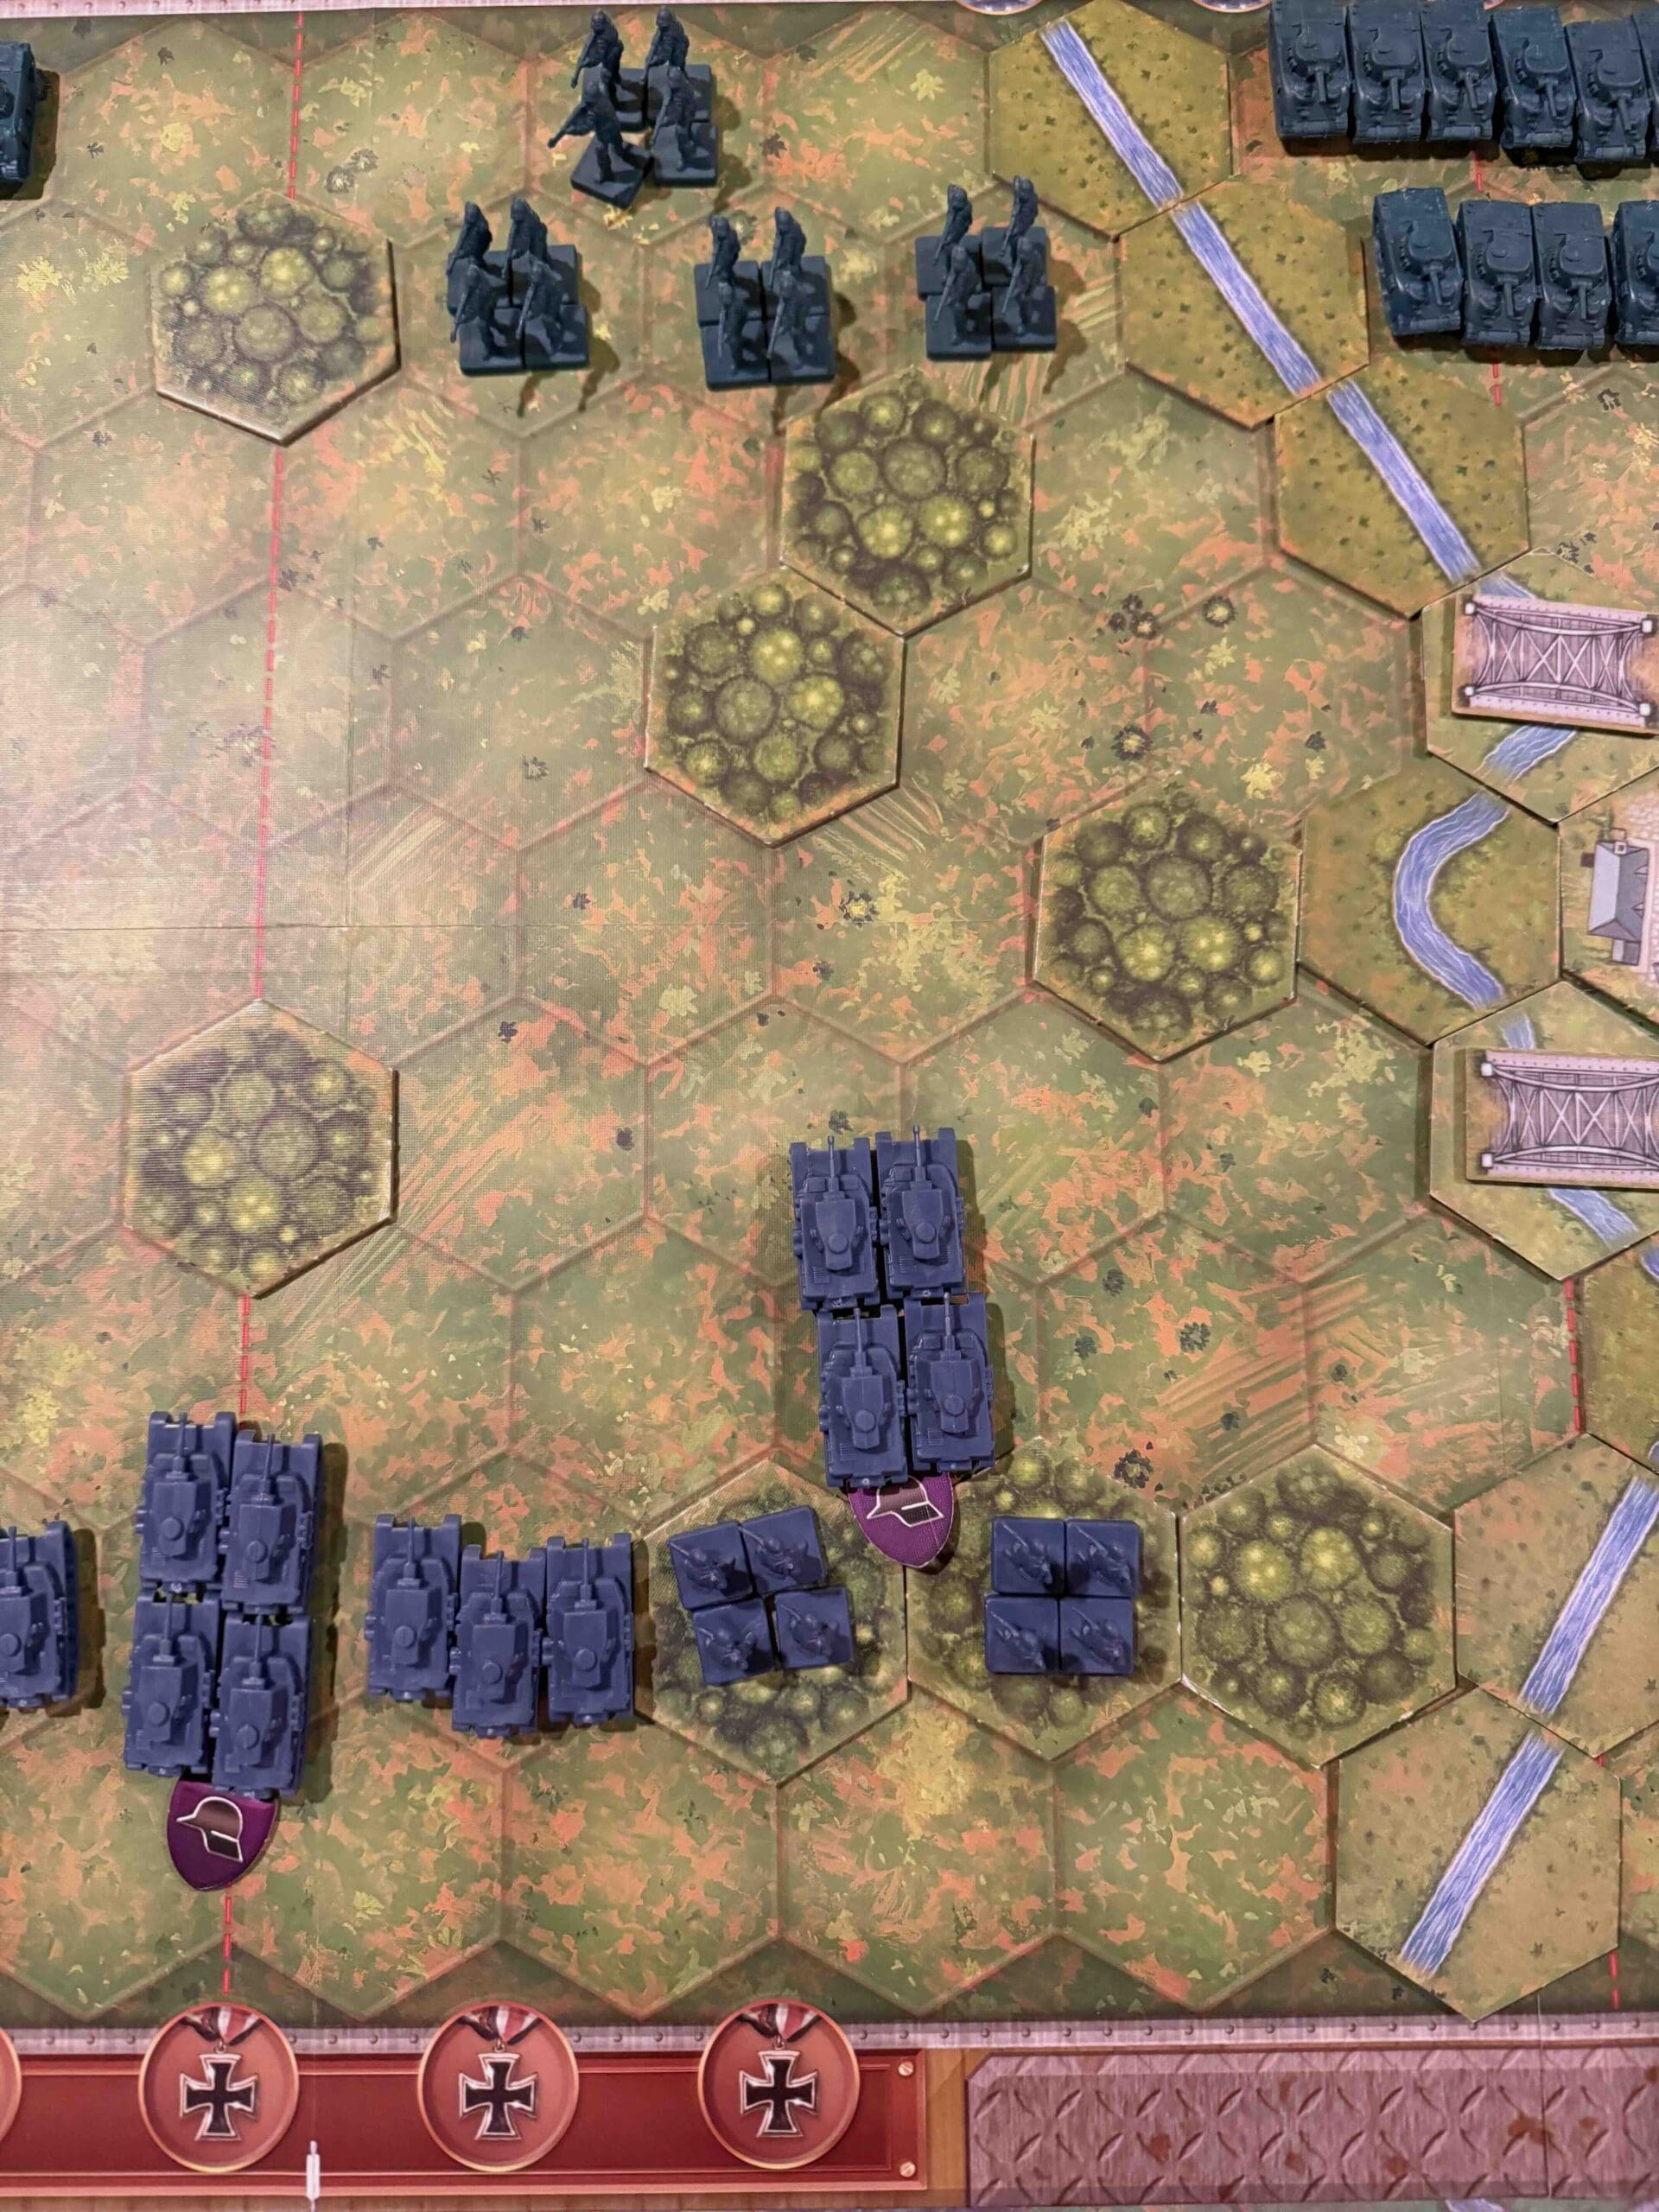
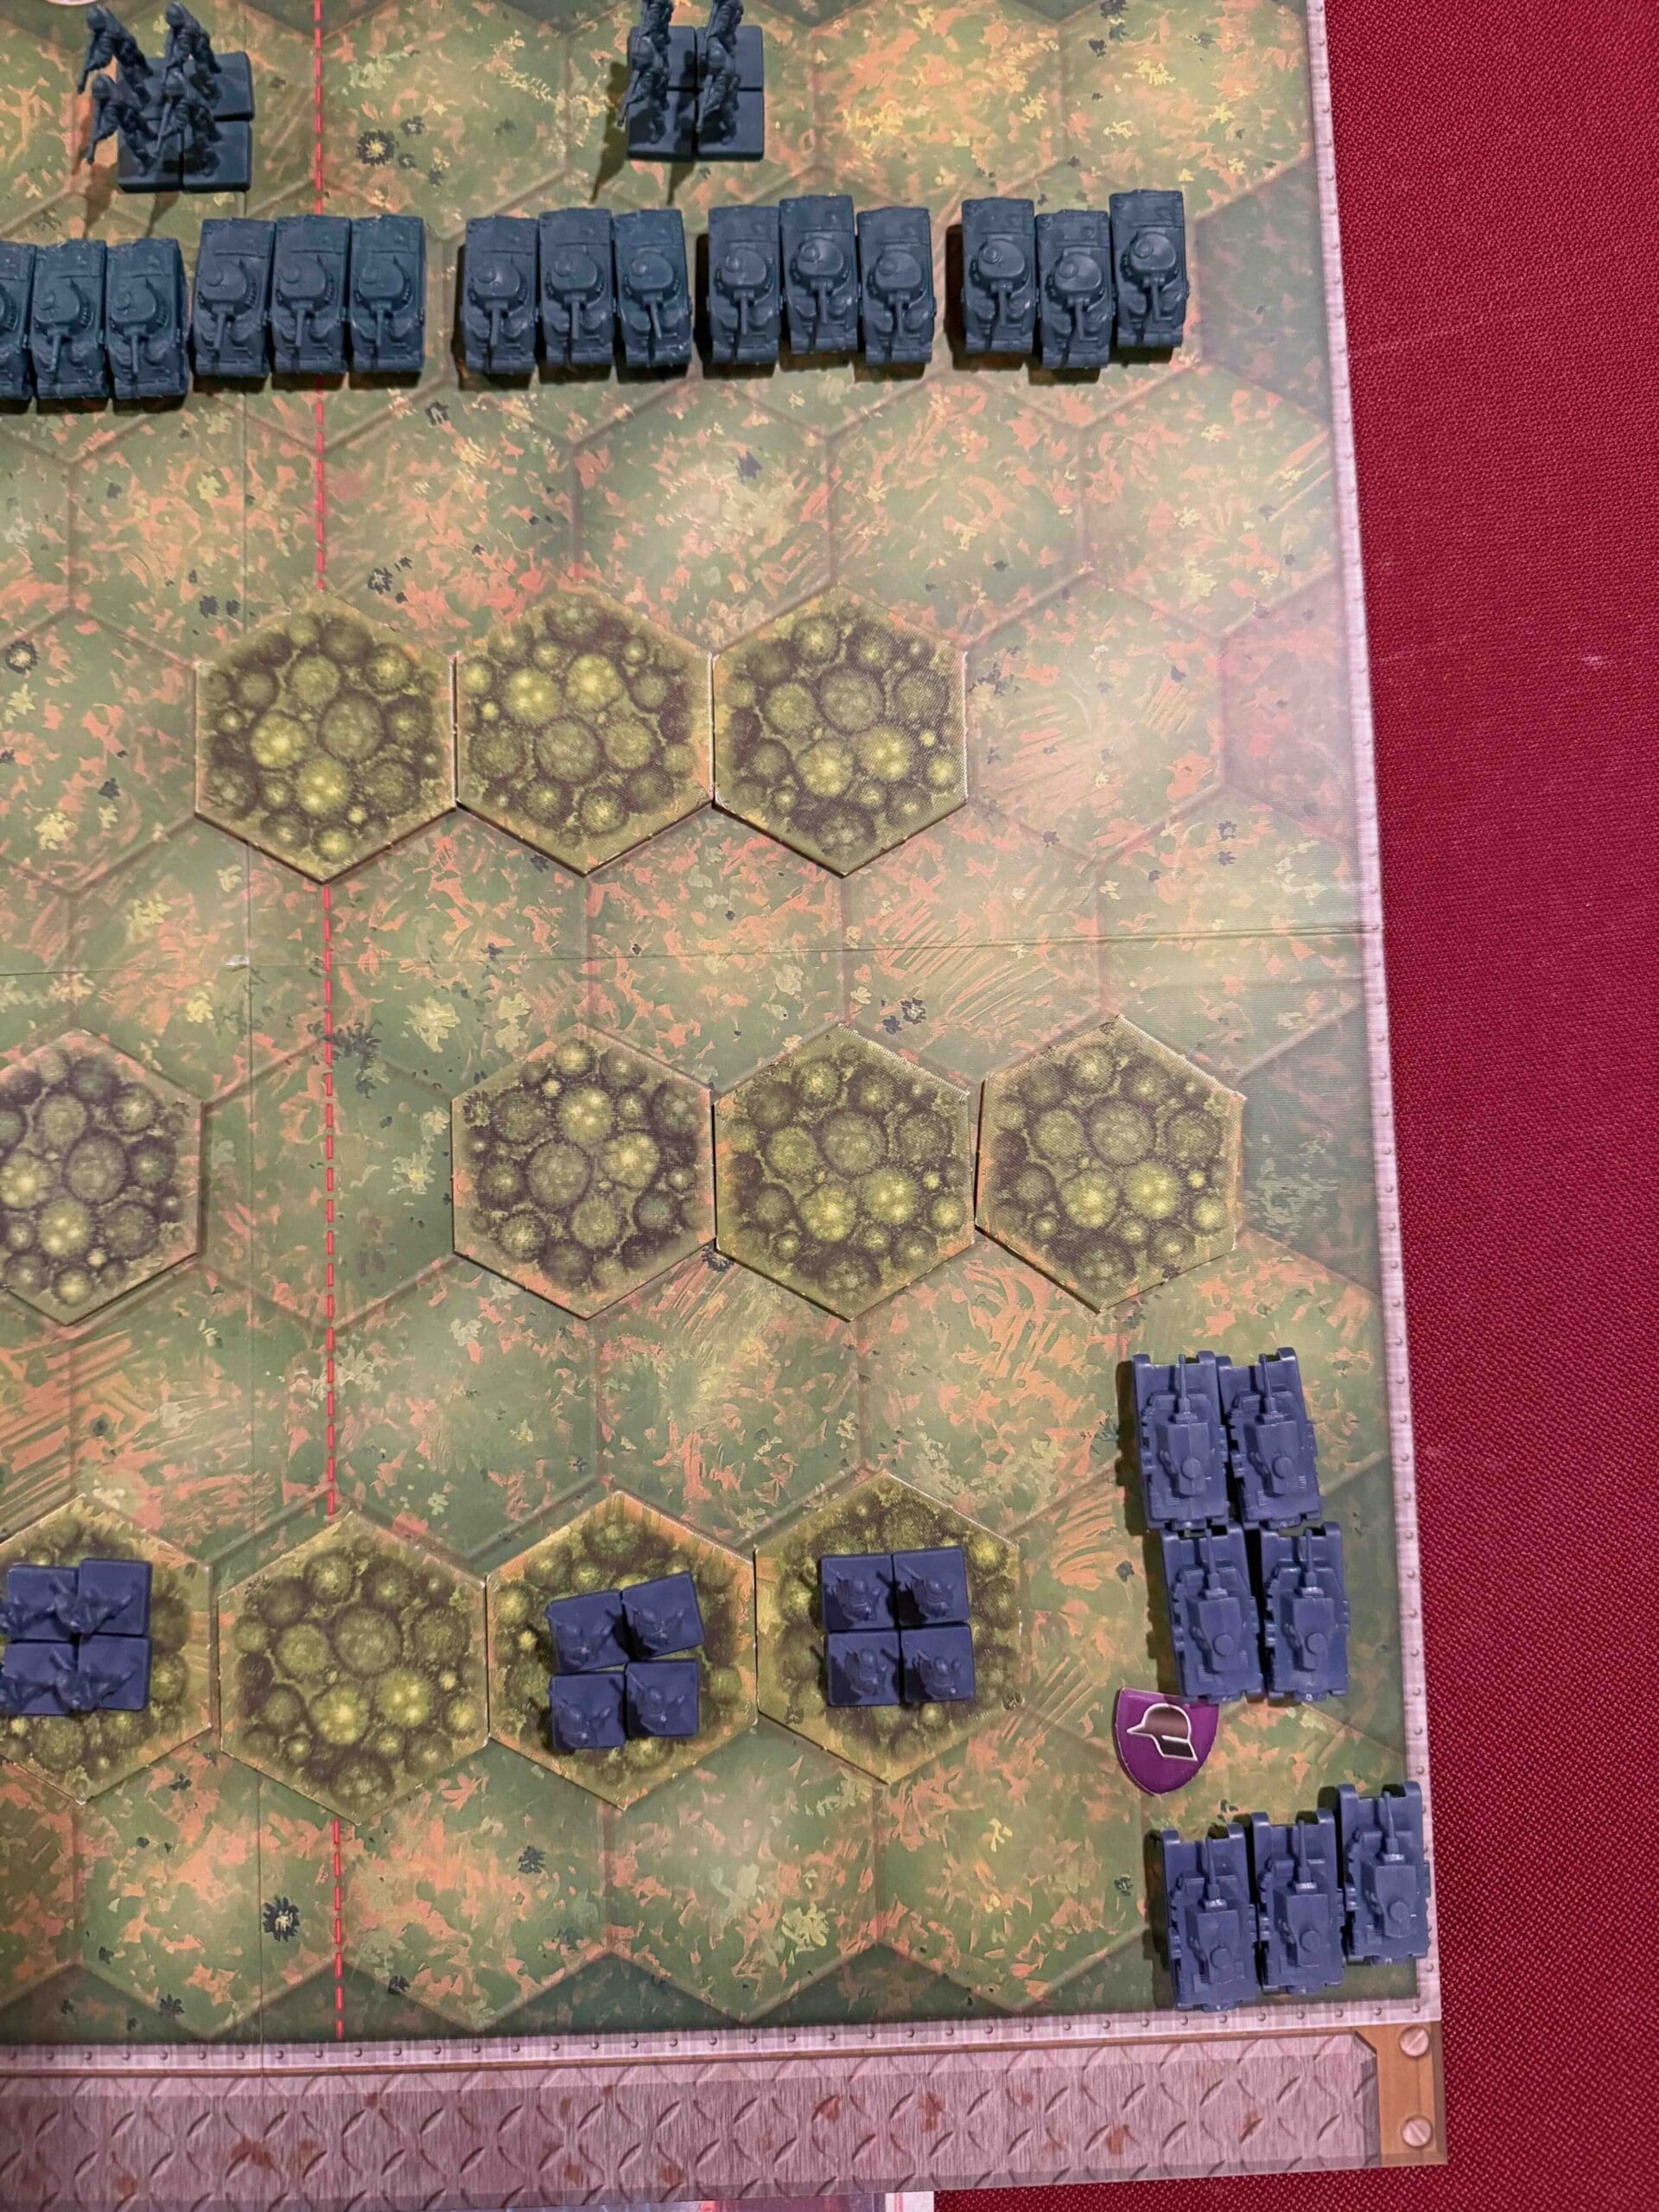
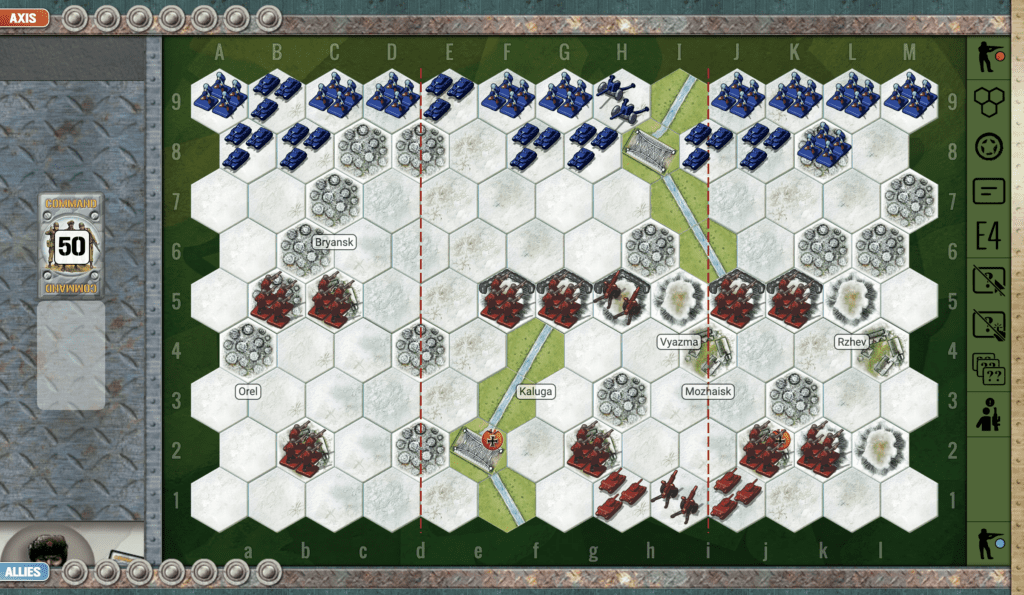
The game starts in complete darkness, where you can only attack units that are next to you.  We know that daylight is definitely an advantage for the Allies, because once you reach full daylight, the power of the Destroyers begins to be felt, as they can reach out to row 10, and pummel you from above.  But what about Nightime settings from 2-5?  These are actually better for the Axis, as it allows them to use their Artillery and attack at a distance any of the Allied Infantry coming for them.  Because the Allied Infantry can move two hexes and still battle, they can very quickly get to the Artillery an overwhelm them.  So allowing some range attacks up to 3 hexes away is good for the Axis Artillery forces.  (See pic2 above)

medal axis

Axis Strategy:

1.  Your first defensive objective is to respond to wherever the Allied paratroopers happen to land.  Respond immediately with available Infantry and Artillery to address the threat.

2.  Bring your reserve units into play as soon as you can by moving the rear units forward on the map.

3.  Because each Artillery unit is worth two! Medals, you will need to protect them in some way.  Either move them back from the Destroyers’ range, or protect them from Infantry attacks by bringing your own Infantry into play.

4.  The enemy forces are elite, so they can move two hexes and still attack. So be aware of this so that a single Infantry unit doesn’t get surrounded and destroyed.

5.  It is going to take an average of six turns before the daylight arrives and the Destroyers are fully activated to row 10. This will give you time, if you want to, to move your Artillery further back on the battlefield out of their range. 

Battle Reports

18
BR - Soviet Raid

Author:

Days of Wonder

Prokhorovka (Kursk)

La Prokhorovka ( Kursk ) [Overlord]

The Battle of Prokhorovka on July 12, 1943, was one of the largest tank clashes of World War II, fought between Soviet forces and Germany’s II SS Panzer Corps during the Battle of Kursk. The Soviets launched a massive counterattack to halt the German advance, resulting in brutal close-quarters fighting.

General Howitzer summarizes the results:

Prokhorovka was the kind of fight that strips war down to raw courage and cold steel. On July 12, 1943, the Germans drove forward with their elite SS Panzer divisions, thinking they’d punch a clean hole through the Soviet lines and finish the Kursk offensive on their terms. Instead, they ran headfirst into a Soviet counterattack that came on like a tidal wave of T-34s.

This wasn’t long-range dueling — this was knife-fight range, tank against tank, guns blazing at fifty yards, machines ramming each other like charging bulls. The battlefield turned into a cauldron of smoke, fire, and shattered armor. And in that chaos, the Russians did what mattered most: they stopped the Germans cold.

The Panzers never got their breakthrough. Kursk slipped from Hitler’s grasp. And Prokhorovka proved once again that in war, the side that holds its ground with grit and fury — not just fancy equipment — is the side that turns the tide.

12 VP’s

Card Balance:

Allies – 10

Axis – 10

Complexity:

4

Conditions:

Countryside

Context:

Historical

Location:

Russia

Year:

1943

Theater:

Eastern

Campaign:

Battle of Kursk

Codename:

Operation Citadel

Summary:

Objectives:

12 VP’s

Battlefield:

A countryside with the River Pesl cutting vertically through the left section. 

Troops:

Allies – 8 Infantry, 15 Armor, 2 Artillery

Axis – 11 Infantry, 14 Armor

Special Rules:

1.  The River Psel is fordable.


medal allies

Allied Strategy:

1.  You have two Artillery placed right in the center of the battlefield hidden in the town hexes.  They will be much more useful to you, if you can move them forward a hex or two.

2.  Move your Armor unit which is in the forest hex just to the left of the city of Prokhorovka up into the forest hex which is exactly in the center of the battlefield. It will give you a magnificent view of the battlefield in all directions.  

3.  Your Armor units stuck in the right corner, need to come forward to be prepared for attack in that section. 

STRATEGIC OVERVIEW

1.  This is a 12 medal game so there is a lot of strategic placement which will pay dividends for you to win later on in the game.  

2.  So grab the forest and town hexes as quickly as possible, so that you can attack the enemy forces from a safe location.  There are so many tanks in this scenario that if you leave any of your forces out in the open, they will get wiped out.

3.  There are so many tank figures in this game that as many as 50 armor figures could get wiped out before the game is over.  

medal axis

Axis Strategy:

1.  The Axis have an attack vector on the right section. They can move their Infantry two hexes forward and capture the woods in the very center of the battlefield.  Also, your Armor in the right need to be move forward quickly and placed into the forest hexes to be prepared to attack the enemy.

2.  Get all of your Armor which is sitting out in the open in the center section into defensive positions, or they will be wiped out.

Battle Reports

1
BR - Prokhorovka

Author:

Days of Wonder

Link:

Ponyri (Kursk)

Ponyri (Kursk)

scenario_Ponyri_start

The Battle of Ponyri took place in Ponyri, a small town in the Kursk Oblast of Russia, during World War II. It occurred in July 1943 as part of the larger Battle of Kursk, one of the biggest tank battles in history.

General Howitzer summarizes:

Ponyri was a slugfest in the mud and blood of Kursk—like a Stalingrad on a smaller scale. The Germans threw their Panzers and infantry at that rail junction with everything they had, trying to break through to Kursk, and the Soviets met them with steel, fire, and sheer grit. House to house, trench to trench, they held the line. The enemy never got past it—and Ponyri became the anvil that broke the German spear.

7 VP’s

Card Balance:

Russian – 4

Axis – 6

Complexity:

3

Conditions:

Countryside

Location:

Russia

Year:

1943

Theater:

Eastern Front

Campaign:

Battle of Kursk

Codename:

part of Operation Citadel

Summary:

Objectives:  7 VP’s.

The key to winning Ponyri is controlling the town. It is worth two VP’s. Whichever side controls the town will cause the opponent to waste a lot of troops trying to gain control.

Terrain:

Countryside with forest and hills on one side, mines on the other, and the five-hex town of Ponyri in the center.

Troops:

Allies – 9 Infantry, 4 Armor, 3 Artillery

Axis – 8 Infantry, 7 Armor

medal allies

Allied Strategy:

1. The town of Ponyri is worth two VP’s. You begin with control of it, but since it has 5 hexes, you should take control of the central hex of Ponyri so that you have majority control. This will force the enemy to waste a lot of forces throwing themself against this well-defended town.

2. The Allied role in this scenario is primarily defensive. Use your sandbags and be slow to leave them. But if the enemy begins pummeling your armor on the left flank, you may need to consider a more aggresive approach, if your cards allow it.

3. You have three artillery. Take the time to move them forward one row early in the battle while you still have time, so that they can improve their hit rate against the enemy.

medal axis

Axis Strategy:

1.  Because the town of Ponyri is worth two VP’s! , you should attempt to get your infantry into it pretty quickly, before the enemy occupies all town hexes.  But only take it, if you can keep them there, as they will be surrounded by the enemy on all sides.

2. On your left flank, use the forest and hills to advance your infantry under cover. If you try to make a direct assault in the open countryside, they will get decimated.

3. On your right flank, you have an armor superiority, so you can place yourself behind the mines and continuously degrade the enemy’s strength. But be aware of the artillery on the right. If the Allies move it one row forward, your armor directly behind the row of mines will be subject to 2D rolls against your forces.

4.  When the enemy is sufficiently degraded, you may consider breaching the mines. (Expect some hits, but if you use your elite forces that begin with 4 armor figures, you should have a sufficient survival rate to continue the attack.) If you find the opening, you can push through for direct assaults against the enemy armor. 

Battle Reports:

( percentage of Allied Victories):

54%

24
BR - Ponyri

Author:

Days of Wonder

Link:

Soviet_troops_and_T-34_tanks_counterattacking_Kursk_Voronezh_Front_July_1943

Battle of Kursk
(Copyright: www.mil.ru)

Red Barricades Factory (Stalingrad)

Red Barricades Factory (Stalingrad)

By October ’42, the Germans were throwing more and more of their 6th Army into the meat grinder at Stalingrad. On the 22nd, the 79th Infantry, backed by engineers, tanks, and guns, went charging across the railroad embankment straight at the Red Barricades Factory.

It was hell—Russian snipers in every shadow, tanks dug in like fortresses, fire pouring in from every angle. The Germans clawed their way forward inch by inch, breaking the Soviet line by sheer weight. But after all that blood and fury, by nightfall they had only managed to seize a corner of the factory. A costly gain, proving again that in Stalingrad, every brick was paid for with lives.

~~ General Howitzer

10 VP’s

Card Balance:
Allies – 3
Axis – 5

Complexity:

5

Conditions:

Urban / Winter

Location:

Stalingrad

Year:

1942

Theater:

Eastern Front

Campaign:

Battle of Stalingrad

Summary:

The scenario is complex battle with a lot of different terrain, both urban and winter, that complicates troop movement. There are also snipers which add an extra element of suspense.

Objectives:

10 VP’s , including 3 Objective Medals for either side

Battlefield:

Battlefield is the Red Barricades Ordnance factory in the winter, surrounded by rubble.

Troops:

Allies – 9 Infantry, 2 Armor, 2 Artillery, and 2 Sniper

Axis – 9 Infantry, 4 Armor, 2 Artillery, and 1 Snipers

Allied Strategy:

1.  You can quickly grab the Medal Objectives which are very close to you in the city ruins and the factory, and then try to hold them for the game. This will give you an early advantage and force the enemy to come to you, and fight against you while you are in a well-protected positions.

2. You have two Snipers which can fire five! hexes away. You can use them to harass the enemy and force them to pay attention to the Sniper, even though it doesn’t count as a VP, thus diverting energy away from other units.

3.  Use your forward infantry to attack the enemy before they destroy you.  At two hexes away, you should be able to get some good hits in first.

4. The strategic reality is that your forward units will get destroyed rather quickly, so the real battle will take place along the second front in rows 3,4,5 where you have armor protected behind sandbags, and city ruins for your infantry.

5.  Give careful consideration before moving your armor away from their sandbags. The enemy outnumbers your armor two to one, and once they become mobile, will be coming for yours.

6.  This scenario makes it easy for Allies to quickly grab 4 medal objectives by entering the town and factory hexes, but the trick comes in trying to hold them. The enemy will push through your first line of defense pretty quickly, and then you will need to hold your second line on rows 3,4,5, in order to prevent the enemy from taking out your units on those town and factory hexes.

Axis Strategy:

1.  Mobility is the first order of business when you start. In fact, at the start of the game, the Axis have 16 units, and not  a single one can retreat. [ Admiral Frigate ] You have a lot of firepower stuck against your back wall, and hidden behind the hills.  You need to move it out and begin attacking the Allies immediately.

2.  You have three no-retreat Infantry units that are only two hexes away from the enemy.  You either need to bring your Armor up between the enemy and your infantry, or, better yet, move in and attack the enemy at close assault range.

3.  Once you get some mobility going to avoid the no-retreat attacks, you can use your Artillery to degrade the forward enemy units which are barricaded in the City Ruins.

4.  Use your Sniper to good effect. They can move two and battle against Infantry, hitting on grenade, infantry, or star dice faces, increasing your odds of a hit to 67%.

5. Most of the middle game of this battle will take place with your forces arrayed across the sixth row, while the Allies are defending from rows 4 and 5. So once you take out the advanced Allied forces, you can overtake those same city ruins and launch your attack from there against the Allies.  

Battle Reports
( percentage of Allied victories ):

57%

28
BR - Barricades

Author:

Days of Wonder

Link:

Gates of Moscow (Typhoon)

Gates of Moscow (Typhoon)

scenario_GatesMoscow_start

Operation Typhoon was the German military campaign to capture Moscow during World War II, launched in early October 1941 as part of their broader invasion of the Soviet Union (Operation Barbarossa). The offensive aimed to deliver a decisive blow by taking the Soviet capital before winter set in.

German forces, under Field Marshal Fedor von Bock, advanced with two large army groups and made initial gains, encircling and destroying significant Soviet forces. However, stiff Soviet resistance, logistical challenges, and worsening weather slowed the German advance. Muddy conditions in October, followed by the onset of harsh winter, further hampered their progress.

By December ’41, the Germans thought they had Moscow in their grip—but Zhukov and his Siberian wolves had other plans. Hardened for winter, those Red Army troops stormed forward in a counteroffensive that drove the Wehrmacht off the city’s doorstep. It was the first time Hitler’s war machine got its teeth kicked in, proof that Blitzkrieg had limits when it slammed into a determined foe with steel in its spine and snow in its veins.

~~ General Howitzer

7 VP’s

Card Balance:

Allies – 5

Axis – 5

Complexity: 

4

Conditions:

Urban

Location:

Russia

Year:

1941

Theater:

Eastern Front

Campaign:

Barbarossa

Codename:

Operation Typoon

Summary:

The Gates of Moscow is a complex scenario which results in a brutal battle with many digital ‘casualties’ on both sides.

Objectives:

7 VP’s, including two Objective Medals for Axis

Terrain:

Frozen field with Kaluga river cutting vertically and a ridge of hills cutting across horizontally.

Troops:

Allies – 10 Infantry, 2 Armo, 2 Artillery

Axis – 10 Infantry, 8 Armor, 1 Artillery

🔥 Winning as Allies

1. Big picture strategy for the Allies. This is a defensive scenario, so stay behind your sandbags and defend the two medal objectives.  Move your Artillery and Armor forward into the battle.

2.  Although there is a large Axis force massed against the Allies, the Axis side starts back against the game border. Allies can use this to their advantage, by turning retreat flags into deadly kills. Target the Axis forces which have no retreat available to them. This will increase your odds of a kill by another 17%. This increases the likelihood of an armor hit from 33% to 50%, and an infantry hit from 50% to 67%.

3.  Attack Vector Left Flank:  The enemy forces are congested. If you have a good set of cards, you can move in, and clear out many of the forces, including the armor.

🔥 Winning as Axis

1.  Big picture strategy for Axis is to disperse your bunched-up troops and concentrate your forces on the front-line enemy to eliminate them as quickly as possible before they score too many hits against your forces.

2.  Keep pushing forward as you attack with the goal to eventually be to capture the bridge hex medal (often as a final decisive move to end the game).

3.  This is a long scenario of 7 medals, so you will have to take out the centrally located enemy Artillery. It is sand-bagged on a hill, but it needs to be attacked quickly.

4.  Beware of your armor trapped behind the row of trees on your right flank.  Do not try to take out the enemy infantry in the woods, because they will inflict heavy penalties on such an attempt.  Best option is to get them into the tree line and then out into the open for more fruitful attacks.


Battle Reports (percentage of Allied victories):

34%

(These are historical records. The poll on the right is new results.)

28
BR - Gates

Author:

Days of Wonder

Link: