Bain Tsagan Heights
Bain Tsagan Heights
“Listen up, boys! In early July ‘39, over in the dusty wilderness of Mongolia, the Japanese thought they’d pull a fast one at the Bain Tsagan Heights—cross the river, flank the Soviets, and wrap the whole show up in a bow. But Zhukov wasn’t about to let those plans play out!
Zhukov hit back hard and fast, bringing in tanks, artillery, and infantry to pound those Japanese troops into the dirt. They fought like hell on those heights—bayonets flashing, guns roaring, tanks rolling—and the Soviets broke that flanking move right in half.
This wasn’t just a local scrap, boys—it was a turning point. That Soviet victory at Bain Tsagan sent a clear message: you mess with the Red Army, you pay in blood. It helped push Japan to shift its focus away from Siberia and toward the Pacific, changing the whole game for the coming war.
So remember this—when you see the enemy making a move, you don’t wait—you smash him before he knows what hit him! That’s the way to win!”
~~ General Howitzer
10 VP’s
Card Balance:
Allies – 7
Axis – 5
Complexity:
4
Conditions:
Countryside
Context:
Historical
Location:
Siberia
Year:
1939
Theater:
Eastern
Campaign:
Khalkin Gol
Codename:
Summary:
Objectives:
10 VP’s, including four! objective medals; ( two ridges and a 2-medal bridge)
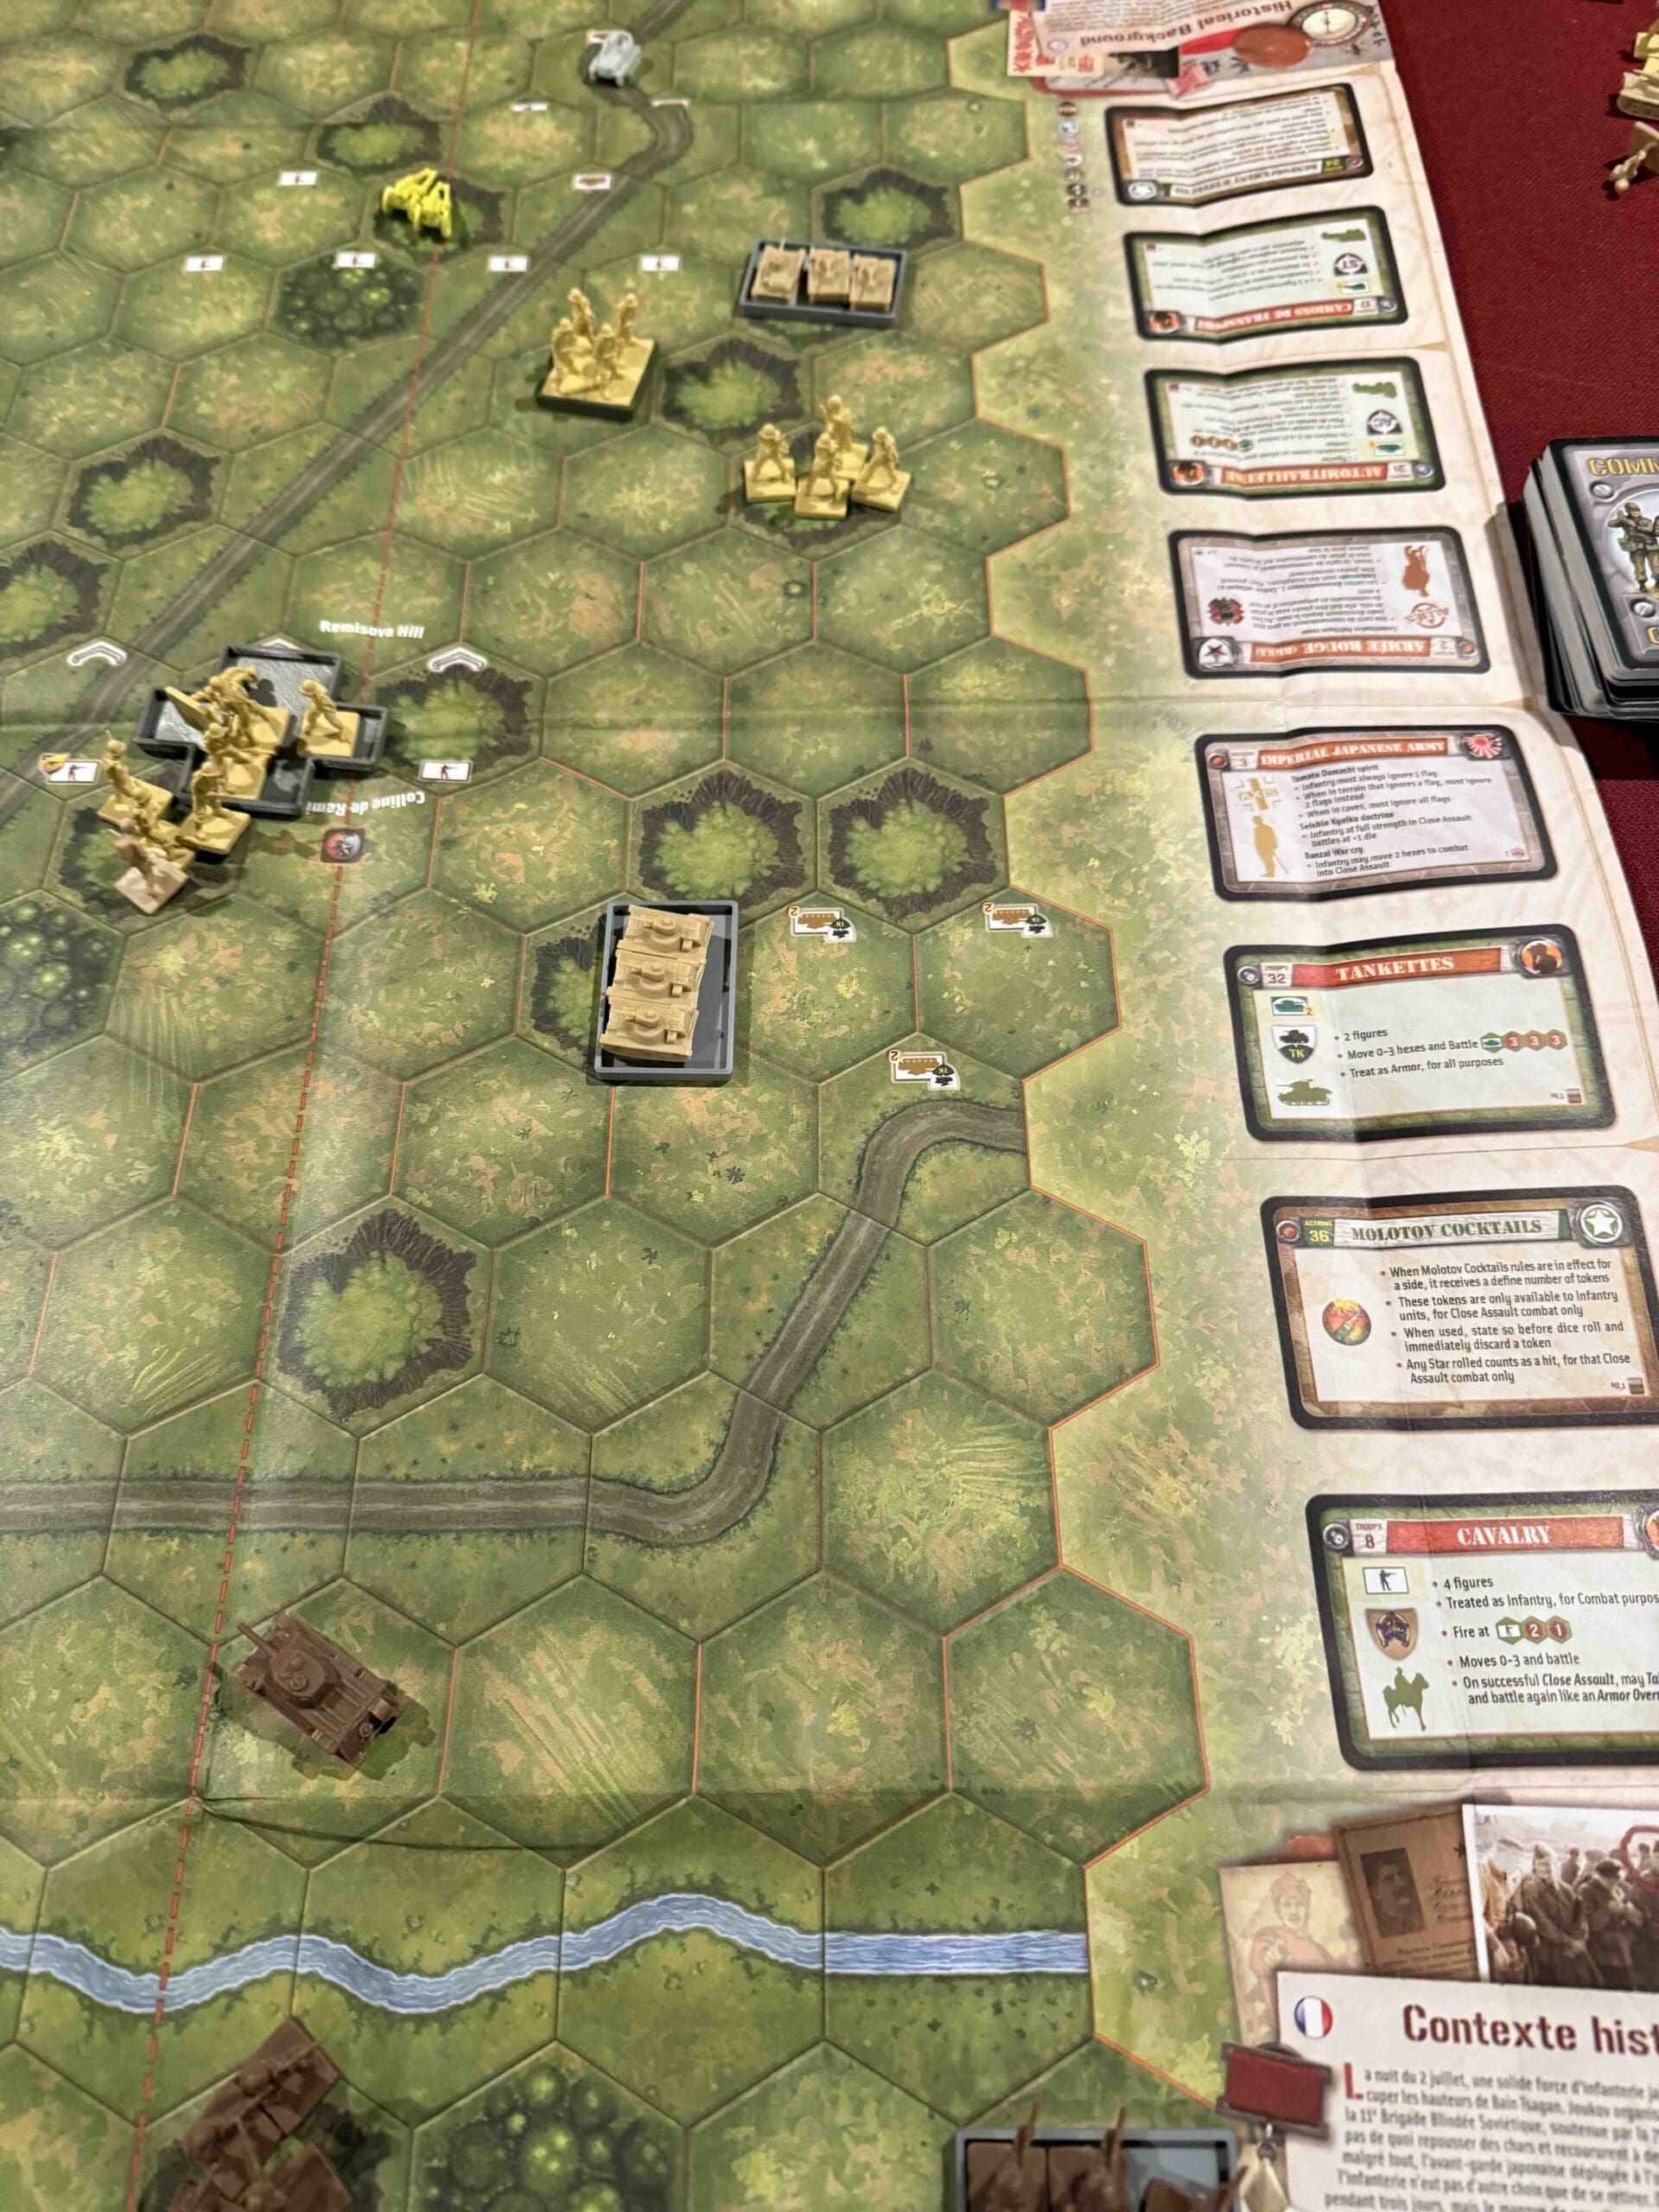
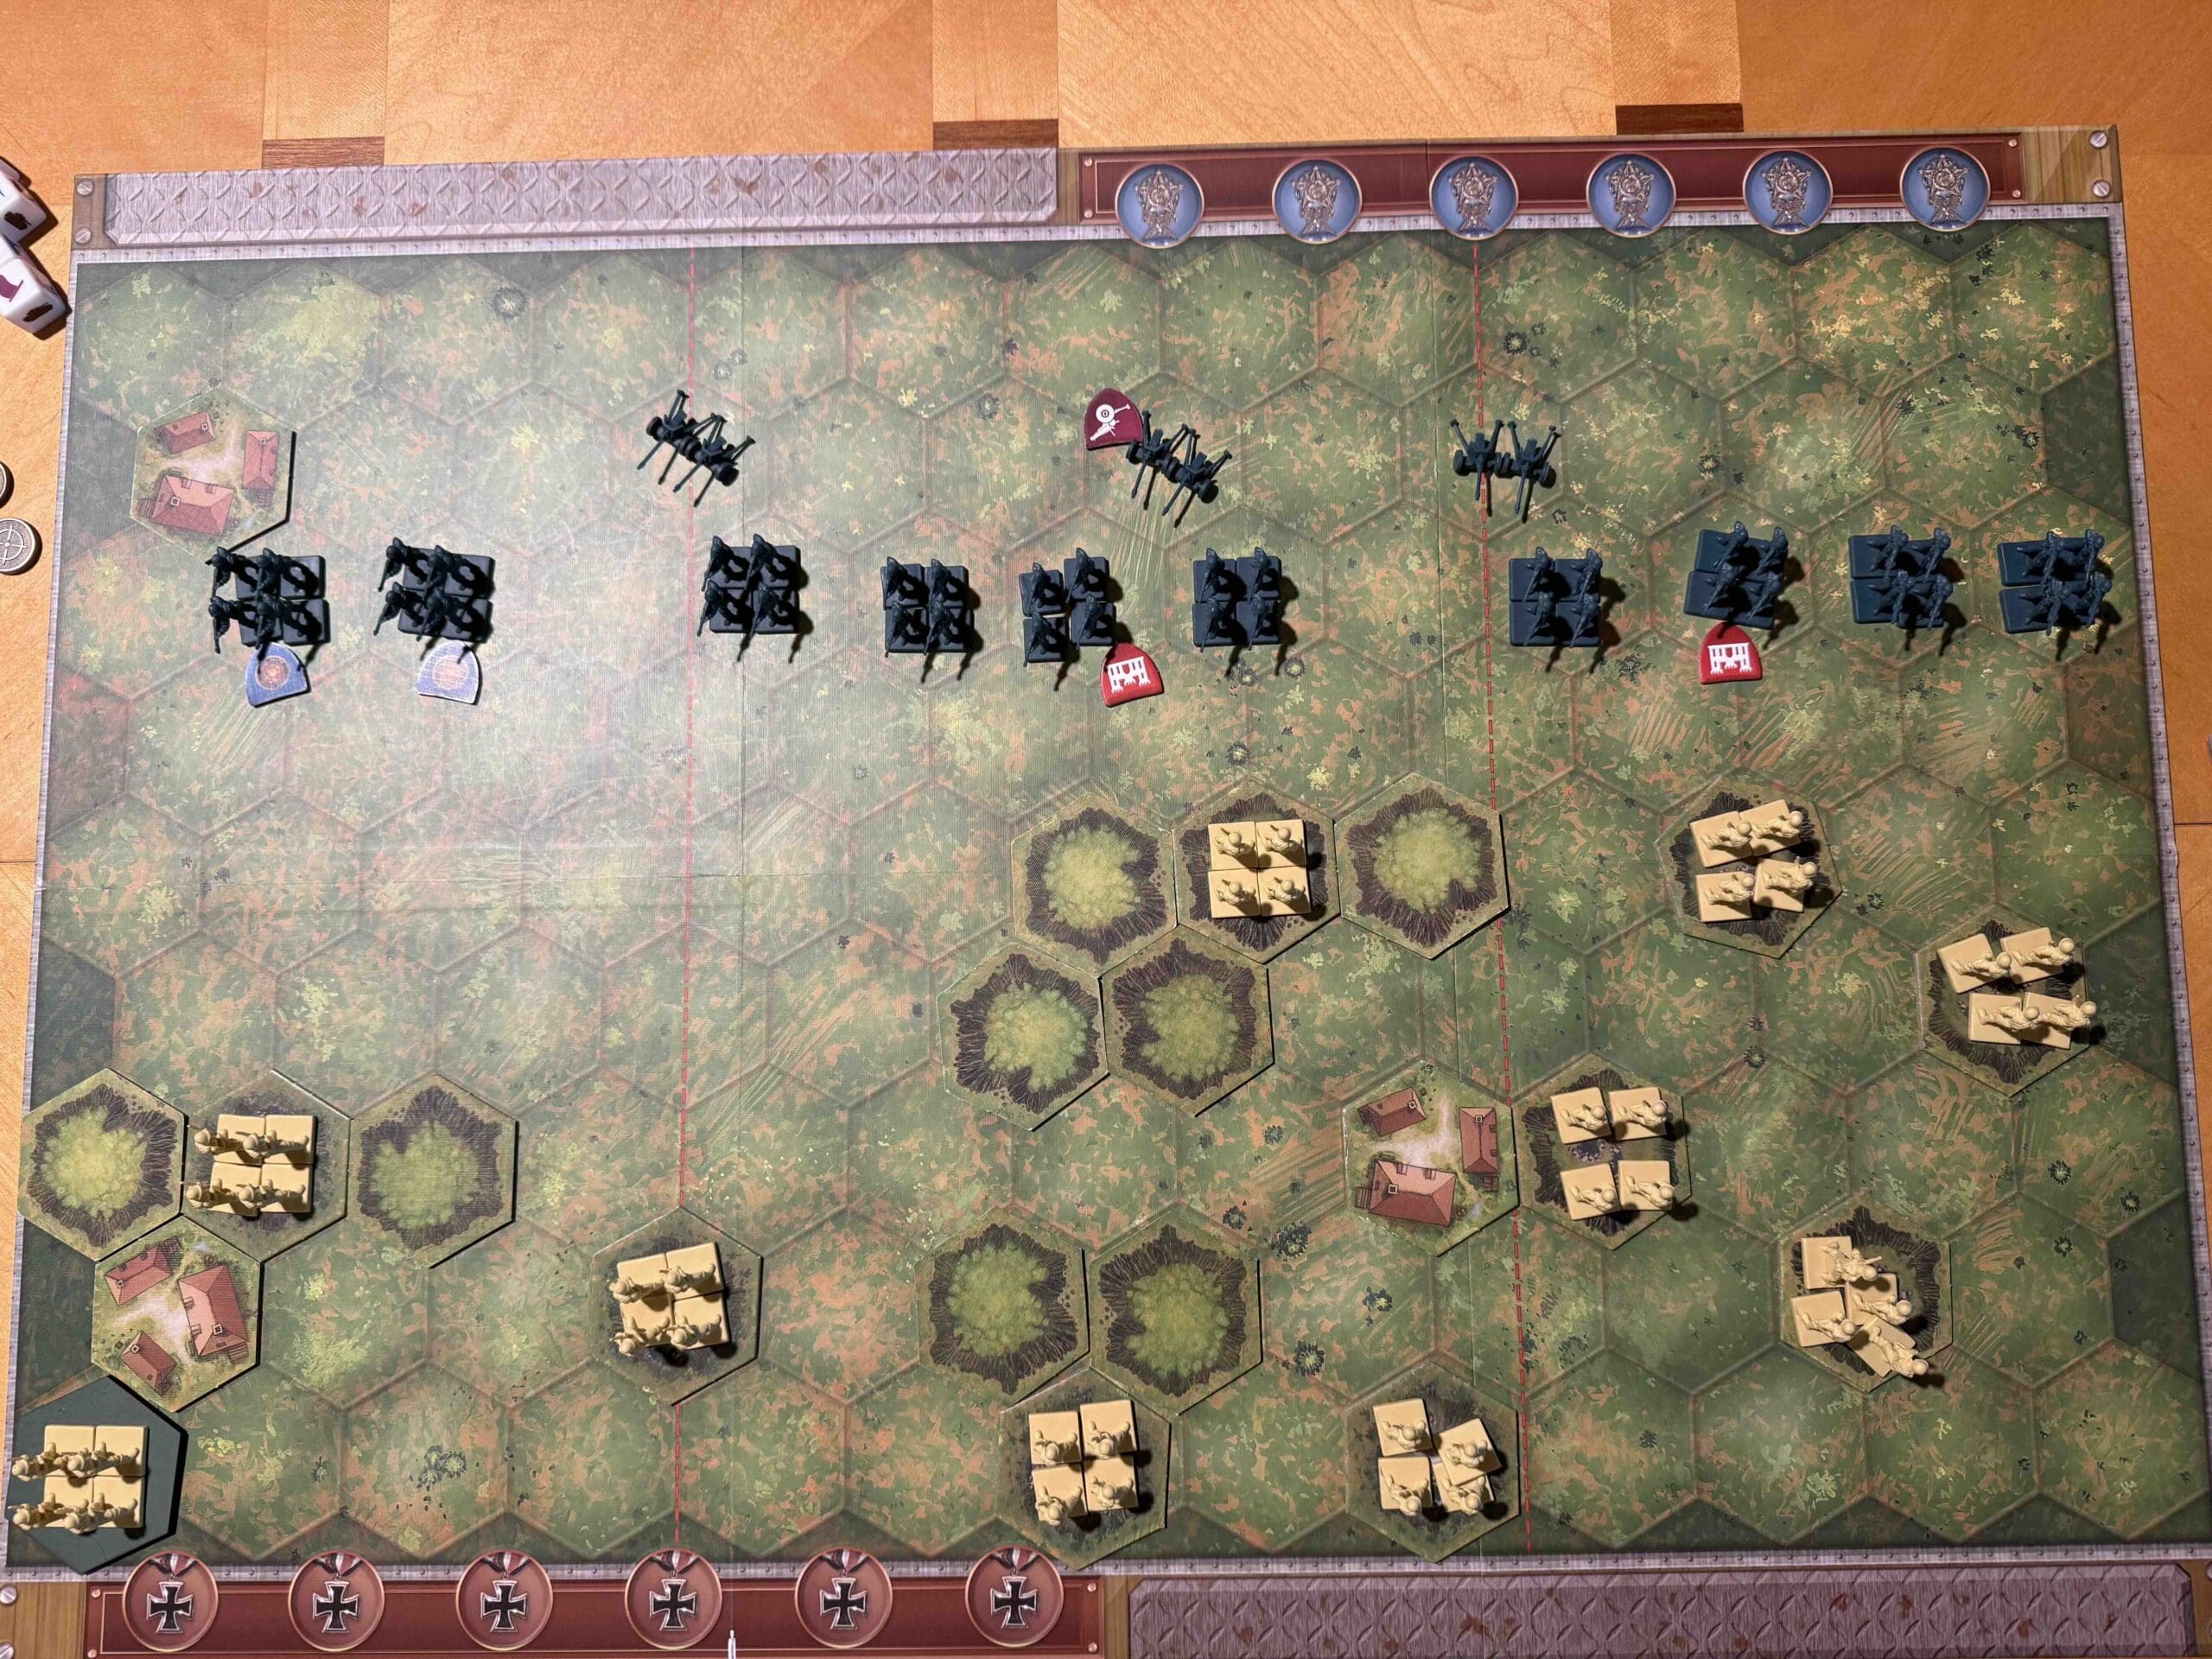
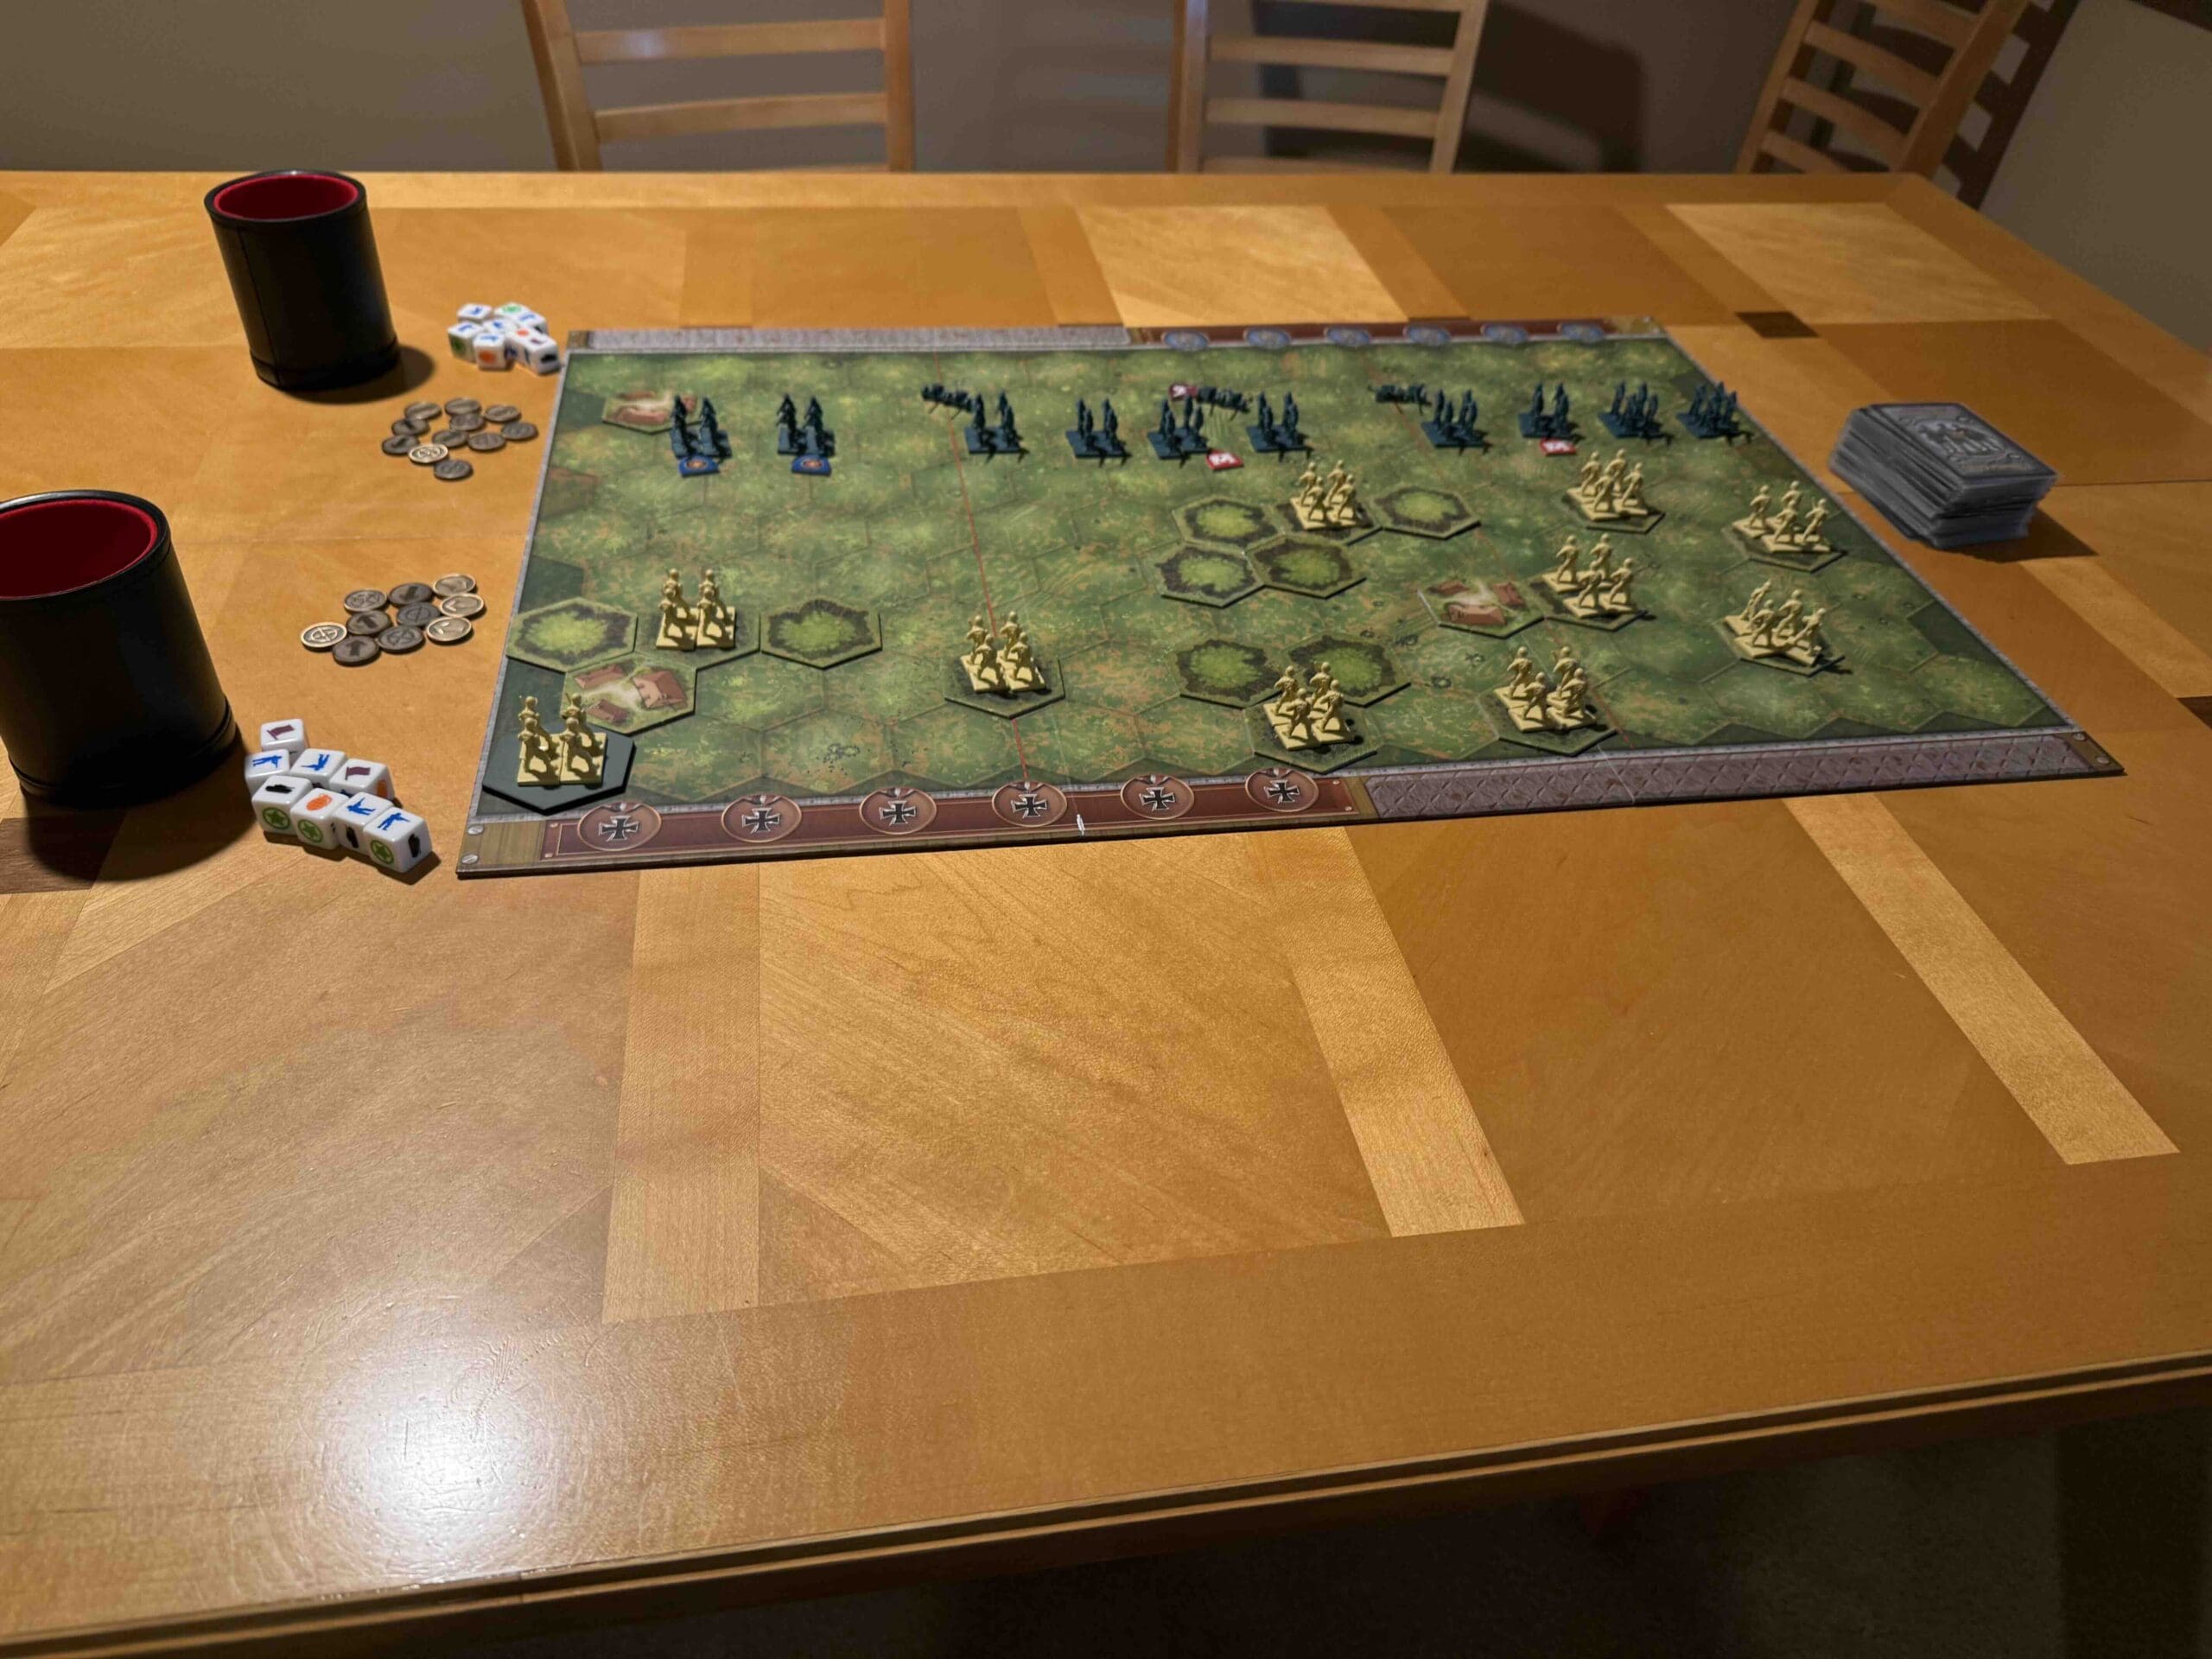
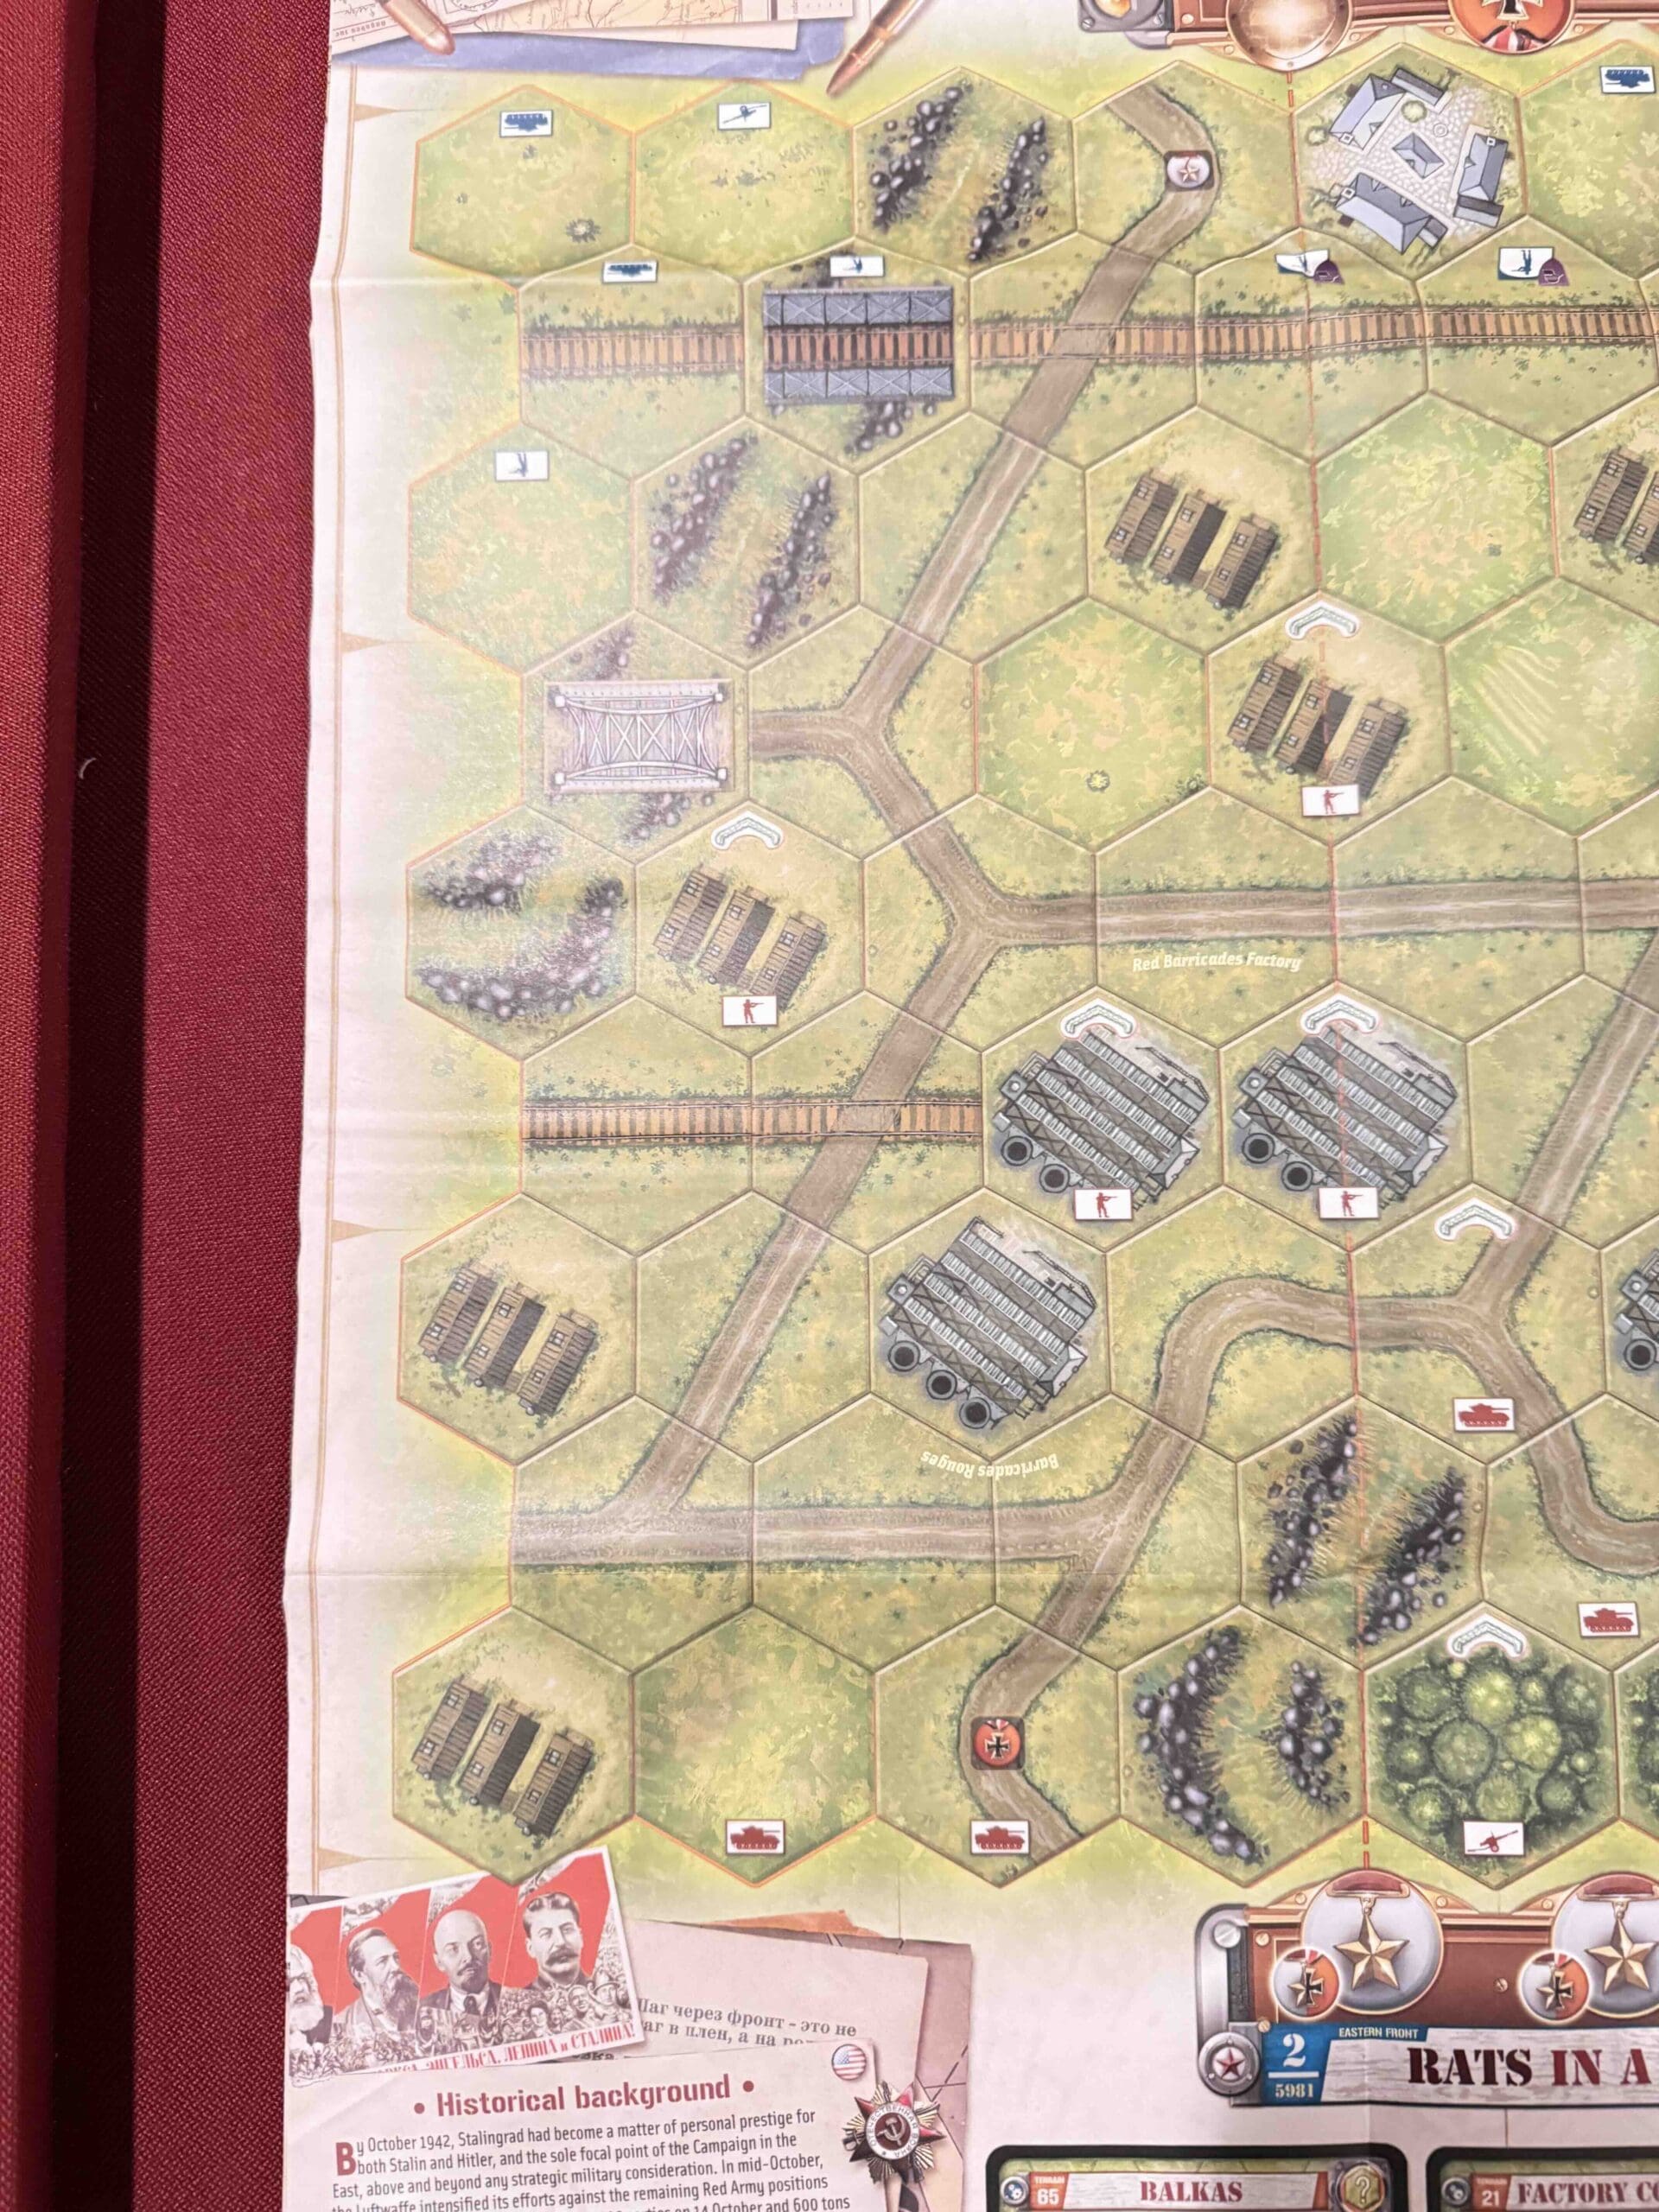
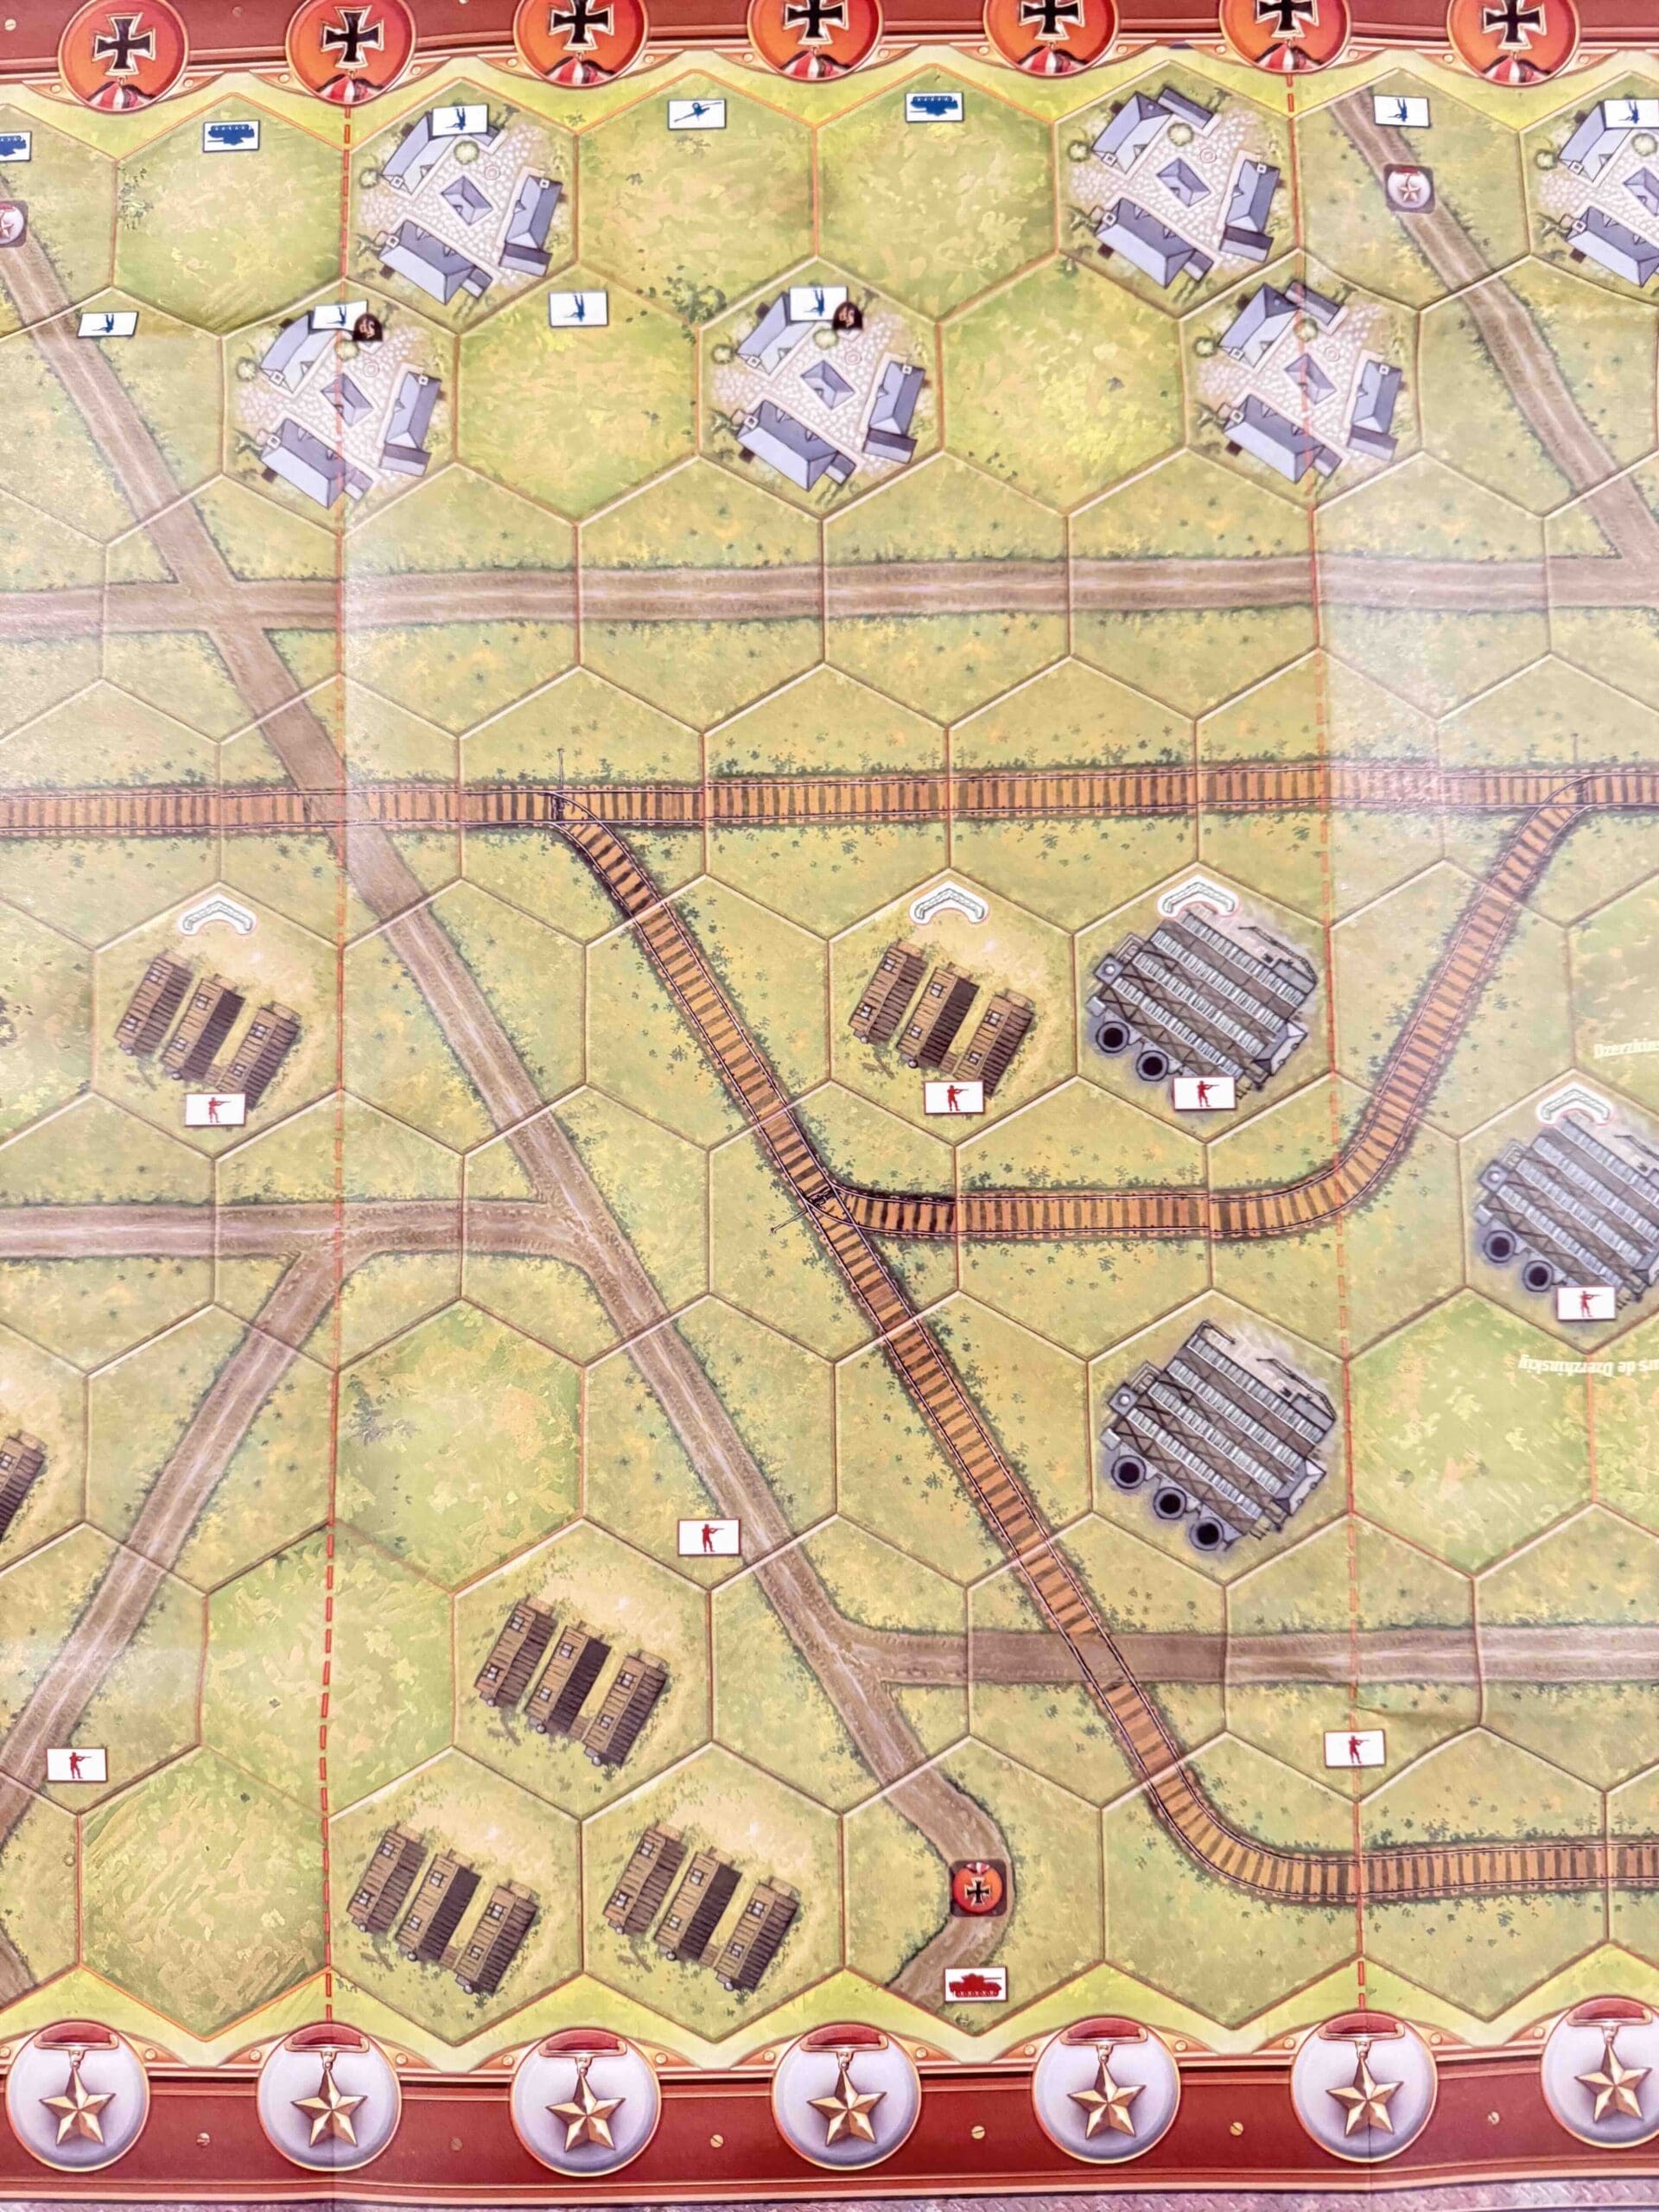
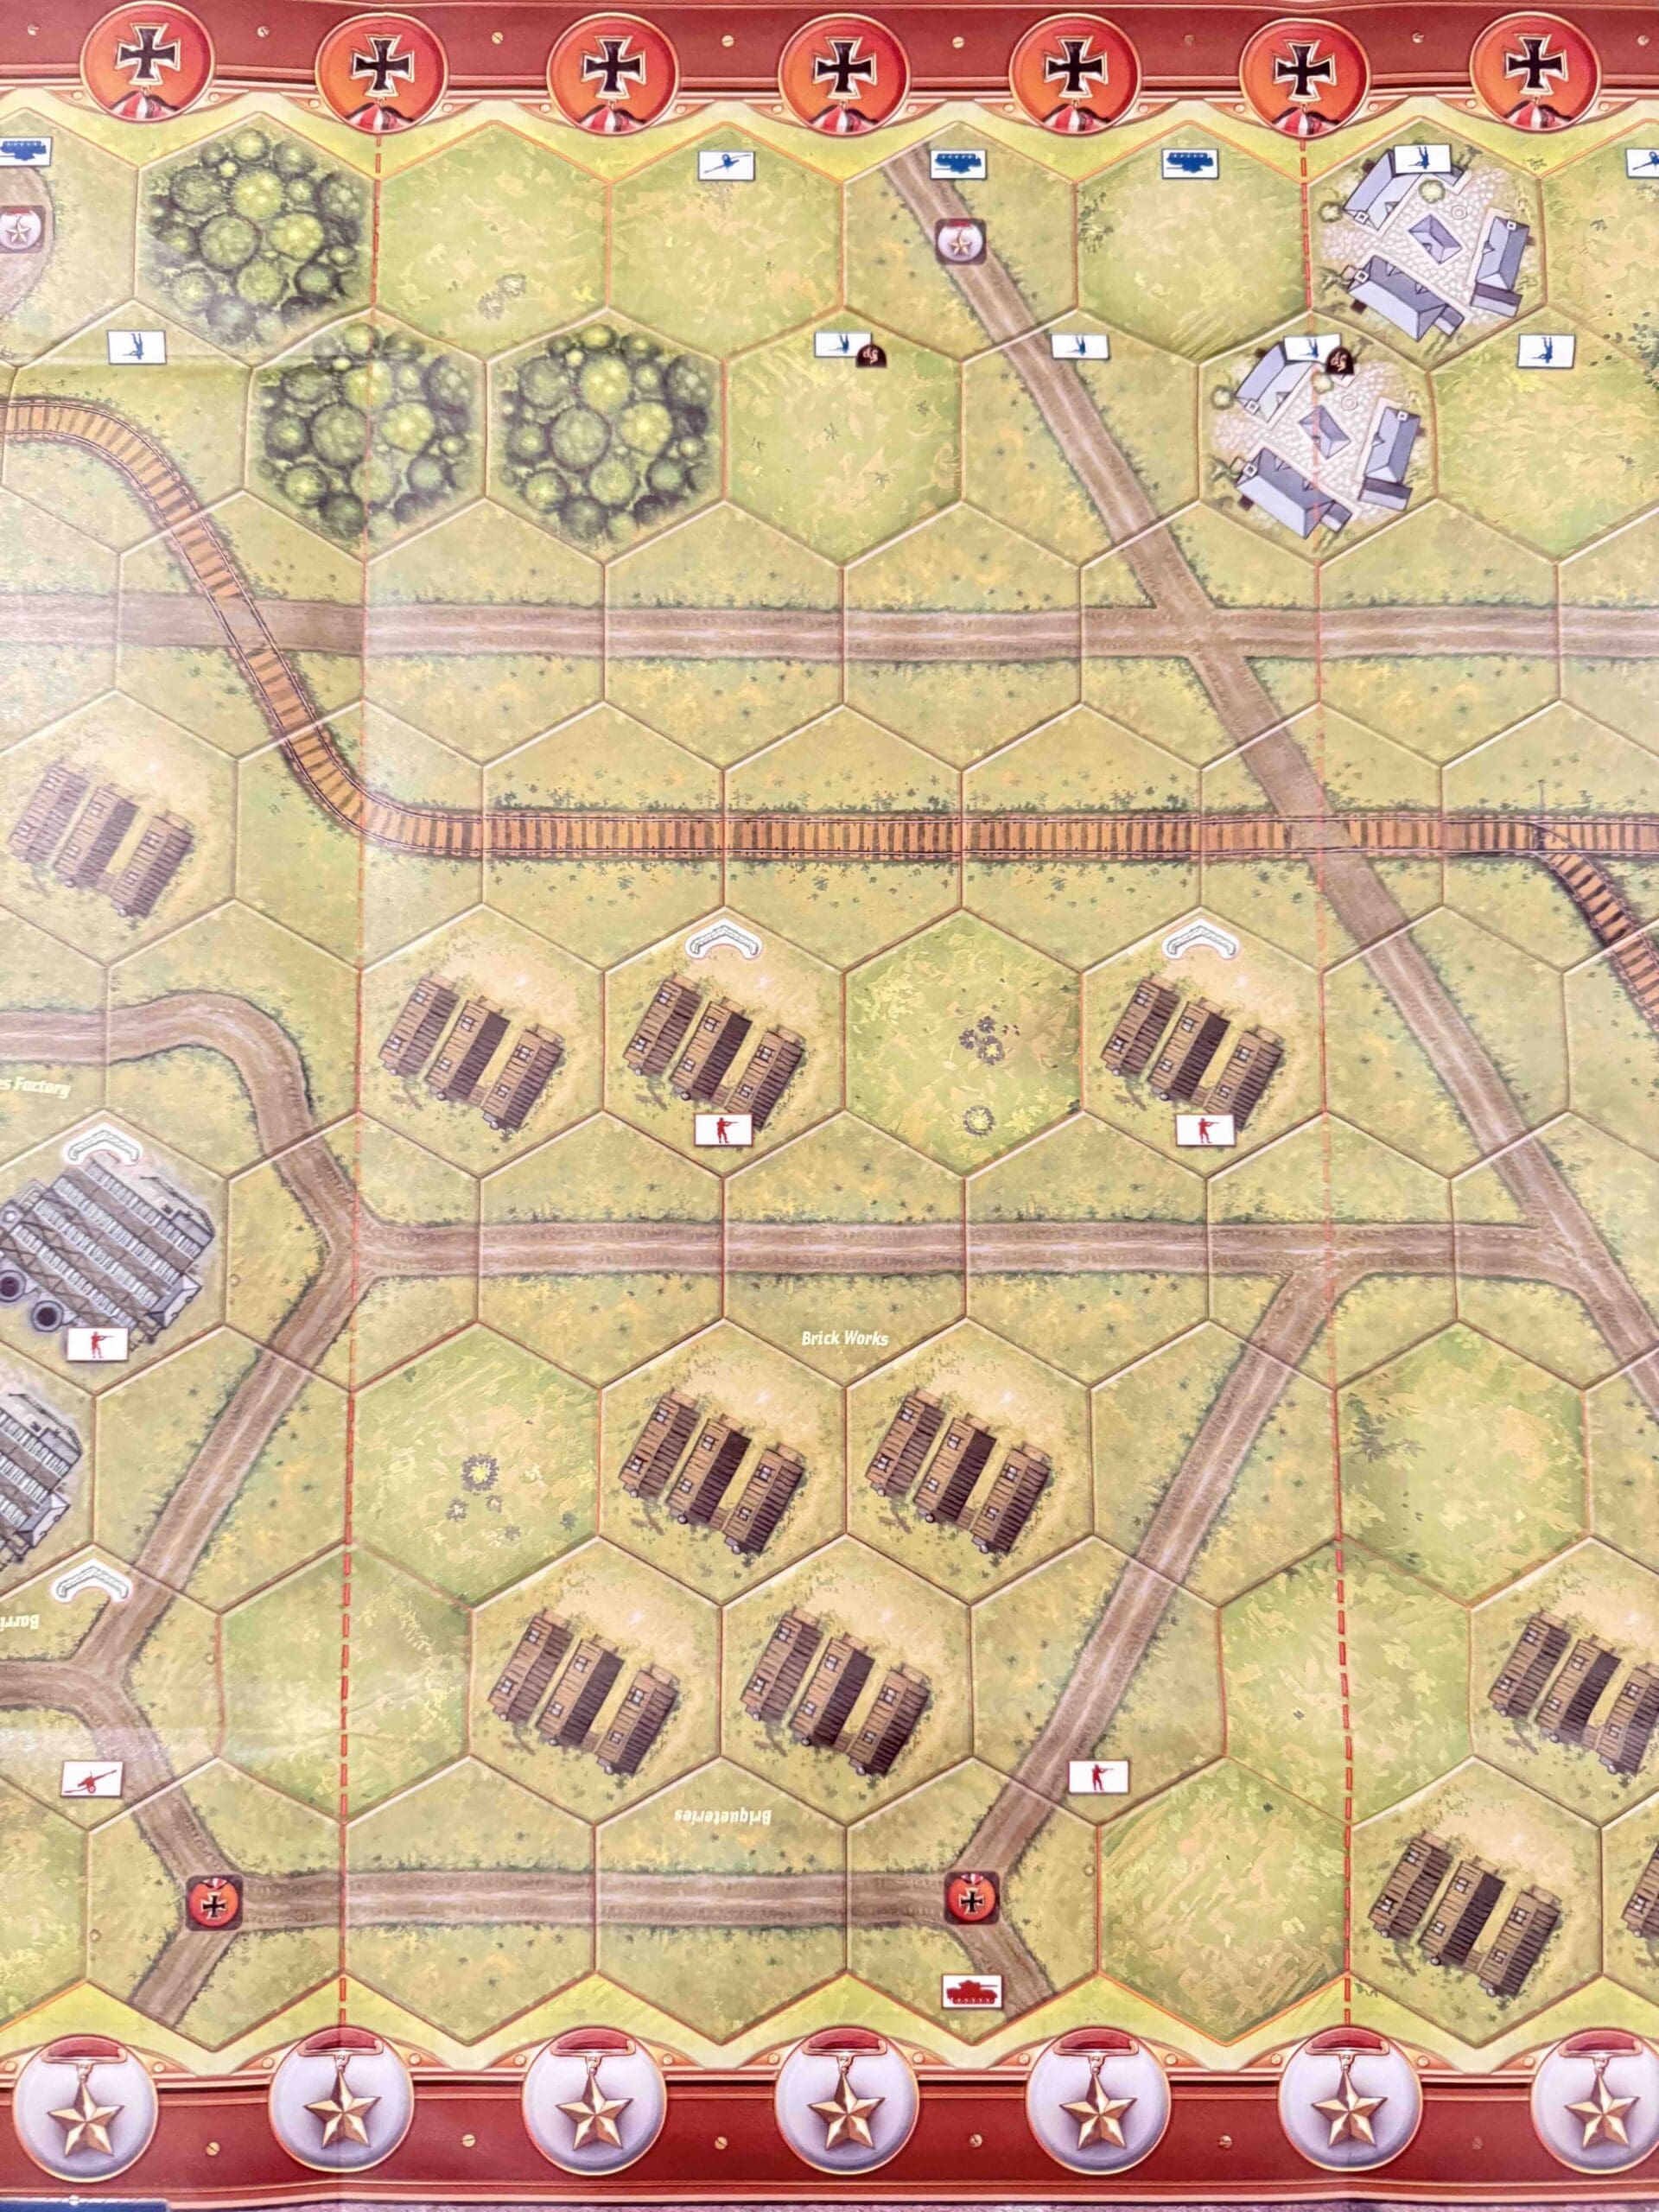
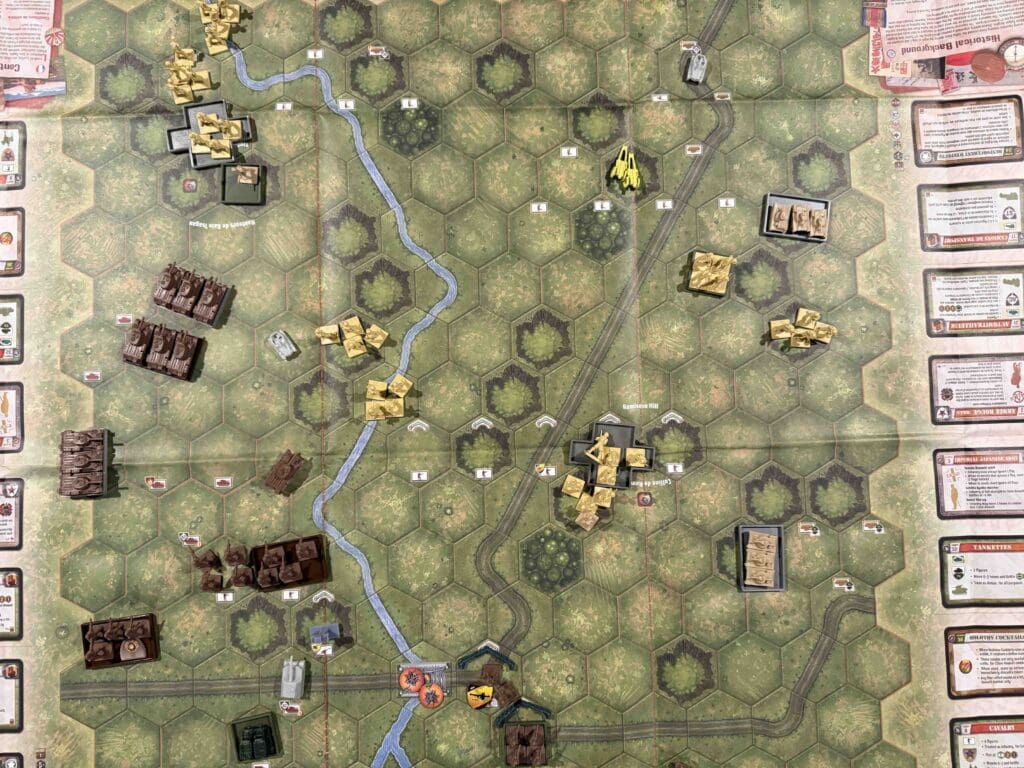
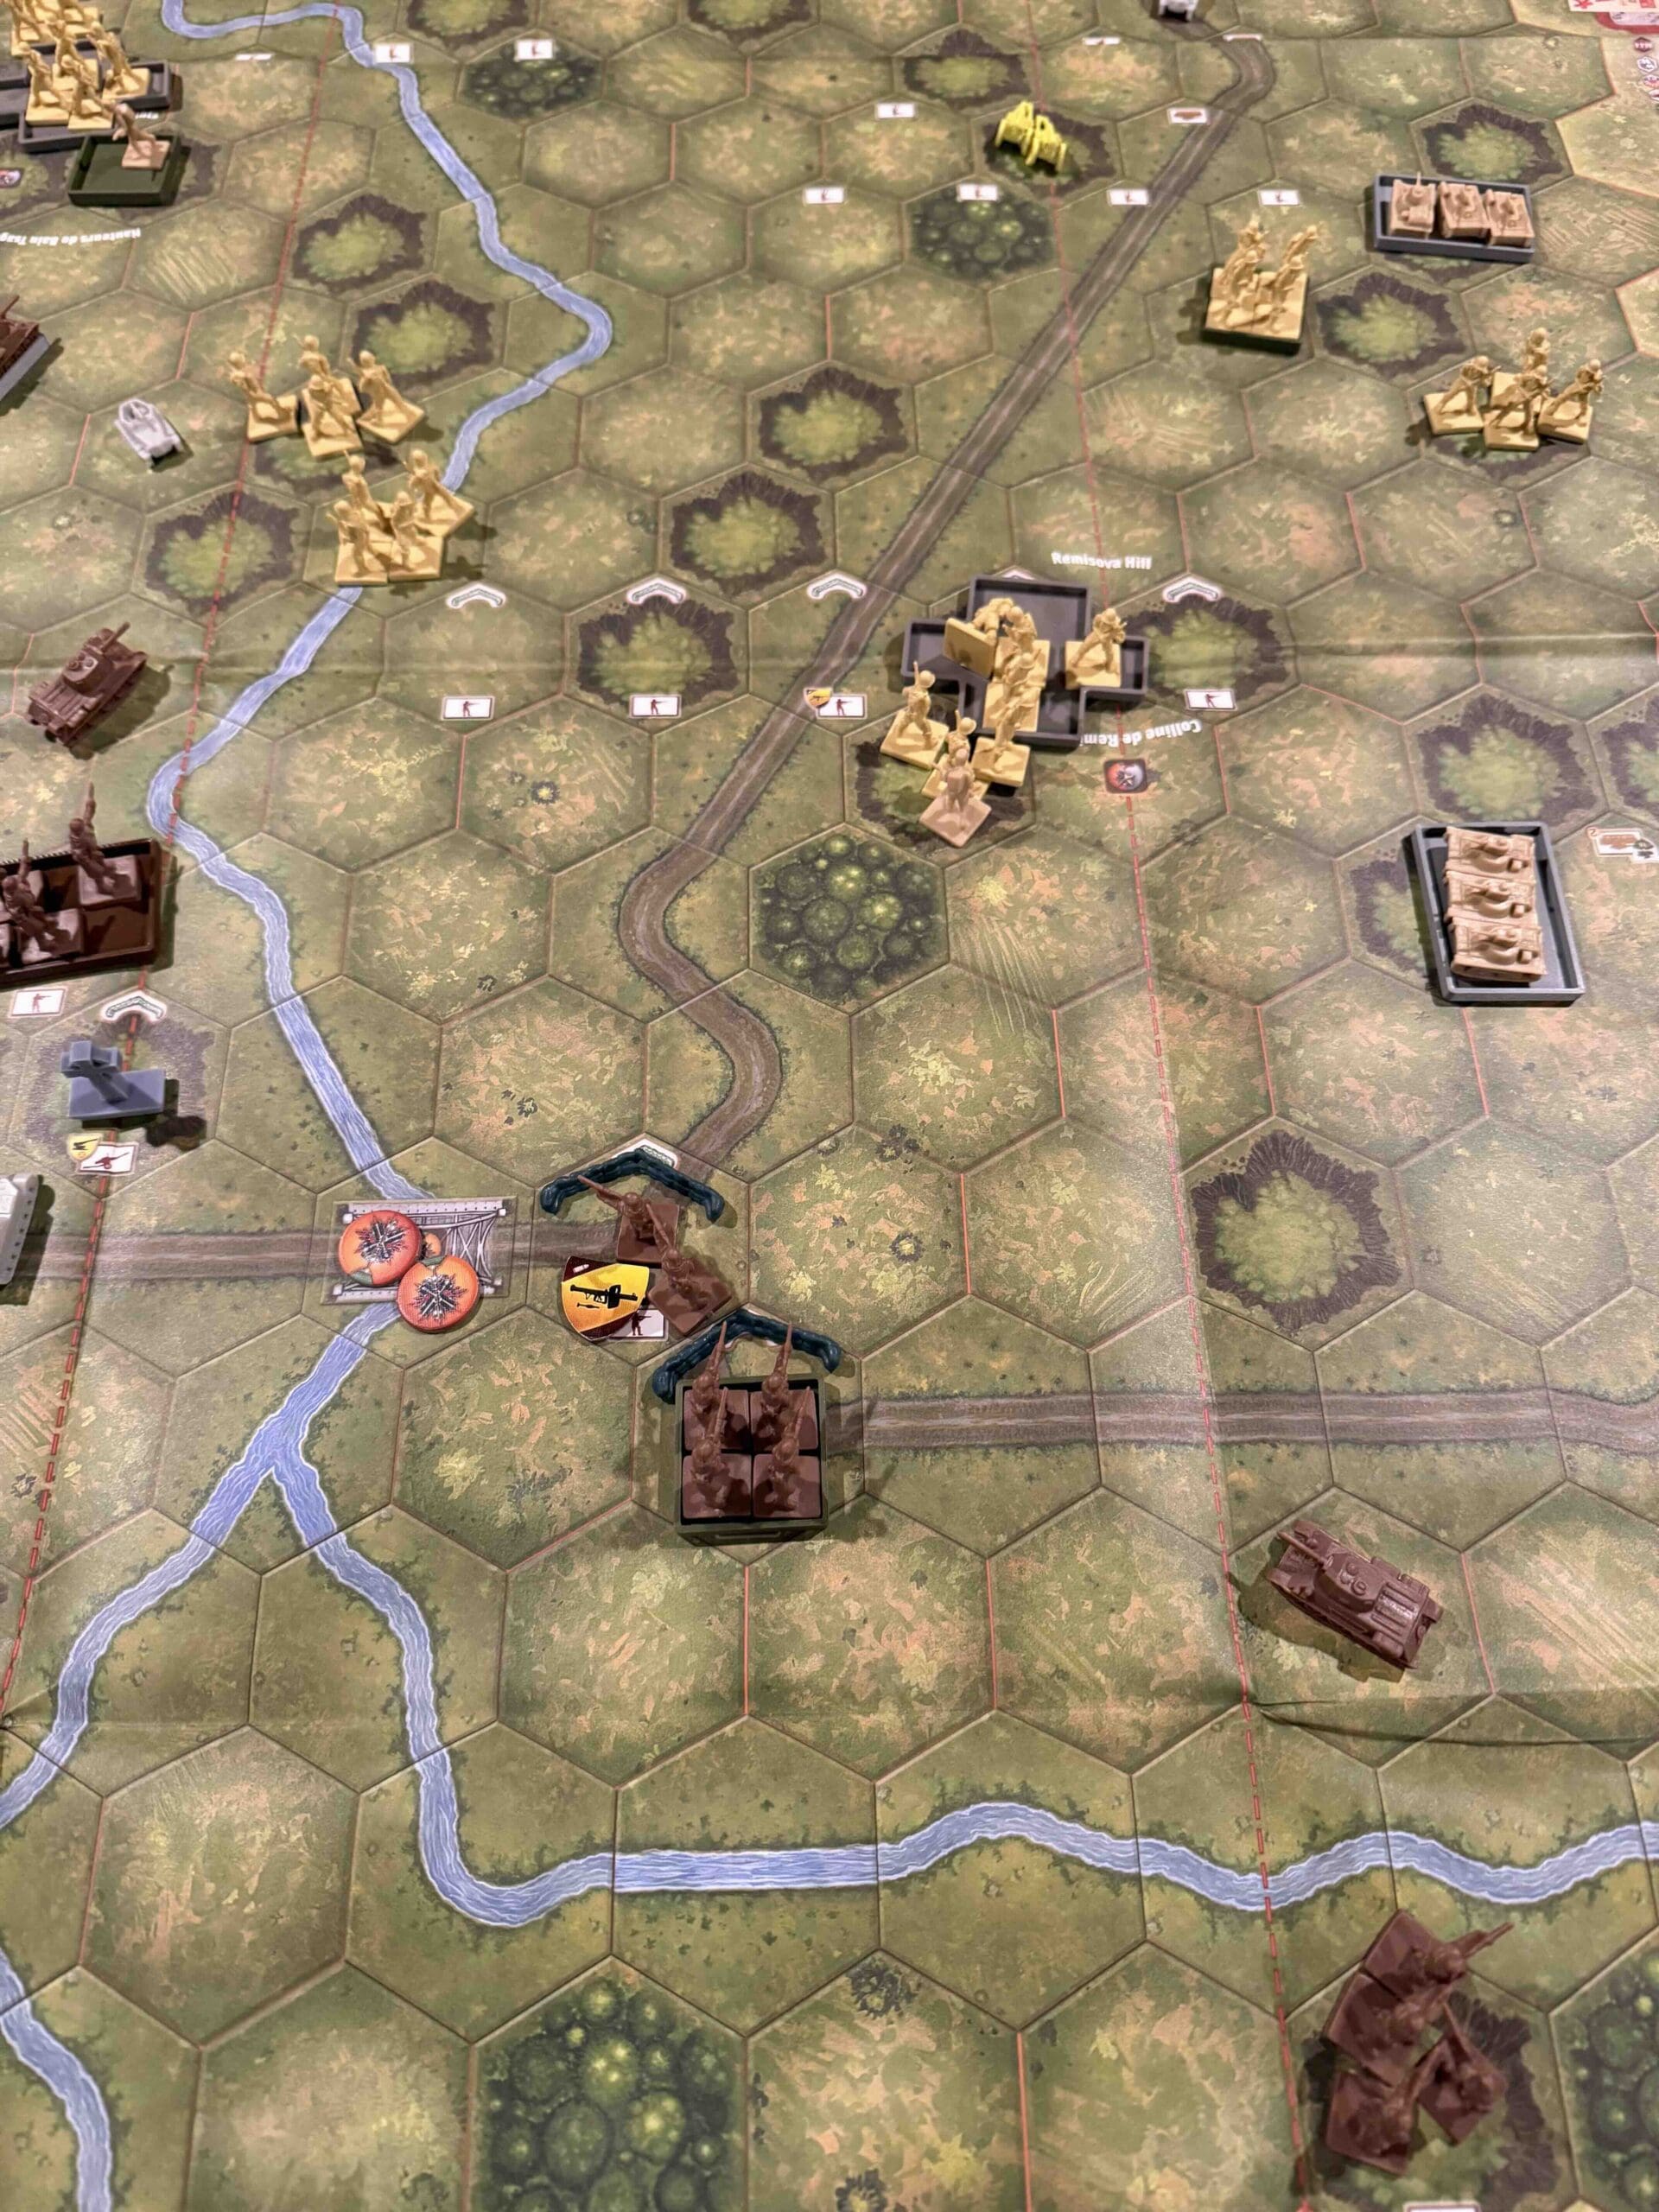
Battlefield:
Countryside with a river cutting through the Allies left flank, and long road cutting at an angle through the terrain directly to the two-medal bridge.
Troops:
Allies (Russia) – 12 Infantry, 9 Armor, including two Armored Cars, plus two Supply Trucks, 1 Big Gun!
Axis (Japan) – 12 Infantry, 7 Armor, including 3 Tankettes, 2 Armored Cars, 1 Artillery.

🔥 Winning as Allies:
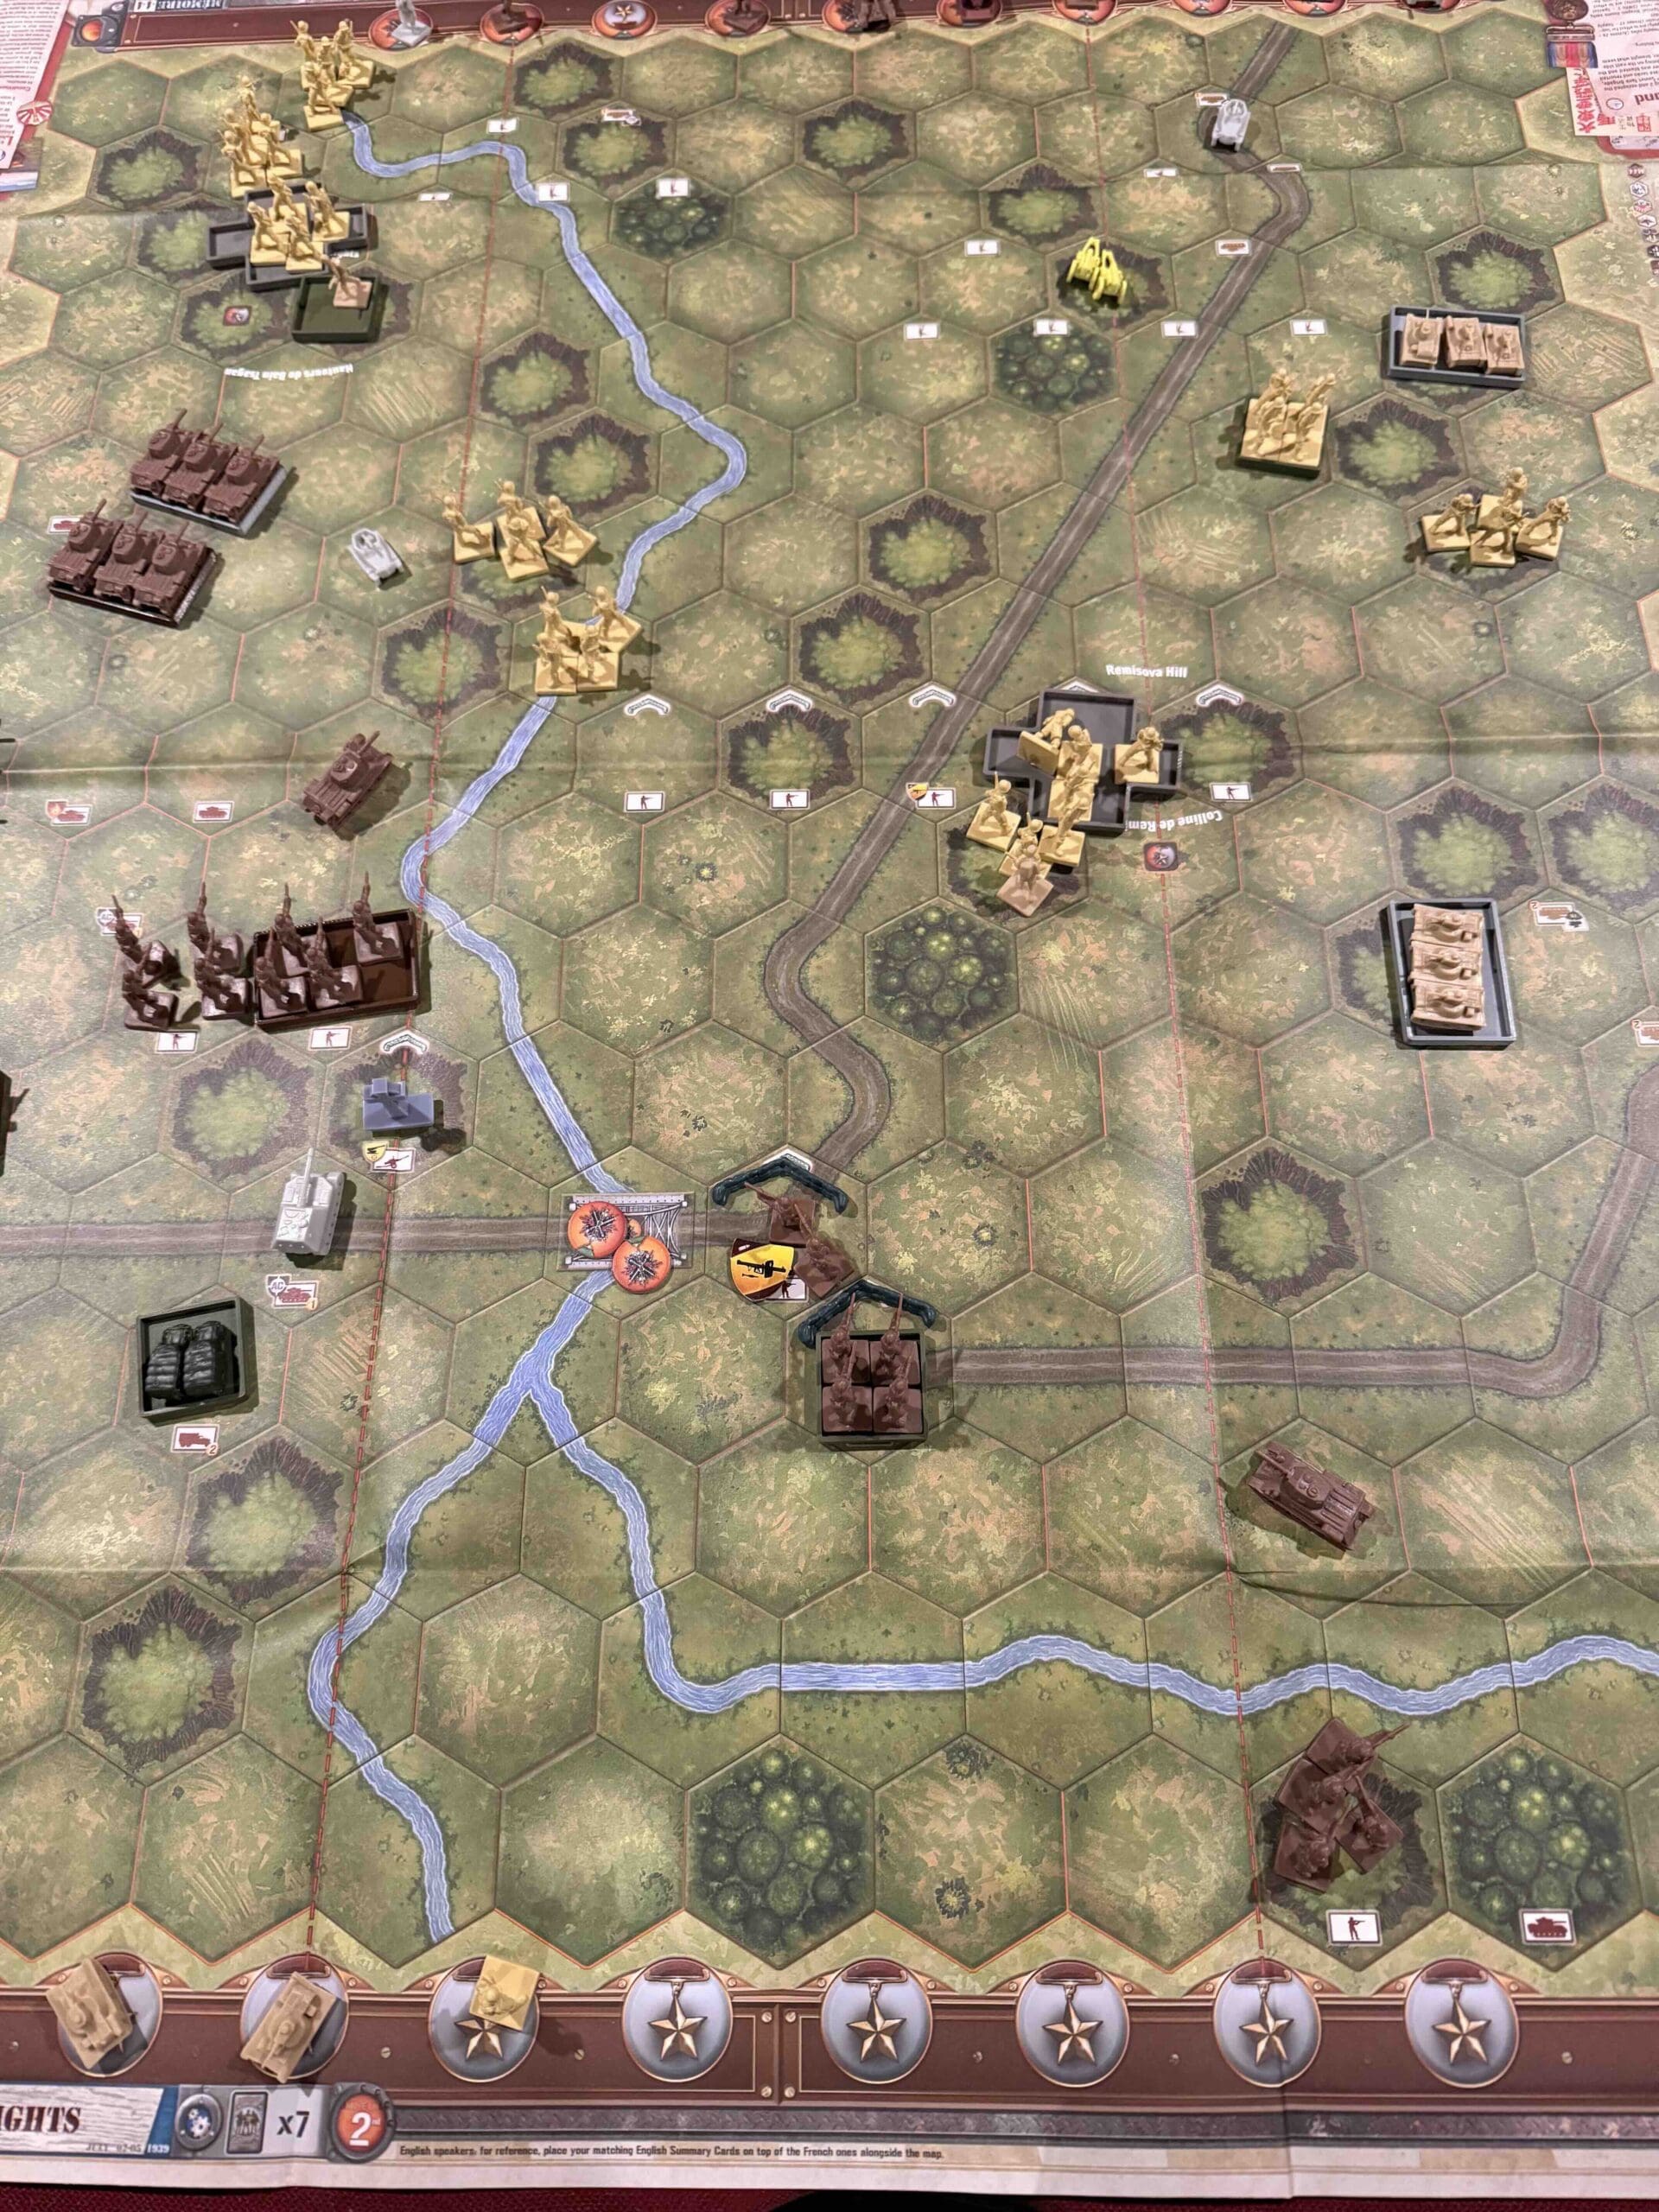
1. Big Picture: Allies are initially on the defense, due to the attack by the Japanese. But they have enormous armor resources at their disposal on their left flank to bring to bear upon the battle in both the left flank and the center section. And historically, this is what General Zukhov did. In fact a pivot by the Allied Armor on the left flank over the ridgeline at river will allow them to reign down terror upon the Japanese forces assaulting the Remisova Hill.
2. Your puny Armor and Infantry forces in the right flank are pretty useless, as they need to cross the river before they can engage the enemy. But if they can at least move forward one hex, so that they do not get pinned against the backwall, that will be sufficient.
3. Guard the bridge crossing the river. It is worth two medals.
4. You have a Big Tom Gun, which has massive range of 8 hexes, and allows you to zero in on forces in a hex and increase your attack strength by another 1D. Use it early and often.

🔥 Winning as Axis
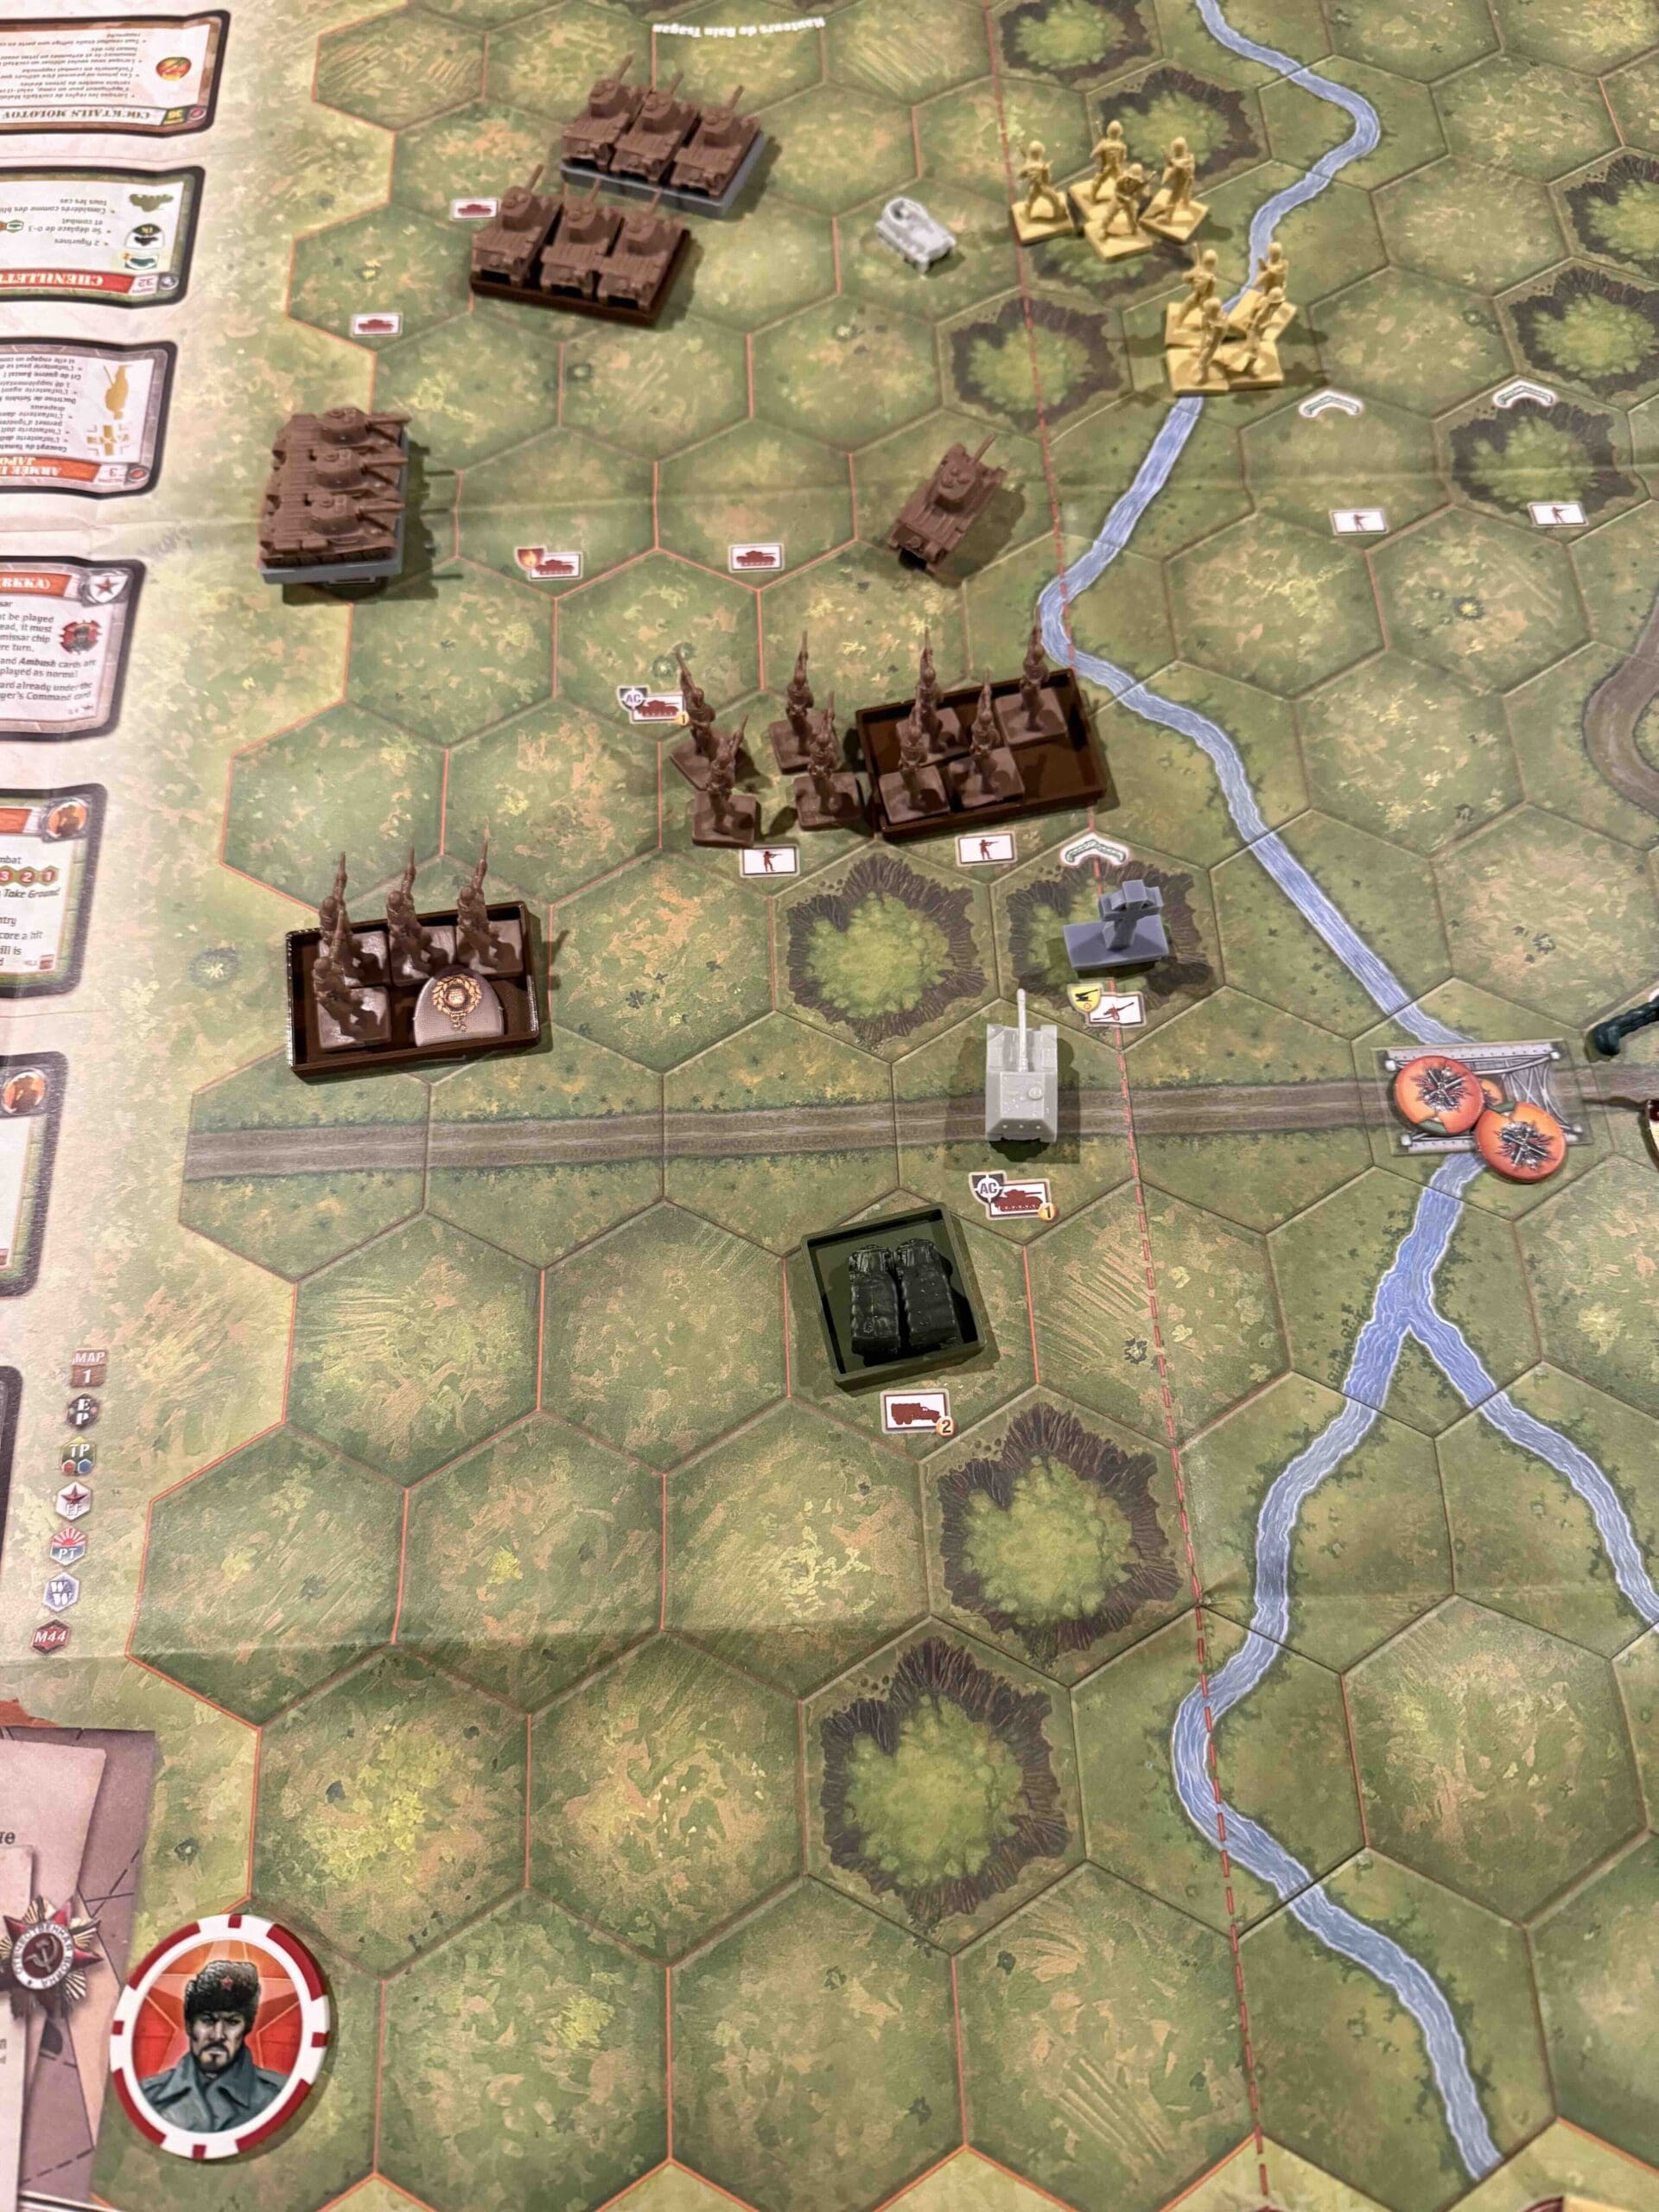
1. Big Picture Strategy: this was a long-shot for the Japanese historically, which they lost, but they have been known to win this scenario. Use your Tankettes, which have good movement, to get into the battle and score some wins. Advance forcefully with your infantry and overwhelm them using your Seishin Kyoiku Doctrine might combined with your Bonzai speed.
Battle Reports
Author:
Days of Wonder
Link:
BTH_map_breakthrough_full
BTH_FlankLeft
BTH_Center