The Cadets of Saumur

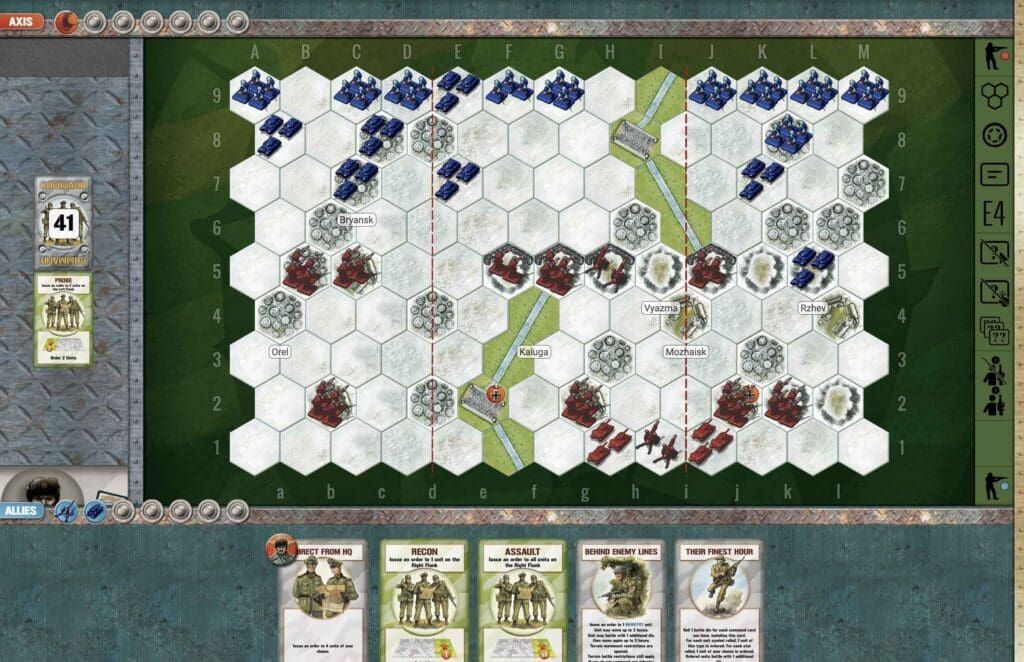
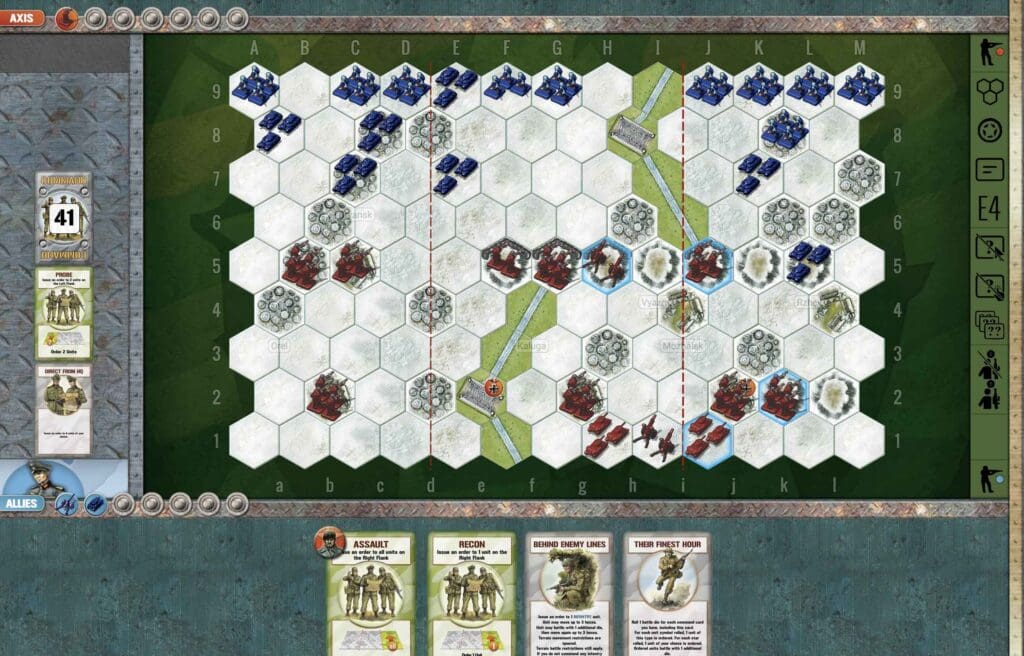
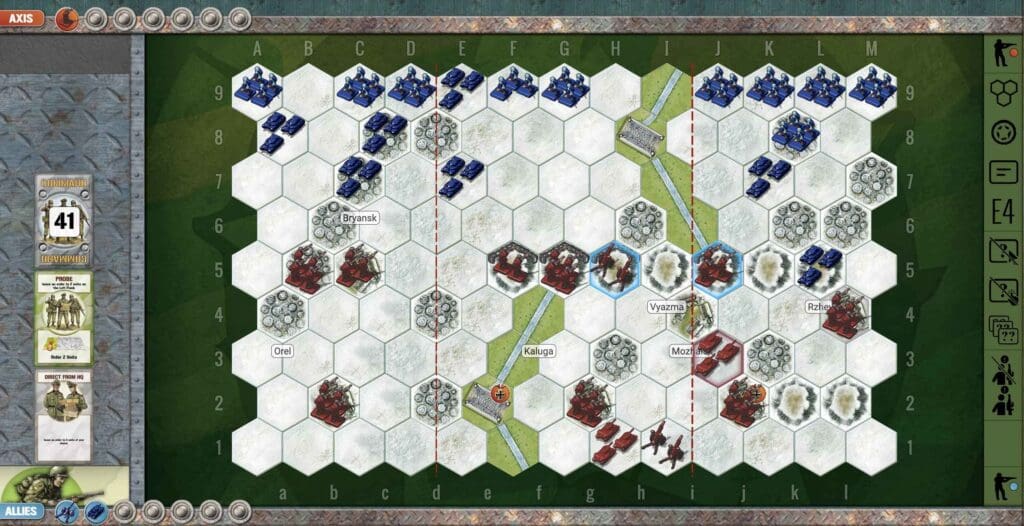
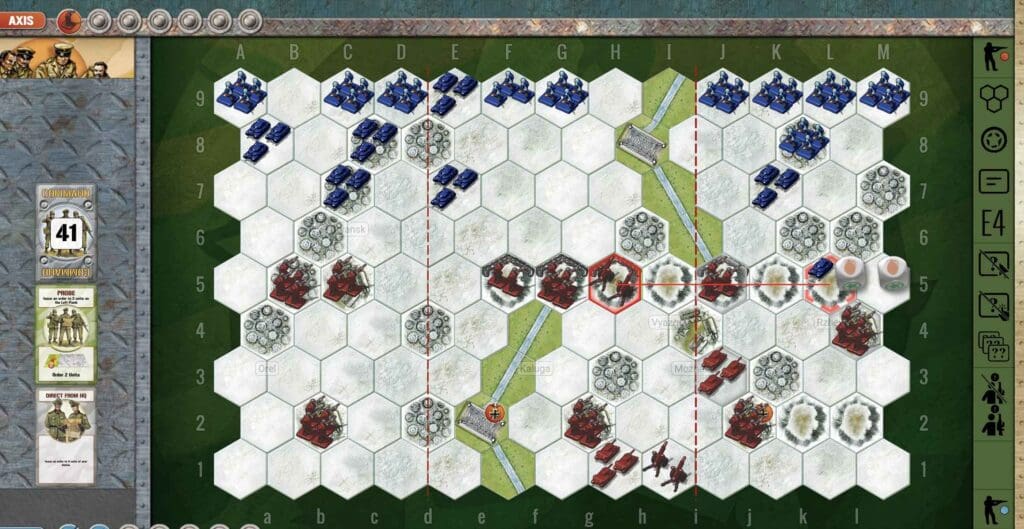
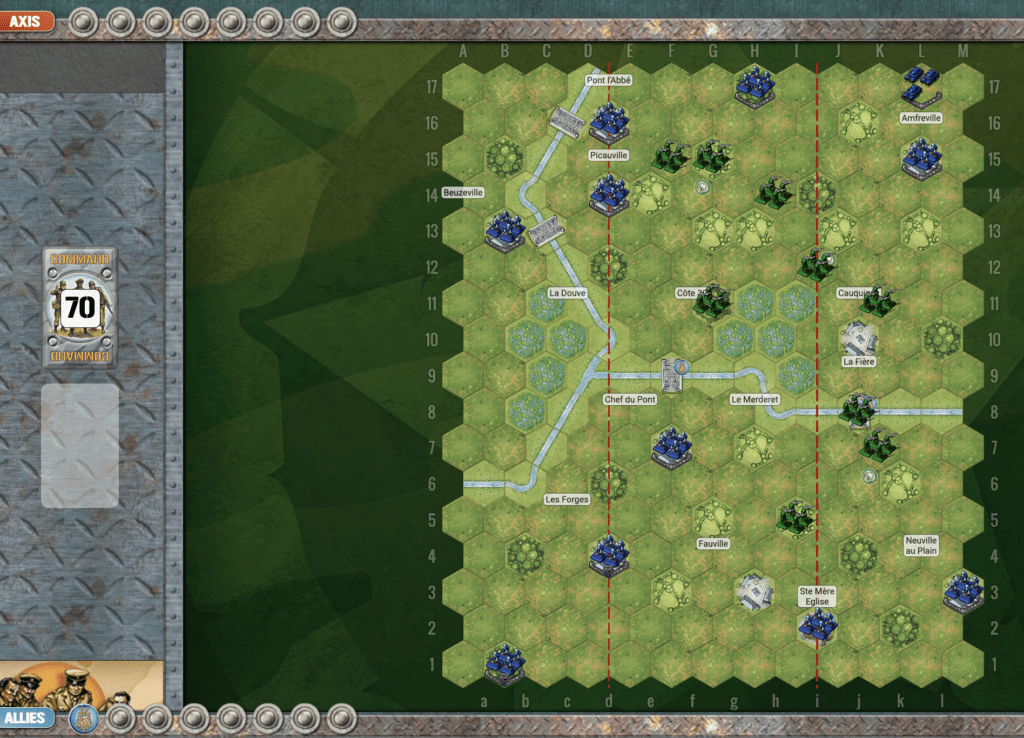
The Cadets of Saumur (Overlord Map)

“Let me give it to you straight, boys—back in ‘39, before the big show kicked off in Europe, there was a damn fine brawl brewing out east along the Khalkhin-Gol River. The Soviets, under that iron bastard Zhukov, took on the Japanese who were itching for a scrap in the borderlands.

Those Russians didn’t just trade blows—they went for the kill. They wrapped the Japanese 23rd Division up tight in a steel trap—tanks on the flanks, artillery in the rear, and air power pounding them into the dirt. No escape, no second chances—just one big, smoking ruin when the Red Army was done.

The result? The Japanese learned a lesson in modern warfare and didn’t forget it, and Zhukov walked out of there with a reputation as the man who could gut an enemy army whole. That’s how you fight a battle, boys—encircle, crush, and leave nothing but wreckage behind!

~~ General Howitzer

Timeline of the Battle:

  • June 17, 1940
    German forces approach the Loire River as French defenses collapse elsewhere. Cadets at Saumur are ordered to hold the bridges.

  • June 18, 1940
    The cadets and their instructors begin preparing defenses, mining bridges, and setting up strongpoints.

  • June 19, 1940
    German troops launch assaults to seize the Saumur bridges. The cadets, though heavily outnumbered, fiercely resist throughout the day and destroy bridges to slow the advance.

  • June 20, 1940
    After holding for two days and inflicting delays on the Germans, the cadets receive orders to withdraw. German forces occupy Saumur later that day.

12 VP’s

Card Balance:

Allies (France) – 8

Axis – 10

Complexity:

4

Conditions:

Countryside

countryside

Context:

Historical

Location:

France

Year:

1940

Theater:

Western

Campaign:

Codename:

Summary:

Objectives:

12 VP’s with two Permanent Medal Objectives for the Axis.

Battlefield:

Countryside with many rivers, railroad,  and towns

Troops:

Allies  – 17 Infantry, 2 Armor, 3 Artillery

Axis  – 20 Infanty, 3 Armor, 3 Artillery


Allied Strategy:

1.  

Axis Strategy

1.  

Battle Reports

0
BR - Cadets

Author:

Days of Wonder

Link:

Cape Torokina Landings

Cape Torokina Landings (Overlord Map)

“Listen up, men! On November 1st, 1943, our boys hit those beaches at Cape Torokina like a thunderbolt. Those Marines of the 1st and 3rd Divisions didn’t blink at the sight of jungle, mud, and dug-in enemy troops. They took that beachhead by the throat and held on like bulldogs!

This wasn’t just another island—it was the gateway to busting open Rabaul and cutting off those Japanese forces. The jungle was a green hell, but we cut through it, took the ground, and started building the airstrips and supply bases to keep the hammer coming down.

That’s how you do it, boys—land hard, fight harder, and don’t stop until you’ve got a fortress behind you and the enemy on the run. That’s what those Marines did at Cape Torokina—they paved the road to victory in the Pacific!

~~ General Howitzer

Timeline of the Cape Torokina Landings (Bougainville)

  • November 1, 1943D-Day for Cape Torokina:
    U.S. 1st and 3rd Marine Divisions land at Cape Torokina. Initial beachhead secured despite Japanese resistance and tough jungle terrain.

  • November 2–3, 1943
    Marines expand the perimeter, clearing Japanese defenses in nearby jungle areas.

  • Mid-November 1943
    Seabees and engineers begin constructing airfields and supply bases within the beachhead.

  • December 1943–January 1944
    Marines fortify positions, repel repeated Japanese counterattacks.
    Japanese strongpoints isolated and bypassed.

  • March–April 1944
    U.S. Army relieves Marines; continuing operations to expand and secure the beachhead.

15 VP’s

Card Balance:

Allies (Marines) – 9

Axis (Japan) – 8

Complexity:

4

Conditions:

Beach

Context:

Historical

Location:

Solomon Islands

Year:

1943

Theater:

Pacific

Campaign:

Bougainville

Codename:

Summary:

Objectives:

15 VP’s with various Medal Objectives for various territorial control.

Battlefield:

Islands with many rivers, roads, jungles, and hills

Troops:

Allies  – 21 Infantry, 4 Armor, 2 Destroyers, with Landing Crafts to bring them ashore

Axis  – 18 Infantry some with Special Weapons, 1 Armor, 1 Artillery


medal allies

Allied Strategy:

1.  There are a number of special rules which you need to be aware as commander of the Allied forces.  First, there are two islands (Torokina & Puruata), which must be taken. Because the enemy begins the battle with forces on the islands, they start the battle with two victory medals.  As soon as you eliminate the enemy from an island, you will cause them to lose a victory medal, but you will NOT gain one.    Also note that because the Landing Crafts (LC’s) leave after dropping off your troops, they will be stranded on that island. So make sure you commit enough troops to win, but not too many.

2.  There are also three Field Bunkers which provide Temporary Territorial Medals to whichever side occupies them.  But you must remain in the bunker to keep the medals. 

3.  What this means then, is that although you begin the battle with overwhelming force, in order to clear the islands, and then occupy the Field Bunkers, you will need to be leaving troops at each of those locations.  So your attack force will be diminished for each parcel of land which you capture.  This must be factored into your planning commander!

medal axis

Axis Strategy

1.  Your primary role in this battle is a defensive one, but that does not mean passive.  You have troops which need to be prepared to fight and brought into the battle arena.

2.  You have an Armor unit stuck in the corner in the right flank. Get it into the action as soon as you can.  

3.  You also have an Artillery which you should use at every opportunity to attack the enemy as they come ashore. 

4.  Make use of the Seishin Kyoiku doctrine to attack with your full force units at every opportunity in order to maximize your extra firepower while they are still strong. 

5. You have a lot of forces on the two islands.  Make the enemy pay for every inch of ground they take on the islands in order to reduce their main attack force.

Battle Reports

1
BR - Torokina

Author:

Days of Wonder

Link:

The Khalkhin-Gol Encirclement

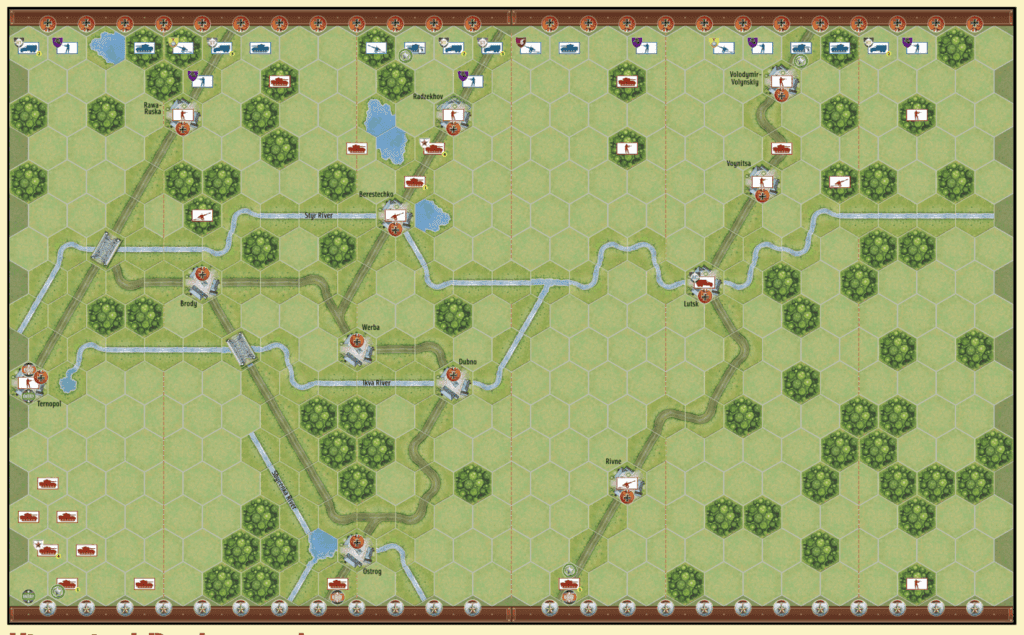
The Khalkhin-Gol Encirclement (Overlord Map)

“Let me give it to you straight, boys—back in ‘39, before the big show kicked off in Europe, there was a damn fine brawl brewing out east along the Khalkhin-Gol River. The Soviets, under that iron bastard Zhukov, took on the Japanese who were itching for a scrap in the borderlands.

Those Russians didn’t just trade blows—they went for the kill. They wrapped the Japanese 23rd Division up tight in a steel trap—tanks on the flanks, artillery in the rear, and air power pounding them into the dirt. No escape, no second chances—just one big, smoking ruin when the Red Army was done.

The result? The Japanese learned a lesson in modern warfare and didn’t forget it, and Zhukov walked out of there with a reputation as the man who could gut an enemy army whole. That’s how you fight a battle, boys—encircle, crush, and leave nothing but wreckage behind!

~~ General Howitzer

18 VP’s

Card Balance:

Allies (Russia) – 12

Axis (Japan) – 8

Complexity:

4

Conditions:

Countryside

countryside

Context:

Historical

Location:

Mongolia

Year:

1939

Theater:

Eastern

Campaign:

Codename:

Summary:

Objectives:

18 VP’s with various Medal Objectives for various territorial control.

Battlefield:

Countryside with many rivers, roads,  rivers, and hills

Troops:

Allies  – 16 Infantry, 18 Armor and Trucks, 3 Artillery

Axis  – 21 Infanty, 7 Armor, 4 Artillery


Allied Strategy:

1.  

Axis Strategy

1.  

Battle Reports

0
BR - Encirclement

Author:

Days of Wonder

Link:

Operation Lightfoot

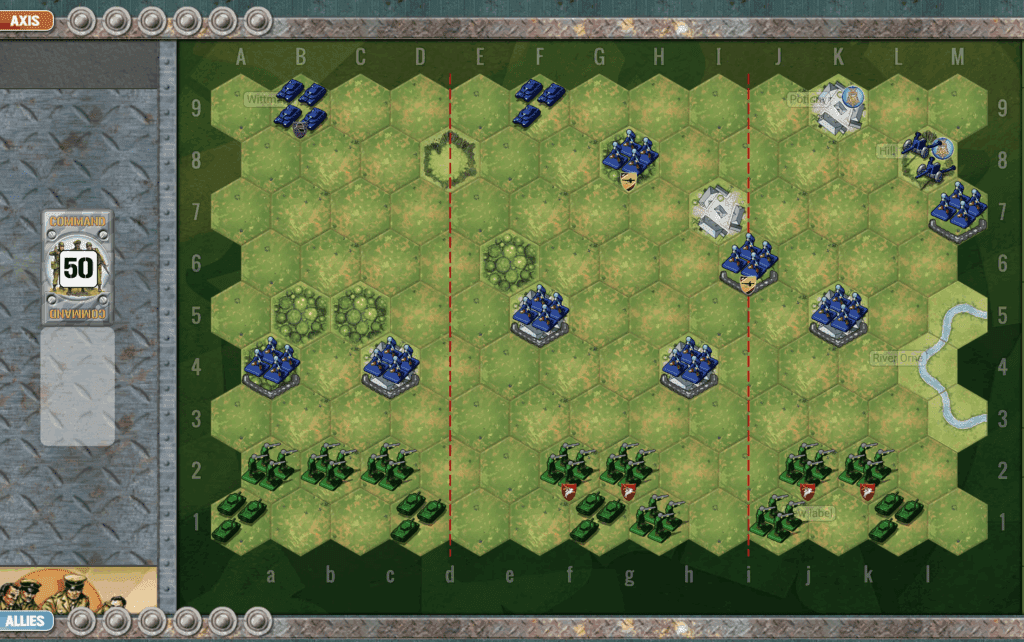
Operation Lightfoot (Overlord Map)

October 23, 1942—Montgomery kicks off Operation Lightfoot, and the desert explodes.

This wasn’t some quiet probe. This was a full-throttle offensive to smash through Rommel’s fortified line at El Alamein and break the damn deadlock in North Africa. The Axis had dug in deep—minefields, wire, concrete, artillery—the works. But Monty had a plan.

“Lightfoot” meant just that: infantry going in first, on foot, to thread through the minefields—because tanks would’ve blown themselves to hell if they led the way. So the boys marched straight into the Devil’s Gardens, clearing paths under fire, step by bloody step.

We laid down massive artillery barrages—the kind that rattled your teeth and turned the sand into glass. Then the Eighth Army pushed forward, slogging through everything the enemy threw at them. It was slow, it was costly, but it was relentless. And that’s how you win.

After days of grinding combat, Montgomery’s men punched through, and Rommel’s forces had no choice but to fall back. That was the turning point. That was the moment the tide shifted in the desert.

Operation Lightfoot wasn’t just a victory—it was proof that preparation, power, and persistence crush even the most dug-in enemy. From there, it was only a matter of time before the Axis was out of Africa for good.

15 VP’s

Card Balance:

Allies – 10 + 2 Combat Cards

Axis – 10 + 2 Combat Cards

Complexity:

3

Conditions:

Desert

Context:

Historical

Location:

North Africa

Year:

1942

Theater:

Mediterranean

Campaign:

Codename:

Operation Lightfoot

1Summary:

Objectives:

15 VP’s with Temporary Medal Objectives for control of hills and Exit Rows.

Battlefield:

A beach with towns, ridges, and a river cutting through the center.

Troops:

Allies  – 18 Infantry with some special weapons, 11 Armor, 3 Artillery

Axis  – 11 Infantry with some special weapons, 8 Armor, 3 Artillery


Allied Strategy:

1.  

Axis Strategy

1.  

Battle Reports

0
BR - Operation Lightfoot

Author:

Days of Wonder

Link:

Disaster at Dieppe

Disaster at Dieppe (Overlord Map)

Alright, listen up—

The raid on Dieppe? That was a damn mess. We sent in brave boys—mostly Canadians—straight into a meat grinder without proper prep, cover, or firepower. The plan? Hit the Germans fast, grab intel, wreck their defenses, and get out. But hell, it was all wrong from the get-go. No real surprise, no heavy bombing to soften ’em up, and we landed right on their gun barrels.

The beaches were narrow, rocky deathtraps. Our tanks got stuck, the infantry got chewed up, and the Navy couldn’t do a damn thing once the chaos started. Over half the force was wiped out, captured, or bleeding in the surf. It was a bloody disaster—but those boys fought like hell.

And I’ll tell you this: we learned. We learned what not to do. Next time, we brought the whole hammer—air, sea, tanks, everything. That’s how you do it. That’s how we did it on D-Day. Dieppe was a painful lesson—but it paid off in Normandy.

~~ General Howitzer

10 VP’s

Card Balance:

Allies – 7

Axis – 8

Complexity:

4

Conditions:

Beach

Context:

Historical

Location:

Baltic area

Year:

1944

Theater:

Eastern

Campaign:

Codename:

Operation Jubilee

Summary:

Objectives:

10 VP’s with Temporary Medal Objectives for two bridges, a casino, and a chateau.

Battlefield:

A beach with towns, ridges, and a river cutting through the center.

Troops:

Allies  – 20 Infantry, 5 Armor, 2 Half-Tracks

Axis  – 15 Infanty, 4 Artillery


Allied Strategy:

1.  

Axis Strategy

1.  

Battle Reports

0
BR - Disaster at Dieppe

Author:

Days of Wonder

Link:

Taukkyan Roadblock

Taukkyan Roadblock

Taukkyan-Roadblock

The Battle of the Taukkyan Roadblock? That was a brutal wake-up call in the jungles of Burma.

It was April 1942, and the British were pulling out of Rangoon, trying to stay one step ahead of a fast and ruthless Japanese advance. But they weren’t sitting back—they were moving like ghosts through the jungle, and they slammed a roadblock right down at Taukkyan, a vital choke point on the only damn road out.

It was a classic ambush—sliced right through the retreating columns. Trucks jammed, units scattered, and bullets flying like hellfire. The 17th Indian Division fought like lions to break through, but the jungle was tight, the fire was heavy, and the enemy was dug in and deadly.

A lot of brave men didn’t make it. That roadblock caused chaos, real chaos. It wasn’t just a firefight—it was the kind of sharp, surgical move that the Japanese were damn good at: fast, quiet, deadly. It wasn’t just a fight—it was a message.

The collapse at Taukkyan was a key reason why southern Burma slipped right through our fingers. It forced the Allies to fall back all the way into India. But mark my words—every inch we lost, we learned from. And when we came back, we came back with fire in our guts and iron in our fists.

~~ General Howitzer

5 VP’s

Card Balance:

Allies – 5 + 2 Combat Cards

Axis – 5 + 2 Combat Cards

Complexity:

3

Conditions:

Jungle

Context:

Historical

Location:

Burma

Year:

1939

Theater:

Pacific

Campaign:

Burma Campaign

Codename:

Summary:

Objectives:

5 VP’s

Battlefield:

Jungle with two intersecting roads, a roadblock, a village, and some hills.

Troops:

Allies  – 8 Infantry, 4 Armor

Axis (Japan) – 9 Infantry with some machine guns and anti-tank special weapons.


Allied Strategy:

1.  Big Picture: while you do not have to get through the roadblock, it does present a challenge for the British as a rallying point for the enemy.

2.  Before you attempt an Infantry attack, use your Armor units to attack the Japanese units at a distance, and reduce each unit by at least one figure, in order to eliminate their Seishin Kyoiku Doctrine power. 

3.  You have some powerful forces on your right section.  Get the Infantry moved forward and into the nearby jungle, so that the roadway is clear to allow your Armor to advance and get into the attack.

 Axis Strategy

1.  Big Picture Strategy:  with their special weapons of machine guns and anti-tank guns, plus the roadblock present a significant opportunity for the Japanese to hold off the Brits.

2.  Because of the British tanks, you cannot just stay behind your sandbags the whole time. They will slowly pick you off, and degrade your attack ability.  You will have to deal with the tanks, perhaps through specialized cards such as Barrage, Air Power, Behind Enemy Lines, or the Combat Card ‘Giretsu’, the Japanese BEL card. 

3.  With the right set of cards, and as long as most all of your forces are still at full ‘Seishin Kyoiku Doctrine’ strength, a full scale assault on your right flank could prove successful.   

Battle Reports

2
BR - Taukkyan

Author:

Days of Wonder

Link: