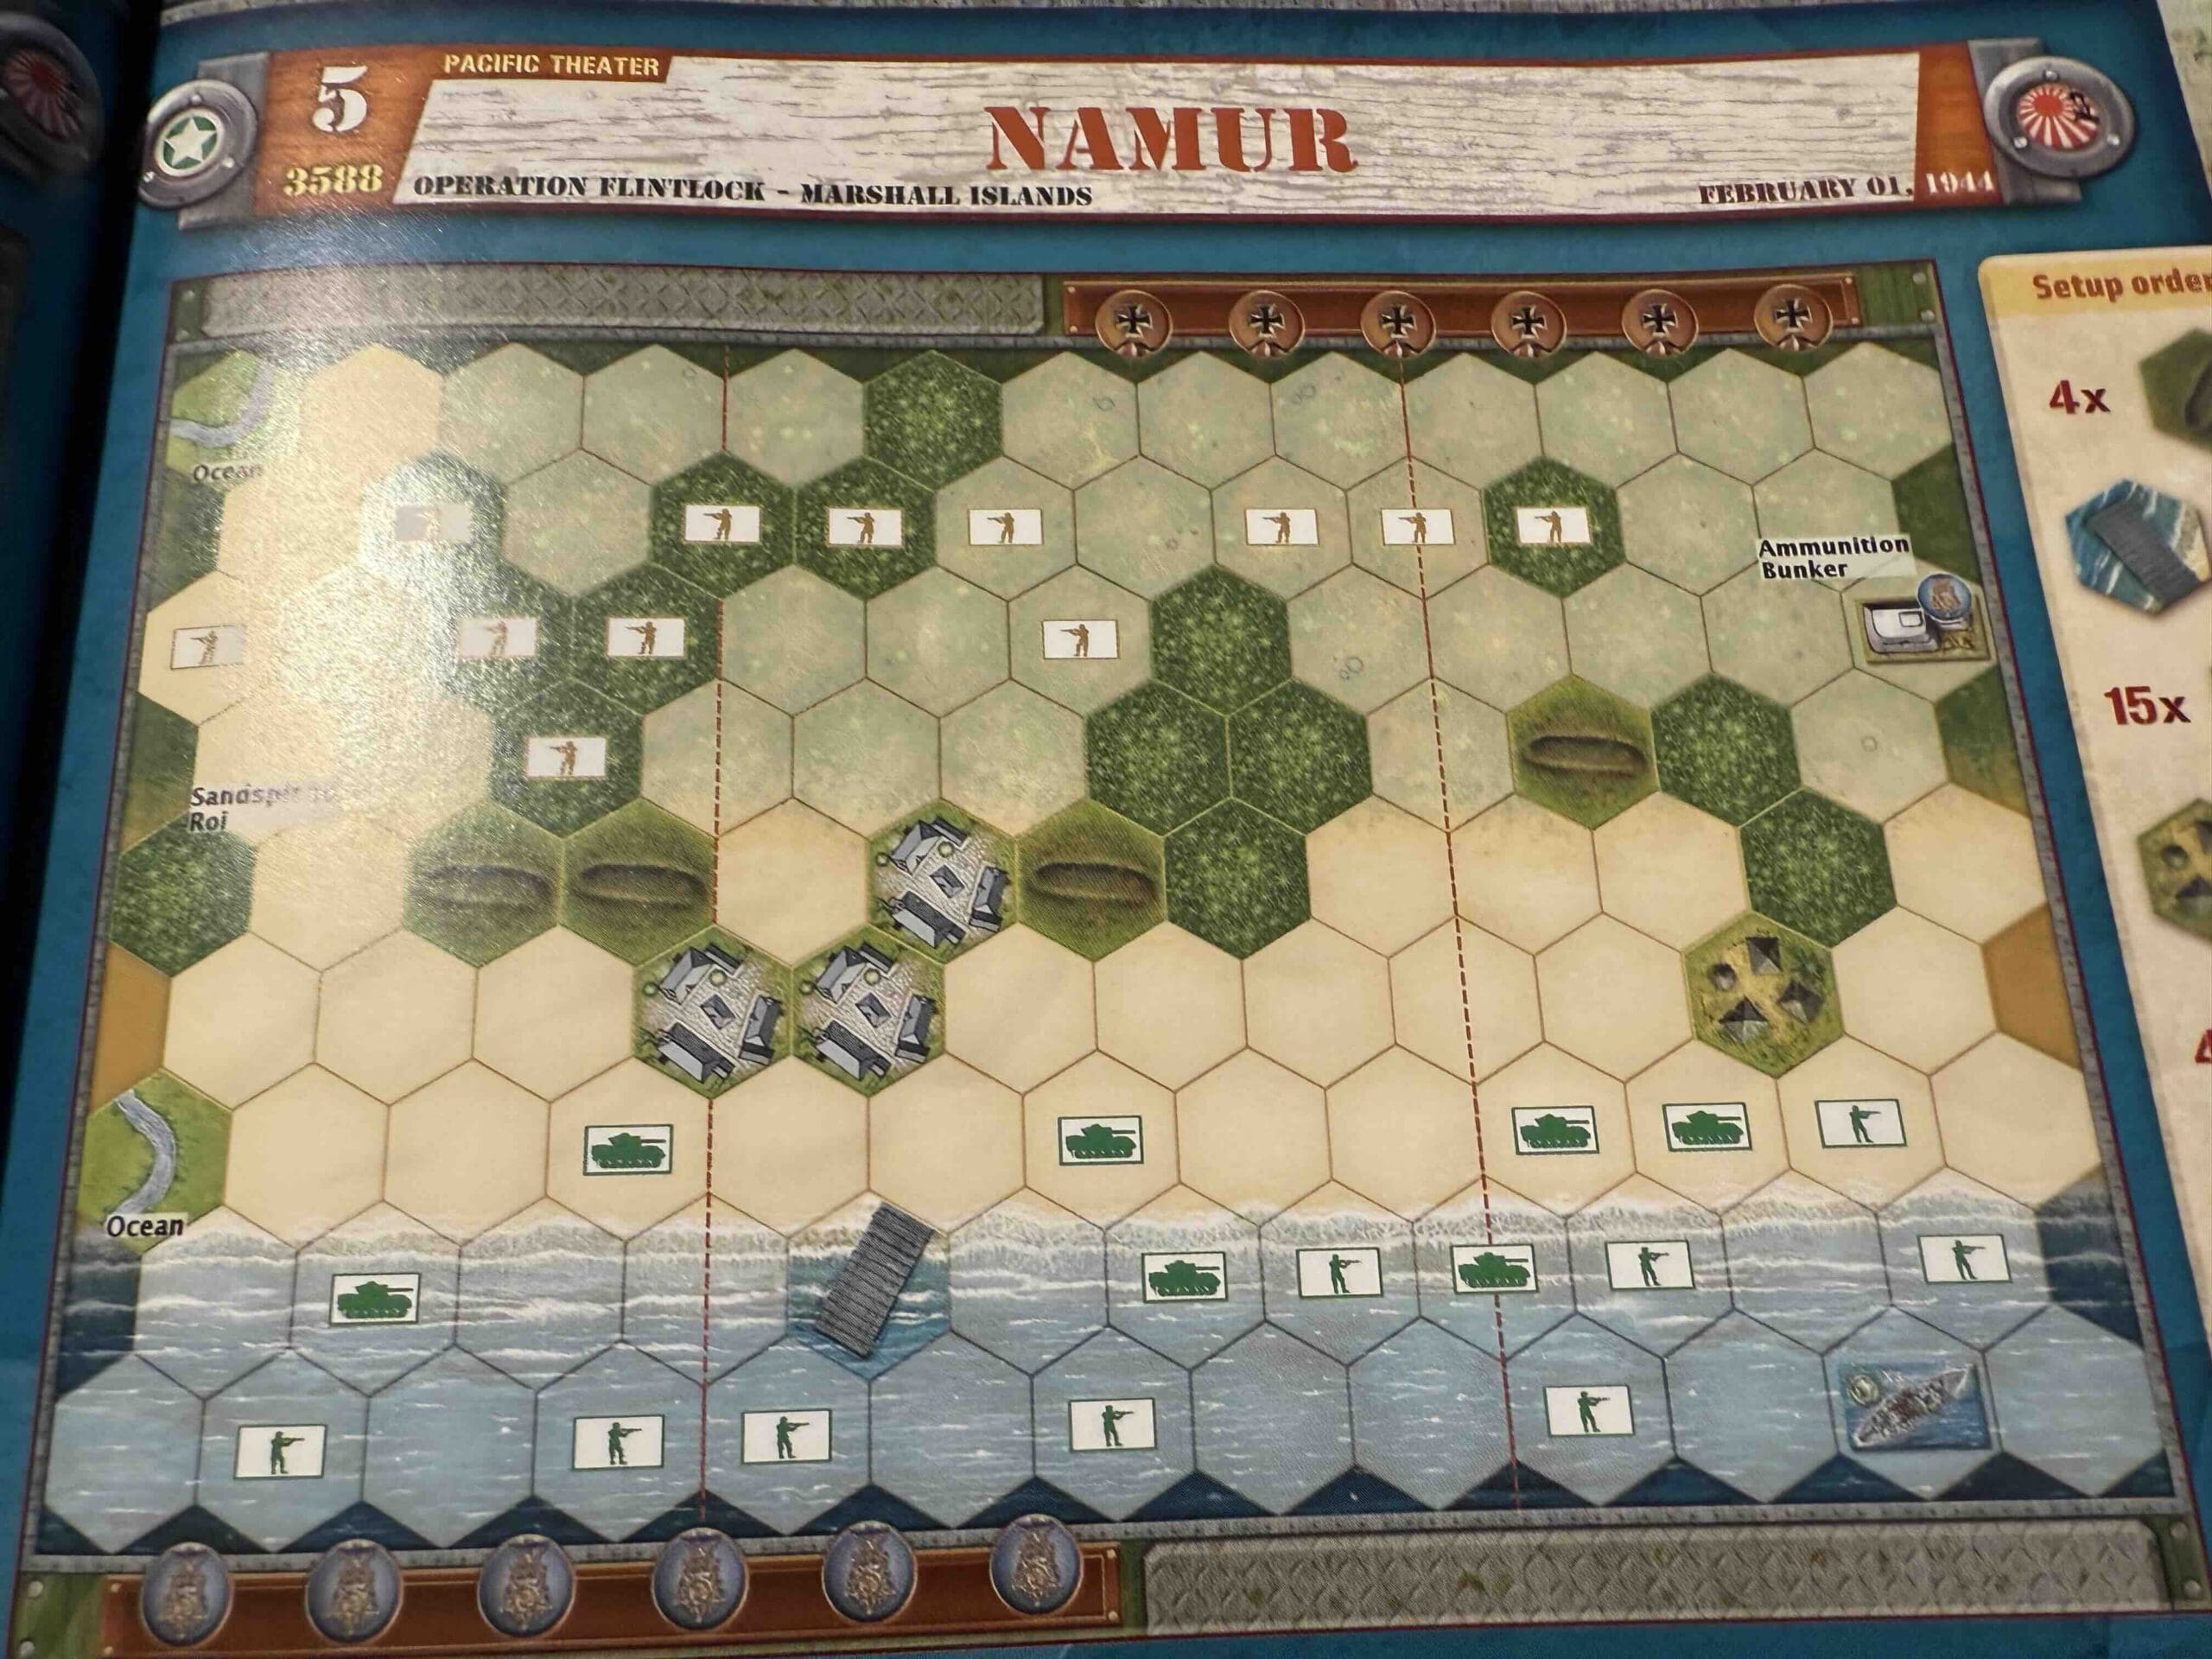
Namur
Namur
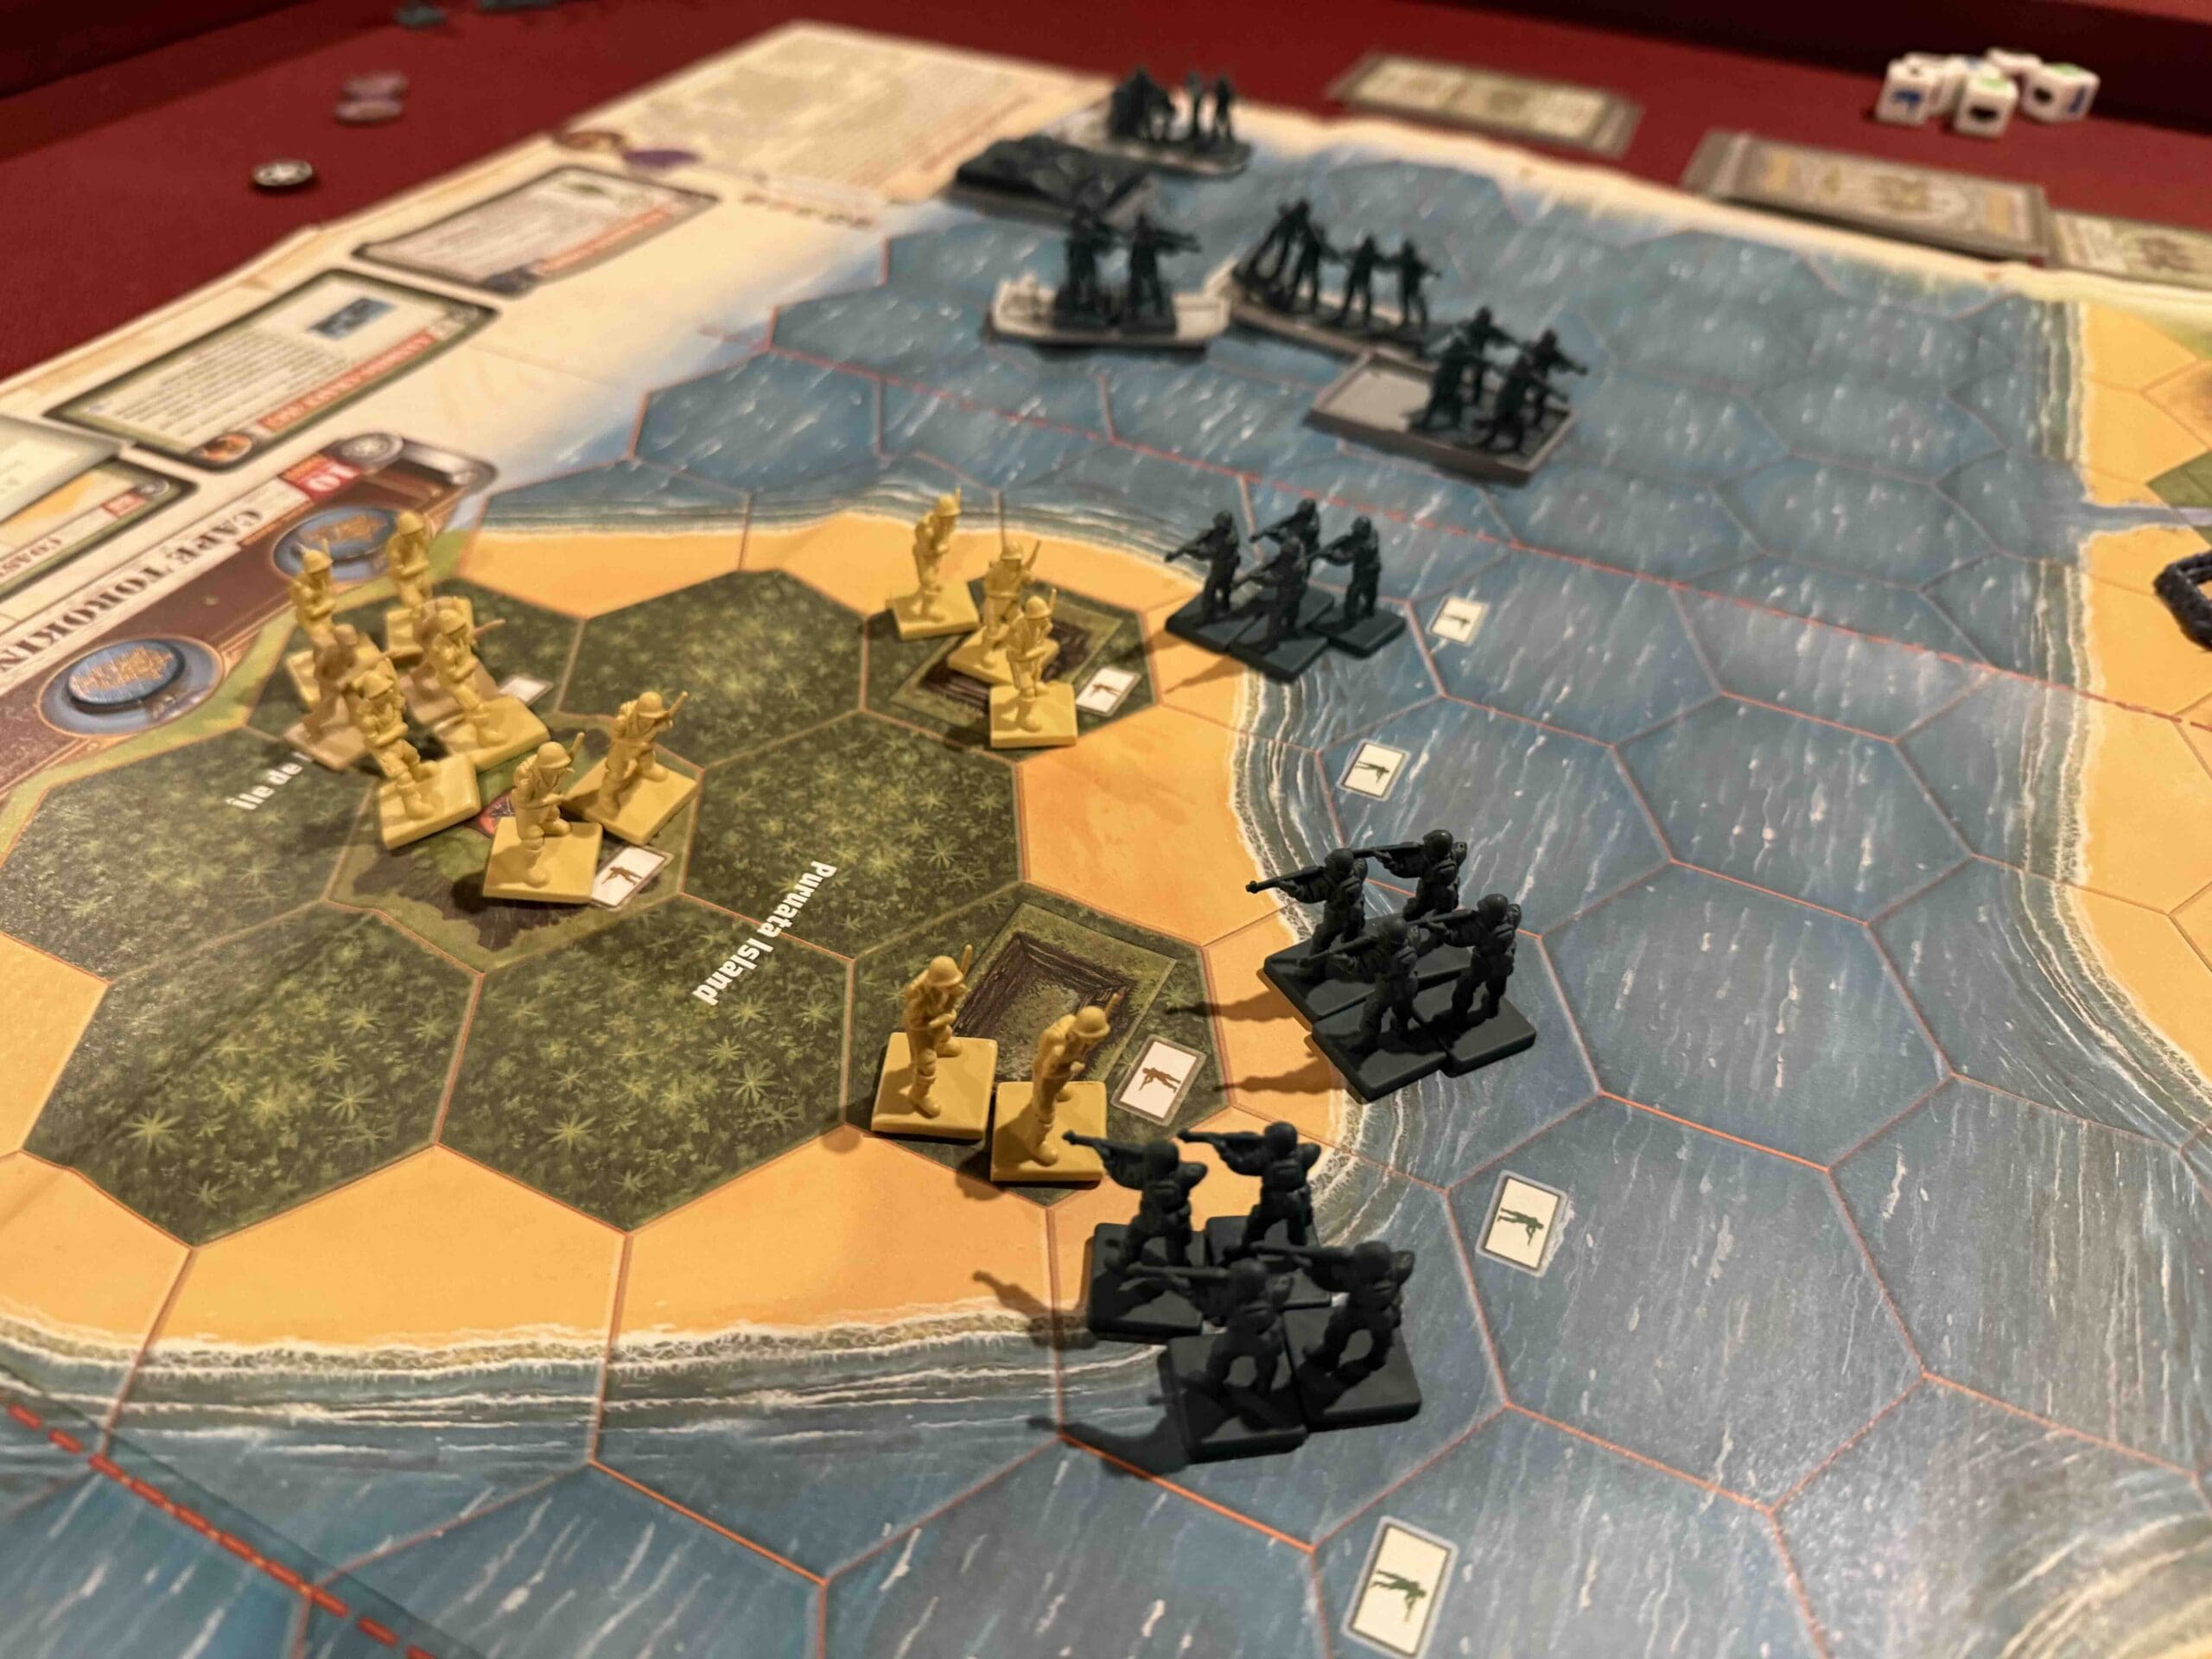
IMG_0776
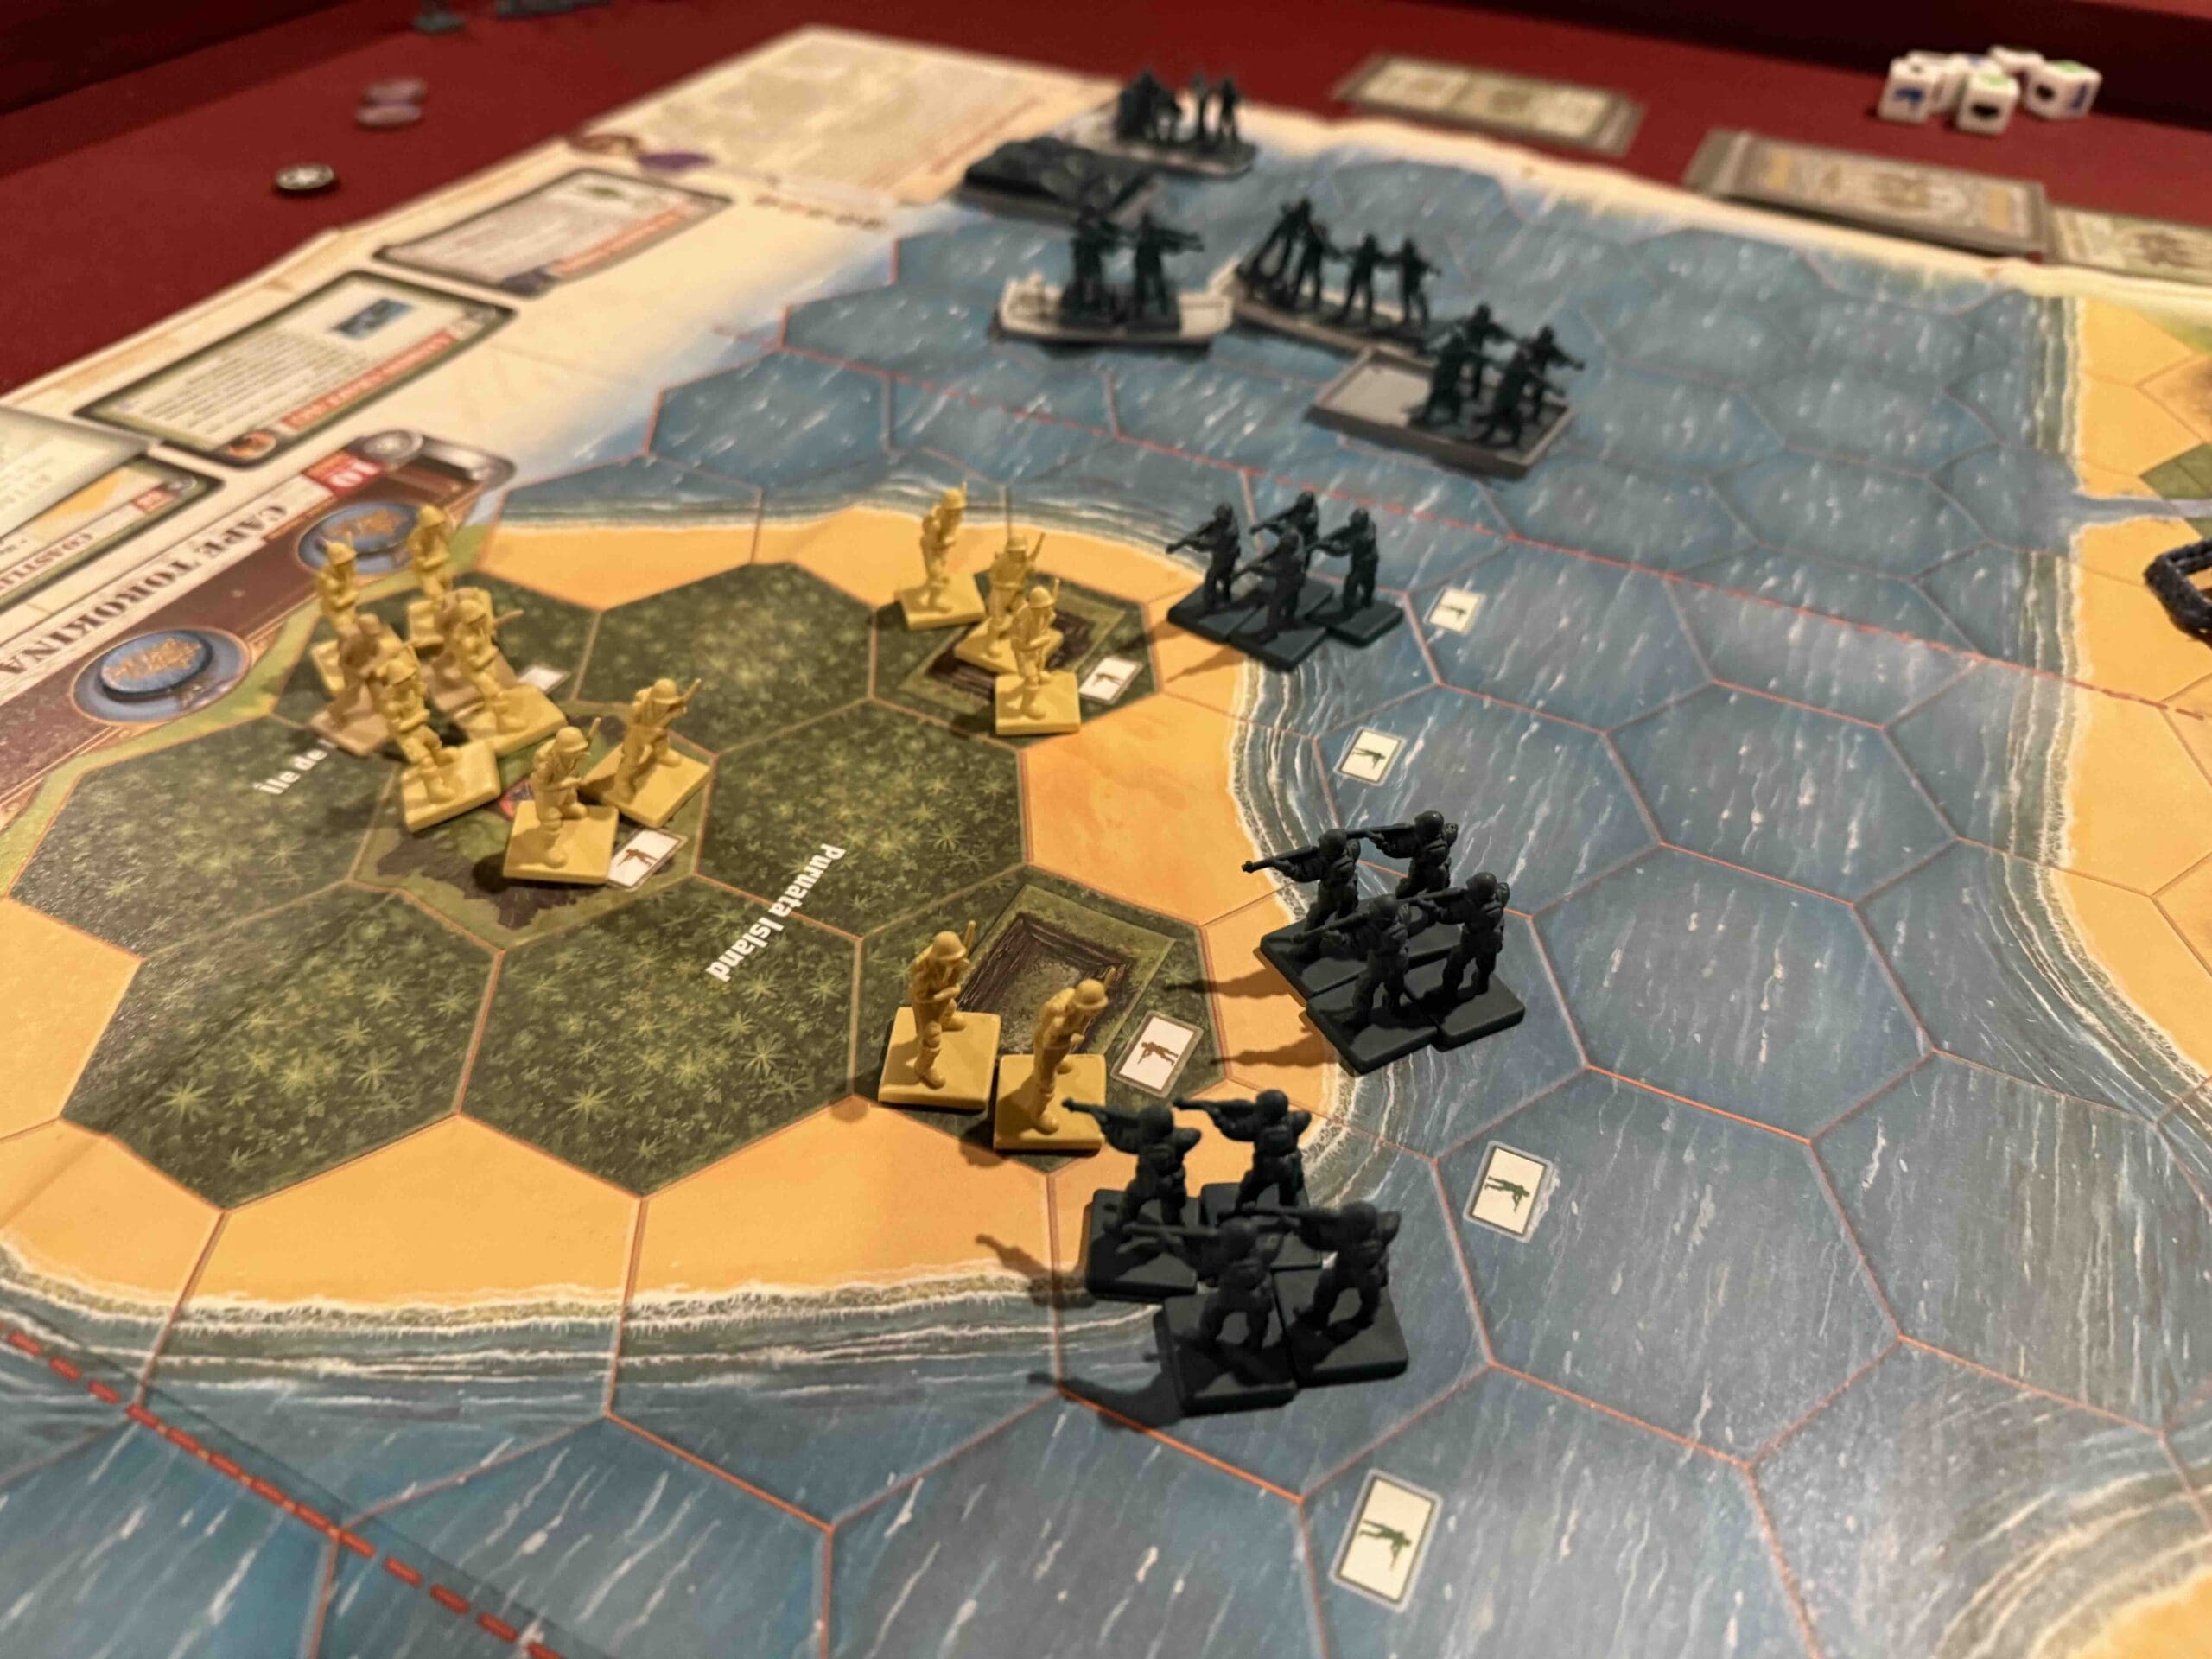
IMG_0775
The Battle of Namur took place on February 1–2, 1944, as part of the U.S. assault on the Marshall Islands during World War II. U.S. 2nd Marine Division forces landed on Namur Island, part of the Kwajalein Atoll, facing fierce resistance from well-entrenched Japanese defenders. The battle saw intense close-quarters combat, complicated by Japanese bunkers, sniper fire, and booby traps. A massive explosion at a Japanese ammunition dump—triggered by American fire—caused heavy U.S. casualties but also disrupted enemy defenses. After two days of brutal fighting, the Marines secured the island. Namur’s capture was a key step in the U.S. island-hopping campaign, giving the Allies a critical foothold in the central Pacific and weakening Japan’s outer defensive ring.
General Howitzer’s summary:
Namur was a two-day slugfest—our 2nd Marines hit the beach and ran headfirst into bunkers, snipers, and traps laid by fanatical Japanese soldiers dug in like ticks. One hell of a blast tore through their ammo dump—and some of our boys with it—but it cracked their line wide open. When the smoke cleared, Namur was ours, and we had a solid damn grip in the Marshalls. Another island down, and one step closer to Tokyo.
5 VP’s
![]()
Card Balance:
Allies – 5
Axis – 5
Complexity:
3
Conditions:
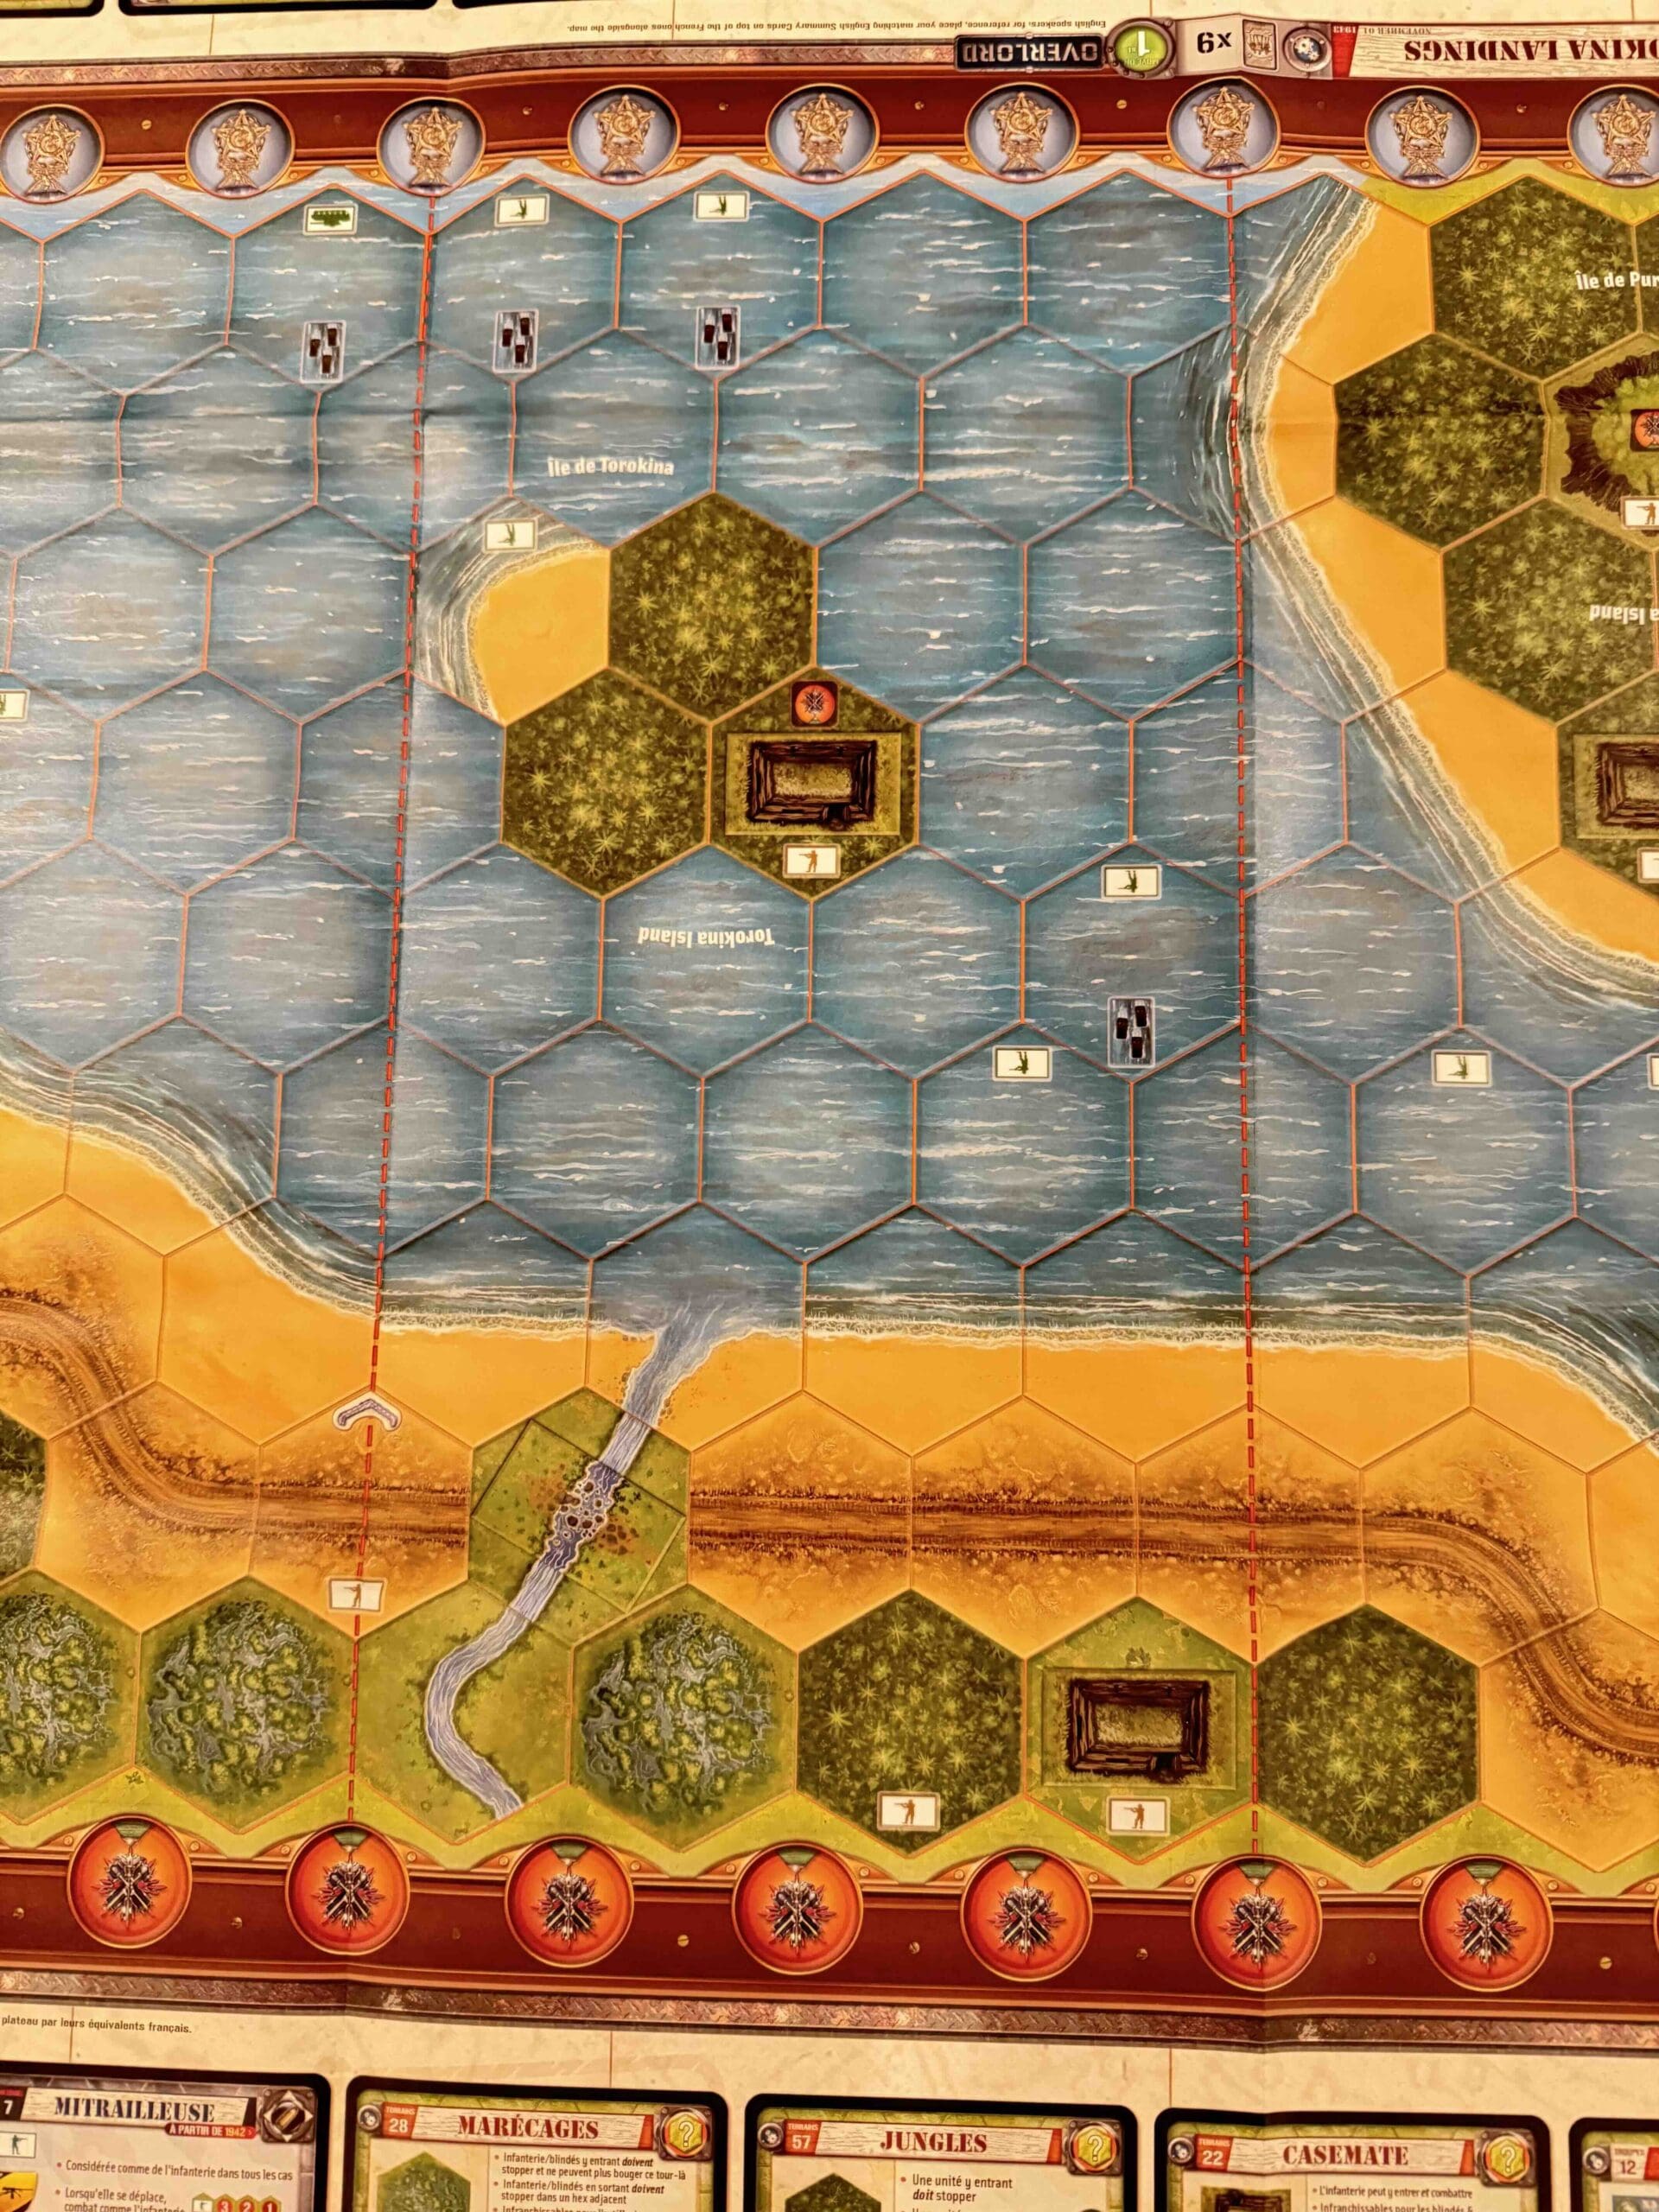
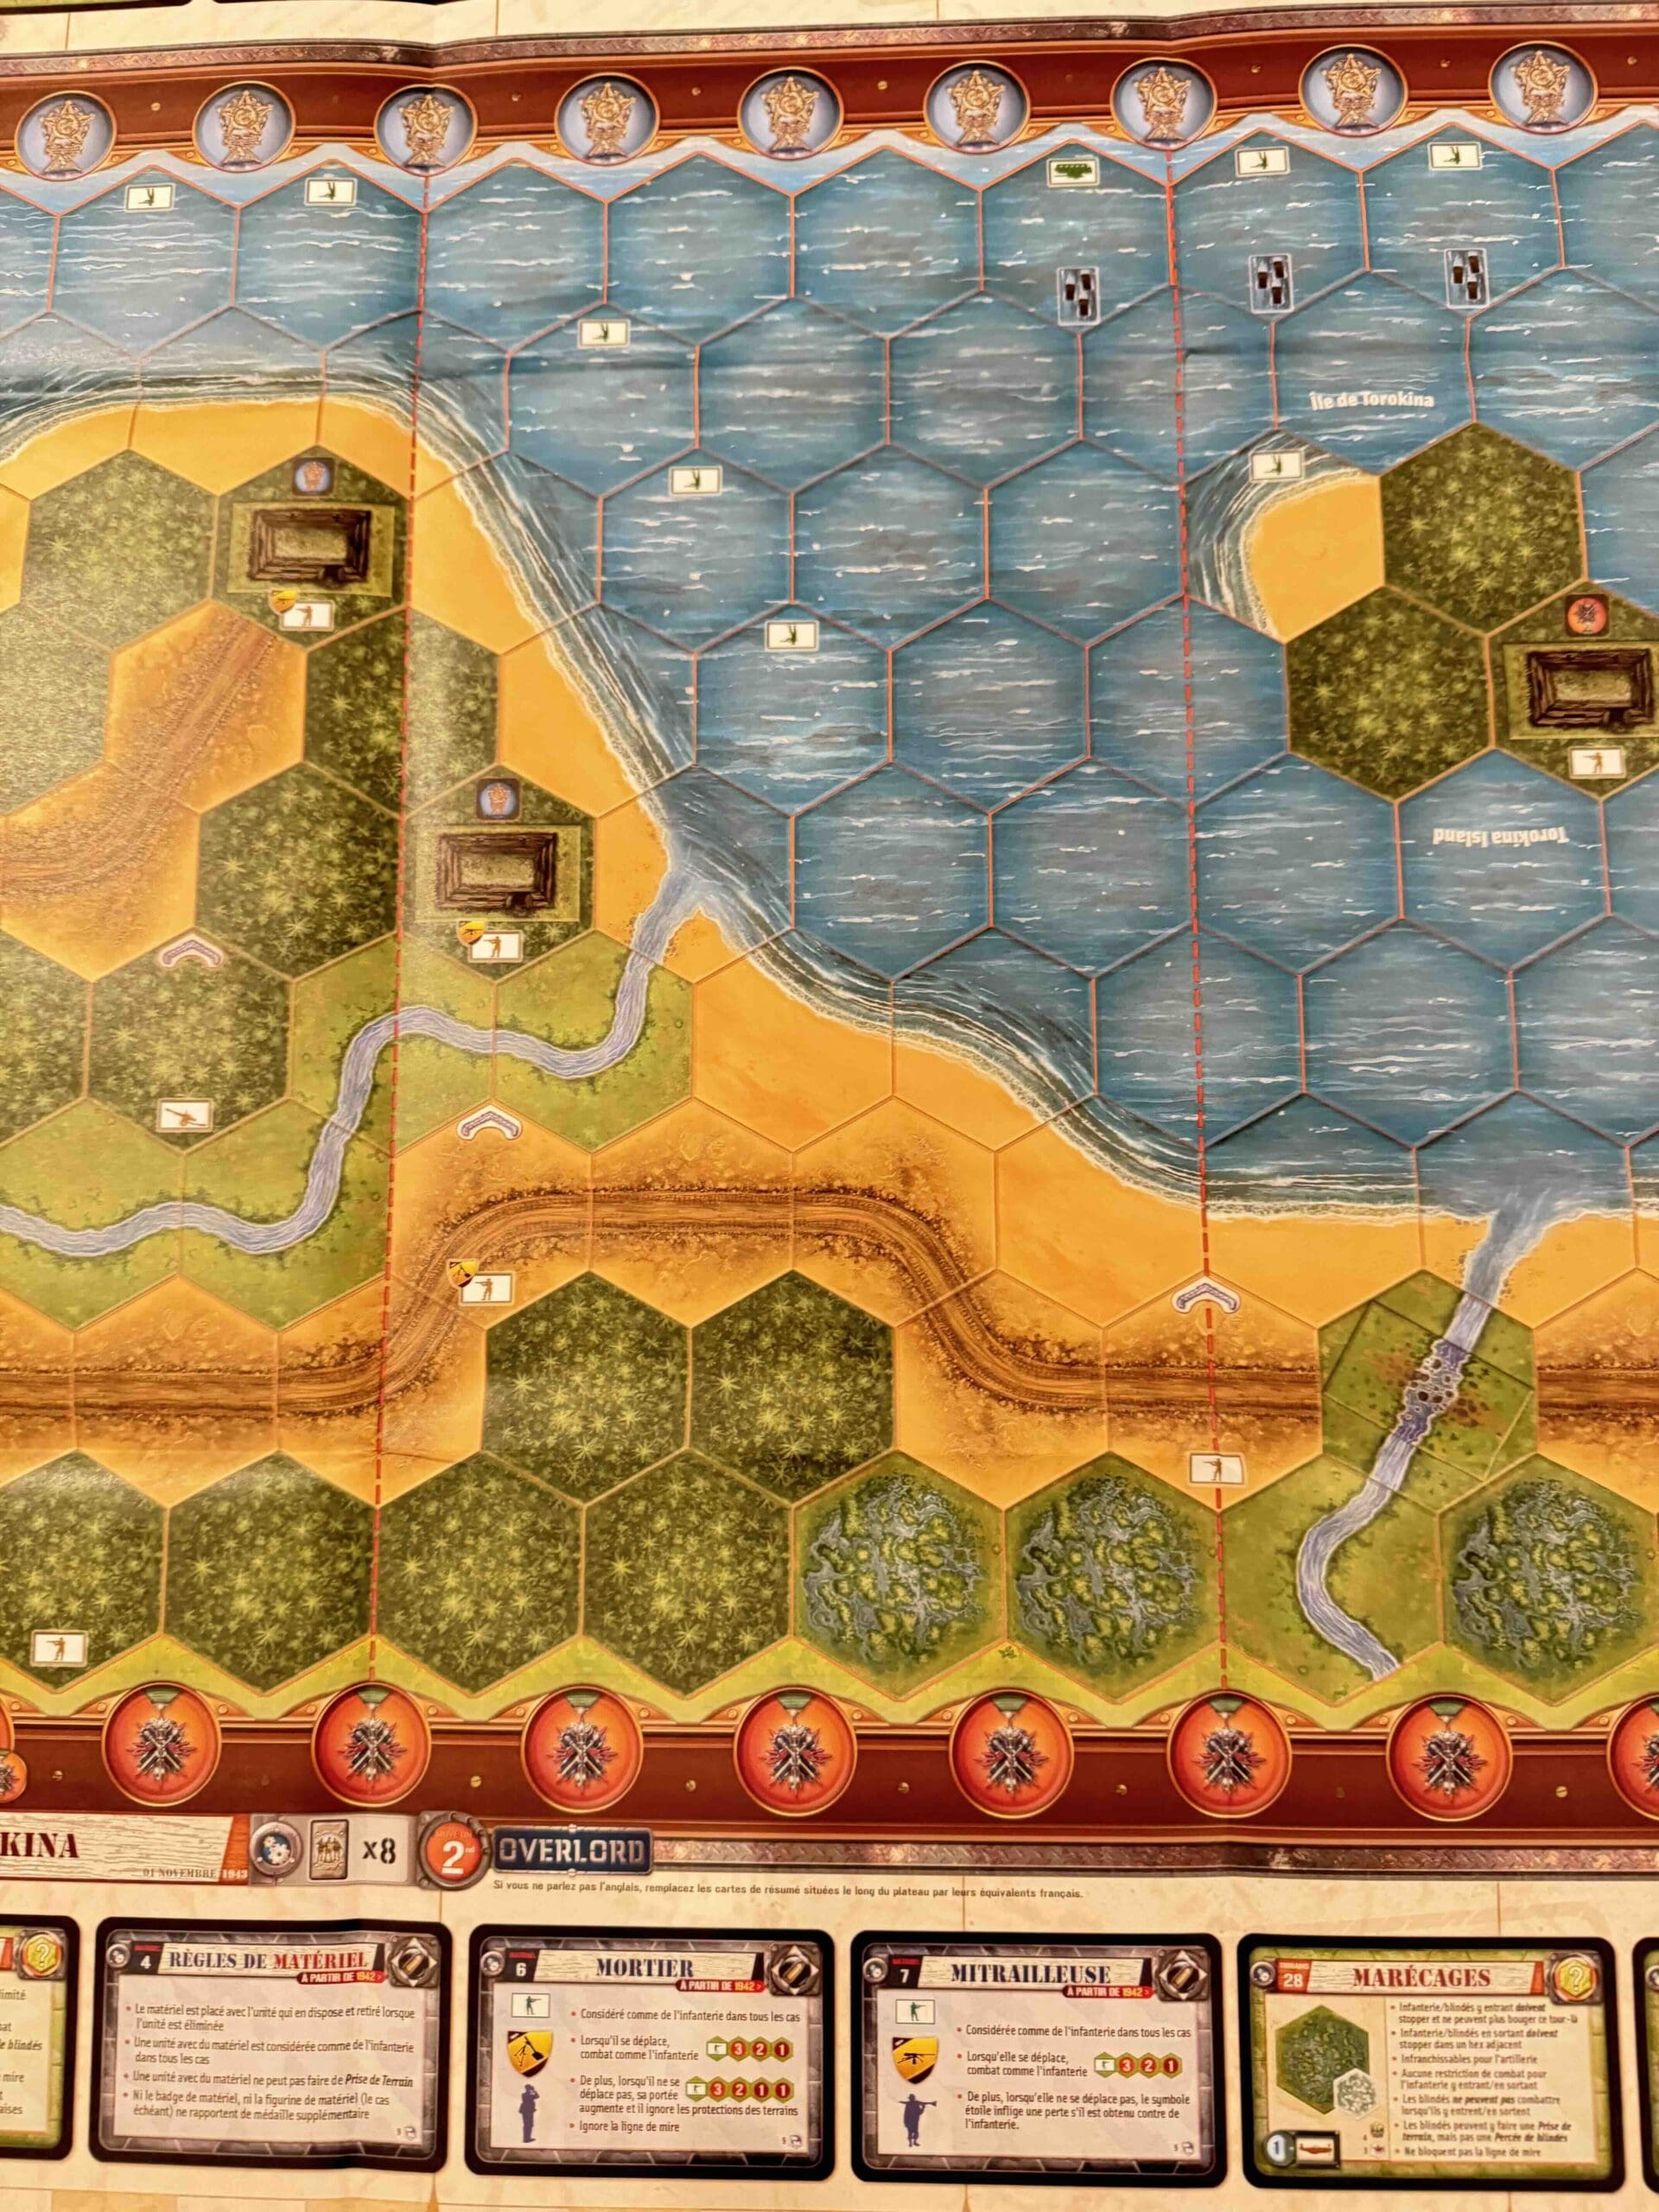
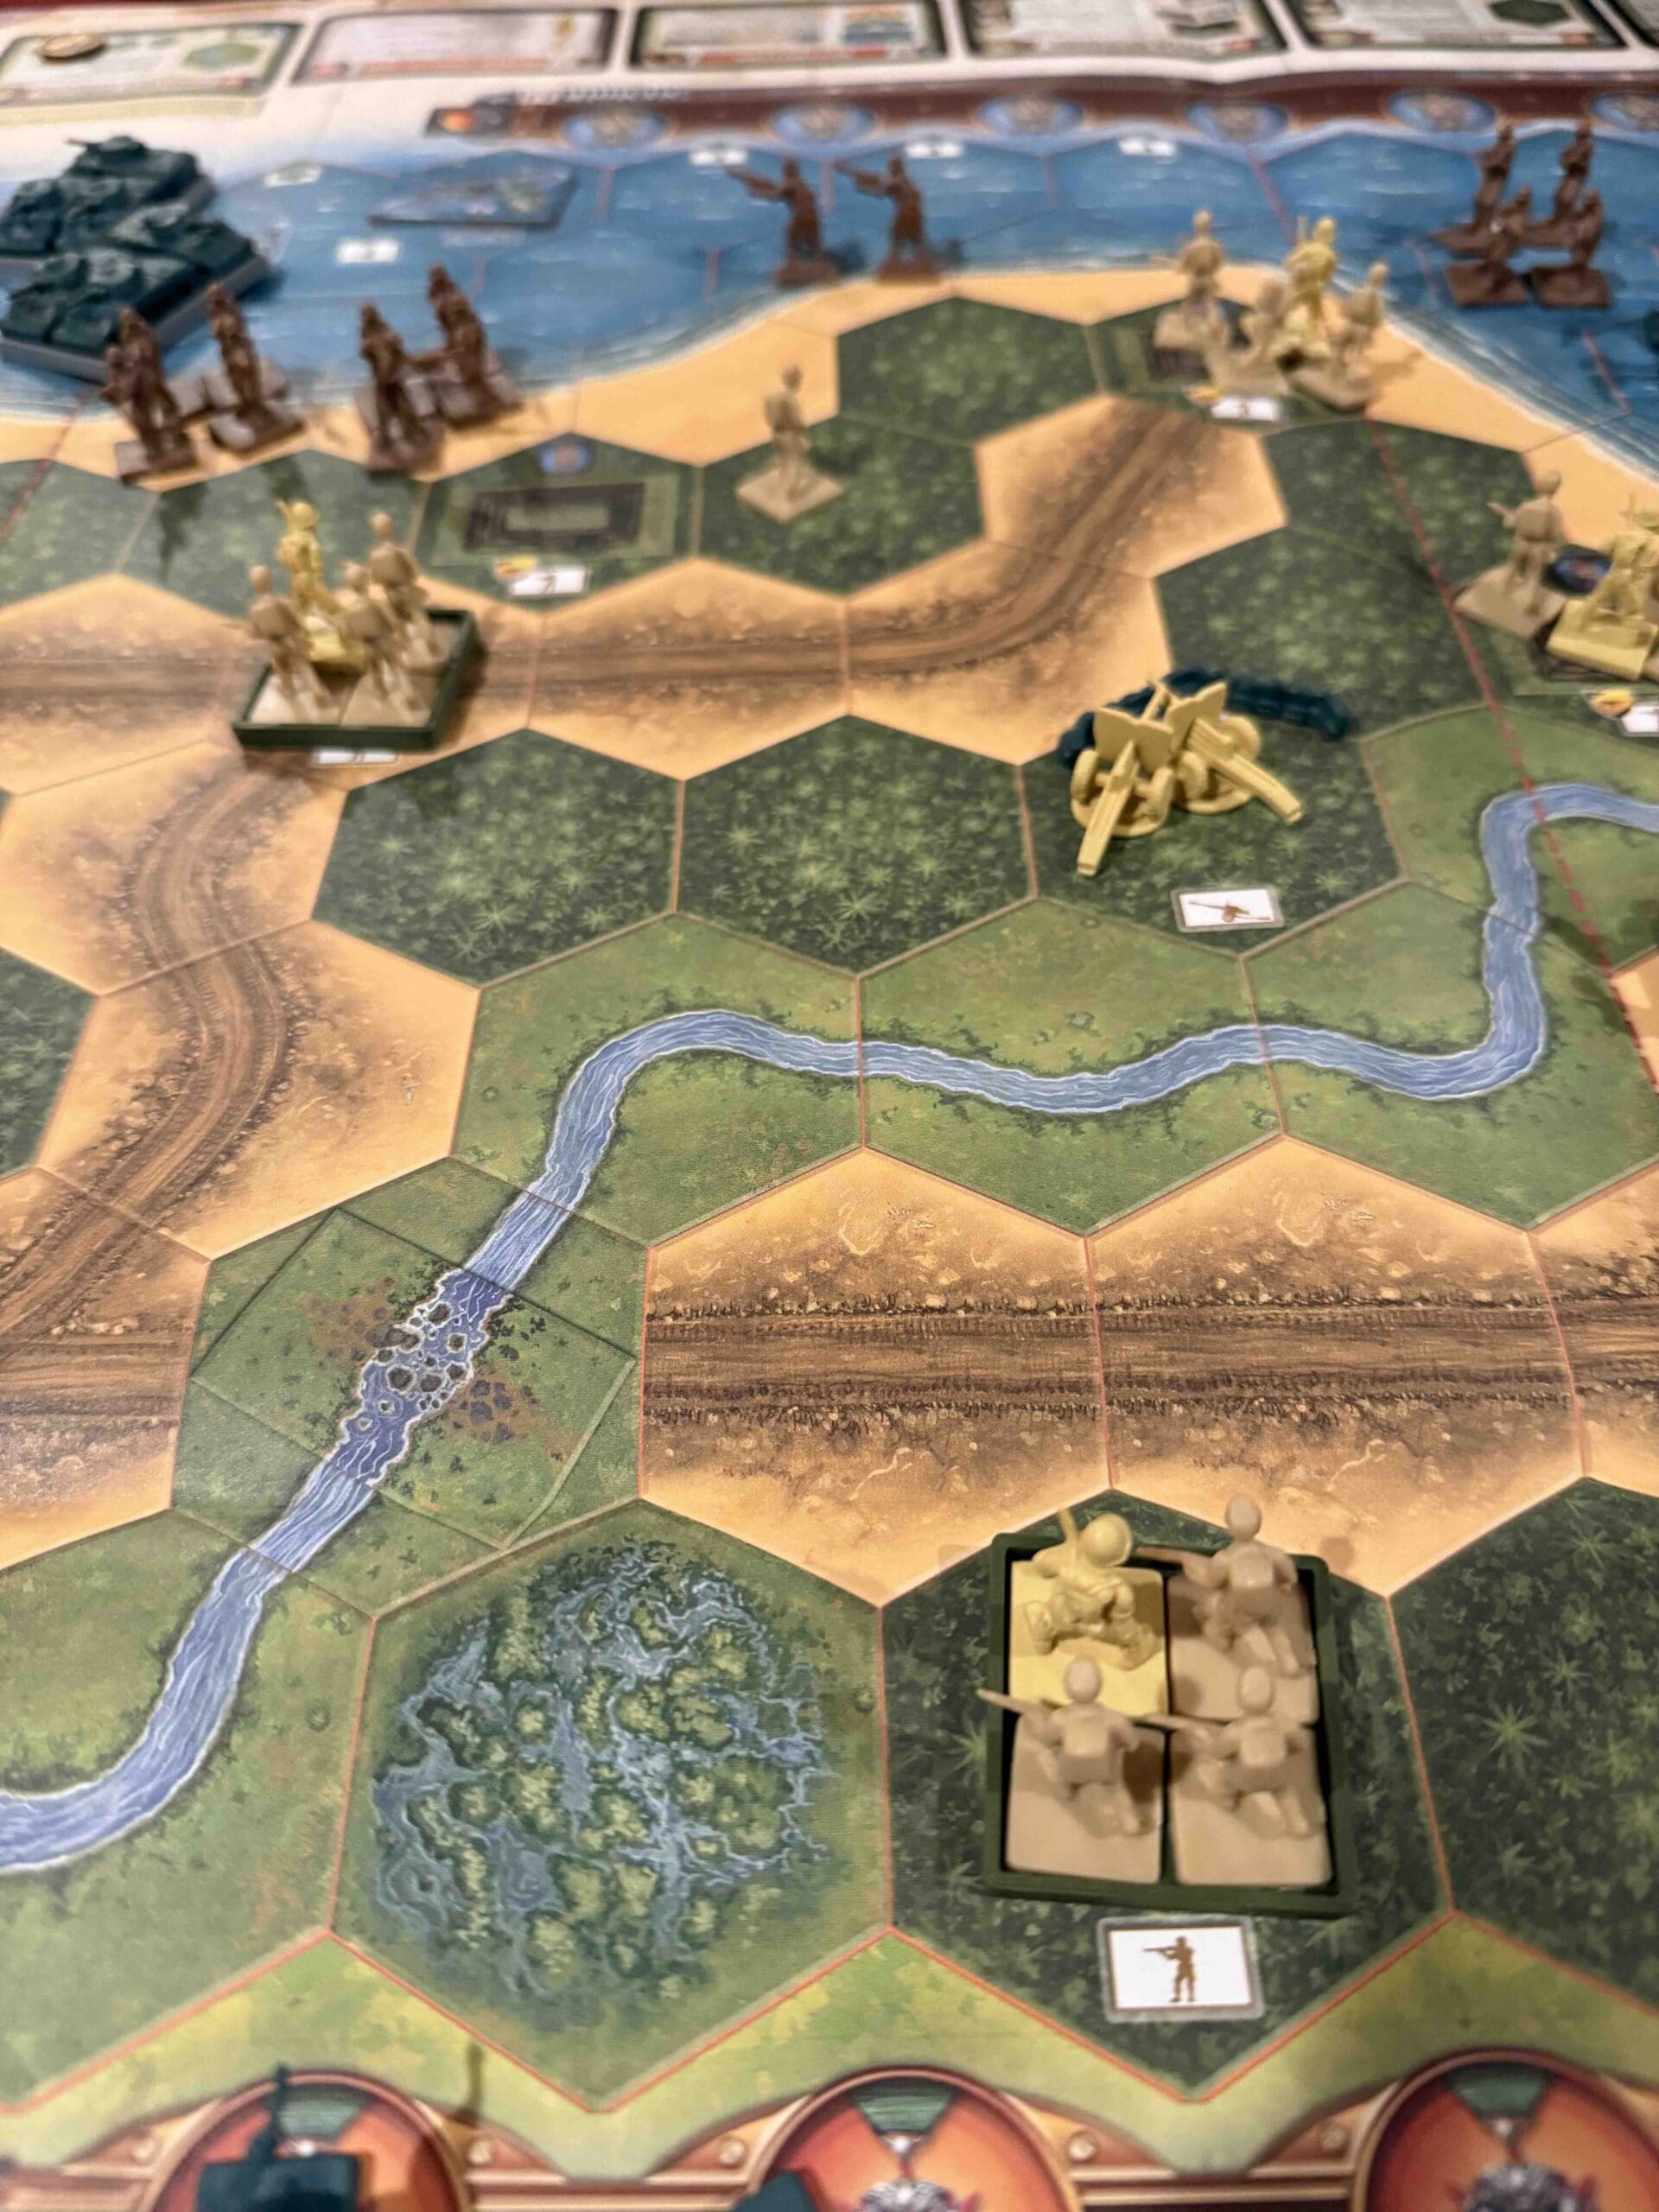
Jungle Beach
Context:
Historical
Location:
Marshall Islands
Year:
1944
Theater:
Pacific
Campaign:
Codename:
Operation Flintlock
Summary:
Objectives:
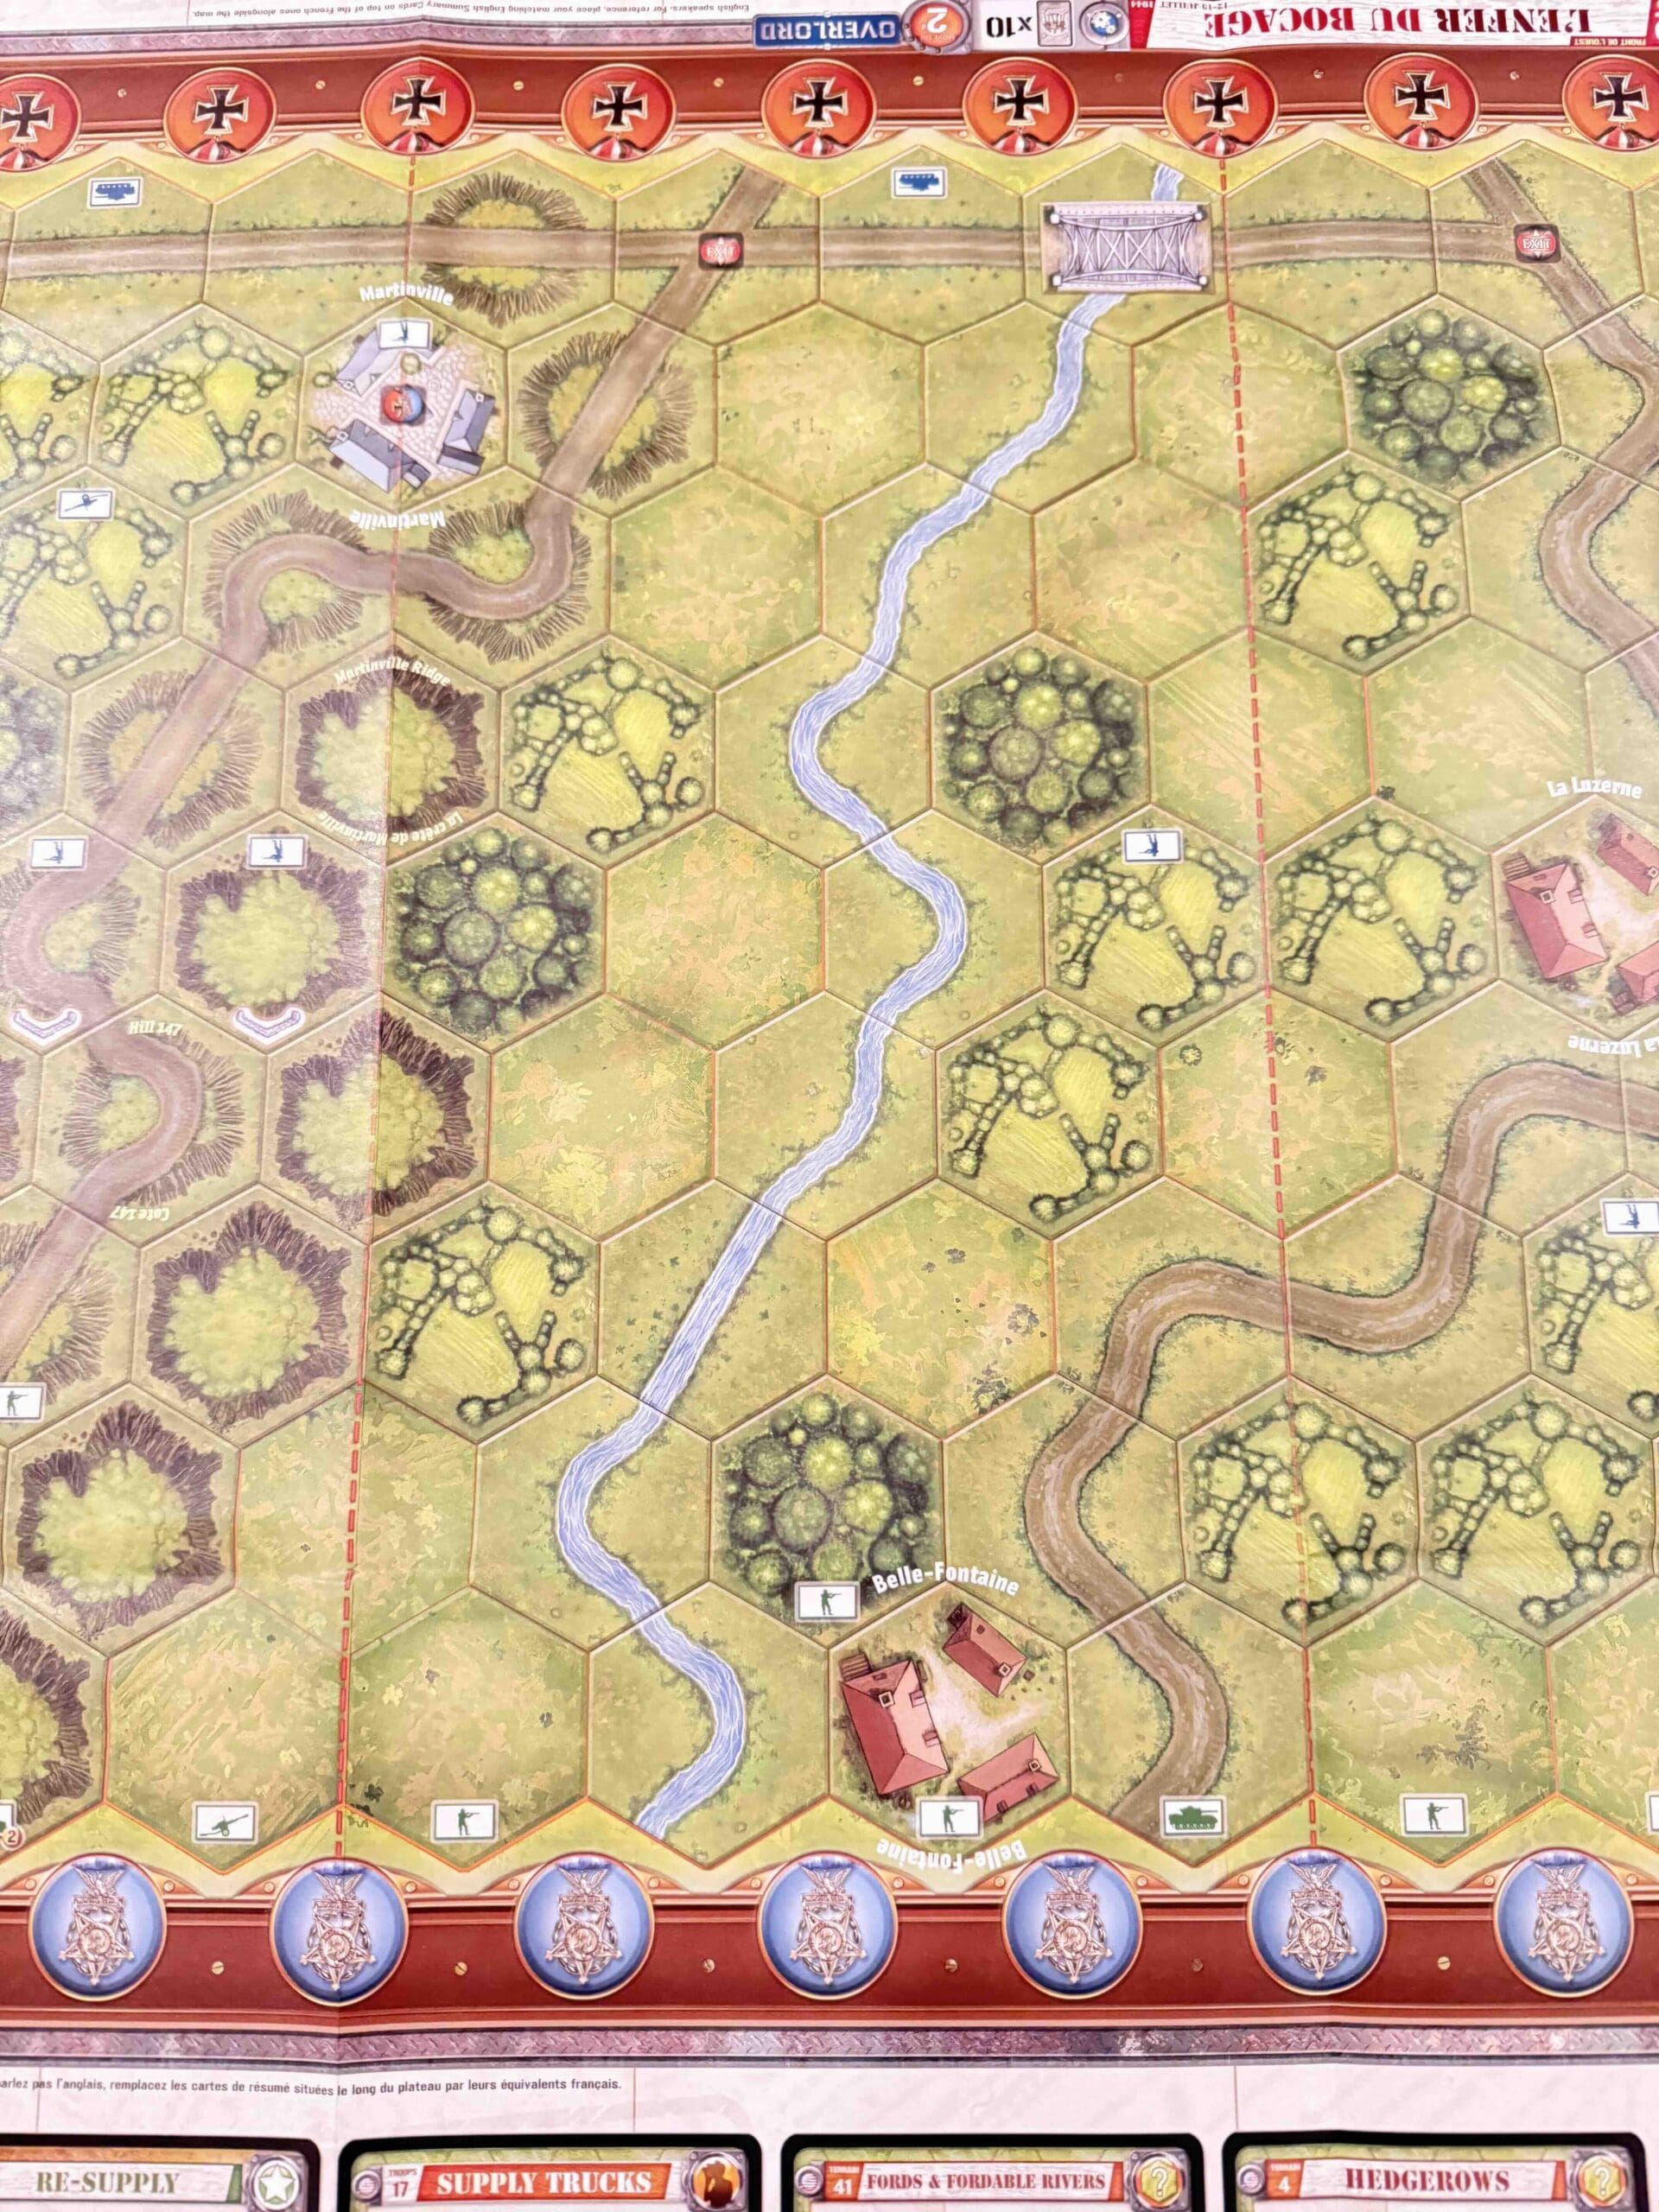
5 VP’s plus the Ammunition Bunker Permanent Medal Objective
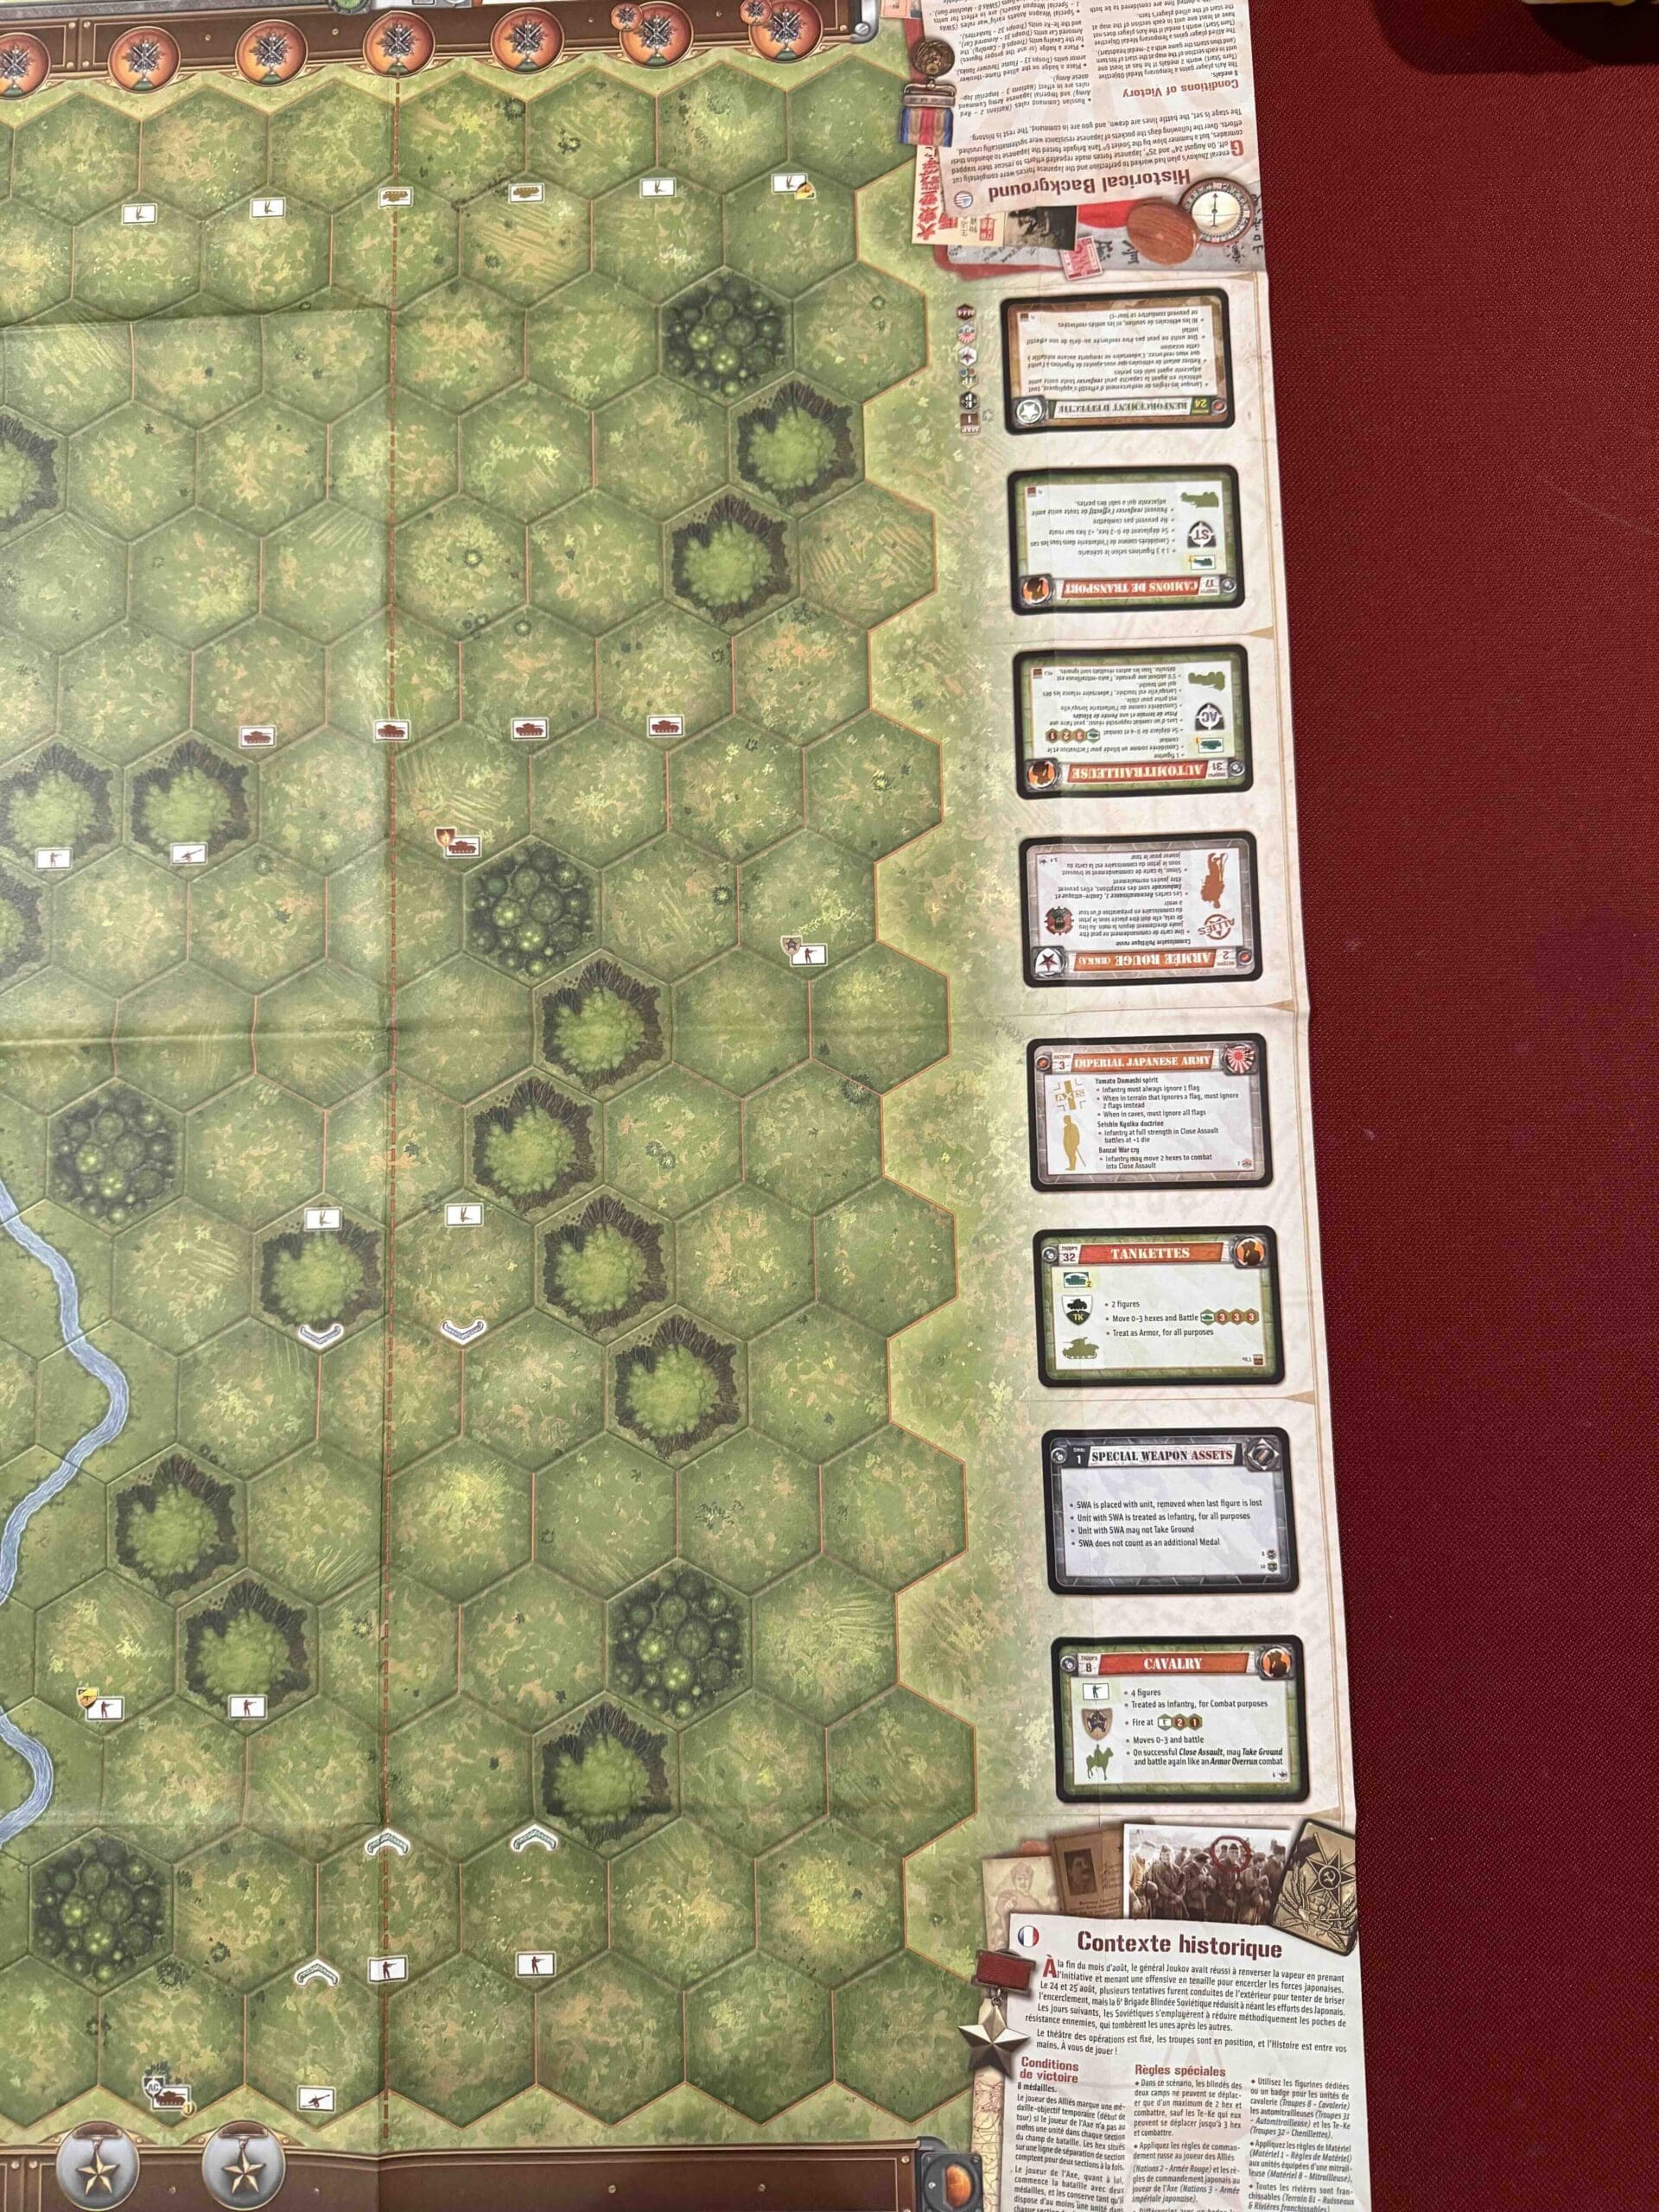
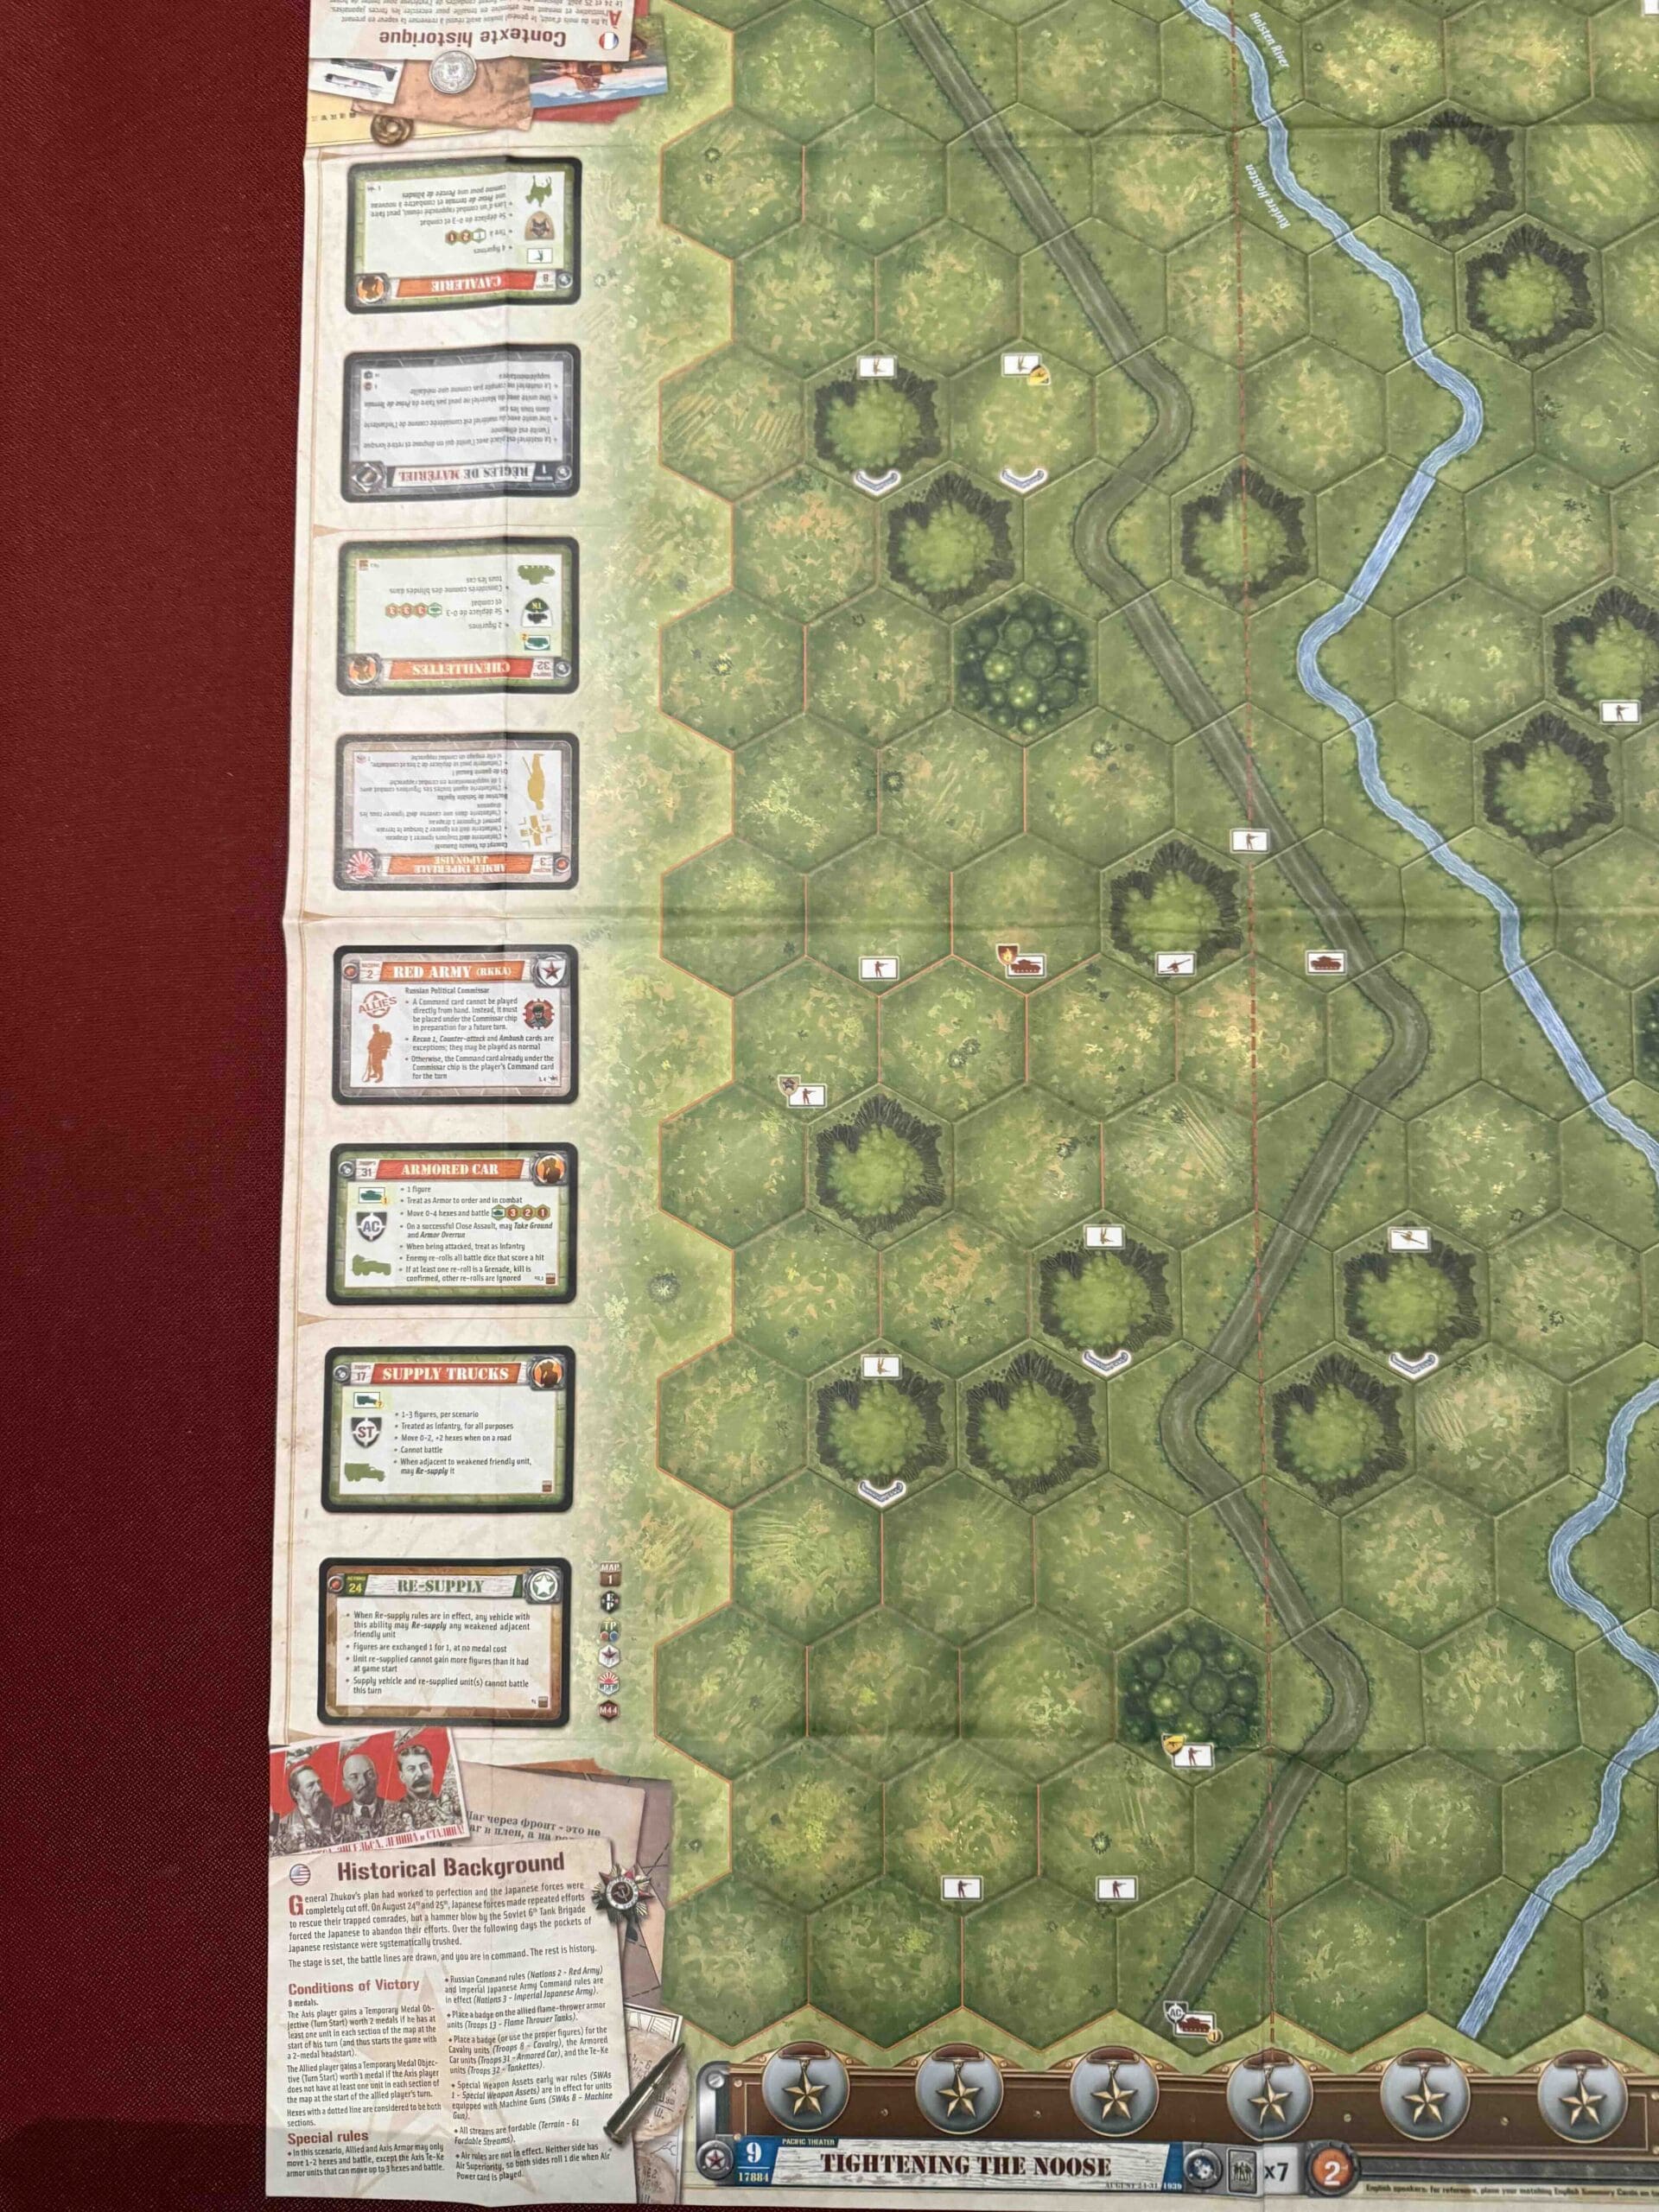
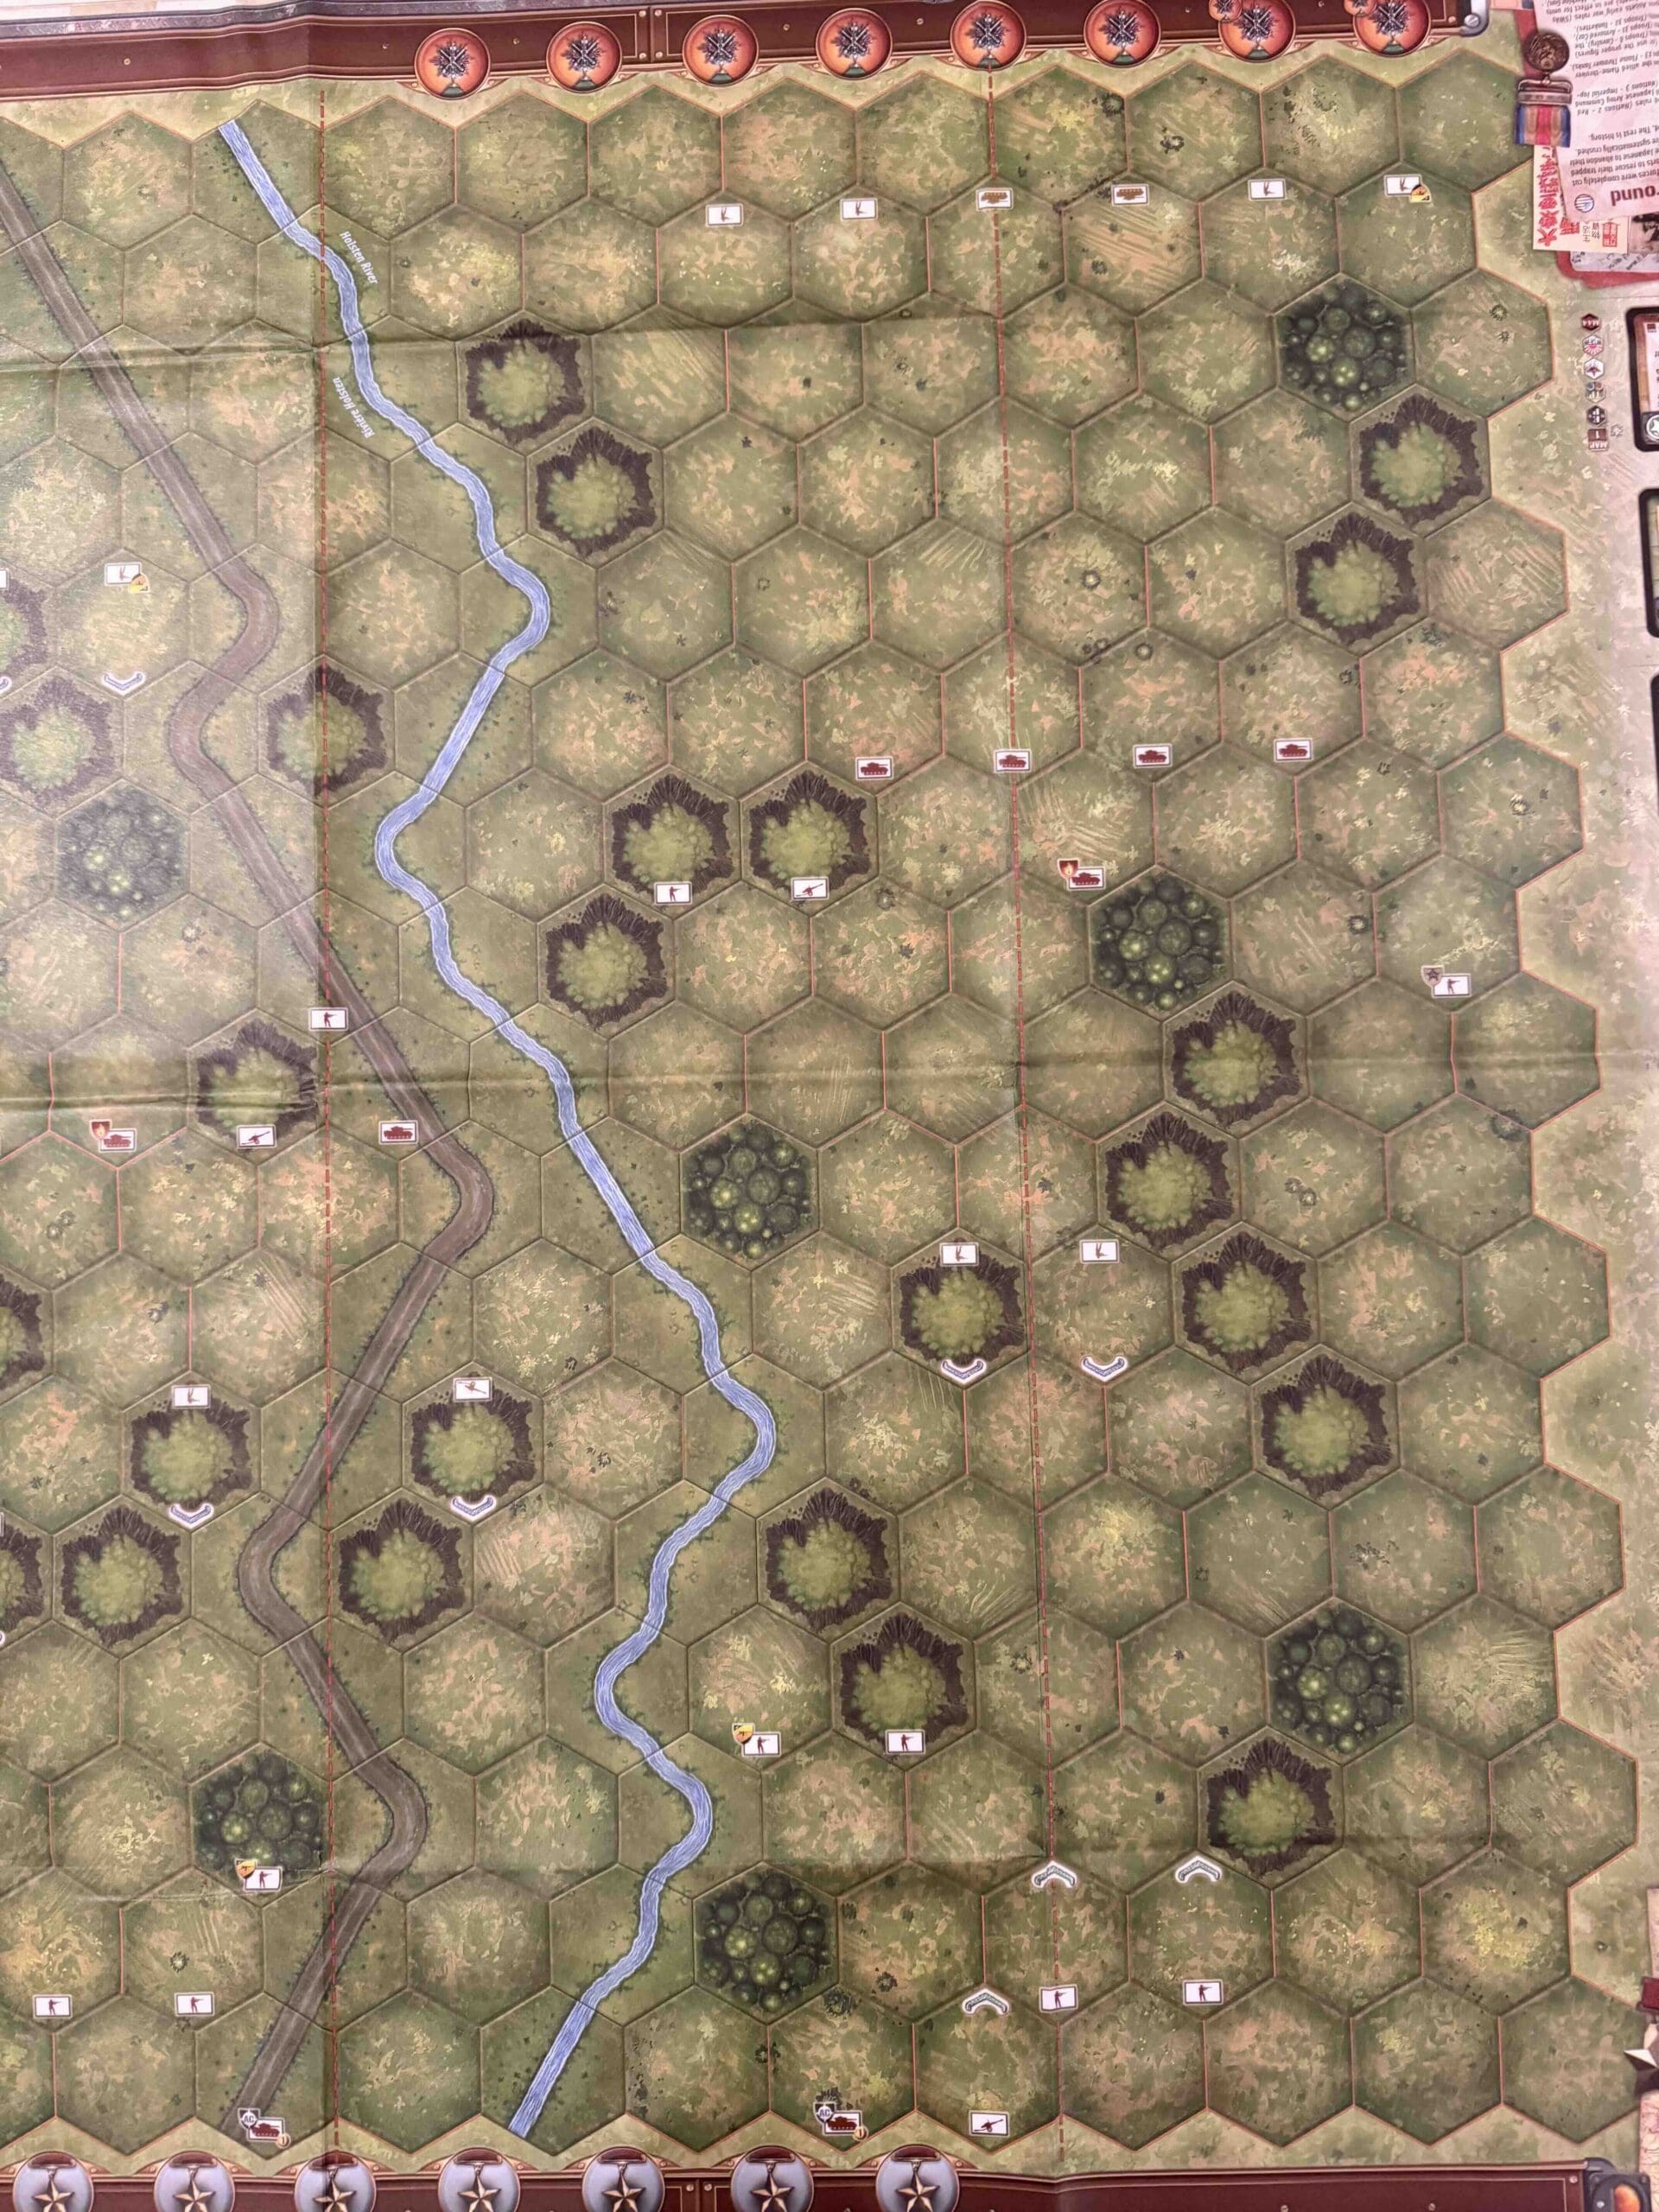
Battlefield:
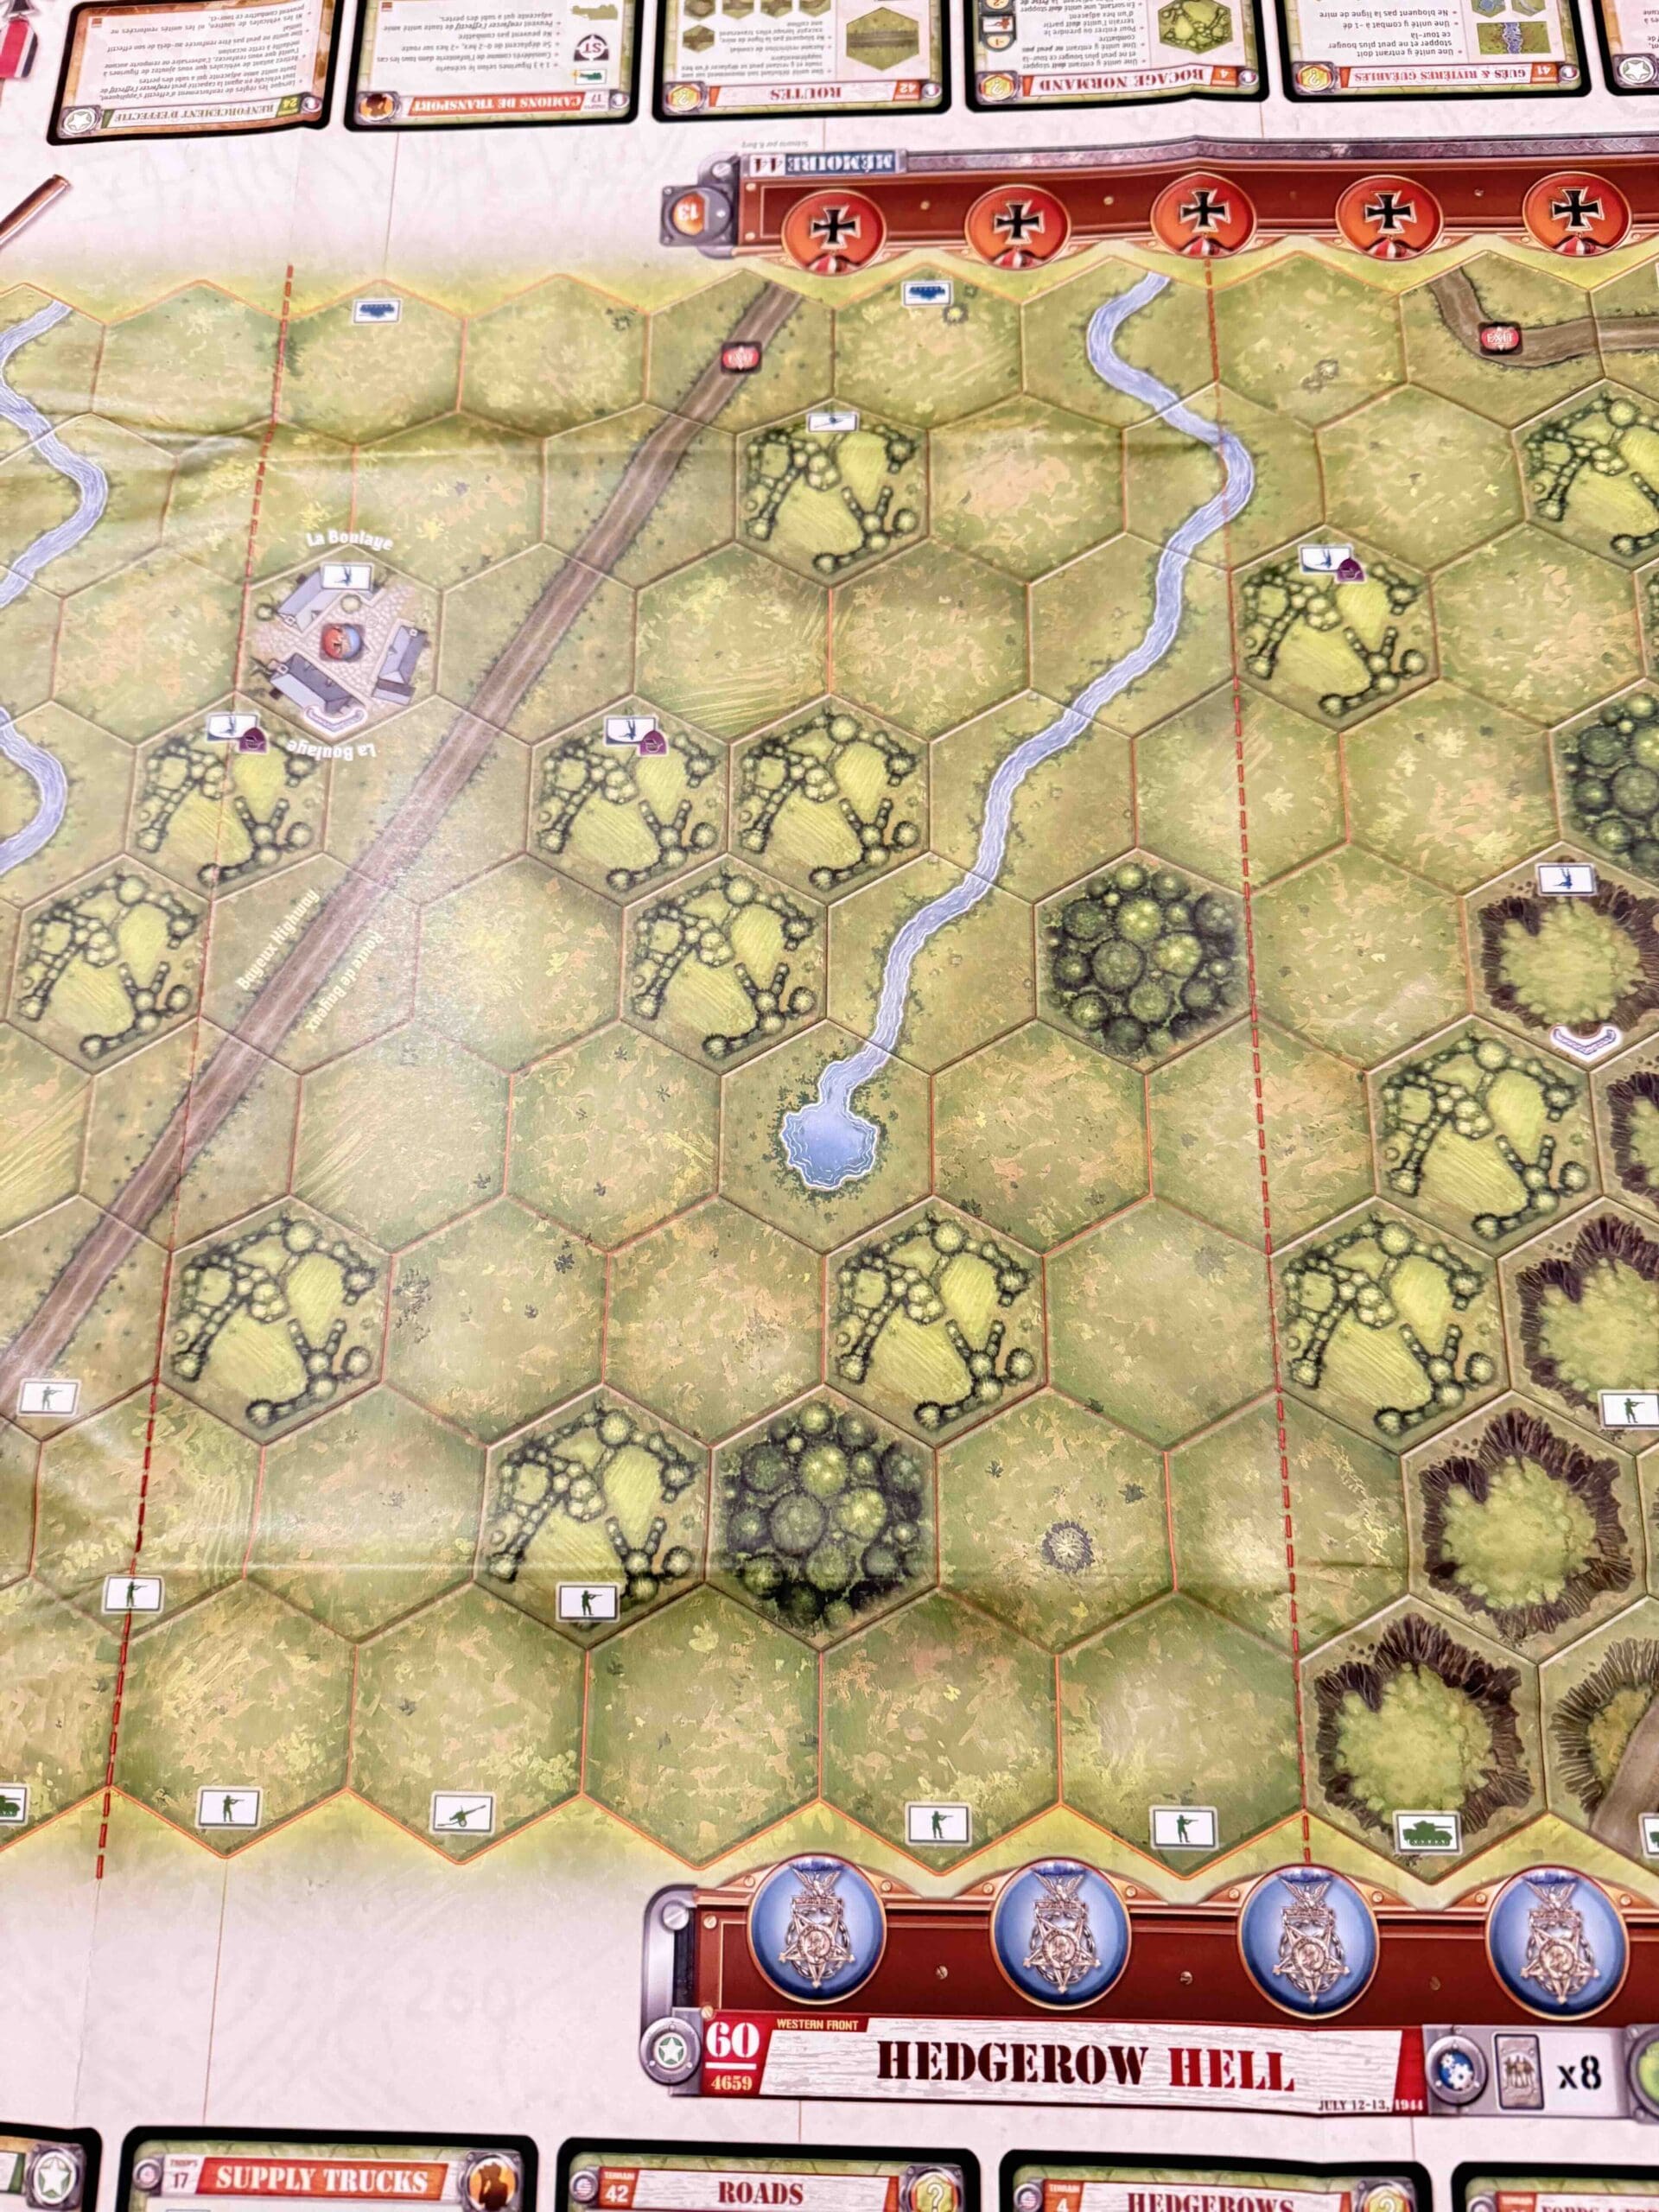
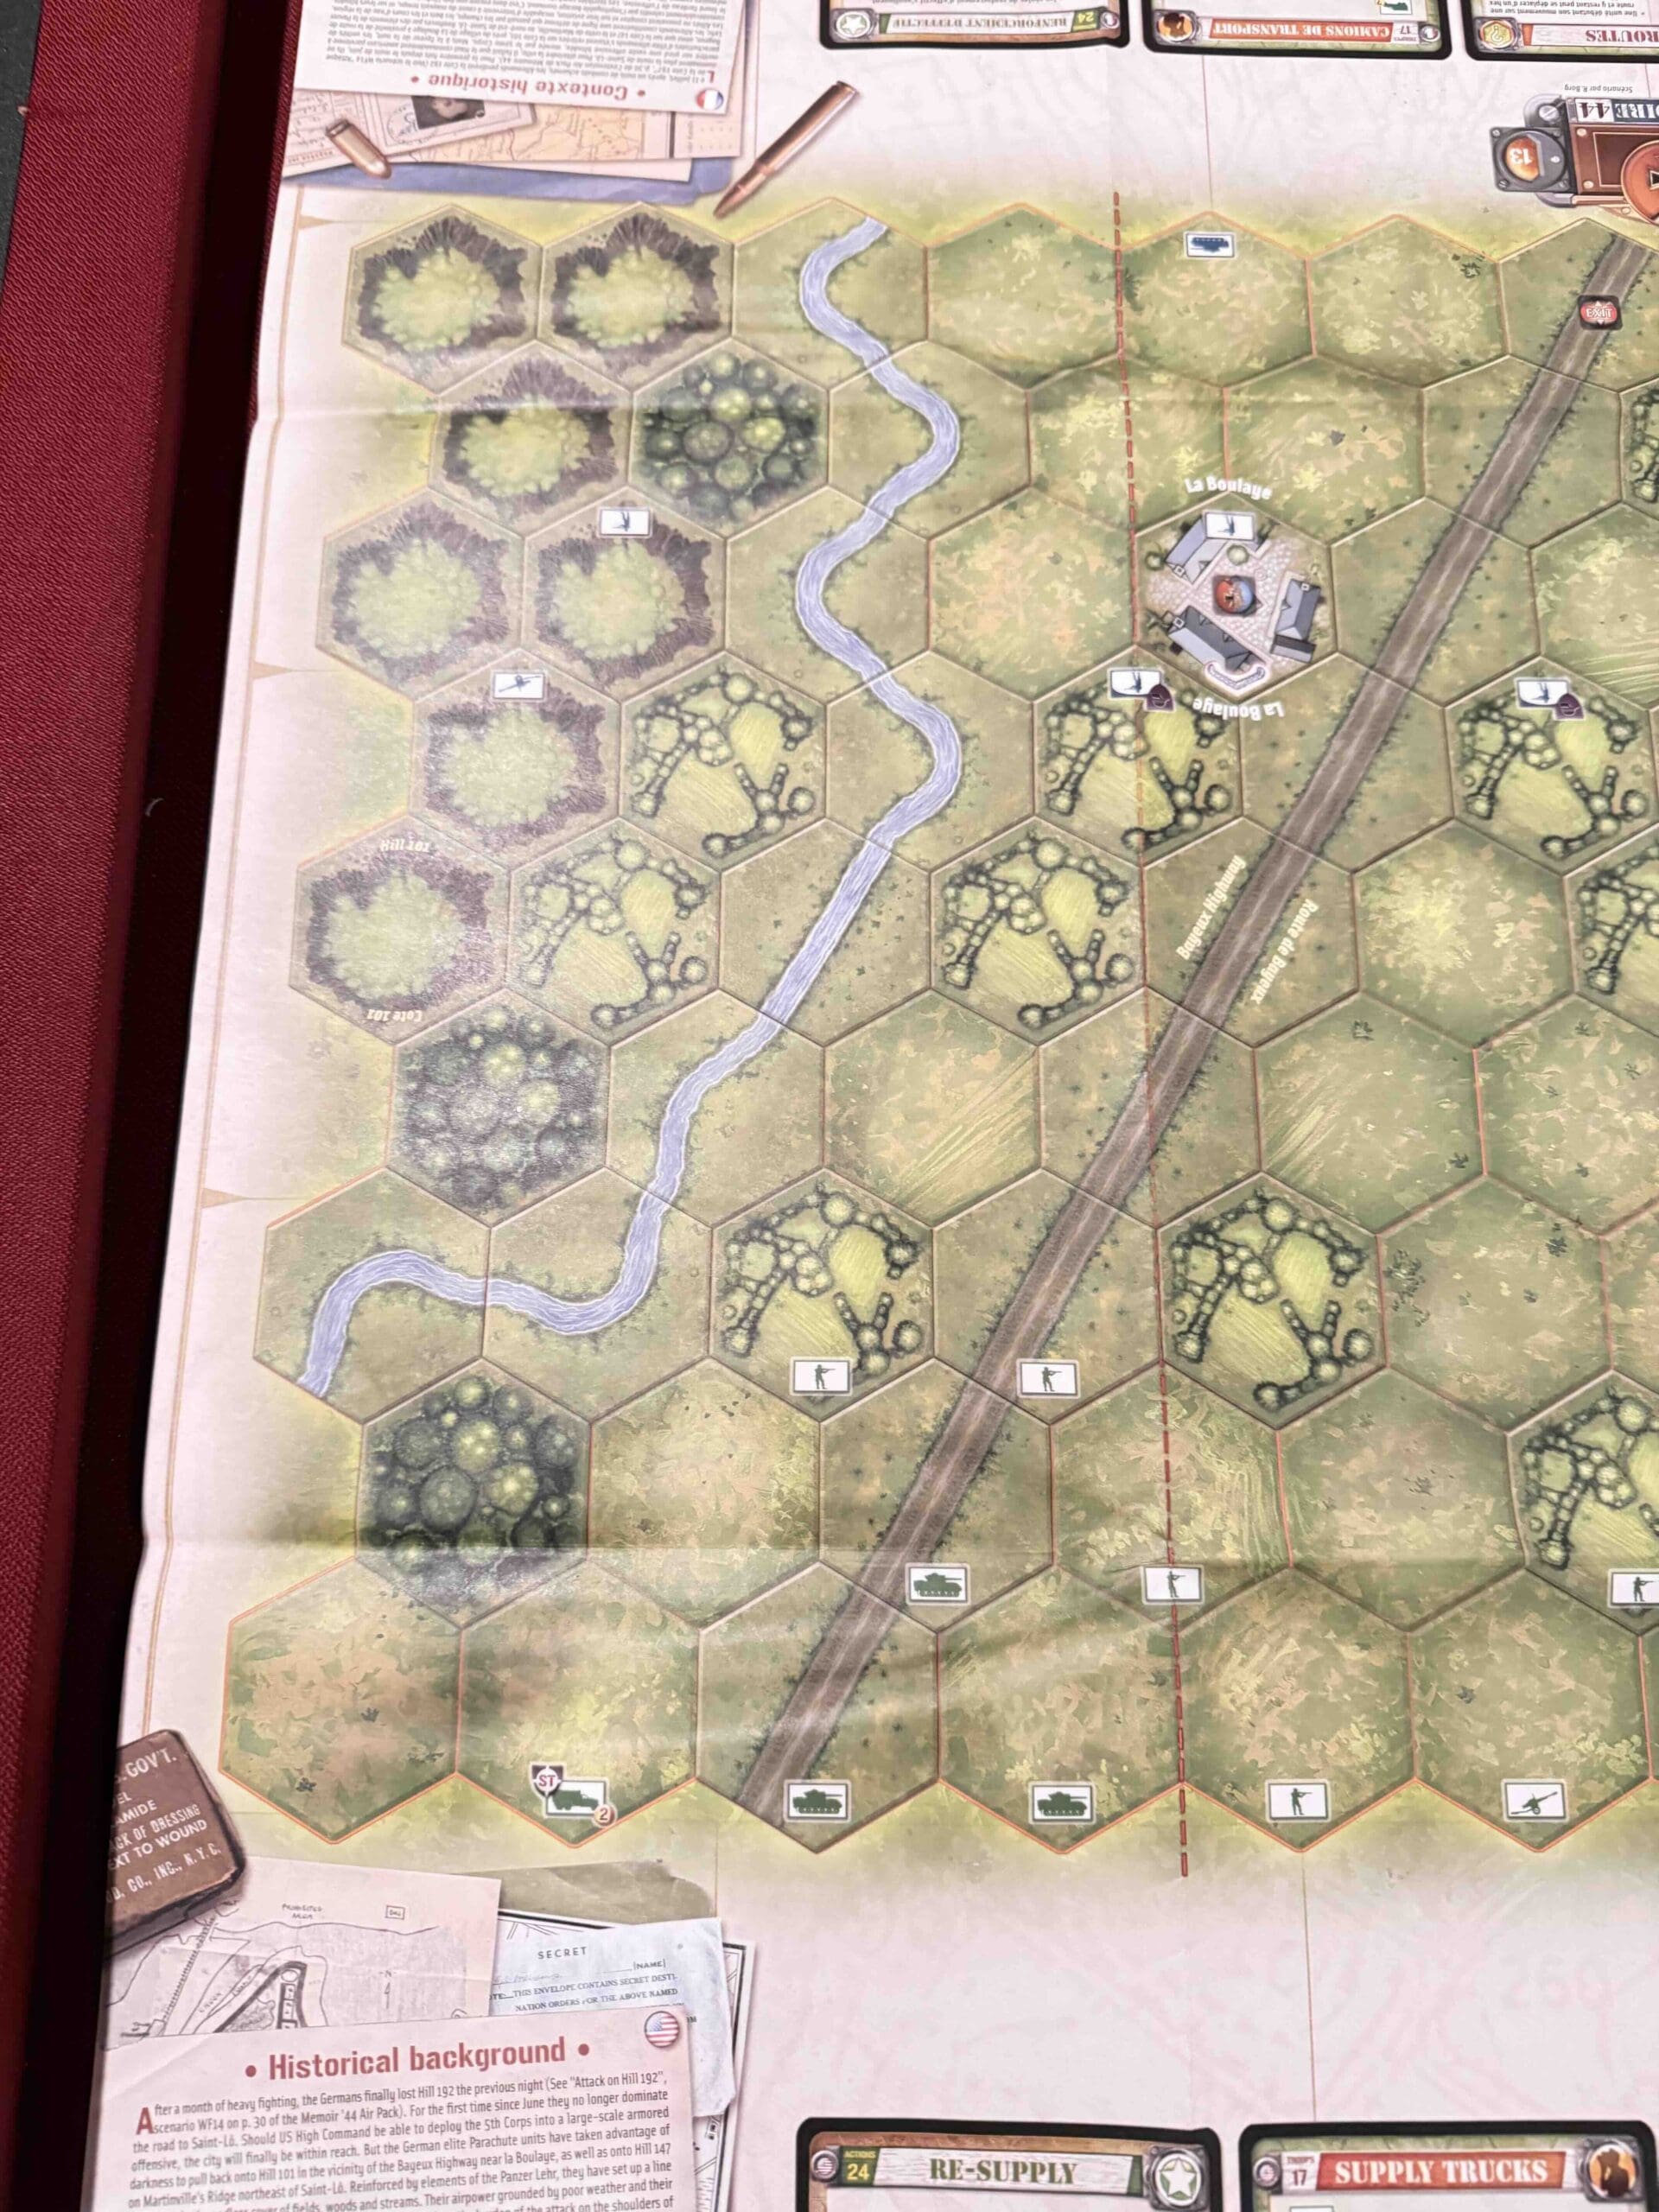
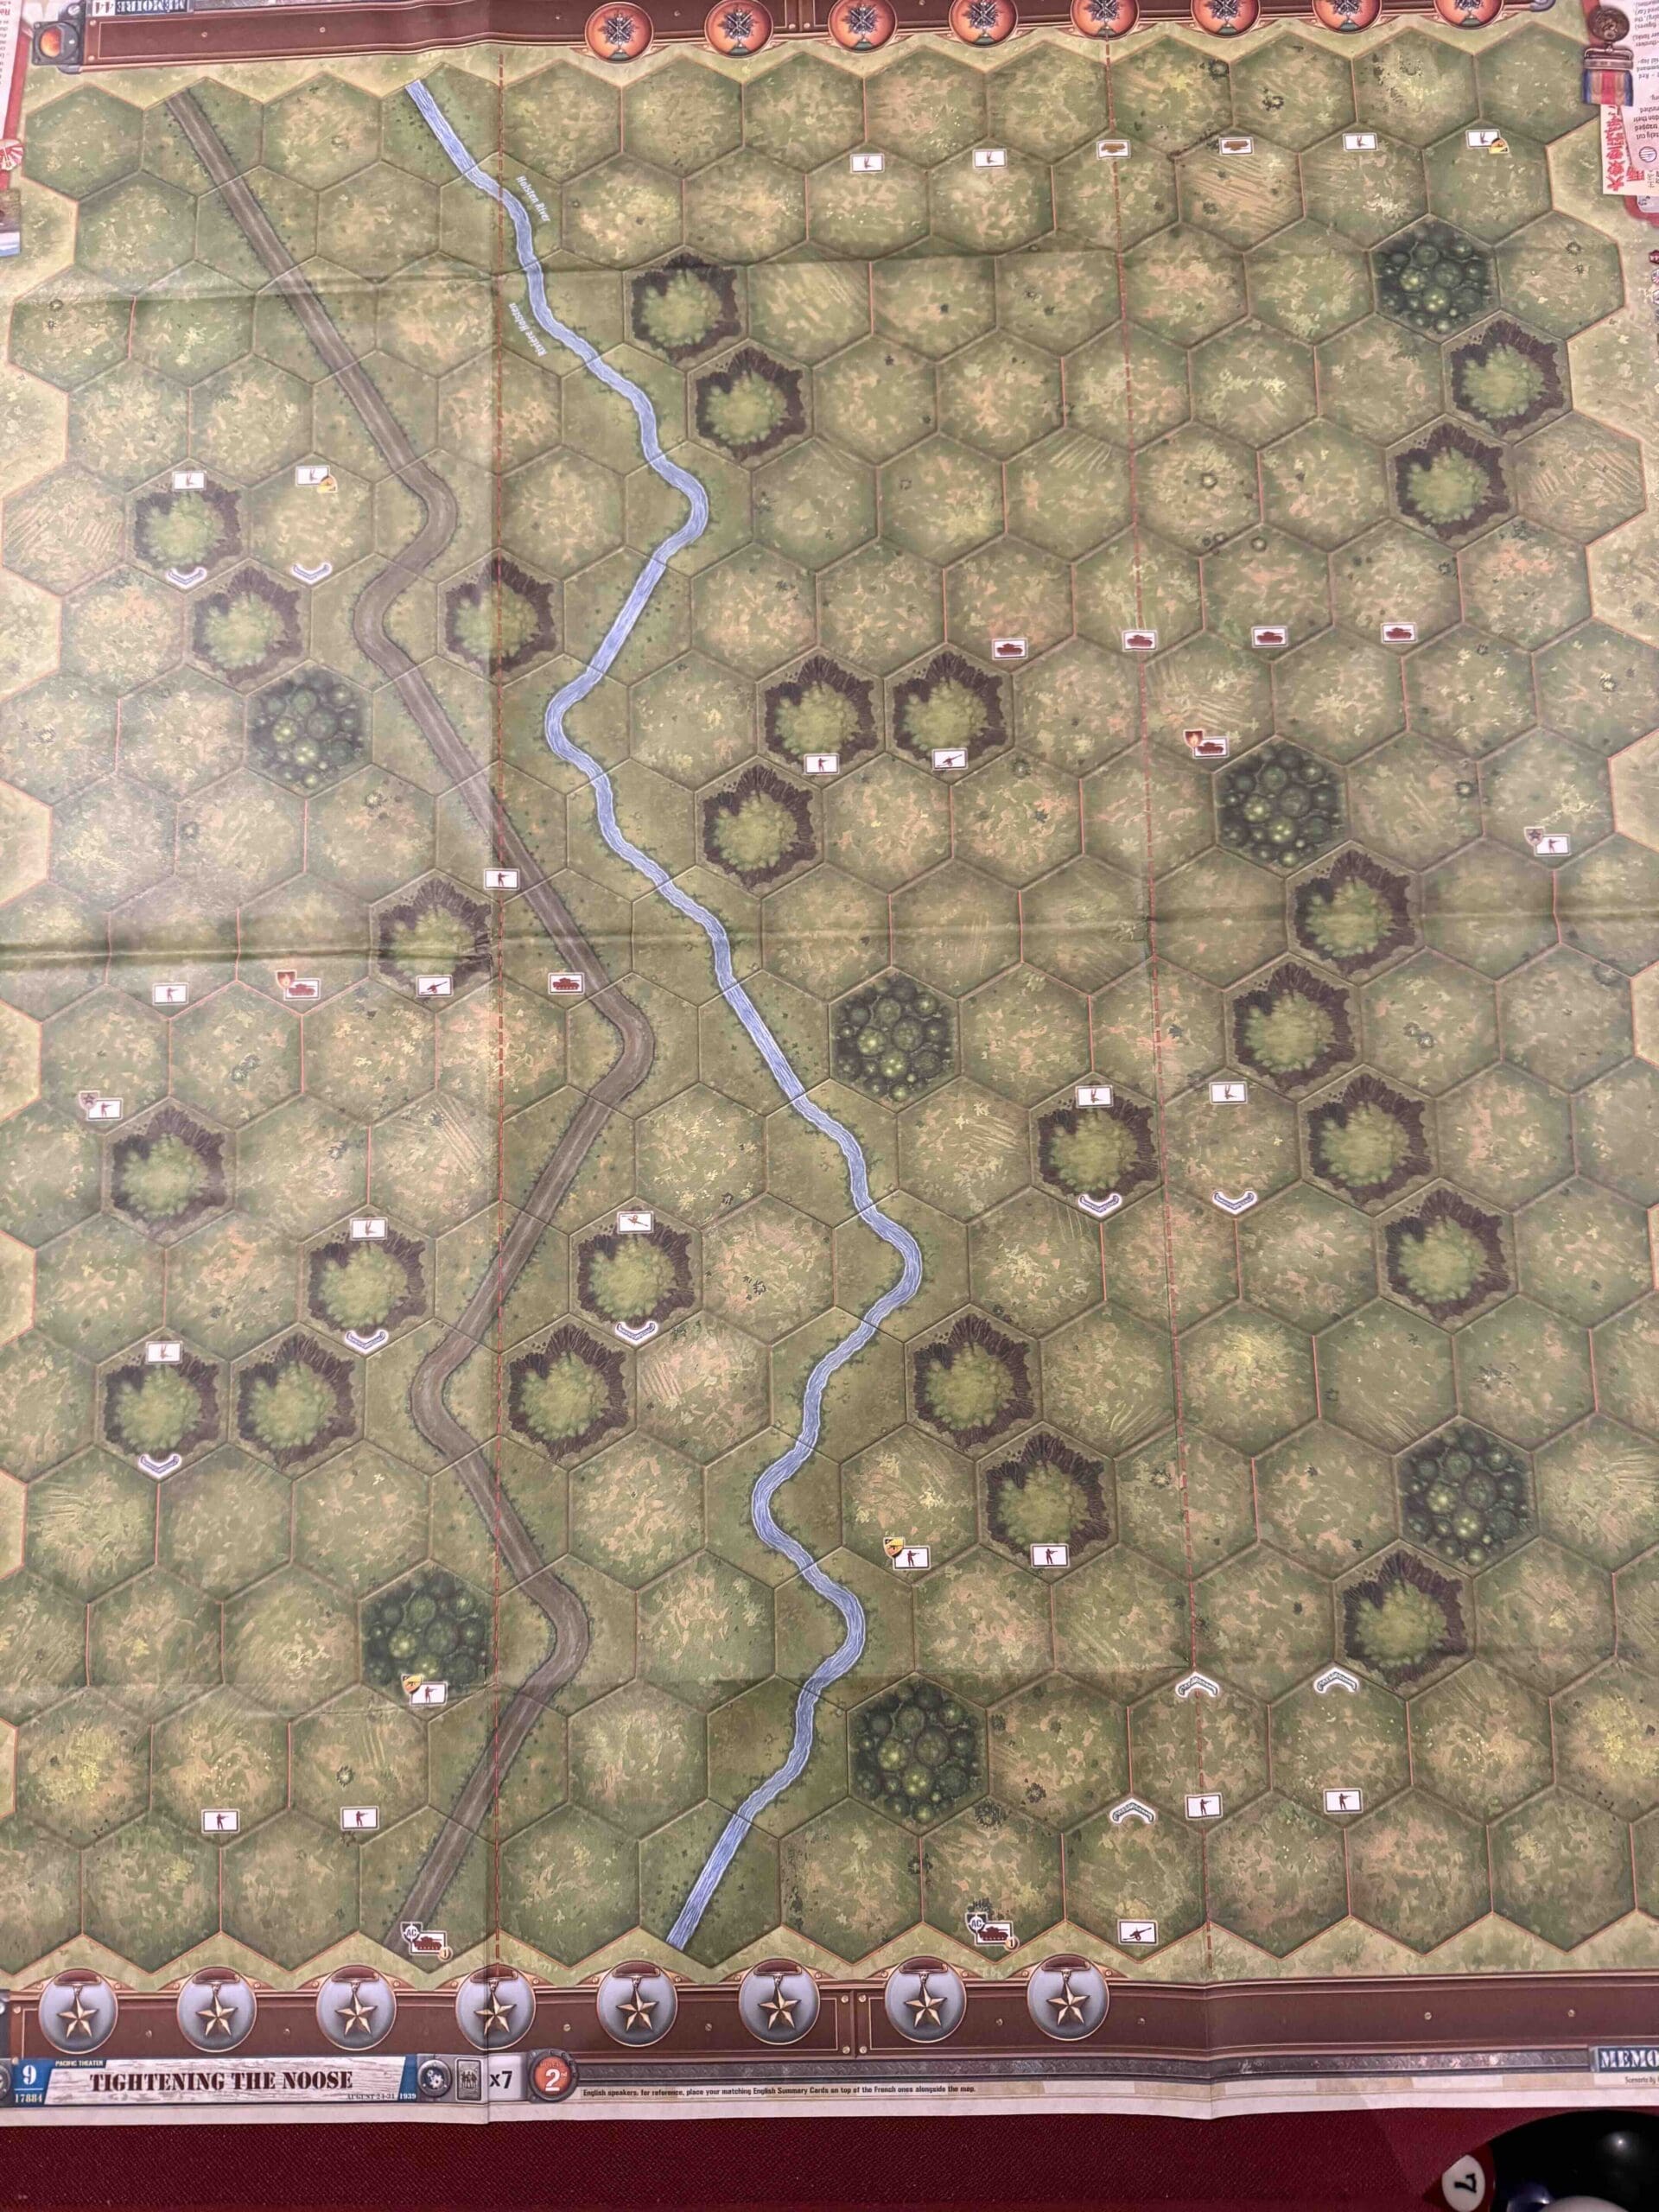
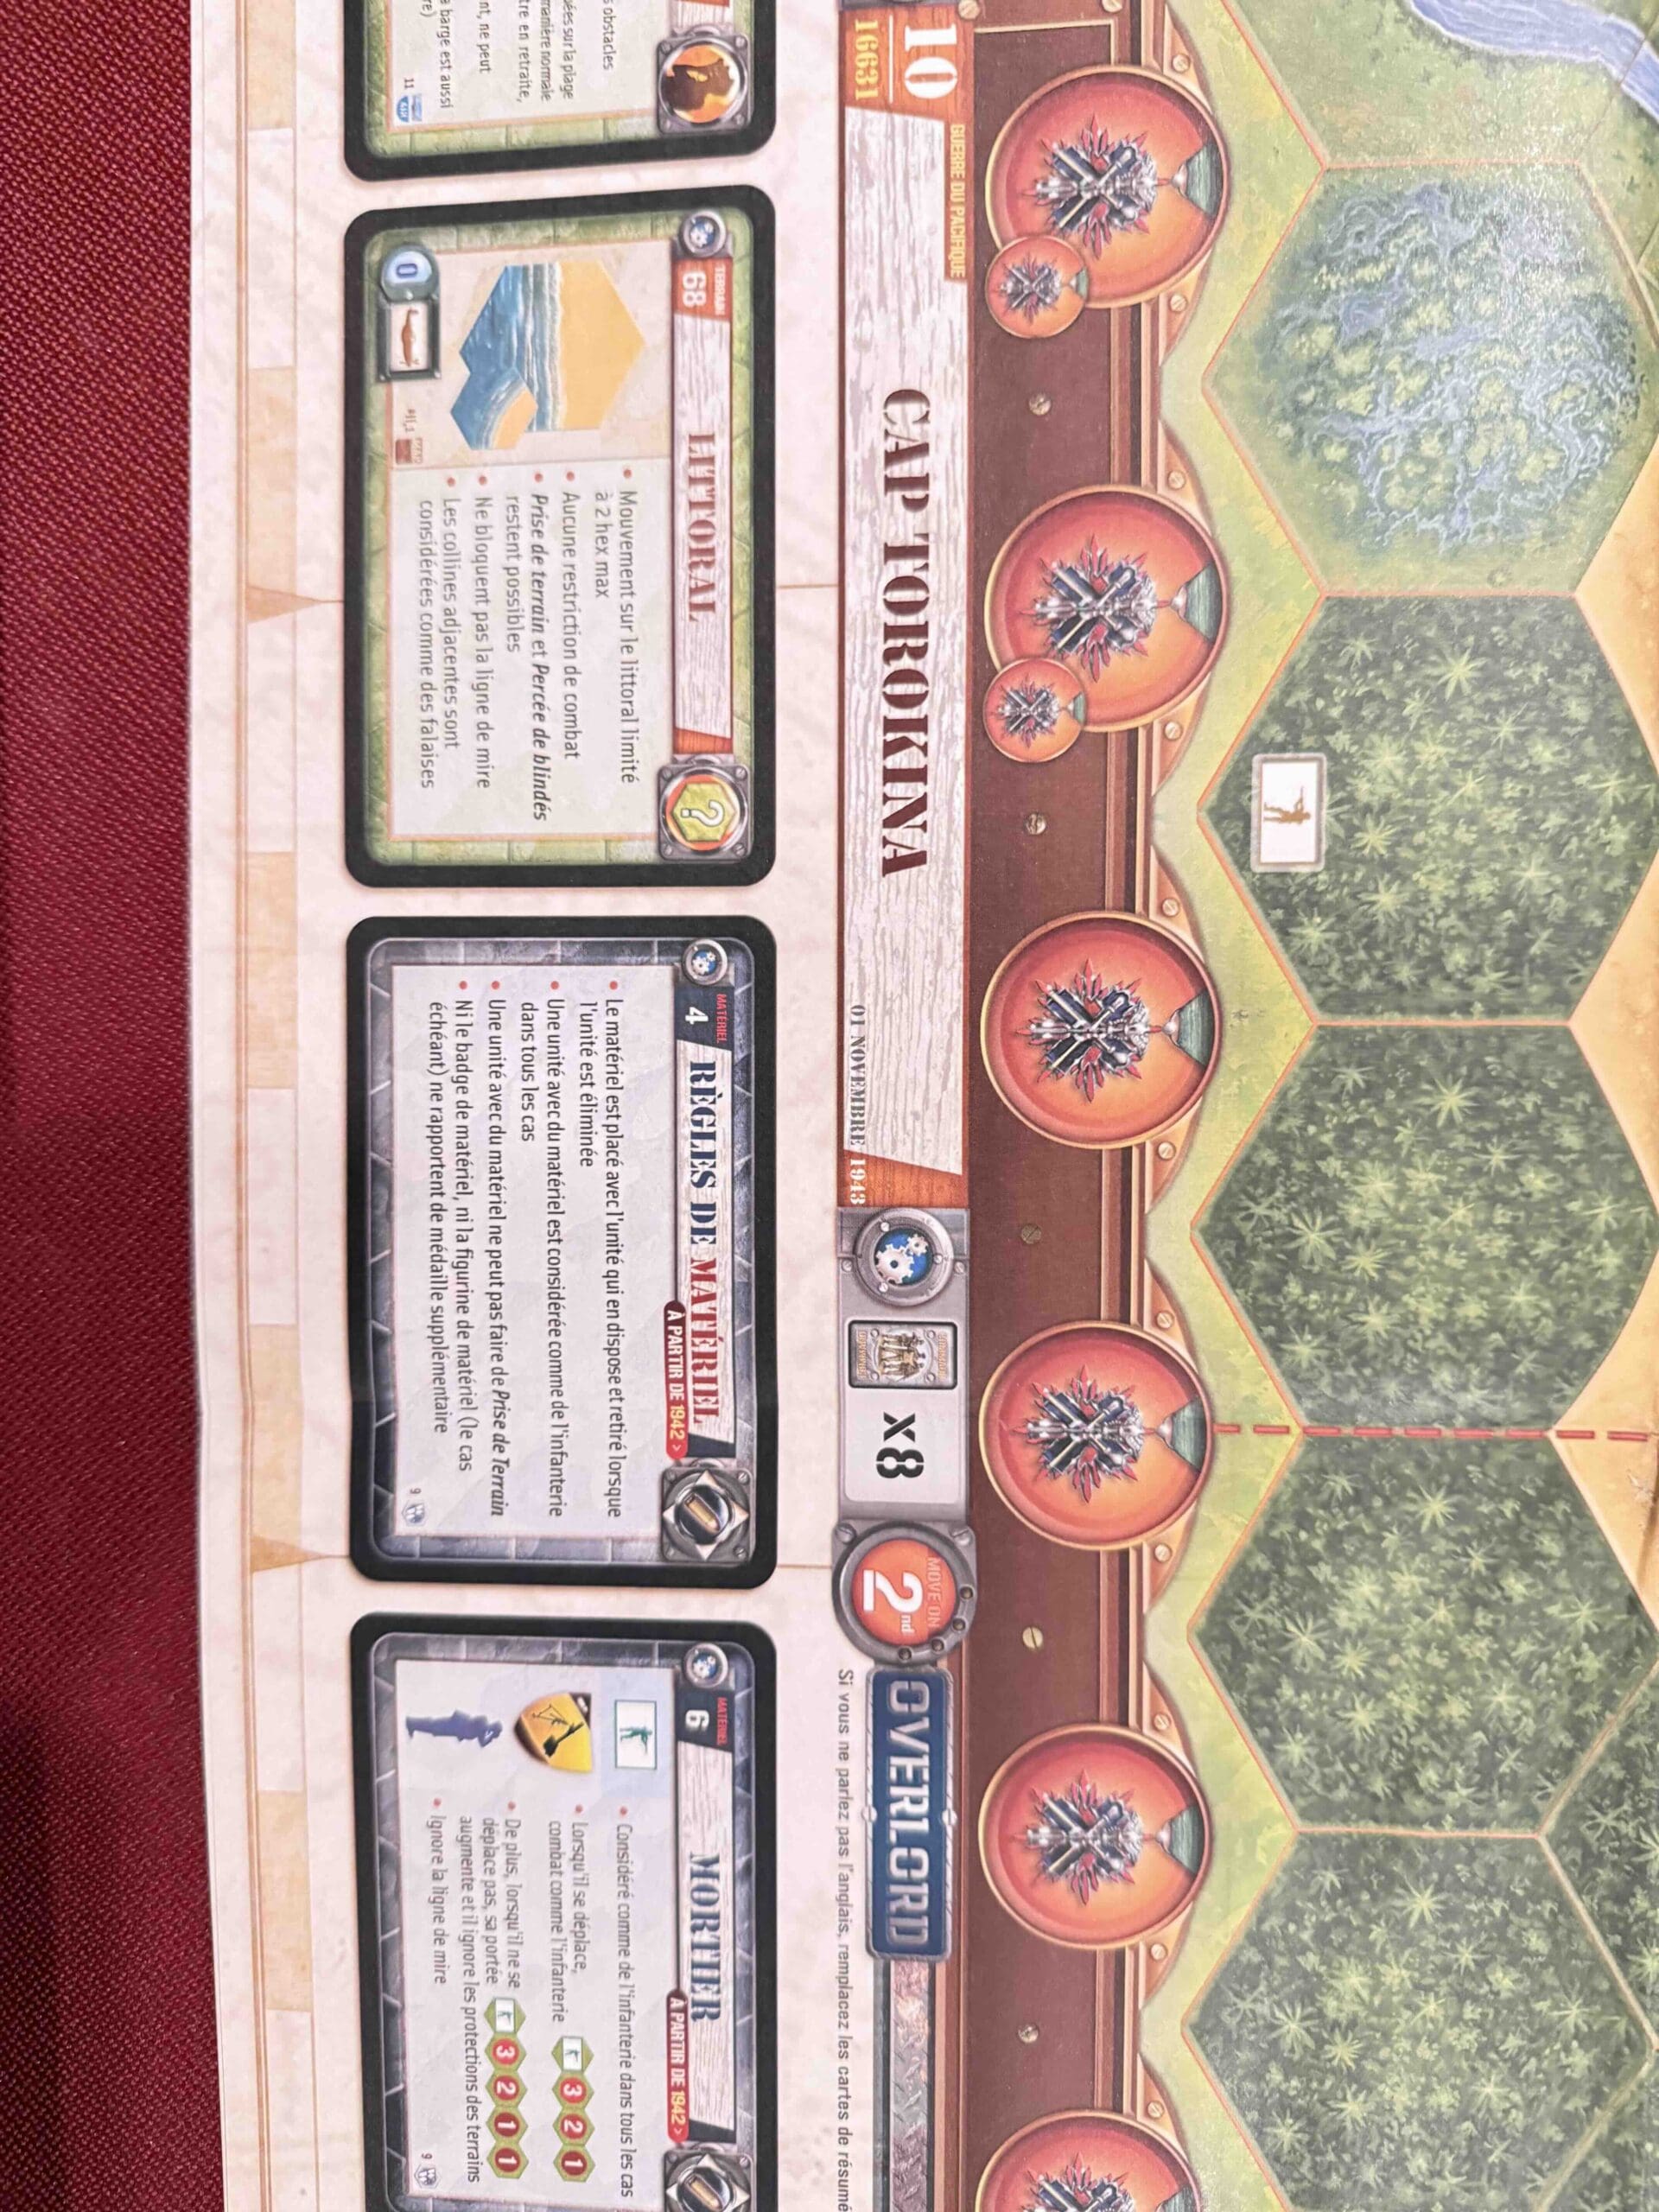
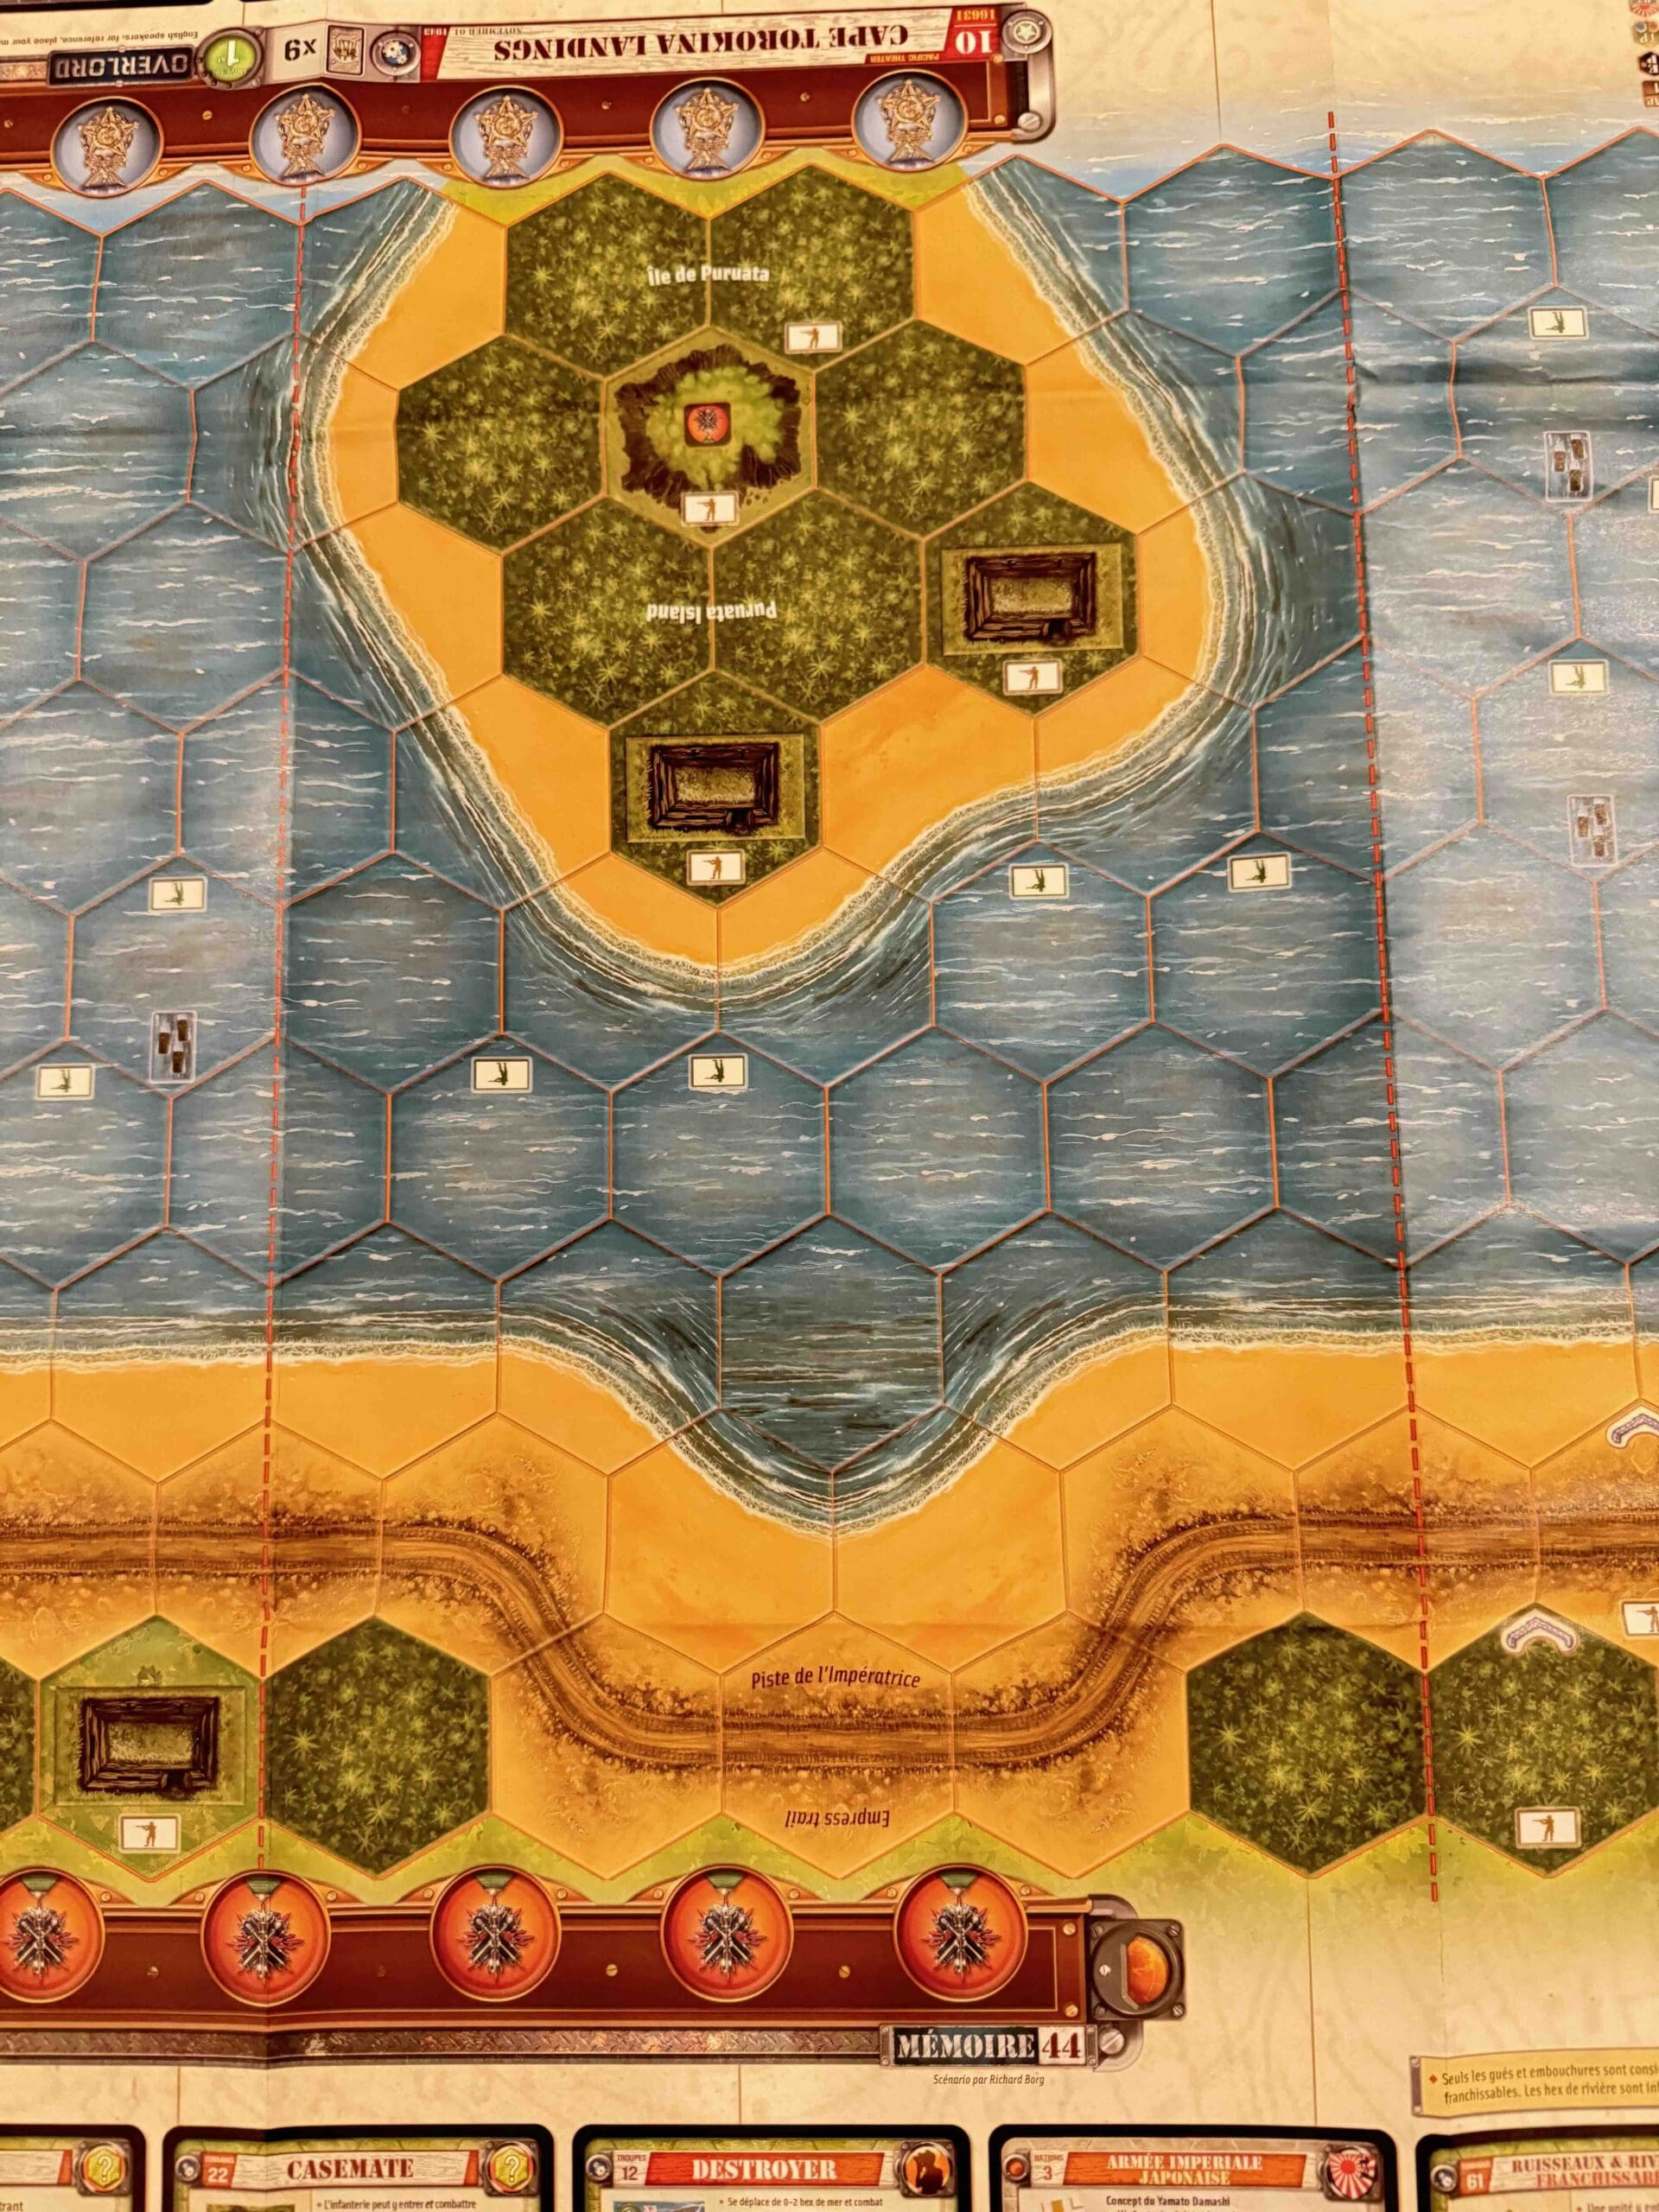
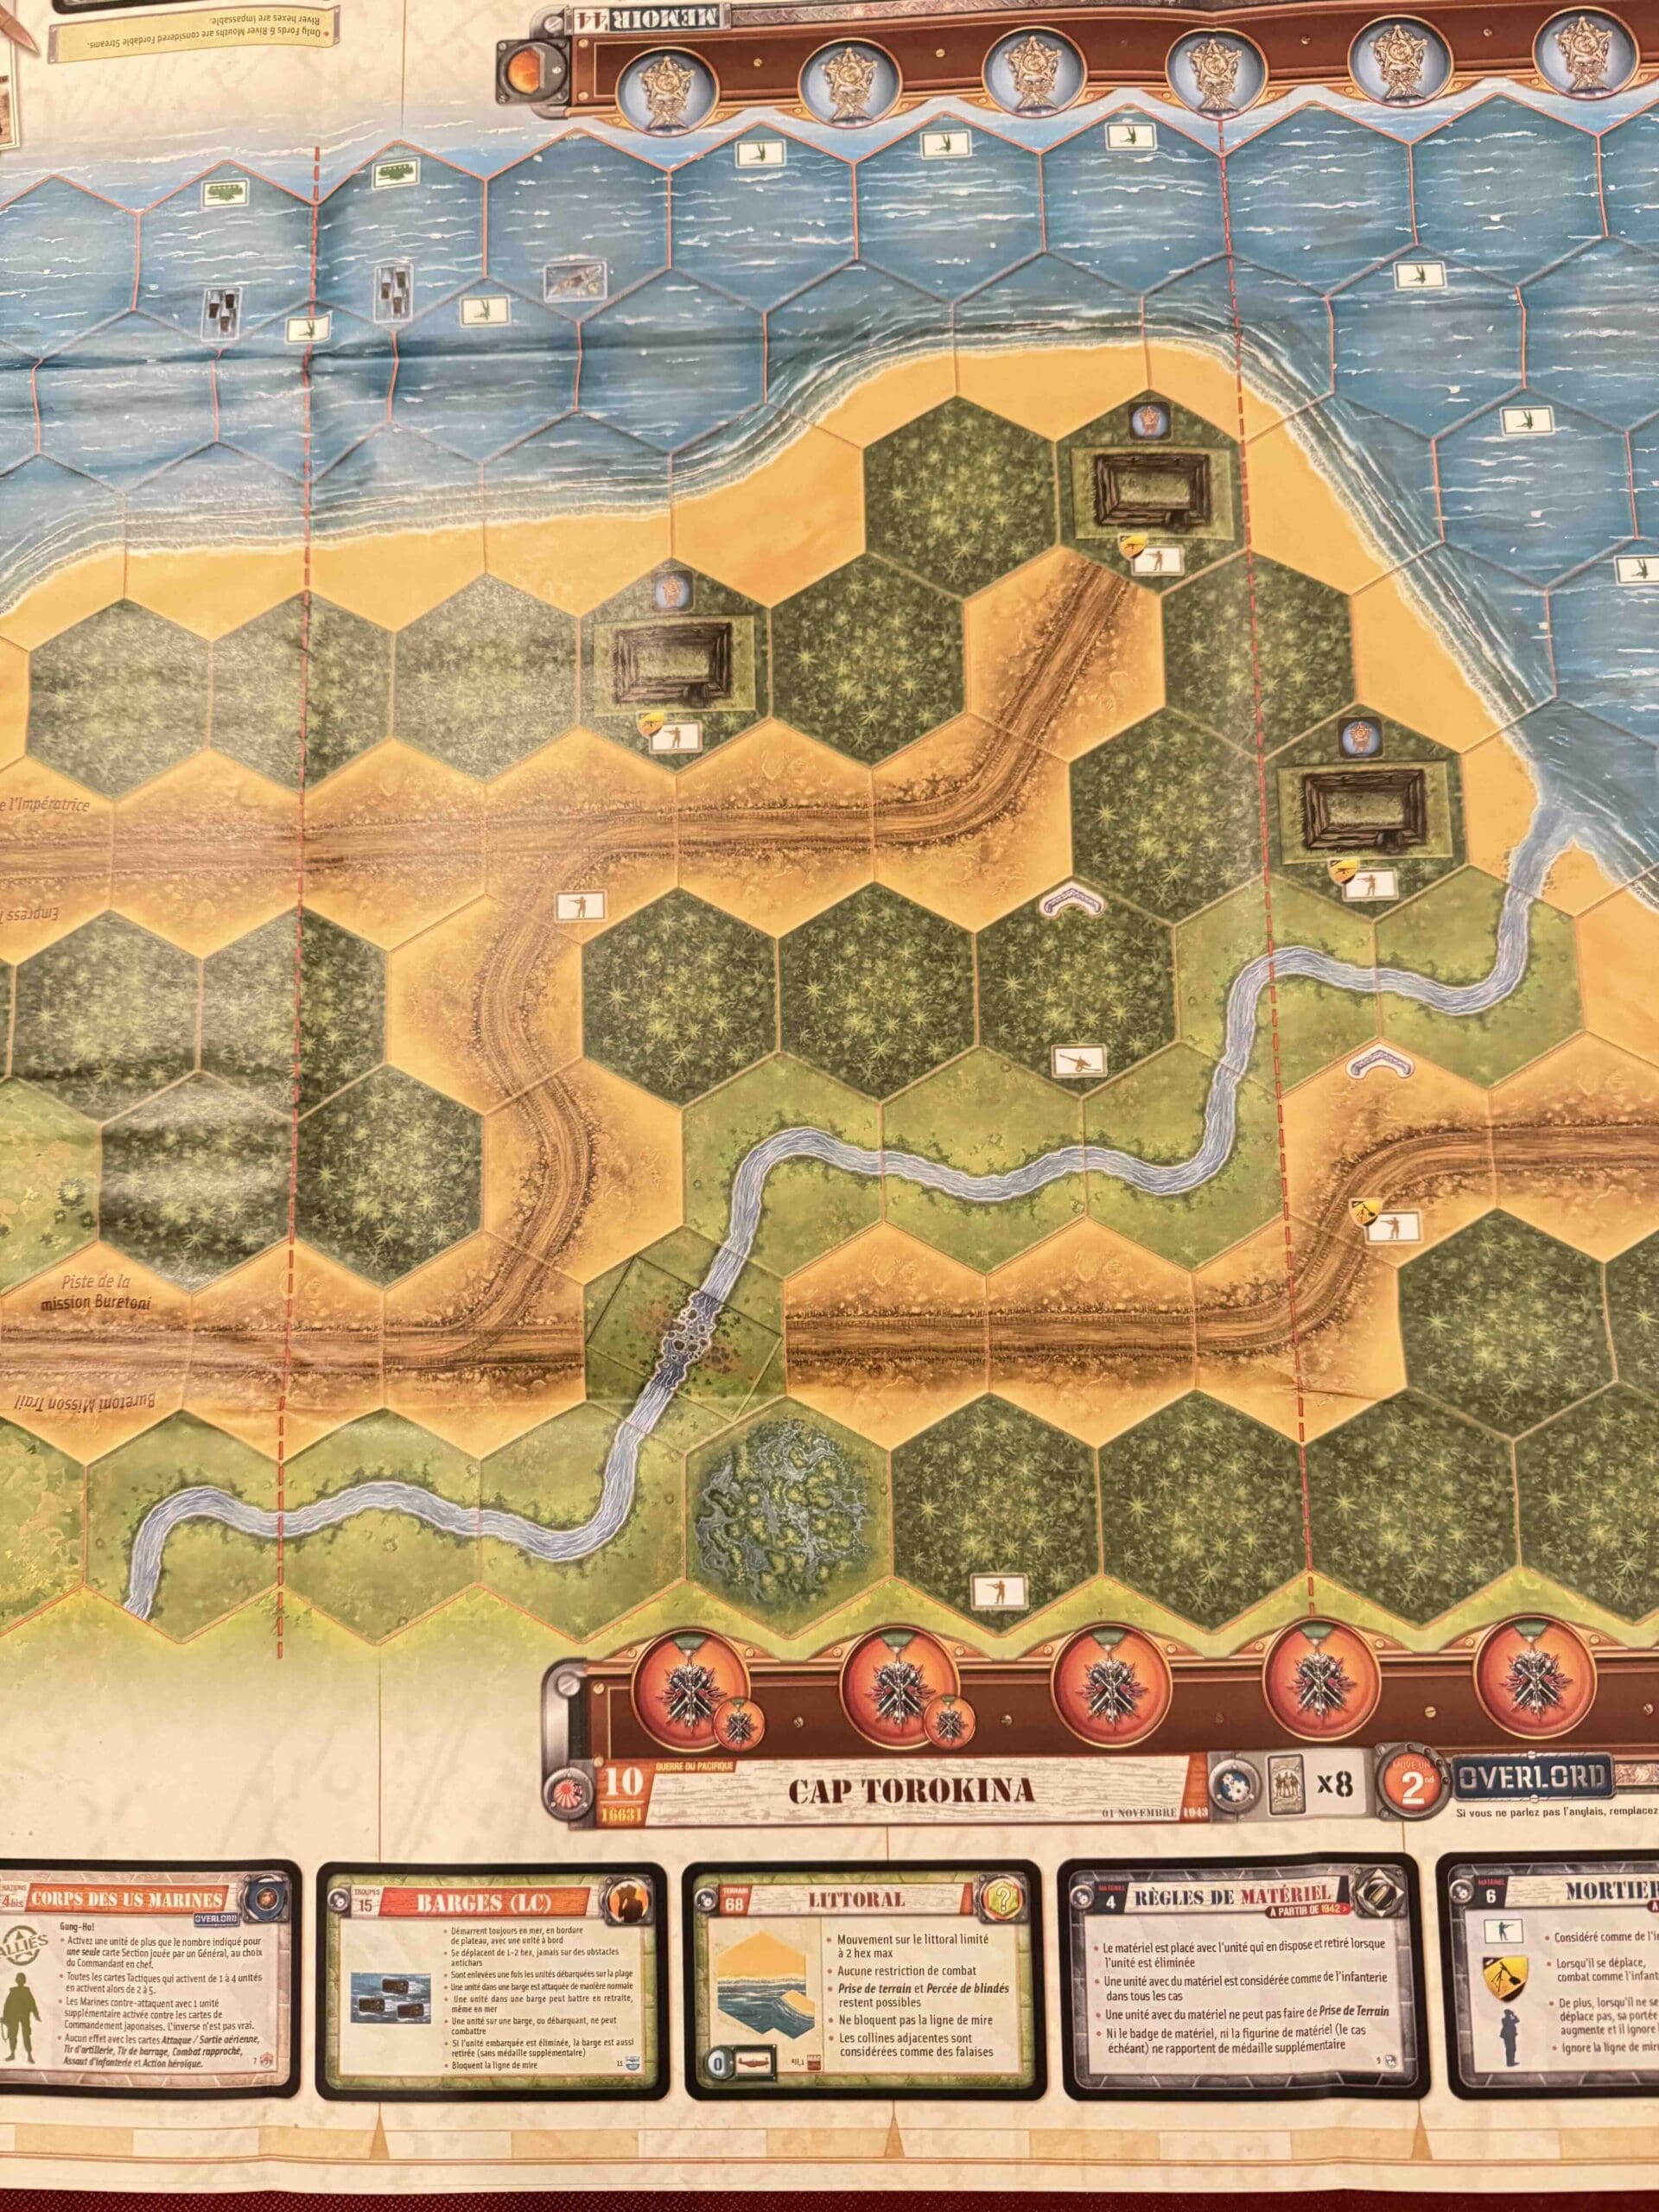
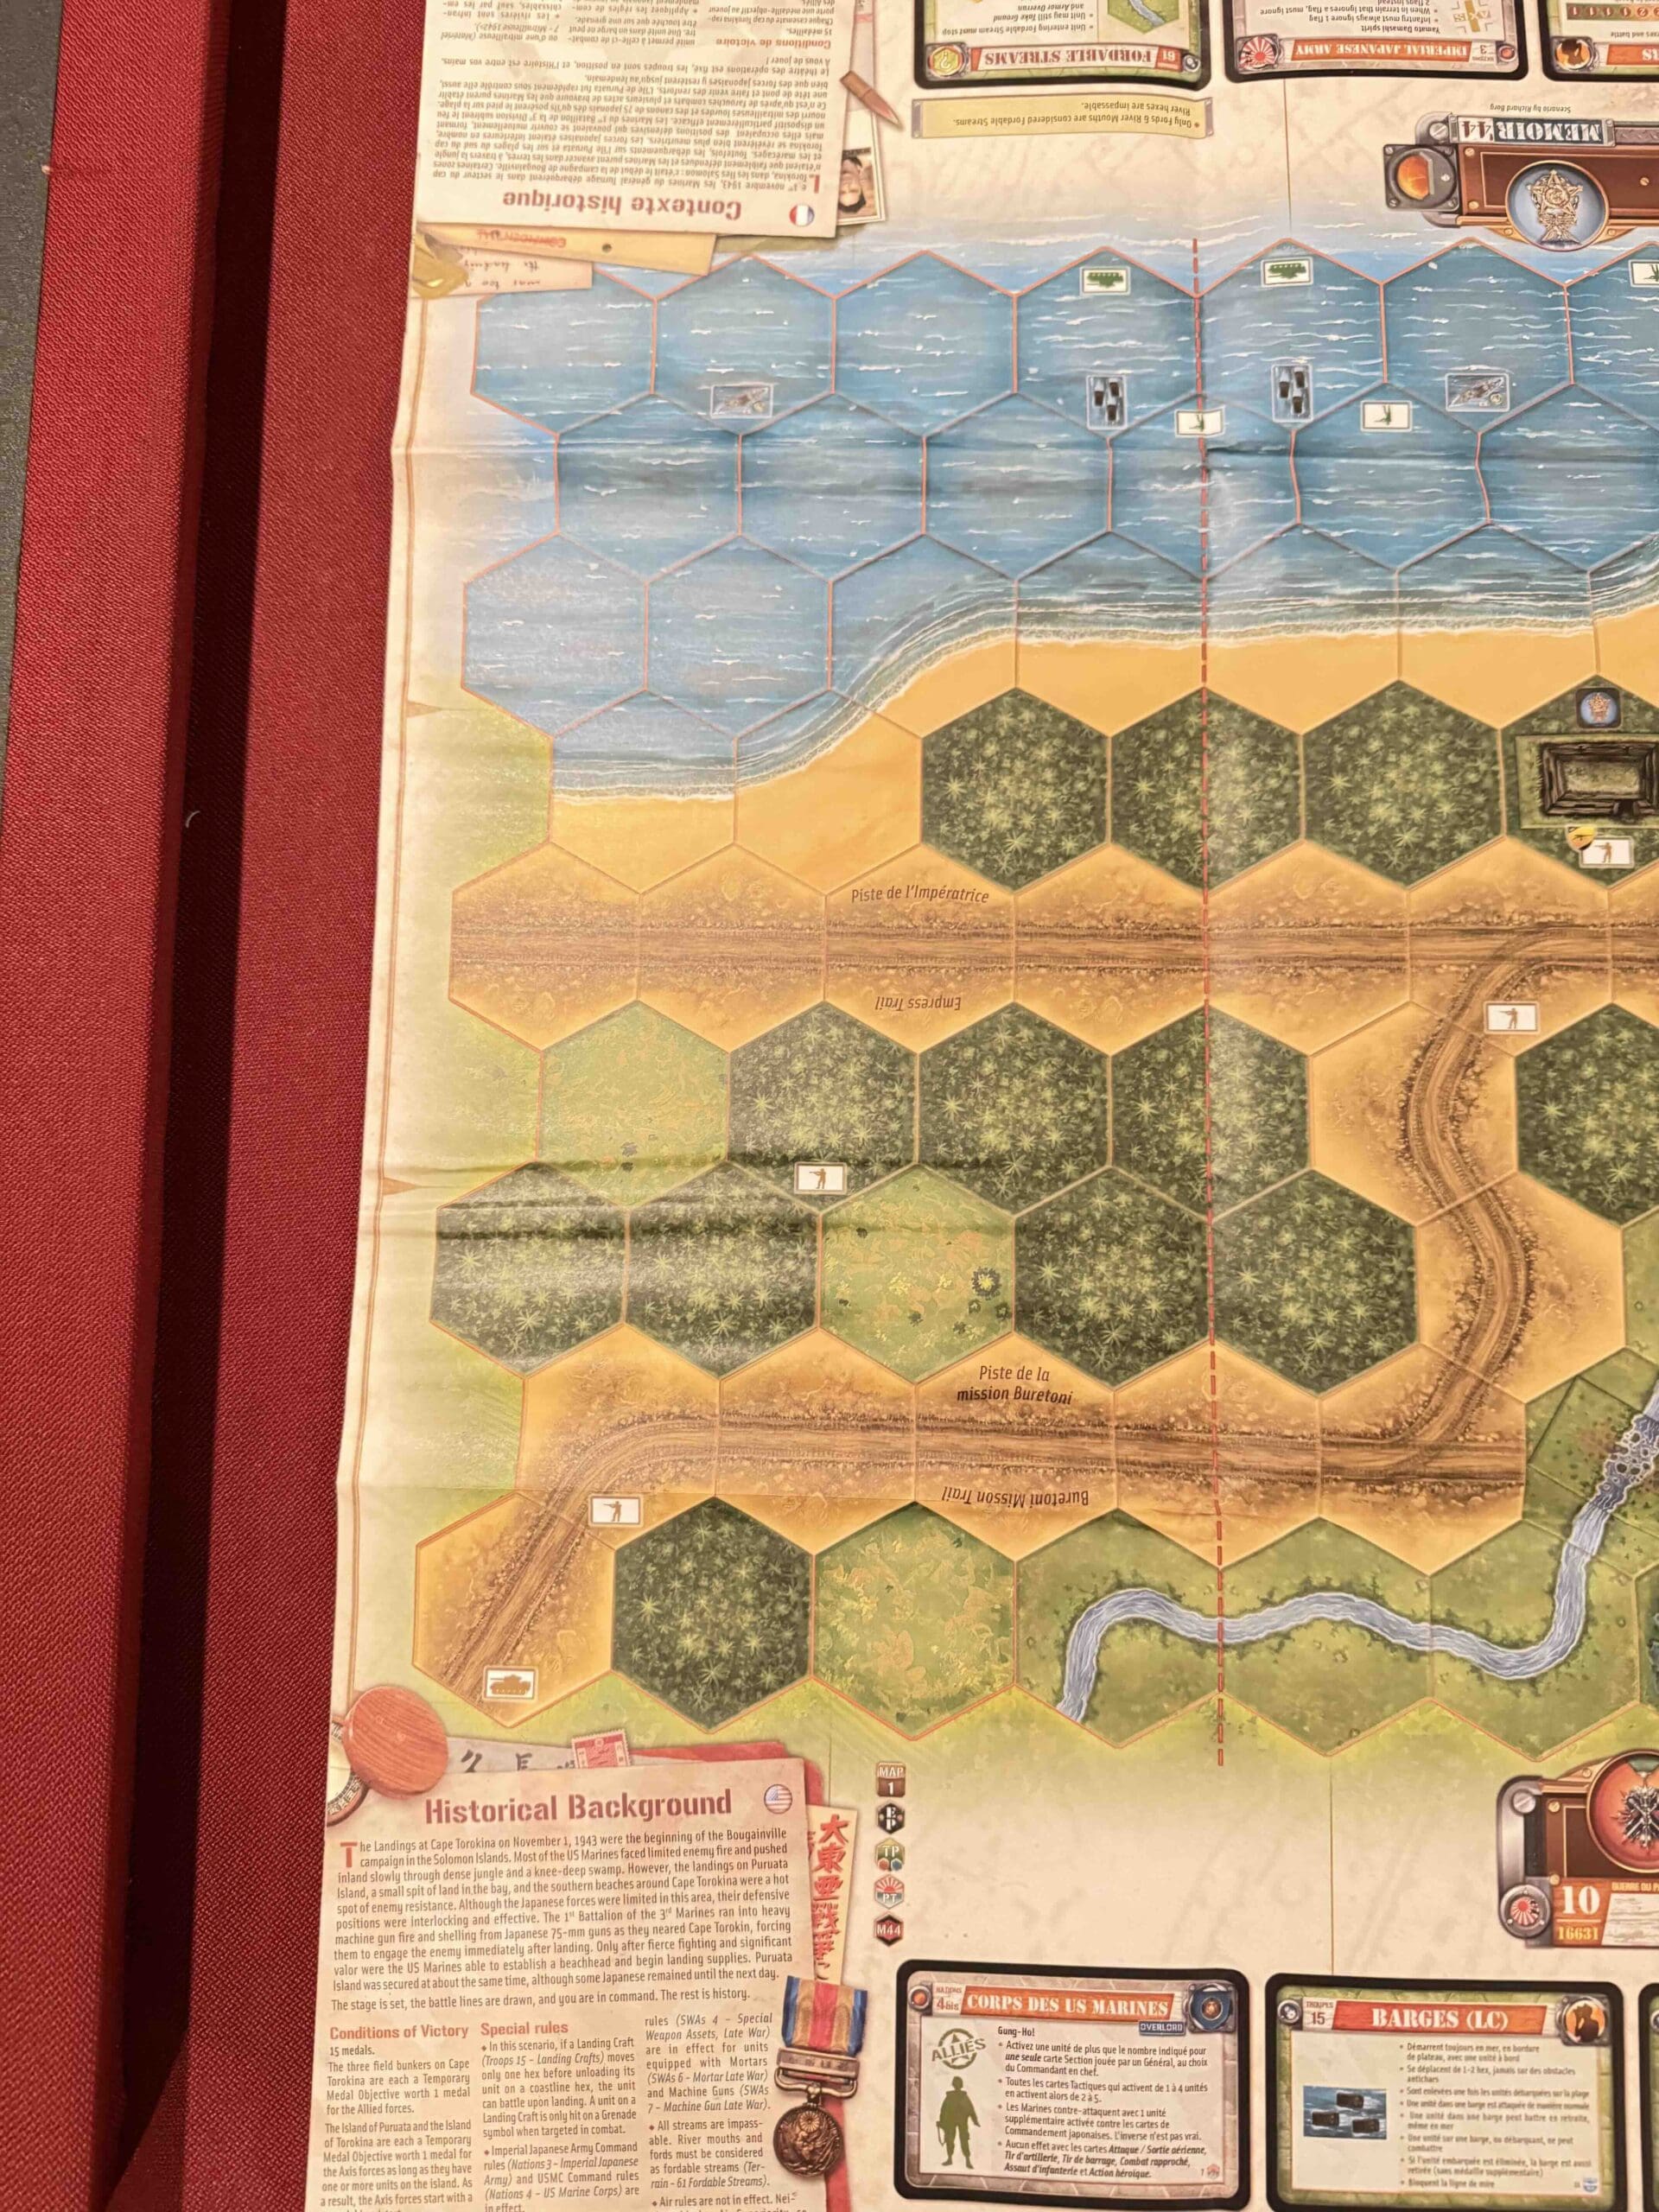
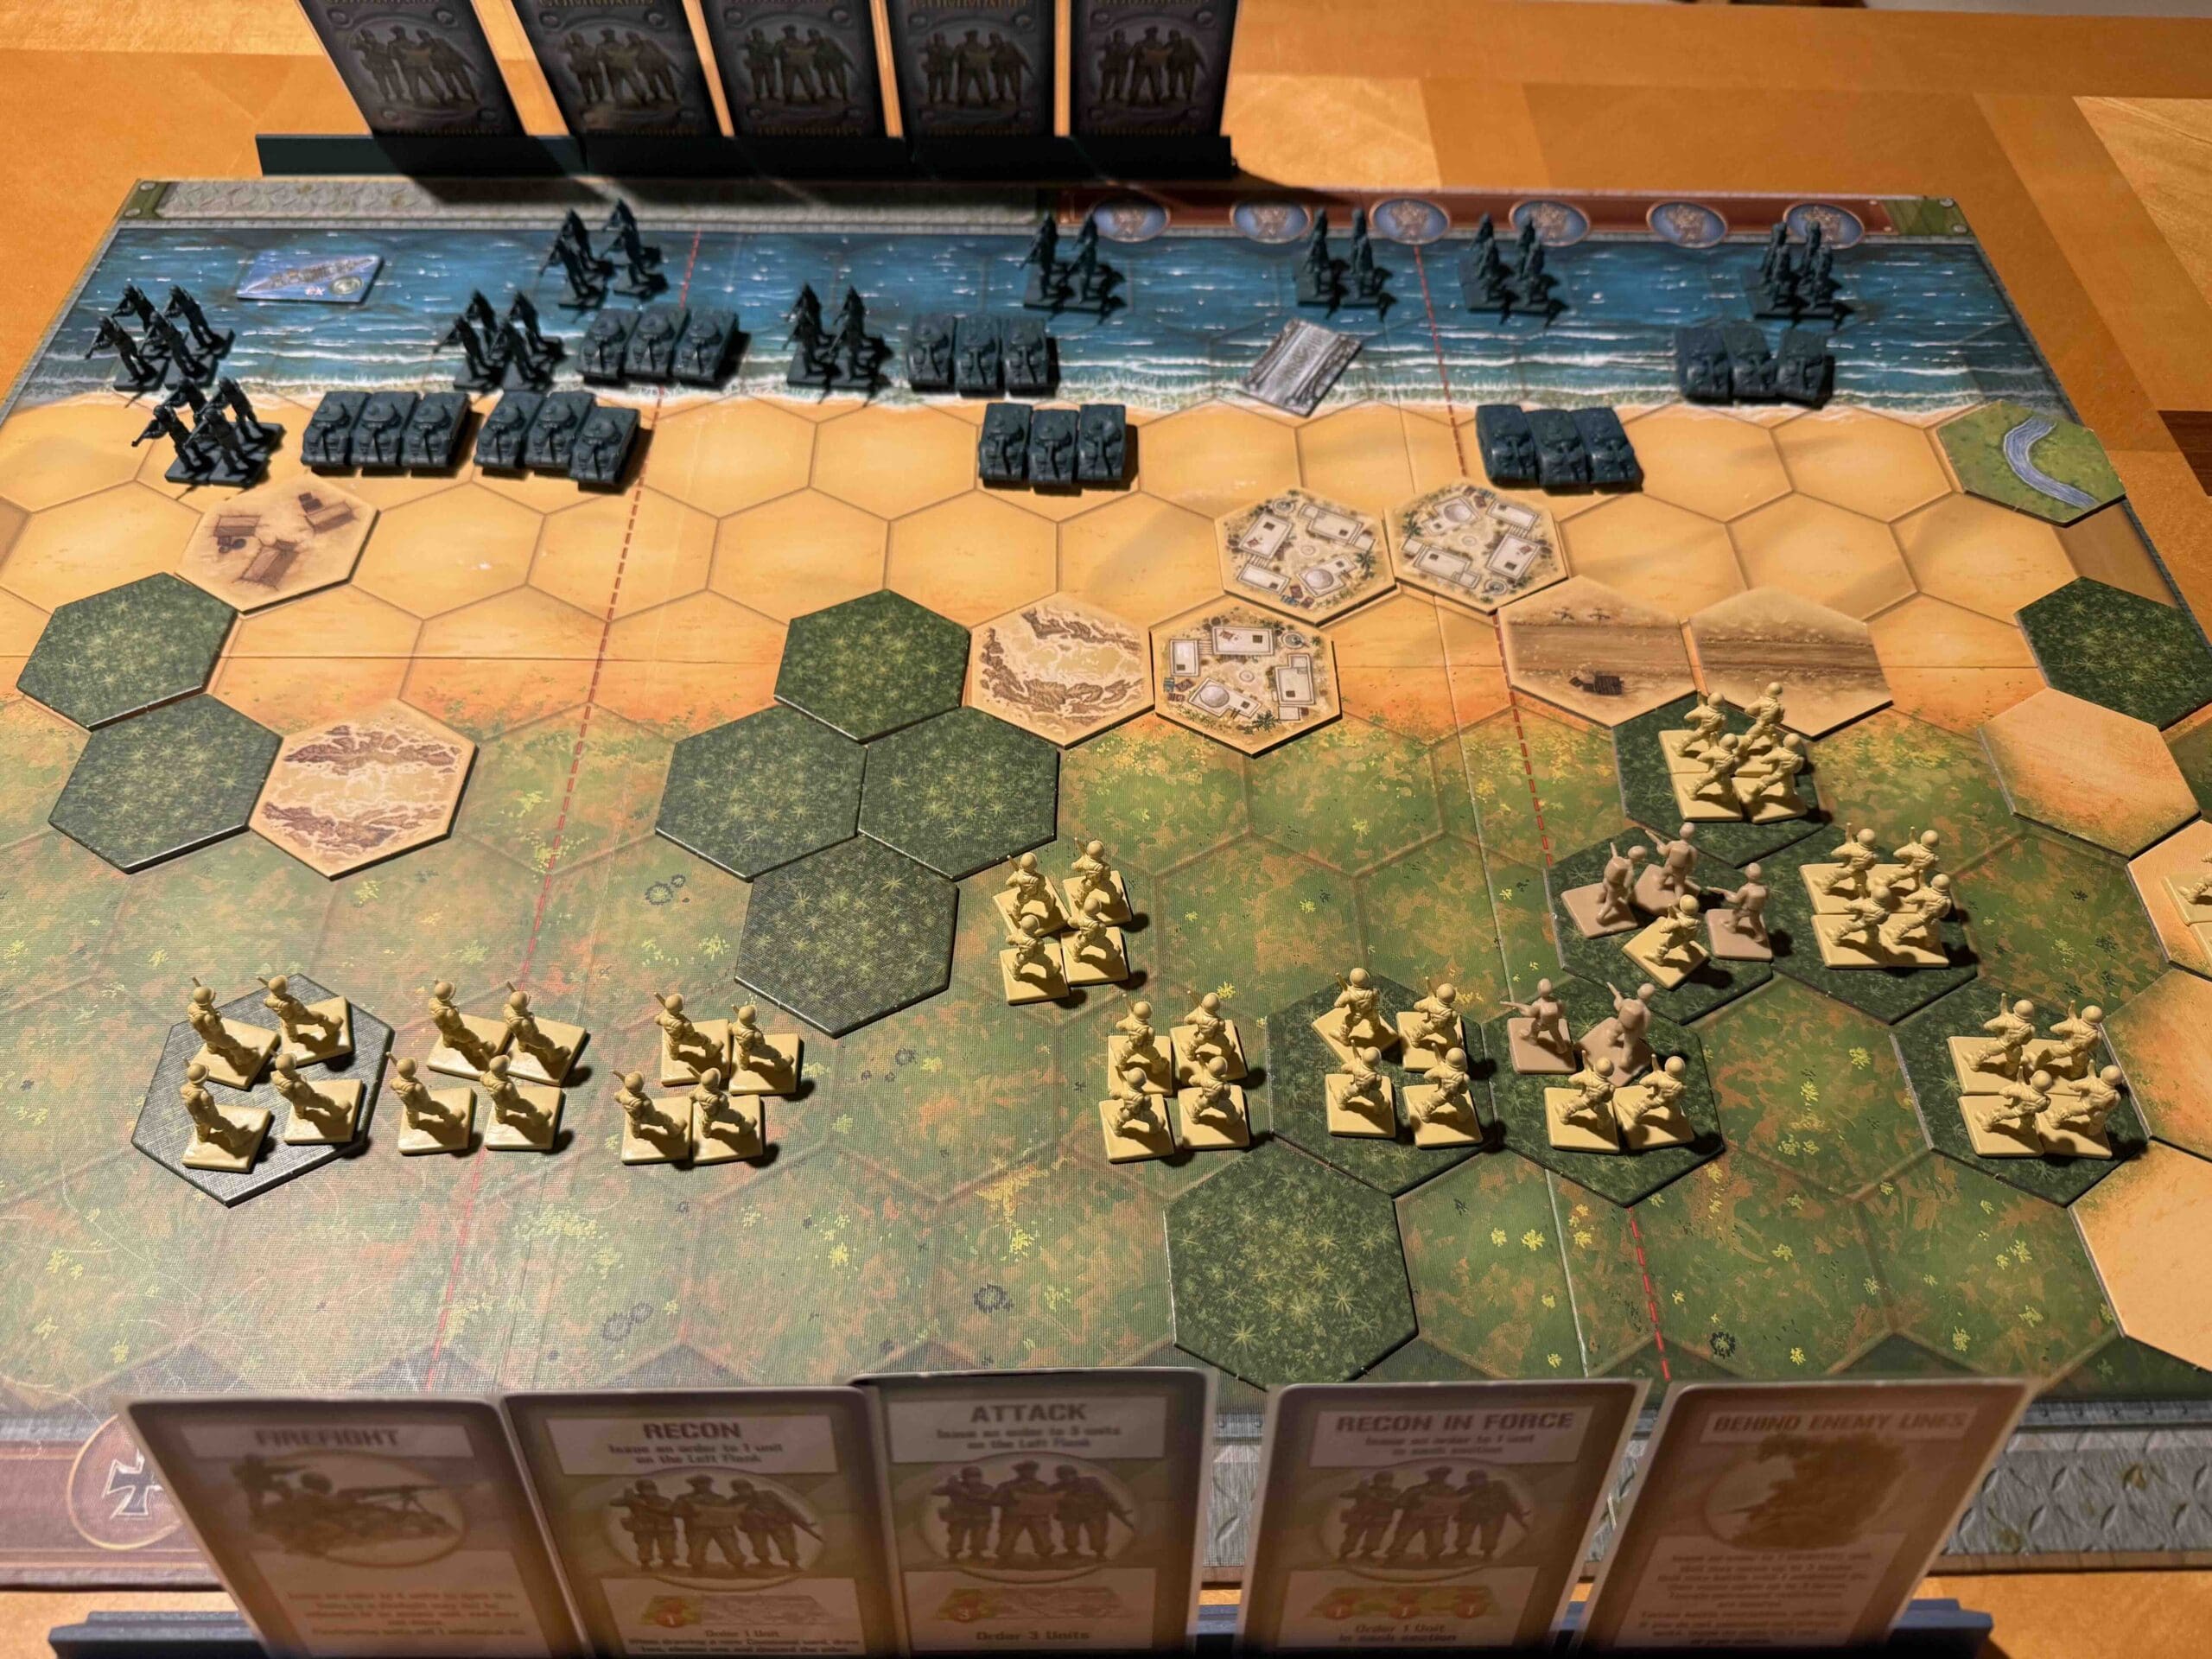
Combination of beach assault and jungle terrain with some small villages.
Troops:
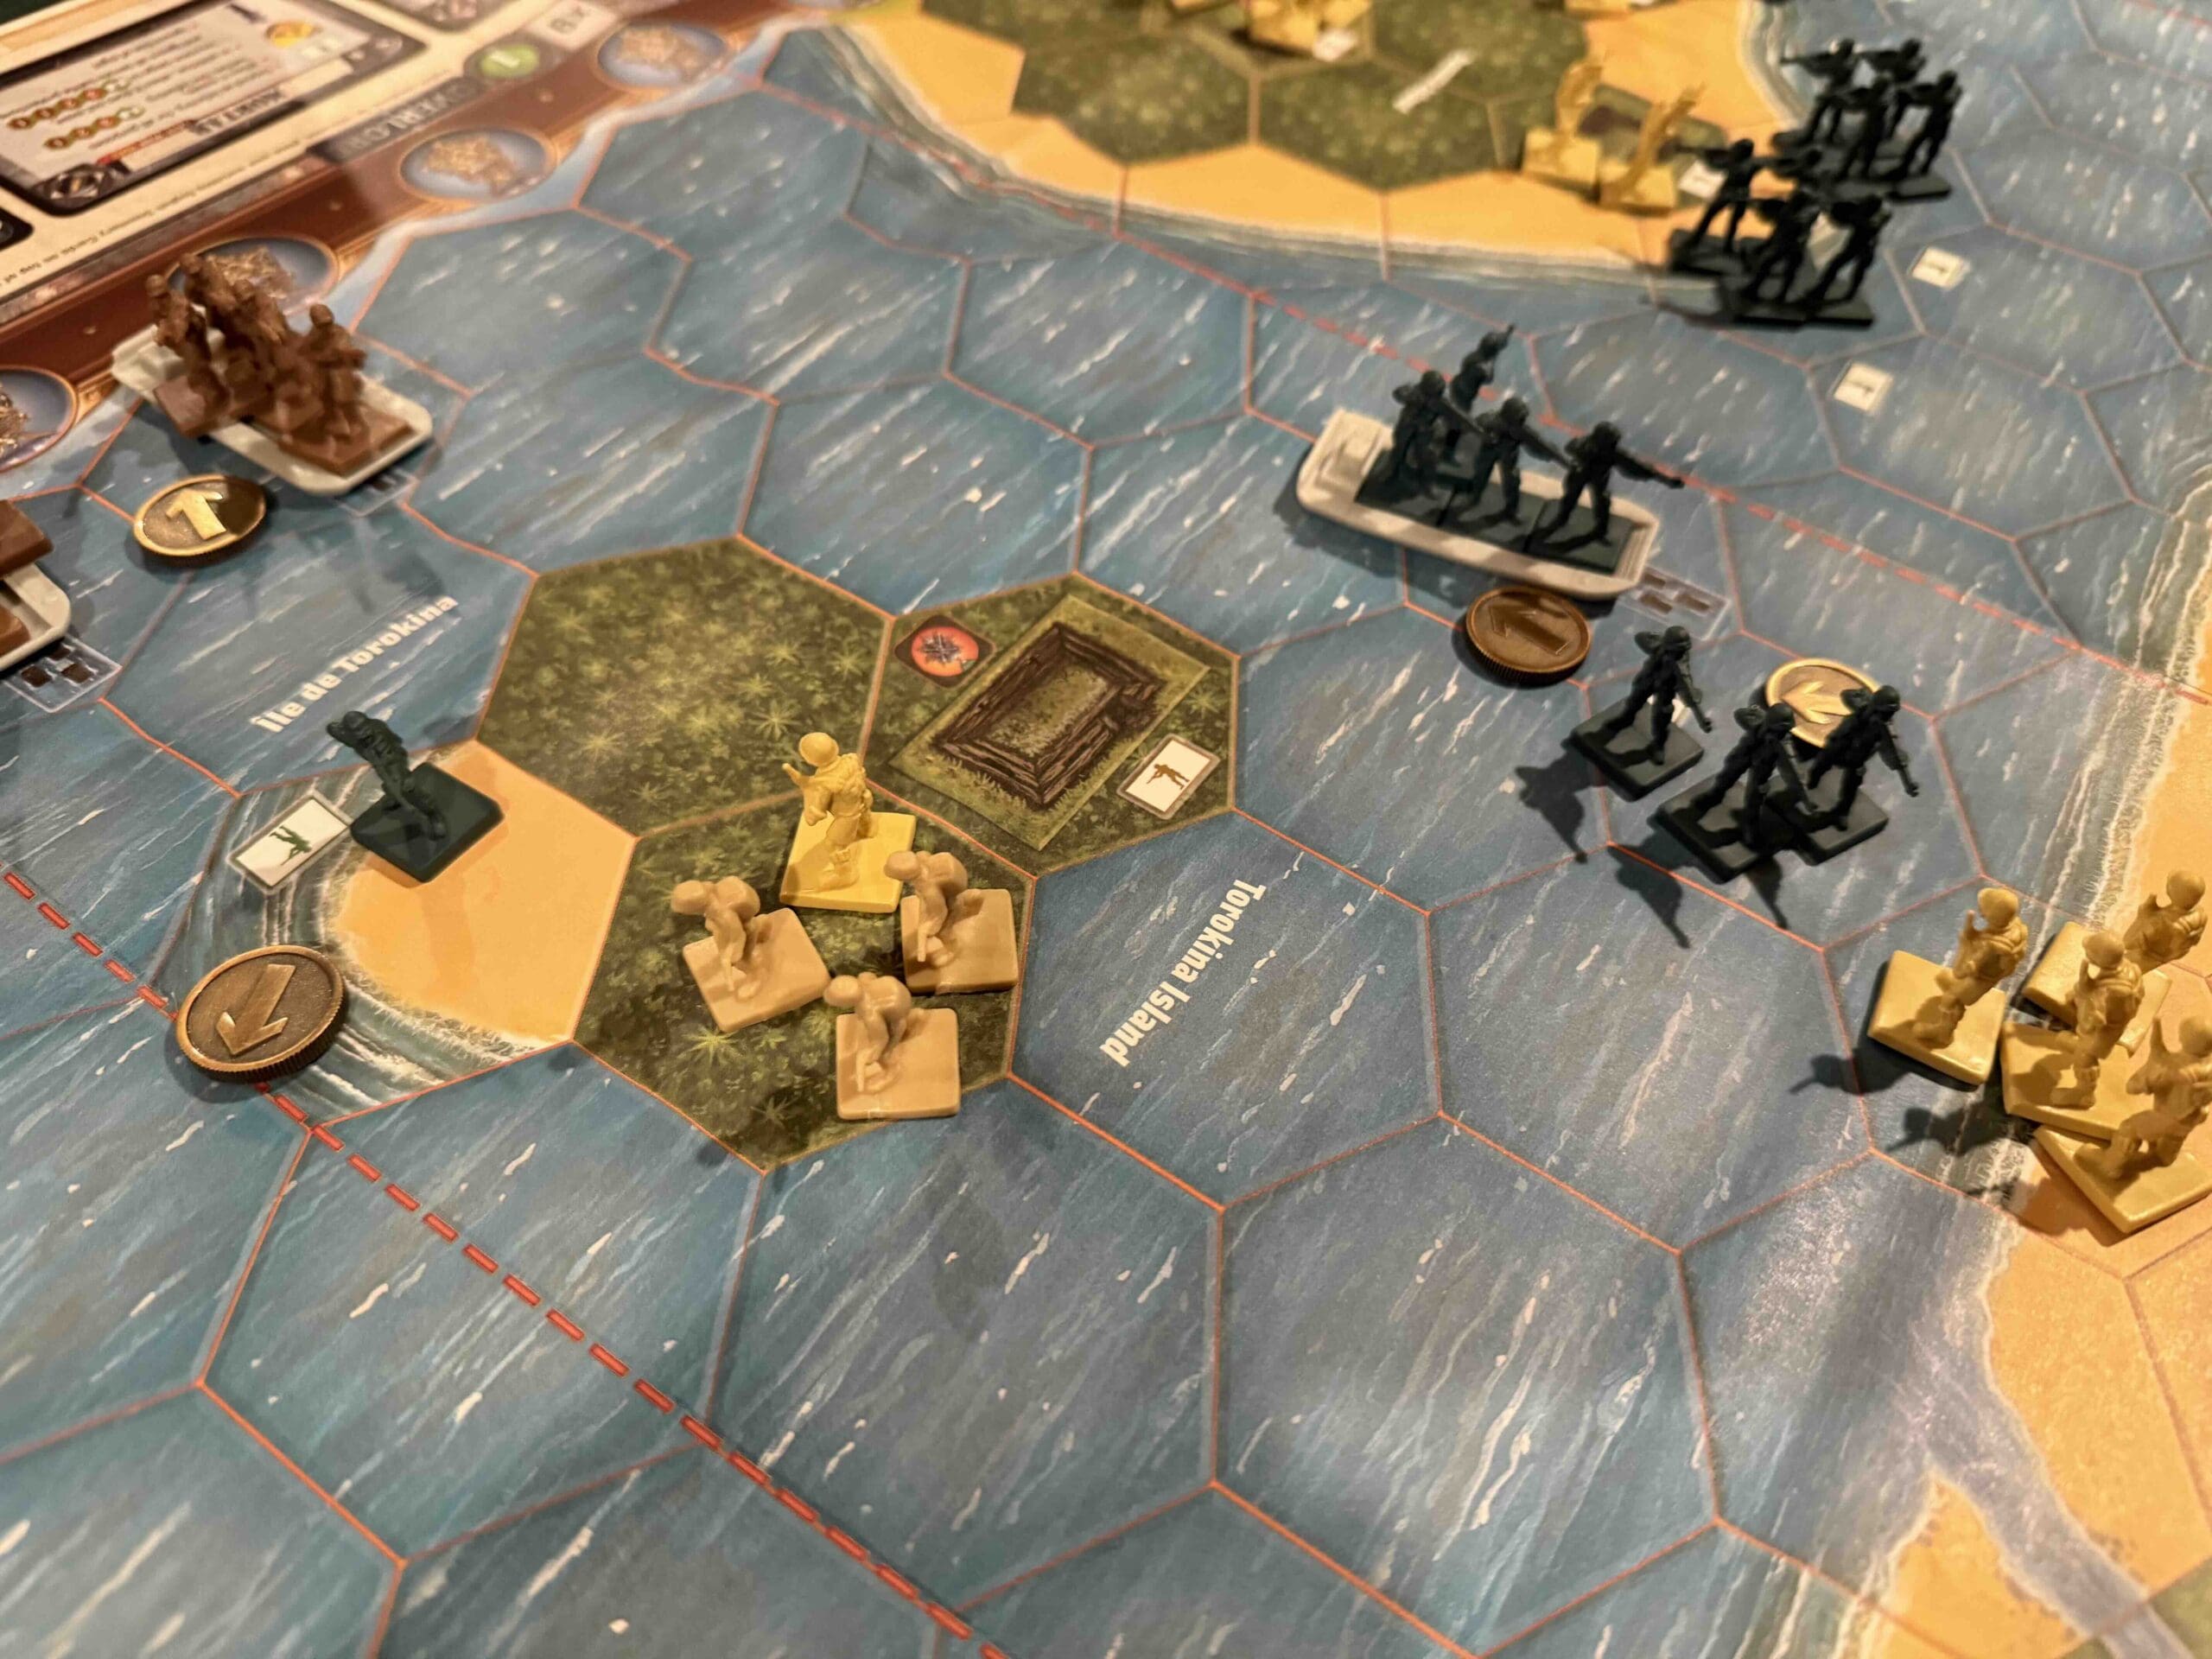
Allies – 9 Infantry, 7 Armor, and a Destroyer ship
Axis – 12 Infantry

🔥 Winning as Allies
1. Like all beach scenarios, the first objective is to get off of the beach as quickly as possible and assemble all of your forces into a cohesive fighting unit.
2. You have a Destroyer which has an attack range and power of 3,3,2,2,1,1,1,1; so 8 hexes deep! Plus with a successful hit you gain a targetting reticule upon the hex, which increases the dice by one until the hex is destroyed or vacated. Use it!
3. Use your Armor to soften up the enemy at a distance, should any of them venture near the shore. Remember that because of the Seishin Kyoiku principle, and full-force Japanese units attack with four dice at Close Range. So hit each one at least once before venturing near them.
4. The Ammunition Bunker is a Permanent Medal Objective(!) – if you can blow it up. So occupy it and roll two dice, and hope for a star; but a grenade will kill one of your Marine figures, so be careful!

🔥 Winning as Axis
1. You have superior numbers on your right flank and central section. So move your forces into the jungles and town hexes to hold off the enemy forces.
2. Get close and then by combining the Banzai two-hex Close Assault attack with any full-force units, you can hit them with the Seishin Kyoiku princple and roll four-dice with each attack.
3. Guard the ammunition bunker so that the enemy does not get an easy Permanent Medal Objective.
4. With all of the enemy tanks in the area, do not get any of your forces caught in the open.
Battle Reports
Author:
Days of Wonder
Resource:
Campaign Book, Volume 2