Lipovec
Lipovec
July 22nd, 1941—Lypovec. Operation Barbarossa was tearing into the Soviet Union, and here came the Slovak Mobile Brigade—five thousand men, 43 tanks, and 123 artillery guns—charging into their first real scrap against the Red Army.
They smashed into General Tkachenko’s 44th Rifle Division—some fresh, some worn ragged—but the fight was no parade. The Slovaks had spirit, but their tanks ran thirsty, and fuel was scarce. They pushed into the town, only to be hammered by furious Soviet counterattacks.
What saved them? The guns. Artillery thundered, covering their retreat and keeping the whole affair from turning into a disaster. In the end, the Slovaks learned the hard truth—courage and machinery mean little without supply and strength in numbers. Against a seasoned, determined foe, they were blooded, beaten back, and reminded that war is unforgiving to the unprepared.
~~ General Howitzer
6 VP’s
![]()
Card Balance:
5 – 5
Complexity:
3
Conditions:
Countryside

Context:
Historical
Location:
Ukraine
Year:
1941
Theater:
Eastern Front
Campaign:
Operation Barbarossa
Codename
Summary:
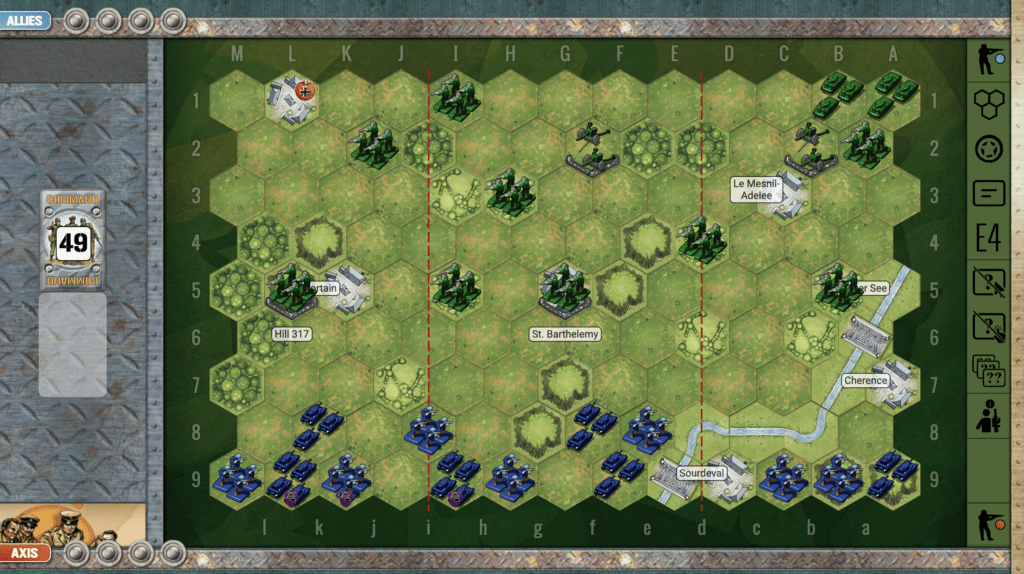
The dominant factors in the Lipovec scenario is the river going across the battlefield, and the two artillery units safely ensconced in each of their own city hexes. The Axis win most encounters in this scenario, primarily due to the skillful use of their Armor.
Objectives:
Six VP’s. No medal objectives
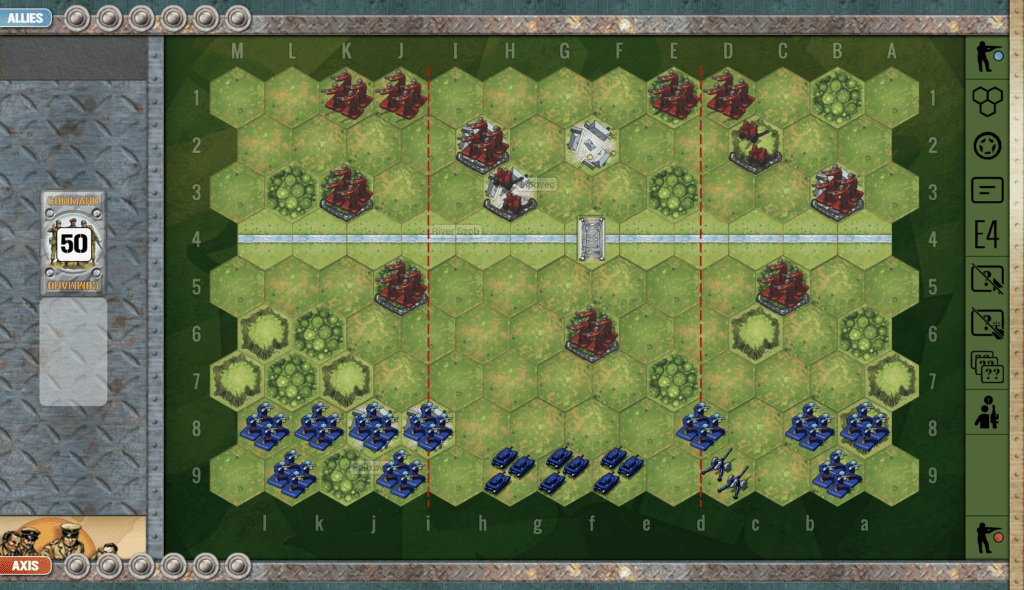
Battlefield:
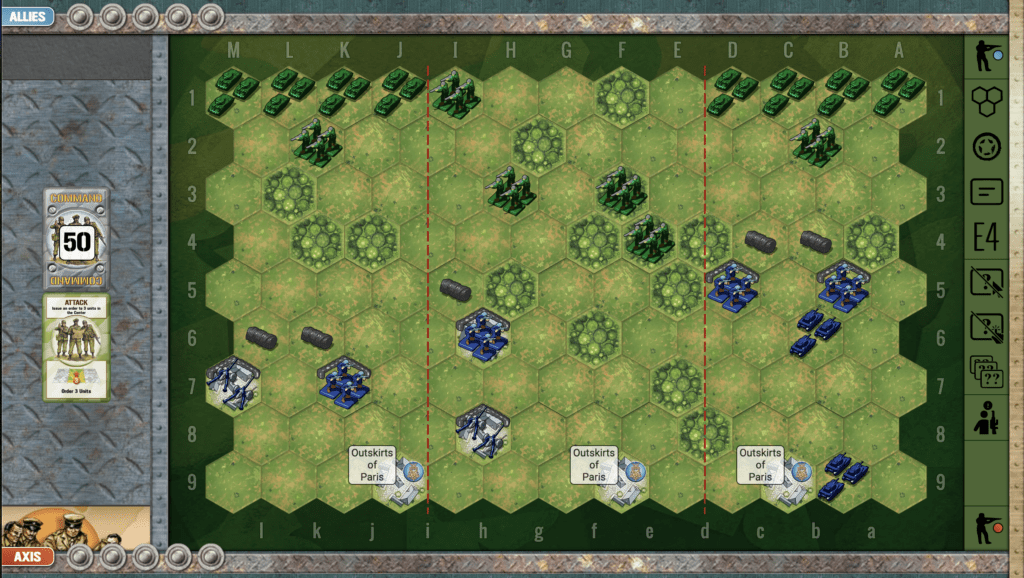
The battlefield is split horizontally by the River Szob, which is a fordable river. There is also one bridge crossing.
Troops:
Allies – 10 Infantry, 2 Artillery
Axis – 10 Infantry, 3 Armor, 1 Artillery

🔥 Winning as Allies
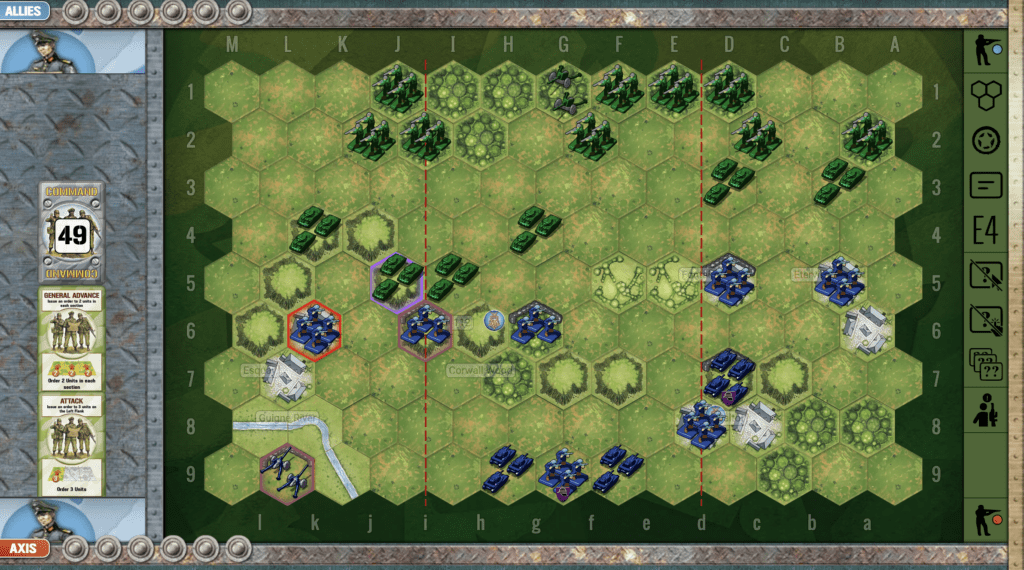
1. The Allies begin the round with three forest hexes deep into Axis territory, controlled by sandbagged infantry. This presents an early point of attack, and becomes the locus of the seesaw battle for control. Take advantage of those forward points and attack as quickly as possible at the Axis enemy pressed up against the battlefield barrier. For every flag thrown against a unit against “the wall” will be counted as a hit. This increases your chance of getting a hit by 17% for each unit.
2. Allies have two artillery vs. the Axis’ one. So take advantage of the long-range hits available to you. The central artillery has reach of most of the battlefield. Use it.
3. As defenders in this game, unless the cards clearly dictate otherwise, you can wait across the river for the Allied attack, and then hit them when they are paused at the Szob River.

🔥 Winning as Axis
1. The enemy begins with control of three hexes on the Axis side. So Axis will have to target the enemy incursion hex by hex to push him back. Unless Axis is given a great set of cards for a flanking attack, they will want to clear all enemy troops on their side of the river before trying to cross over.
2. You have six infantry units on your left flank. They can approach the enemy under the cover of the forest and hills, to get very close for the attack.
3. Axis have an overwhelming advantage with armor. Put them into action by dealing with the infantry hiding in the forest hex center seciton.
4. The enemy Artillery in the center on third row is a problem. A direct attack is going to be costly. Wait until you get some powerful attack cards like Barrage, Airpower, BEH, TFH, or Firefight, then attack it. Either destruction or retreat flags will give you some breathing room to attack the enemy on the flanks.
5. Plan of Attack: Eliminate the forward central Infantry, while moving up along both flanks to soon attack the other two forward Infantry in each section. Use your Armor as much as possible, but watch that you do not get in range of the enemy Artillery in the center. Once the enemy Infantry units are gone, the left section across the river provides the best attack vector, as it is further from the two enemy Artillery. You will have to moderate and adjust this plan as cards allow.
Author:
Days of Wonder
URL