Normandy – Vaumicel Manor
Normandy - Vaumicel Manor
6 VP’s
![]()
Card Balance:
Allies – 5
Axis – 6
Complexity:
3
Conditions:
Countryside

Location:
Normandy
Year:
June 5th – 6th 1944
Theater:
Western Front
Campaign:
Normandy Invasion
Codename:
Operation Overlord
Summary:
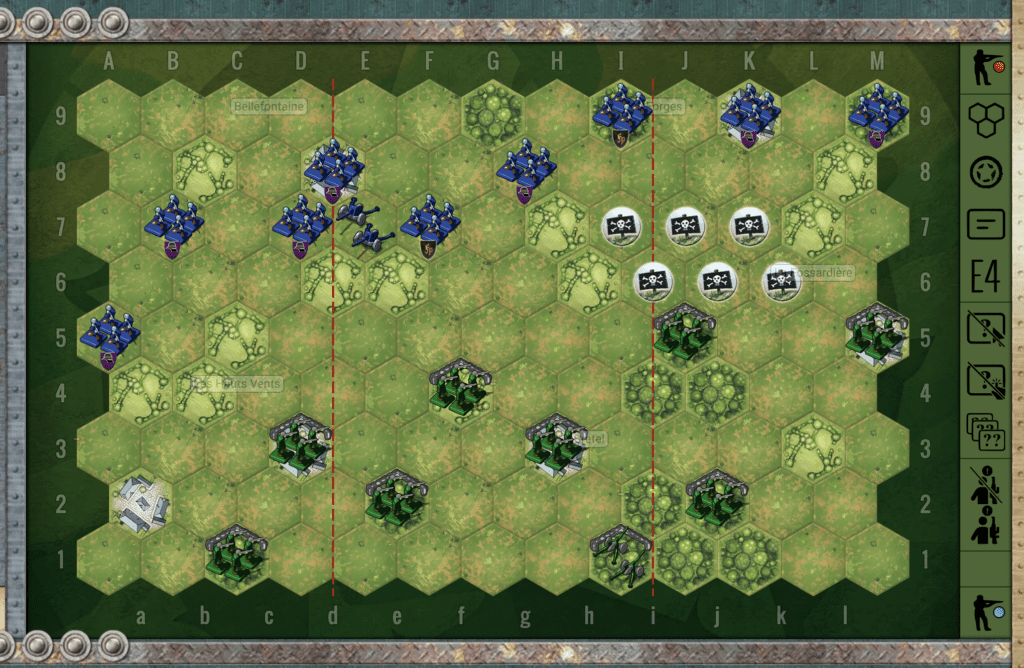
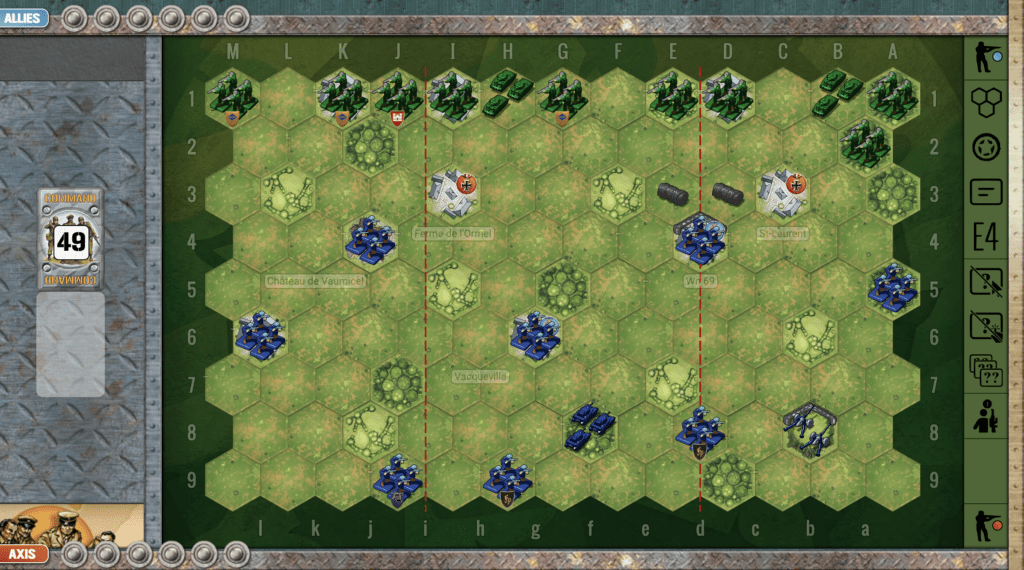
The Axis forces are scattered across the battlefield, while the Allies are lined up against their border ready for attack. The challenge for both sides is to make their way across the open battlefield. Using hedgerows and forest hexes is the best way to move your forces towards the medal objectives in each of the towns. There are two medals each for Axis and Allies. They seem to be within reach, but getting to it, and holding it are two different things. You will have to make sure you have dealt a crippling blow to any nearby enemy infantry before you seek to posses a town hex medal.
Objectives:
Six VP’s, with two Objective Medals in the towns of Ferme de l’Ormel and St. Laurent for the Axis, and one Objective Medal for the Axis at the town of Vacqueville and at Wn.69.
Battlefield:
Countryside scattered with forests and hedgerows.
Troops:
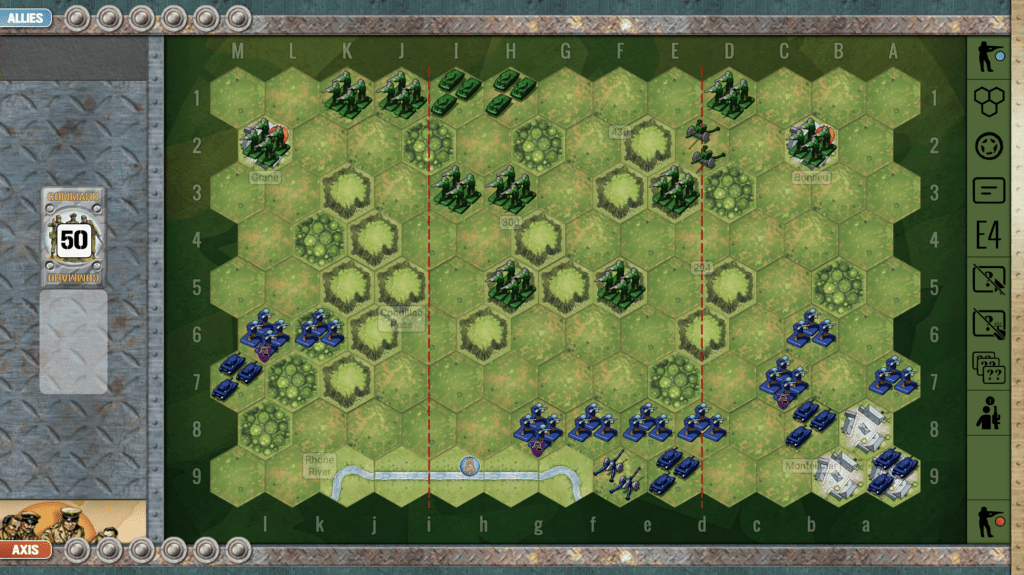
Allies – 9 Infantry; 2 Armor
Axis – 8 Infantry, 1 Armor, 1 Artillery

🔥 Winning as Alllies
1. Big picture strategy is that your right flank is your strong one, and your left flank, although you have a lot of firepower, is up against a well-entrenched artillery which will cut you to ribbons unless you deal with it. If you get the cards, you can make a good push up the right flank. But you will have to target each unit along the way and take them out one hex at a time.
2. Be careful of the Axis artillery on your left flank. They can reach nearly to the back row of hexes. And any attack attempted upon the two infantry hexes at A5 and d4 will be supported by a two-dice response attack from the artillery.
3. Be sure to protect the two town hexes on the third row which contain Medal Objectives for the Axis.

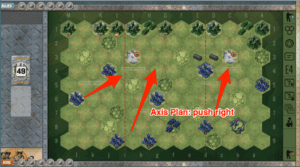
🔥 Winning as Axis
1. You are primarily in a defensive position in this scenarios as the Allies advance against you, so remain in defensive positions. But should the cards present an attack opportunity, then take it.
2. However, you have some Combat Engineers and Special Forces in the back. Move them forward, under protection, but get them into a spot to assault some of the forward positions of the enemy. The special abilities of the Combat Engineers can attack while ignoring terrain battle restrictions.
3. You have two Temporary Medal Objectives up on row 3, deep in enemy territory. If you hope to occupy and hold them, you will first need to degrade the enemy forces. Your best hope of doing this is in the right section, where you have both your Armor (in the center, but can quickly get to the right) and Artillery at. your disposal.
4. General Plan of Attack: Push your forces forward to the right, to gather momentum where you are strongest.
Author
URL