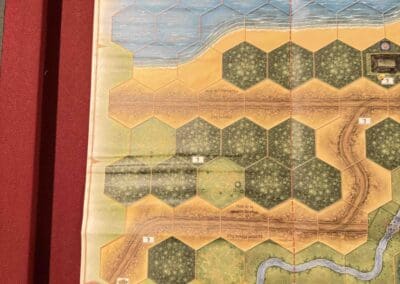
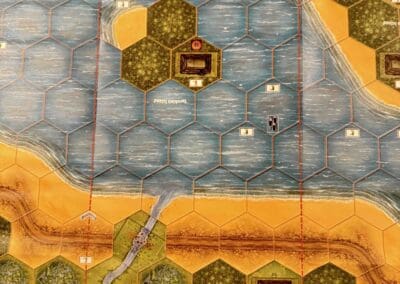
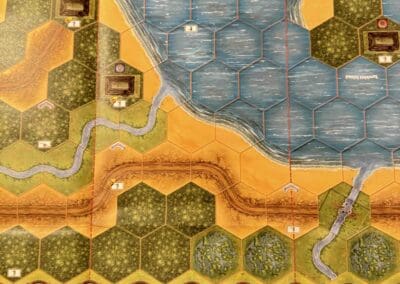
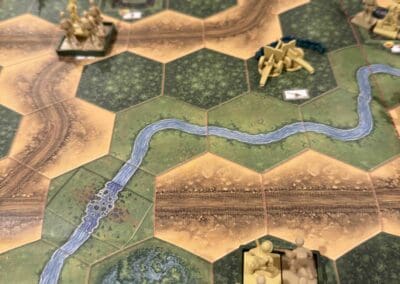
Disaster at Dieppe

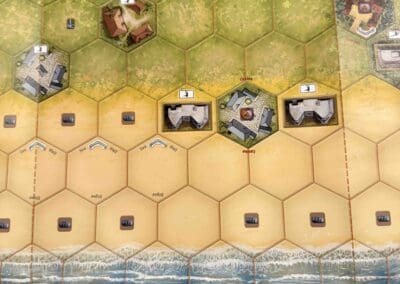
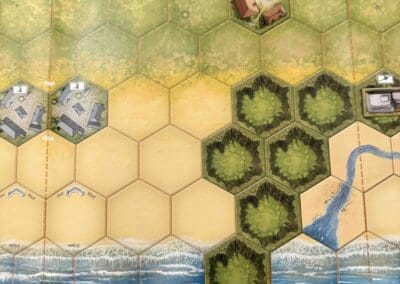
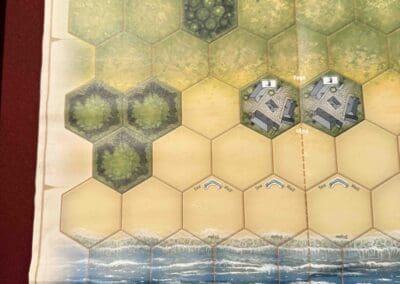
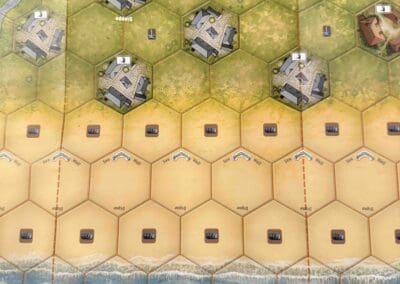
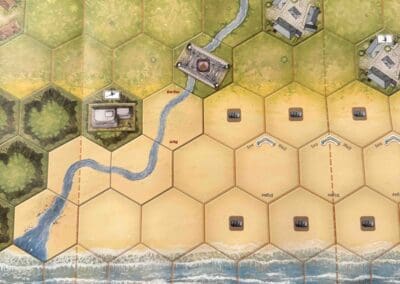
Disaster at Dieppe (Overlord Map)

Alright, listen up—

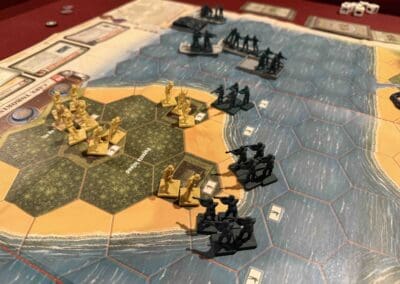
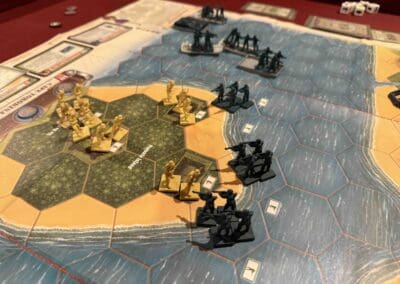
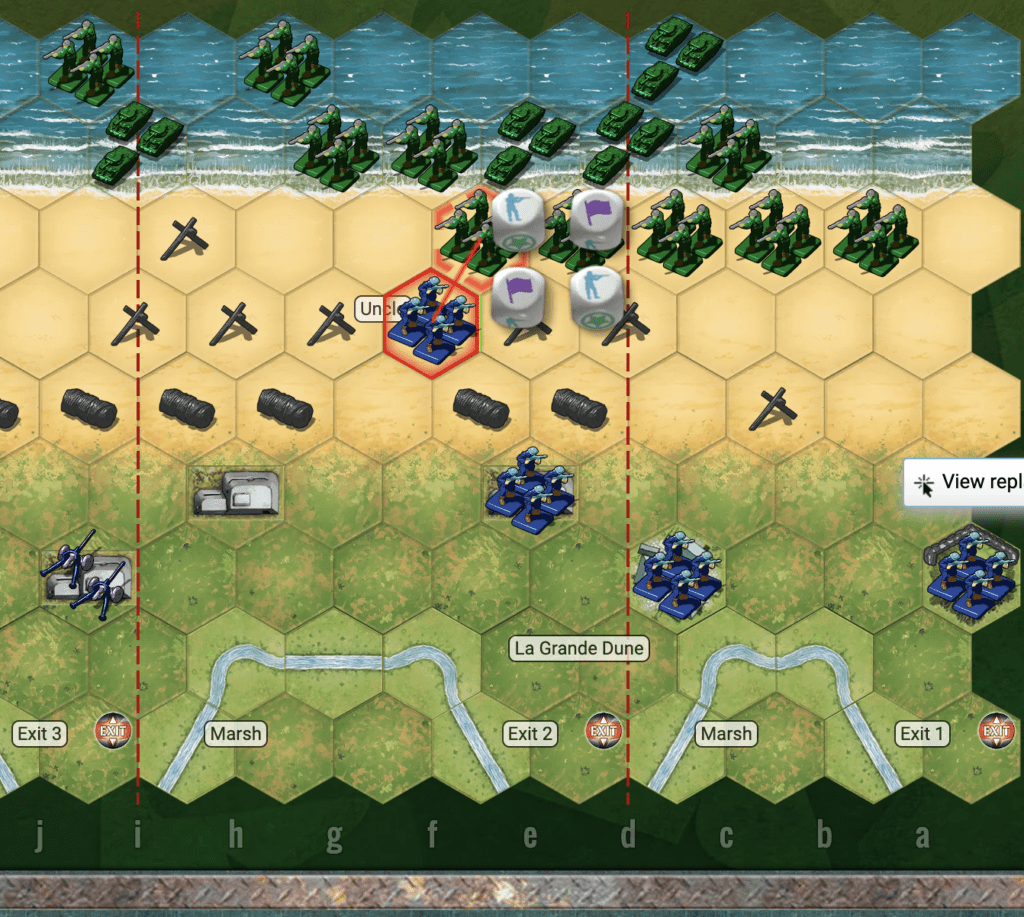
The raid on Dieppe? That was a damn mess. We sent in brave boys—mostly Canadians—straight into a meat grinder without proper prep, cover, or firepower. The plan? Hit the Germans fast, grab intel, wreck their defenses, and get out. But hell, it was all wrong from the get-go. No real surprise, no heavy bombing to soften ’em up, and we landed right on their gun barrels.

The beaches were narrow, rocky deathtraps. Our tanks got stuck, the infantry got chewed up, and the Navy couldn’t do a damn thing once the chaos started. Over half the force was wiped out, captured, or bleeding in the surf. It was a bloody disaster—but those boys fought like hell.

And I’ll tell you this: we learned. We learned what not to do. Next time, we brought the whole hammer—air, sea, tanks, everything. That’s how you do it. That’s how we did it on D-Day. Dieppe was a painful lesson—but it paid off in Normandy.

~~ General Howitzer

10 VP’s

Card Balance:

Allies – 7

Axis – 8

Complexity:

4

Conditions:

Beach

Context:

Historical

Location:

Baltic area

Year:

1944

Theater:

Eastern

Campaign:

Codename:

Operation Jubilee

Summary:

Objectives:

10 VP’s with Temporary Medal Objectives for two bridges, a casino, and a chateau.

Battlefield:

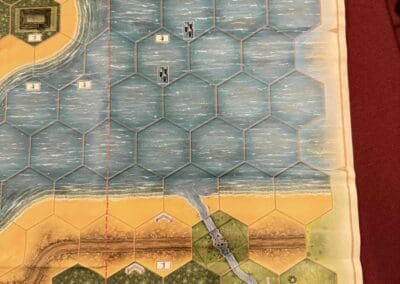
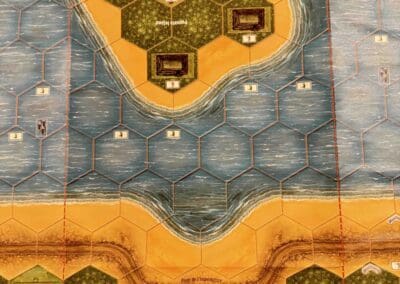
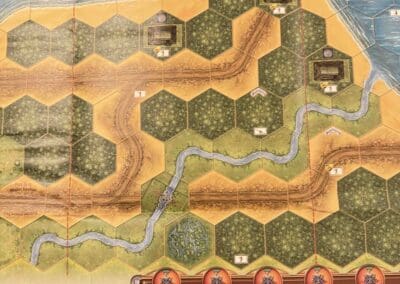
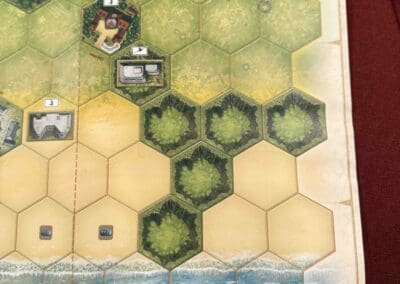
A beach with towns, ridges, and a river cutting through the center.

Troops:

Allies  – 20 Infantry, 5 Armor, 2 Half-Tracks

Axis  – 15 Infanty, 4 Artillery


Allied Strategy:

1.  

Axis Strategy

1.  

Battle Reports

0
BR - Disaster at Dieppe

Author:

Days of Wonder

Link:
[Ukraine] Soviet raid on Grigorevka

Soviet Raid on Grigorevka

memoir 44 scenario Raid on Grigorevka

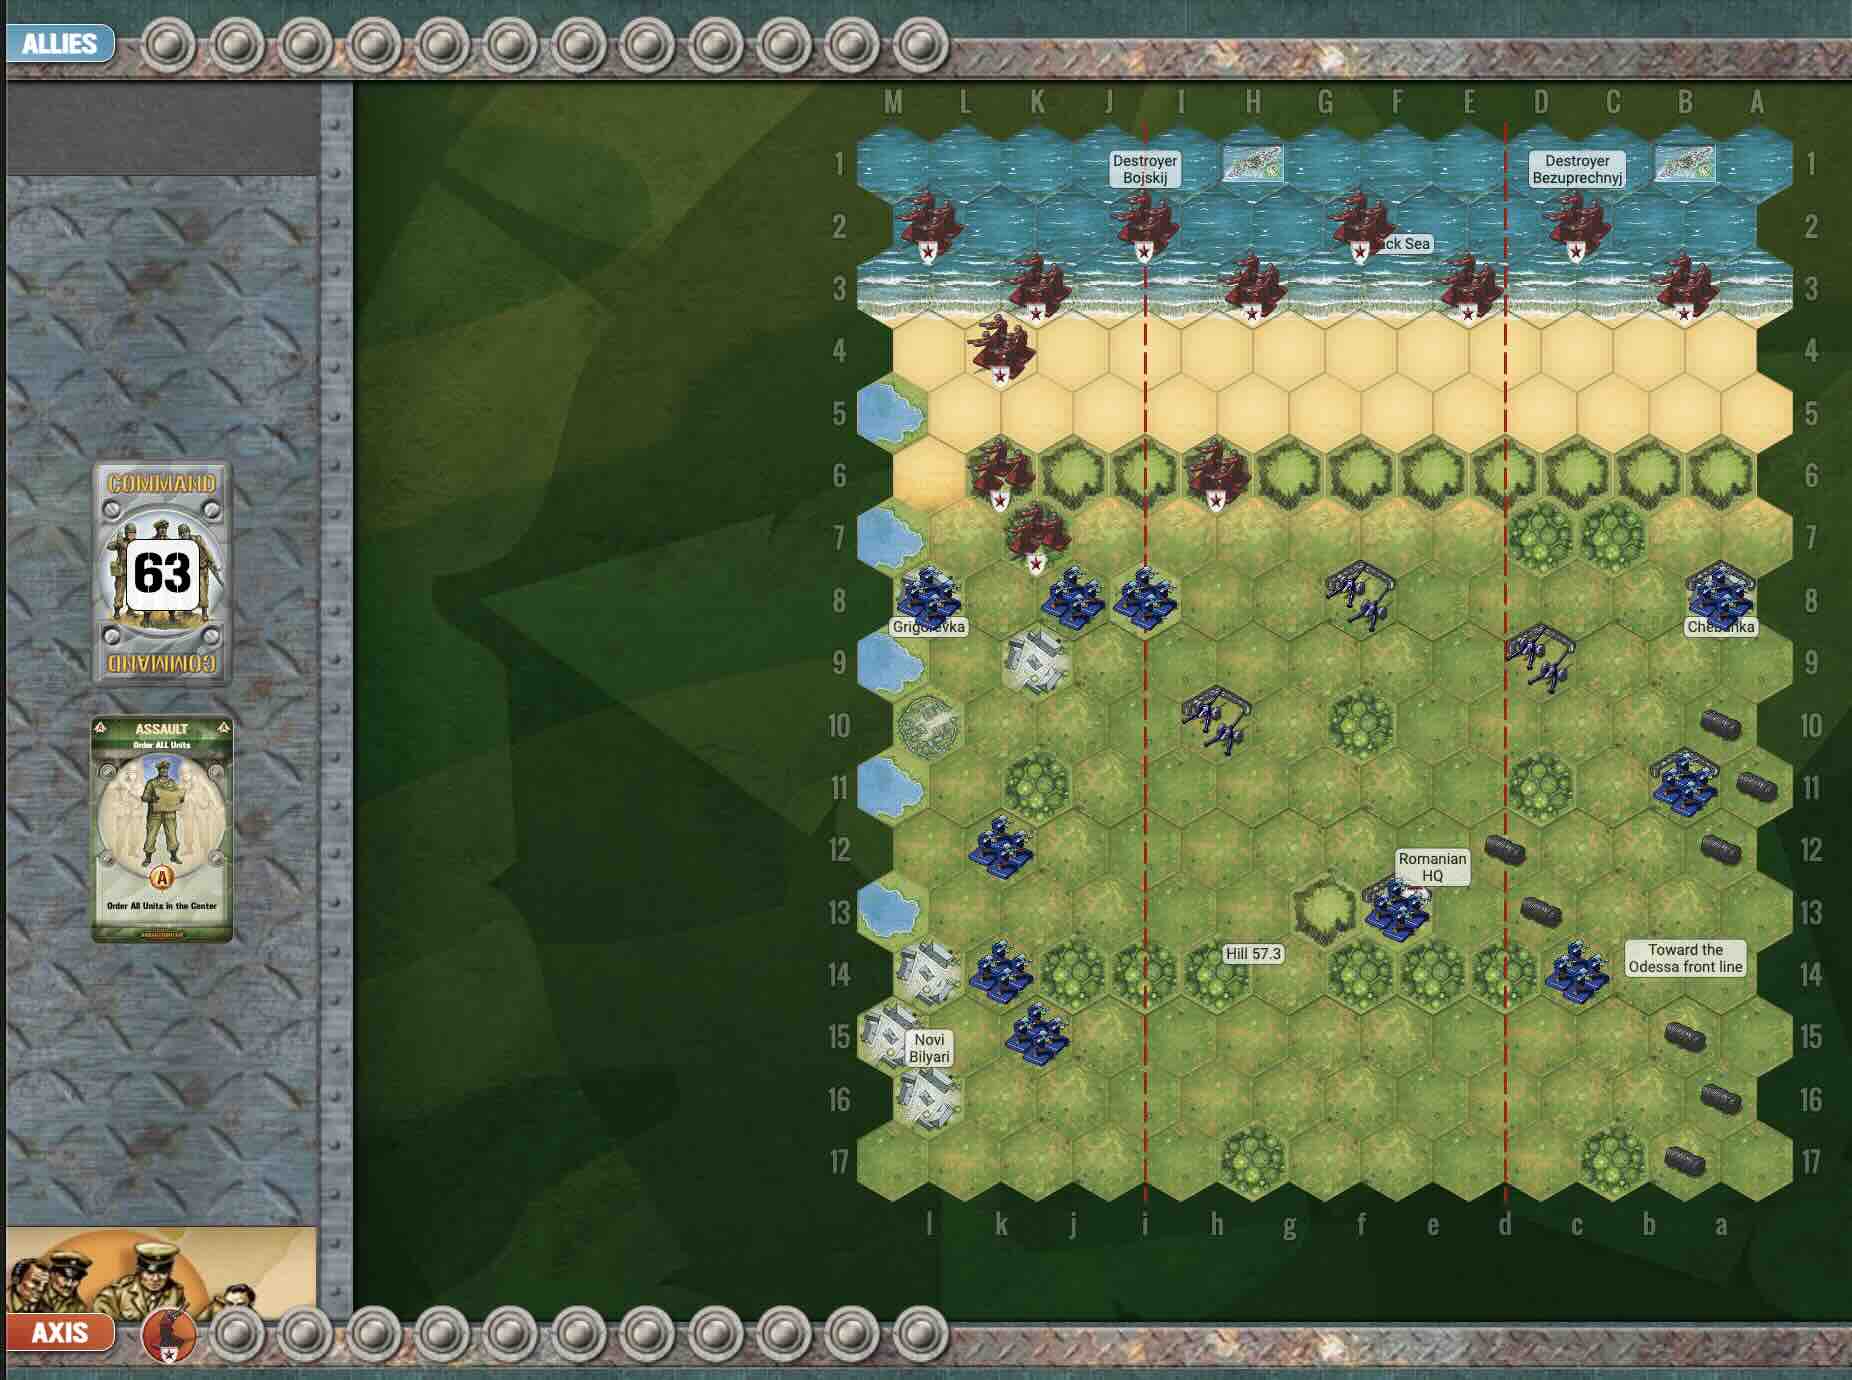
September 1941—Odessa’s under siege, and the Soviets are getting hammered by Romanian artillery. So what do they do? They go on the offensive—hard.

Captain Koren takes the lead at sea with the 3rd Naval Infantry Regiment, nearly 2,000 marines, while a small team of 23 paratroopers drops inland. The plan? Hit ’em from the front and the rear—paralyze their command, cut their lines, and blow those damned guns to hell.

Night of September 21st, the paratroopers jump near Hill 57.3—not clean, not pretty, but they get the job done. Took out a whole Romanian regimental HQ—with two dozen men. Meanwhile, Koren’s marines land at Grigorevka under a curtain of naval fire from the destroyers Bojkij and Bezuprechnyj, and they take those artillery batteries by storm.

By sunrise, they’re linking up with the 421st Rifle Division, and the Romanians? They’re pulling back—the 13th and 15th Divisions, thrown into reverse. That’s pressure off Odessa, and a big black eye for the Axis.

This wasn’t some massive Soviet steamroller. This was initiative, coordination, and guts. A rare joint strike—air, land, and sea—and it worked. Captain Koren didn’t wait to be hit—he hit first.

That’s how you win a war. Not by sitting in the trenches—but by getting out, striking hard, and making the enemy bleed where they thought they were safe.

~~ General Howitzer

12 VP’s

Card Balance:

Allies – 5

Axis – 4

Complexity:

4.5

Conditions:

Countryside

countryside

Context:

Historical

Location:

Ukraine

Year:

1941

Theater:

Eastern

Campaign:

Codename:

Summary:

Objectives:

12 VP’s, plus Objective Medals for Allies for the Romanian HQ, and each Artillery battery destroyed.

Battlefield:

Countrsyide  and beach in a deep breakthrough battlemap

Troops:

Allies (Soviet Union) – 14 Infantry, 2 Destroyers!

Axis (Romania ) – 10 Infantry, 3 Artillery


medal allies

Allied Strategy:

1. Soviets, as Allies, do a six unit paradrop.  Drop them where you have the best set of cards to assist your attack.

Also, note that the paratroopers will not battle the first turn they are dropped, so they have to endure one round of enemy fire before they can attack.

2.  The Axis outnumber you on your right flank at the start of the game, and the three forward units are in strong defensive positions, which suggests attacking elsewhere.

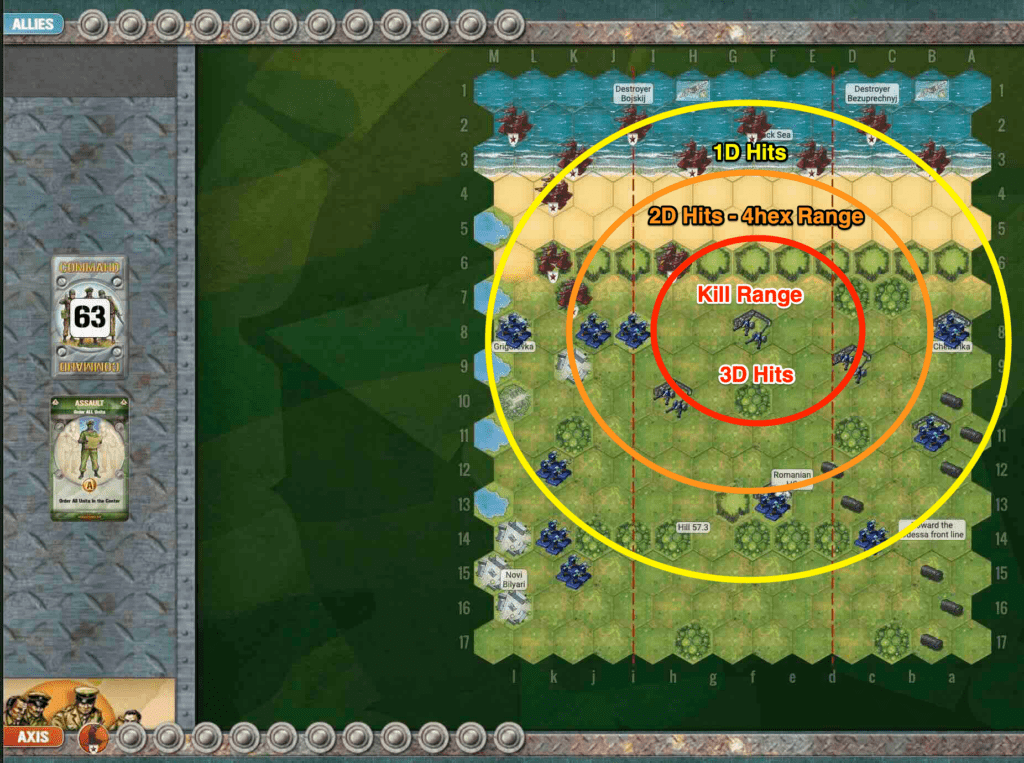
3.  As Allies, you have two Destroyers at the start of the game.  Two factors affecting their performance are visibility and location.

Visibility:  Because of the night visibility rules, the Axis units may have time to move out of range of the ship guns before daylight arrives.

Location: This concerns the ability to get the Destroyers onto the border line so they have more flexibility on which section cards can activate them.

Once daylight arrives the Destroyers have a range of eight hexes, so their maximum firing range is row ten.  Of course, that is their maximum range, but their effective firing range (of 2D attacks), is actually row six.

4.  There is a Temporary Medal Objective at the Romanian HQ on row 13. If you keep pushing in that direction to keep pressure on the enemy, it should afford you some success.

5.  Each of the enemy Artillery is worth two! victory points, so target them when you can.

6.  Because the enemy has three very powerfully placed artillery, and you have a lot of artillery, your plan will have to be to so overwhelm the artillery that you are able to take them out with your superior numbers before they take you out with with their superior firepower. 

7.  Possible Attack Vector: completely by-pass the territory controlled by the enemy Artillery when you do your para-drop.  Aim for the back of the battlefield around the Romanian HQ, and the town of Novi Bilvari. There are plenty of Infantry units to take out, while you wait for daylight to arrive, so that your Destroyers can engage with the Artillery batteries.

medal axis

Axis Strategy:

1.  Your first defensive objective is to respond to wherever the Allied paratroopers happen to land.  Respond immediately with available Infantry and Artillery to address the threat.

2.  Bring your reserve units into play as soon as you can by moving the rear units forward on the map.

3.  Because each Artillery unit is worth two! Medals, you will need to protect them in some way.  Either move them back from the Destroyers’ range, or protect them from Infantry attacks by bringing your own Infantry into play.

4.  The enemy forces are elite, so they can move two hexes and still attack. So be aware of this so that a single Infantry unit doesn’t get surrounded and destroyed.

5.  It is going to take an average of six turns before the daylight arrives and the Destroyers are fully activated to row 10. This will give you time, if you want to, to move your Artillery further back on the battlefield out of their range. 

Battle Reports

12
BR - Soviet Raid

Author:

Days of Wonder

Pointe du Hoc – Offensive (near) Perfection!

Offense - 99% - Defense - Zero

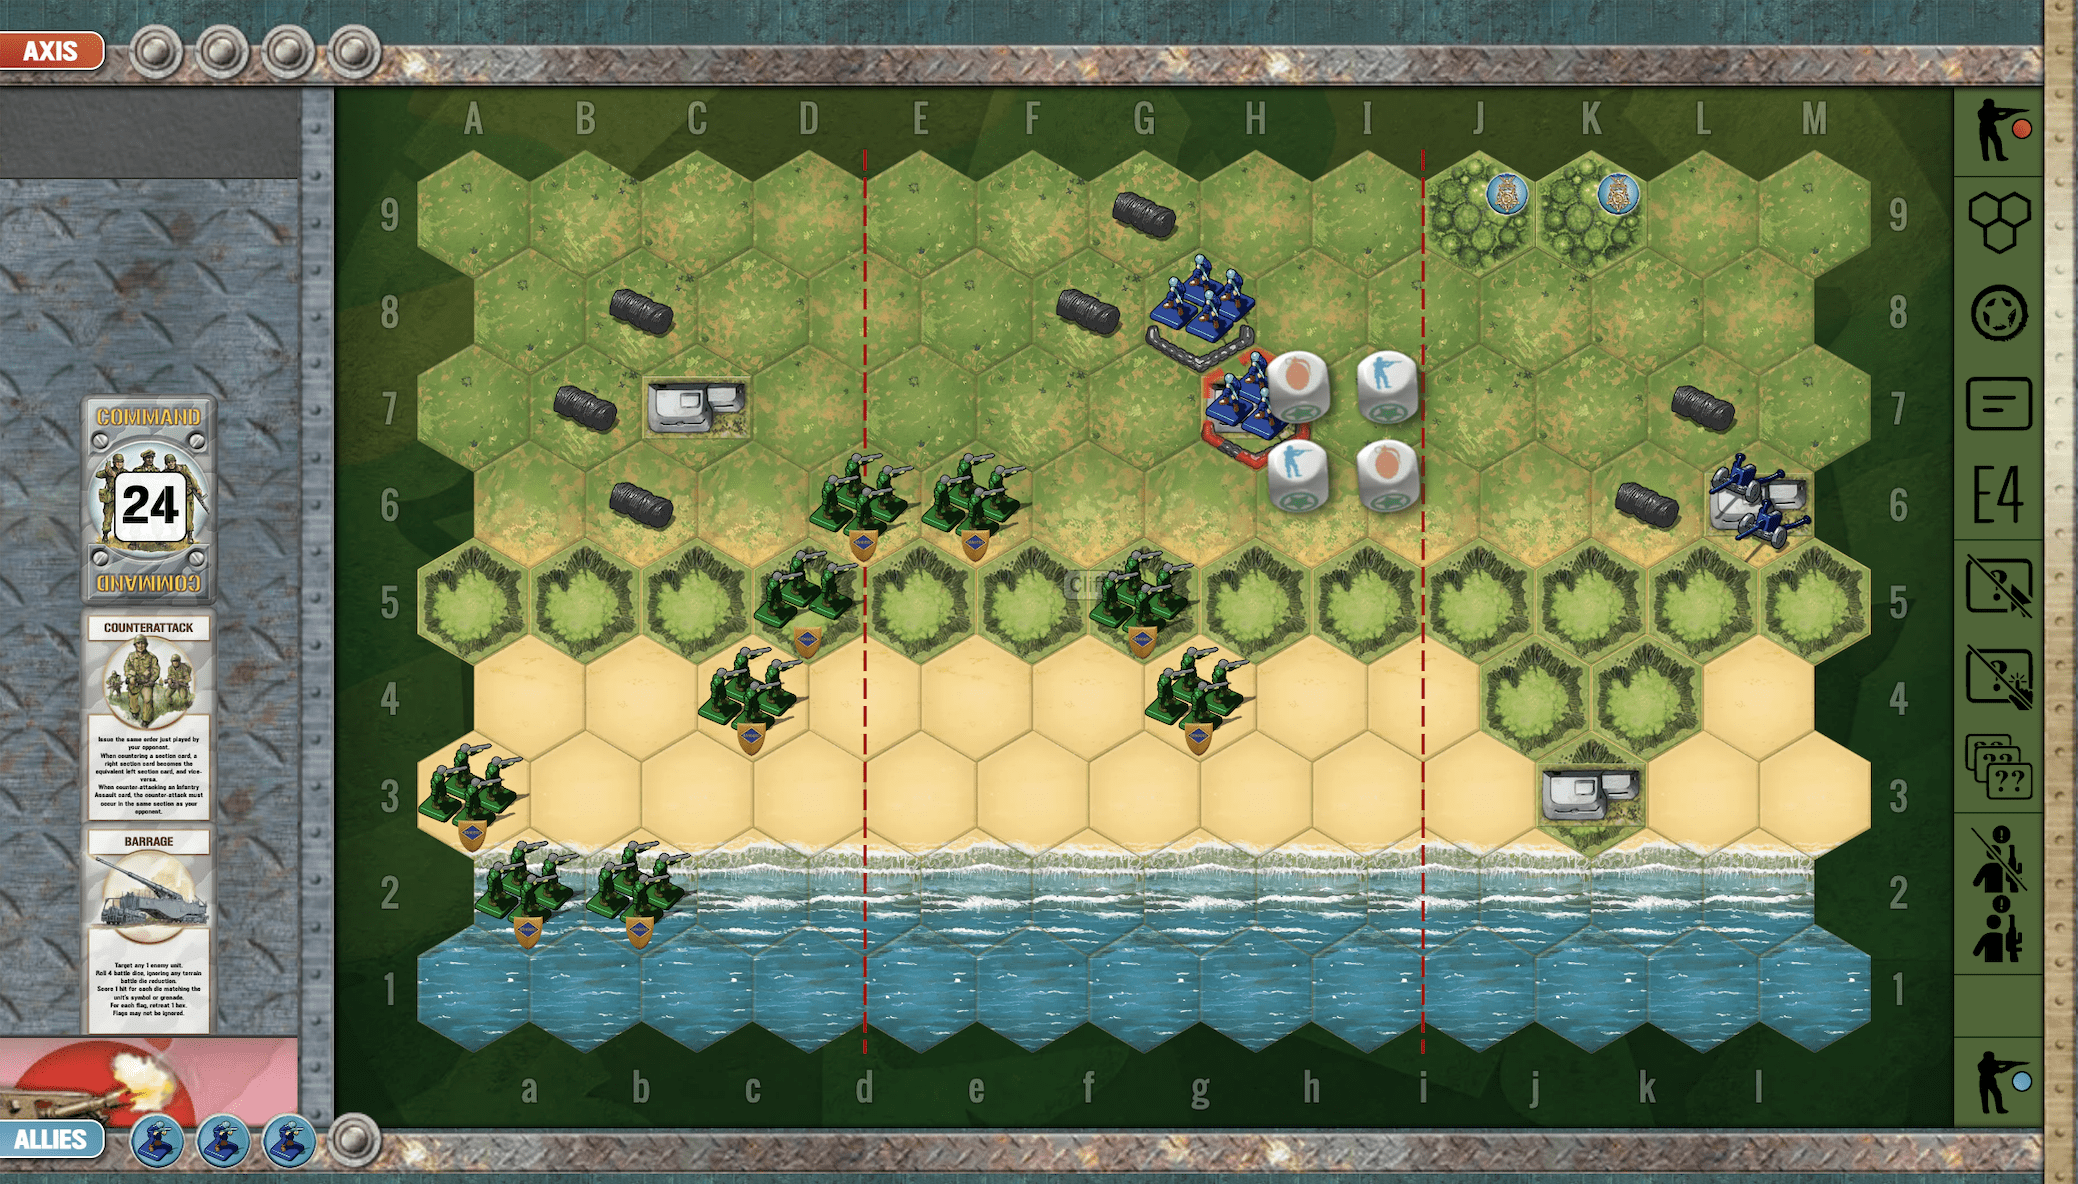
This is something that has never happened to me before.  I played a scenario ( Pointe du Hoc), and the enemy only hit me once the entire game.  I scored all four medals and lost only one infantry figure.  


Here is the final scene:

As you can see, here is the final action, and a Barrage card that I had been saving for just the right moment. I reasoned that before I engage the troops against a well-defended enemy in the bunker, I should hit them once and hopefully reduce their strength.  But the dice roll was pretty lucky – to say the least!  (In reading the Dice Percentages section (https://generalhowitzer.com/strategy-dice-percentages/ ) the odds are only 7% of rolling a complete wipeout of four infantry who have retreat available to them.)

And that ended the first round of the engagement.  Never happened before. And of course, if it is ever going to happen it will be on a short scenario like this with only 4 medals.

What I did to prepare for this engagement is assemble all of my troops under the ridge on the left half of the board.  I did not breach the ridge until I was safely away from the Artillery on the right, and I had a perfect set of cards (Assault, Infantry Assault, Move Out!, and then section cards for just left and center).

Then I was good to go, and things paid off for me, plus a good dose of luck.

Q: What do you think? Has something like this happened to you?


Juno Beach – The Kind of Dice I Want

When you are defending as Axis in a beach scenario, if you can’t totally destroy the enemy in a dice throw, the next best thing is to throw a Flag to force a retreat.  

Like this:

Juno Beach

This dice throw which was limited to only 2D, had one Infantry hit, and one Flag; the perfect combination.  Degrade their forces, and then push them further back onto the beach, to give you more time to hit them again.

Afterall, for beach scenarios it is all about slowing down the Allied advance.  And in this case, (if you can’t get a hit, then at least) Flags are your friend!


Agree or not?

Wake Island

Wake Island

Wake Island was a little speck in the Pacific, but in December ’41 it became a fortress of American grit. Right after Pearl Harbor, the Japanese thought they’d steamroll it. On the 11th, they charged in—and got their noses bloodied. Our Marines and gunners blasted ships out of the water and sent the enemy packing, the first time in the war a U.S. force had thrown back an amphibious assault.

But the enemy came back heavier on the 23rd, with more ships, more planes, and more men than that tiny garrison could handle. The Marines fought like crazy, but Wake was finally overrun. Even so, their stand proved to the world that Americans don’t just roll over—we fight, we bleed, and we make the enemy pay dearly for every inch. Wake Island was no surrender; it was a warning shot that the United States was in this war to the finish.

~~ General Howitzer

6 VP’s

Card Balance:

5 – 5

Complexity:

2

Conditions:

Beach

Location:

North Pacific

Year:

1941

Theater:

Pacific

Campaign

Codename

Summary:

The Wake Island scenario has the Japanese attacking Marines who are defending. The beachfront is barricaded with a row of wire. But if they can get past that barrier, every town and fortress hex is a victory medal objective for them.

Objectives:

6 VP’s, plus the Axis have potentially 10 (!) Medal Objectives.

Battlefield:

A flat beach defended with wire and Marines in bunkers and one artillery.

Troops:

Allies – 5 Infantry, 1 Artillery

Axis – 12 Infantry!

Allied Strategy:

1.  Historically the Allies were overwhelmed in the second attack when 1500 invaders attacked, so the goal is to get some quick hits before they reach the Medal Objectives.

2.  Use your artillery at every opportunity, especially early in the game before they move away from it. 

Axis Strategy:

1.  As a general rule, avoid the artillery in the center-right.  Move your troops to the left and attack the left flank. There are plenty of VP’s available on the left side without even having to go anywhere near the artillery.

2. However if you have the cards for a sustained and rapid attack on the right, do it. The fact that there are two hexes unprotected by wire allows the you to very quickly reach the enemy bunkers. 

3.  You can use your advance infantry unit to quickly gain control of the field bunker at M6, and its VP. Then three more Objective Medals are available to you in the towns.  Then as you quickly bring other infantry forward the advance unit can attack the enemy infantry in the town at K8. That’s a total of 5 VP’s relatively unprotected. If you can survive the artillery attacks while you seek out your 6th VP on the left flank, you could have a win to brag about!

DoW Battle Reports

(percentage of Allied victories):

32%

23
BR - Wake

Author:

Days of Wonder

Link: