Slopes of Mount Austen (Gaudalcanal)
Slopes of Mount Austen
5 VP’s
![]()
Card Balance:
Allies – 6
Axis – 5
Complexity:
2
Conditions:
Jungle
Location:
Gaudalcanal
Year:
1943
Theater:
Pacific Theater
Campaign:
Guadalcanal Campaign
Codename
Summary:
Objectives:
5 VP’s
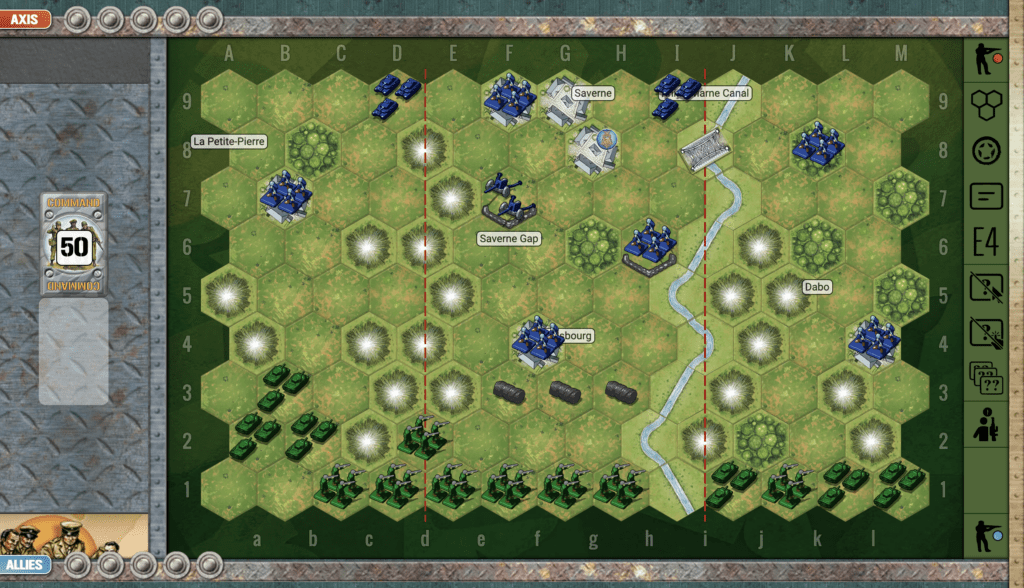
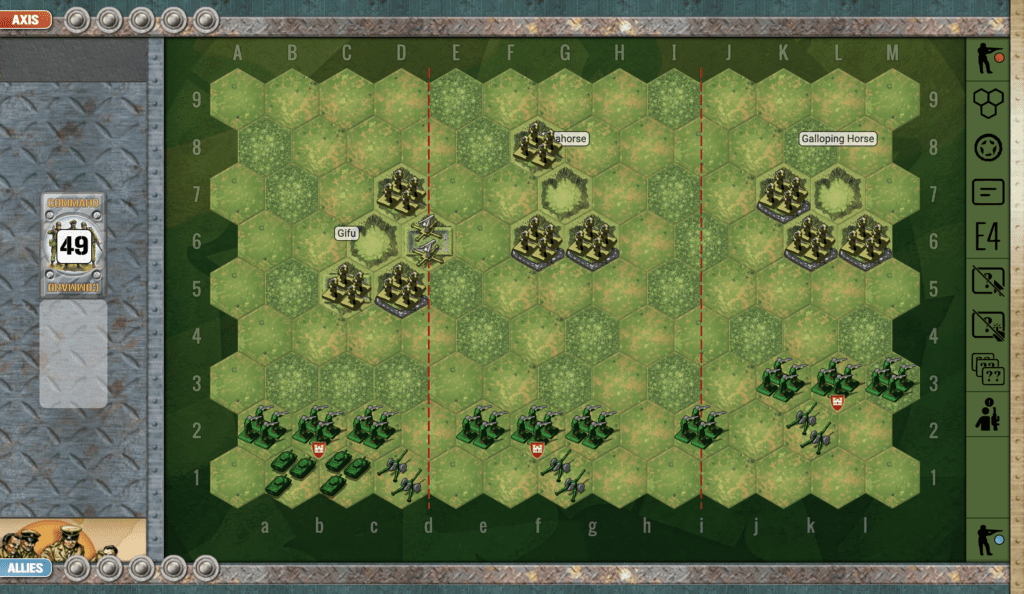
Battlefield:
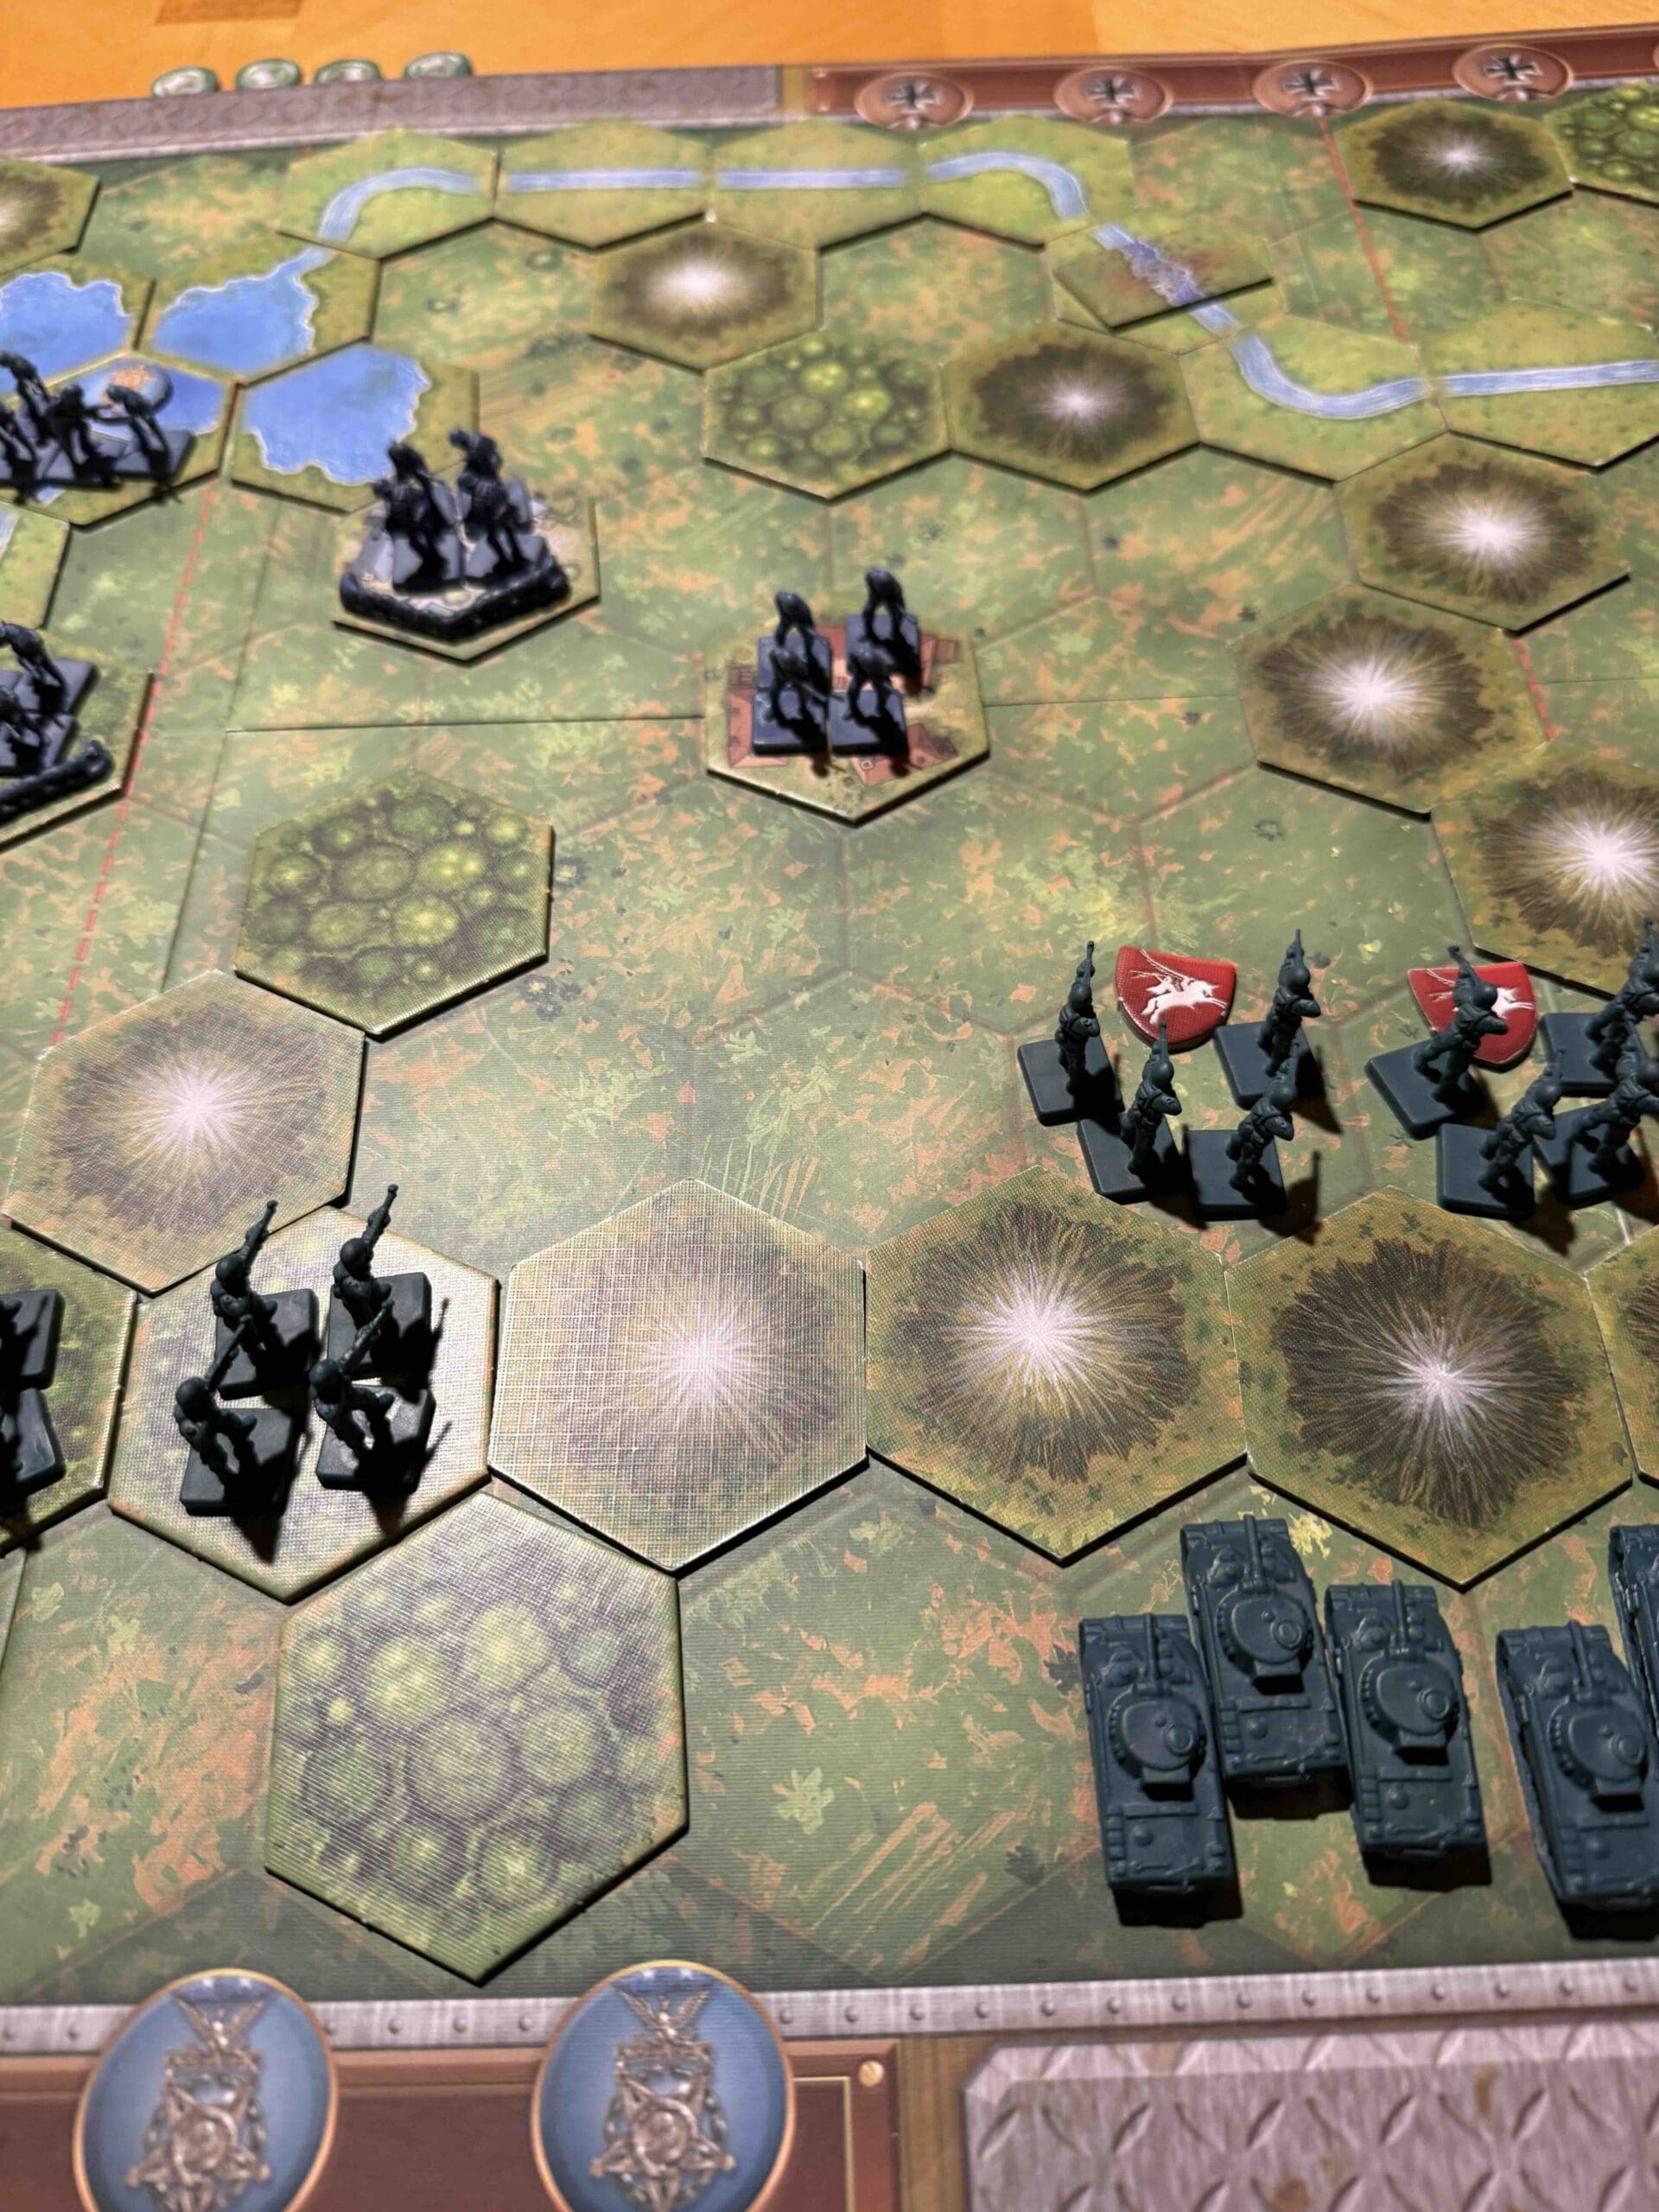
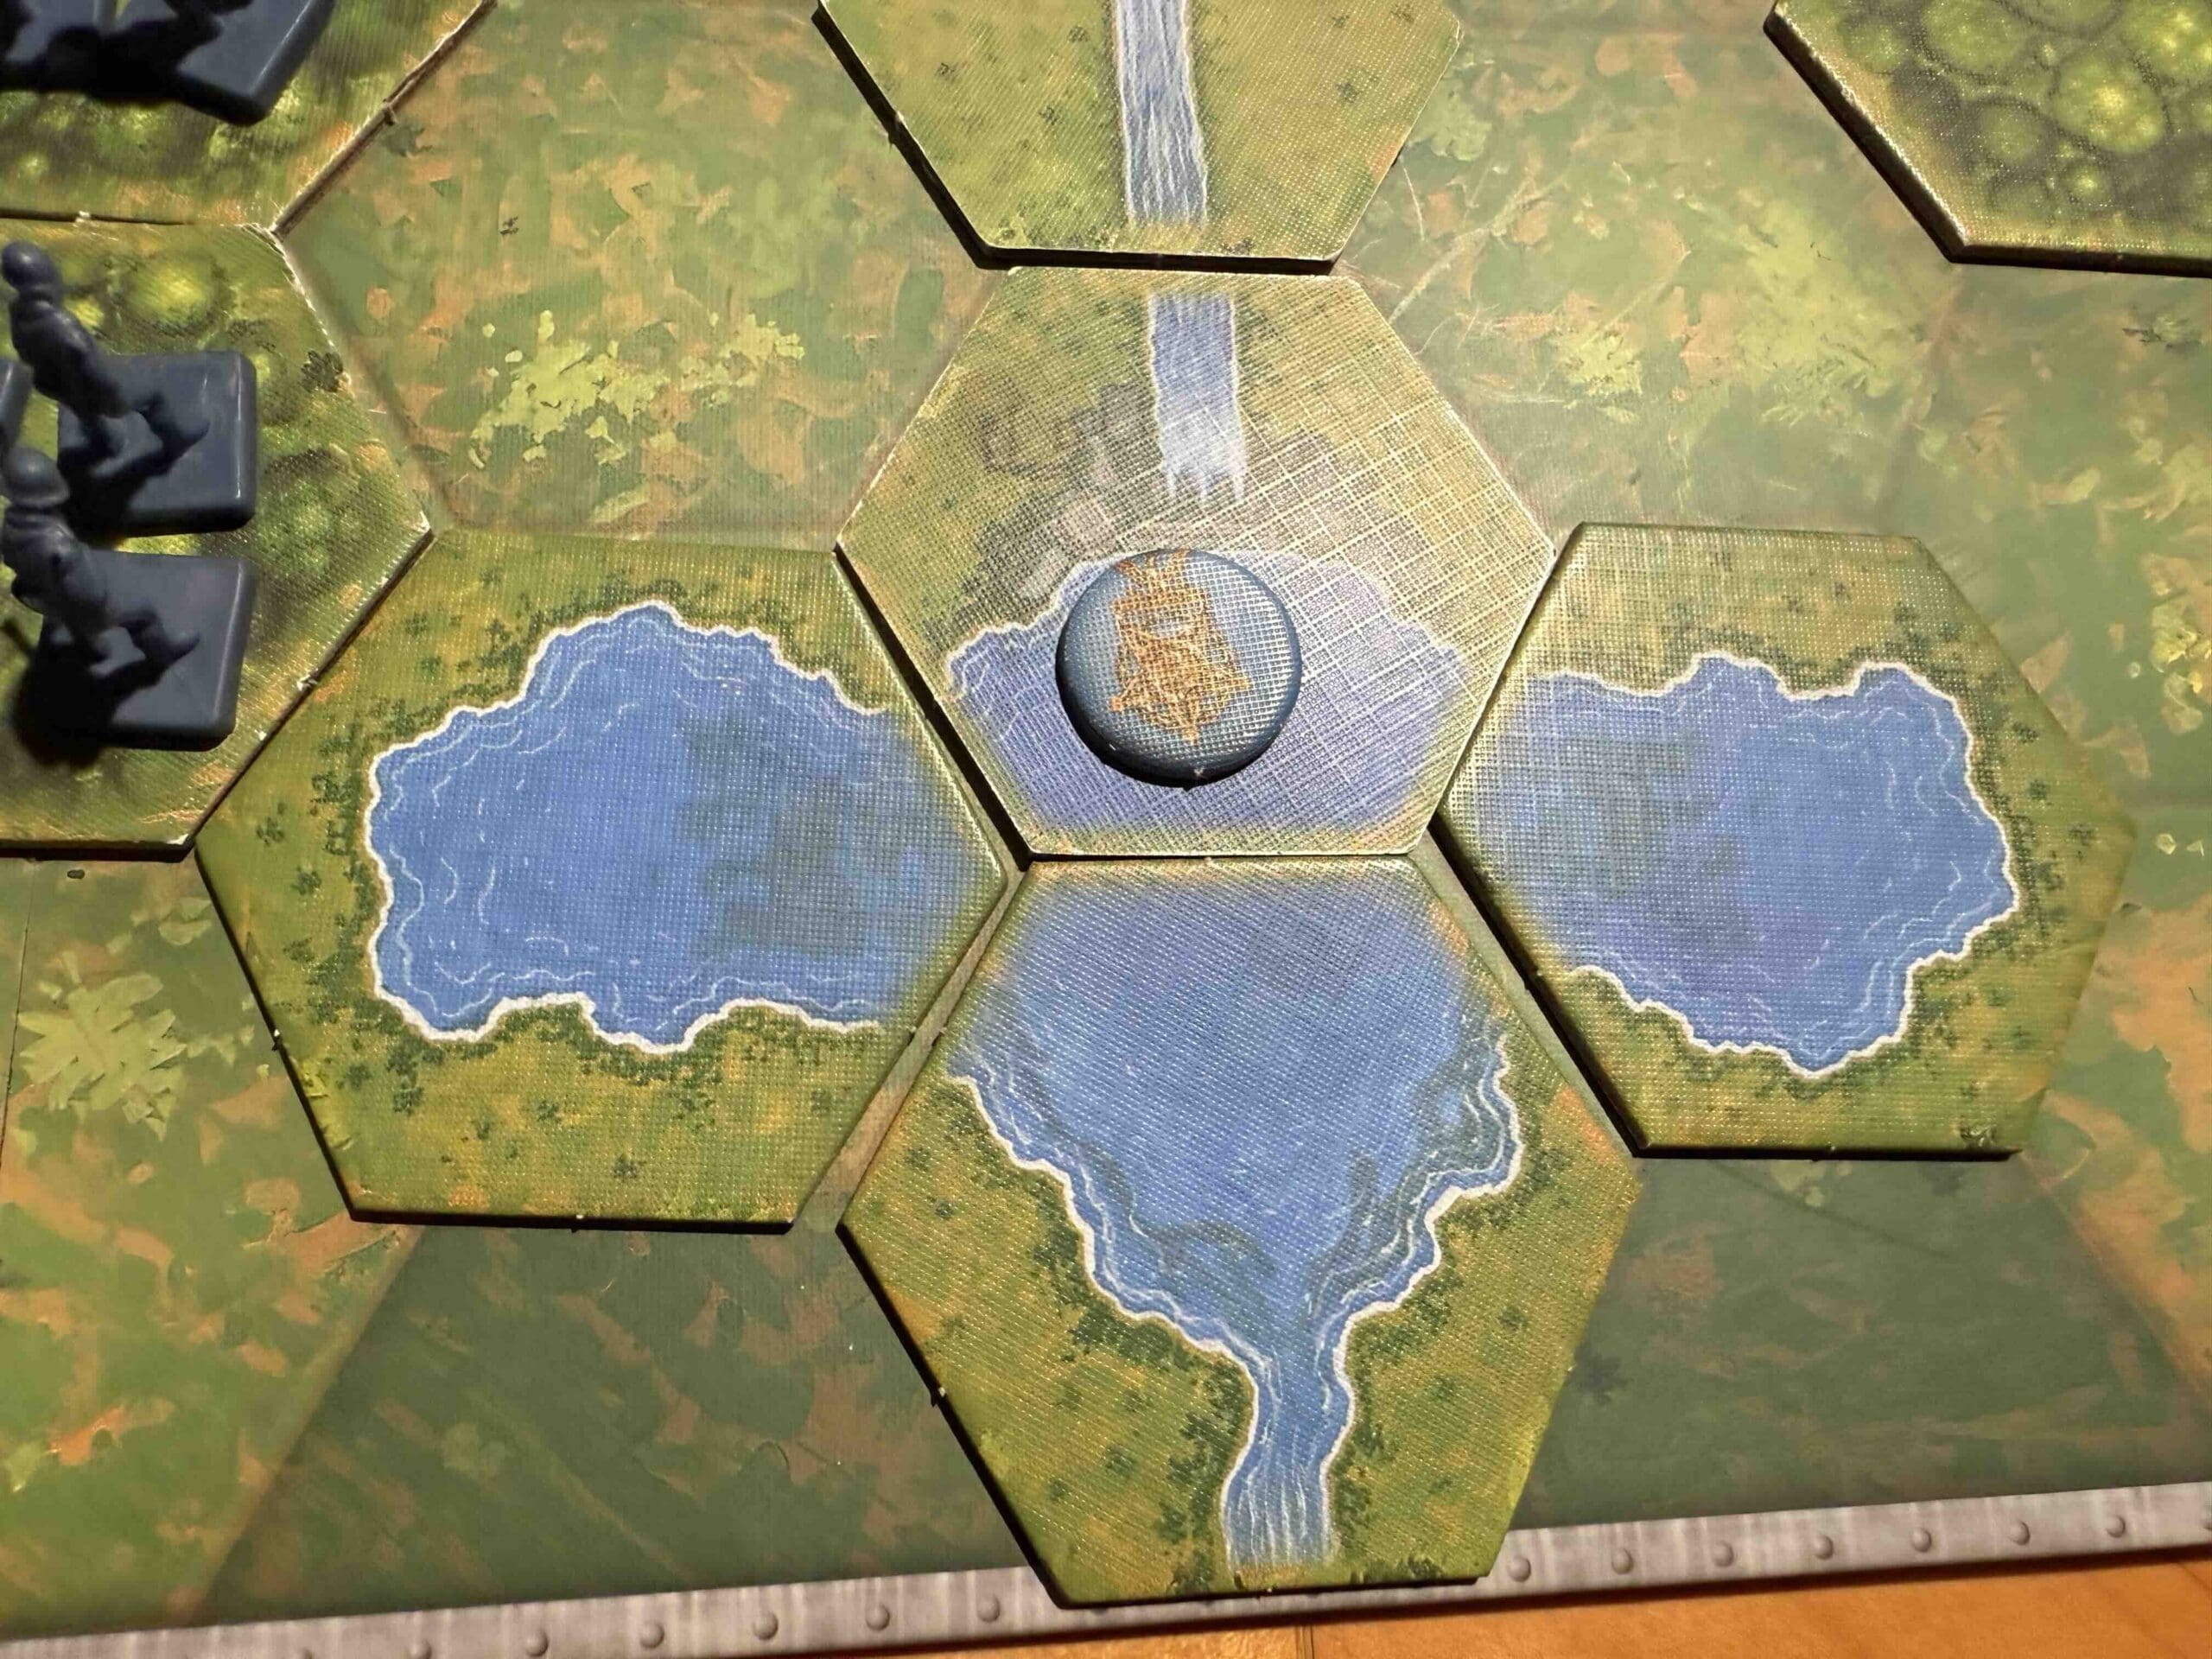
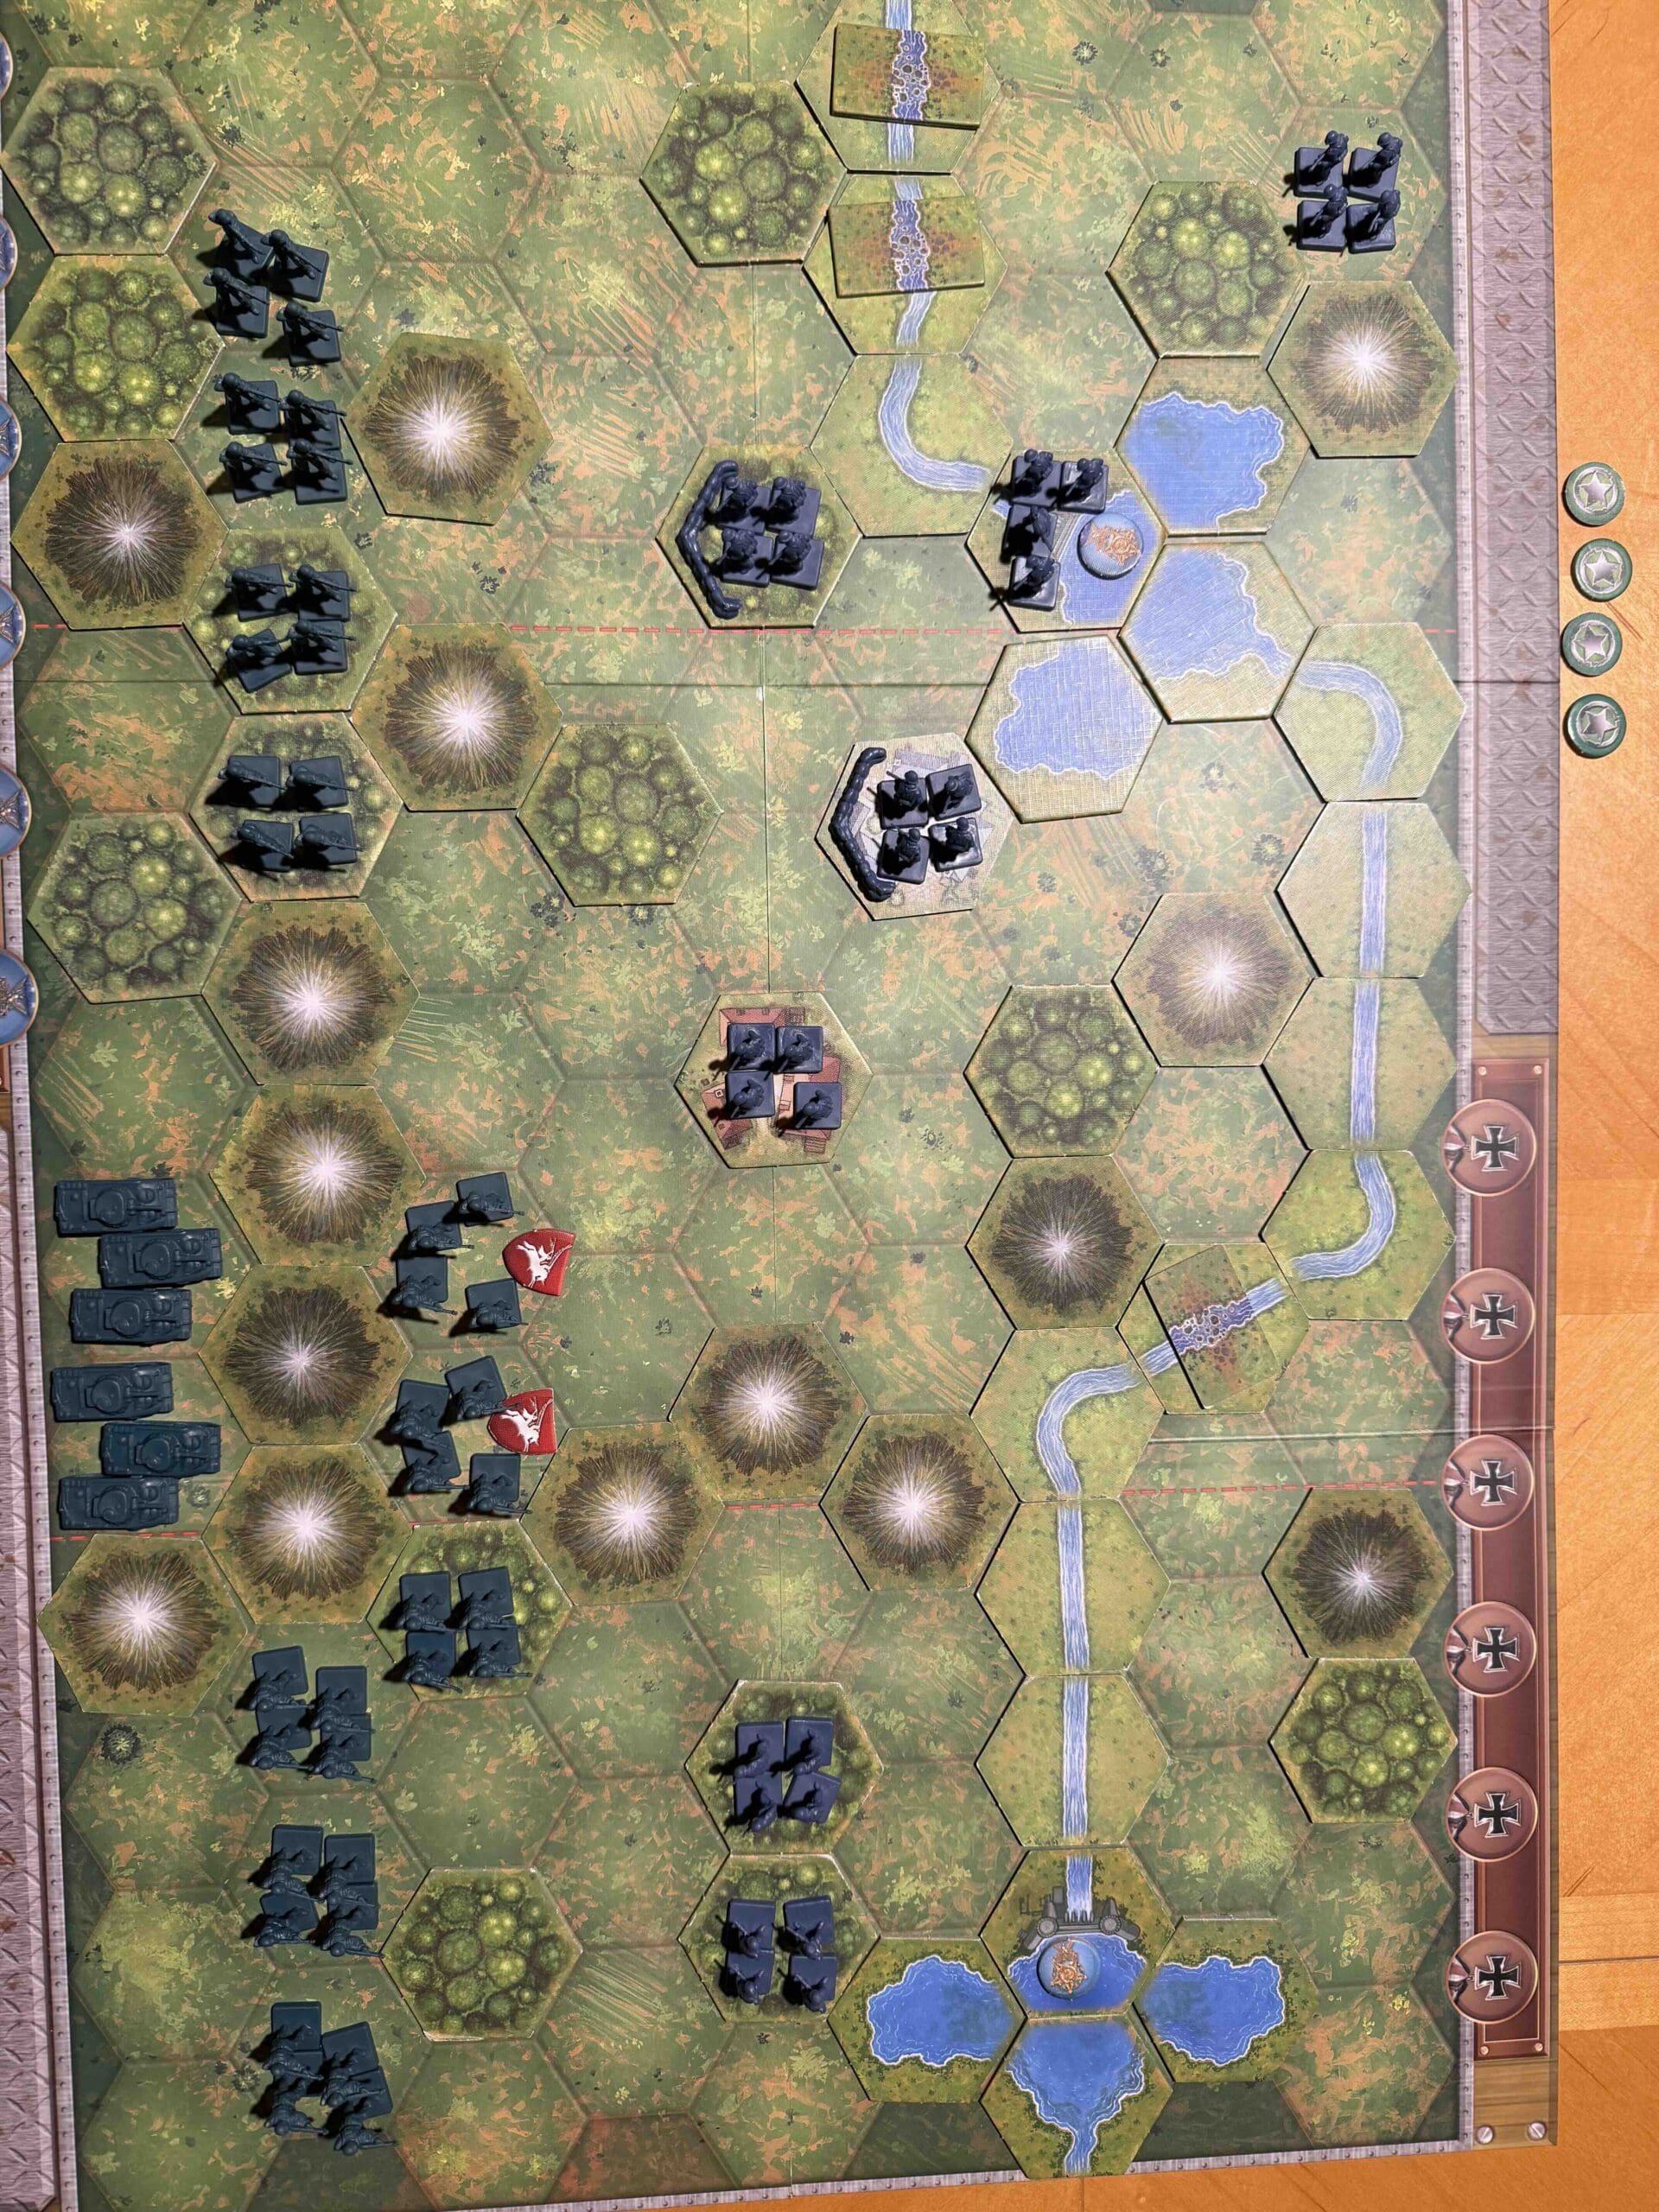
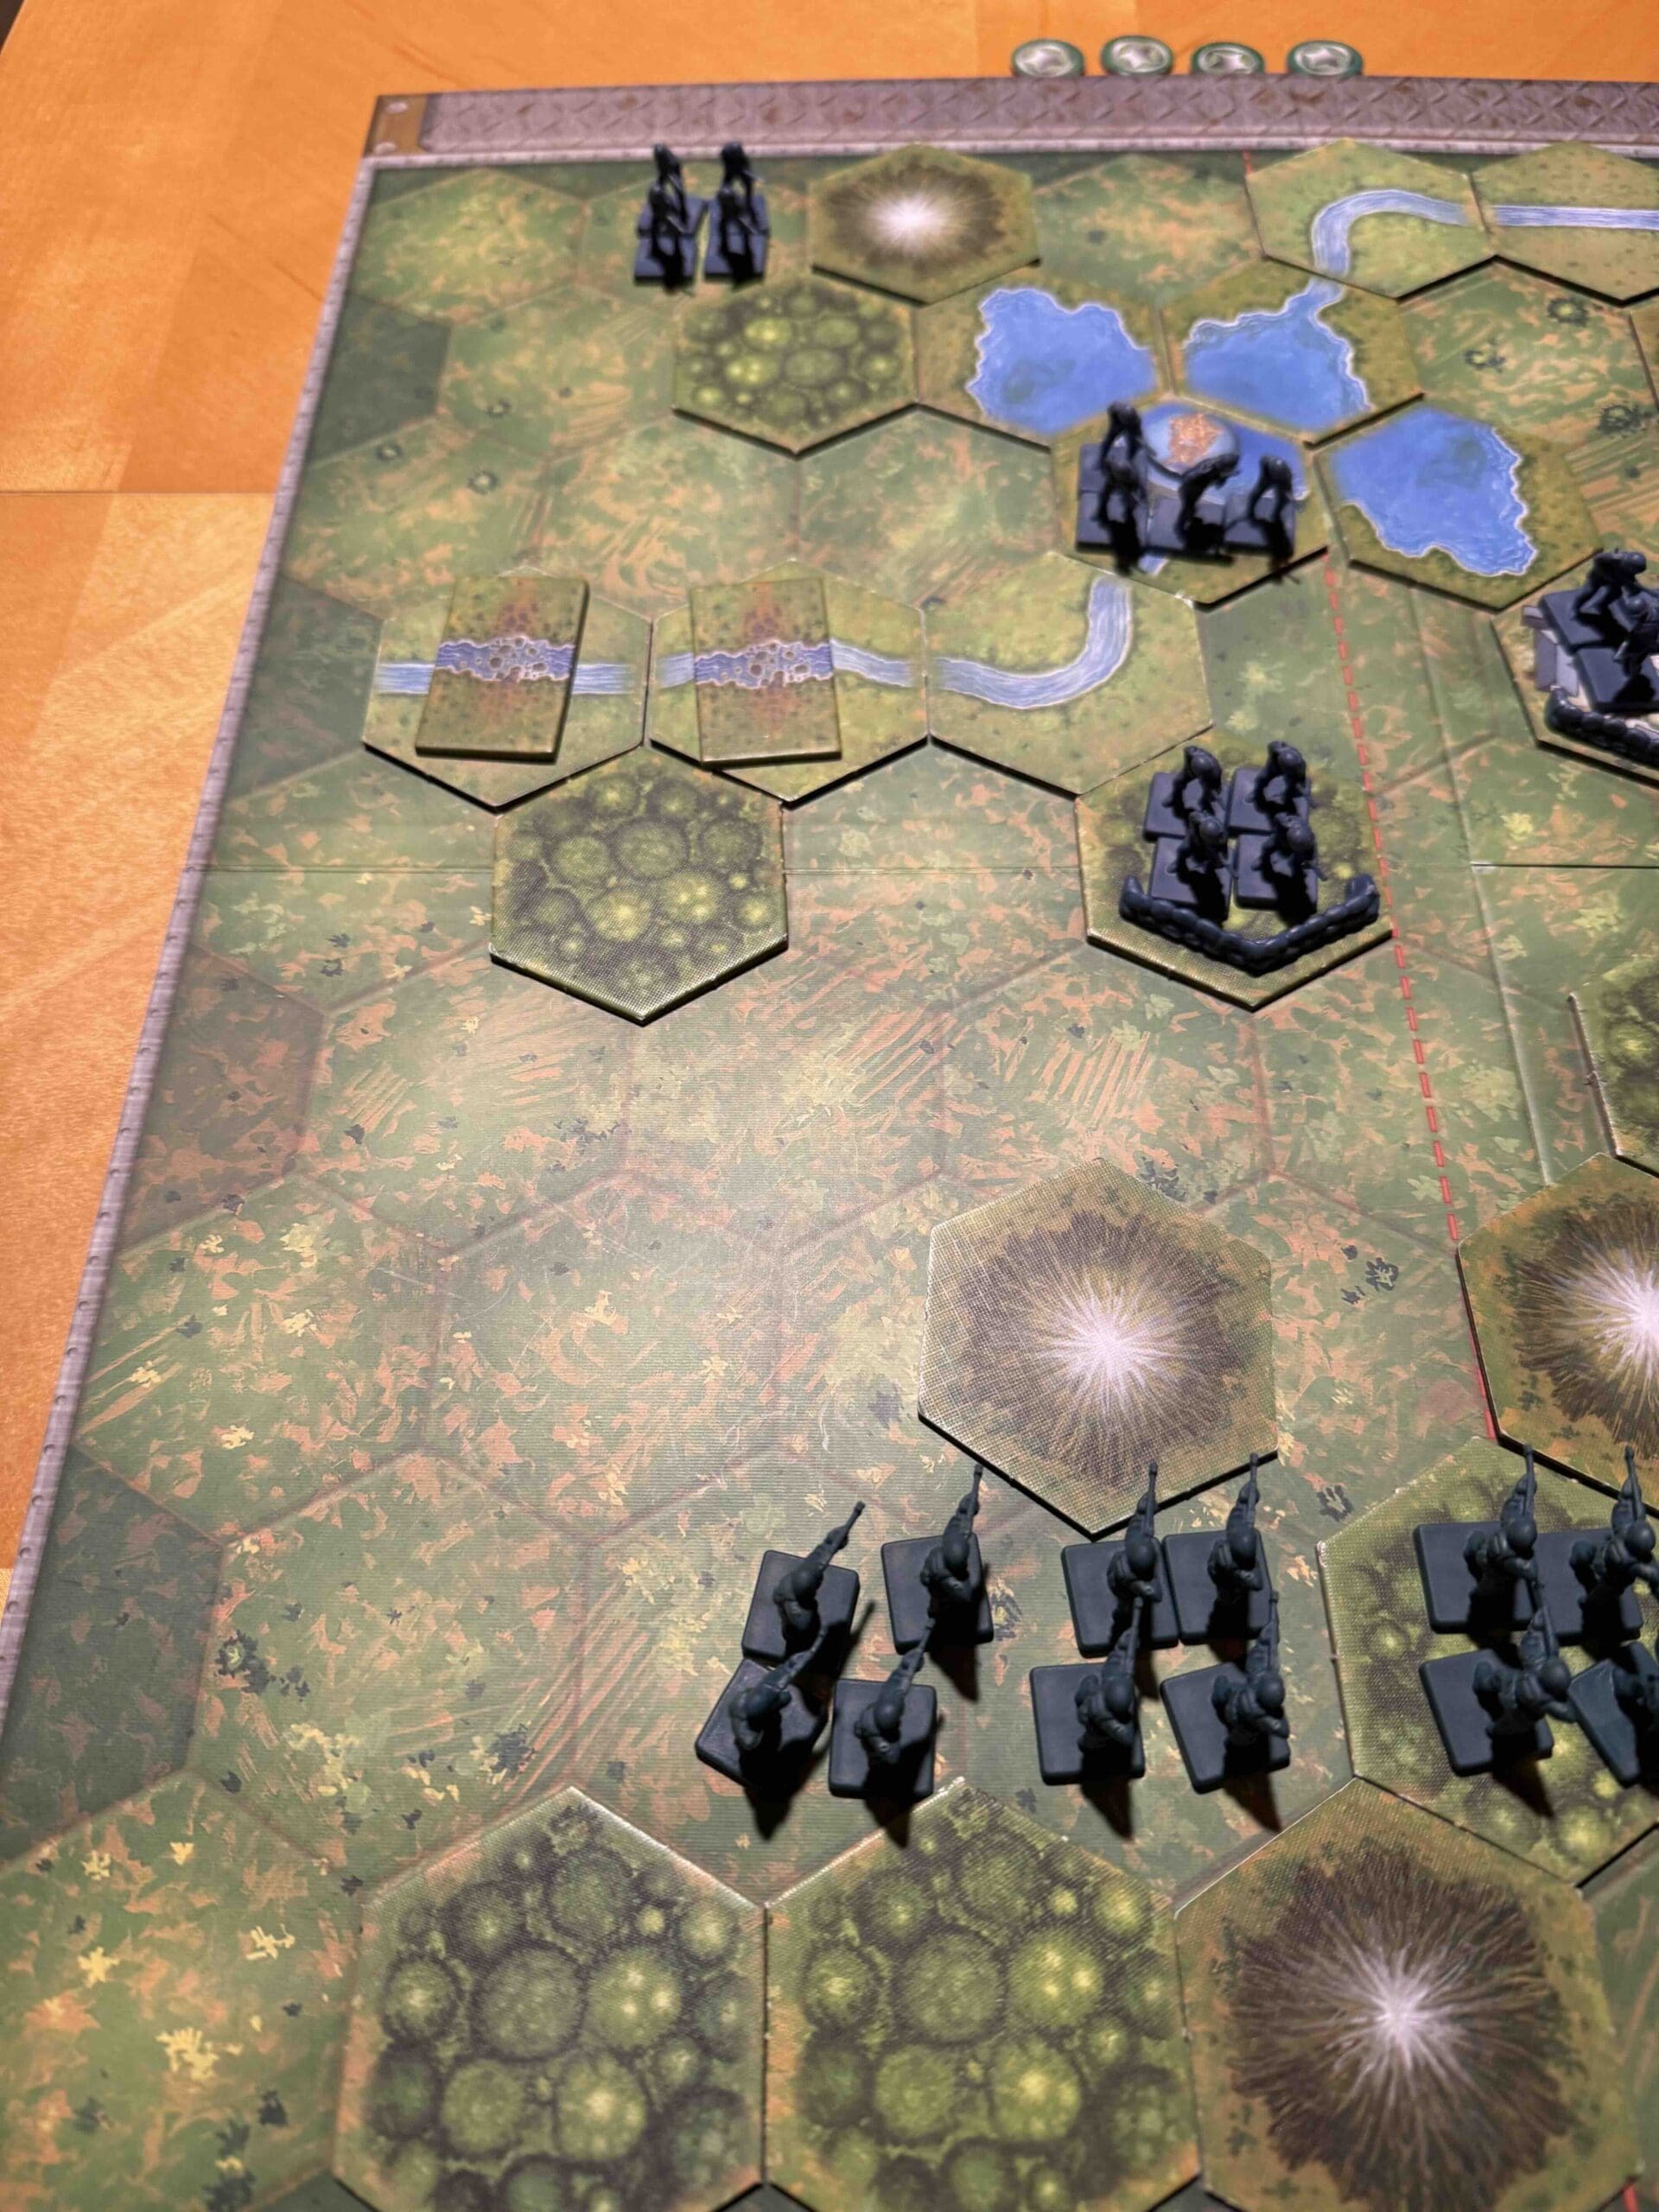
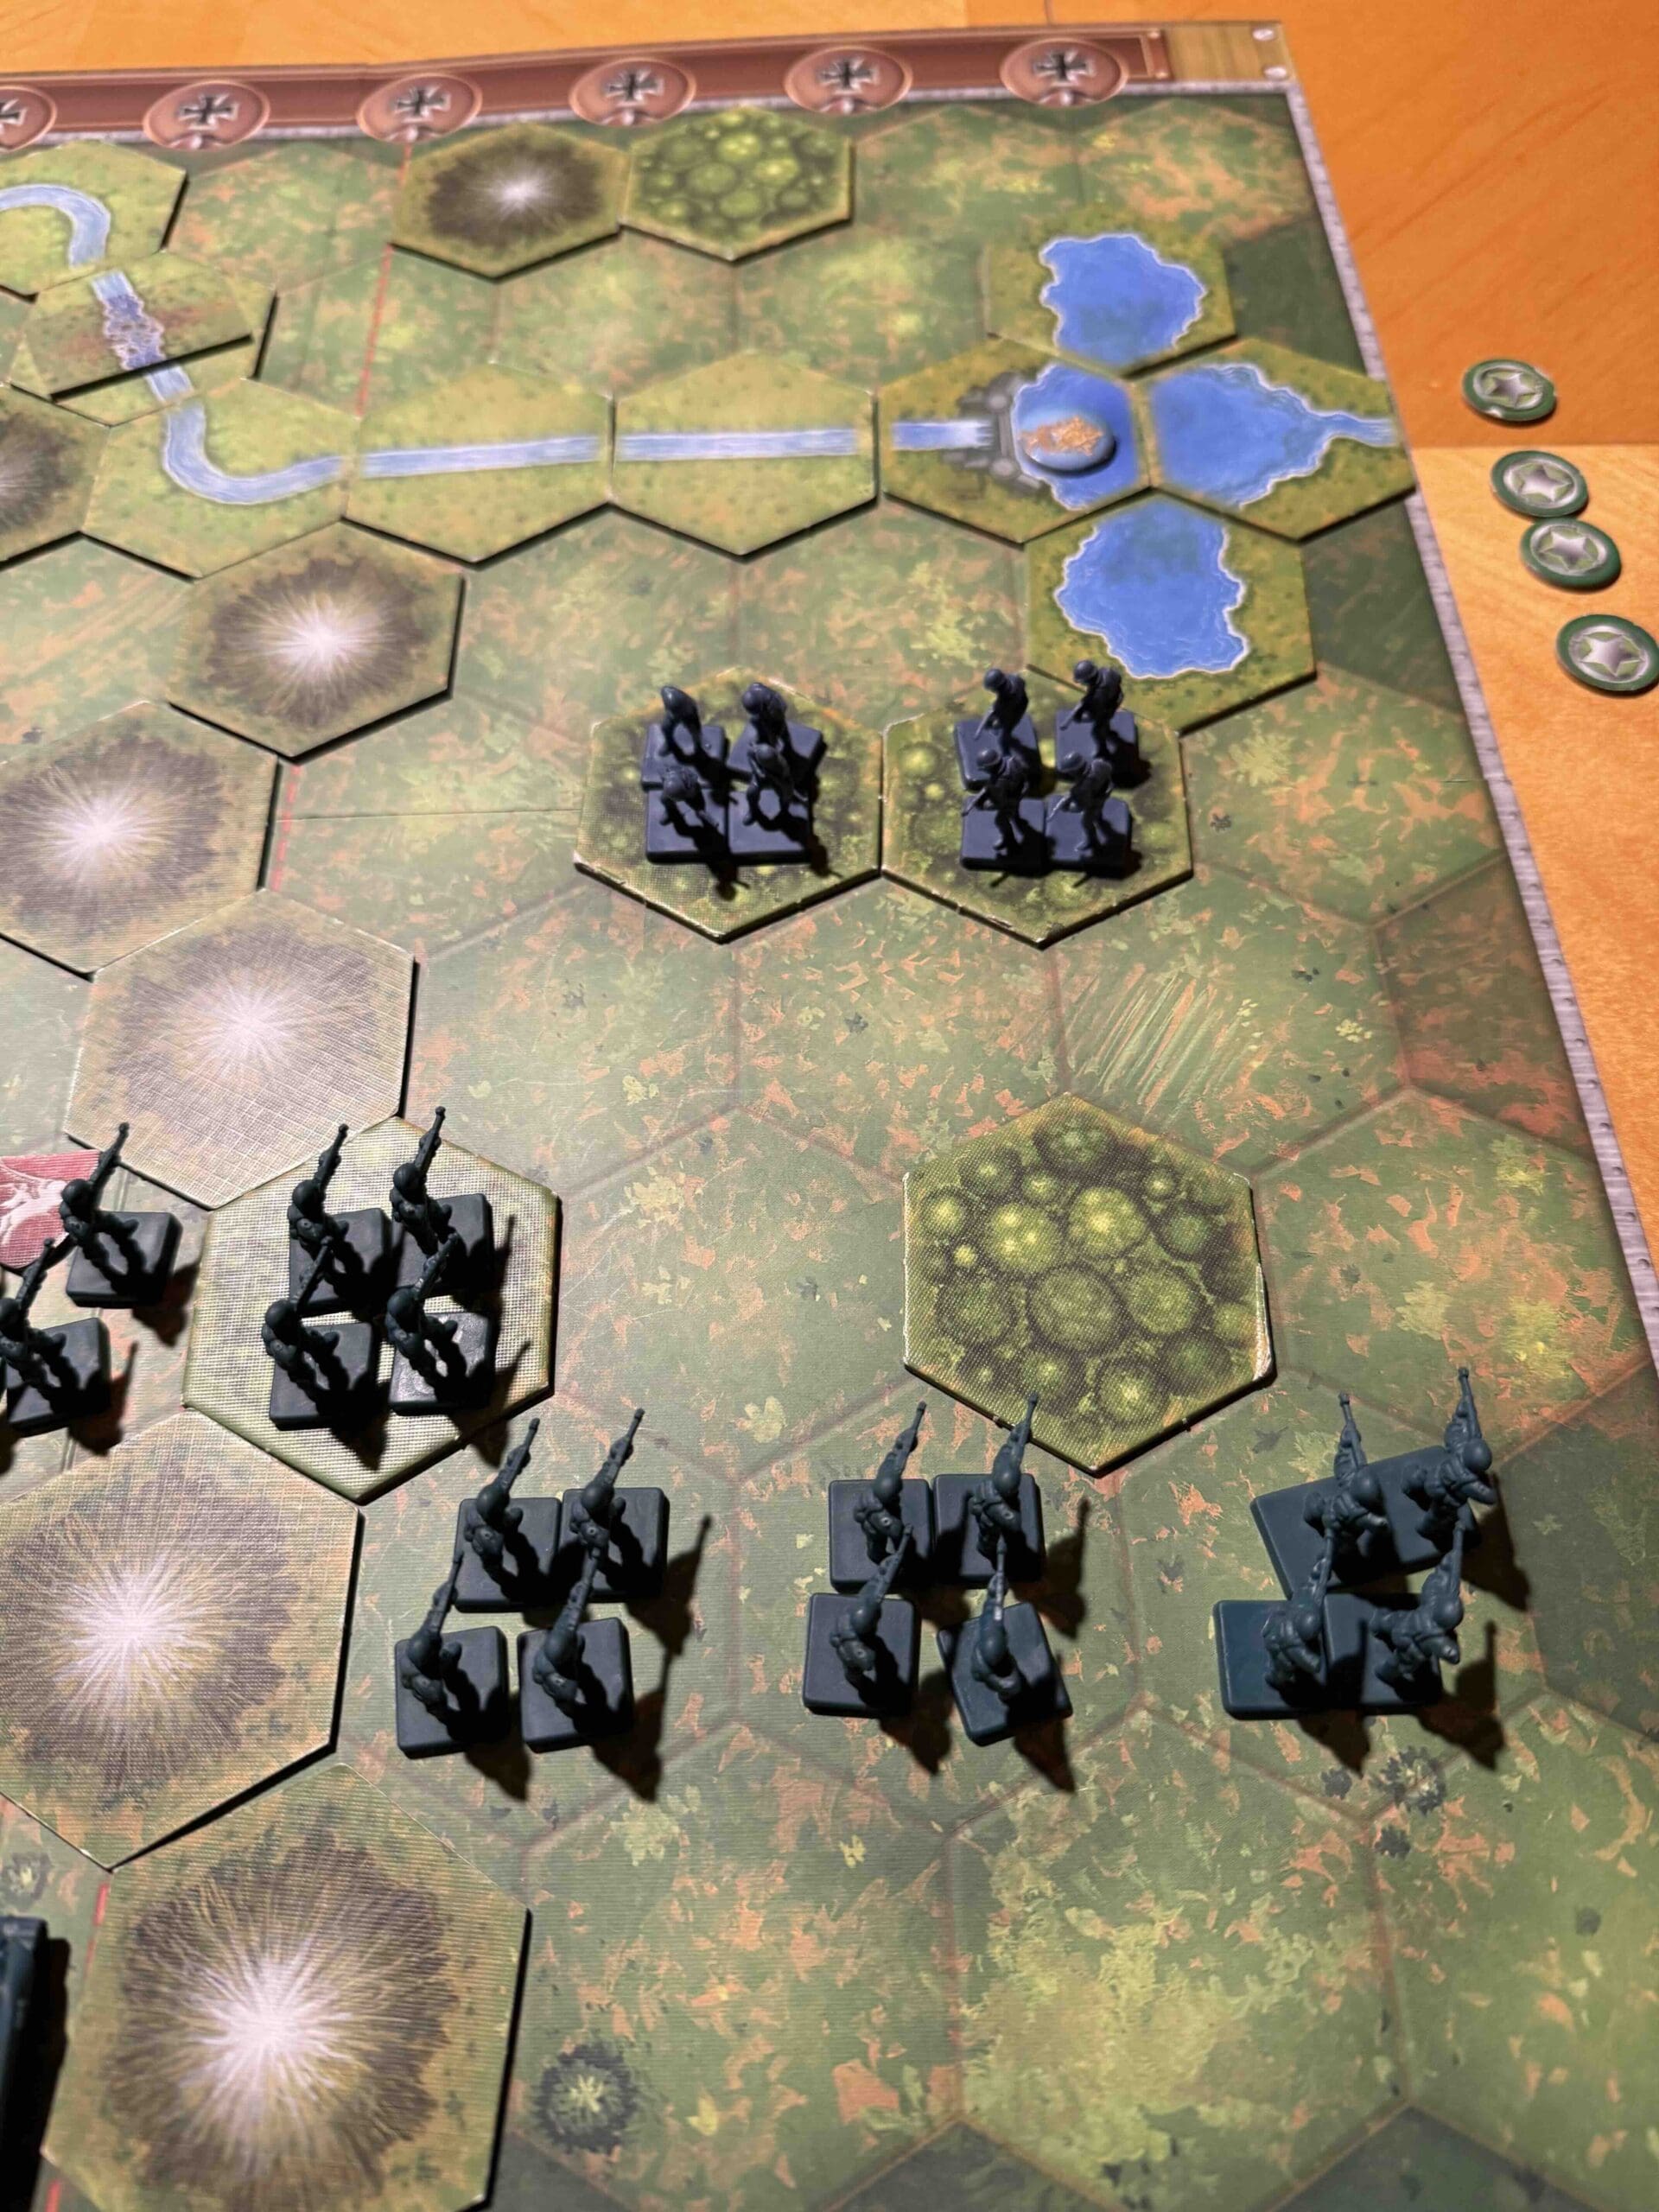
The battlefield is pretty wide open, except for three hilly hexes spread across all three sections.
Troops:
Allies – 10 Infantry, 2 Armor, 3 Artillery
Axis – 9 Infantry, 1 Artillery

Allied Strategy:
1. The right flank has no artillery defending, so it presents a possible path for attack for the Allies.
2. The Allies have three artillery. This is a powerful assist to the Marines. Use the artillery to soften the Japanese forces. The goal is to knock out at least one figure per hex, in order to elminate the Seishin Kyoiku advantage.
3. Get your armor into fire positions as soon as you can. The open pathway between the jungle hexes will provide you with the quickest access to the enemy.

Axis Strategy:
1. Make use of your artillery on the right flank. There are a couple of Allied units with no retreat, which you can hit with 2D attacks.
2. You have a couple of infantry units that are well behind the field of play. Bring them forward so that they can have some fun too!
Classic Battlefield Reports
(percentage of Allied victories):
63%
Author:
Days of Wonder
Link: