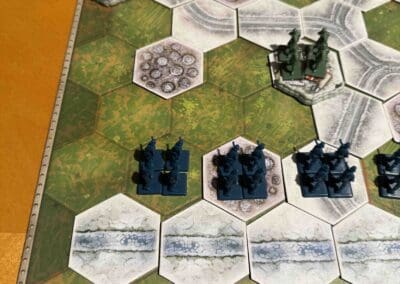
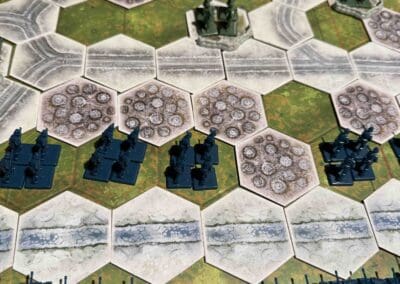
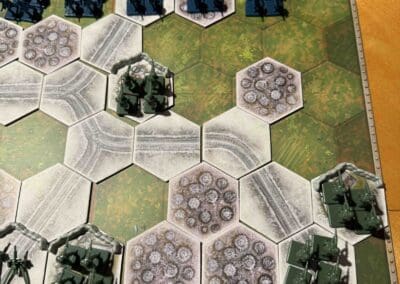
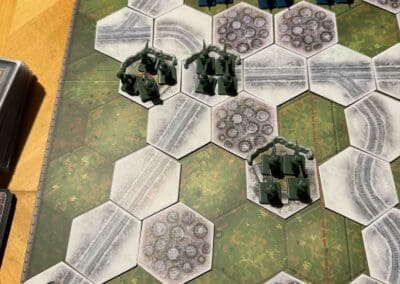
Clervaux – The Road to Bastogne

Clervaux - The Road to Bastogne

December 16-17th, 1944:

Clervaux was the first hard punch the Germans threw on their dash toward Bastogne during the opening of the Battle of the Bulge, and our boys met it head-on.

At Clervaux, the men of the 110th Infantry Regiment were badly outnumbered and staring down German armor—but they didn’t blink. They fought from roadblocks, stone buildings, and that old castle like seasoned professionals, squeezing every minute they could out of the enemy. They knew the mission wasn’t to win ground; it was to bleed time.

Clervaux fell, but it fell hard—and that delay threw sand in the German gears. Those precious hours helped seal Bastogne’s defenses and turned a German gamble into a fight they couldn’t win. That’s how wars are won: not by retreating fast, but by making the enemy pay for every damned mile.

~~ General Howitzer

VP’s: 8

Card Balance:

Allies – 5

Axis – 6

Complexity:

3

Conditions:

Winter

winter

Location:

Belgium

Year:

1944

Theater:

Western 

Campaign:

Battle of the Bulge

German Name:

Unternehmen Wacht Am Rhein

Summary:

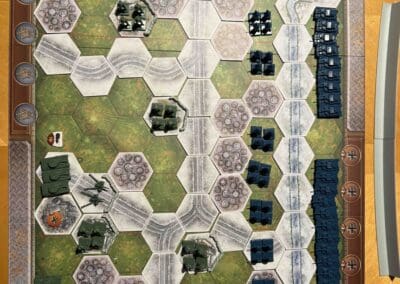
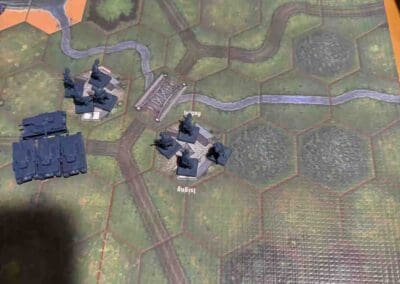
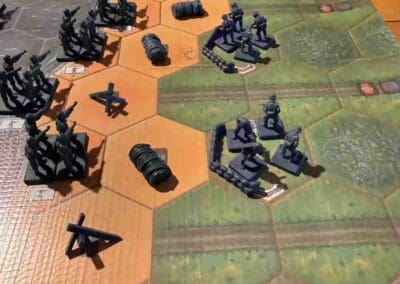
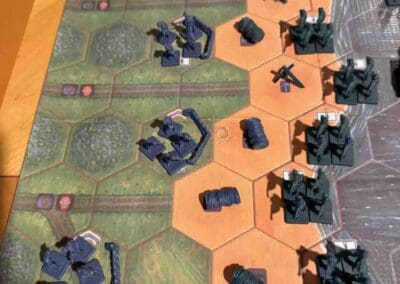
This is a fun and exciting scenario as the Americans attempt to hold off a German onslaught of tanks and infantry in the Battle of the Bulge.

Objectives:

Eight Medals.  There are also two Exit Medals for the Germans to breakthrough, and three Permanent Medal Objective (Turn Start), including the castle at Clervaux.

Battlefield:

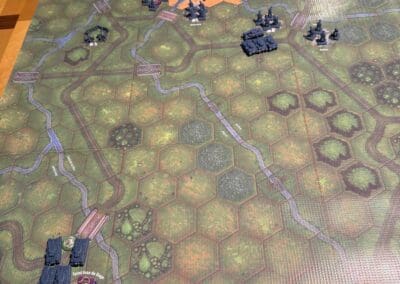
Winter conditions, with roads and rivers cutting through the battlefield.

Troops:

Allies – 8 Infantry, 3 Armor, 1 Artillery

Axis – 9 Infantry, 7 Armor

Special Rules:

1.  Winter Combat rules – two hex armor movement

2.  Reduced Visibility rules – only hit with Grenades unless in Close Assault

3.  Tank Destroyer (2,2,2,2), and hits Armor on Stars

3.  The river is frozen, but impassable.

4.  Pontoon Bridge rules – use an Attack card to build a bridge

5.  Also play with Winter Combat cards in addition to regular Combat cards

6.  Winter Combat Cards – two per player; 

medal alliesAllied Strategy:

1. Defend the Exit Hexes.

2.  Defend the three Permanent Medal Objectives. 

medal axisAxis Strategy:

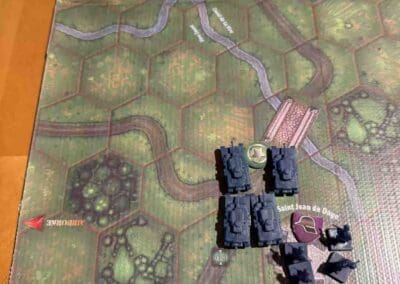
1.  First priority is to get some bridges built across the impassable Our River, so that your tremendous tank force can make a difference in this battle.  Play an Attack card, and instead of moving three units, build a Bridge in that section. 

1
BR - Clervaux

Author: Days of Wonder

URL
Utah Beach [Breakthrough]

Utah Beach [Breakthrough]

At Utah Beach, the Americans did exactly what winning armies do—they adapted, moved fast, and drove inland with purpose.

The sea shoved our boys off target, but instead of whining about it, they took advantage of it. They came ashore where the Germans were weaker, reorganized on the fly, and went straight at the enemy. The leadership of Brigadier General Theodore Roosevelt Jr., made the difference—clear orders, aggressive movement, and no hesitation. By linking up with the airborne troops and punching inland, the U.S. forces turned what could have been confusion into momentum.

Casualties were light because the attack was bold and decisive. Utah wasn’t a grind; it was a lesson. War rewards speed, initiative, and commanders who seize opportunity. On Utah Beach, the Americans did all three—and that’s how you win.

~~ General Howitzer

12 VP’s

card

Card Balance:

Allies – 

Axis – 5* (first turn starts with 4)

Complexity:

4/5

Conditions:

Beach

beach

Context:

Historical

Location:

Normandy

Year:

1944

Theater:

Western

Campaign:

D-Day

Summary:

This is an Breakthrough game, so make use of the Breakthrough Command cards.

Objectives:

12 Medals 

Terrain:

Beach terrain

Troops:

Allies –  Infantry, Armor, one Destroyer

Axis – Infantry, Armor, Artillery with Big Guns

Special Rules:

1.  Destroyer – attacks at 3,3,2,2,1,1,1,1 (with a locked in targeting reticule upon a successful hit)

2.  Entry hexes for the Axis (Use one initiative roll [see Overlord rules] before each turn for the Axis.)

3.  Big Gun rules – attacks at 3,3,2,2,1,1,1,1 (with a locked in targeting reticule upon a successful hit)


medal allies 

Allied Strategy:

1.  You have a Destroyer in the bay. Use it as much as you can to target the enemy Big Guns. Once you hit them once, you can assign a Target Reticule to the hex if you make one hit, allowing you to roll one extra Dice until the unit is eliminated or moves from the hex.  Do not move the Destroyer too close, or the two enemy Big Guns can eliminate you. 

2. You need to break through all the Infantry blockades in the bunkers and sandbags, and escape out the Exit Hexes as soon as you can before the tanks show up.

3.  Take the time to remove the barb wire lining the beach. It will take one turn to remove it, but it will speed up the escape for all the troops who follow. 

4.  You can win this scenario and never venture beyond row twelve.  Make use of the Exit Hexes. 

BIG PICTURE STRATEGY FOR BOTH SIDES:

1.  This is a Breakthrough version of the Utah Beach attack, so it is long, 12 hexes, and you will need to use the Breakthrough cards, to get some additional movement options for each side. 

medal axis

Axis Strategy

1.  You will need to get your troops down to the Allied Exit hexes in the upper part of your left section, ASAP.  Move all Armor up the road to block the Exit Hexes.  If you succeed in rolling any Armor on your initiative roles, start them at the Entry Hex on your left section to try to get as many forces as you can into play near the Exits.

2.  You have two Big Guns alongside the bay.  You can wipe out a lot of troops if you use them at every chance. 

1
BR - Utah Beach [Breakthrough]

Author:

Days of Wonder

Link:

Peleliu Landings [Overlord]

Peleliu Landings (Overlord)

memoir 44 scenario

Listen up. When our boys hit Peleliu, they weren’t stepping onto some quiet stretch of sand — they were walking straight into a hornet’s nest carved out of coral and steel. The Japanese didn’t waste men on the beaches; they dug themselves into the ridges, the caves, and the guts of that island, building a fortress designed to bleed us dry.

The 1st Marine Division landed under murderous fire — artillery, machine guns, everything the enemy could throw. They took casualties by the score, but they kept pushing, clawing their way off those beaches yard by yard. By nightfall, they’d carved out a foothold. Not victory — just a place to start swinging.

Peleliu wasn’t taken in a day. It was a slugging match, the kind where grit and guts matter more than numbers. And the Marines proved that when the chips are down, America’s fighting men don’t back up — they break through.

~~ General Howitzer

13 VP’s

card

Card Balance:

Allies – 11

Axis – 8

Complexity:

5/5

Conditions:

Beach

beach

Context:

Historical

Location:

Palau Islands

Year:

1944

Theater:

Pacific

Campaign:

Guadalcanal Campaign

Summary:

This is an Overlord game, so make use of the Jungle Command cards, two per side.

Objectives:

12 Medals including Territorial Control, and Exit Row medals and a sudden death hex all for the Japanese.

Terrain:

Beach and jungle terrain, and mountains, and an airfield.

Troops:

Allies –  Infantry, Armor, Destroyers

Axis – Infantry, Armor, Artillery

Special Rules:

1. Majority  Temporary Territorial Control  – whomever controls 3 of the 4 buildings of the airfield

2.  Exit Row Medals – to any Marine forces that exit

3.  Imperial Japanese Army Command rules – Seishin Kyoiku Doctrine (SKD), Yamato Dashi Concept (No Surrender), Banzai War Cry

4.  US Marine Corps rules – Gung Ho! rule – activate one extra unit more than the card played indicates

5.  Airfield rules – no movement restrictions, no combat restrictions, no line of site restrictions

6.  Jungles – Movement, must stop; Battle, only if starting in, or adjacent to hex; blocks Line of Sight;

7.  Minefields,

8.  Marshes,

9.  Mountain terrain – only Infantry may move onto Mountains; Battle, up the mountain reduces dice by two; blocks Line of Site

10.  Destroyers – attacks at 3,3,2,2,1,1,1,1


medal allies 

Allied Strategy:

1.  The Marines should avoid the Japanese up in the mountains on their left flank.  There is little to be gained in that sector.  Instead direct your forces at an angle towards the center, to bring pressure to bear towards the airfield.

2.  The two Exit hexes for the Marines are an excellent and achievable goal.  Work your way through the jungle and send some of our boys home to safety!

3. You have a warship at your disposal on your left flank.  Use it at every opportunity to degrade the enemy forces.  It is close enough to the center, that you can provide some good support for the forces fighting on the center beach. 

4.  The Marines are able to use their Gung Ho! ability to command one additional unit – but only in one section at a time.  So the Command-In-Chief (CIC) should decide which sector requires the additional unit to be ordered, to either shore up a section that needs additional defense, or to enhance an attack with one additional unit to command.

5.  You start the battle with three Engineer units.  Get them off the beach and into the jungle as soon as possible. They will be able to overcome the jungle terrain protections, ignoring them at Close Assault, and being able to roll three dice for each attack. This will help to quickly blunt the Japanese SKD abilities. 

BIG PICTURE STRATEGY FOR BOTH SIDES:

1.  Because this is an Overlord game, hand management becomes critical.  At the start of the game, both sides have plenty of cards to fight with. The Allies get 11 cards, and the Axis get 8.  But because they can spend up to three cards per turn, and only get replenished at the rate of 2 cards per turn, each side will begin to run out of playable cards, about half-way through the game, and will have to resort to Initiative Rolls for one of their Field Commanders.

2.  The center two sections are where most of the action is going to take place.  As the Marines push up toward the Airfield, and the Japanese bring their Armor out from behind the mountains, they will all converge for an awesome bloodbath on the central beach.

3.  This is a long scenario with 13 Victory Points.  This means strategic hits, and good defensive moves, so that you are attacking the enemy from places of protection, will slowly build up to a successful attack, unit by unit. This scenario is not won in a single decisive attack.  You will need to use your forces everywhere for a total war attack methodology.

4.  This is an Overlord game, so be sure to understand the rules for how the Commander-In-Chief (CIC) distributes cards, and who is authorized to attack in which sections.  Clarify before the game starts, any special rules for how to apply multi-sectional cards, and Tactic cards.  The official Days of Wonder Overlord rules can be found here on the General Howitzer site.


medal axis

Axis Strategy

1.  You have a number of powerful Armor which are capable of doing great damage to the enemy on the beach. But they are blocked in by your Infantry.  So get the Infantry moved out of the way, and take a couple of turns to attack the unprotected and helpless forces on the beach.

2.  Keep a few forces close to the Airfield, which is a Permanent Majority Medal Objective.  If the enemy controls three of the four building hexes at the end of their turn, this will earn a Permanent Medal Objective.

3.  Also keep a few forces close to the Exit hexes to prevent the enemy from escaping, and earning medals.

4.  Because of the Seishin Kyoiku Doctrine (SKD), your full force Infantry units get to roll one extra dice in Close Assault attacks.  If you move your forces quickly forward onto the beach, you can capture the Marines at their weakest, and with your extra dice rolls, either kill them, or push them back into the sea for retreat kills.  (Although it should be noted that historically, the Japanese attacked the beach from a distance and waited for the Marines to come to them, all the while inflicting heavy losses upon them for each territorial gain.)

5.  You have two Artillery units which can reach all the way to the beach.  Use them at every opportunity to attack the enemy from a distance. Do not move out your forces too early to the beach.  Make them come to you, and keep hitting them with the Artillery as they approach. 

2
BR - Peleliu

Author:

Days of Wonder

Link:

Sword Beach (Breakthrough)

Sword Beach (Breakthrough)

Sword Beach

The Battle of Sword Beach took place on June 6, 1944 (D-Day) — the easternmost of the five Allied landing beaches during the Normandy invasion. It was assigned primarily to British forces, with support from Free French commandos, as part of Operation Overlord.

By nightfall on June 6, the Allies had:

  • Landed over 28,000 troops

  • Secured a beachhead about 5 miles deep

  • Linked up with Canadian forces from Juno Beach

  • Held their positions despite German counterattacks

Listen up, men — Sword Beach wasn’t just another patch of sand; it was the gateway to Caen and the key to cracking open Hitler’s Atlantic Wall on the eastern flank. At dawn on June 6th, the British 3rd Infantry hit that beach under a storm of lead and steel. Mines, wire, and concrete — it didn’t matter. They went straight through it, methodical as a tank rolling downhill.

While naval guns thundered from offshore, the Royal Engineers cleared obstacles like veterans of a hundred storms. And those Free French commandos — they fought like lions, linking up with the boys from Pegasus Bridge to lock down the flank before Jerry could regroup.

The Germans tried to hit back with their 21st Panzer Division, and for a moment, they even reached the coast — but our airmen and artillery smashed them flat. By nightfall, the British held Sword, linked up with the Canadians at Juno, and built a bridgehead five miles deep.

Caen didn’t fall that day — but Sword showed the world how an army fights when it’s trained, disciplined, and led with purpose. That’s how you take a beach — with steel in your hands and fire in your gut.

~~ General Howitzer

VP’s

12

card

Card Balance:

Allies – 6

Axis – 4

Complexity:

4

Conditions:

Beach

Context:

Historical

Location:

Normandy

Year:

1944

Codename:

Operation Overlord

Summary:

12 Victory Points:

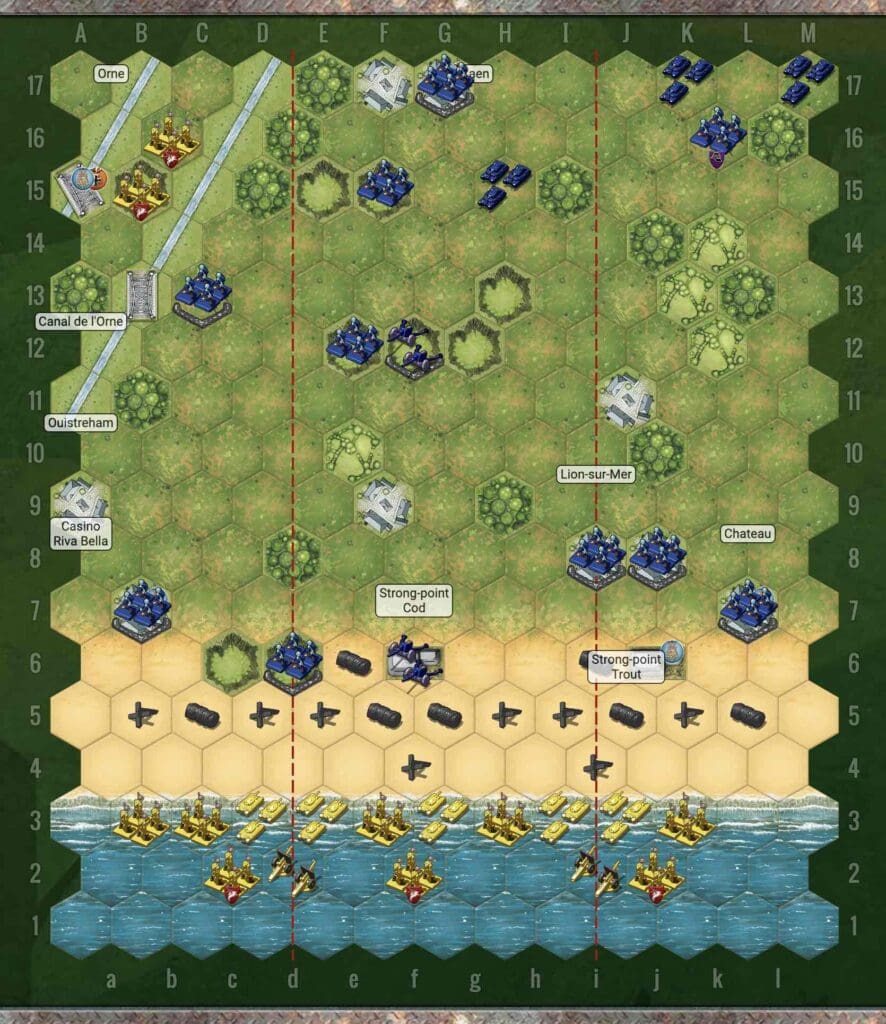
12 Medals, including Permanent Medal Objectives for Allied control of Casino Riva Bella, Strong-point Cod, and Strong-point Trout.   Also a 2-Medal Temporary Objective for which ever side controls the Orne River and Canal.  Finally,  massive 3-Medal Temporary Objective for whomever controls the two Hexes representing Caen. Initially the Axis player gets these three medals at game start. 

Terrain:

Countryside and Beach

Troops:

Allies – 8 Infantry including 3 Elites, 5 Armor, 2 Artillery

Axis – 10 Infantry, 3 Armor, 2 Artillery

medal allies

Allies:

Big Picture Strategy:  Like all beach scenarios, the number one primary goal for your forces is to Get Off the Beach!.  Do not pause to capture the three frontline enemy medals.  You can encircle them and then attack from all sides.

1.  Once you have gotten your forces out of the water, then you can encircle the enemy at the three Permanent Medal Objectives at Casino Riva Bella, Strong-point Trout and the Chateau.  Those medals are almost a given, so do not lose an excessive number of forces attacking them before you are out of the water. 

3.  Get your Artillery out of the water as soon as possible. They will be vital to breaking through the strongholds of the enemy on the beach. It will be especially important to take out the Artillery in the bunker as soon as possible, or it will destroy your forces.

medal axis

Axis:

Big Picture Strategy: Get your forces forward. Bring the battle to them.

1. You have Armor stuck in your lower left flank which you need to get forward to the beach as quickly as possible. Practice some delaying techniques for a couple of turns to allow your Armor forward. You will be in a much better position to repel the enemy forces.

2.  Two approaches to deal with the enemy forces in your lower right flank:

Option A: Eliminate the enemy forces on your lower right flank along the Canel de Orne as quickly as possible so that you will not have to worry about a rear-action attack. Then you can move your forces forward towards the beach.

Option B:  Surround them and slowly pick them off throughout the game, saving the coup-de-grace for the end, when you can kill off the final Infantry for one Medal, and then move onto the bridge for two Medals.  This will earn you three! medals in a single turn. Save it for last to win the round.

10
BR - Sword Breakthrough

Author: Days of Wonder

URL
The Tatsinskaya Raid

The Tatsinskaya Raid

scenario_ColdStream_start

By late December ’42, Paulus’ 6th Army was choking inside the Stalingrad pocket, and the Soviets slammed the door tighter with Operation Little Saturn. They tore through the Italian 8th Army like paper, and Badanov’s 24th Tank Corps drove a steel fist 150 miles deep into German lines. His T-34s rolled right onto Tatsinskaya airfield, smashing up Junkers 52s that were the lifeline to Stalingrad.

The Germans scrambled the 11th Panzer and 306th Infantry to hit back, and they hit hard. Badanov’s tanks took a pounding, but he held that airfield for four bloody days before clawing his way back to his own lines. The cost was high, but the result was clear: the German relief effort was crippled, Stalingrad was left to rot, and the mighty Wehrmacht had been dealt another hammer blow on the Eastern Front.

~~ General Howitzer

VP’s

10 including the Airport Permanent Objective Medal

card

Card Balance:

Allies – 4

Axis – 5

Complexity:

4

Conditions:

Winter

winter

Context:

Historical

Location:

Russia

Year:

1942

Codename:

Operation Little Saturn

Summary:

Victory Points:

10 Medals, including the airport Permanent Medal Objective

Terrain:

Winter terrain

Troops:

Allies – Infantry, Armor, Artillery

Axis – Infantry, Armor, Artillery

medal allies

Allies:

1. Your forces have a massive armor advantage over the Axis in this raid scenario.  You need to coordinate your efforts and arrive at the frontlines of battle together.

2.  Your very first challenge is to deal with the Artillery and Infantry hidden in the forest right in the front center of the battle field. Until you deal with them, they will hamper all of your attack efforts.

3. If you can deal with the Artillery quickly, before the Axis bring down their other units, you can gain a couple of medals very quickly, as that Artillery is the key defensive point on this end of the battlefield. But if you do not have the cards and forces to take it out quickly, you will destroy several units during the attack.  [Athafil, Italy]

4.  The airport is a Permanent Medal Objective. You don’t need to stay on the hex, so you can just grab it and then leave to a more defensive position.

medal axis

Axis:

1.  This is primarily a defensive scenario for the Axis. You need to engage the enemy, but if you attempt to battle the massive armor forces out in the open, your forces will get decimated.

2.  Your forces are stuck behind the forests. You need to get them, especially the armor, forward as quickly as possible to support your advance forces which are defending the airport.

3.  The airport is a Permanent Medal Objective for the enemy.  Hold it as long as you can. Make them pay for it with a lot of units.

4.  Your Artillery in the center frontline is your strongest asset. Use it at every opportunity.  

5.  You have many assets stuck in the forests and marches in the back. Get them out as quickly as possible and forward to provide additional attack strength and support with your forward Artillery.

7
BR - Tatsinskaya

Author.

URL