Strasbourg

Strasbourg

Strasbourg

On January 7, 1945, the German Nineteenth Army launched an attack south of Strasbourg against the First French Army in an operation code-named Sonnenwende (“Winter Solstice”). This offensive was part of a broader German effort to counter the Allies’ advance in Alsace and maintain control over key territory in eastern France.

The attack aimed to push back the French forces and threaten Strasbourg, a strategically vital city for the Allies. Despite initial German gains, the French First Army, with support from American forces, mounted a resilient defense. Allied artillery and air support helped to stall the German assault, ultimately preventing the Nineteenth Army from achieving its objectives.

The failure of Sonnenwende weakened German forces in the region and contributed to the broader collapse of German defenses in Alsace, allowing the Allies to solidify their hold on Strasbourg and continue their push toward Germany.

General Howitzer’s summary:

Sonnenwende was a damn flop for the Germans—it drained their strength, cracked their lines in Alsace, and handed us the keys to Strasbourg. From there, it was full steam ahead, straight into the heart of Germany.


5 VP’s

Card Balance:

Allies – 6

Axis – 4

Complexity:

4

Conditions:

Winter

Location:

France

Year:

1945

Theater:

Western Front

Campaign

Codename:

Sonnenwende (“Winter Solstice”)

Summary:

Objectives:

5 VP’s, and two Medal Objectives for Axis

Battlefield:

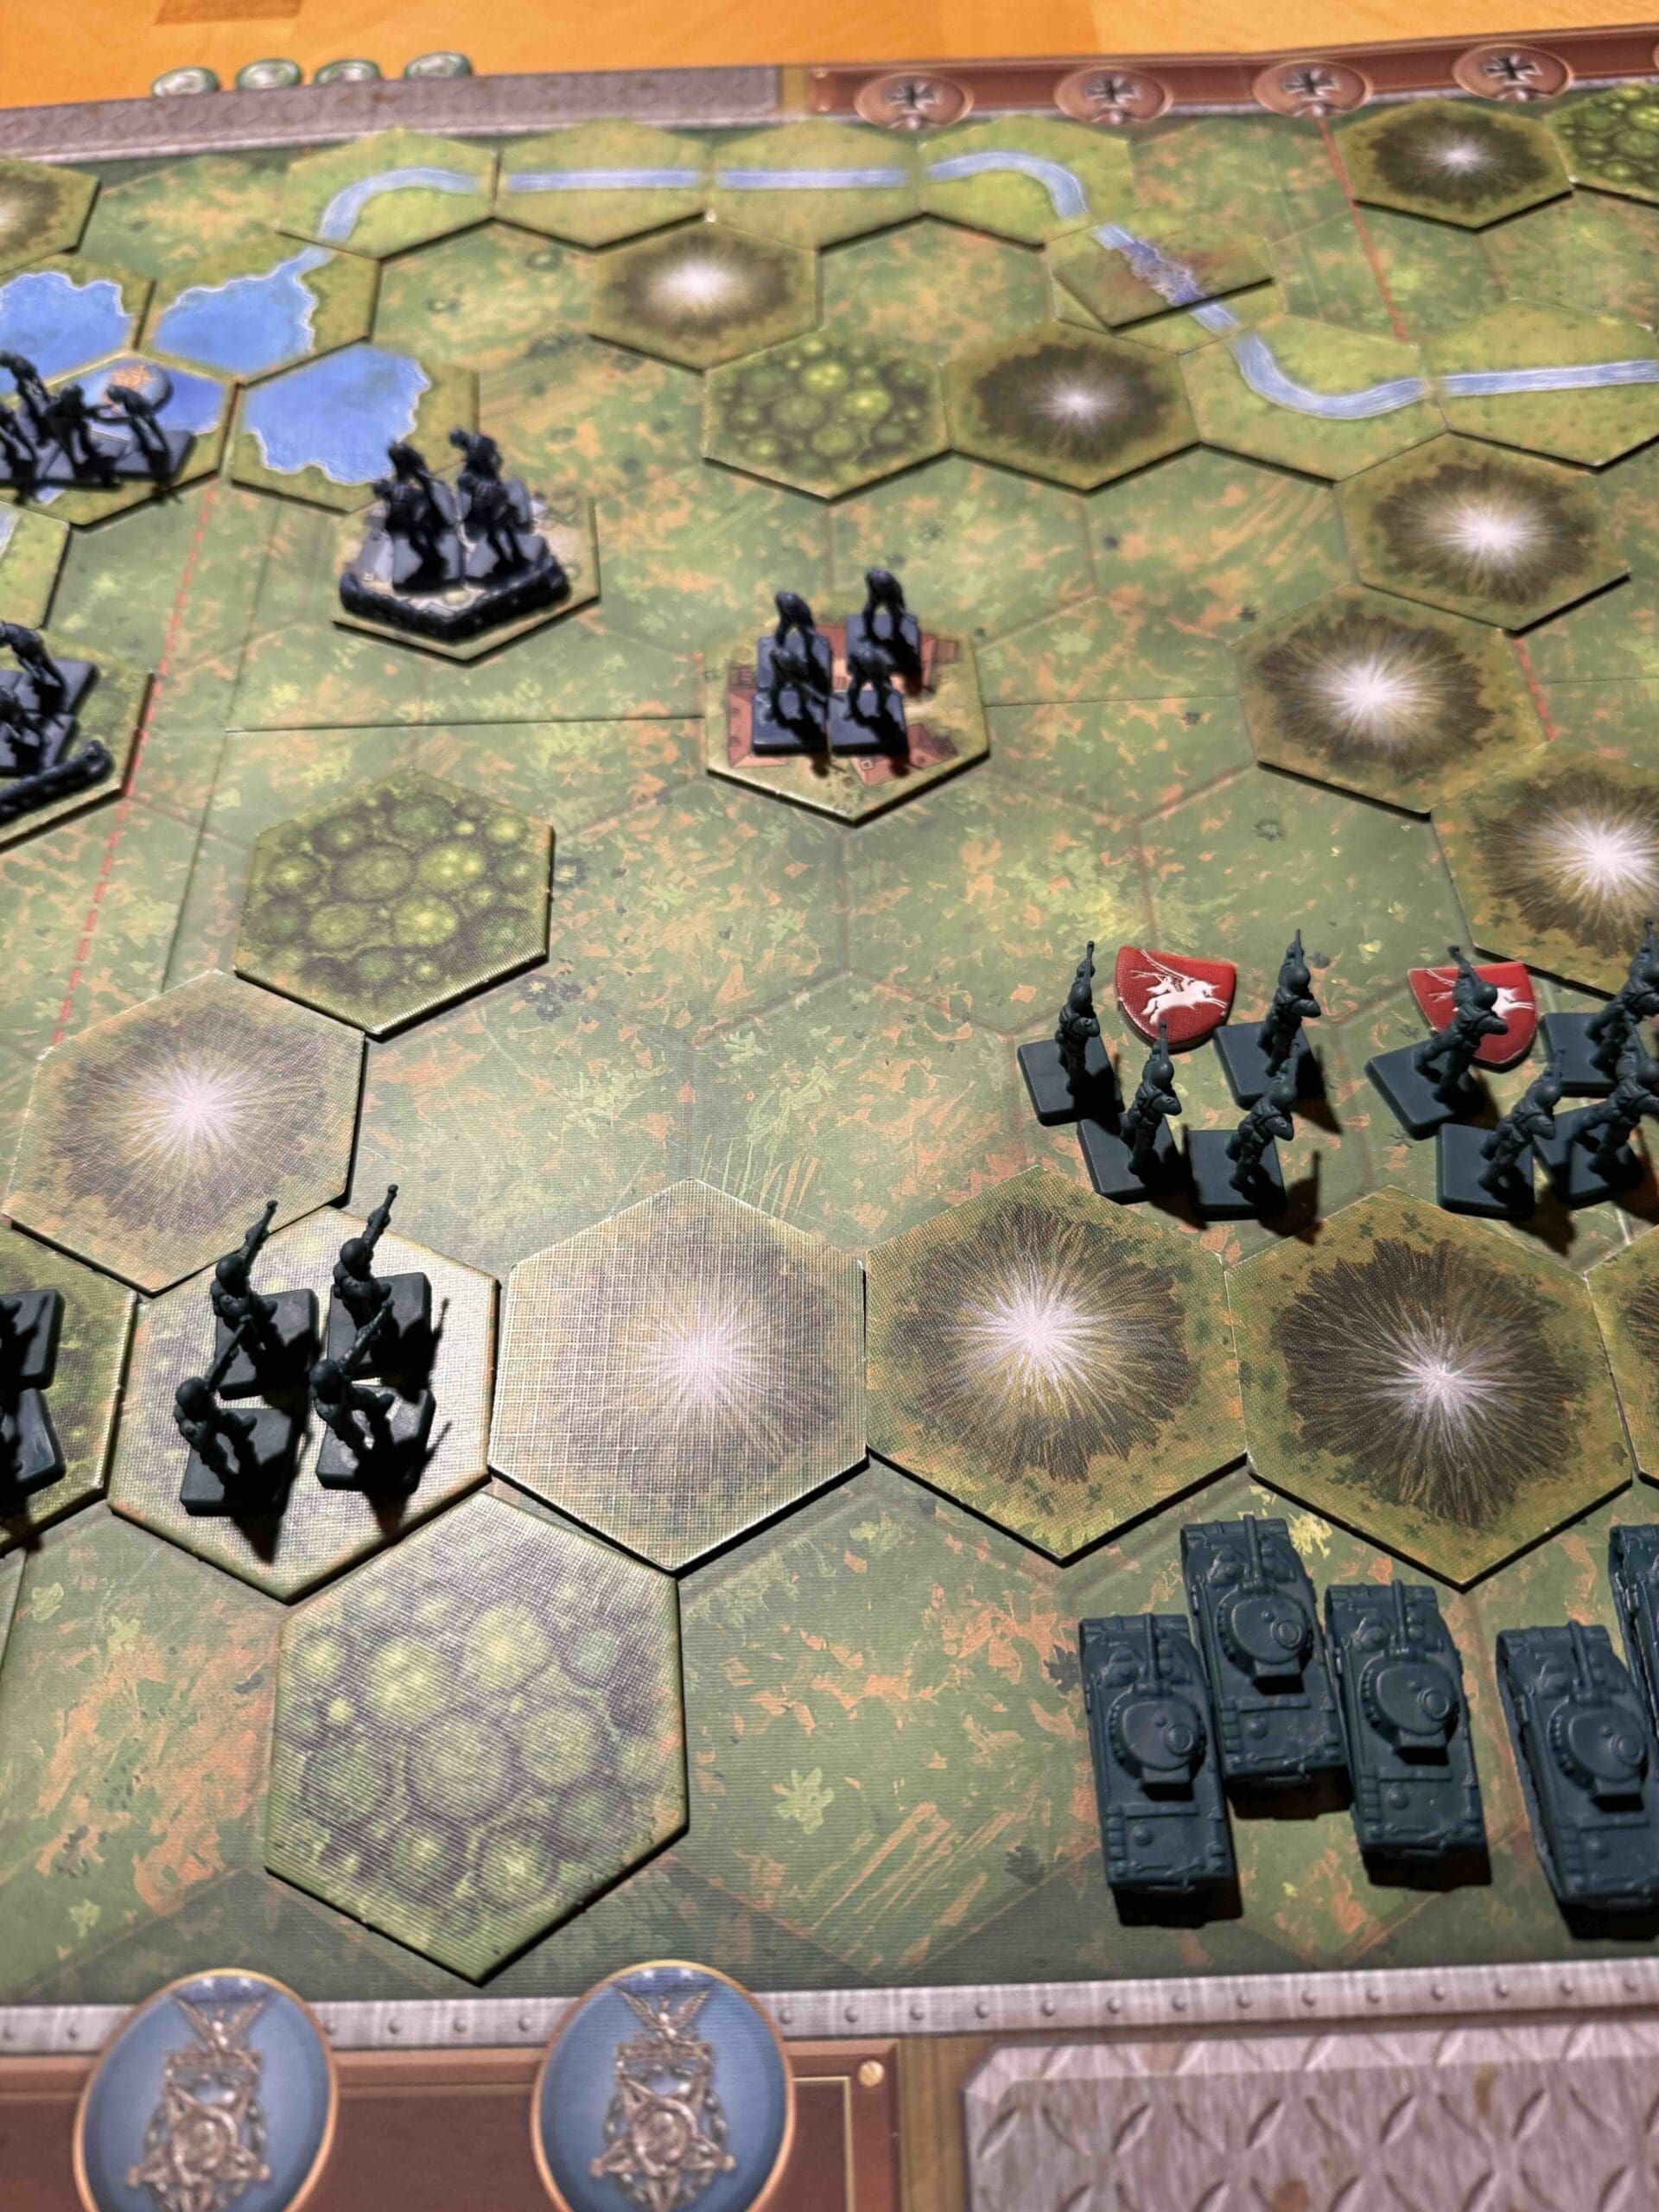
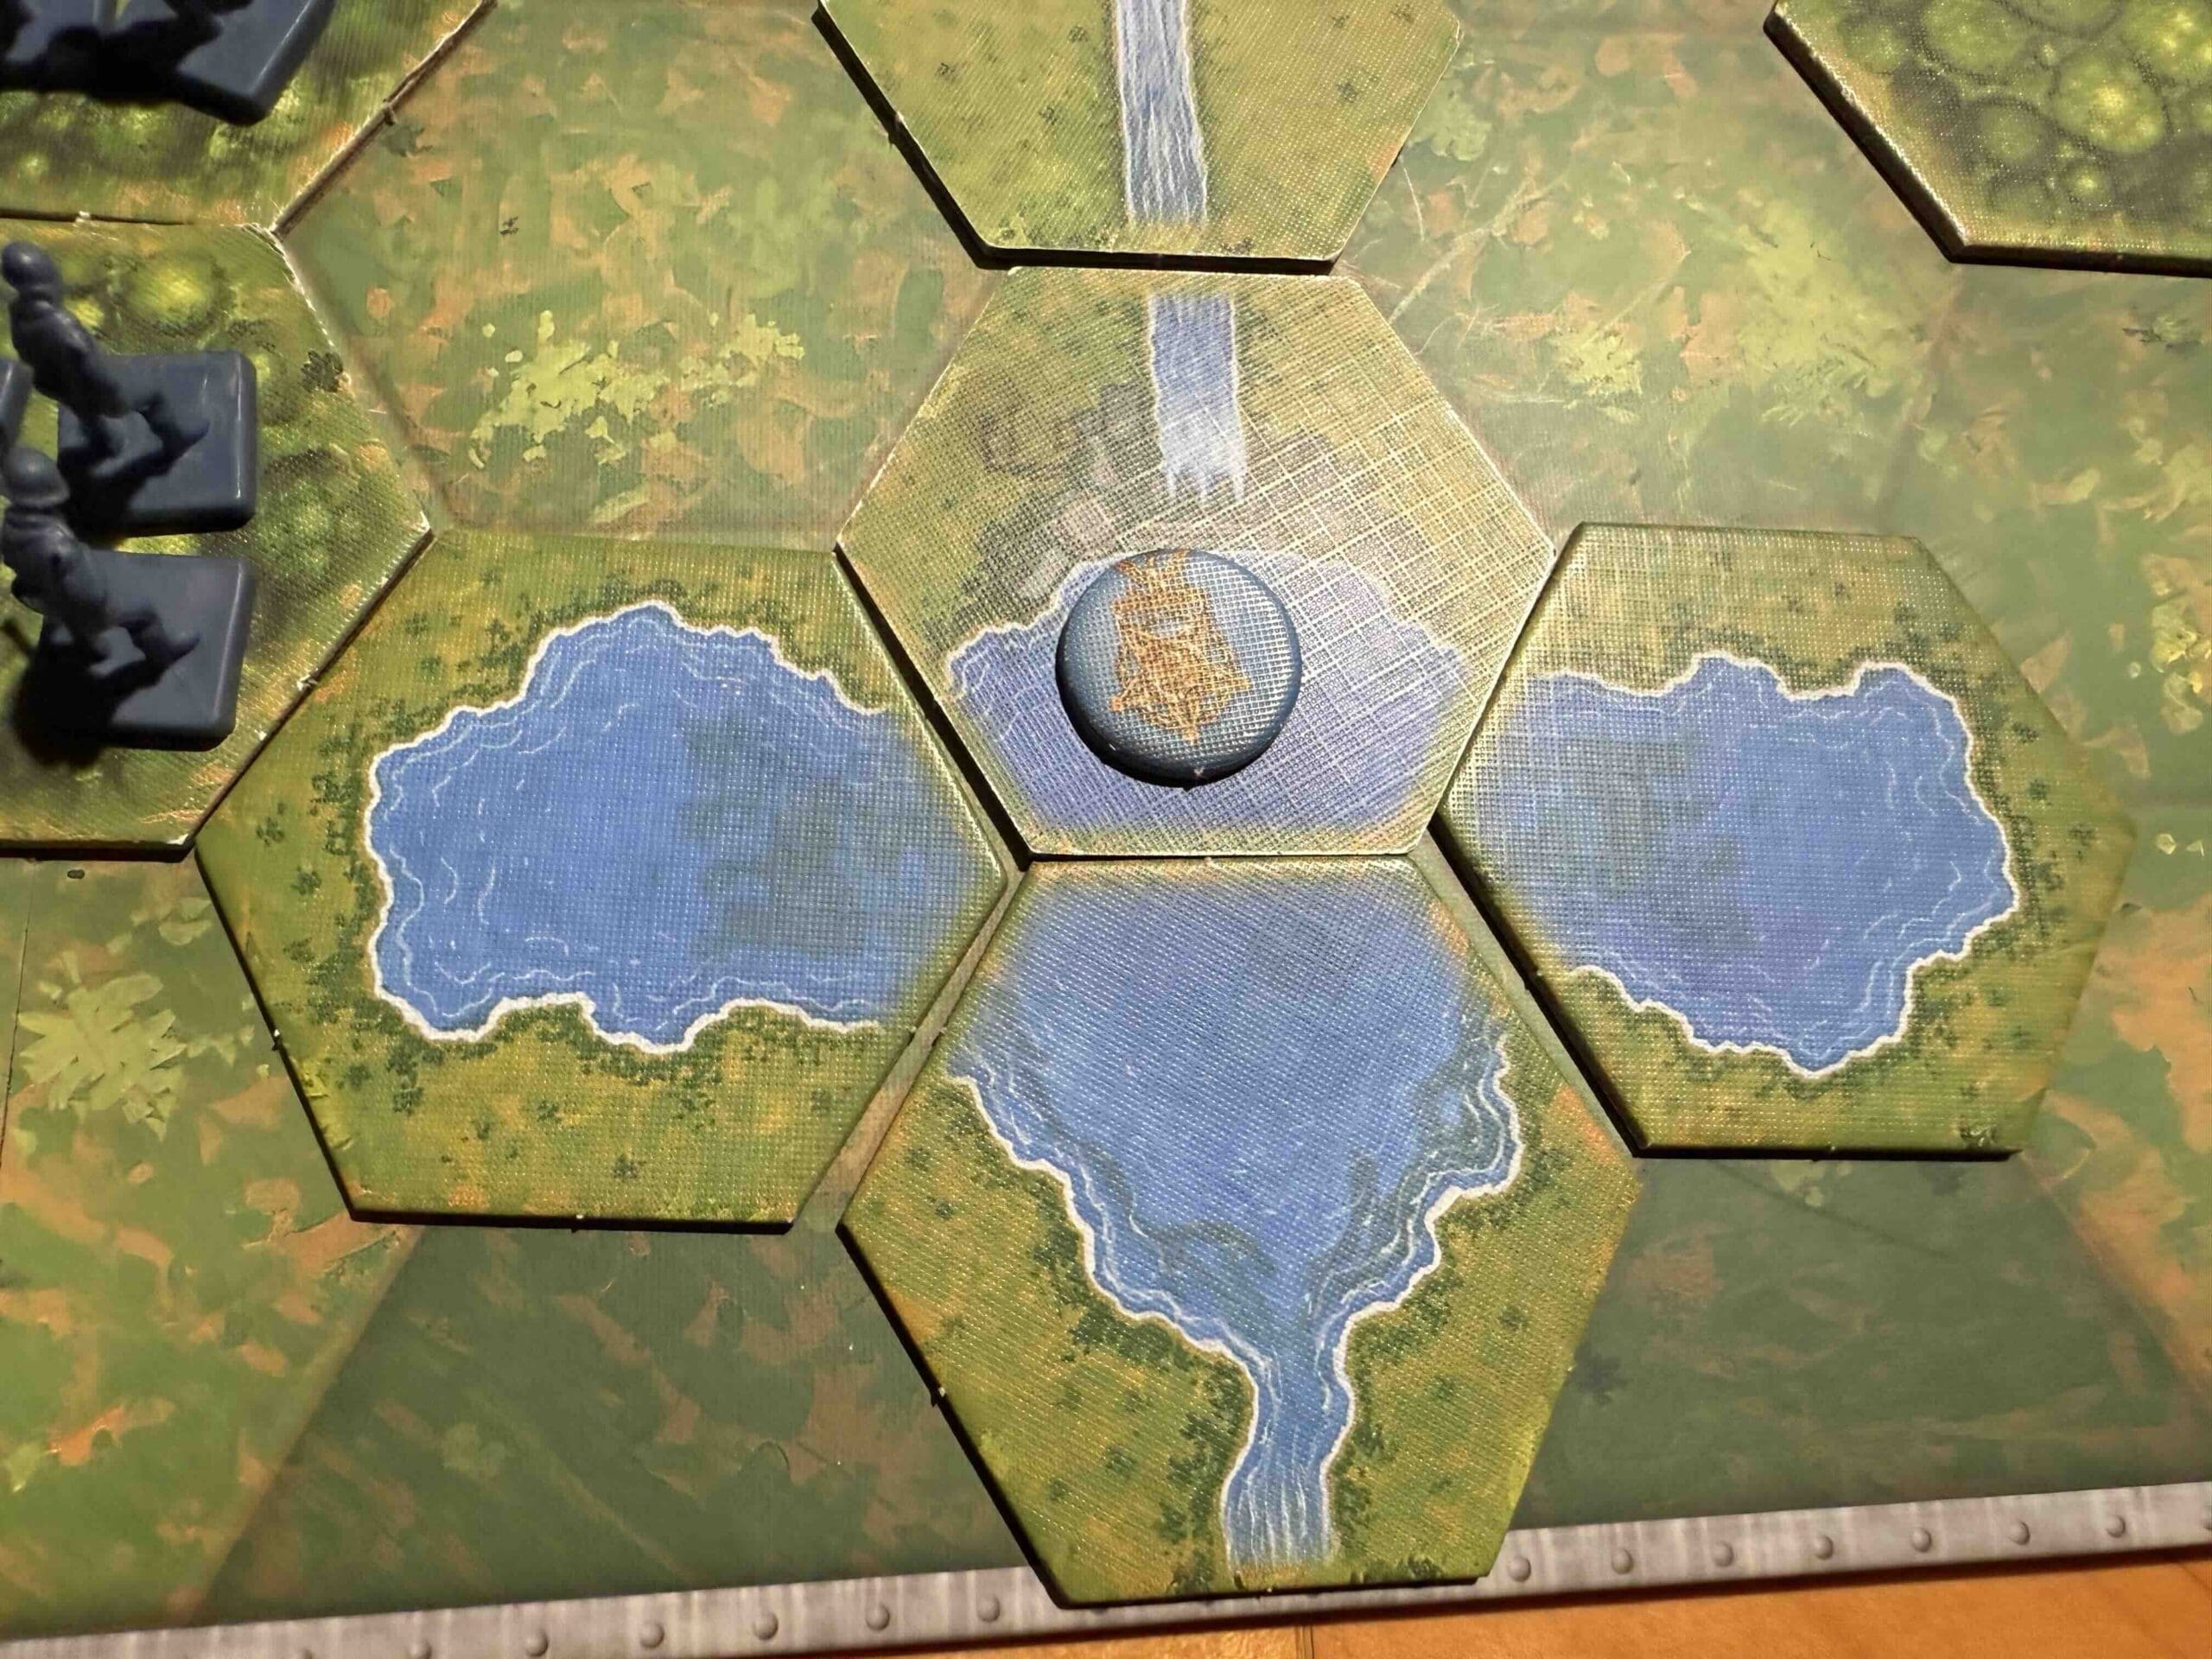
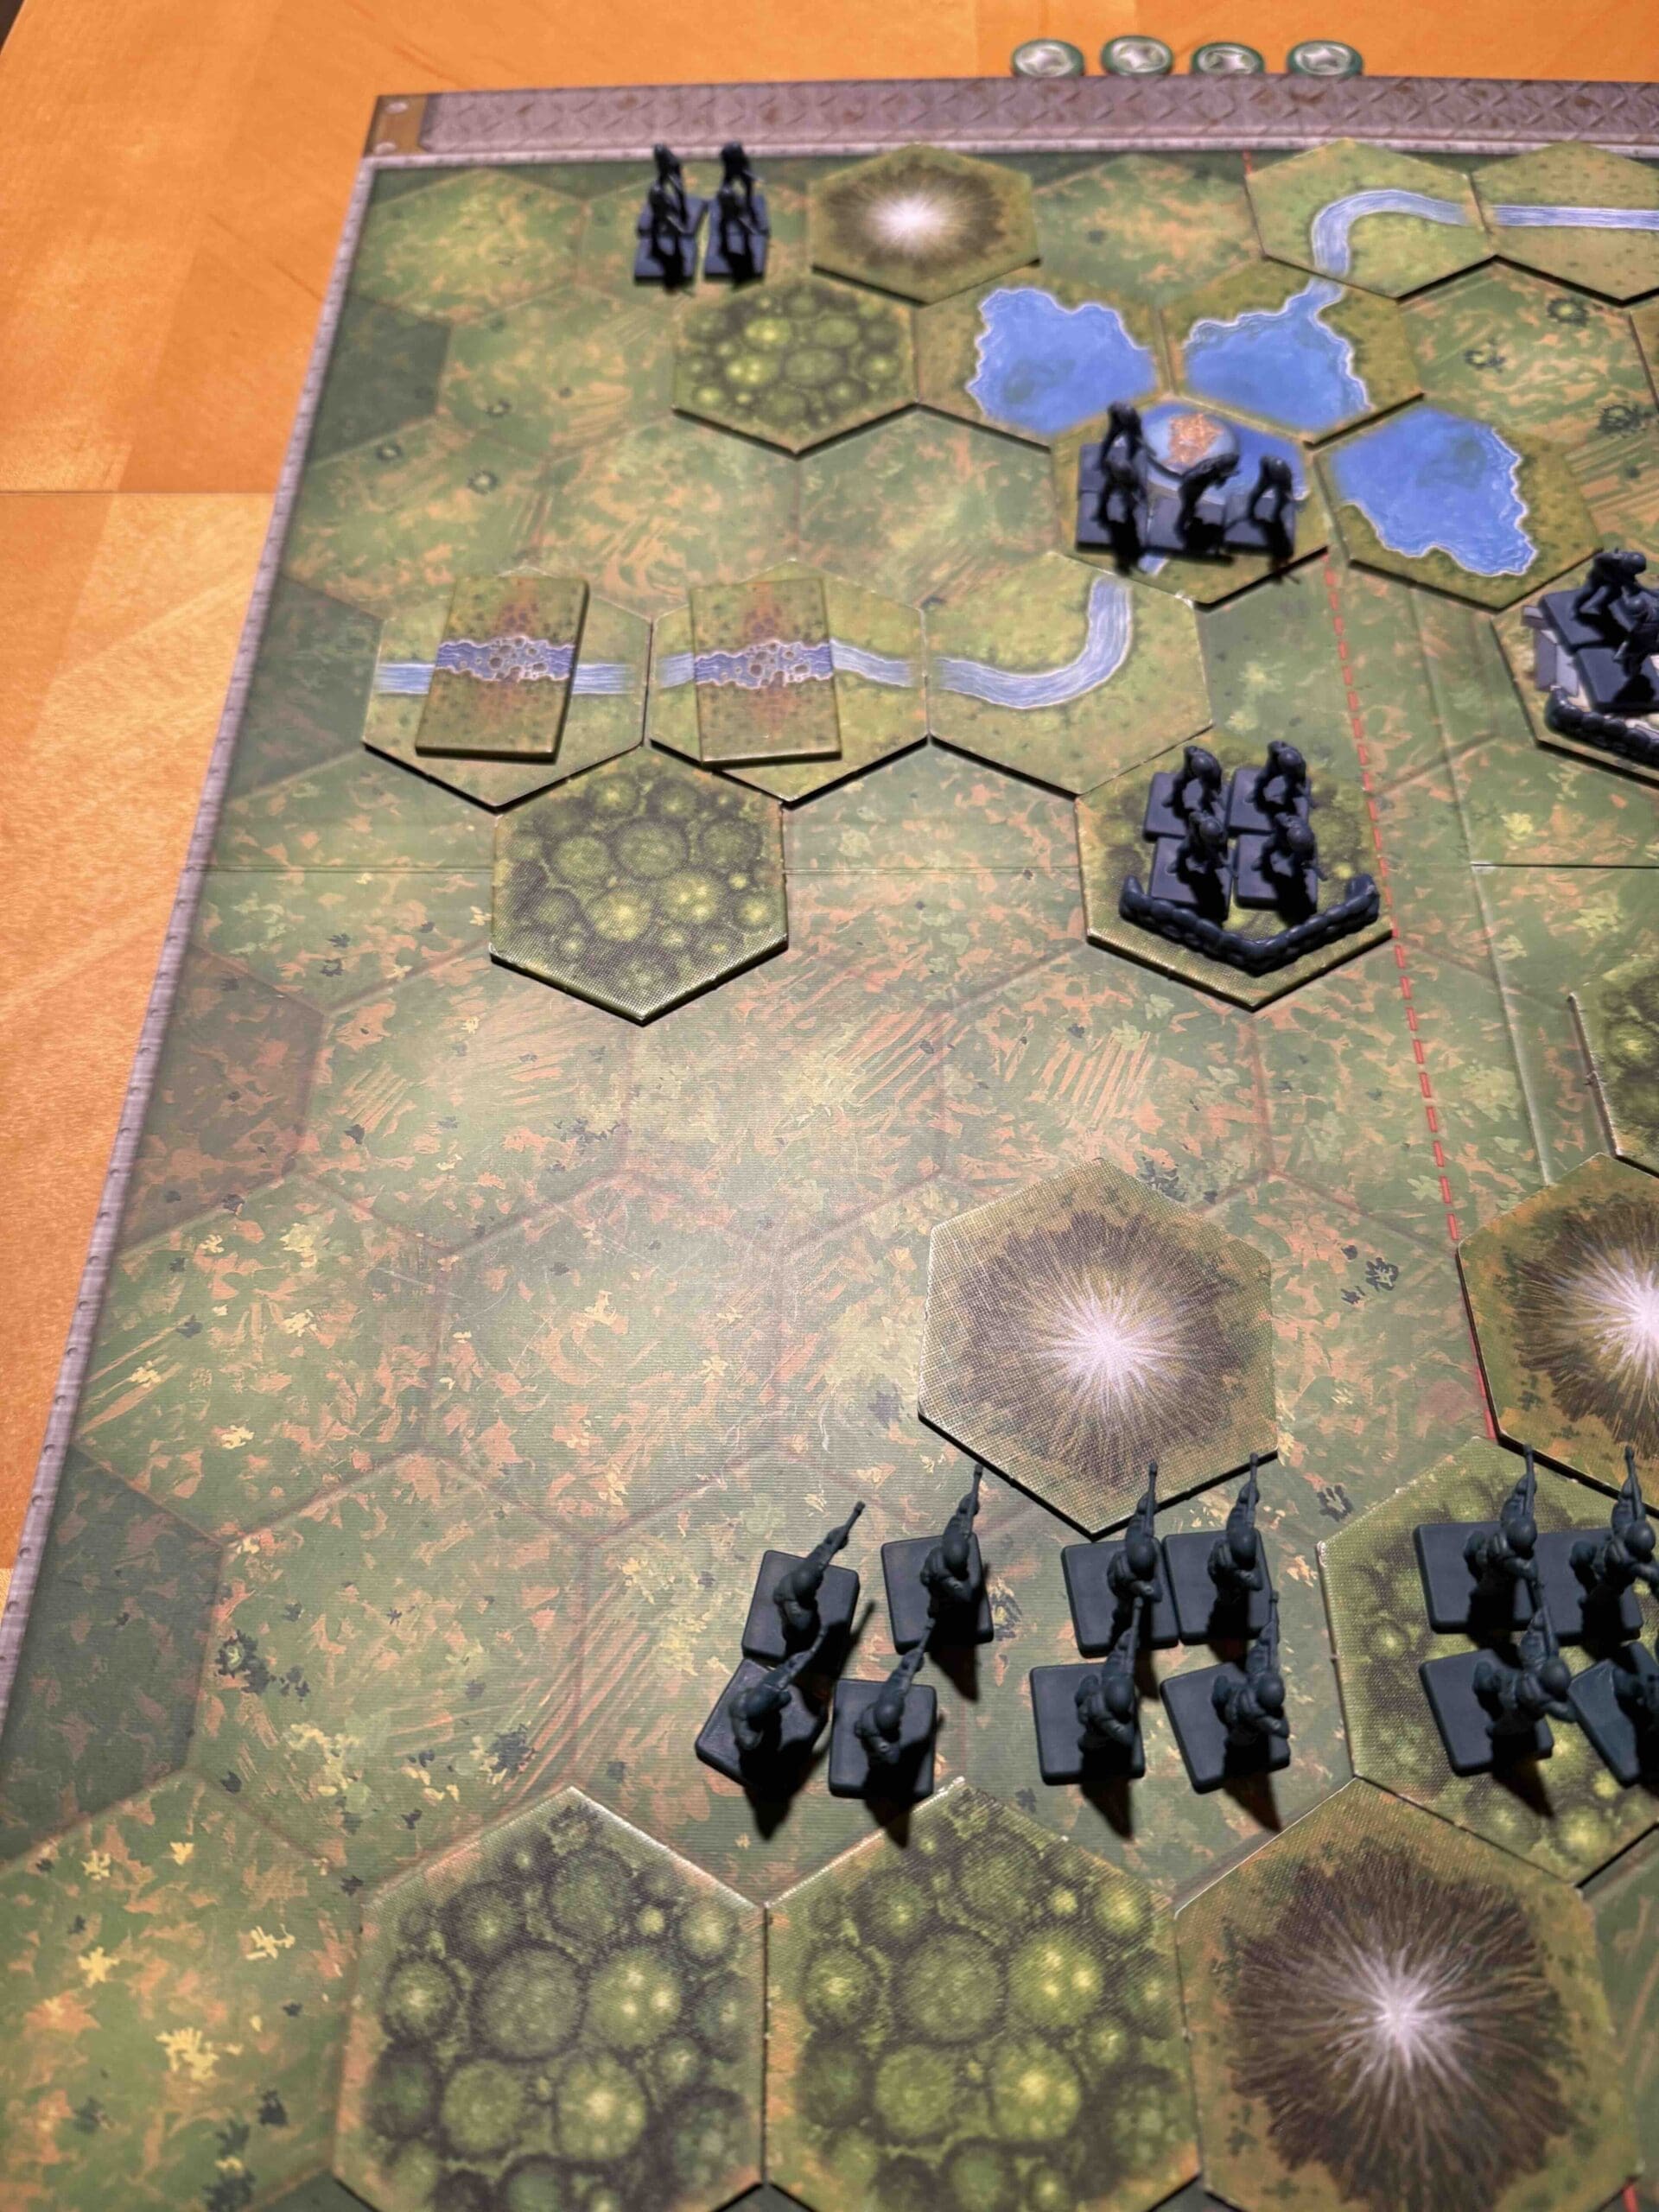
Strasbourg is a winter scenario with a frozen river cutting diagonally across the battlefield. It is passable. There is also an impassable river with three bridges crossing it. Each set of troops are squeezed against opposite corners causing an exciting asymmetrical warfare experience.

Troops:

Allies – 8 Infantry, 3 Armor, 1 Artillery

Axis – 6 Infantry, 4 Armor

Allied Strategy:

1. You need to defend the medals in the town and bridge hexes because the Axis are going to come at you with everything they’ve got.  They have you outnumbered by armor and there is a lot of open territory, so you will need to get your forces into defensive positions.  

2.  Your infantry in the forward right flank are in a position to attack the enemy forces backed up against the border so hit them while you can. 

Axis Strategy:

1.  Big picture strategy for you is to push your forces down the center section and to pursue the two medal objectives in the town and bridge hex. 

2.  Because your forces are pushed up against the back wall, you need to get them mobile as soon as possible.  Your most immediate concern is to deal with the two Infantry units right in front of you.  

Scales-Allies-Weighted
38
BR - Strasbourg

Author:

Days of Wonder

URL

Slopes of Mount Austen (Gaudalcanal)

Slopes of Mount Austen (Gaudalcanal)

Slopes of Mount Austen

scenario_SlopesMtAusten_start_Allies

The Battle of the Slopes of Mount Austen (December 1942–January 1943) was a critical engagement during the Guadalcanal Campaign in the Pacific Theater of World War II. Mount Austen, a strategic high point on Guadalcanal, was vital for controlling the surrounding terrain and protecting Henderson Field, a key Allied airbase.

The battle involved intense fighting between U.S. forces, primarily the Americal Division, and entrenched Japanese defenders, including the elite Ichiki and Kawaguchi Detachments. The Japanese had fortified positions on the rugged slopes, including a stronghold known as the Gifu.

The fight for Mount Austen was no Sunday stroll—it was a slugfest in choking jungle against an enemy dug in like ticks and mean as hell. The Japs were camouflaged, stubborn, and ready to die where they stood. But our boys hammered them with infantry, blasted them with artillery, and pounded them from the air until every inch was ours. By mid-January ’43, we owned that mountain and the ground around it—breaking their grip on Guadalcanal and shoving the whole damned campaign toward victory.

~~ General Howitzer

5 VP’s

card

Card Balance:

Allies – 6

Axis – 5

Complexity:

2

Conditions:

Jungle

Location:

Gaudalcanal

Year:

1943

Theater:

Pacific Theater

Campaign:

Guadalcanal Campaign

Codename

Summary:

Objectives:

5 VP’s

Battlefield:

The battlefield is pretty wide open, except for three hilly hexes spread across all three sections.

Troops:

Allies – 10 Infantry, 2 Armor, 3 Artillery

Axis – 9 Infantry, 1 Artillery 

Allied Strategy:

1.  The right flank has no artillery defending, so it presents a possible path for attack for the Allies.

2. The Allies have three artillery. This is a powerful assist to the Marines. Use the artillery to soften the Japanese forces. The goal is to knock out at least one figure per hex, in order to elminate the Seishin Kyoiku advantage.

3. Get your armor into fire positions as soon as you can. The open pathway between the jungle hexes will provide you with the quickest access to the enemy.


Axis Strategy:

1.  Make use of your artillery on the right flank. There are a couple of Allied units with no retreat, which you can hit with 2D attacks.

2.  You have a couple of infantry units that are well behind the field of play.  Bring them forward so that they can have some fun too!

3.  Because the Allies have three! Artillery, if you just wait up on the hills, they will slowly pick you off. So you will need to be aggressive.  With the right set of cards, you may need to launch an attack in one of the sections. But do not wait too long, as you want to attack while you still have the Seishin Kyoku attack advantage. 

Classic Battlefield Reports

(percentage of Allied victories):

63%

27
BR - Mount Austen

Author:

Days of Wonder

Link:

Sidi Rezegh Airfield

Sidi Rezegh Airfield

Sidi Rezegh Airfield

scenario_SidiRezeghAirfield_start

“Listen up, boys! Back in November ‘41, the battle for Sidi Rezegh Airfield was one hell of a dust-up in the North African sands. The South Africans and the British 7th Armoured Division—those Desert Rats—were gunning to knock the Axis on their heels and bust open that siege at Tobruk.

The Germans and their Italian pals weren’t about to give up that airfield without a fight. Our boys slammed into those anti-tank guns and Panzers like a battering ram, and at first, they made some headway. But Rommel, that desert fox, came roaring back with his own counterattack, and it turned into a slugfest—blood, sweat, and tanks grinding it out in the sand.

In the end, the Brits had to pull back from the airfield, but they gave Rommel a bloody nose and knocked his supply lines out of whack. And don’t forget—Operation Crusader didn’t end there. That airfield scrap was part of the bigger plan that finally lifted the siege of Tobruk and turned the tables in North Africa.

So remember this, men: sometimes you take a few lumps, but you keep punching, and that’s how you win the war!

~~ General Howitzer

5 VP’s

Card Balance:

Allies – 4

Axis – 5

Complexity:

2

Conditions:

Desert

Location:

North Africa

Year:

1941

Theater:

Mediterranean

Campaign:

Operation Crusader

Summary:
This desert scenario has a roadway passing through two sections cutting at an angle, blocked by escarpments. This is a tank battle ‘mano-a-mano’ and in many cases the attacker with the early momentum can gain the upper-hand and win.

Objectives:
This is a 5 VP game, and since it is a tank battle will go very quickly. The Axis begins with one point already, thanks to their control of the airfiled. 2.

Battlefield:
The field of play is all desert, with an escarpment and road running at any angle through much of the right flank. The small opening between escarpments is where the Axis will have to attack. The British can attempt to use the road for rapid progress towards the top of the map where the airfield lies.

Troops:
The Axis begin with an armor and mobility advantage to their side. The British also have no infantry, so some of infantry command cards will be converted to sigle armor unit commands.

🔥 Winning as Allies

1. Allies need to remember that because of North African Desert rules, your armor can only move two hexes, while Axis can move three. Watch your armor placement carefully to avoid a series of close assault attacks.

2. The Allied armor begins in a congested formation with several units having no retreat options. This places the Allies in a position, since they move first of attacking the Axis armor immediately, before they are attacked – while they are still pinned against the back border – by the three-hex moving Axis units. So even if the card do not allow you to move a lot of units, you simply must attack and get your forces forward.

3. The British will need to attack a tank force which has greater mobility than them (3 hex moves vs. 2 hex moves). In order to do this, it may help to threaten an attack on the airfield, thus diverting some Axis armor resources towards defense of said airfield.

🔥 Winning as Axis

1. Axis begins with one victory medal for the airfield. As long as they hold the airfield, they keep the medal. So part of Axis’ considerations and planning must not only include the outright attack on the Allies in the sand, but also thought must be given to defending the airfield. Do not allow the Allies to distract you, while they prepare for an assault against it.

2.  With desert warfare, it is often about who can hit first to take out a unit or two before the enemy retaliates, so hit them hard and fast.

3.  Your right flank could be key to winning. If you are lucky enough to have some right flank cards, get those into action ASAP so they can help their overwhelmed troops in the center.  

Battle Reports

(percentage of Allied victories):

28%

Scales-Axis-Weighted
38
BR - Sidi Rezegh

Author:

Days of Wonder

Link:

Schwammenauel Dam

Schwammenauel Dam

Schwammenauel Dam

Historical Summary

We didn’t fight our way to the Schwammenauel Dam for scenery — we took it because it was choking our advance. The Germans thought they could hold the Roer hostage by flooding the valley and buying themselves time. That was a mistake. American infantry went in, took that dam under fire, and shut the valve on German delay tactics. Once the dam was secured, Operation Grenade could roll forward without interference, and the Roer was crossed on our terms. That action tore down the last real barrier in the Rhineland and put our armies back on the march straight into the heart of Germany — exactly where we intended to go.

~~ General Howitzer

VP’s:

5

Card Balance:

Allies – 5

Axis – 5

Complexity:

4

Conditions: 

Mountains & Countryside

Location:

Germany

Year: 

1945

Theater:

Western Front

Campaign:

Allied Rhineland Campaign

Summary

This is an exciting scenario with some unique features which recreate actual events on the battlefield in 1945.

Objective:

Six Medals will win, but the principle objective for the Allies is to preserve the two dams, Schwammenauel and Urft.  Should either of them get successfully sabotaged by the Germans, and the Allies will likely lose the scenario.

Battlefield:

It is rugged mountainous terrain encircled by a river, mountains, and forests, with a dam at either end of the River Roer.

Troops:

Allies: 10 Infantry, 2 Armor

Axis: 8 Infantry

Special Rules:

Sabotaging a Dam – each of the two dams require a total of 4 stars to be destroyed.  At the start of every turn, no matter what cards they hold in their hand, the Axis player rolls two dice, one of each dam.  However, the dice will only count and apply to a dam if an Axis unit is on the actual dam hex.  For each Star rolled, if the dam is occupied by Axis forces, a star icon is placed on that dam. Once a total of four stars accrue, the dam is destroyed, and the Axis player receives 4! victory medals per dam. 

medal allies

🔥 Winning as Allies


1.  Big Picture Strategy:  Destroy the enemy or capture the dams before they are sabotaged. Your best option, historically is to capture the Urft Dam first.

2.  You have two Armor units, but given the rugged terrain, they will be almost useless to you.  If you waste your time trying to get them out from behind the mountain, you will be giving the Axis time to sabotage the dam.

3.  Your paratroopers have landed in a dangerous spot, pressed up against the mountain wall as they are. Move them forward to attack ASAP, before they are destroyed.

4.  Your right flank is your strongest at the start.  Move quickly forward to overwhelm the enemy and secure the  Urft Dam.

medal axis

🔥 Winning as Axis

1.  Big Picture Strategy:  the goal is to delay the Allies (delaying tactics) as long as possible so that you can blow the dam(s).  This will take at least four turns, but in reality, much longer.  If you successfully sabotage one dam, (worth 4 medals!), you only need to take out one other Allied unit to win.  Should you blow both dams, you are guaranteed a win.  (Historically, the Germans were able to blow the discharge valves of the Schwammenauel Dam and flood the Roer River.

2.  The Dam provides no battle protection. The only reason to stay on the hex is to attempt to sabotage the dame.  But once the Allies get close, keep some forces in the woods to attack and slow down the enemy.

3.  The Allied Paratroopers are easy prey, backed up against the mountain.  Take them out quickly before they can attack your forces in the town of Kommerscheit.

1
BR - Schammenauel Dam

Author:

Days of Wonder

URL

Saverne Gap, Vosges

Saverne Gap, Vosges

Saverne Gap

scenario_SaverneGap_start_Allies

Listen up, soldiers. The Saverne Gap is the low door through the Vosges—and the key to Strasbourg. On 21 November, XV Corps under Haislip hit the line at Phalsbourg and started prying that door open. While our infantry pressed the pass, Leclerc did exactly what I like—speed and audacity—splitting his 2e DB into two hard-driving task forces: one swinging north via La Petite-Pierre, the other knifing south through the woods by Dabo. They struck Saverne from both flanks, and a southern column punched in from the west, climbing to the Gap and rolling the defenses from behind. The enemy fought, but without depth or reserves you can’t stop a three-pronged hammer. Result: Saverne falls, the hinge breaks, and the road to Strasbourg yawns wide.

Lesson: find the gap, hit it fast, hit it twice, and exploit without blinking. Keep moving—because momentum, not caution, wins cities and ends campaigns.

~~ General Howitzer

5 VP’s

Card Balance:

Allies – 6

Axis – 4

Complexity:

4

Conditions:

Moutaneous Countryside

Location:

France

Year:

1944

Theater:

Western Front

Campaign

Codename

Summary:

Because of the impassable mountains, Saverne Gap is almost like three separate battles taking place.

medal allies

🔥 Winning as Allies

1. As Allies, there is very little opportunity to move troops from one section to another, so you need to watch your tactics carefully and be careful with your attack.

2. One possible opportunity for attack is up the center, if you have the right combination of cards, such as Infantry Assault, you goal is to quickly overwhelm the first town in your way. While they enemy controls that town they can force you back against the wall and score some extra hits with retreat flags. The wire bales in front of the town will definitely decrease your attacking power, but with two or three good center section attack cards, you will eventually be successful. From there, your forces will be able to spread out a bit for the attack against the forces defending town of Saverne.

3. Your right flank will be the most difficult one to maneuver through. With the tight quarters and the enemy protected in a town and forest hex, it will be difficult for your tanks to succeed agains them. The tanks can only fire with one dice at a time. And you only have one infantry force to attack the town and forest hexes. If you can lead with your infantry, they will be more successful by being able to throw two dice at a time for each close assault attack.

4. Watch your card play, and when you get the right combination of special Combat cards, use that as the basis for your decision of which section to pursue your victorious attack.

5.  With a number of left flank cards, you can attack the infantry in the woods and town at a distance.  Degrade and eliminate them, and then move in to attack the town of Saverne itself from the flank, surprising the enemy, just as they did historically.

medal axis

🔥 Winning as Axis

1. Note that because the mountains are impassible, you will not be able to fire your artillery at the outer sections.

2. The center section will be the most important to guard as the town of Saverne represents an immediate win.  If the enemy occupies  two of the three hexes in the town of Saverne, they will win immediately. So you must guard it at all costs.

3. Keep your forces in the forests and town hexes and never leave them. Just stay safely hidden inside as you continuously attack them relentlessly degrading their attacking power.

4.  If the Allies make a strong push up the center, you may need to move your Infantry from the left or right flanks over to the center section to occupy the town of Saverne.

5.  The other option, if a strong center push is coming up the center, is to force attacks on either flank to distract the enemy and force them to look elsewhere.

6.  Watch the right flank, as the enemy has many Armor, but they often get placed into no-retreat situations. That is the time to attack them harshly and gain an extra 17% attack advantage against them!

Battle Reports

(percentage of Allied victories):

46%

26
BR - SaverneGap

Author:

Days of Wonder

Link: