Taukkyan Roadblock
Taukkyan Roadblock
The Battle of the Taukkyan Roadblock? That was a brutal wake-up call in the jungles of Burma.
It was April 1942, and the British were pulling out of Rangoon, trying to stay one step ahead of a fast and ruthless Japanese advance. But they weren’t sitting back—they were moving like ghosts through the jungle, and they slammed a roadblock right down at Taukkyan, a vital choke point on the only damn road out.
It was a classic ambush—sliced right through the retreating columns. Trucks jammed, units scattered, and bullets flying like hellfire. The 17th Indian Division fought like lions to break through, but the jungle was tight, the fire was heavy, and the enemy was dug in and deadly.
A lot of brave men didn’t make it. That roadblock caused chaos, real chaos. It wasn’t just a firefight—it was the kind of sharp, surgical move that the Japanese were damn good at: fast, quiet, deadly. It wasn’t just a fight—it was a message.
The collapse at Taukkyan was a key reason why southern Burma slipped right through our fingers. It forced the Allies to fall back all the way into India. But mark my words—every inch we lost, we learned from. And when we came back, we came back with fire in our guts and iron in our fists.
~~ General Howitzer
5 VP’s
Card Balance:
Allies – 5 + 2 Combat Cards
Axis – 5 + 2 Combat Cards
Complexity:
3
Conditions:
Jungle

Context:
Historical
Location:
Burma
Year:
1939
Theater:
Pacific
Campaign:
Burma Campaign
Codename:
Summary:
Objectives:
5 VP’s
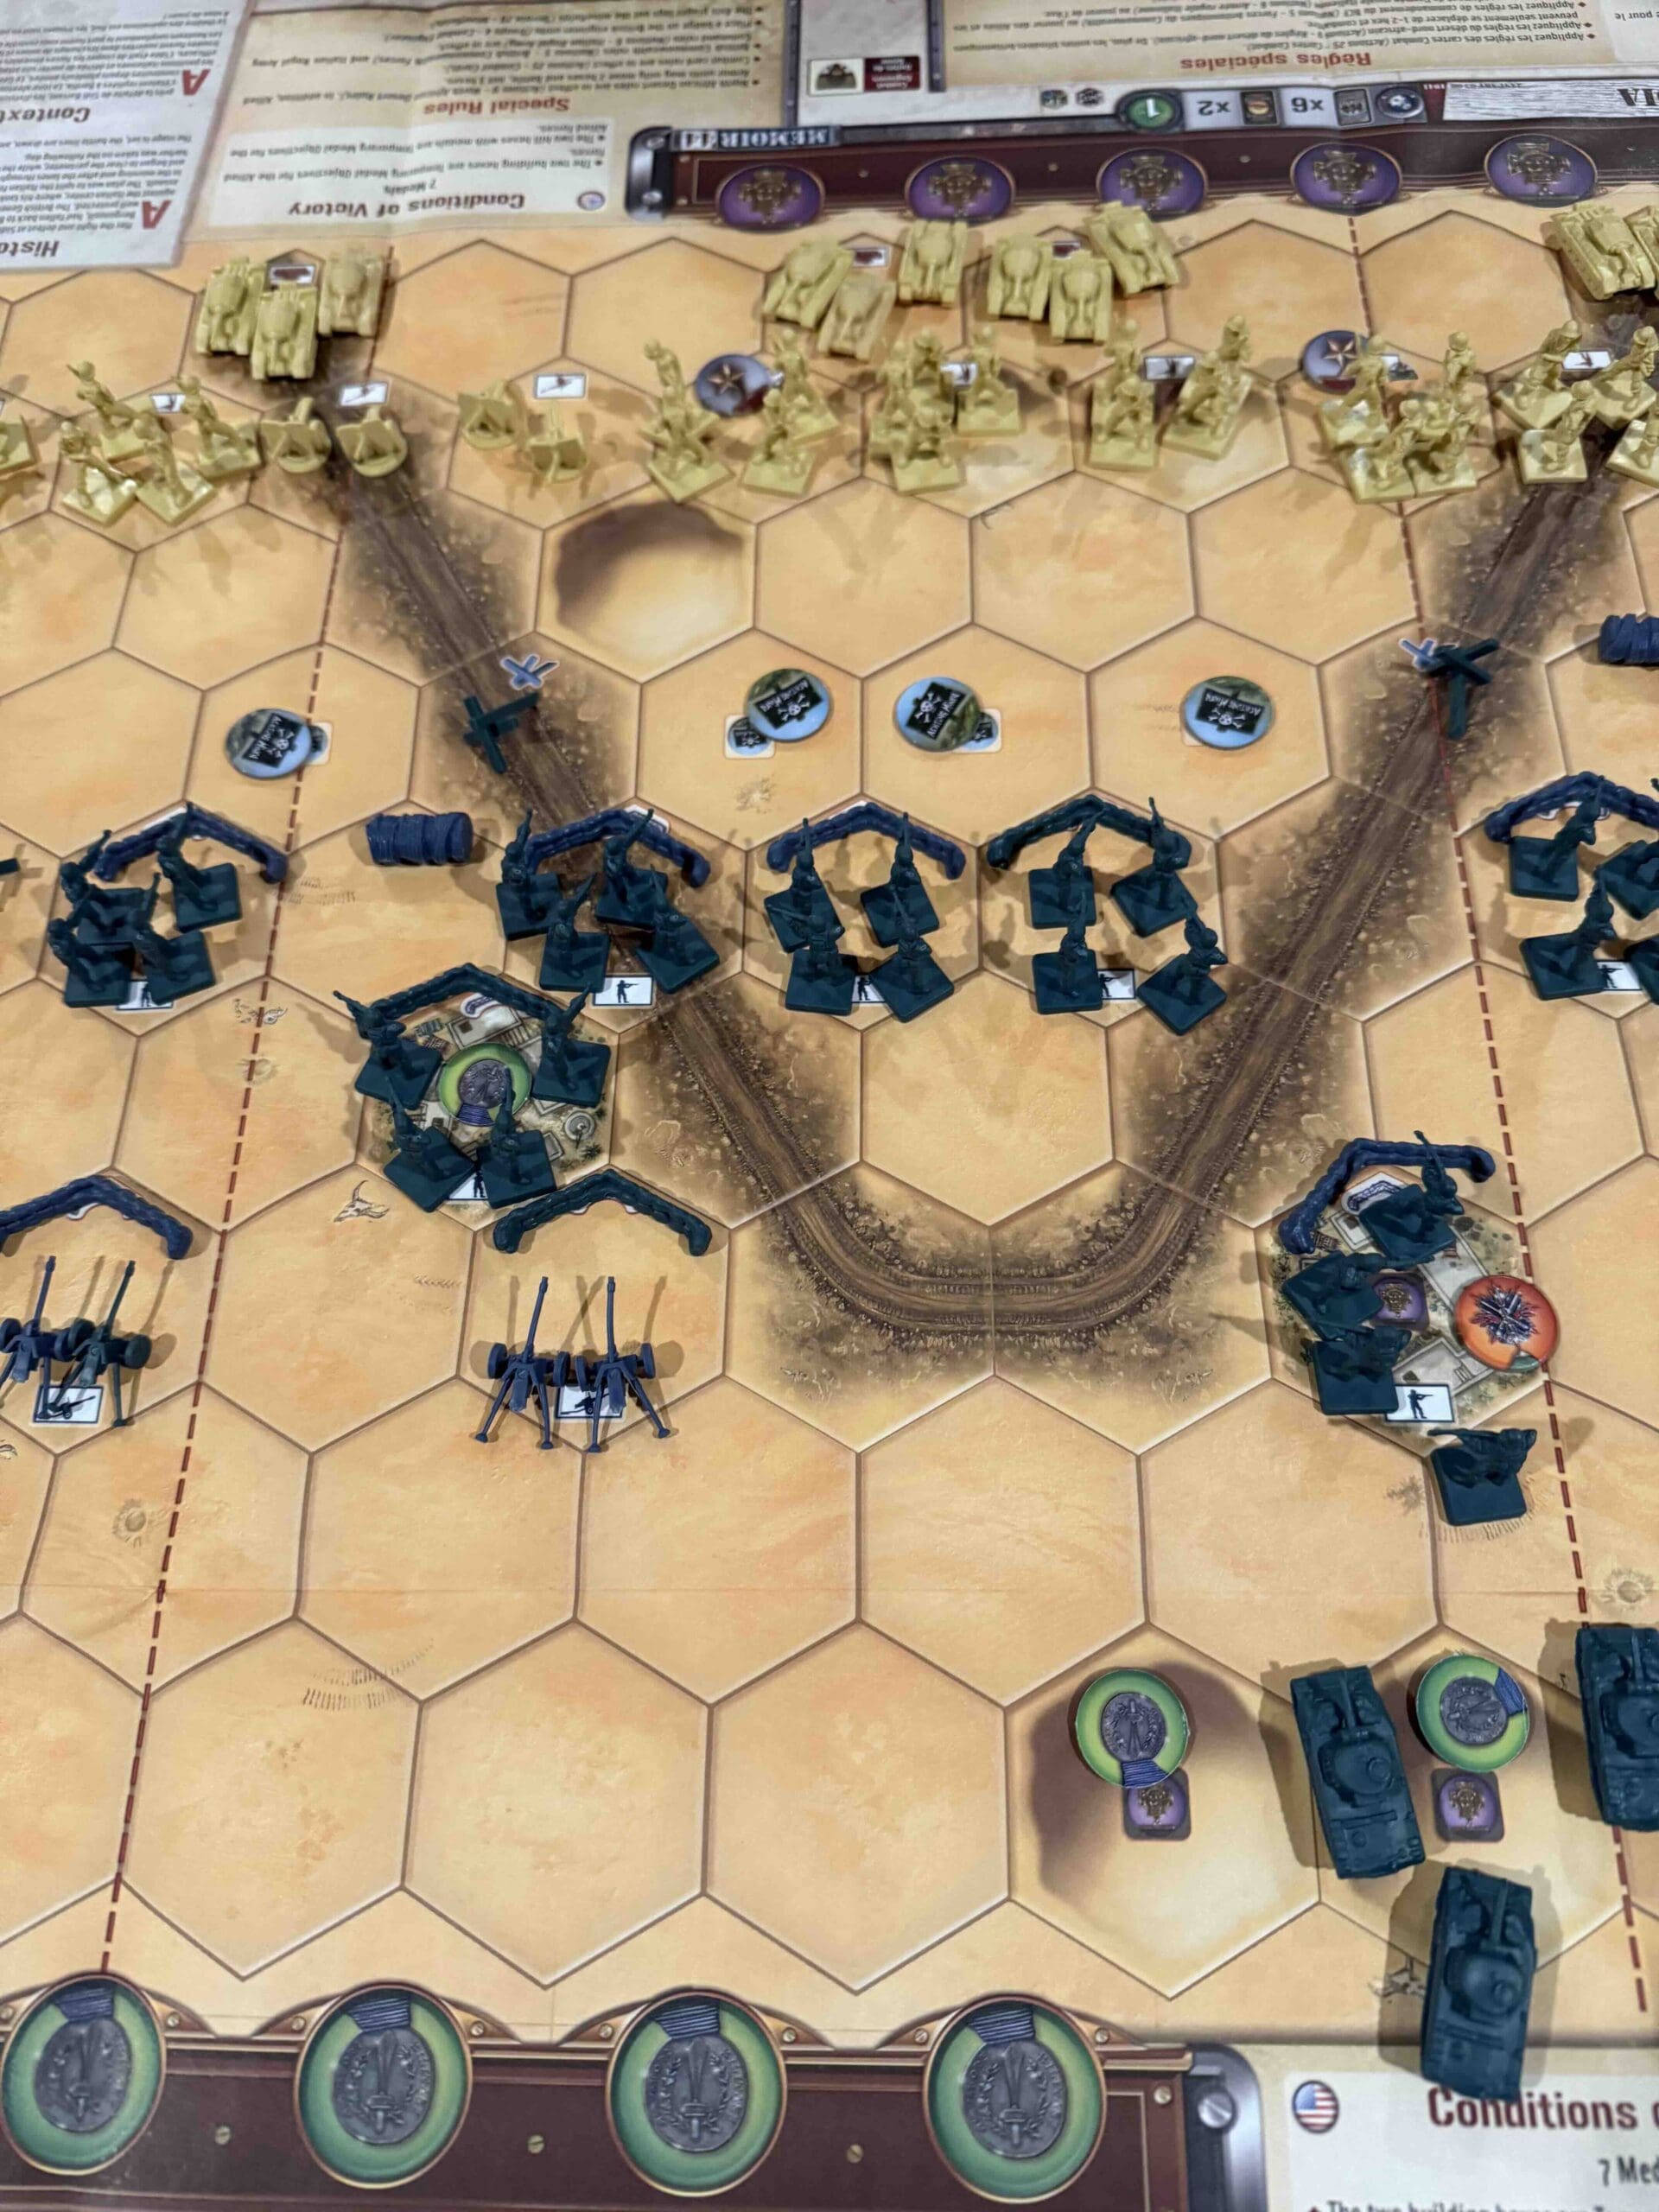
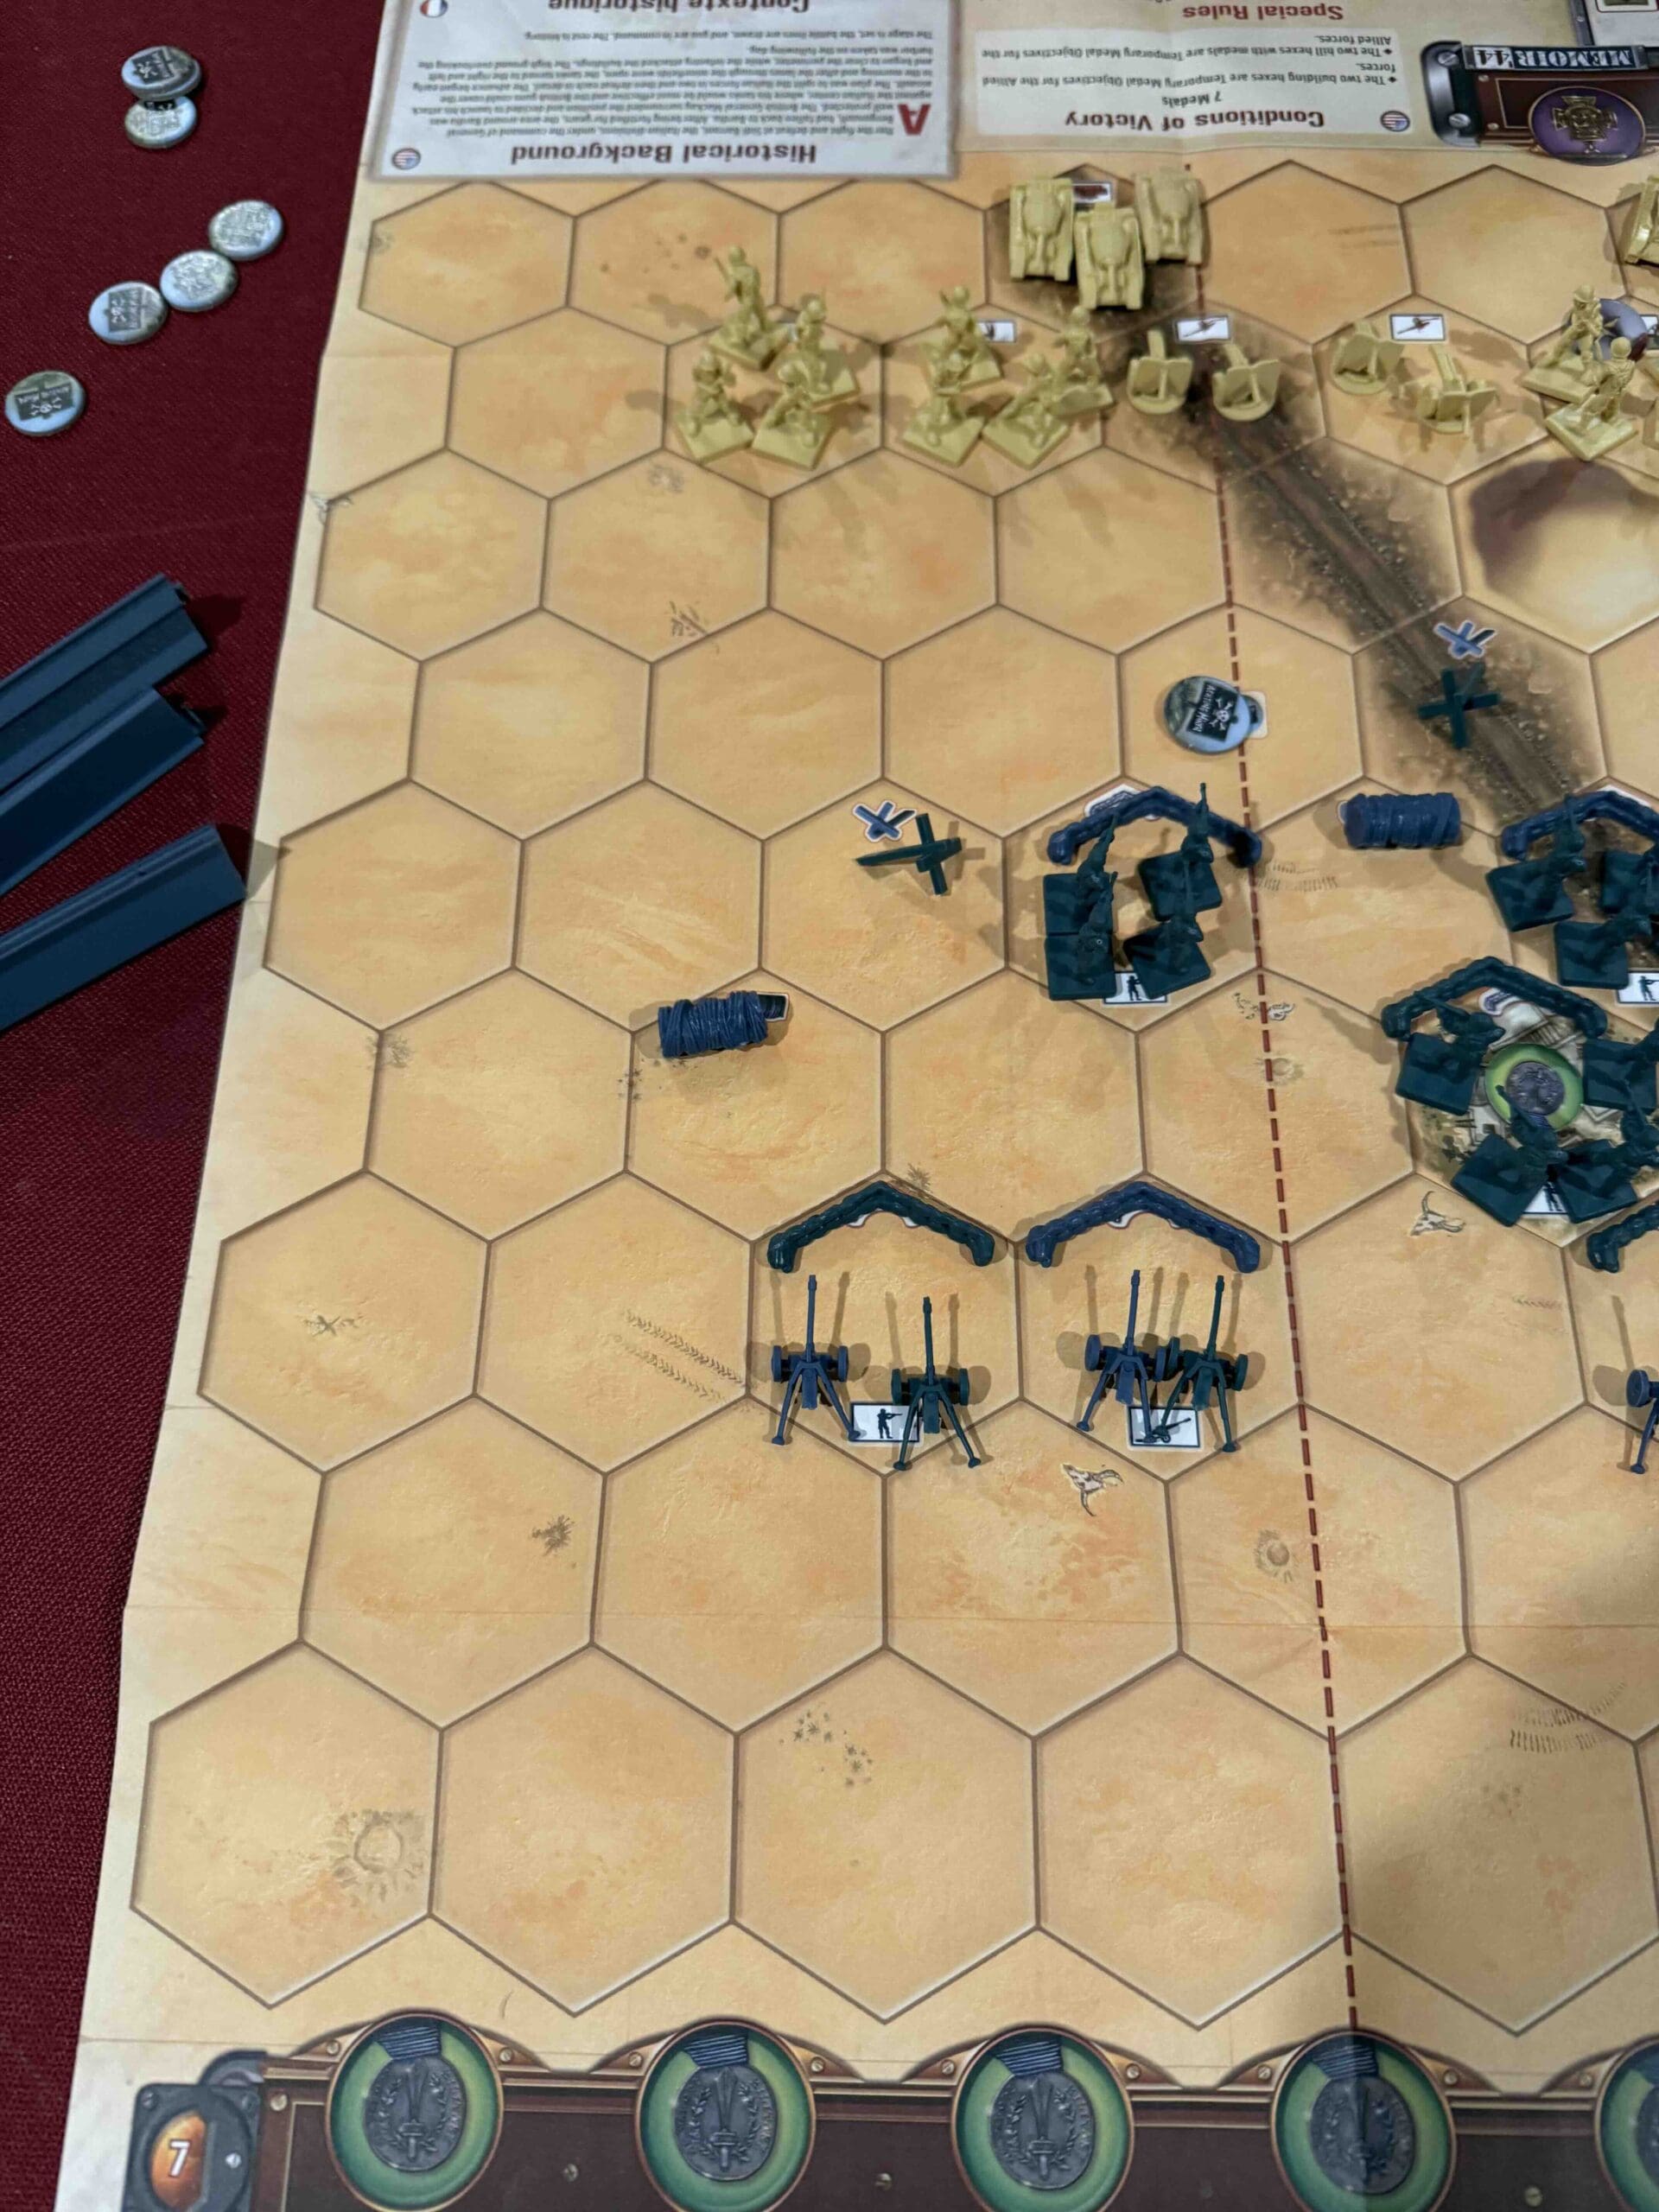
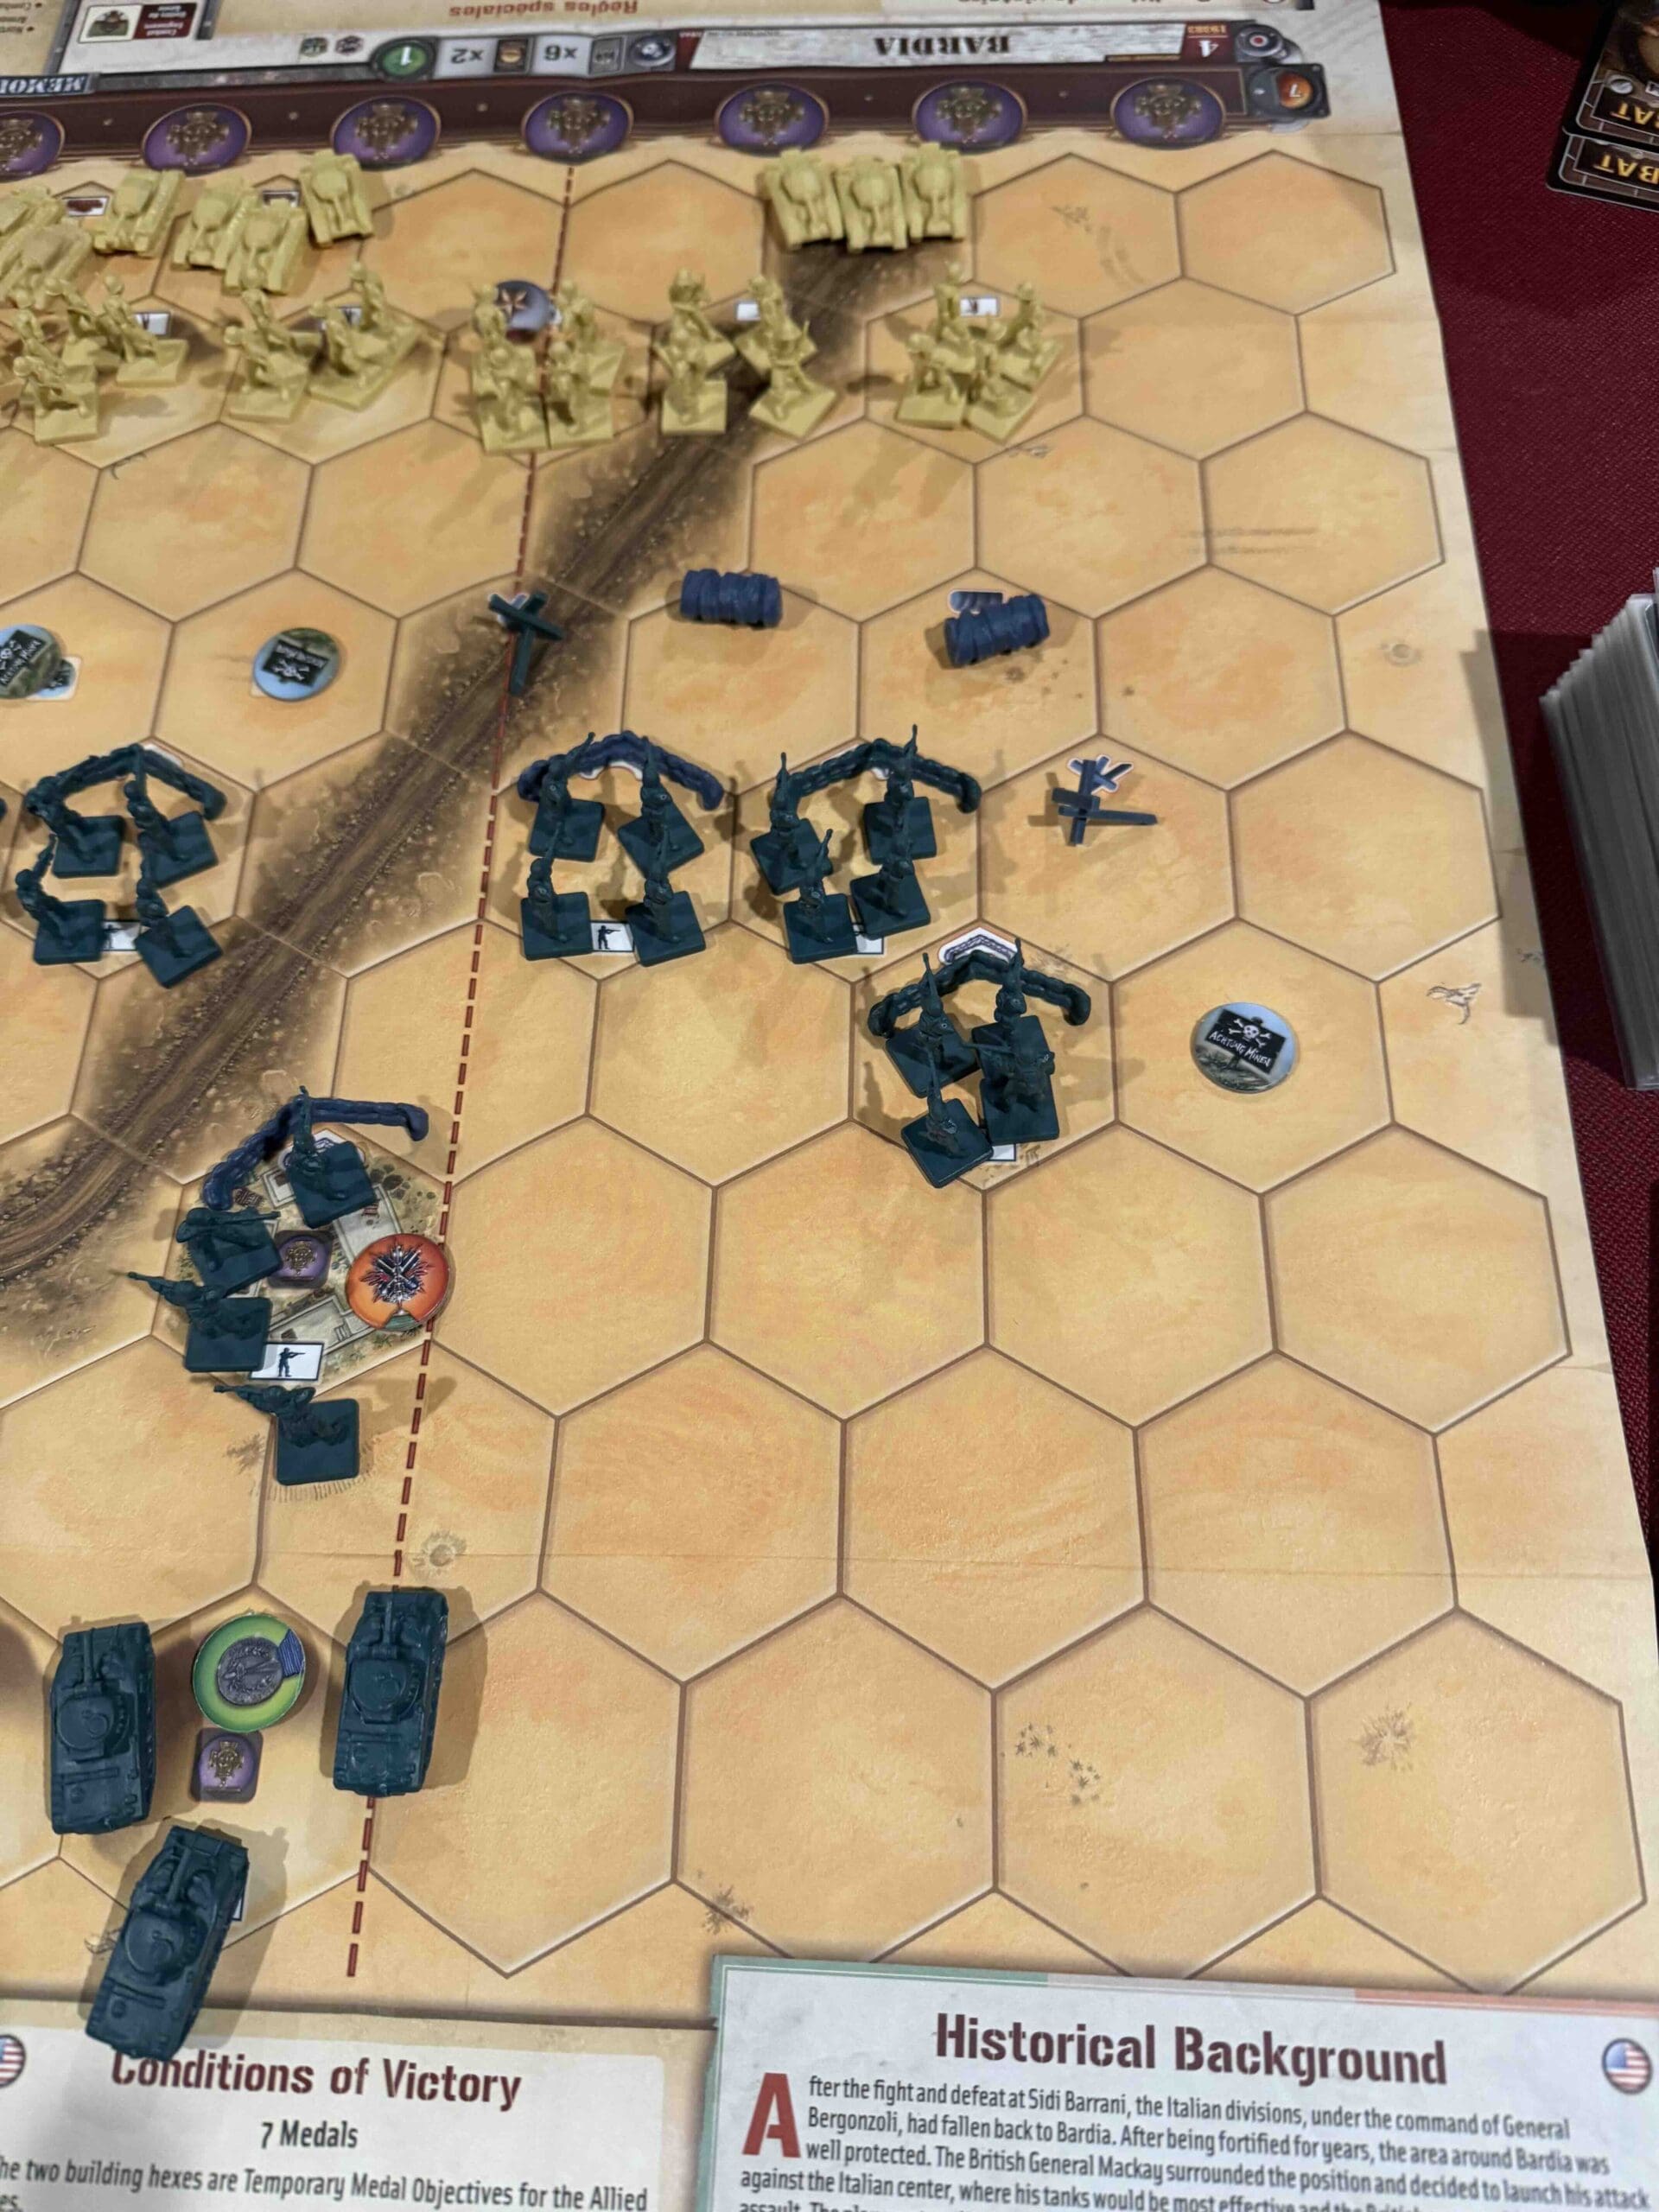
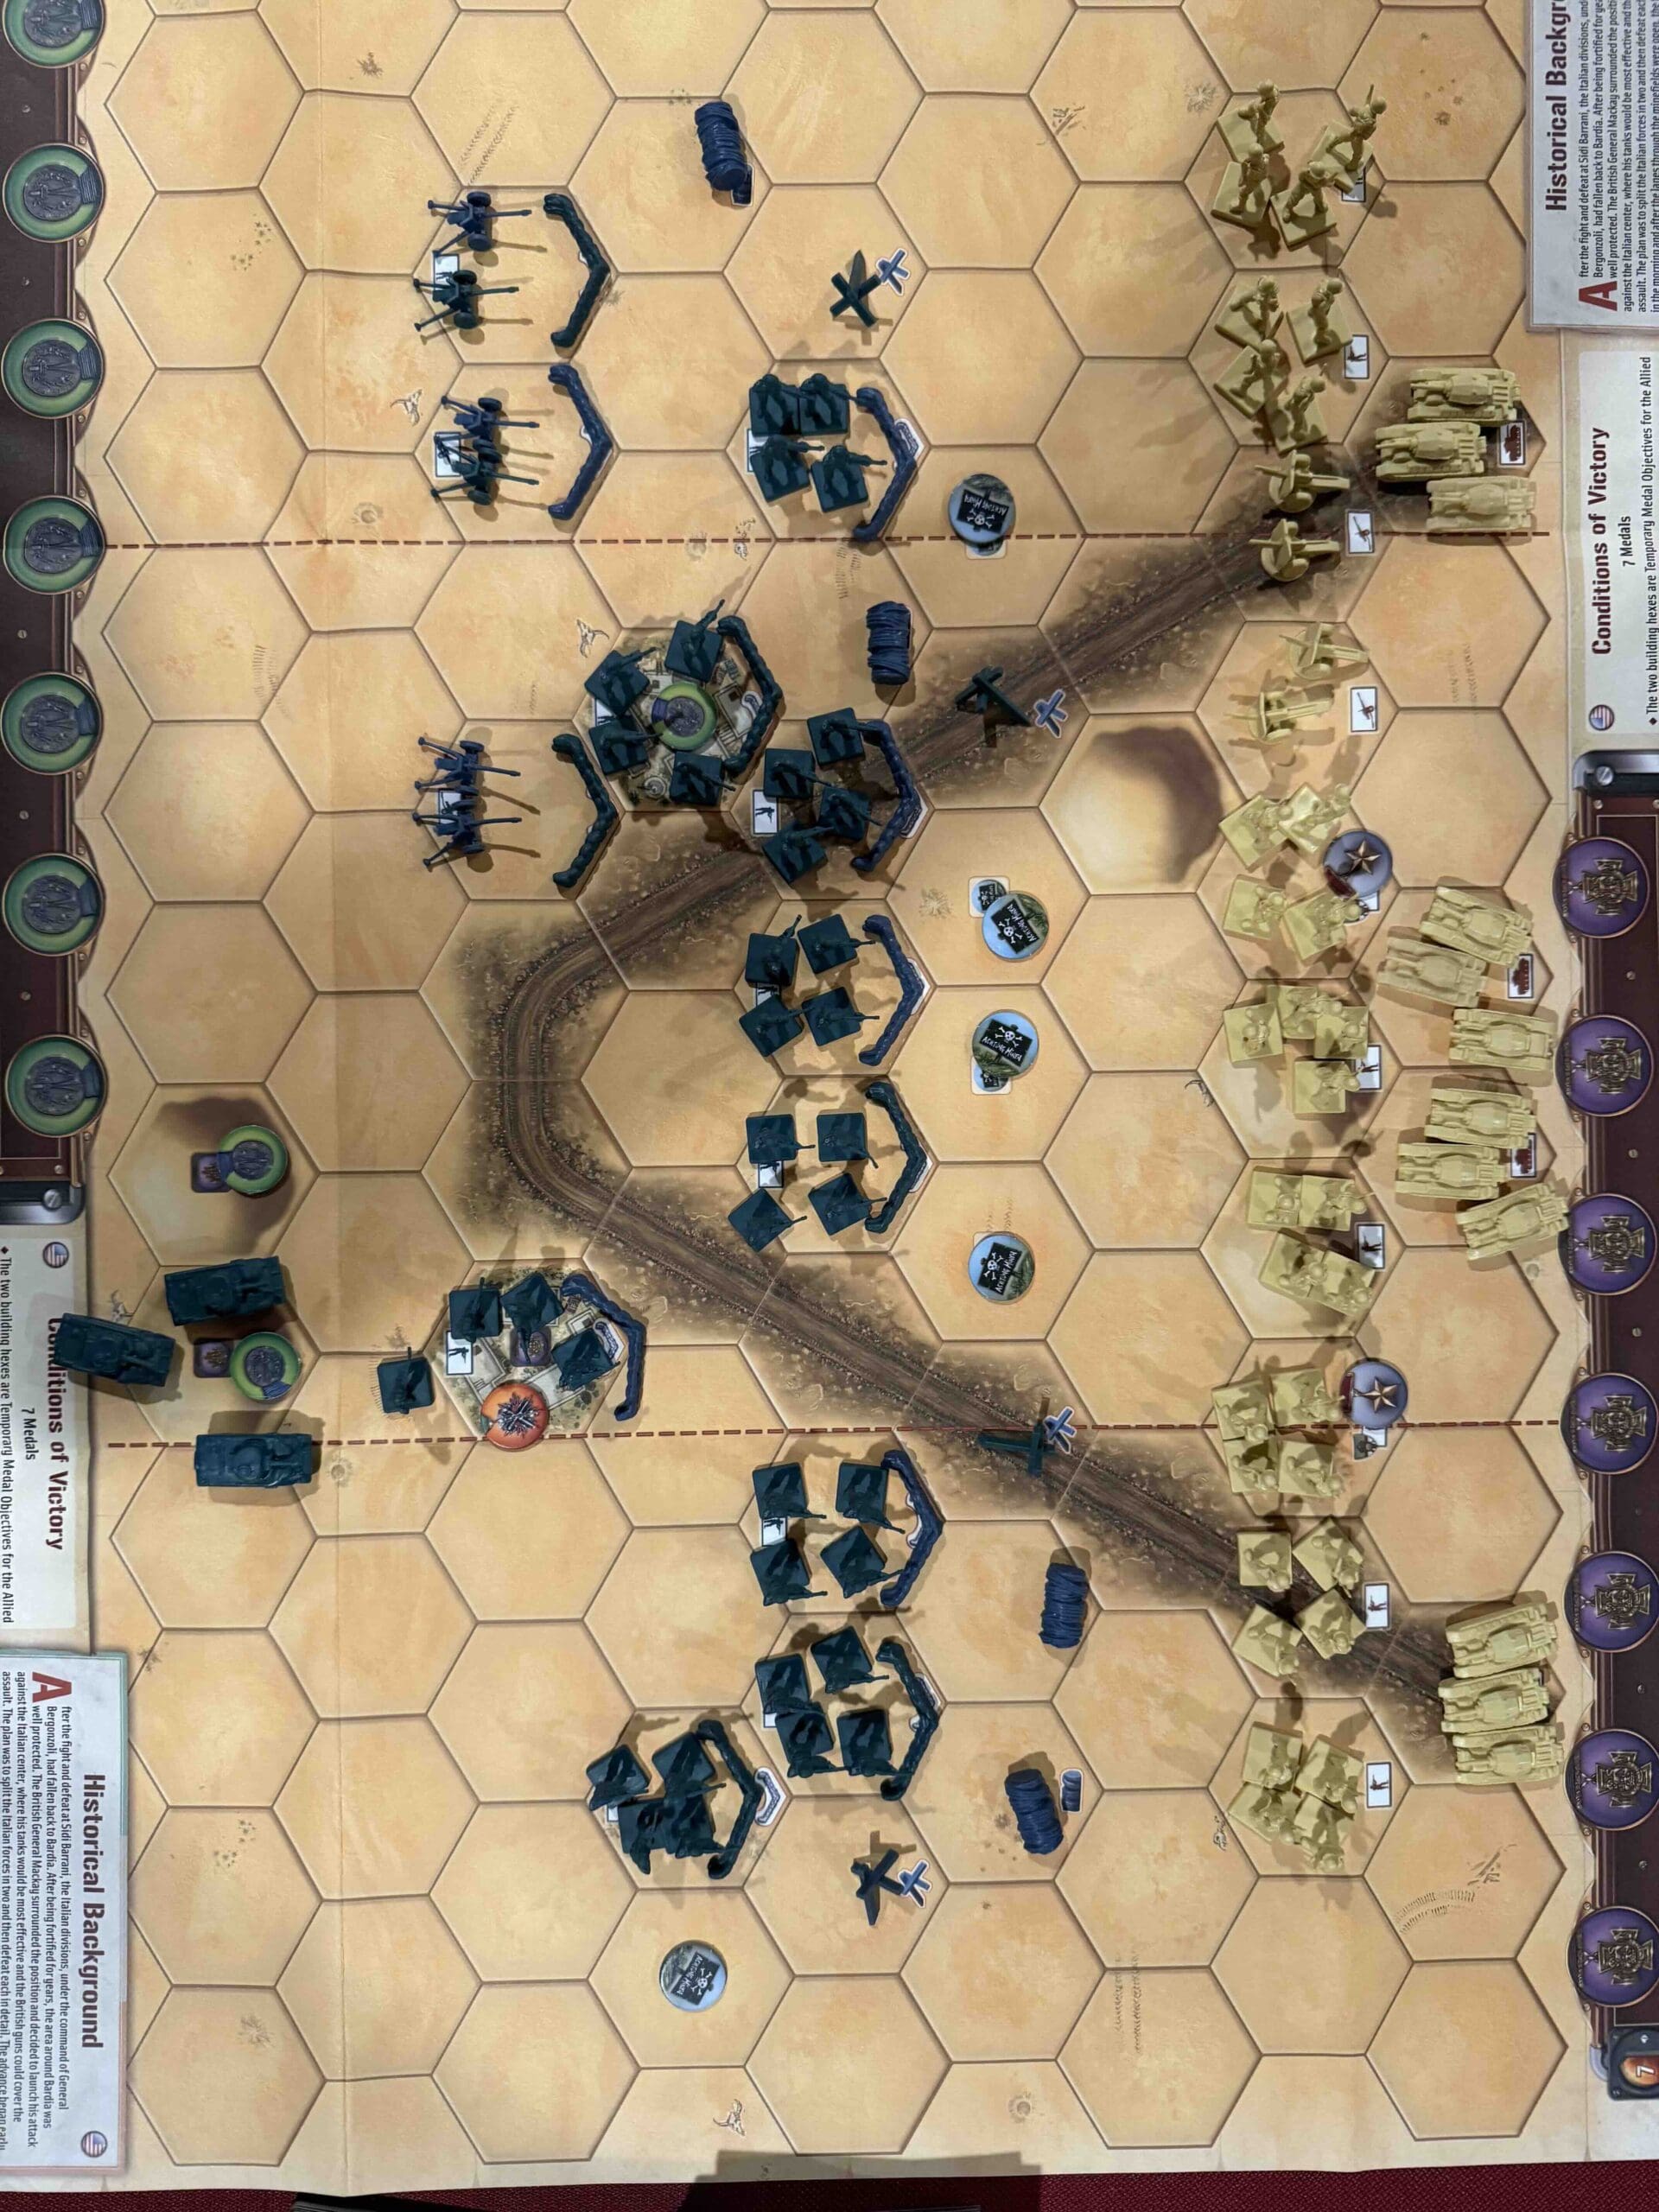
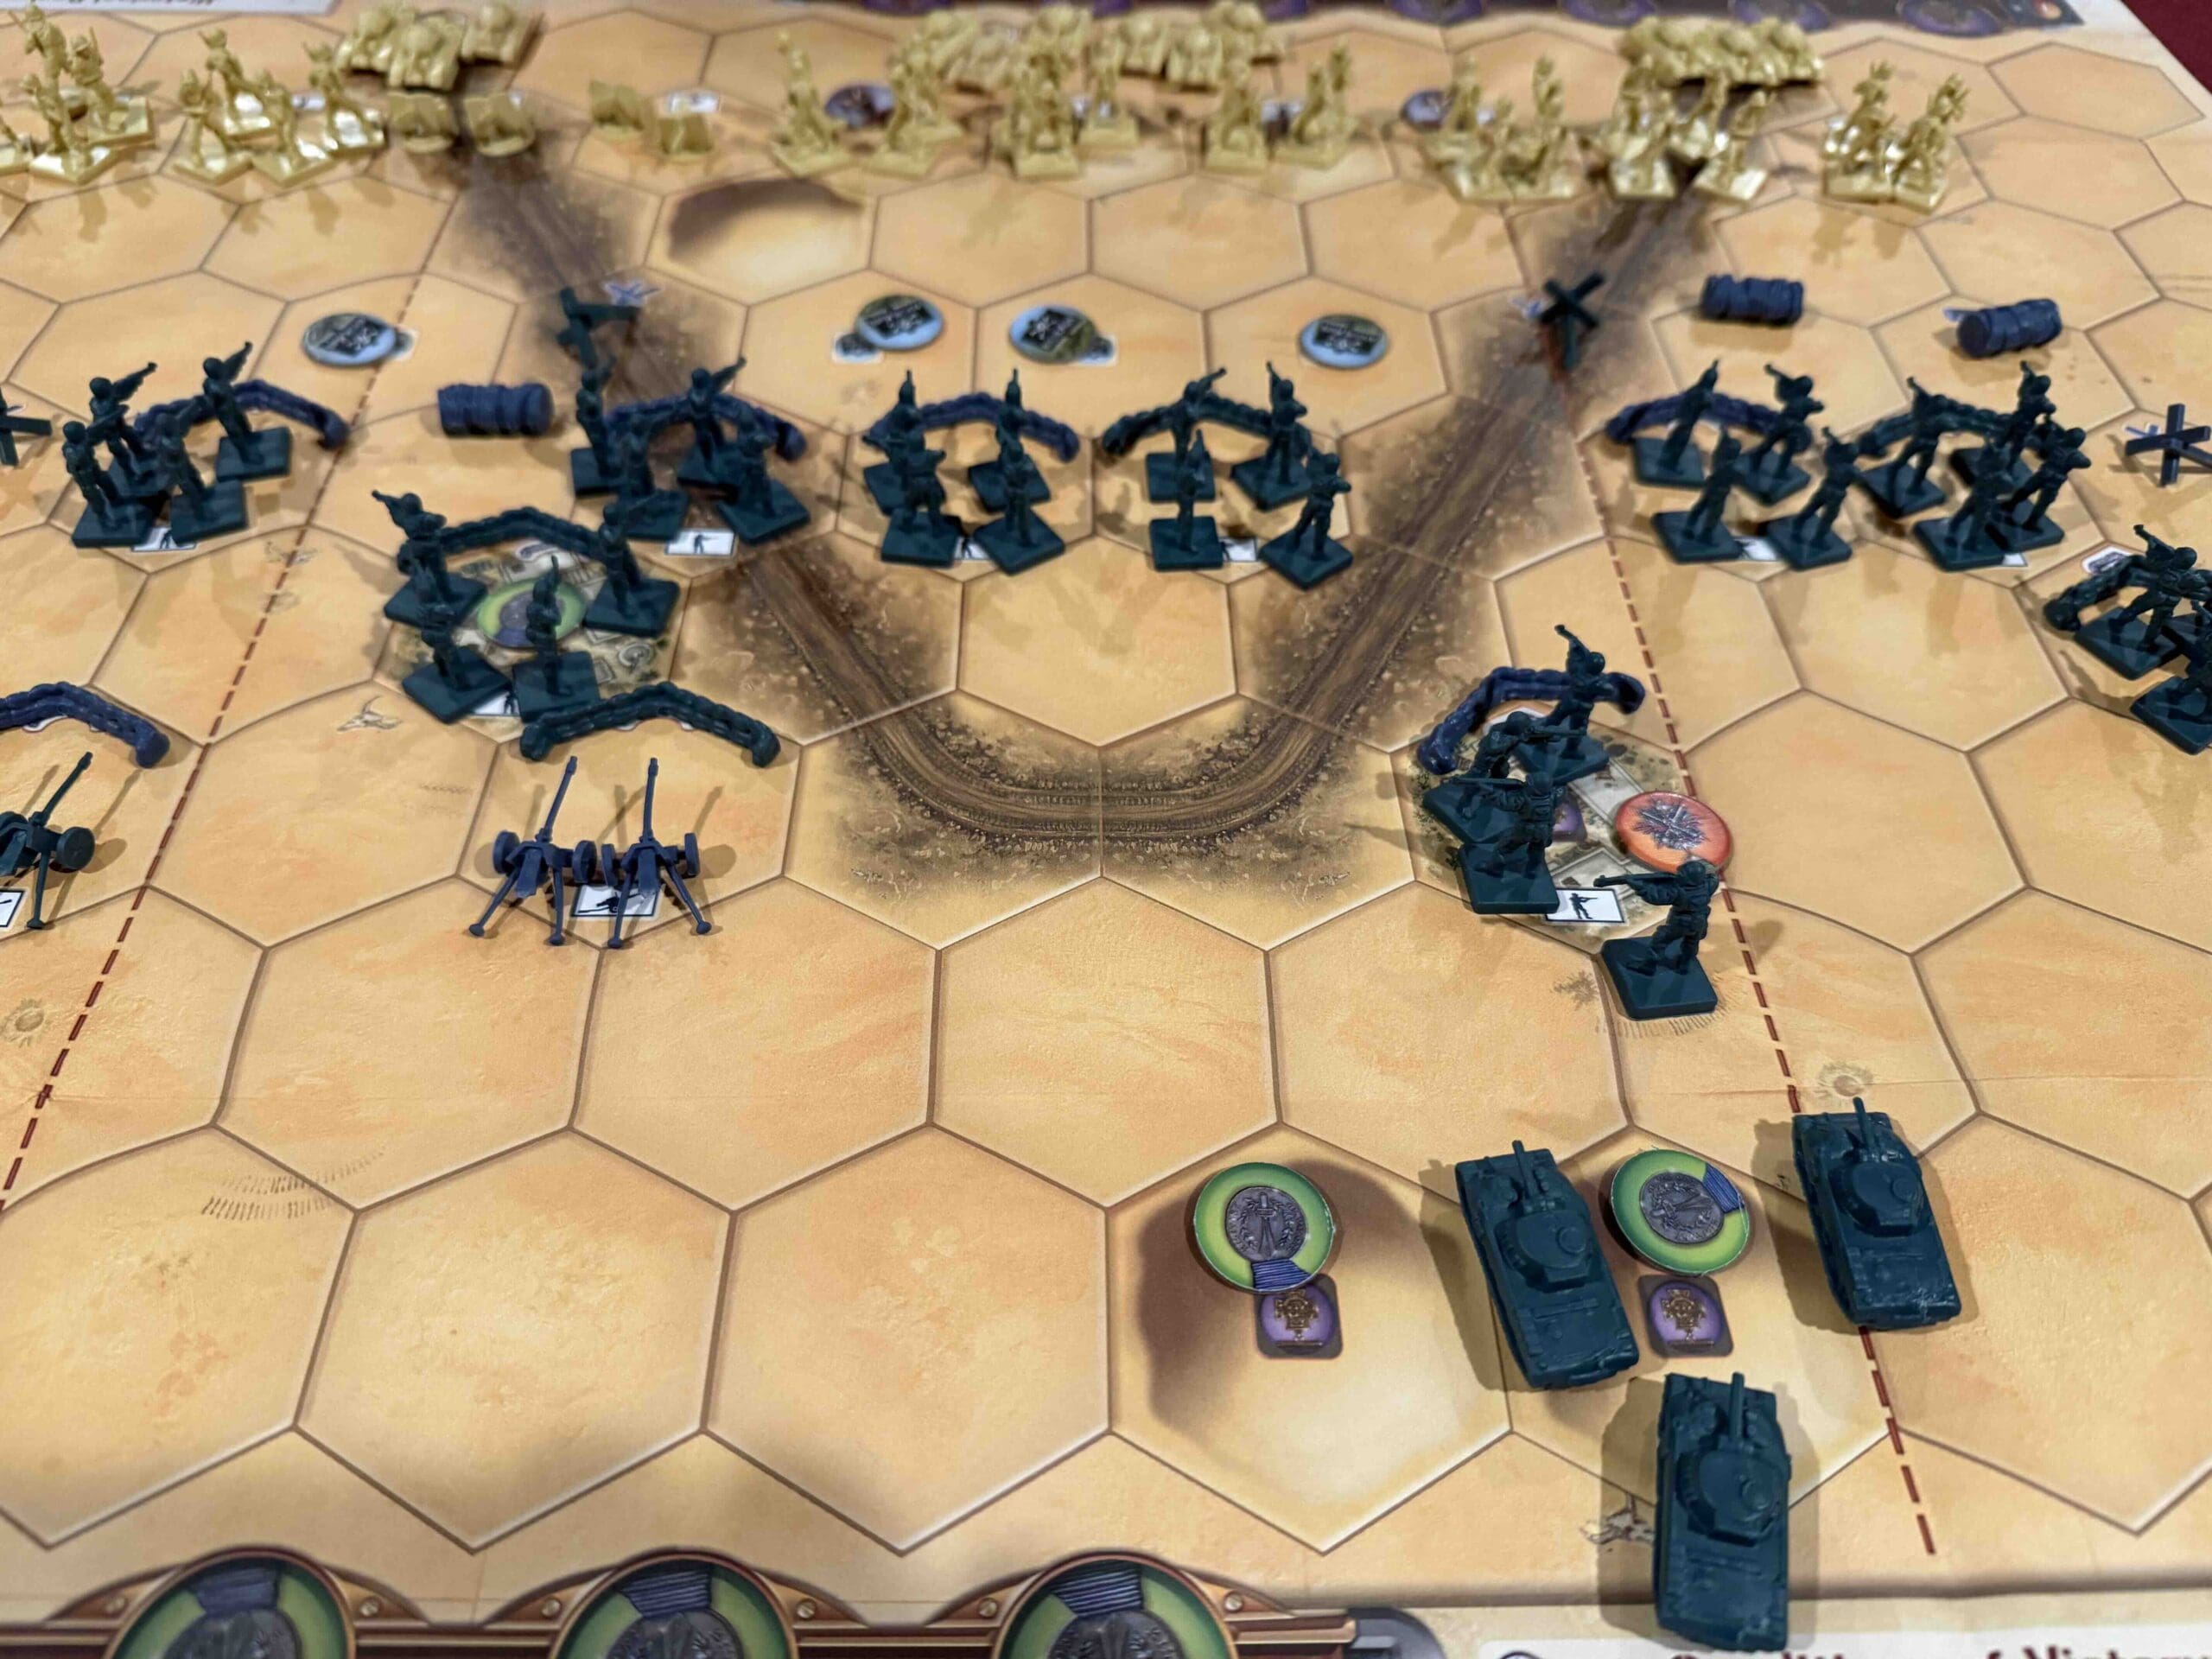
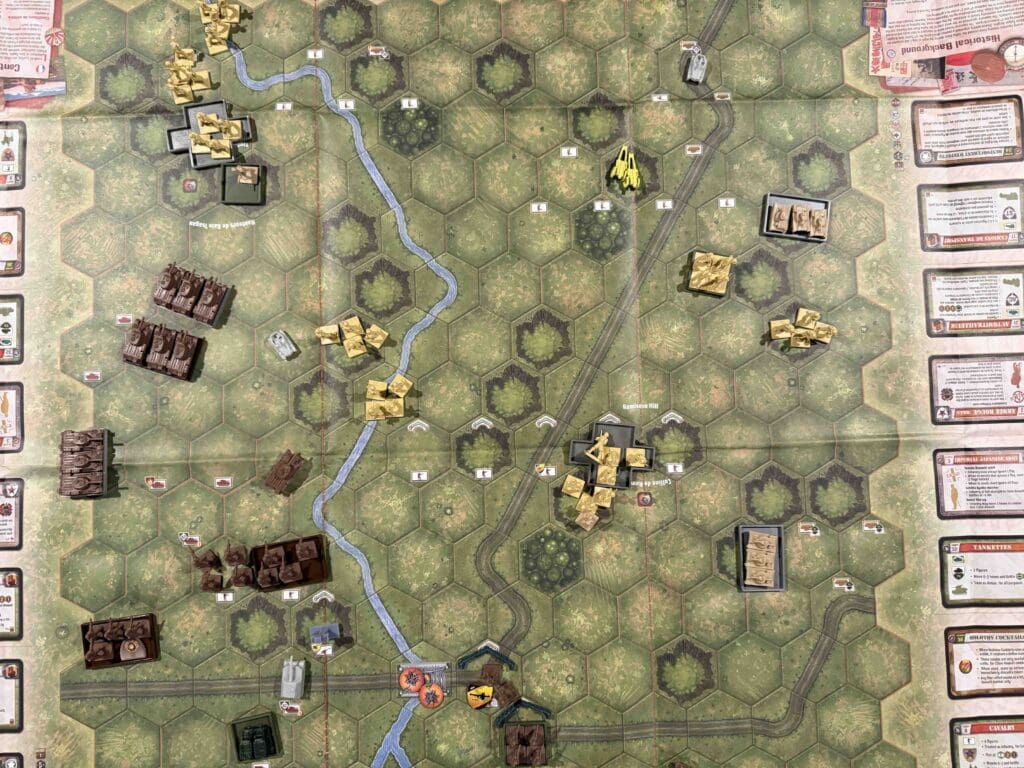
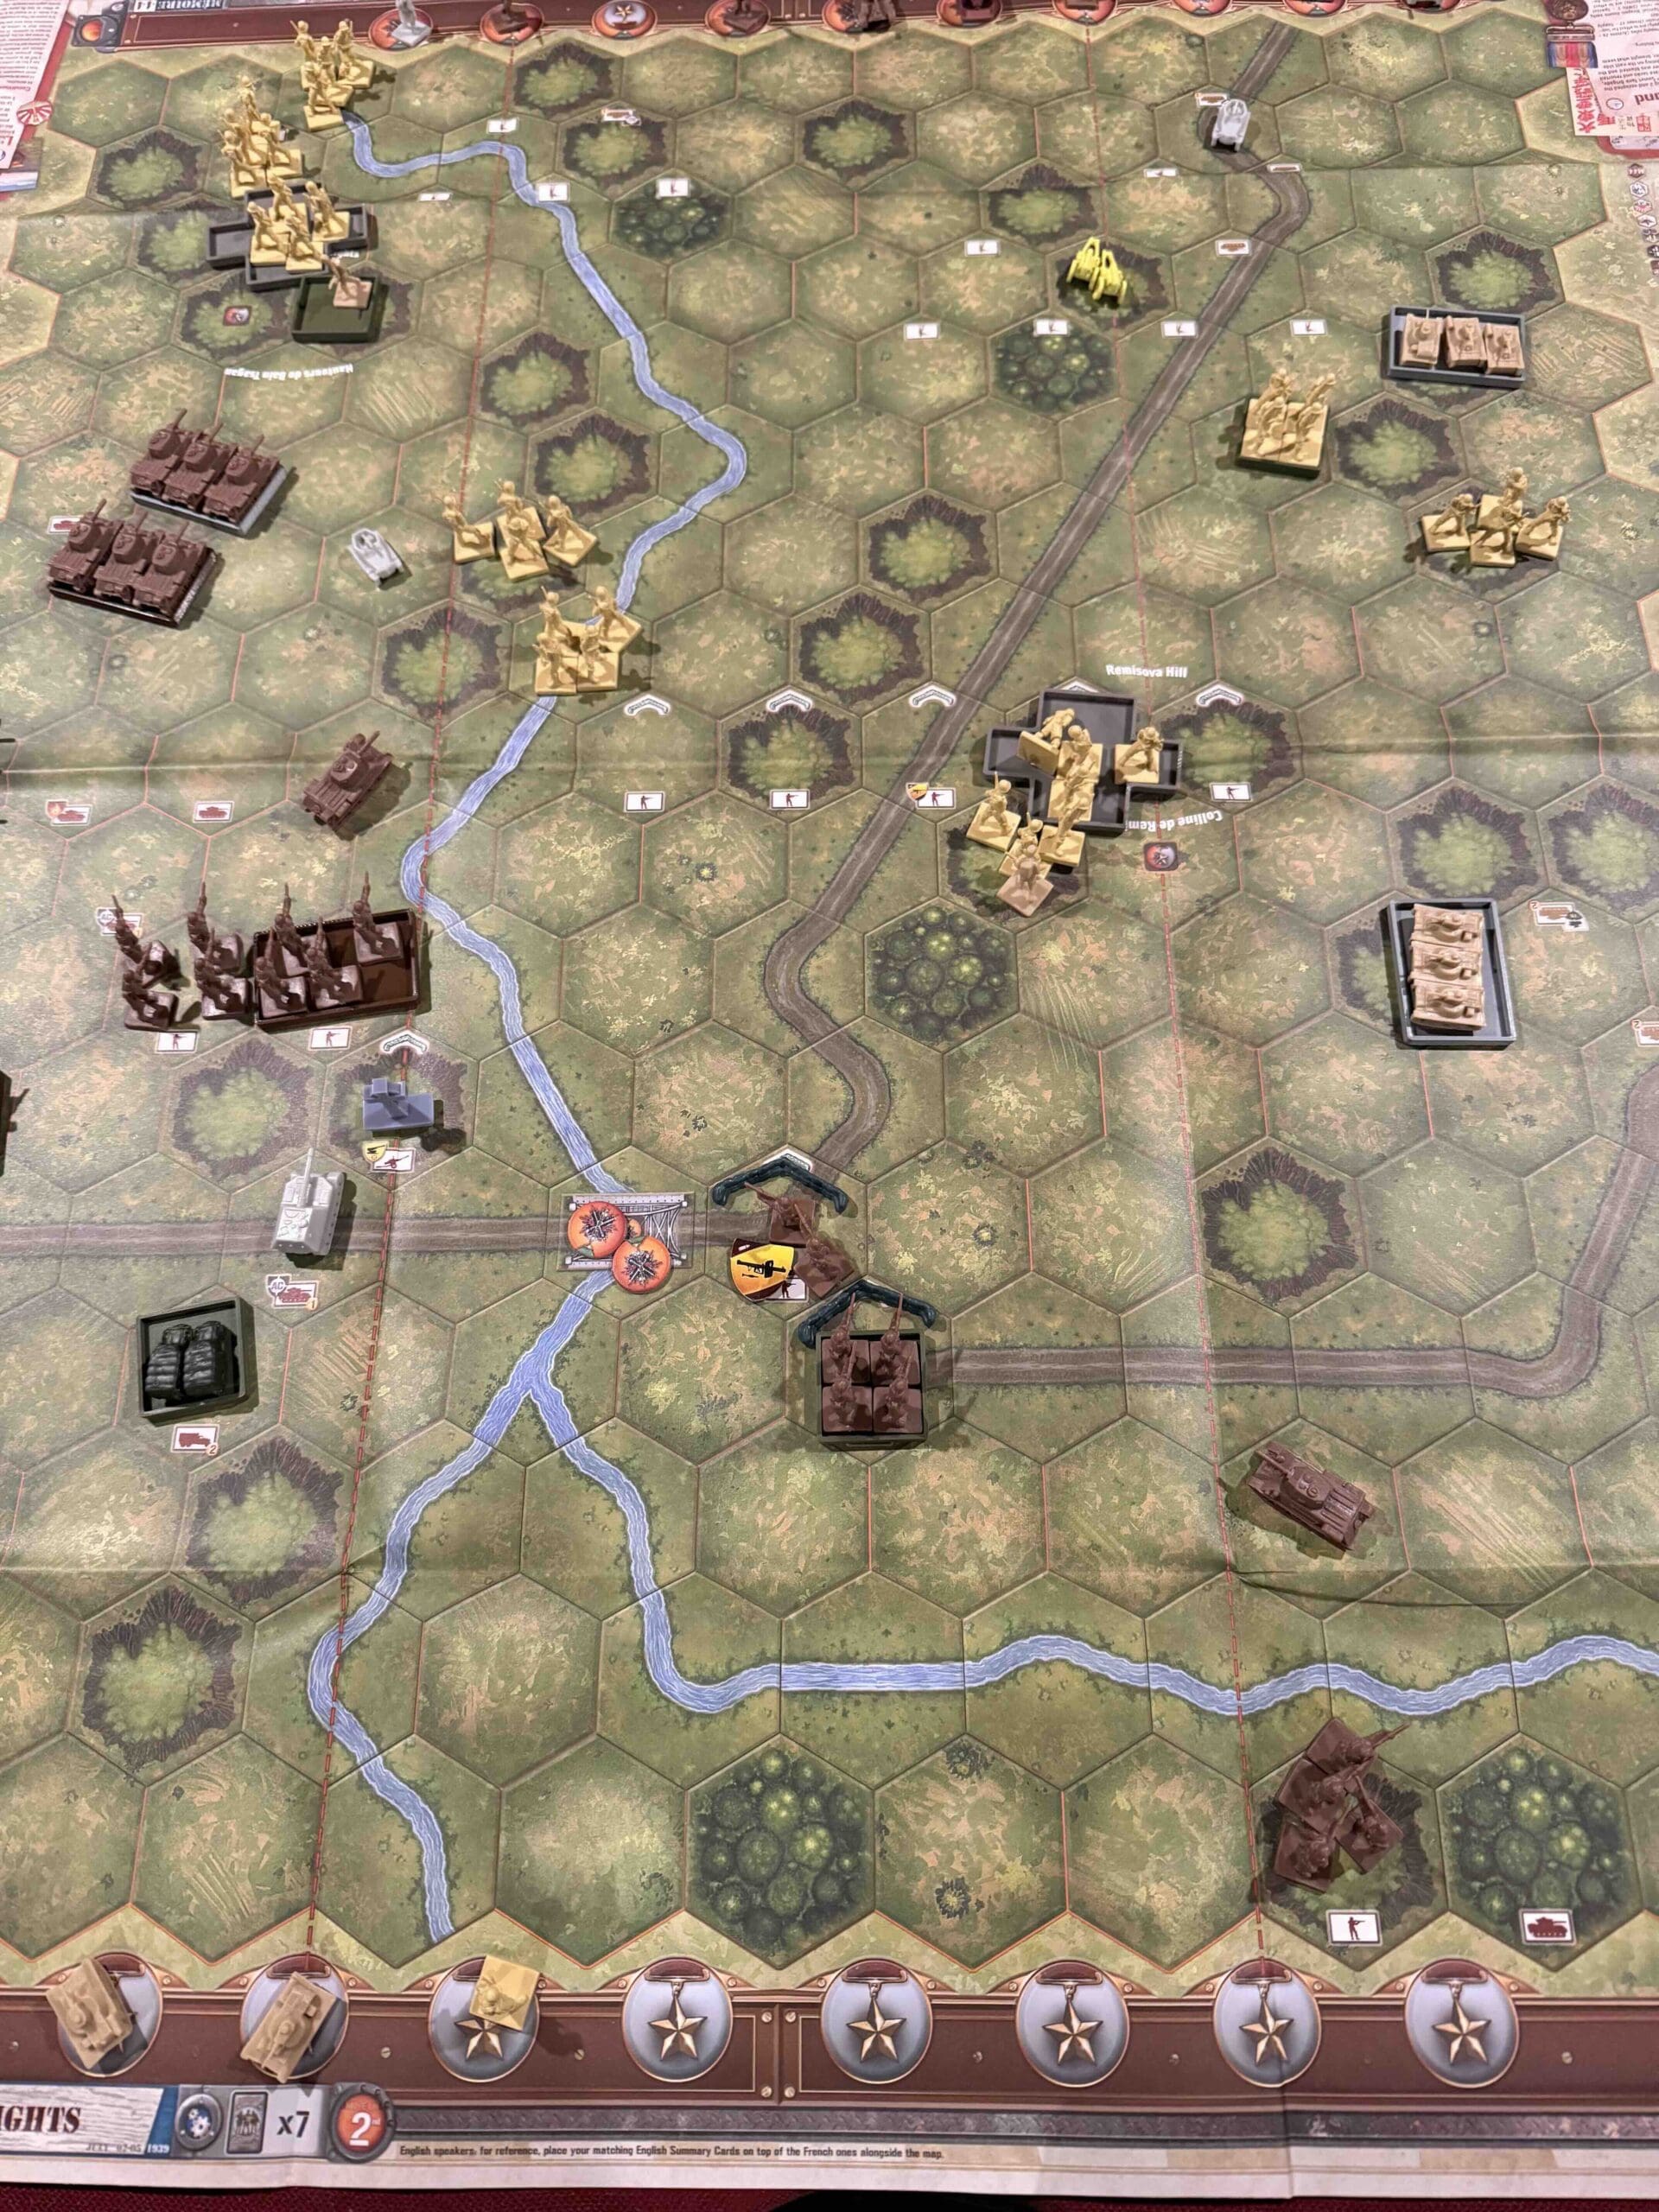
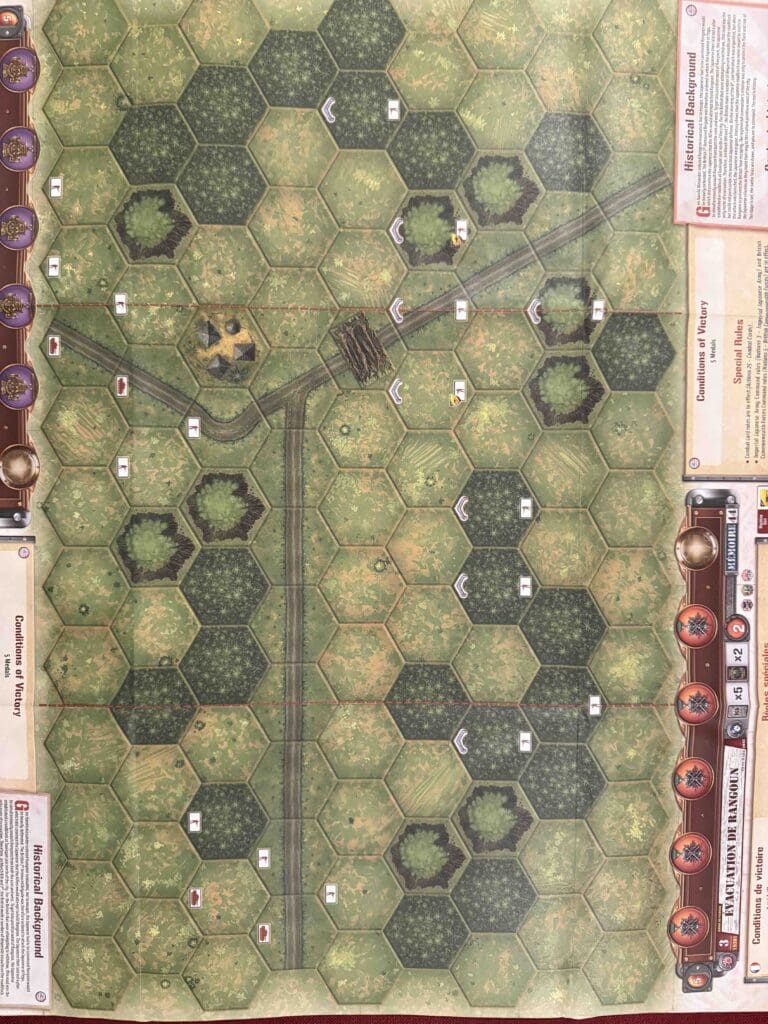
Battlefield:
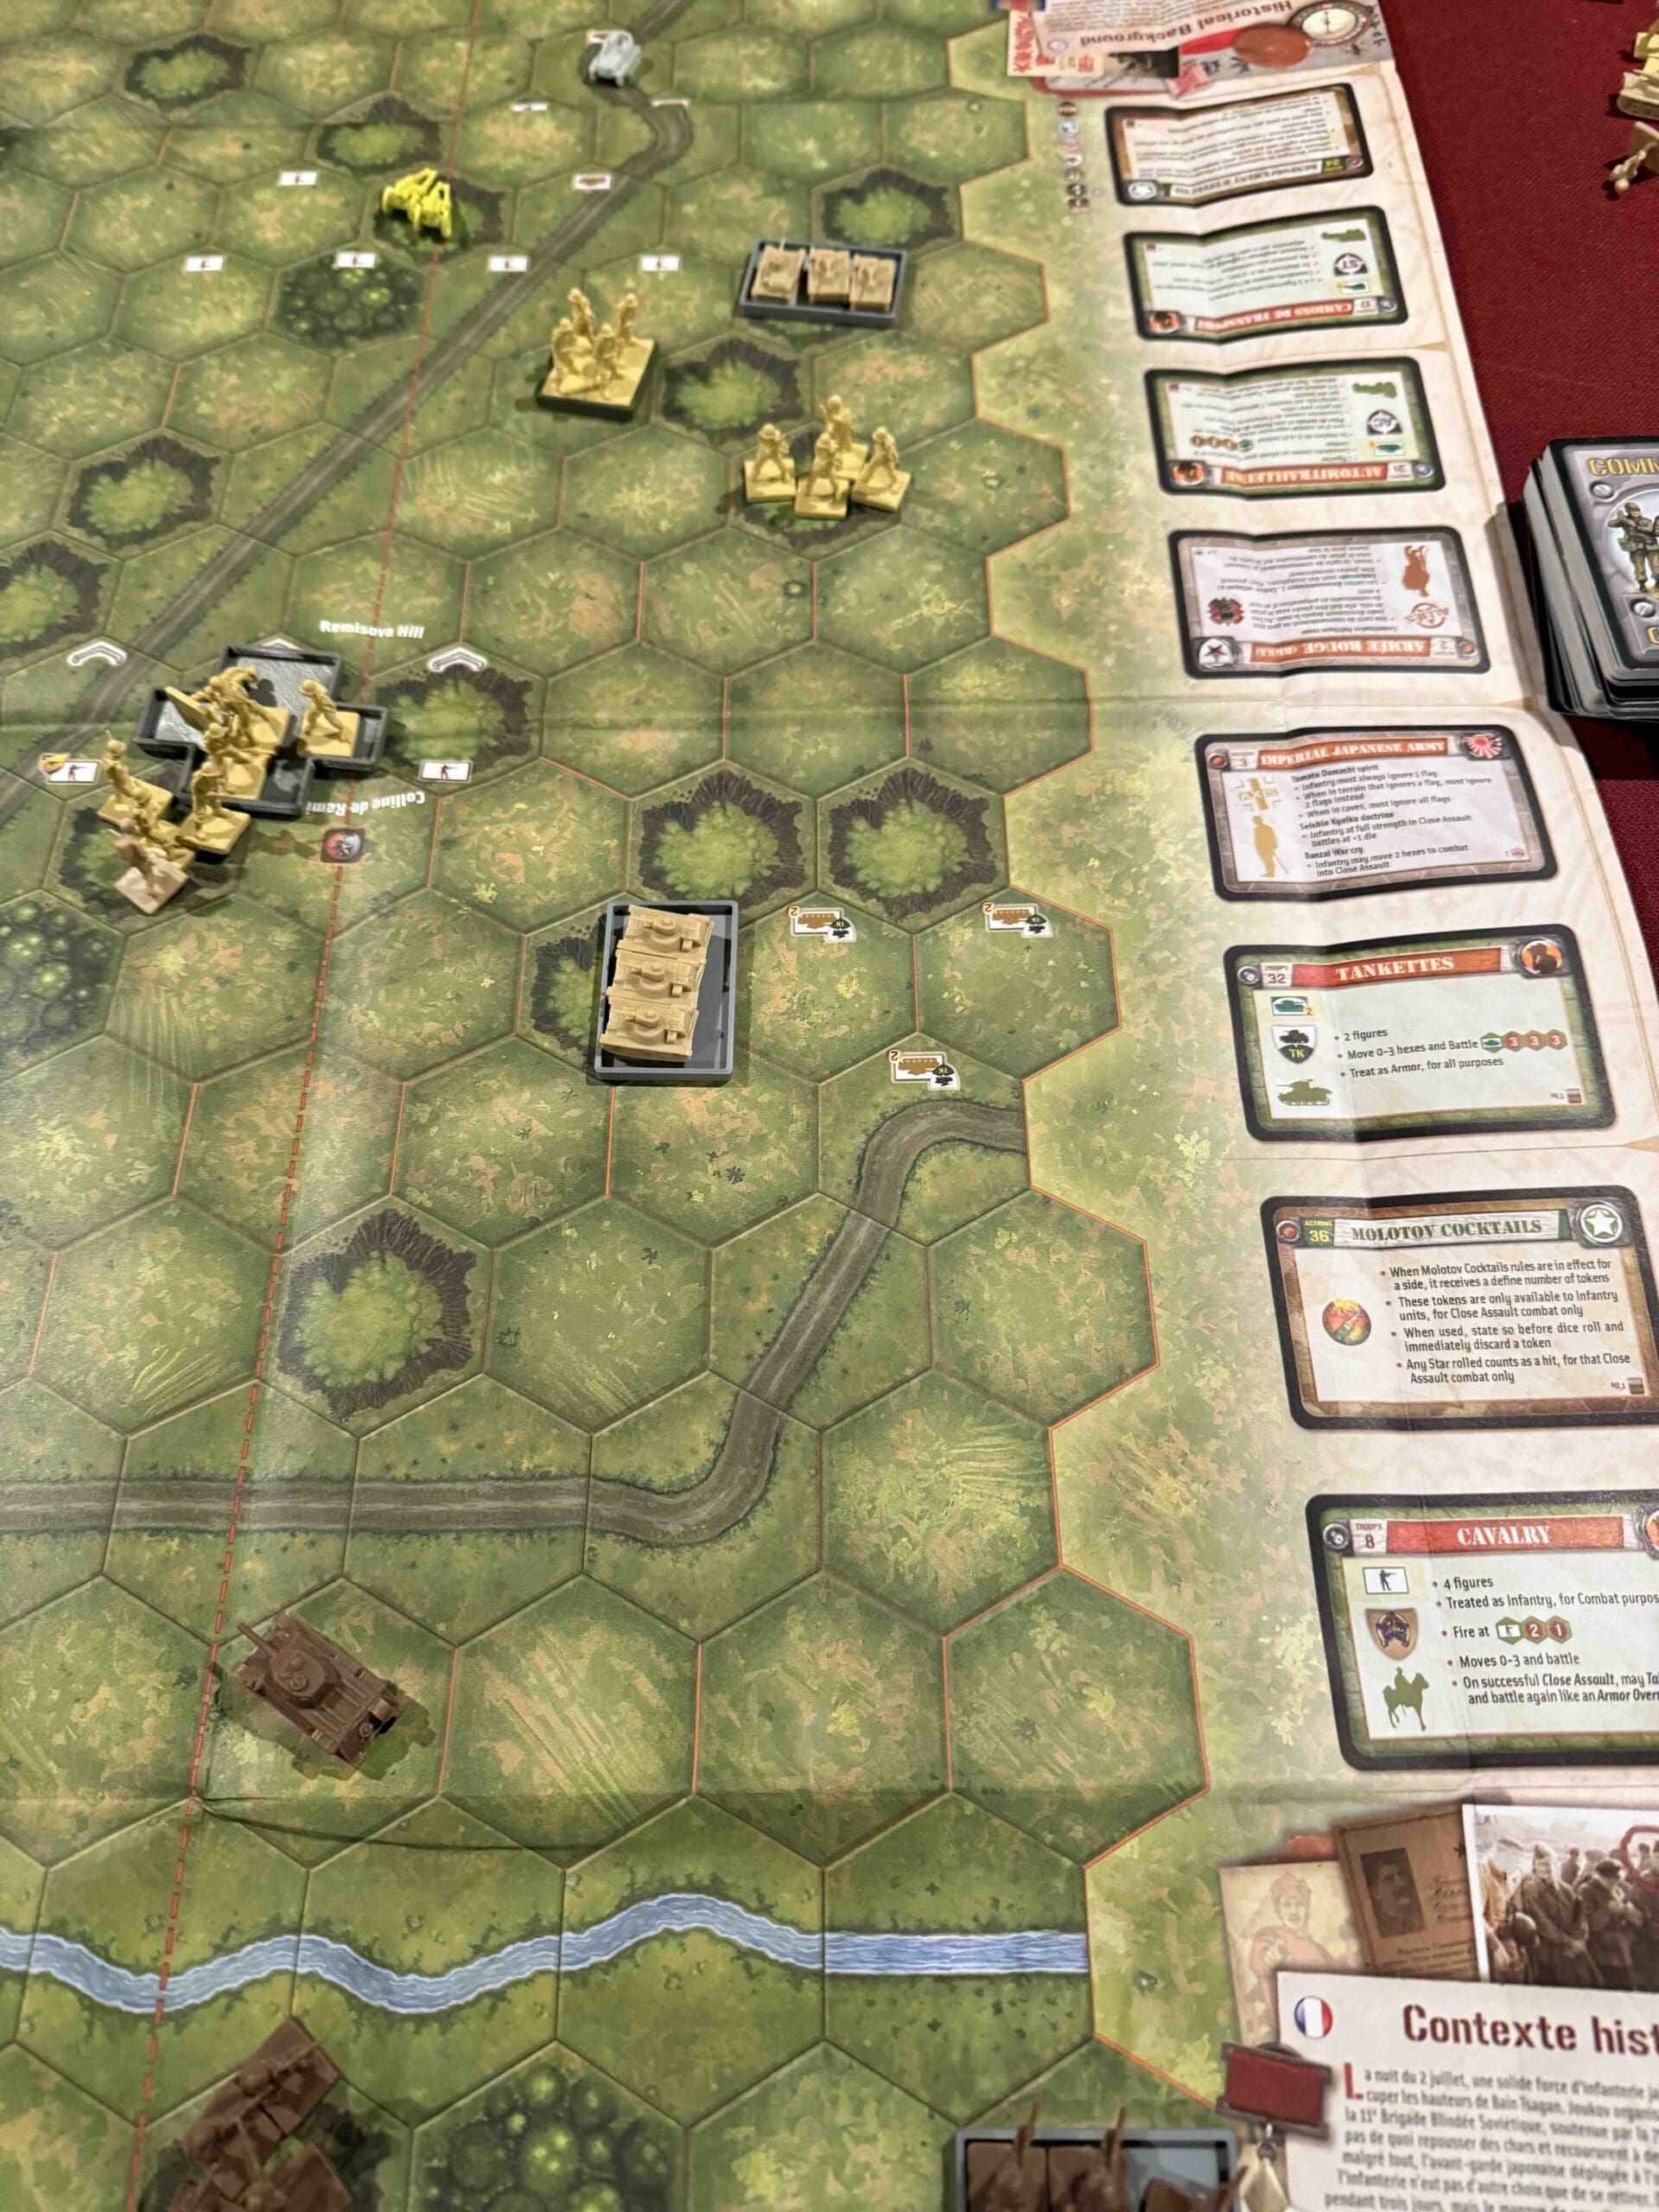
Jungle with two intersecting roads, a roadblock, a village, and some hills.
Troops:
Allies – 8 Infantry, 4 Armor
Axis (Japan) – 9 Infantry with some machine guns and anti-tank special weapons.
Allied Strategy:
1. Big Picture: while you do not have to get through the roadblock, it does present a challenge for the British as a rallying point for the enemy.
2. Before you attempt an Infantry attack, use your Armor units to attack the Japanese units at a distance, and reduce each unit by at least one figure, in order to eliminate their Seishin Kyoiku Doctrine power.
3. You have some powerful forces on your right section. Get the Infantry moved forward and into the nearby jungle, so that the roadway is clear to allow your Armor to advance and get into the attack.
Axis Strategy
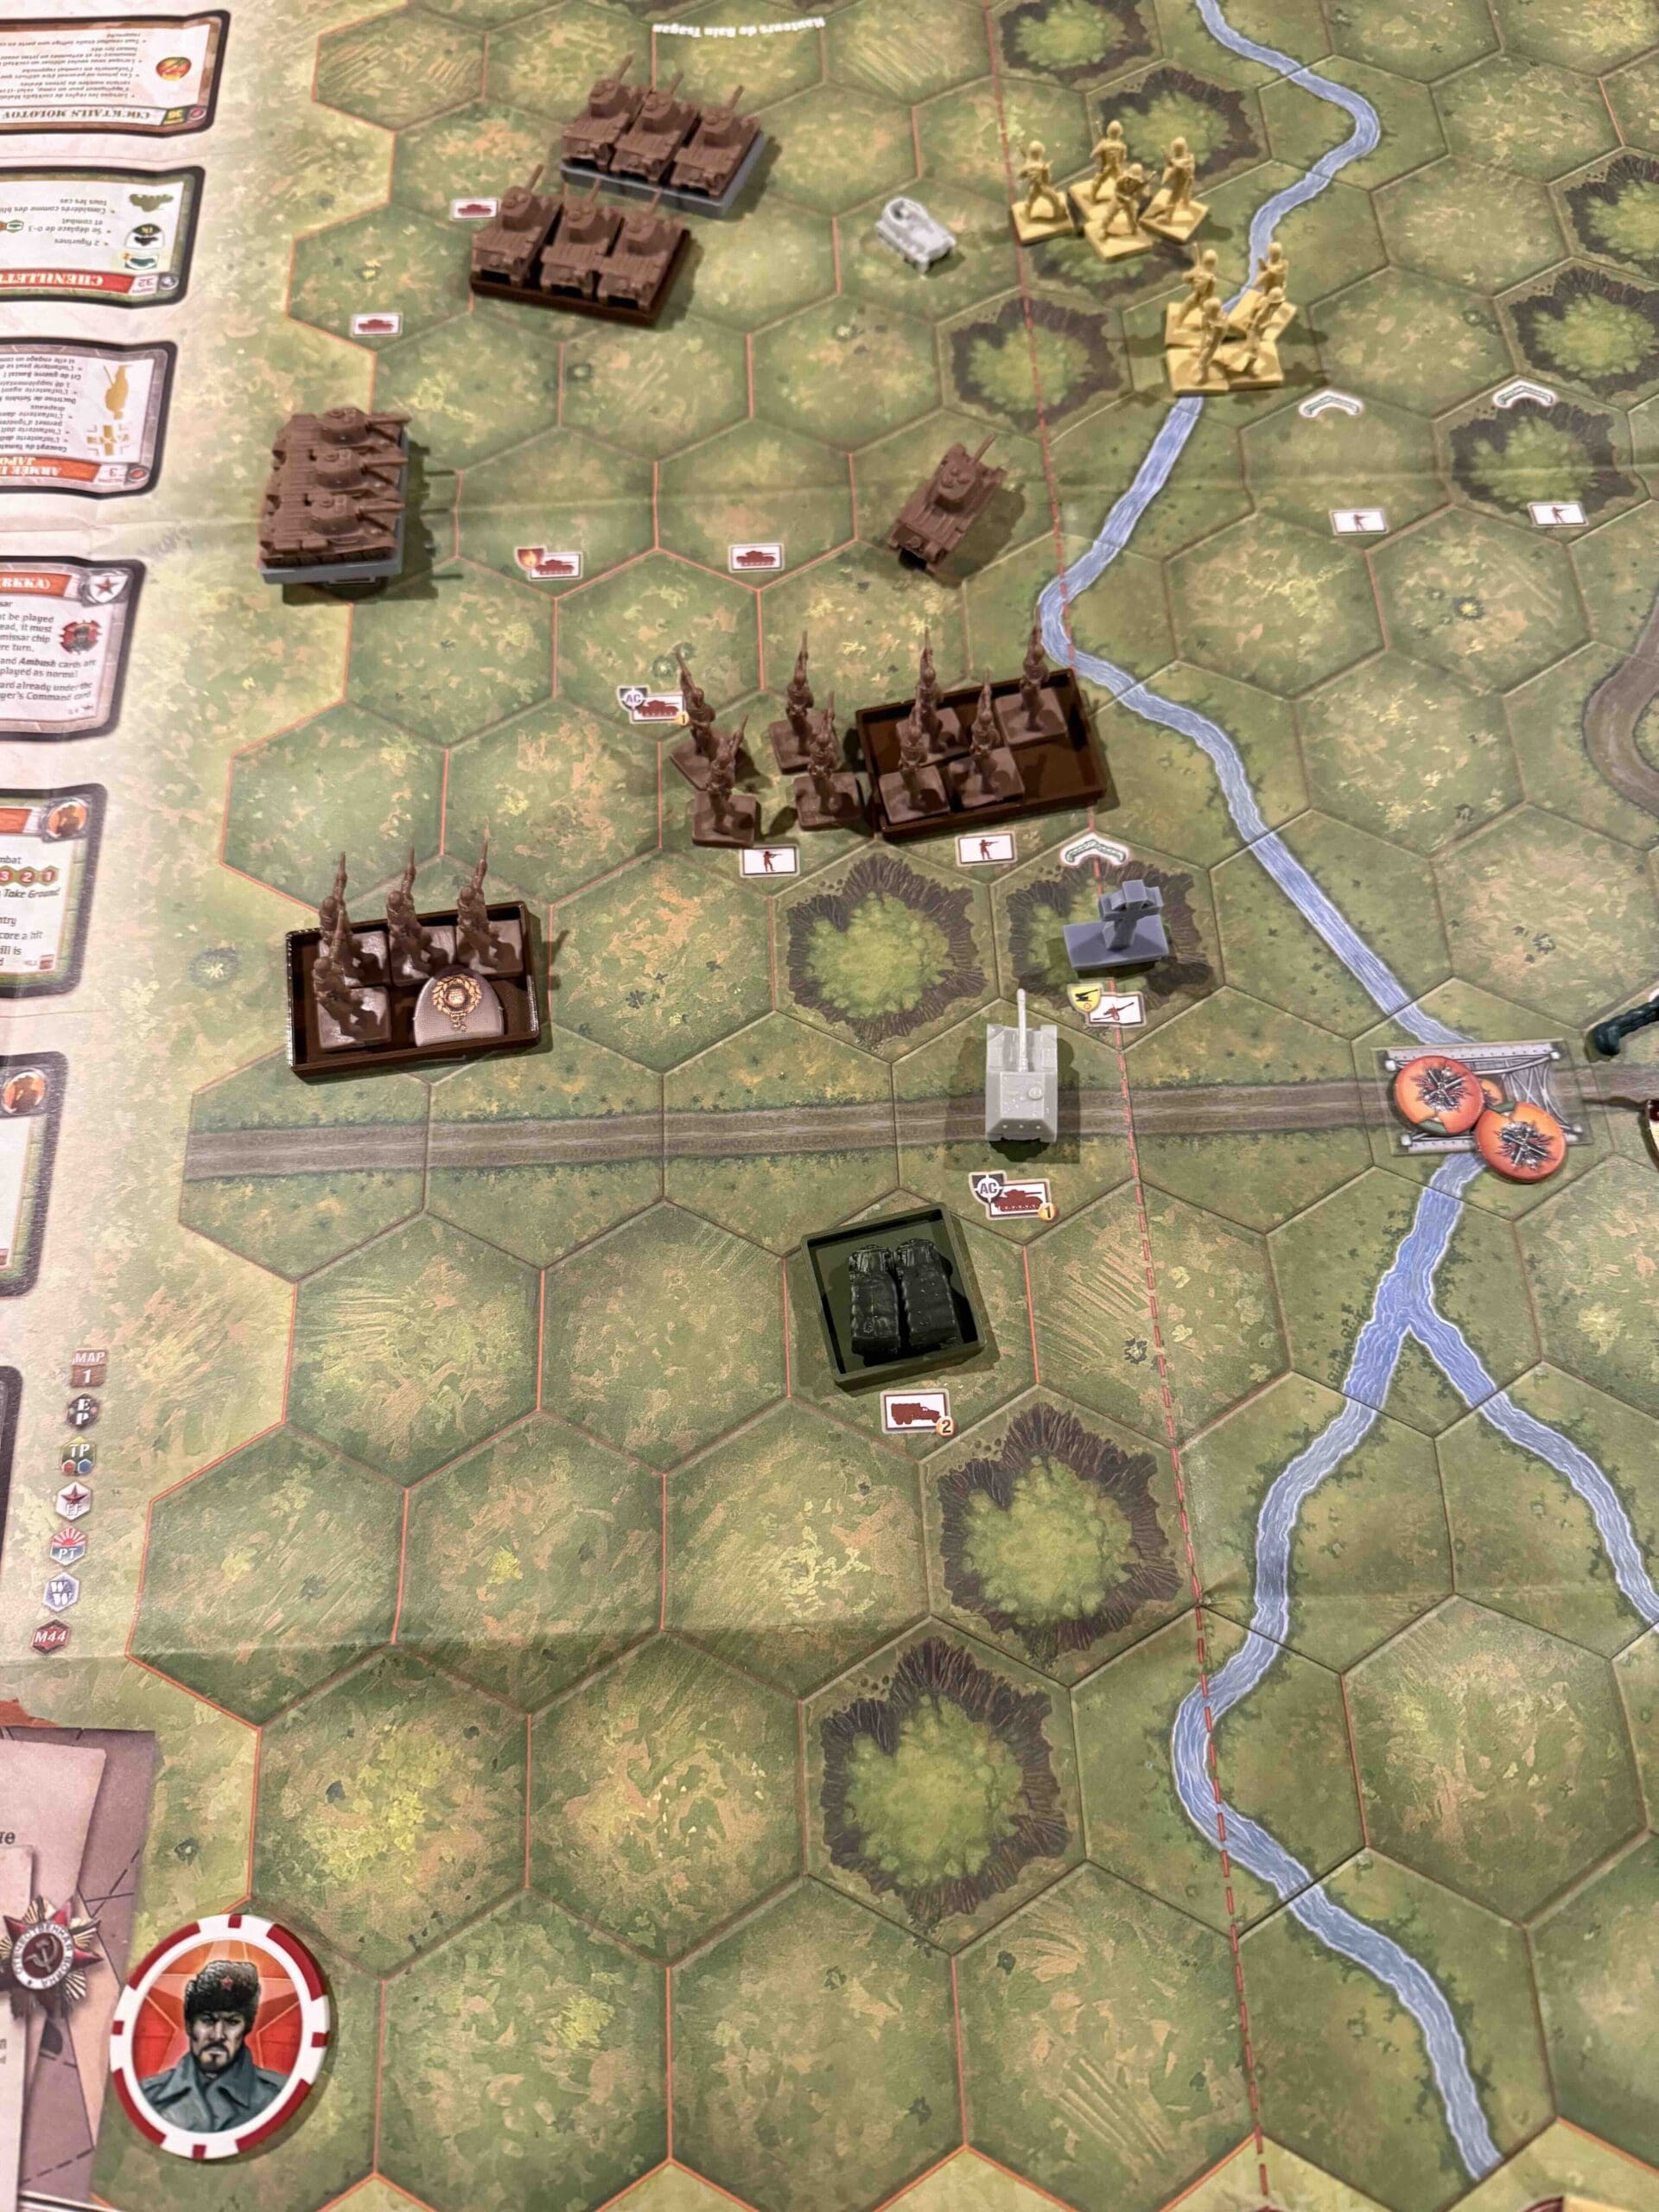
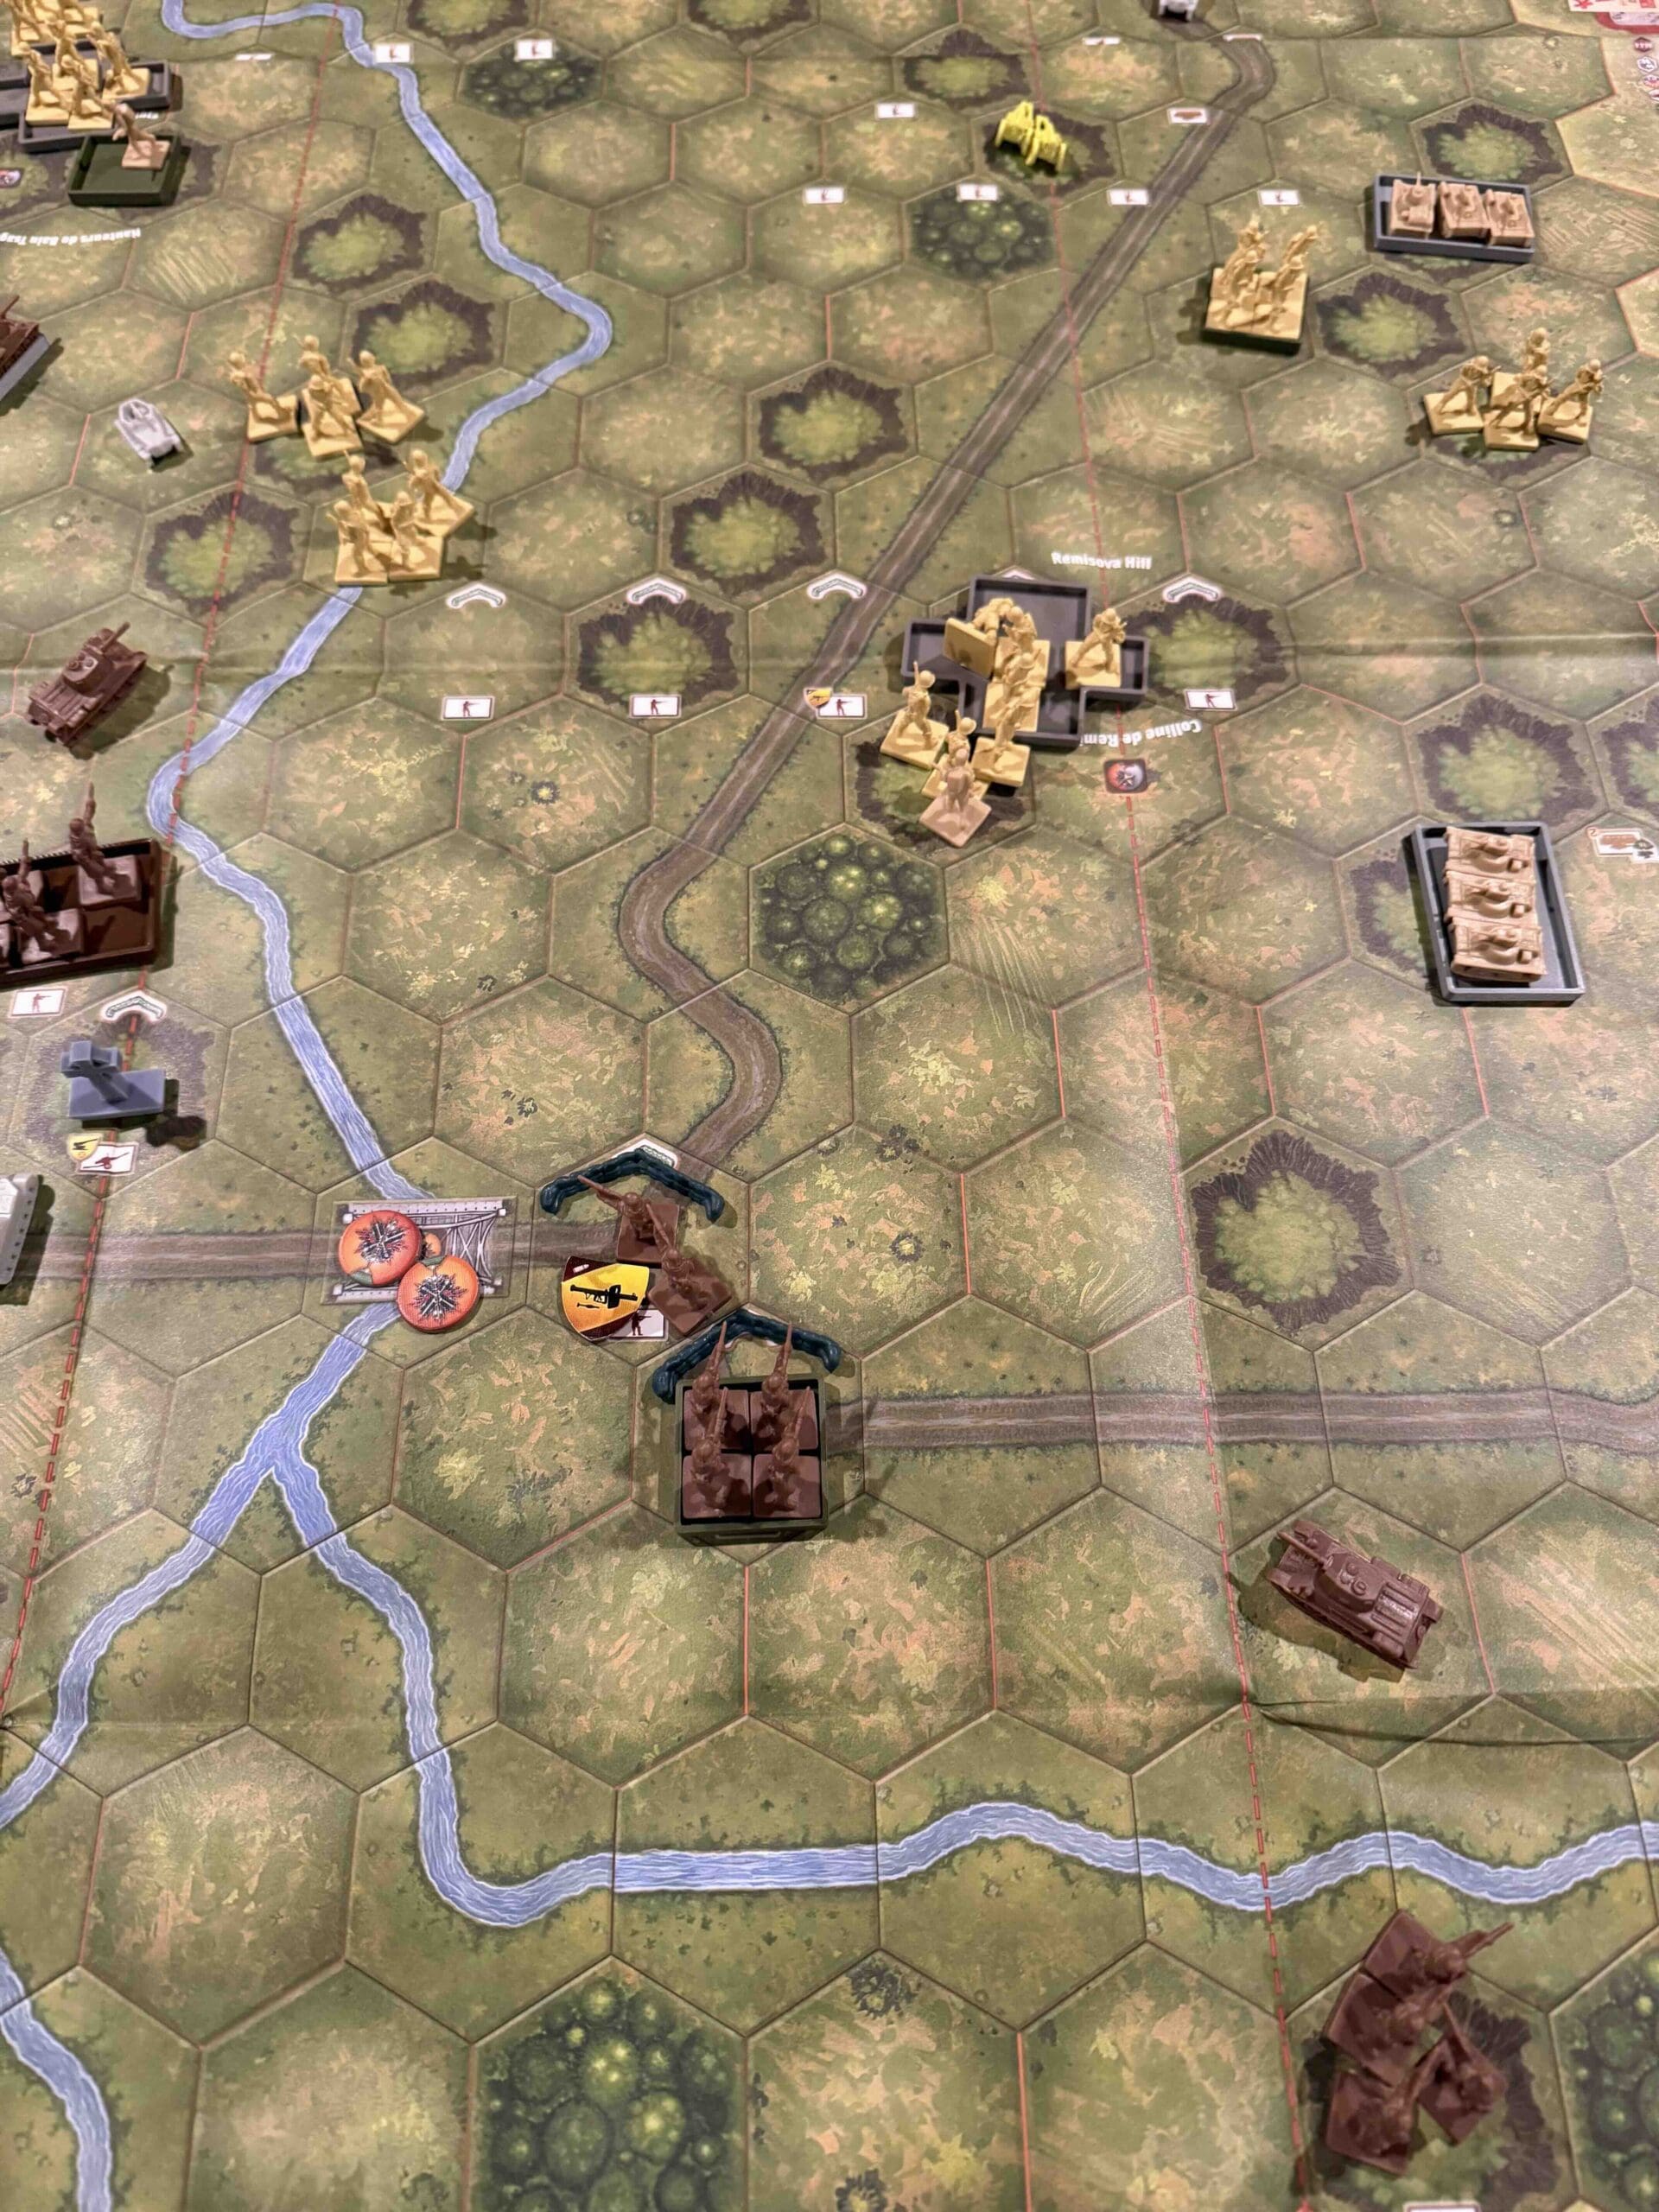
1. Big Picture Strategy: with their special weapons of machine guns and anti-tank guns, plus the roadblock present a significant opportunity for the Japanese to hold off the Brits.
2. Because of the British tanks, you cannot just stay behind your sandbags the whole time. They will slowly pick you off, and degrade your attack ability. You will have to deal with the tanks, perhaps through specialized cards such as Barrage, Air Power, Behind Enemy Lines, or the Combat Card ‘Giretsu’, the Japanese BEL card.
3. With the right set of cards, and as long as most all of your forces are still at full ‘Seishin Kyoiku Doctrine’ strength, a full scale assault on your right flank could prove successful.
Battle Reports
Author:
Days of Wonder
Link: