Opportunity at Falaise

Opportunity at Falaise

scenario_Opportunity-at-Falaise

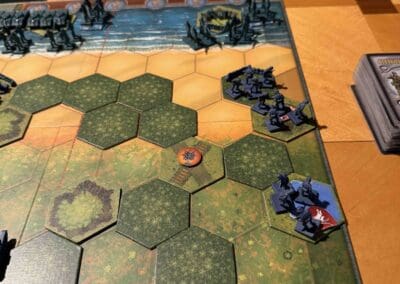
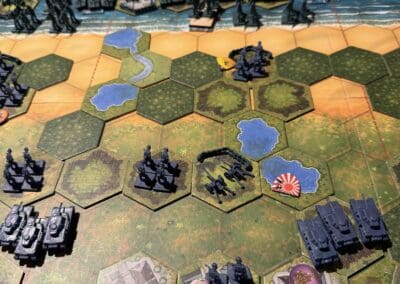
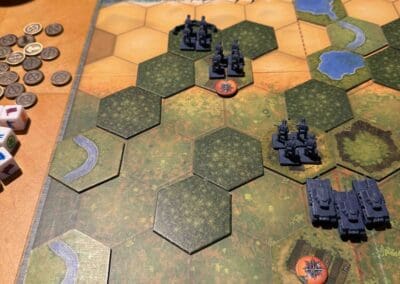
Operation Tractable was no walk in the park—it was a slugging match to crack open Falaise and slam shut the German retreat. After Totalize stalled at Hill 195, General Simonds didn’t waste time crying over it—he drew up a new plan and hit them again on August 14.

This time the Canadians rolled in daylight, the 4th Armoured hammering from the west, the 3rd Infantry grinding from the east. Smoke screens masked their advance, Kangaroos hauled men through fire, and German anti-tank guns spat death every step of the way. The enemy counterattacked hard, slowing progress, but the Canadians kept pushing. By the 16th, they broke into Falaise, and after two more days of brutal house-to-house fighting, the city was theirs.

It wasn’t the end, but it was the first crack in the Falaise Pocket. With Falaise in Allied hands, the jaws were closing on the German 7th Army—and they knew it.

~~ General Howitzer

VP’s

5

card

Card Balance:

Allies – 5

Axis – 5

Complexity:

4

Conditions:

Countryside

countryside

Context:

Historical

Location:

Normandy

Year:

1944

Campaign:

Battle of Normandy: Operation Tractable

 Summary:

Victory Points:

5 Medals, including a temporary medal for the town of Falaise.

Terrain:

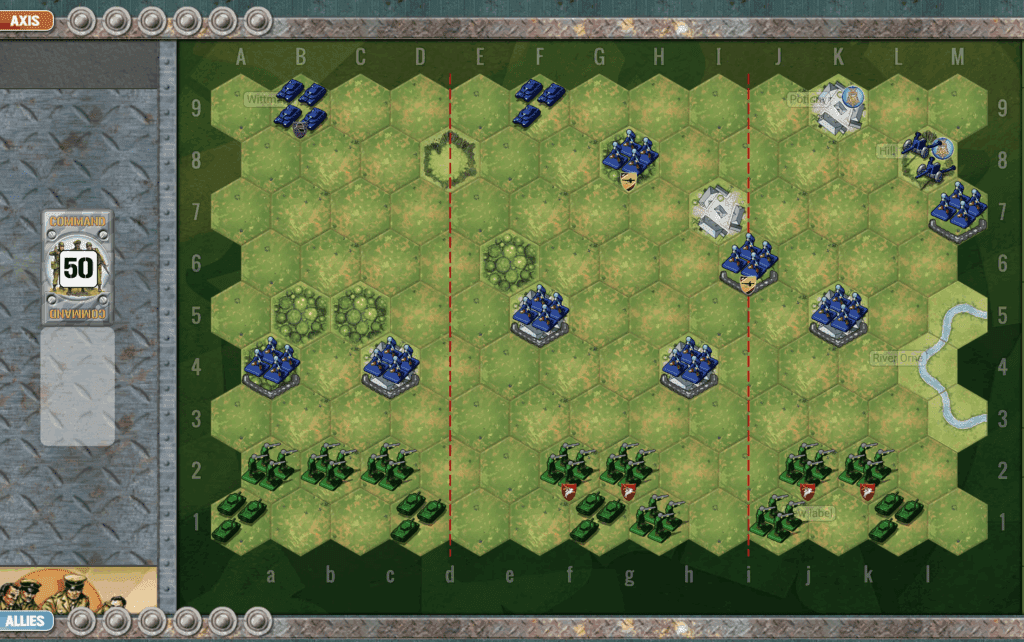
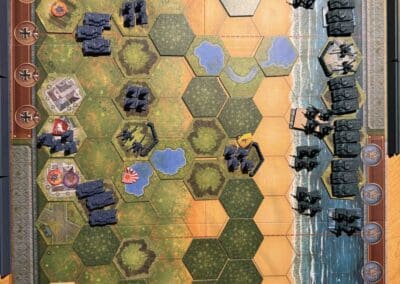
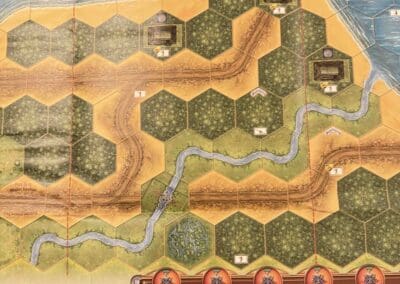
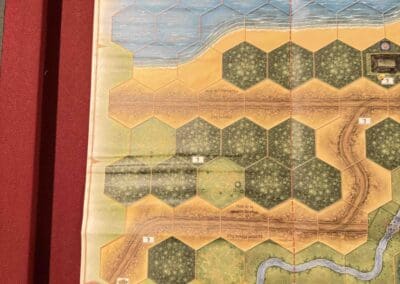
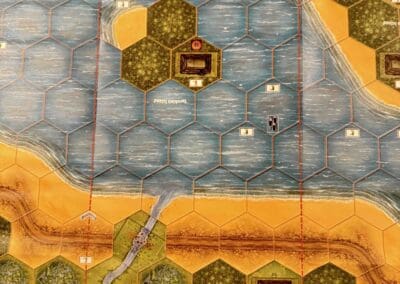
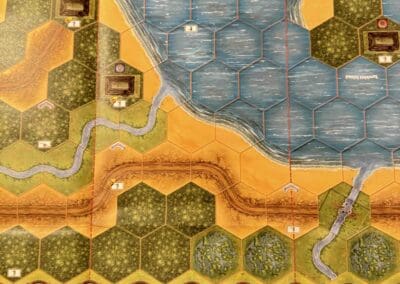
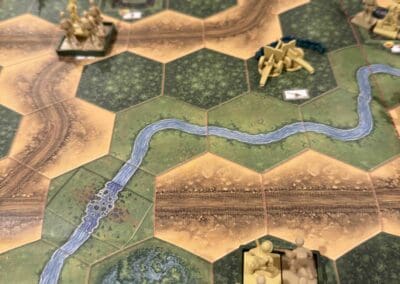
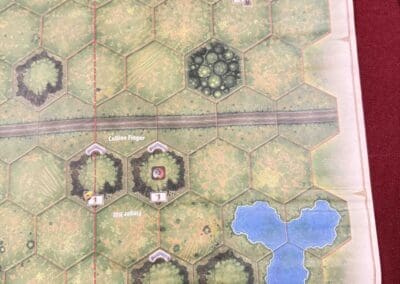
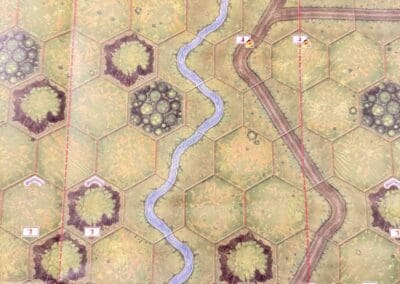
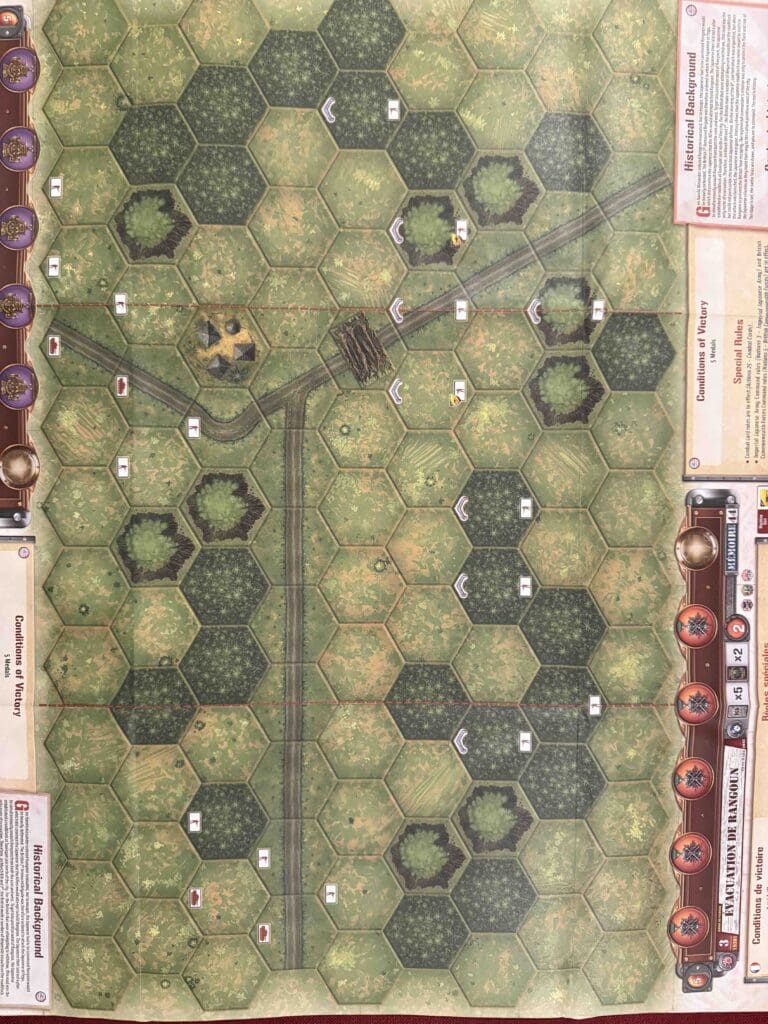
Countryside with a river running across two thirds of the battlefield.

Troops:

Allies – 8 Infantry, 4 Armor

Axis – 8 Infantry including 1 Anti-tank gun, 1 Armor, 1 Artillery

medal allies

Allies:

1.  This scenario has a unique feature for the Allies, in that they can layout smoke screens on three hexes.  It is probably best to put those in front of the closes enemy forces so that they cannot fire, while you prepare your attack.

2.  Your best opportunity as Allies will be in your right flank. You can attack the units on the hill, and then begin putting pressure on the central section, and push towards the Medal in the town.  The units in the woods in the center section are particularly hard to kill as the fordable river causes you to lose one attack dice, so you will be hitting the woods with just 1D per close assault Infantry unit. 

medal axis

Axis:

1.  Your weakest area will be your left flank. With the river to protect the rest of your forces, you will need to get your armor to the left side in order to defend against the forces coming at you on that side. 

13
BR - Opportunity Falaise

Author.

URL
Wittmann’s Final Battle

Wittmann’s Final Battle

scenario_Wittmann's-Final-Battle

Wittmann’s last ride came on August 8, ’44, when the Canadians kicked off Operation Totalize south of Caen. He rolled out in his Tiger, thinking he’d stop the Allied push cold—but this wasn’t the Eastern Front, and the Allies weren’t amateurs anymore.

Somewhere near Saint-Aignan-de-Cramesnil, his luck ran out. A Sherman Firefly—packing that damn fine 17-pounder—put a round through his armor and ended the fight before it started. Wittmann and his crew never saw it coming.

That day didn’t just take out Germany’s star tank ace—it proved the tide had turned, and our boys could kill Tigers just as fast as they came at us.

~~ General Howitzer

6 VP’s

card

Card Balance:

Allies – 5

Axis – 5

Complexity:

3

Conditions:

Countryside

Context:

Historical

Location:

France

Year:

1944

Theater:

Western

Campaign:

Battle of Normandy

Codename:

Operation Totalizer

Summary:

Objectives:

6 VP’s

Battlefield:

Countryside

Troops:

Allies – 9 Infantry, 4 Armor

Axis – 8 Infantry, 2 Armor, 1 Artillery


medal allies

Allied Strategy:

1.  Big Picture Strategy:  You need to move fast during the cover of night.  Every turn there is a possibility of getting a star which will increase daylight and extend the range of the enemy artillery. 

2.  You have four special forces units which can very quickly move in range to attack.  

3.  There are two objective medals in the right flank. You can keep pushing your forces in that direction as you have opportunity.

medal axis

Axis Strategy

1.  Big picture strategy; you will do well to delay and allow the presence of daylight to assist your defensive forces with your artillery.  Do not rush out to attack. Allow several turns to take place so that you get more daylight and thus more range for your artillery.

2.  Wittmann’s battalion is the four-tank unit with the special medal.  It can ignore the first retreat flag, which can assist you in close quarters battles with enemy armor.  

Battle Reports

3
BR - Wittmann

Author:

Days of Wonder

Resource:

BGA

Singapore

Singapore

The Battle of Singapore in February 1942 was the climactic phase of Japan’s “Bicycle Blitzkrieg” during the Mare Shinko Sakusen (Greater East Asia Co-Prosperity Sphere offensive). Japanese forces, using speed, surprise, and bicycles to maneuver swiftly through Malaya, overwhelmed British Commonwealth defenses and pushed them back to Singapore.

Despite its strong coastal defenses, Singapore fell after a week of land-based attacks and psychological warfare. General Percival surrendered on February 15, 1942, in one of Britain’s worst military defeats, with over 80,000 Allied troops taken prisoner. The fall of Singapore stunned the Allies and gave Japan control over a key strategic stronghold in Southeast Asia.

General Howitzer sums it up in one sentence:
The Japanese rolled through Malaya on – can you believe it! – bicycles, outmaneuvered the Brits, and took Singapore without breaking stride—proof that arrogance and poor leadership lose wars faster than bullets.

11 VP’s, including at least 5 Medal Objectives for the Axis player.

card

Card Balance:

Allies – 5

Axis – 6

Complexity:

4

Conditions:

Jungle Beach

Context:

Historical

Location:

Singapore

Year:

1942

Theater:

Pacific

Campaign:

Bicycle Blitzkreig

Codename:

Summary:

Objectives:

11 VP’s including Permanent Medal and Temporary Majority Medal Objectives

Battlefield:

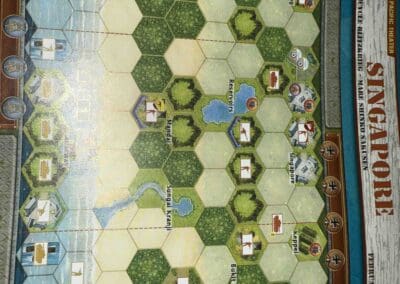
Combination of beach assault and jungle terrain and the city of Singapore.

Troops:

Allies – 10 Infantry including Machine Gun, 2 Artillery, a gun boat, and optional British Hawker Hurricanes

Axis – 10 Infantry, 4 Armor, 3 Artillery


medal allies

Allied Strategy:

1.  You have a gun boat in the corner right next to the enemy. Use it as many times as you can before they take it out.

2.  You have a couple of Artillery. Use them well, but note that the unit at Changi only has enough ammo for three hits. 

3. You have many Permanent Medal Objectives to guard, so in most cases you will need to keep your forces in a defensive position.

4.  Air rules are optional. It is important for British defenses to make use of them as you have two Hawker Hurricanes at your disposal.

medal axis

Axis Strategy

1.  You have many forces which can be brought to bear but you will need to use your landing craft to get them ashore. 

2.  You need to take out the enemy gun boat in the corner of your right flank ASAP. That will only take one Grenade. 

3.  Once you have dealt with immediate threats near the beach, you can take some time to repair the causeway, which will take two Stars.  Then you can advance your three Armor units into battle.

4.  Your right flank is your strongest. Once you get your forces ashore with the landing craft, you can advance against Tengah and capture your first Medal Objective. Then you can continue deep into enemy territory.

Battle Reports

0
BR - Singapore

Author:

Days of Wonder

Resource:

Campaign Book, Volume 2

Cape Torokina Landings

Cape Torokina Landings (Overlord Map)

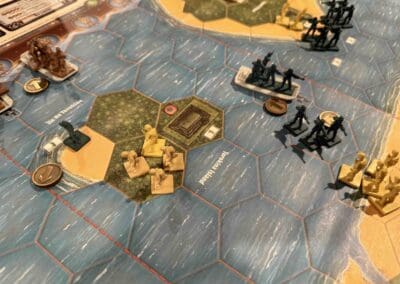
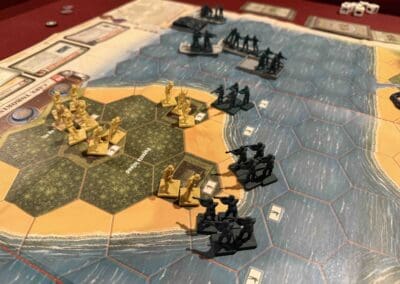
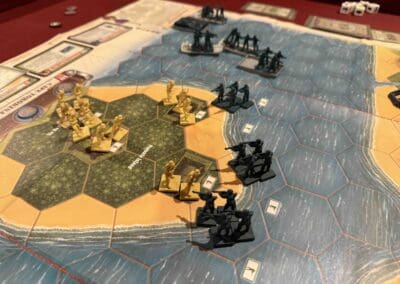
“Listen up, men! On November 1st, 1943, our boys hit those beaches at Cape Torokina like a thunderbolt. Those Marines of the 1st and 3rd Divisions didn’t blink at the sight of jungle, mud, and dug-in enemy troops. They took that beachhead by the throat and held on like bulldogs!

This wasn’t just another island—it was the gateway to busting open Rabaul and cutting off those Japanese forces. The jungle was a green hell, but we cut through it, took the ground, and started building the airstrips and supply bases to keep the hammer coming down.

That’s how you do it, boys—land hard, fight harder, and don’t stop until you’ve got a fortress behind you and the enemy on the run. That’s what those Marines did at Cape Torokina—they paved the road to victory in the Pacific!

~~ General Howitzer

Timeline of the Cape Torokina Landings (Bougainville)

  • November 1, 1943D-Day for Cape Torokina:
    U.S. 1st and 3rd Marine Divisions land at Cape Torokina. Initial beachhead secured despite Japanese resistance and tough jungle terrain.

  • November 2–3, 1943
    Marines expand the perimeter, clearing Japanese defenses in nearby jungle areas.

  • Mid-November 1943
    Seabees and engineers begin constructing airfields and supply bases within the beachhead.

  • December 1943–January 1944
    Marines fortify positions, repel repeated Japanese counterattacks.
    Japanese strongpoints isolated and bypassed.

  • March–April 1944
    U.S. Army relieves Marines; continuing operations to expand and secure the beachhead.

15 VP’s

Card Balance:

Allies (Marines) – 9

Axis (Japan) – 8

Complexity:

4

Conditions:

Beach

Context:

Historical

Location:

Solomon Islands

Year:

1943

Theater:

Pacific

Campaign:

Bougainville

Codename:

Summary:

Objectives:

15 VP’s with various Medal Objectives for various territorial control.

Battlefield:

Islands with many rivers, roads, jungles, and hills

Troops:

Allies  – 21 Infantry, 4 Armor, 2 Destroyers, with Landing Crafts to bring them ashore

Axis  – 18 Infantry some with Special Weapons, 1 Armor, 1 Artillery


medal allies

Allied Strategy:

1.  There are a number of special rules which you need to be aware as commander of the Allied forces.  First, there are two islands (Torokina & Puruata), which must be taken. Because the enemy begins the battle with forces on the islands, they start the battle with two victory medals.  As soon as you eliminate the enemy from an island, you will cause them to lose a victory medal, but you will NOT gain one.    Also note that because the Landing Crafts (LC’s) leave after dropping off your troops, they will be stranded on that island. So make sure you commit enough troops to win, but not too many.

2.  There are also three Field Bunkers which provide Temporary Territorial Medals to whichever side occupies them.  But you must remain in the bunker to keep the medals. 

3.  What this means then, is that although you begin the battle with overwhelming force, in order to clear the islands, and then occupy the Field Bunkers, you will need to be leaving troops at each of those locations.  So your attack force will be diminished for each parcel of land which you capture.  This must be factored into your planning commander!

medal axis

Axis Strategy

1.  Your primary role in this battle is a defensive one, but that does not mean passive.  You have troops which need to be prepared to fight and brought into the battle arena.

2.  You have an Armor unit stuck in the corner in the right flank. Get it into the action as soon as you can.  

3.  You also have an Artillery which you should use at every opportunity to attack the enemy as they come ashore. 

4.  Make use of the Seishin Kyoiku doctrine to attack with your full force units at every opportunity in order to maximize your extra firepower while they are still strong. 

5. You have a lot of forces on the two islands.  Make the enemy pay for every inch of ground they take on the islands in order to reduce their main attack force.

Battle Reports

1
BR - Torokina

Author:

Days of Wonder

Link:

The Khalkhin-Gol Encirclement

The Khalkhin-Gol Encirclement (Overlord Map)

“Let me give it to you straight, boys—back in ‘39, before the big show kicked off in Europe, there was a damn fine brawl brewing out east along the Khalkhin-Gol River. The Soviets, under that iron bastard Zhukov, took on the Japanese who were itching for a scrap in the borderlands.

Those Russians didn’t just trade blows—they went for the kill. They wrapped the Japanese 23rd Division up tight in a steel trap—tanks on the flanks, artillery in the rear, and air power pounding them into the dirt. No escape, no second chances—just one big, smoking ruin when the Red Army was done.

The result? The Japanese learned a lesson in modern warfare and didn’t forget it, and Zhukov walked out of there with a reputation as the man who could gut an enemy army whole. That’s how you fight a battle, boys—encircle, crush, and leave nothing but wreckage behind!

~~ General Howitzer

18 VP’s

Card Balance:

Allies (Russia) – 12

Axis (Japan) – 8

Complexity:

4

Conditions:

Countryside

countryside

Context:

Historical

Location:

Mongolia

Year:

1939

Theater:

Eastern

Campaign:

Codename:

Summary:

Objectives:

18 VP’s with various Medal Objectives for various territorial control.

Battlefield:

Countryside with many rivers, roads,  rivers, and hills

Troops:

Allies  – 16 Infantry, 18 Armor and Trucks, 3 Artillery

Axis  – 21 Infanty, 7 Armor, 4 Artillery


Allied Strategy:

1.  

Axis Strategy

1.  

Battle Reports

0
BR - Encirclement

Author:

Days of Wonder

Link:

Taukkyan Roadblock

Taukkyan Roadblock

Taukkyan-Roadblock

The Battle of the Taukkyan Roadblock? That was a brutal wake-up call in the jungles of Burma.

It was April 1942, and the British were pulling out of Rangoon, trying to stay one step ahead of a fast and ruthless Japanese advance. But they weren’t sitting back—they were moving like ghosts through the jungle, and they slammed a roadblock right down at Taukkyan, a vital choke point on the only damn road out.

It was a classic ambush—sliced right through the retreating columns. Trucks jammed, units scattered, and bullets flying like hellfire. The 17th Indian Division fought like lions to break through, but the jungle was tight, the fire was heavy, and the enemy was dug in and deadly.

A lot of brave men didn’t make it. That roadblock caused chaos, real chaos. It wasn’t just a firefight—it was the kind of sharp, surgical move that the Japanese were damn good at: fast, quiet, deadly. It wasn’t just a fight—it was a message.

The collapse at Taukkyan was a key reason why southern Burma slipped right through our fingers. It forced the Allies to fall back all the way into India. But mark my words—every inch we lost, we learned from. And when we came back, we came back with fire in our guts and iron in our fists.

~~ General Howitzer

5 VP’s

Card Balance:

Allies – 5 + 2 Combat Cards

Axis – 5 + 2 Combat Cards

Complexity:

3

Conditions:

Jungle

Context:

Historical

Location:

Burma

Year:

1939

Theater:

Pacific

Campaign:

Burma Campaign

Codename:

Summary:

Objectives:

5 VP’s

Battlefield:

Jungle with two intersecting roads, a roadblock, a village, and some hills.

Troops:

Allies  – 8 Infantry, 4 Armor

Axis (Japan) – 9 Infantry with some machine guns and anti-tank special weapons.


Allied Strategy:

1.  Big Picture: while you do not have to get through the roadblock, it does present a challenge for the British as a rallying point for the enemy.

2.  Before you attempt an Infantry attack, use your Armor units to attack the Japanese units at a distance, and reduce each unit by at least one figure, in order to eliminate their Seishin Kyoiku Doctrine power. 

3.  You have some powerful forces on your right section.  Get the Infantry moved forward and into the nearby jungle, so that the roadway is clear to allow your Armor to advance and get into the attack.

 Axis Strategy

1.  Big Picture Strategy:  with their special weapons of machine guns and anti-tank guns, plus the roadblock present a significant opportunity for the Japanese to hold off the Brits.

2.  Because of the British tanks, you cannot just stay behind your sandbags the whole time. They will slowly pick you off, and degrade your attack ability.  You will have to deal with the tanks, perhaps through specialized cards such as Barrage, Air Power, Behind Enemy Lines, or the Combat Card ‘Giretsu’, the Japanese BEL card. 

3.  With the right set of cards, and as long as most all of your forces are still at full ‘Seishin Kyoiku Doctrine’ strength, a full scale assault on your right flank could prove successful.   

Battle Reports

2
BR - Taukkyan

Author:

Days of Wonder

Link: