Cape Torokina Landings

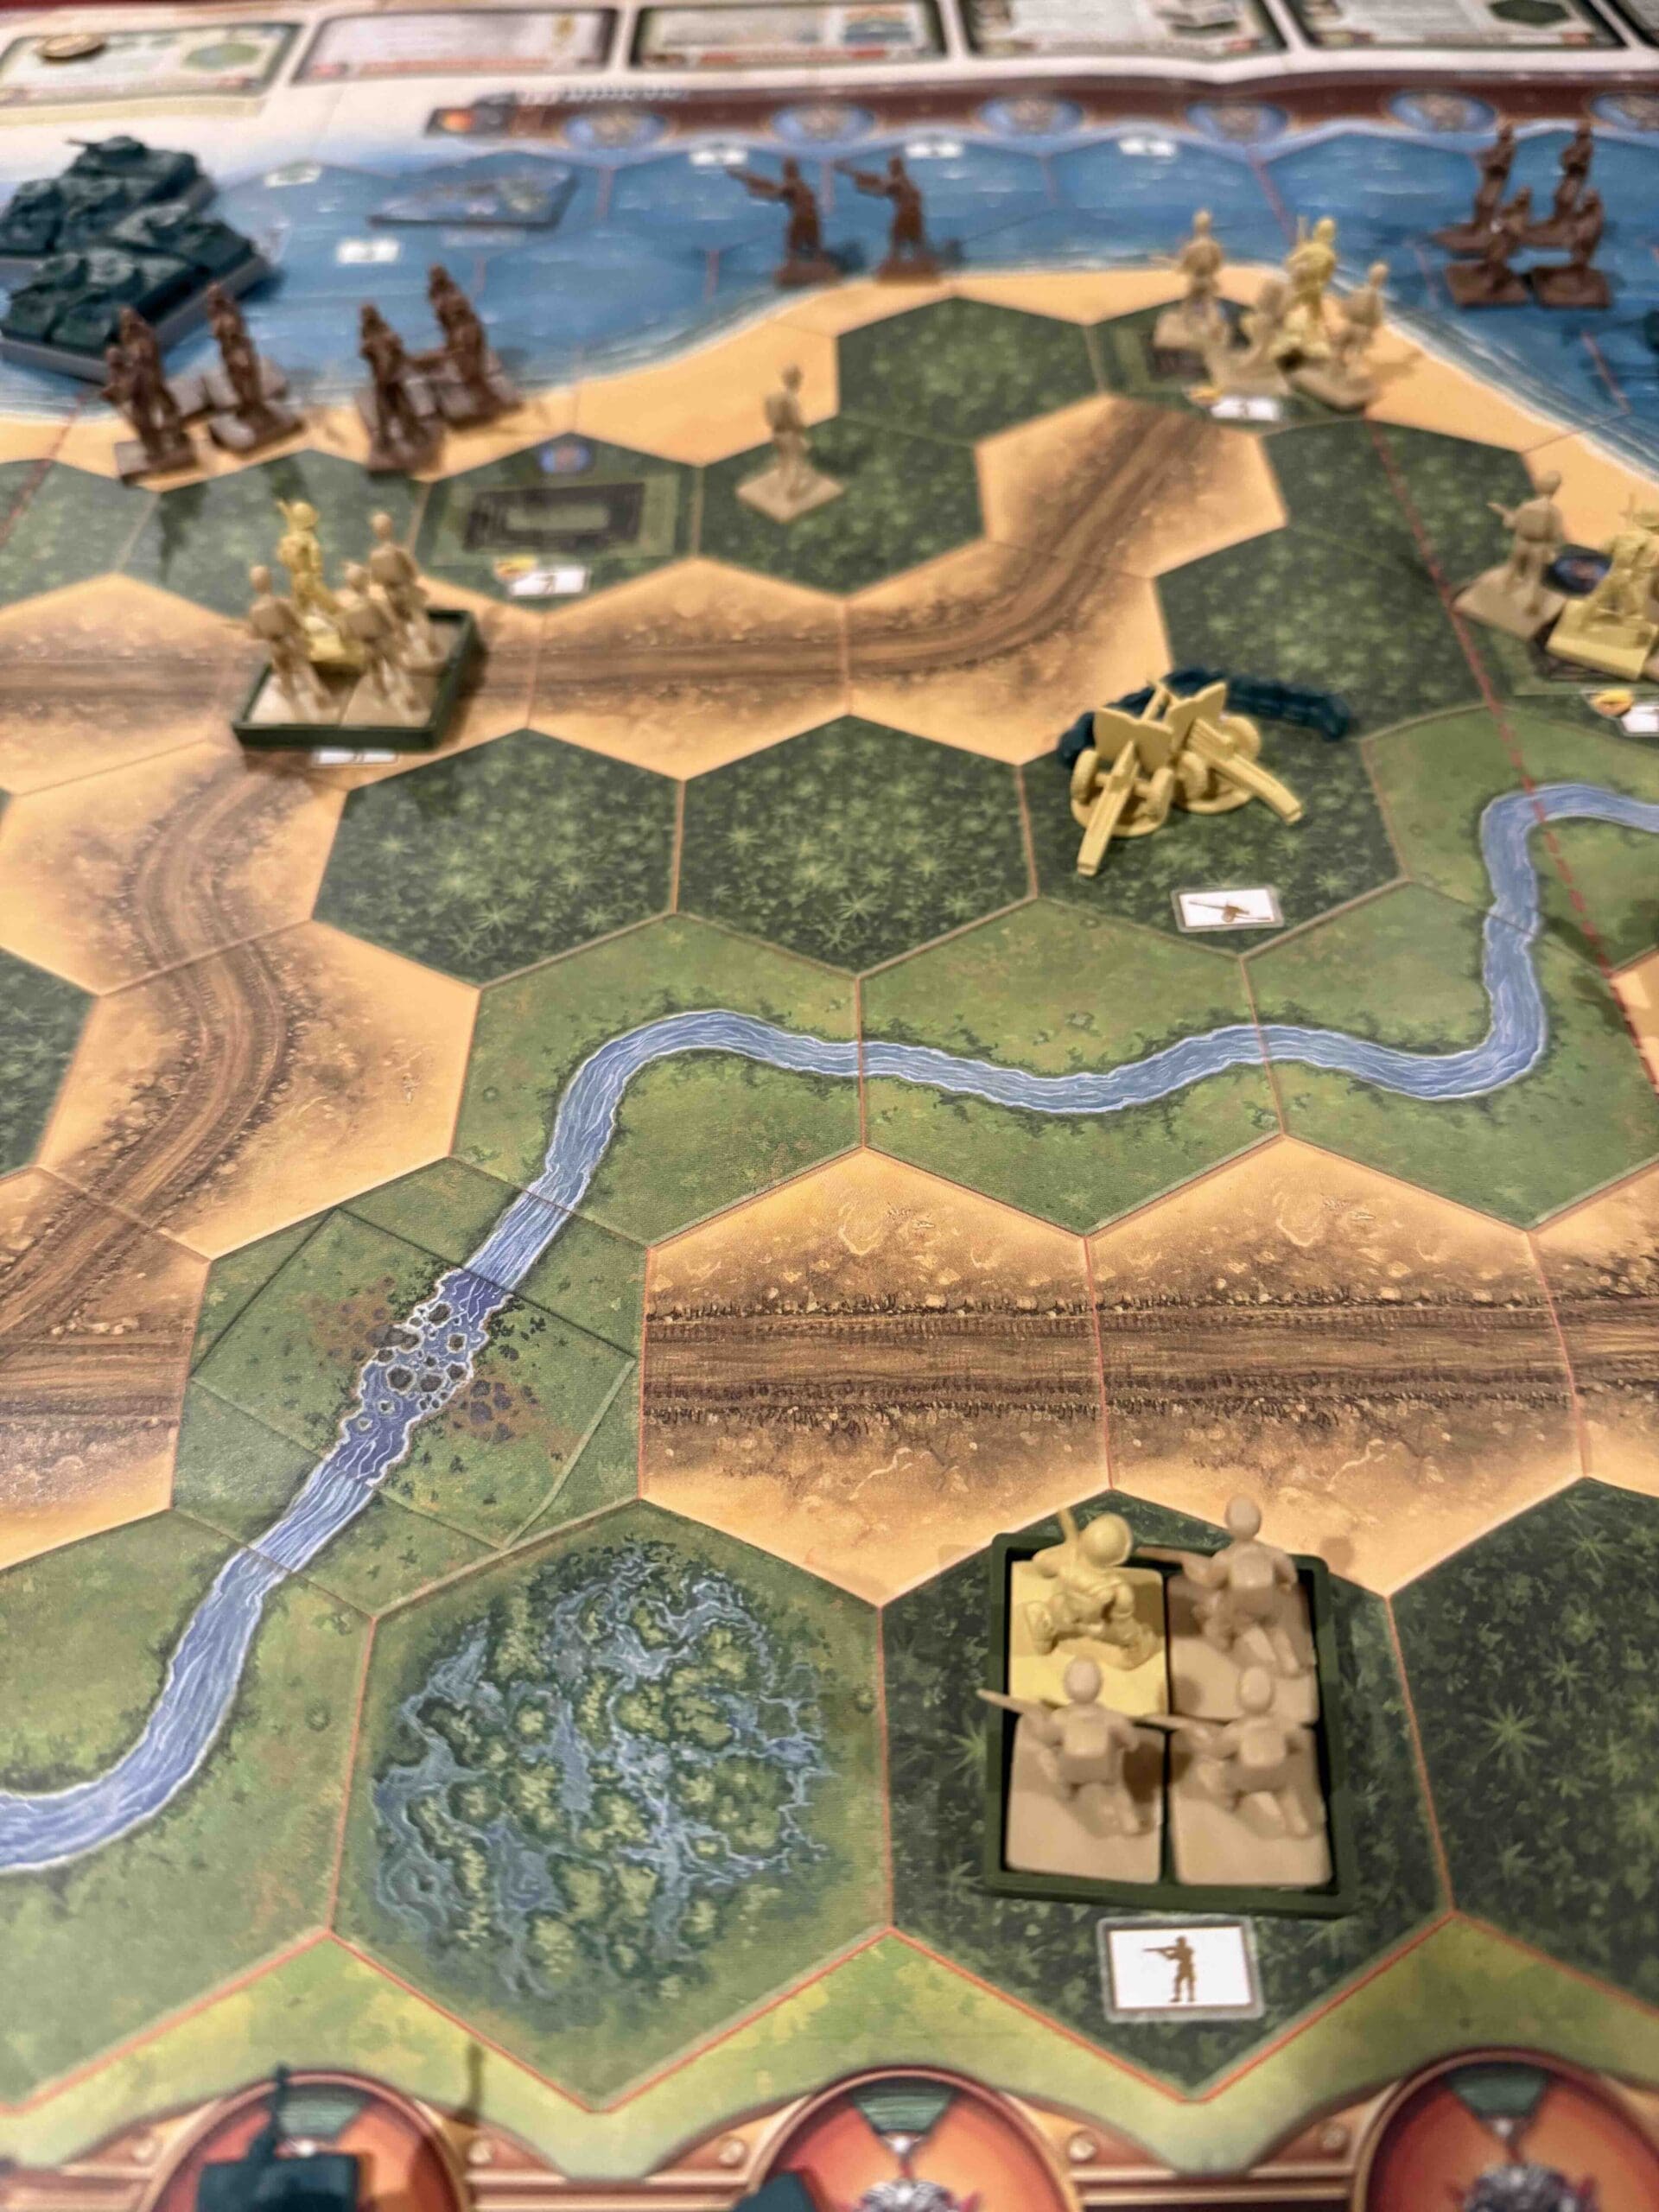
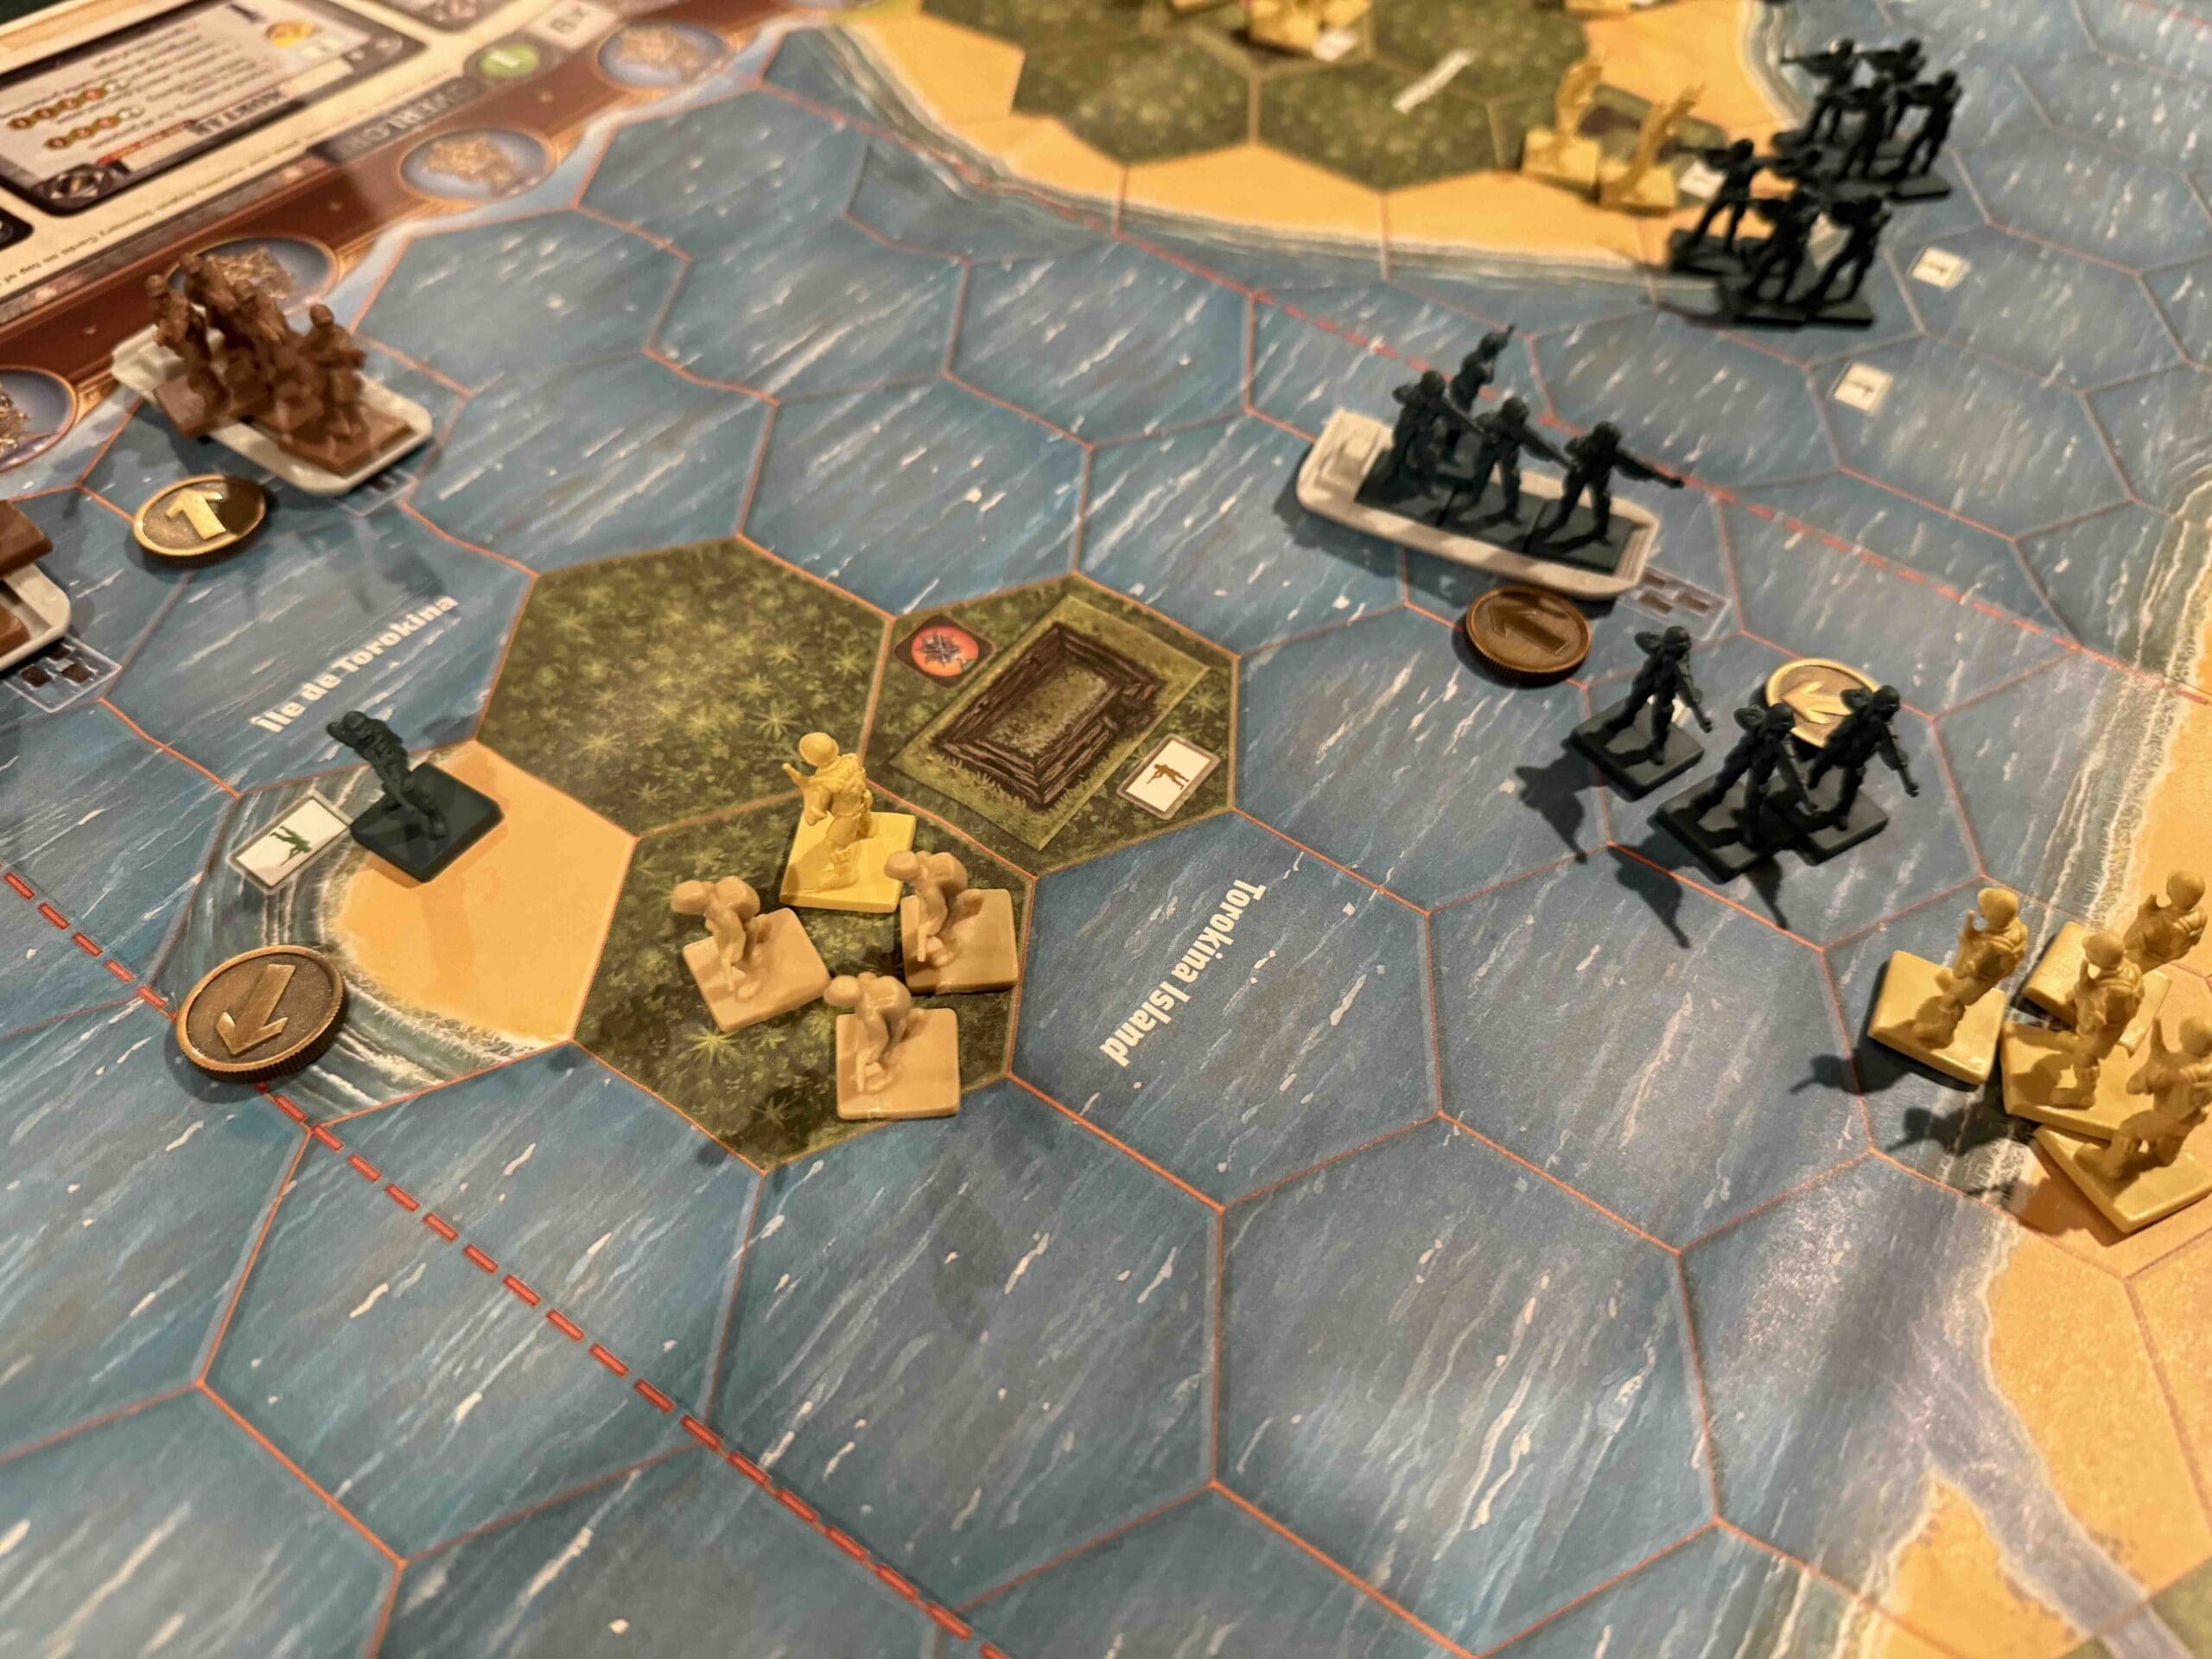
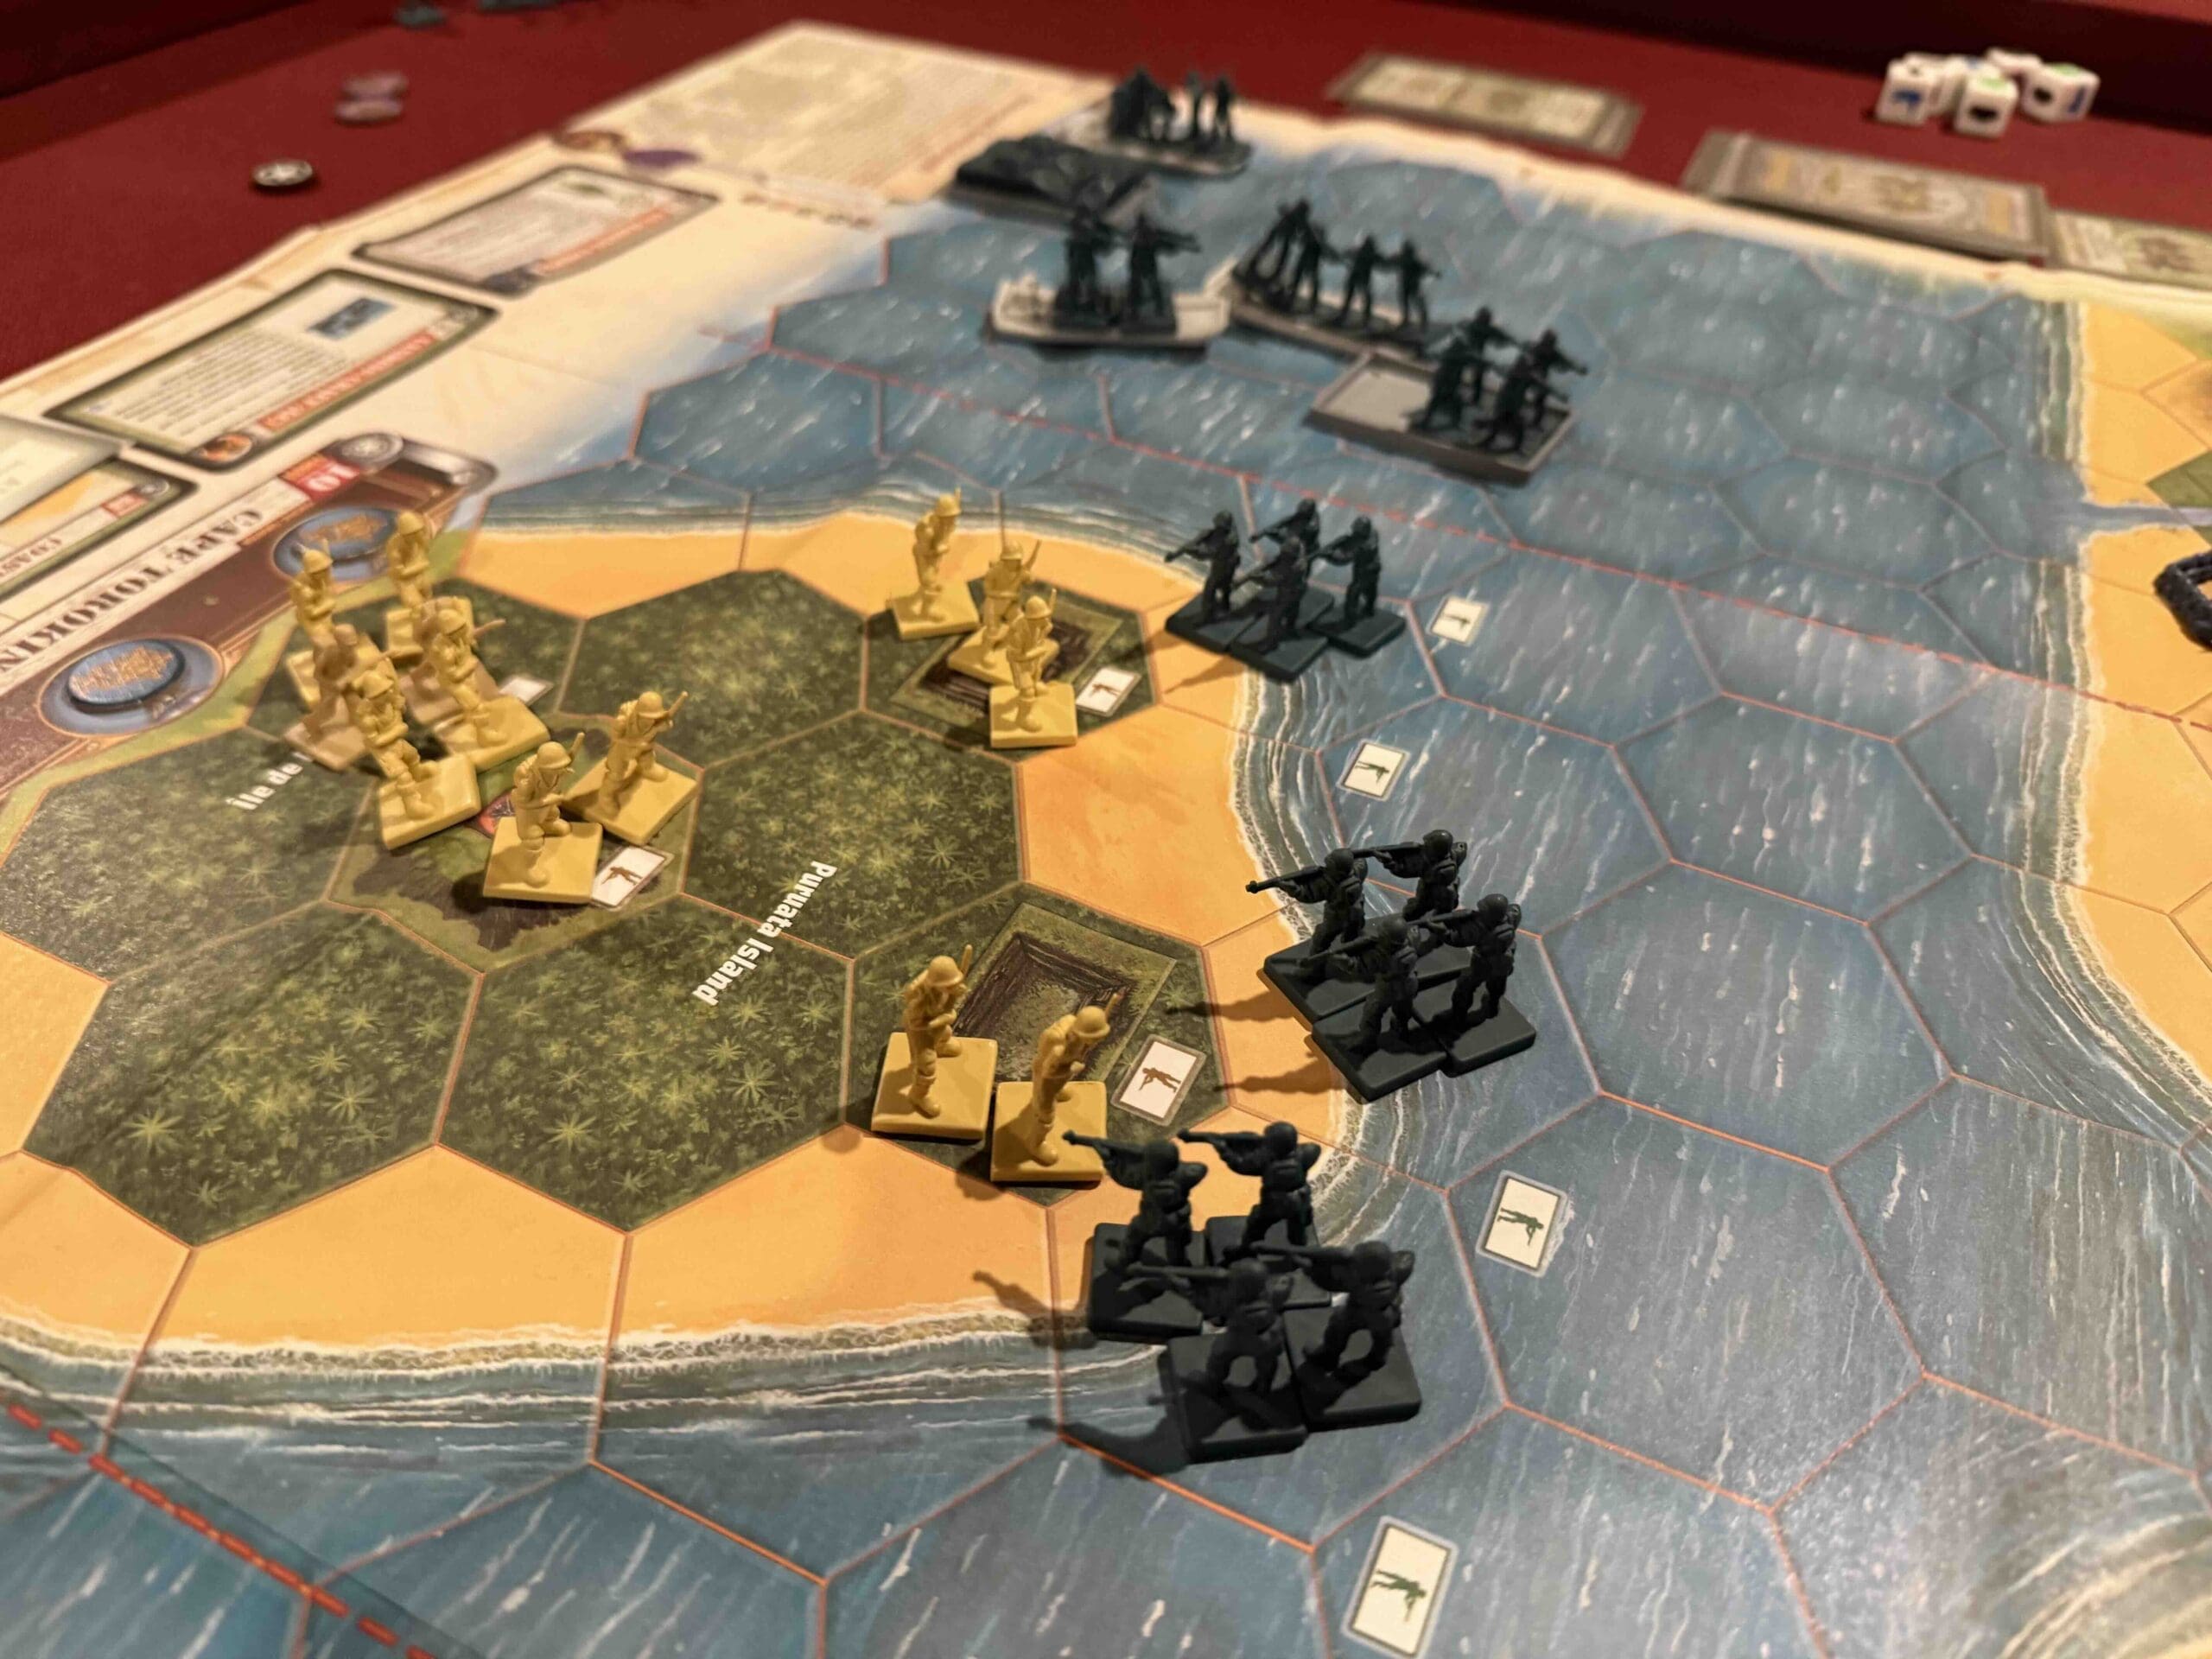
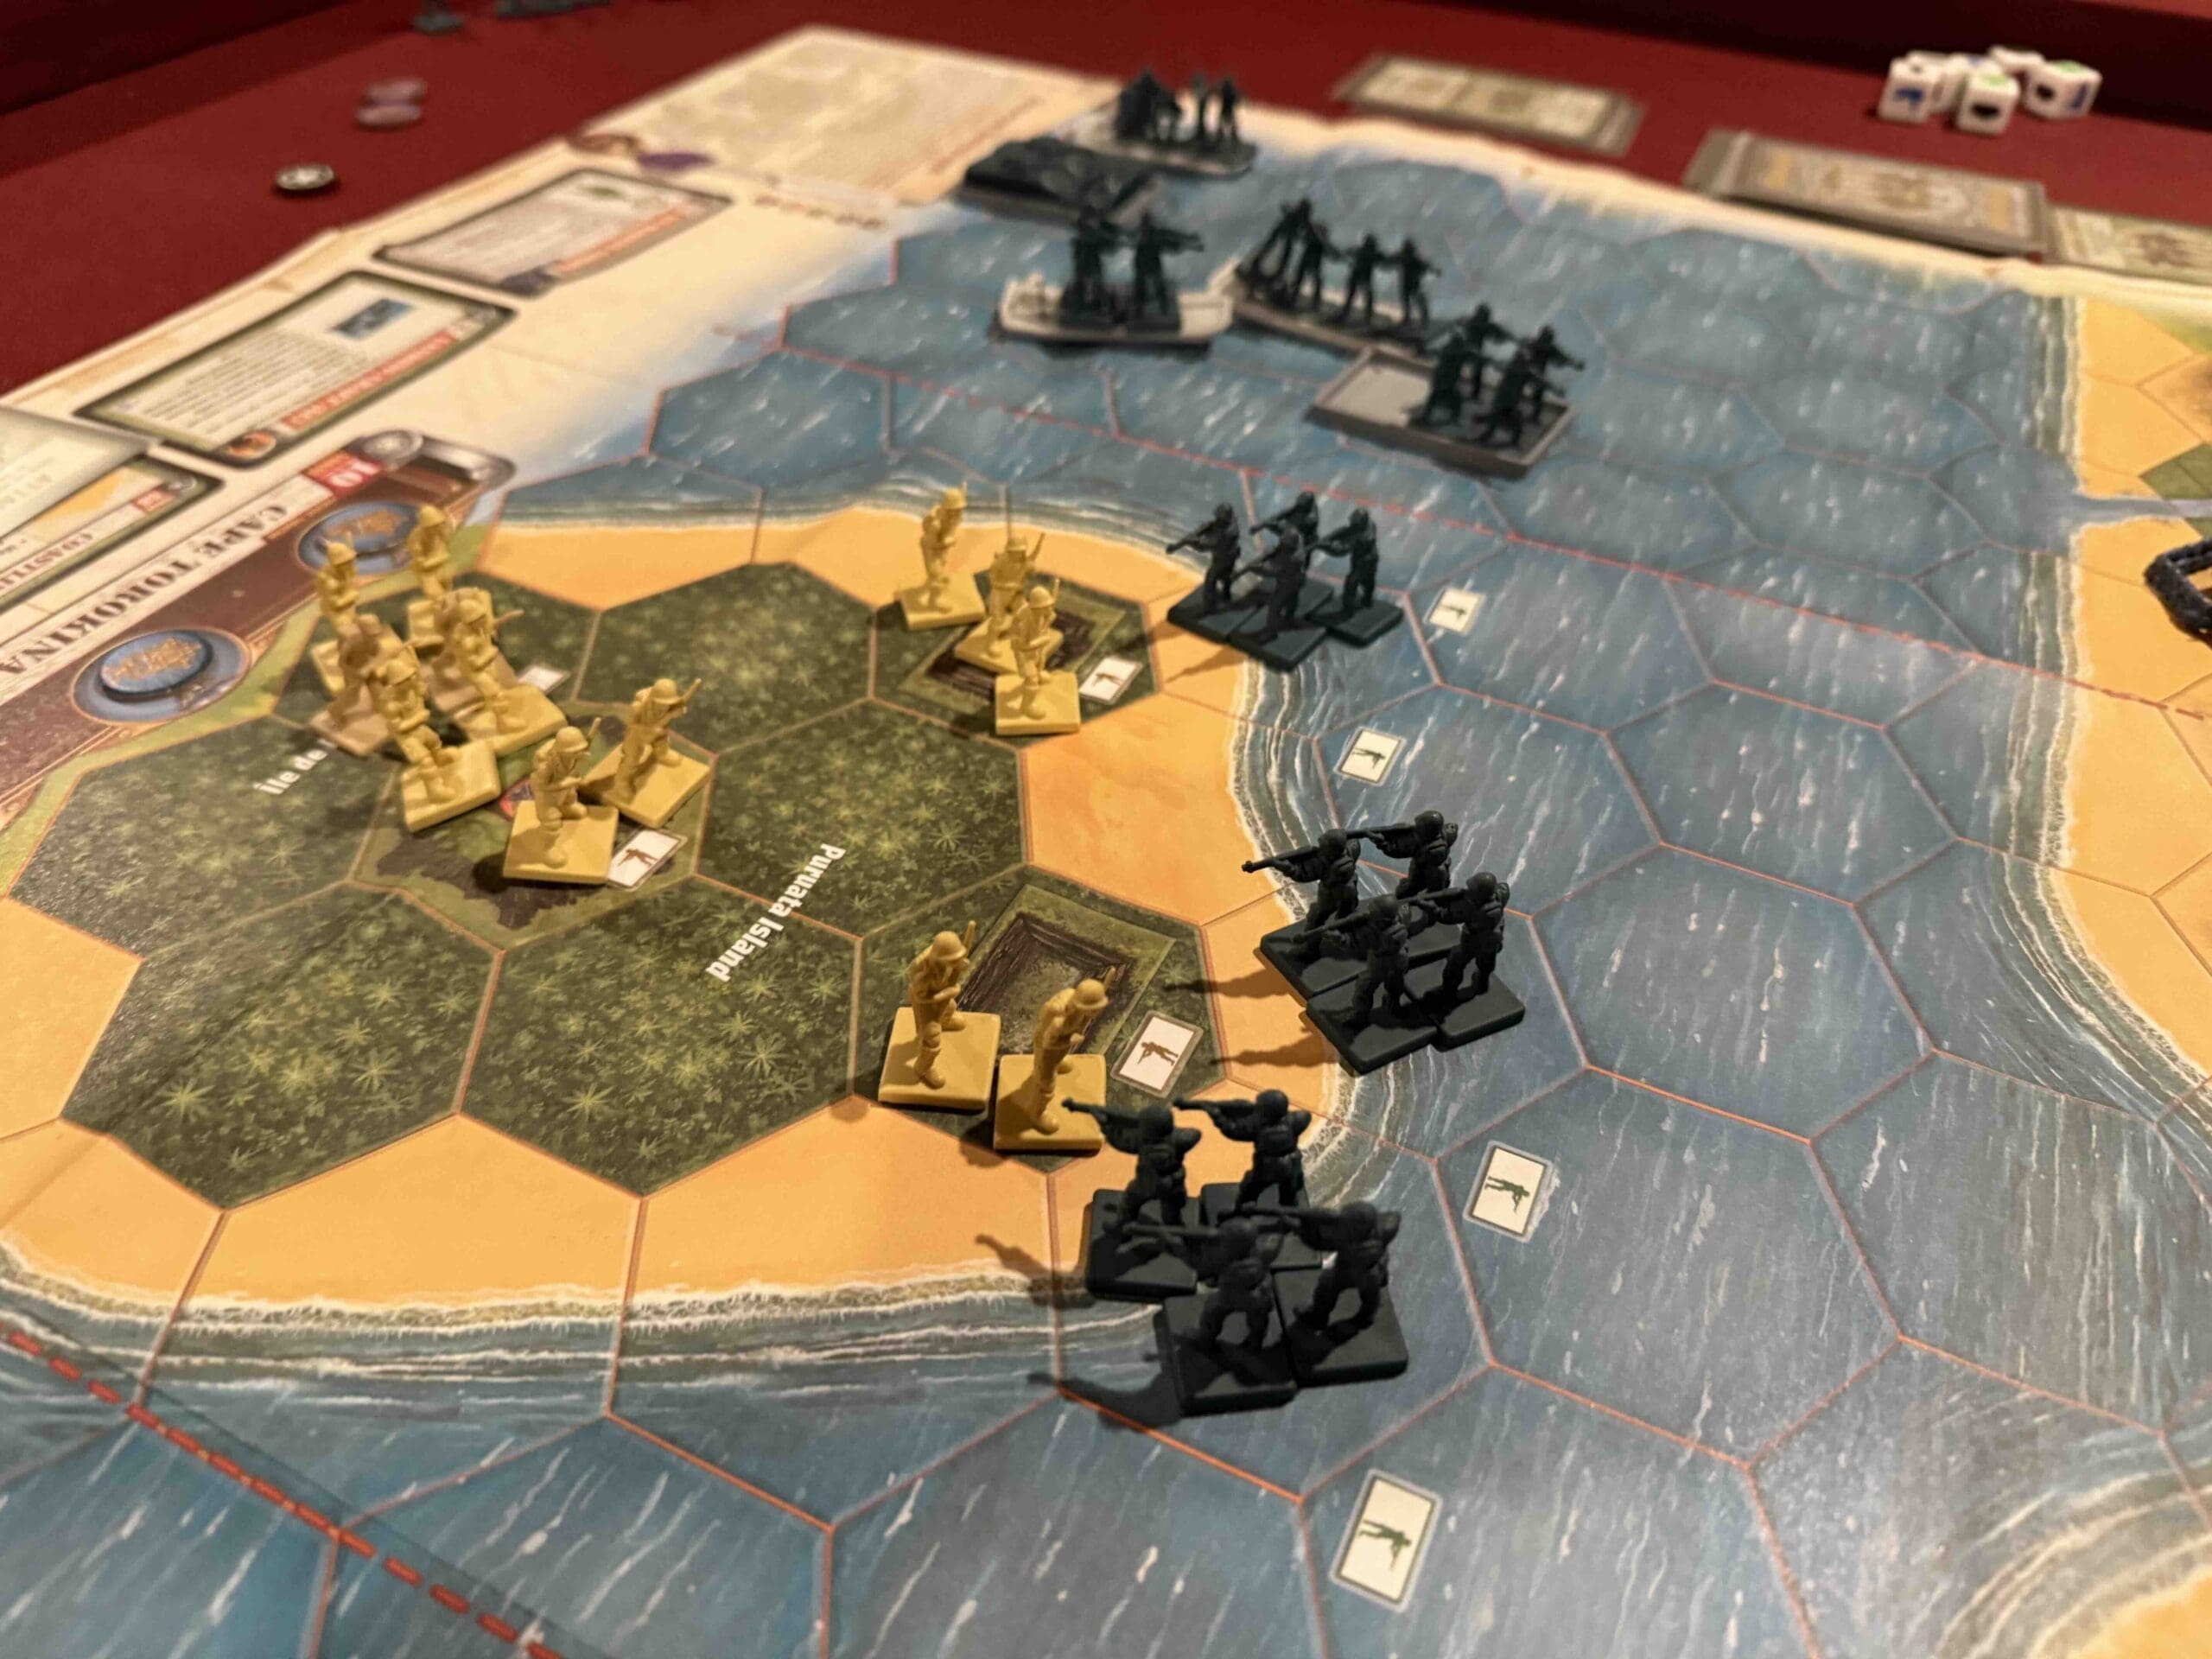
Cape Torokina Landings (Overlord Map)

“Listen up, men! On November 1st, 1943, our boys hit those beaches at Cape Torokina like a thunderbolt. Those Marines of the 1st and 3rd Divisions didn’t blink at the sight of jungle, mud, and dug-in enemy troops. They took that beachhead by the throat and held on like bulldogs!

This wasn’t just another island—it was the gateway to busting open Rabaul and cutting off those Japanese forces. The jungle was a green hell, but we cut through it, took the ground, and started building the airstrips and supply bases to keep the hammer coming down.

That’s how you do it, boys—land hard, fight harder, and don’t stop until you’ve got a fortress behind you and the enemy on the run. That’s what those Marines did at Cape Torokina—they paved the road to victory in the Pacific!

~~ General Howitzer

Timeline of the Cape Torokina Landings (Bougainville)

  • November 1, 1943D-Day for Cape Torokina:
    U.S. 1st and 3rd Marine Divisions land at Cape Torokina. Initial beachhead secured despite Japanese resistance and tough jungle terrain.

  • November 2–3, 1943
    Marines expand the perimeter, clearing Japanese defenses in nearby jungle areas.

  • Mid-November 1943
    Seabees and engineers begin constructing airfields and supply bases within the beachhead.

  • December 1943–January 1944
    Marines fortify positions, repel repeated Japanese counterattacks.
    Japanese strongpoints isolated and bypassed.

  • March–April 1944
    U.S. Army relieves Marines; continuing operations to expand and secure the beachhead.

15 VP’s

Card Balance:

Allies (Marines) – 9

Axis (Japan) – 8

Complexity:

4

Conditions:

Beach

Context:

Historical

Location:

Solomon Islands

Year:

1943

Theater:

Pacific

Campaign:

Bougainville

Codename:

Summary:

Objectives:

15 VP’s with various Medal Objectives for various territorial control.

Battlefield:

Islands with many rivers, roads, jungles, and hills

Troops:

Allies  – 21 Infantry, 4 Armor, 2 Destroyers, with Landing Crafts to bring them ashore

Axis  – 18 Infantry some with Special Weapons, 1 Armor, 1 Artillery


medal allies

🔥 Winning as Allies

1.  There are a number of special rules which you need to be aware as commander of the Allied forces.  First, there are two islands (Torokina & Puruata), which must be taken. Because the enemy begins the battle with forces on the islands, they start the battle with two victory medals.  As soon as you eliminate the enemy from an island, you will cause them to lose a victory medal, but you will NOT gain one.    Also note that because the Landing Crafts (LC’s) leave after dropping off your troops, they will be stranded on that island. So make sure you commit enough troops to win, but not too many.

2.  There are also three Field Bunkers which provide Temporary Territorial Medals to whichever side occupies them.  But you must remain in the bunker to keep the medals. 

3.  What this means then, is that although you begin the battle with overwhelming force, in order to clear the islands, and then occupy the Field Bunkers, you will need to be leaving troops at each of those locations.  So your attack force will be diminished for each parcel of land which you capture.  This must be factored into your planning commander!

medal axis

🔥 Winning as Axis

1.  Your primary role in this battle is a defensive one, but that does not mean passive.  You have troops which need to be prepared to fight and brought into the battle arena.

2.  You have an Armor unit stuck in the corner in the right flank. Get it into the action as soon as you can.

3.  You also have an Artillery which you should use at every opportunity to attack the enemy as they come ashore.

4.  Make use of the Seishin Kyoiku doctrine to attack with your full force units at every opportunity in order to maximize your extra firepower while they are still strong.

5. You have a lot of forces on the two islands.  Make the enemy pay for every inch of ground they take on the islands in order to reduce their main attack force.

Battle Reports

1
BR - Torokina

Author:

Days of Wonder

Link:

The Khalkhin-Gol Encirclement

The Khalkhin-Gol Encirclement (Overlord Map)

“Let me give it to you straight, boys—back in ‘39, before the big show kicked off in Europe, there was a damn fine brawl brewing out east along the Khalkhin-Gol River. The Soviets, under that iron bastard Zhukov, took on the Japanese who were itching for a scrap in the borderlands.

Those Russians didn’t just trade blows—they went for the kill. They wrapped the Japanese 23rd Division up tight in a steel trap—tanks on the flanks, artillery in the rear, and air power pounding them into the dirt. No escape, no second chances—just one big, smoking ruin when the Red Army was done.

The result? The Japanese learned a lesson in modern warfare and didn’t forget it, and Zhukov walked out of there with a reputation as the man who could gut an enemy army whole. That’s how you fight a battle, boys—encircle, crush, and leave nothing but wreckage behind!

~~ General Howitzer

18 VP’s

Card Balance:

Allies (Russia) – 12

Axis (Japan) – 8

Complexity:

4

Conditions:

Countryside

countryside

Context:

Historical

Location:

Mongolia

Year:

1939

Theater:

Eastern

Campaign:

Codename:

Summary:

Objectives:

18 VP’s with various Medal Objectives for various territorial control.

Battlefield:

Countryside with many rivers, roads,  rivers, and hills

Troops:

Allies  – 16 Infantry, 18 Armor and Trucks, 3 Artillery

Axis  – 21 Infanty, 7 Armor, 4 Artillery


Allied Strategy:

1.  

Axis Strategy

1.  

Battle Reports

0
BR - Encirclement

Author:

Days of Wonder

Link:

Taukkyan Roadblock

Taukkyan Roadblock

Taukkyan-Roadblock

The Battle of the Taukkyan Roadblock? That was a brutal wake-up call in the jungles of Burma.

It was April 1942, and the British were pulling out of Rangoon, trying to stay one step ahead of a fast and ruthless Japanese advance. But they weren’t sitting back—they were moving like ghosts through the jungle, and they slammed a roadblock right down at Taukkyan, a vital choke point on the only damn road out.

It was a classic ambush—sliced right through the retreating columns. Trucks jammed, units scattered, and bullets flying like hellfire. The 17th Indian Division fought like lions to break through, but the jungle was tight, the fire was heavy, and the enemy was dug in and deadly.

A lot of brave men didn’t make it. That roadblock caused chaos, real chaos. It wasn’t just a firefight—it was the kind of sharp, surgical move that the Japanese were damn good at: fast, quiet, deadly. It wasn’t just a fight—it was a message.

The collapse at Taukkyan was a key reason why southern Burma slipped right through our fingers. It forced the Allies to fall back all the way into India. But mark my words—every inch we lost, we learned from. And when we came back, we came back with fire in our guts and iron in our fists.

~~ General Howitzer

5 VP’s

Card Balance:

Allies – 5 + 2 Combat Cards

Axis – 5 + 2 Combat Cards

Complexity:

3

Conditions:

Jungle

Context:

Historical

Location:

Burma

Year:

1939

Theater:

Pacific

Campaign:

Burma Campaign

Codename:

Summary:

Objectives:

5 VP’s

Battlefield:

Jungle with two intersecting roads, a roadblock, a village, and some hills.

Troops:

Allies  – 8 Infantry, 4 Armor

Axis (Japan) – 9 Infantry with some machine guns and anti-tank special weapons.


Allied Strategy:

1.  Big Picture: while you do not have to get through the roadblock, it does present a challenge for the British as a rallying point for the enemy.

2.  Before you attempt an Infantry attack, use your Armor units to attack the Japanese units at a distance, and reduce each unit by at least one figure, in order to eliminate their Seishin Kyoiku Doctrine power. 

3.  You have some powerful forces on your right section.  Get the Infantry moved forward and into the nearby jungle, so that the roadway is clear to allow your Armor to advance and get into the attack.

 Axis Strategy

1.  Big Picture Strategy:  with their special weapons of machine guns and anti-tank guns, plus the roadblock present a significant opportunity for the Japanese to hold off the Brits.

2.  Because of the British tanks, you cannot just stay behind your sandbags the whole time. They will slowly pick you off, and degrade your attack ability.  You will have to deal with the tanks, perhaps through specialized cards such as Barrage, Air Power, Behind Enemy Lines, or the Combat Card ‘Giretsu’, the Japanese BEL card. 

3.  With the right set of cards, and as long as most all of your forces are still at full ‘Seishin Kyoiku Doctrine’ strength, a full scale assault on your right flank could prove successful.   

Battle Reports

2
BR - Taukkyan

Author:

Days of Wonder

Link:

Reichswald – The Siegried Line

Reichswald - The Siegried Line

Reichswald-TheSiegriedLine_small

February 9th, 1945. The Reichswald—five miles of hell standing between us and the Ruhr, the industrial heart of Hitler’s war machine. You want to break Germany? You punch through there.

We stacked the odds—brought in the numbers, massed near Groesbeek, and started pushing toward Kleve. The Krauts had about 11,000 defenders, and hell, some of ’em were barely fit to fight—one unit full of men with stomach problems, another made up of deaf troops. Sounds easy, right?

Wrong.

Because they were dug into the Siegfried Line—pillboxes, dragon’s teeth, minefields—you name it. They’d flooded the land to the north and south, squeezing us into a freezing, muddy kill zone. And just when you think it couldn’t get worse? The sky opens up with six days of cold, soaking rain. Floods everywhere. Roads turned to soup. Trucks bogged down. Men freezing.

But don’t forget this: they still had paratroopers in reserve. Hardened, mean, disciplined bastards with nothing to lose.

That was the hand we were dealt. The map was a mess, the weather was hell, and the Germans were desperate—but we were coming anyway.

You are in command now. The question ain’t whether it’s hard—the question is: do you have the guts to drive through it and break their damn line?**

Because history doesn’t wait. You either make it—or get buried under it.

~~ General Howitzer

6 VP’s

Card Balance:

Allies – 5

Axis – 5

Complexity:

4

Conditions:

Countryside

Context:

Historical

Location:

Netherlands

Year:

1945

Theater:

Western

Campaign:

Codename:

Summary:

Objectives:

6 VP’s, plus two city temporary Objective Medals

Battlefield:

Countrsyide with marsh on one side, a road running through much of it, and numerous ‘dragon’s teeth’ roadblocks which can only be removed by use of the Allied Dozer tanks. 

Troops:

Allies – 10 Infantry, 3 Armor

Axis – 9 Infantry, 1 Armor


Allied Strategy:

1. 

Axis Strategy

1. 

Battle Reports

0
BR - Reichswald

Author:

Originally played in the Dutch Open, 2022; and in The Finest Hour Open, Chicago 2025.

Link:

Poterie Ridge

Poterie Ridge

BTH Scenario Map

July 4th, 1944—while folks back home were waving flags and lighting fireworks, the boys of the 82nd Airborne were earning every damn star on that flag with blood and grit in the fields of Normandy.

The 325th Glider Infantry and 508th Parachute Infantry, fresh off taking Hill 131, were ordered to grab La Poterie Ridge and Hill 95—the last line before Mont Castre, the Germans’ last high ground in that sector. The order came, and they didn’t hesitate. On Independence Day, they moved—through the open, under artillery cover.

But then the guns stopped. Too soon. Our boys were still in the open. The Krauts opened up with machine guns and mortars, and all hell broke loose. Those fields became a slaughterhouse—but those troopers kept pushing, kept fighting, and by nightfall, they took that ridge.

They paid for every inch of it with guts and lives. That was the last fight the 82nd Airborne saw in Normandy. By July 11, they were pulled back, replaced by the 8th Infantry, and sent back to England to get ready for the next jump.

You’re in command now. The lines are drawn. The men are ready. What comes next? That’s up to you. Just remember: fortune favors the bold—and so do the history books.

~~ General Howitzer

7 VP’s

Card Balance:

Allies – 6

Axis – 5

Complexity:

3

Conditions:

Countryside

Context:

Historical

Location:

France

Year:

1944

Theater:

Western

Campaign:

The Invasion of Normandy

Codename:

Summary:

Objectives:

7 VP’s, plus two temporary medals for the Allies

Battlefield:

The battlefield is covered with many forest and hedgerow hexes.

Troops:

Allies – 10 Infantry, 1 Artillery

Axis – 9 Infantry, equipped with machine guns and mortars


Allied Strategy:

1. 

Axis Strategy

1. 

Battle Reports

0
BR - Porterie Ridge

Author: Jdrommel

(Usage: Played at Chattanooga Open, 2023; and The Finest Hour Open, Chicago 2025)

Link:

Battle of Westerplatte

Battle of Westerplatte

Battle of the Westerplatte_small

September 1st, 1939—0448 hours. That was the shot that lit the damn fuse on World War II.

The Germans kicked things off by bringing in the battleship Schleswig-Holstein, sitting nice and cozy in Danzig harbor, and then—boom—she opened up with a full broadside on the Polish outpost at Westerplatte. They thought they’d scare the Poles into folding before breakfast.

Then came the assault: crack German marines, three platoons strong, storming across the land bridge, expecting a little parade through the depot. They even blew open the rail gate like it was just another drill. They thought they were walking into a skirmish.

Wrong.

They walked straight into a kill zone. The Poles were locked, loaded, and waiting—concealed firing positions, crossfire, barbed wire, the whole damn package. And those German troops? They didn’t find a pushover—they found hell on Earth.

The plan was for the Poles to hold for twelve hours. Instead, they held that godforsaken strip of land for seven damn days—against artillery, naval fire, and relentless infantry assaults. They bled, they fought, and they showed the world what grit looks like under fire.

Westerplatte didn’t stop the war. But it told the Nazis one thing loud and clear: this wasn’t going to be easy. It became a symbol—of resistance, of courage, and of never giving an inch when everything’s on the line.

The lines were drawn, the fuse was lit, and history roared to life in a blaze of fire and steel.

Now the only question left is—when it’s your turn to hold the line… will you stand, or will you fold?

~~ General Howitzer

6 VP’s

Card Balance:

Allies – 5

Axis – 6

Complexity:

4

Conditions:

Countryside

Context:

Historical

Location:

Poland

Year:

September 1, 1939

Theater:

Western

Campaign:

The Invasion of Poland

Codename:

Fall Weiss / Case White

Summary:

Objectives:

6 VP’s, plus one Permanent Medal Objective for each side (The Destroyer and the Supply Shed.)

Battlefield:

Contains countryside with a road, a railway, and a river.

Troops:

Allies – 10 Infantry (3 figures each), 2 Artillery 

Axis – 10 Infantry, 1 Artillery, 1 Destroyer!


Allied Strategy:

1.  Because of the surprise nature of the attack, all of the Polish Allied Infantry only have three figures each.  They are therefore very quickly overrun by the German forces.  Gain the hits you can, and protect the Supply Shed!

Axis Strategy

1.  You have a Destroyer at your disposal, with massive range. Use it every chance you get. 

Battle Reports

1
BR - Westerplatte

Author:

Originally developed for the Belgium Open, 2017; Also used by The Finest Hour Open, Chicago, 2025.

Link:

View