Breakthrough to Gembloux
Breakthrough to Gembloux
Historical Background
The Breakthrough to Gembloux was part of the early German invasion of Belgium during May 1940, in the larger Battle of France. German Panzer divisions advanced through central Belgium aiming to break Allied lines near Gembloux, where French forces had fortified positions in the so-called Gembloux Gap—one of the few tank-suitable areas in the region.
Fierce fighting erupted between German armored units and French mechanized divisions, resulting in one of the few early confrontations where French forces held their ground and inflicted significant tank losses. However, the battle was ultimately bypassed when German forces broke through further south in the Ardennes, rendering the defense of Gembloux strategically moot.
General Howitzer summarizes:
At Gembloux, the French finally stood their ground and gave the German Panzers a bloody nose—one of the rare times early in the war they didn’t fold. But while they were trading blows up north, the real storm came through the Ardennes. The fight was solid, but it ended up guarding the wrong damn door.
VP’s
12 VPs
![]()
Card Balance:
Allies – 5
Axis – 6
Complexity:
4
Conditions:
Countryside

Context:
Historical
Location:
France
Date:
May 13, 1940
Theater:
Western
Campaign:
The Battle of France
Codename:
Summary:
Objectives:
12 Victory Points, plus one Exit by an Axis unit
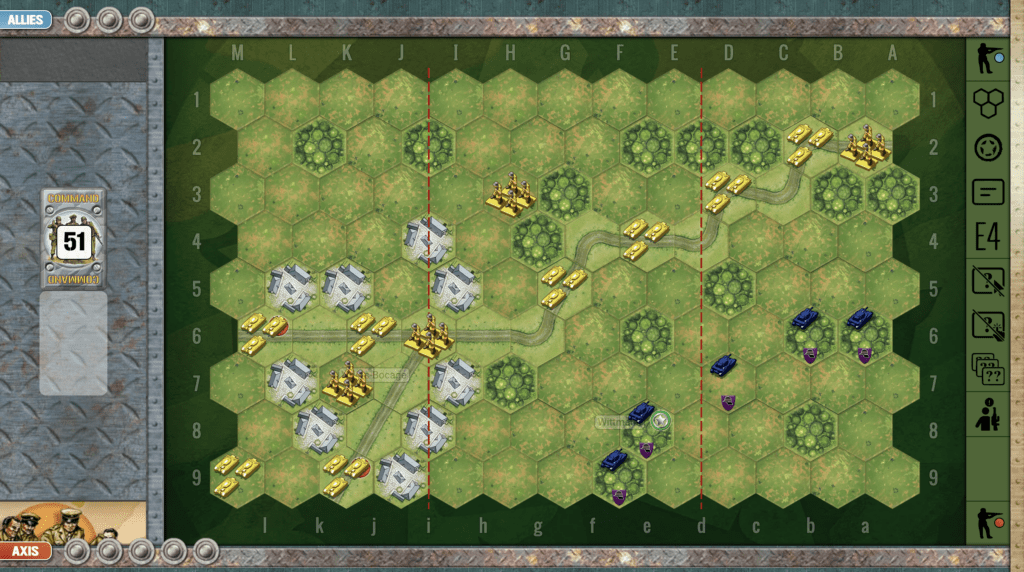
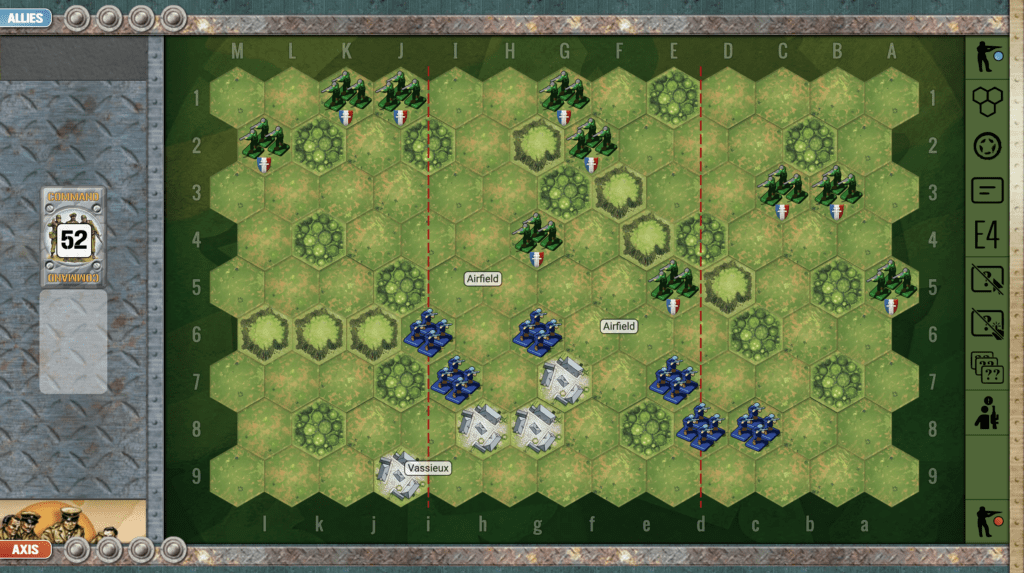
Battlefield:
Deep breakthrough battlefield with countryside terrain
Troops:
Allies – 8 Infantry, 7 Armor, 1 Artillery
Axis – 10 Infantry, 8 Armor, 2 Artillery
Big Picture Strategy
The challenge for the Axis is escaping a unit out the Exit Hex at K1.
Winning battle is easy; escaping the battlefield is not.

🔥 Winning as Allies
1. If you want to have any hope of holding out against the Germans, as the French did for two days historically, you will need to hold the line right at the beginning with the three towns on row 13. Get your armor up their to reinforce your infantry. The Axis have overwhelming force, so if you retreat, they will be able to pick you off one by one. Make your stand immediately!
2. Once you get pushed back, the final victory medal for the Axis has to come through escaping on the hex at K1. Guard that with your armor and infantry, and you have some hope of gaining another medal.
3. While you may lose a lot of forces as the Axis pushes you back, be sure to have enough forces to make a good stand to guard the final exit hex at K1. The Axis can be made to suffer much as they try to get one unit out that escape hex. In fact, once Axis have achieved their 12 victory points, you can sacrifice as many Allied forces as you need to in order to prevent them from escaping.

🔥 Winning as Axis
1. Remember that no matter how many Allied units you destroy, you will have to get one of your units out the exit row at the end of the battlefield.
2. The very best way to end the game well, and escape your final Axis unit off the board is to save up a Behind Enemy Lines. Then maneuver an infantry within six rows of the border, and make your move.
Battle Reports:
(percentage of Allied victories)
Author:
jdrommel
Link: