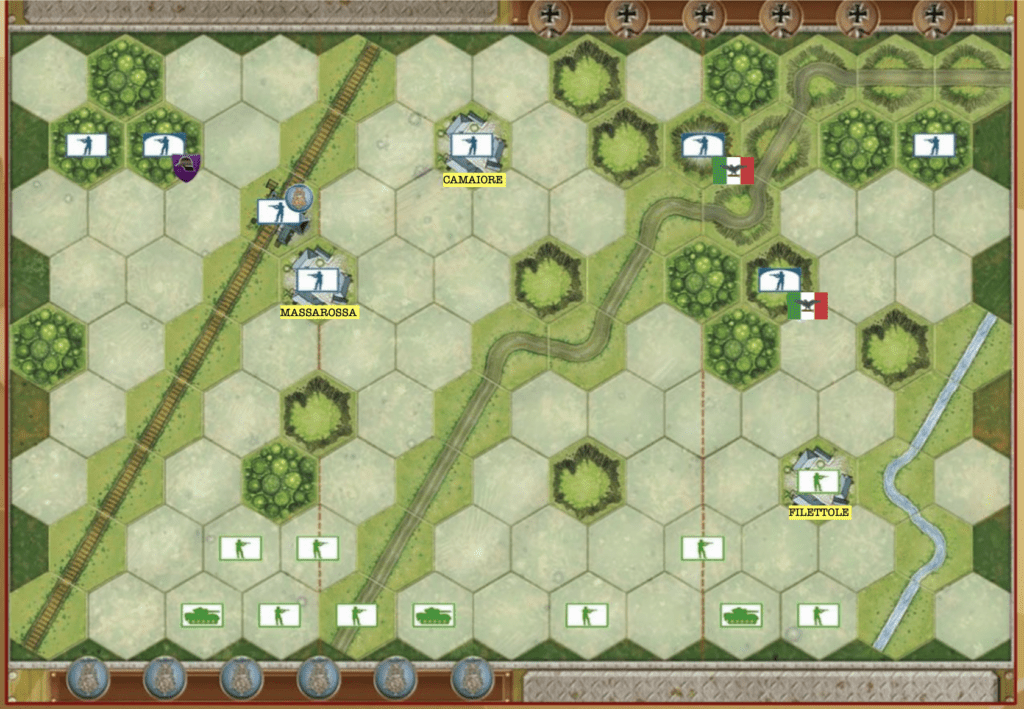
Battle of Tebourba
Battle of Tebourba (Tigerfibel)

On the November 28 1942, the US led Blade Force failed in its attack on the city of Djedeida.
However, the British controlled Tebourba, Djebel Maïana (Hill 186), the bridge on the Medjerda River, El Bathan and the village of Chouigui.
German Generalleutnant Wolfgang Fischer, commander of the 10th Panzer Division, was ordered to clear the threat on Djedeida.
Initially 3 Tigers and 4 Panzer III’s went into action in the Battle of Tebourba. They were later joined by 3 more Tigers on December 1 1942. By the time the Germans had won the battle on December 5 1942, the Allies, under General Kenneth Anderson, had lost 55 tanks, hundreds of vehicles, and more than 1000 troops had been captured. The Tigers had been devastating, and were responsible for knocking out most of the Allied tanks. The Allied troops were forced to evacuate Tebourba.
12 VP’s
![]()
Card Balance:
Allies – 6
Axis – 6
Complexity:
4
Conditions:
Context:
Historical
Location:
Date:
Nov/Dec 1942
Theater:
Western
Campaign:
Code Name
Context:
Historical
Summary:
Objectives:
12 VP’s
Battlefield:
Troops:
Allies –
Axis –

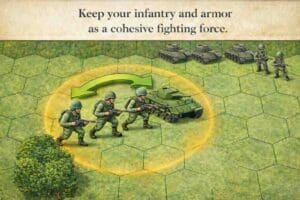
Allied Strategy

Axis Strategy:
Battle Reports:
Author:
Memoir 44 Japan
( Download )