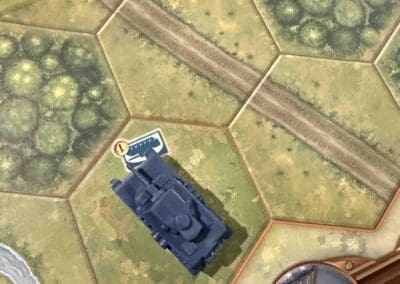
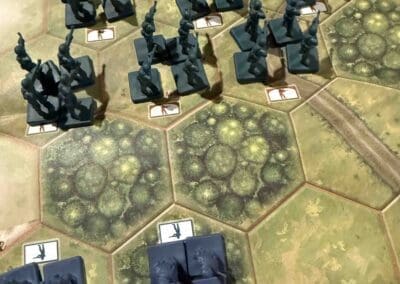
Operation Lightfoot

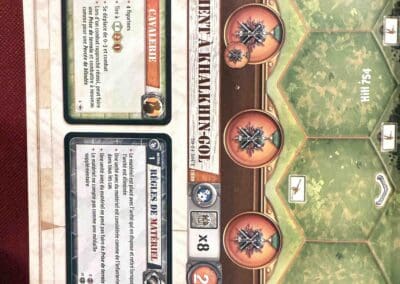
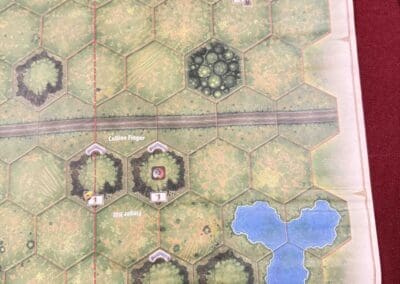
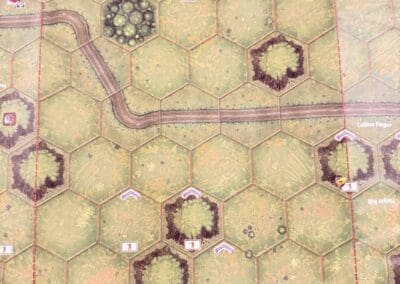
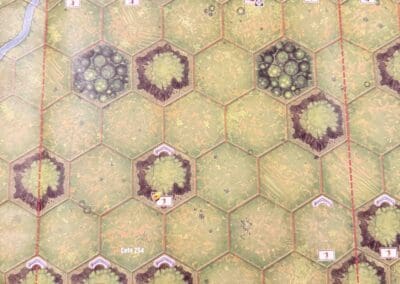
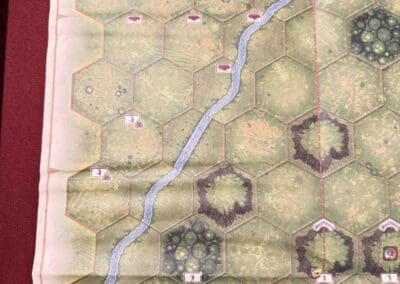
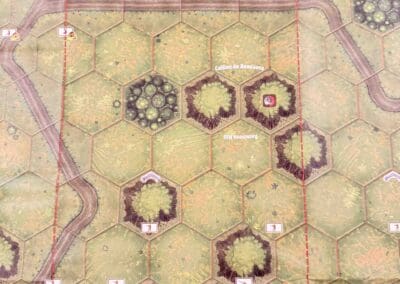
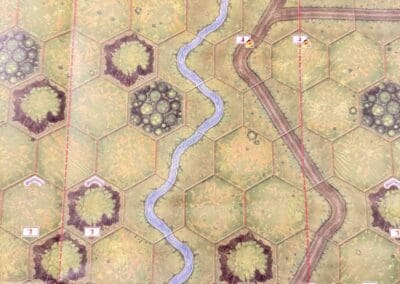
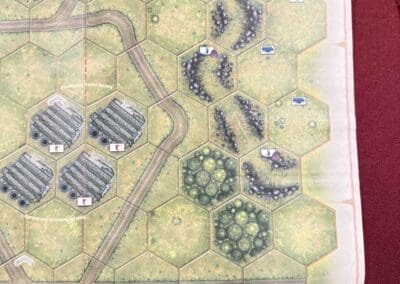
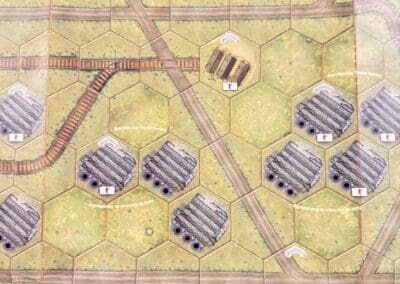
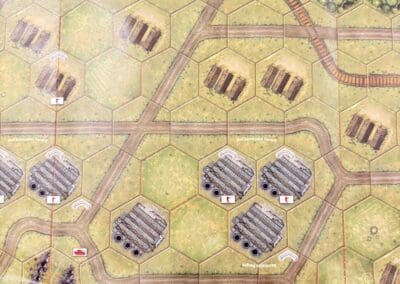
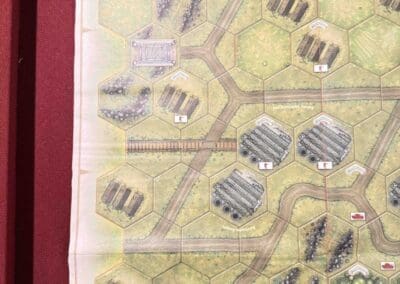
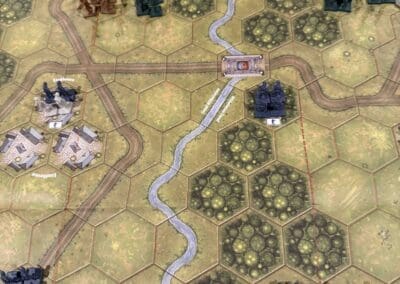
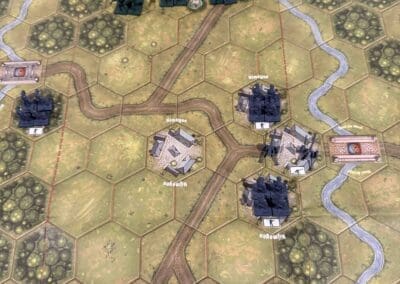
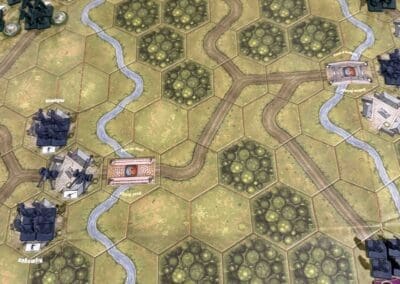
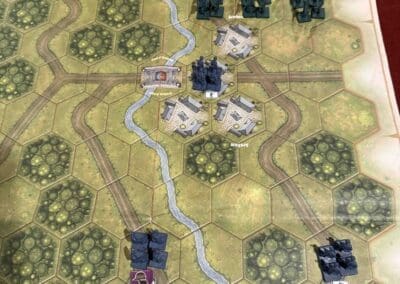
Operation Lightfoot (Overlord Map)

October 23, 1942—Montgomery kicks off Operation Lightfoot, and the desert explodes.

This wasn’t some quiet probe. This was a full-throttle offensive to smash through Rommel’s fortified line at El Alamein and break the damn deadlock in North Africa. The Axis had dug in deep—minefields, wire, concrete, artillery—the works. But Monty had a plan.

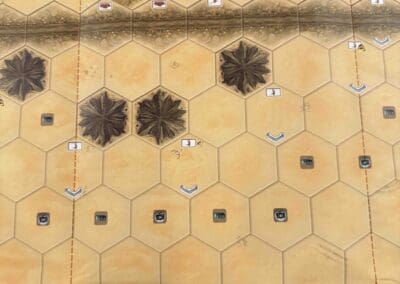
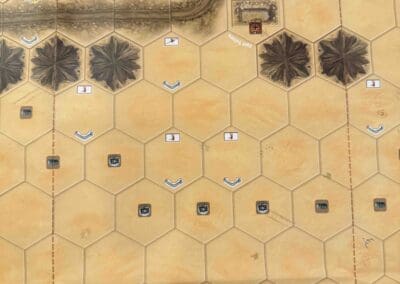
“Lightfoot” meant just that: infantry going in first, on foot, to thread through the minefields—because tanks would’ve blown themselves to hell if they led the way. So the boys marched straight into the Devil’s Gardens, clearing paths under fire, step by bloody step.

We laid down massive artillery barrages—the kind that rattled your teeth and turned the sand into glass. Then the Eighth Army pushed forward, slogging through everything the enemy threw at them. It was slow, it was costly, but it was relentless. And that’s how you win.

After days of grinding combat, Montgomery’s men punched through, and Rommel’s forces had no choice but to fall back. That was the turning point. That was the moment the tide shifted in the desert.

Operation Lightfoot wasn’t just a victory—it was proof that preparation, power, and persistence crush even the most dug-in enemy. From there, it was only a matter of time before the Axis was out of Africa for good.

15 VP’s

Card Balance:

Allies – 10 + 2 Combat Cards

Axis – 10 + 2 Combat Cards

Complexity:

3

Conditions:

Desert

Context:

Historical

Location:

North Africa

Year:

1942

Theater:

Mediterranean

Campaign:

Codename:

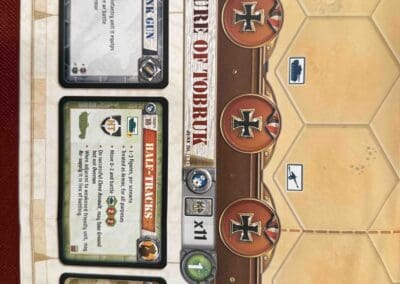
Operation Lightfoot

1Summary:

Objectives:

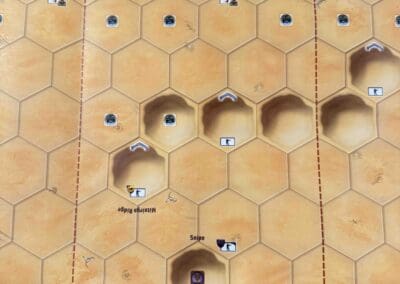
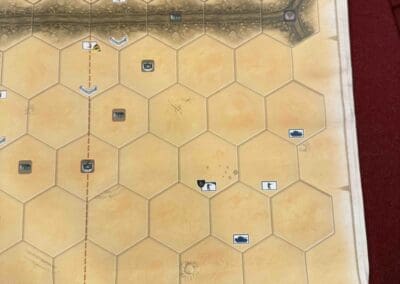
15 VP’s with Temporary Medal Objectives for control of hills and Exit Rows.

Battlefield:

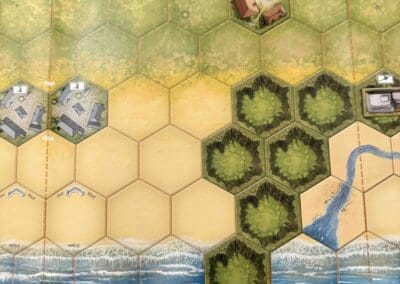
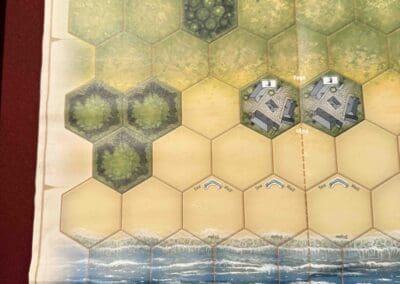
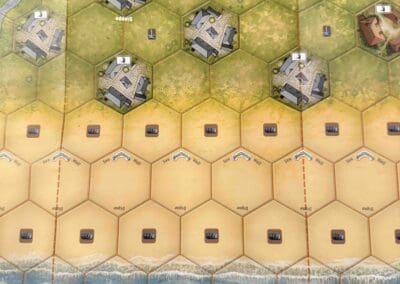
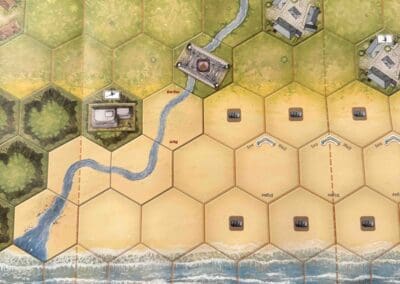
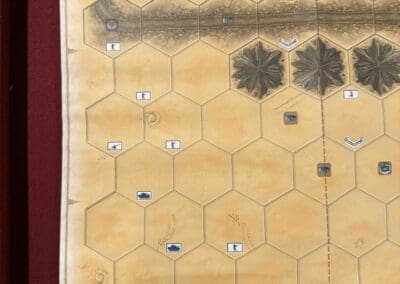
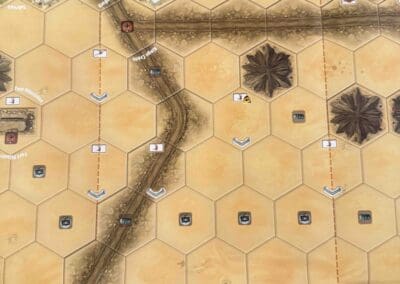
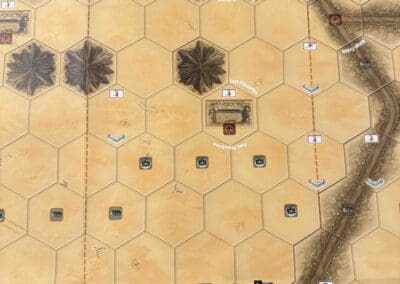
A beach with towns, ridges, and a river cutting through the center.

Troops:

Allies  – 18 Infantry with some special weapons, 11 Armor, 3 Artillery

Axis  – 11 Infantry with some special weapons, 8 Armor, 3 Artillery


Allied Strategy:

1.  

Axis Strategy

1.  

Battle Reports

0
BR - Operation Lightfoot

Author:

Days of Wonder

Link:
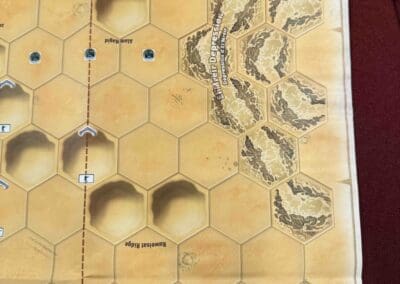
Disaster at Dieppe

Disaster at Dieppe (Overlord Map)

Alright, listen up—

The raid on Dieppe? That was a damn mess. We sent in brave boys—mostly Canadians—straight into a meat grinder without proper prep, cover, or firepower. The plan? Hit the Germans fast, grab intel, wreck their defenses, and get out. But hell, it was all wrong from the get-go. No real surprise, no heavy bombing to soften ’em up, and we landed right on their gun barrels.

The beaches were narrow, rocky deathtraps. Our tanks got stuck, the infantry got chewed up, and the Navy couldn’t do a damn thing once the chaos started. Over half the force was wiped out, captured, or bleeding in the surf. It was a bloody disaster—but those boys fought like hell.

And I’ll tell you this: we learned. We learned what not to do. Next time, we brought the whole hammer—air, sea, tanks, everything. That’s how you do it. That’s how we did it on D-Day. Dieppe was a painful lesson—but it paid off in Normandy.

~~ General Howitzer

10 VP’s

Card Balance:

Allies – 7

Axis – 8

Complexity:

4

Conditions:

Beach

Context:

Historical

Location:

Baltic area

Year:

1944

Theater:

Eastern

Campaign:

Codename:

Operation Jubilee

Summary:

Objectives:

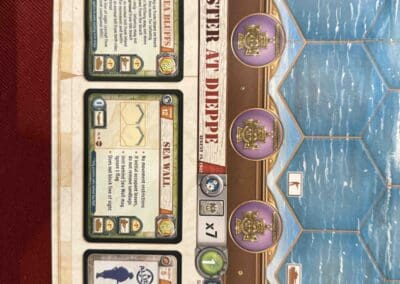
10 VP’s with Temporary Medal Objectives for two bridges, a casino, and a chateau.

Battlefield:

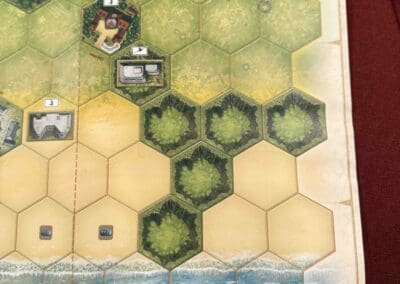
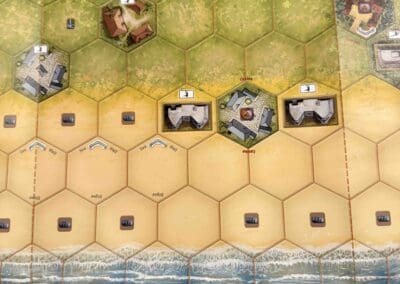
A beach with towns, ridges, and a river cutting through the center.

Troops:

Allies  – 20 Infantry, 5 Armor, 2 Half-Tracks

Axis  – 15 Infanty, 4 Artillery


Allied Strategy:

1.  

Axis Strategy

1.  

Battle Reports

0
BR - Disaster at Dieppe

Author:

Days of Wonder

Link:
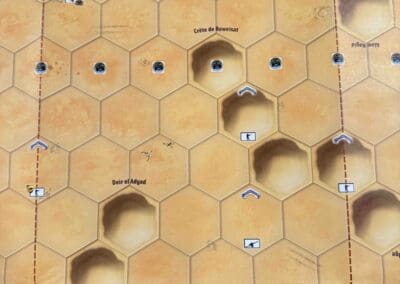
The Capture of Tobruk

The Capture of Tobruk (Overlord Map)

June 21, 1942—Tobruk falls, and Rommel gets his moment in the sun.

The Desert Fox came tearing across North Africa like a bat outta hell, and when he set his sights on Tobruk, he didn’t waste time. That place had held out before—but not this time. Rommel hit it hard, fast, and surgical. In no time flat, he smashed through the lines, bagged 30,000 Allied troops, and scooped up a mountain of supplies.

It was a gut punch to the British—morale wrecked, command shaken, and the enemy thumping their chests from Berlin to Rome. Tobruk was supposed to be a fortress. Instead, it became a prize.

But here’s the truth: Rommel’s victory was real—but it was short-lived. You don’t win a war with flash and headlines. You win it by bleeding the enemy dry, taking ground, and never letting up. And that’s what we did.

By the time we met him again at El Alamein, the tables had turned. Rommel’s advance stalled, and the Allies came back with a vengeance.

You want to take a city? Fine. But you’d better be ready to hold it when the real fight starts.

~~ General Howitzer

15 VP’s

Card Balance:

Allies – 7

Axis – 11

Complexity:

3

Conditions:

Desert

Context:

Historical

Location:

North Africa

Year:

1942

Theater:

Mediterranean

Campaign:

Codename:

Summary:

Objectives:

15 VP’s with many territorial Medal Objectives, some Temporary and some Permanent.

Battlefield:

A desert with a couple of roads crossing the area in both directions

Troops:

Allies  – 17 Infantry some with Special Weapons, 5 Armor, 2 Artillery

Axis  – 17 Infanty, 16 Armor including some Half-Tracks, 6 Artillery


Allied Strategy:

1.  

Axis Strategy

1.  

Classic Battle Reports

45% Allied Wins

0
BR - Capture of Tobruk

Author:

Days of Wonder

Link:
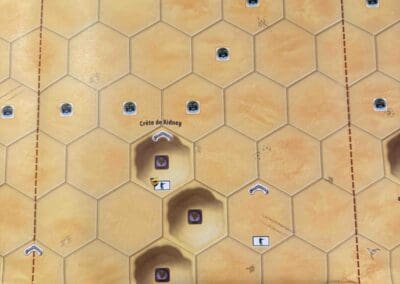
Rats in a Factory

Rats in a Factory [ Overlord ]

“Rats in a Factory”—Stalingrad, late ’42. You want to know what hell looks like? This was it.

The Germans thought they could storm into those Red October, Barrikady, and Tractor factories like it was just another checkpoint. What they walked into was a damn grinder. Concrete, steel, smoke, and blood—that’s what those factories became.

The Soviets didn’t fight for blocks—they fought for bricks, for stairwells, for every bolt and beam. One room would belong to the Germans, the next to the Soviets. Sometimes they were fighting in the same building—on different floors. It was war in a cage, and every inch came with a cost.

The term “Rats in a Factory” wasn’t poetry—it was reality. Men crawled, fought, and died like animals in a twisted maze of rubble and twisted metal. **Snipers in shadows, ambushes around corners, grenades down stairwells—**no rules, no rest, no mercy.

And guess what? The Soviets held. They bled the German 6th Army dry, right there in that industrial slaughterhouse. That stand helped snap the spine of the Nazi push in the East.

You want a lesson in raw, unbreakable resolve? Look no further. That’s what it means to fight like you’ve got nothing left to lose—and no intention of backing down.

~~ General Howitzer

18 VP’s

card

Card Balance:

Allies – 9 

Axis – 10

Complexity:

5

Conditions:

Urban

Context:

Historical

Location:

Stalingrad

Year:

1942

Theater:

Easter

Campaign:

Summary:

This is an Overlord game.

Objectives:

18 Medals including both Permanent and Temporary Medal Objectives.

Terrain:

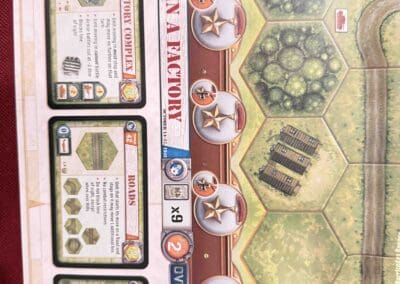
Urban factory complex with any factory and city hexes.

Troops:

Allies – 21 Infantry, 6 Armor, 3 Artillery

Axis – 20 Infantry, 12 Armo, 4 Artillery

Special Rules:

1.  Temporary Medal Objectives   

2.  Permanent Medal Objectives

3.  Temporary Majority Medal Objectives


medal allies 

Allied Strategy:

1.

medal axis

Axis Strategy

1.  

0
BR - Rats in a Factory

Author:

Days of Wonder

Link:
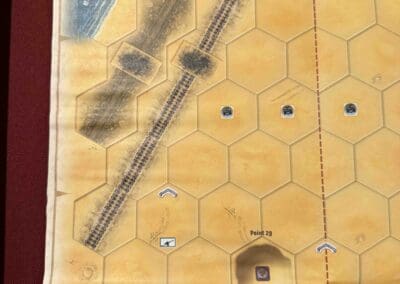
Operation Market Garden (Overlord)

Operation Market Garden (Overlord Map)

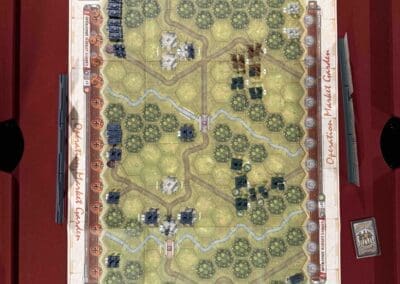
Operation Market Garden, fought in September 1944, was a major Allied offensive during World War II aimed at ending the war quickly by capturing key bridges in the Netherlands and entering Germany’s industrial heartland.

The operation combined a massive airborne assault (Market) by British, American and Polish paratroopers with a ground advance (Garden) by British XXX Corps. The goal was to seize bridges over several rivers, including the Rhine at Arnhem, to create a direct route into Germany.

While initial objectives were captured, the operation stalled at Arnhem, where British paratroopers faced fierce German resistance and were eventually overwhelmed after days of heavy fighting. The final bridge remained in German hands, and the ground forces failed to link up in time.

Operation Market Garden was a costly Allied failure, with heavy casualties, especially among the British 1st Airborne Division. It did not shorten the war as hoped and marked one of the last major German defensive victories in the West.

13 VP’s

Card Balance:

Allies – 13 (!)

Axis – 3 (!)

Complexity:

4

Conditions:

Countryside

countryside

Context:

Historical

Location:

Netherlands

Year:

1944

Theater:

Western

Campaign:

Codename:

Operation Market Garden

Summary:

Objectives:

13 VP’s with Temporary Majority Medal Objectives for whomever holds the majority of the 13 town hexes; plus Turn Start Temporary Uncontested Medal Objectives for the three key bridges.

Battlefield:

Countryside with many roads, towns, rivers, and forests

Troops:

Allies  – 20 Infantry, 8 Armor, 1 Artillery

Axis  – 17 Infanty, 7 Armor, 1 Artillery


Allied Strategy:

1.  

Axis Strategy

1.  

Battle Reports

0
BR - Op. Market Garden

Author:

Days of Wonder

Link:
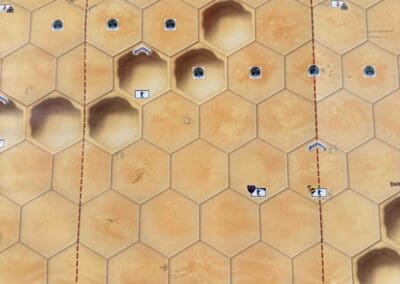
Guadalcanal [ Overlord ]

Guadalcanal

Guadalcanal. August ’42 to February ’43. The place where the tide started to turn in the Pacific—and where the United States Marine Corps showed the world exactly what American grit looks like.

The Japanese thought they were building themselves a nice little airfield to dominate the Solomon Islands and choke off our lifeline to Australia. Big mistake. We hit that island hard, landed the U.S. Marines, and made damn sure that airstrip—Henderson Field—was going to fly our planes, not theirs.

It wasn’t a cakewalk. It was jungle rot, mud, bugs, no sleep, and short supplies. The enemy threw everything they had at us—infantry assaults, air raids, naval bombardments. But we held. We bled. And we broke them.

By the time it was over, the Japanese were down thousands of men, ships, and planes. They’d lost their shot at controlling the Pacific, and we took the initiative. From then on, it was our war to win, and we were going to take it island by island, all the way to Tokyo.

Guadalcanal wasn’t just a battle—it was a message: The United States doesn’t back down. We plant our flag, we dig in, and we don’t leave until the job’s done.
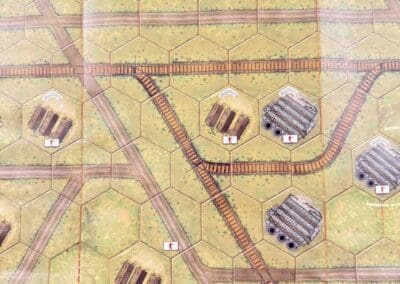
~~ General Howitzer

13 VP’s

card

Card Balance:

Allies – 9

Axis – 7

Complexity:

5

Conditions:

Jungle

Context:

Historical

Location:

Solomon Islands

Year:

1943

Theater:

Pacific

Campaign:

Guadalcanal Campaign

Summary:

This is an Overlord game, so make use of the Jungle Command cards, two per side.

Objectives:

13 Medals including Territorial Control, and Exit Row medals and a sudden death hex all for the Japanese.

Terrain:

Jungle terrain with a 21-hex hill in the center which is a majority-control objective for one medal. 

Troops:

Allies – 21 Marine Infantry, 3 Artillery

Axis – 24 Japanese Infantry, 3 Artillery

Special Rules:

1. Majority  Temporary Territorial Control  – whomever controls most of the 21-hill hexes gains 1 Medal

2.  Exit Row Medals – to any Japanese forces that exit

3.  Sudden Death Hex – to any Japanese forces that maintain control of the hex at the start of their next turn, total win for the Japanese


medal allies 

Allied Strategy:

1. Big Picture Plan when defending against the Japanese onslaught, is to reduce every full-power unit by at least one hit in order to cancel our their Seishin Kyoiku Doctrine. 

2.  Because of the special Rules, it is imperative that the Marines defende the center section, and prevent the Japanese forces from overwhelming the hill, to gain that point; or exiting out the back, to get those points, or most importantly, never let them gain access to the sudden death hex. 

medal axis

Axis Strategy

1.  Big Picture Strategy for Axis; while the flanks provide an excellent attack possibility, if you have the cards, they should always be considered secondary to your primary objective of overwhelming the 21-hex hill and gaining all the extra win points associated with it, and the exit hexes, and the sudden death hex.

2.  When given the opportunity on your flanks, move your forces towards the central section to continue to put pressure on the enemy and eventually overrun his position.

2
BR - Guadalcanal

Author:

Days of Wonder

Link: