Patton’s Kasserine Crucible
Patton's Kasserine Crucible
allies_center
allies_left
allies_right

axis_left

overview2
axis_center
axis_right
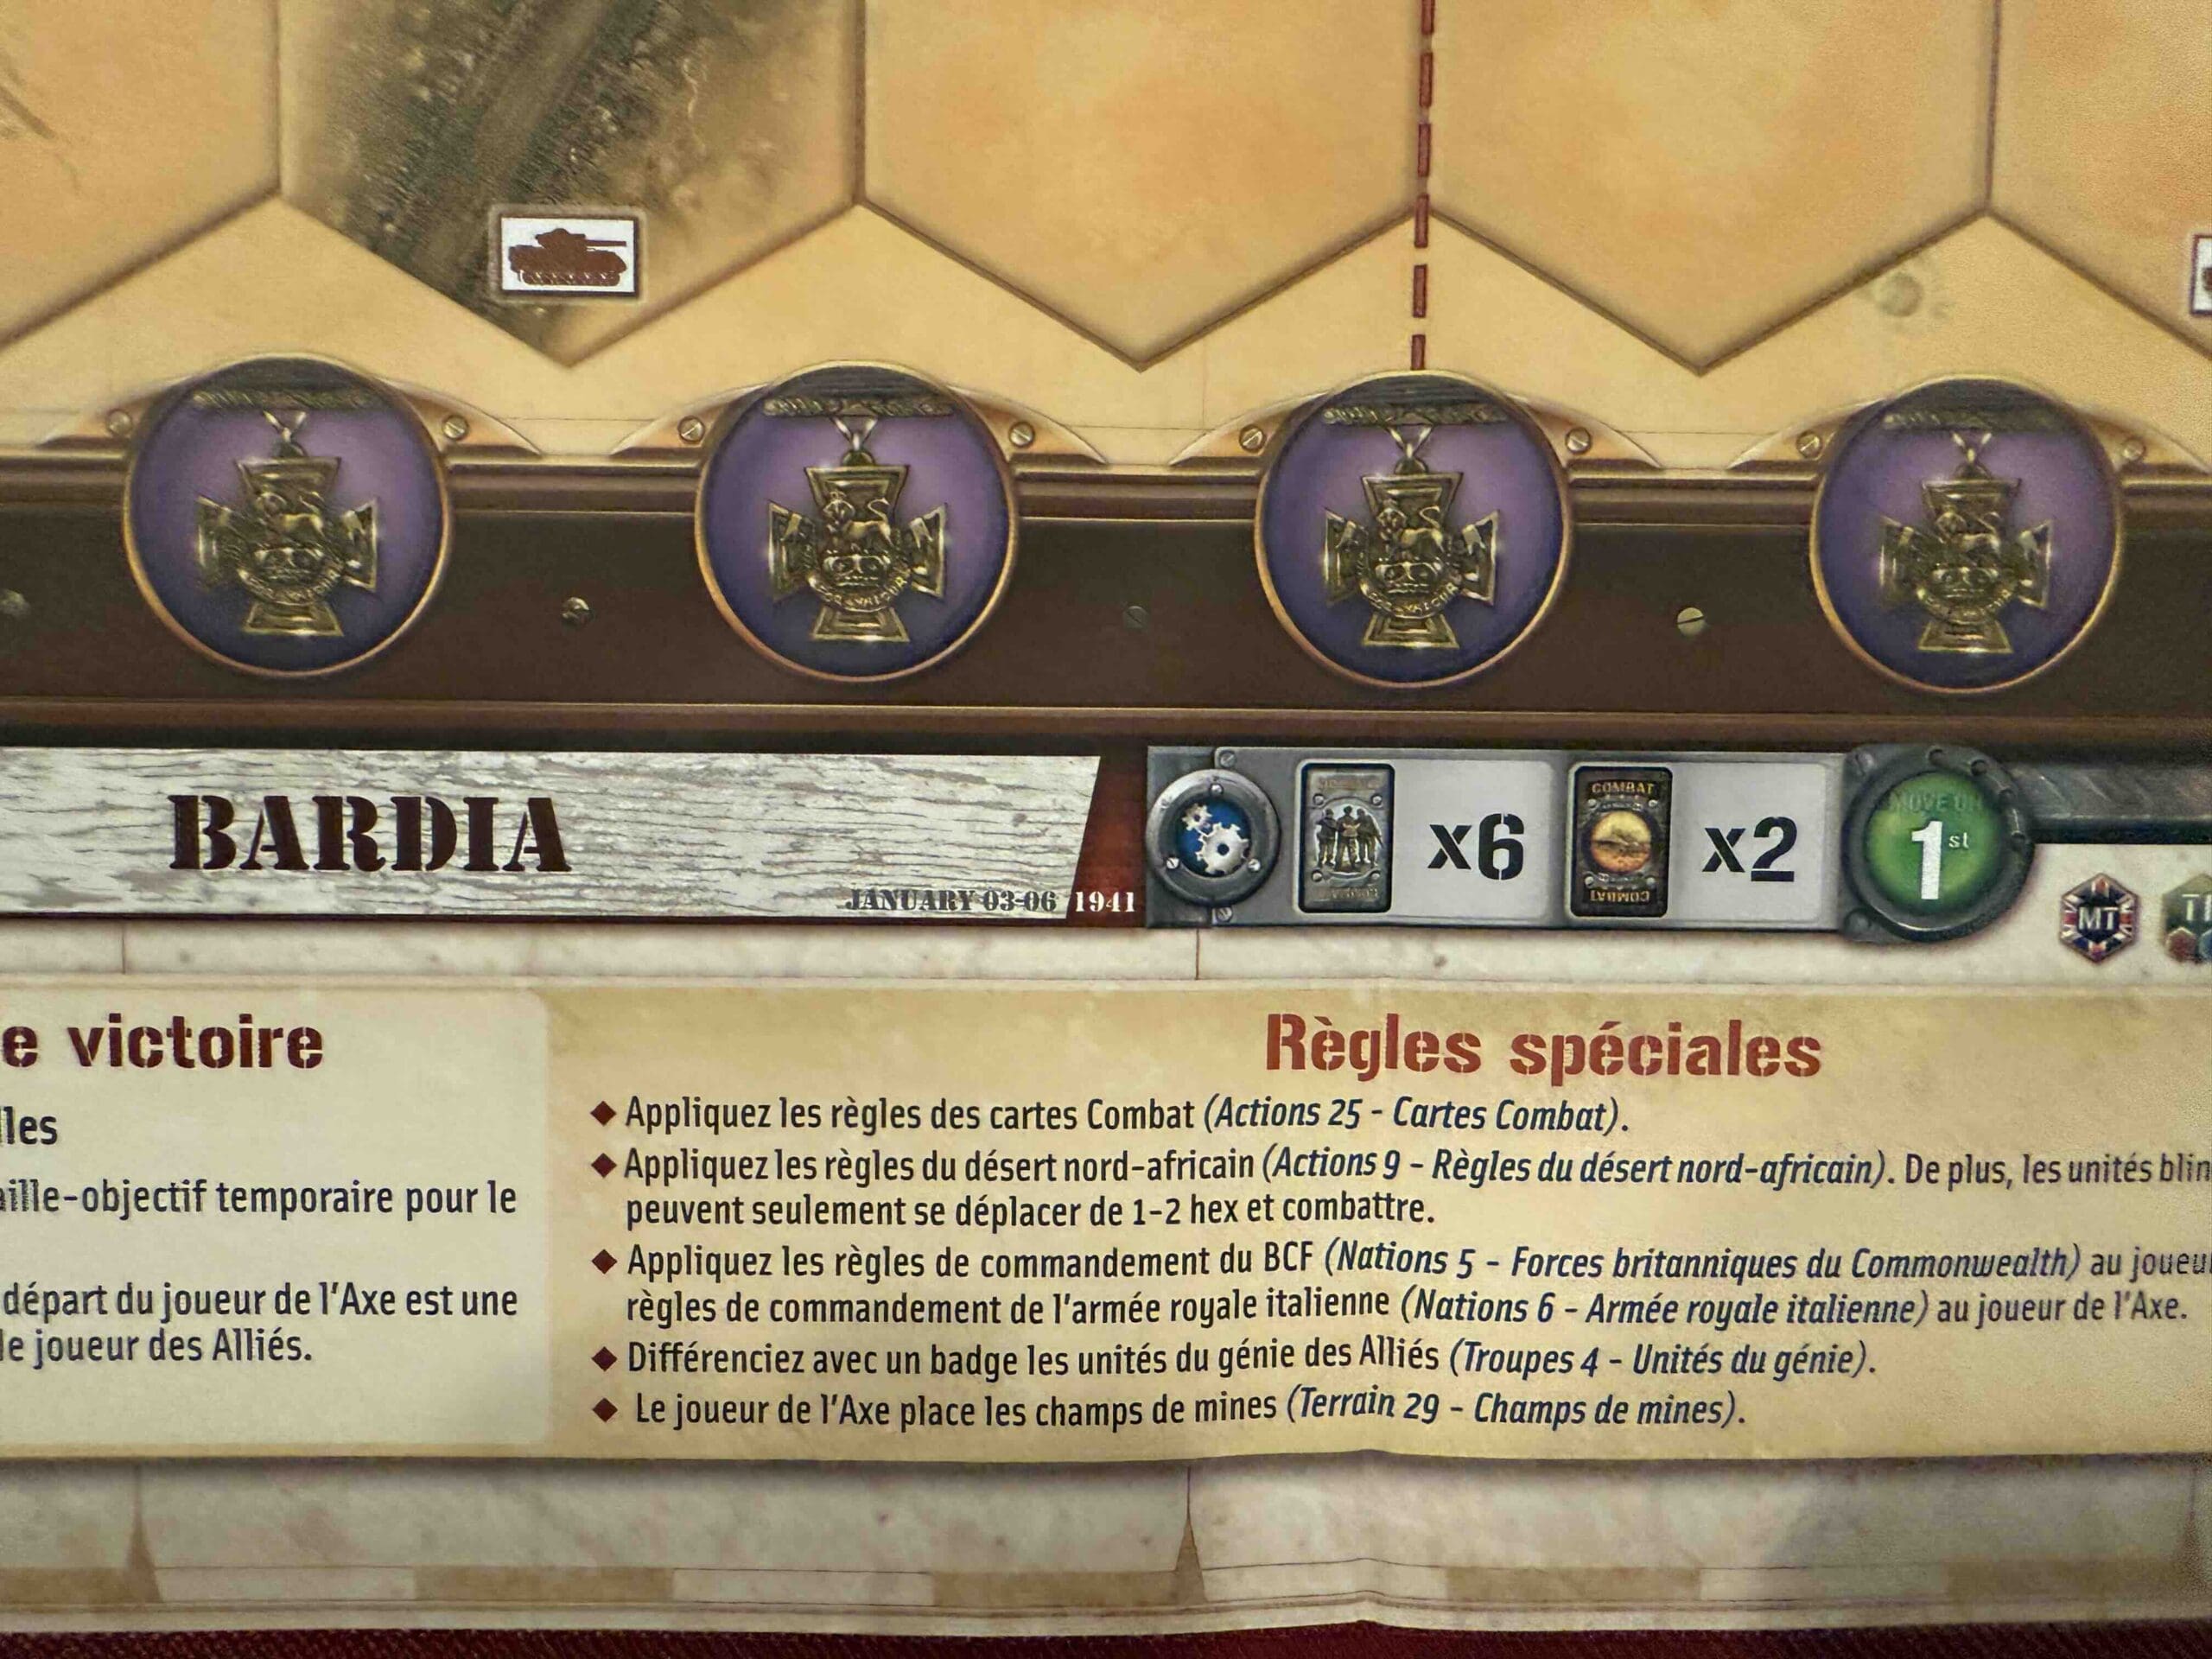
8 VP’s
Card Balance:
Allies – 8
Axis – 8
Complexity:
3
Conditions:
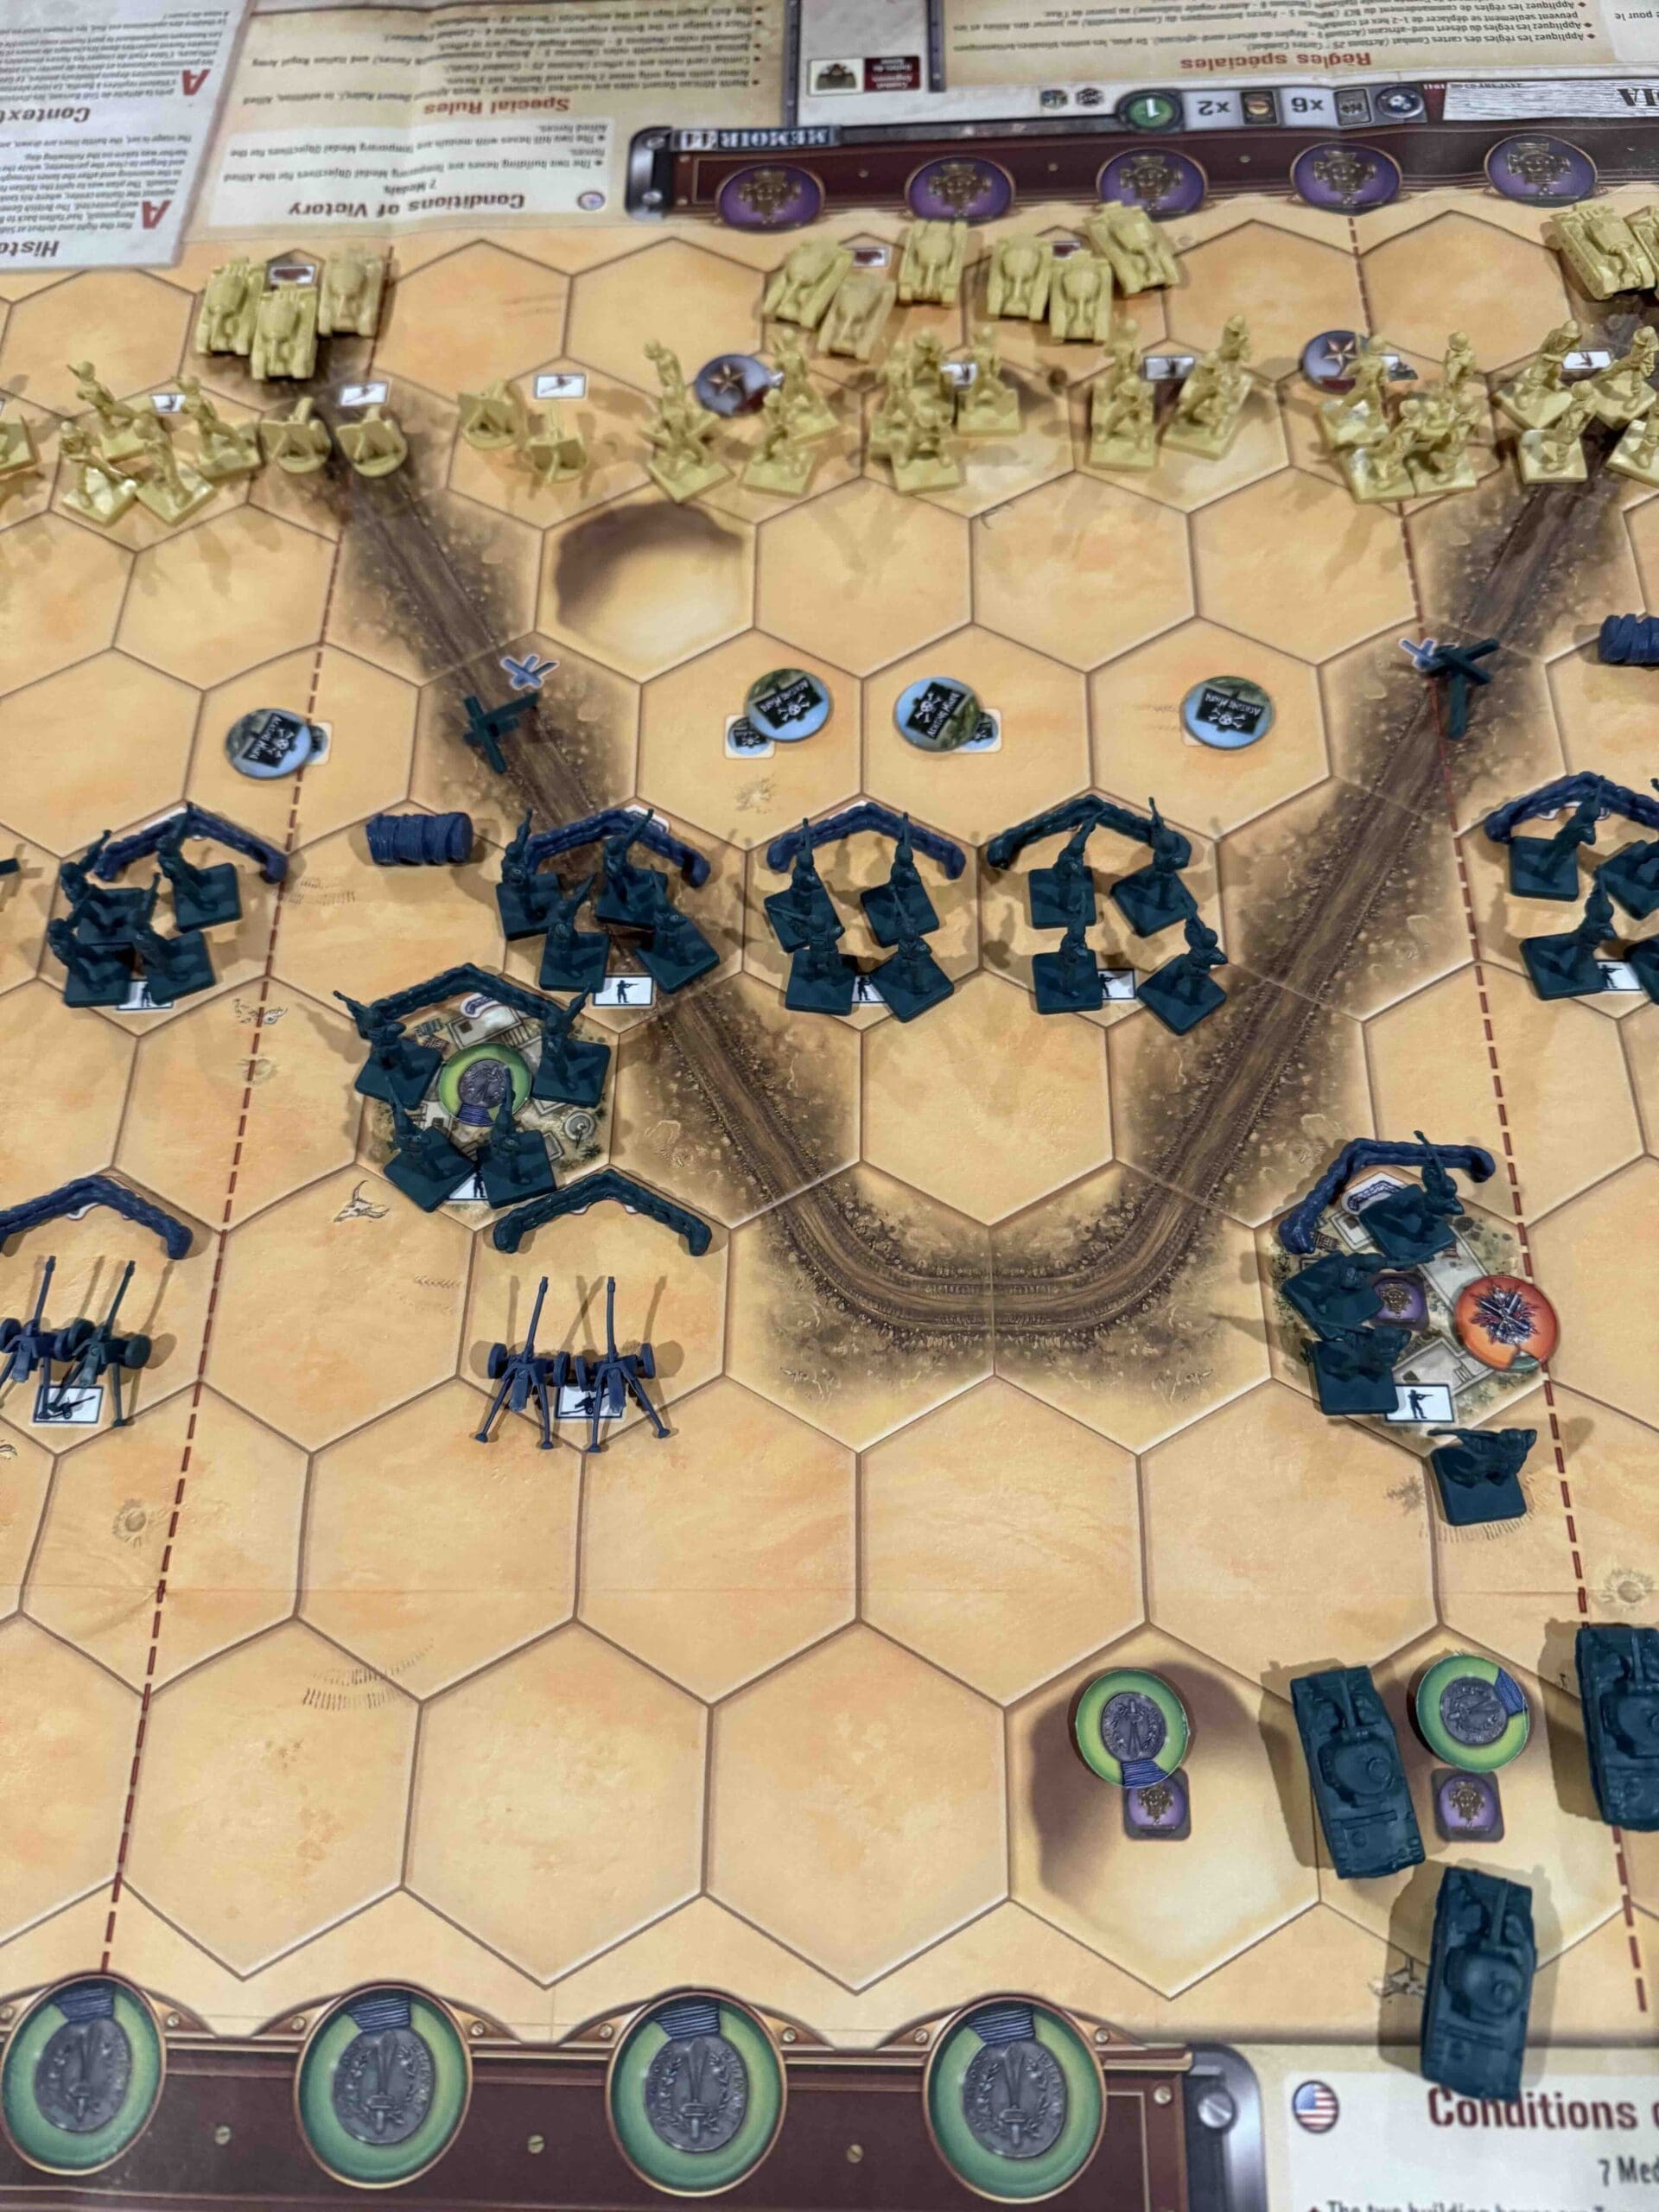
Desert

Context:
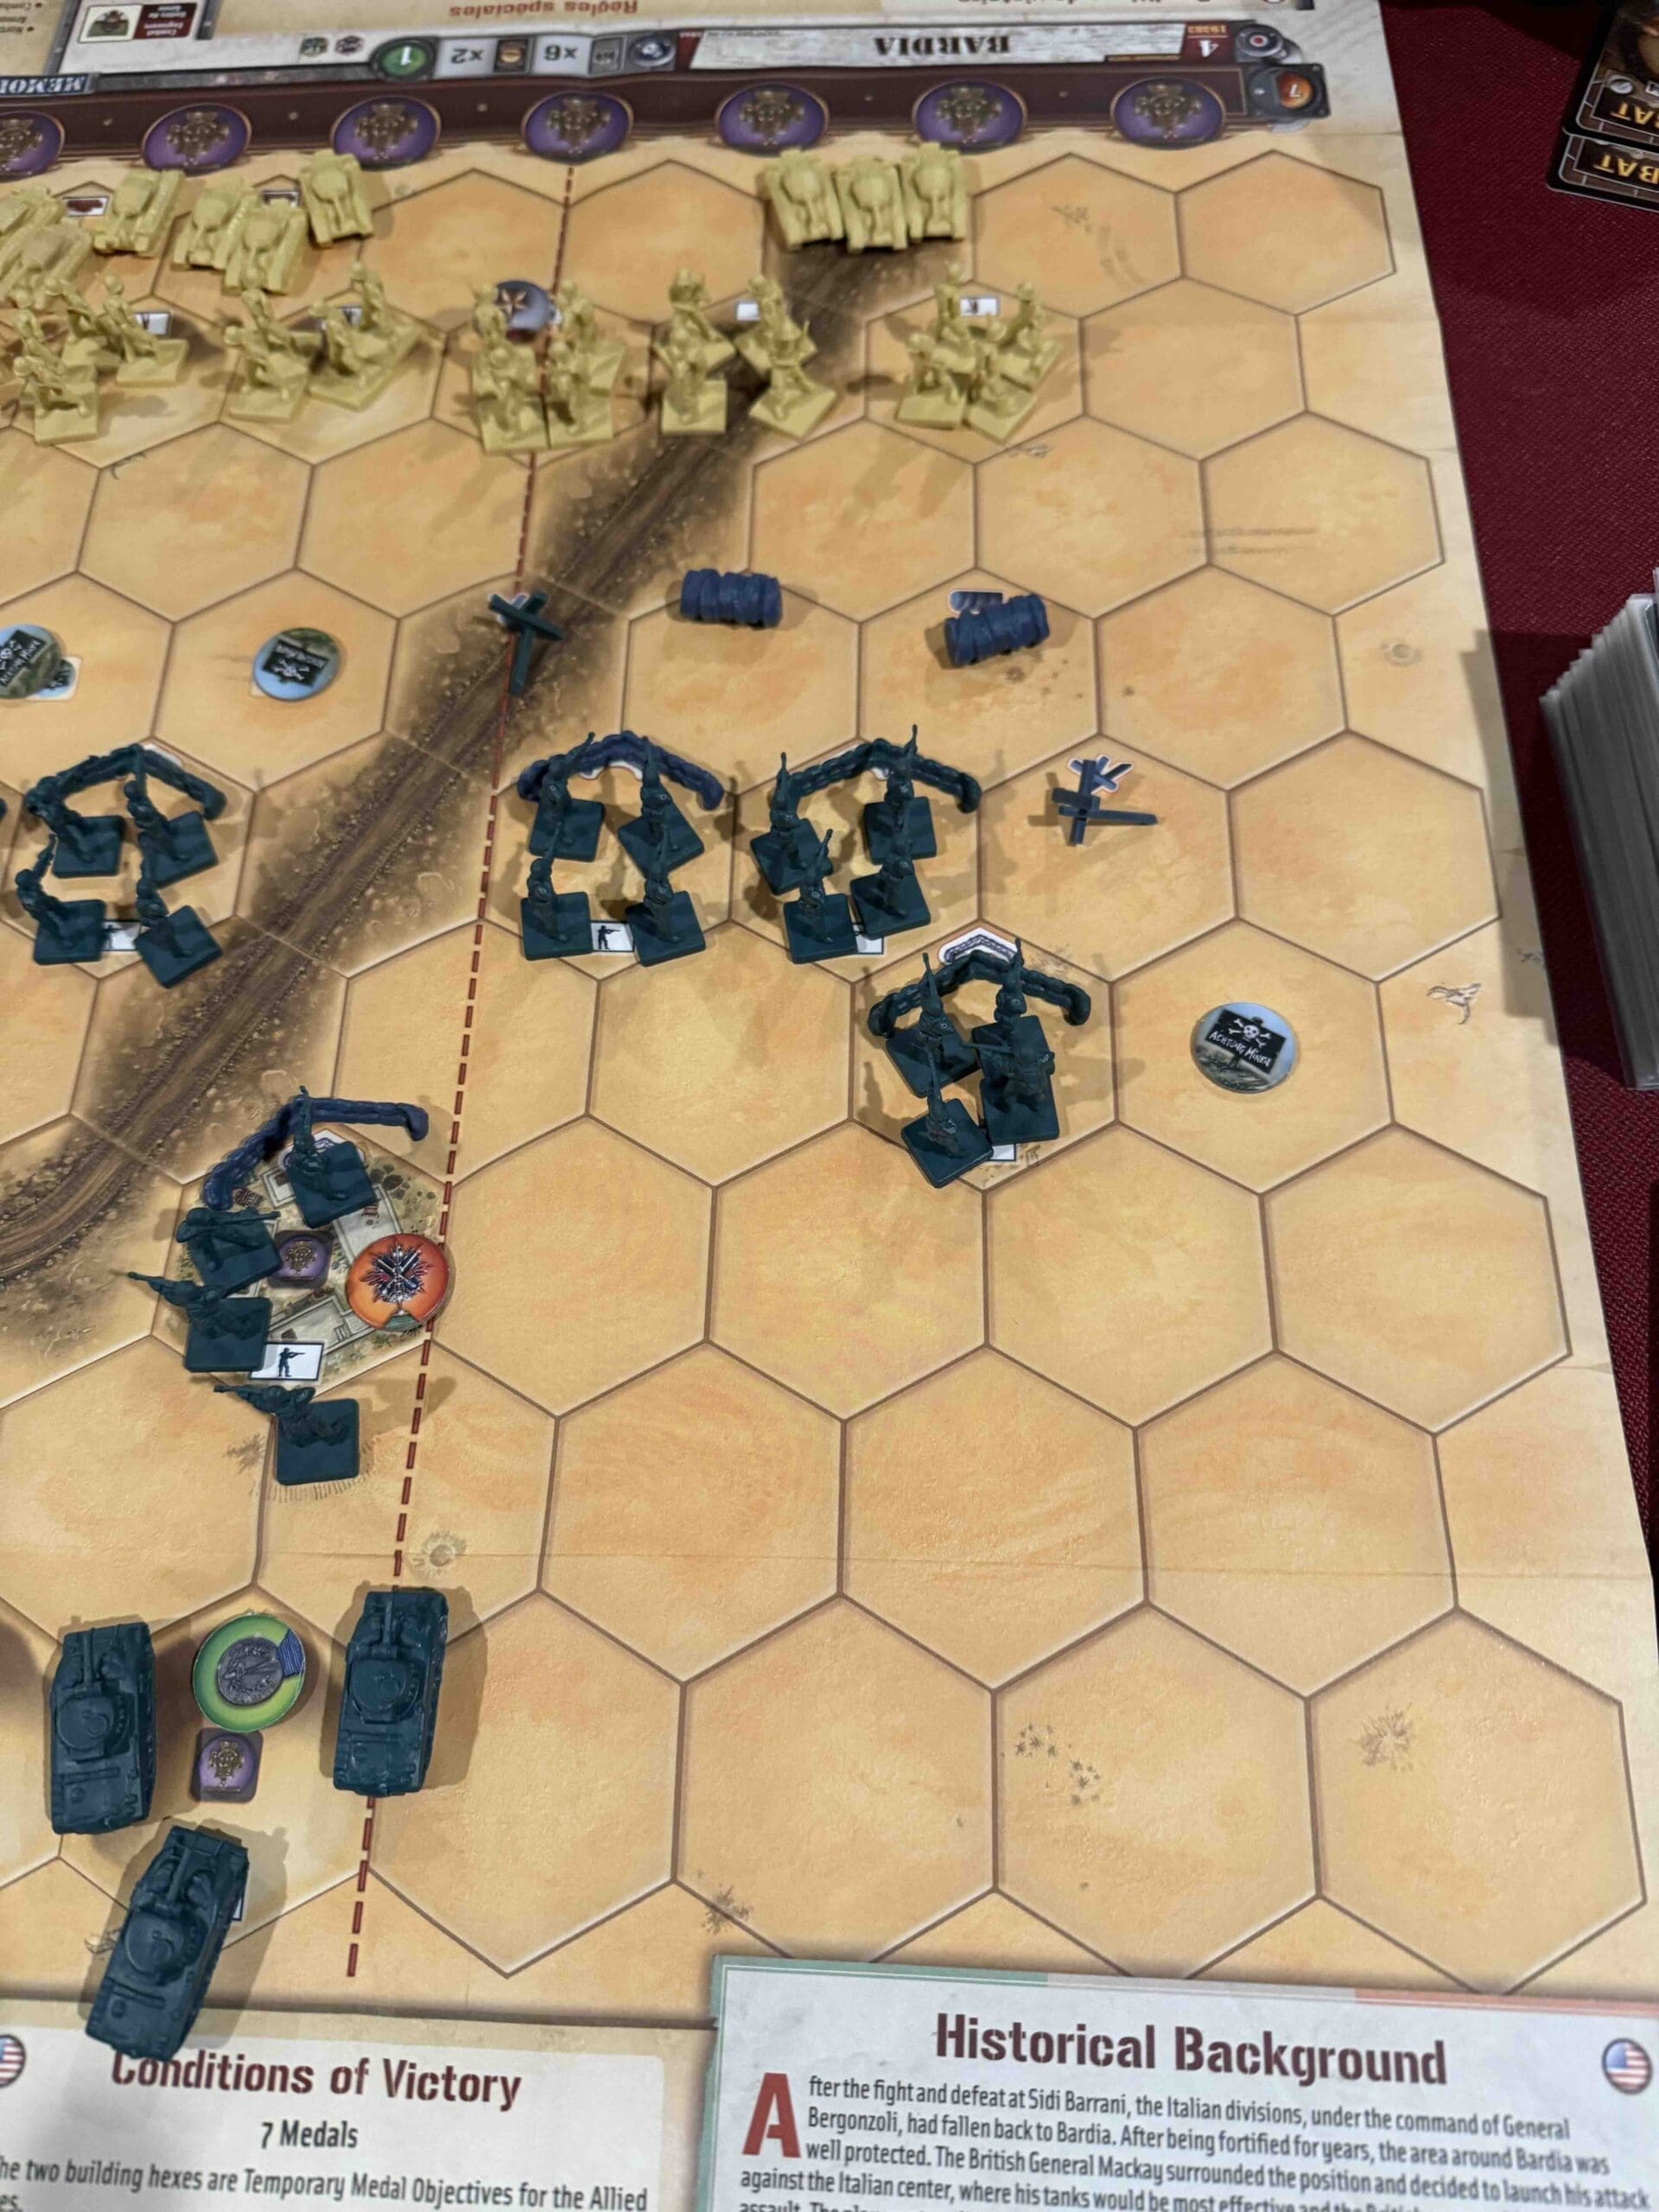
Historical
Location:
North Africa
Year:
1943
Theater:
Mediterranean
Summary:
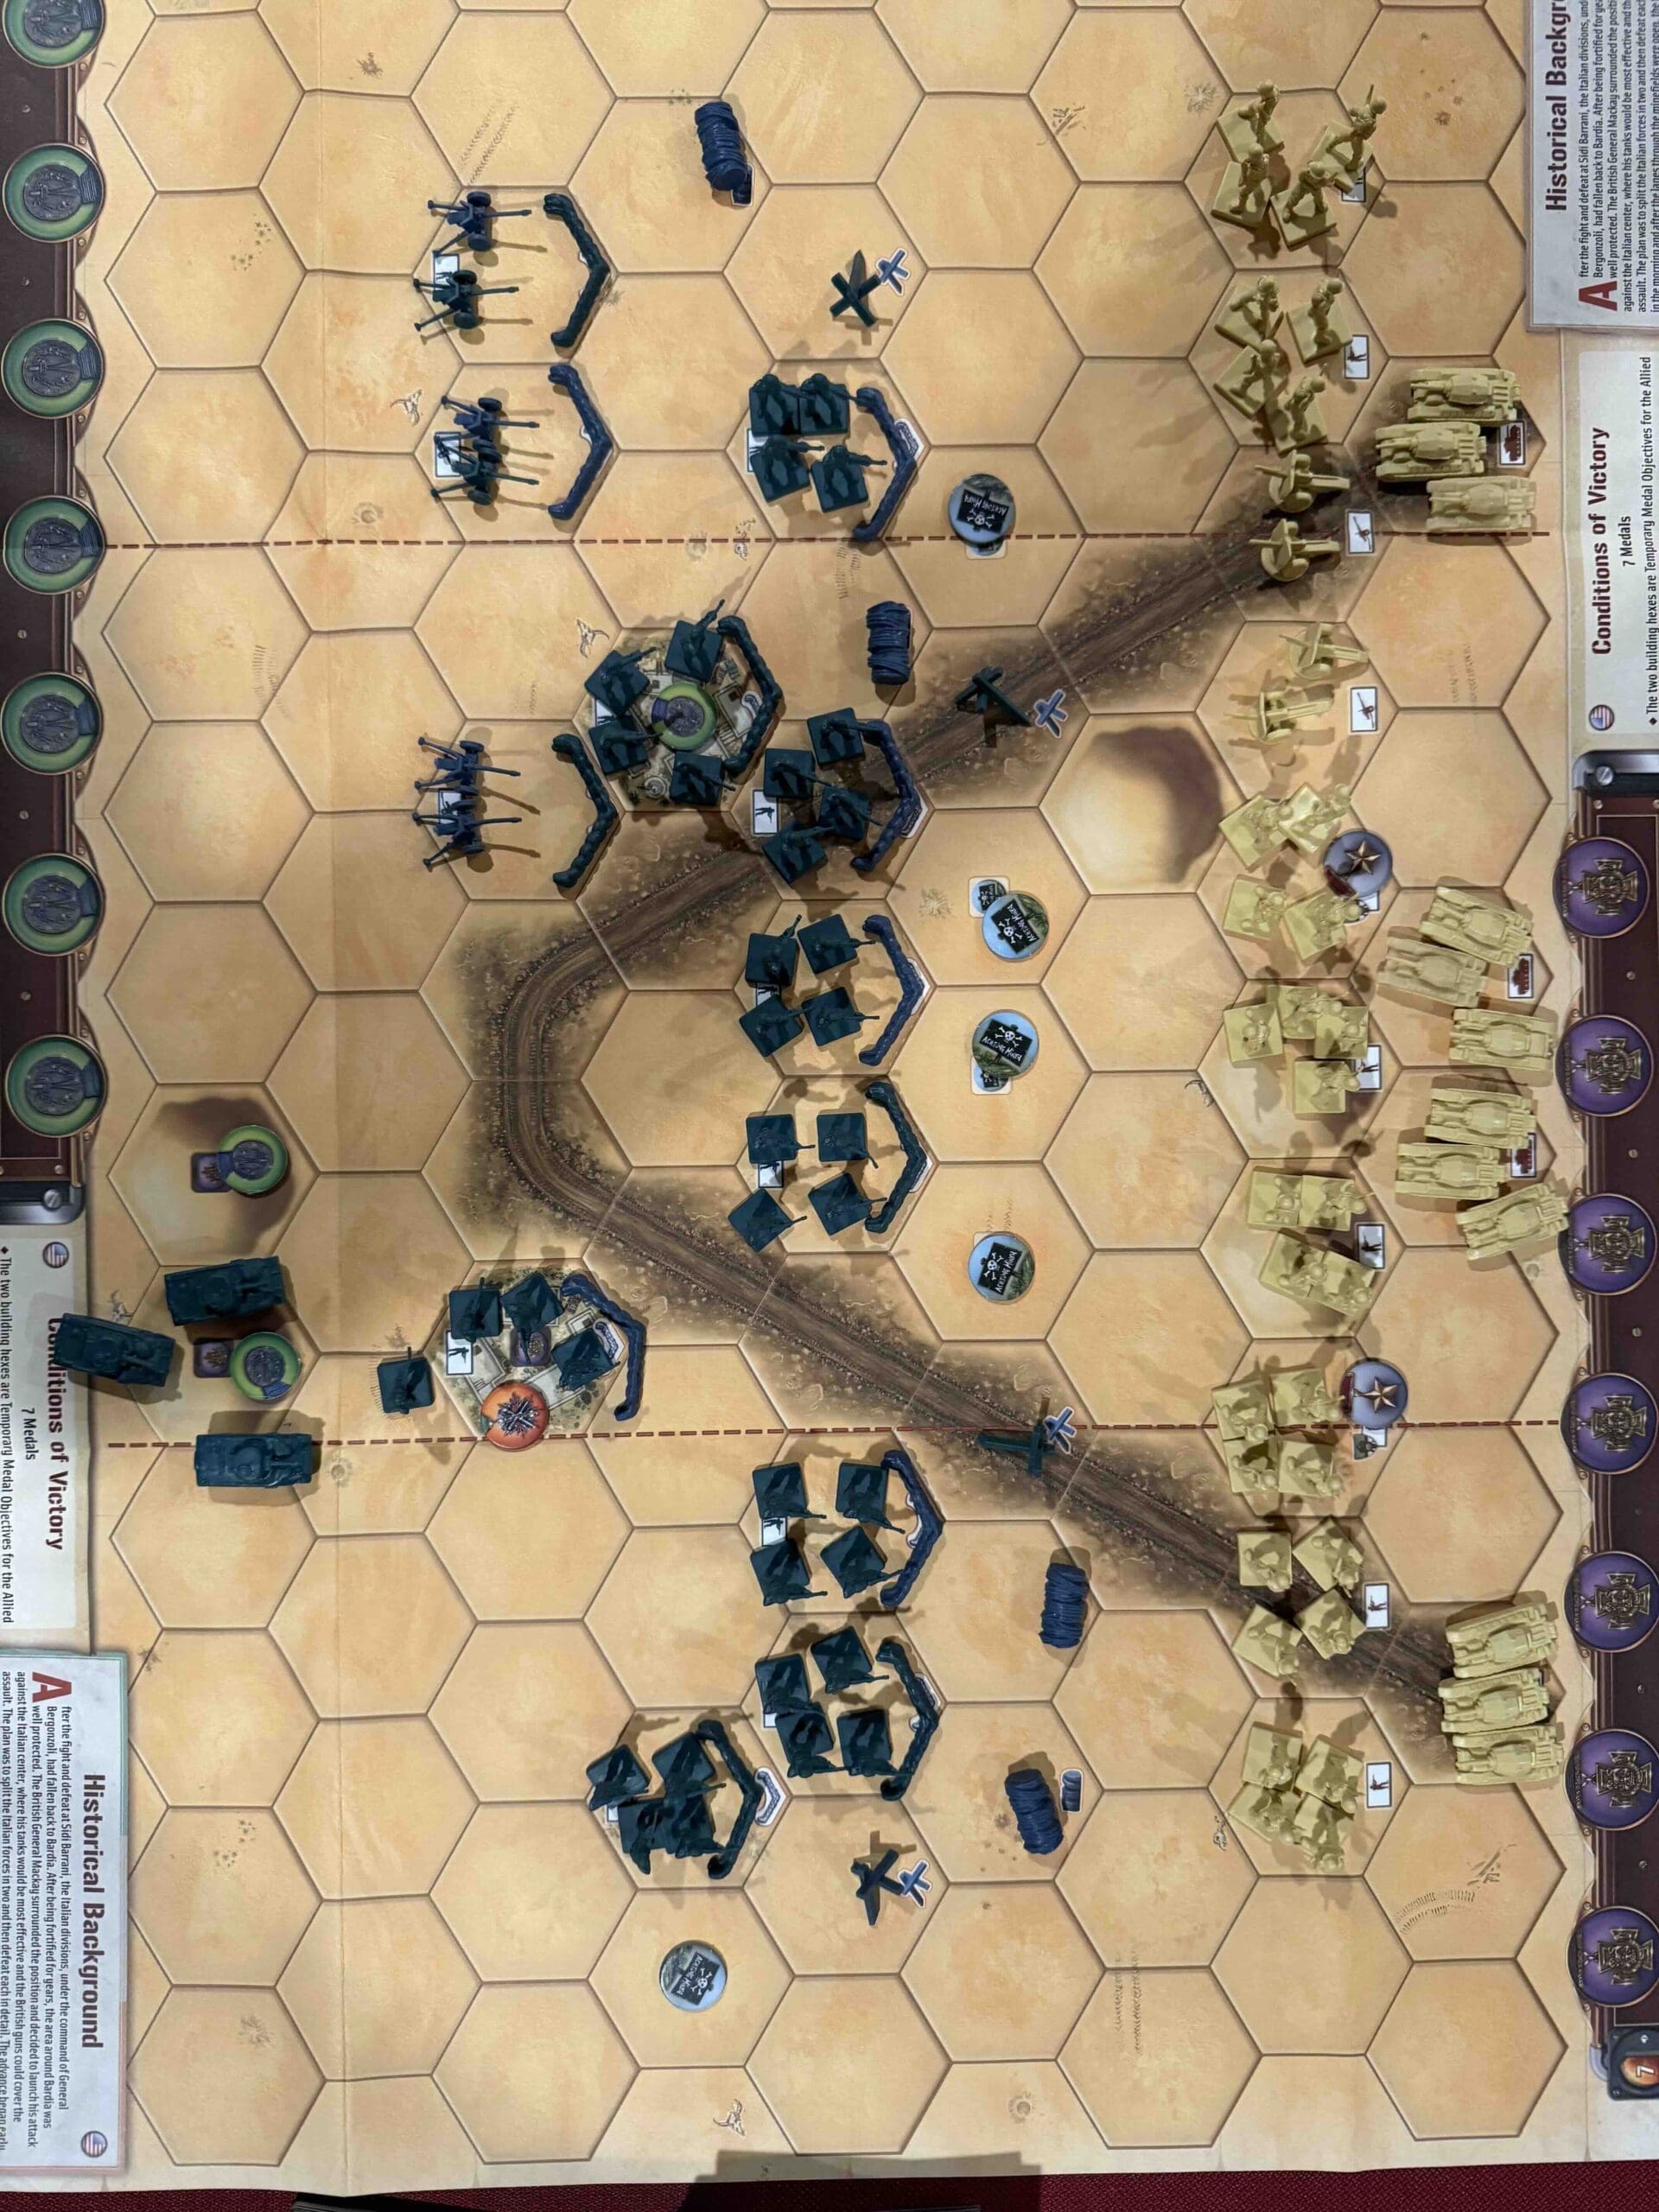
Objectives:
8 VP’s
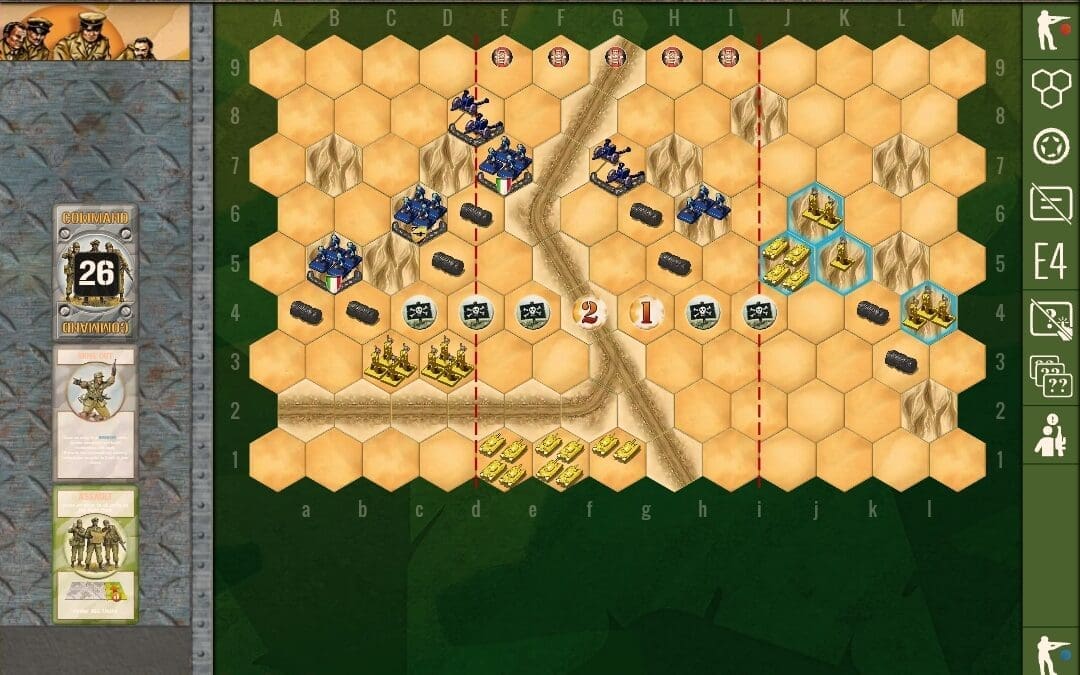
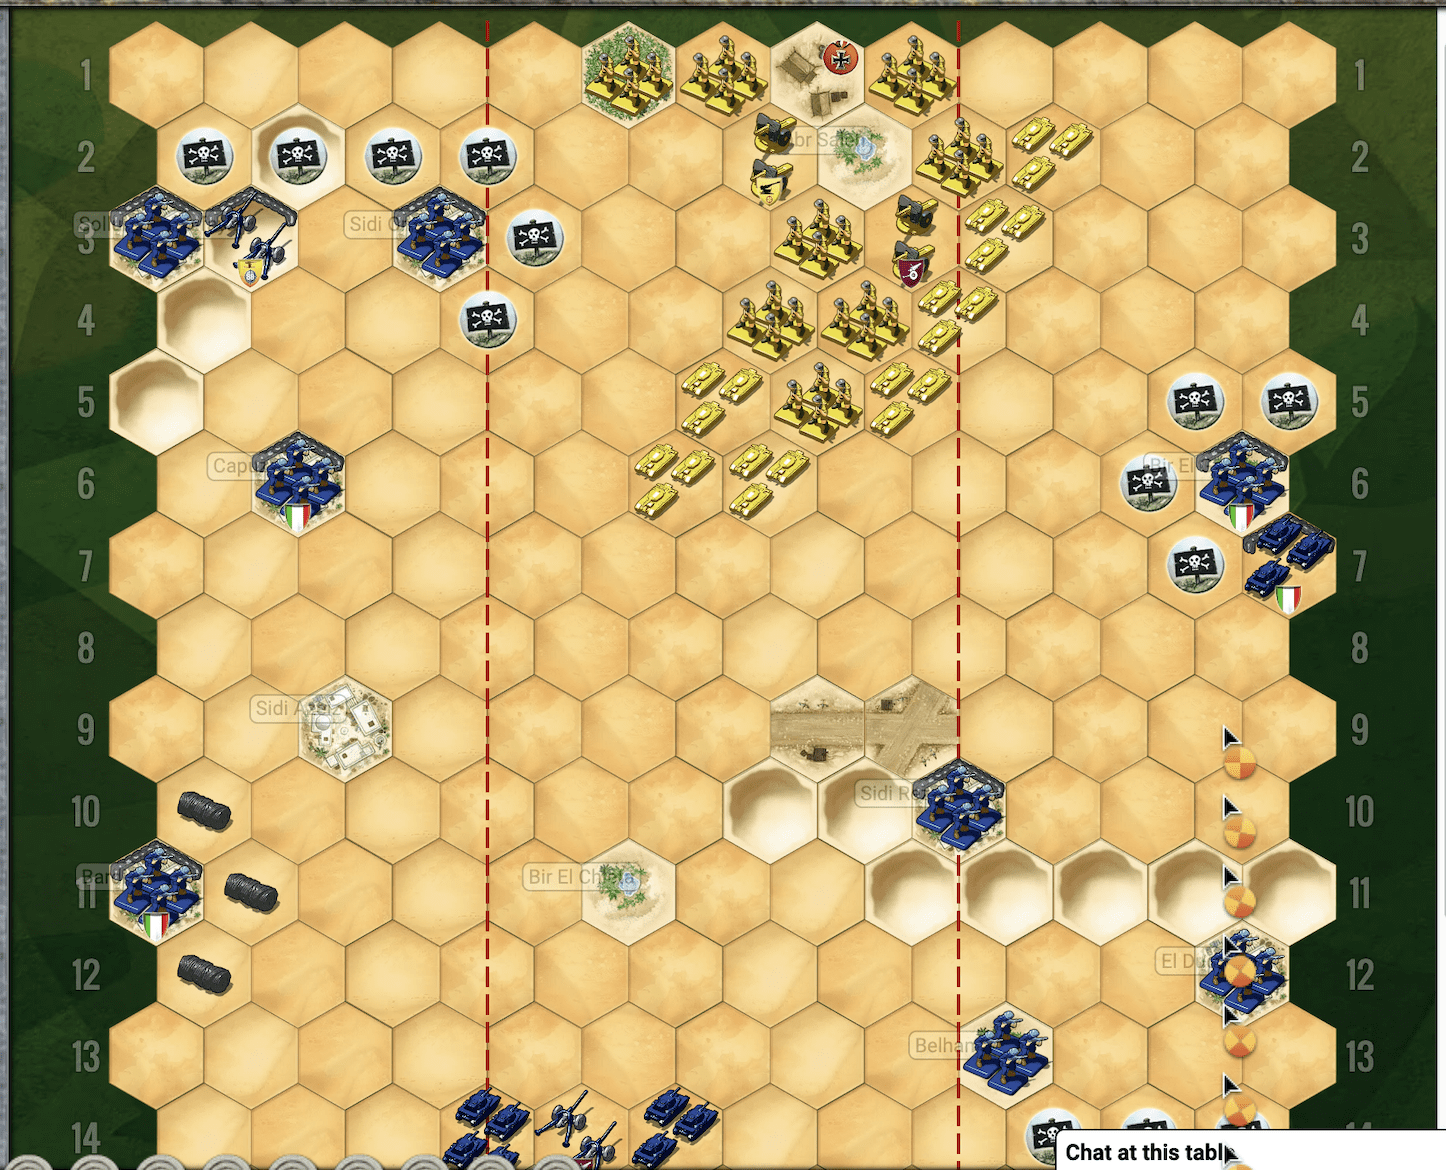
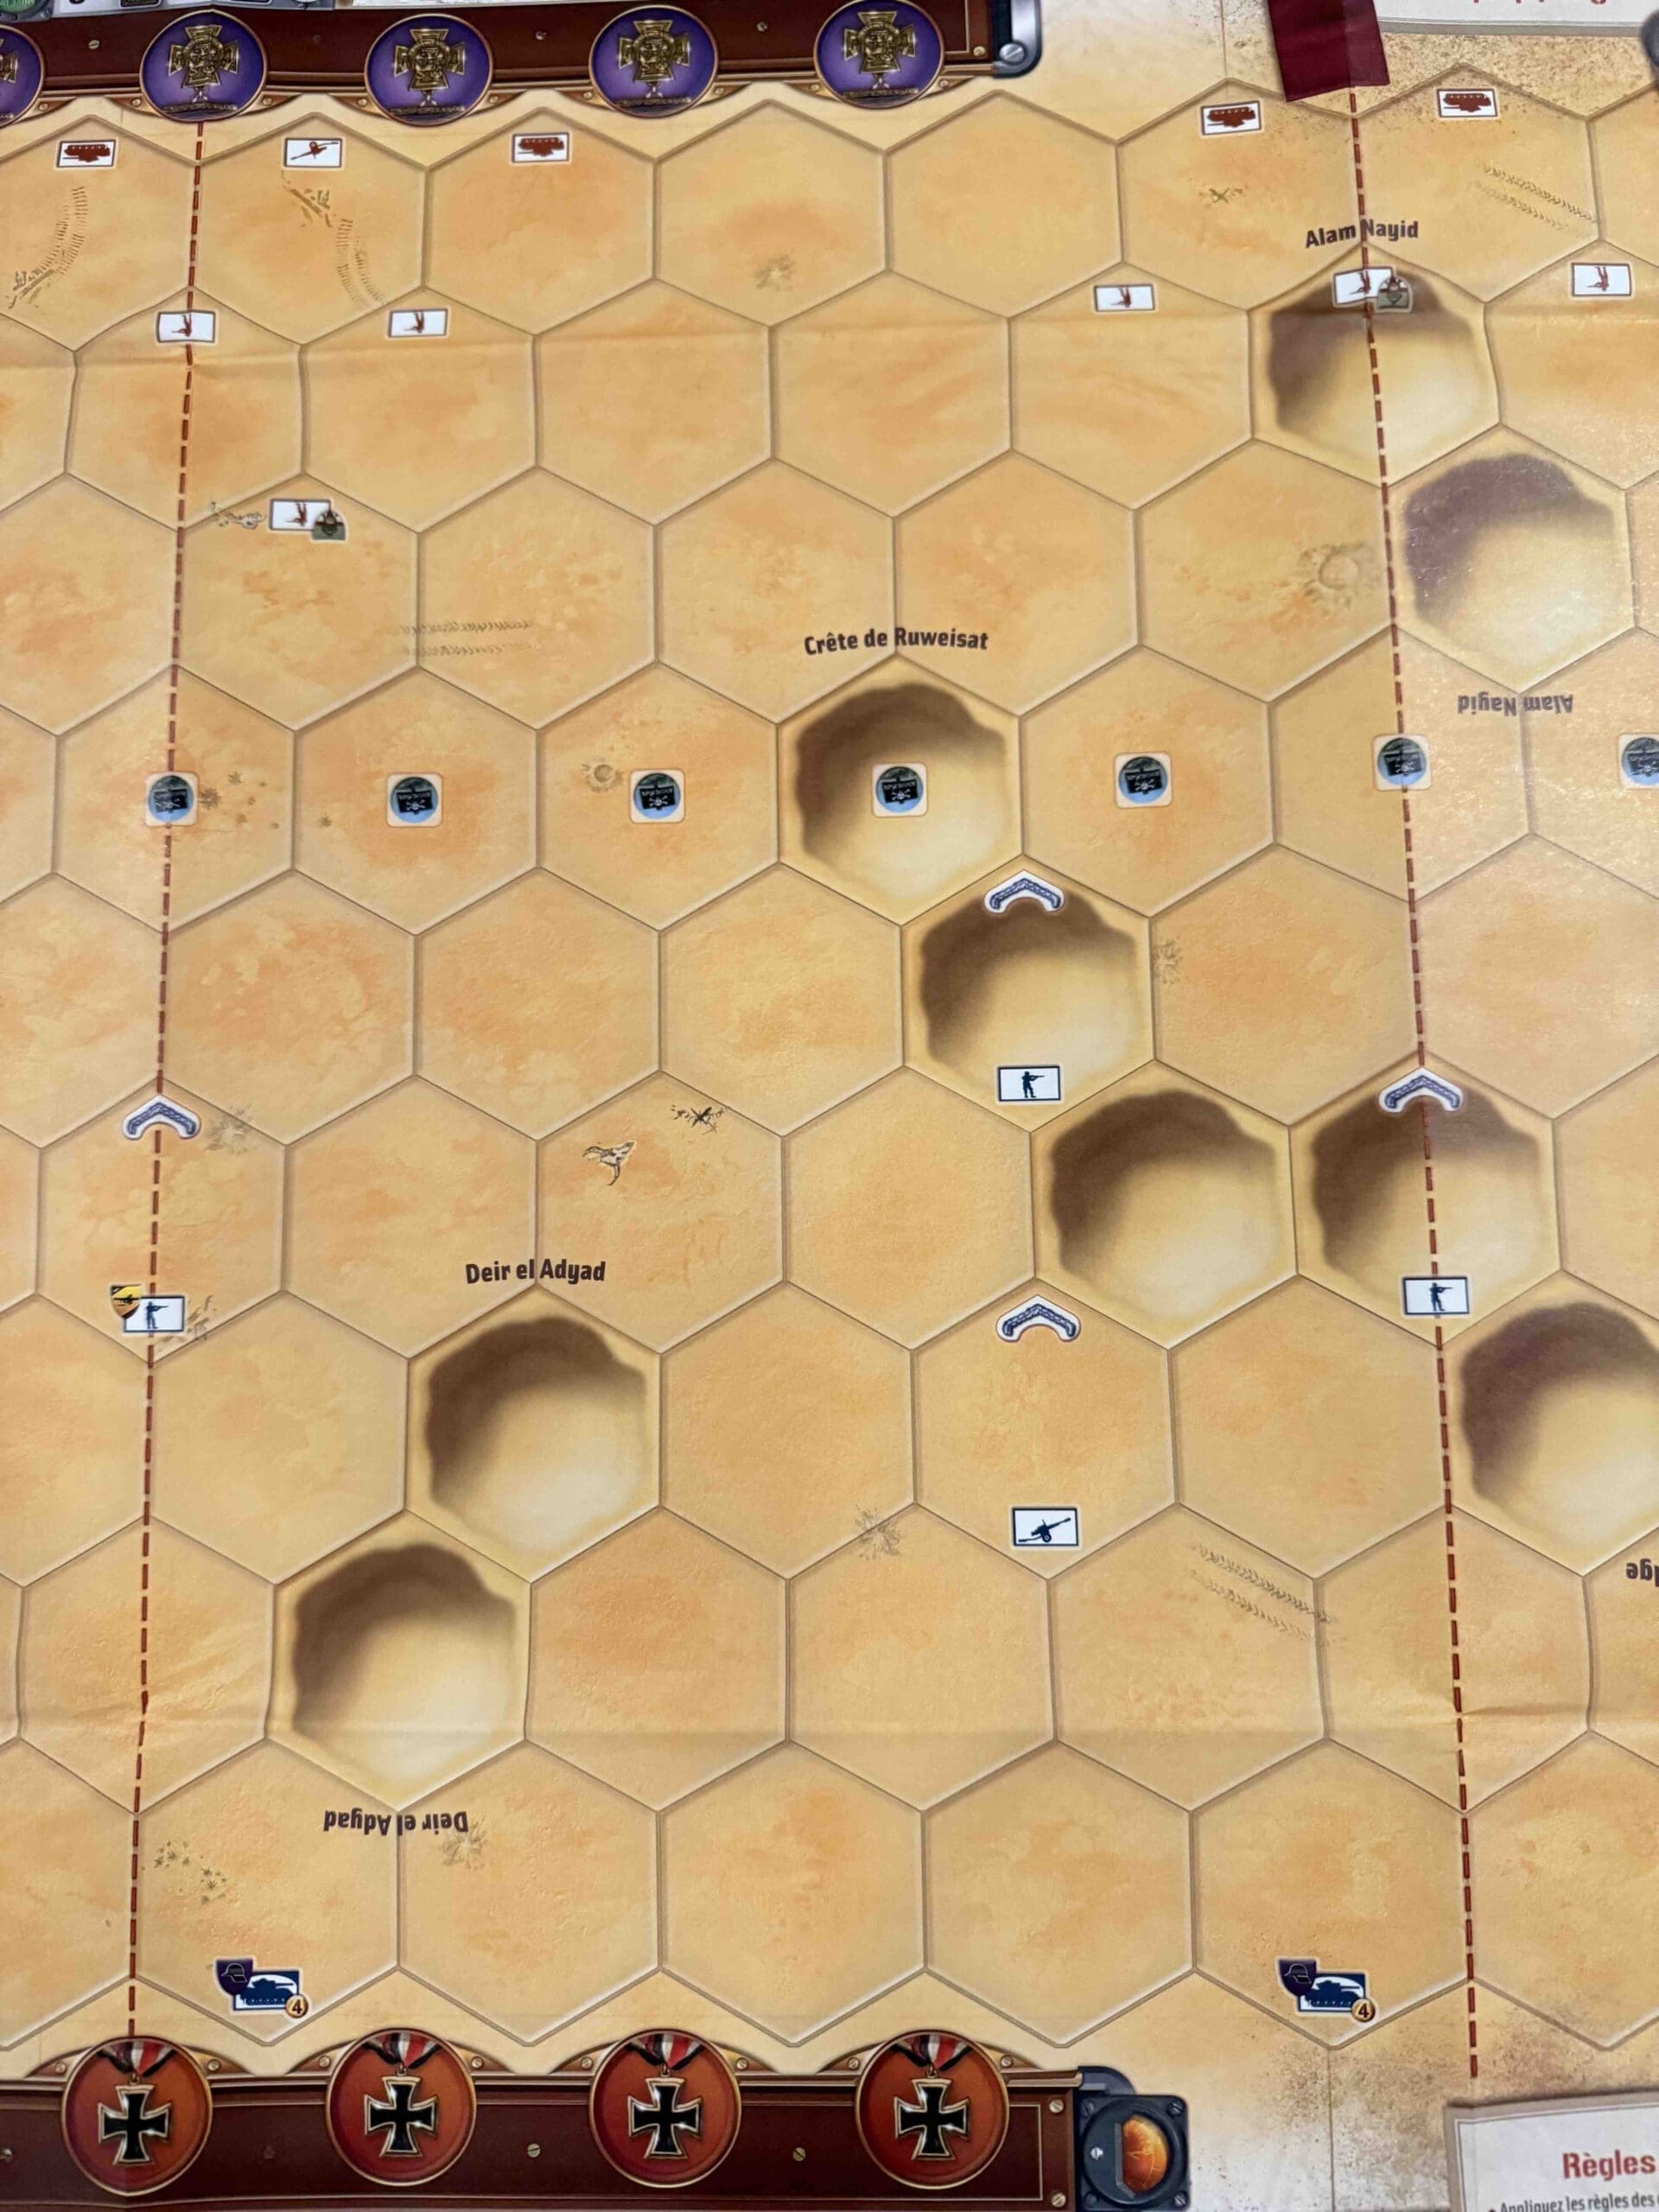
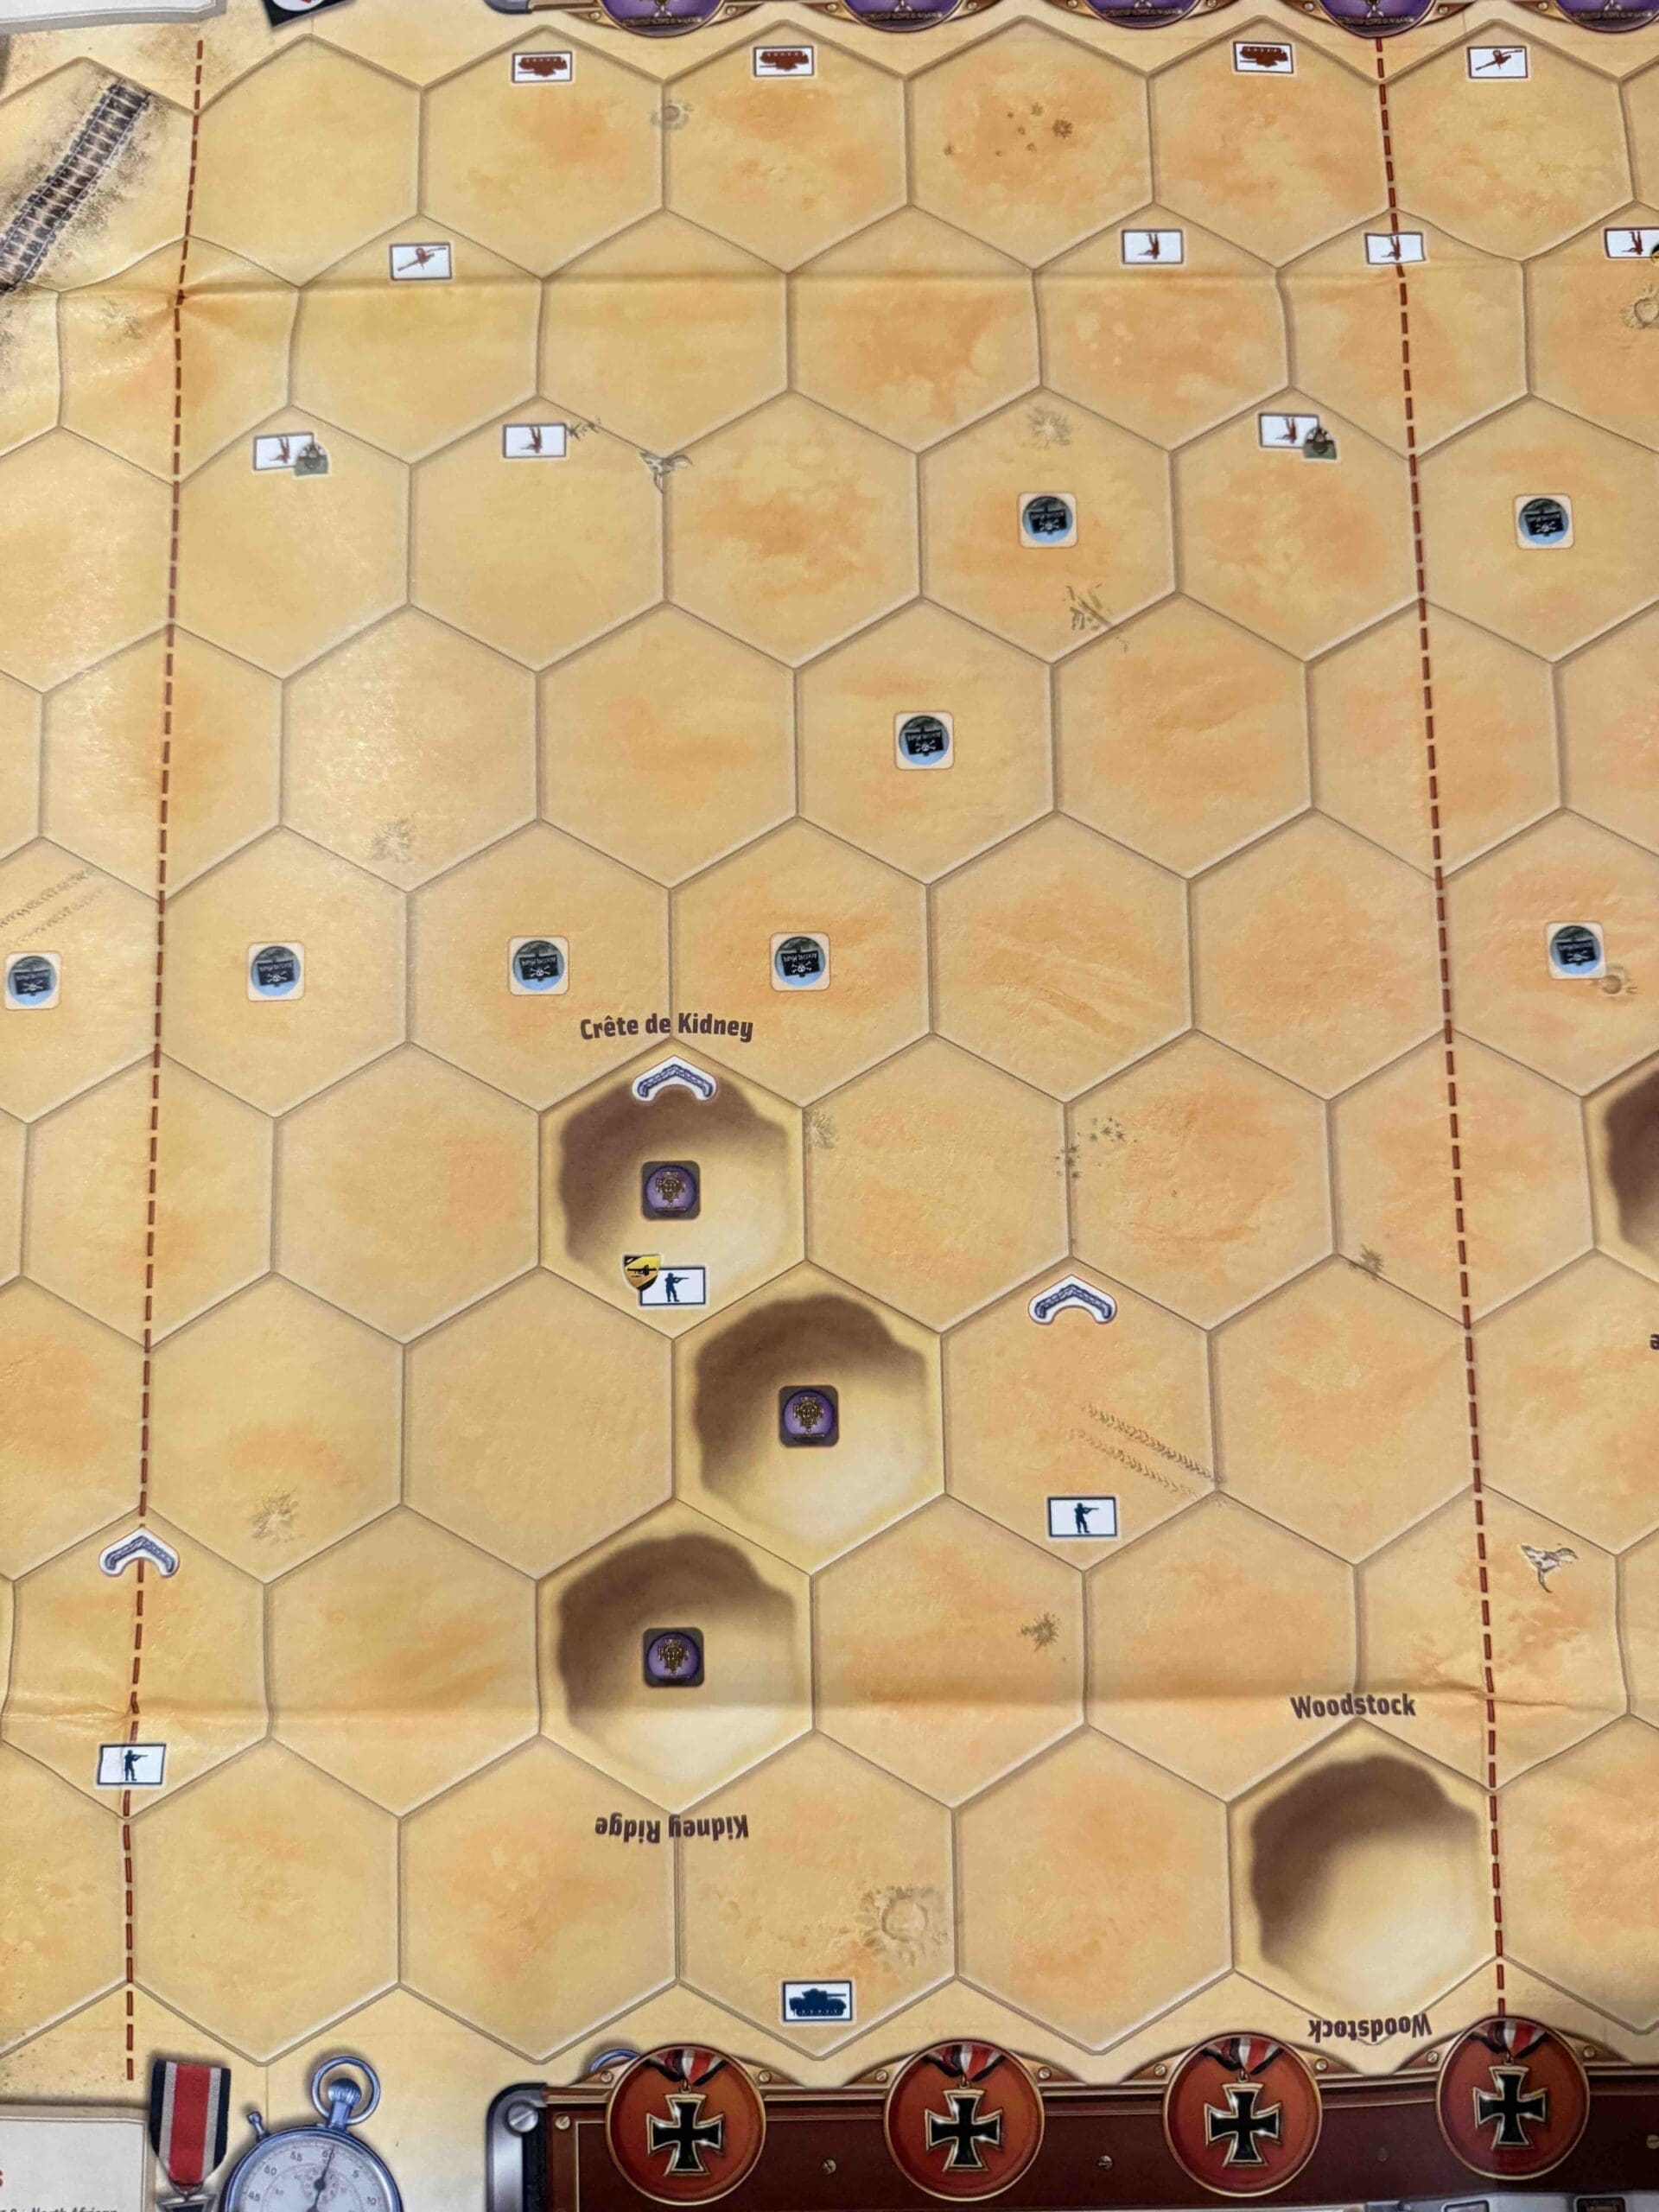
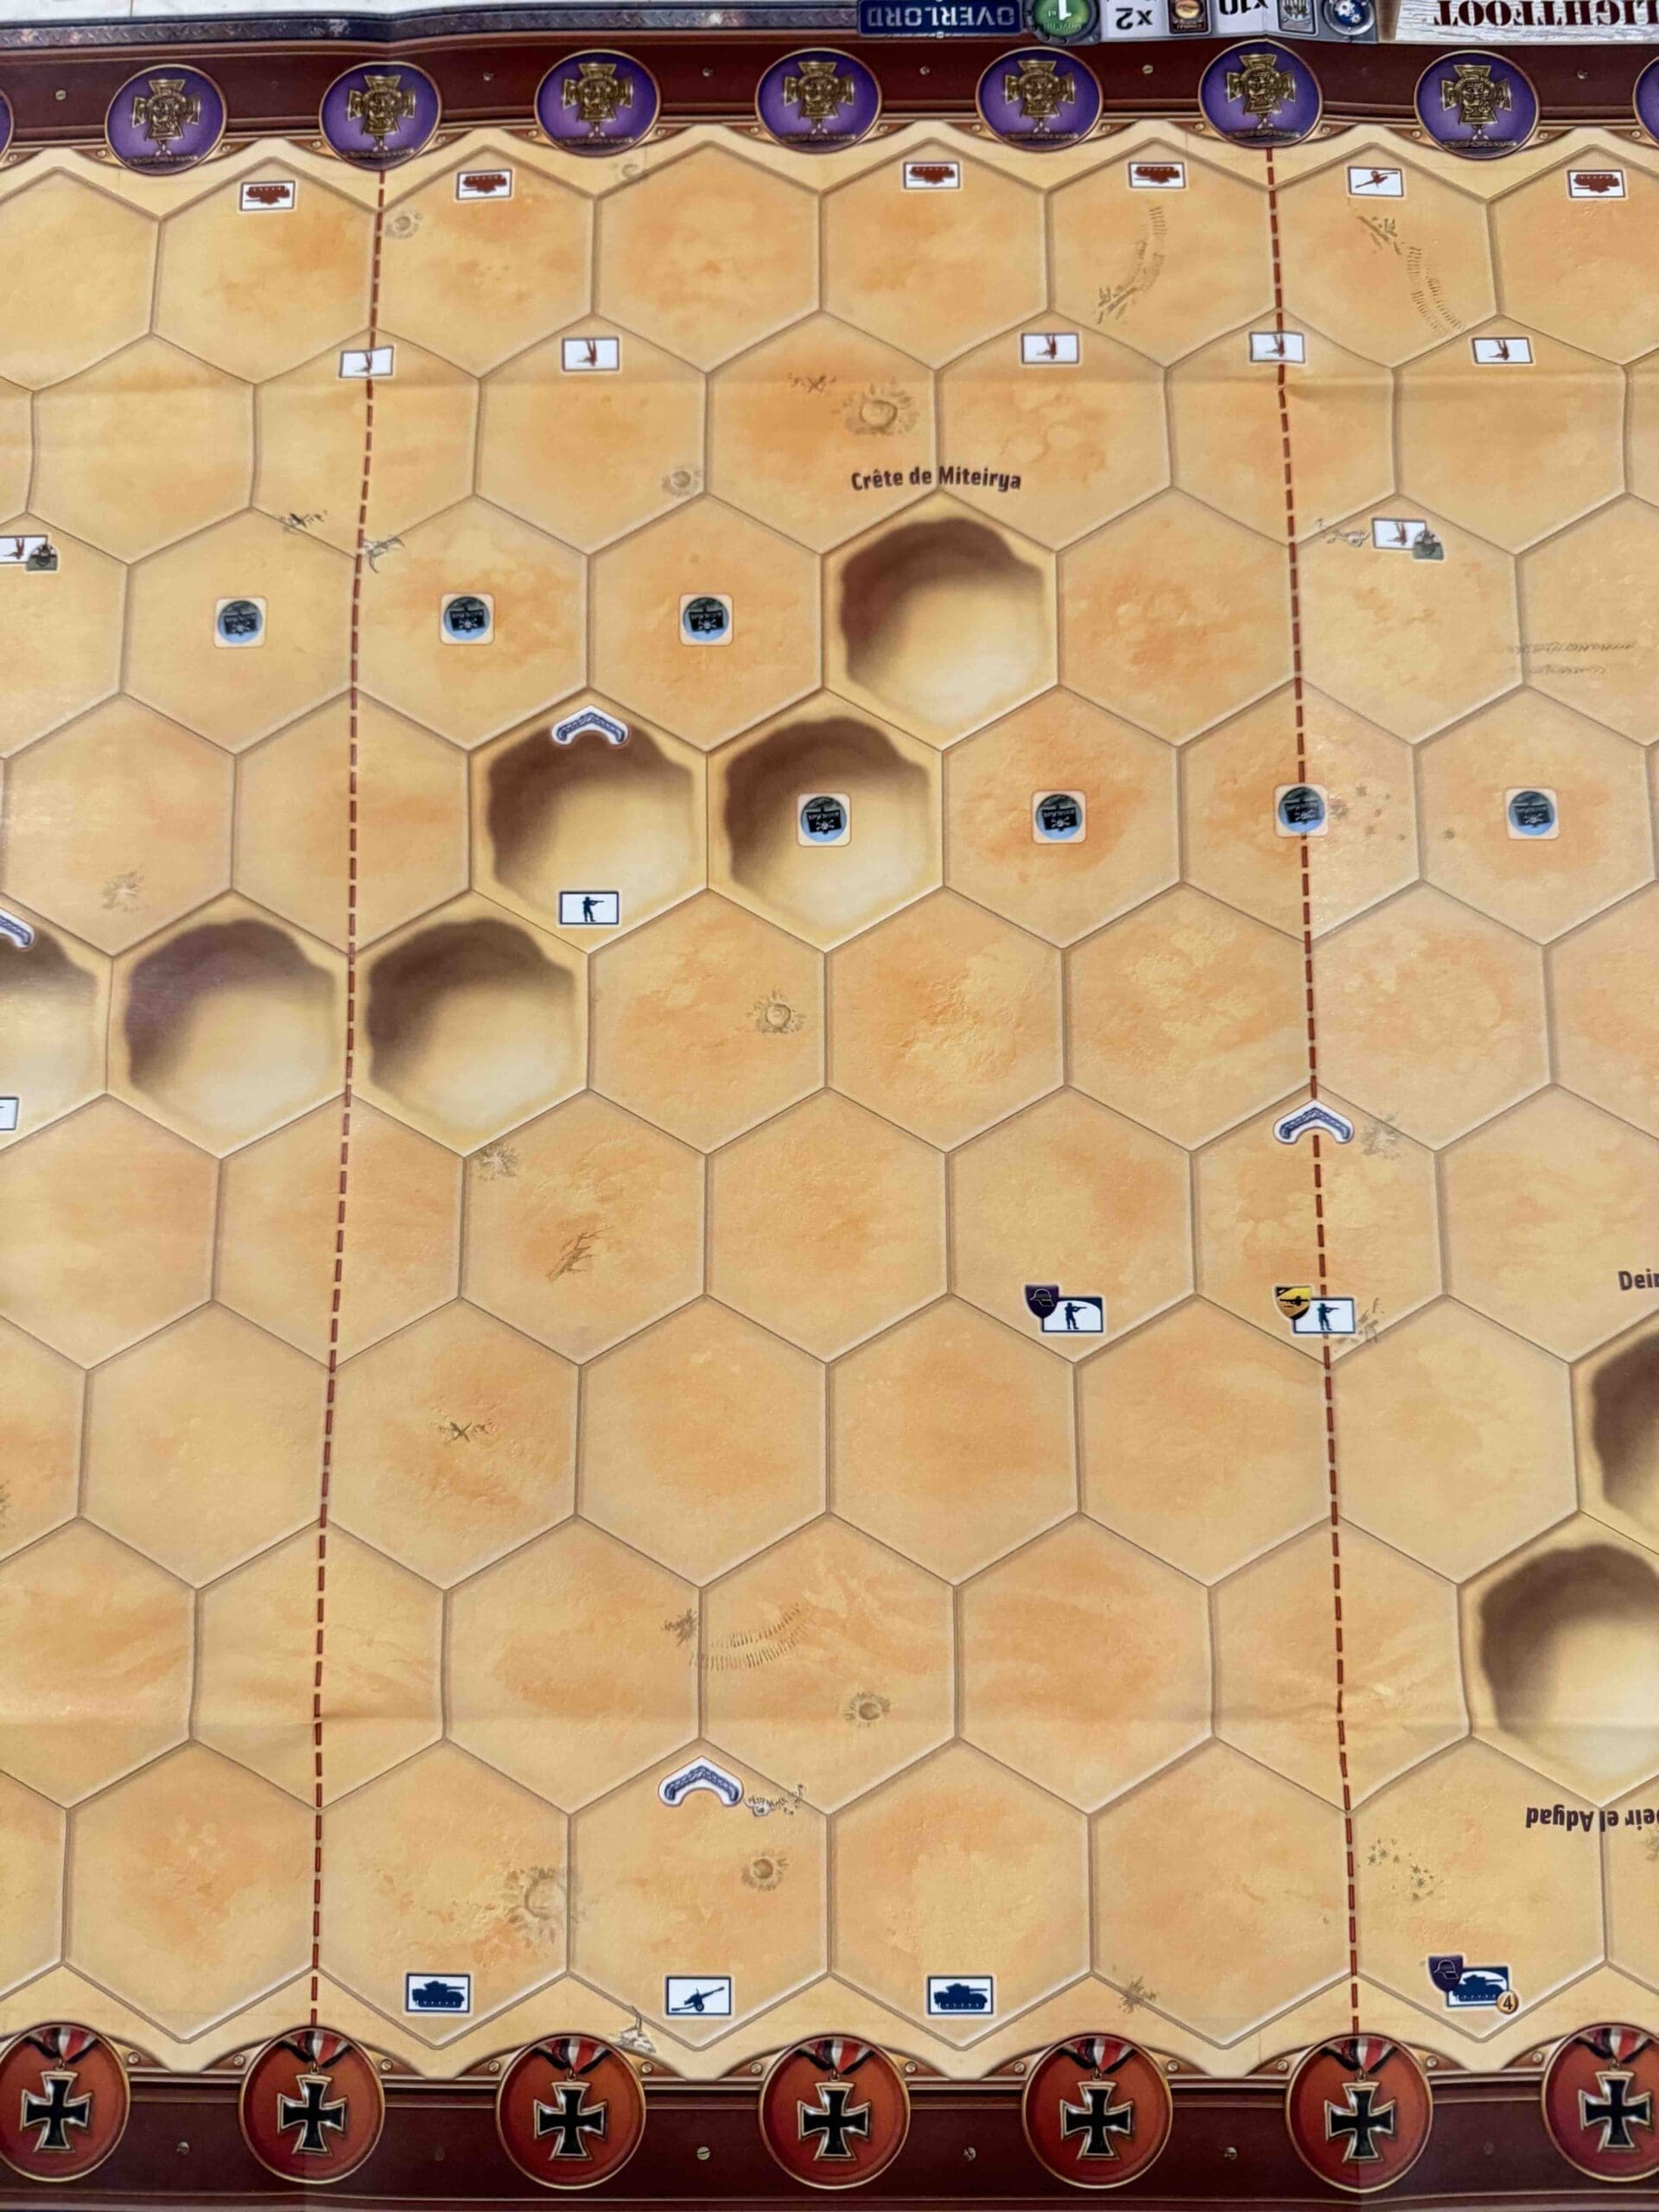
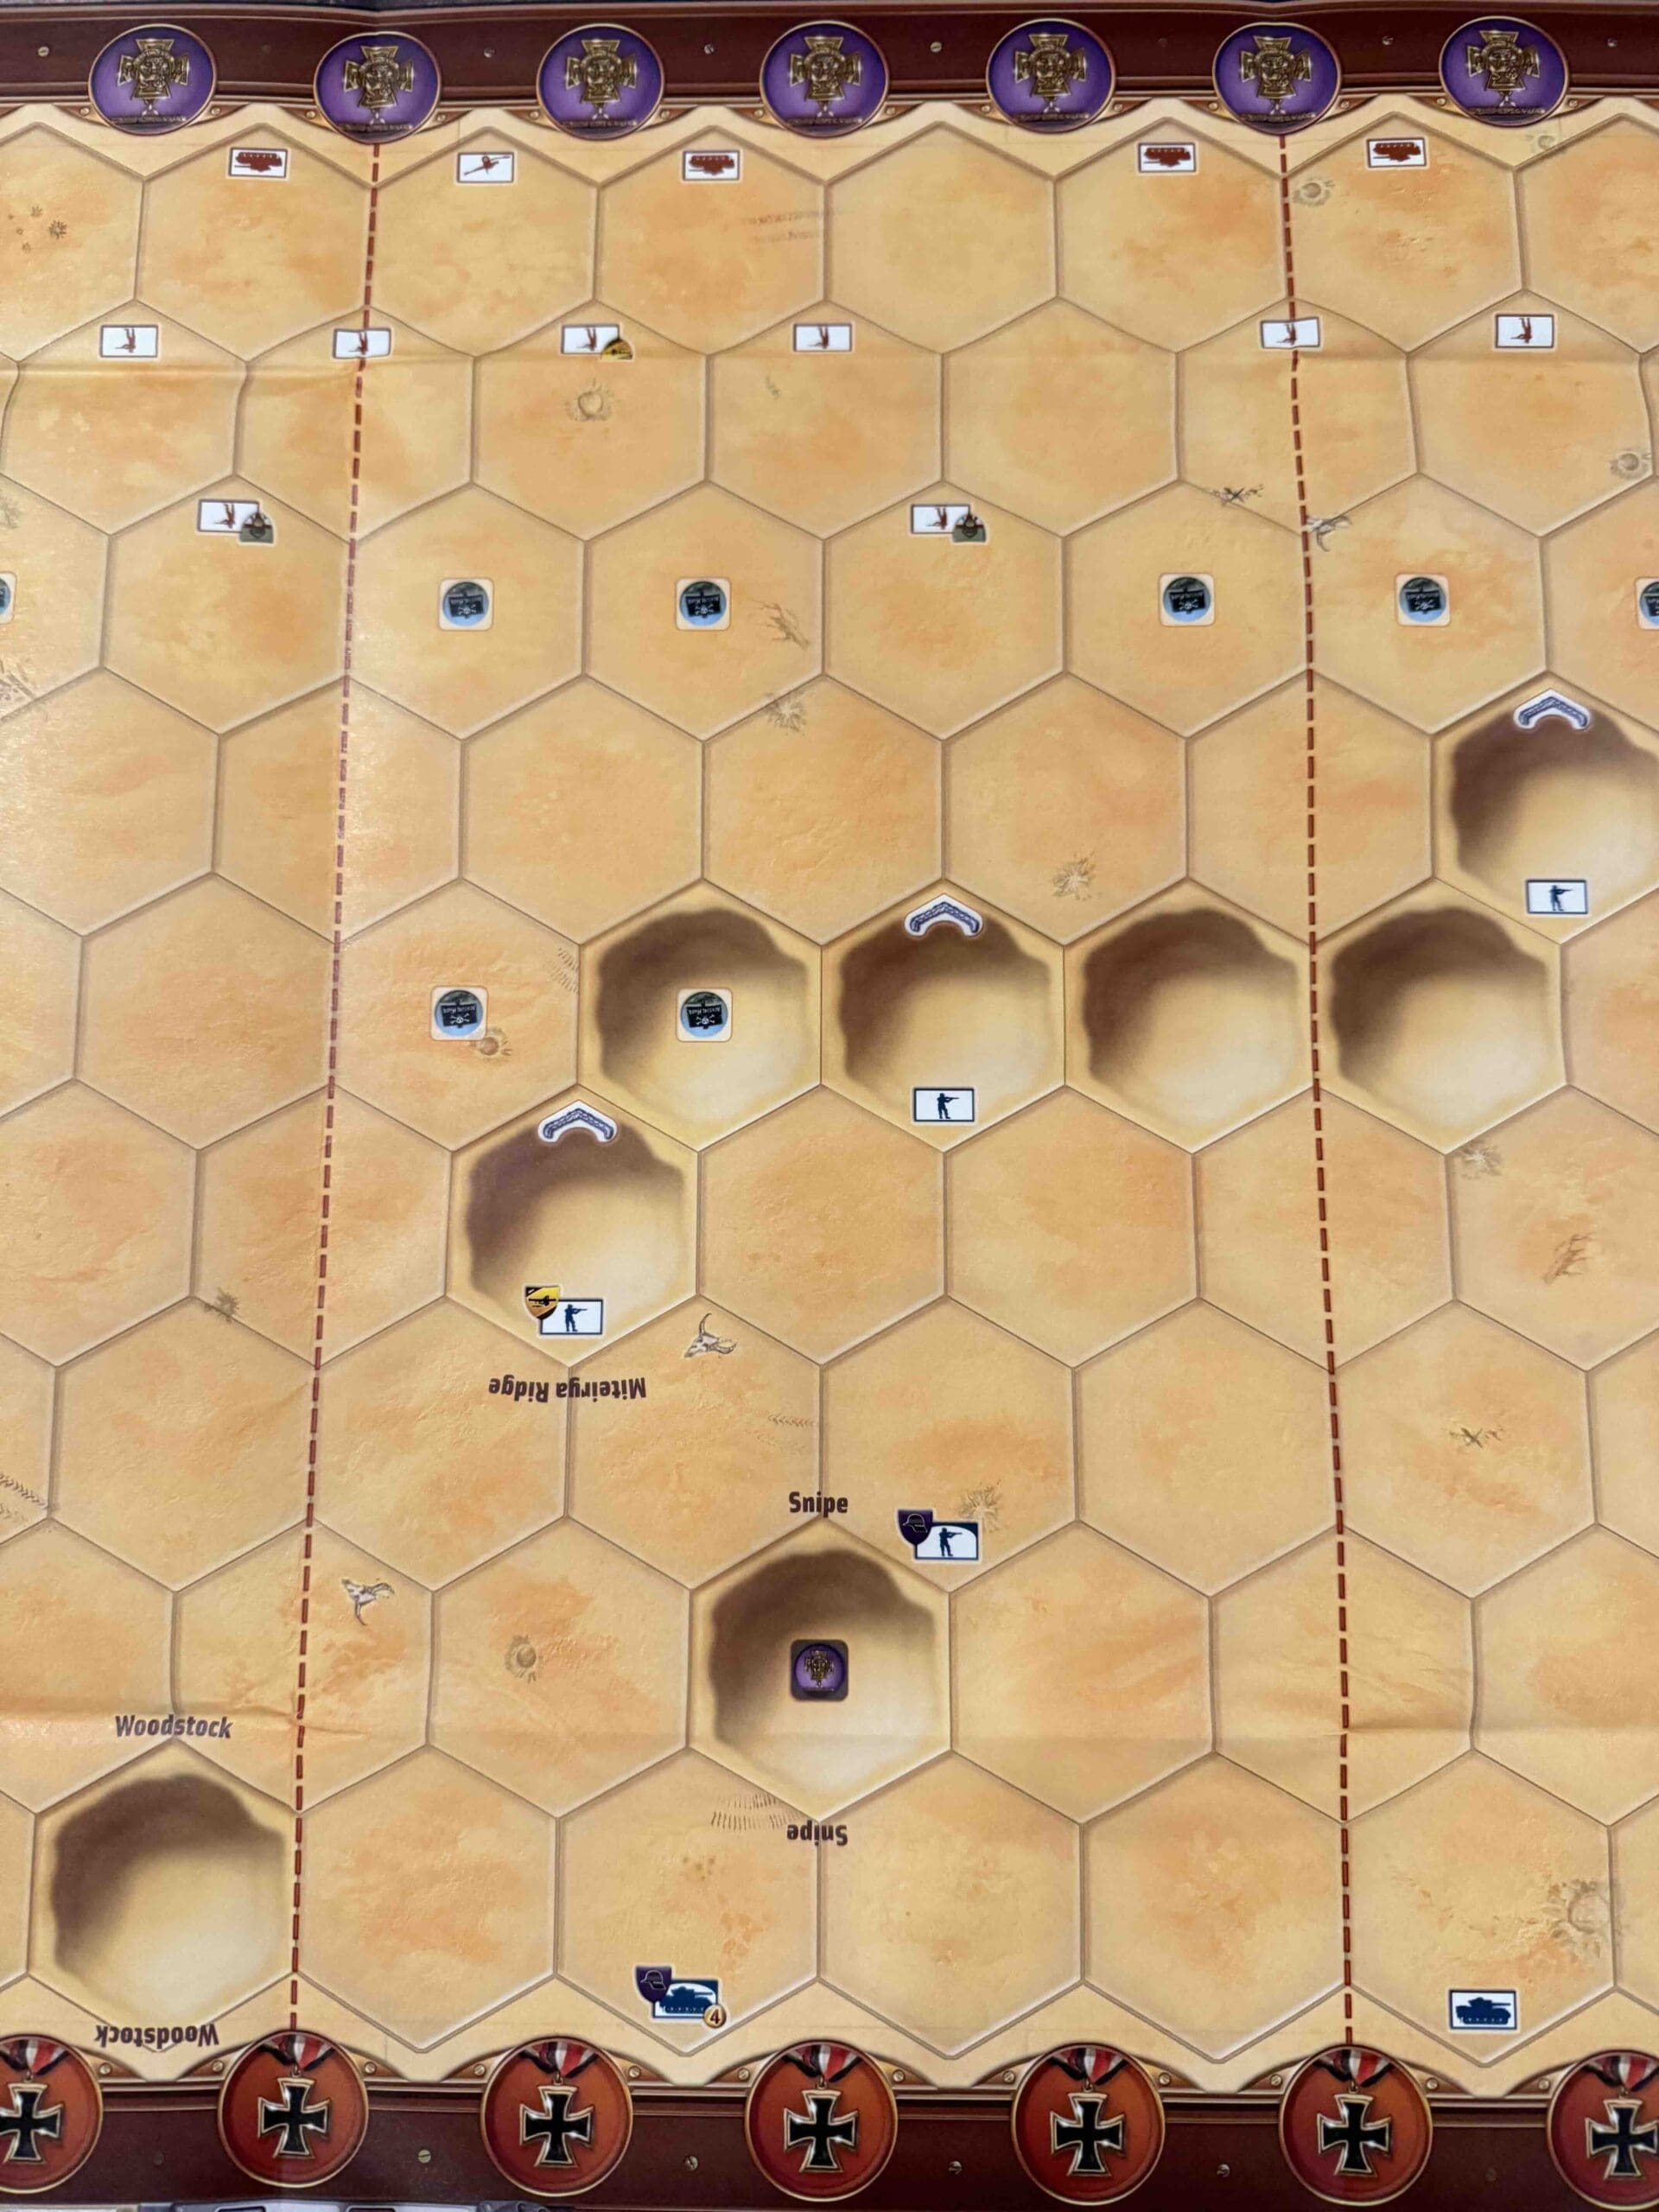
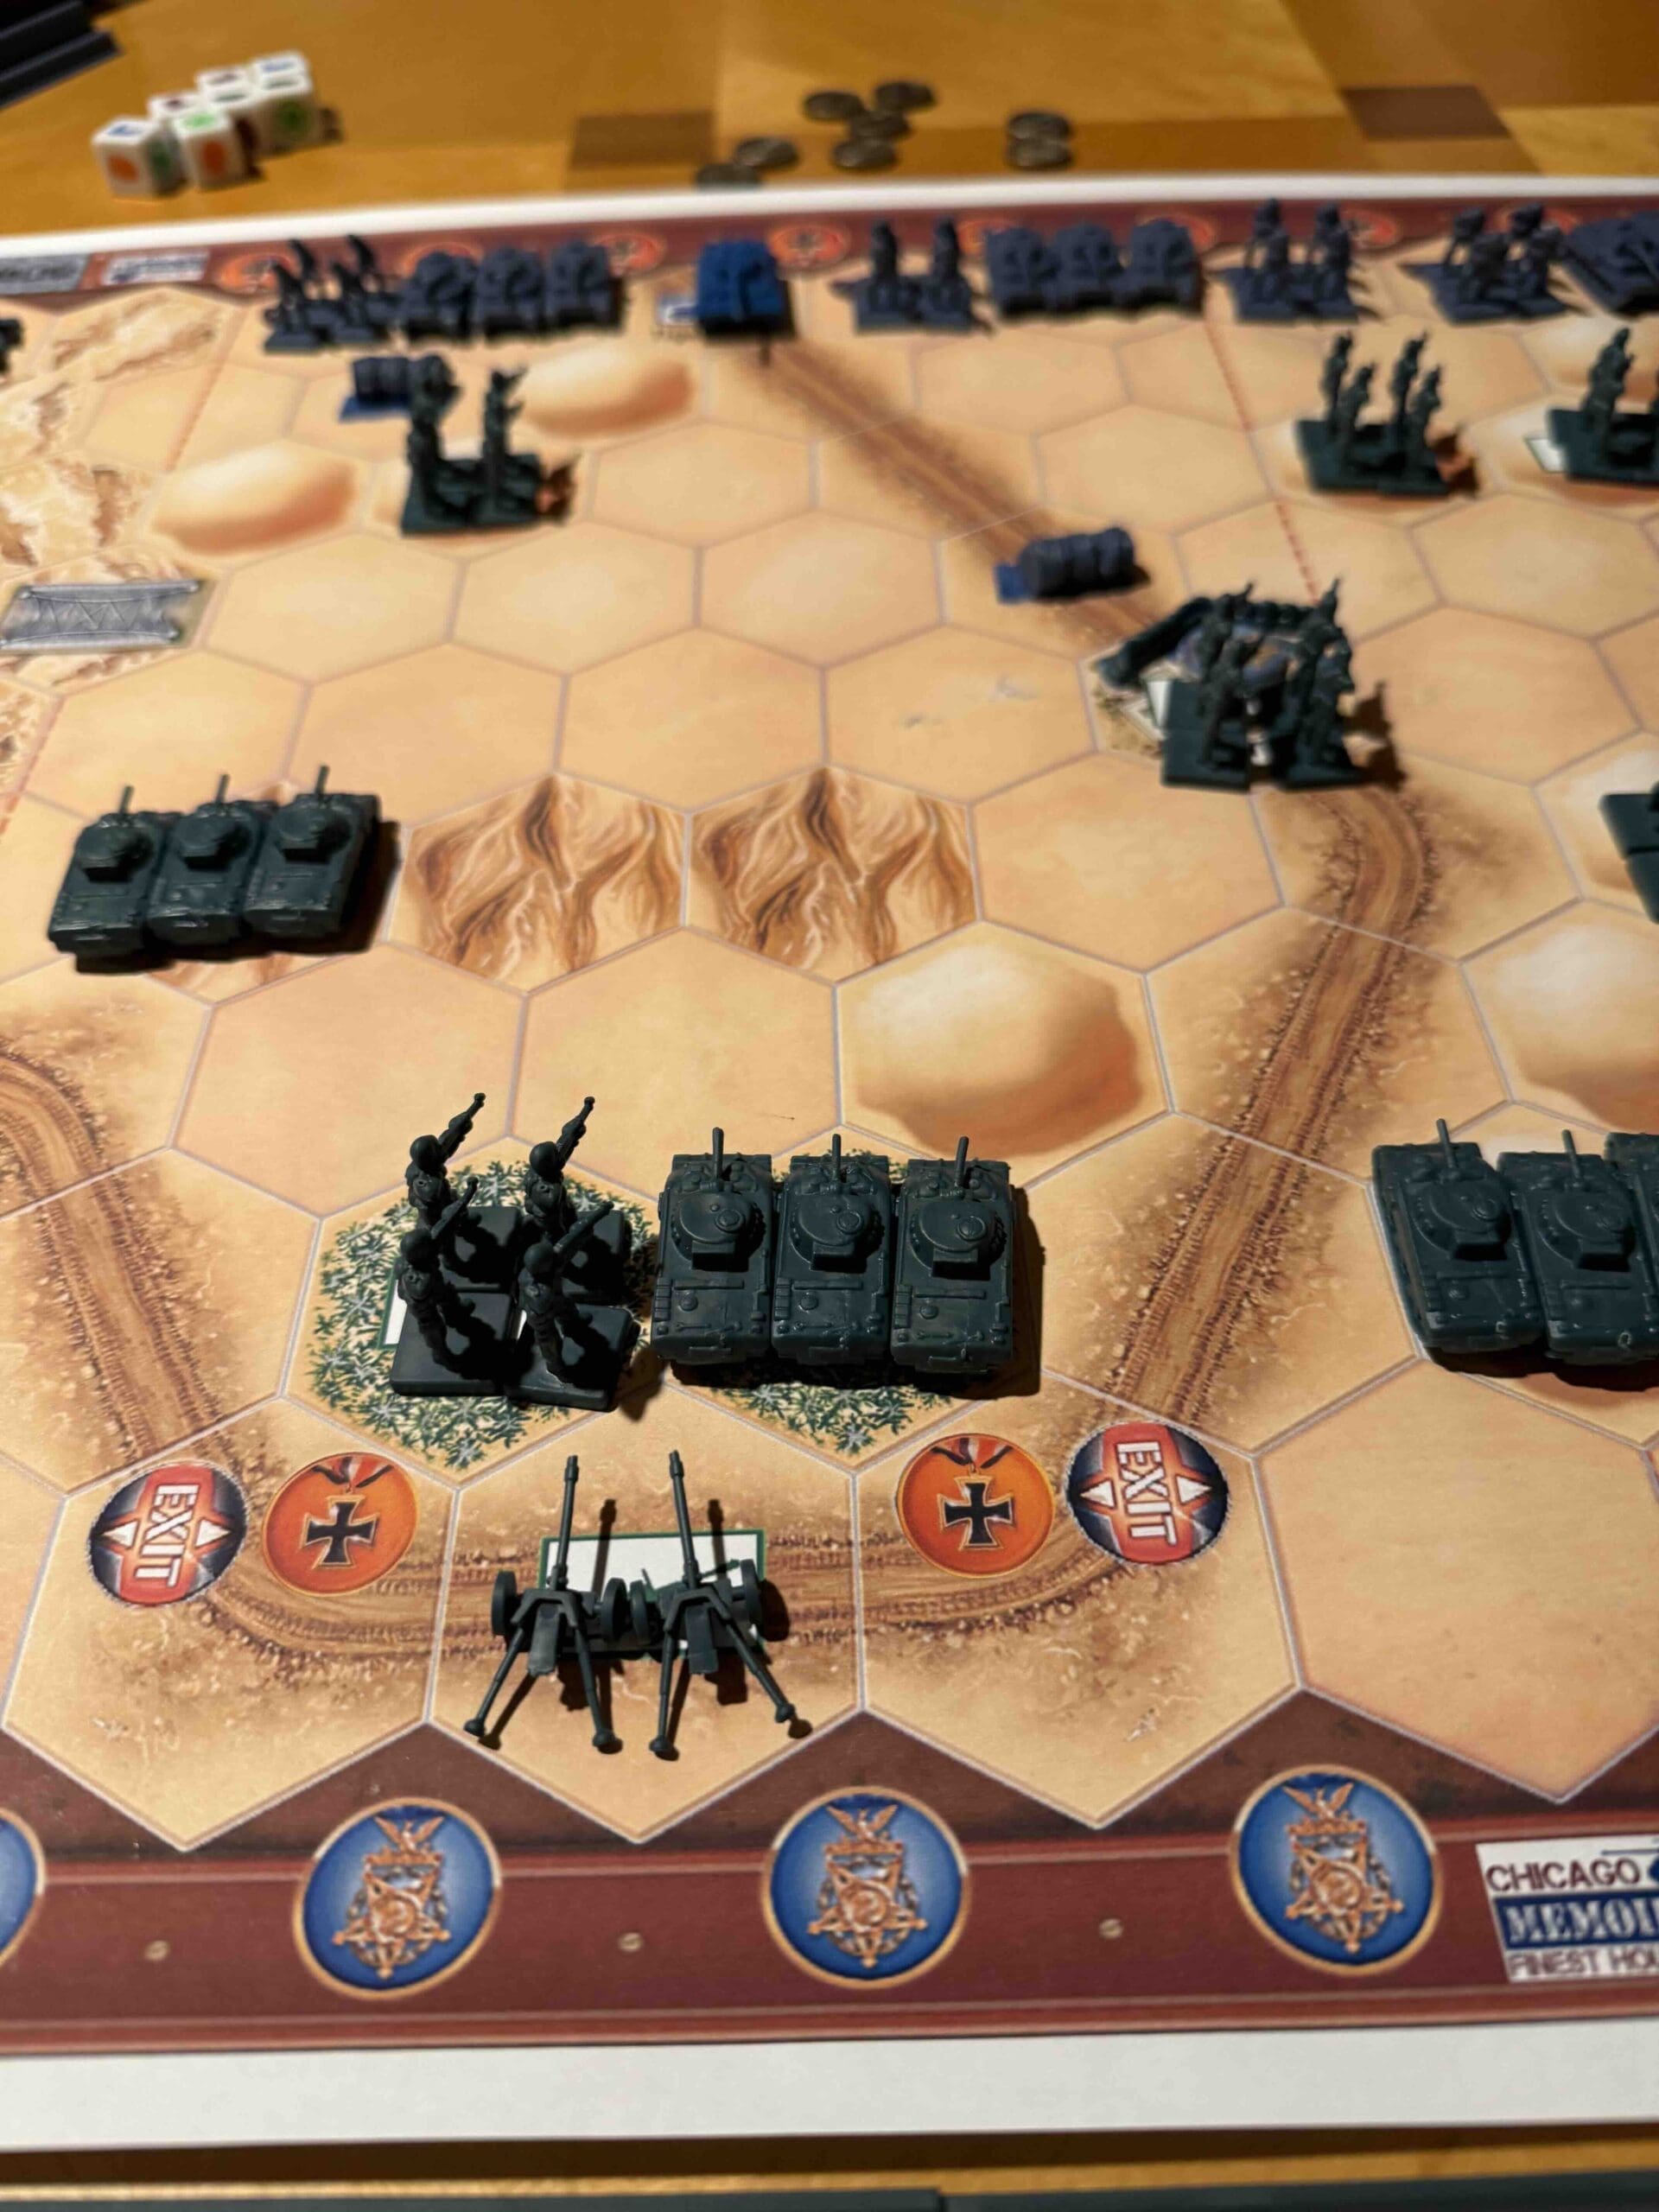
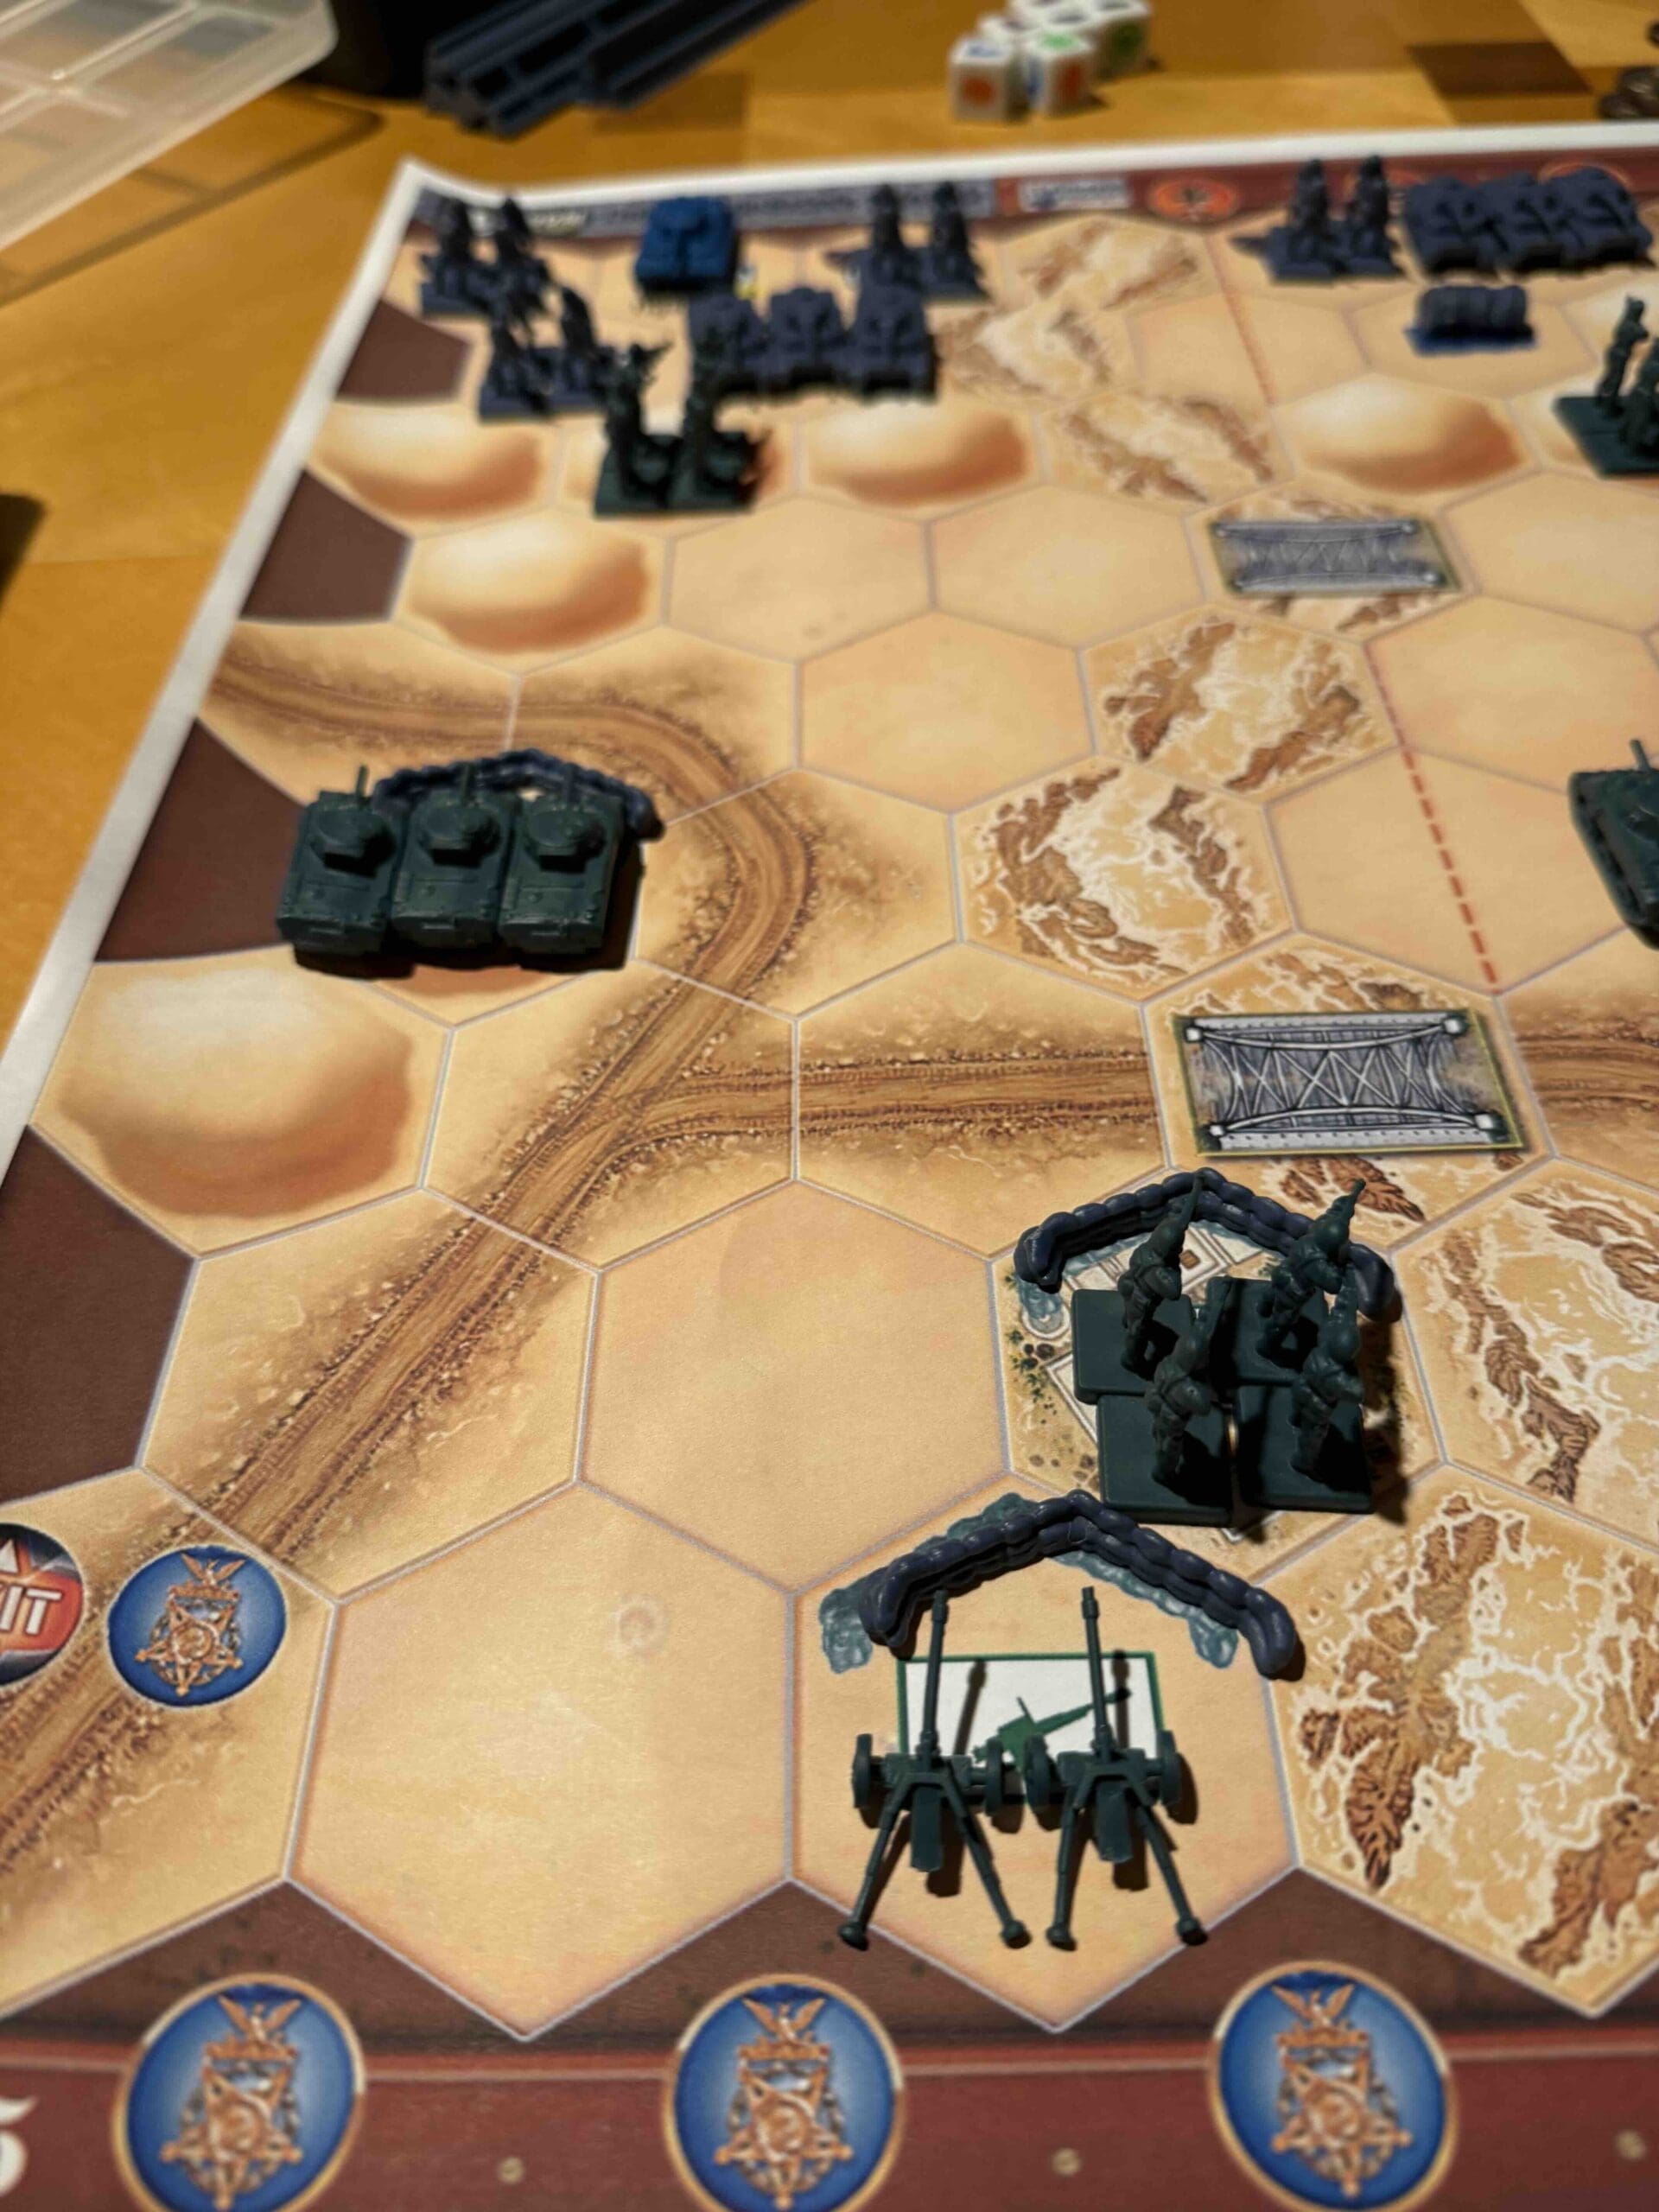
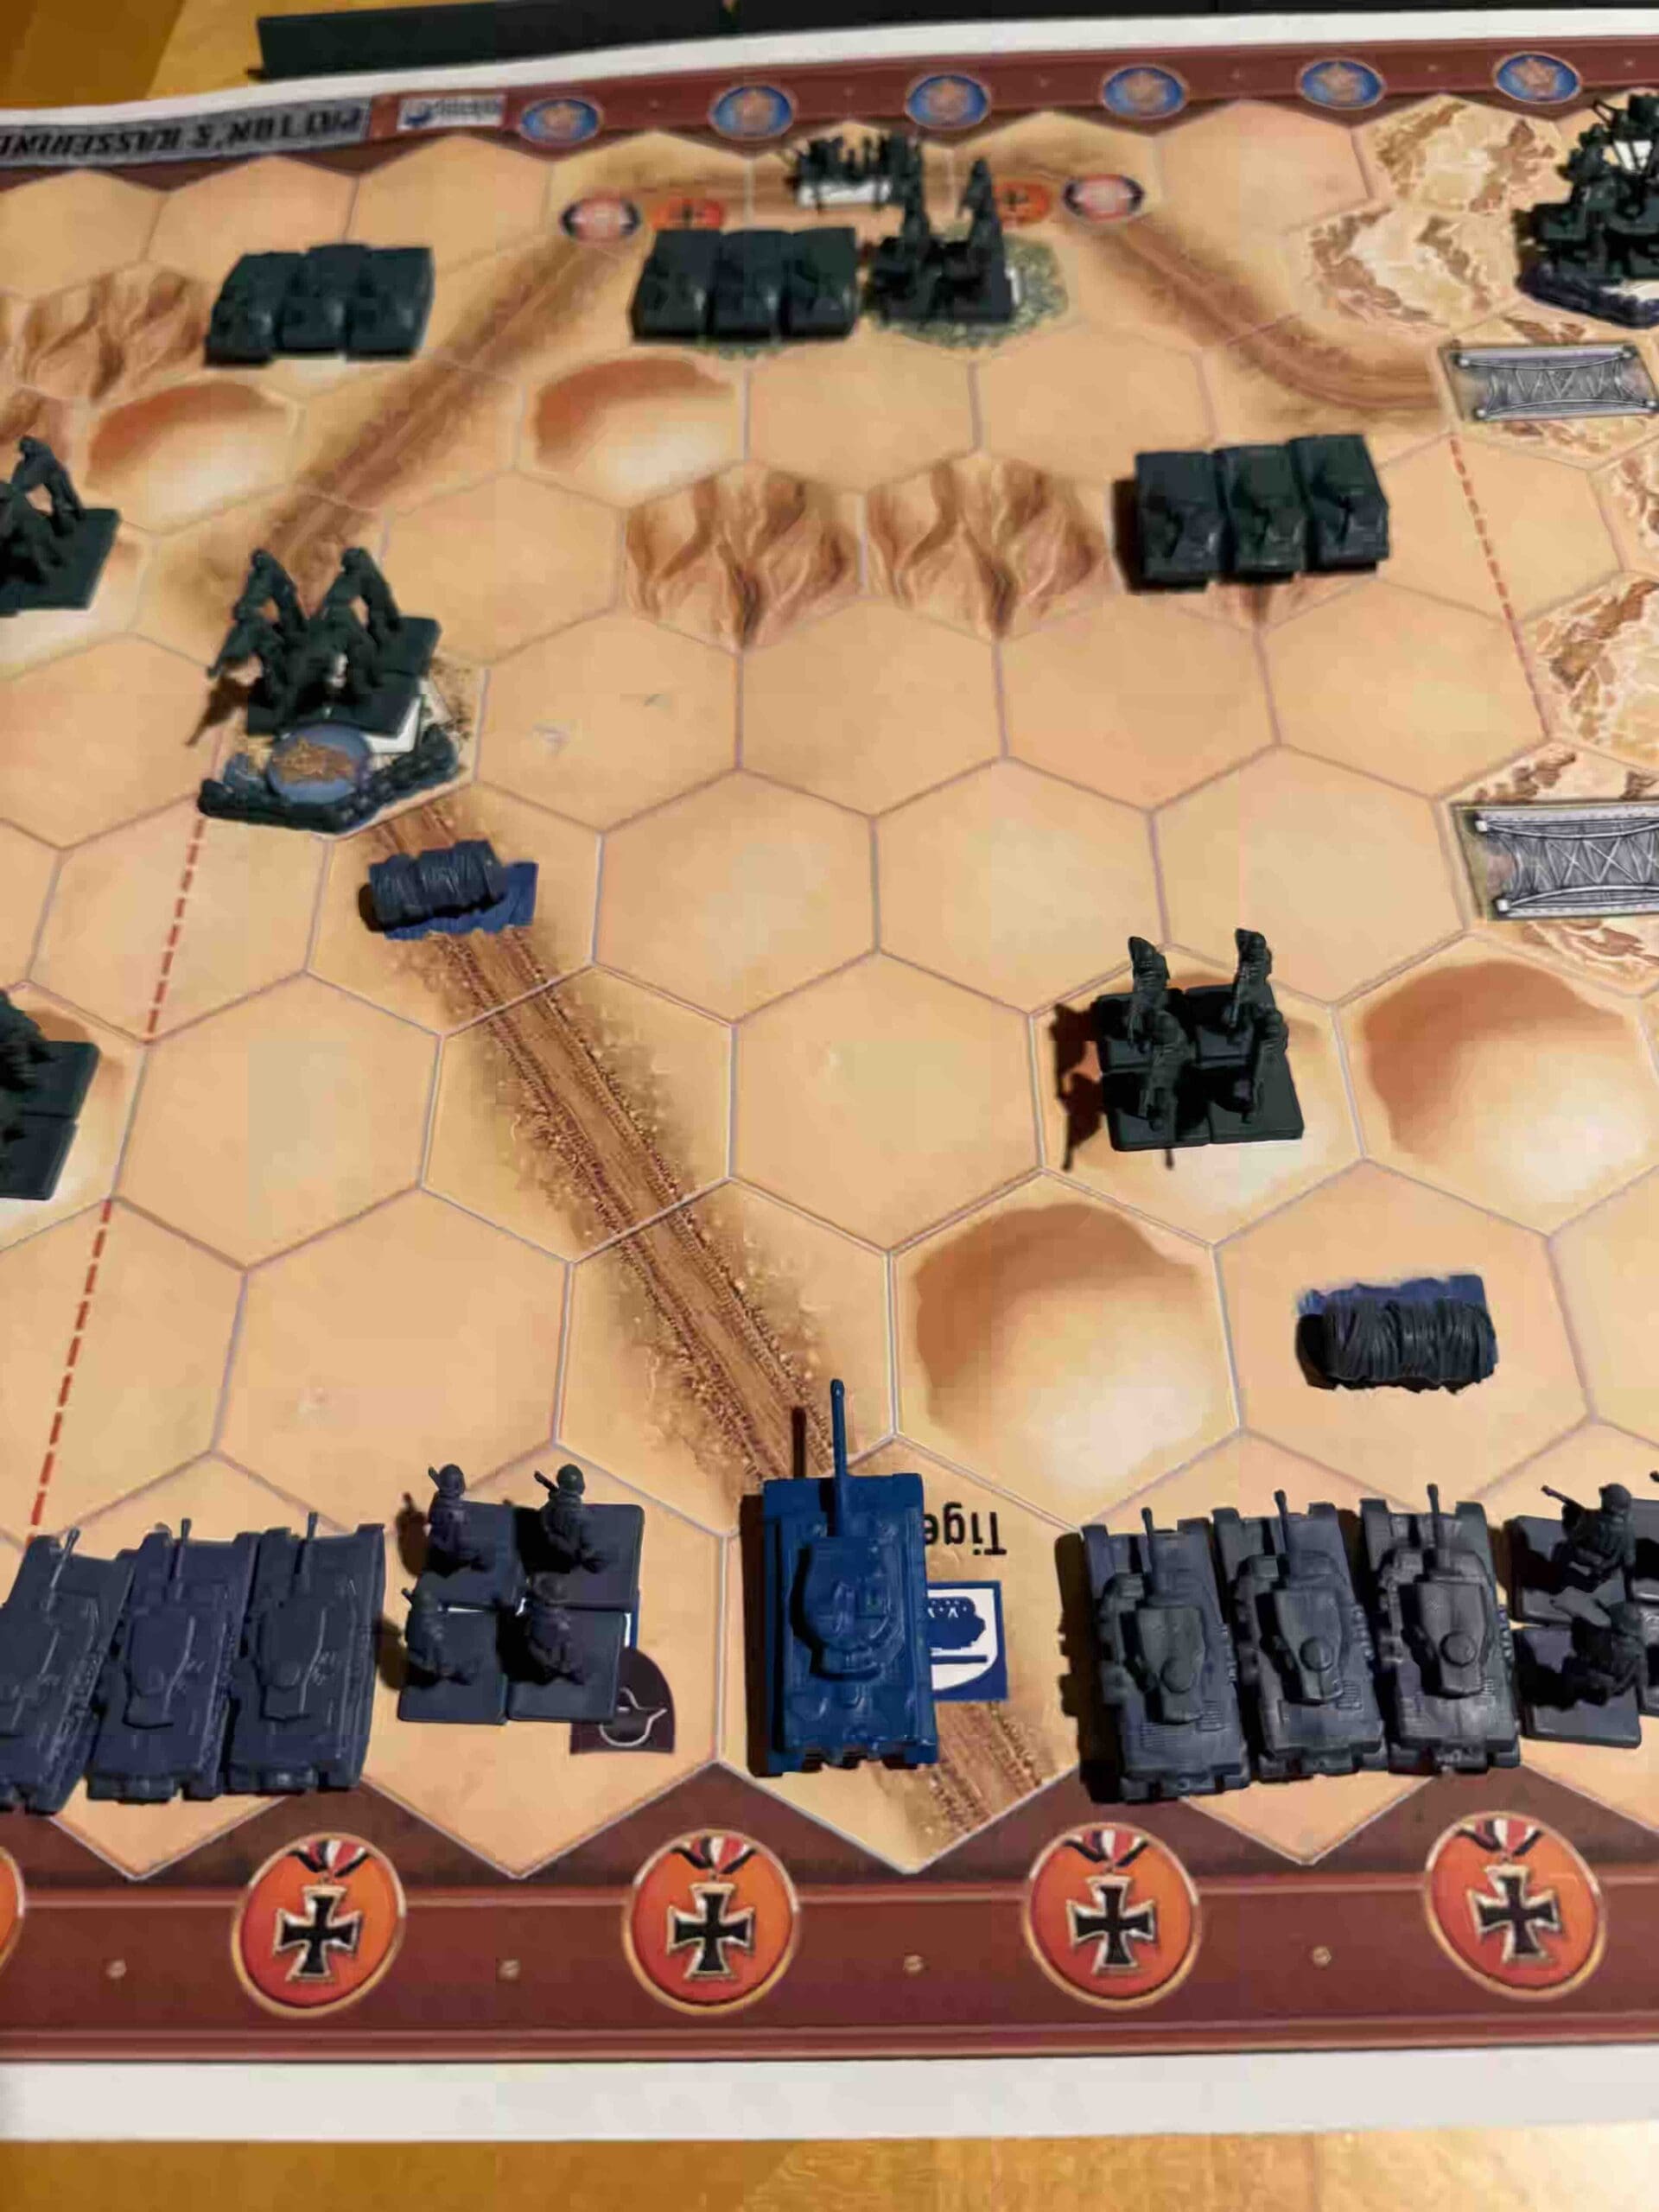
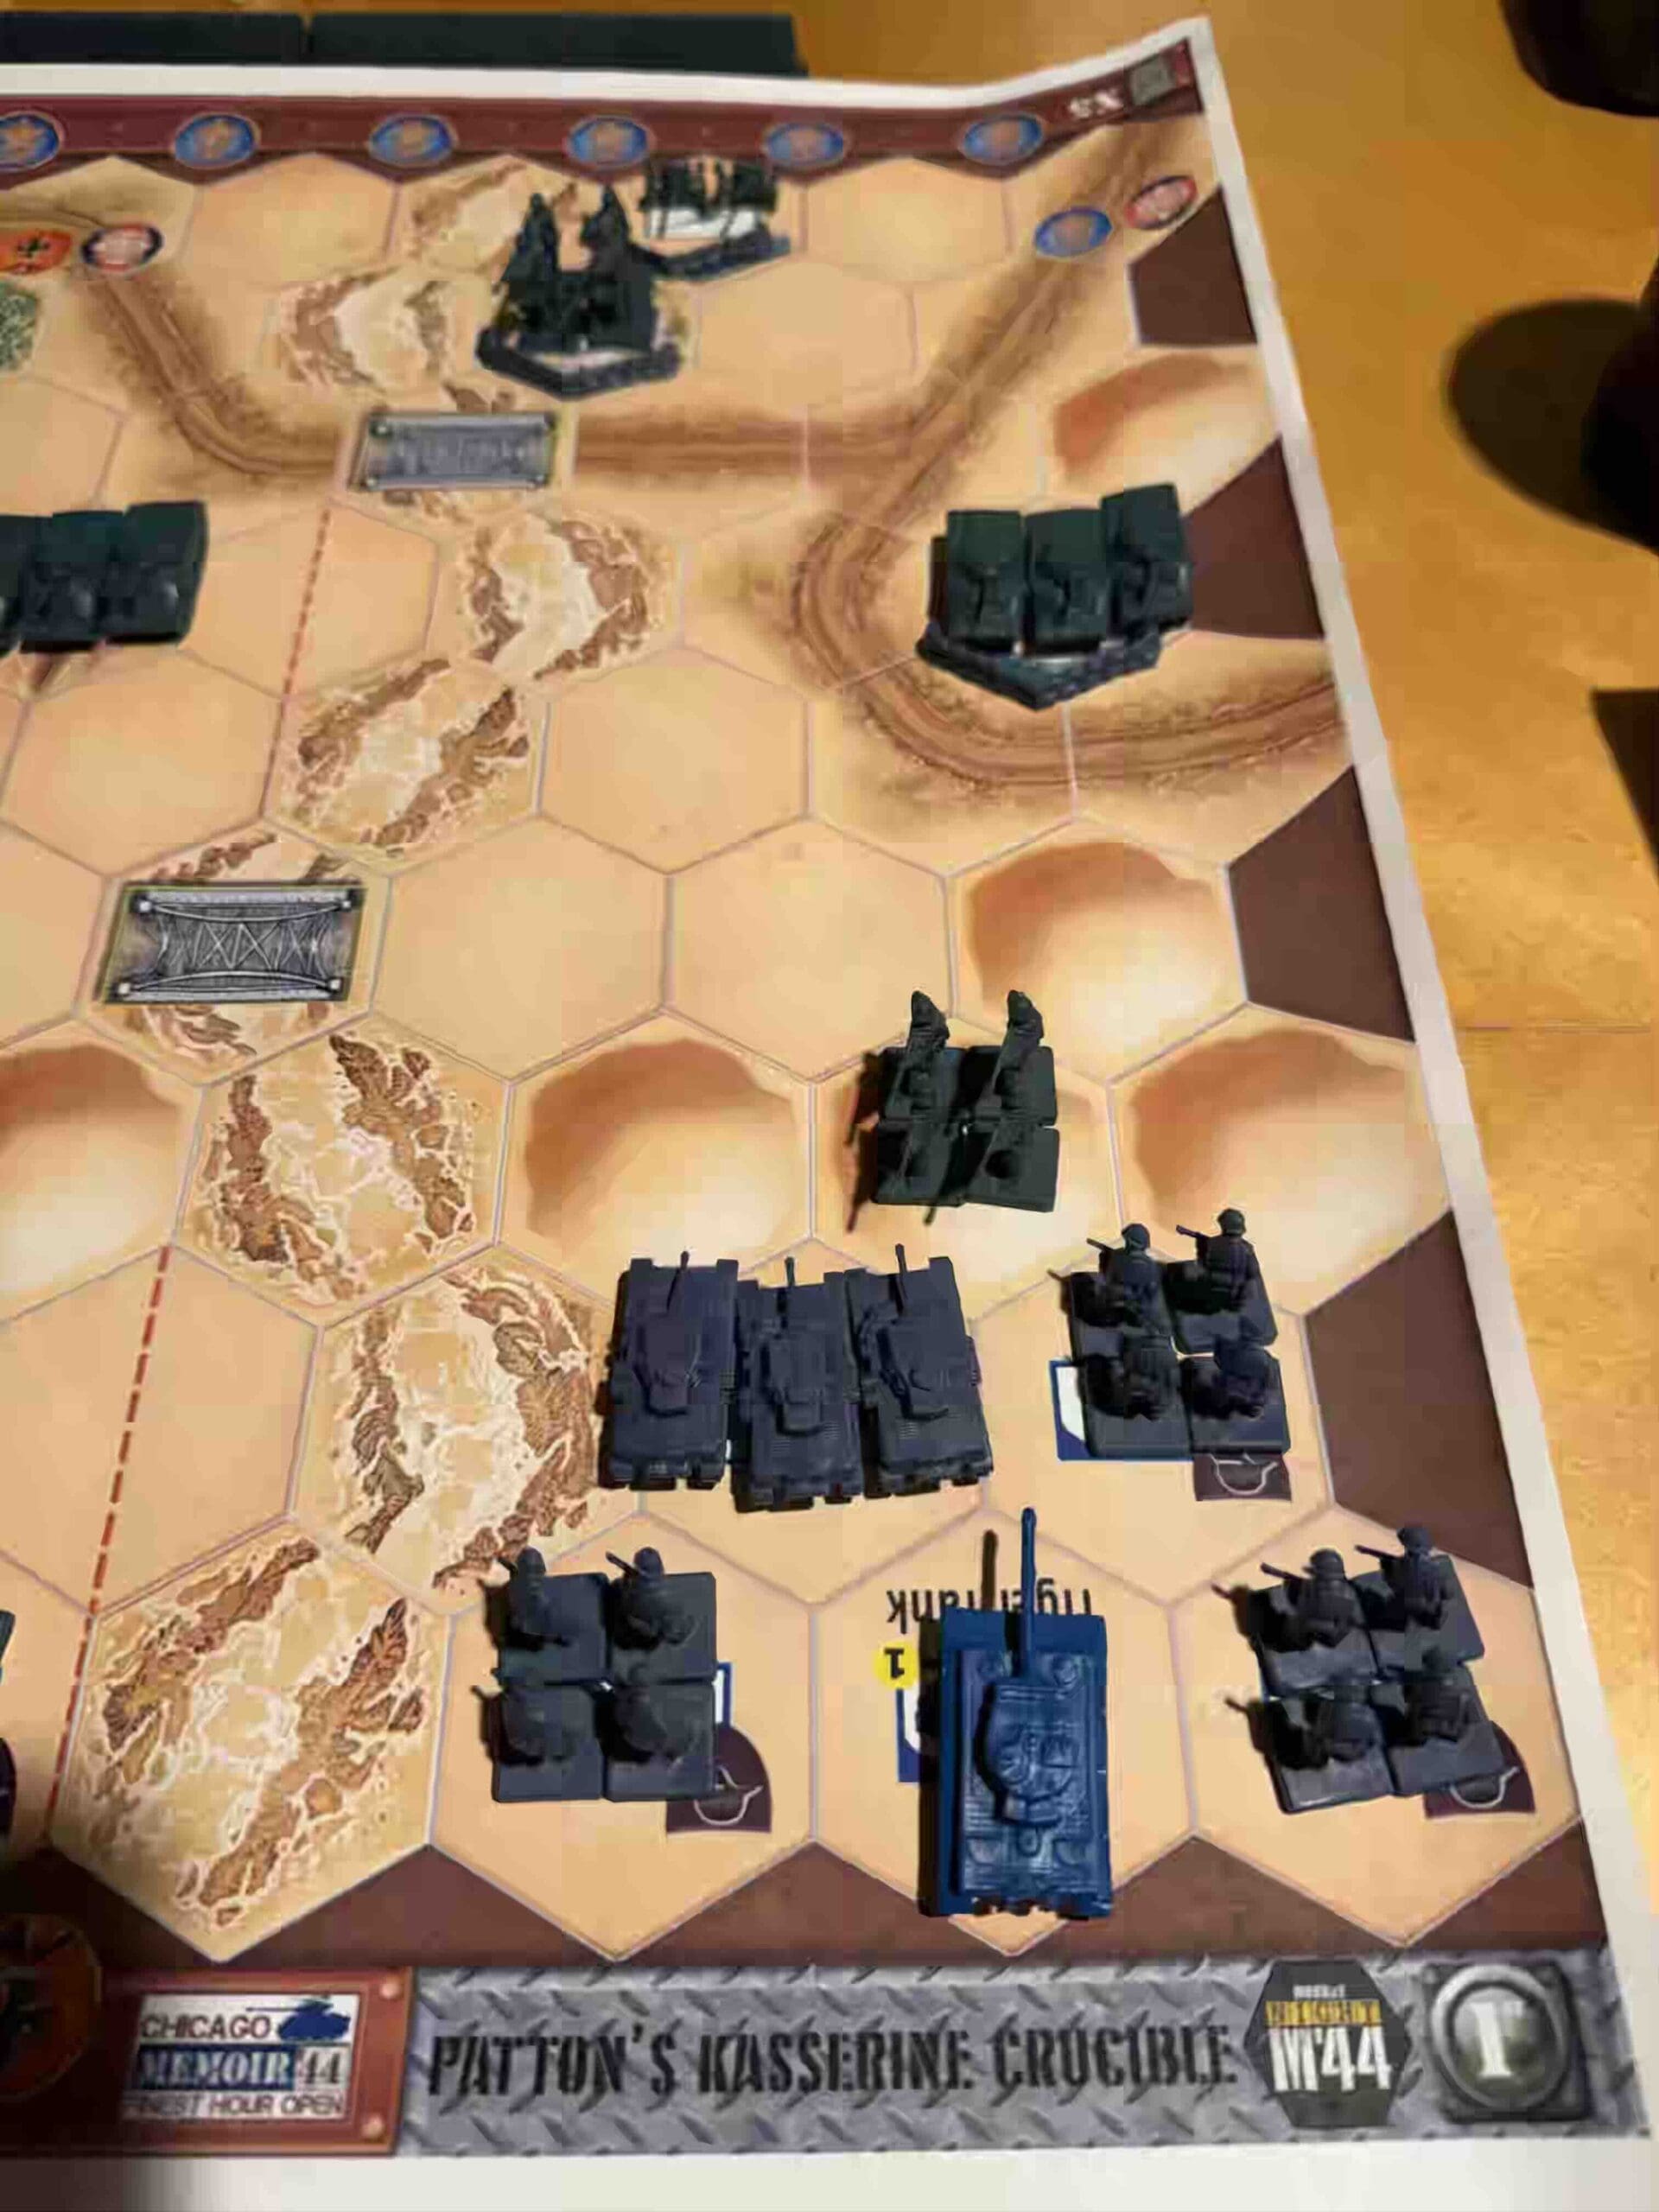
Battlefield:
Desert with dunes, ravines, hills & ergs
Troops:
Allies – 8 Infantry, 5 Armor, 2 Artillery
Axis – 7 Infantry, 7 Armor, 1 Artillery
Special Rules:
1. Air Power – Remove the Air Power card
2. Patton’s Iron Fist – As Allies, at the end of your turn, when it is time to draw a new card, you may choose any one card from the discard file and place it back into your hand. This may only be done once.
3. Tiger Tanks – Axis have two Tiger Tanks
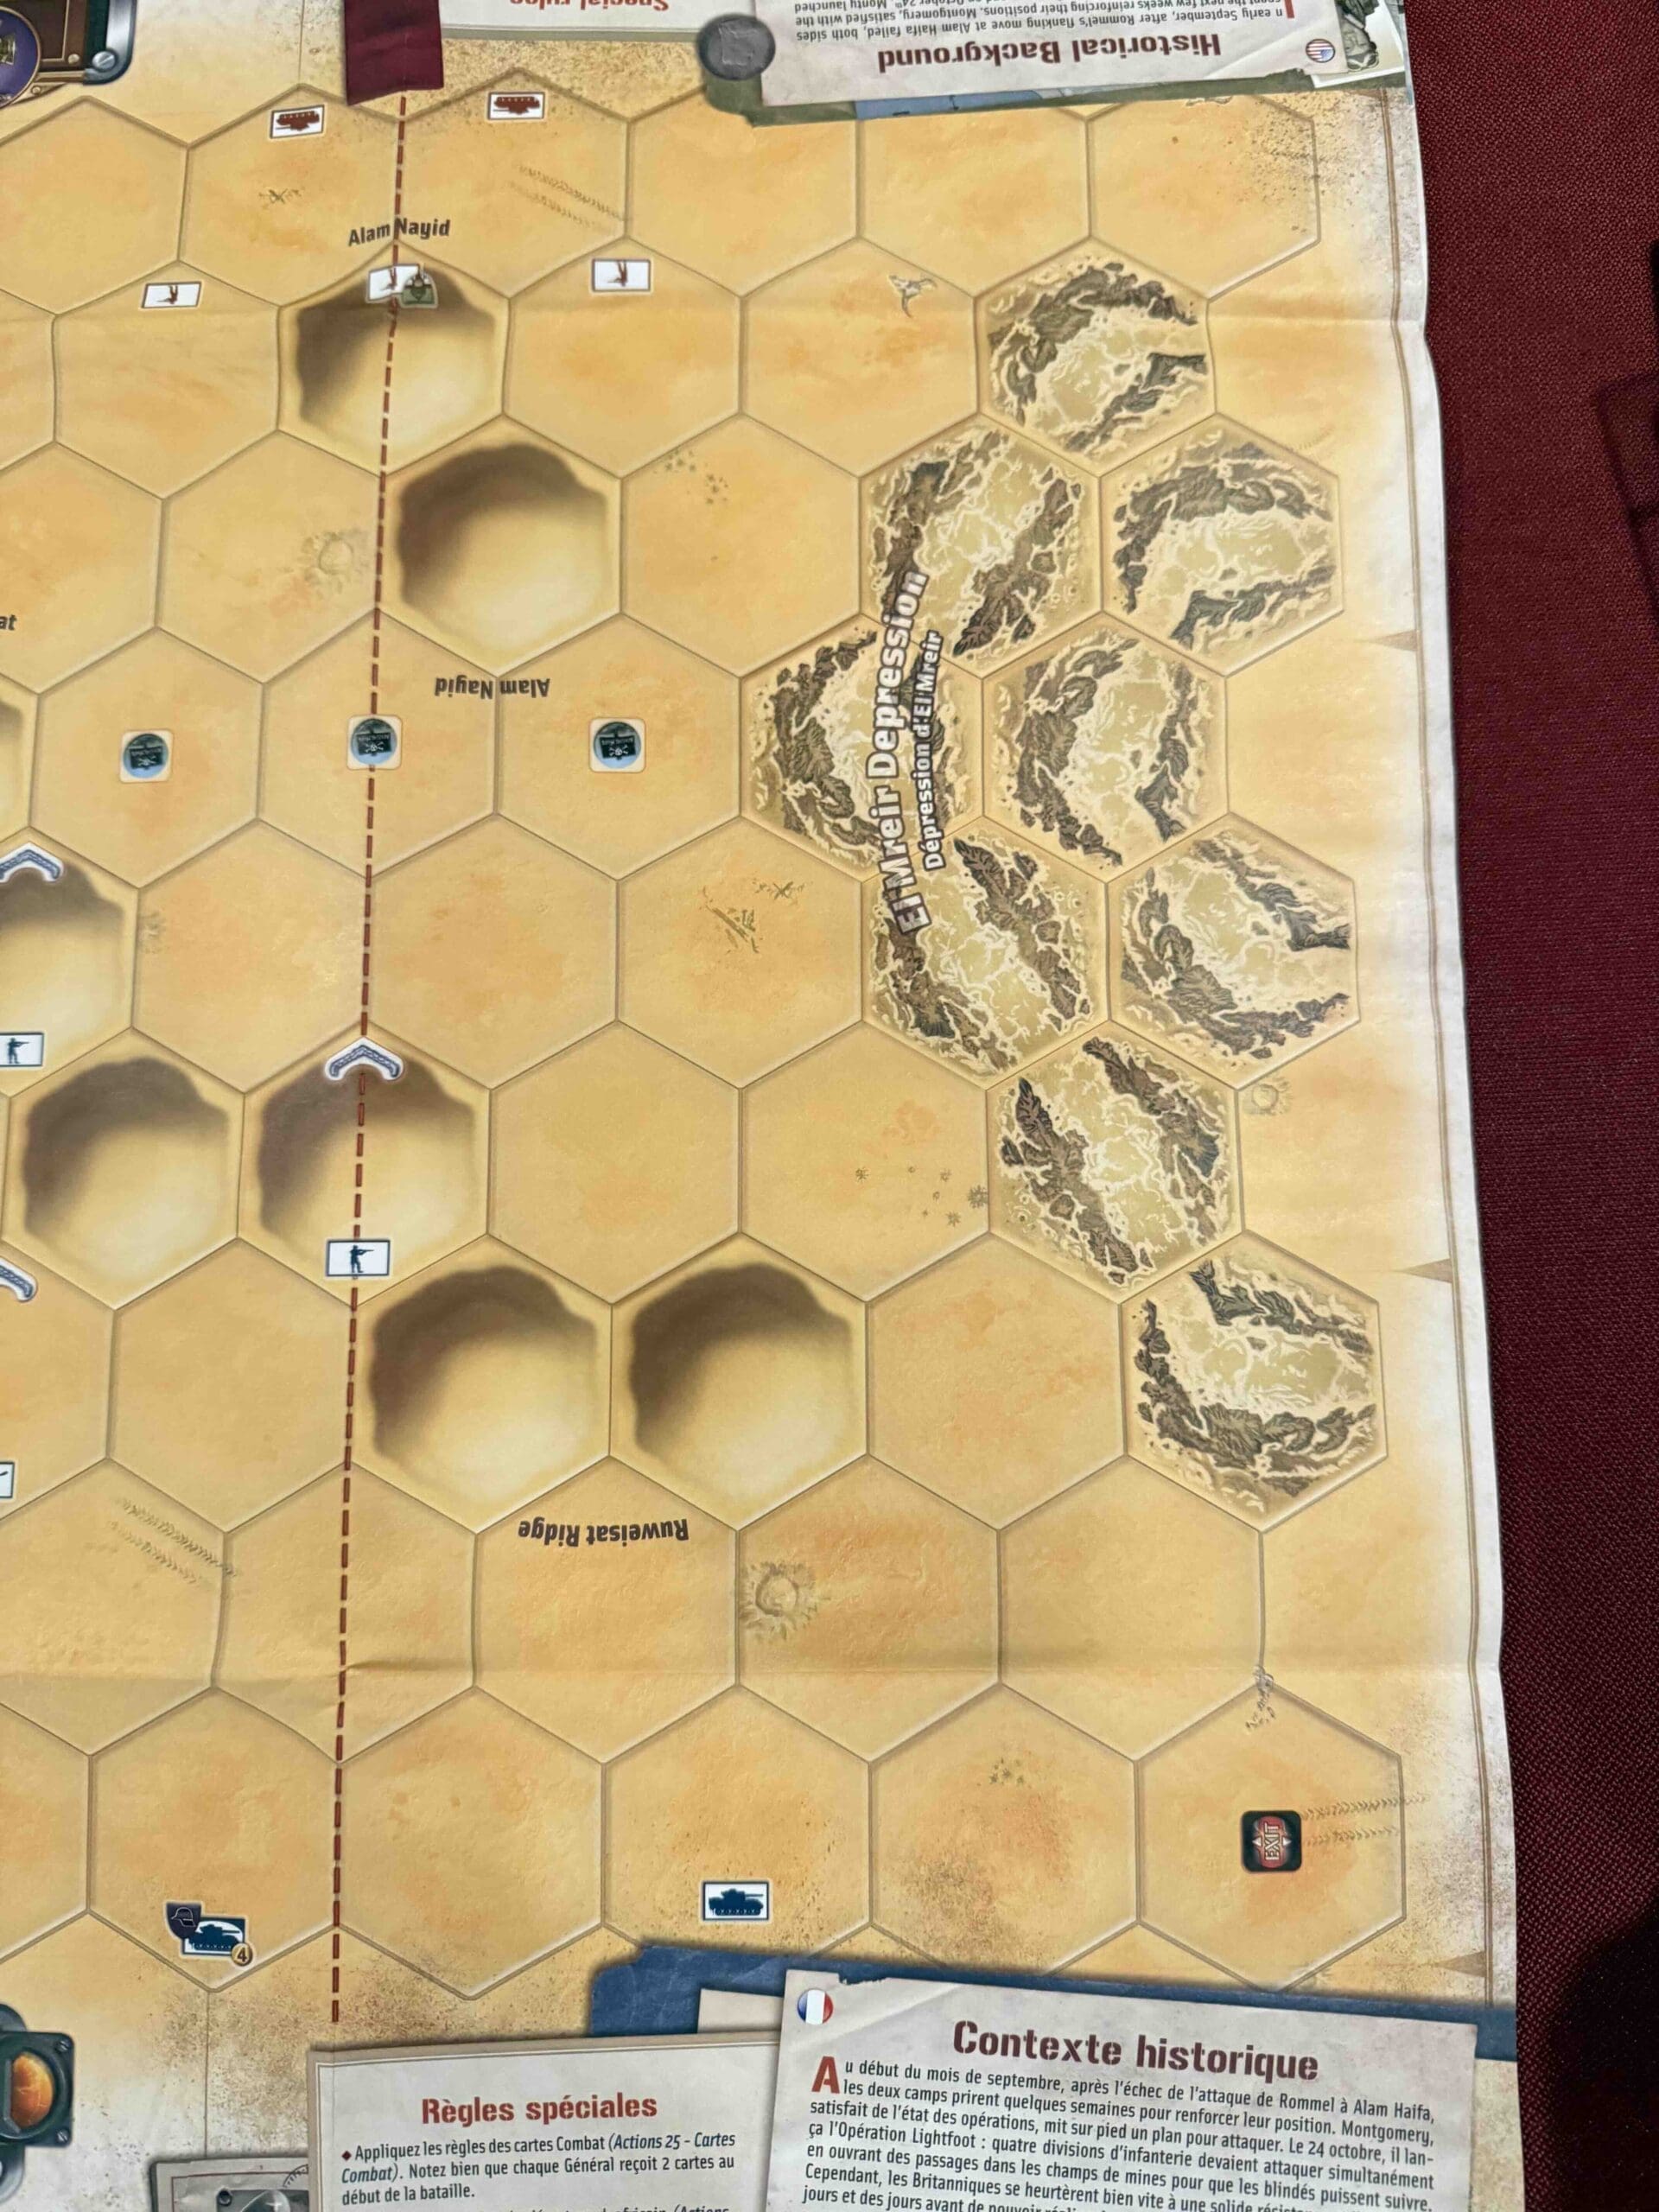
4. Ravine – the Ravine is impassable
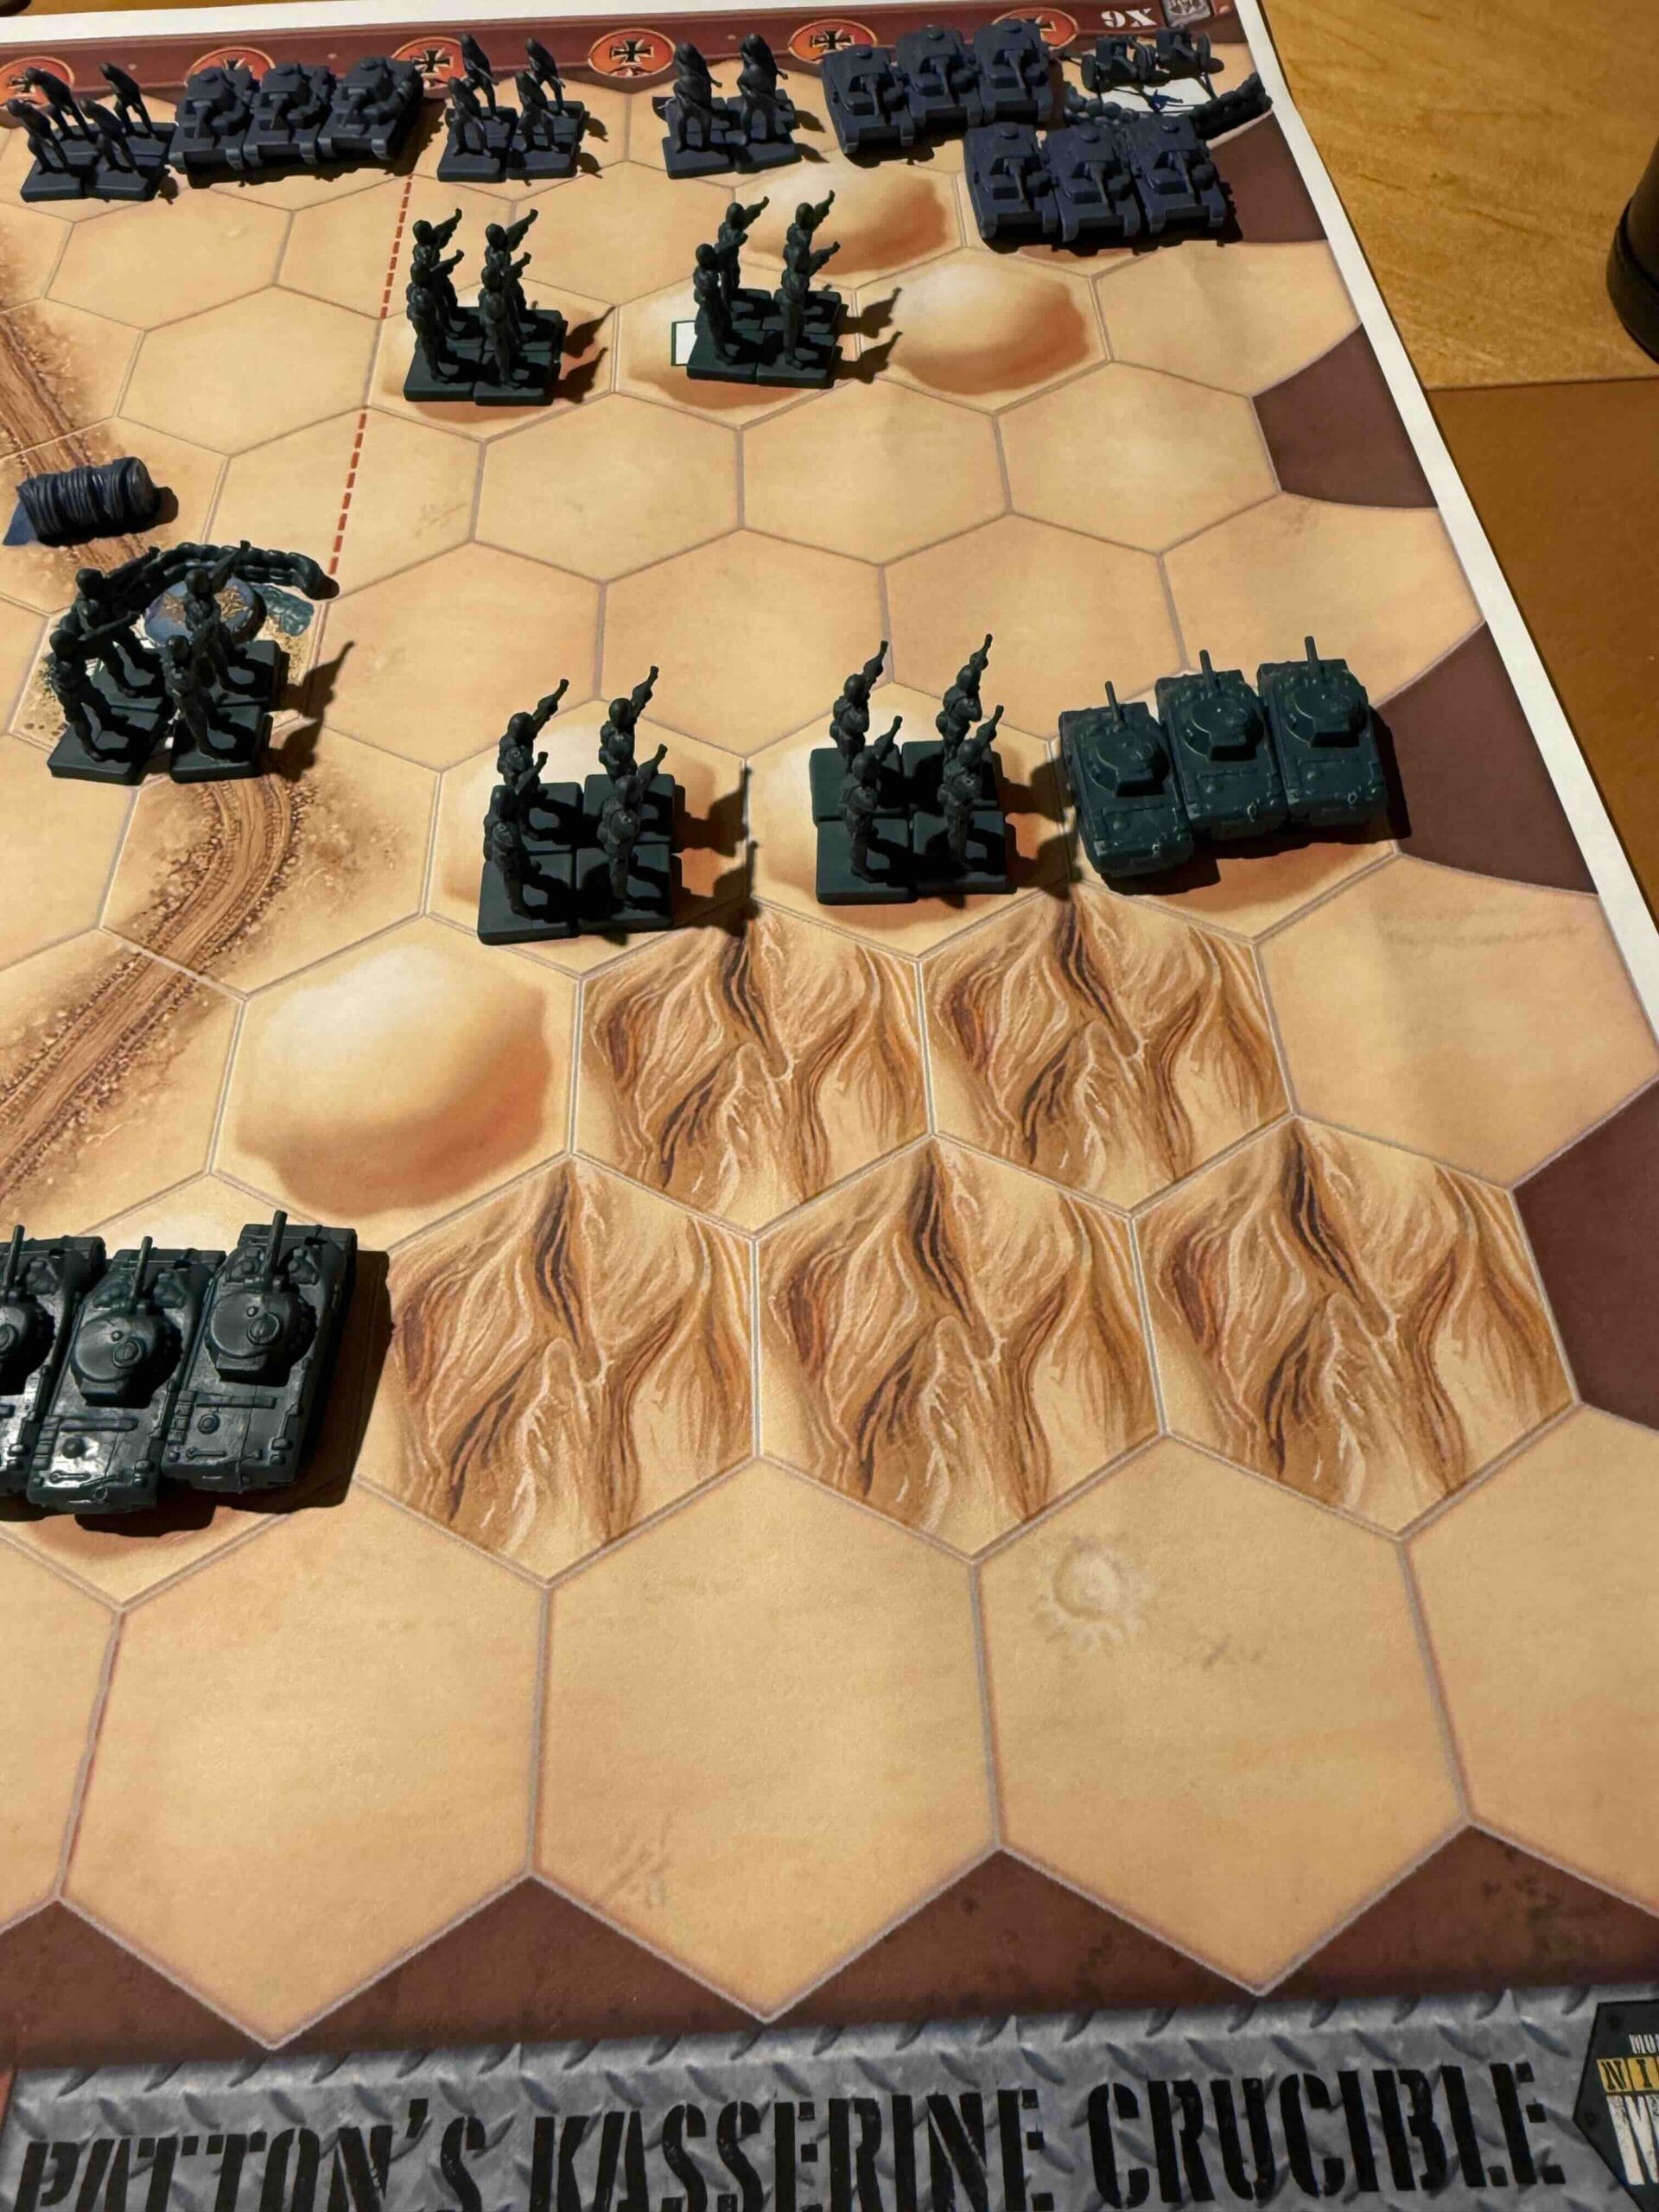
5. Ergs – the swirly terrain is an Erg. It is like a Hill, but once a unit moves onto it, the unit must stop.
6. Bridges – Allies can destroy either of the two bridges, with an Infantry unit on it, can roll two dice, and a Grenade will destroy it. The Infantry unit is not destroyed.
7. German Infantry Units – they are all Special Forces, and can move two hexes and still attack.

Allied Strategy:
1. The Allies have an Escape Hex on their left flank. Each unit making it out wins a medal for the Allies. But do not make a mad dash for it with all of your forces, as this is an eight medal game, and if you run, the Axis forces will overwhelm your troops, killing many of them and then escaping out their own Escape Hex. So you need to practice a strategic retreat where some of your forces practice a delaying action.
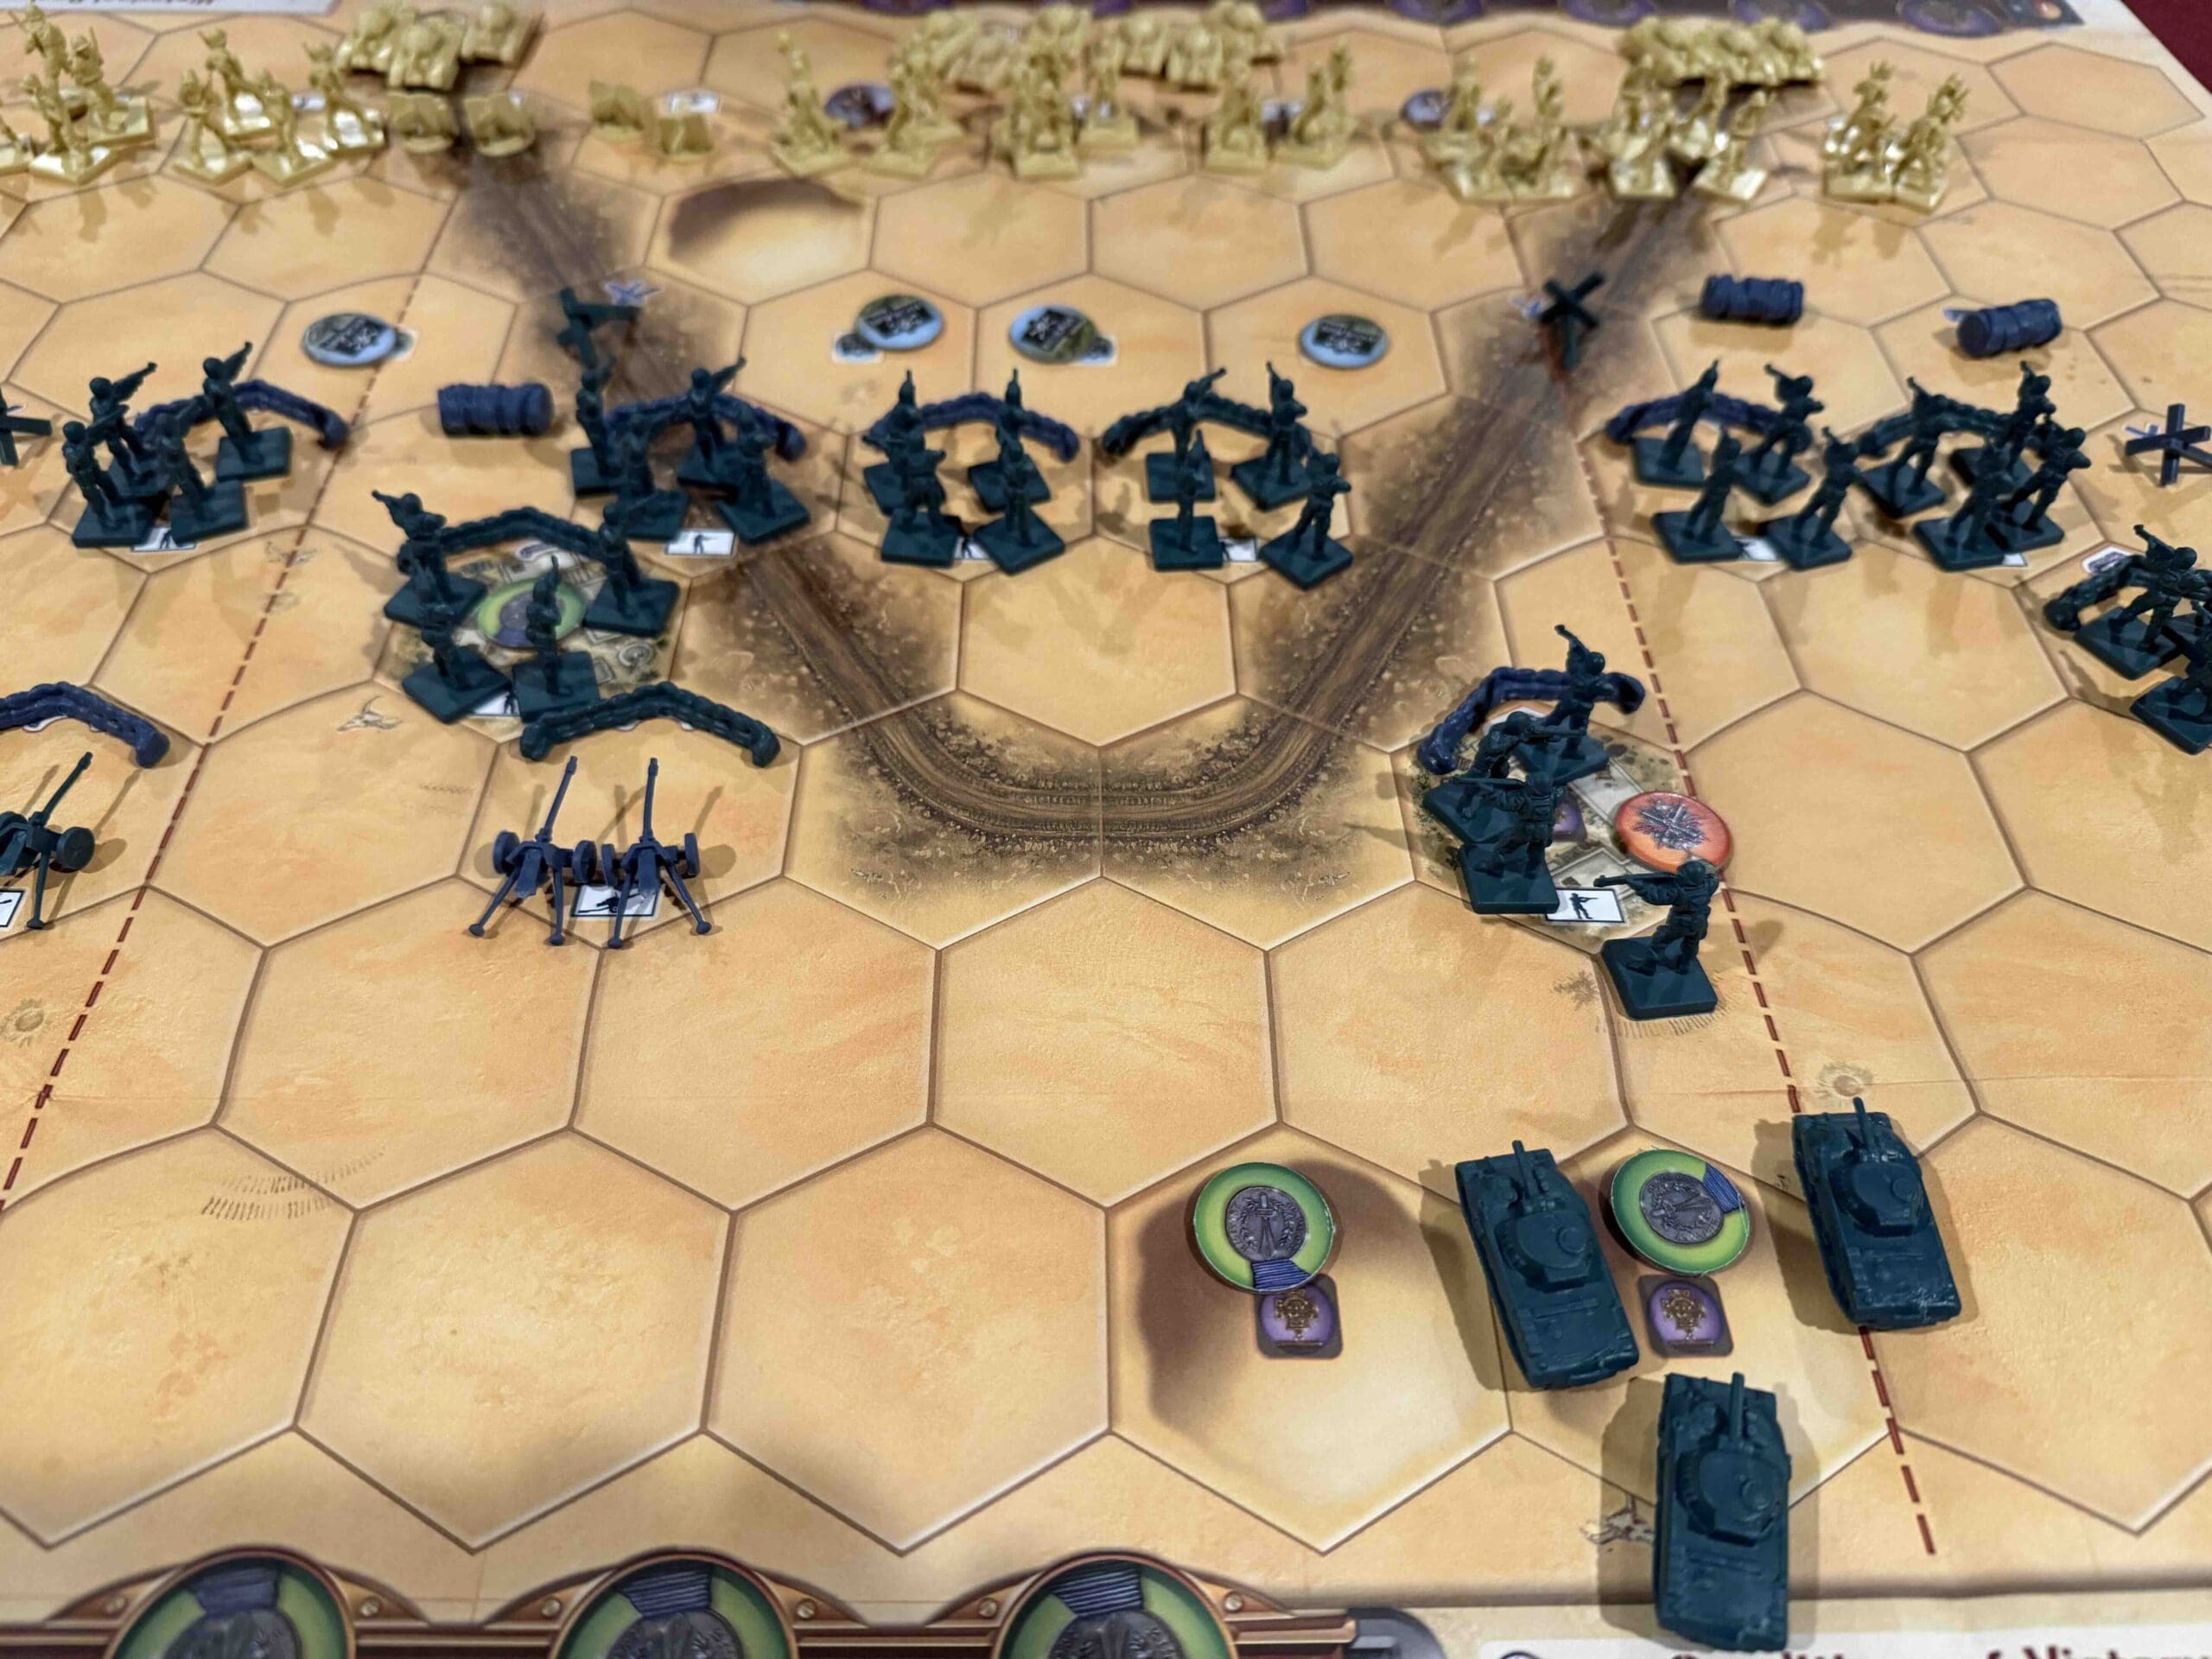
2. Attack with your Infantry on the forward front dunes. They are close to the enemy and can cause lots of damage.
3. Do not advance your Infantry on the right flank rear dunes forward. If your Infantry tries to attack enemy Armor in the open desert, they will get slaughtered.
4. Stay behind your sandbags as long as you can.

Axis Strategy:
1. Immediately attack the enemy Infantry on the dunes right in front of you.
2. Get your two Tigers into action ASAP.
3. As you move and attack, keep pushing your forces toward the center Escape Hexes to put pressure on the enemy forces.
Battle Reports
Source: Chicago’s Finest Hour Open
Link: