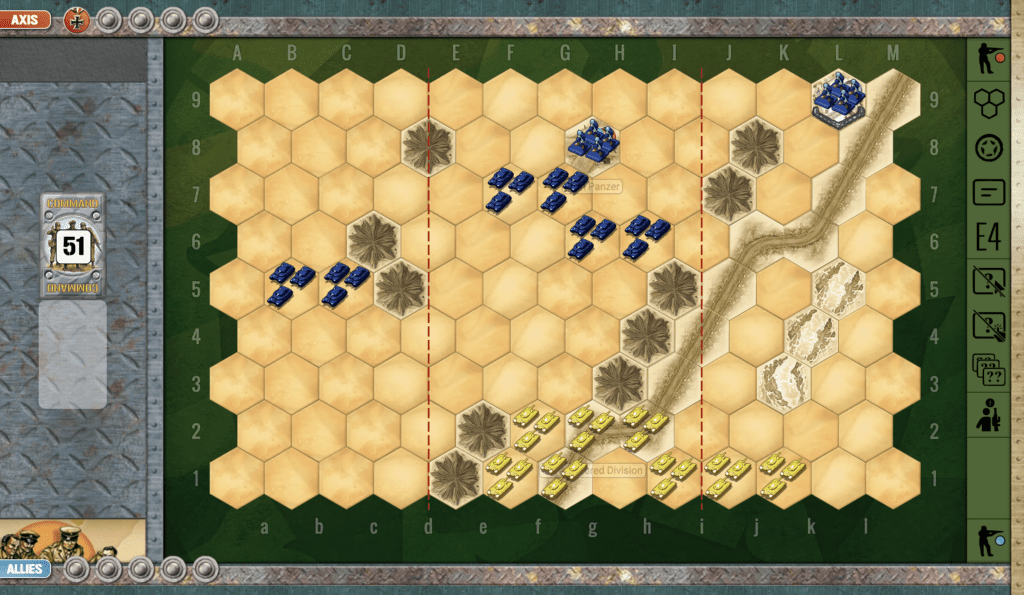
Sbeitla Tunisia
Sbeitla Tunisia
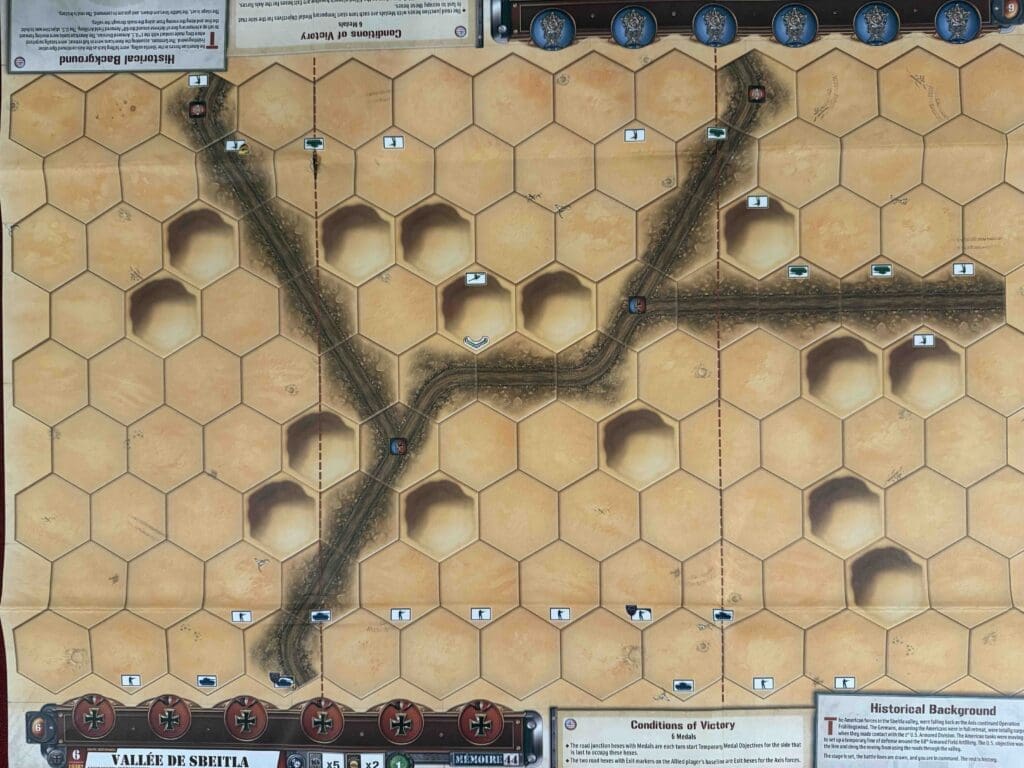
Operation Frühlingswind—February 1943. The Krauts thought they had us dead to rights in central Tunisia. They were wrong.
Rommel’s boys hit us hard at Sidi Bou Zid, busted through, and kept pushing west toward Sbeitla. On February 17, they grabbed the town—but that’s where the party stopped.
Because in rolled the 1st U.S. Armored Division—Combat Command B—and they didn’t come to retreat. They dug in, fought smart, and hit the Germans with a counterattack they didn’t see coming. It wasn’t perfect, but it was bold—and it threw a wrench into the Nazi gears. They didn’t push any farther.
Sure, we took our lumps. Our tactics were green, our command still learning the ropes. But what matters is we learned. Fast. That fight at Sbeitla was a baptism by fire—and it forged better soldiers, better leadership, and a better army.
The message was clear: the Americans might get hit, but by God, we hit back—and next time, we’d be coming out swinging.
~~ General Howitzer
6 VP’s
Card Balance:
Allies – 5 + 2 Combat Cards
Axis – 5 + 2 Combat Cards
Complexity:
2
Conditions:
Desert

Context:
Historical
Location:
Tunisia
Year:
1943
Theater:
Mediterranean
Campaign:
Tunisia Campaign
Codename:
Operation Frühlingswind (Spring Wind)
Summary:
Objectives:
6 VP’s, including territorial objectives, and exit hexes.
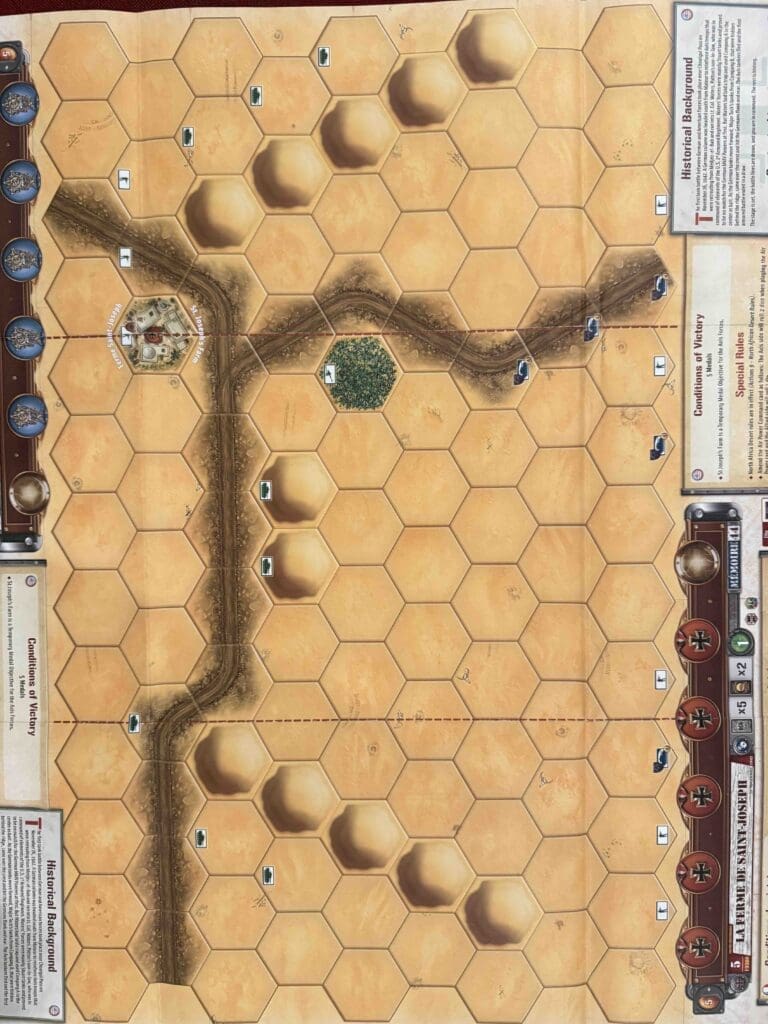
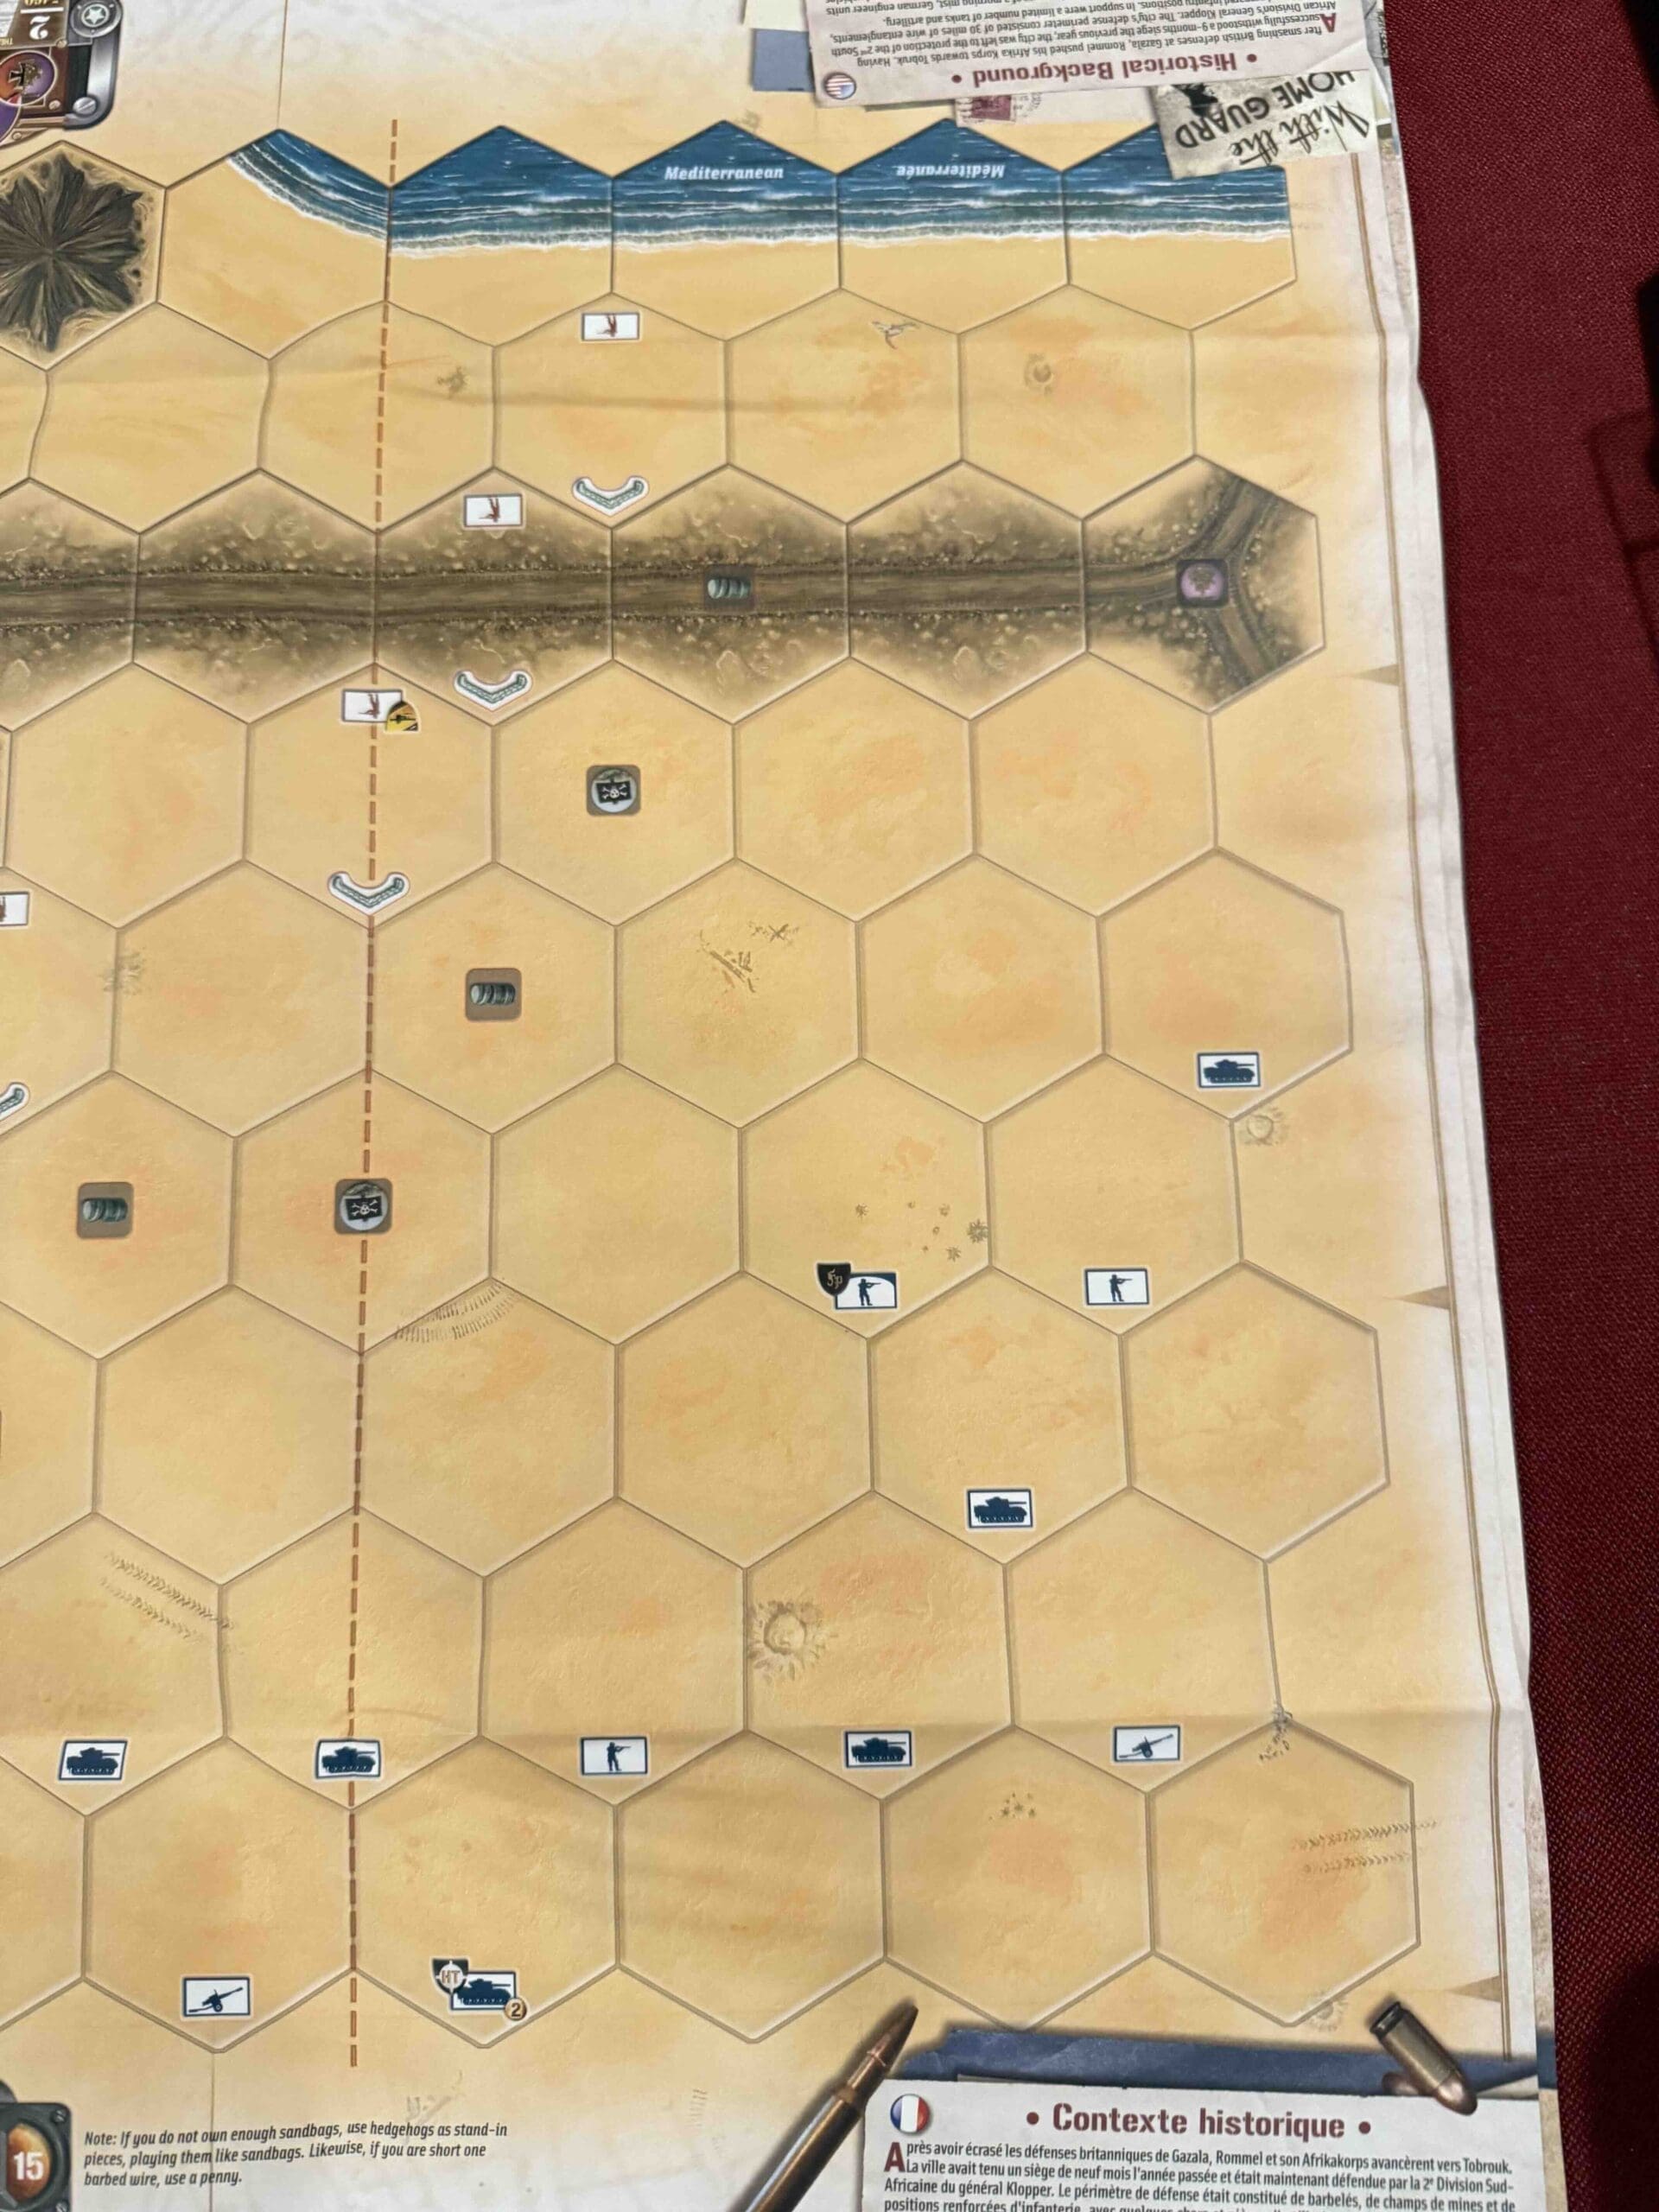
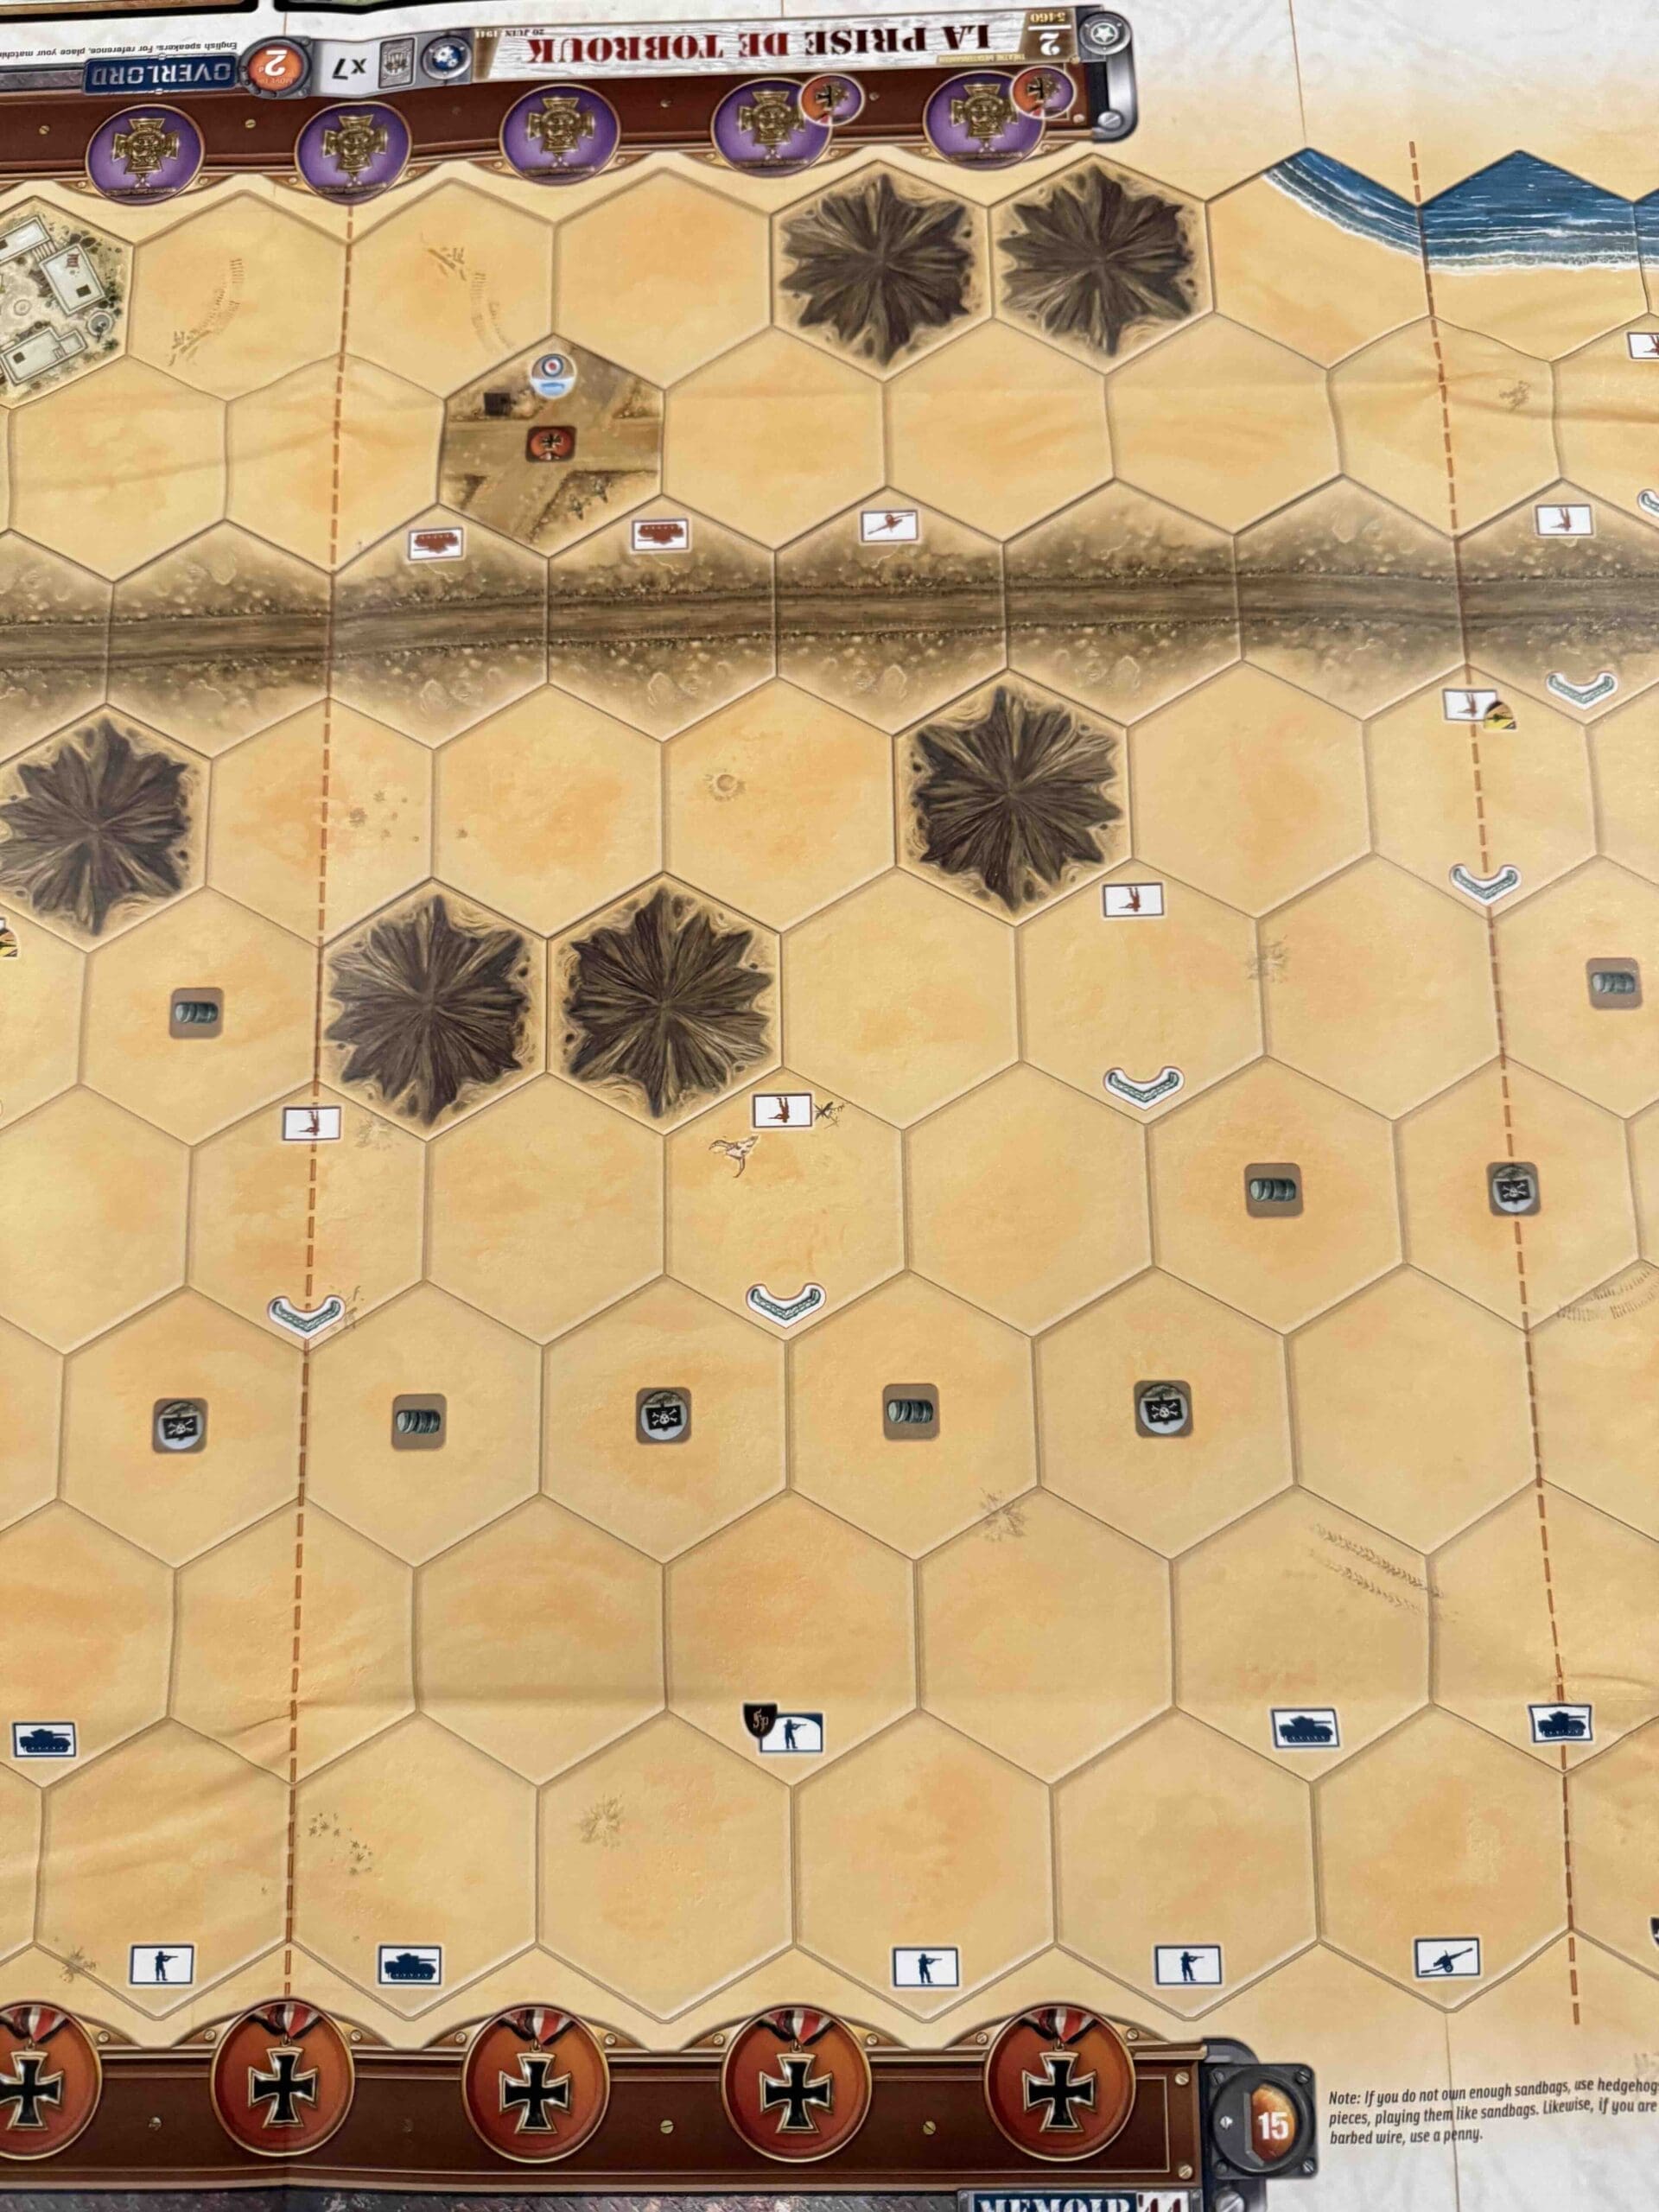
Battlefield:
Desert terrain with a branching roads running through it, and dunes everywhere.
Troops:
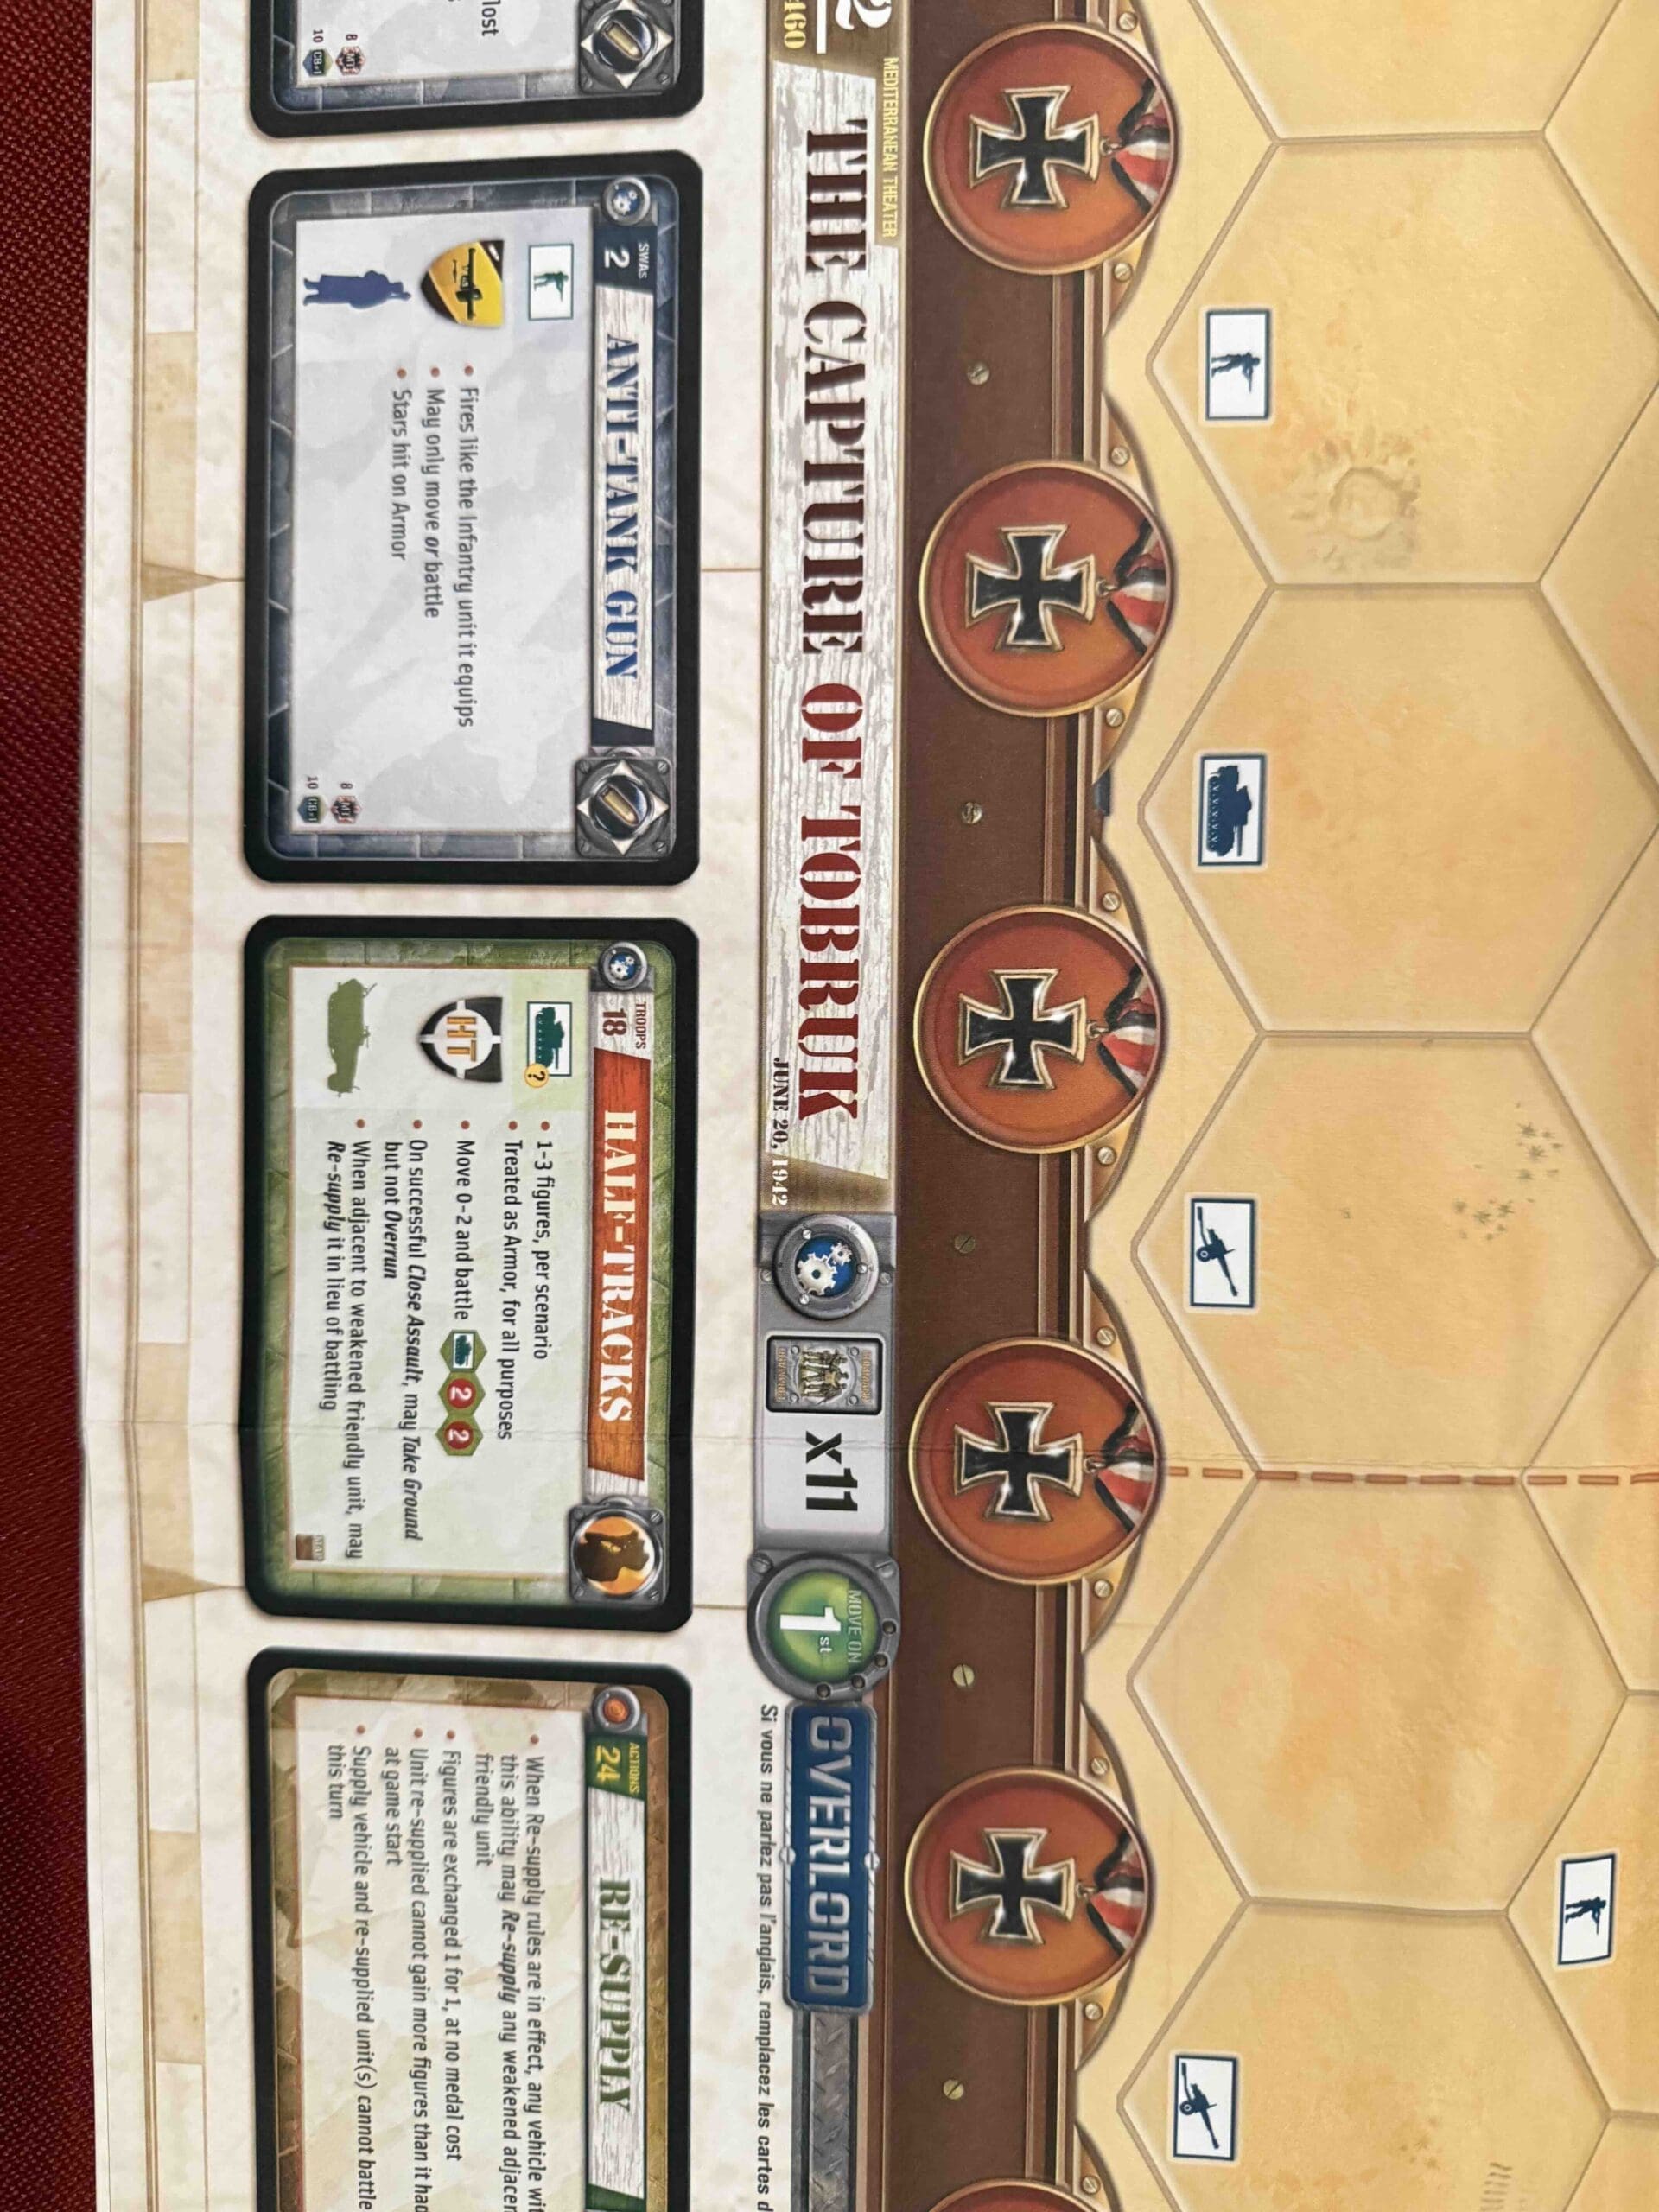
Allies – 7 Infantry, 4 Armor, 1 Artillery
Axis – 8 Infantry, 5 Armor
Allied Strategy:
1.
Axis Strategy
1.
Battle Reports
Author:
Days of Wonder
Link: