Sugar Loaf and Half Moon

Sugar Loaf and Half Moon

The Battle of Sugar Loaf and Half Moon took place during the Battle of Okinawa in May 1945, one of the final and bloodiest battles of World War II. Sugar Loaf Hill and Half Moon Hill were heavily fortified Japanese positions that U.S. Marines needed to capture to advance on the island.

Listen up. Sugar Loaf and Half Moon weren’t just two lumps of dirt on Okinawa—they were the kind of fortified hellholes the enemy turns into a butcher shop. The Japanese were dug in deep, with bunkers you couldn’t see and tunnels you couldn’t count, and they poured out artillery, machine-gun fire, and counterattacks like they had an endless supply of men and steel.

Our Marines fought inch by inch, bleeding for every blasted ridge. They stormed those heights again and again, under fire hot enough to melt the paint off a helmet. Casualties were heavy, but the boys never broke. After days of slugging it out—crawling, climbing, charging—they took both hills and tore the heart out of the enemy’s northern line.

Seizing Sugar Loaf and Half Moon opened the door to Okinawa’s southern defenses, and it proved a cold, hard truth: fighting in the Pacific demanded guts, grit, and sacrifice on a scale few can imagine. And it was a grim preview of what it might have taken if we’d ever had to storm Japan itself.

~~ General Howitzer

6 VP’s

Card Balance:

USA – 6

Japanese – 4

Complexity:

2

Conditions:

Jungle


Location:

Pacific

Year:

1945

Theater:

Pacific

Campaign:

Battle of Okinawa

Codename:

Summary:

Objectives:

6 VP’s
(Special Rule: Note that if the Marines clear out an entire section of Japanese forces, it counts as a temporary VP.)

Battlefield:

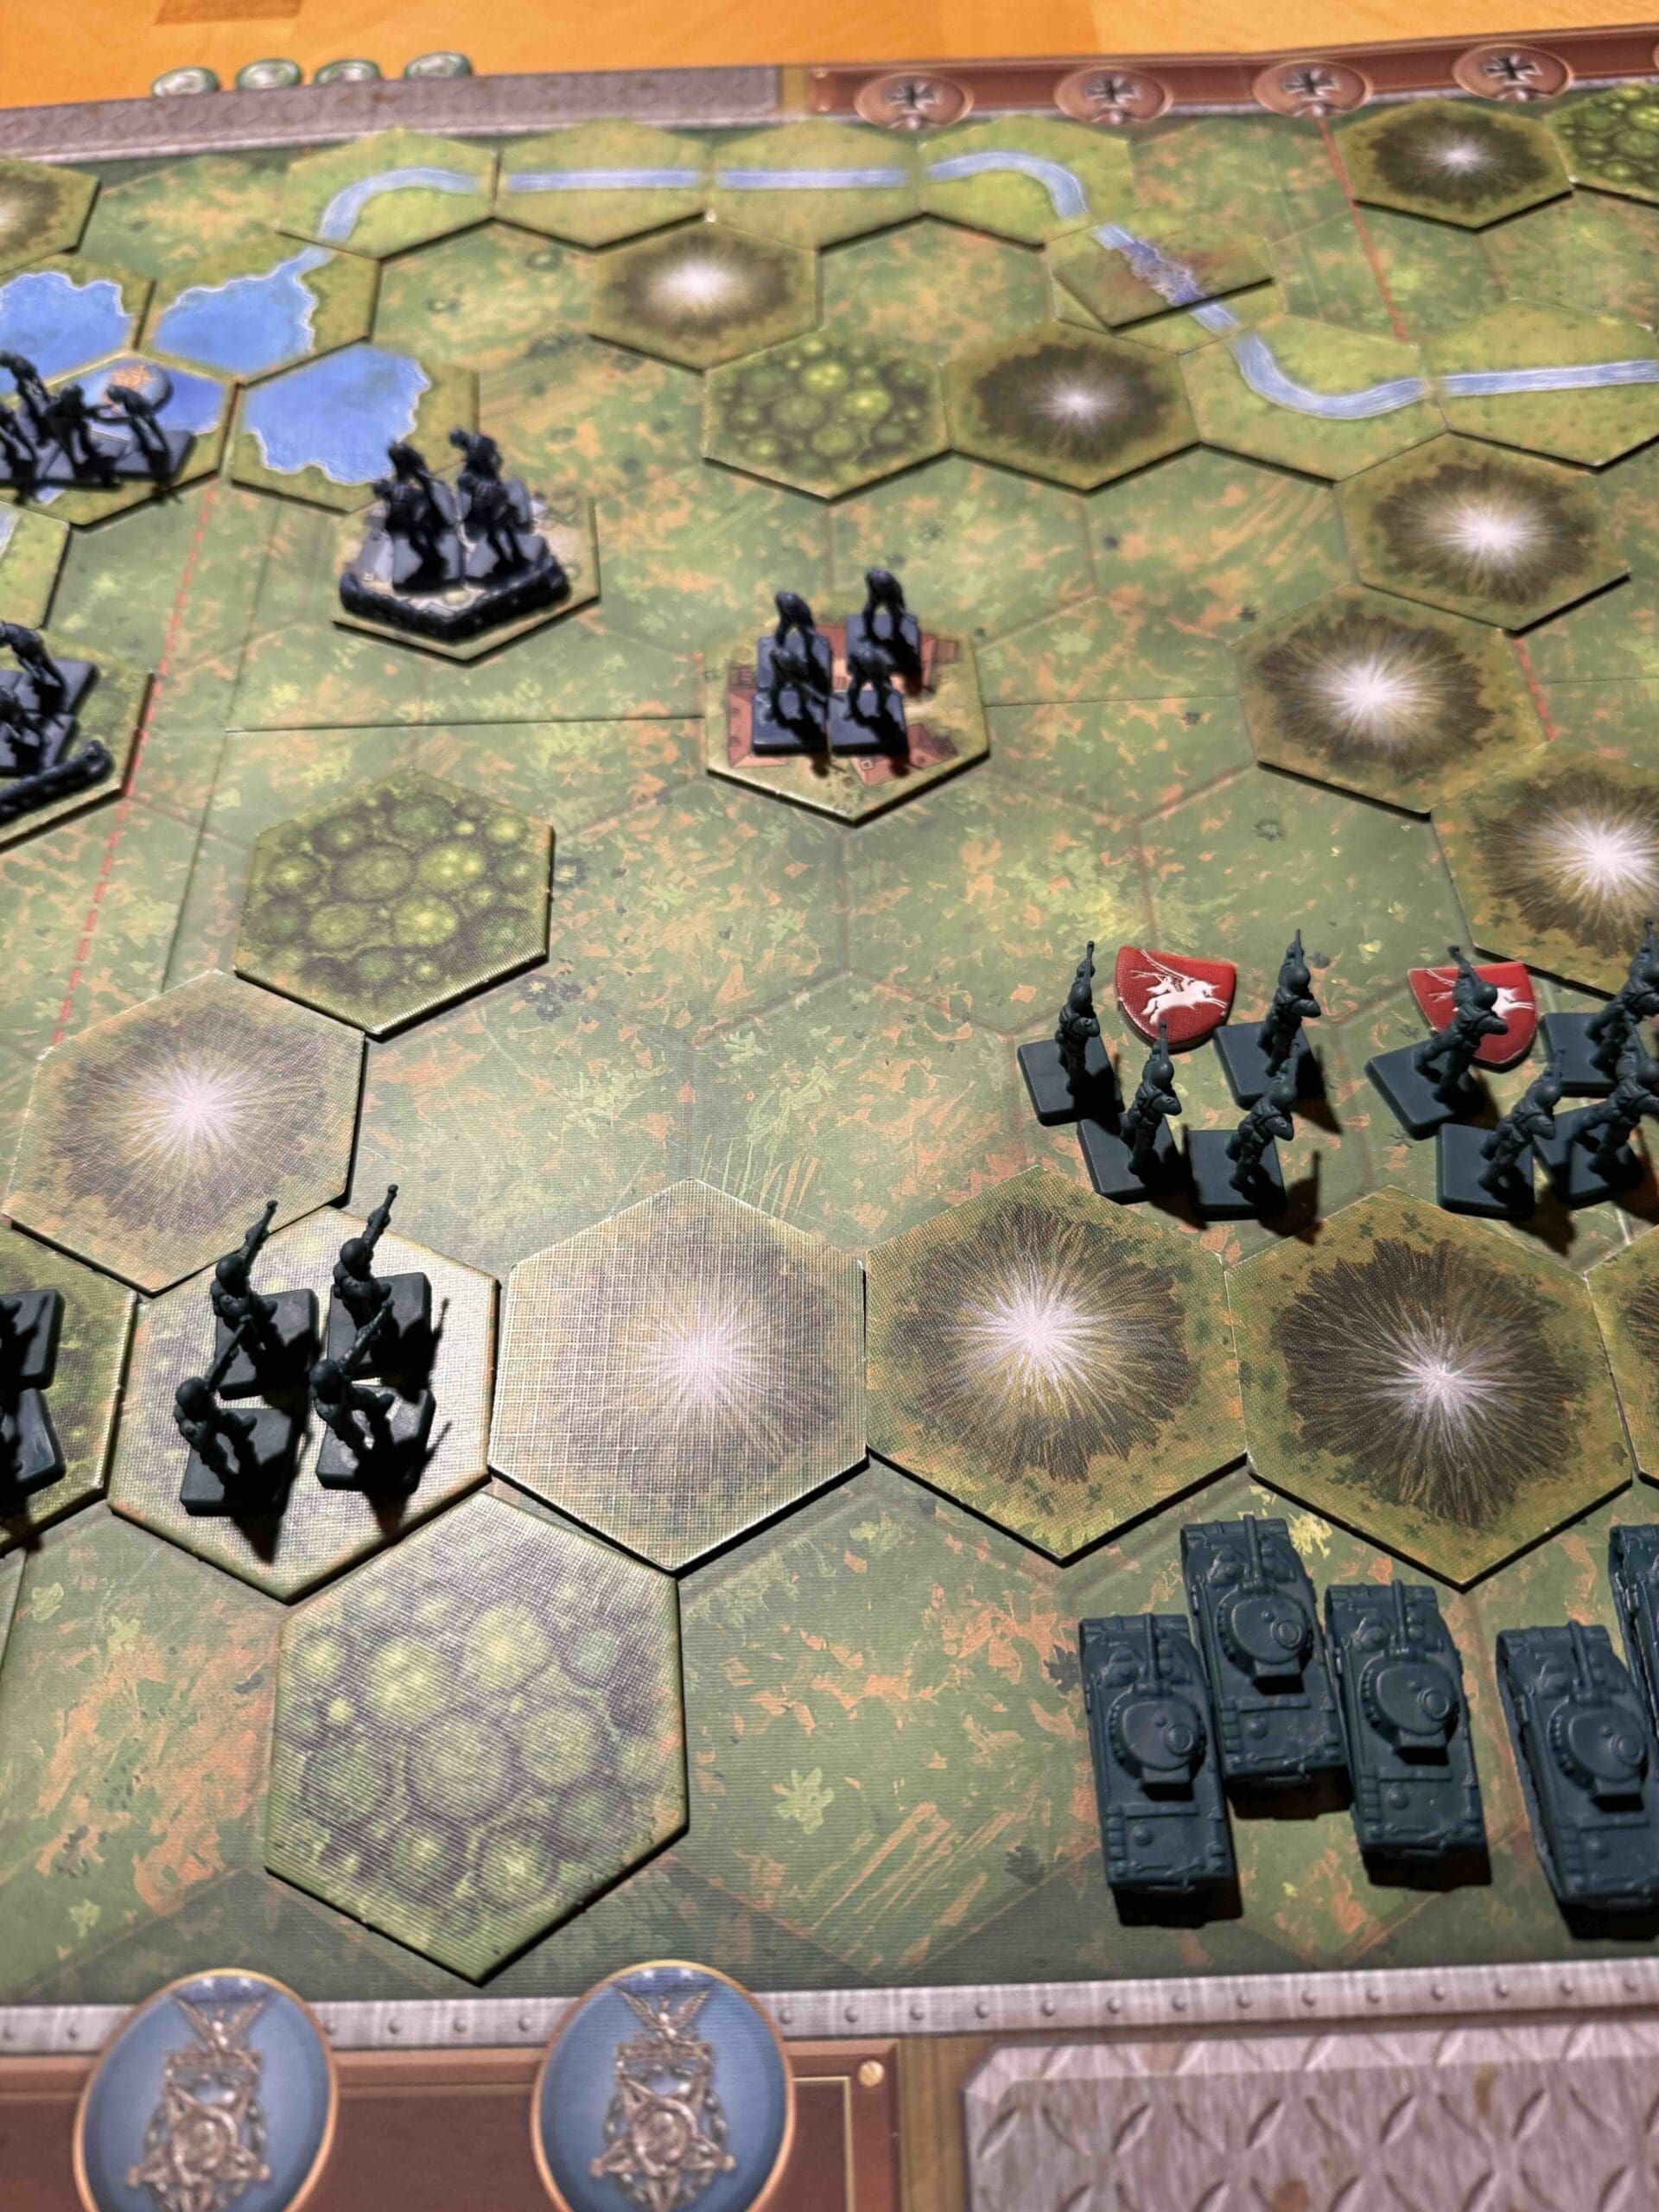
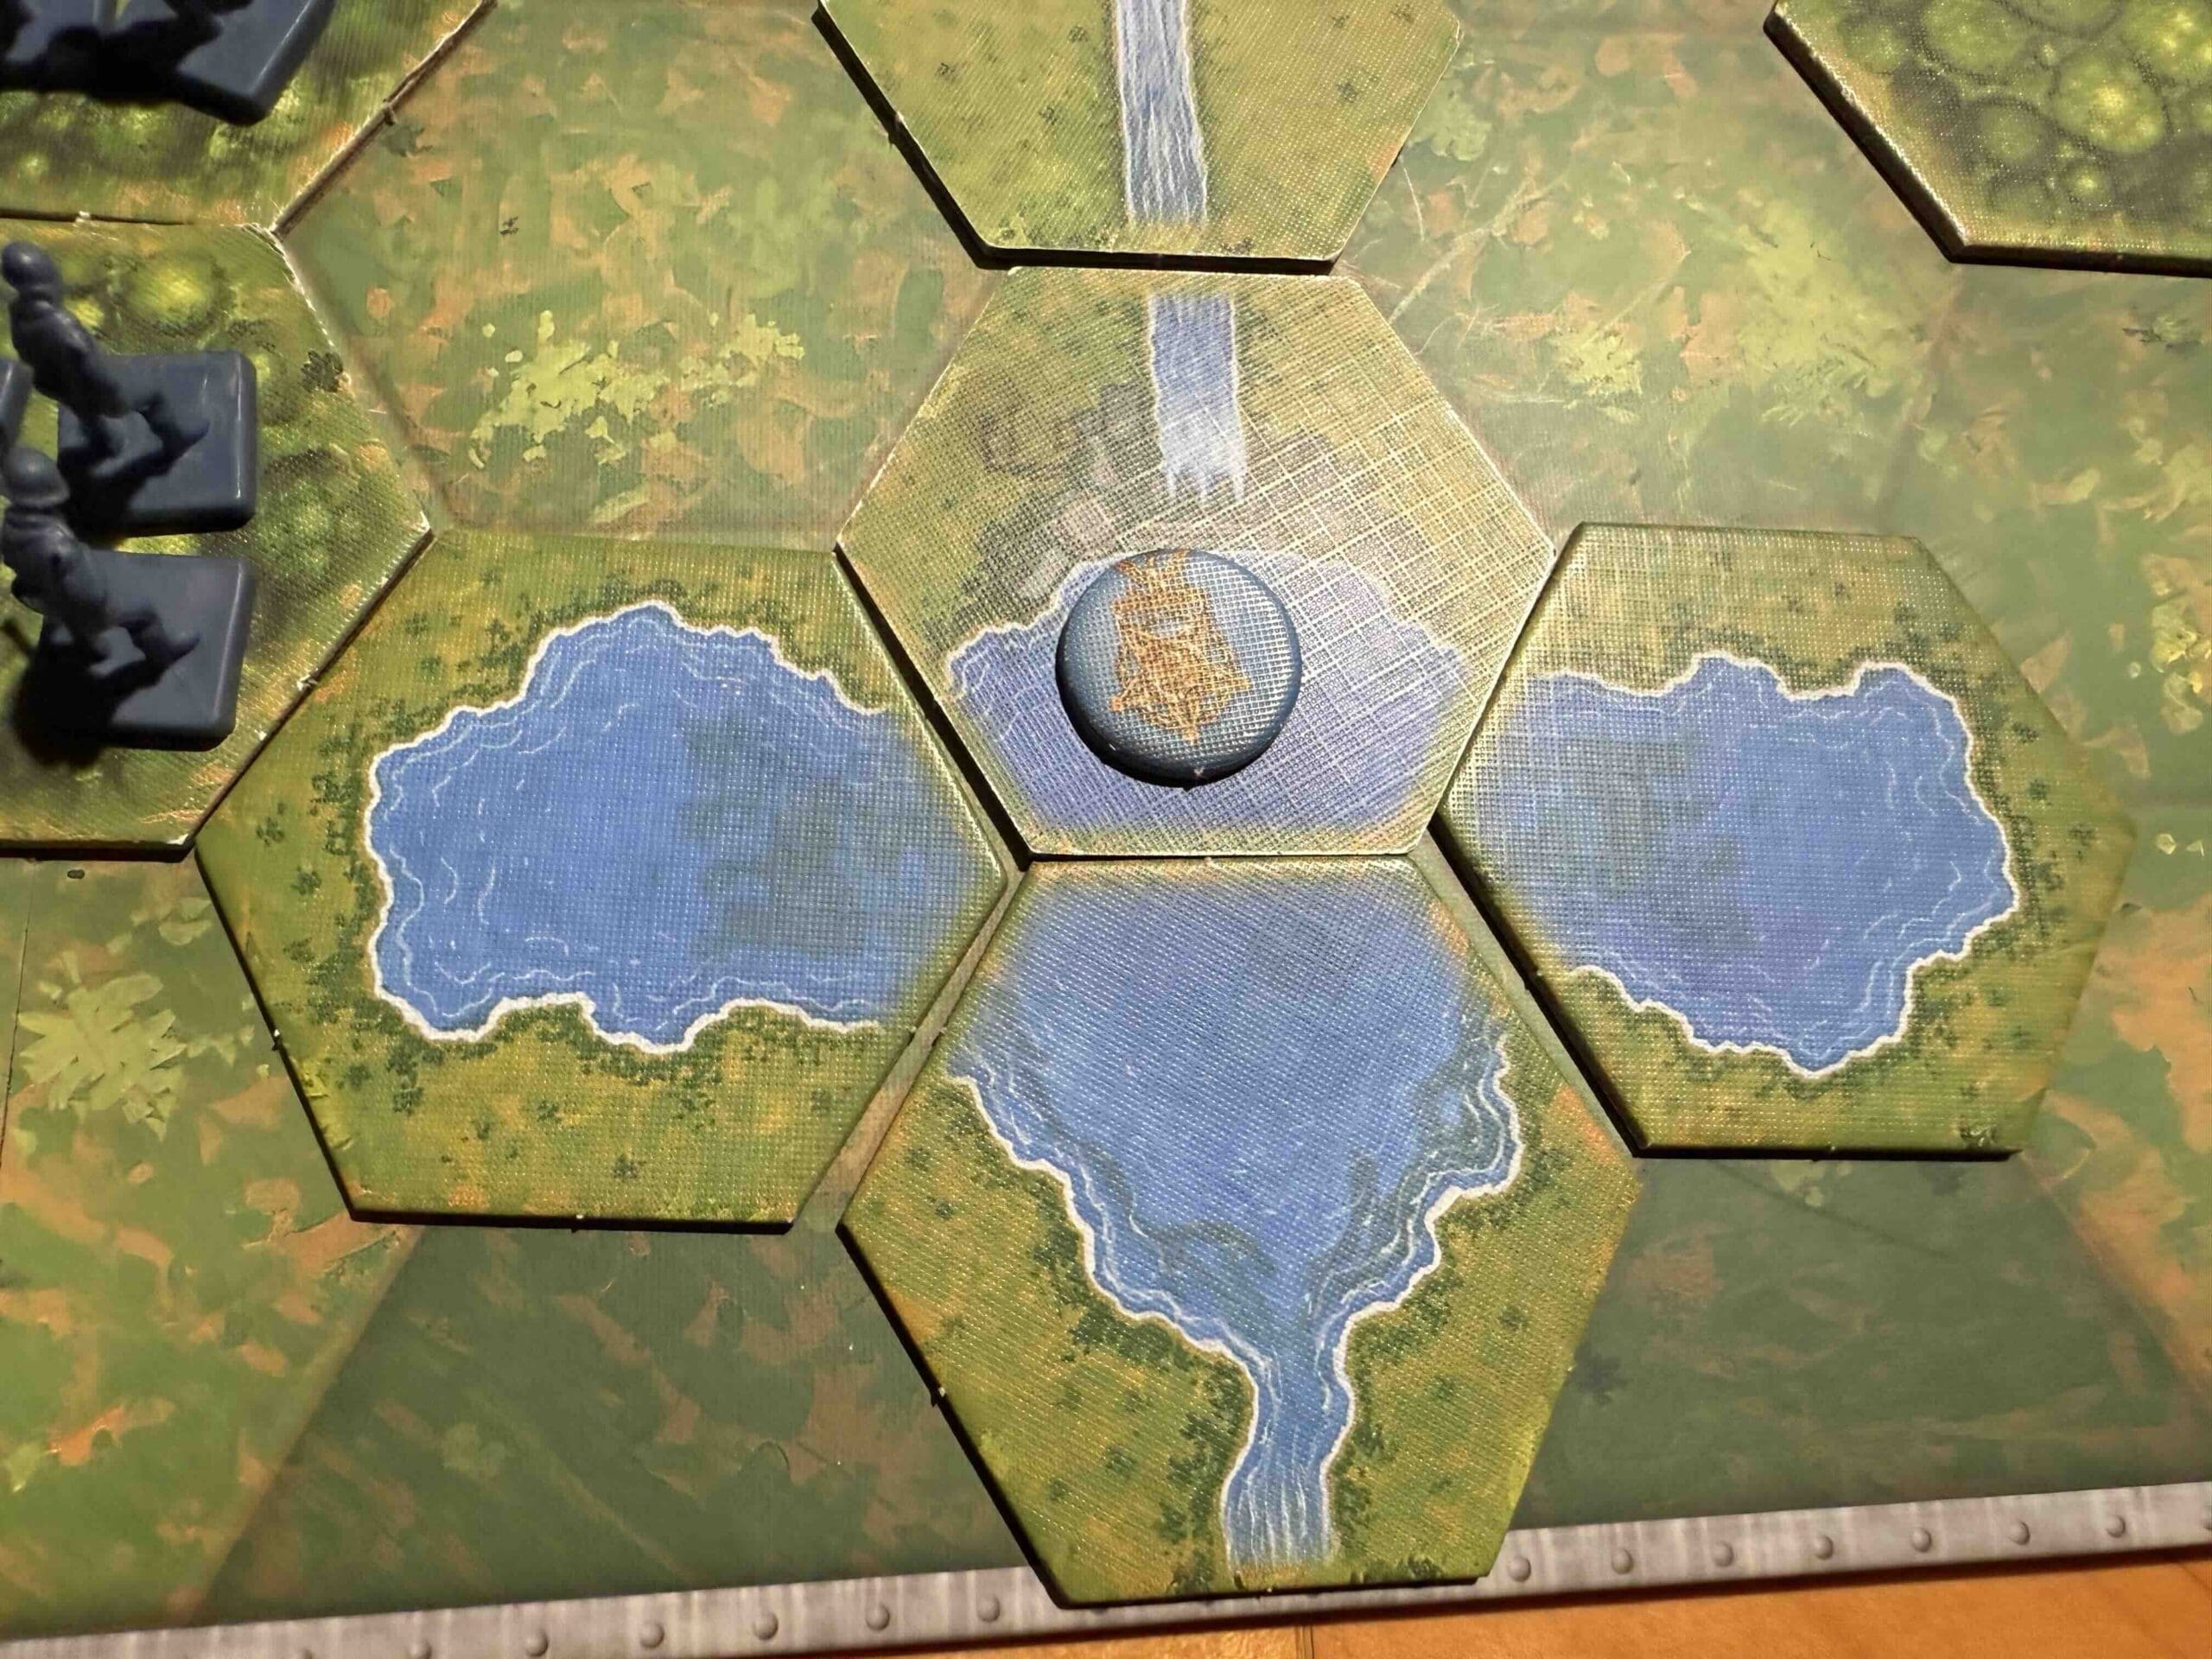
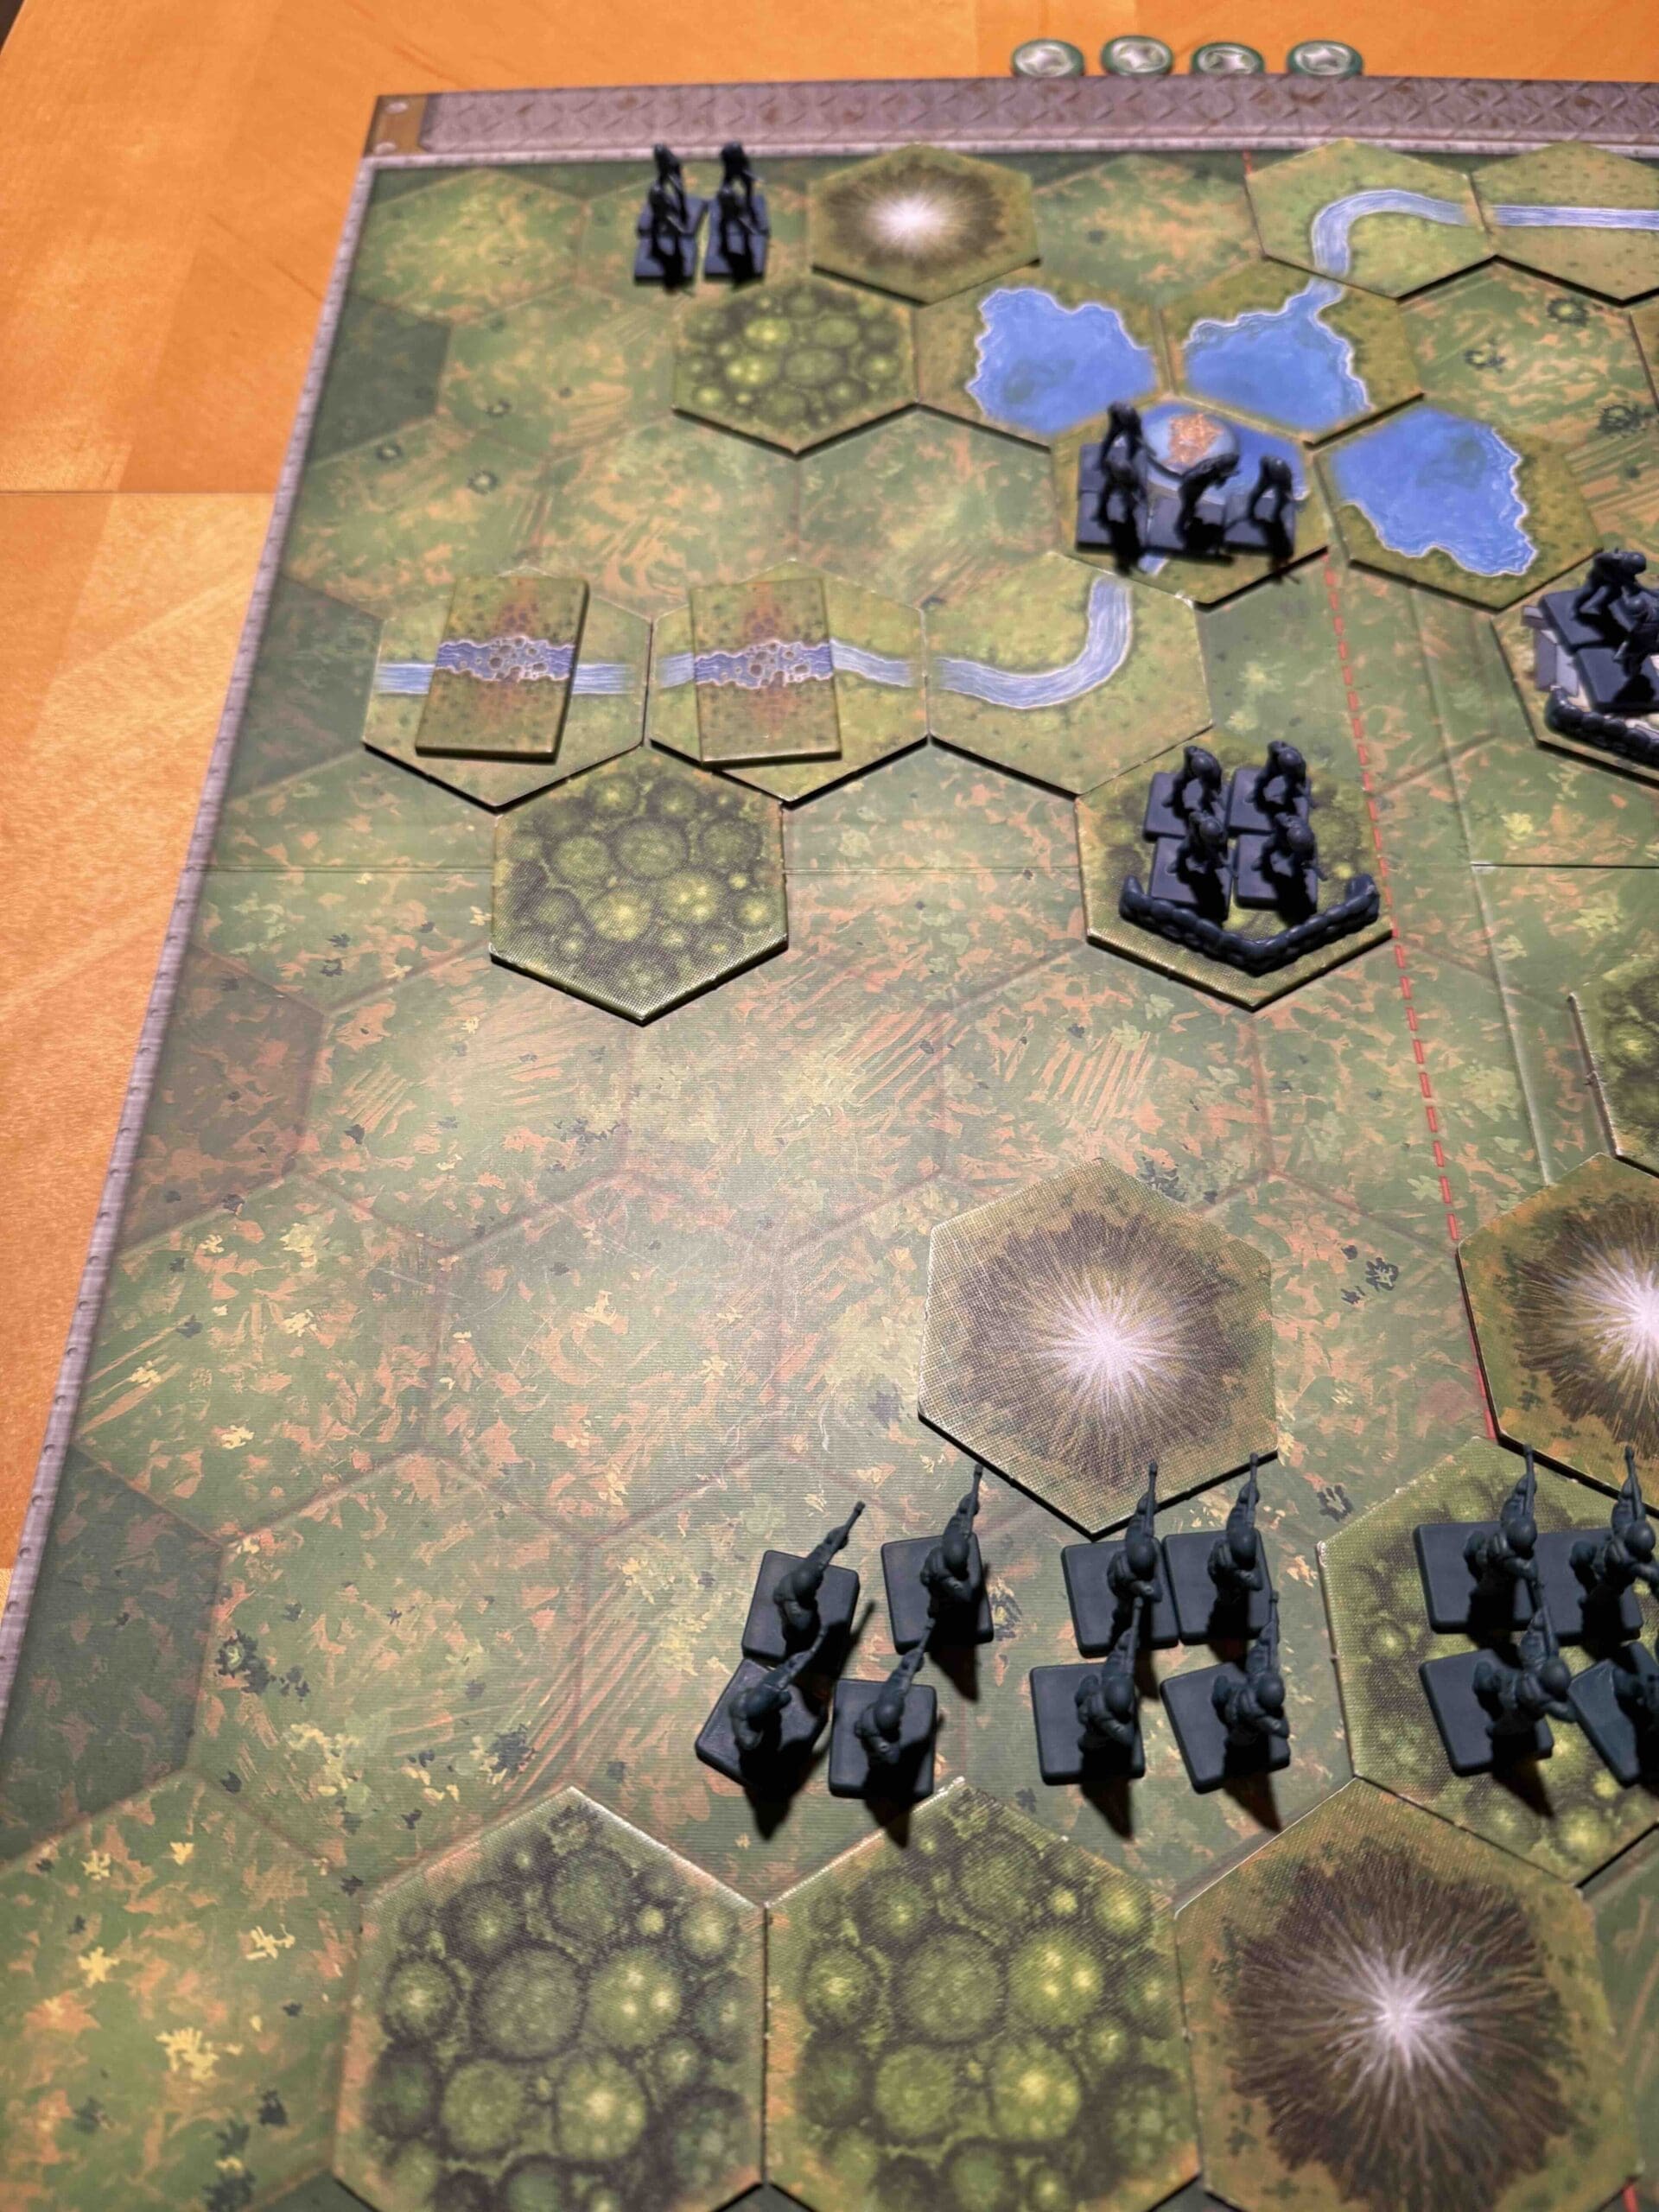
This scenario begins with both forces arrayed across the battlefield and ready to engage in immediate warfare. It is a countryside with hills and caves spread across all three sections. The caves allow for rapid movement of Japanese troops.

Troops:

Allies – 10 Infantry, 2 Armor, 2 Artillery

(Infantry practices the Gung-Ho! rule.)

Axis – 10 Infantry, 2 Artillery

(Japanese Infantry practices the Seishin Kyoiku Doctrine (SKD), and the Yamato Damashi Concept, and the Banzai War Cry.)

Allied Strategy:

1. The enemy is weak on your right flank. They have no artillery protection on half the flank. With your artillery, you have a slight numeric advantage. If you can work up the cards, you could launch an attack on tht side, and gain half the VP’s you need. Once you overwhelm that section, your remaining forces can combine with your center section troops to finish off the job and gain your final three VP’s.

2.  Use your Artillery to hit every full force Infantry unit at least once in order to cancel out the SKD advantage they have.

3.  Note that one of your artillery is mobile, so you can move in and fire. But do not move in too close prematurely, or the Japanese forces will overwhelm you with their SKD power.

4.  Strategic consideration based on this special rule:
“When all the Japanese units in a section of the battlefield (right, center or left) are eliminated, the Marines gain one Victory Medal.”  This means that if you can concentrate all of your attacks in one section, you will gain not only the medals for eliminating units, but also one extra Victory Medal for clearing out the section. Your most likely focus for this is the right section, since there are no enemy Artillery to eliminate.

Axis Strategy:

1.  Use the Banzai War Cry combined with the Seishin Kyoiku Doctrine to quickly advance your full-power Infantry units to attack any enemy who are within striking range. With the additional dice roll that SKD provides, you can quickly weaken the enemy.

2. Remember to use the tunnel system to quickly move infantry from hill to hill to get your forces into the action.

3. Use your artillery at every opportunity on any enemy forces that approach.

4.  Your Infantry are sitting mostly on Cave on a Hill hexes, which give a massive defensive advantage of minus 2 (only one dice attack), for normal attacks.  This allows you to fend off many attacks. And when they get weak, you can do a quick swap out with fresh units using the cave system.  So do not be quick to leave such a defensive position unless you can launch a decisive attack.

Battle Reports

(classic percentage of Allied victories):

68%

29
BR - SugarLoaf

Author:

Days of Wonder

Link:

Strasbourg

Strasbourg

On January 7, 1945, the German Nineteenth Army launched an attack south of Strasbourg against the First French Army in an operation code-named Sonnenwende (“Winter Solstice”). This offensive was part of a broader German effort to counter the Allies’ advance in Alsace and maintain control over key territory in eastern France.

The attack aimed to push back the French forces and threaten Strasbourg, a strategically vital city for the Allies. Despite initial German gains, the French First Army, with support from American forces, mounted a resilient defense. Allied artillery and air support helped to stall the German assault, ultimately preventing the Nineteenth Army from achieving its objectives.

The failure of Sonnenwende weakened German forces in the region and contributed to the broader collapse of German defenses in Alsace, allowing the Allies to solidify their hold on Strasbourg and continue their push toward Germany. 

General Howitzer’s summary:  

Sonnenwende was a damn flop for the Germans—it drained their strength, cracked their lines in Alsace, and handed us the keys to Strasbourg. From there, it was full steam ahead, straight into the heart of Germany.


5 VP’s

Card Balance:

Allies – 6

Axis – 4

Complexity:

4

Conditions:

Winter

Location:

France

Year:

1945

Theater:

Western Front

Campaign

Codename:

Sonnenwende (“Winter Solstice”)

Summary:

Objectives:

5 VP’s, and two Medal Objectives for Axis

Battlefield:

Strasbourg is a winter scenario with a frozen river cutting diagonally across the battlefield. It is passable. There is also an impassable river with three bridges crossing it. Each set of troops are squeezed against opposite corners causing an exciting asymmetrical warfare experience.

Troops:

Allies – 8 Infantry, 3 Armor, 1 Artillery

Axis – 6 Infantry, 4 Armor

Allied Strategy:

1. You need to defend the medals in the town and bridge hexes because the Axis are going to come at you with everything they’ve got.  They have you outnumbered by armor and there is a lot of open territory, so you will need to get your forces into defensive positions.  

2.  Your infantry in the forward right flank are in a position to attack the enemy forces backed up against the border so hit them while you can. 

Axis Strategy:

1.  Big picture strategy for you is to push your forces down the center section and to pursue the two medal objectives in the town and bridge hex. 

2.  Because your forces are pushed up against the back wall, you need to get them mobile as soon as possible.  Your most immediate concern is to deal with the two Infantry units right in front of you.  

26
BR - Strasbourg

Author:

Days of Wonder

URL

St. Vith, Ardennes

St. Vith

Scenario_StVith_start_Axis

The Battle of St. Vith, fought in December 1944 during the Battle of the Bulge, was a critical engagement on the Western Front in World War II. Located in Belgium, St. Vith was a key road junction that the German Army sought to capture to facilitate their advance into the Ardennes.

Men — what you saw at St. Vith was grit forged in steel. Outnumbered, outgunned, and half-frozen, those boys of the 106th Infantry and 7th Armored stood toe-to-toe with the damned 5th Panzer Army and said, “You’ll move through us only over our dead bodies.”

They fought for every yard of ground, every shell hole and hedgerow, and by God, they made the Germans pay for every inch. Their stand wrecked the enemy’s timetable, blunted his spearhead, and bought the time our armies needed to gather their strength for the counterblow.

When they finally withdrew on December 23rd, it wasn’t defeat — it was a tactical victory paid in blood and courage. St. Vith was no retreat; it was a wall of American willpower that helped break Hitler’s last gamble in the west.

~~ General Howitzer

6 VP’s

Card Balance:

Allies – 4

Axis – 5

Complexity:

4

Conditions:

Countryside

Context:

Historical

Location:

Belgium

Year:

1944

Theater:

Western Front

Campaign:

Ardennes

Context:

Historical

Summary:

Objectives:

6 VP’s

Battlefield:

The St. Vith scenario has a large central battlefield surrounded by forests blocking access to each of the flanks, and a long ridge of impassible mountain hexes (the Prumerberg) across the back of the field. It makes for intense warfare of armor, infantry and artillery battling it out for dominance in the center.

Troops:

Allies – 7 Infantry, 6 Armor

Axis – 10 Infantry, 4 Armor, 1 Artillery

Allied Strategy

1. The Allies are on the defensive here, receiving only 4 cards vs. the Axis’ 5 cards. You have sandbags; use them, and don’t be too quick to move out from them.

2. The center section with the impassable mountains behind and the enemy artillery in front is kind of a kill-zone unless you are prepared for it. Your best assault tactics may be found on the flanks.

Axis Strategy

1.  Your forces are bunched together making for many no-retreat situaions. Move your Infantry into the woods as soon as possible.

2. Note that the enemy has their backs to the wall with the impassable mountains behind them.  Once your infantry are deployed in the woods, use your armor and artillery to hit any forces in the center section. Most of your hits will be enhanced by another 17% because of the no-retreat situation in which the Allied forces find themselves.

3.  Note that although the Allies have a 6-4 armor advantage, their two armor in the back center section will be slow to get into the action. If you can hit or eliminate one or more of the forward armor units before the others come into play, it will even out the battle for you.  

Battle Reports

(percentage of Allied victories):

45%

20
BR - St. Vith

Author:

Days of Wonder

Link:

Schwammenauel Dam

Schwammenauel Dam

Historical Summary

We didn’t fight our way to the Schwammenauel Dam for scenery — we took it because it was choking our advance. The Germans thought they could hold the Roer hostage by flooding the valley and buying themselves time. That was a mistake. American infantry went in, took that dam under fire, and shut the valve on German delay tactics. Once the dam was secured, Operation Grenade could roll forward without interference, and the Roer was crossed on our terms. That action tore down the last real barrier in the Rhineland and put our armies back on the march straight into the heart of Germany — exactly where we intended to go.

~~ General Howitzer

VP’s:

5

Card Balance:

Allies – 5

Axis – 5

Complexity:

4

Conditions: 

Mountains & Countryside

Location:

Germany

Year: 

1945

Theater:

Western Front

Campaign:

Allied Rhineland Campaign

Summary

This is an exciting scenario with some unique features which recreate actual events on the battlefield in 1945.

Objective:

Six Medals will win, but the principle objective for the Allies is to preserve the two dams, Schwammenauel and Urft.  Should either of them get successfully sabotaged by the Germans, and the Allies will likely lose the scenario.

Battlefield:

It is rugged mountainous terrain encircled by a river, mountains, and forests, with a dam at either end of the River Roer.

Troops:

Allies: 10 Infantry, 2 Armor

Axis: 8 Infantry

Special Rules:

Sabotaging a Dam – each of the two dams require a total of 4 stars to be destroyed.  At the start of every turn, no matter what cards they hold in their hand, the Axis player rolls two dice, one of each dam.  However, the dice will only count and apply to a dam if an Axis unit is on the actual dam hex.  For each Star rolled, if the dam is occupied by Axis forces, a star icon is placed on that dam. Once a total of four stars accrue, the dam is destroyed, and the Axis player receives 4! victory medals per dam. 

medal allies

🔥 Winning as Allies


1.  Big Picture Strategy:  Destroy the enemy or capture the dams before they are sabotaged. Your best option, historically is to capture the Urft Dam first.

2.  You have two Armor units, but given the rugged terrain, they will be almost useless to you.  If you waste your time trying to get them out from behind the mountain, you will be giving the Axis time to sabotage the dam.

3.  Your paratroopers have landed in a dangerous spot, pressed up against the mountain wall as they are. Move them forward to attack ASAP, before they are destroyed.

4.  Your right flank is your strongest at the start.  Move quickly forward to overwhelm the enemy and secure the  Urft Dam.

medal axis

🔥 Winning as Axis

1.  Big Picture Strategy:  the goal is to delay the Allies (delaying tactics) as long as possible so that you can blow the dam(s).  This will take at least four turns, but in reality, much longer.  If you successfully sabotage one dam, (worth 4 medals!), you only need to take out one other Allied unit to win.  Should you blow both dams, you are guaranteed a win.  (Historically, the Germans were able to blow the discharge valves of the Schwammenauel Dam and flood the Roer River.

2.  The Dam provides no battle protection. The only reason to stay on the hex is to attempt to sabotage the dame.  But once the Allies get close, keep some forces in the woods to attack and slow down the enemy.

3.  The Allied Paratroopers are easy prey, backed up against the mountain.  Take them out quickly before they can attack your forces in the town of Kommerscheit.

1
BR - Schammenauel Dam

Author:

Days of Wonder

URL

Saverne Gap, Vosges

Saverne Gap

scenario_SaverneGap_start_Allies

Listen up, soldiers. The Saverne Gap is the low door through the Vosges—and the key to Strasbourg. On 21 November, XV Corps under Haislip hit the line at Phalsbourg and started prying that door open. While our infantry pressed the pass, Leclerc did exactly what I like—speed and audacity—splitting his 2e DB into two hard-driving task forces: one swinging north via La Petite-Pierre, the other knifing south through the woods by Dabo. They struck Saverne from both flanks, and a southern column punched in from the west, climbing to the Gap and rolling the defenses from behind. The enemy fought, but without depth or reserves you can’t stop a three-pronged hammer. Result: Saverne falls, the hinge breaks, and the road to Strasbourg yawns wide.

Lesson: find the gap, hit it fast, hit it twice, and exploit without blinking. Keep moving—because momentum, not caution, wins cities and ends campaigns.

~~ General Howitzer

5 VP’s

Card Balance:

Allies – 6

Axis – 4

Complexity:

4

Conditions:

Moutaneous Countryside

Location:

France

Year:

1944

Theater:

Western Front

Campaign

Codename

Summary:

Because of the impassable mountains, Saverne Gap is almost like three separate battles taking place.

medal allies

🔥 Winning as Allies

1. As Allies, there is very little opportunity to move troops from one section to another, so you need to watch your tactics carefully and be careful with your attack.

2. One possible opportunity for attack is up the center, if you have the right combination of cards, such as Infantry Assault, you goal is to quickly overwhelm the first town in your way. While they enemy controls that town they can force you back against the wall and score some extra hits with retreat flags. The wire bales in front of the town will definitely decrease your attacking power, but with two or three good center section attack cards, you will eventually be successful. From there, your forces will be able to spread out a bit for the attack against the forces defending town of Saverne.

3. Your right flank will be the most difficult one to maneuver through. With the tight quarters and the enemy protected in a town and forest hex, it will be difficult for your tanks to succeed agains them. The tanks can only fire with one dice at a time. And you only have one infantry force to attack the town and forest hexes. If you can lead with your infantry, they will be more successful by being able to throw two dice at a time for each close assault attack.

4. Watch your card play, and when you get the right combination of special Combat cards, use that as the basis for your decision of which section to pursue your victorious attack.

5.  With a number of left flank cards, you can attack the infantry in the woods and town at a distance.  Degrade and eliminate them, and then move in to attack the town of Saverne itself from the flank, surprising the enemy, just as they did historically.

medal axis

🔥 Winning as Axis

1. Note that because the mountains are impassible, you will not be able to fire your artillery at the outer sections.

2. The center section will be the most important to guard as the town of Saverne represents one VP. If you can delay the advance of the infantry up the center, you may be able to wait for the right combination of cards to assist you with the task of preventing their forward advance.

3. Keep your forces in the forests and town hexes and never leave them. Just stay safely hidden inside as you continuously attack them relentlessly degrading their attacking power.

Battle Reports

(percentage of Allied victories):

46%

24
BR - SaverneGap

Author:

Days of Wonder

Link:

Sainte-Mere-Eglise

Sainte-Mere-Eglise

scenario_StMereEglise_start_Allies

“Listen up! On June 6th, 1944—D-Day—the boys of the 82nd Airborne Division as part of Operation Neptune, jumped out of those planes and straight into history. Sainte-Mère-Église—that was the prize. Those paratroopers were dropped right on top of the town, some hanging from steeples and some dropping straight into Germany’s lap!

But those boys didn’t flinch. They fought like hell, street by street, house by house, until Sainte-Mère-Église was ours. That town was the first piece of France to taste freedom again, and by God, it stayed that way.

They didn’t just take a town—they choked off German reinforcements and cleared the way for the boys coming in at Utah Beach. That’s how you make a landing stick, boys—you seize the ground, hold it like a bulldog, and keep moving forward! Sainte-Mère-Église was just the start of the march that would bring Hitler’s Reich to its knees!”

~~ General Howitzer

4 VP’s

card

Card Balance:

Allies – 5

Axis – 4

Complexity: 

2

Conditions:

countryside

Location:

France

Year:

June 6th, 1944

Theater:

Western Front

Campaign:

Normandy Campaign

Codename:

Operation Neptune

Summary:

The option to drop paratroopers in either of the three sections at the start of the battle makes for a very interesting strategy, and a battle that varies quite a bit from game to game. Is there a better choice between dropping the paratroopers in the center section, or left or right flank? It comes down to the cards in your hand. So before you do the para-drop, check your cards, and determine where your most likely result of overwhelming force will occur. Combine a strong set of cards, with the presence of 3 or 4 additional infantry, could turn the tide in favor of the Allies.

Objectives:  4 VP’s

This is a four VP game, so there it is fast, and there is no room for mistakes. It is not so much about strategic positioning; it is about hitting the enemy hard and fast.

Terrain:

Countryside with forests on each side of the town of Mere-Eglise in the center section.

Troops:

Allies – Infantry, 6 -10, depending on the success of the paradrop.

Axis – 9 Infantry, 1 Armor

medal allies

🔥 Winning as Allies

1. Check your cards before you drop. Then use the drop to give even more power in your strong section. However, note that there is no guarantee that all four paratrooper units will survive the drop. You may end up with half of the force you expect. And you must be prepared for that contingency, should you drop them in the midst of enemy forces. A good commander prepares for this eventuality.

2. Your center section infantry should be ready to deploy in either direction, depending on enemy actions.

3. If you can maximize your firepower in one section, and quickly destroy the enemy, then you may have enough time and movement to bring your forces to strengthen the attack in the next section.

4. The Allies control five cards to the Axis four, so the principles of flexibility and responsiveness are on your side.

medal axis

🔥 Winning as Axis

1.  You are going to have to respond to the surprise attack by the Allies before you can do much else. But as soon as you have a chance, move your Armor out into the battle.

2.  You will have superior forces on whichever side they did not drop into, so do what you can to get your four kills before their forces overwhelm you. Your armor will be essential to the win.


Battle Reports

(percentage of Allied victories):

62%

40
BR - Eglise

Author:

Days of Wonder