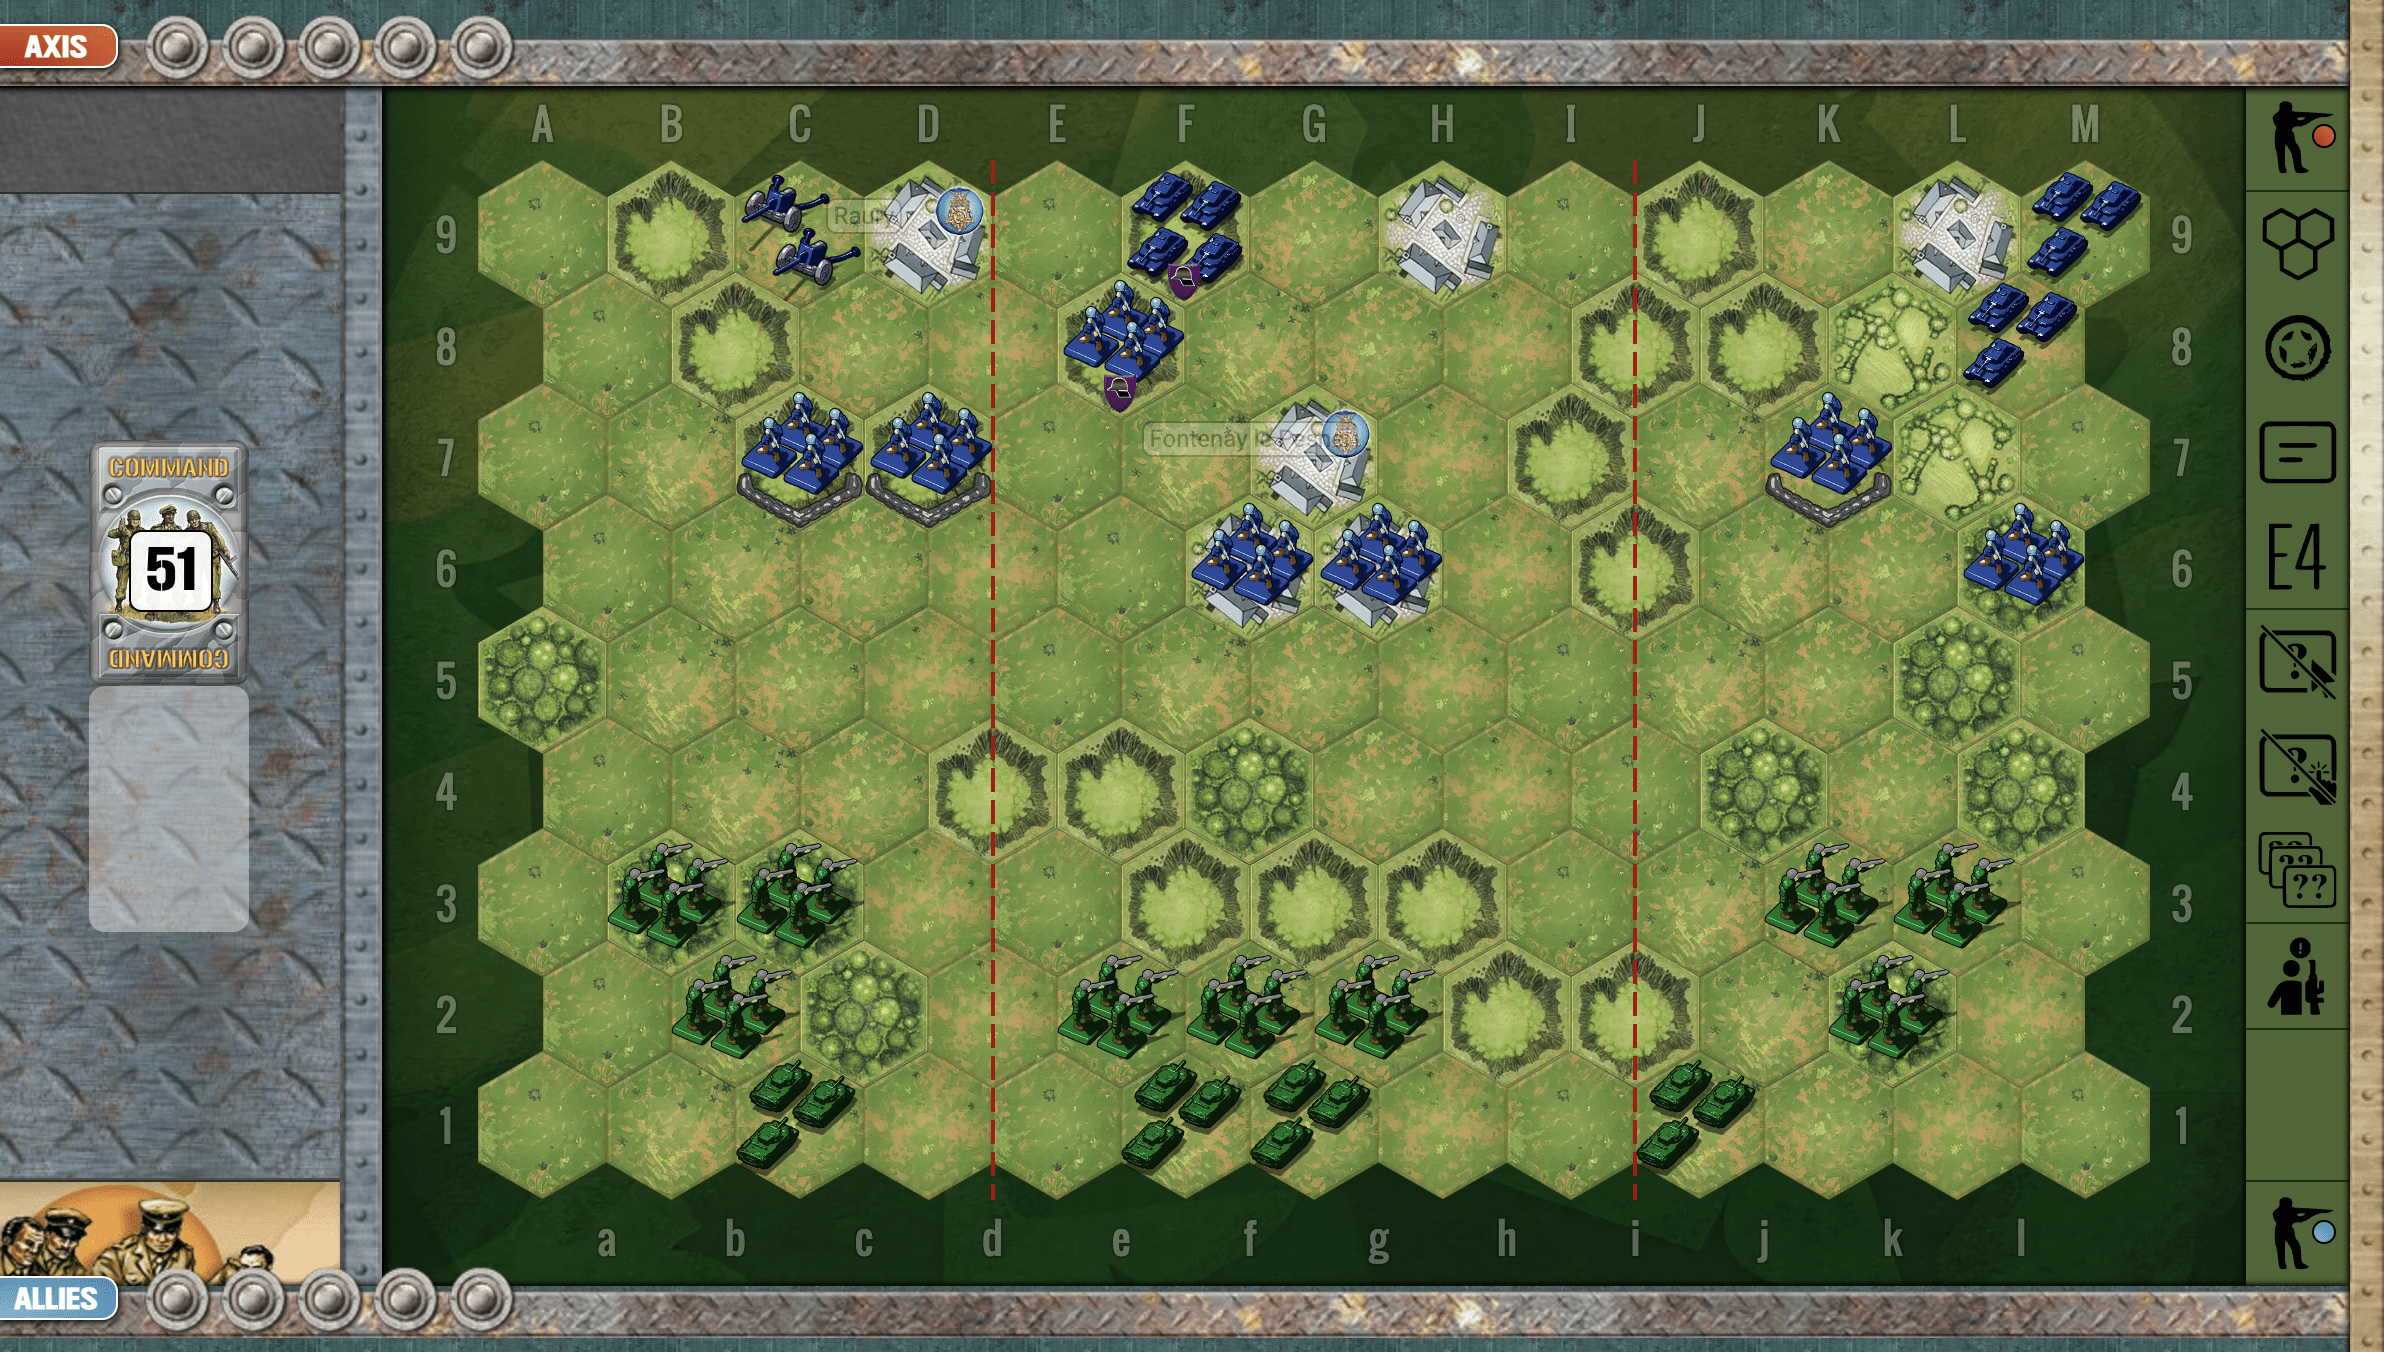
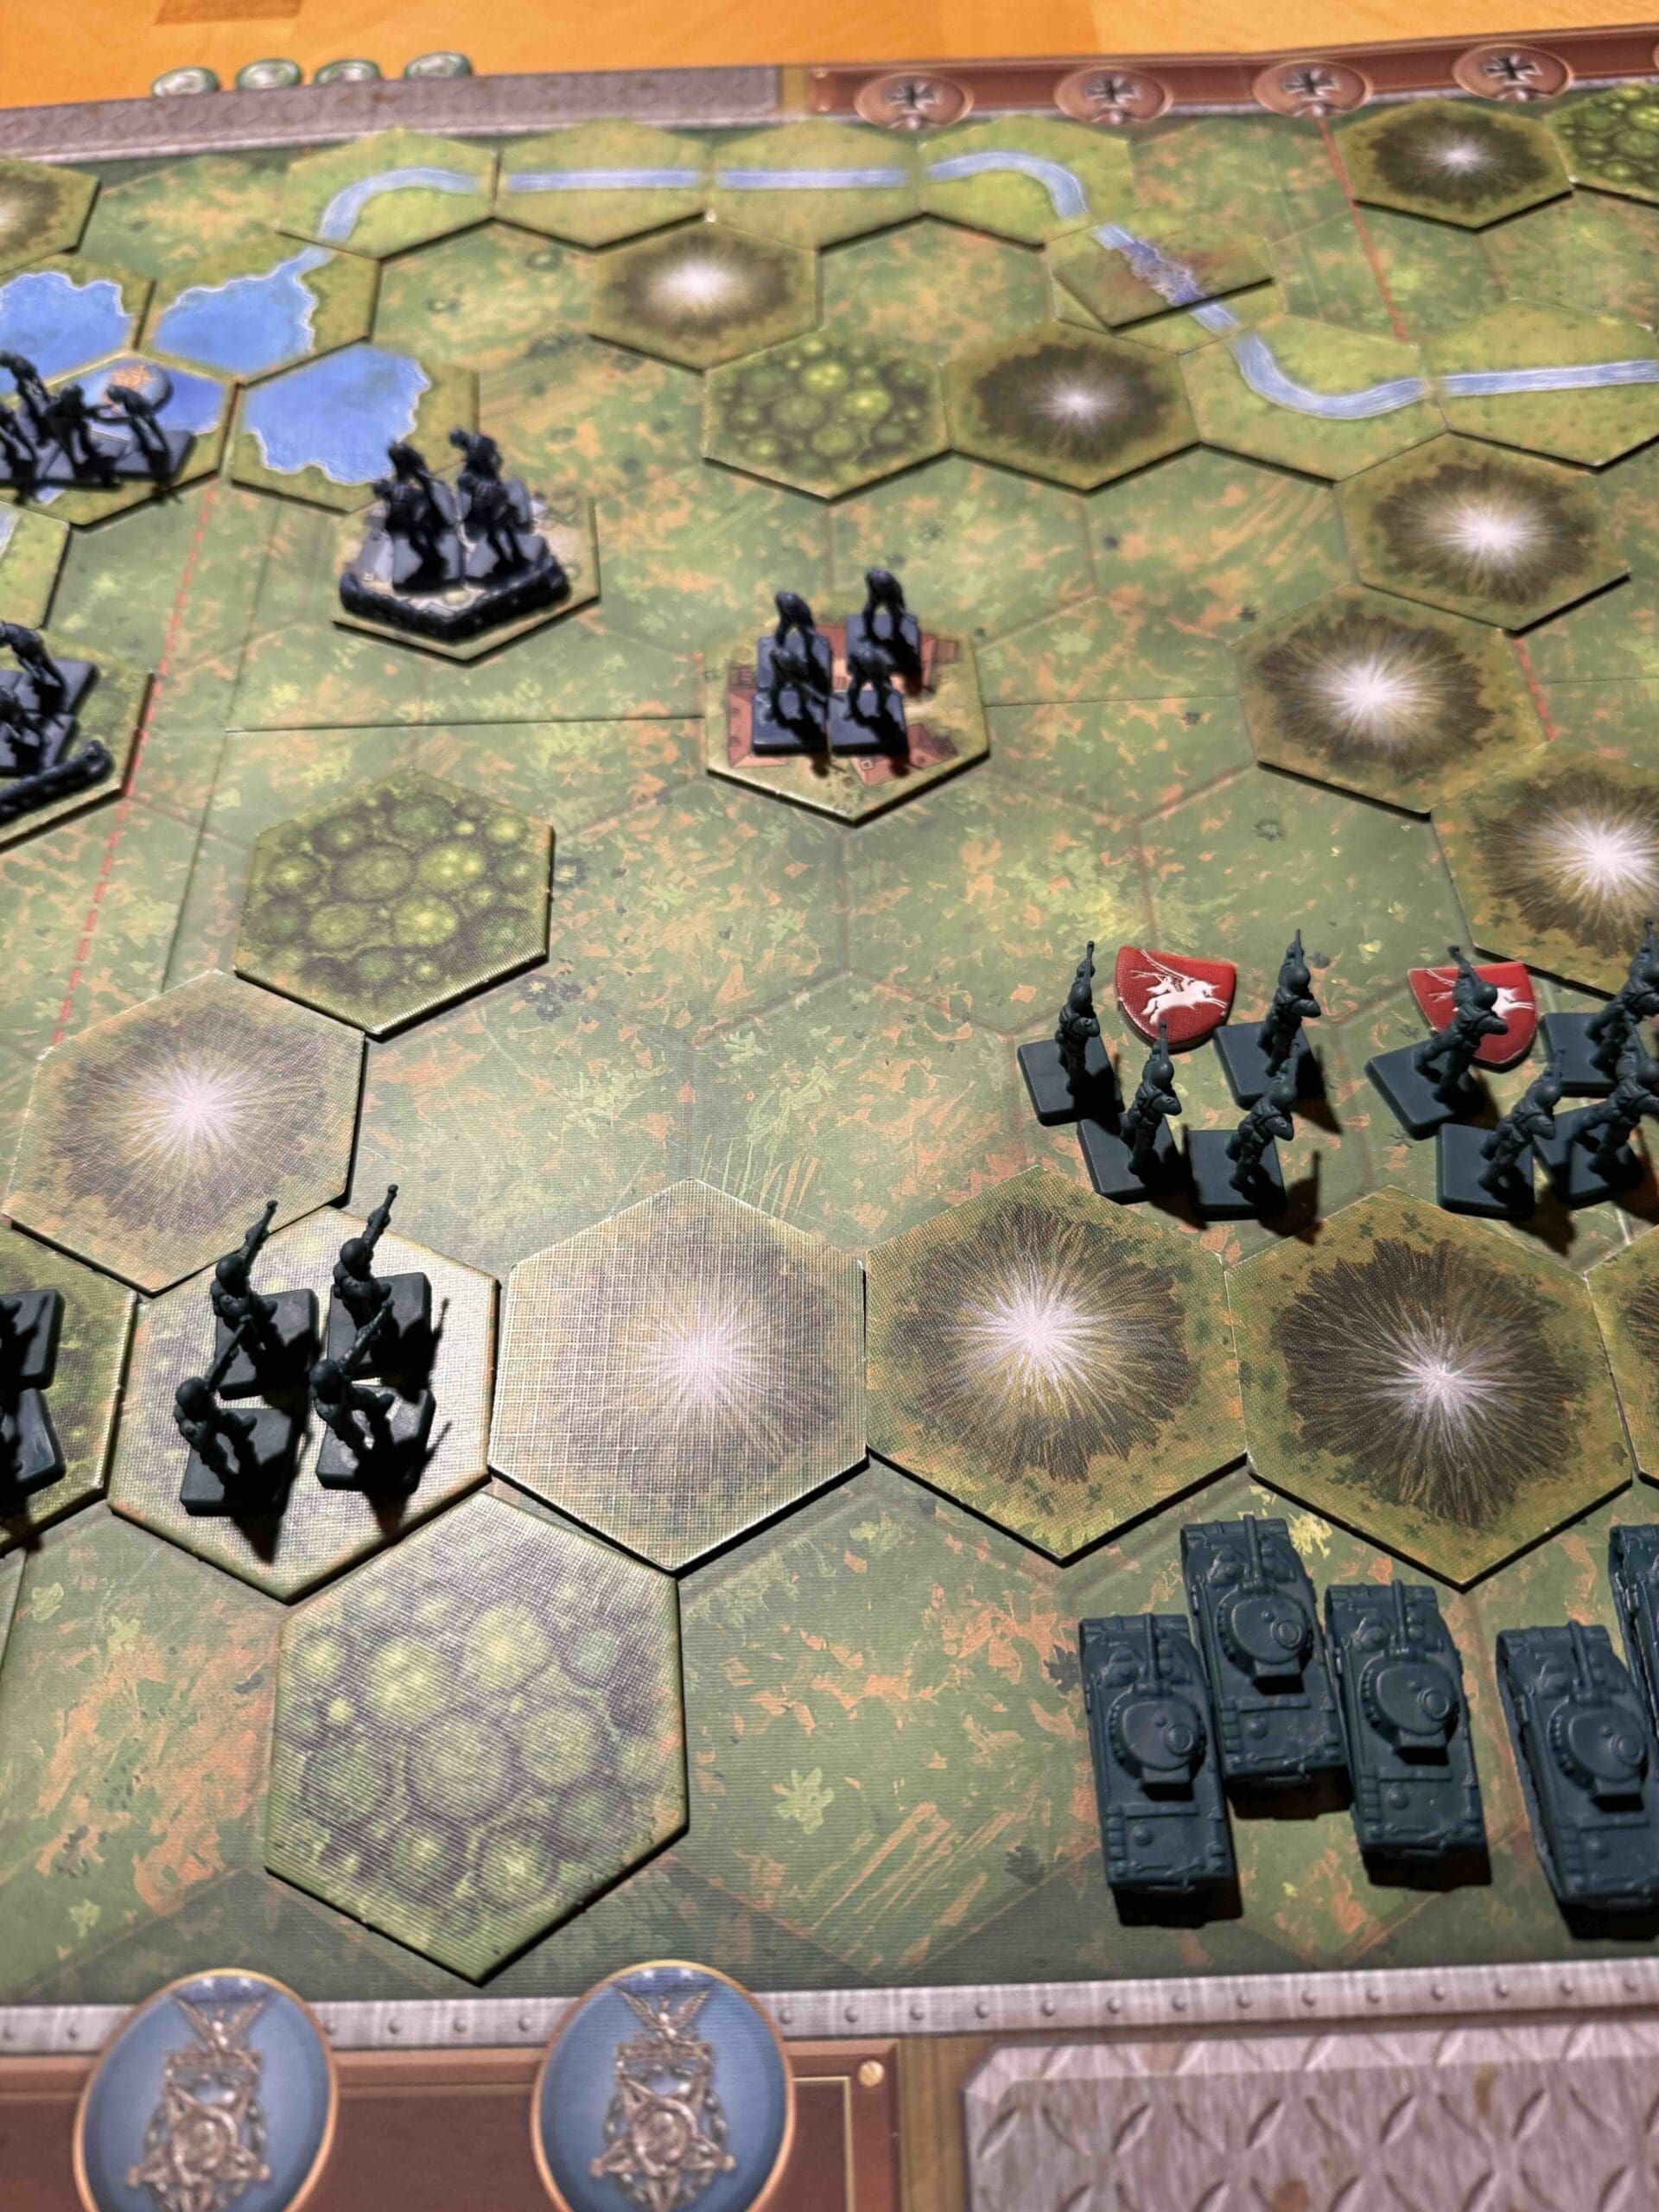
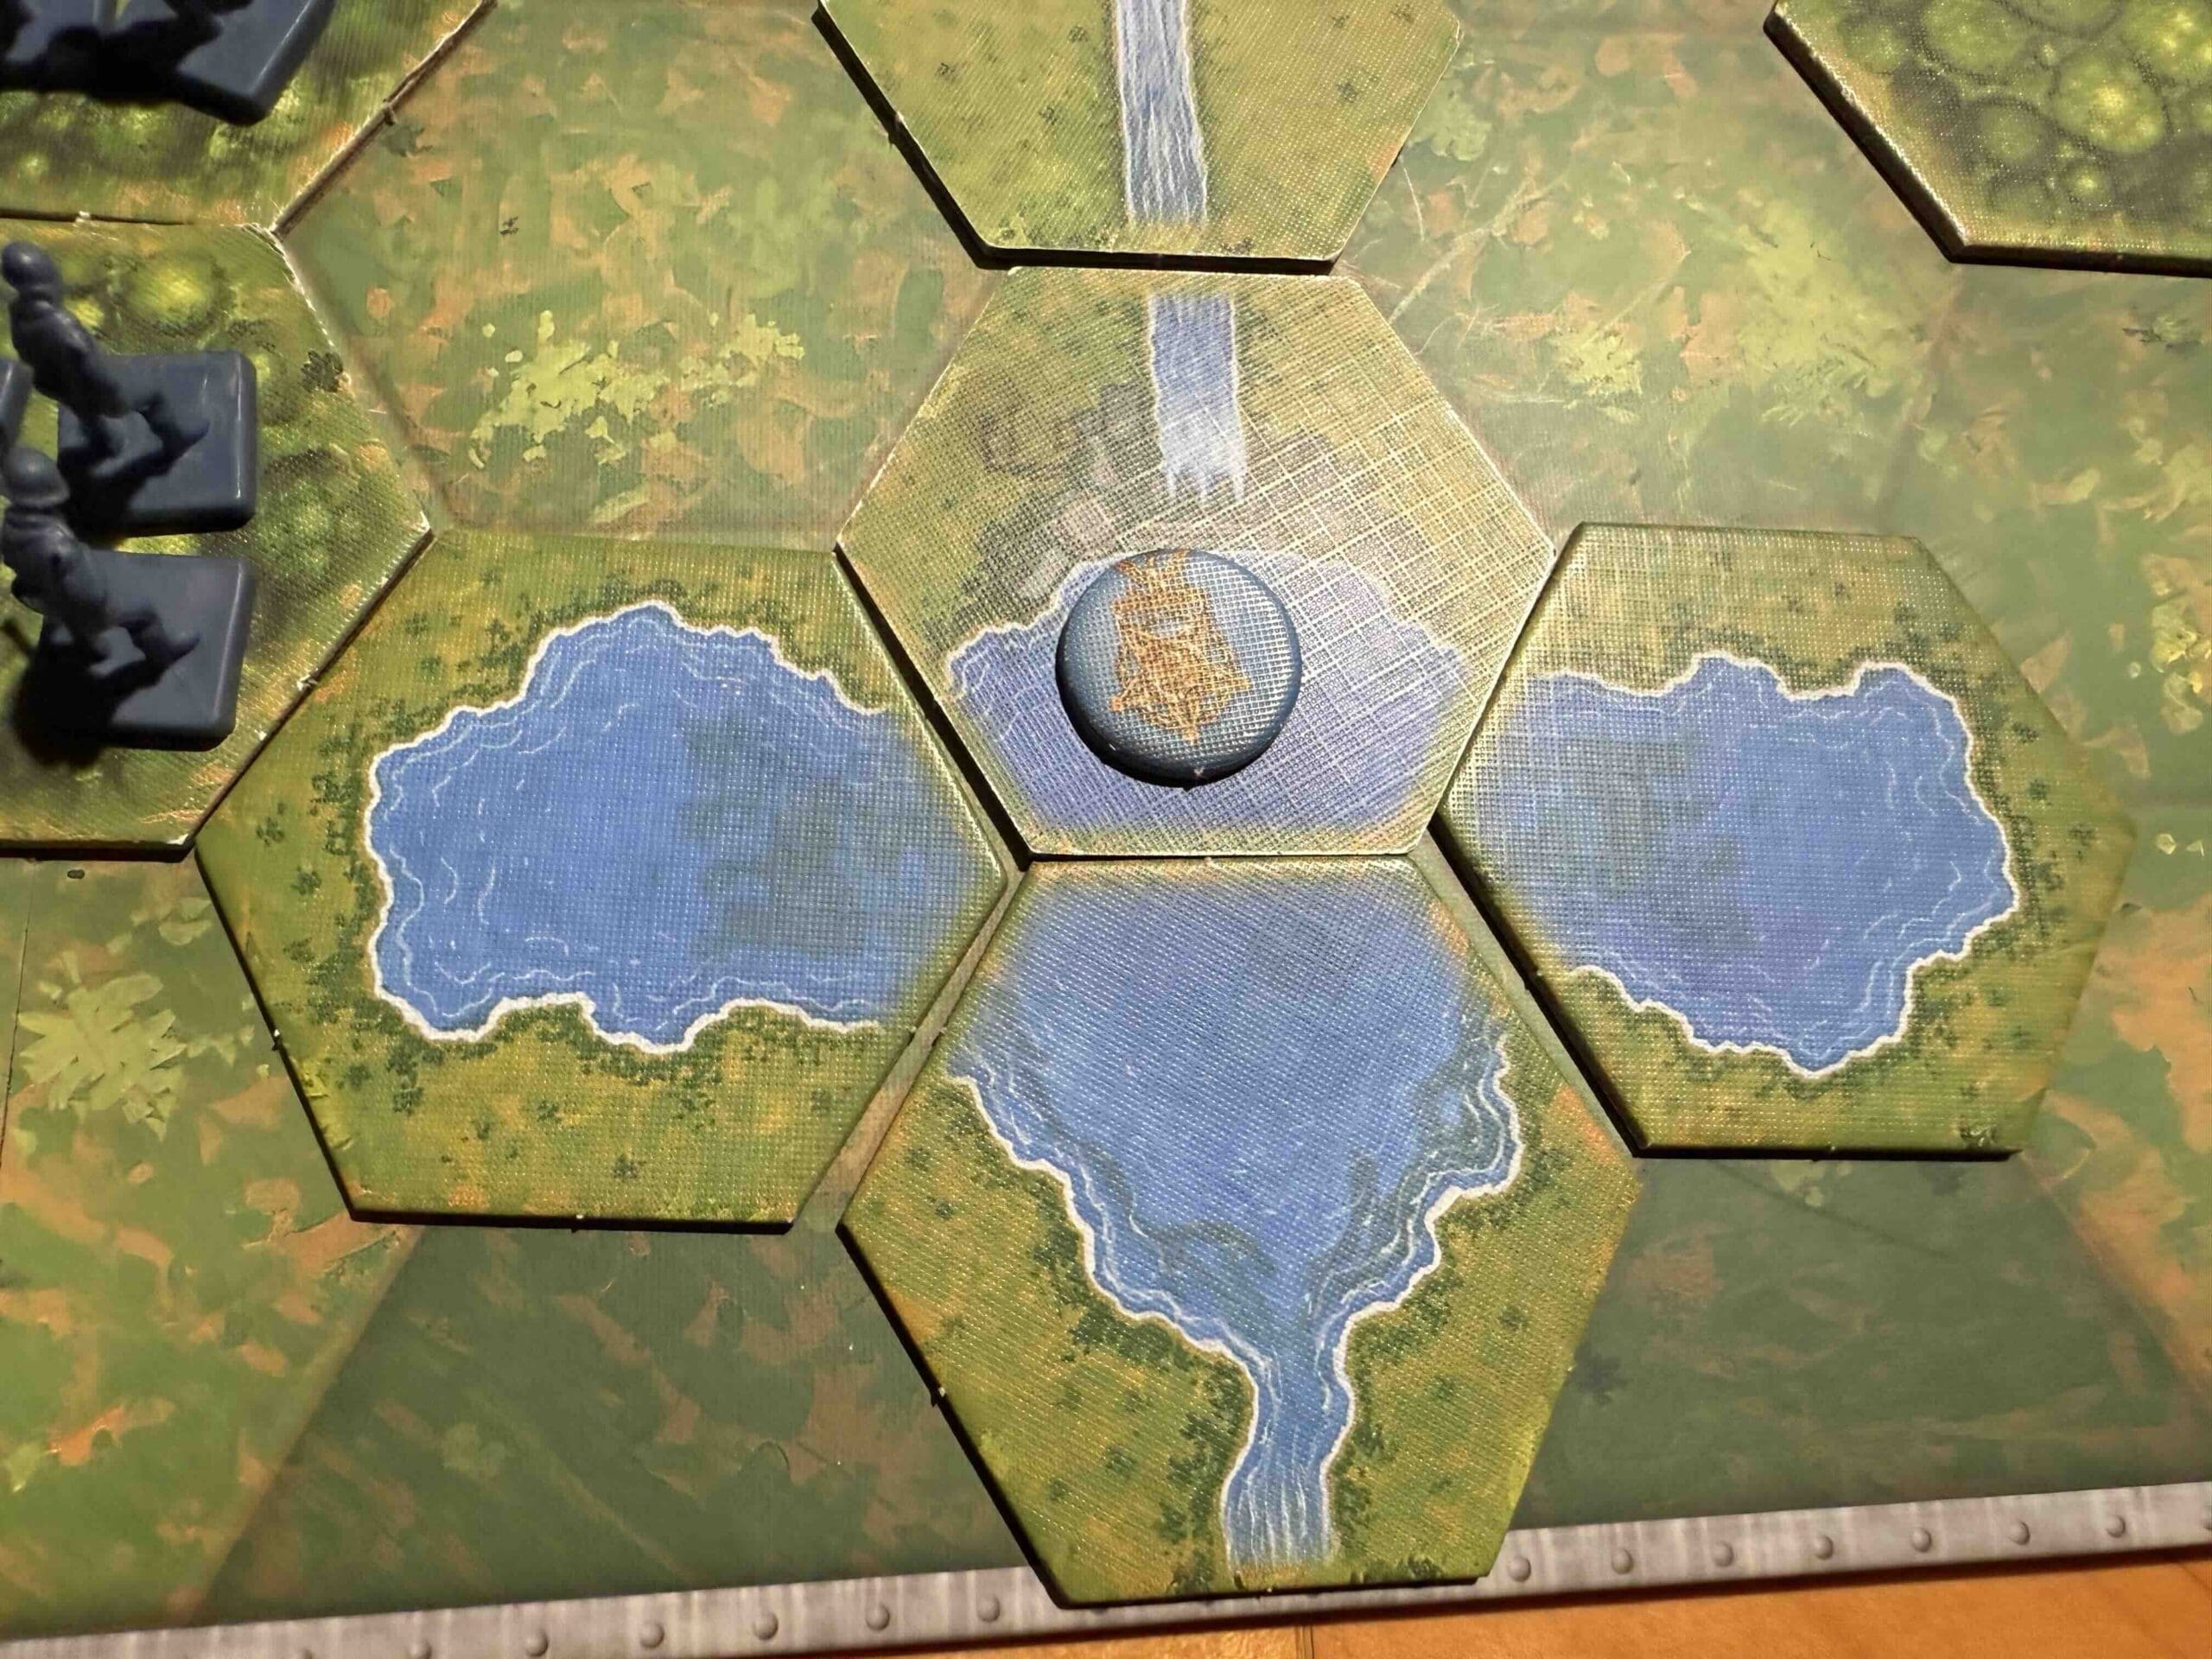
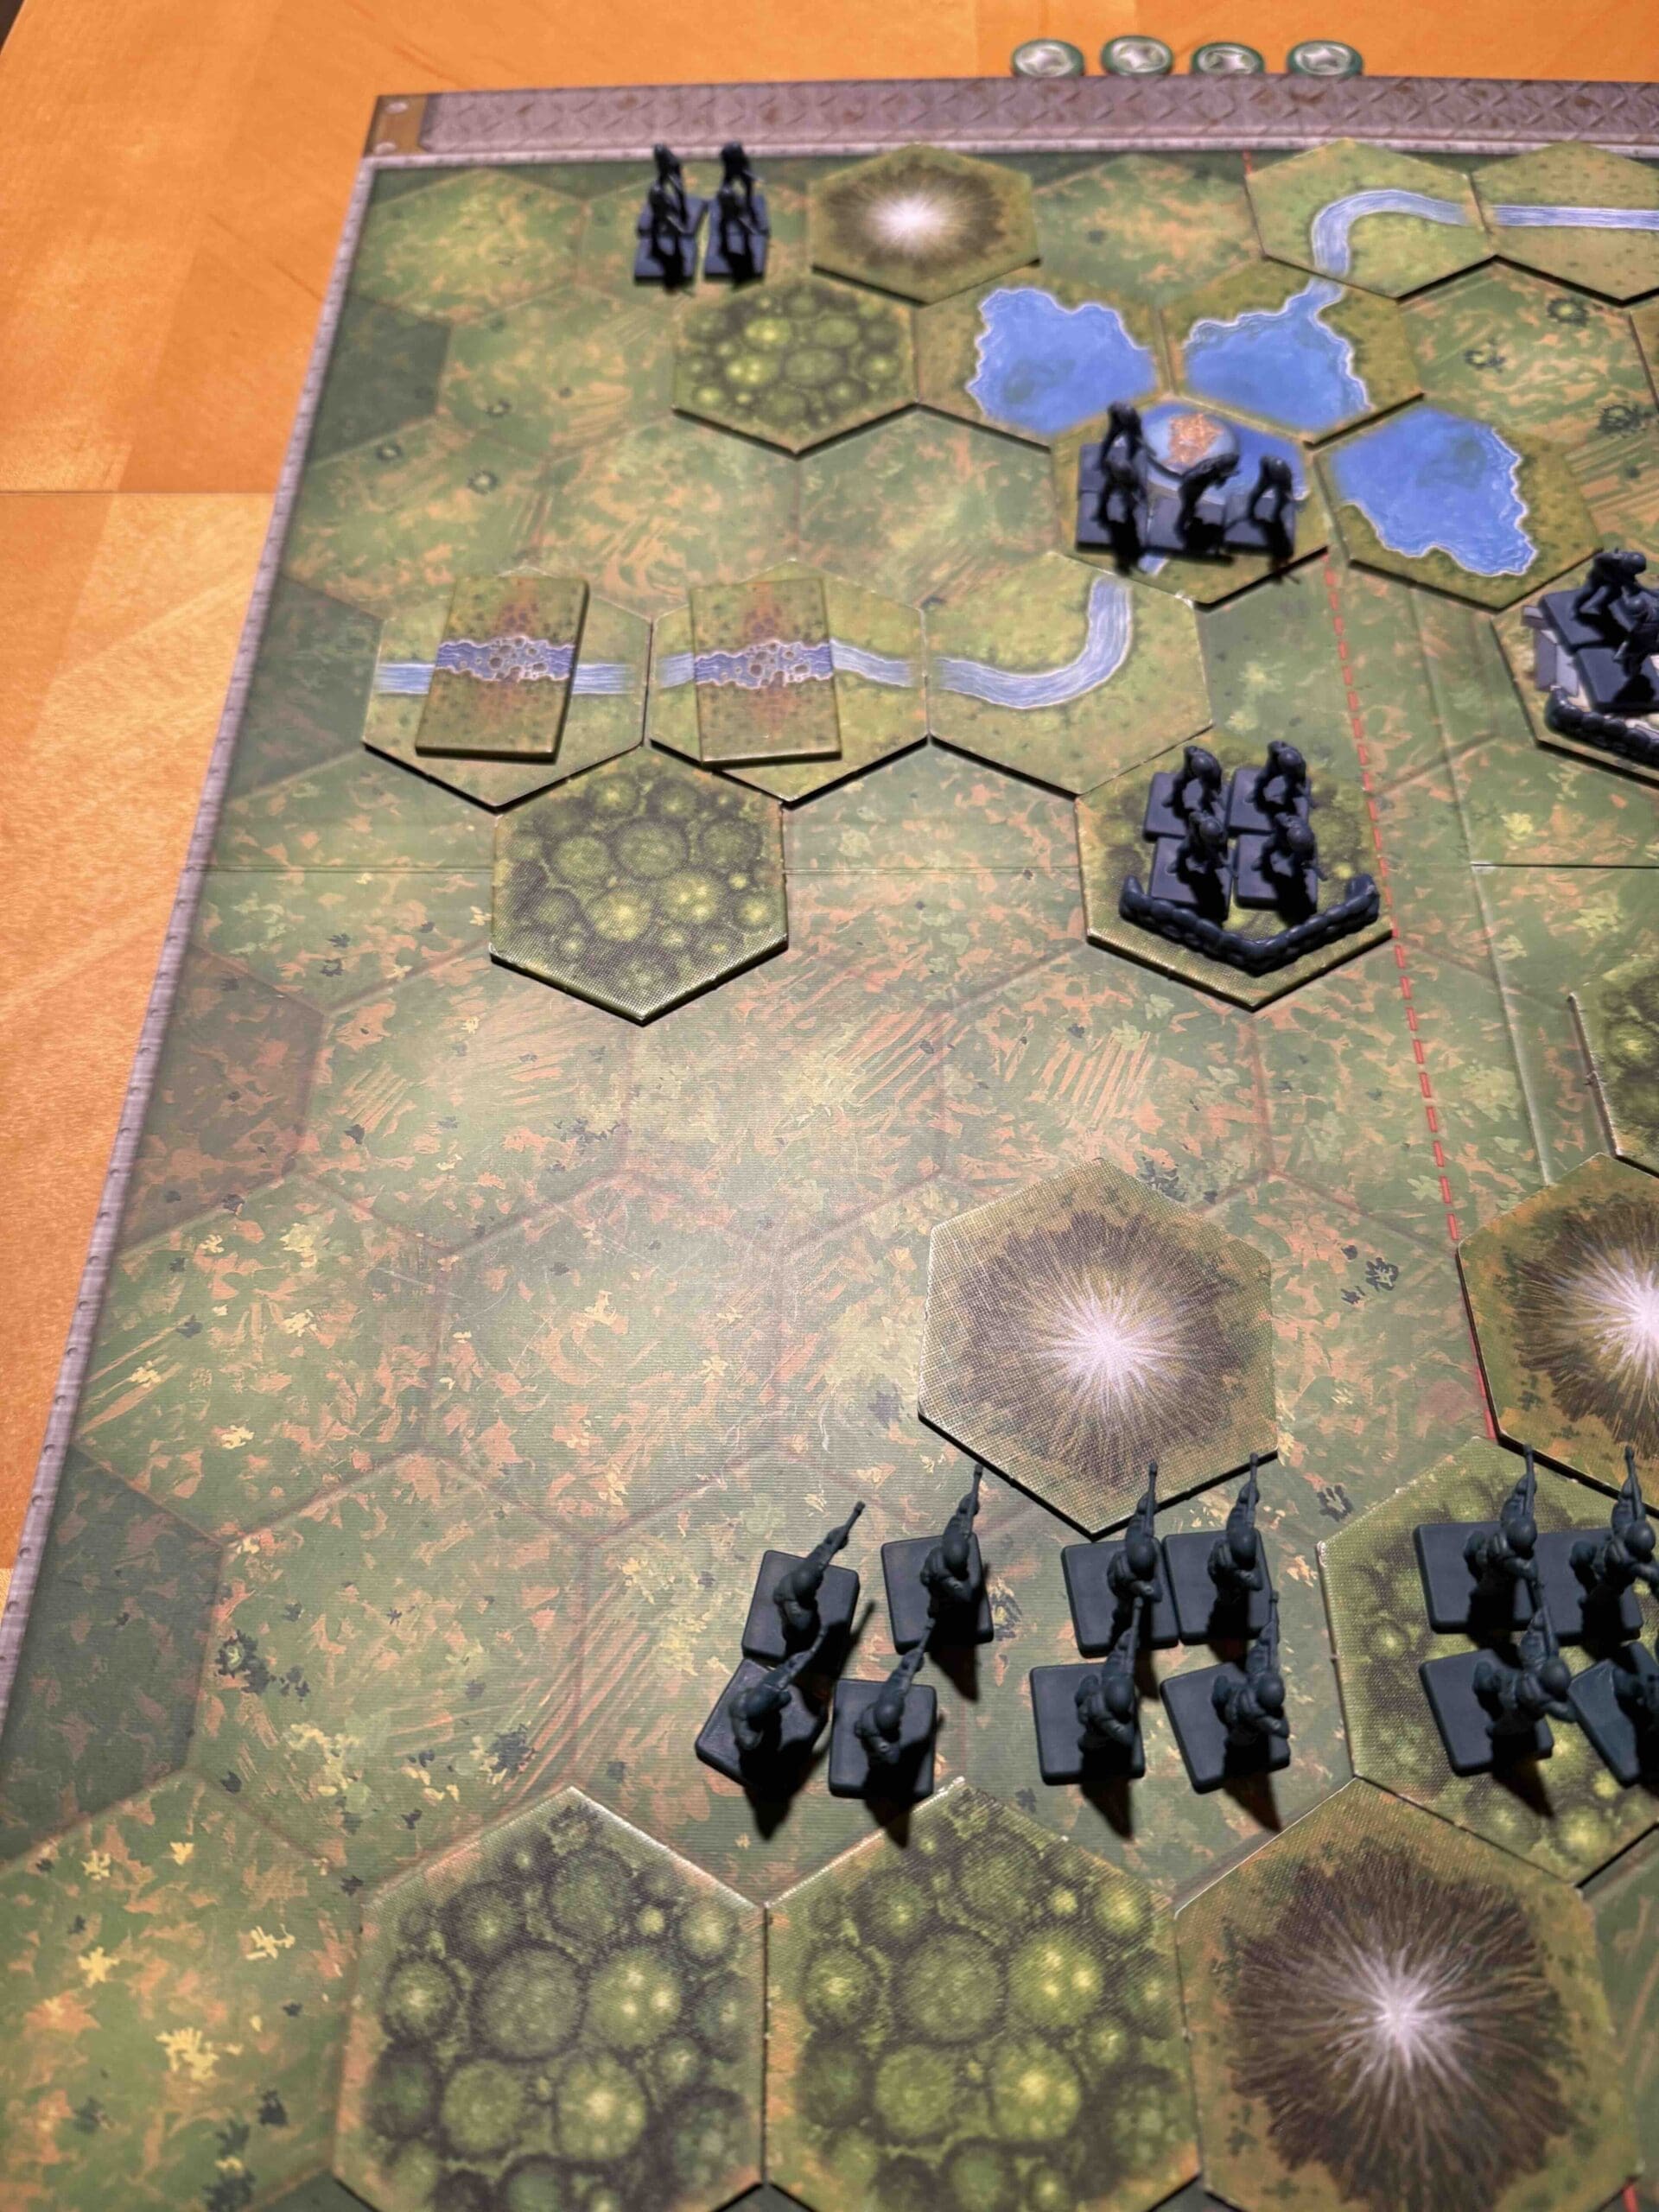
Saverne Gap, Vosges

Saverne Gap

scenario_SaverneGap_start_Allies

Listen up, soldiers. The Saverne Gap is the low door through the Vosges—and the key to Strasbourg. On 21 November, XV Corps under Haislip hit the line at Phalsbourg and started prying that door open. While our infantry pressed the pass, Leclerc did exactly what I like—speed and audacity—splitting his 2e DB into two hard-driving task forces: one swinging north via La Petite-Pierre, the other knifing south through the woods by Dabo. They struck Saverne from both flanks, and a southern column punched in from the west, climbing to the Gap and rolling the defenses from behind. The enemy fought, but without depth or reserves you can’t stop a three-pronged hammer. Result: Saverne falls, the hinge breaks, and the road to Strasbourg yawns wide.

Lesson: find the gap, hit it fast, hit it twice, and exploit without blinking. Keep moving—because momentum, not caution, wins cities and ends campaigns.

~~ General Howitzer

5 VP’s

Card Balance:

Allies – 6

Axis – 4

Complexity:

4

Conditions:

Moutaneous Countryside

Location:

France

Year:

1944

Theater:

Western Front

Campaign

Codename

Summary:

Because of the impassable mountains, Saverne Gap is almost like three separate battles taking place.

medal allies

🔥 Winning as Allies

1. As Allies, there is very little opportunity to move troops from one section to another, so you need to watch your tactics carefully and be careful with your attack.

2. One possible opportunity for attack is up the center, if you have the right combination of cards, such as Infantry Assault, you goal is to quickly overwhelm the first town in your way. While they enemy controls that town they can force you back against the wall and score some extra hits with retreat flags. The wire bales in front of the town will definitely decrease your attacking power, but with two or three good center section attack cards, you will eventually be successful. From there, your forces will be able to spread out a bit for the attack against the forces defending town of Saverne.

3. Your right flank will be the most difficult one to maneuver through. With the tight quarters and the enemy protected in a town and forest hex, it will be difficult for your tanks to succeed agains them. The tanks can only fire with one dice at a time. And you only have one infantry force to attack the town and forest hexes. If you can lead with your infantry, they will be more successful by being able to throw two dice at a time for each close assault attack.

4. Watch your card play, and when you get the right combination of special Combat cards, use that as the basis for your decision of which section to pursue your victorious attack.

5.  With a number of left flank cards, you can attack the infantry in the woods and town at a distance.  Degrade and eliminate them, and then move in to attack the town of Saverne itself from the flank, surprising the enemy, just as they did historically.

medal axis

🔥 Winning as Axis

1. Note that because the mountains are impassible, you will not be able to fire your artillery at the outer sections.

2. The center section will be the most important to guard as the town of Saverne represents one VP. If you can delay the advance of the infantry up the center, you may be able to wait for the right combination of cards to assist you with the task of preventing their forward advance.

3. Keep your forces in the forests and town hexes and never leave them. Just stay safely hidden inside as you continuously attack them relentlessly degrading their attacking power.

Battle Reports

(percentage of Allied victories):

46%

24
BR - SaverneGap

Author:

Days of Wonder

Link:

Rzhev – The Meat Grinder

Rzhev (the Meat Grinder)

Memoir 44 Rzhev Scenario

“Listen up, men! The Battle of Rzhev in that God-forsaken winter of ‘42 was a real bloodbath—some called it the ‘Rzhev Meat Grinder’ and they weren’t kidding. Those Russians threw everything they had at the Germans, trying to smash their lines and give Stalin a breather for Moscow. But the Germans had their trenches dug deep and those Red boys paid for every inch of dirt with buckets of blood.

The snow and ice turned the whole mess into a living hell—no damn place for a man or a tank. Despite all that, the Soviets never stopped coming. Sure, they didn’t take Rzhev right then and there, but they hammered the Germans so hard they finally had to pack up and haul ass out of there later on.

So here’s the lesson, boys: courage is the fuel, and persistence is the blade—but even the toughest steel can wear down when you keep pounding it. The Rzhev campaign was brutal, but it was one more nail in the coffin of that damn Nazi war machine.”

~~ General Howitzer

6 VP’s

Card Balance:

Allies – 4

Axis – 6

Complexity:

4

Conditions: 

Winter

winter

Location:

Russia

Year:

1942

Theater:

Eastern Front

Summary:

Rzhev is a complex scenario recreating the Soviet counter-offensive with a 10 VP goal. This requires a long-term plan, as quick tactical hits will not win such a long battle.  Night rules are in effect.

Objectives:

10 VPs,
including Objective medals for both Axis and Allies, plus Exit objectives for Allies.

The town of Belyi is a temporary medal objective worth 1 medal for both sides. If any unit occupies any of the three hexes marked with an ‘A’ they gain a medal irregardless if an opponent occupies any of the other hexes. Both sides can earn 1 medal at the same time.
The town of Rzhev is a temporary medal objective worth 2 medals for both sides. If any unit occupies any of the 3 hexes marked with a ‘B’ they gain 2 medals irregardless if an opponent occupies any of the other hexes. 

Terrain:

The Axis forces already control much of the battlefield, as sandbagged troops who are very difficult to dislodge, while the Russians are pressed up against the wall.

Troops:

Allies – 9 Infantry including a Sniper, 5 Armor, 1 Artillery

Axis – 10 Infantry including a Sniper, 4 Armor, 1 Artillery

medal allies

🔥 1. Winning as the Soviets (Allies)

Soviets must be surgical, not brute-force.
Your troops have numbers but terrible defensive terrain.
So your victories come from forcing the Axis out of their woods.

Do NOT Push the Center First

The center looks juicy… but it’s a trap.

If you push center:

  • You feed medals to the German artillery in the woods

  • You take 2-dice fire from multiple directions

  • You lose tempo

2.   You can attack the well-protected Axis Infantry units by placing your Armor in the forest and degrading them over several turns. Time is on your side, so there is no need to rush the attack until you are ready.

3. You have a well-placed Artillery right in the center of the battlefield.  Use it at every opportunity to take out enemy forces. If you get the chance to concentrate firepower using a card like Firefight, Barrage, or Airpower, then use it to destroy the enemy Artillery against the back border before it moves forward.

medal axis

🔥 1. Winning as the Germans (Axis)

Because this is a Russian counter-attack scenario, the Germans are primarily in a defensive position and out-numbered. So use your protections well.  You must get your Armor into a good defensive tactical position to allow for mobility when needed, and defense of open terrain in the center and left section.

2. Your artillery is well-placed in the center. Use it to good effect before it is overwhelmed by the enemy.

Battle Reports

(percentage of Allied victories):

31%

33
BR - Rzhev

Author:

Days of Wonder

Russian Breakout

Russian Breakout

The Russian Breakout of 1941, often referring to Soviet counteroffensives following the initial German advance during Operation Barbarossa, marked a desperate but determined attempt by the Red Army to halt the Wehrmacht’s momentum. After suffering massive losses and encirclements, Soviet forces launched breakout attacks—particularly around Kiev, Smolensk, and later Moscow—aimed at escaping German pockets and stabilizing the front.

General Howitzer:
The Russians took one hell of a beating in ’41, but instead of folding, they came out swinging—fighting their way out of pockets around Kiev, Smolensk, and Moscow. It was messy, bloody, and half-mad, but it stalled the German steamroller just long enough for winter to slam the door. That breakout didn’t win the war—but it sure as hell kept them in it.

6 VP’s

Card Balance:

Russian – 4

Axis – 6

Complexity:

2

Conditions:

Countryside

Location:

Russia

Year:

1941

Theater:

Eastern Front

Campaign:

Barbarossa

Codename

Summary:


This scenario begins with both forces arrayed across the battlefield and ready to engage in warfare. If the Russian forces are able to break through to the other side, they can gain a VP for each unit that escapes the battlefield.

Objectives:

Battlefield:

Troops:

Allies – 10 Infantry, 2 Armor, 2 Artillery

Axis – 5 Infantry, 6 Armor, 3 Artillery

🔥 Winning as Allies

1.  As the Russian commander, you are hindered by needing pre-approval on almost everything from the Political Commissar. This will make your card management – responsiveness – much more difficult.  You will need to arrange your forces to maximize mobility, and preserve the multi-sectional and Tactics cards for when you are in a real emergency.

 2.  You are outnumbered in every section except the center, where although you have more units the enemy has more fire-power with three armored units to your one.  But the enemy artillery in the right flank is not protected by the woods, so is a bit weaker. If you have the cards for a breakout on the right, you should pursue it.

3.  Many of your infantry are exposed on the open countryside right in front of the enemy armor. If you can get some of them into the woods, to give your artillery and armor time to weaken the enemy, then your infantry can come out to play shortly thereafter.

4. However, if you get a great set of cards, like Infantry Assault, or center section Assault, you absolutely can overwhelm the armor by your sheer numbers.  If you can get right next to armor with infantry, you are rolling 3D’s, just like them.

🔥 Winning as Axis

1.  Big picture strategy for you is that you have overwhelming armored force, and you should use it before you get overwhelmed by the enemy infantry.

2.  You need to prevent the enemy from forcing their way through your lines to the exit row.

Scales-Axis-Weighted
21
BR - Russian Brkout

Author:

Days of Wonder

URL

Pruzana

Pruzana

The Battle of Pruzana, part of the larger Eastern Front conflicts in World War II, took place in the area around Pruzana (now in Belarus) during Operation Barbarossa, the German invasion of the Soviet Union, in 1941. German forces, advancing rapidly through Soviet-held territory, encountered Soviet resistance in Pruzana as part of the initial Soviet defenses against the Axis invasion.

5 VP’s

Card Balance:

Allies – 3

Axis – 6

Complexity:

2

Conditions:

Countryside

Location:

Russia

Year:

1941

Theater:

Eastern Front

Campaign:

Operation Barbarossa

Codename

Summary:

Objectives:
Five VP’s; no Objective Medals.

Battlefield:
The principle feature of the Pruzana scenario are the two tree lines intersecting the battlefield in both a horizontal and a diagonal pattern, providing great cover for both sides.

Troops:
Russians – 7 Infantry, 3 Armor, including one T-34, 1 Artillery.
Axis – 6 Infantry, 6 Armor, 1 Artillery

🔥 Winning as Allies


1.  The Allies can win this one by staying behind their sandbags and resisting and attacking the the Axis forces as they get near.

2.  Make good use of your artillery to degrade the enemy forces as they approach.

3.  Possible Attack Vector:  If you get the cards and are able to bring your Armor around both sides of the center woods, you can sometimes catch the Axis in the center, and then pummel them with your Infantry in the woods, followed by your Armor.  It can create a real kill box in the center, with the right set of cards.

🔥 Winning as Axis

1.  As Axis, you need to be wary of the enemy artillery right in the center of the battlefield.  It will be able to strike much of the field of play. So if you get an early Barrage, or Air Power, take it out as soon as you can.

2.  The big picture strategy is that until the enemy artillery is taken out, your best attack strategy is to move up each flank away from its full power attacks, at the same time as you use your armor to take out the infantry in the woods.

3.  You can use your armor to do long distance degrading of the enemy forces, until they are at a point where your infantry can make an assault across the open fields.

4.  Use your artillery on the right flank at every opportunity.

28
BR - Pruzana

Author:

Days of Wonder

URL

Ponyri (Kursk)

Ponyri (Kursk)

scenario_Ponyri_start

The Battle of Ponyri took place in Ponyri, a small town in the Kursk Oblast of Russia, during World War II. It occurred in July 1943 as part of the larger Battle of Kursk, one of the biggest tank battles in history.

General Howitzer summarizes:

Ponyri was a slugfest in the mud and blood of Kursk—like a Stalingrad on a smaller scale. The Germans threw their Panzers and infantry at that rail junction with everything they had, trying to break through to Kursk, and the Soviets met them with steel, fire, and sheer grit. House to house, trench to trench, they held the line. The enemy never got past it—and Ponyri became the anvil that broke the German spear.

7 VP’s

Card Balance:

Russian – 4

Axis – 6

Complexity:

3

Conditions:

Countryside

Location:

Russia

Year:

1943

Theater:

Eastern Front

Campaign:

Battle of Kursk

Codename:

part of Operation Citadel

Summary:

Objectives:  7 VP’s.

The key to winning Ponyri is controlling the town. It is worth two VP’s. Whichever side controls the town will cause the opponent to waste a lot of troops trying to gain control.

Terrain:

Countryside with forest and hills on one side, mines on the other, and the five-hex town of Ponyri in the center.

Troops:

Allies – 9 Infantry, 4 Armor, 3 Artillery

Axis – 8 Infantry, 7 Armor

medal allies

🔥 Winning as Allies

1. The town of Ponyri is worth two VP’s. You begin with control of it, but since it has 5 hexes, you should take control of the central hex of Ponyri so that you have majority control. This will force the enemy to waste a lot of forces throwing themself against this well-defended town.

2. The Allied role in this scenario is primarily defensive. Use your sandbags and be slow to leave them. But if the enemy begins pummeling your armor on the left flank, you may need to consider a more aggresive approach, if your cards allow it.

3. You have three artillery. Take the time to move them forward one row early in the battle while you still have time, so that they can improve their hit rate against the enemy.

medal axis

🔥 Winning as Axis

1.  Because the town of Ponyri is worth two VP’s! , you should attempt to get your infantry into it pretty quickly, before the enemy occupies all town hexes.  But only take it, if you can keep them there, as they will be surrounded by the enemy on all sides.

2. On your left flank, use the forest and hills to advance your infantry under cover. If you try to make a direct assault in the open countryside, they will get decimated.

3. On your right flank, you have an armor superiority, so you can place yourself behind the mines and continuously degrade the enemy’s strength. But be aware of the artillery on the right. If the Allies move it one row forward, your armor directly behind the row of mines will be subject to 2D rolls against your forces.

4.  When the enemy is sufficiently degraded, you may consider breaching the mines. (Expect some hits, but if you use your elite forces that begin with 4 armor figures, you should have a sufficient survival rate to continue the attack.) If you find the opening, you can push through for direct assaults against the enemy armor.

Battle Reports:

( percentage of Allied Victories):

54%

24
BR - Ponyri

Author:

Days of Wonder

Link:

Soviet_troops_and_T-34_tanks_counterattacking_Kursk_Voronezh_Front_July_1943

Battle of Kursk
(Copyright: www.mil.ru)

Panzers vs. Grants

Panzers vs. Grants

“Listen up, boys! In May ‘42, in the blazing North African desert, the British 7th Armoured Division rolled out their shiny new Grants—those big 75mm guns looked damn impressive on paper. They thought they’d finally have the edge over Rommel’s Panzers.

But let me tell you, those German 15th Panzer boys weren’t in the habit of rolling over for anyone! They didn’t give a damn about new tanks—they had the tactics, the guts, and the desert smarts. The British fought hard, but the Germans danced circles around them, turning that desert into a killing ground.

In the end, those Grants put up a hell of a fight, but the Germans sent ‘em packing. That’s the lesson of that day, boys—firepower alone don’t win the battle; it’s the man in the tank and the way he fights that makes the difference!

~~ General Howitzer

5 VP’s

Card Balance:

Allies – 4

Axis – 6

Complexity:

2

Conditions:

Desert

Location:

North Africa

Year:

1942

Theater:

Mediterranean Theater

Campaign:

Battle of Gazala

Codename

Summary:

This scenario is played out on an almost wide-open sandy battlefield with tanks battling it out. It is a great test of the attacking power of the Allied Grants vs. the German Panzers.

Objectives:
This is a 5 VP game, and since it is on an open desert battlefield, it will proceed rather quickly. There is one Medal Objective hex for the Axis in the form of the British HQ and Supply Tents.

Battlefield:
An open desert terrain with just a few sand dunes and an oasis.

Troops:
Seven Panzers vs five Grants, balanced by the fact the Axis only have 1 infantry, and the British have five. No artillery.

🔥 Winning as Allies

1. As the Allies, you are at an armor disadvantage. The enemy starts the scenario with most of the armor misplaced on the flanks, and only two in the center section. But as soon as they consolidate their forces together, you will feel the might of their firepower. Therefore you need to work your units, infantry and armor as a cohesive force. Do not let your armor get out way ahead of the infantry. Work them together for a stronger attack.

2. Focus your effort and cards, as they will allow, on the center section where you can defend against attacks from either flank.

3. The goal is five VP’s, and since the enemy only has two infantry, this means you will have to take out at least three Panzer units.

🔥 Winning as Axis

1.  Your Panzers in the center and right flank are outnumbered due to the four-figure tank units of the British, so you will need to get your Panzers which are stuck behind the palm forest on left flank into the game as soon as you can.

2.  Do not attack on your right flank until you have the material and cards to do it.

3.  Note that the HQ/Supply Tent is a Permanent Medal Objective.  If you are able to push them out and take the terrain, you gain a Permanent Medal, even if you leave the hex.

Classic Battle Reports:

(percentage of Allied victories)

32%

15
BR - Panzers

Author:

Days of Wonder

URL