The Tatsinskaya Raid
The Tatsinskaya Raid

By late December ’42, Paulus’ 6th Army was choking inside the Stalingrad pocket, and the Soviets slammed the door tighter with Operation Little Saturn. They tore through the Italian 8th Army like paper, and Badanov’s 24th Tank Corps drove a steel fist 150 miles deep into German lines. His T-34s rolled right onto Tatsinskaya airfield, smashing up Junkers 52s that were the lifeline to Stalingrad.
The Germans scrambled the 11th Panzer and 306th Infantry to hit back, and they hit hard. Badanov’s tanks took a pounding, but he held that airfield for four bloody days before clawing his way back to his own lines. The cost was high, but the result was clear: the German relief effort was crippled, Stalingrad was left to rot, and the mighty Wehrmacht had been dealt another hammer blow on the Eastern Front.
~~ General Howitzer
VP’s
10 including the Airport Permanent Objective Medal
![]()
Card Balance:
Allies – 4
Axis – 5
Complexity:
4
Conditions:
Winter

Context:
Historical
Location:
Russia
Year:
1942
Codename:
Operation Little Saturn
Summary:
Victory Points:
10 Medals, including the airport Permanent Medal Objective
Terrain:
Winter terrain
Troops:
Allies – Infantry, Armor, Artillery
Axis – Infantry, Armor, Artillery

Allies:
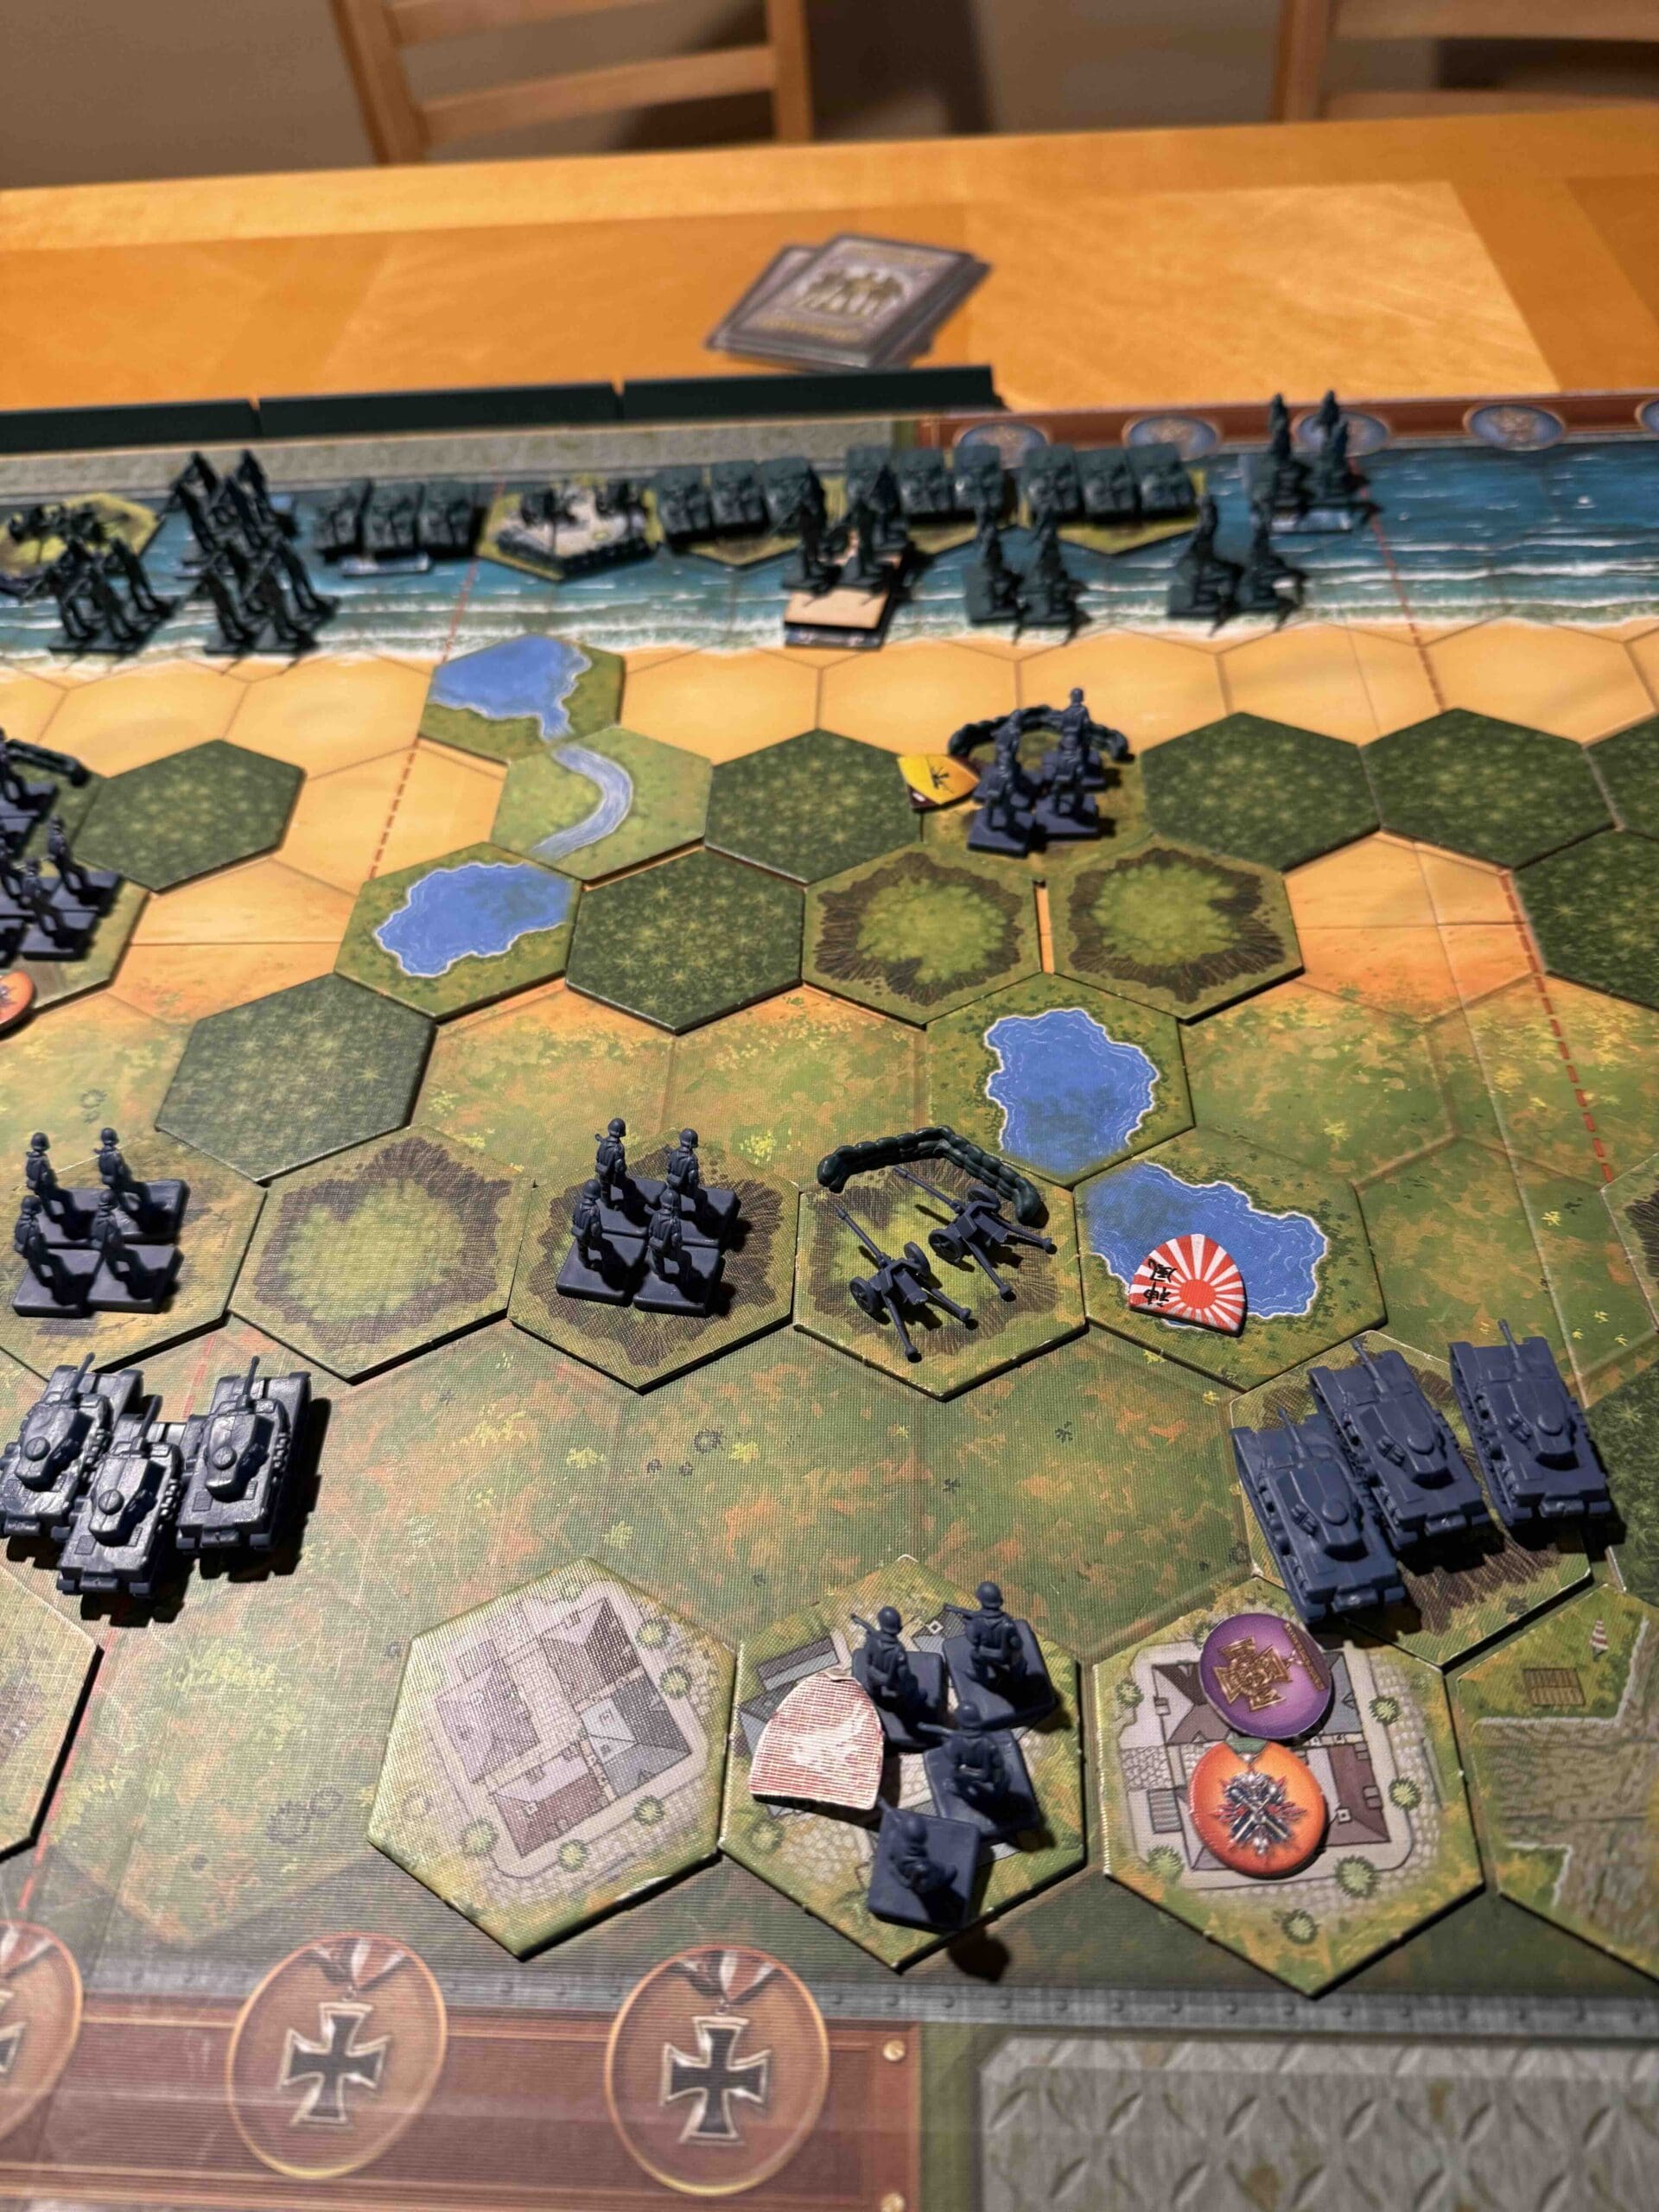
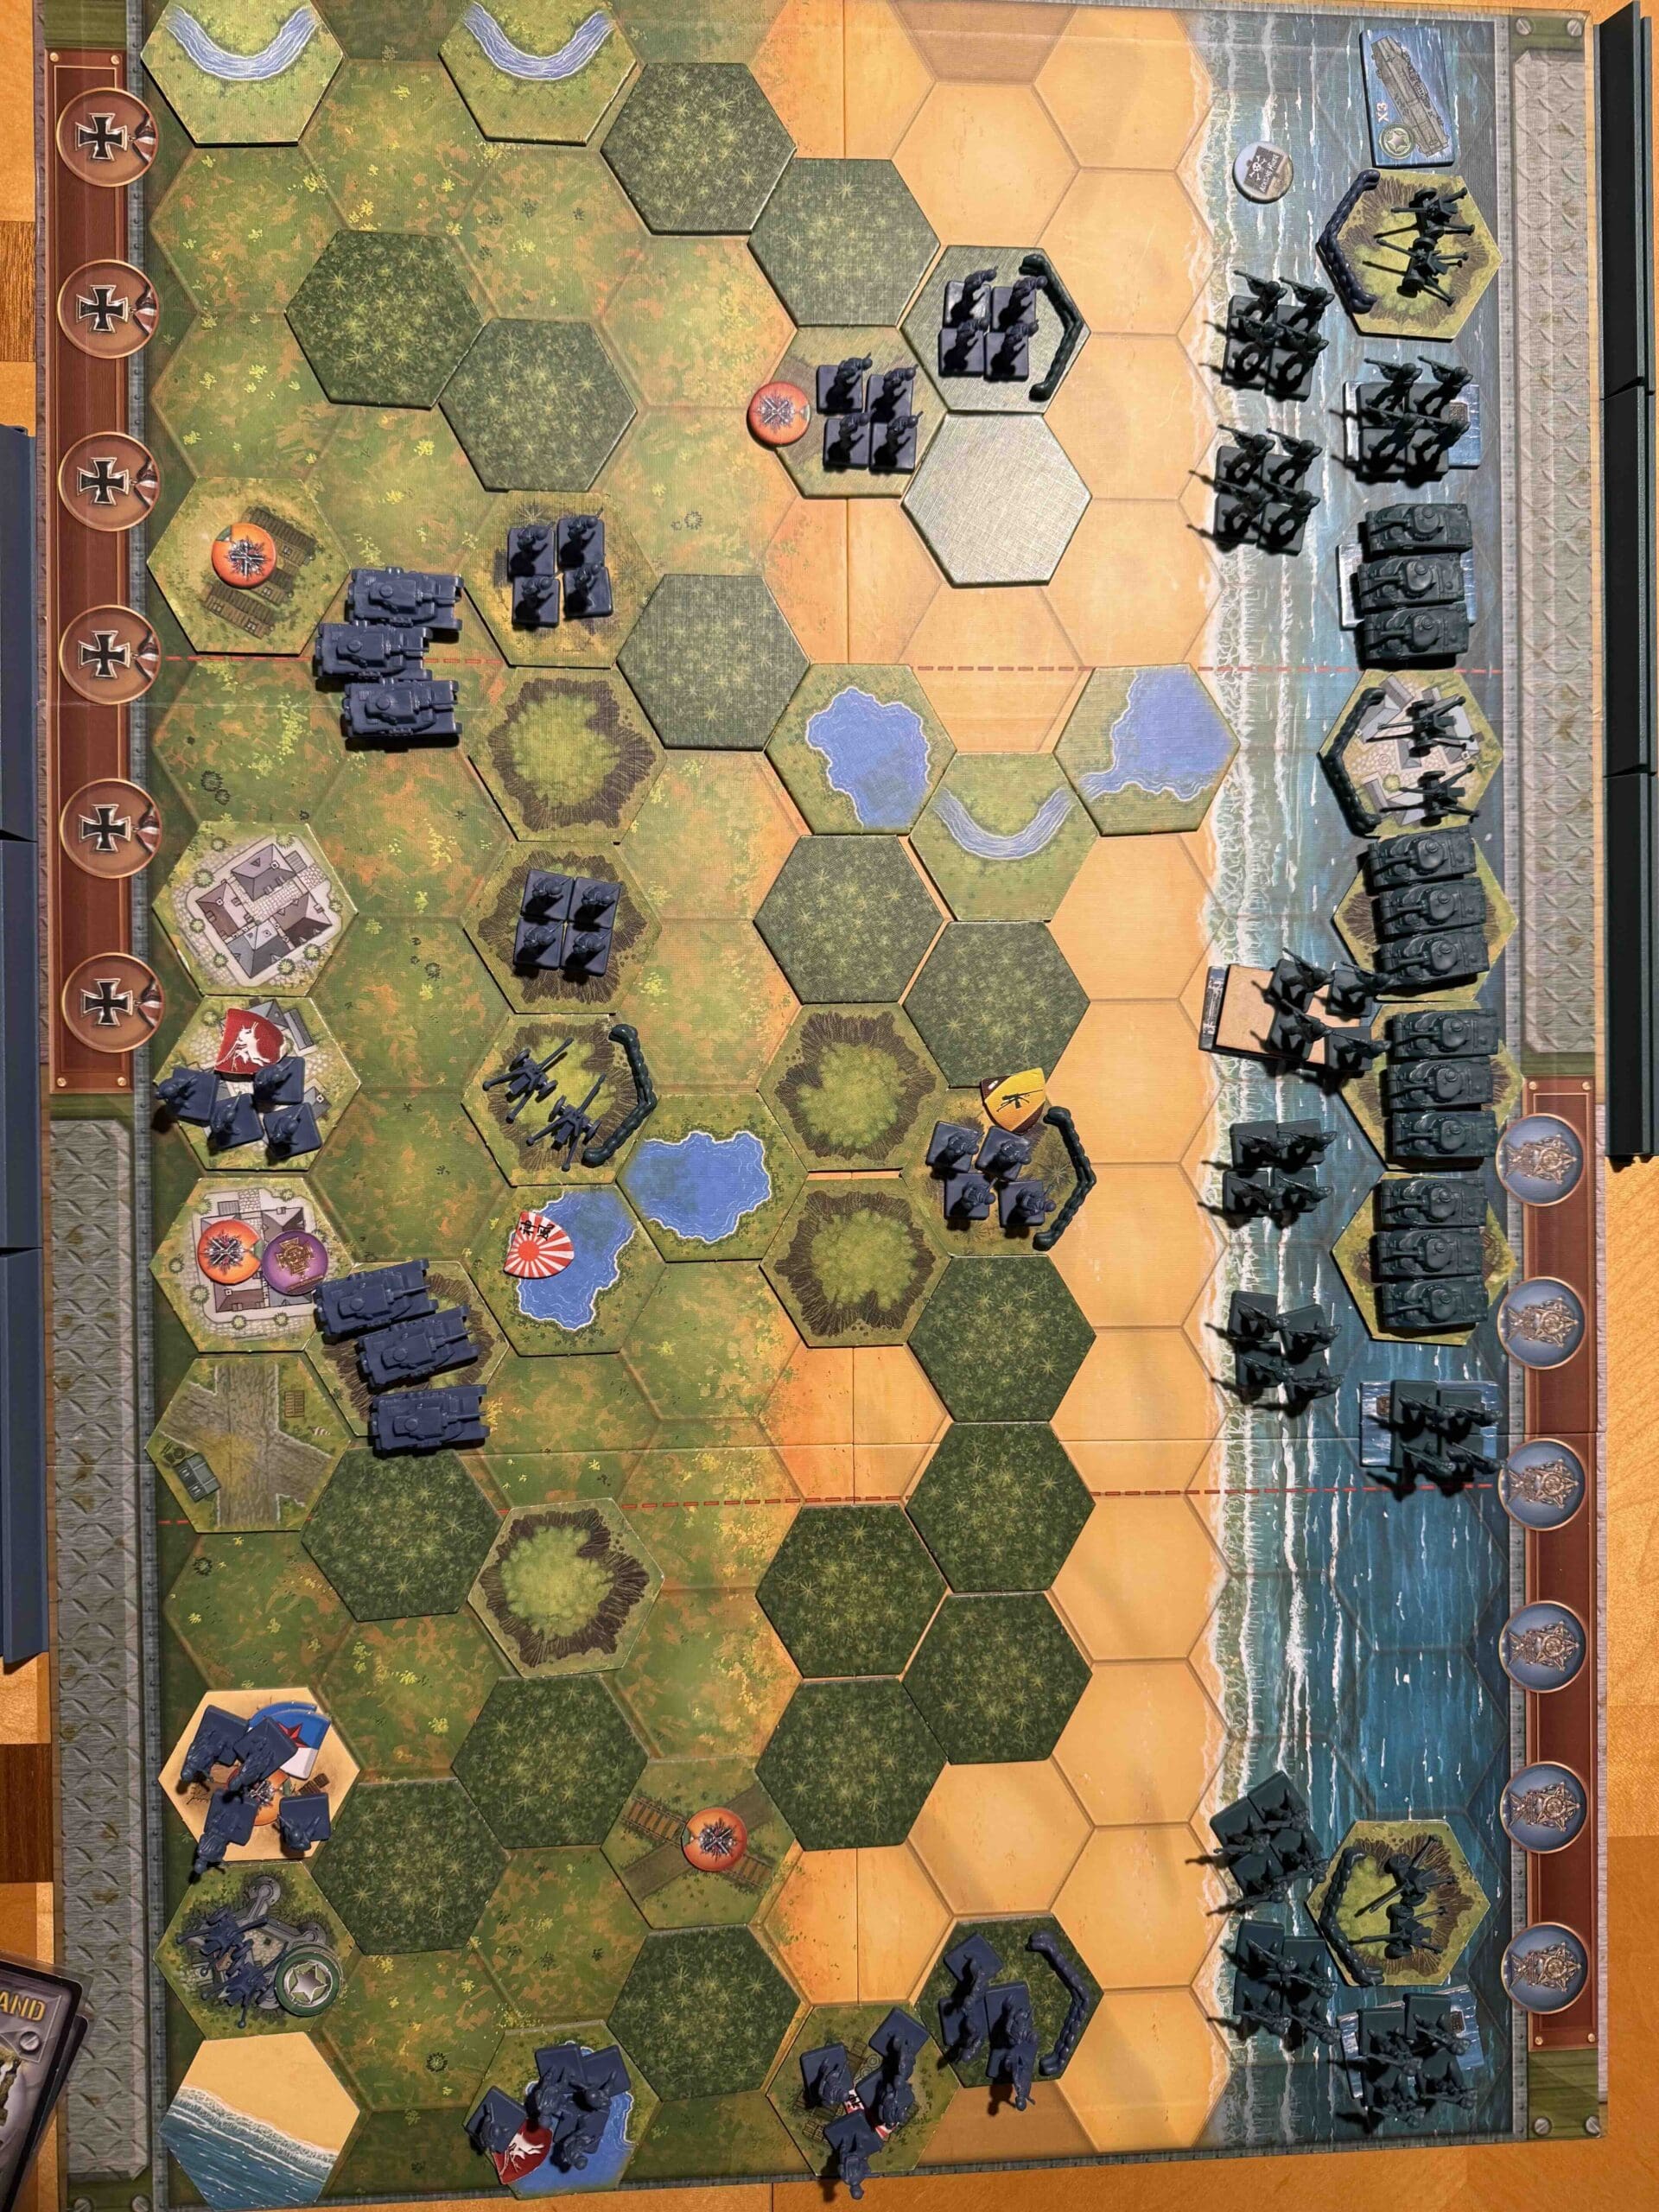
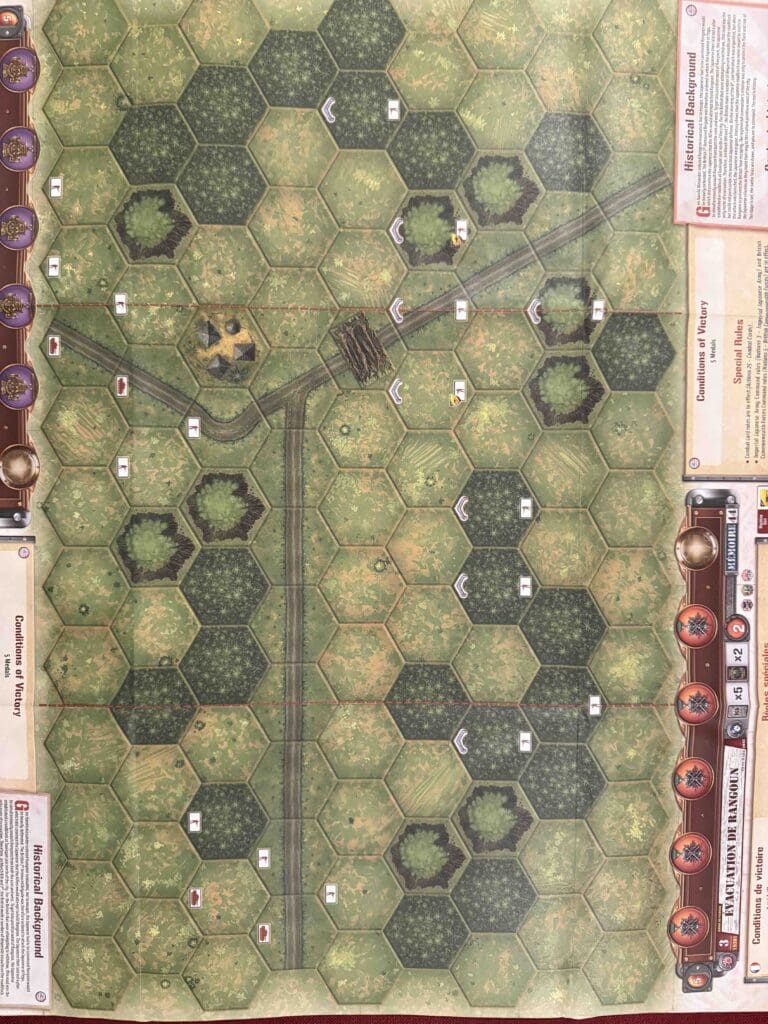
1. Your forces have a massive armor advantage over the Axis in this raid scenario. You need to coordinate your efforts and arrive at the frontlines of battle together.
2. Your very first challenge is to deal with the Artillery and Infantry hidden in the forest right in the front center of the battle field. Until you deal with them, they will hamper all of your attack efforts.
3. If you can deal with the Artillery quickly, before the Axis bring down their other units, you can gain a couple of medals very quickly, as that Artillery is the key defensive point on this end of the battlefield. But if you do not have the cards and forces to take it out quickly, you will destroy several units during the attack. [Athafil, Italy]
4. The airport is a Permanent Medal Objective. You don’t need to stay on the hex, so you can just grab it and then leave to a more defensive position.

Axis:
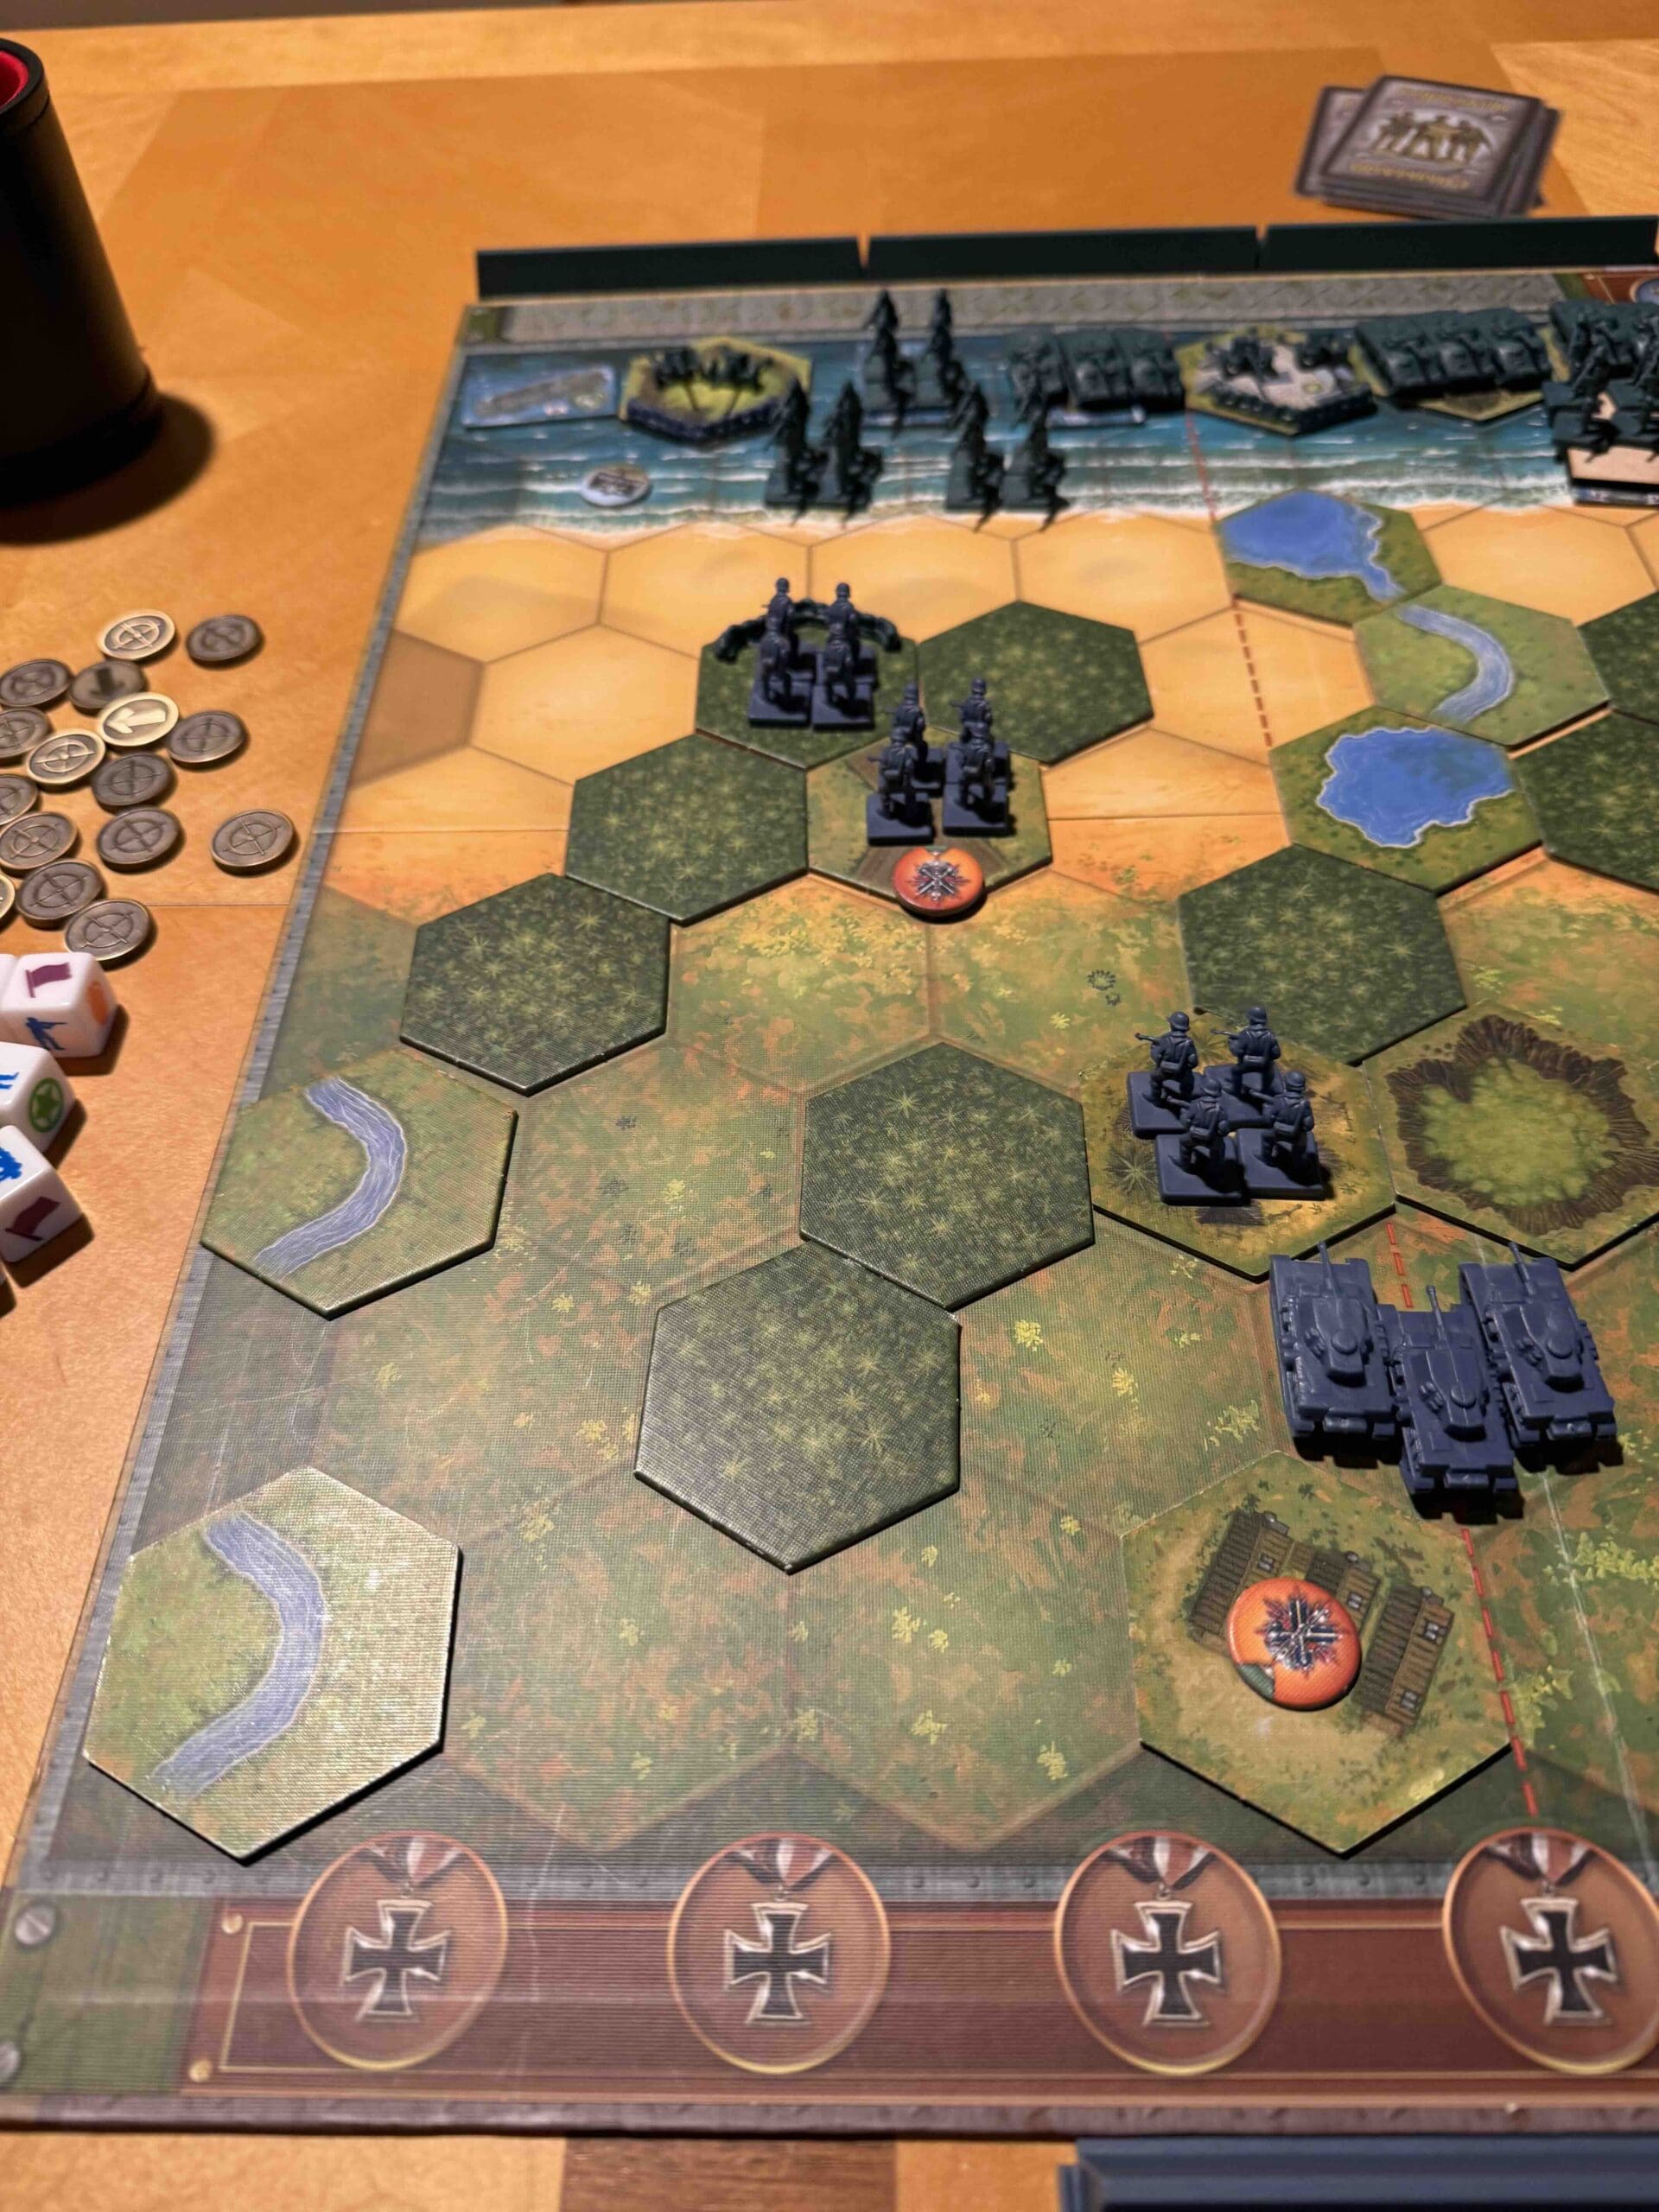
1. This is primarily a defensive scenario for the Axis. You need to engage the enemy, but if you attempt to battle the massive armor forces out in the open, your forces will get decimated.
2. Your forces are stuck behind the forests. You need to get them, especially the armor, forward as quickly as possible to support your advance forces which are defending the airport.
3. The airport is a Permanent Medal Objective for the enemy. Hold it as long as you can. Make them pay for it with a lot of units.
4. Your Artillery in the center frontline is your strongest asset. Use it at every opportunity.
5. You have many assets stuck in the forests and marches in the back. Get them out as quickly as possible and forward to provide additional attack strength and support with your forward Artillery.
Author.
URL