Wardin
Wardin
Wardin_Allies-center

Wardin_Allies-left
Wardin_Allies-right
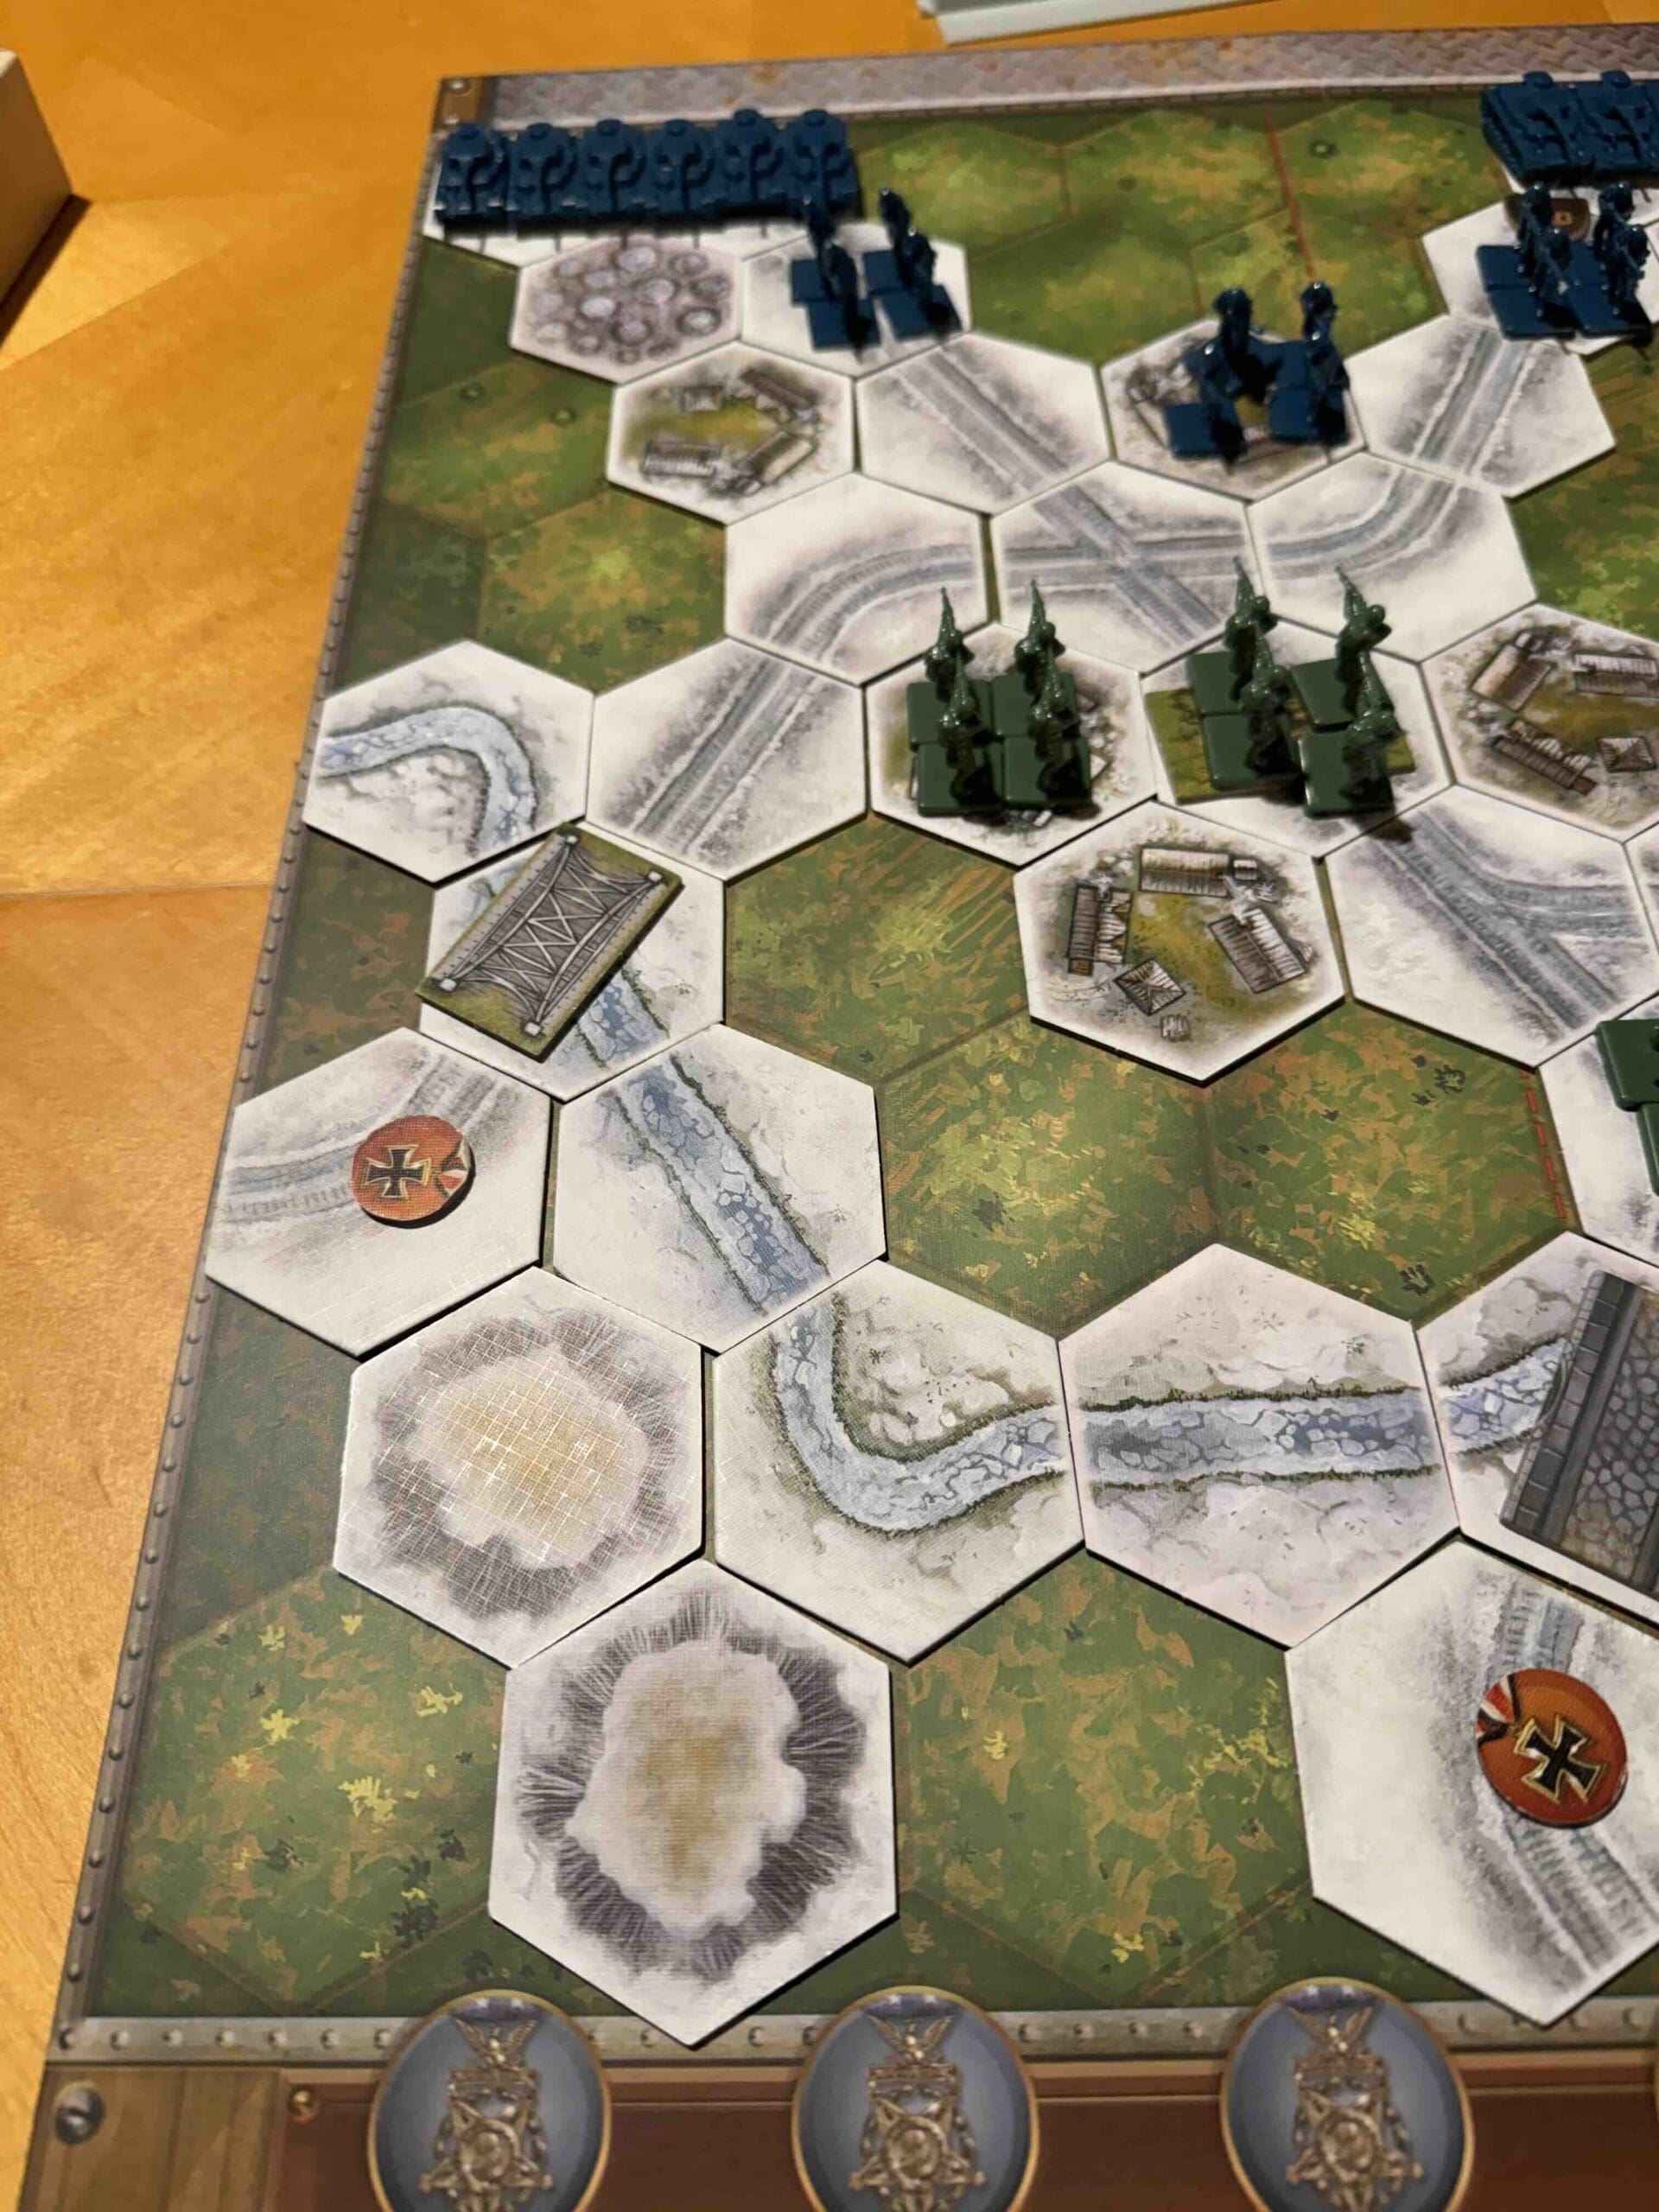
Wardin_Axis-center
Wardin_Axis-left
Wardin_Axis-right
Wardin_full
Wardin_Allies-left
December 19th, 1944:
At Wardin, in the frozen hell of December ’44, the Germans came on hard, hunting roads and junctions like wolves looking for a gap in the line. They wanted Bastogne, and Wardin was one of the doors they had to kick in to get there.
The men of the 28th Infantry Division didn’t run. They fought. Outgunned and pressed by armor, they traded ground for time—yard by bloody yard—smashing the enemy’s schedule and making him pay for every step forward. Wardin fell, but the Germans lost something far more valuable: momentum. That stand helped slow the drive on Bastogne and proved once again that determined American soldiers, fighting smart and stubborn, could wreck even the best-laid German plans. That’s how you beat an enemy—make him bleed for every mile.
~~ General Howitzer
VP’s: 7
Card Balance:
Allies – 5
Axis – 5
Complexity:
3
Conditions:
Winter

Location:
Belgium
Year:
1944
Theater:
Western
Campaign:
Battle of the Bulge
German Name:
Unternehmen Wacht Am Rhein
Summary:
This is a fun and exciting scenario as the Americans attempt to hold off a German onslaught of tanks and infantry in the Battle of the Bulge.
Objectives:
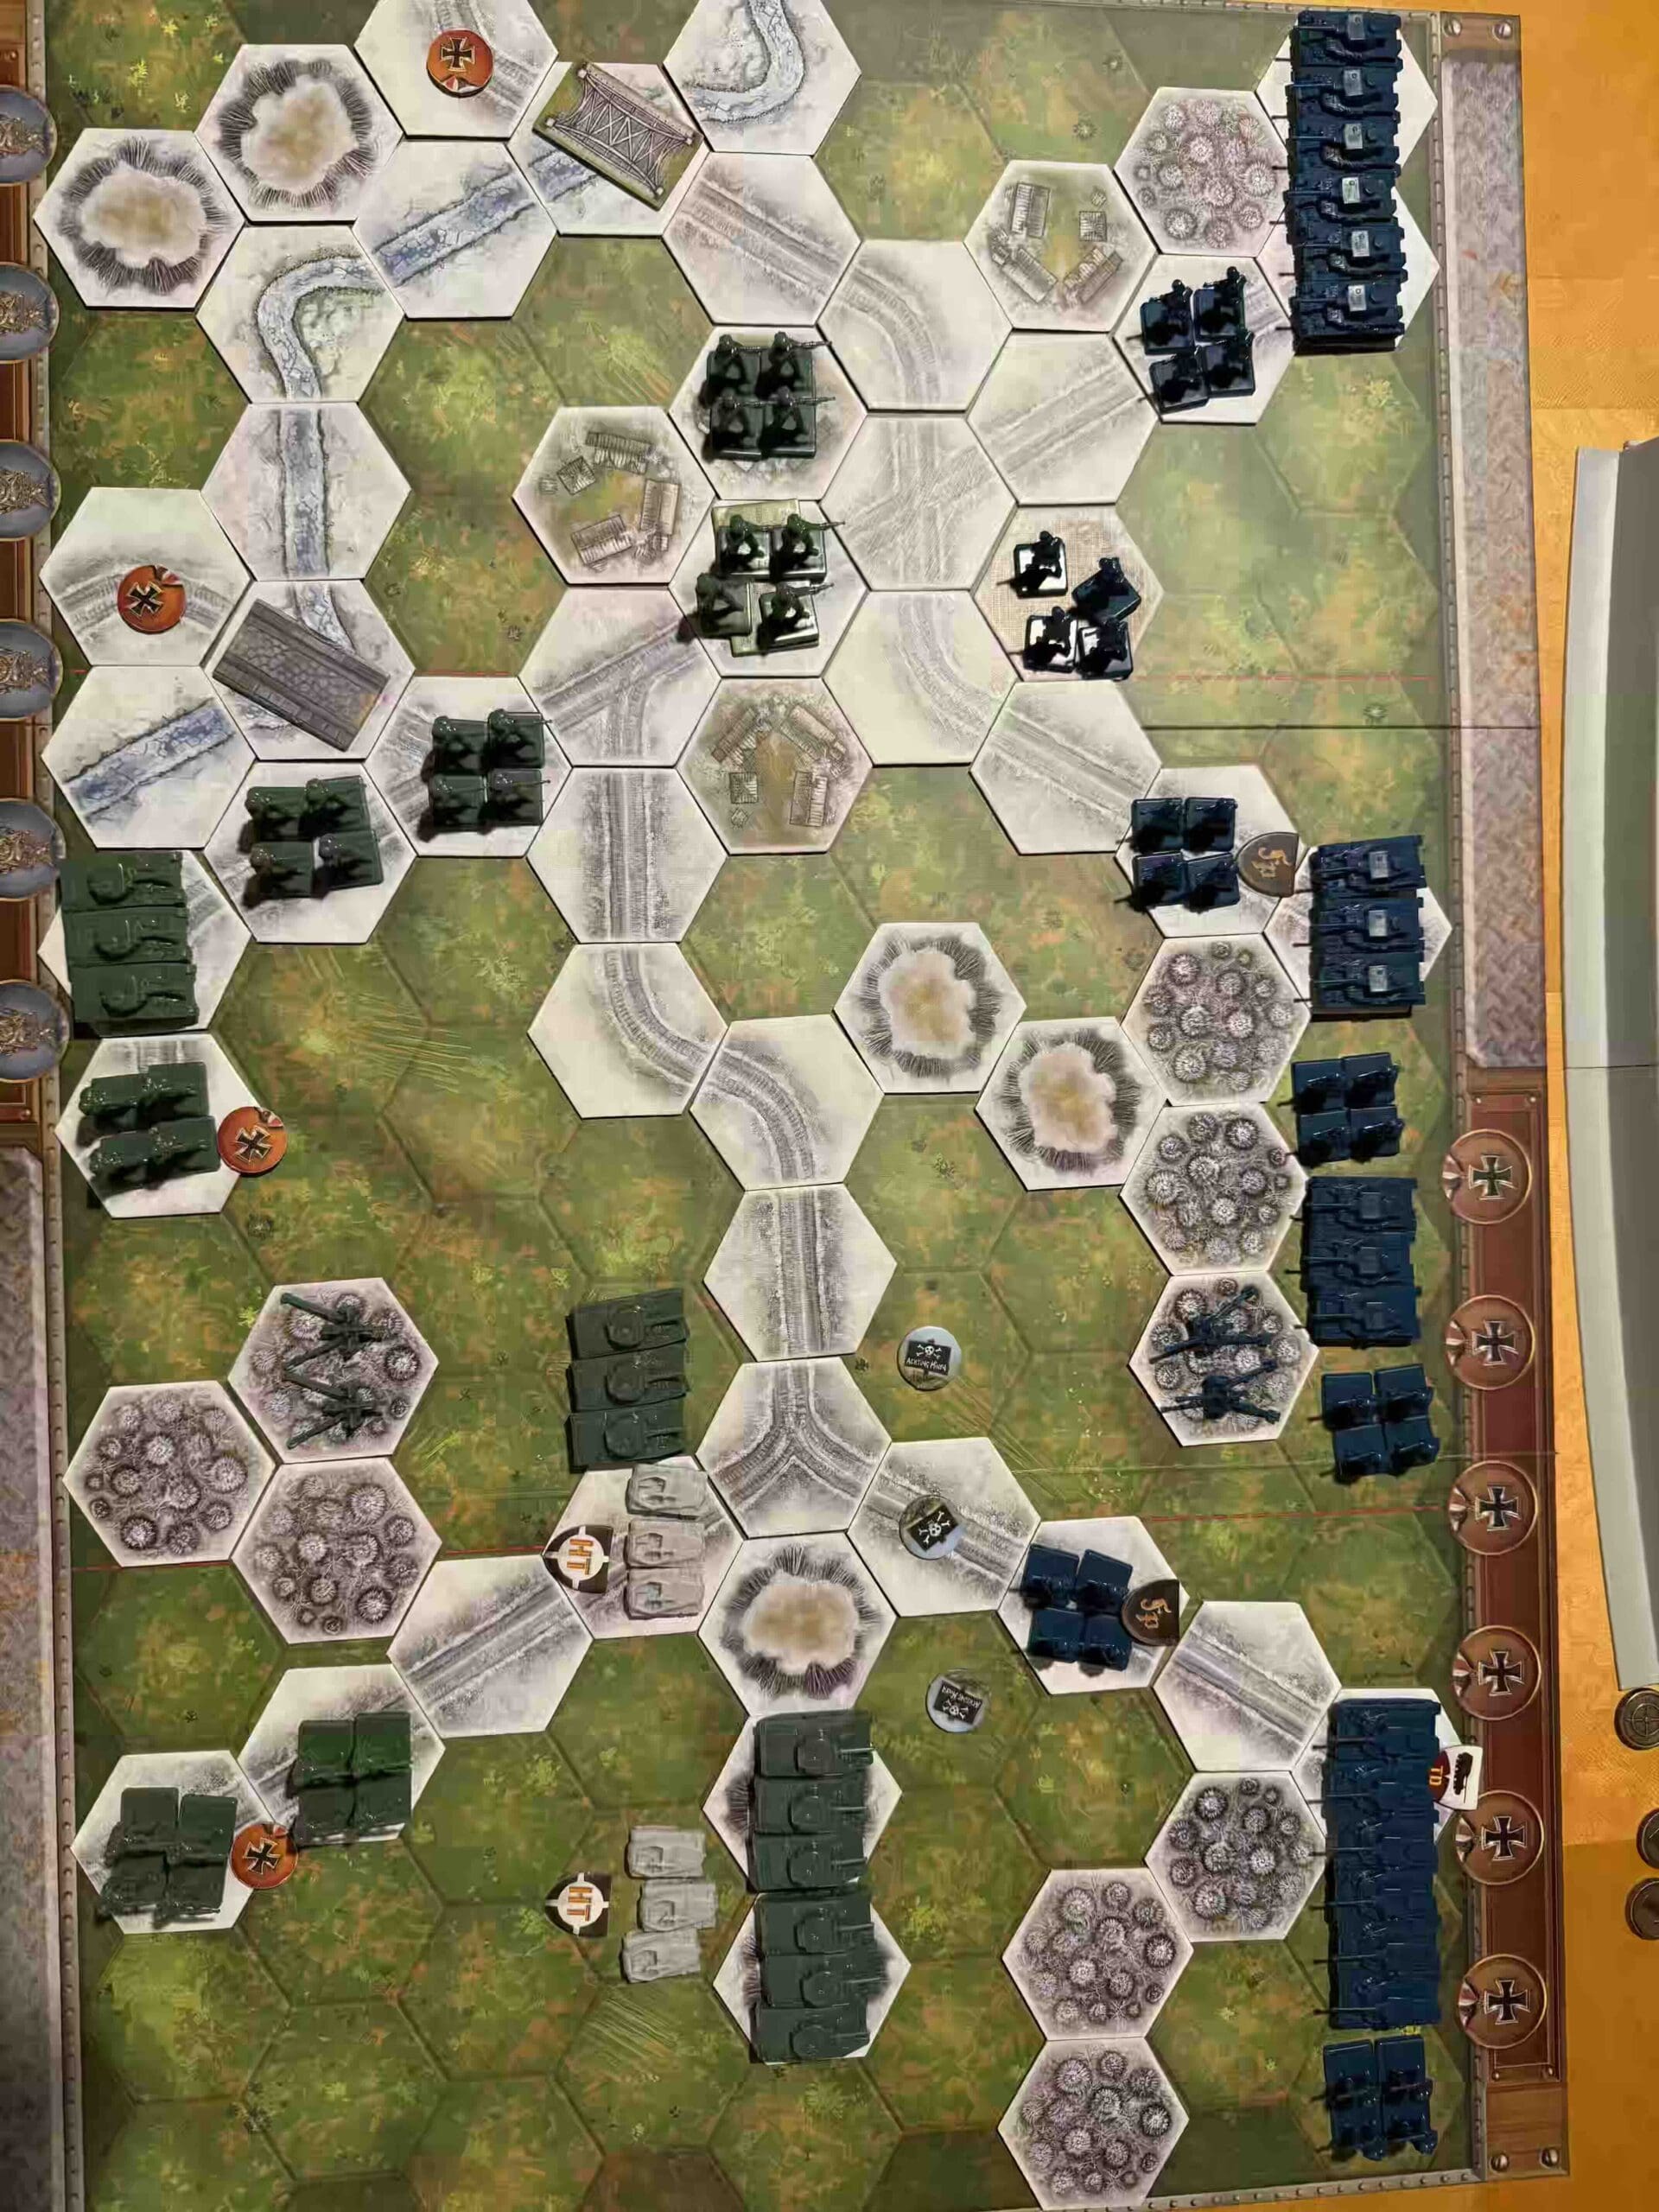
Seven Medals. There are also four Temporary Objective Medals for the Germans to reach, and a Temporary Majority Objective for the five hexes of Wardin.
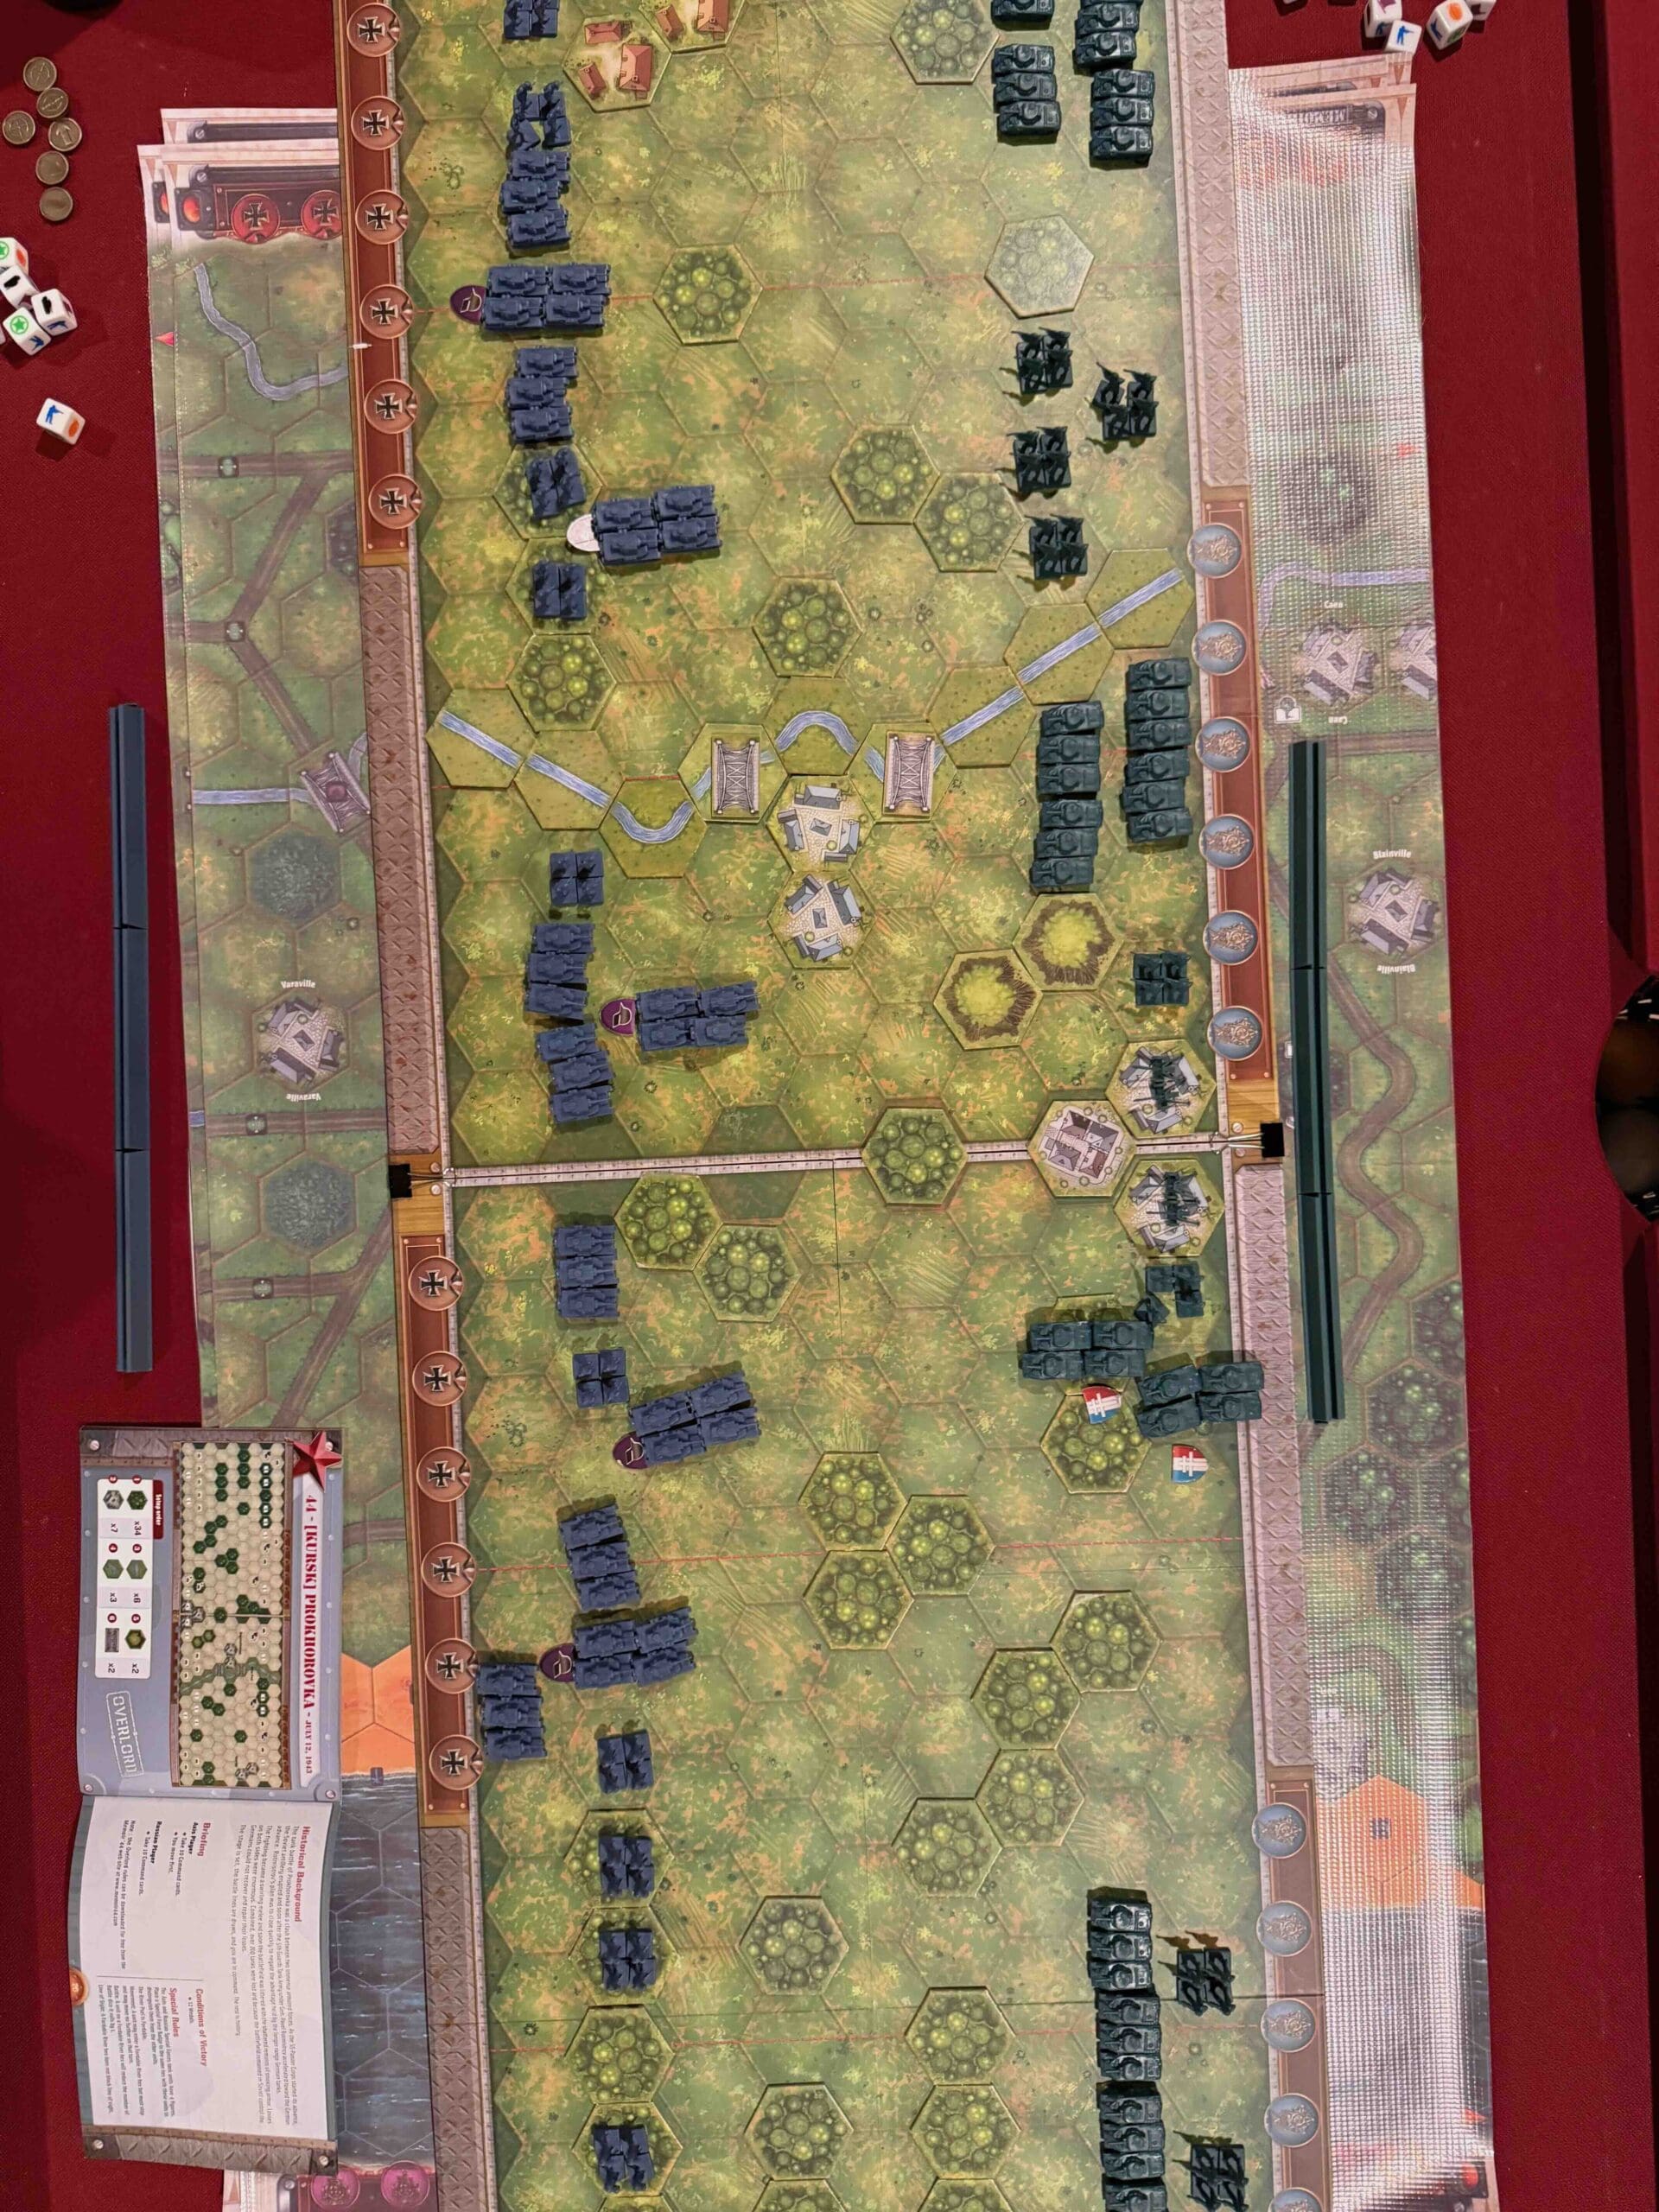
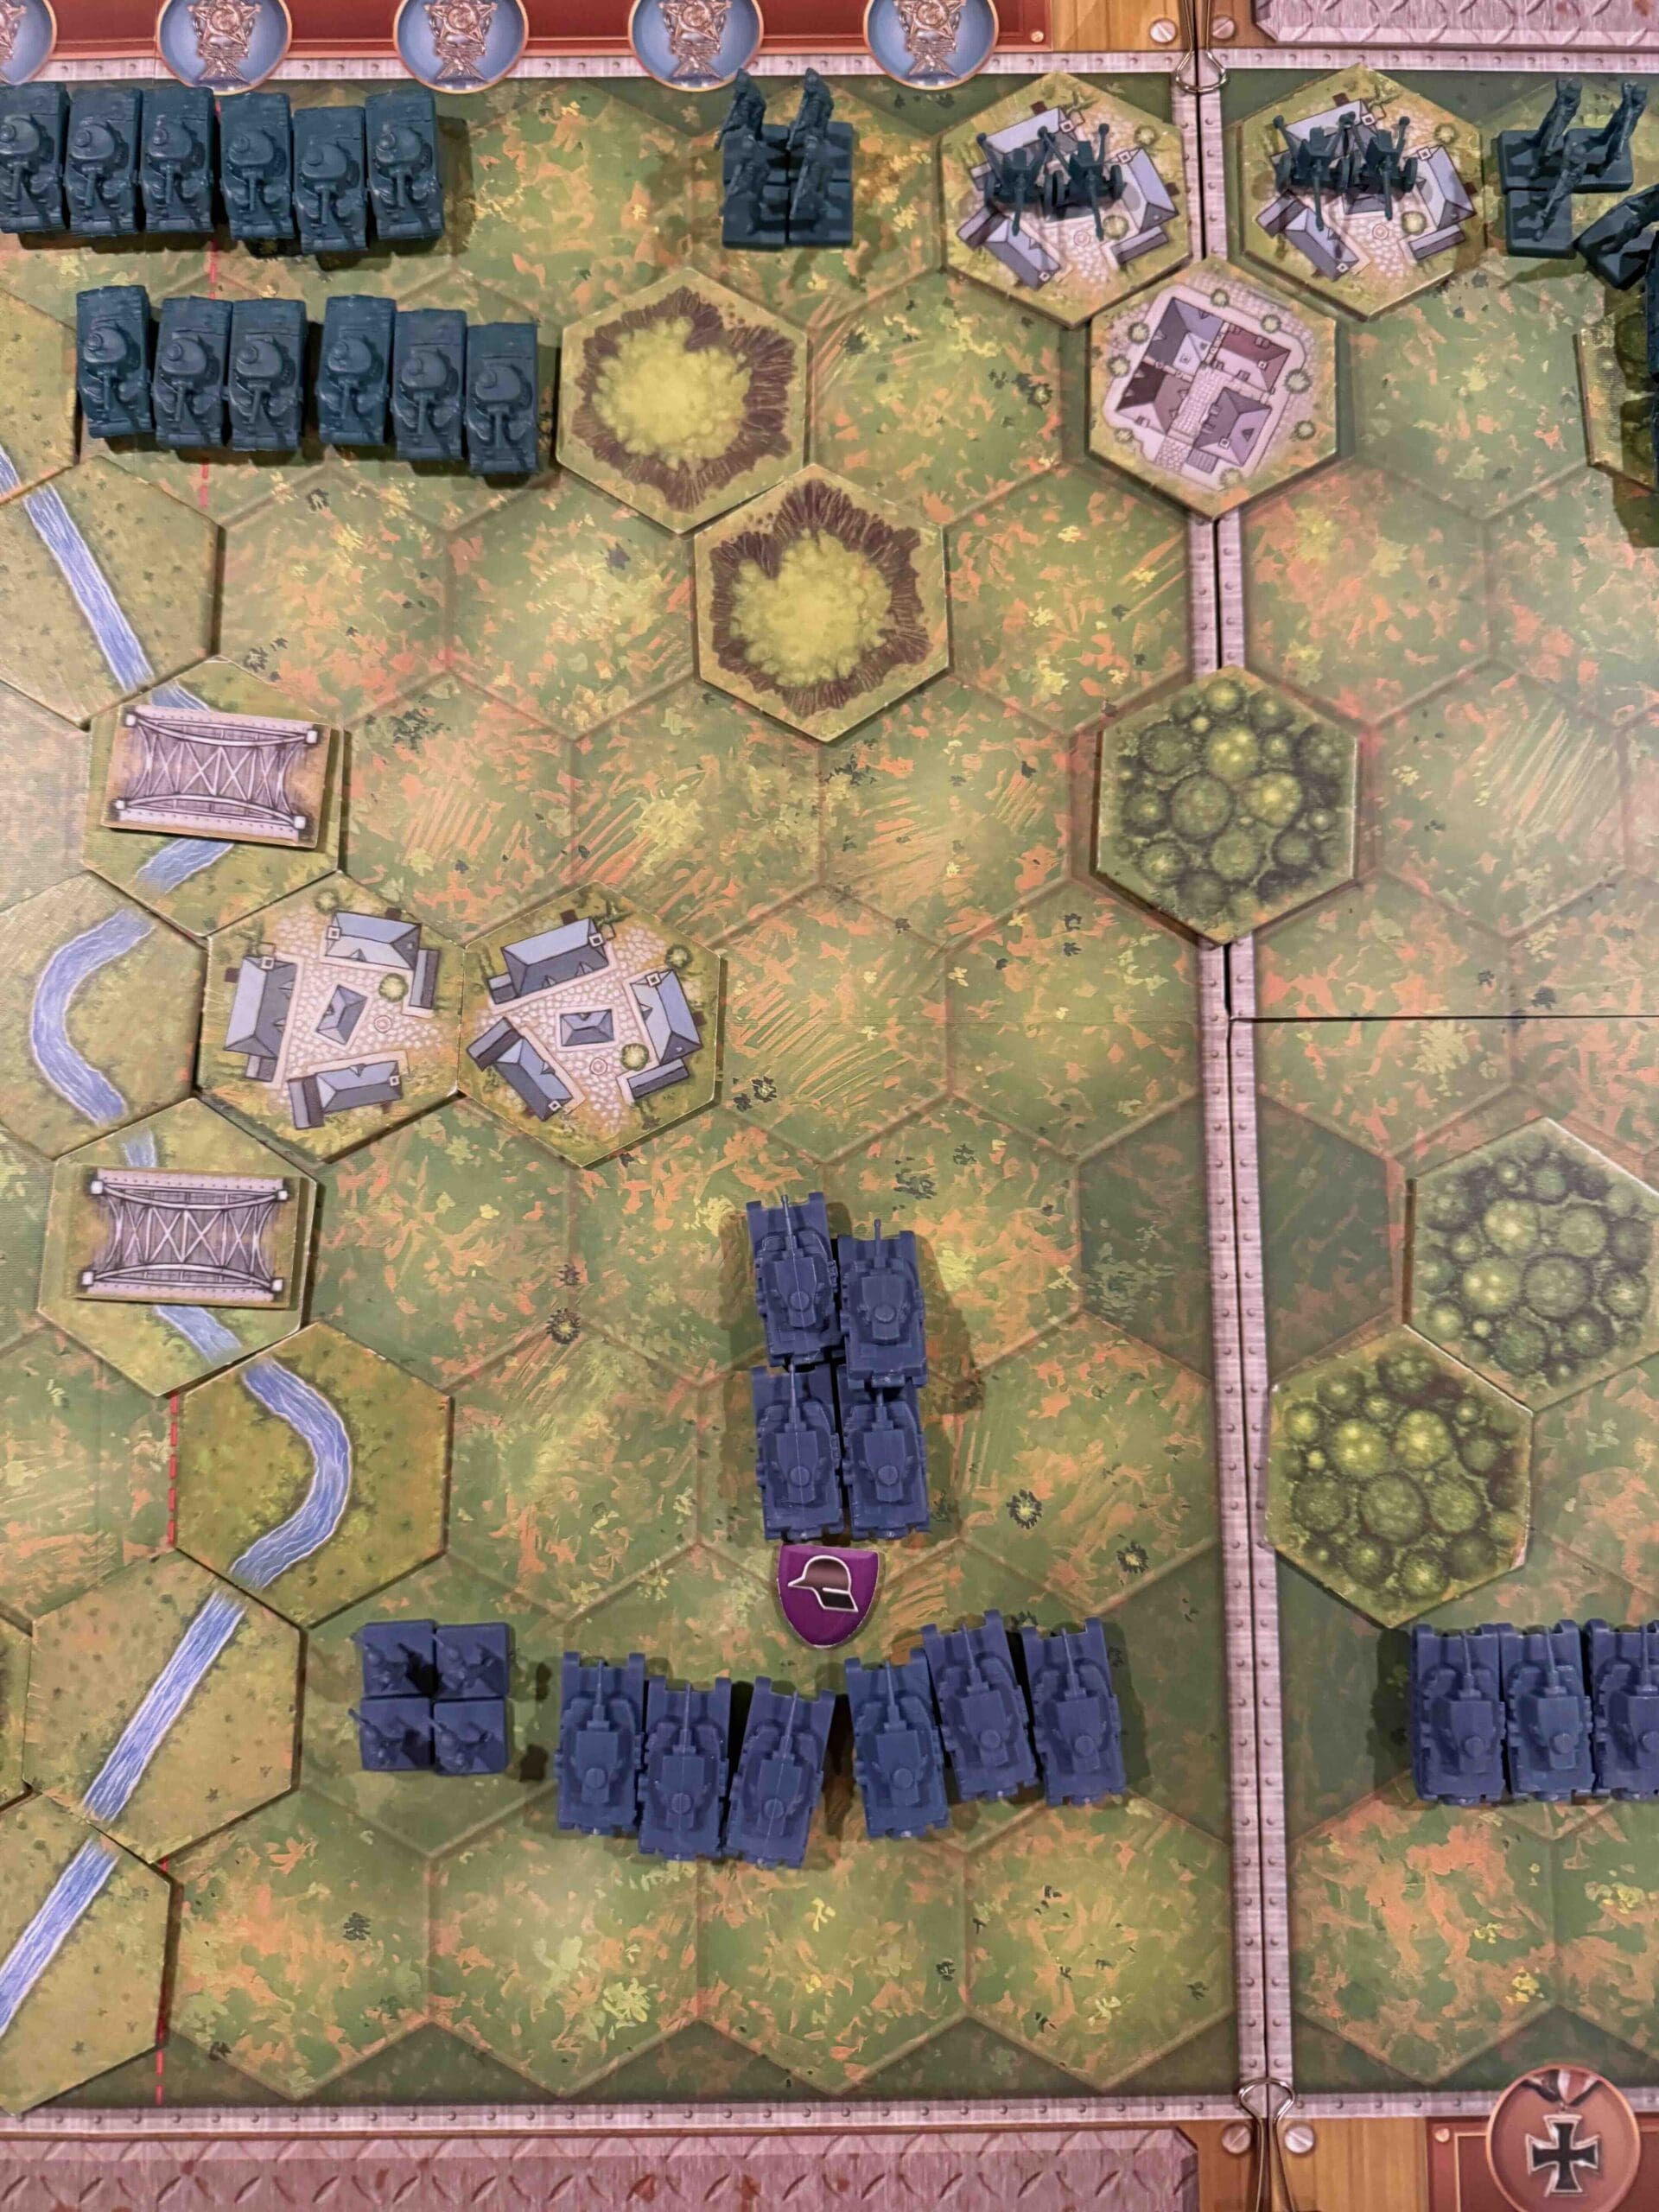
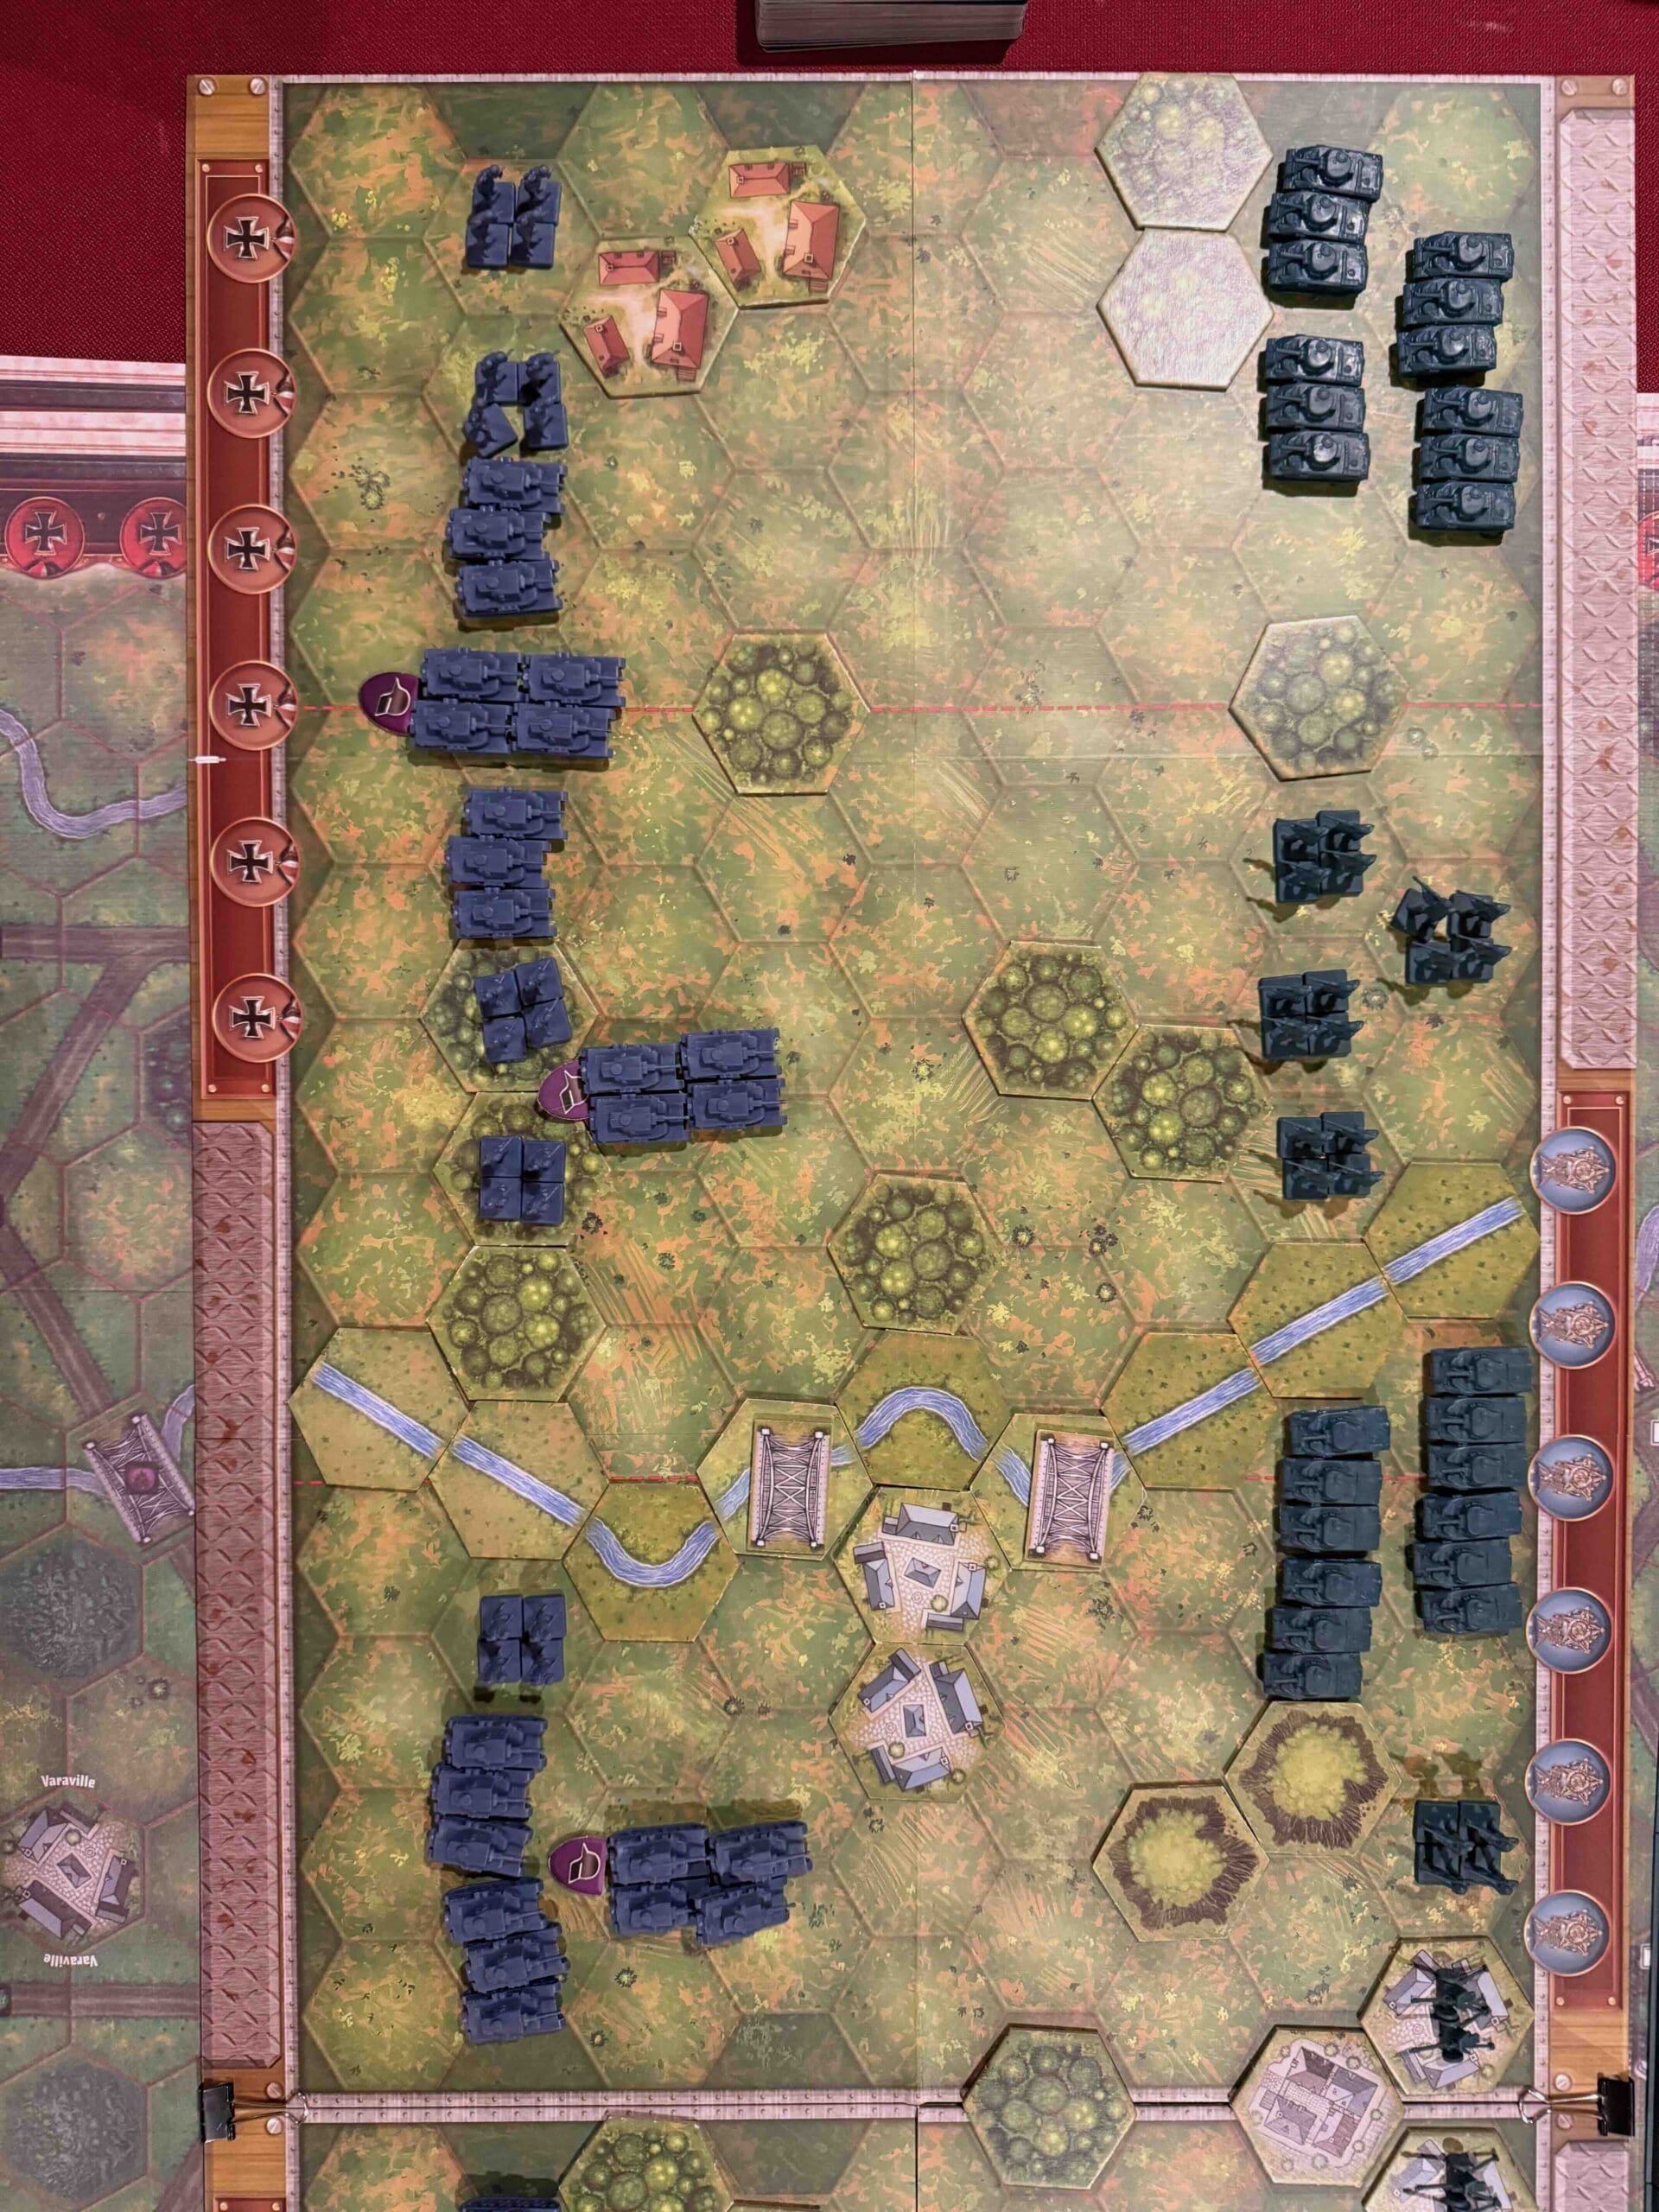
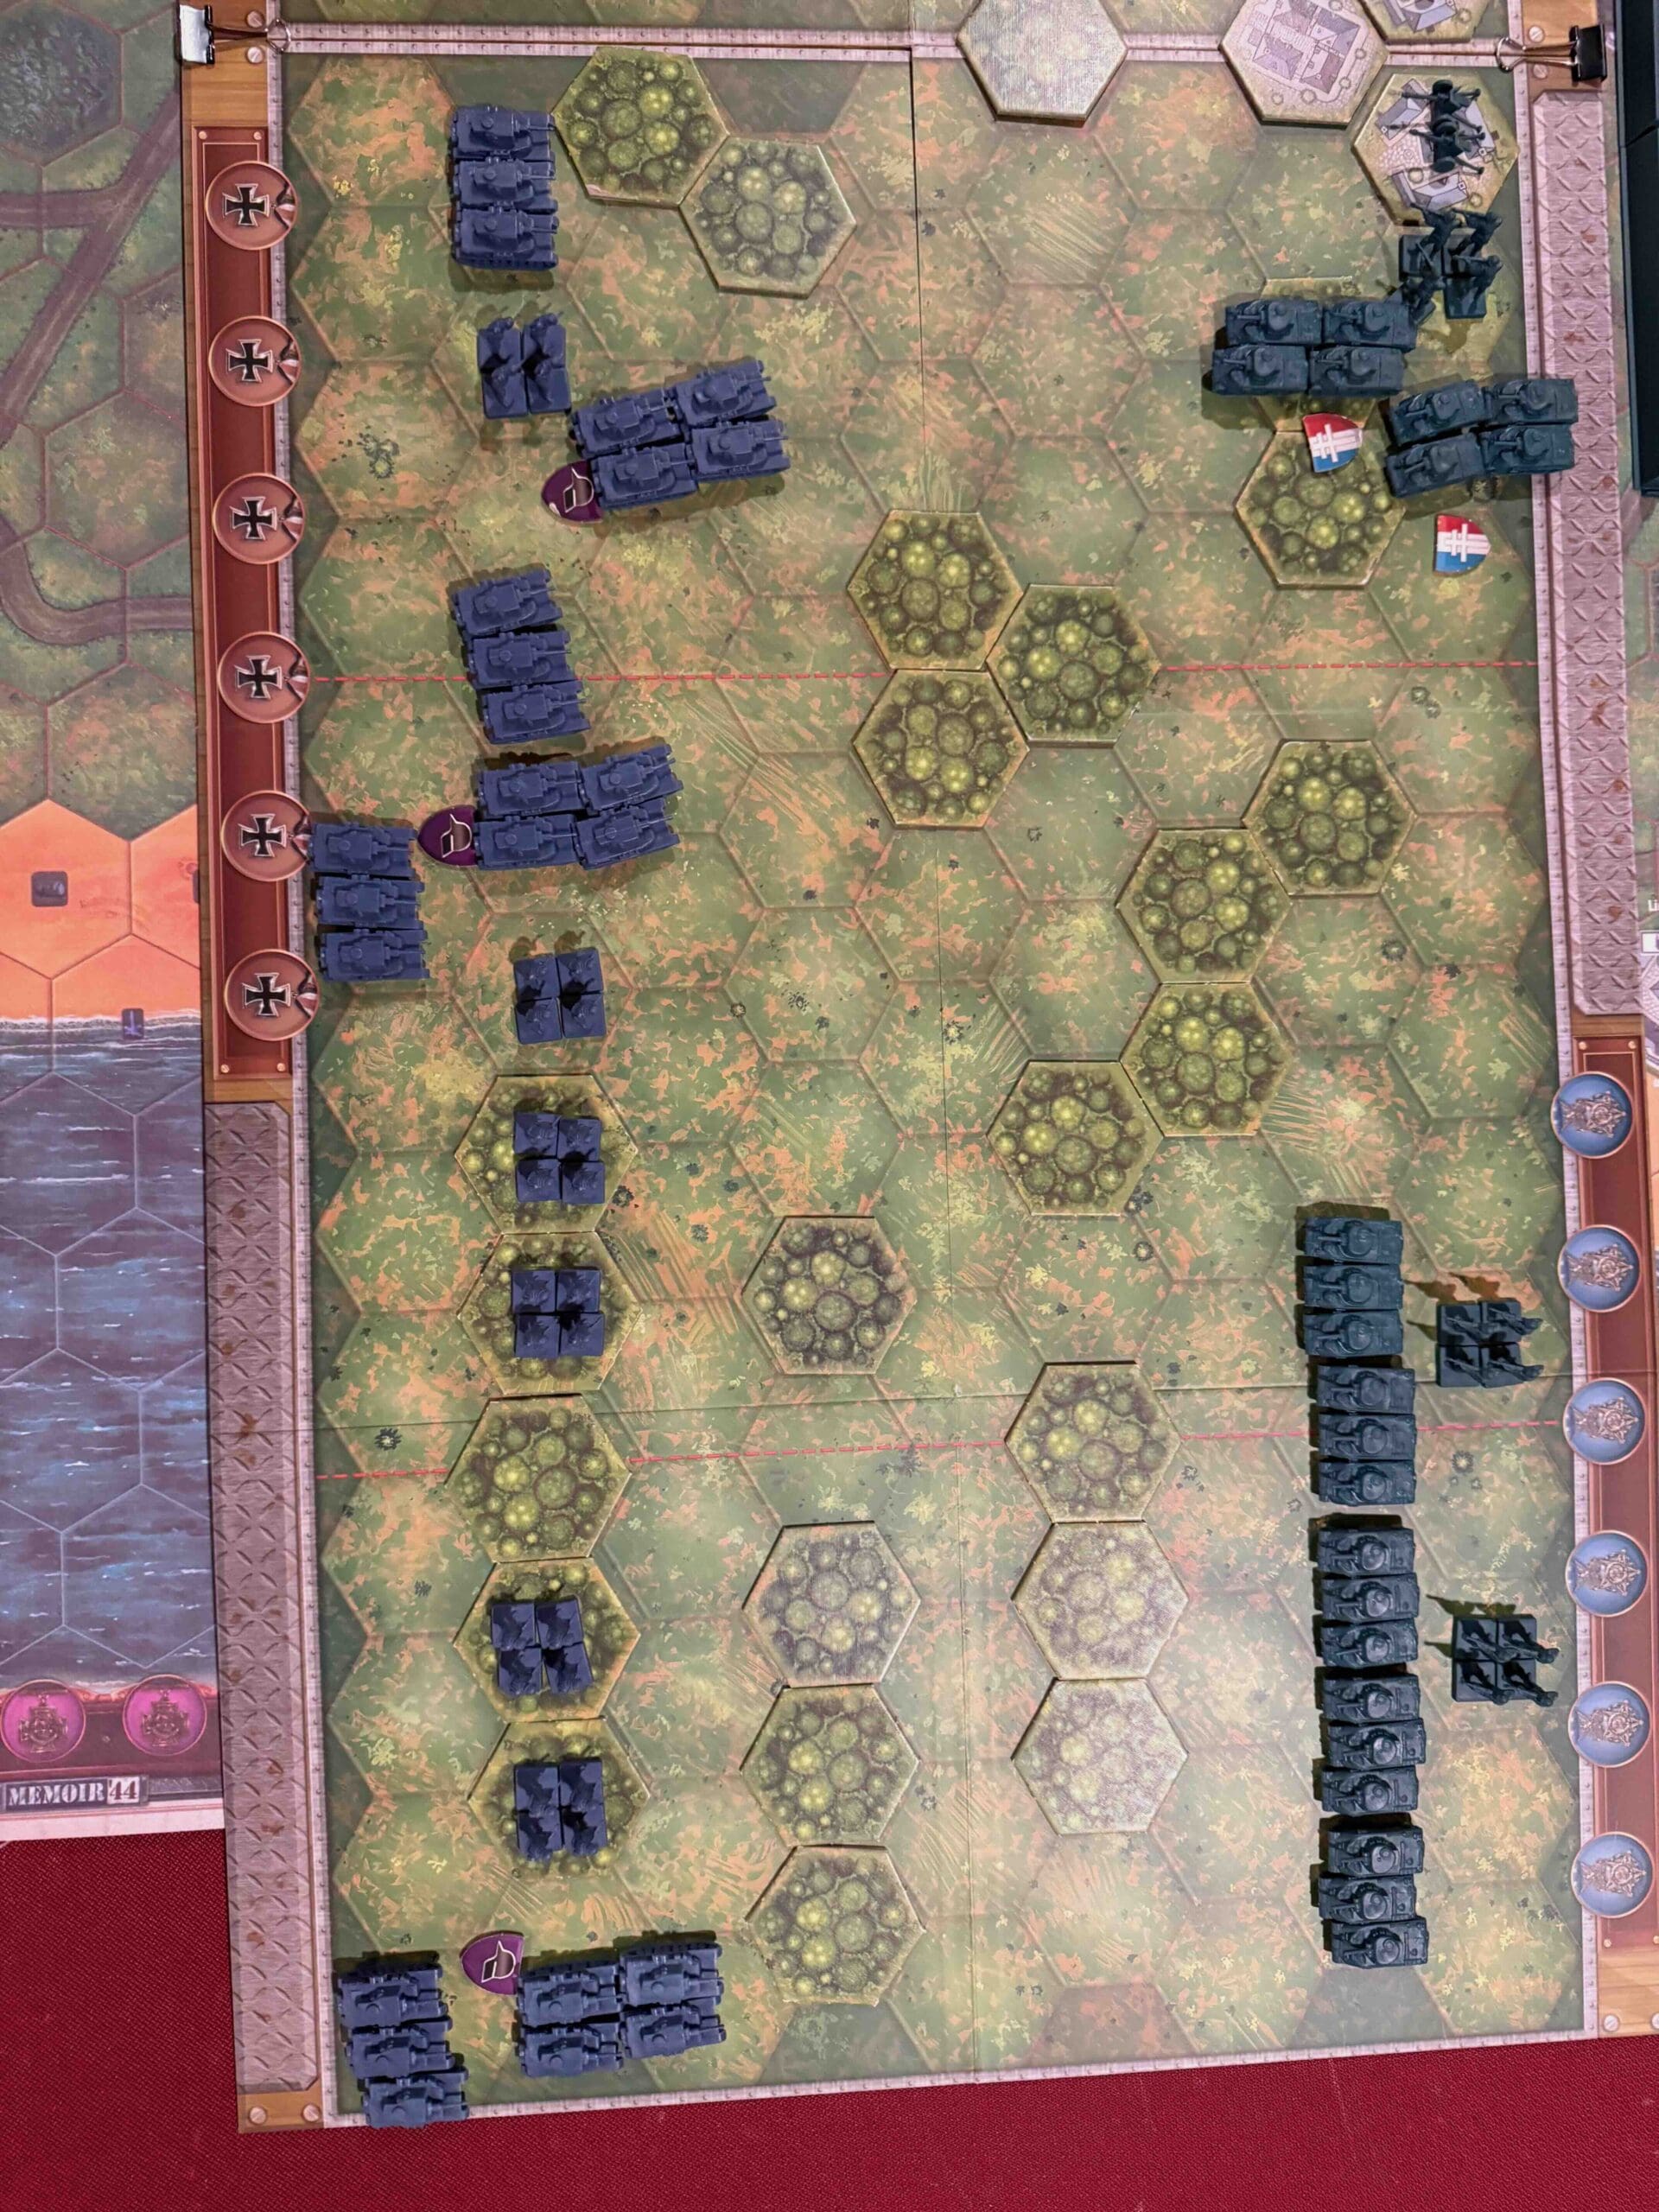
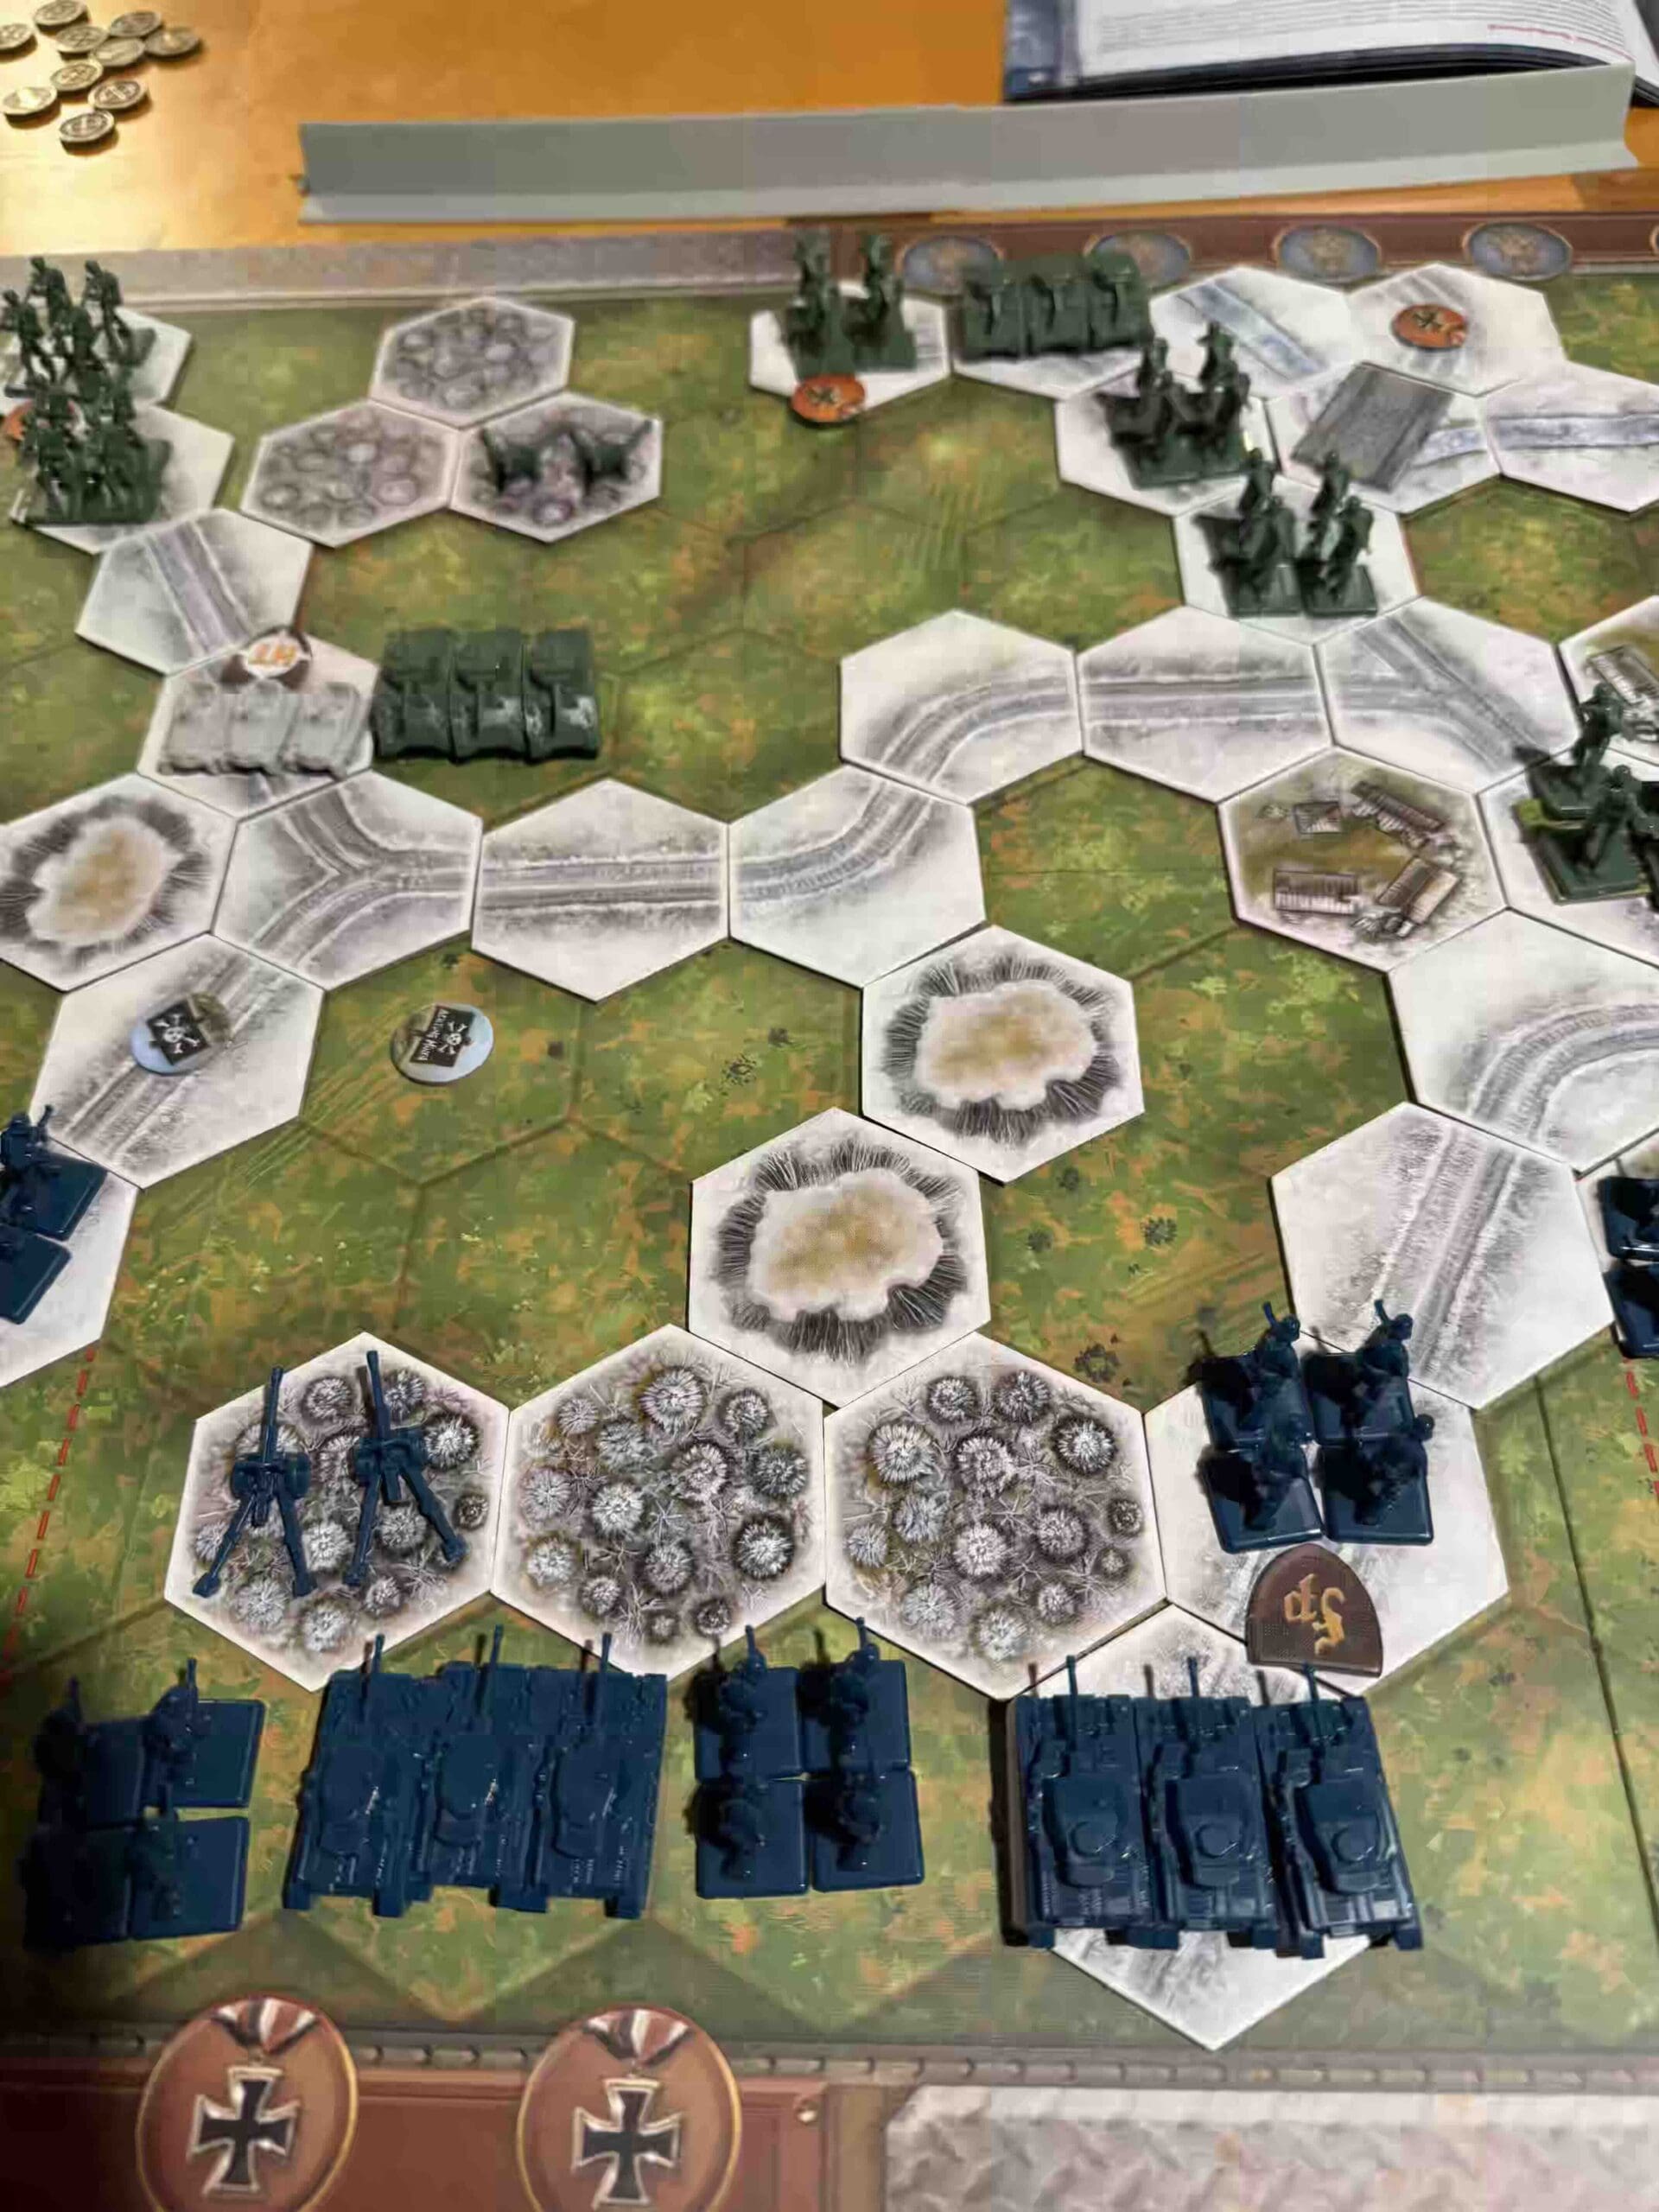
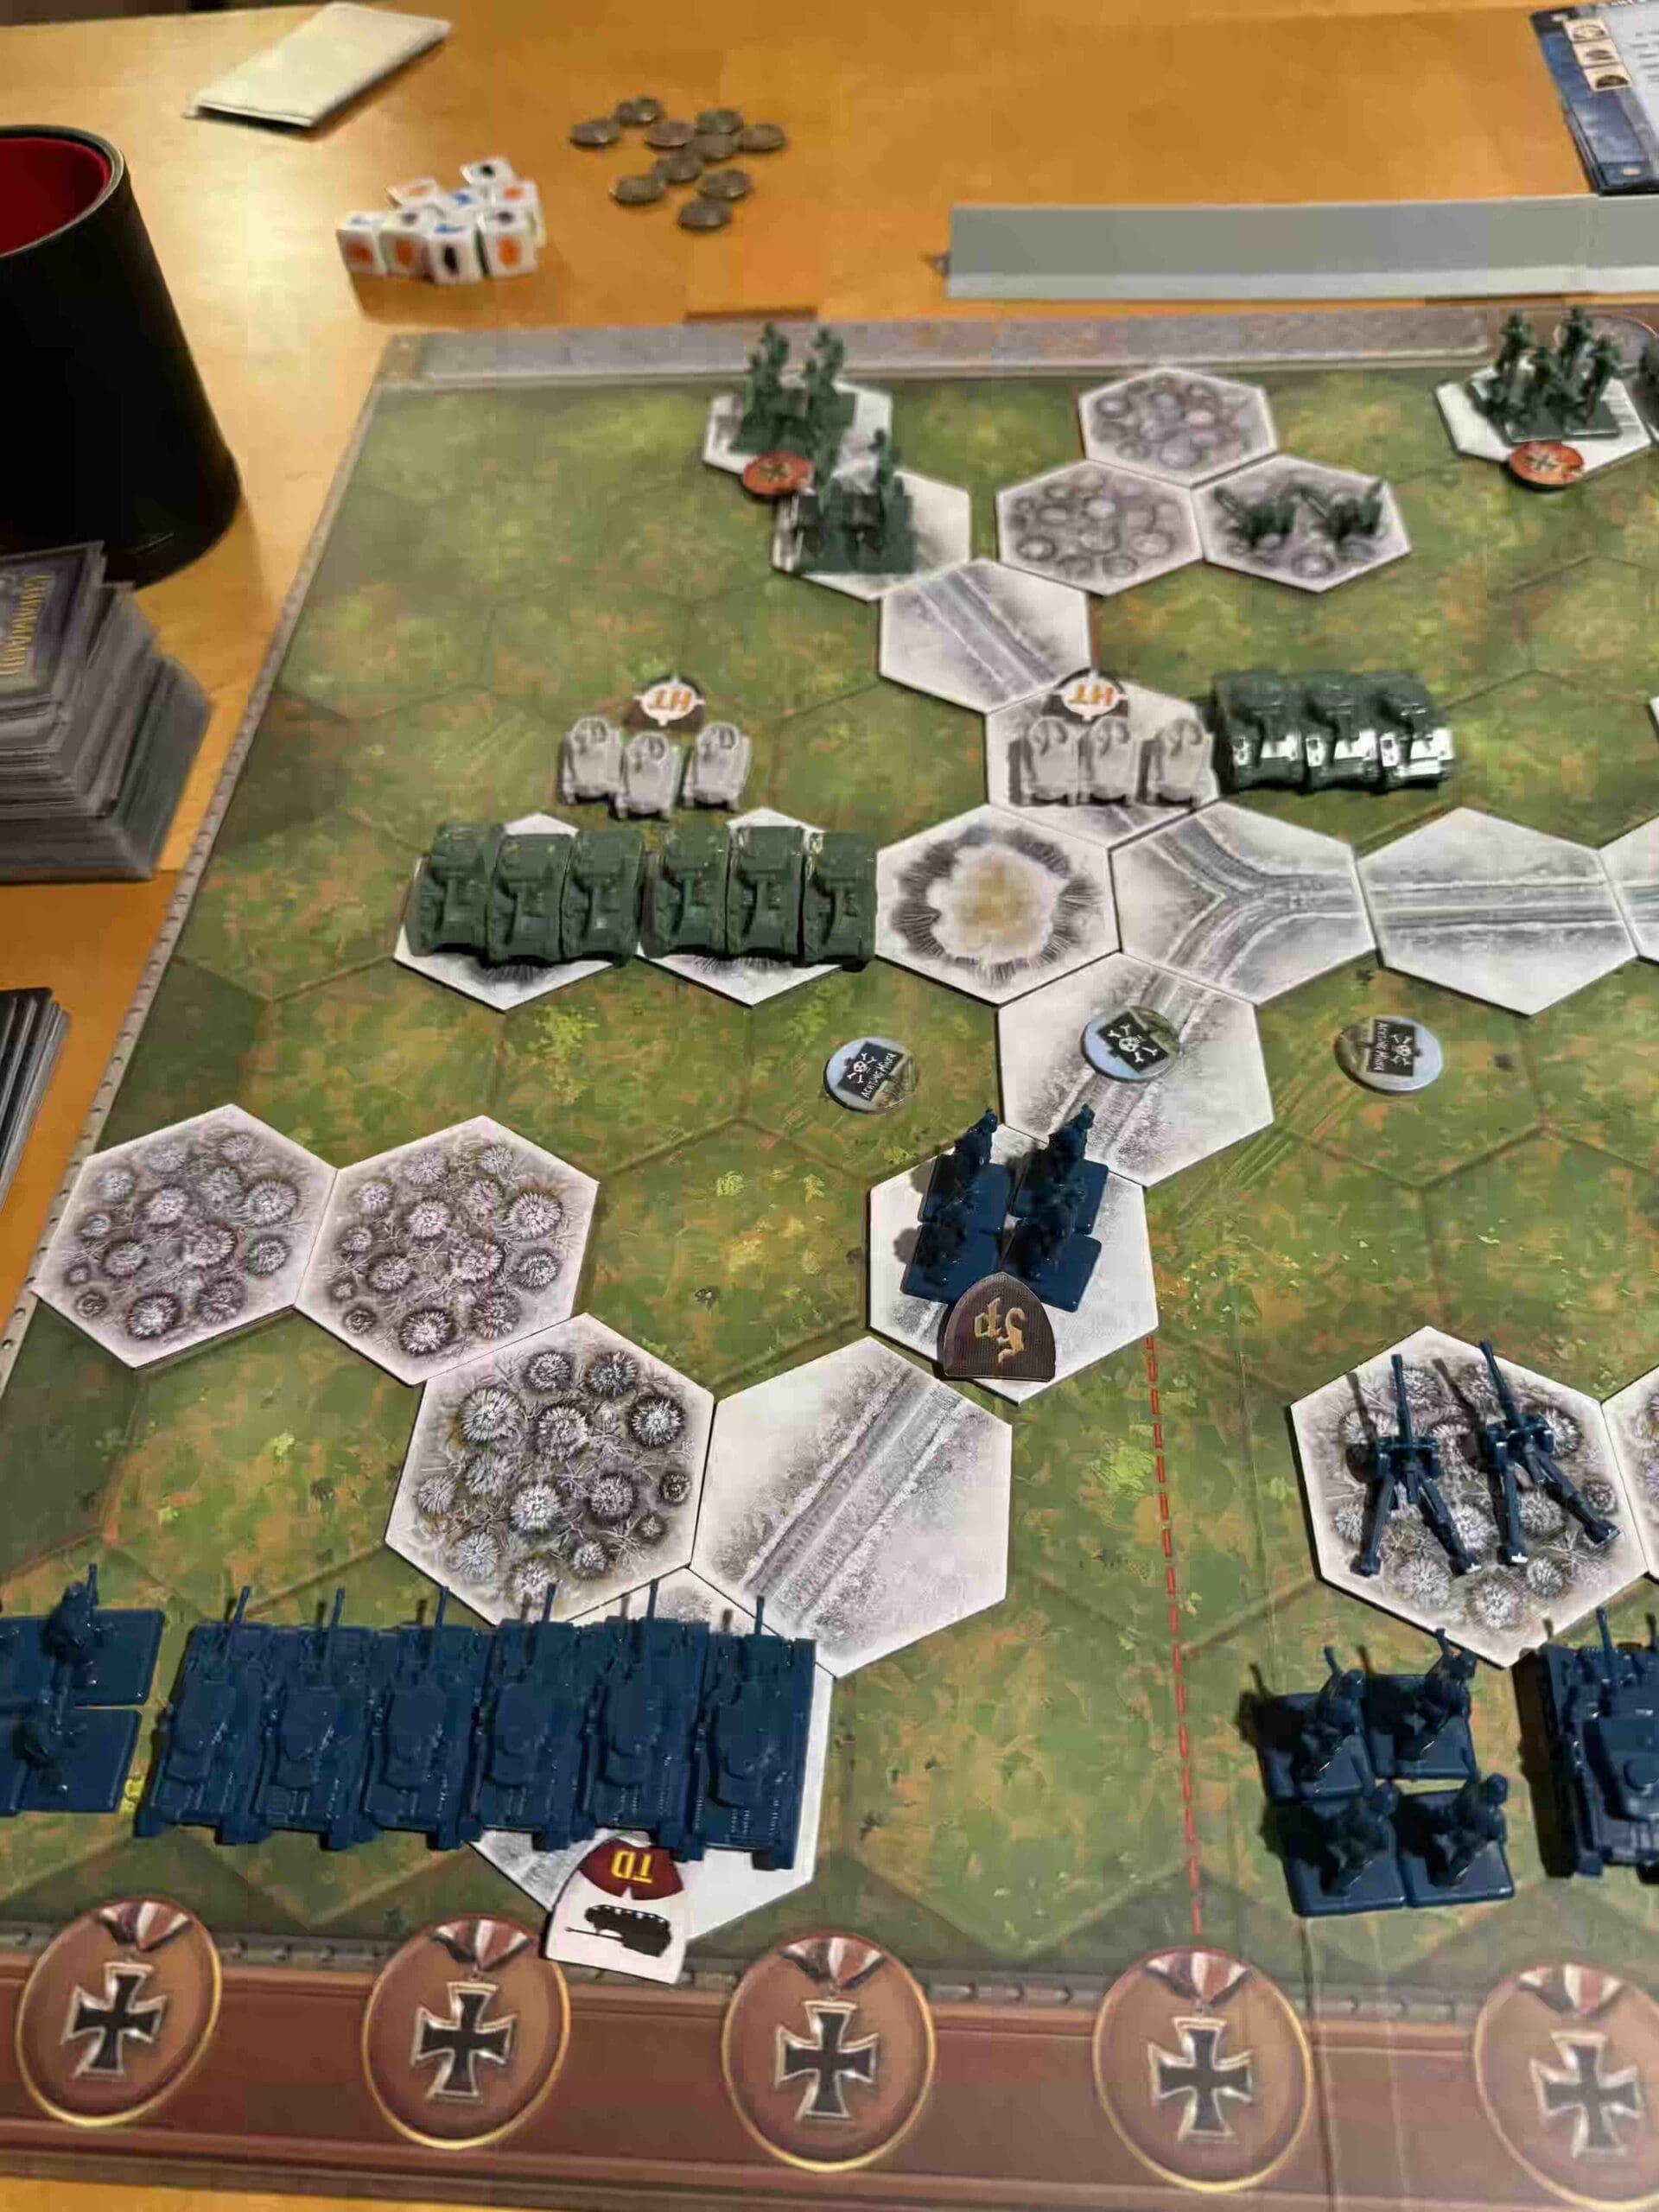
Battlefield:
Winter conditions, with roads, rivers, and ridges cutting through the battlefield with the town of Wardin dominating one section.
Troops:
Allies – 7 Infantry including 2 Engineers, 6 Armor including a Tank Destroyer, 1 Artillery
Axis – 7 Infantry, 6 Armor including 2 Half-Tracks, 1 Artillery
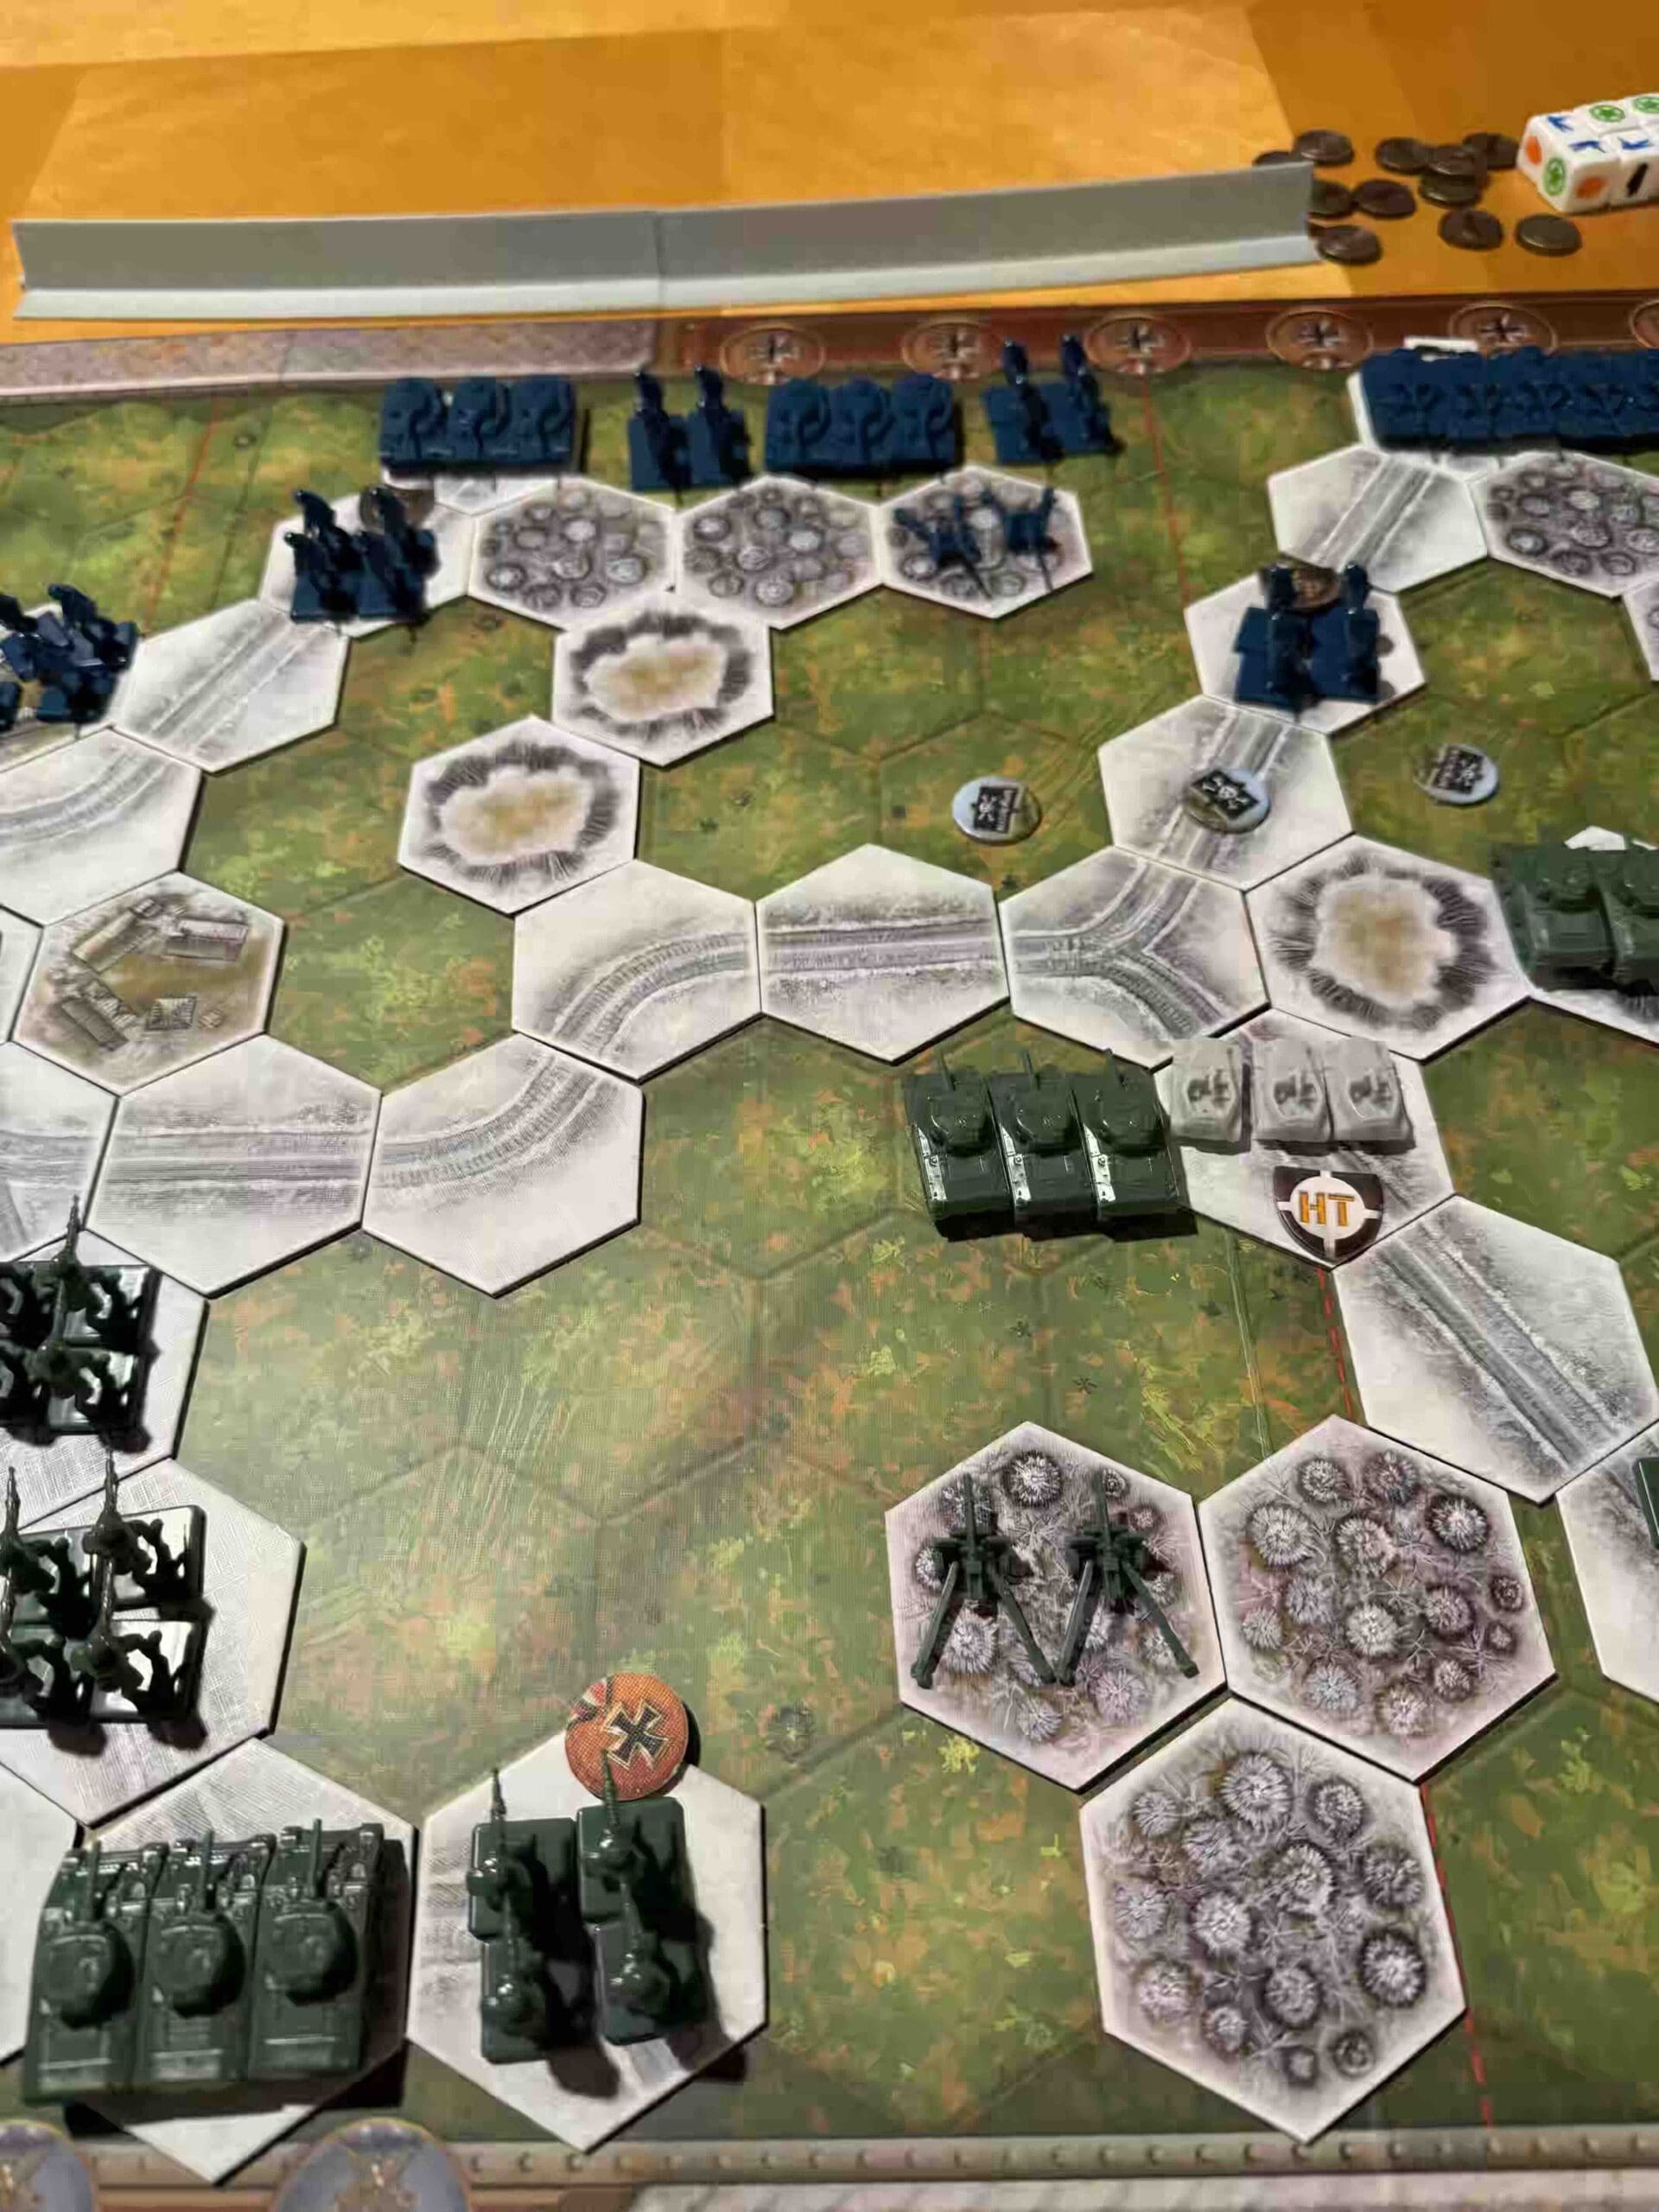
Special Rules:
1. Winter Combat rules – two hex armor movement
2. Reduced Visibility rules – only hit with Grenades unless in Close Assault
3. Tank Destroyer (2,2,2,2), and hits Armor on Stars
4. Half-Tracks – move 0-2 and attack (2,2)
5. The river is frozen, but impassable.
6. Winter Combat Cards – play the Winter Combat cards in addition to regular Combat cards, two per player
7. Allied mines
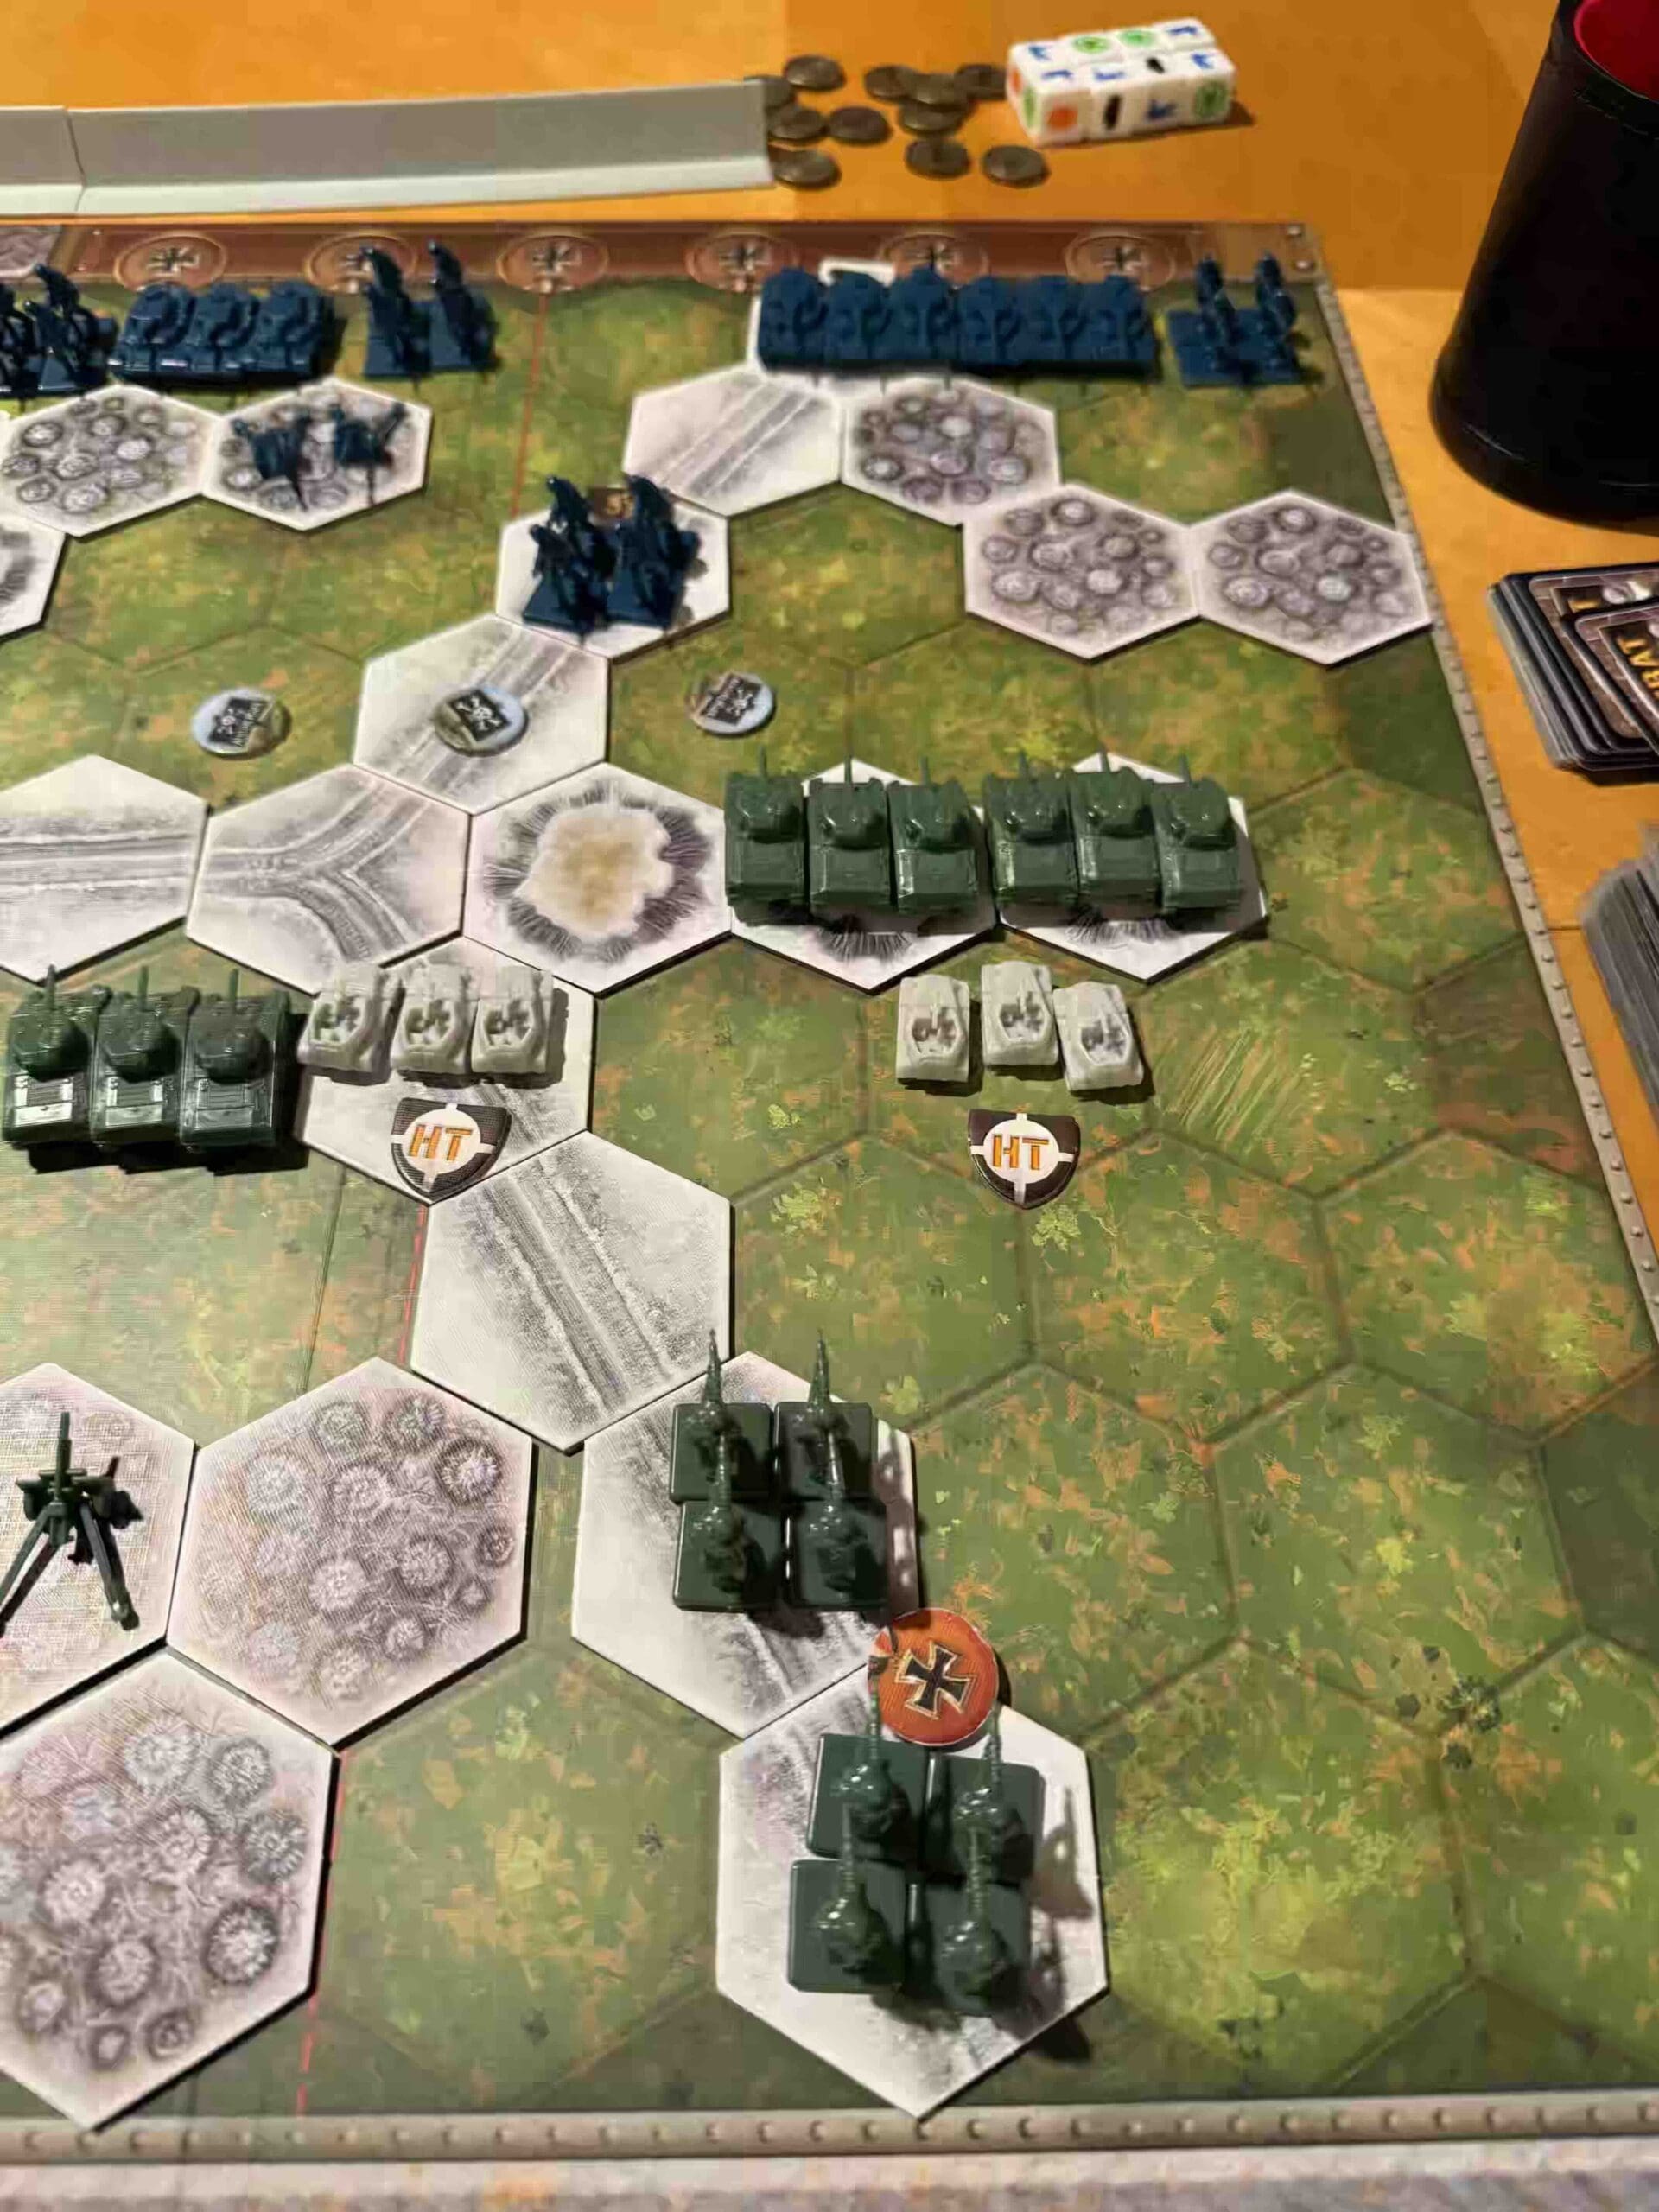
Overall Strategy:
1. The Winter Weather rules and Limited Visibility rules totally change the strategy for this battle. Any units which are not in Close Assault can only hit when they roll a Grenade. That means the the distance power of Armor and Artillery is really limited, as they too, can only hit on grenades. In fact, Artillery is quite useless in this scenario unless they are right next to you. So all planning goes into how to mass your troops for multiple Close Assault attacks at once during a single turn.
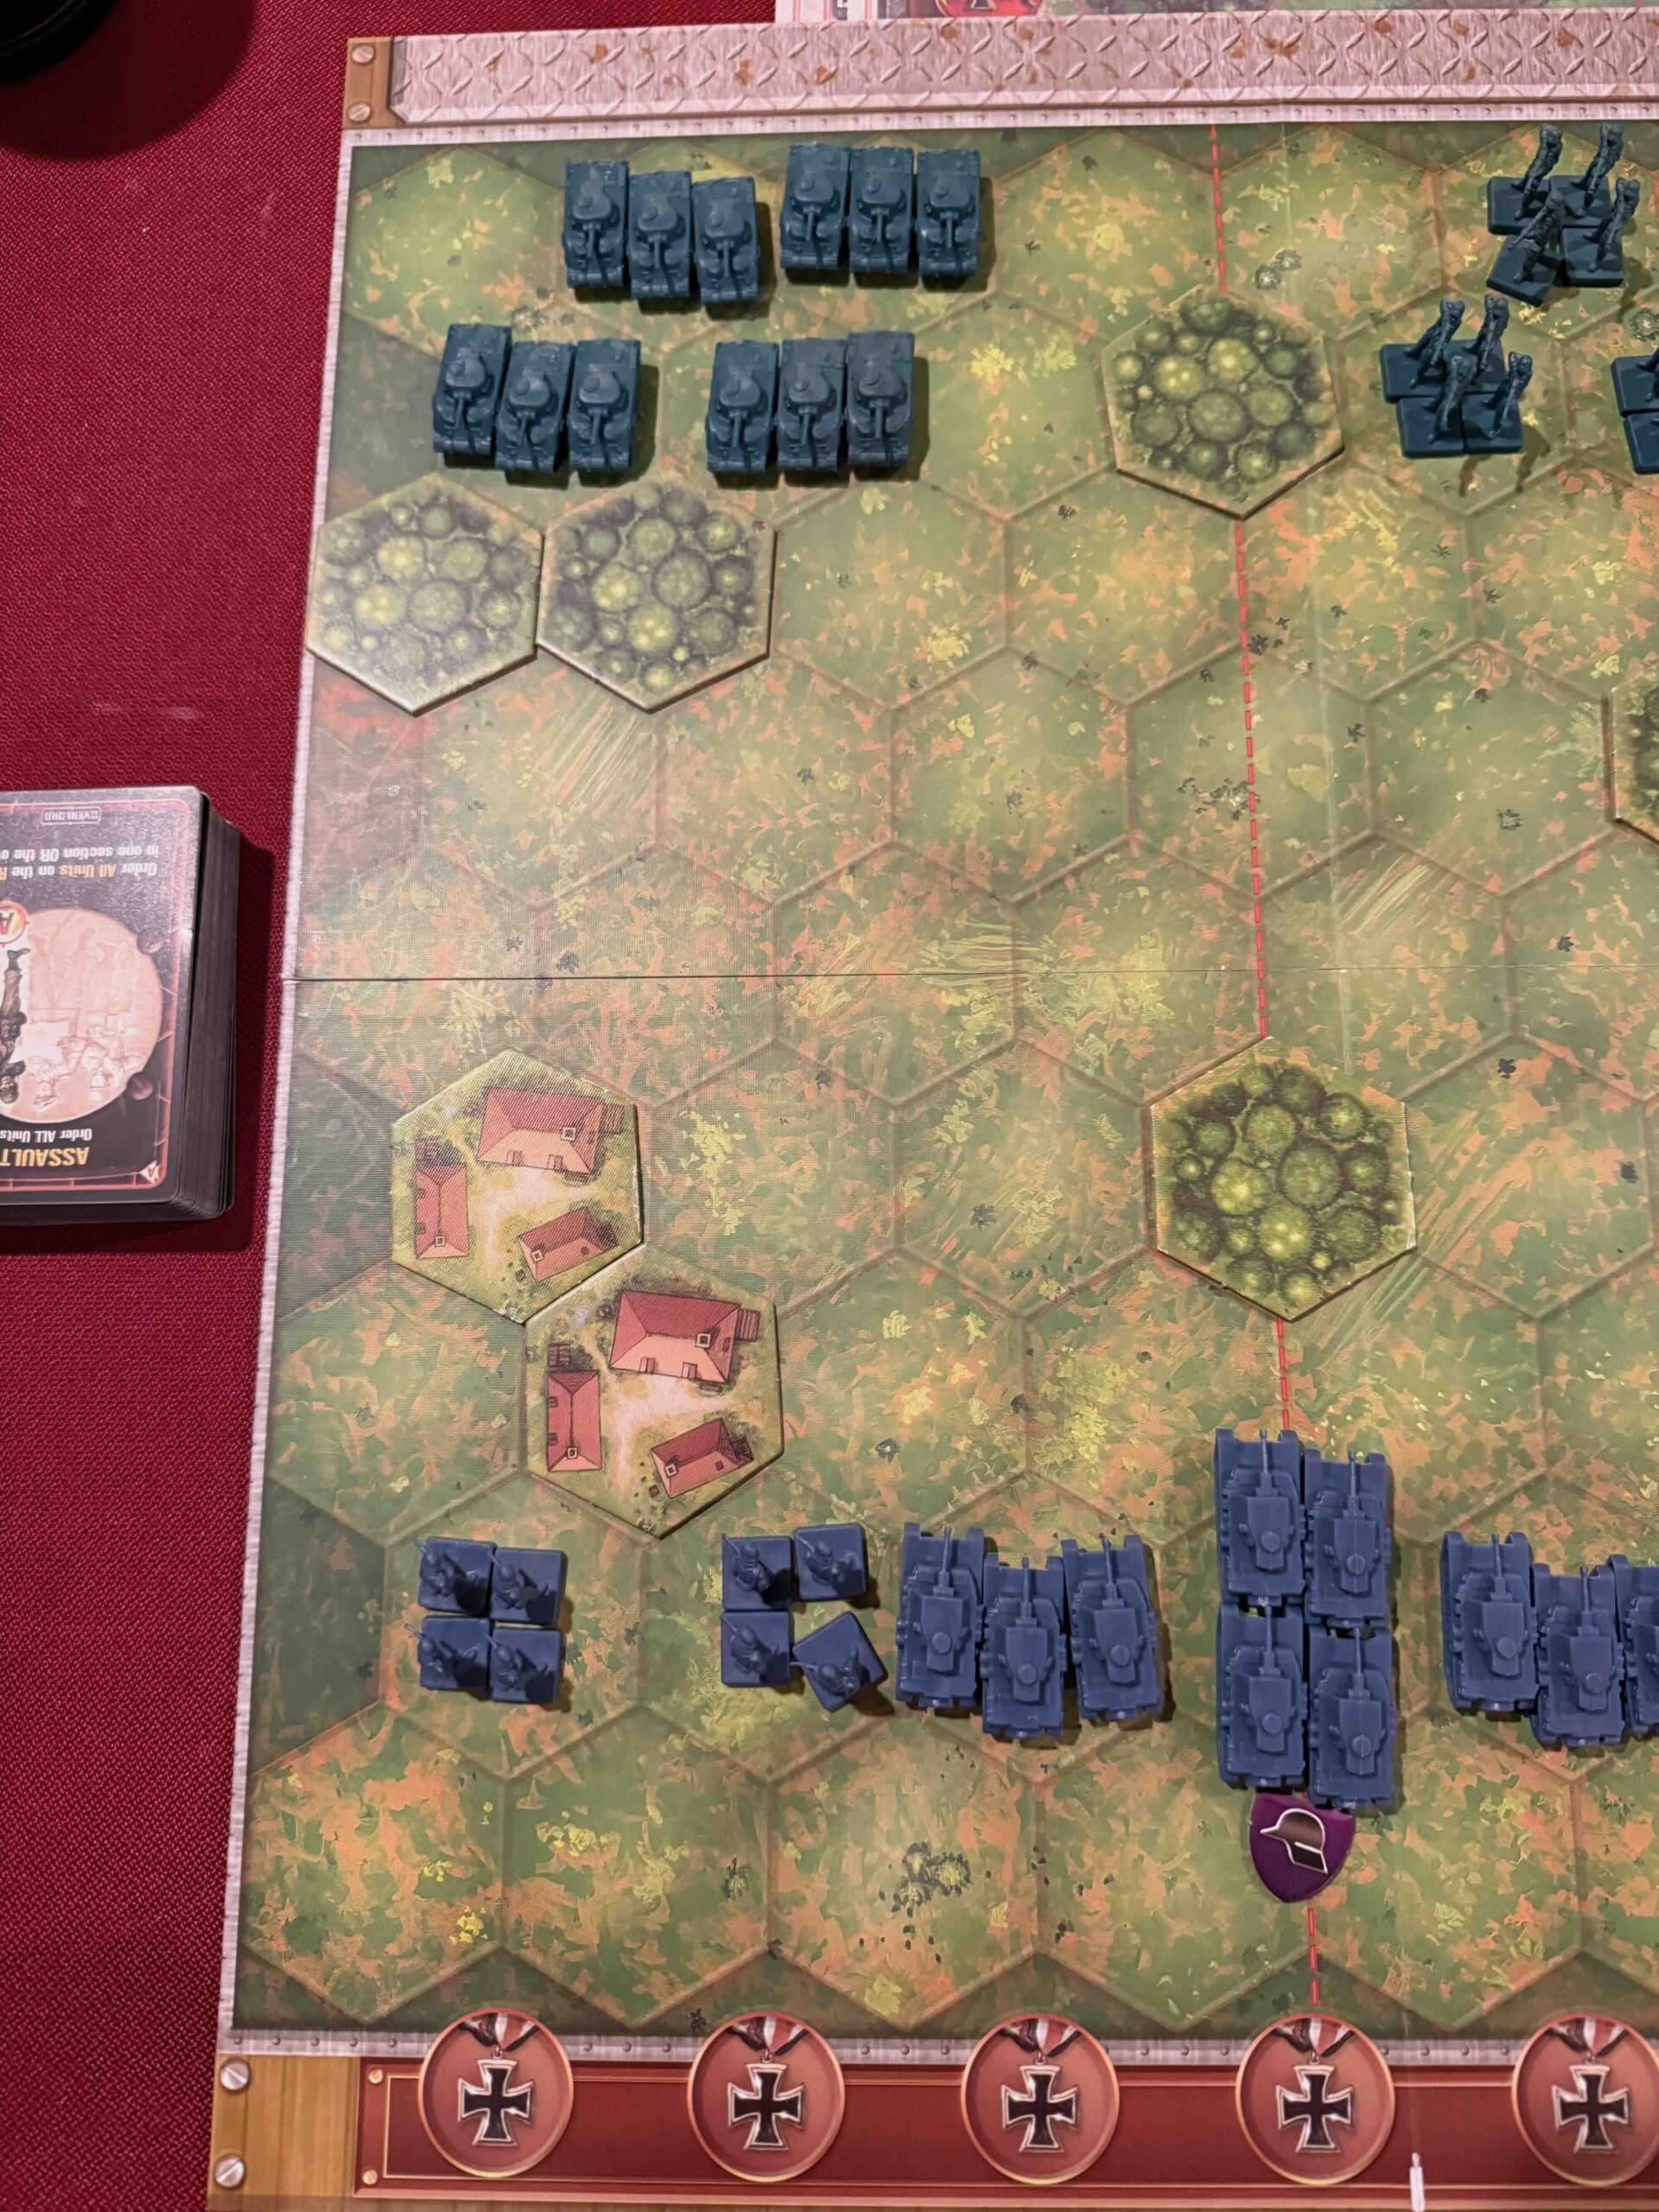
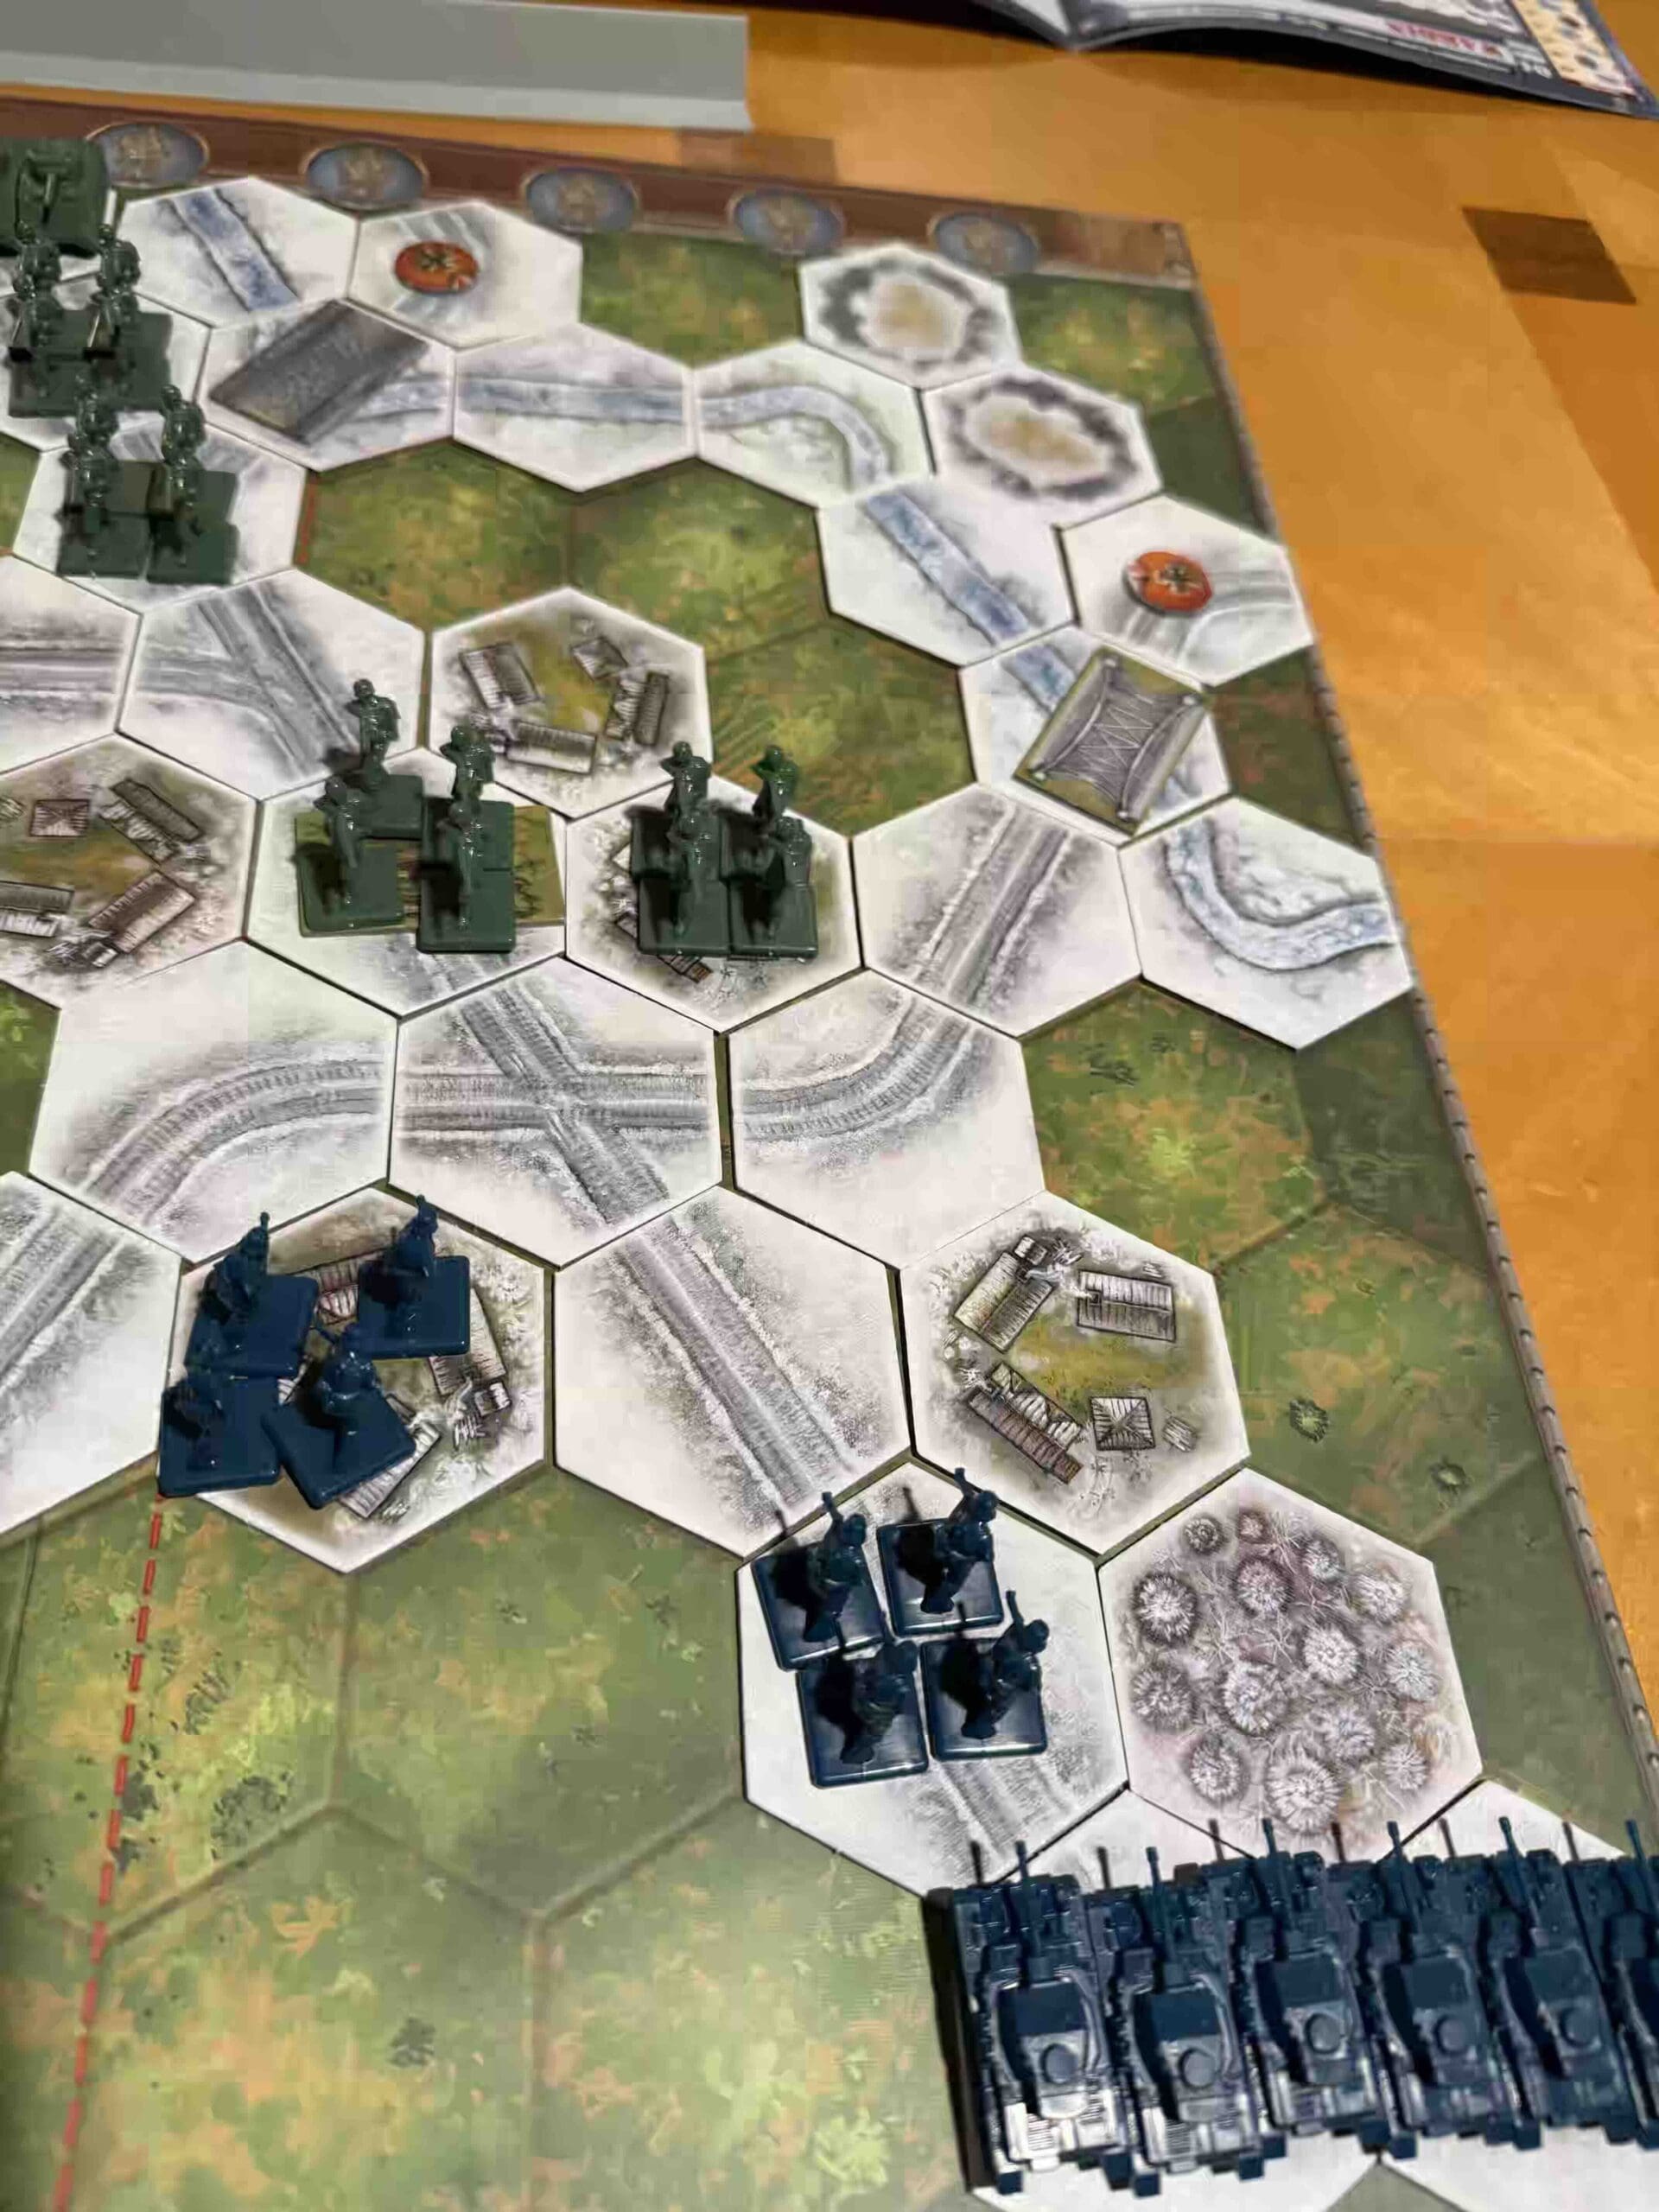
2. The name of the scenario is Wardin, and for good reason. The five-hex town dominates the right half of the battlefield. And the battle to control the majority of its hexes becomes a focal point for those forces.
 Allied Strategy:
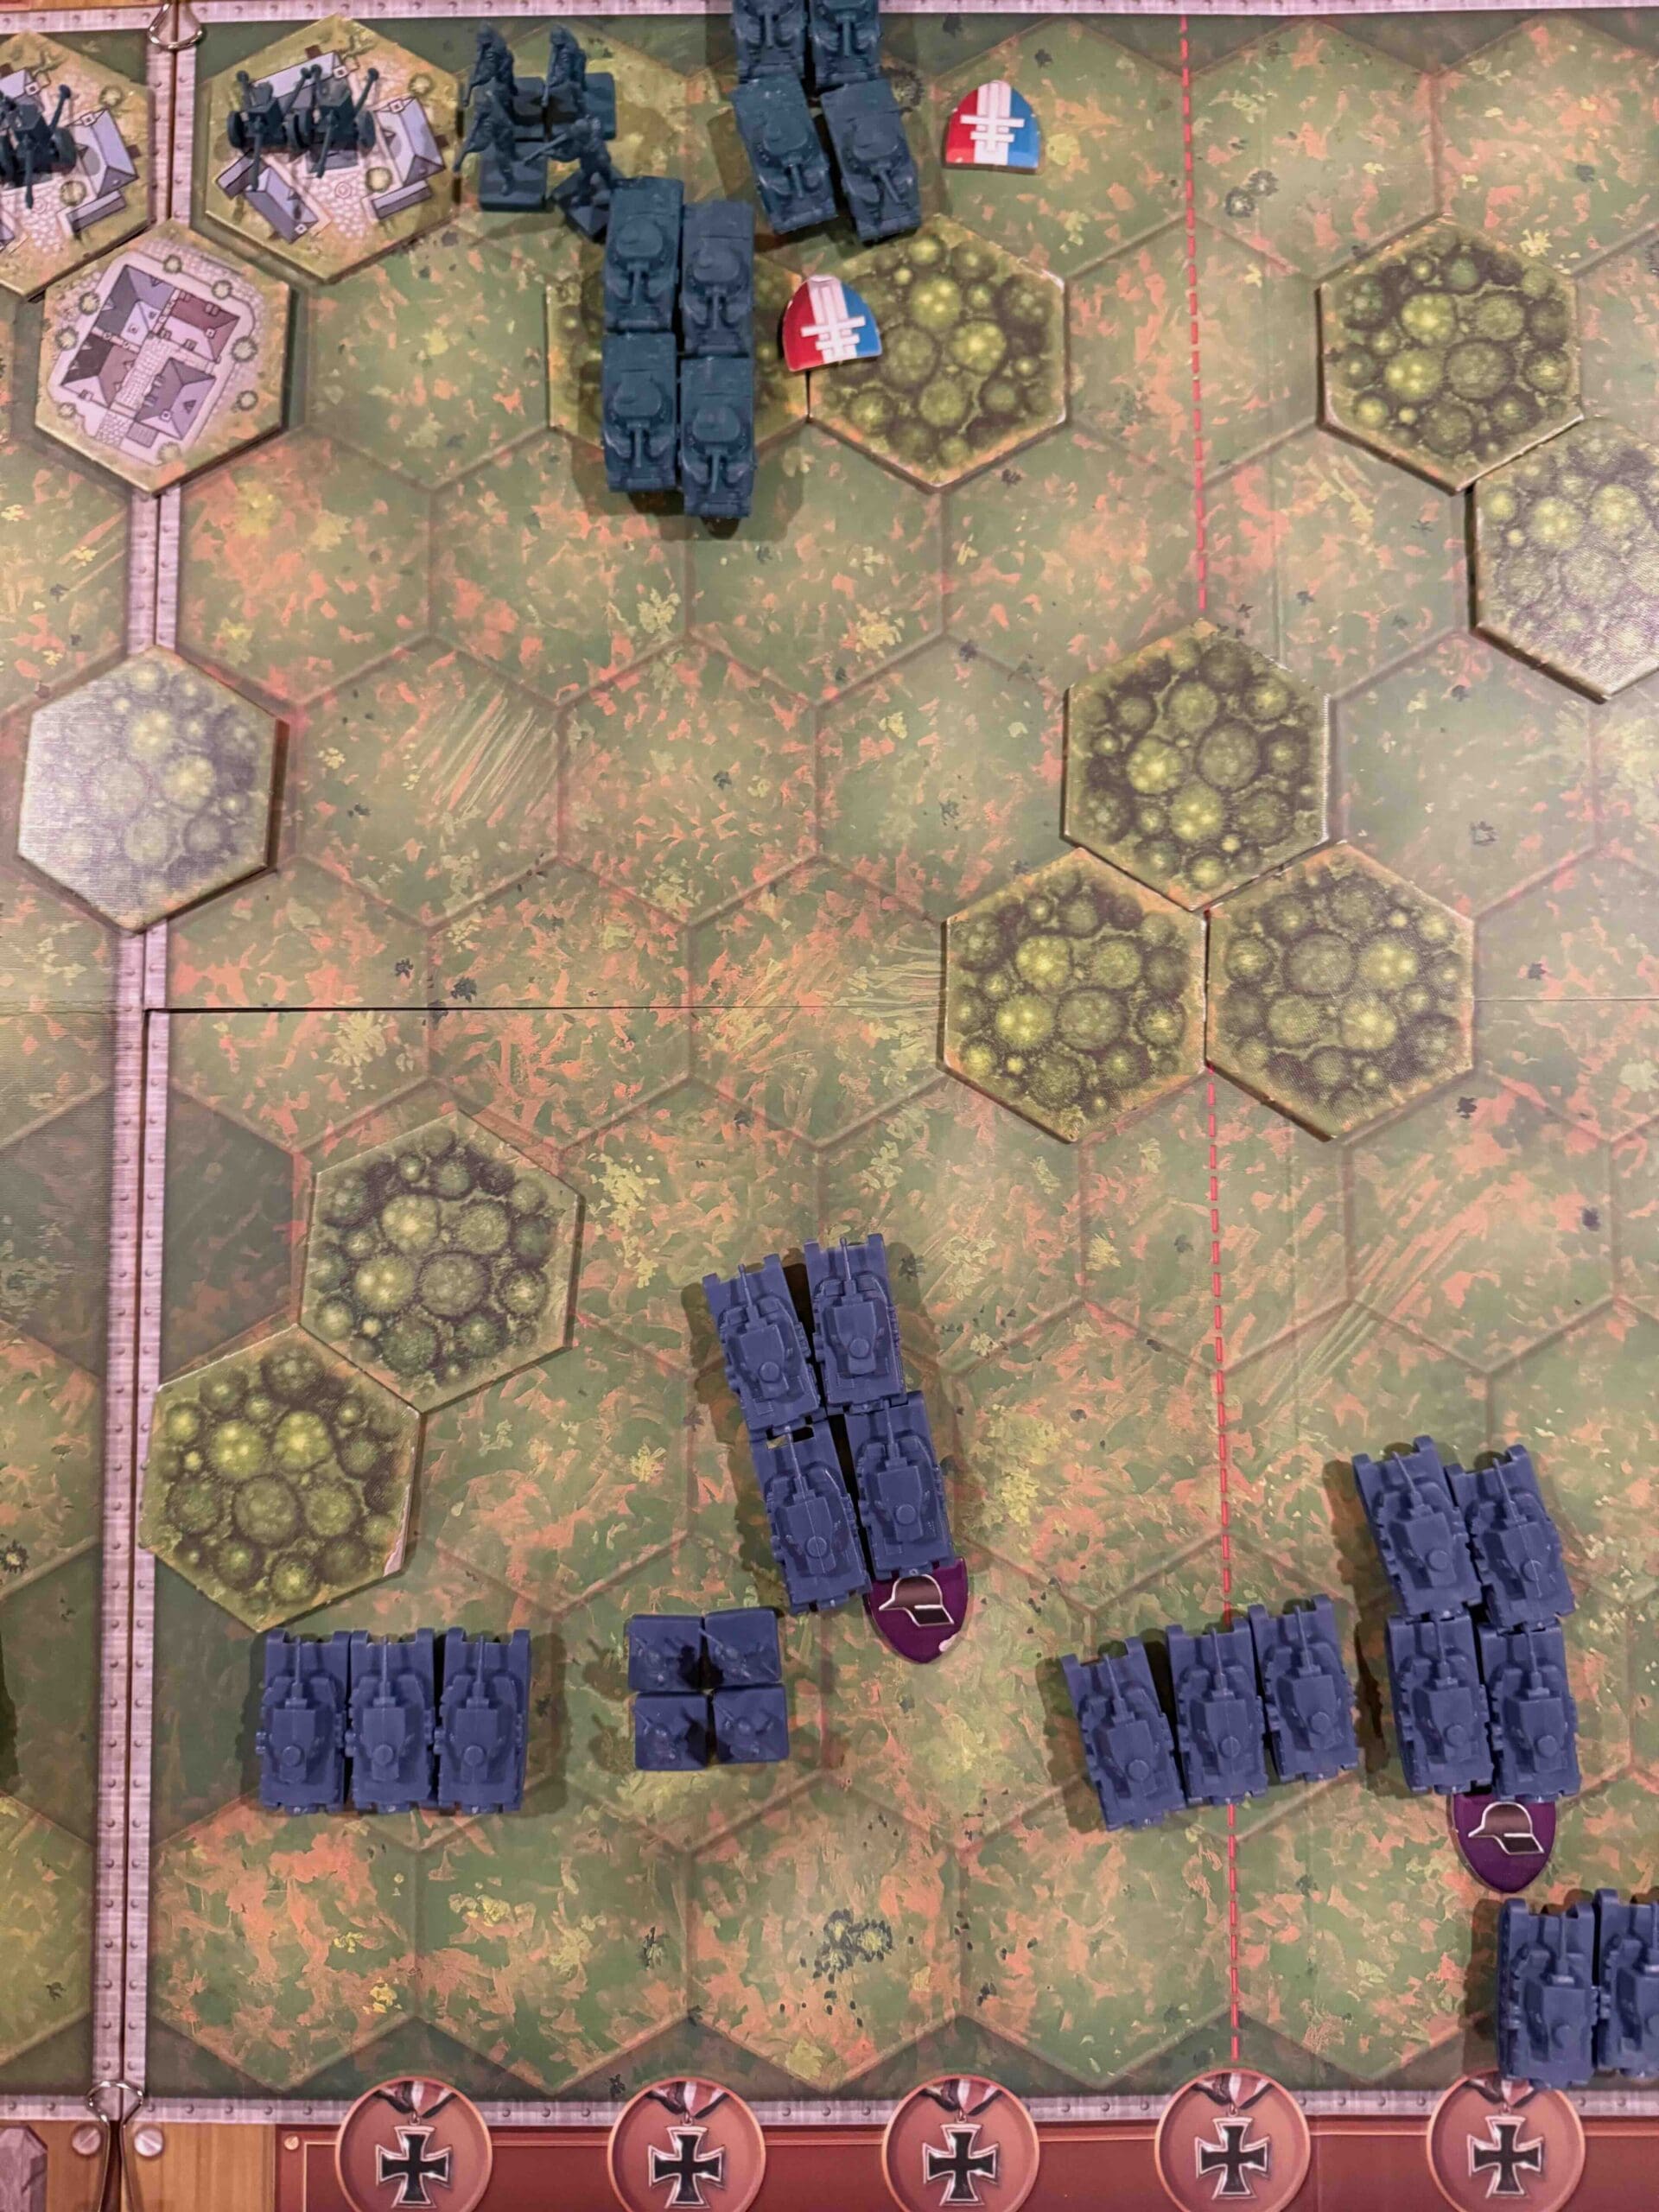
1. Defend the four Temporary Medal Objectives.
2. Defend the town of Wardin from take-over by the Germans.
3. The enemy Tank Destroyers are glass cannons which can be quickly eliminated because they are also hit when Stars are rolled. (They also hit when they roll Stars.)
4. The Half-Tracks only roll two-dice each time, so use them in conjunction with your forces. They should not go out to battle alone.
 Axis Strategy:
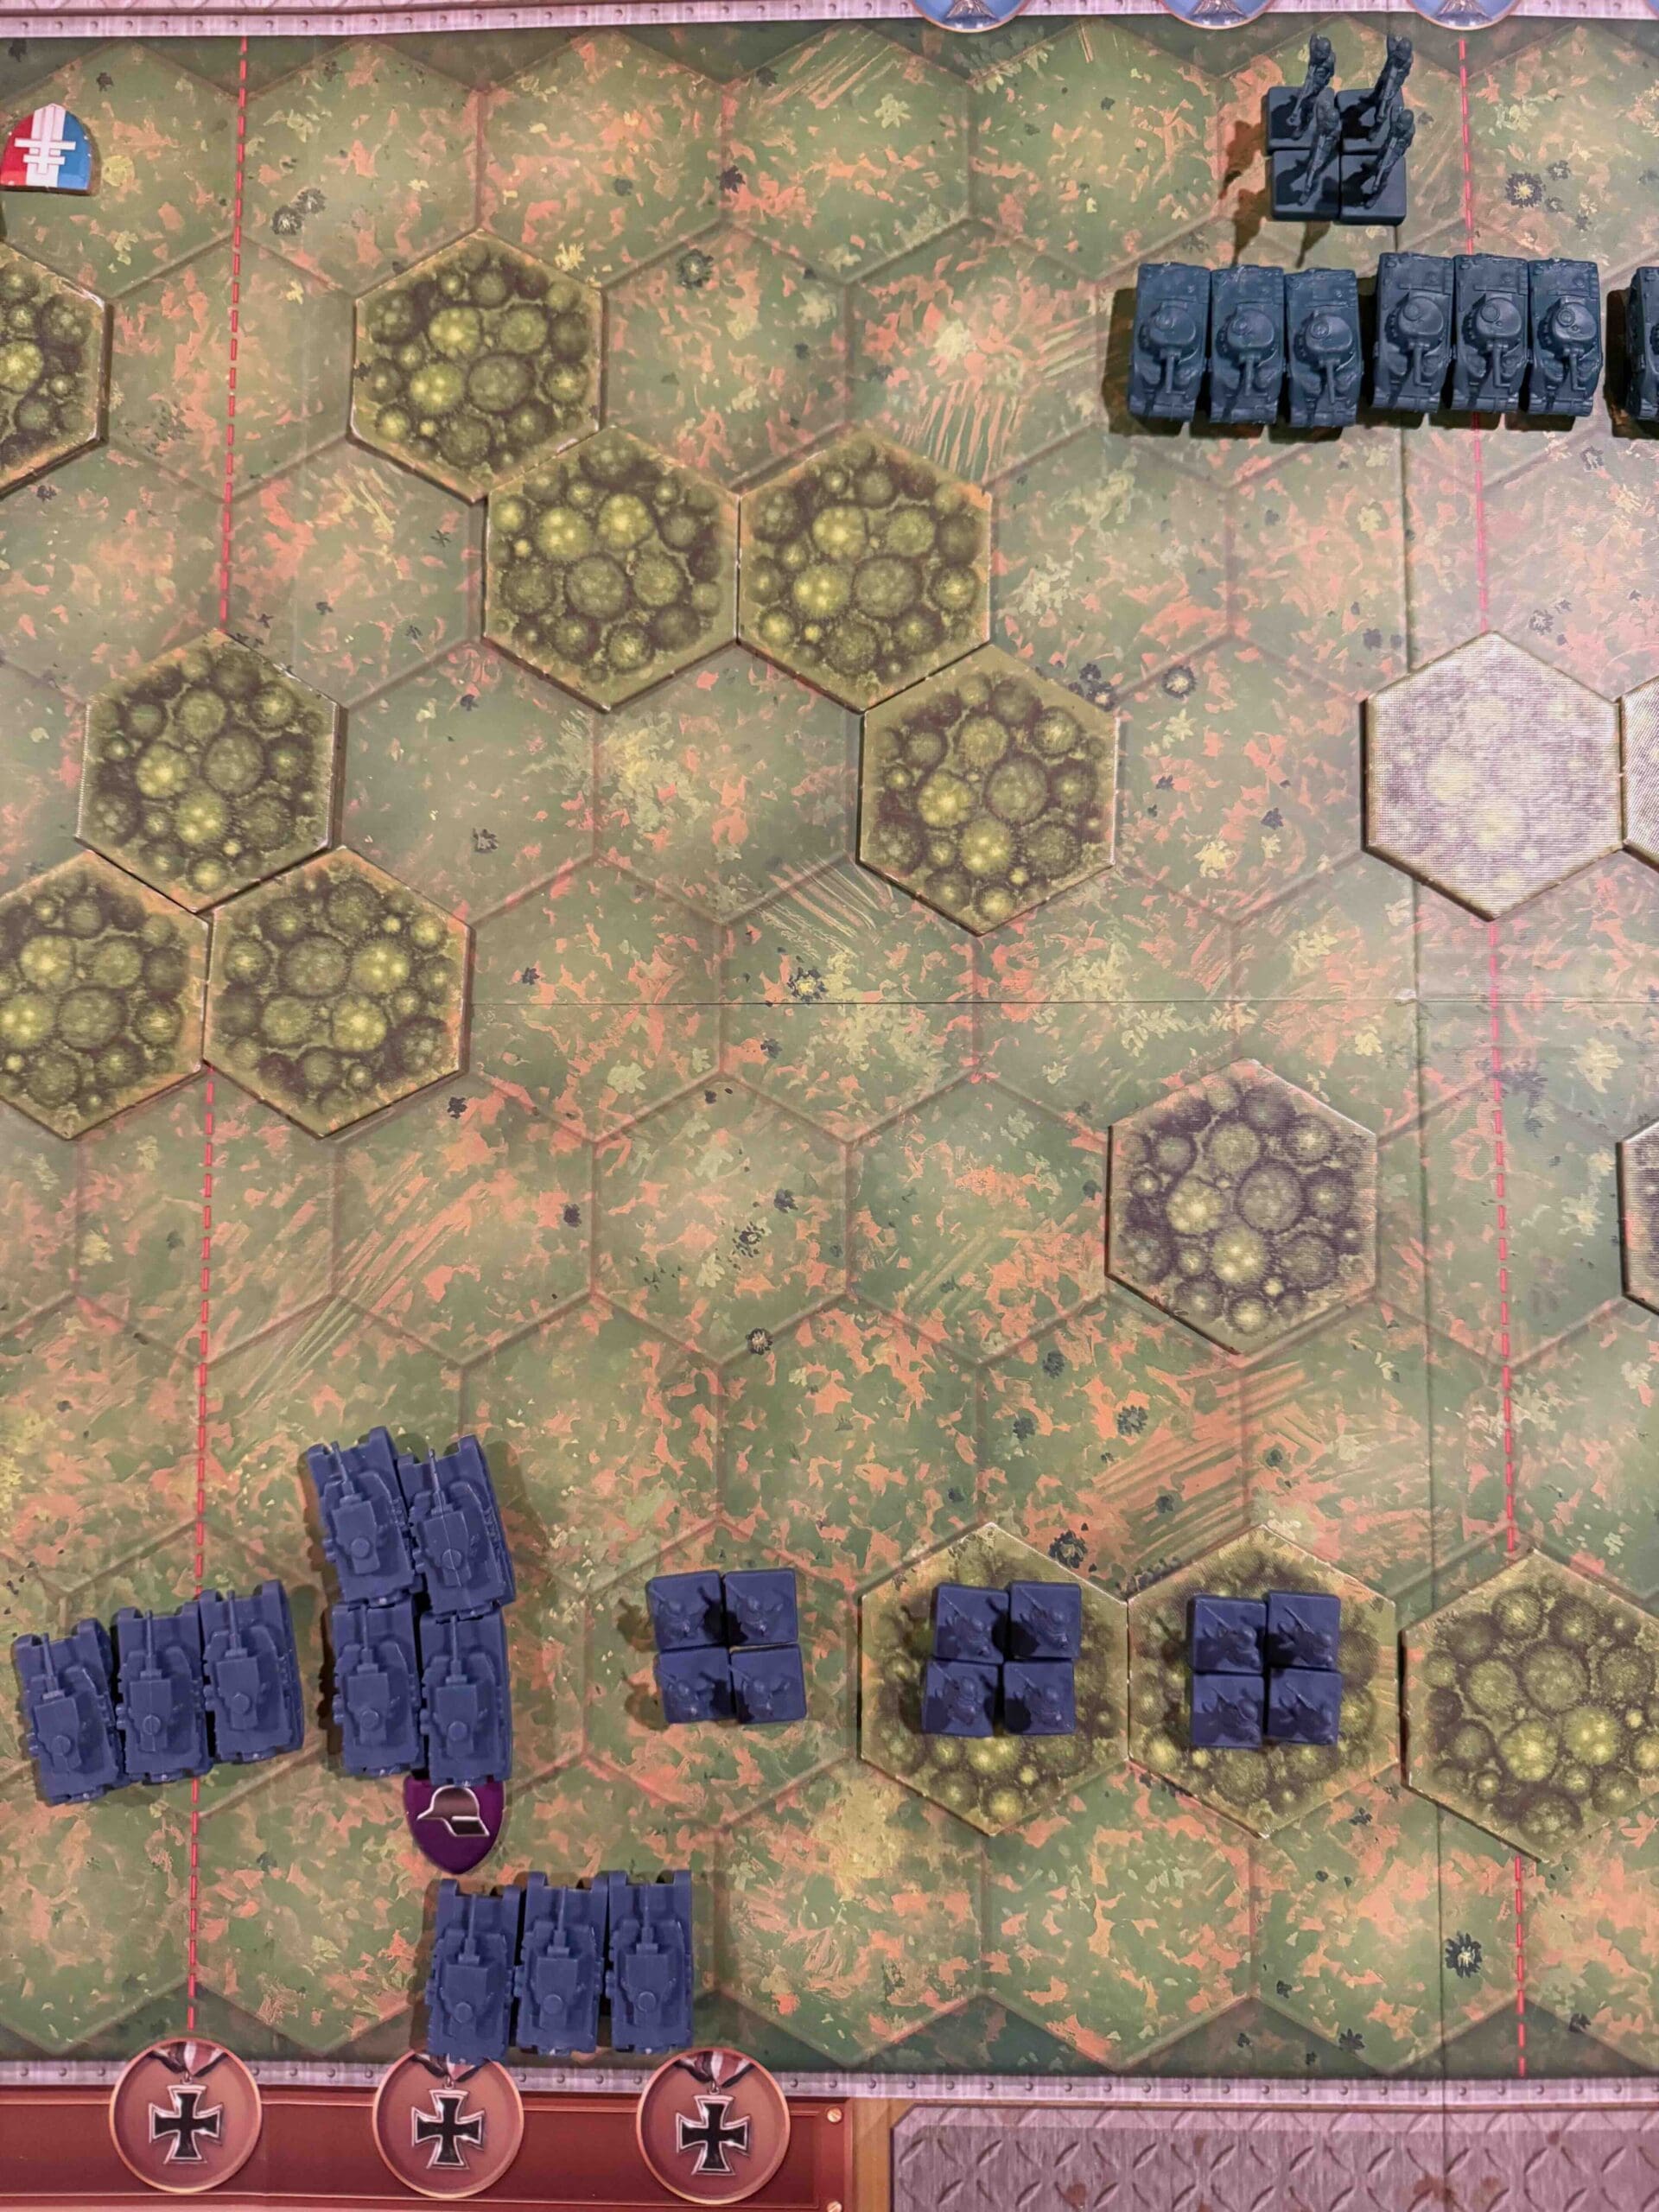
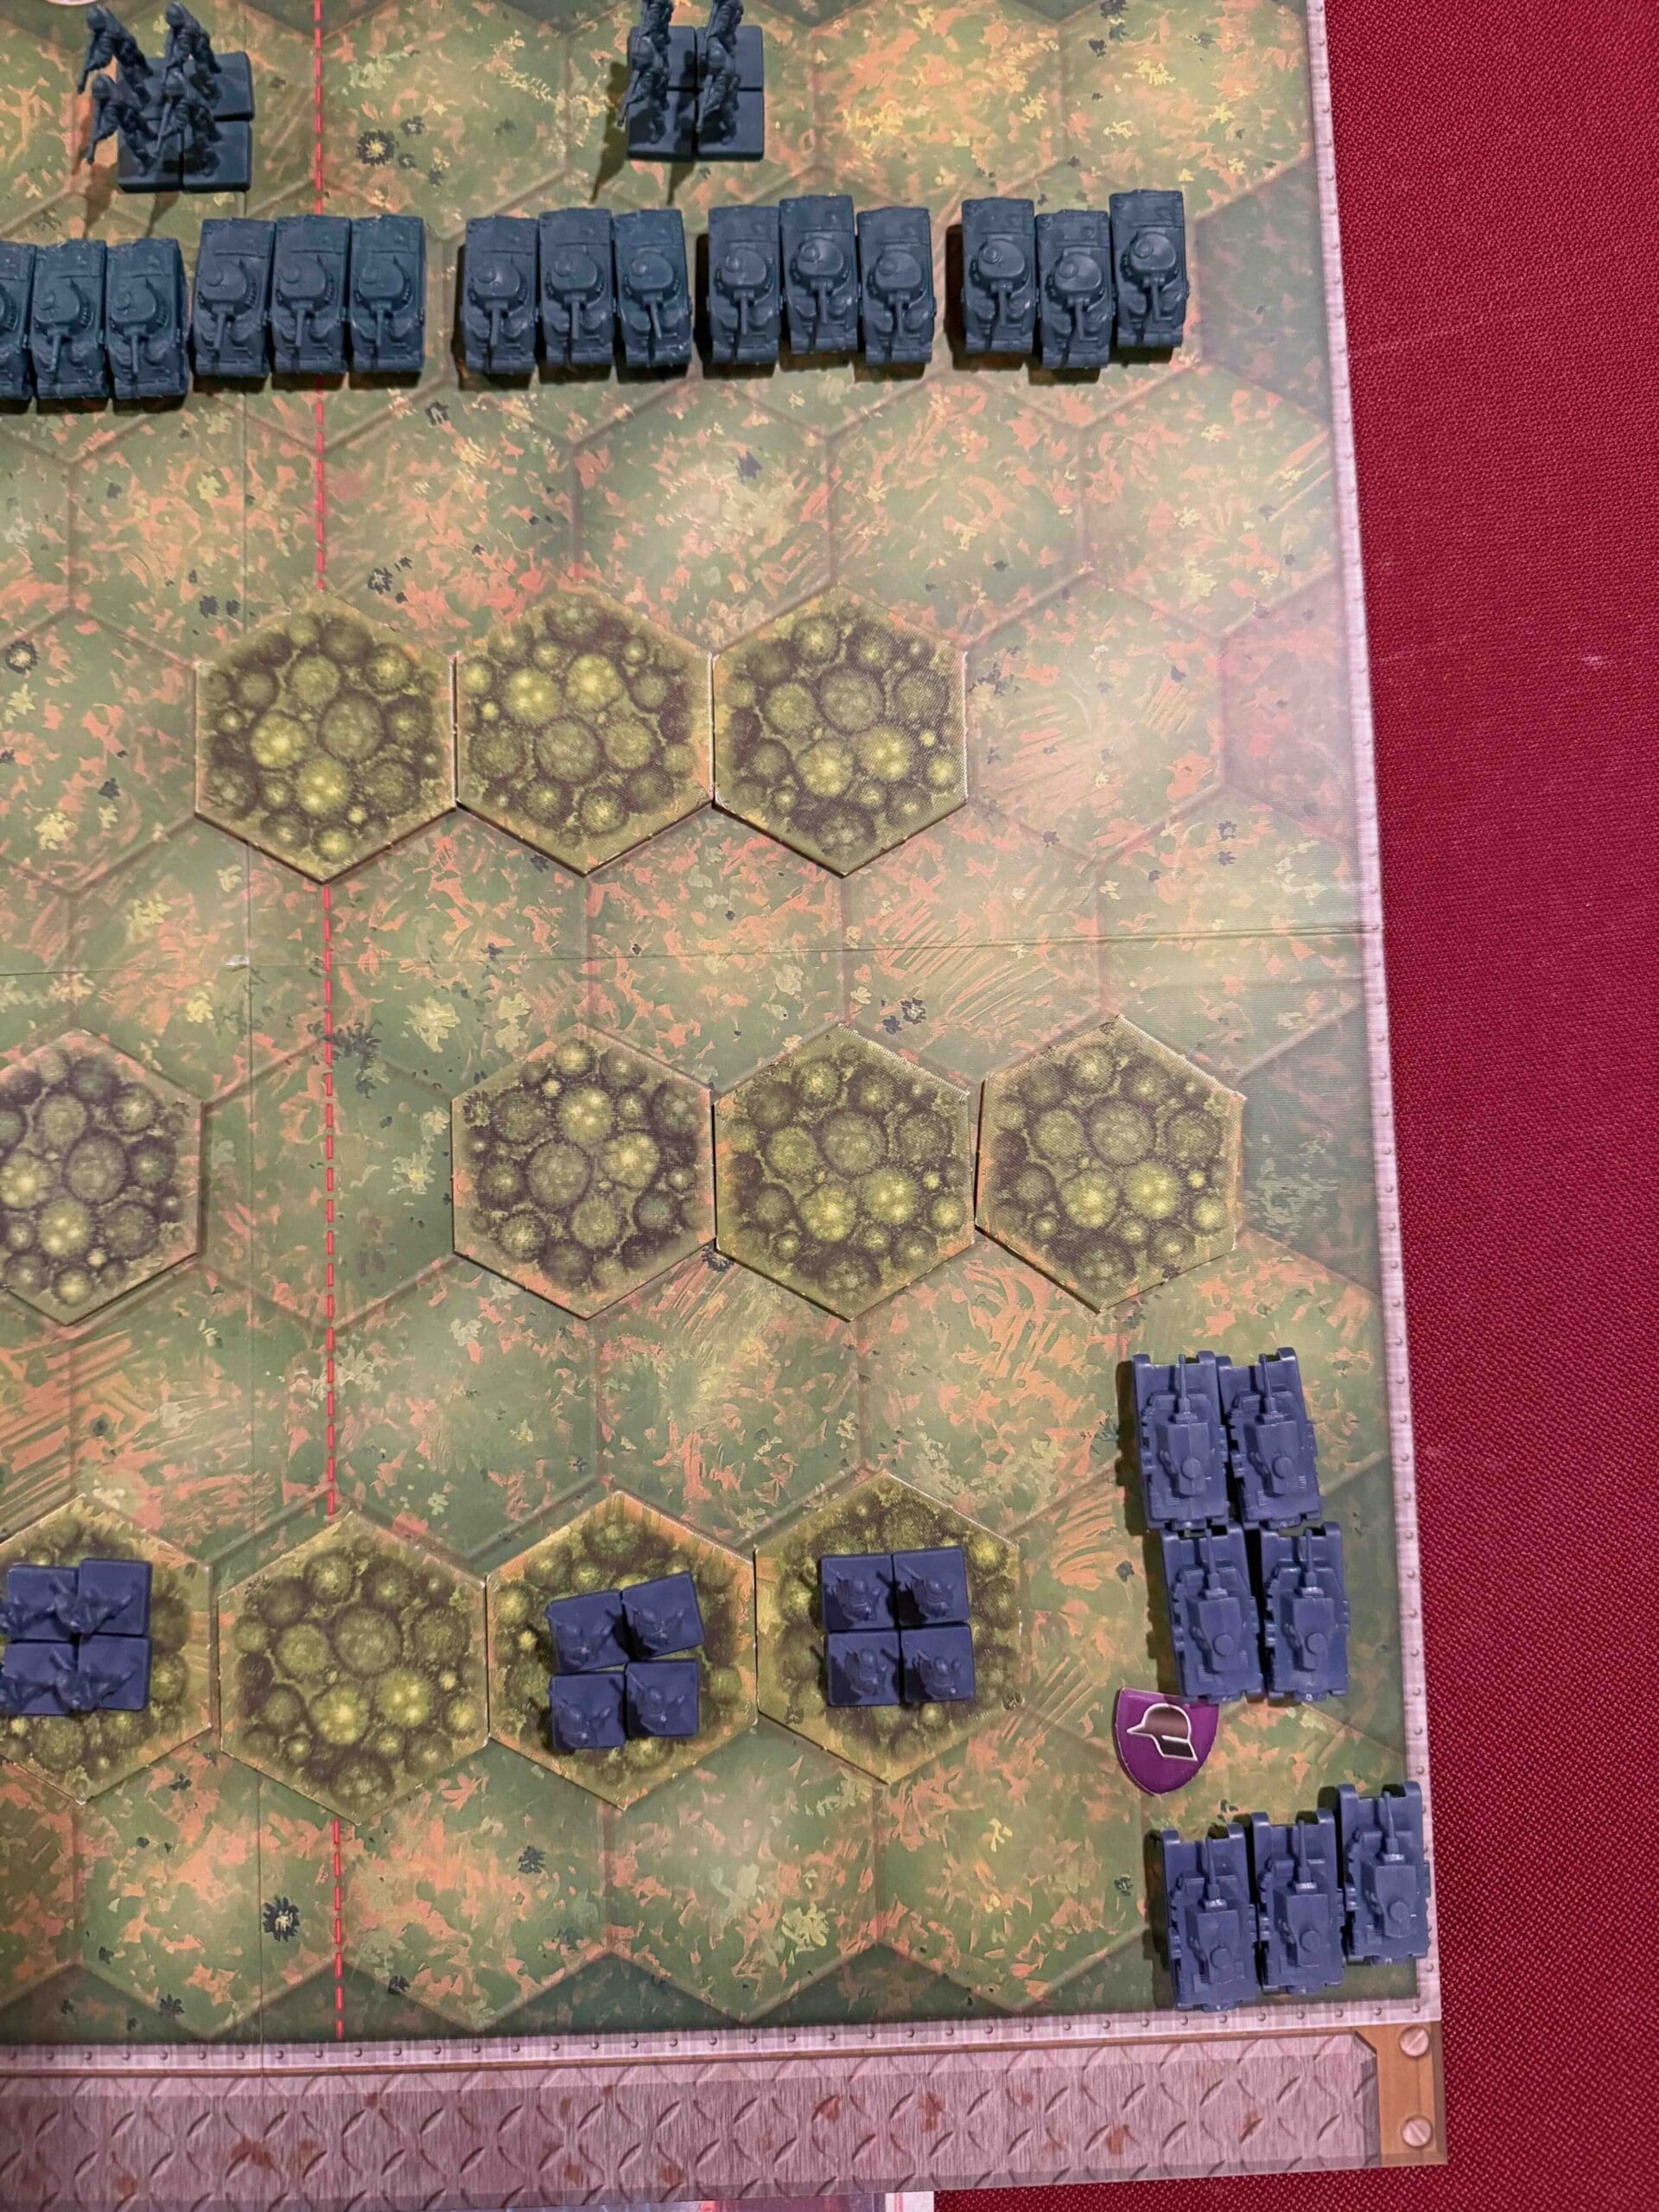
1. Overall objective is for you to breakthrough on both fronts, through the minefield and the town of Wardin to the Objective Medals near the battlefield edge. If you can keep both of these objectives in mind you can put more pressure on the enemy as they will have to both defend their own forces from getting destroyed, but also defend the Medal Objectives on the edges of the battlefield.
2. The two Axis Engineers can be either used to clear the minefield on your left flank, or even better, they are best used to clear the town of Wardin, because they can attack the forces within the town hexes with full power since Engineers can ignore battle terrain restrictions. Don’t be distracted by the minefield; get them over to Wardin!
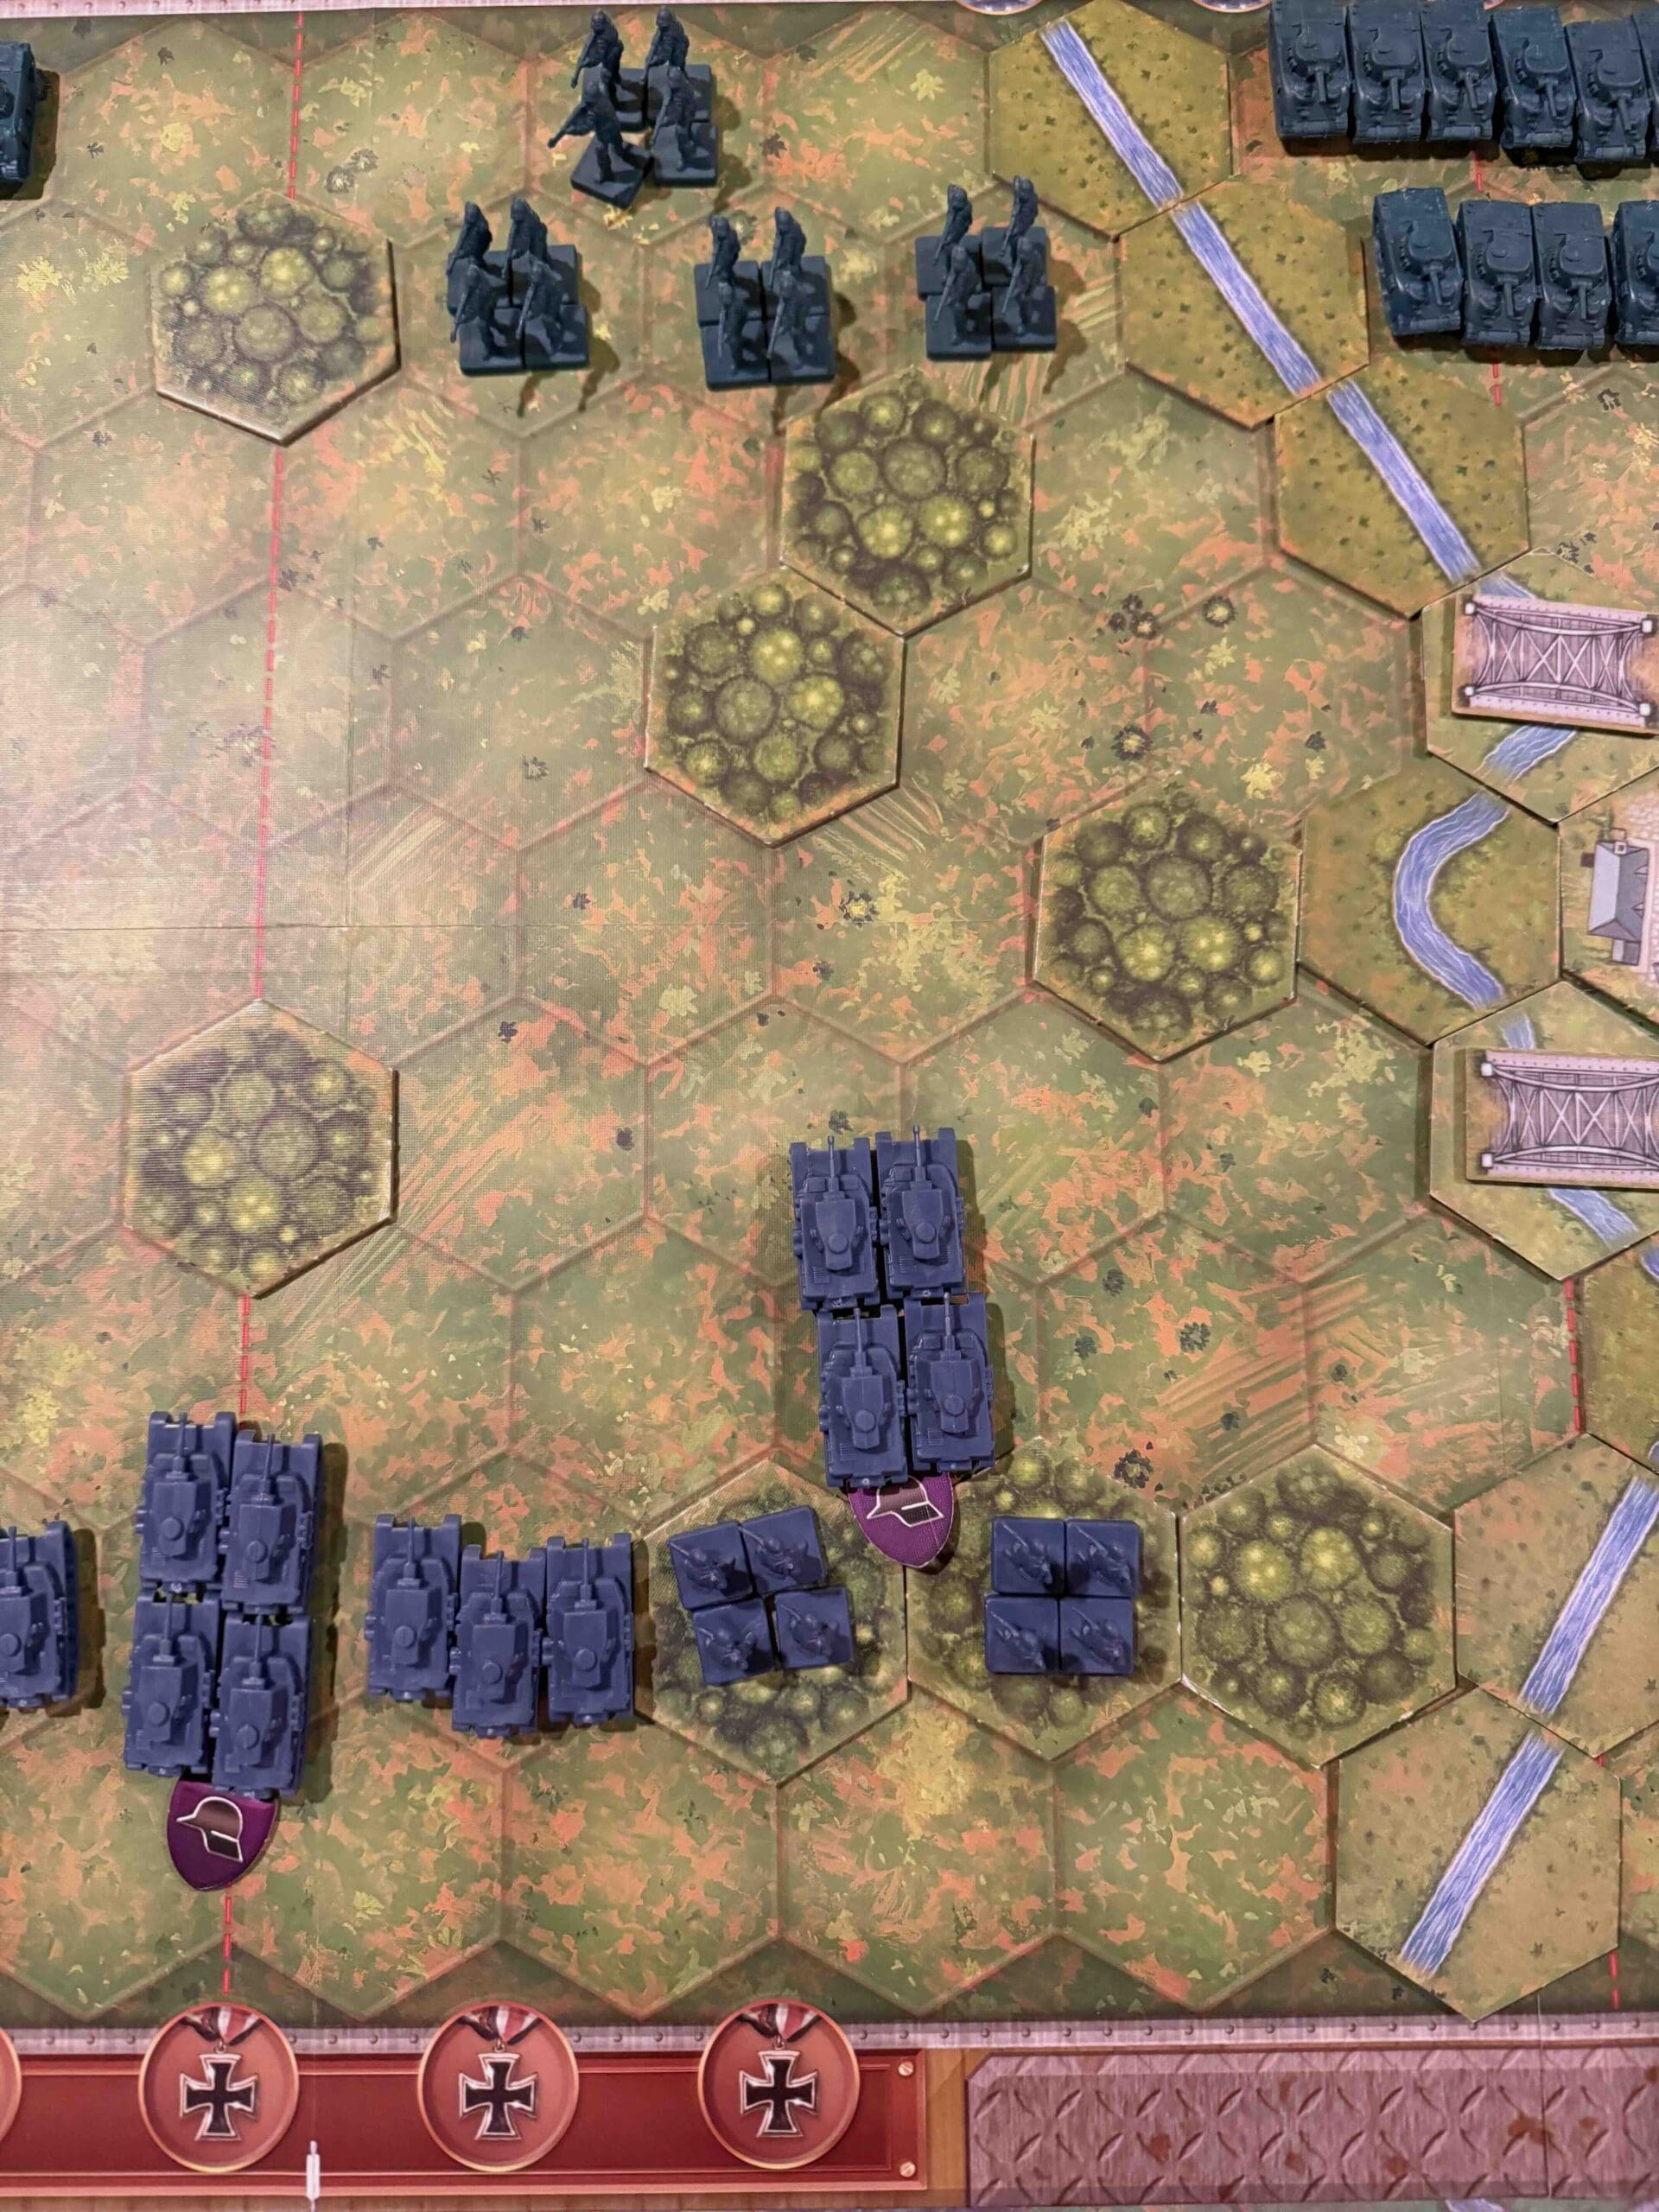
3. You can obtain two goals with one Armor unit if you move it onto the Temporary Medal Objective just past the town of Wardin. From that vantage point you will both get the medal as long as you stay on the hex and still be within range to attack the Allied forces with the town of Wardin.
4. You have many forces stuck on the back row behind the row of forest hexes. You need to move them out of either side, and also just directly through the forest so that you can get into the battle in the center section.
Author: Days of Wonder
URL