Battle of Westerplatte
Battle of Westerplatte
September 1st, 1939—0448 hours. That was the shot that lit the damn fuse on World War II.
The Germans kicked things off by bringing in the battleship Schleswig-Holstein, sitting nice and cozy in Danzig harbor, and then—boom—she opened up with a full broadside on the Polish outpost at Westerplatte. They thought they’d scare the Poles into folding before breakfast.
Then came the assault: crack German marines, three platoons strong, storming across the land bridge, expecting a little parade through the depot. They even blew open the rail gate like it was just another drill. They thought they were walking into a skirmish.
Wrong.
They walked straight into a kill zone. The Poles were locked, loaded, and waiting—concealed firing positions, crossfire, barbed wire, the whole damn package. And those German troops? They didn’t find a pushover—they found hell on Earth.
The plan was for the Poles to hold for twelve hours. Instead, they held that godforsaken strip of land for seven damn days—against artillery, naval fire, and relentless infantry assaults. They bled, they fought, and they showed the world what grit looks like under fire.
Westerplatte didn’t stop the war. But it told the Nazis one thing loud and clear: this wasn’t going to be easy. It became a symbol—of resistance, of courage, and of never giving an inch when everything’s on the line.
The lines were drawn, the fuse was lit, and history roared to life in a blaze of fire and steel.
Now the only question left is—when it’s your turn to hold the line… will you stand, or will you fold?
~~ General Howitzer
6 VP’s
Card Balance:
Allies – 5
Axis – 6
Complexity:
4
Conditions:
Countryside
Context:
Historical
Location:
Poland
Year:
September 1, 1939
Theater:
Western
Campaign:
The Invasion of Poland
Codename:
Fall Weiss / Case White
Summary:
Objectives:
6 VP’s, plus one Permanent Medal Objective for each side (The Destroyer and the Supply Shed.)
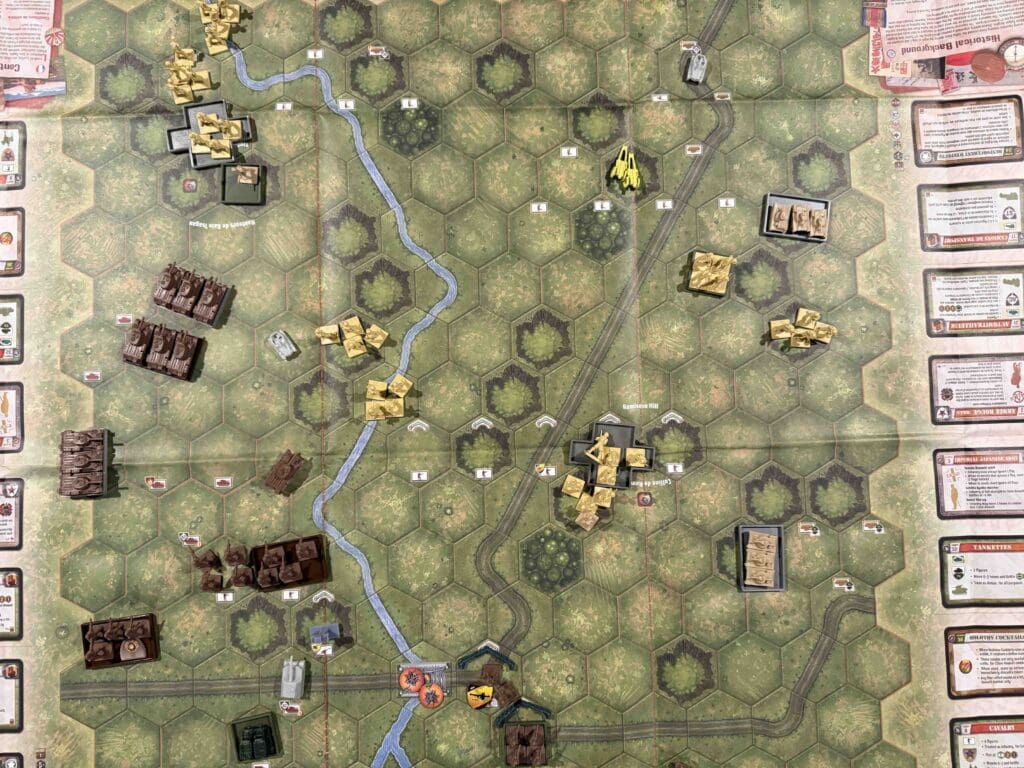
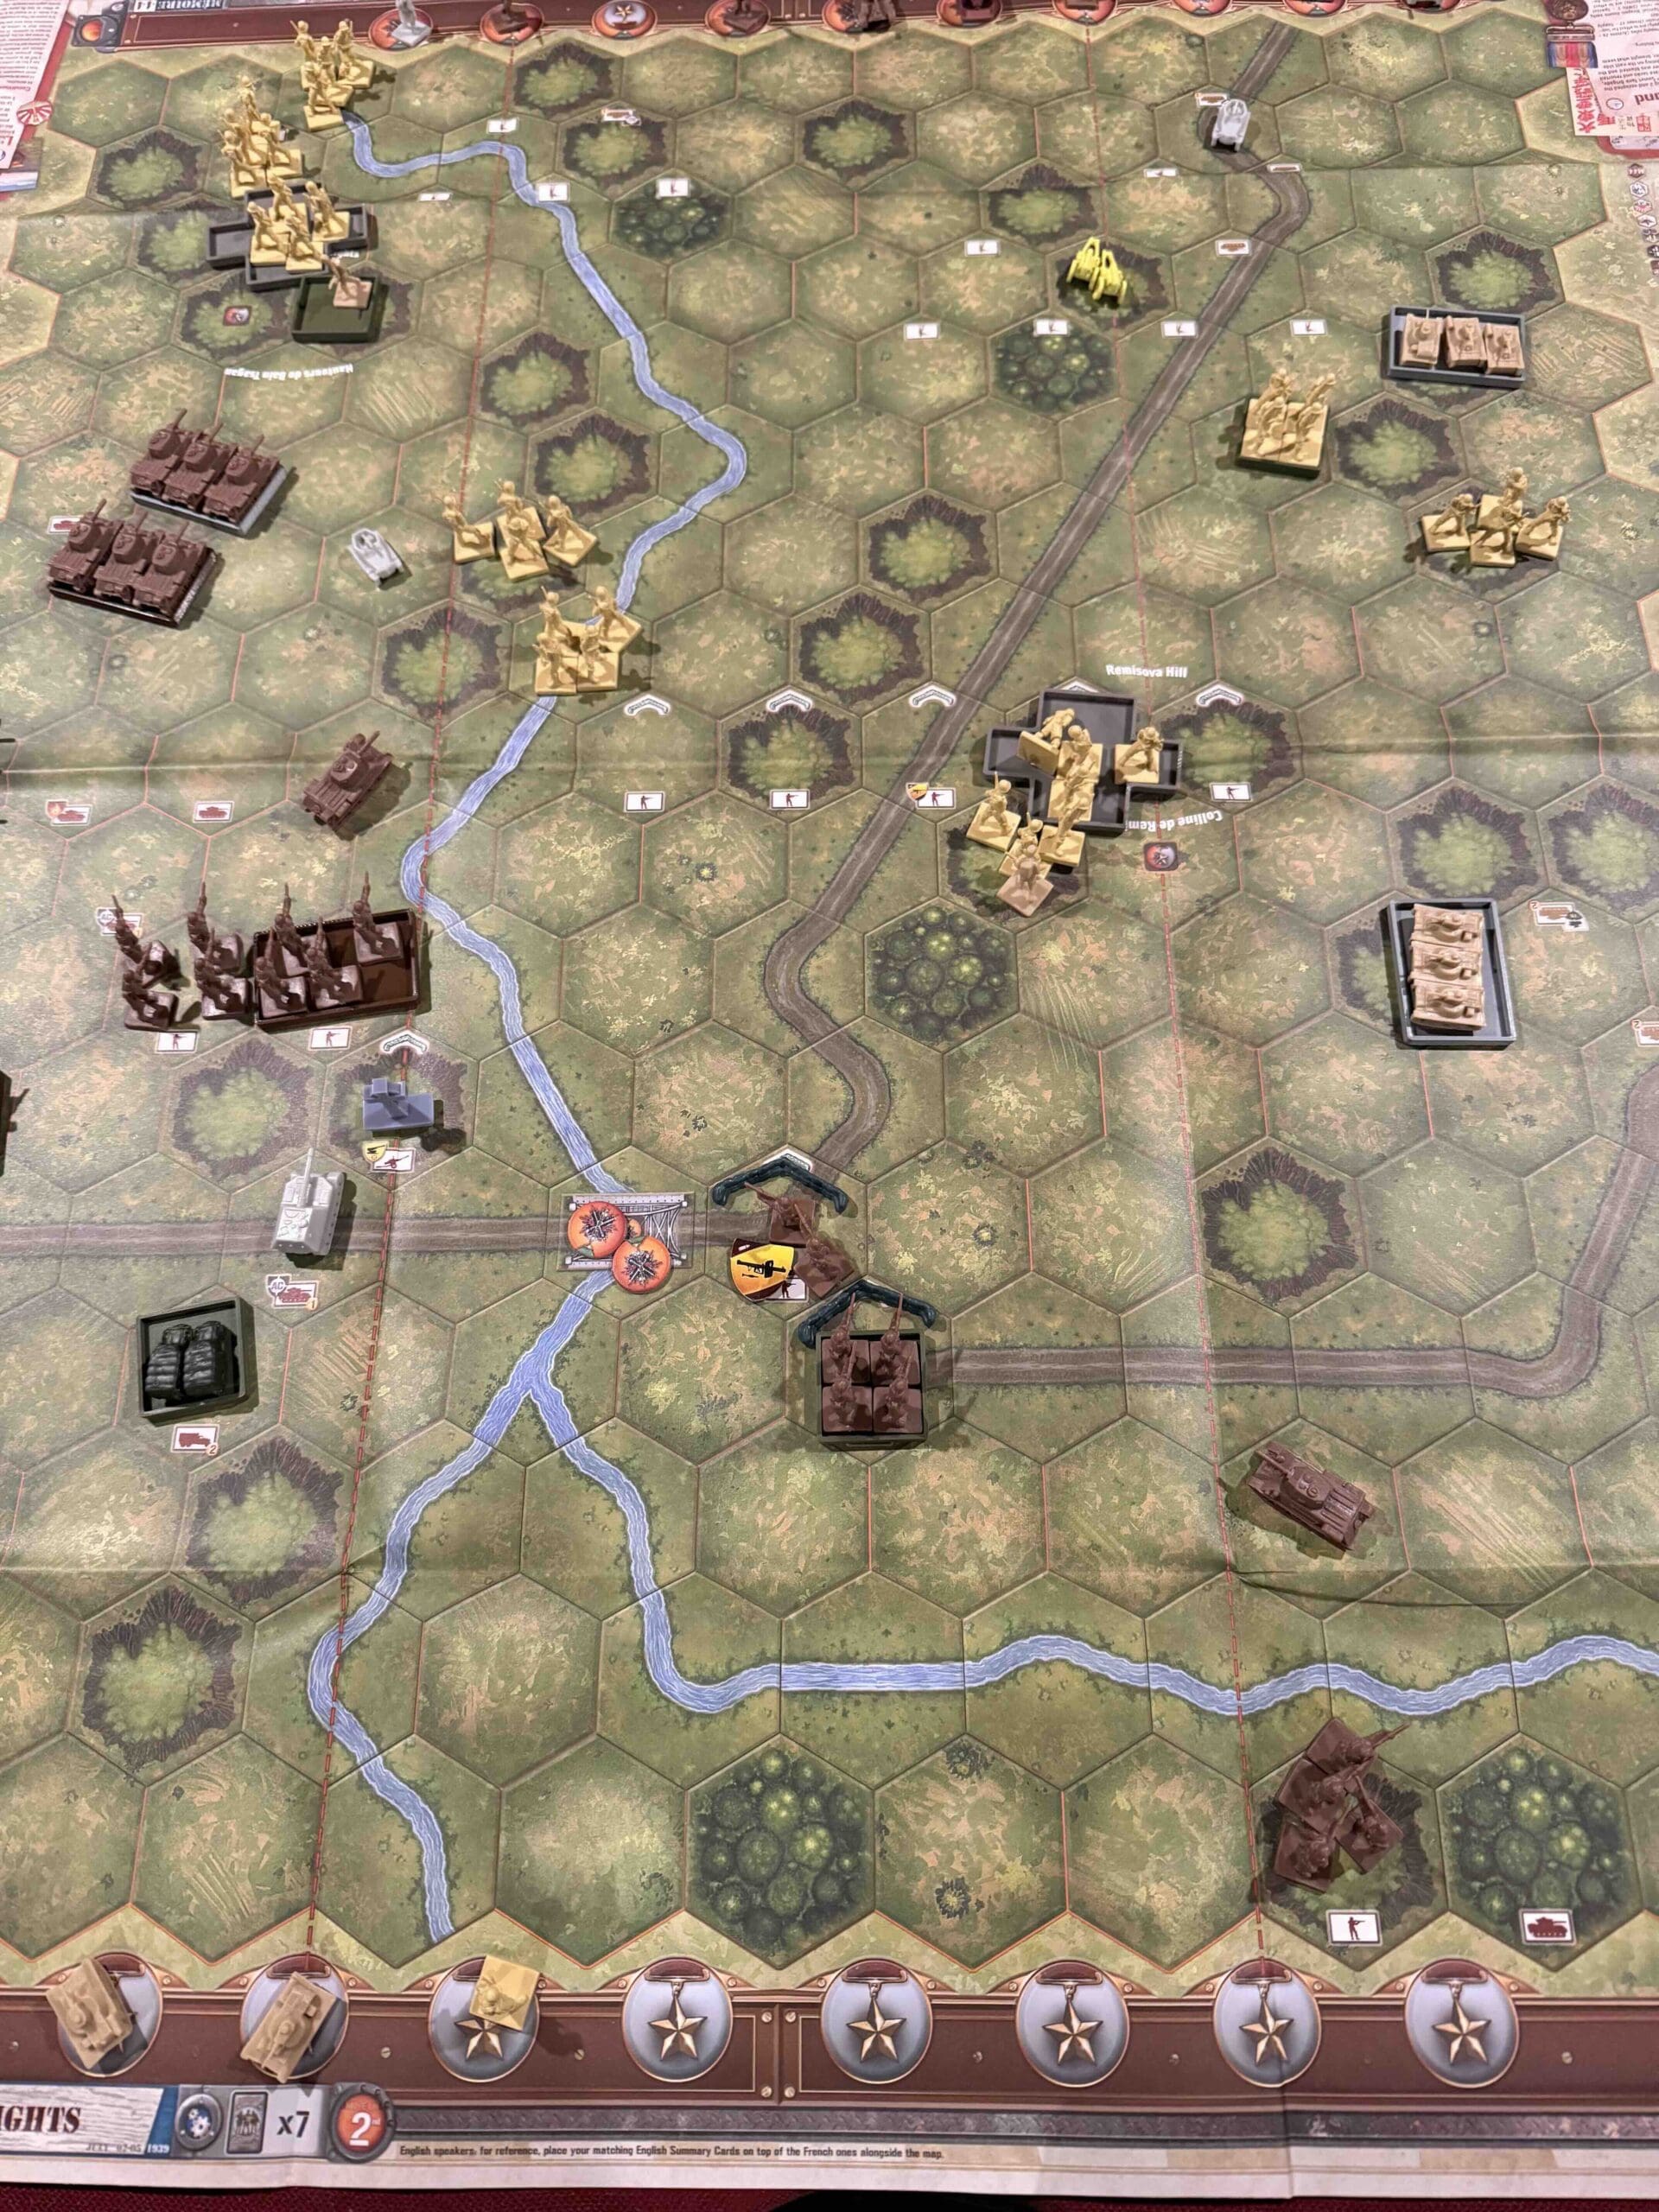
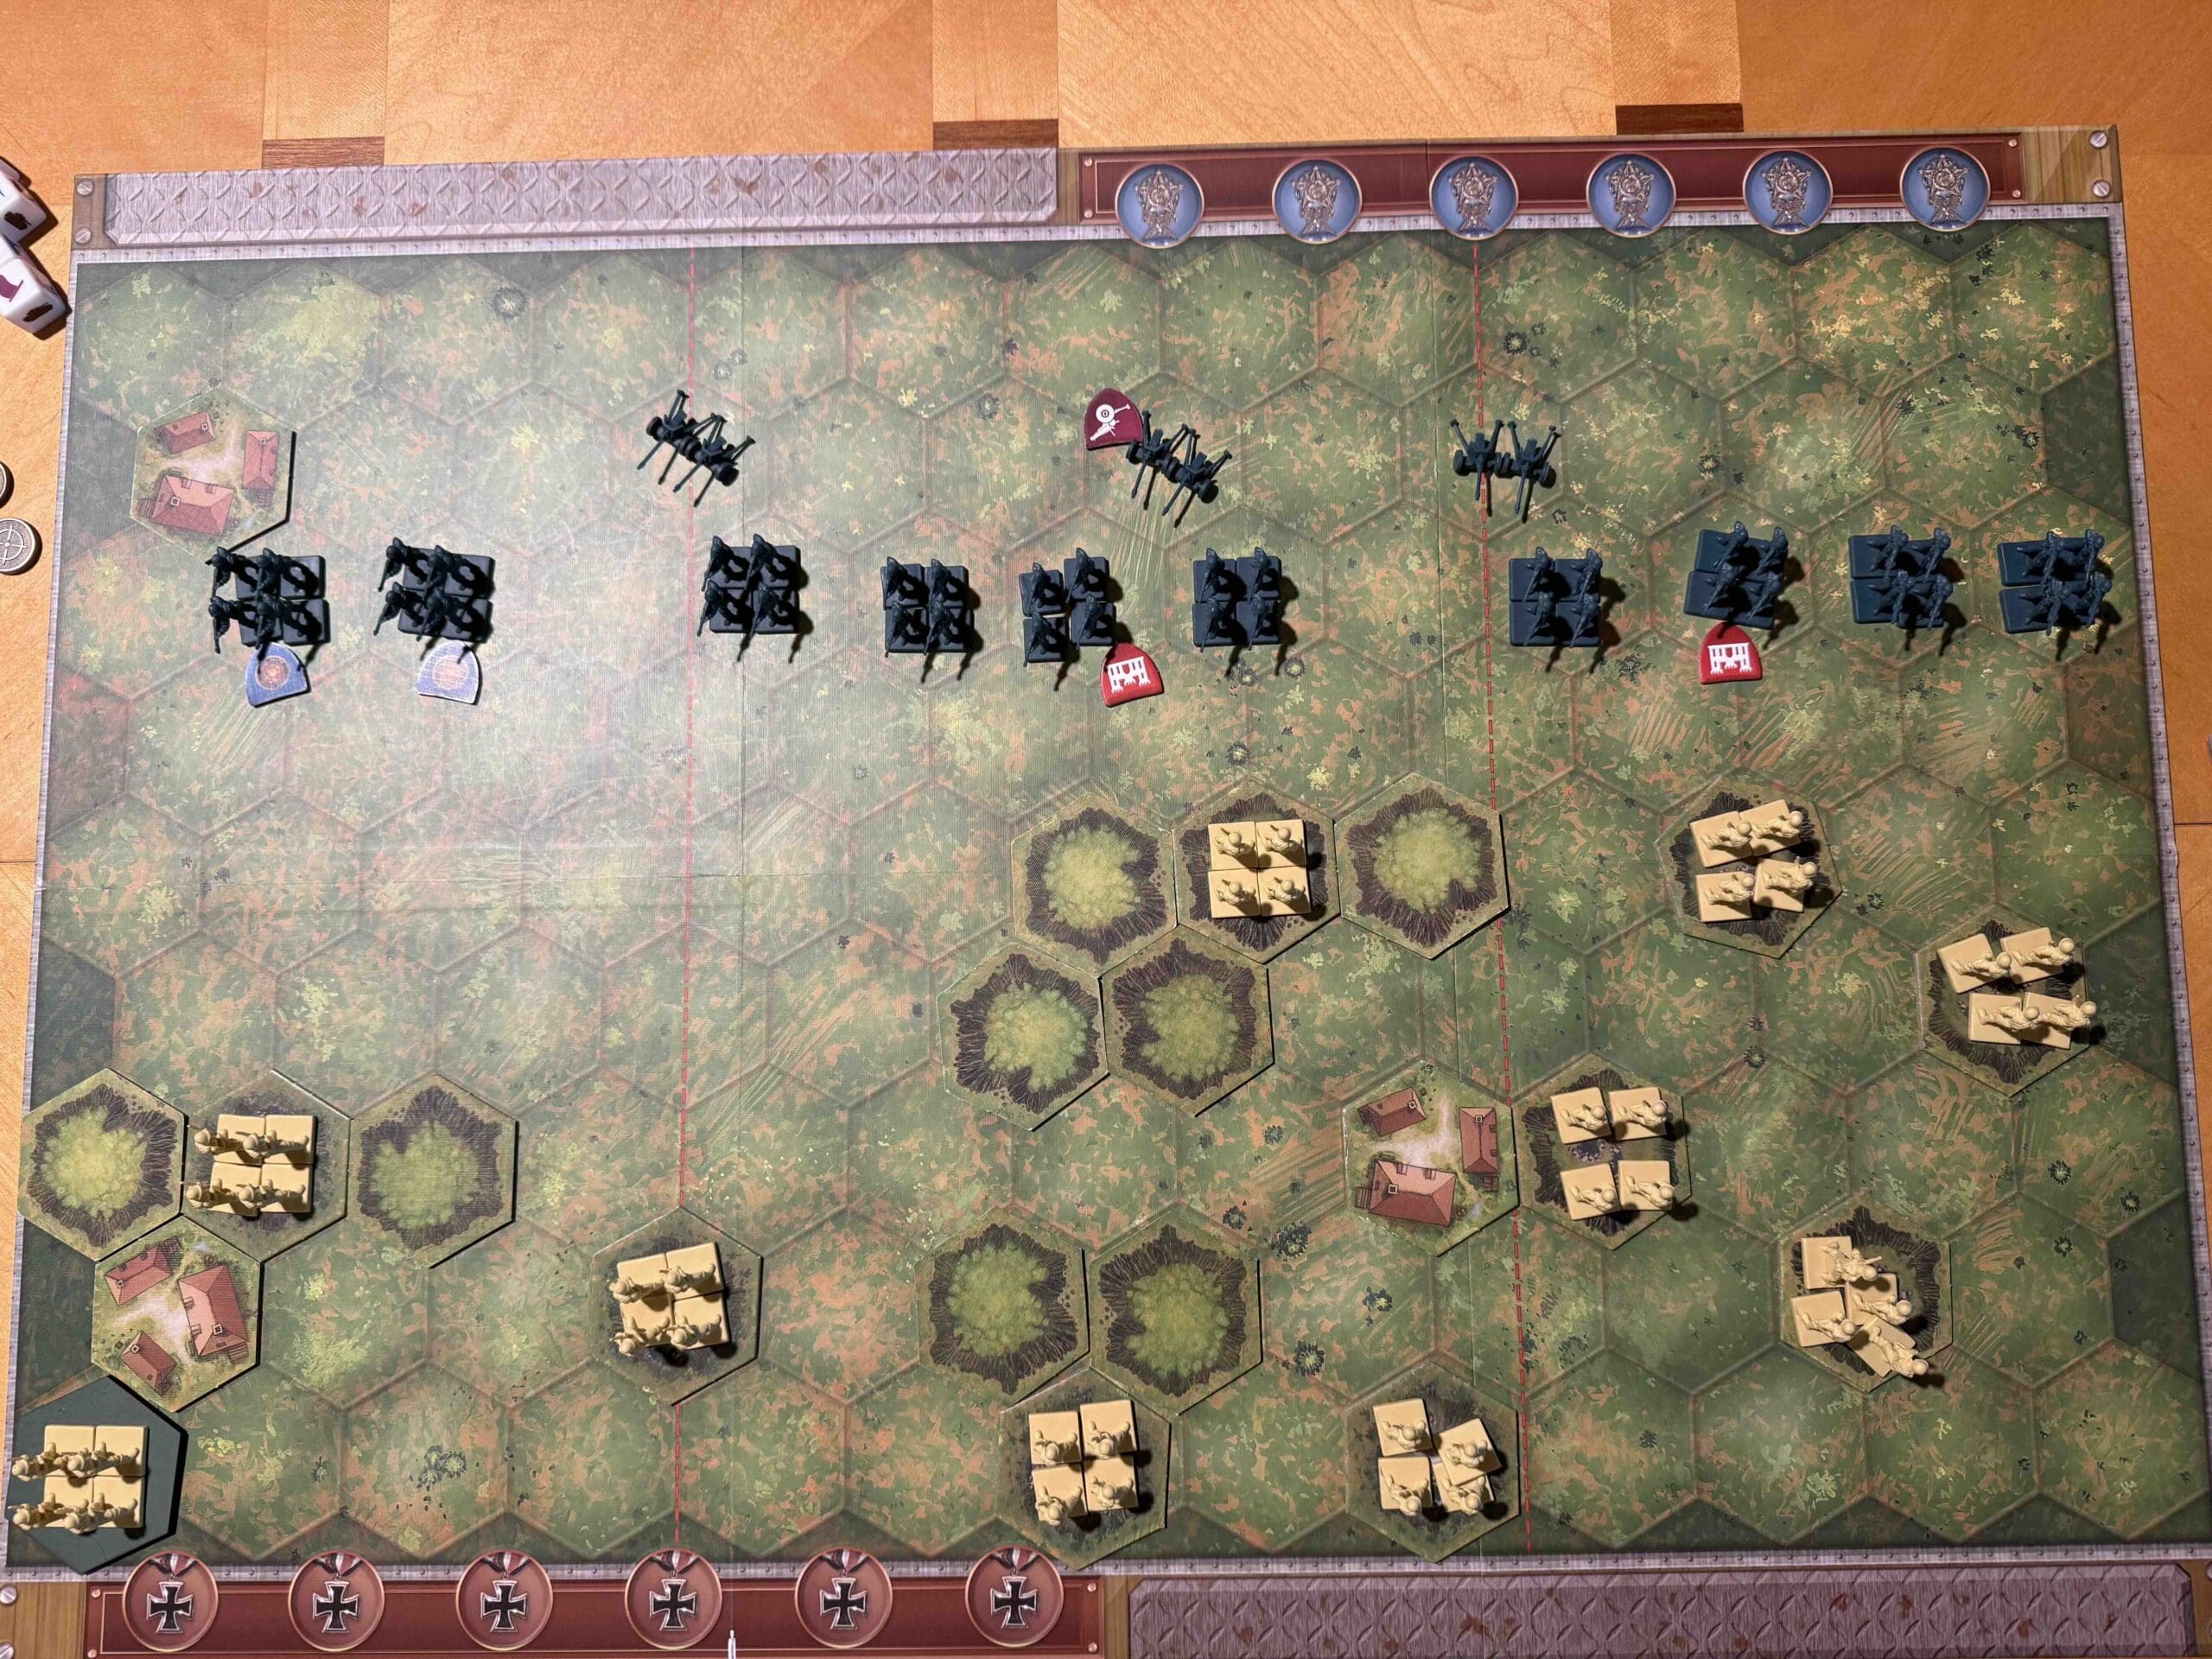
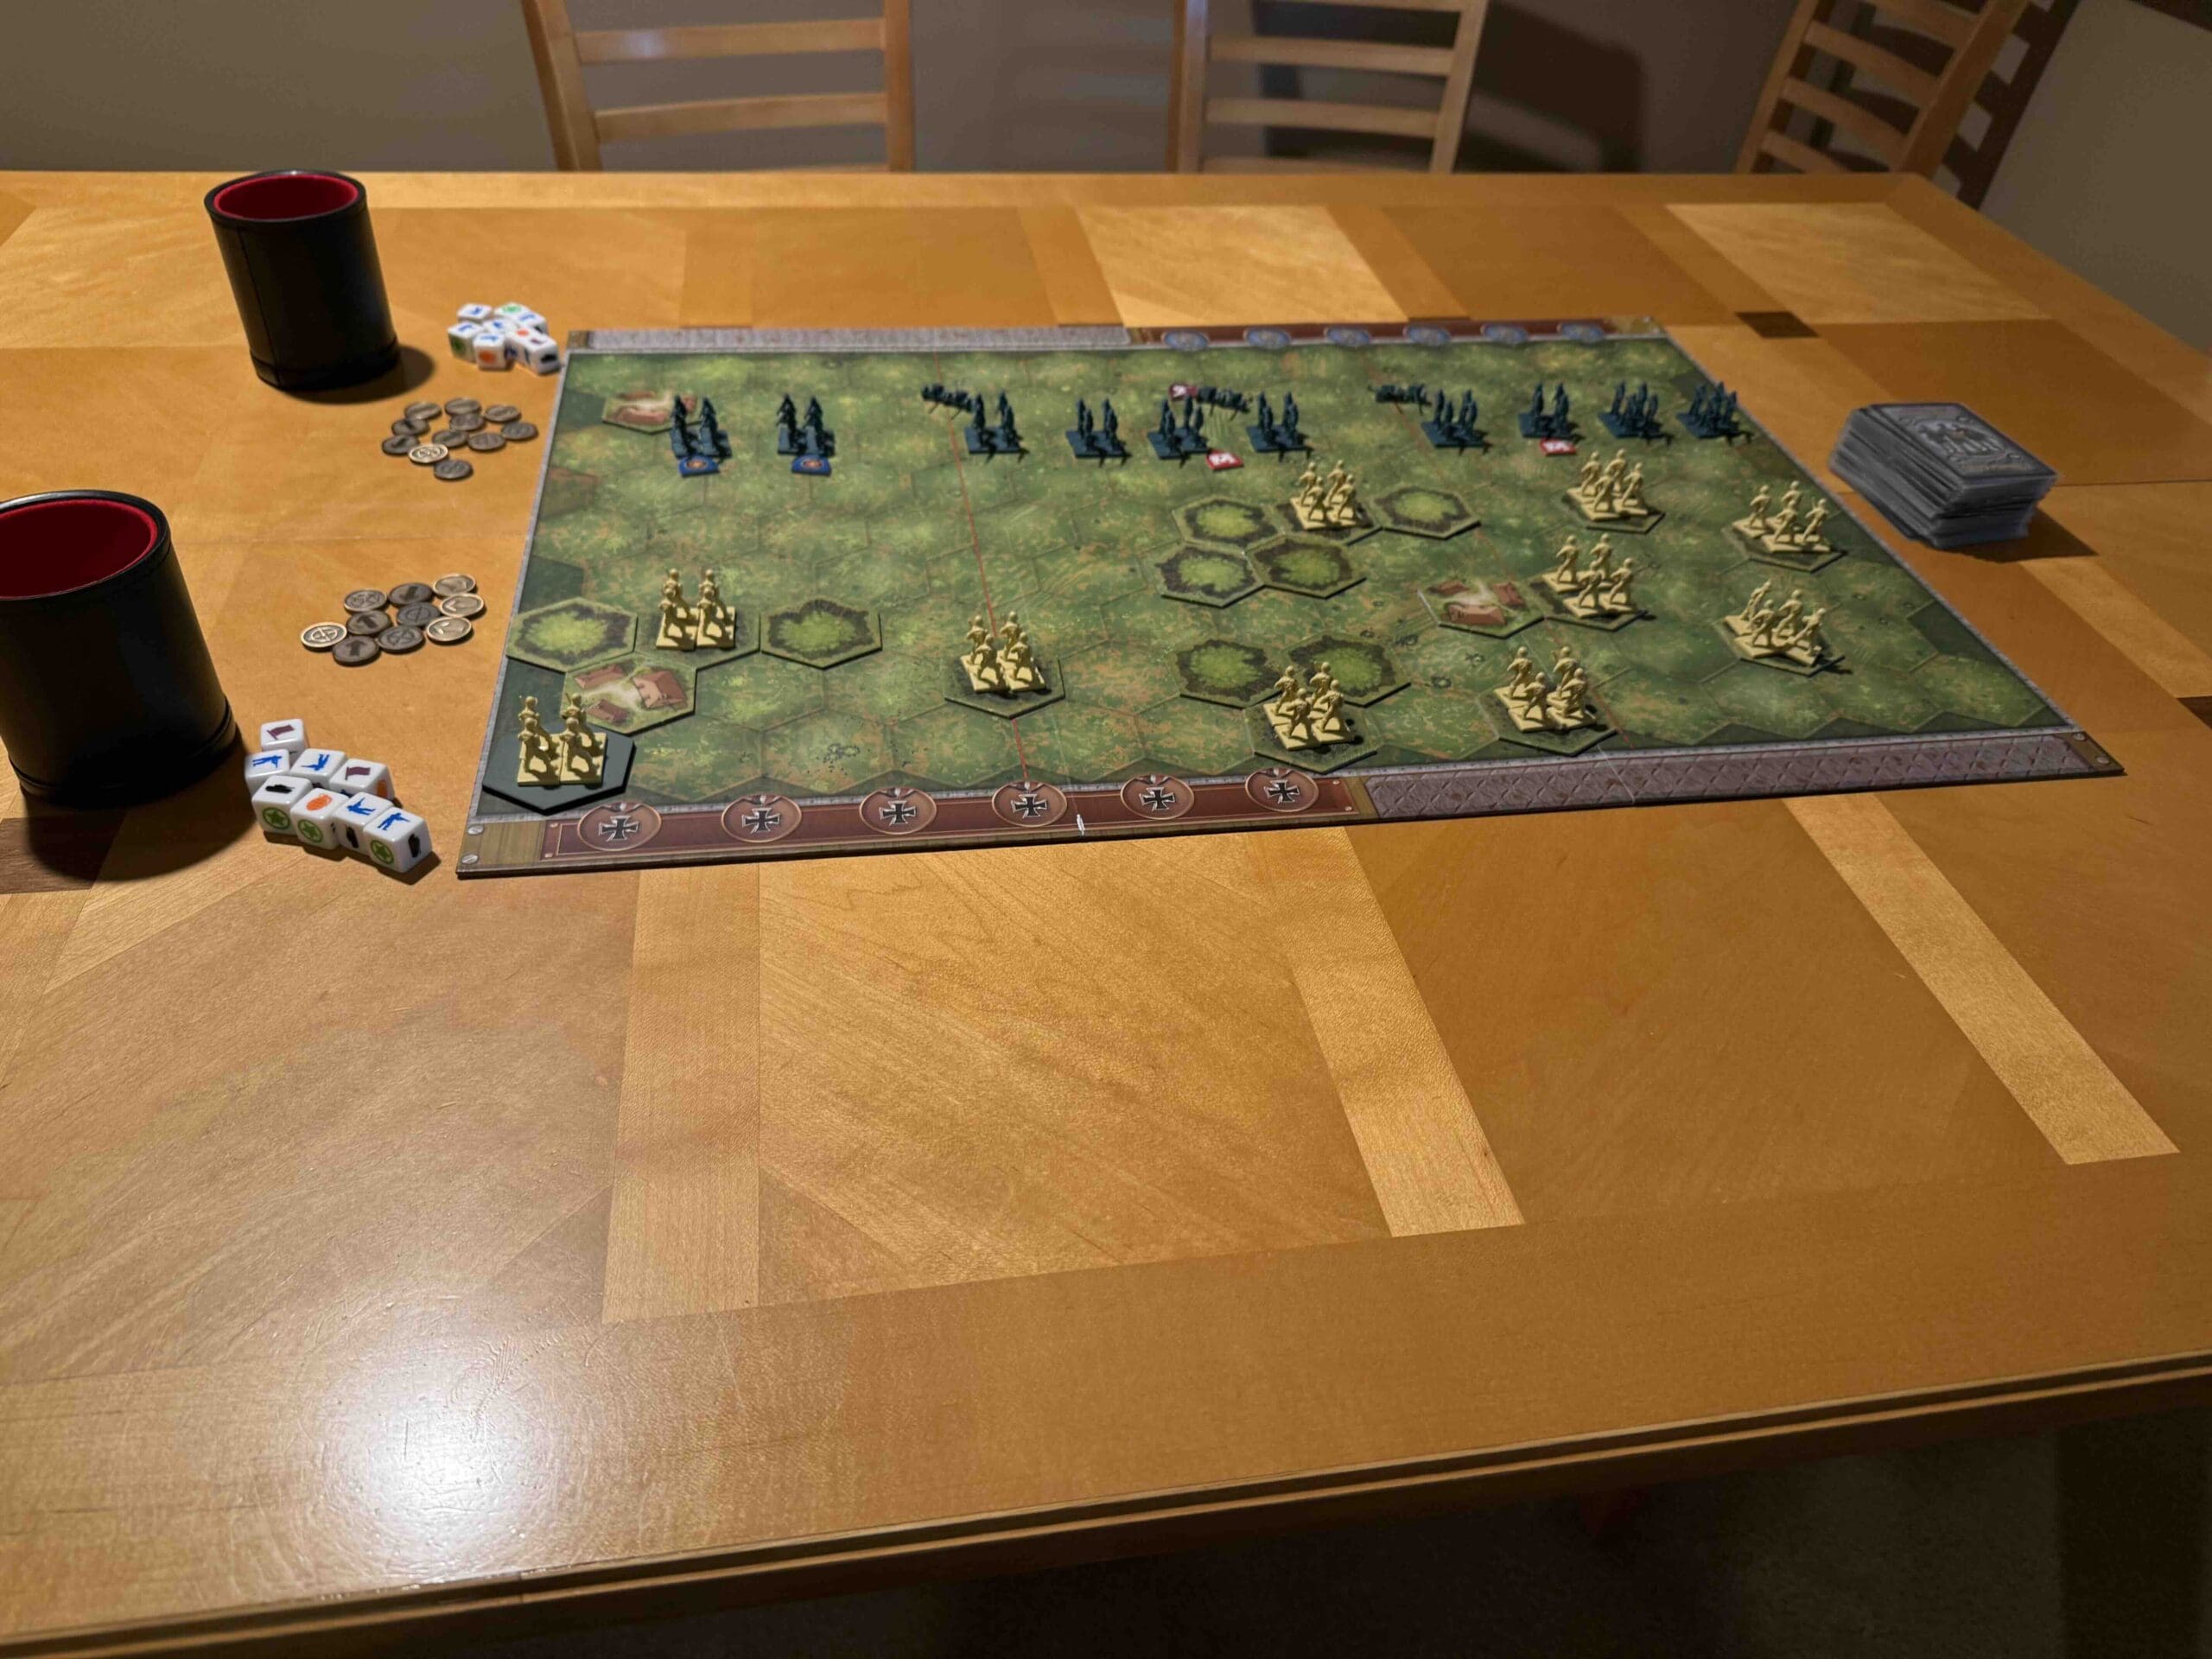
Battlefield:
Contains countryside with a road, a railway, and a river.
Troops:
Allies – 10 Infantry (3 figures each), 2 Artillery
Axis – 10 Infantry, 1 Artillery, 1 Destroyer!
Allied Strategy:
1. Because of the surprise nature of the attack, all of the Polish Allied Infantry only have three figures each. They are therefore very quickly overrun by the German forces. Gain the hits you can, and protect the Supply Shed!
Axis Strategy
1. You have a Destroyer at your disposal, with massive range. Use it every chance you get.
Battle Reports
Author:
Originally developed for the Belgium Open, 2017; Also used by The Finest Hour Open, Chicago, 2025.
Link: