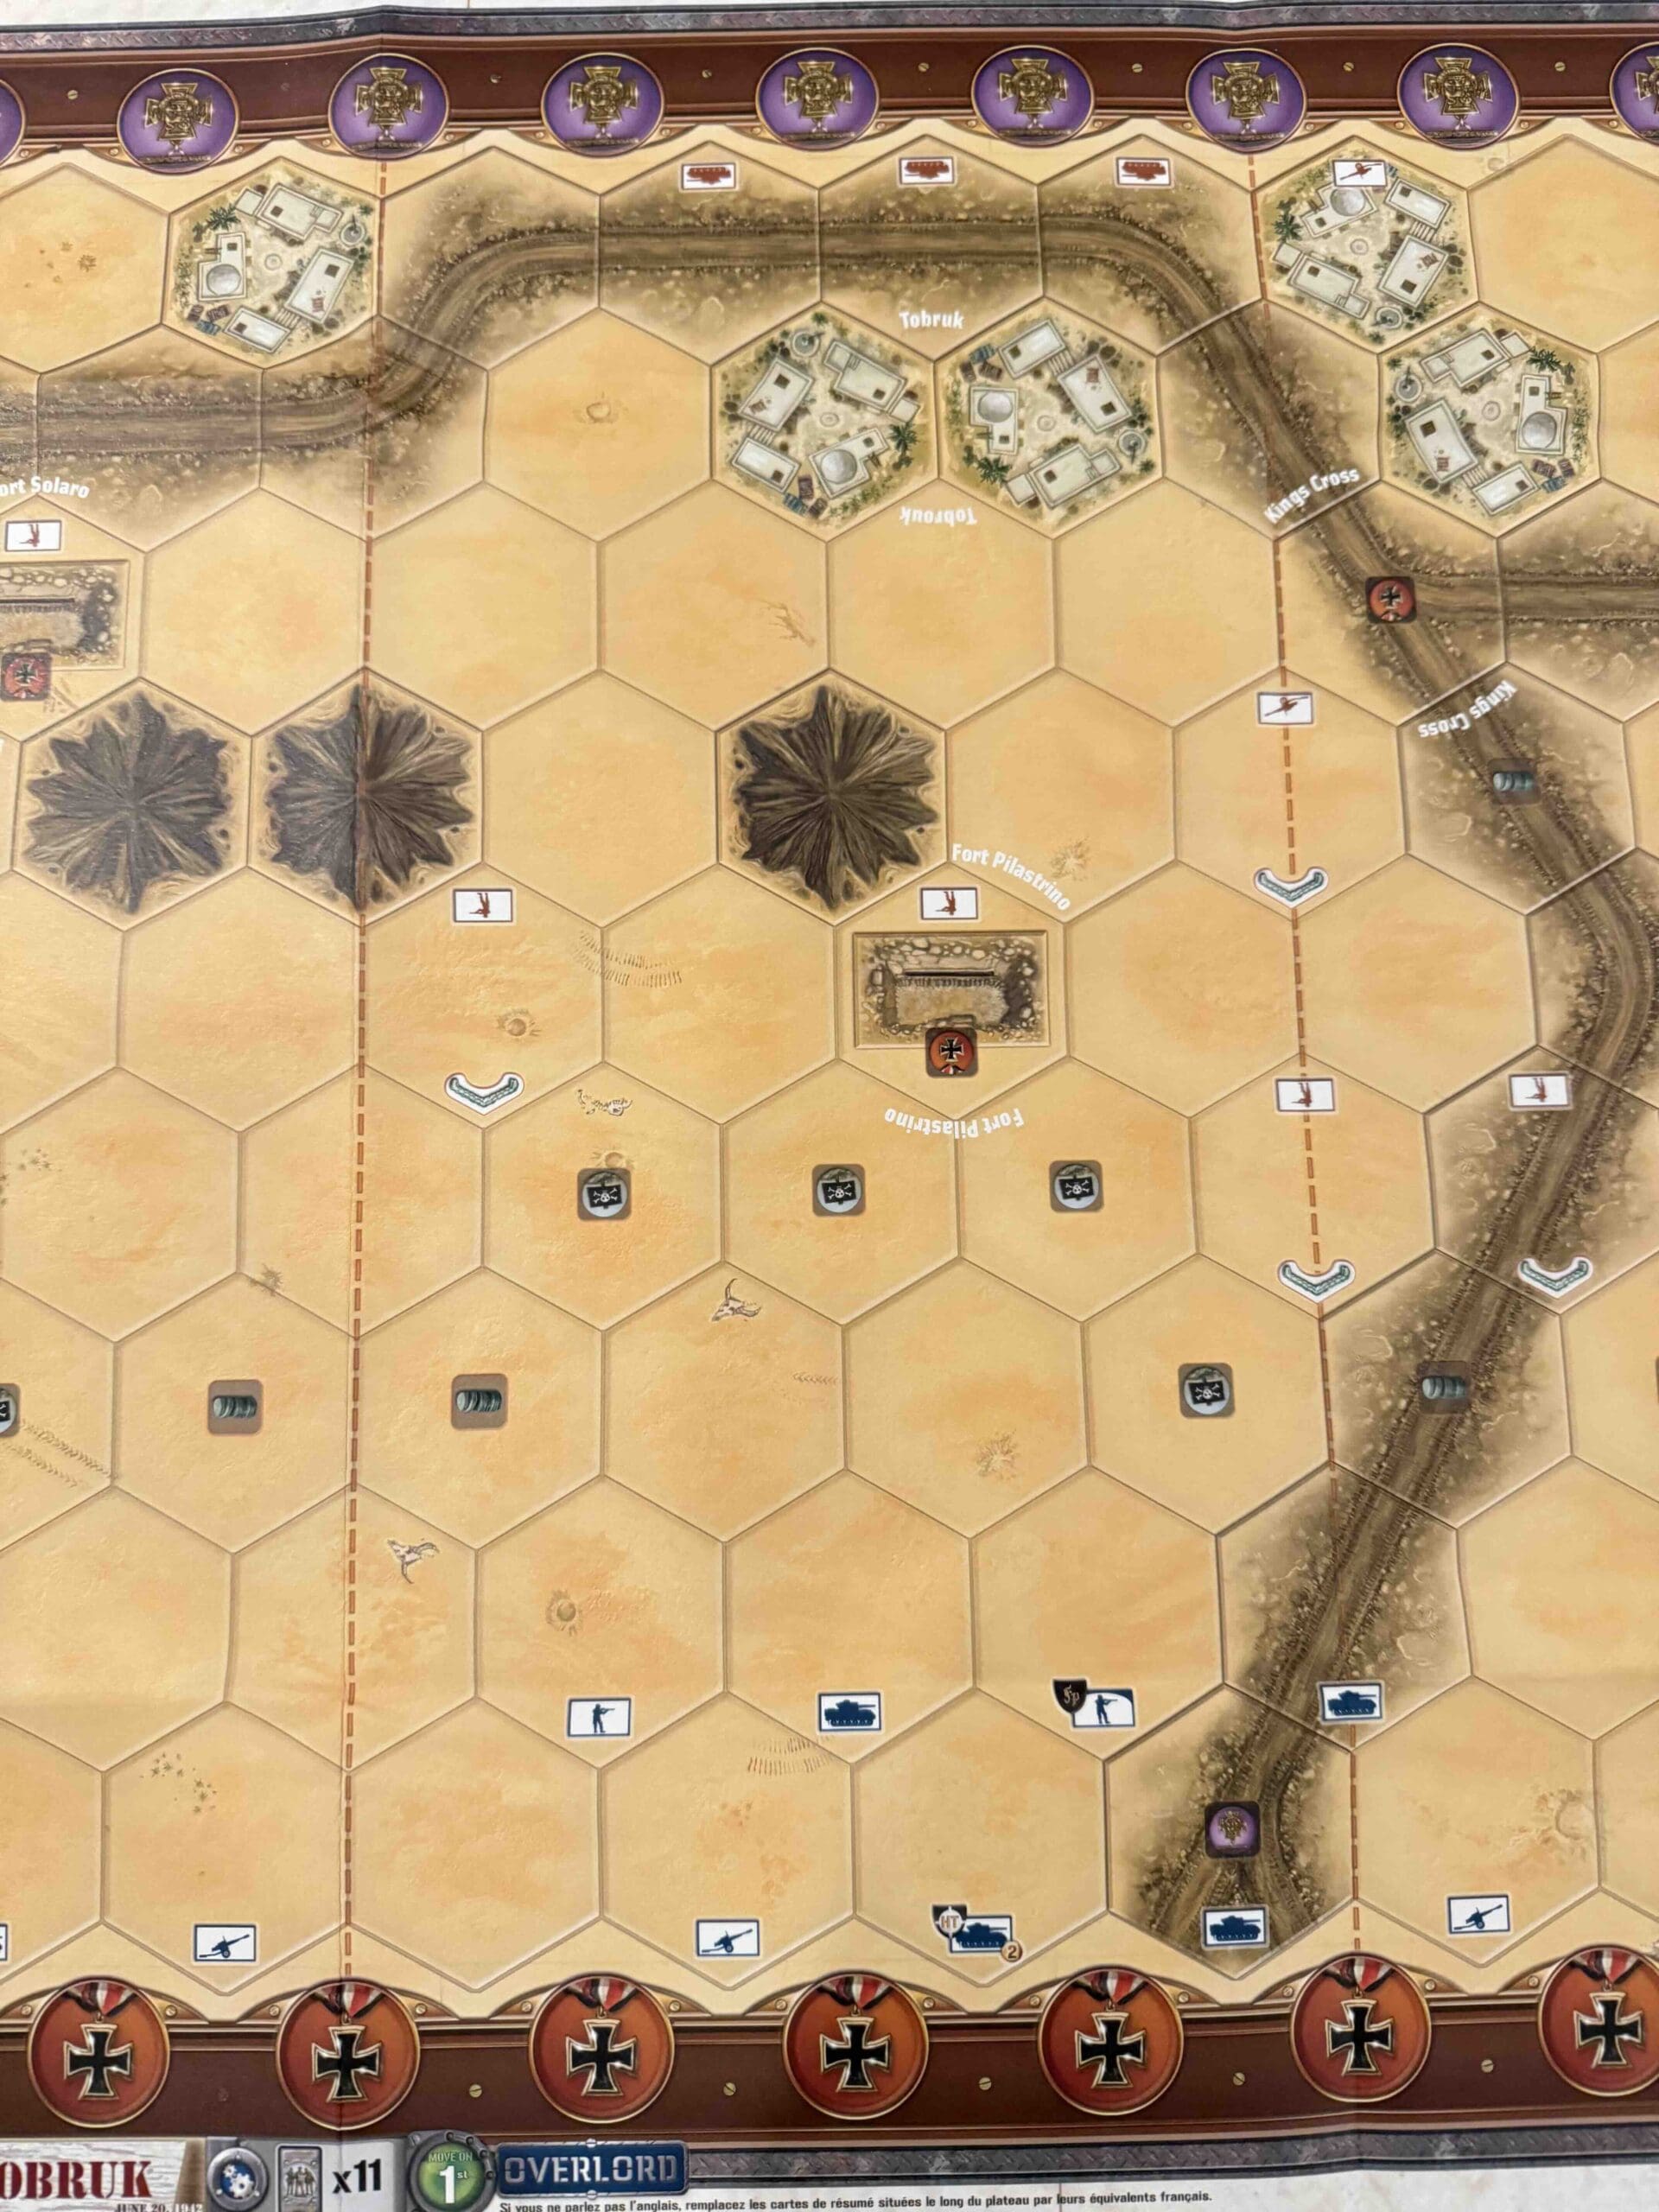
The Capture of Tobruk
The Capture of Tobruk (Overlord Map)
Capture-Tobruk_title
Capture-Tobruk_Right2
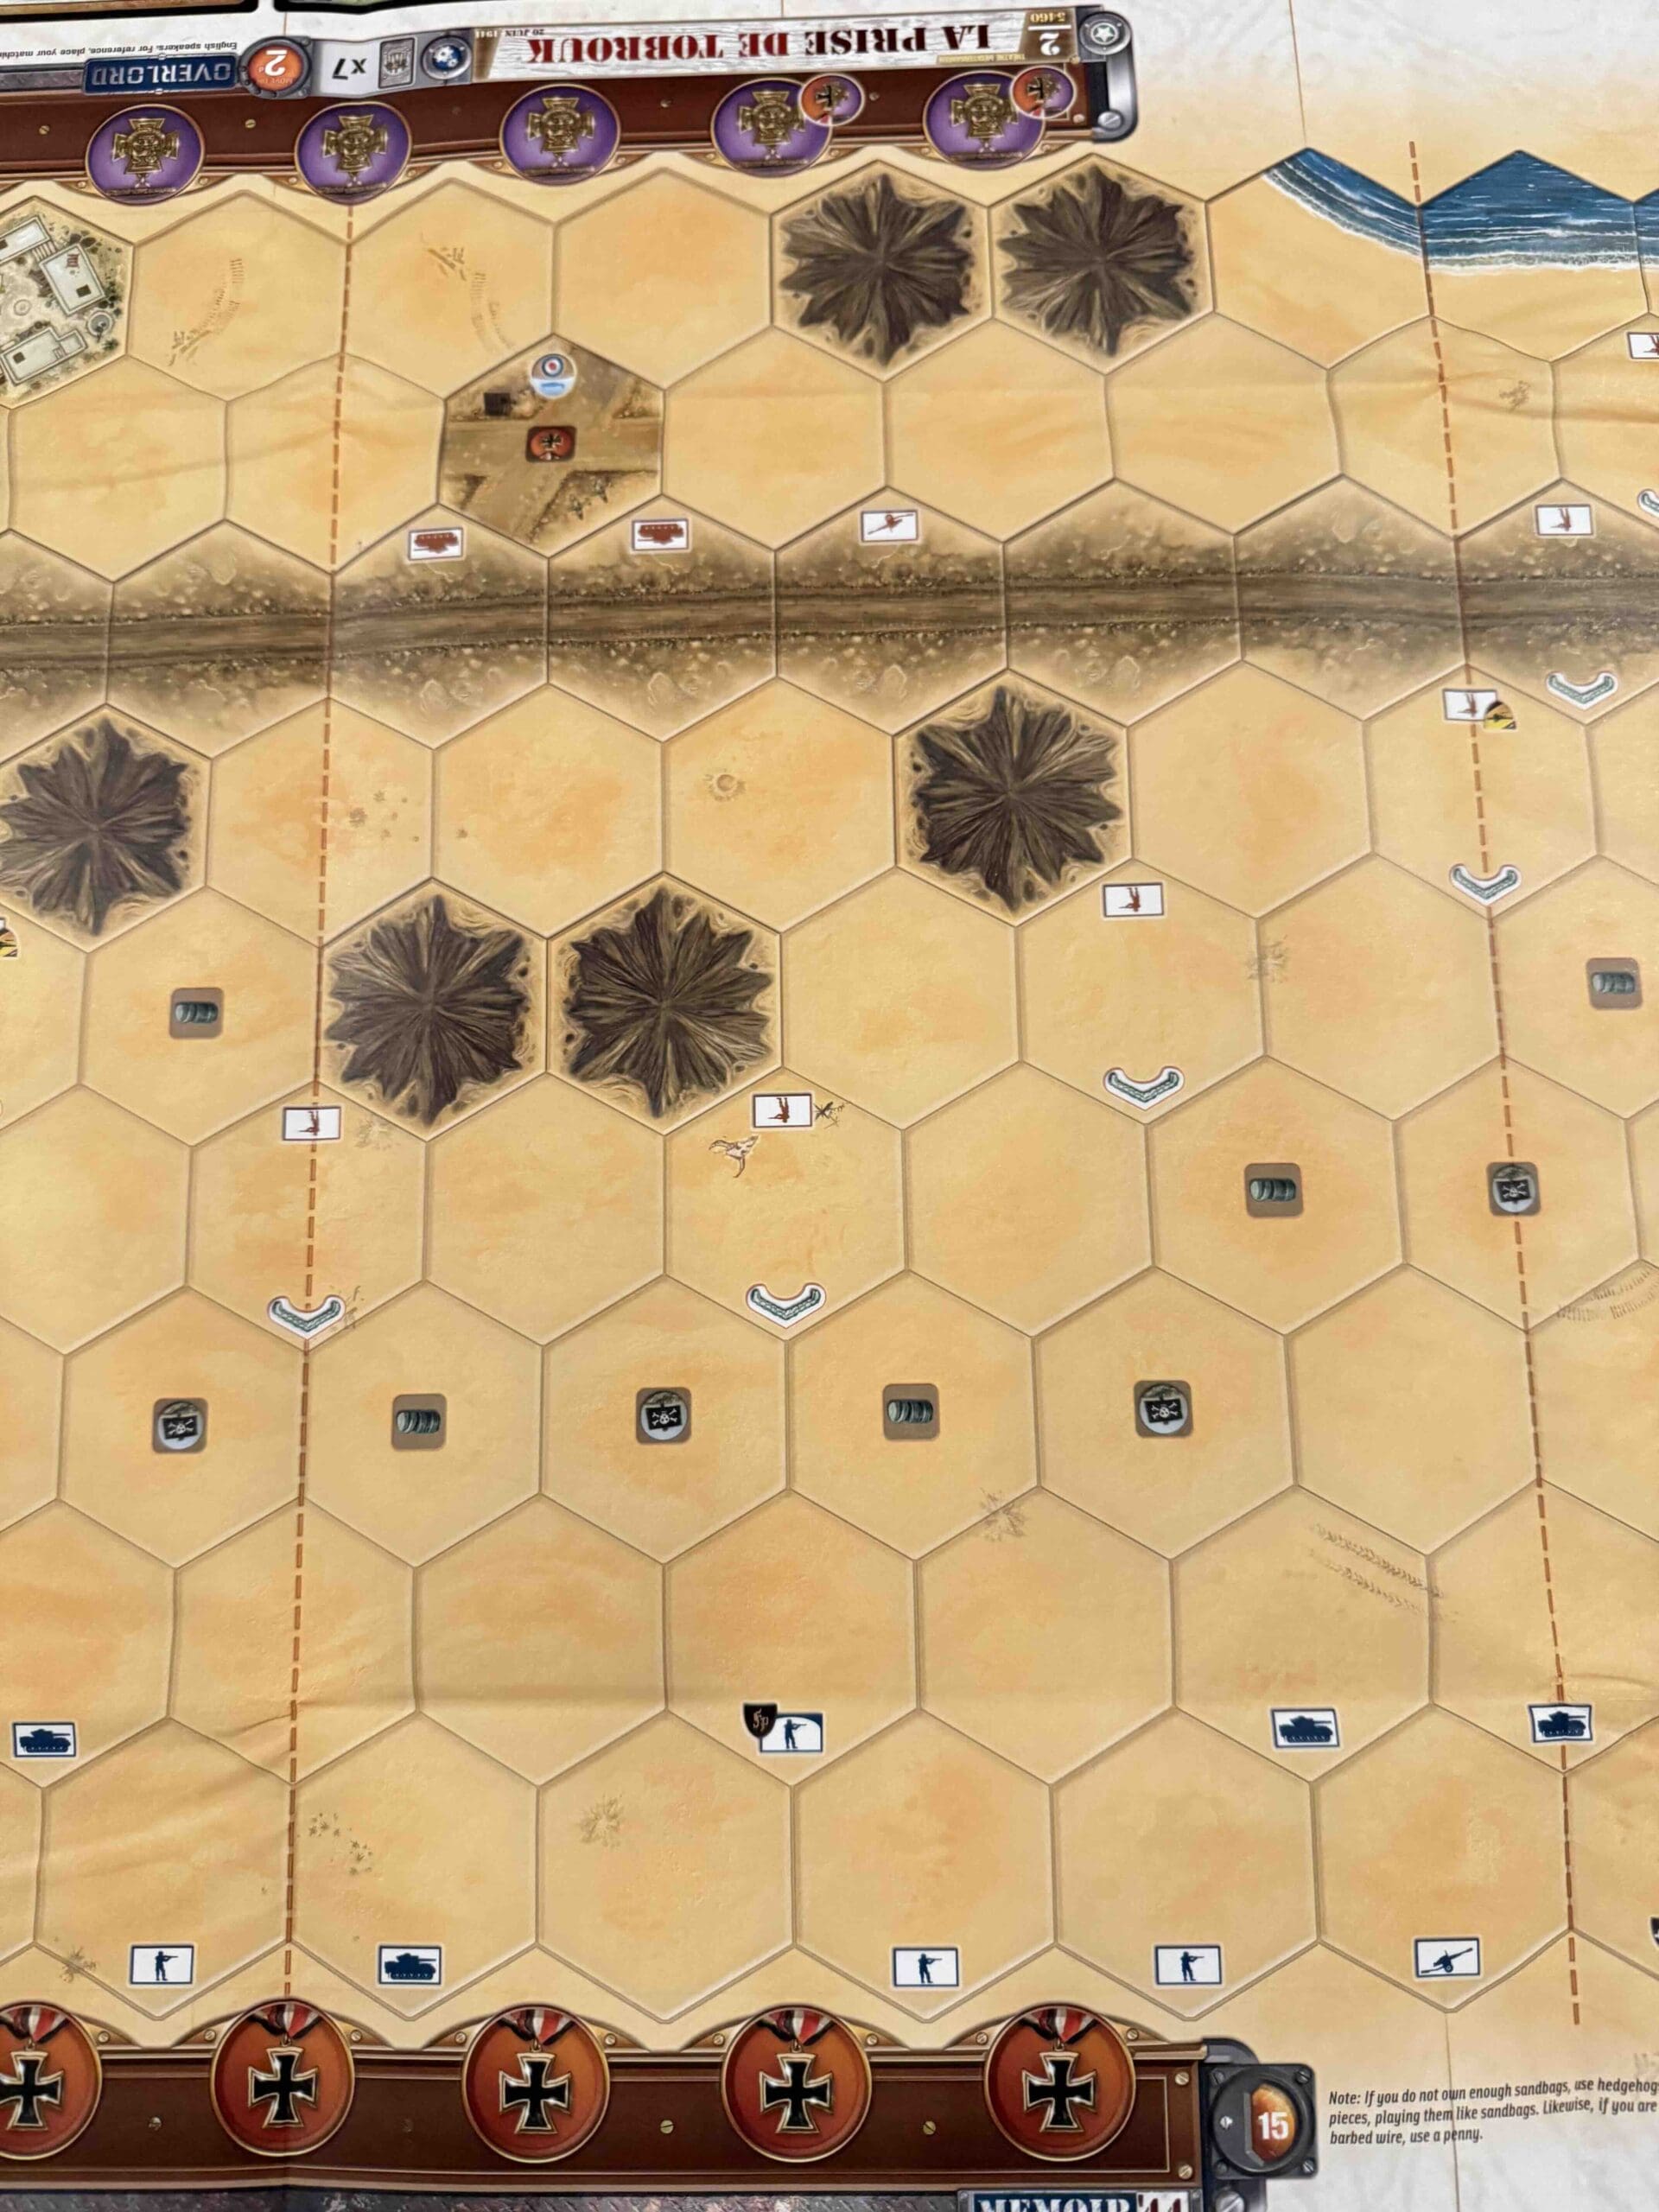
Capture-Tobruk_Right1
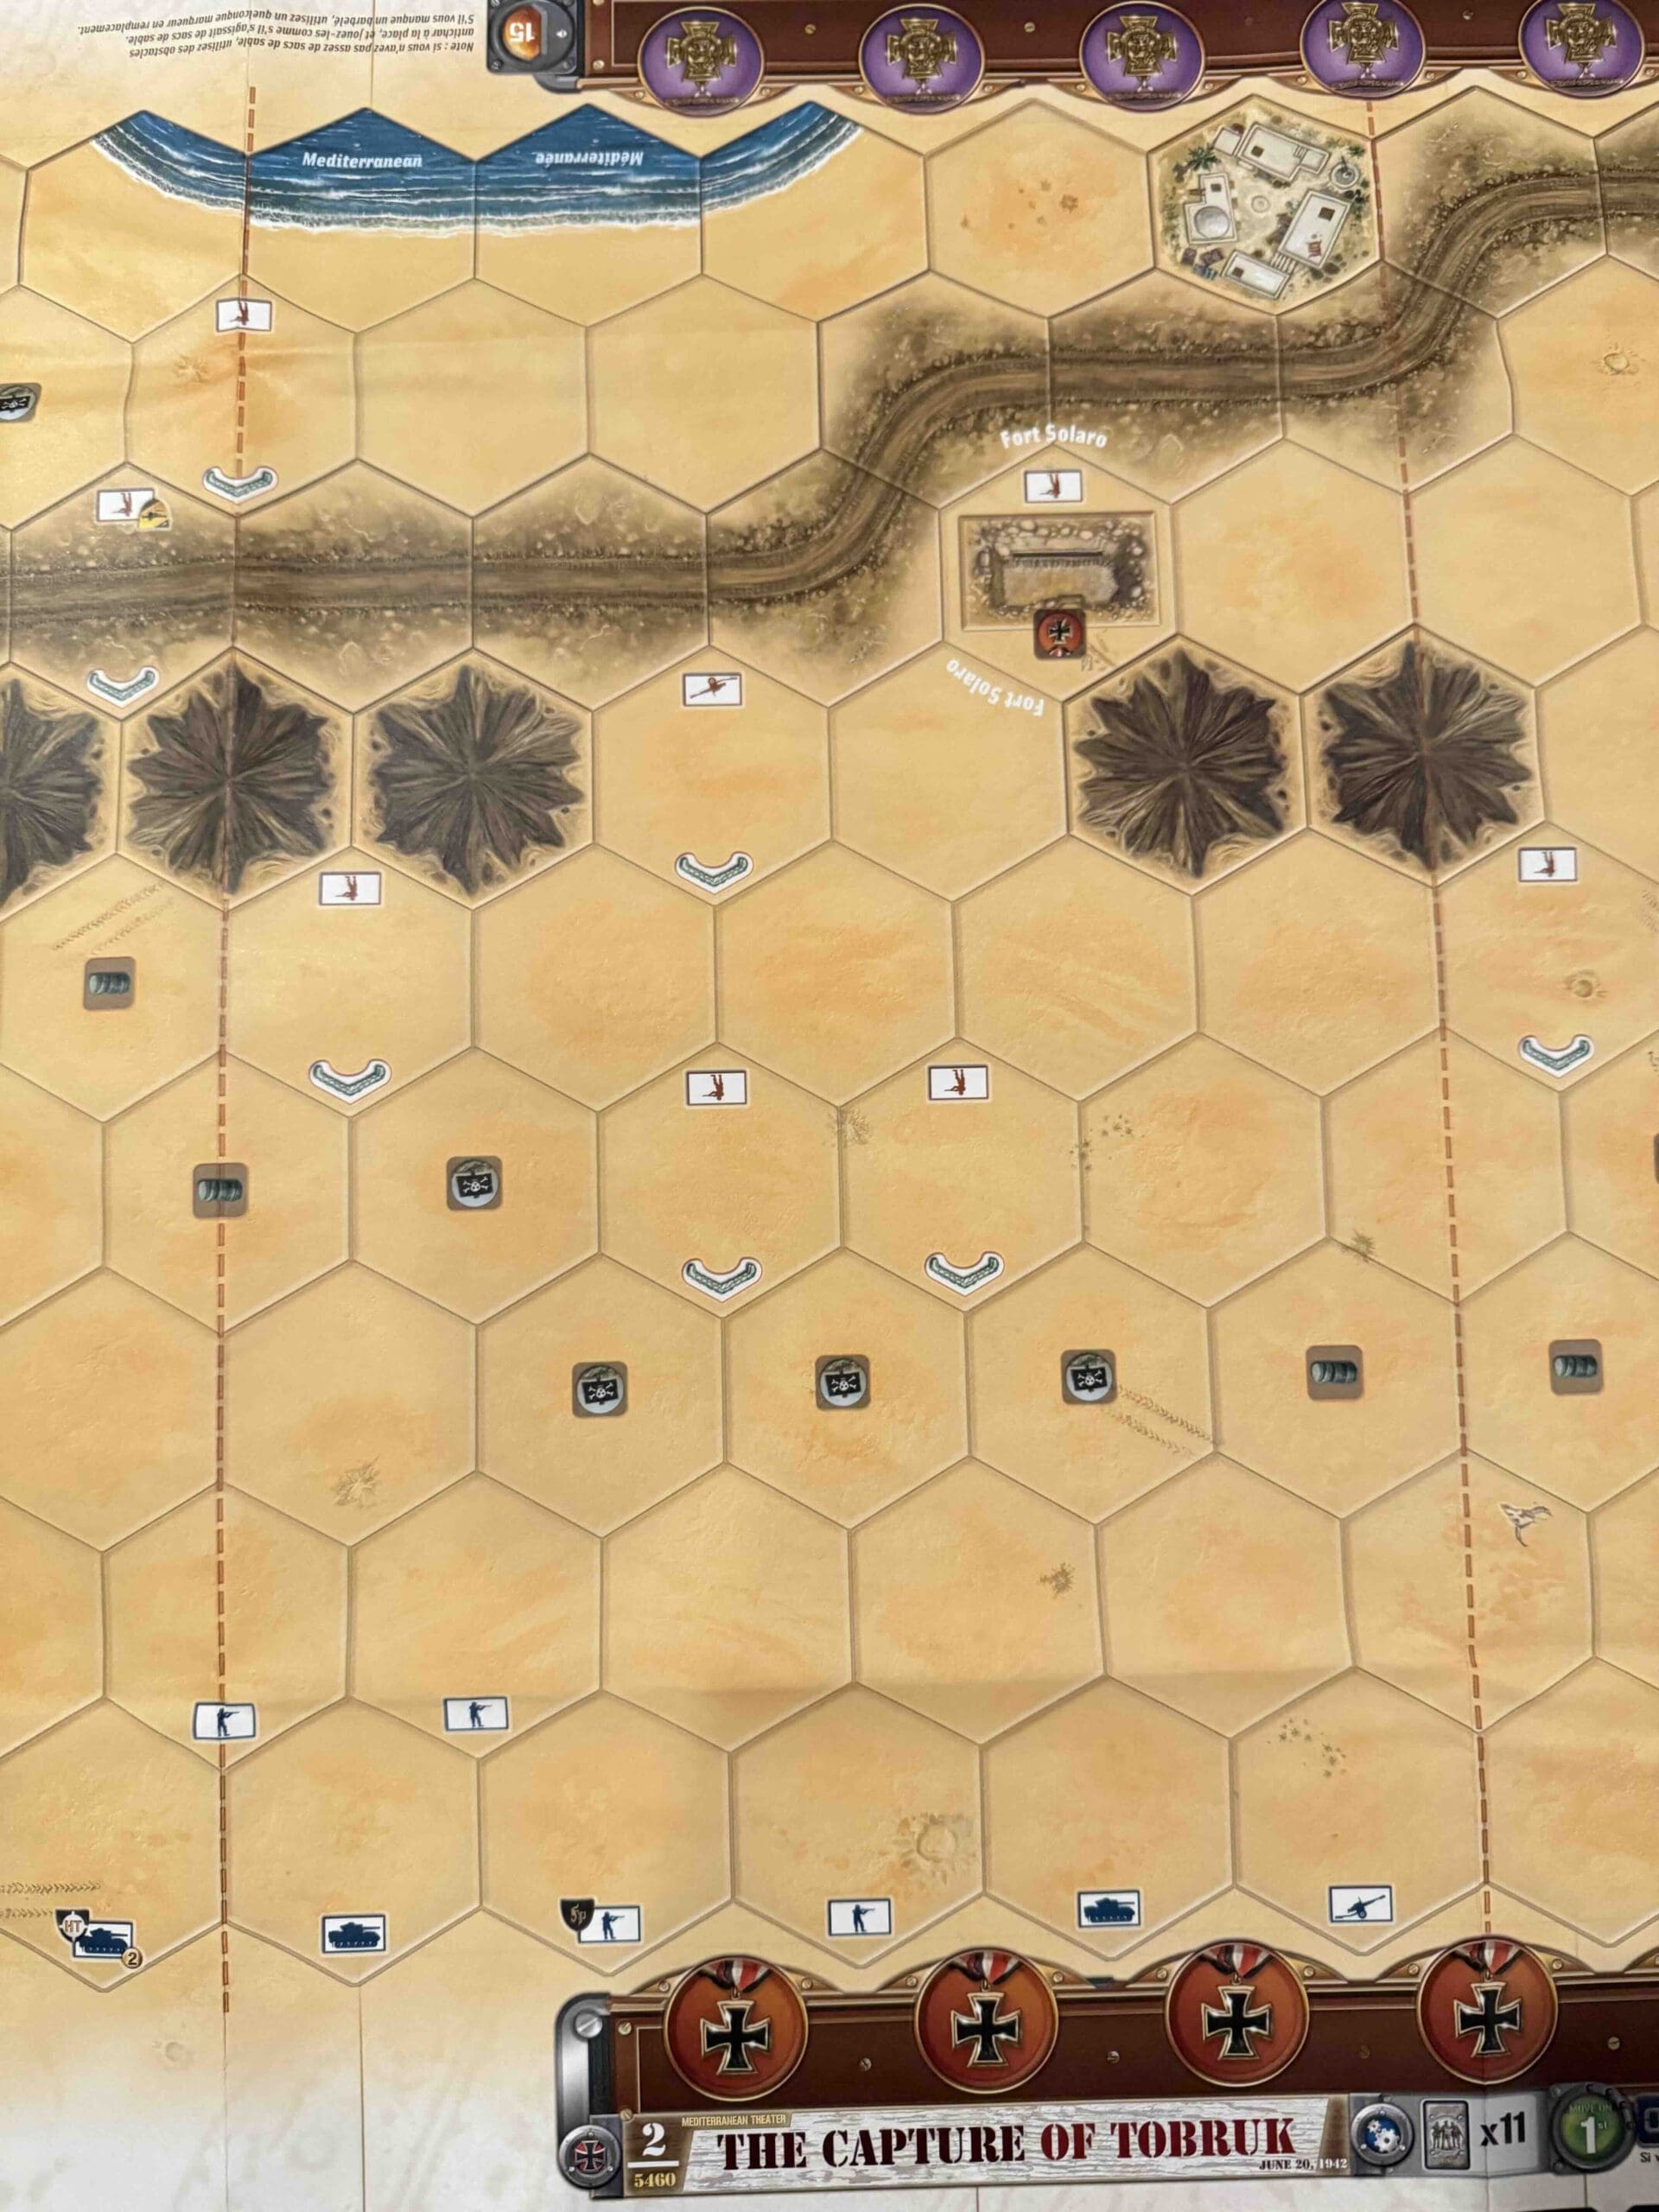
Capture-Tobruk_Left2
Capture-Tobruk_Left1
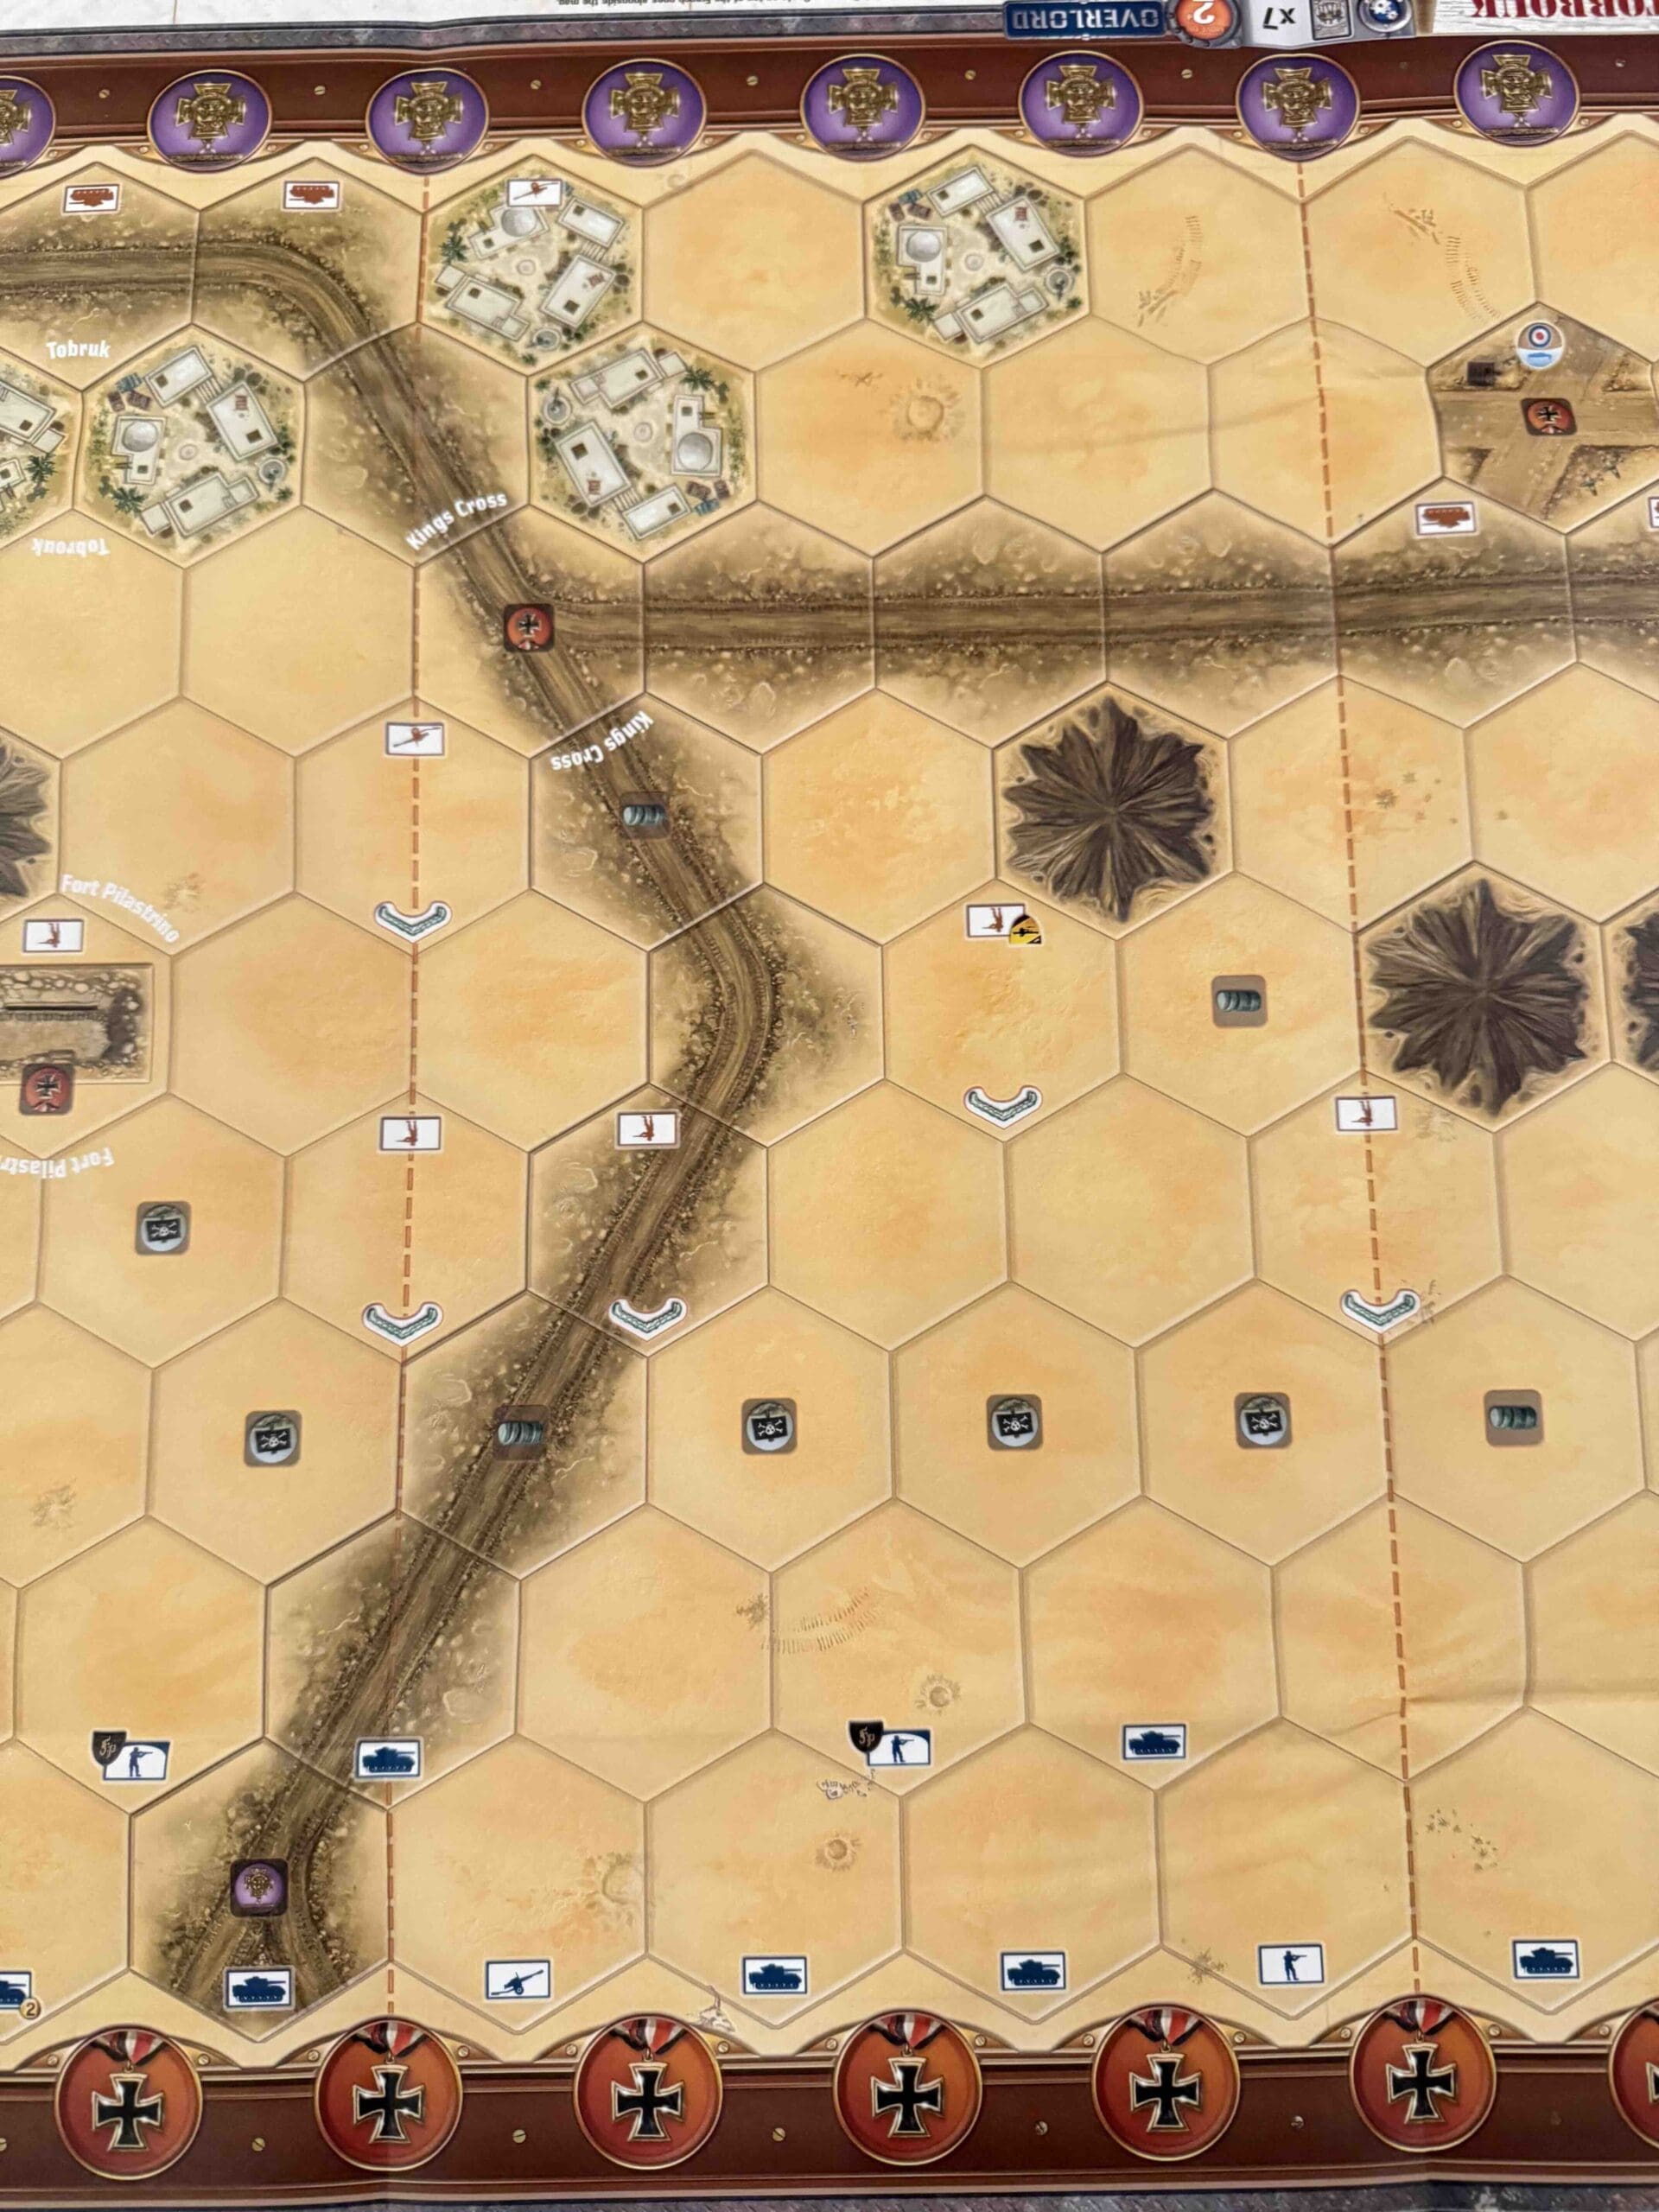
Capture-Tobruk_center2
Capture-Tobruk_center1
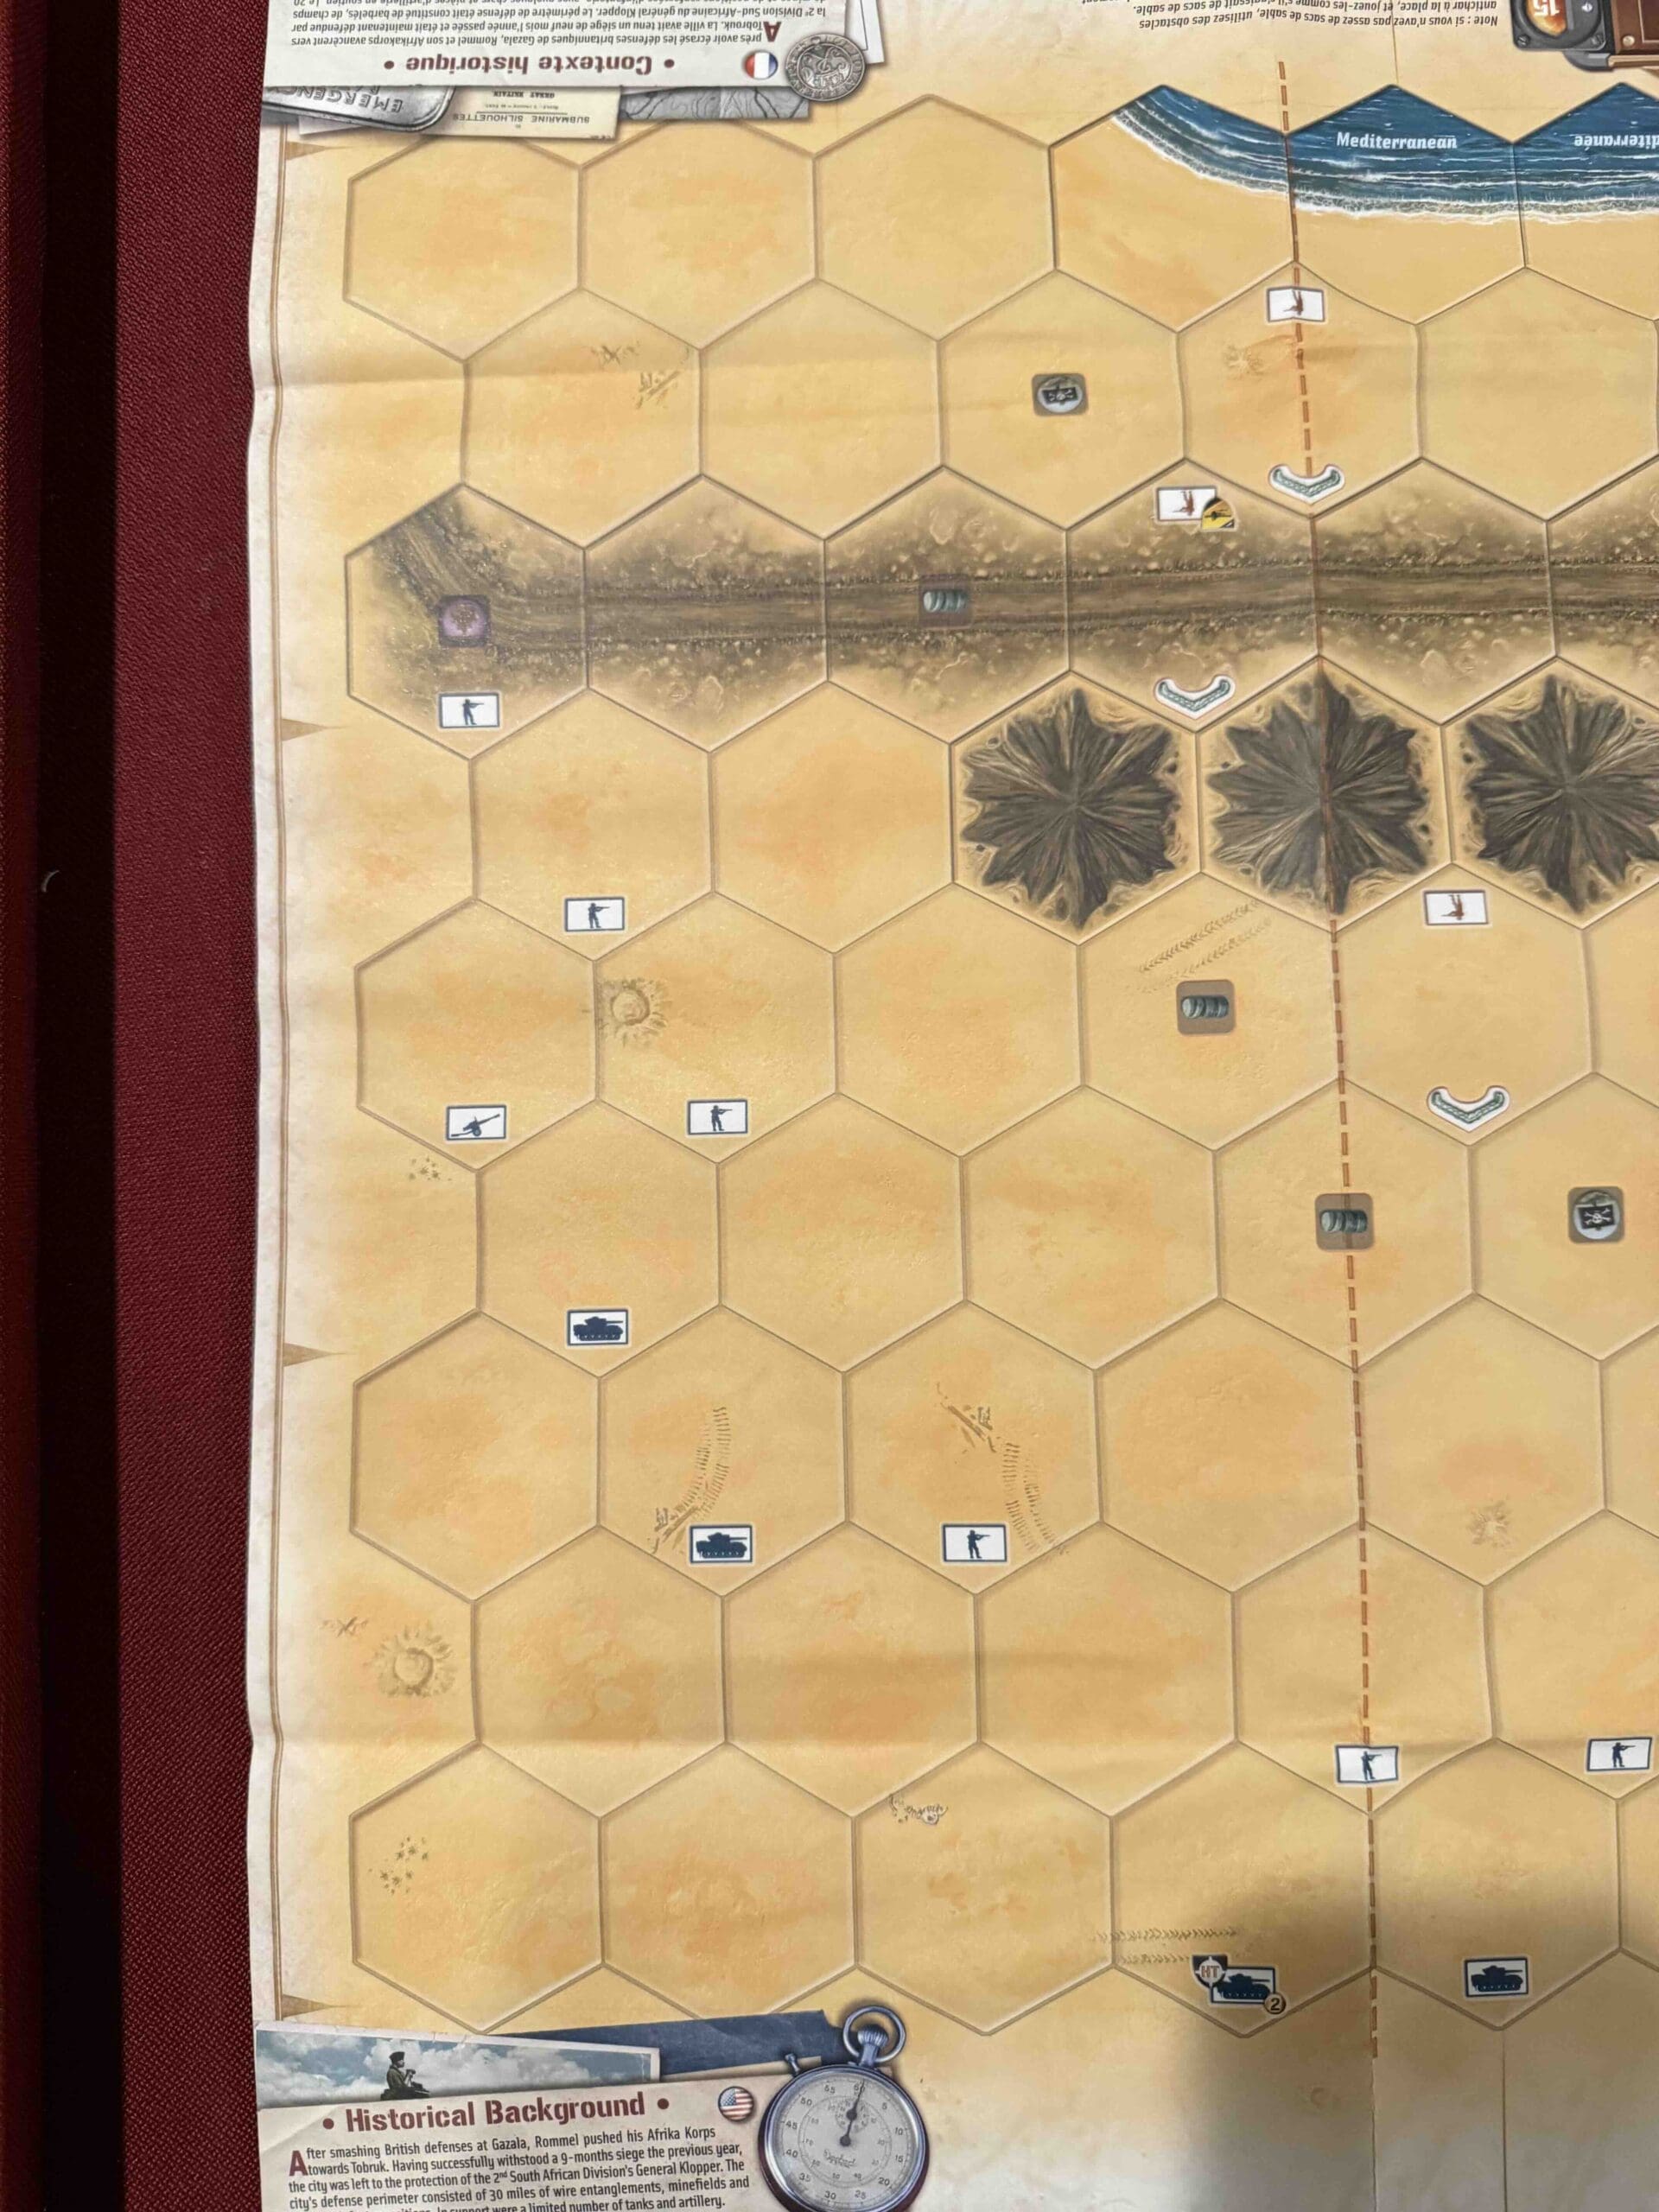
June 21, 1942—Tobruk falls, and Rommel gets his moment in the sun.
The Desert Fox came tearing across North Africa like a bat outta hell, and when he set his sights on Tobruk, he didn’t waste time. That place had held out before—but not this time. Rommel hit it hard, fast, and surgical. In no time flat, he smashed through the lines, bagged 30,000 Allied troops, and scooped up a mountain of supplies.
It was a gut punch to the British—morale wrecked, command shaken, and the enemy thumping their chests from Berlin to Rome. Tobruk was supposed to be a fortress. Instead, it became a prize.
But here’s the truth: Rommel’s victory was real—but it was short-lived. You don’t win a war with flash and headlines. You win it by bleeding the enemy dry, taking ground, and never letting up. And that’s what we did.
By the time we met him again at El Alamein, the tables had turned. Rommel’s advance stalled, and the Allies came back with a vengeance.
You want to take a city? Fine. But you’d better be ready to hold it when the real fight starts.
~~ General Howitzer
15 VP’s
Card Balance:
Allies – 7
Axis – 11
Complexity:
3
Conditions:
Desert

Context:
Historical
Location:
North Africa
Year:
1942
Theater:
Mediterranean
Campaign:
Codename:
Summary:
Objectives:
15 VP’s with many territorial Medal Objectives, some Temporary and some Permanent.
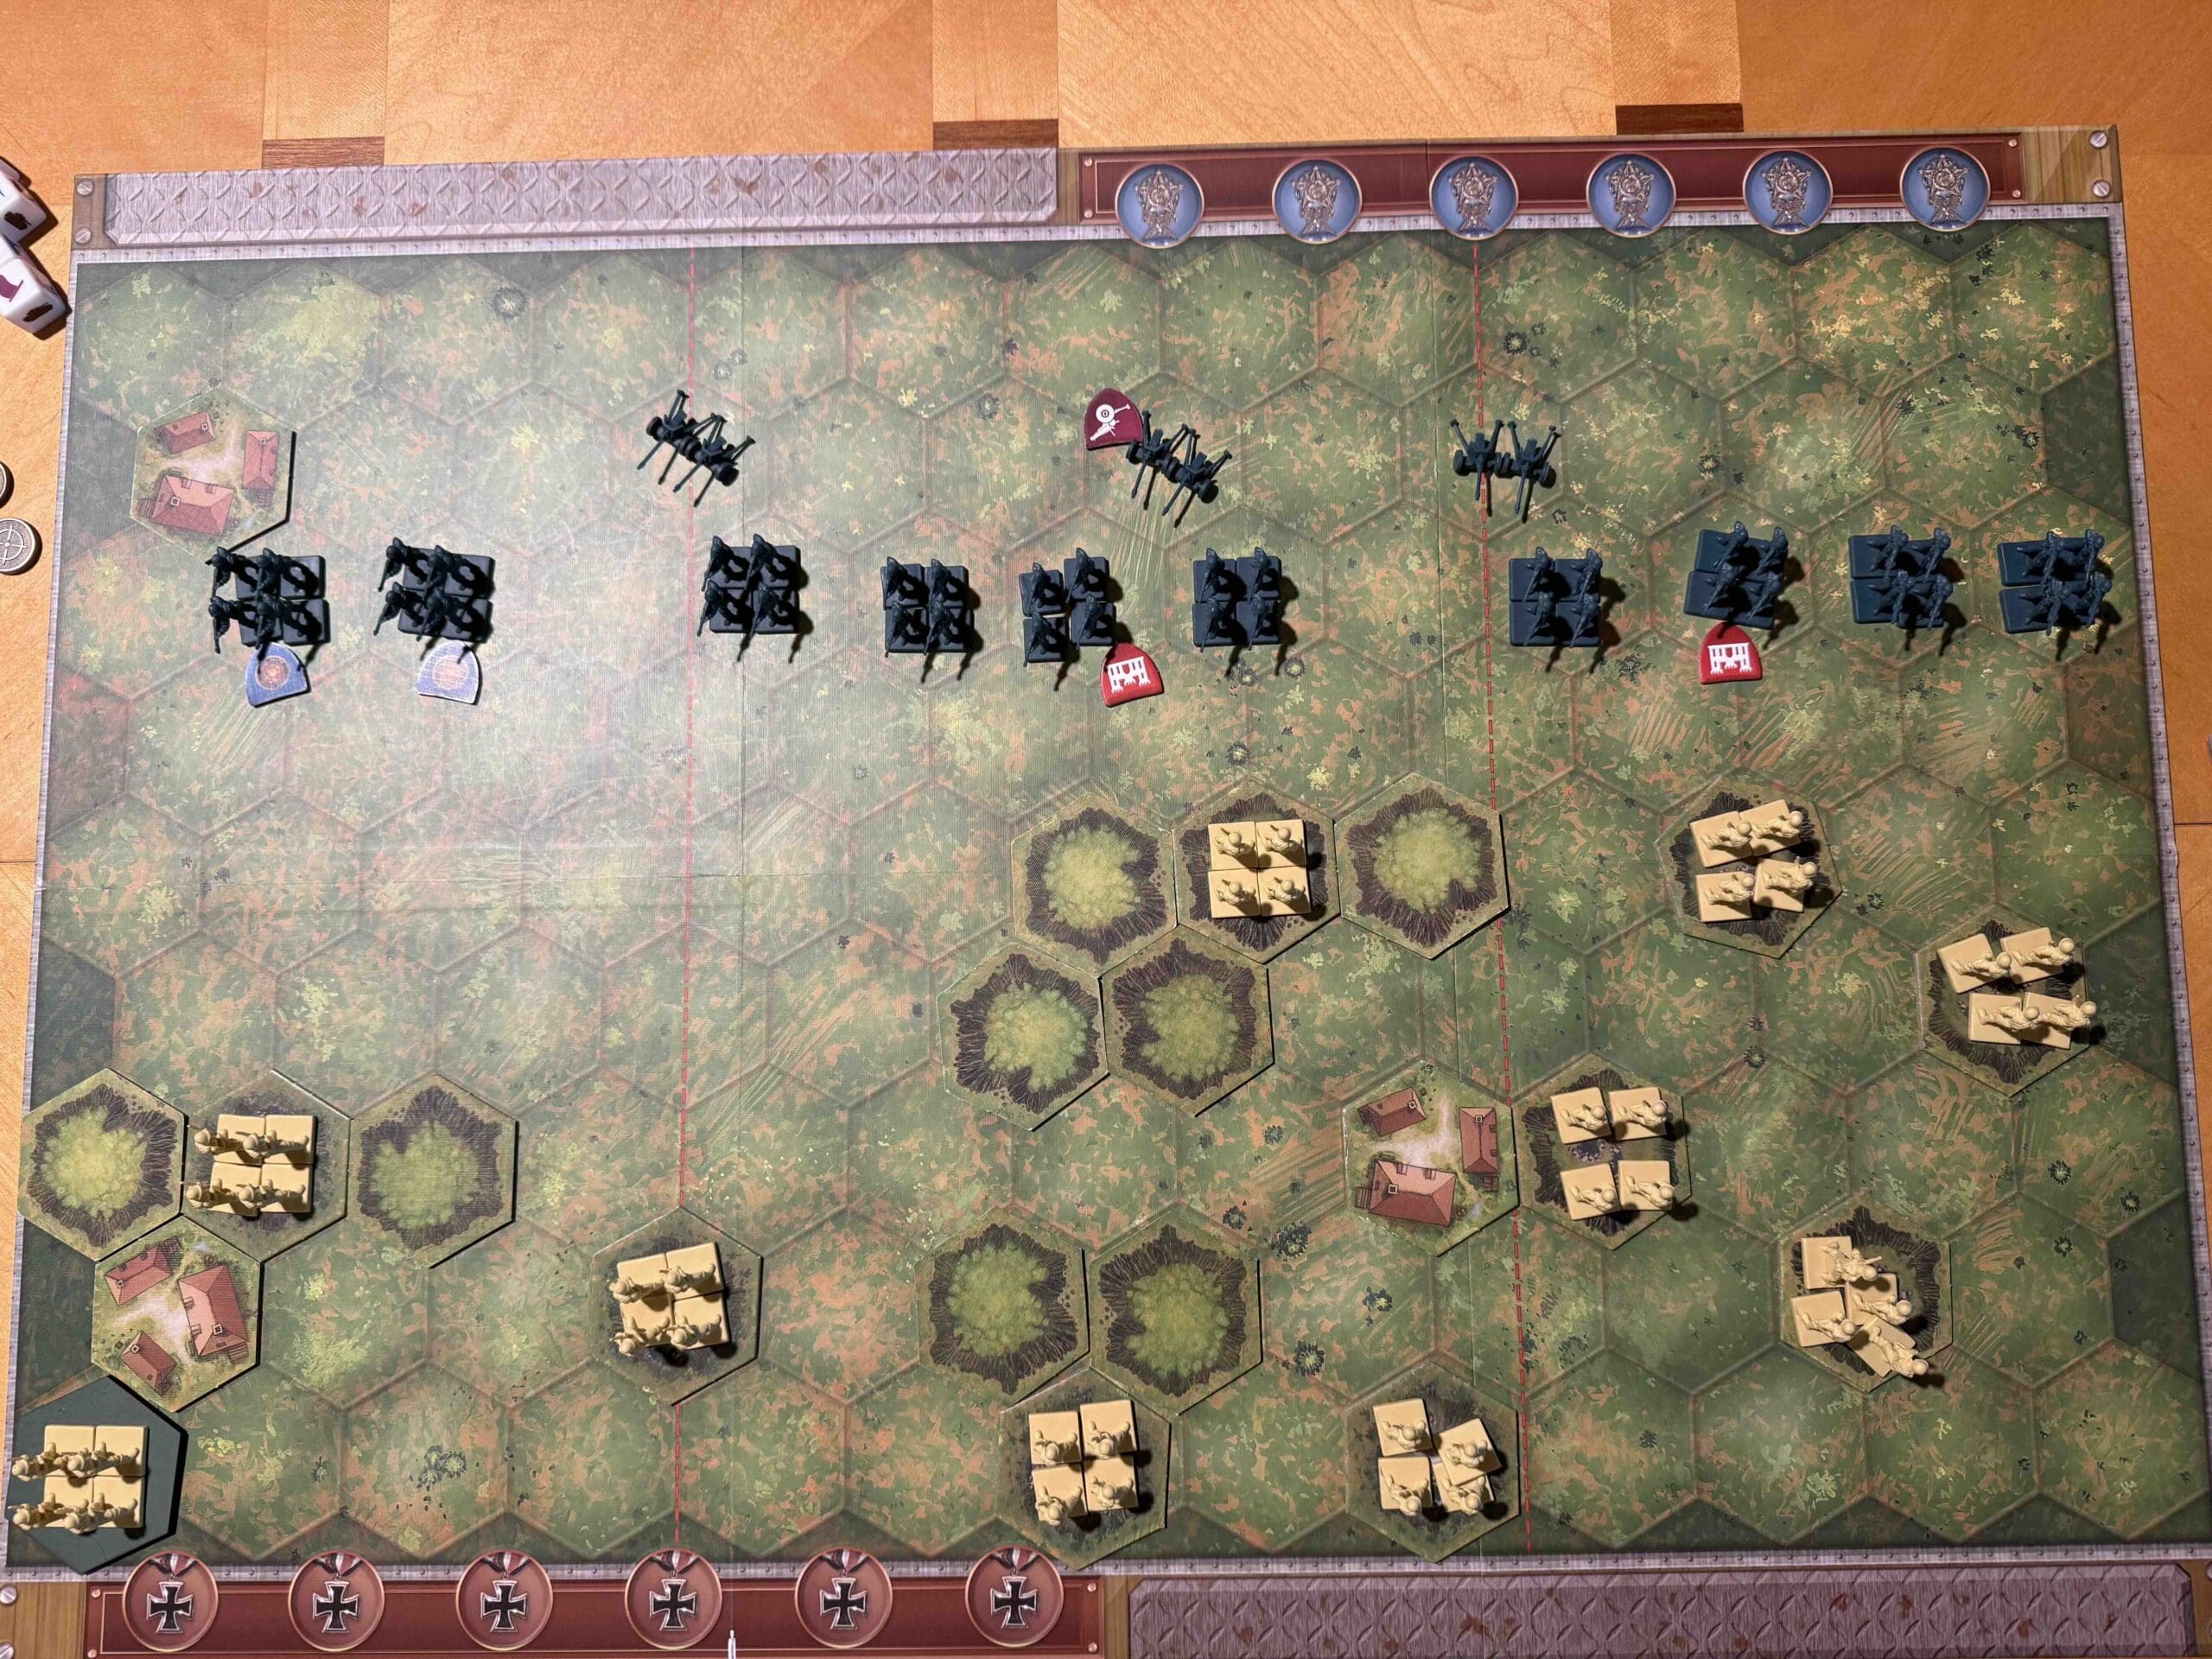
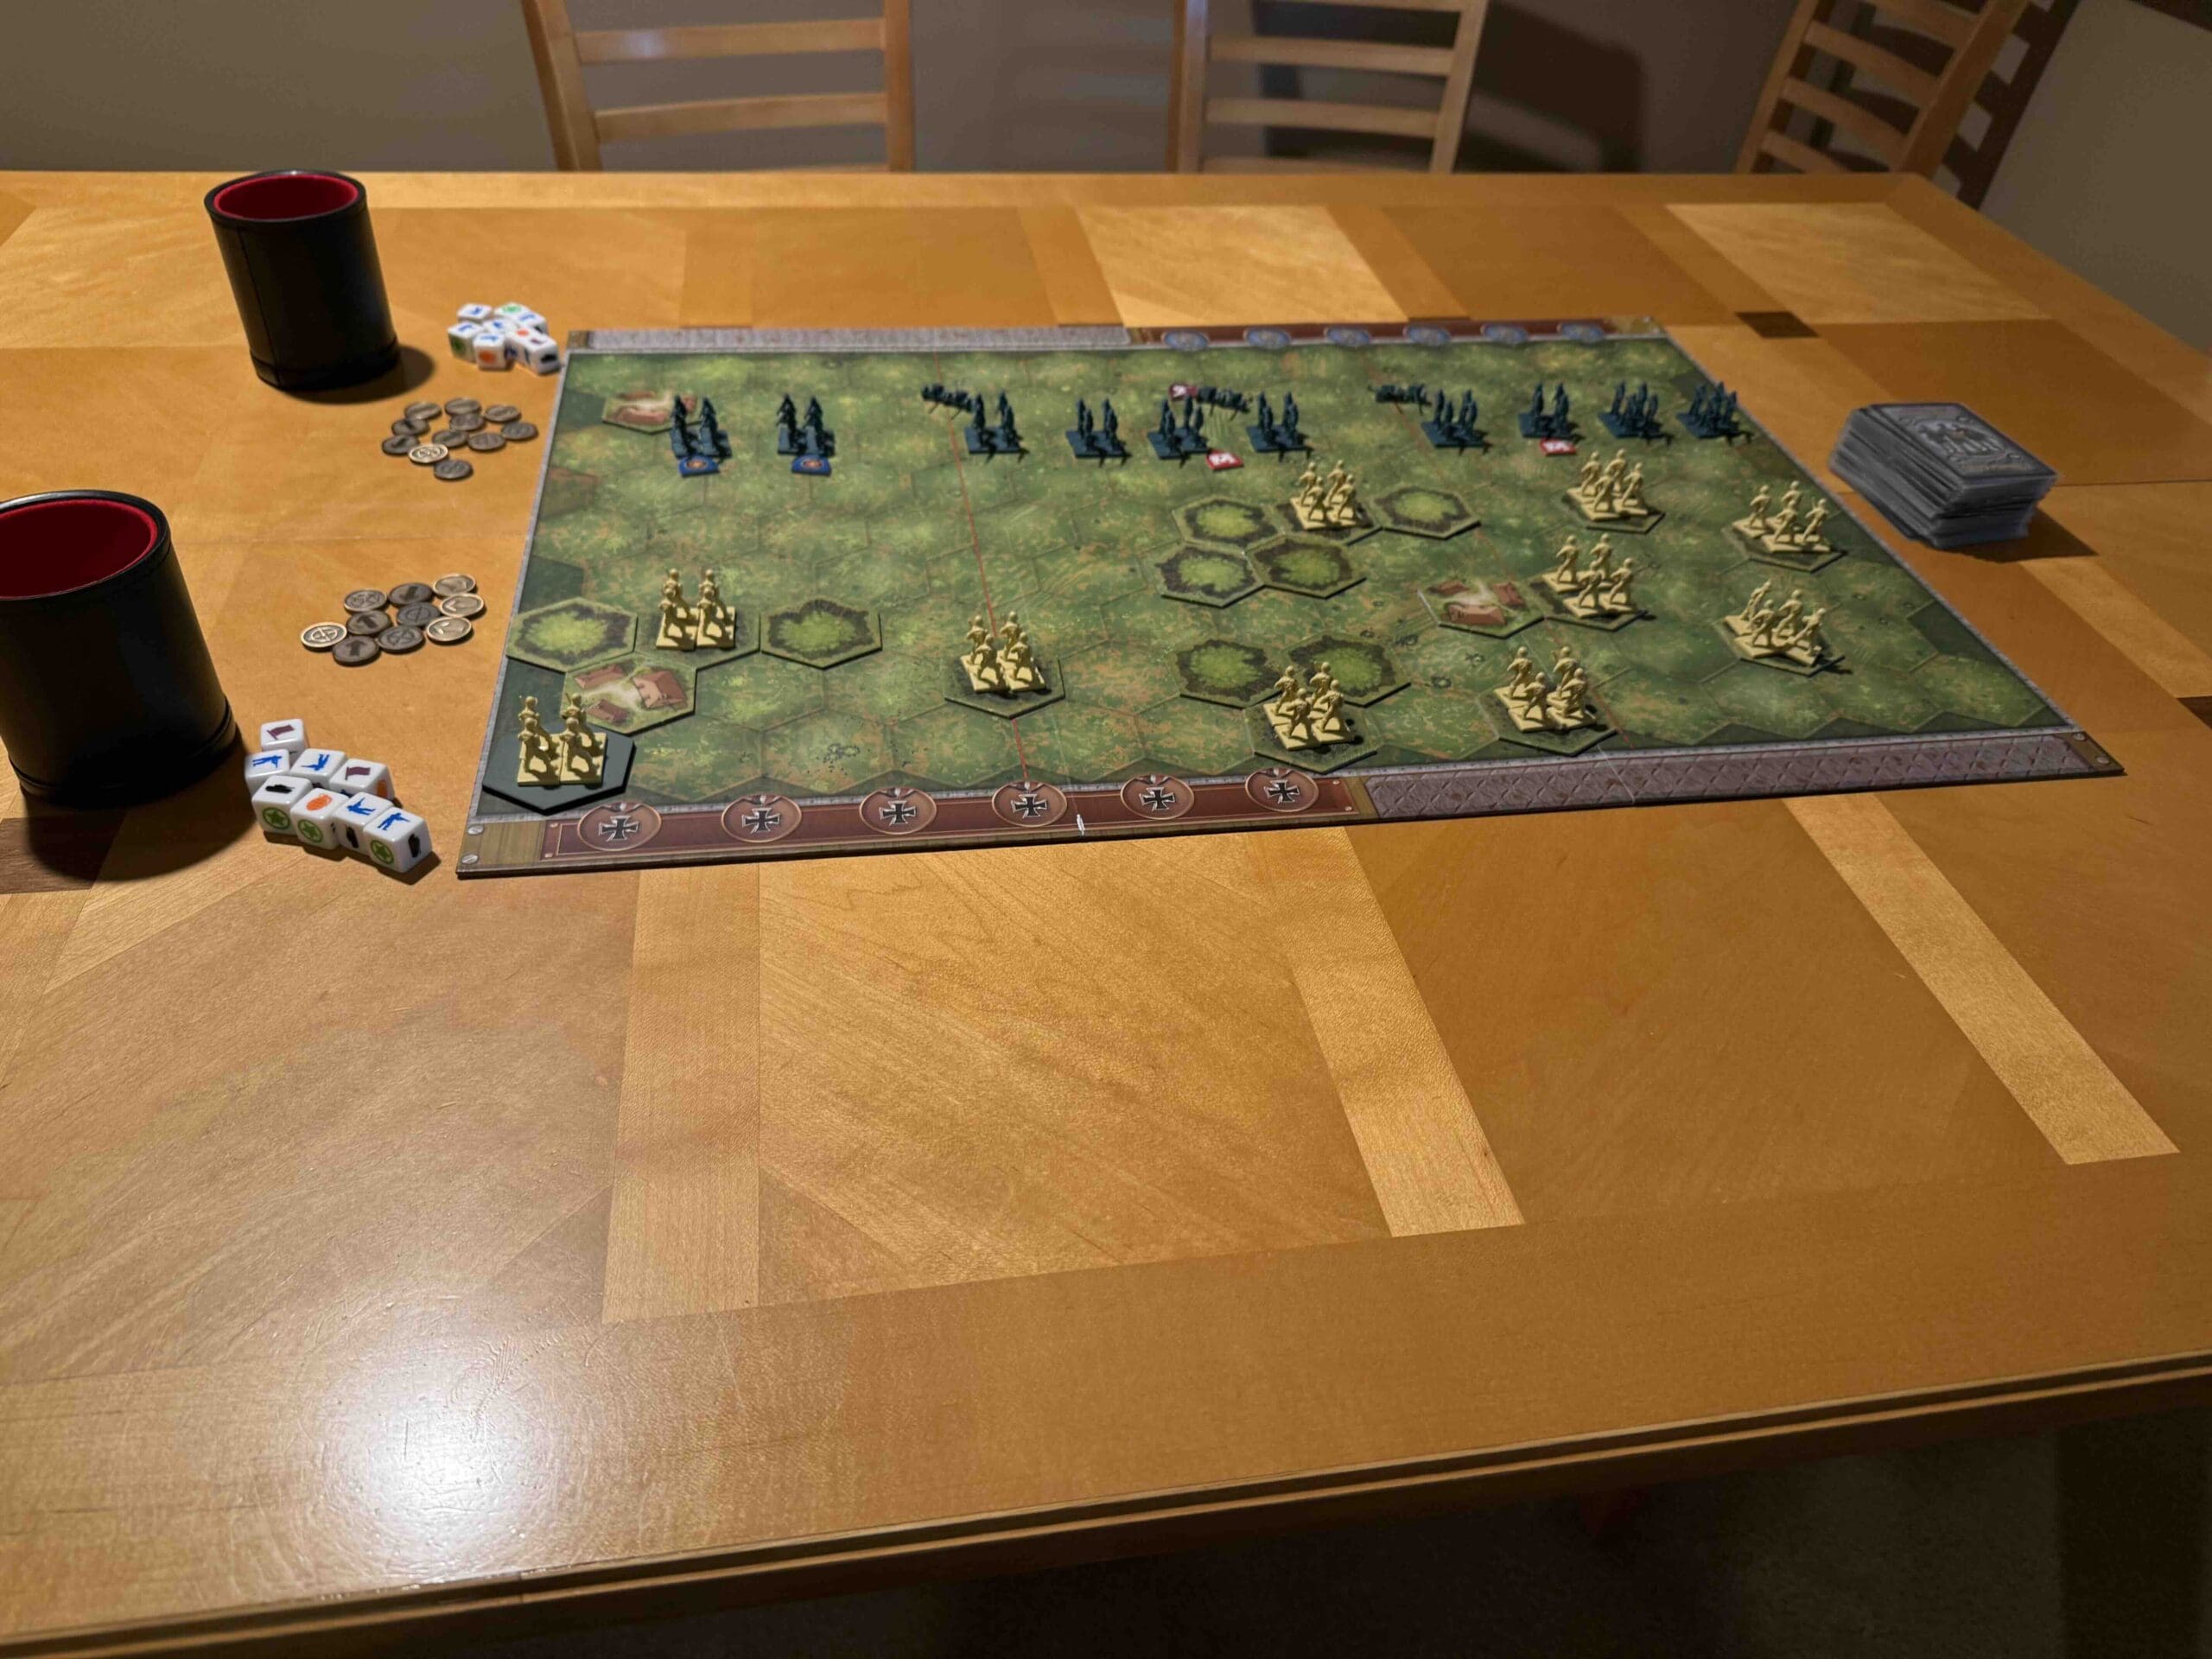
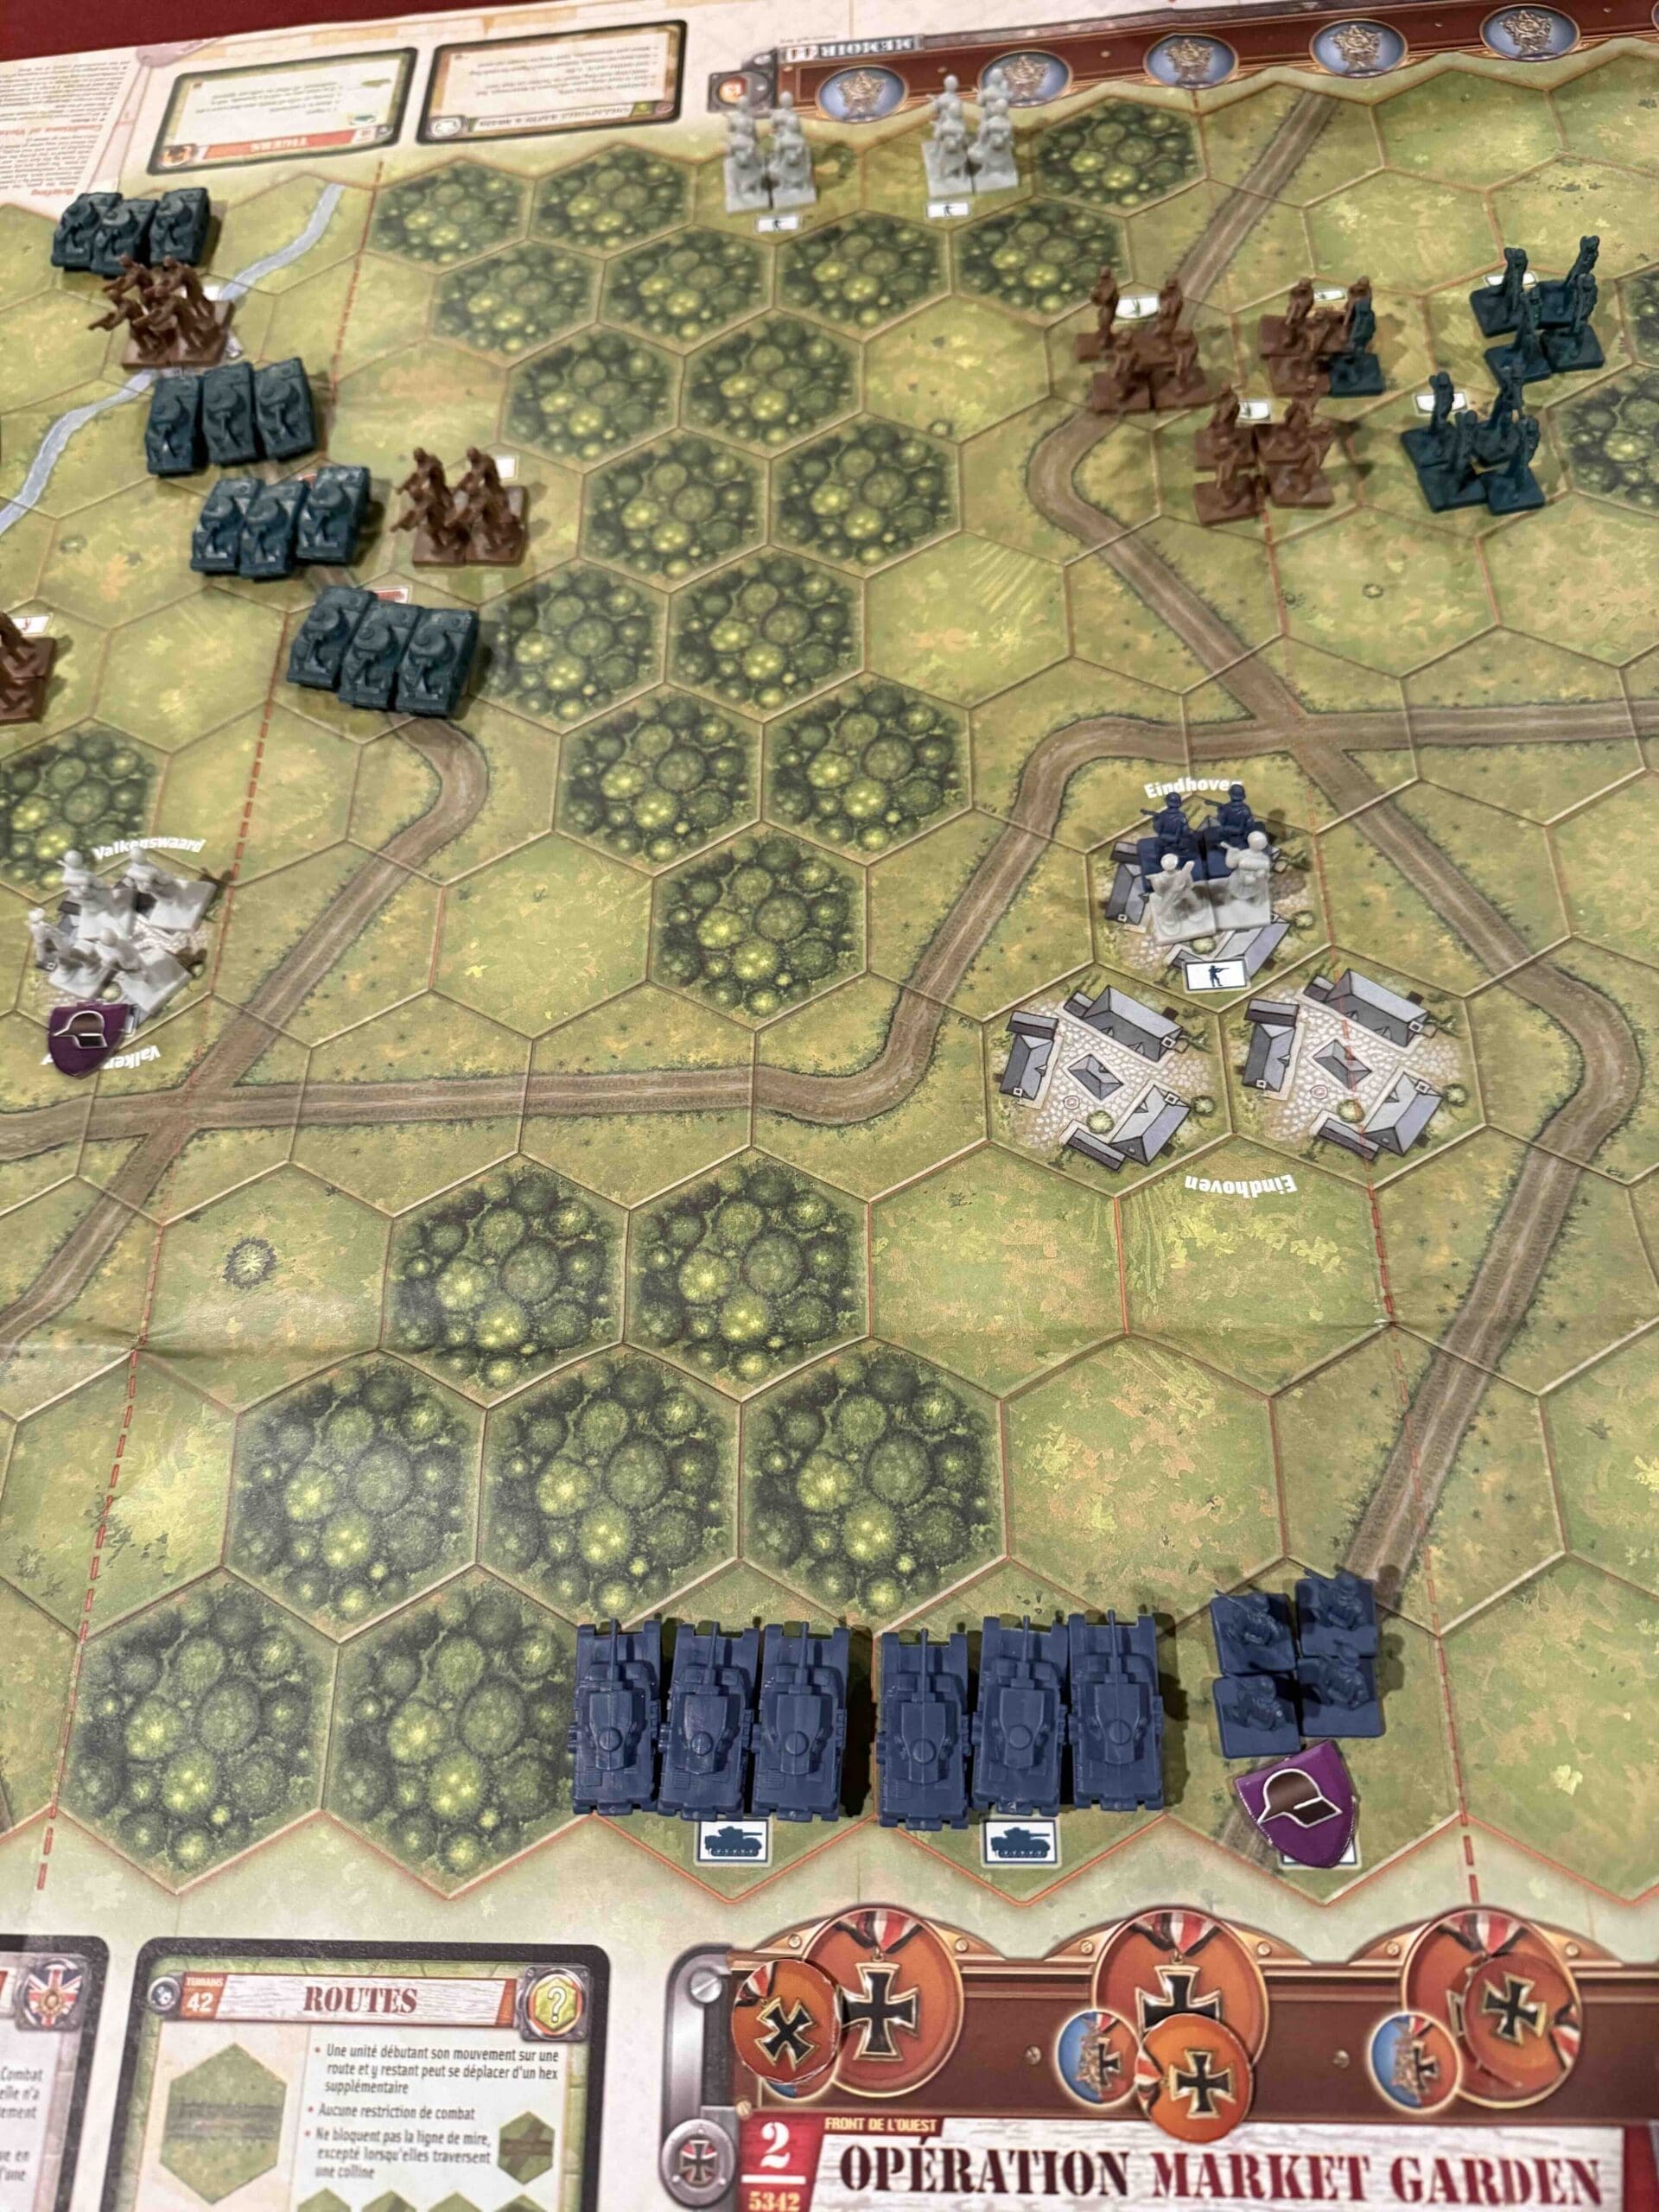
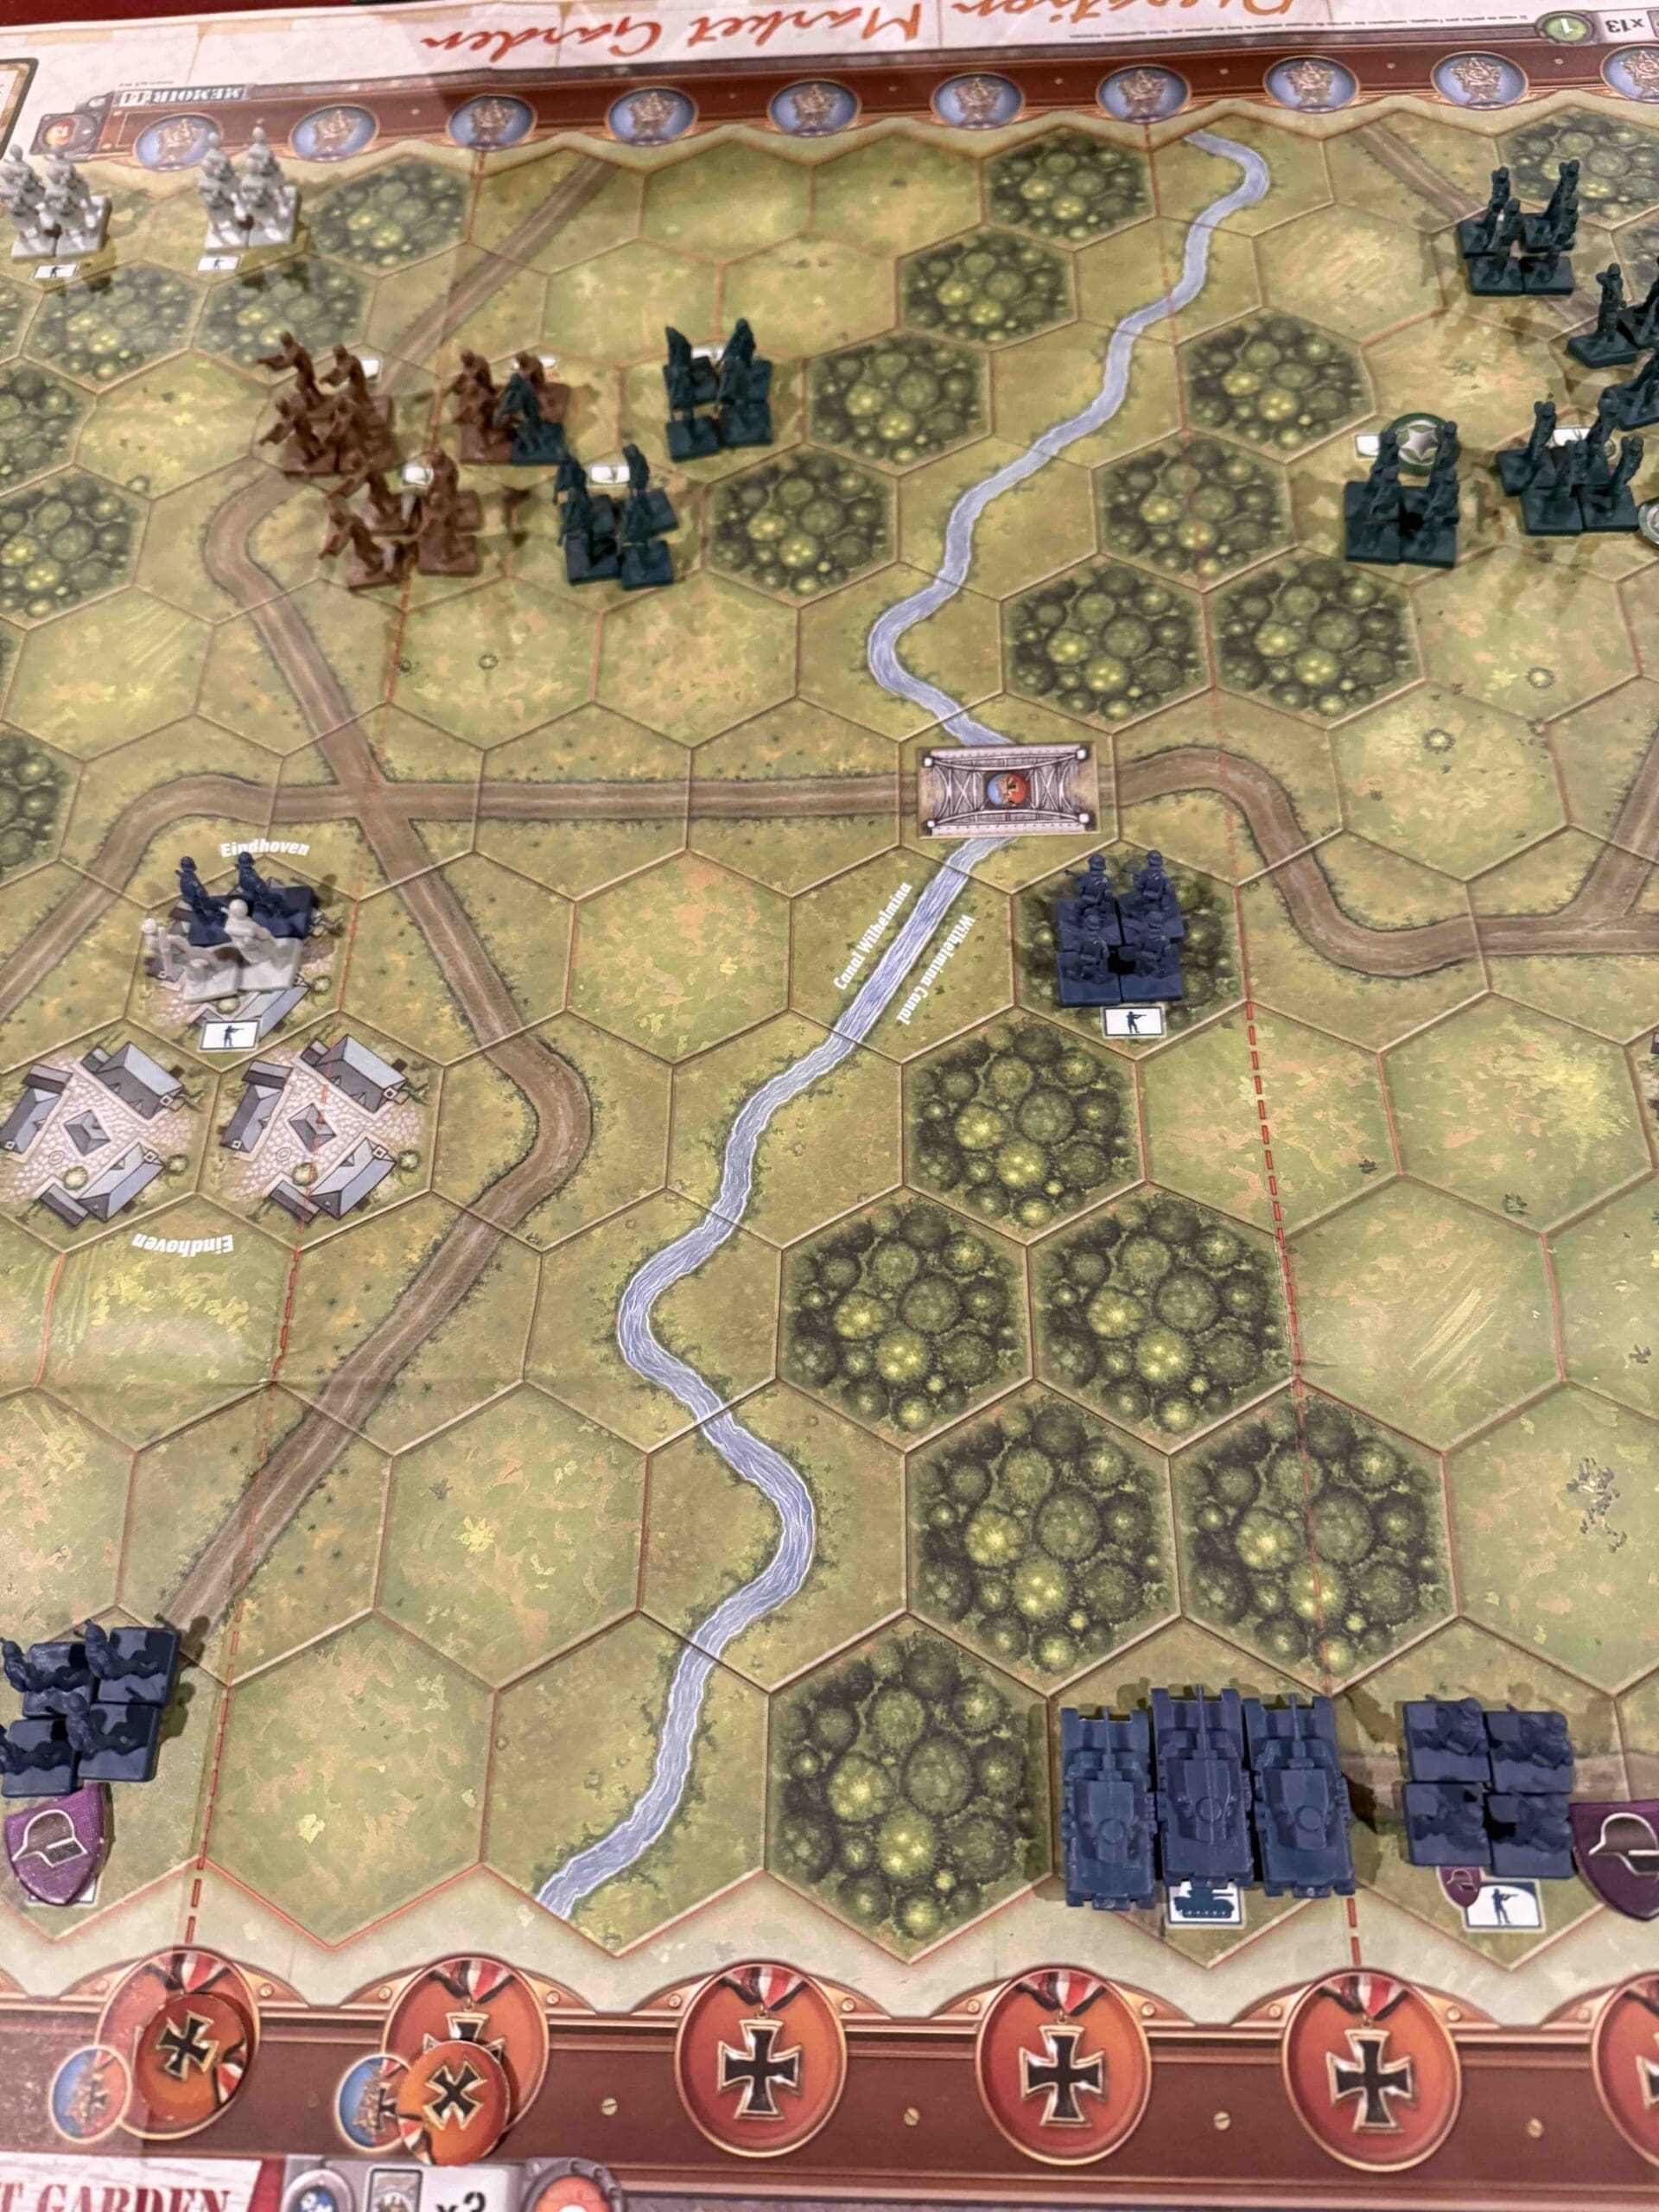
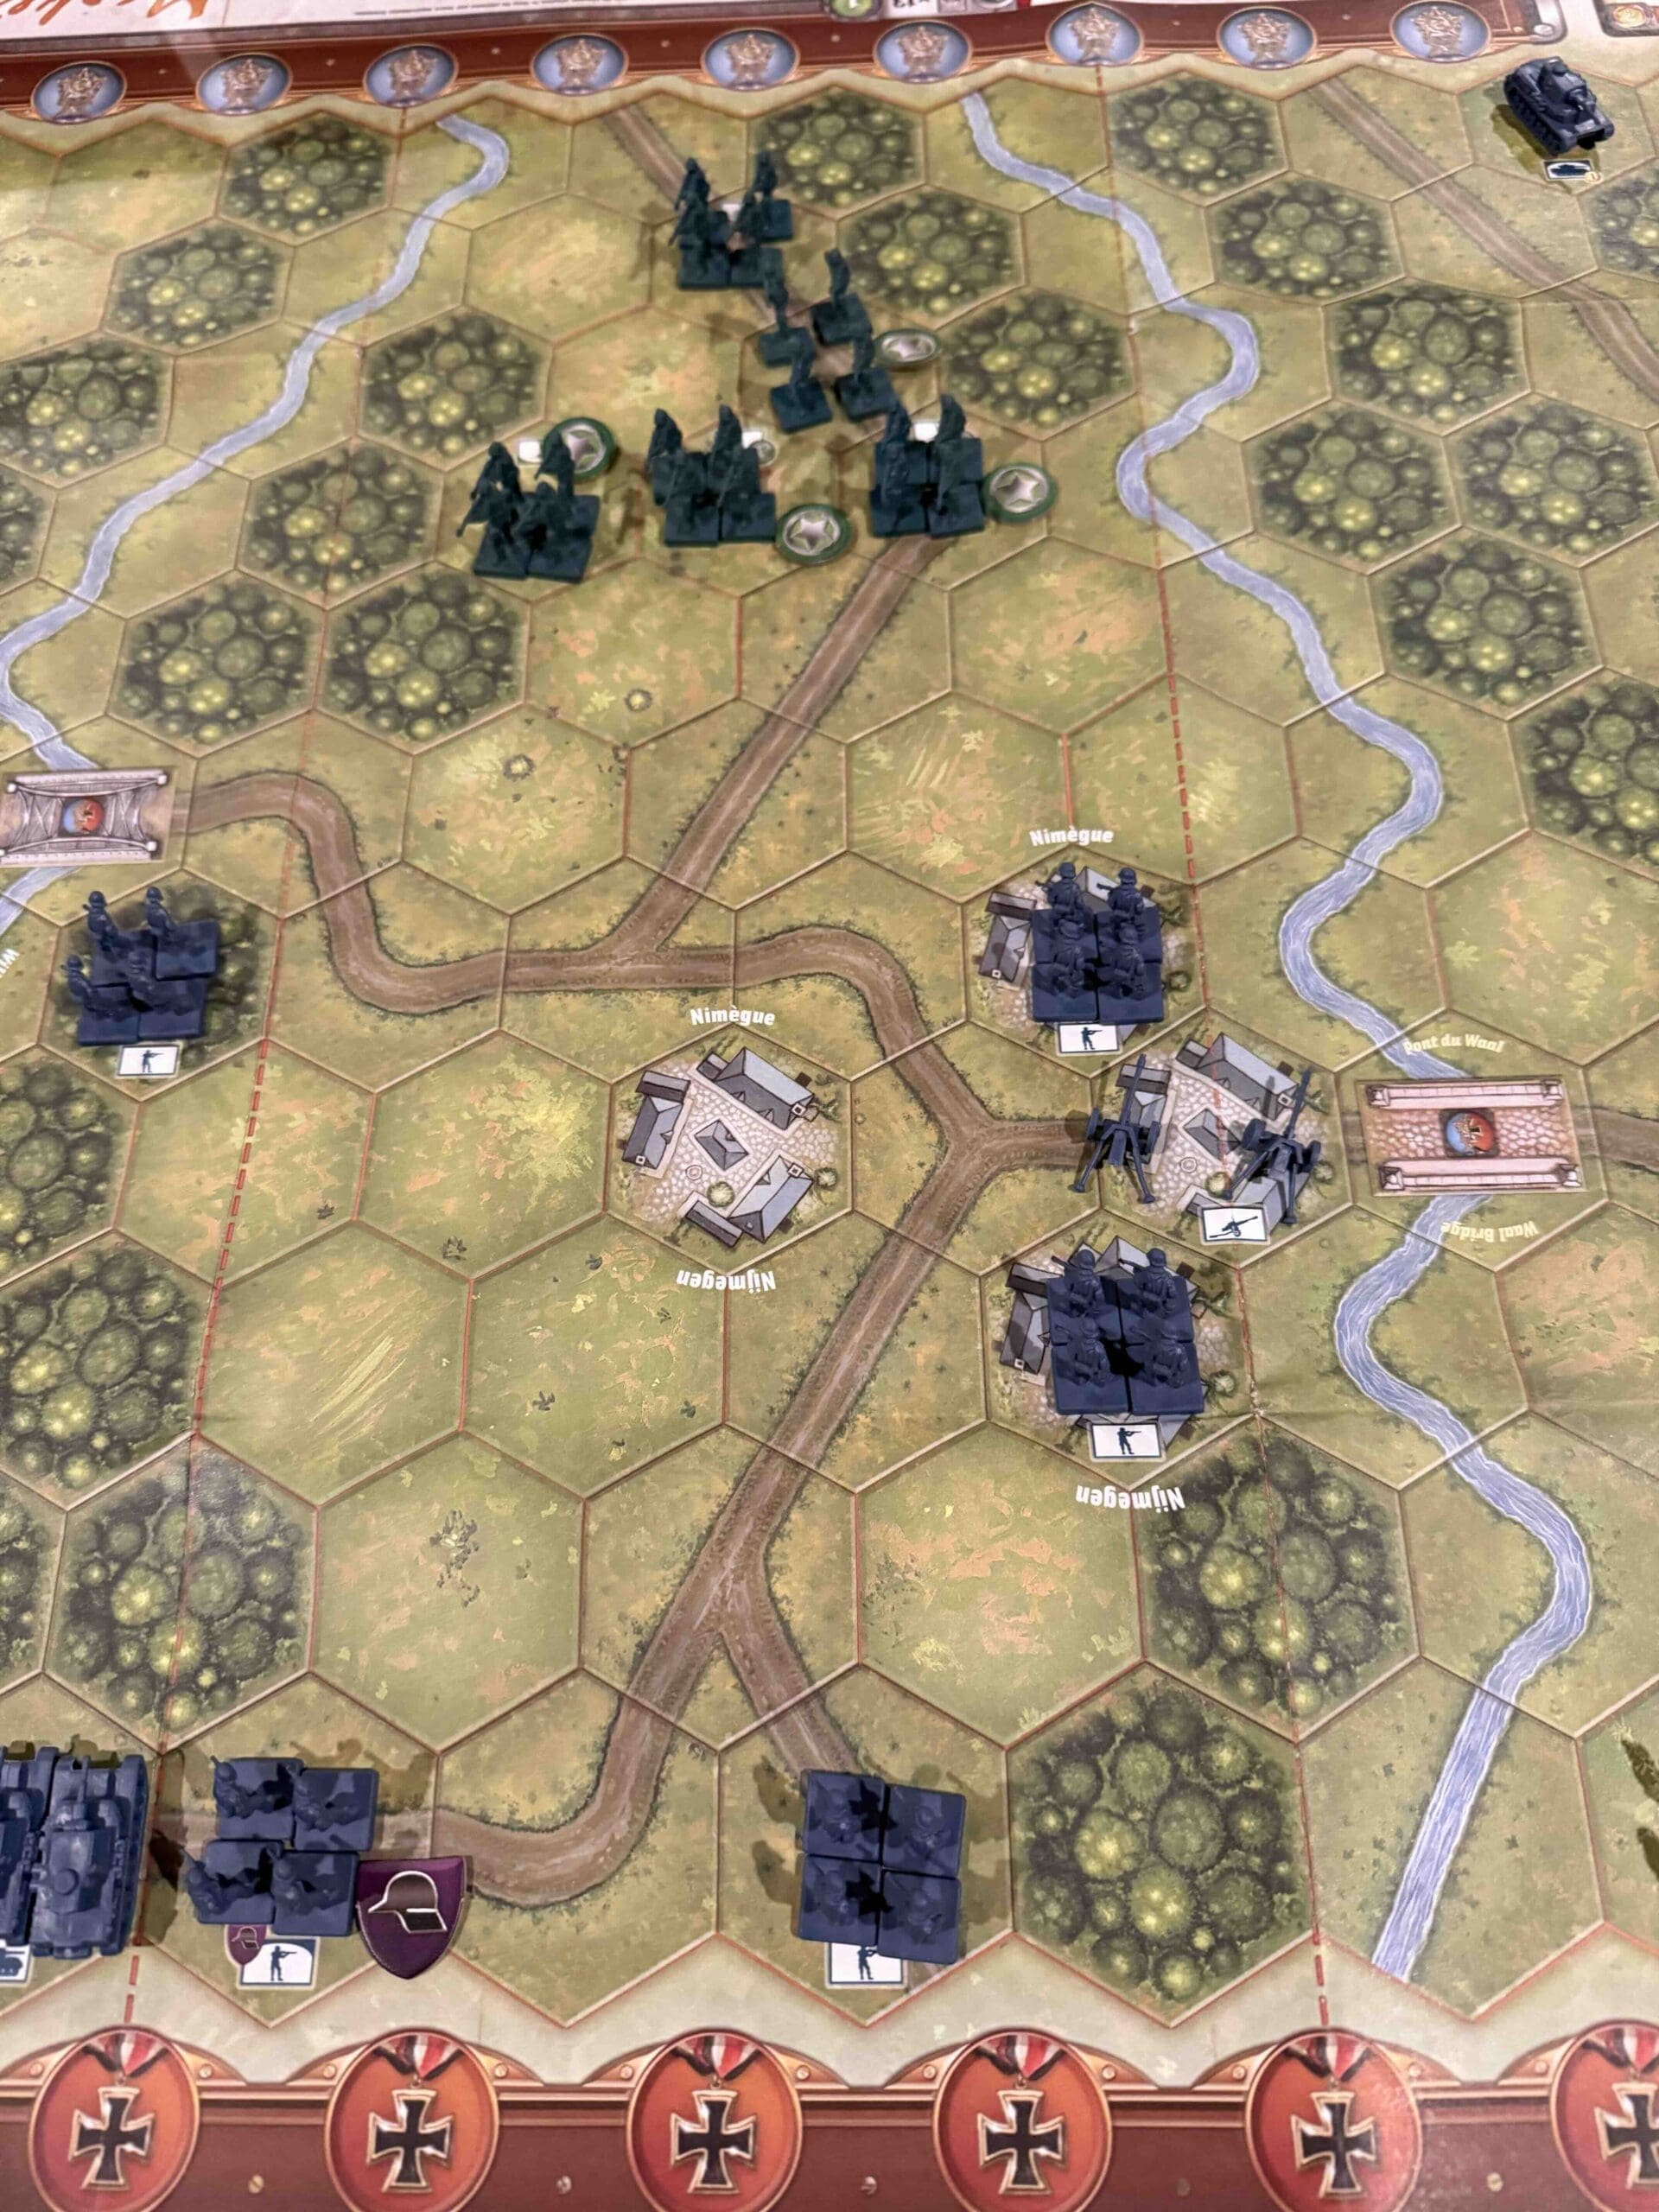
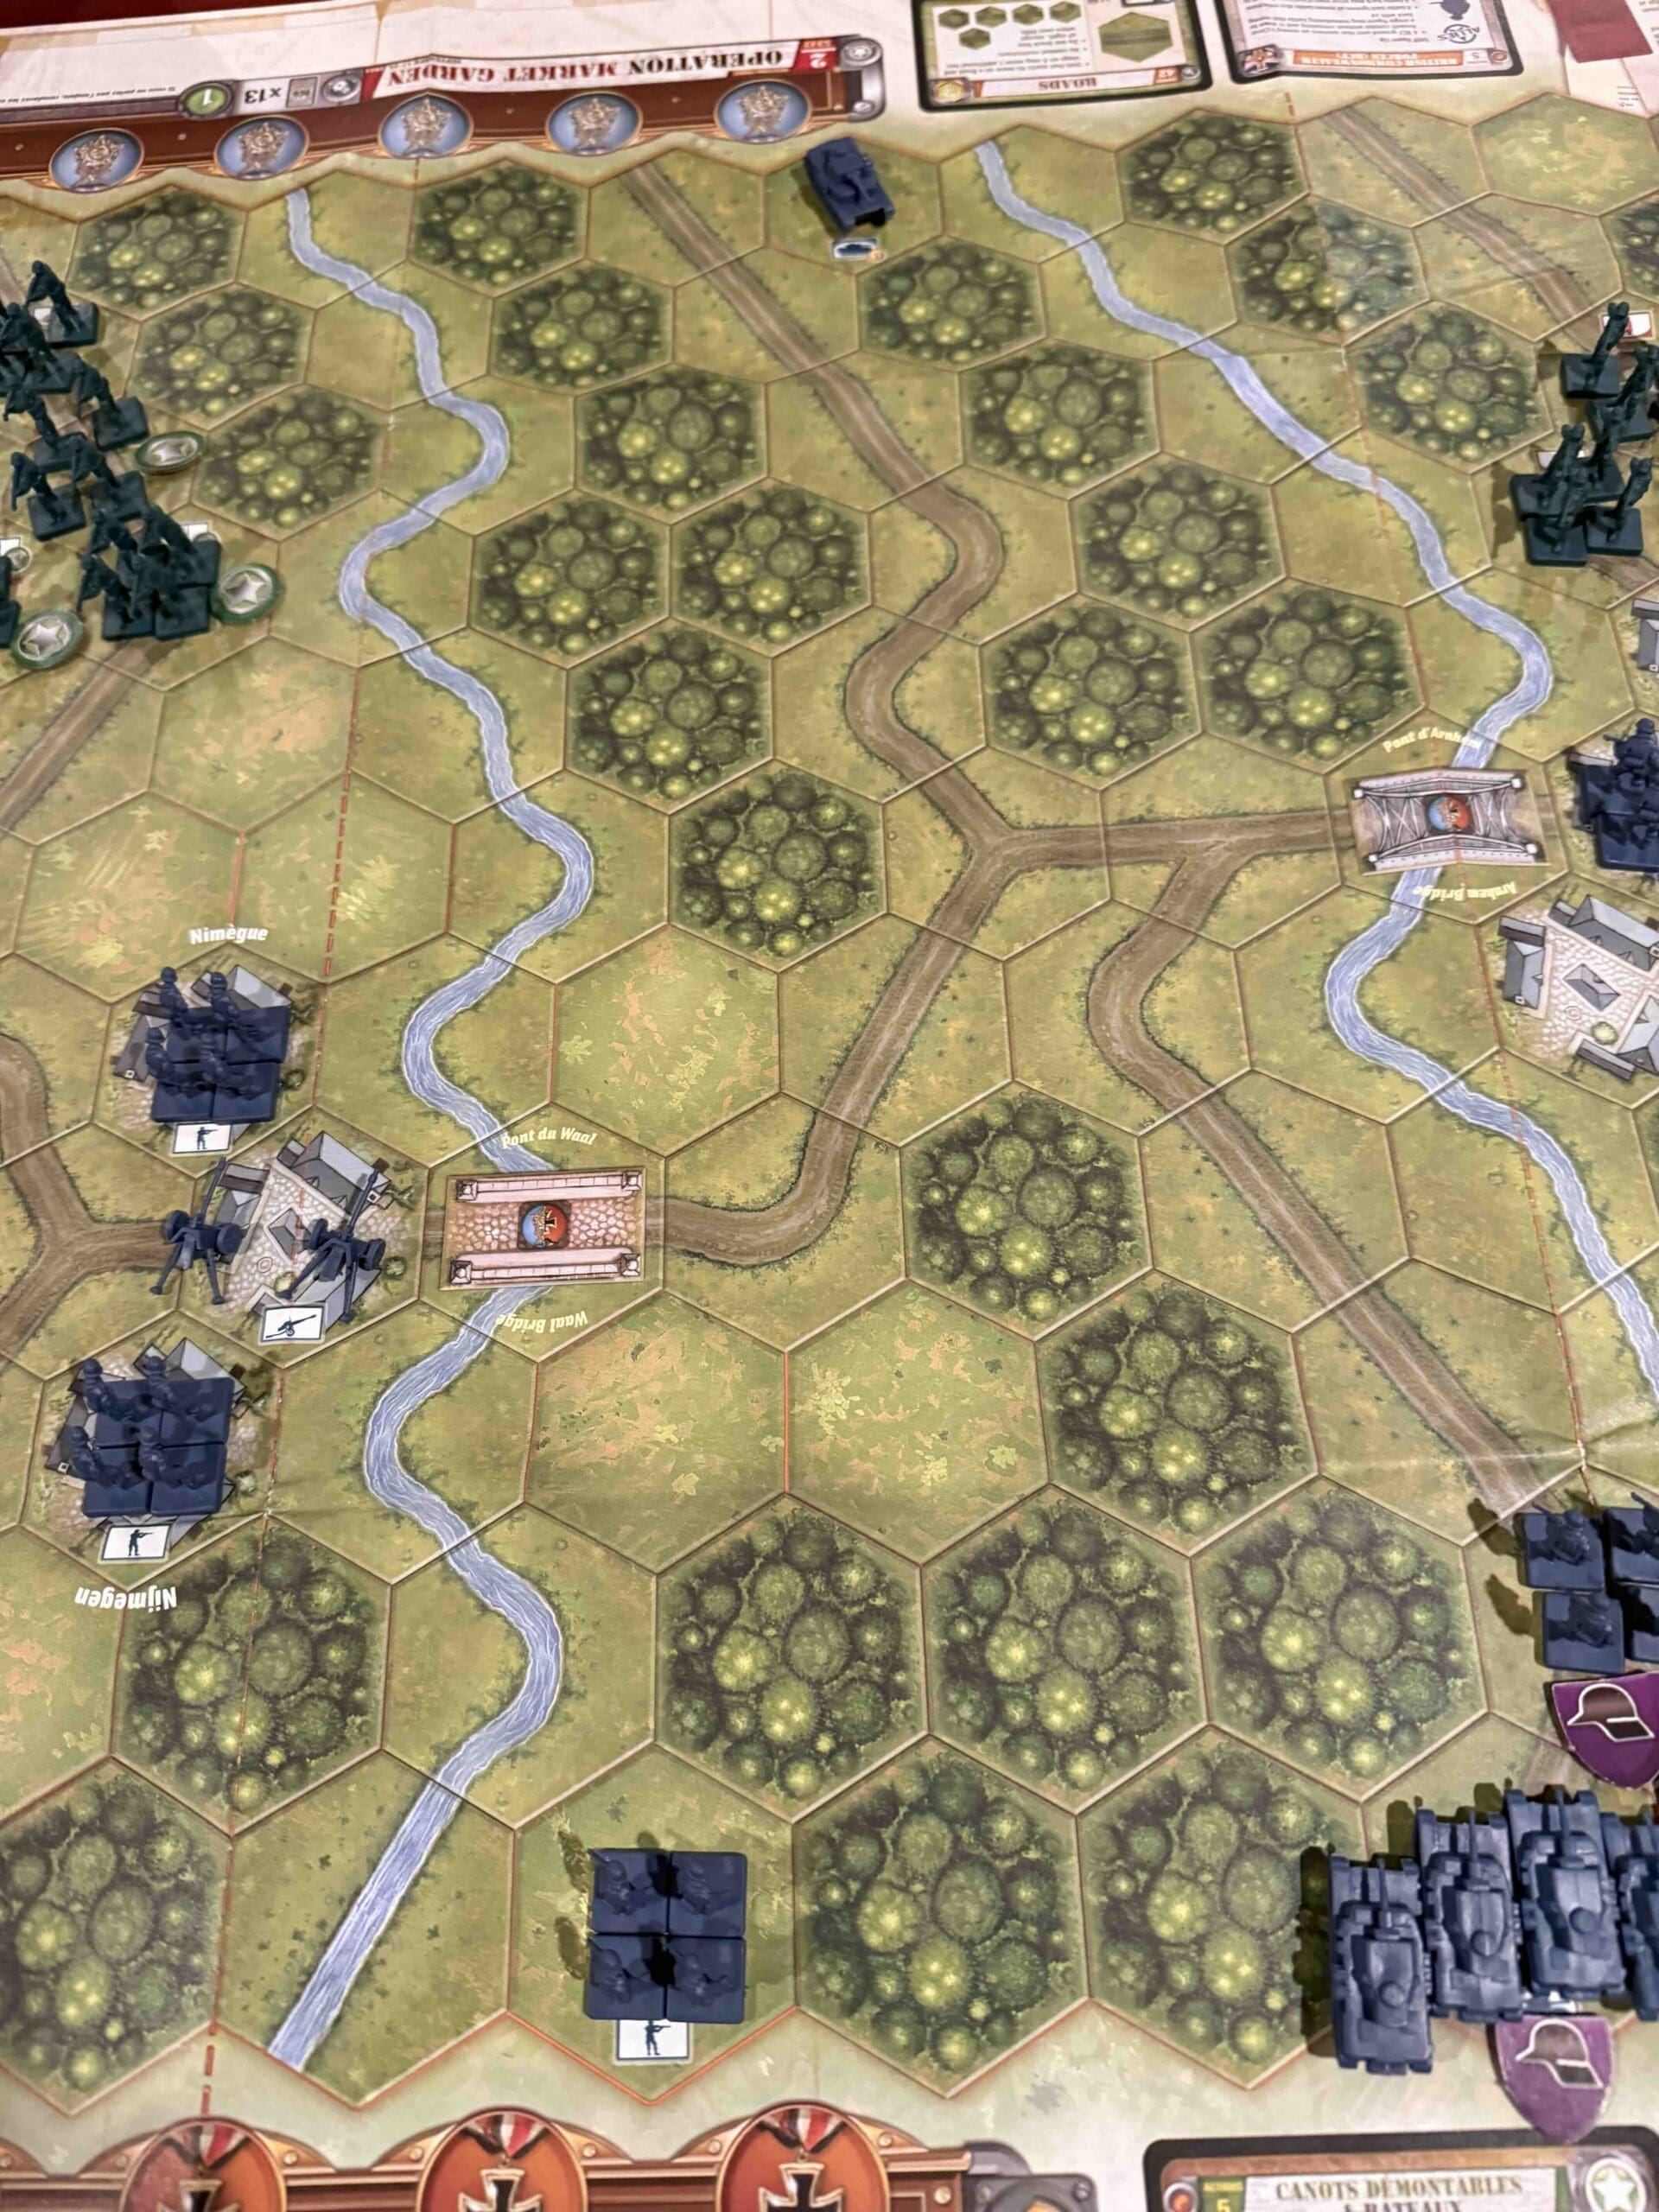
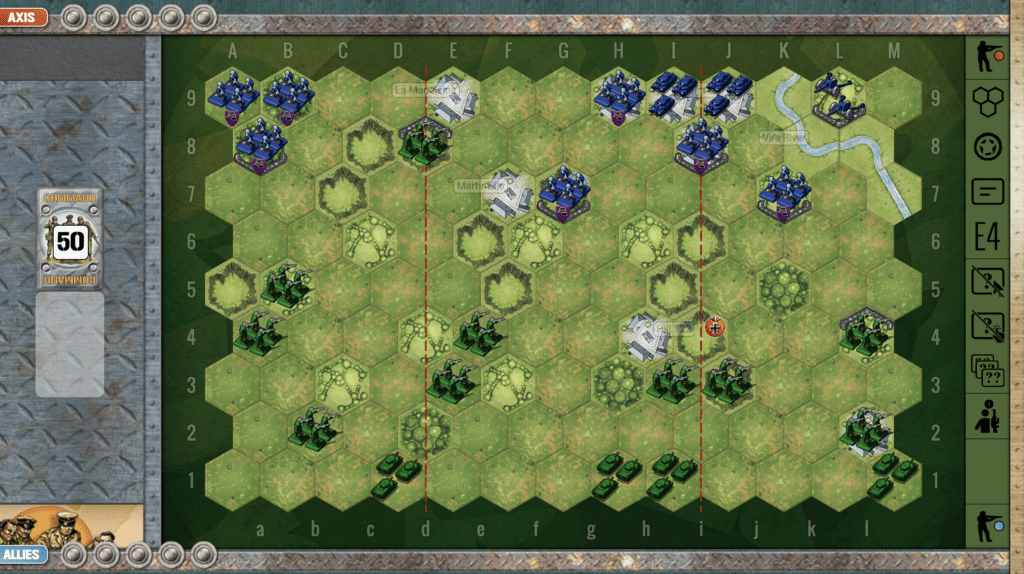
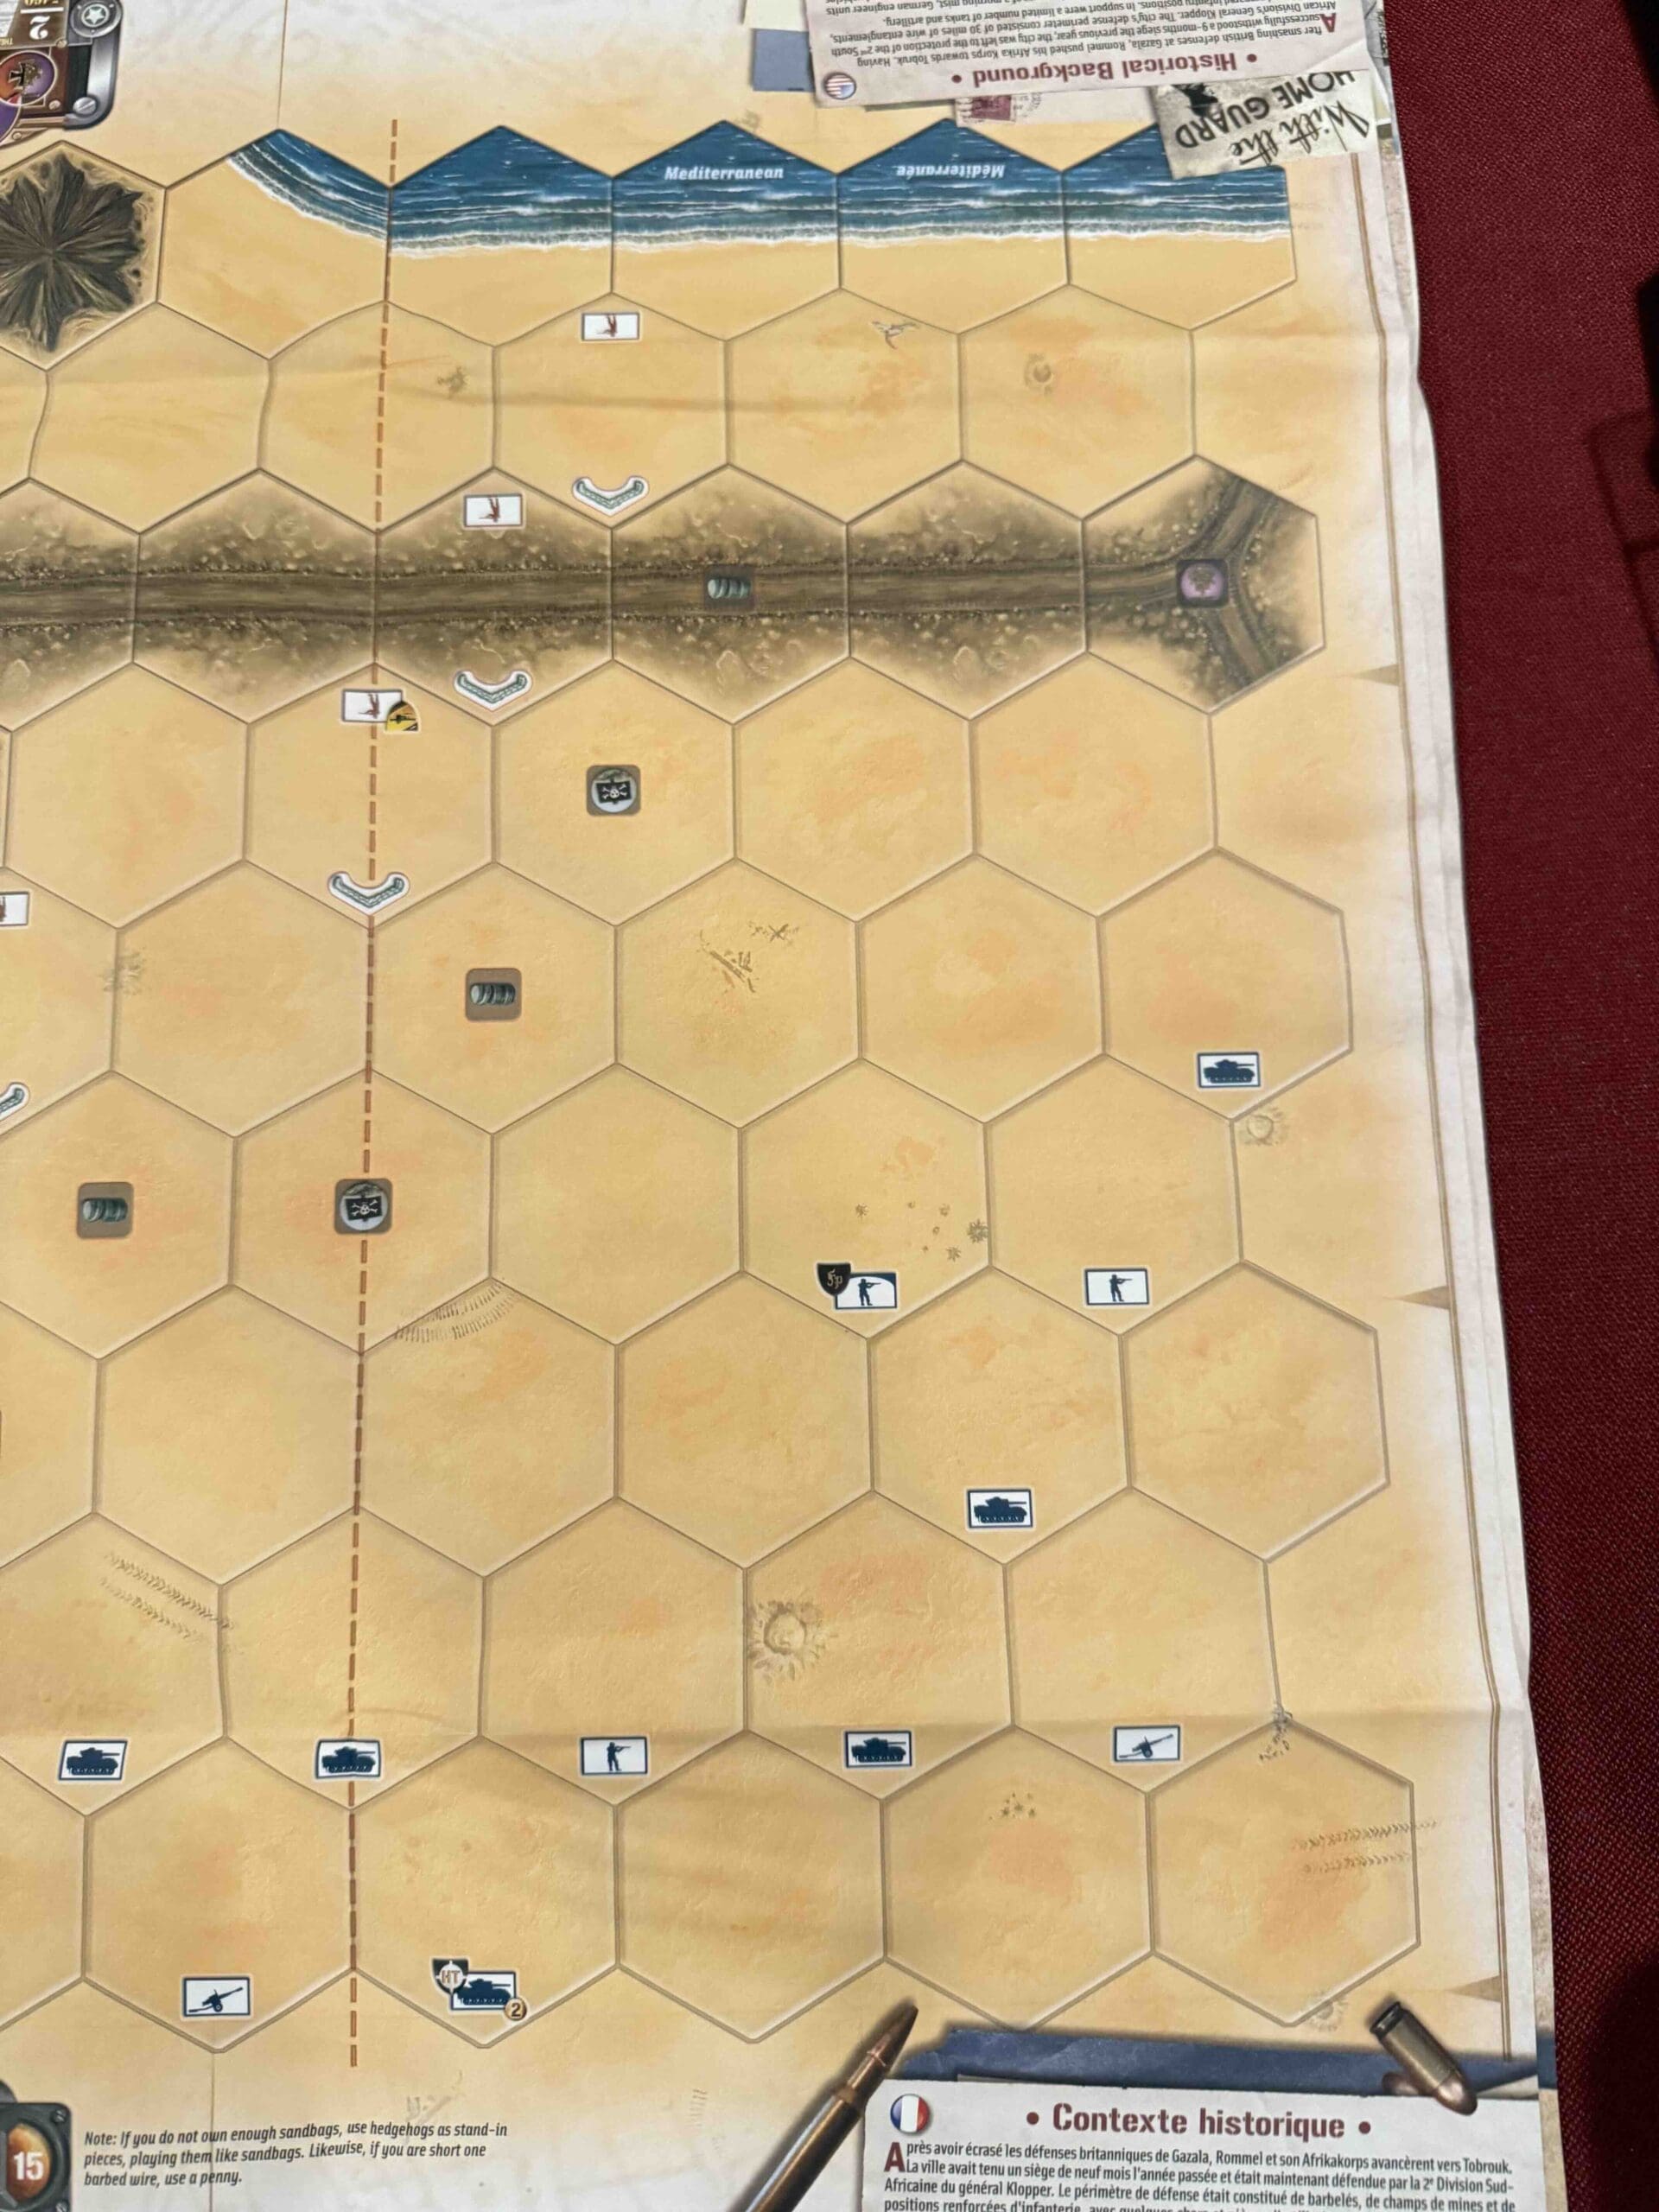
Battlefield:
A desert with a couple of roads crossing the area in both directions
Troops:
Allies – 17 Infantry some with Special Weapons, 5 Armor, 2 Artillery
Axis – 17 Infanty, 16 Armor including some Half-Tracks, 6 Artillery
Allied Strategy:
1.
Axis Strategy
1.
Classic Battle Reports
45% Allied Wins
Author:
Days of Wonder
Link: