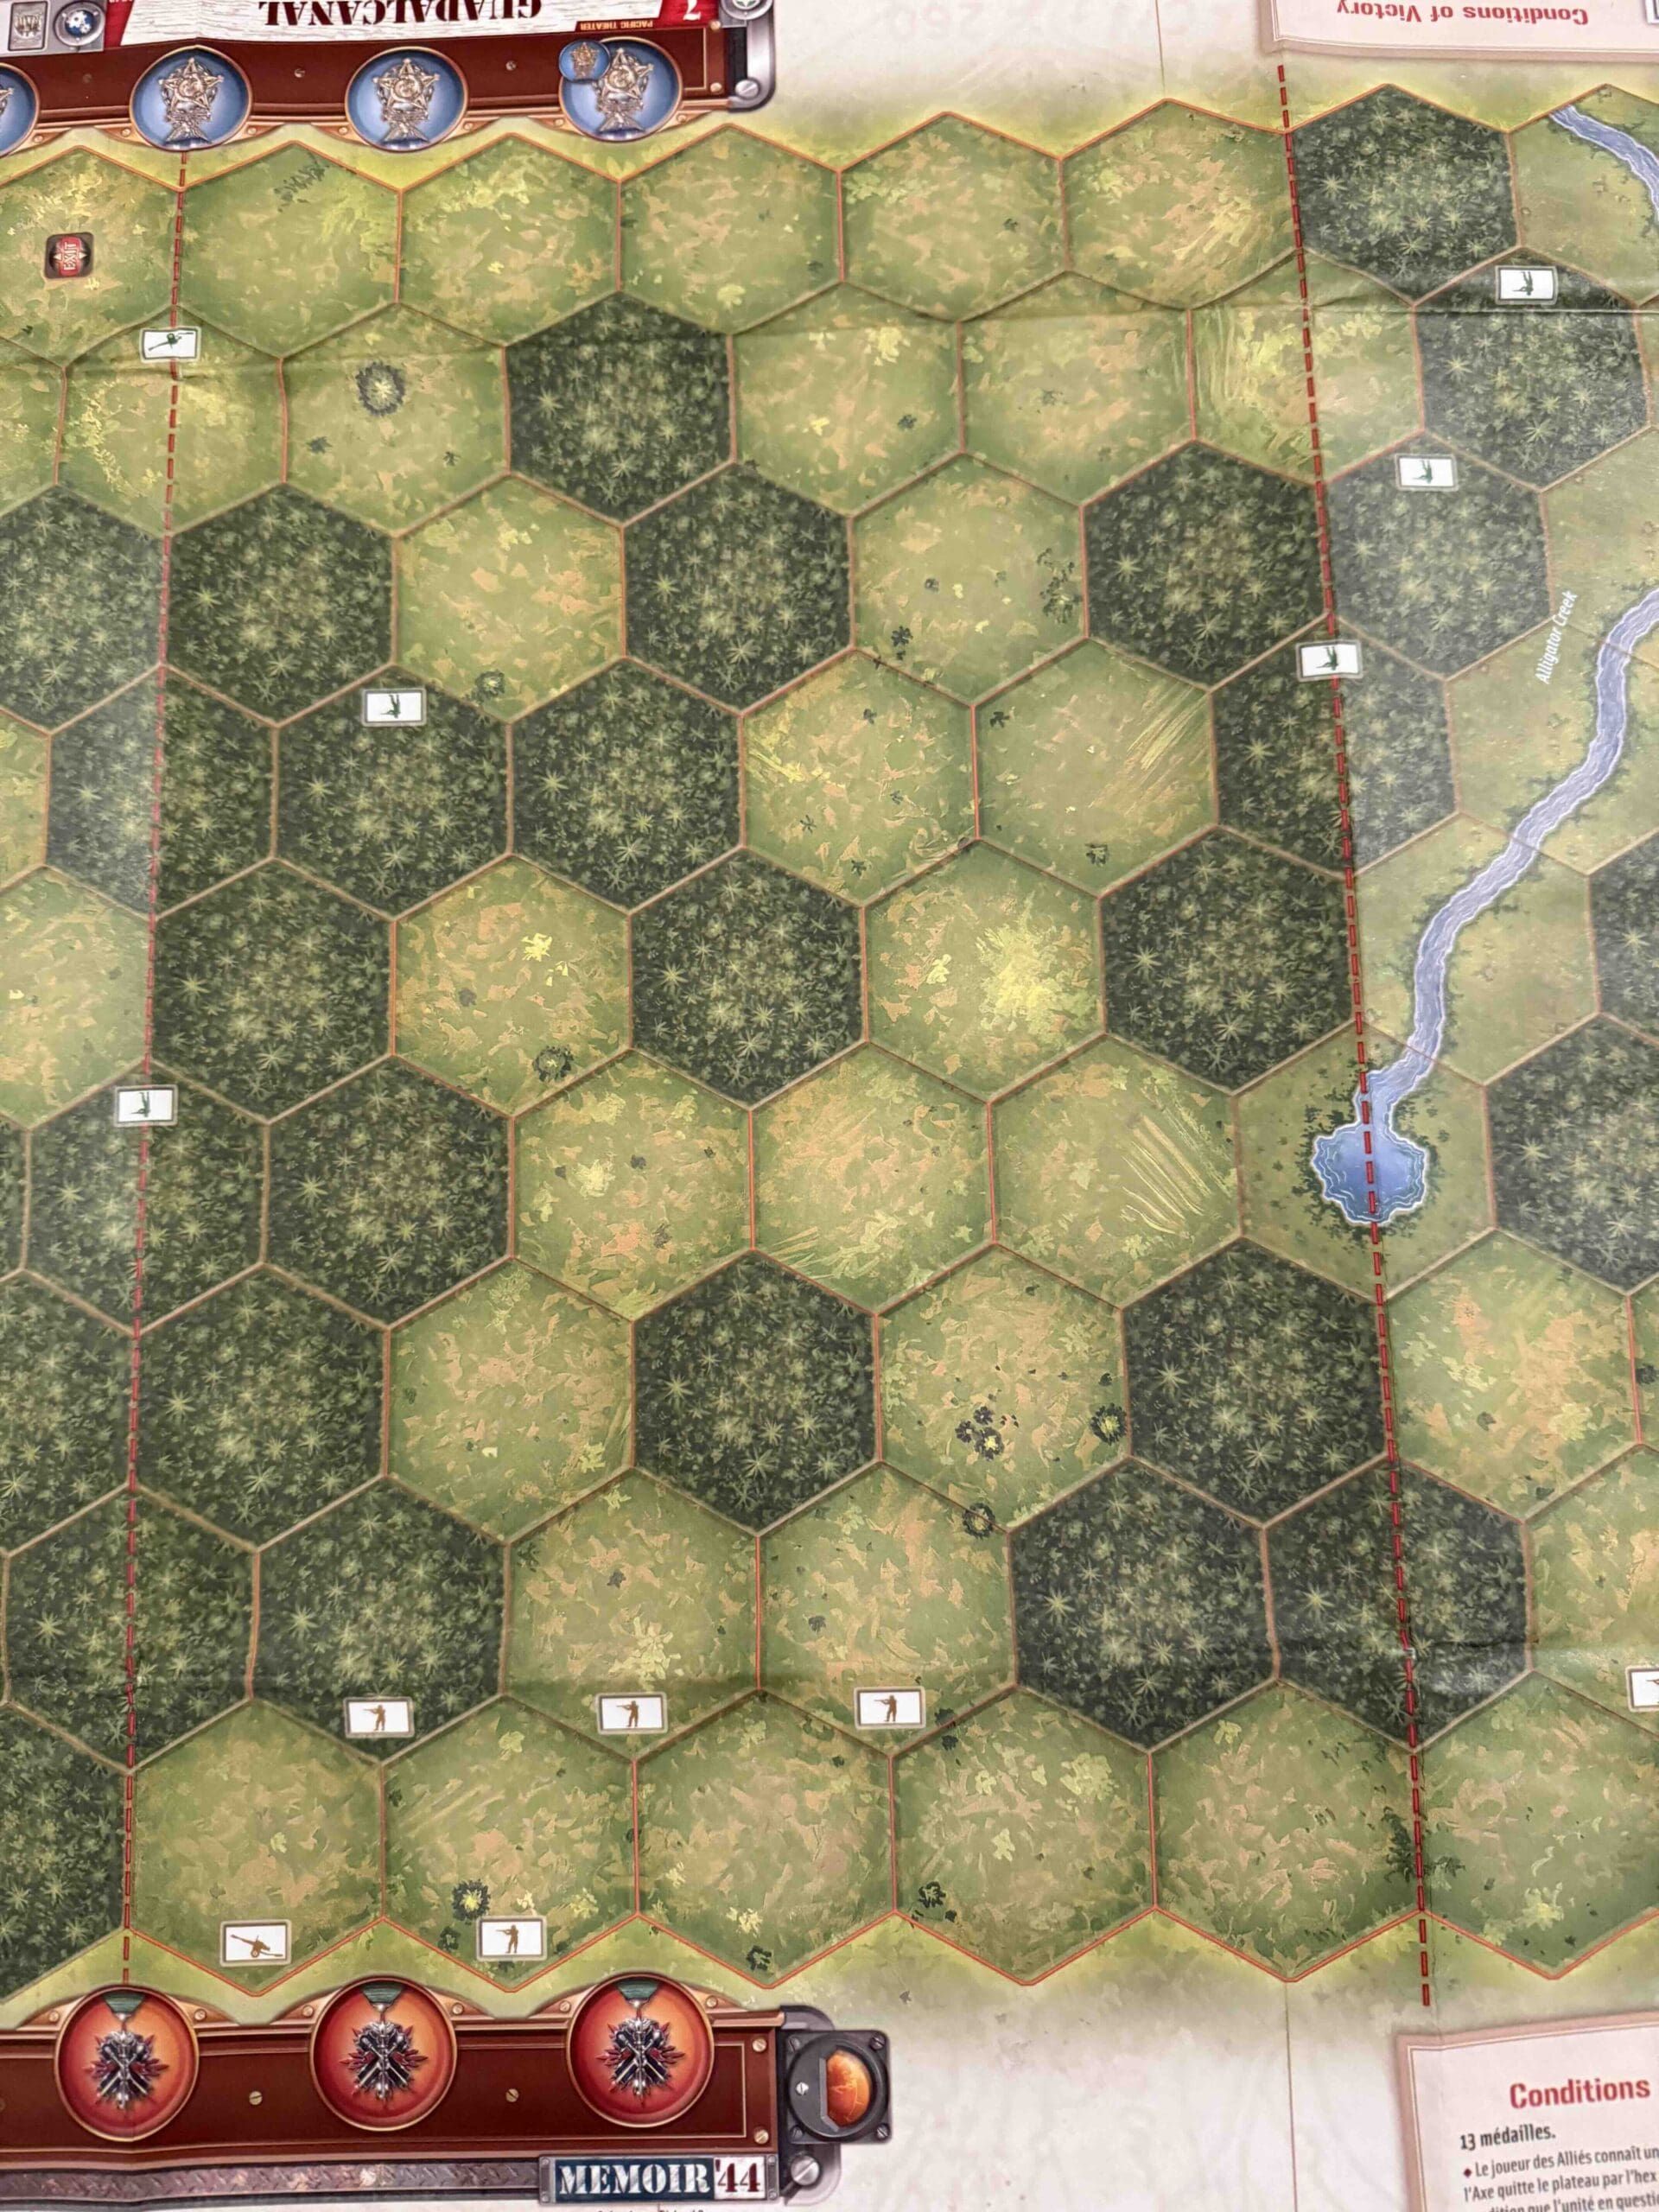
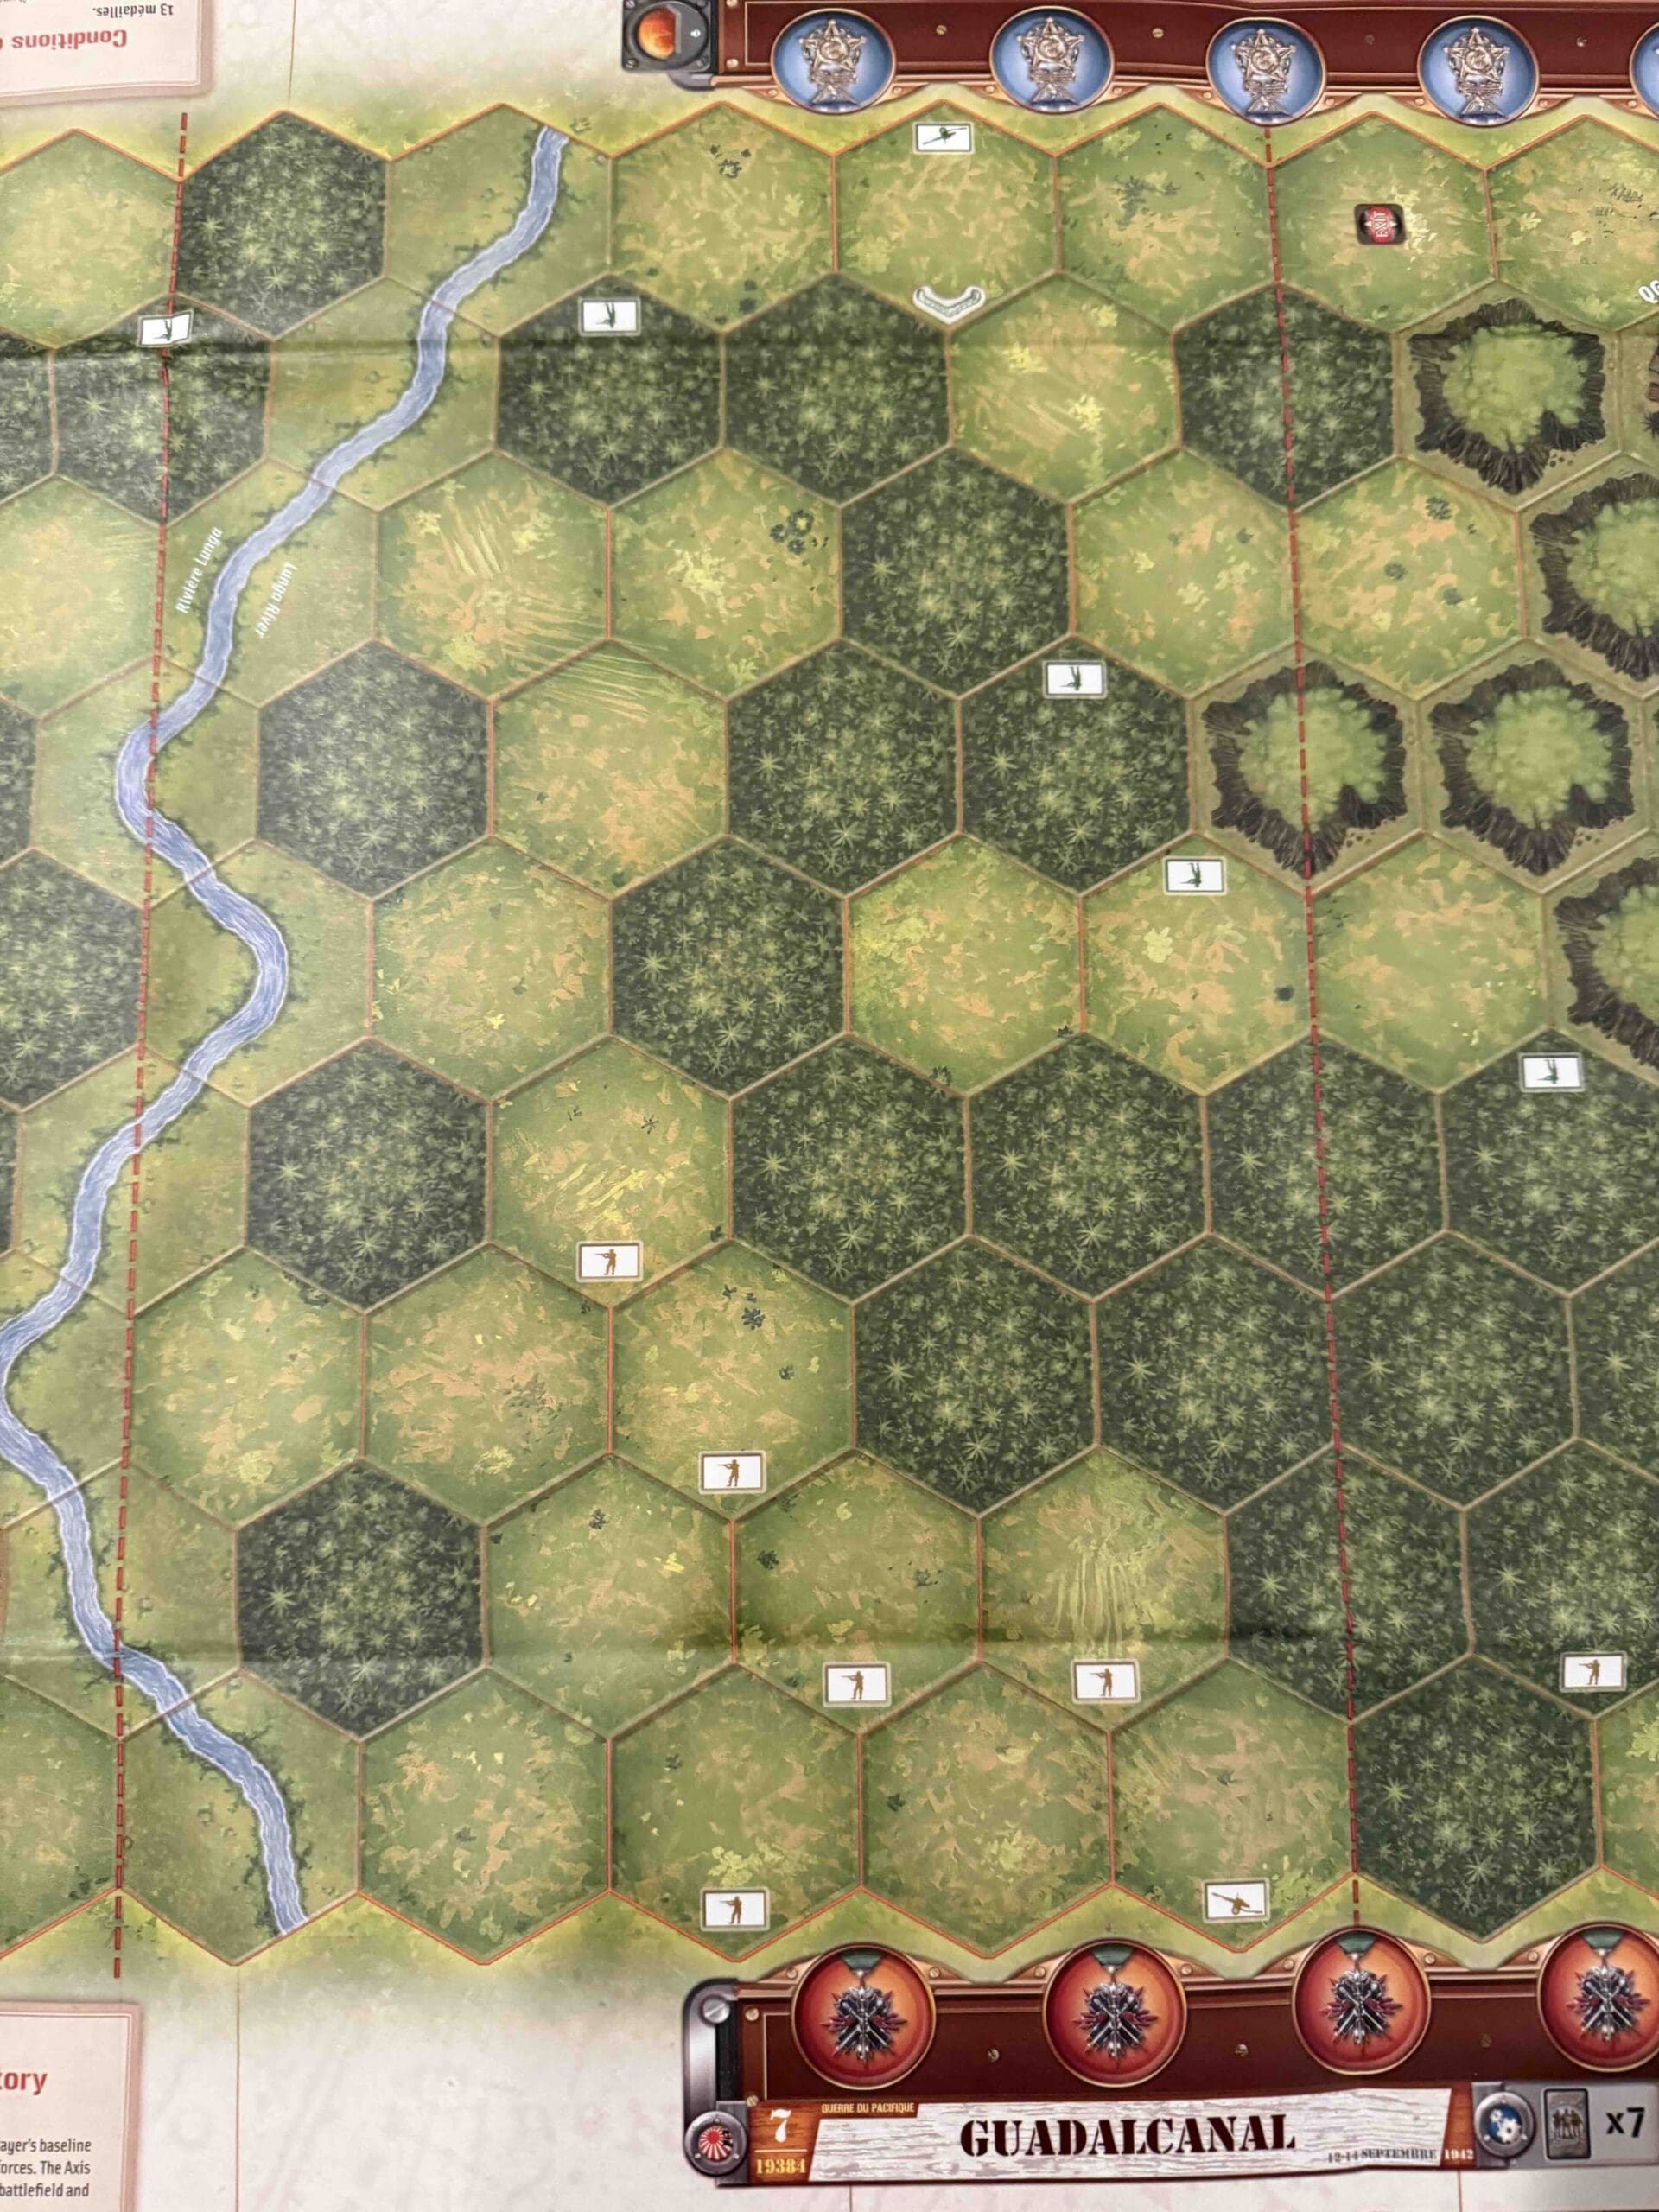
Guadalcanal [Overlord]
Guadalcanal

Guadalcanal_title
Guadalcanal_right2
Guadalcanal_right1
Guadalcanal_Left2
Guadalcanal_Left1

Guadalcanal_center2
Guadalcanal_center1
13 VP’s
![]()
Card Balance:
Allies – 9
Axis – 7

Complexity:
5
Conditions:
Jungle


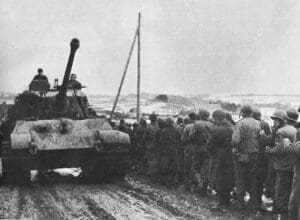
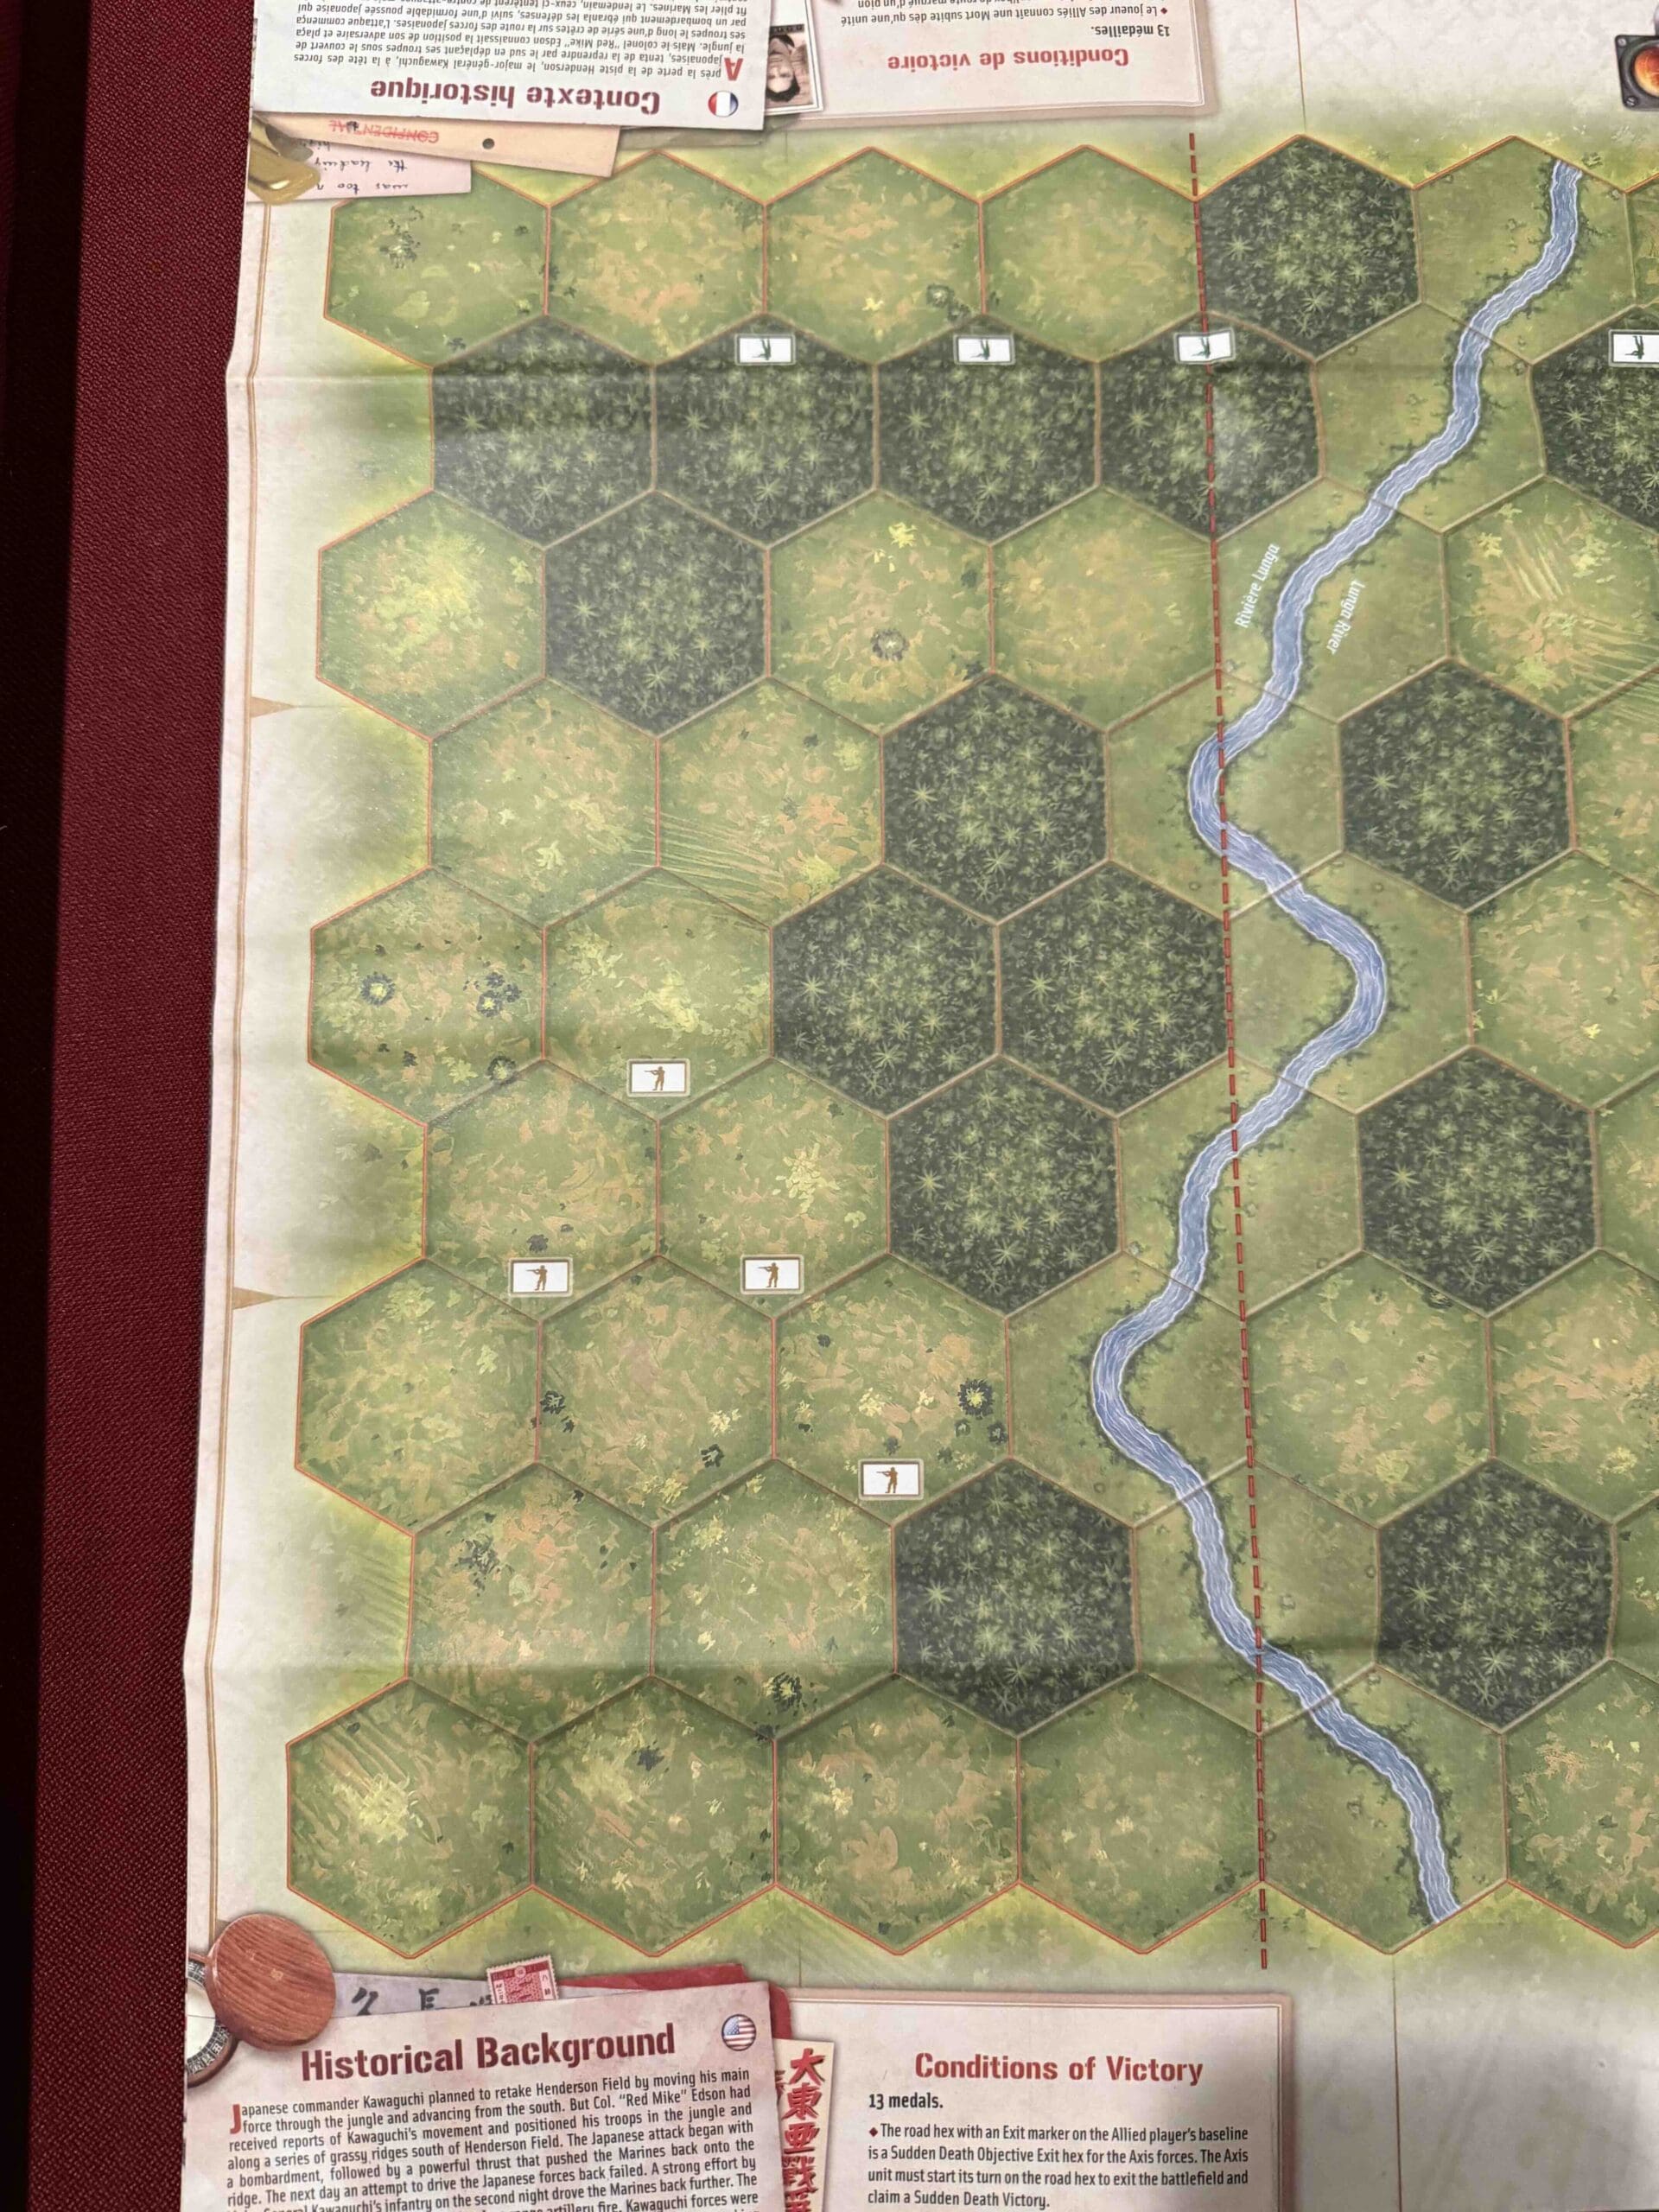
Context:
Historical
Location:
Solomon Islands
Year:
1943
Theater:
Pacific
Campaign:
Guadalcanal Campaign
Codename:
Operation Watchtower
Summary:
This is an Overlord game, so make use of the Jungle Command cards, two per side.
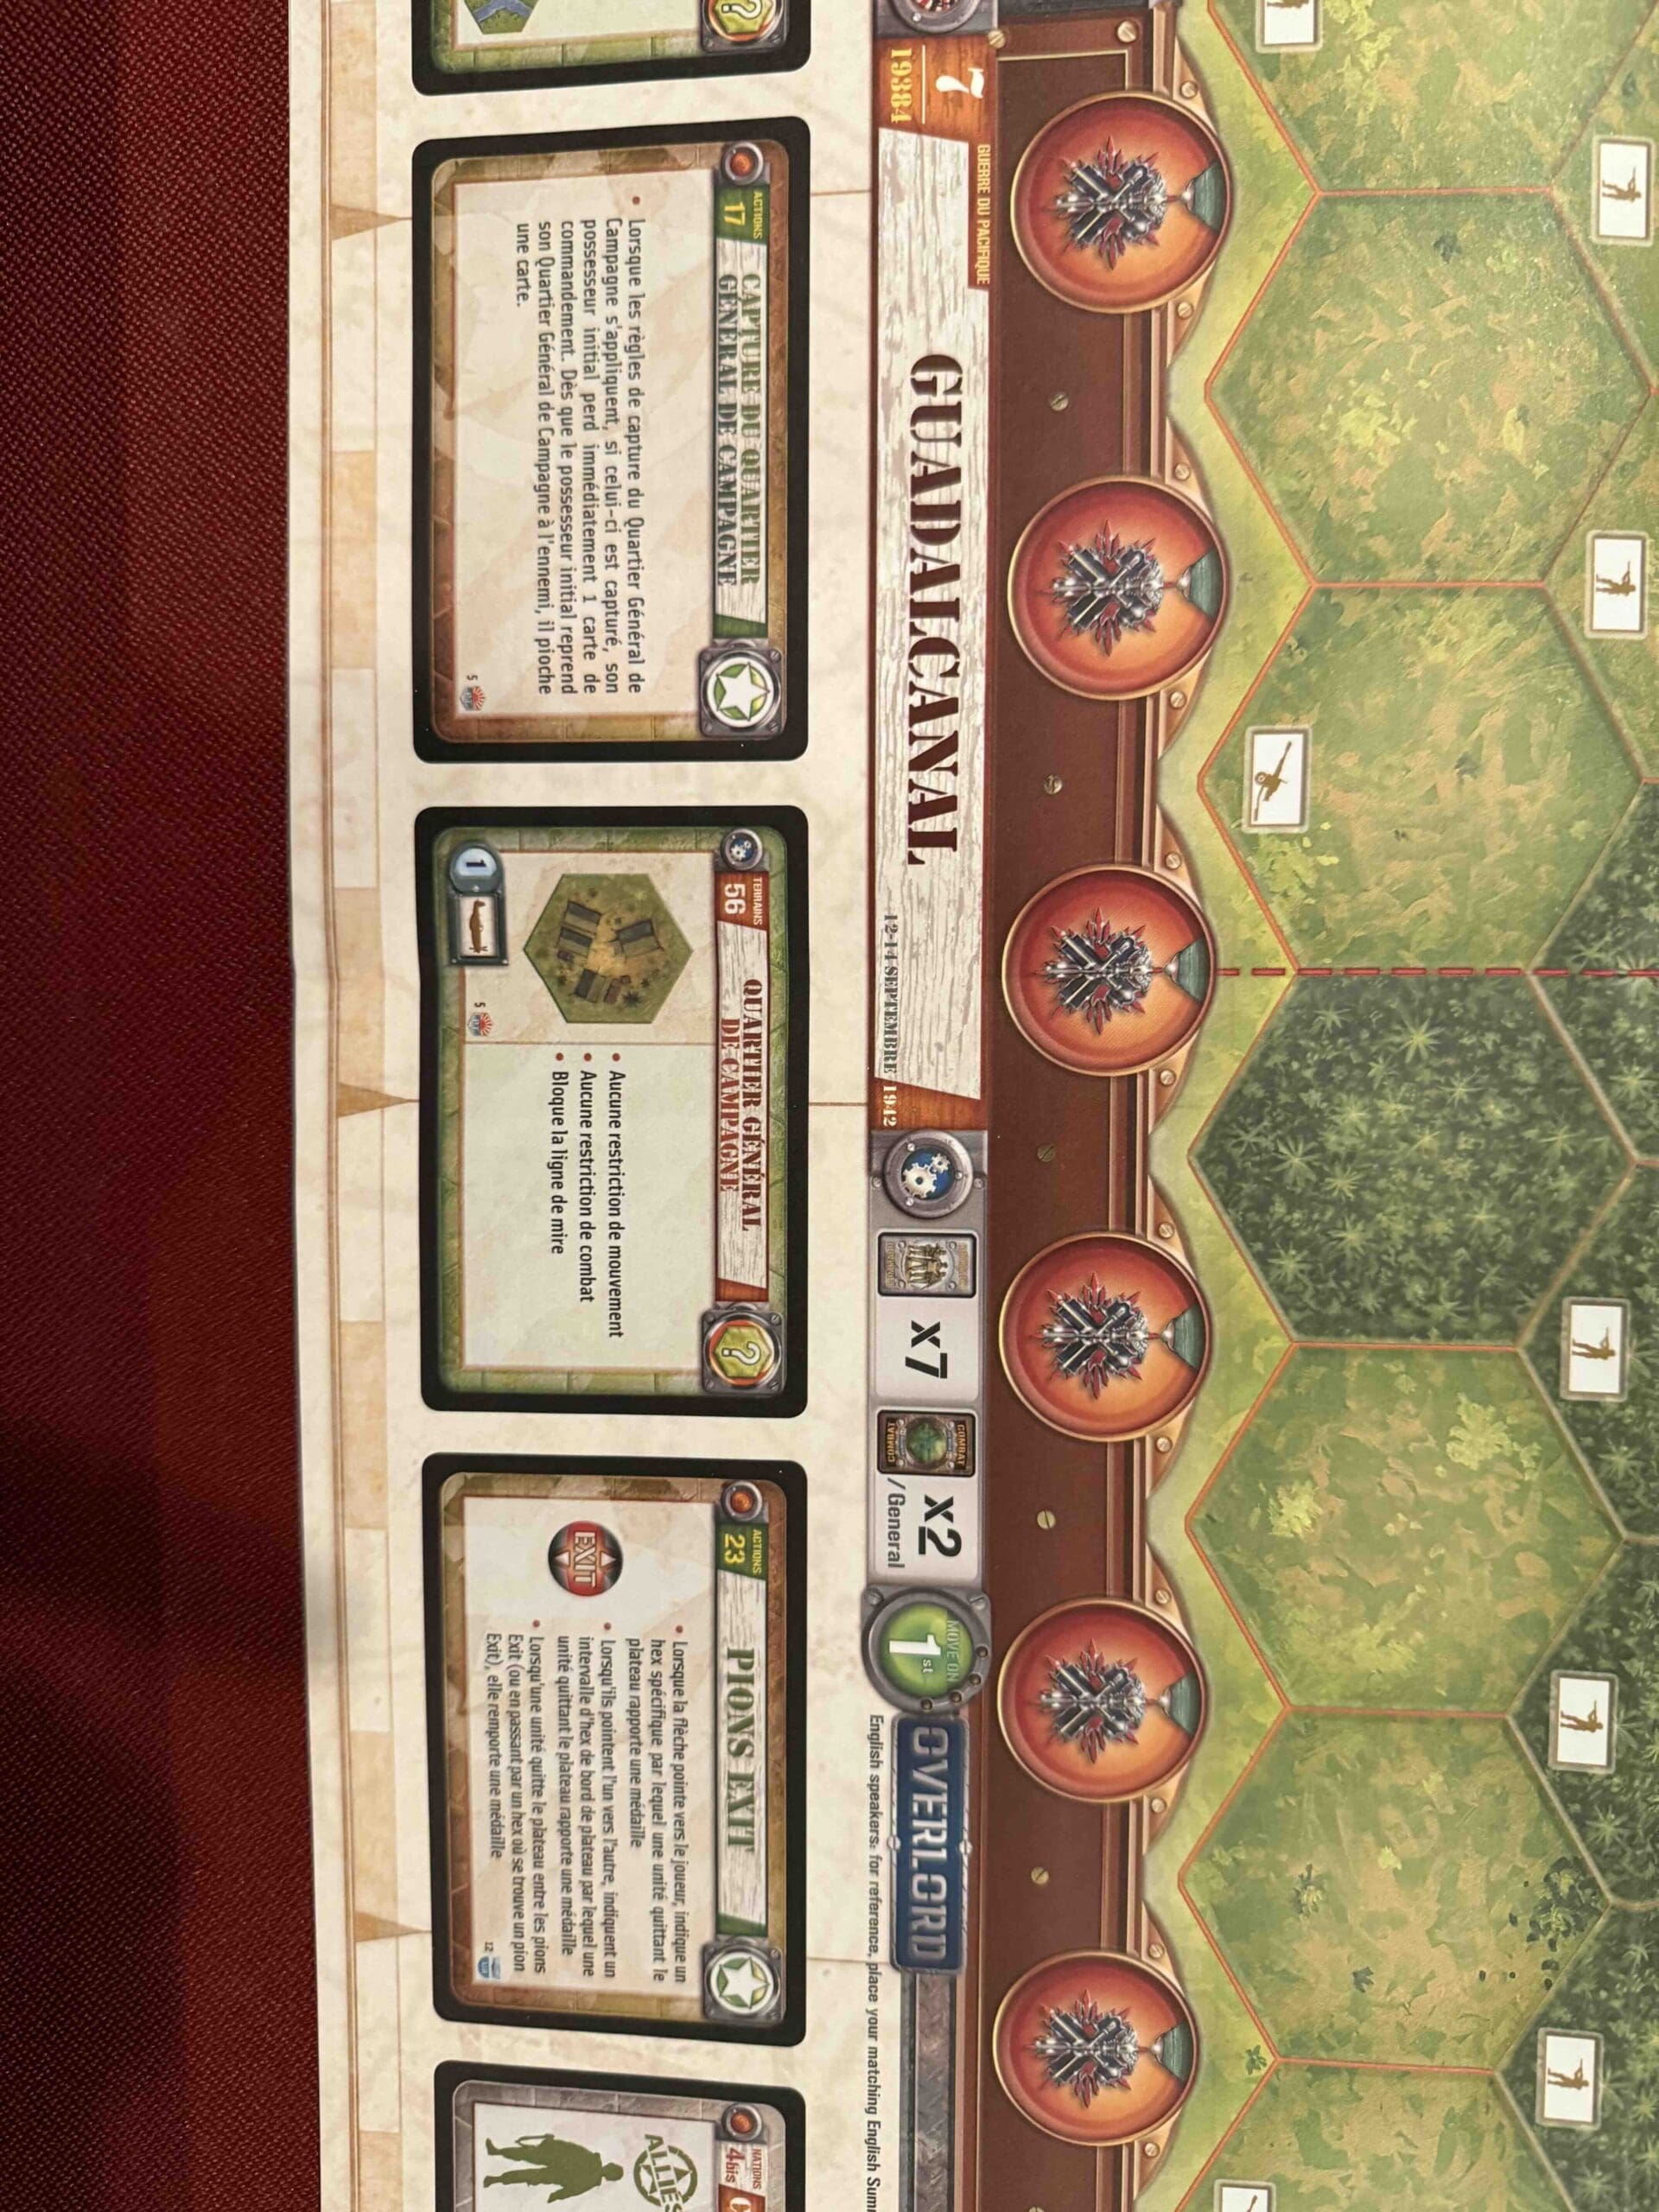
Objectives:
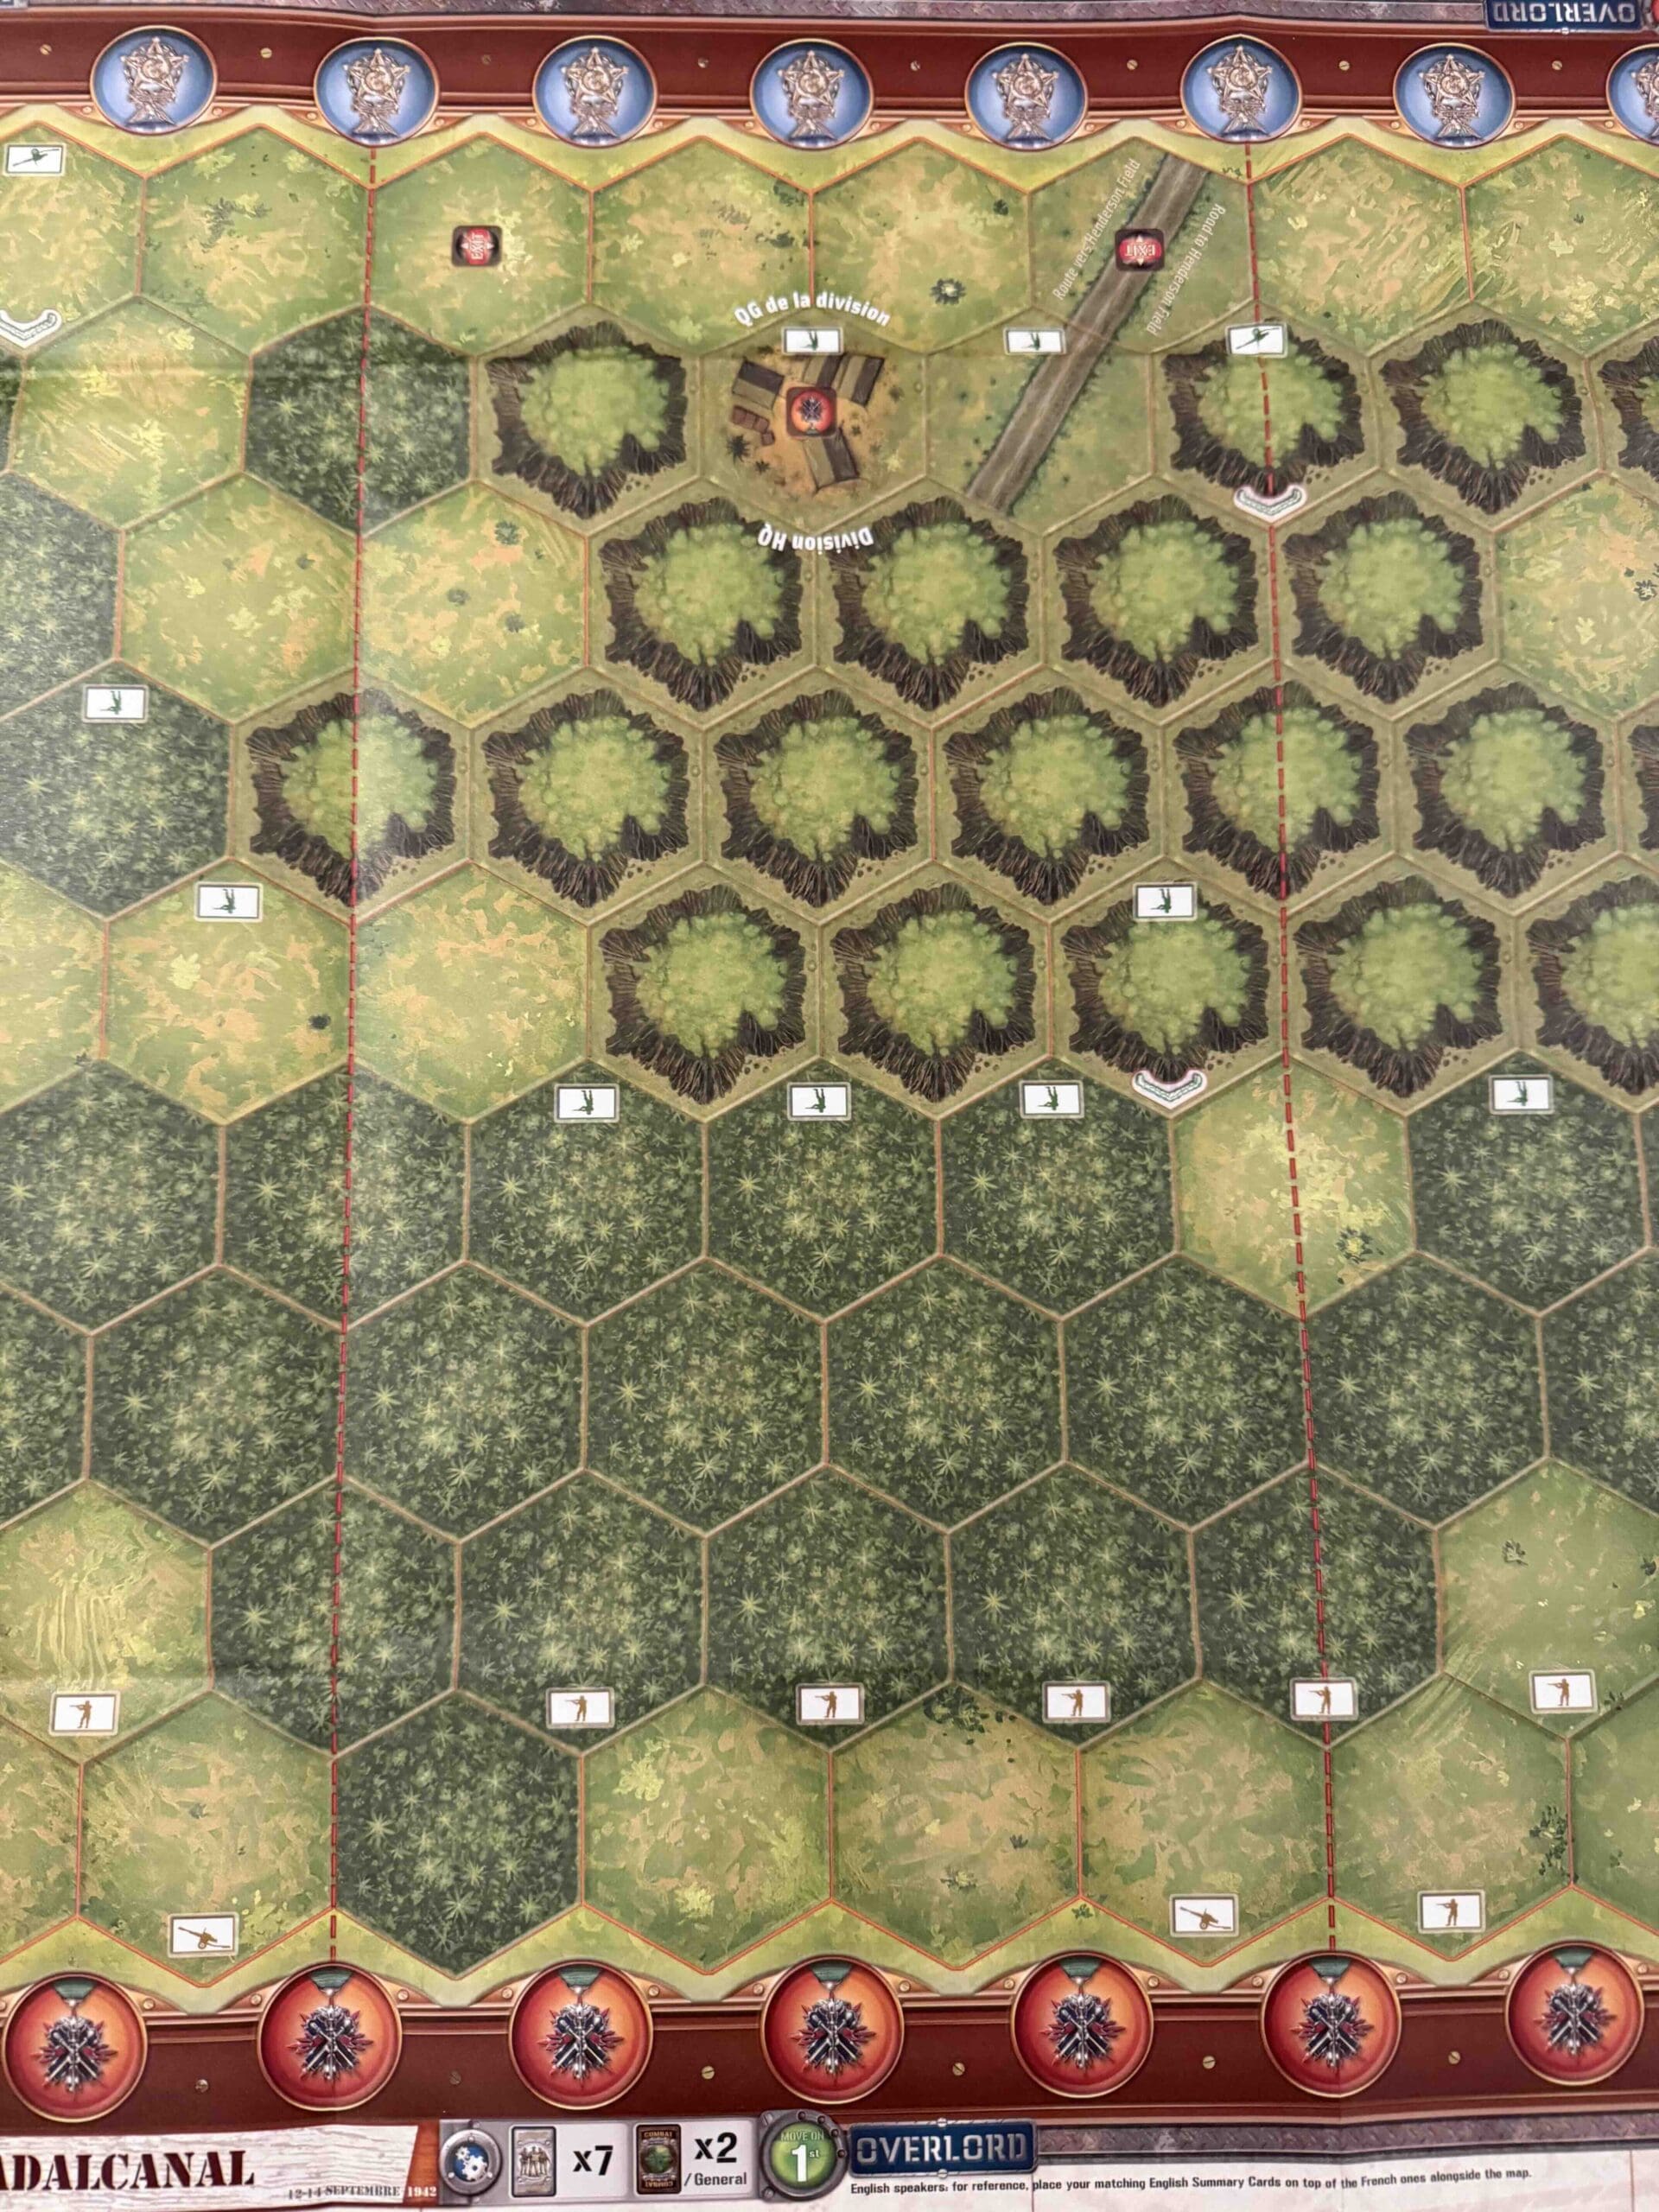
13 Medals including Territorial Control, and Exit Row medals and a sudden death hex all for the Japanese.
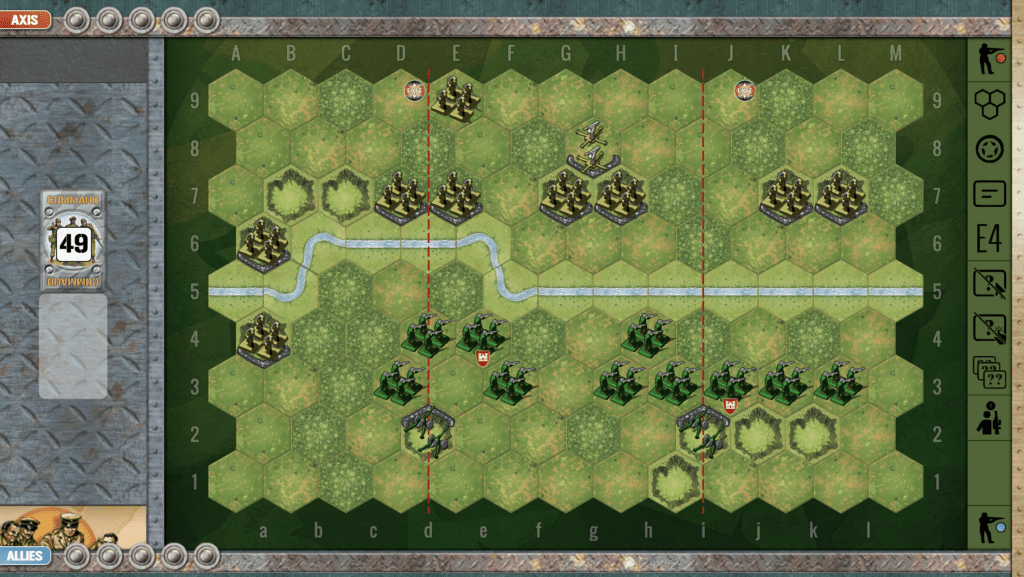
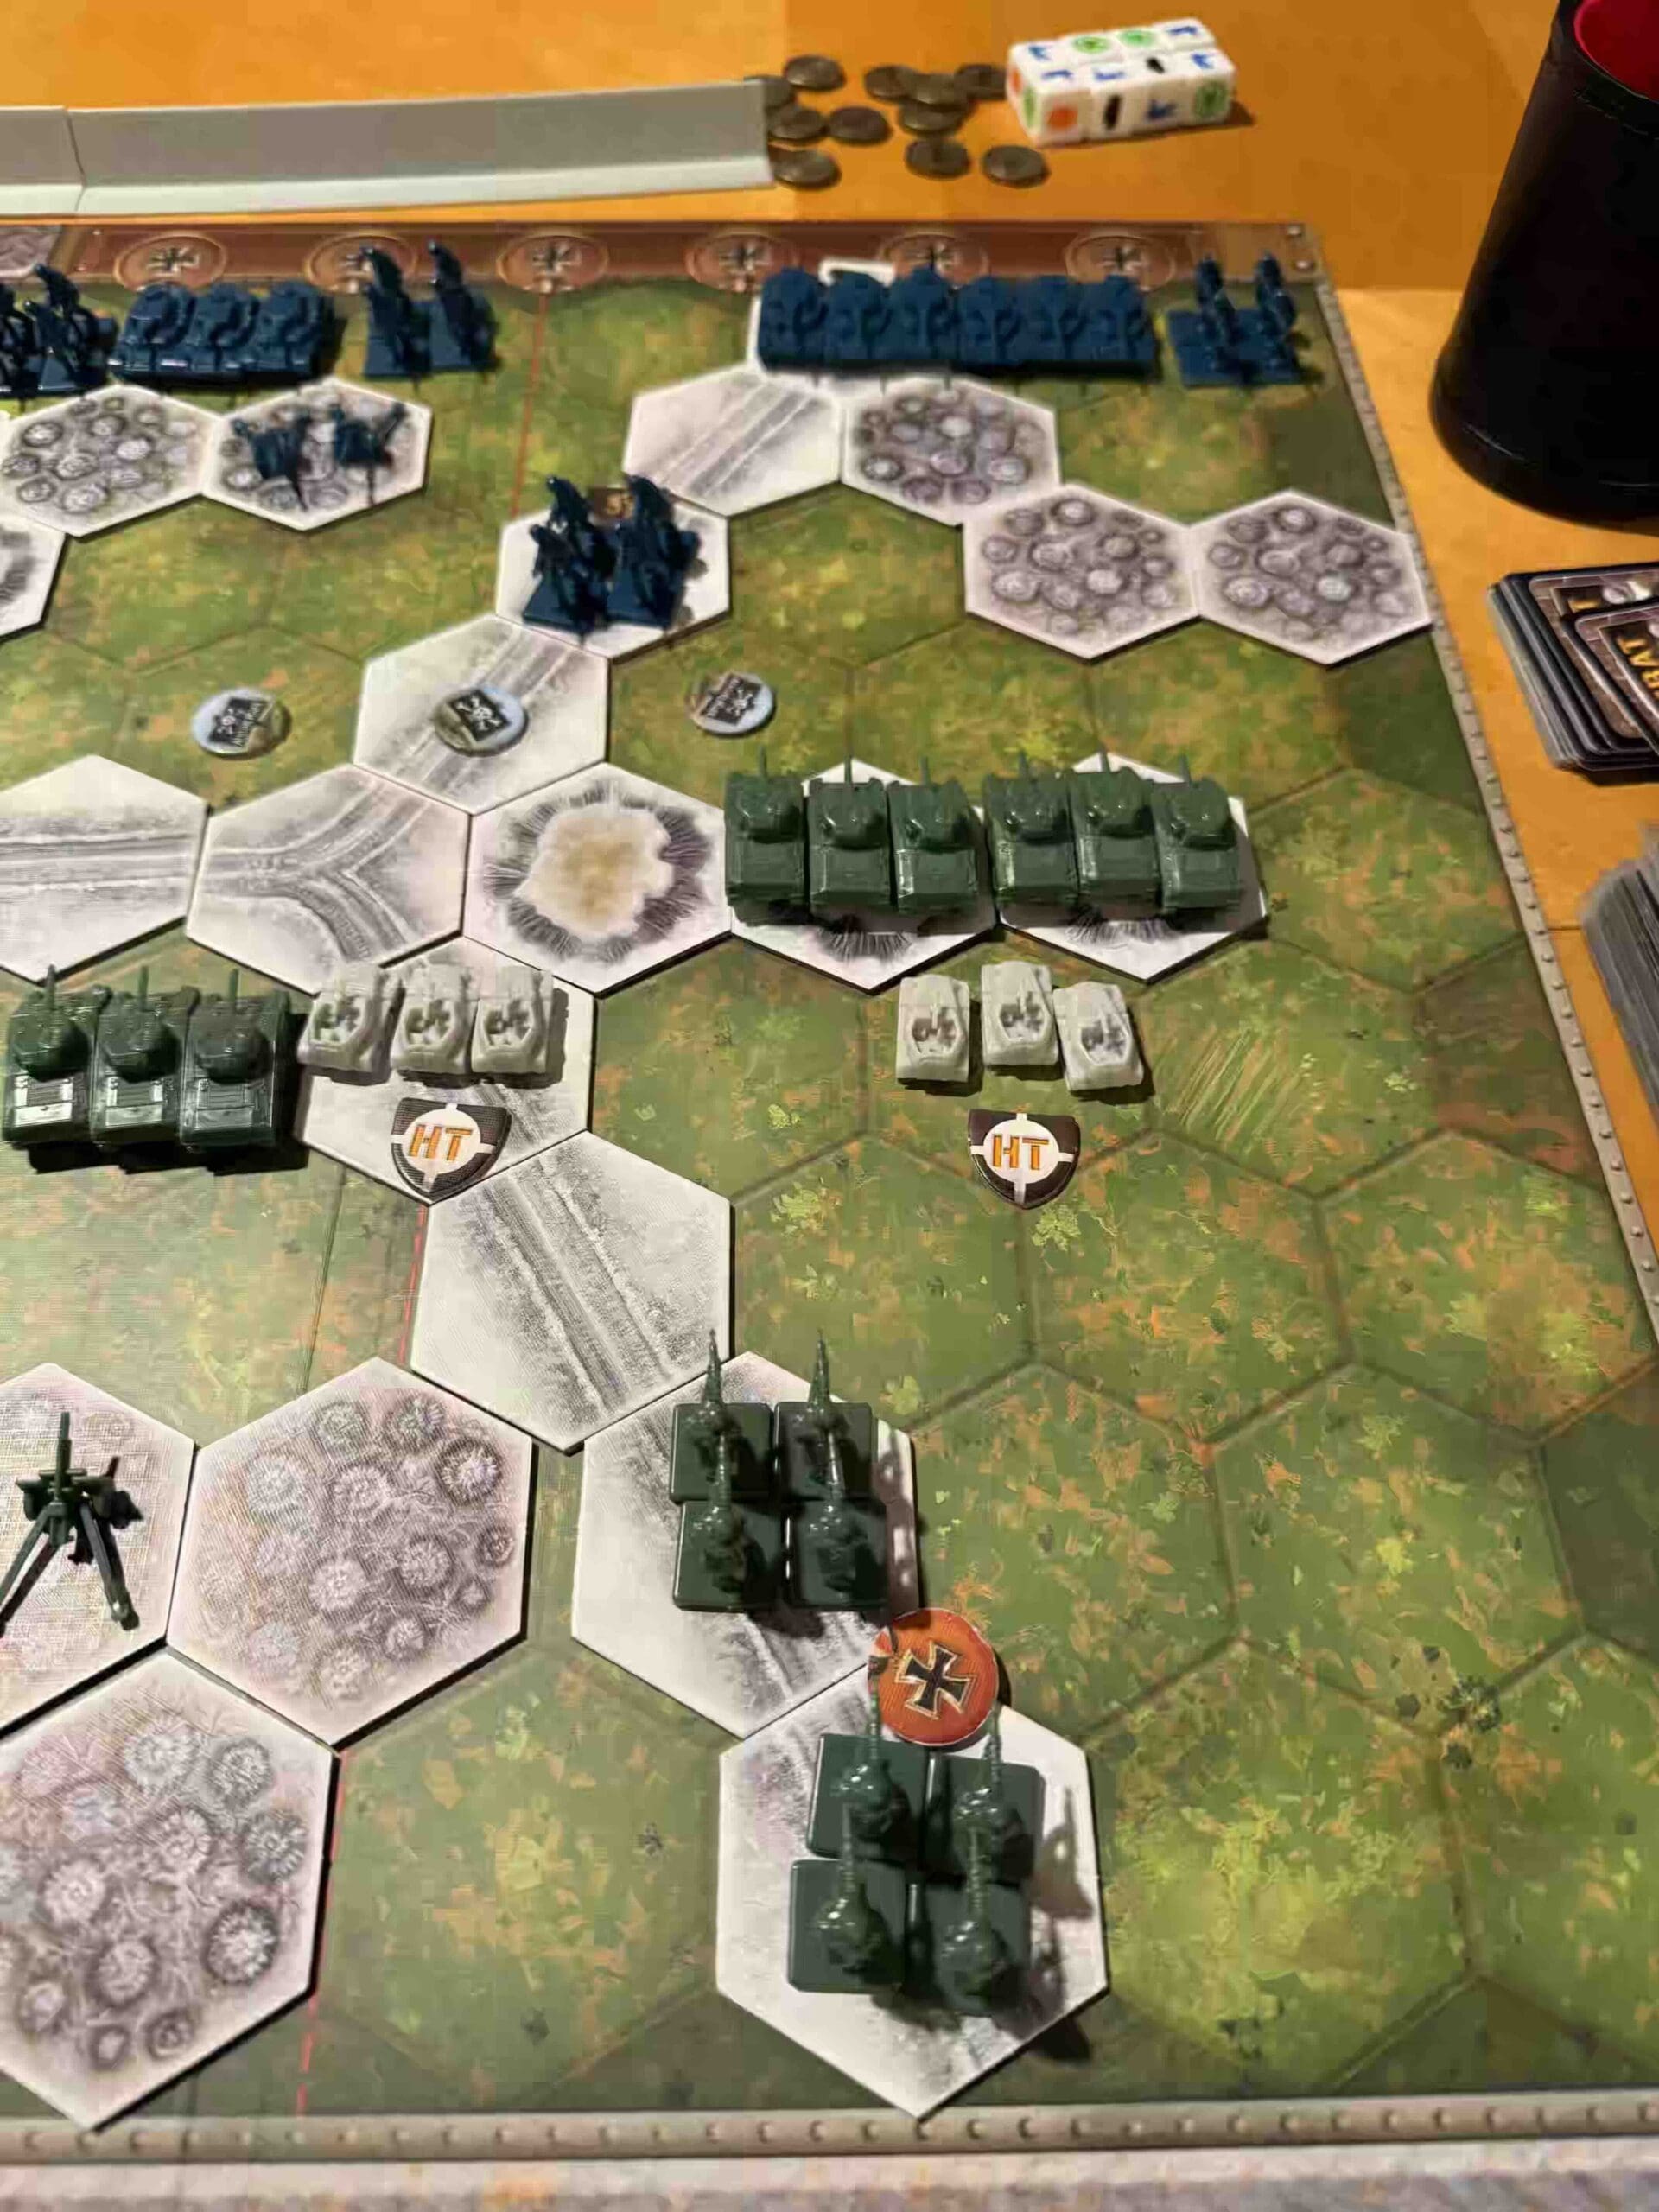
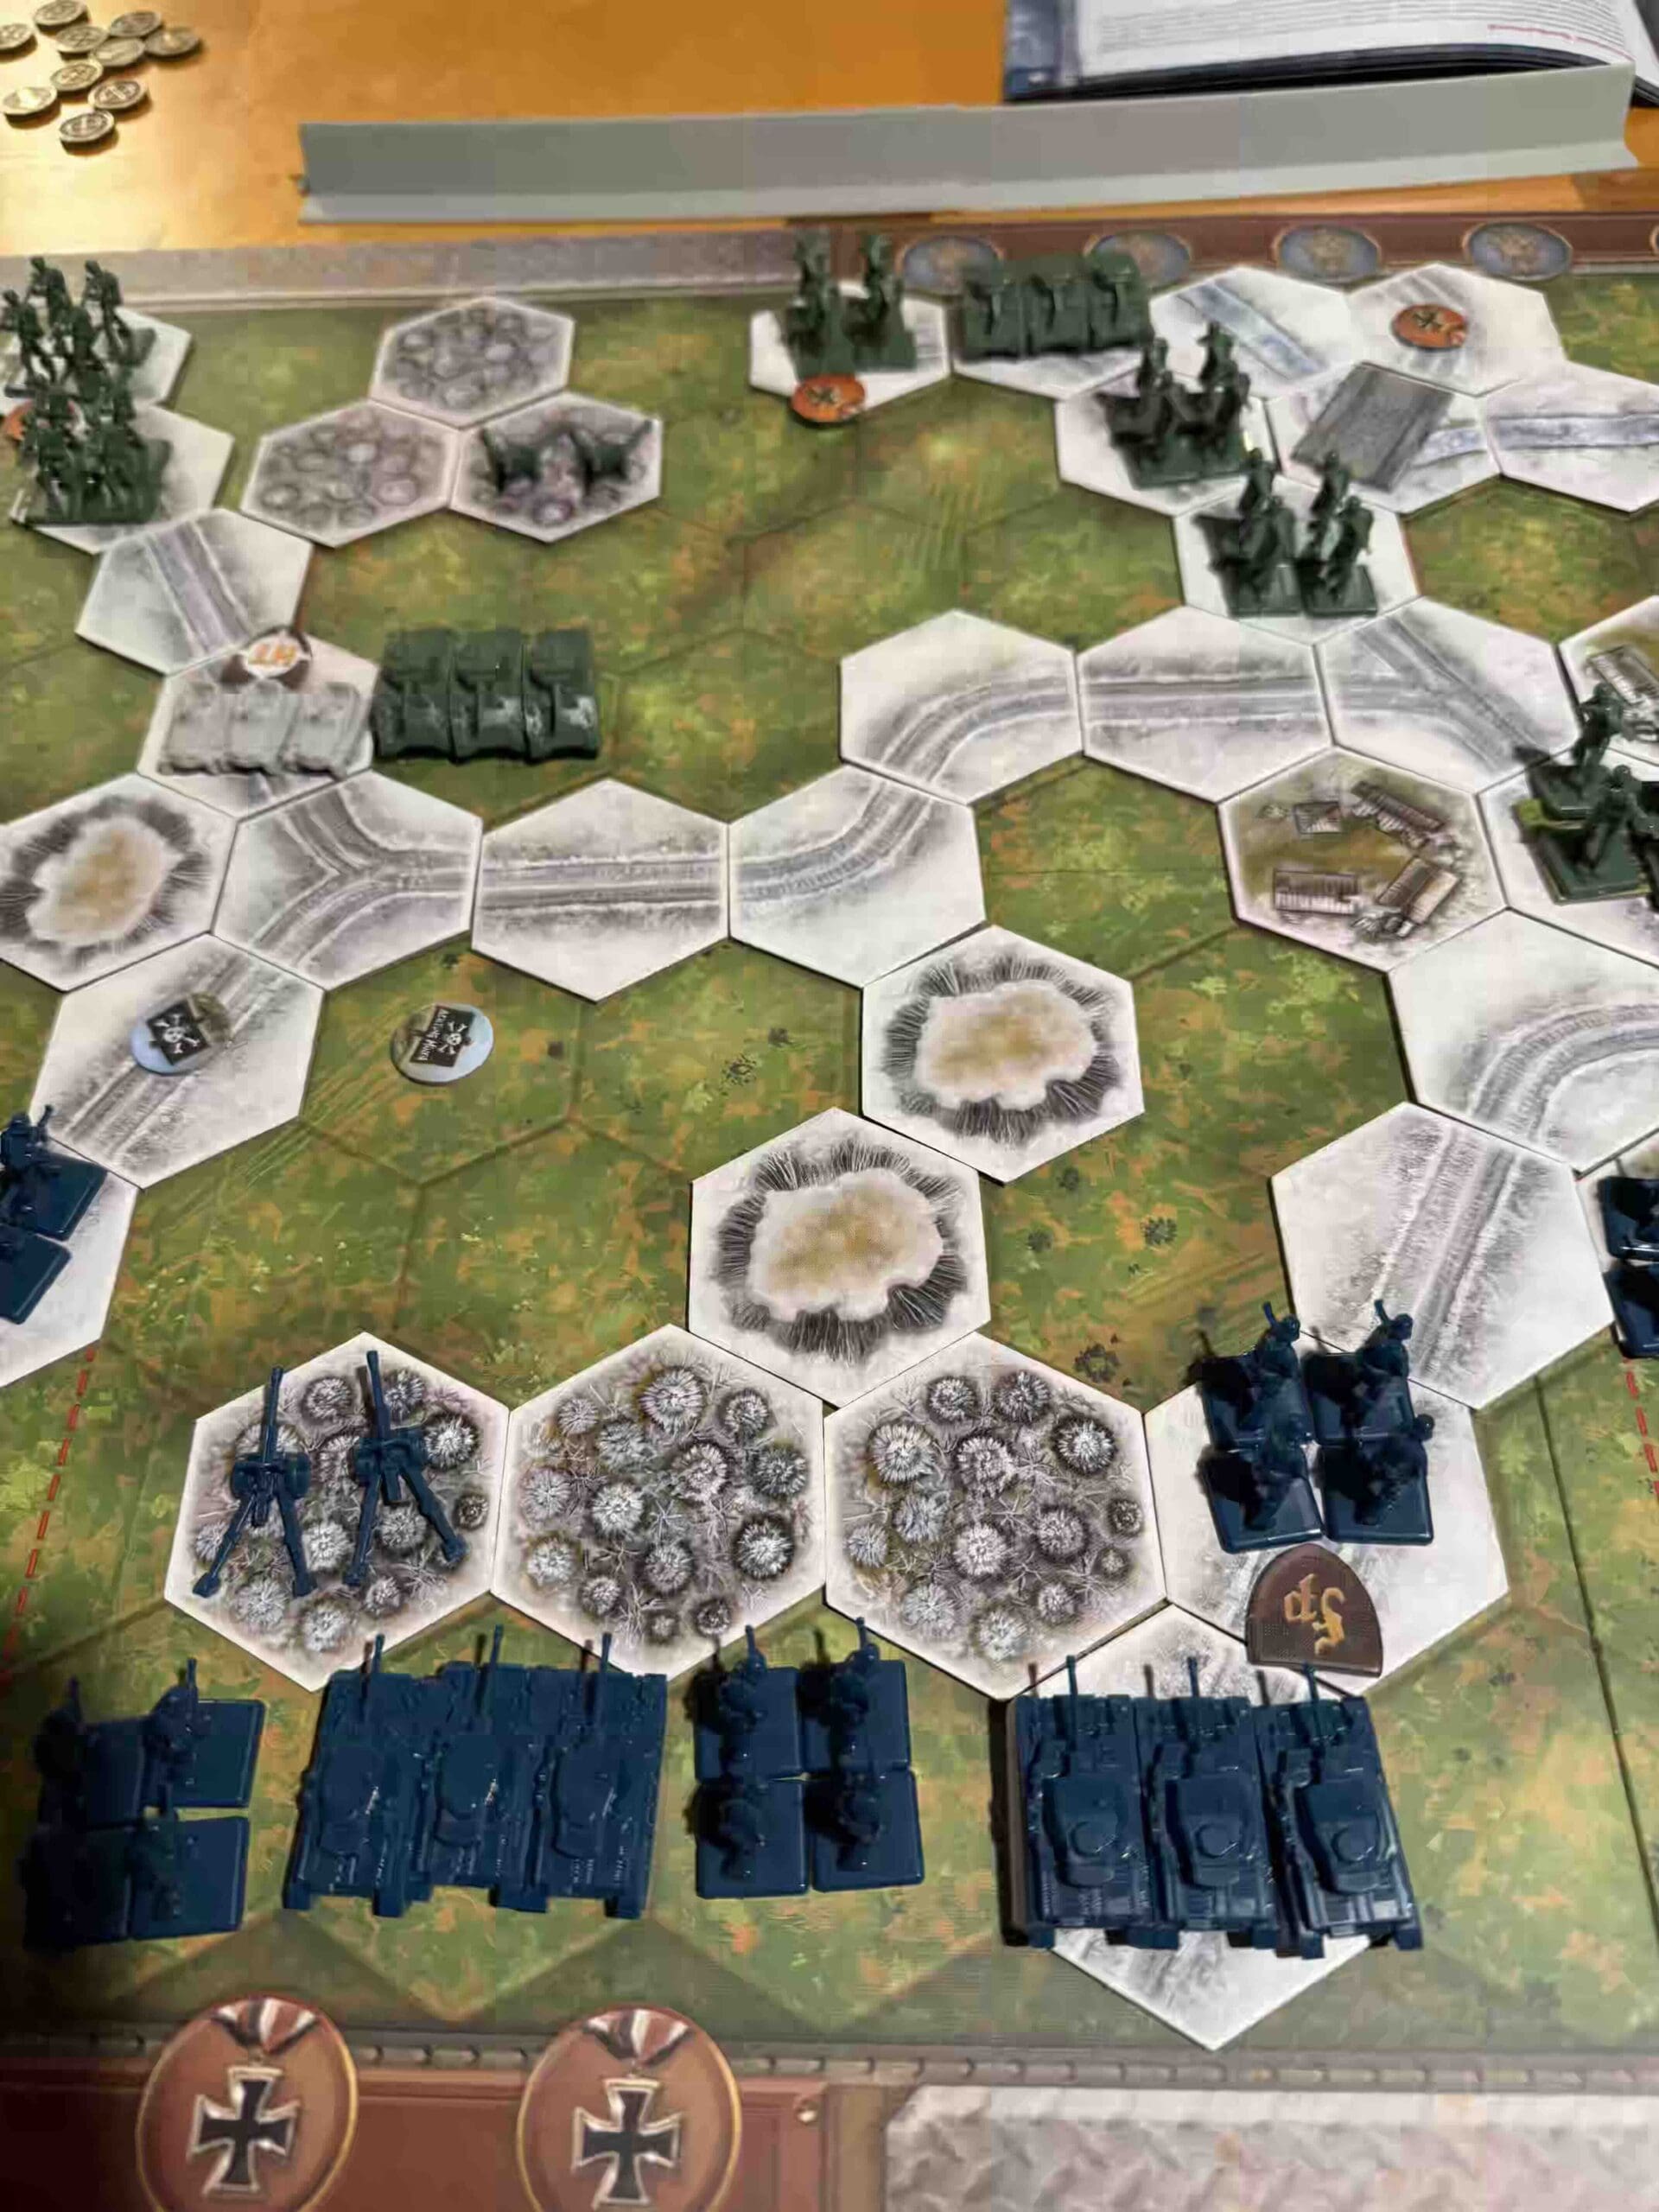
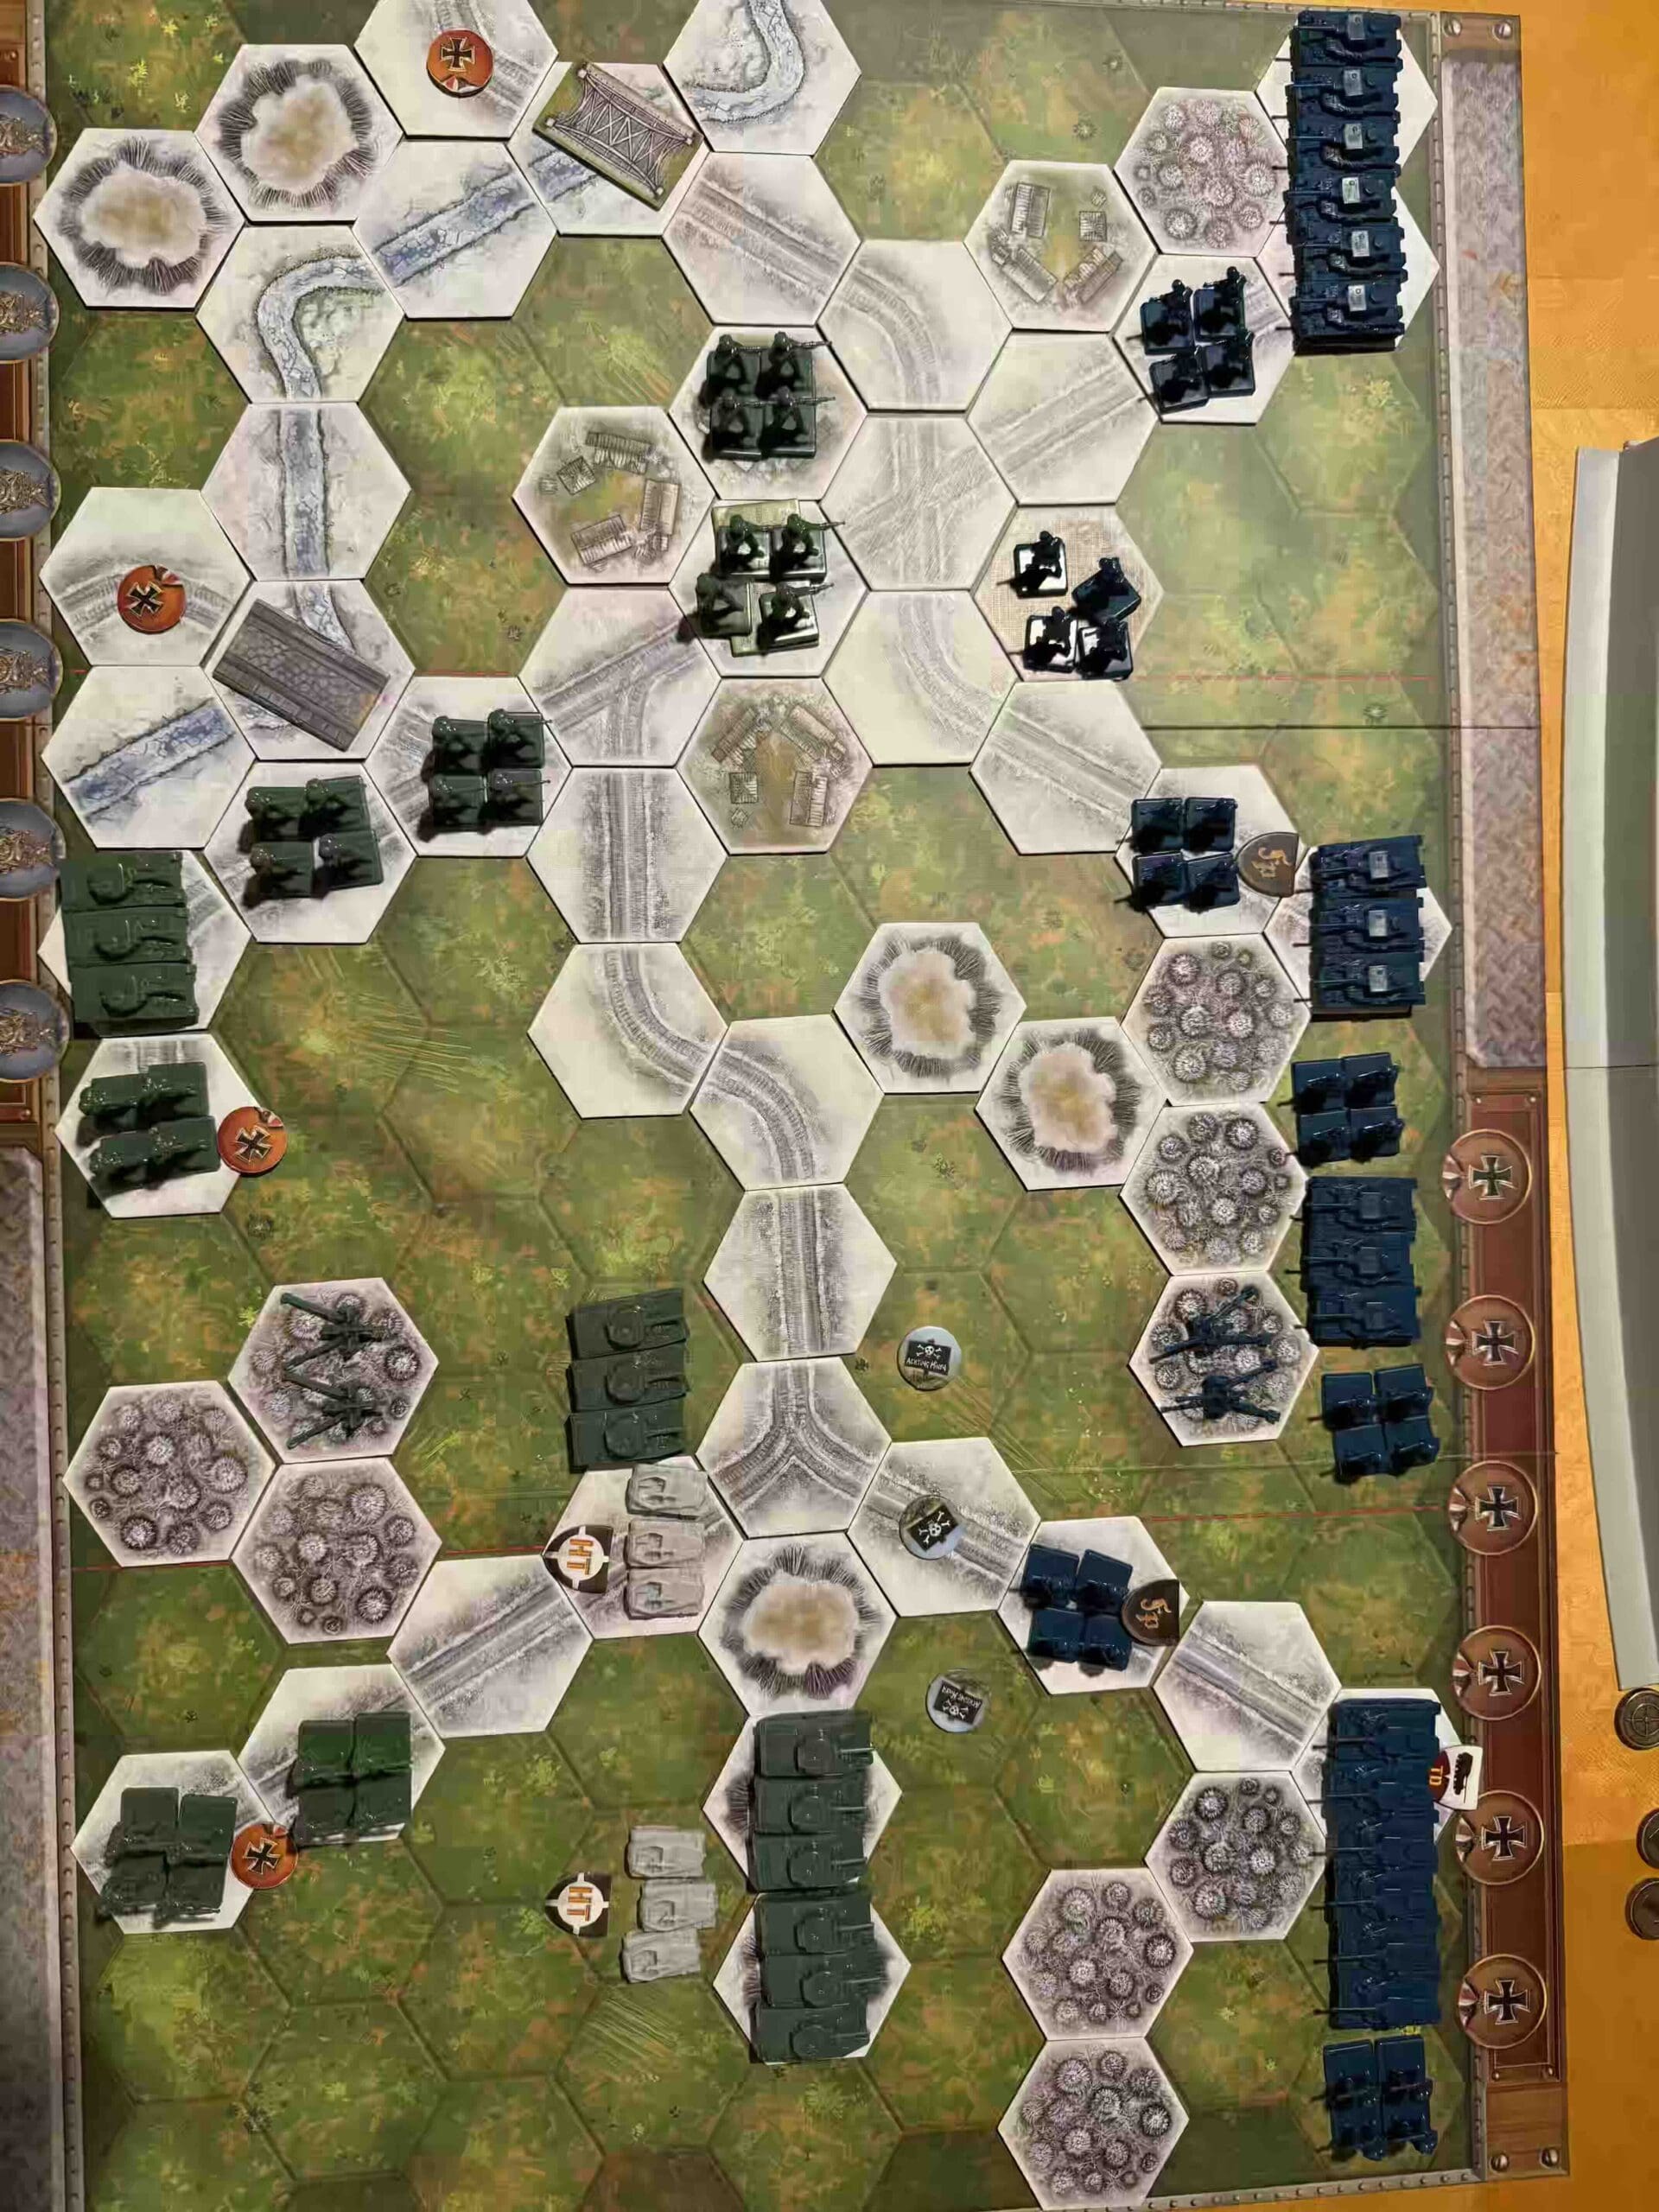
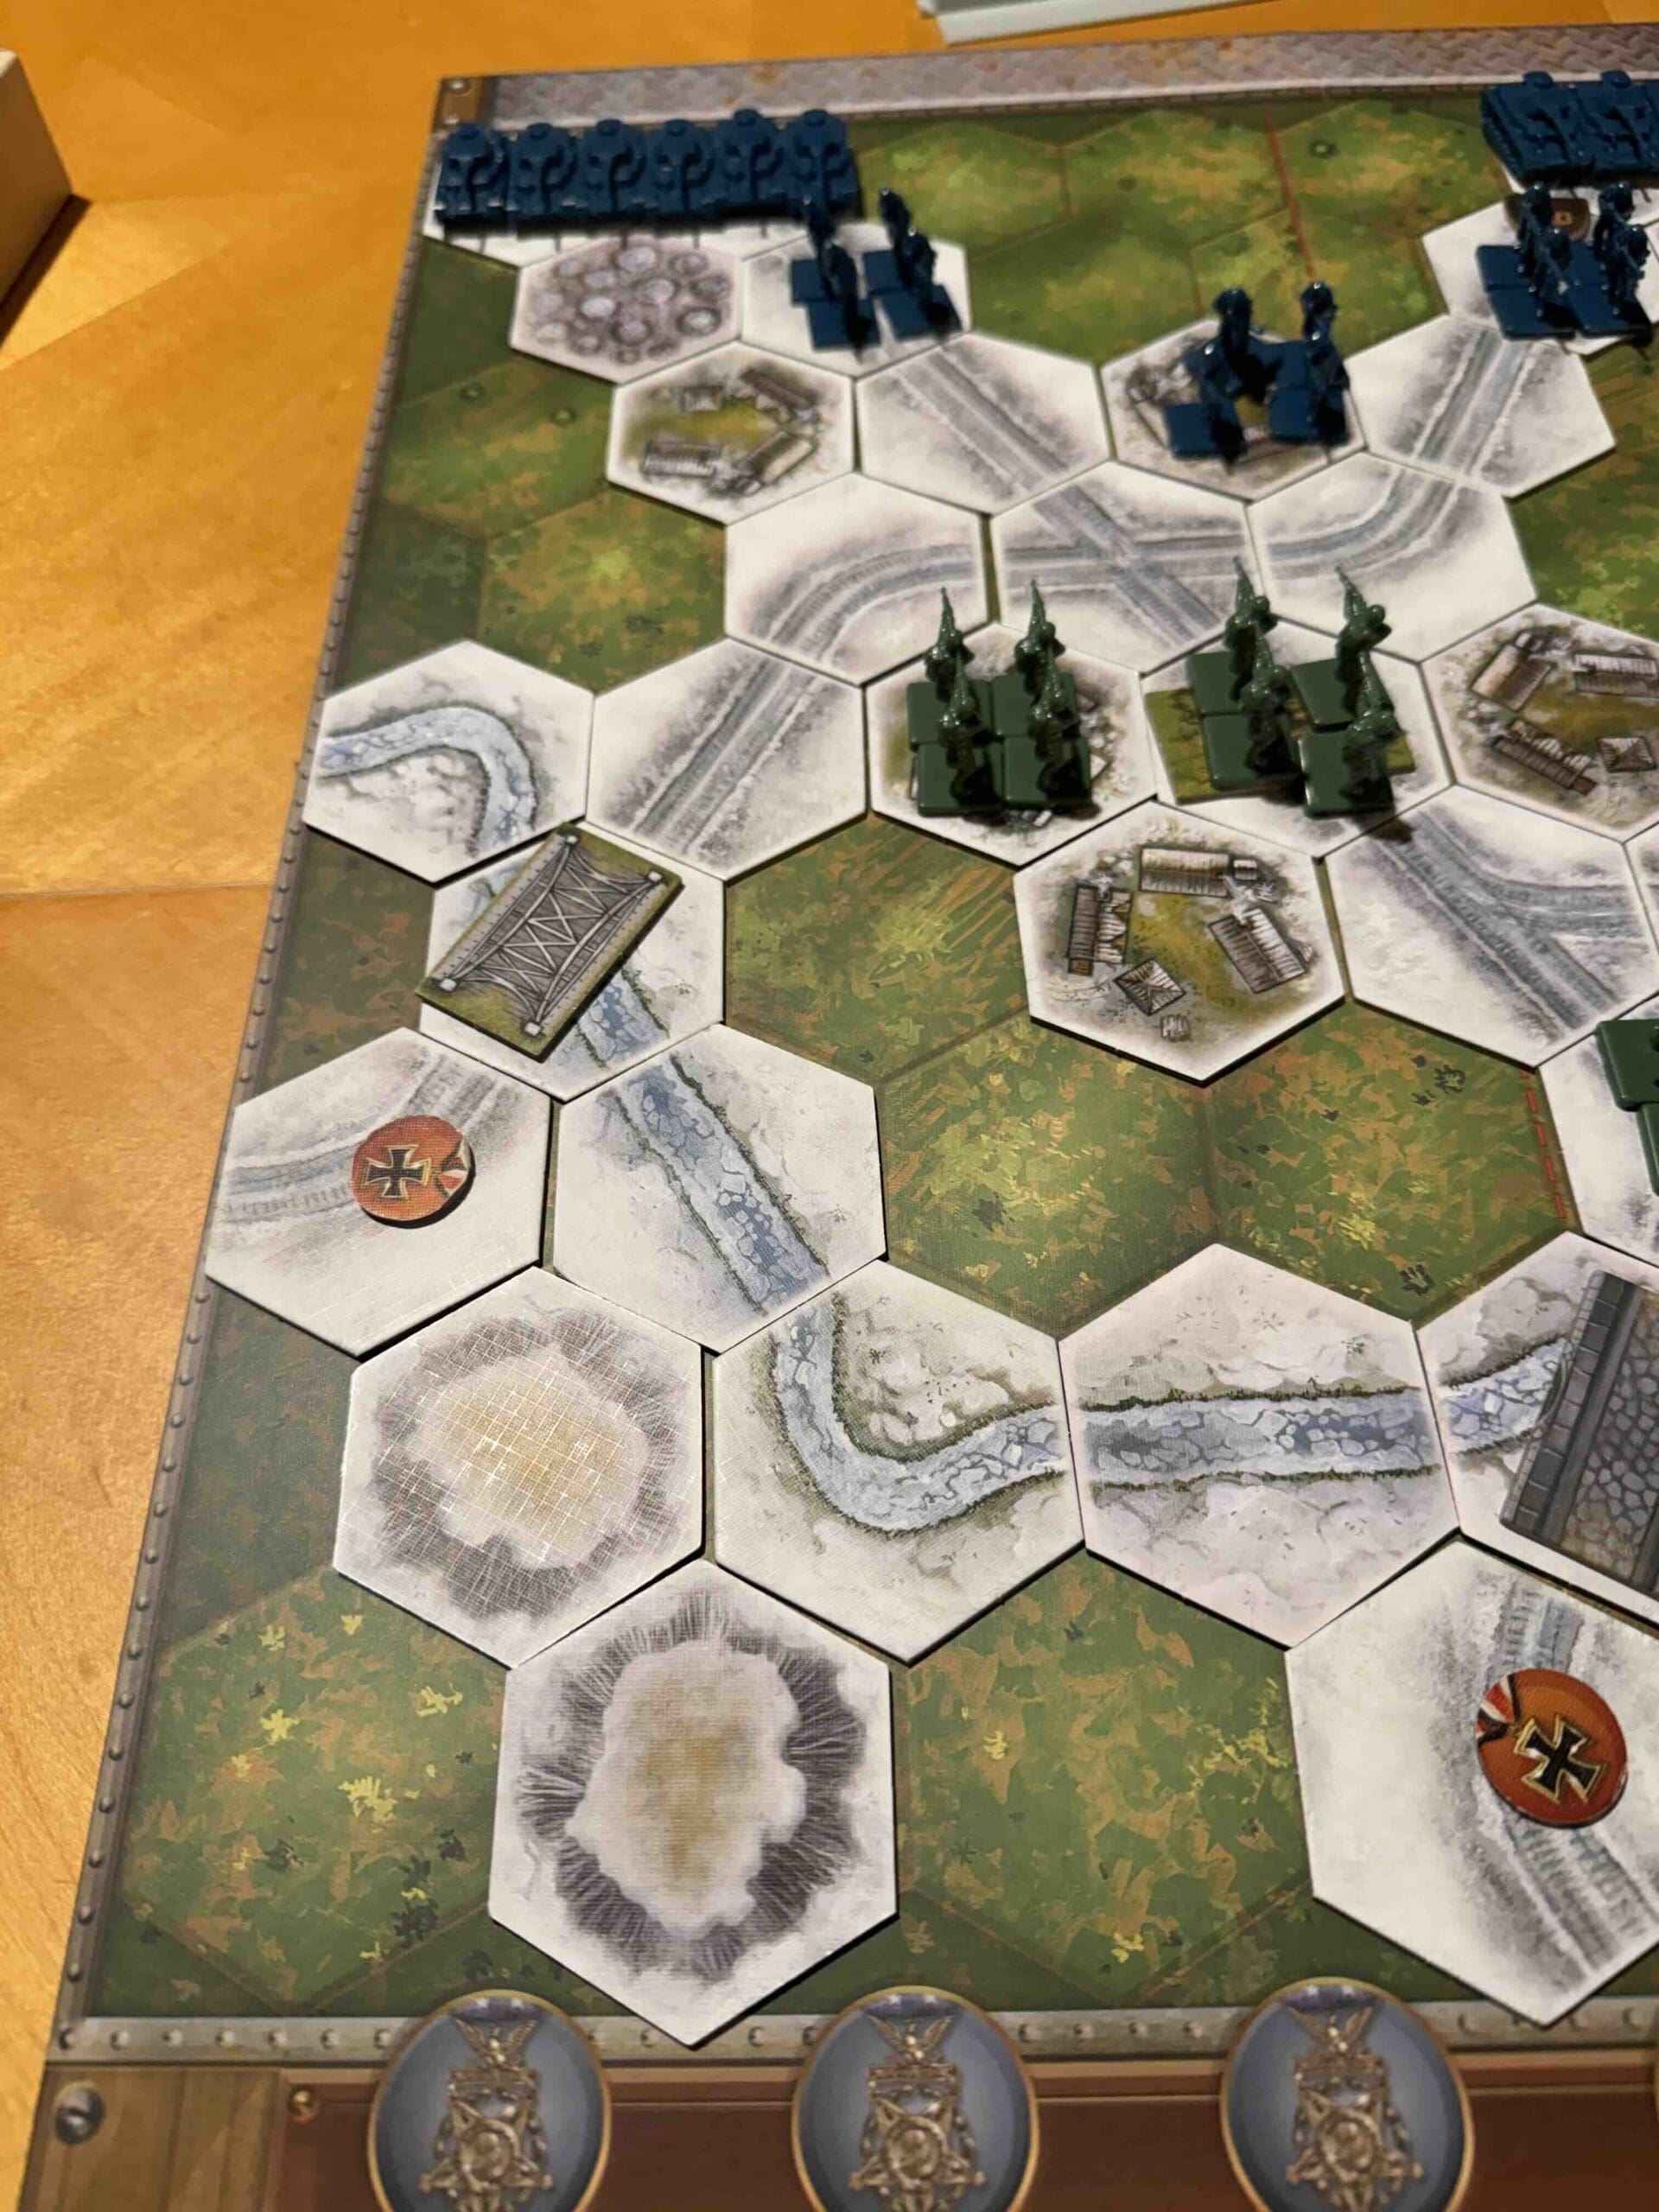
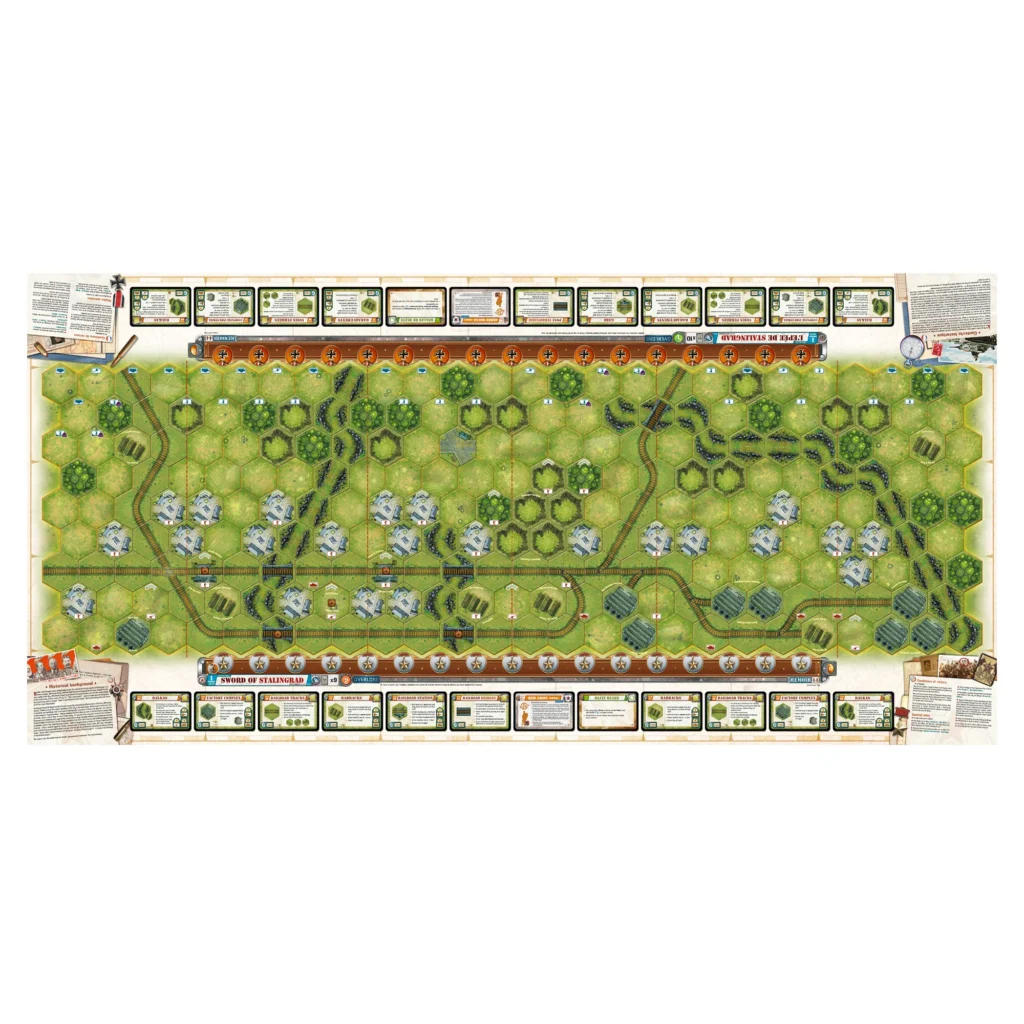
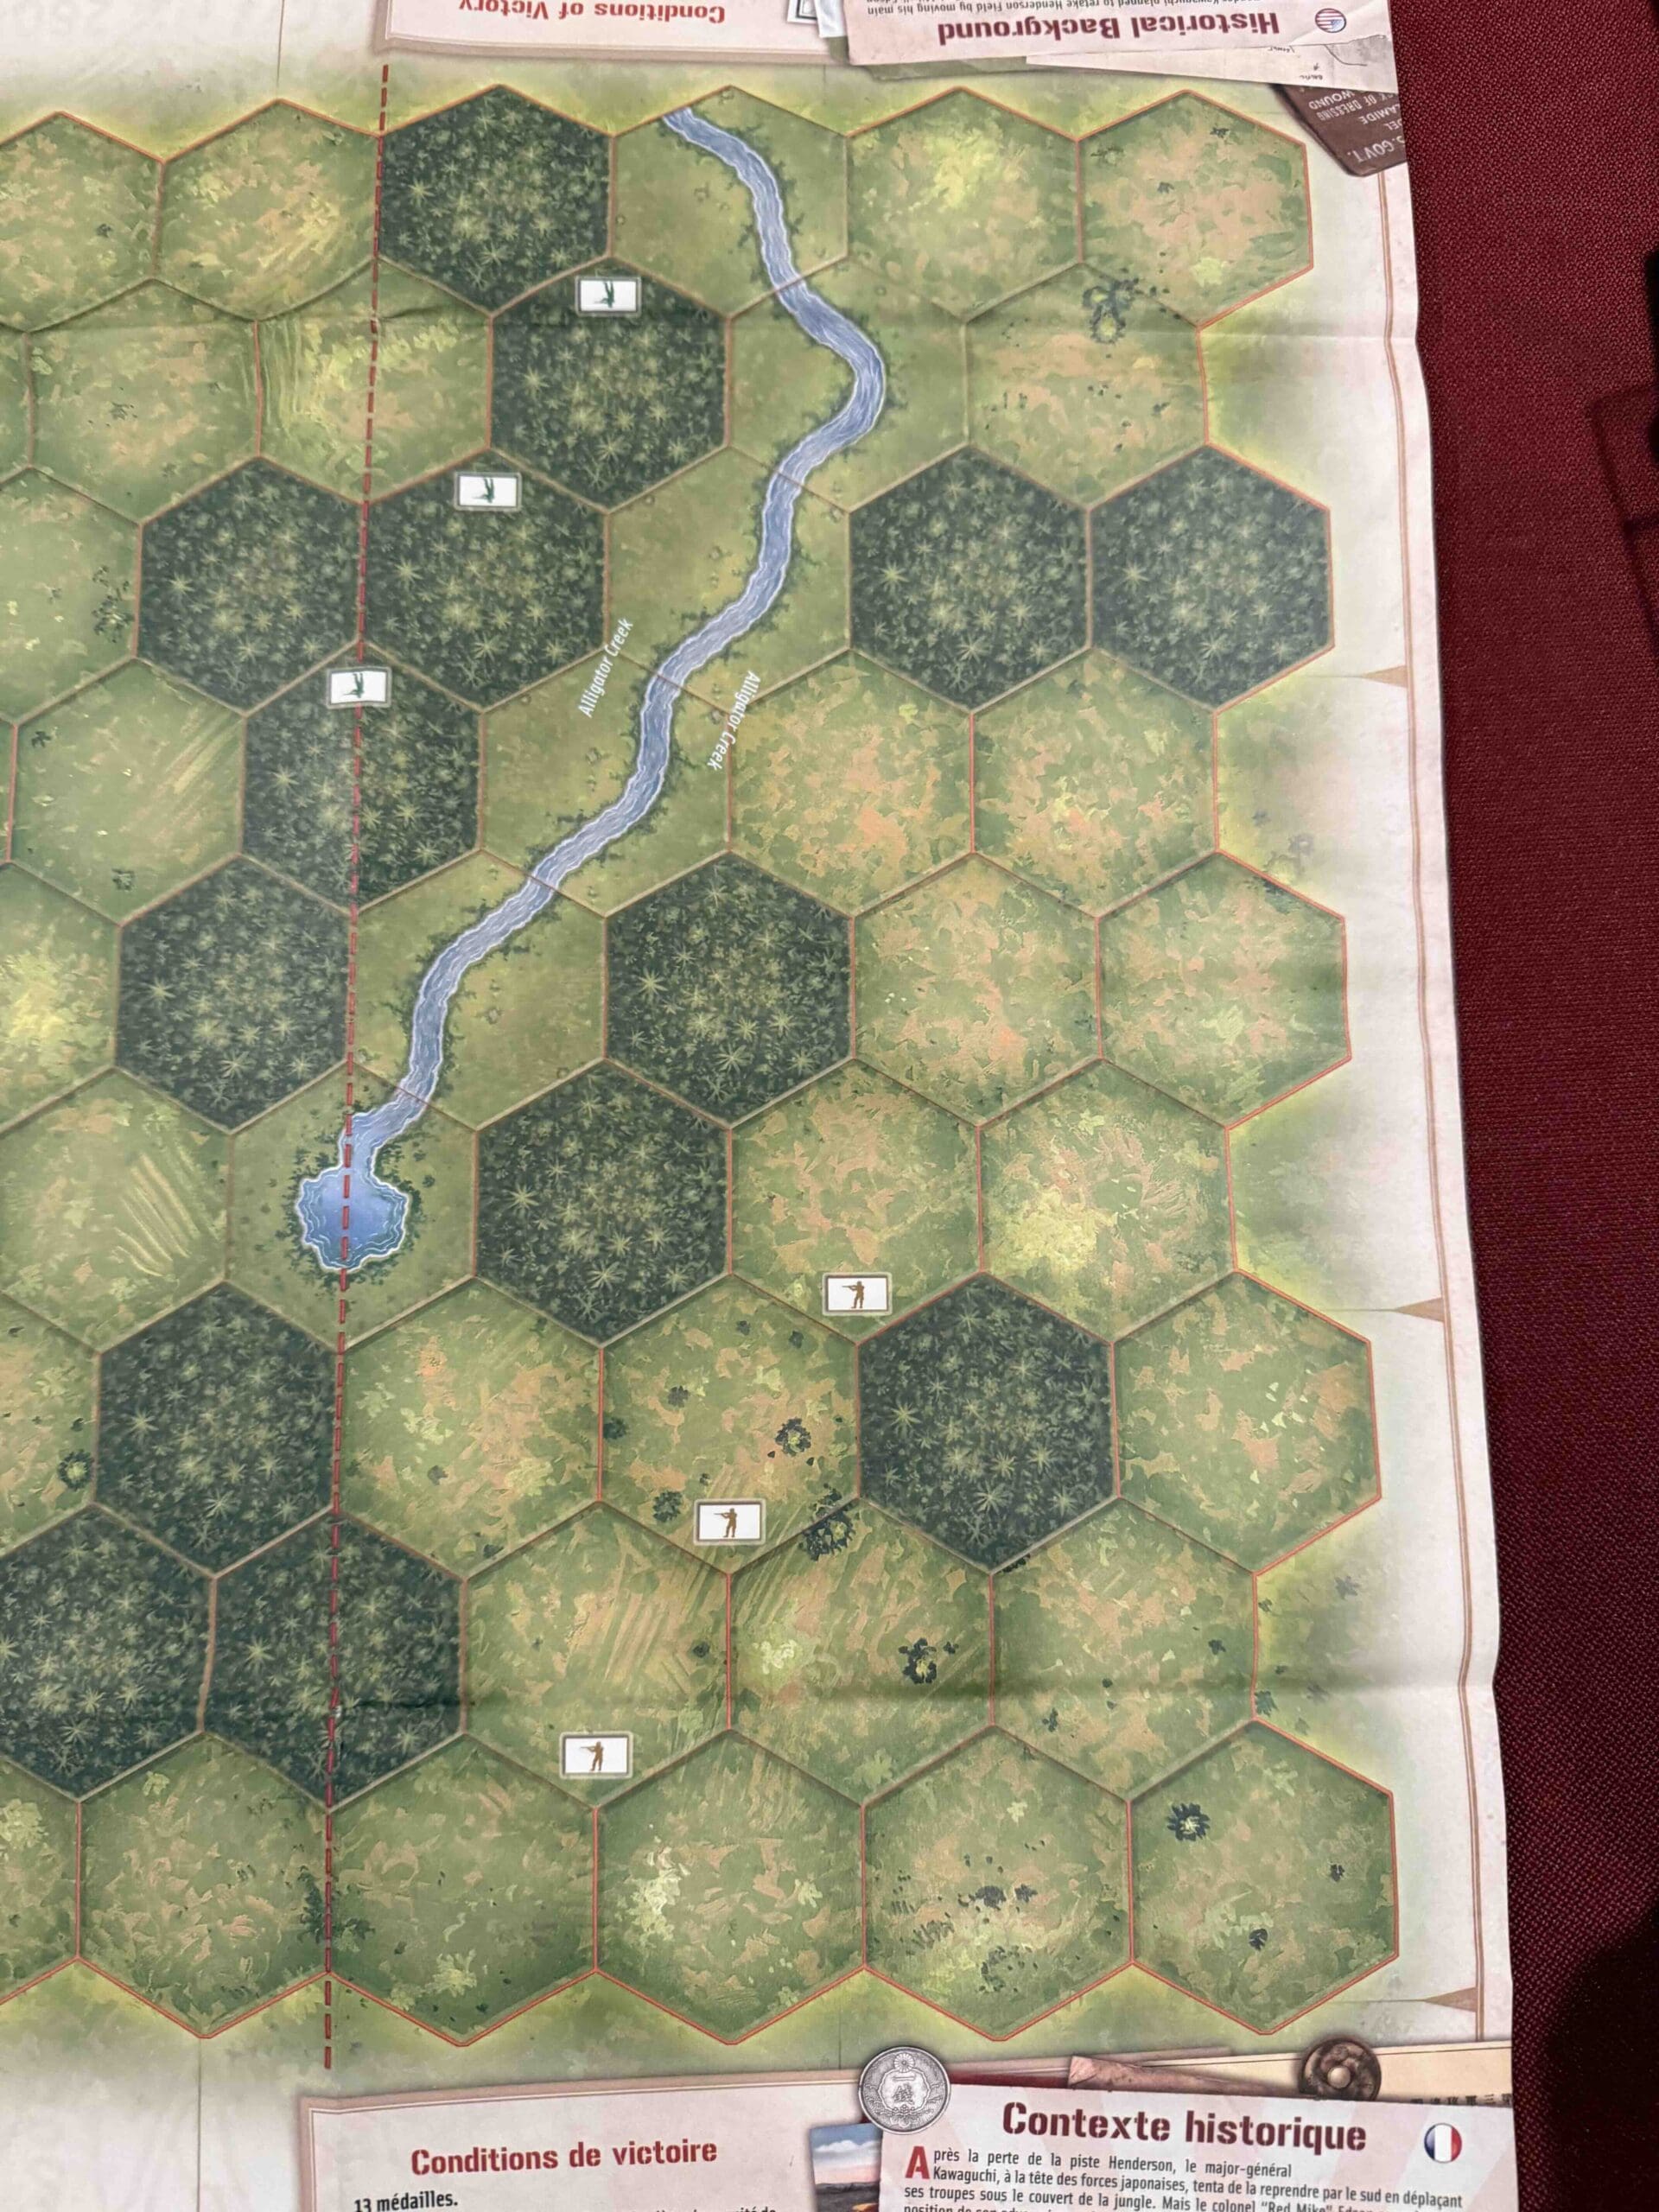
Terrain:
Jungle terrain with a 21-hex hill in the center which is a majority-control objective for one medal.
Troops:
Allies – 21 Marine Infantry, 3 Artillery
Axis – 24 Japanese Infantry, 3 Artillery
Special Rules:
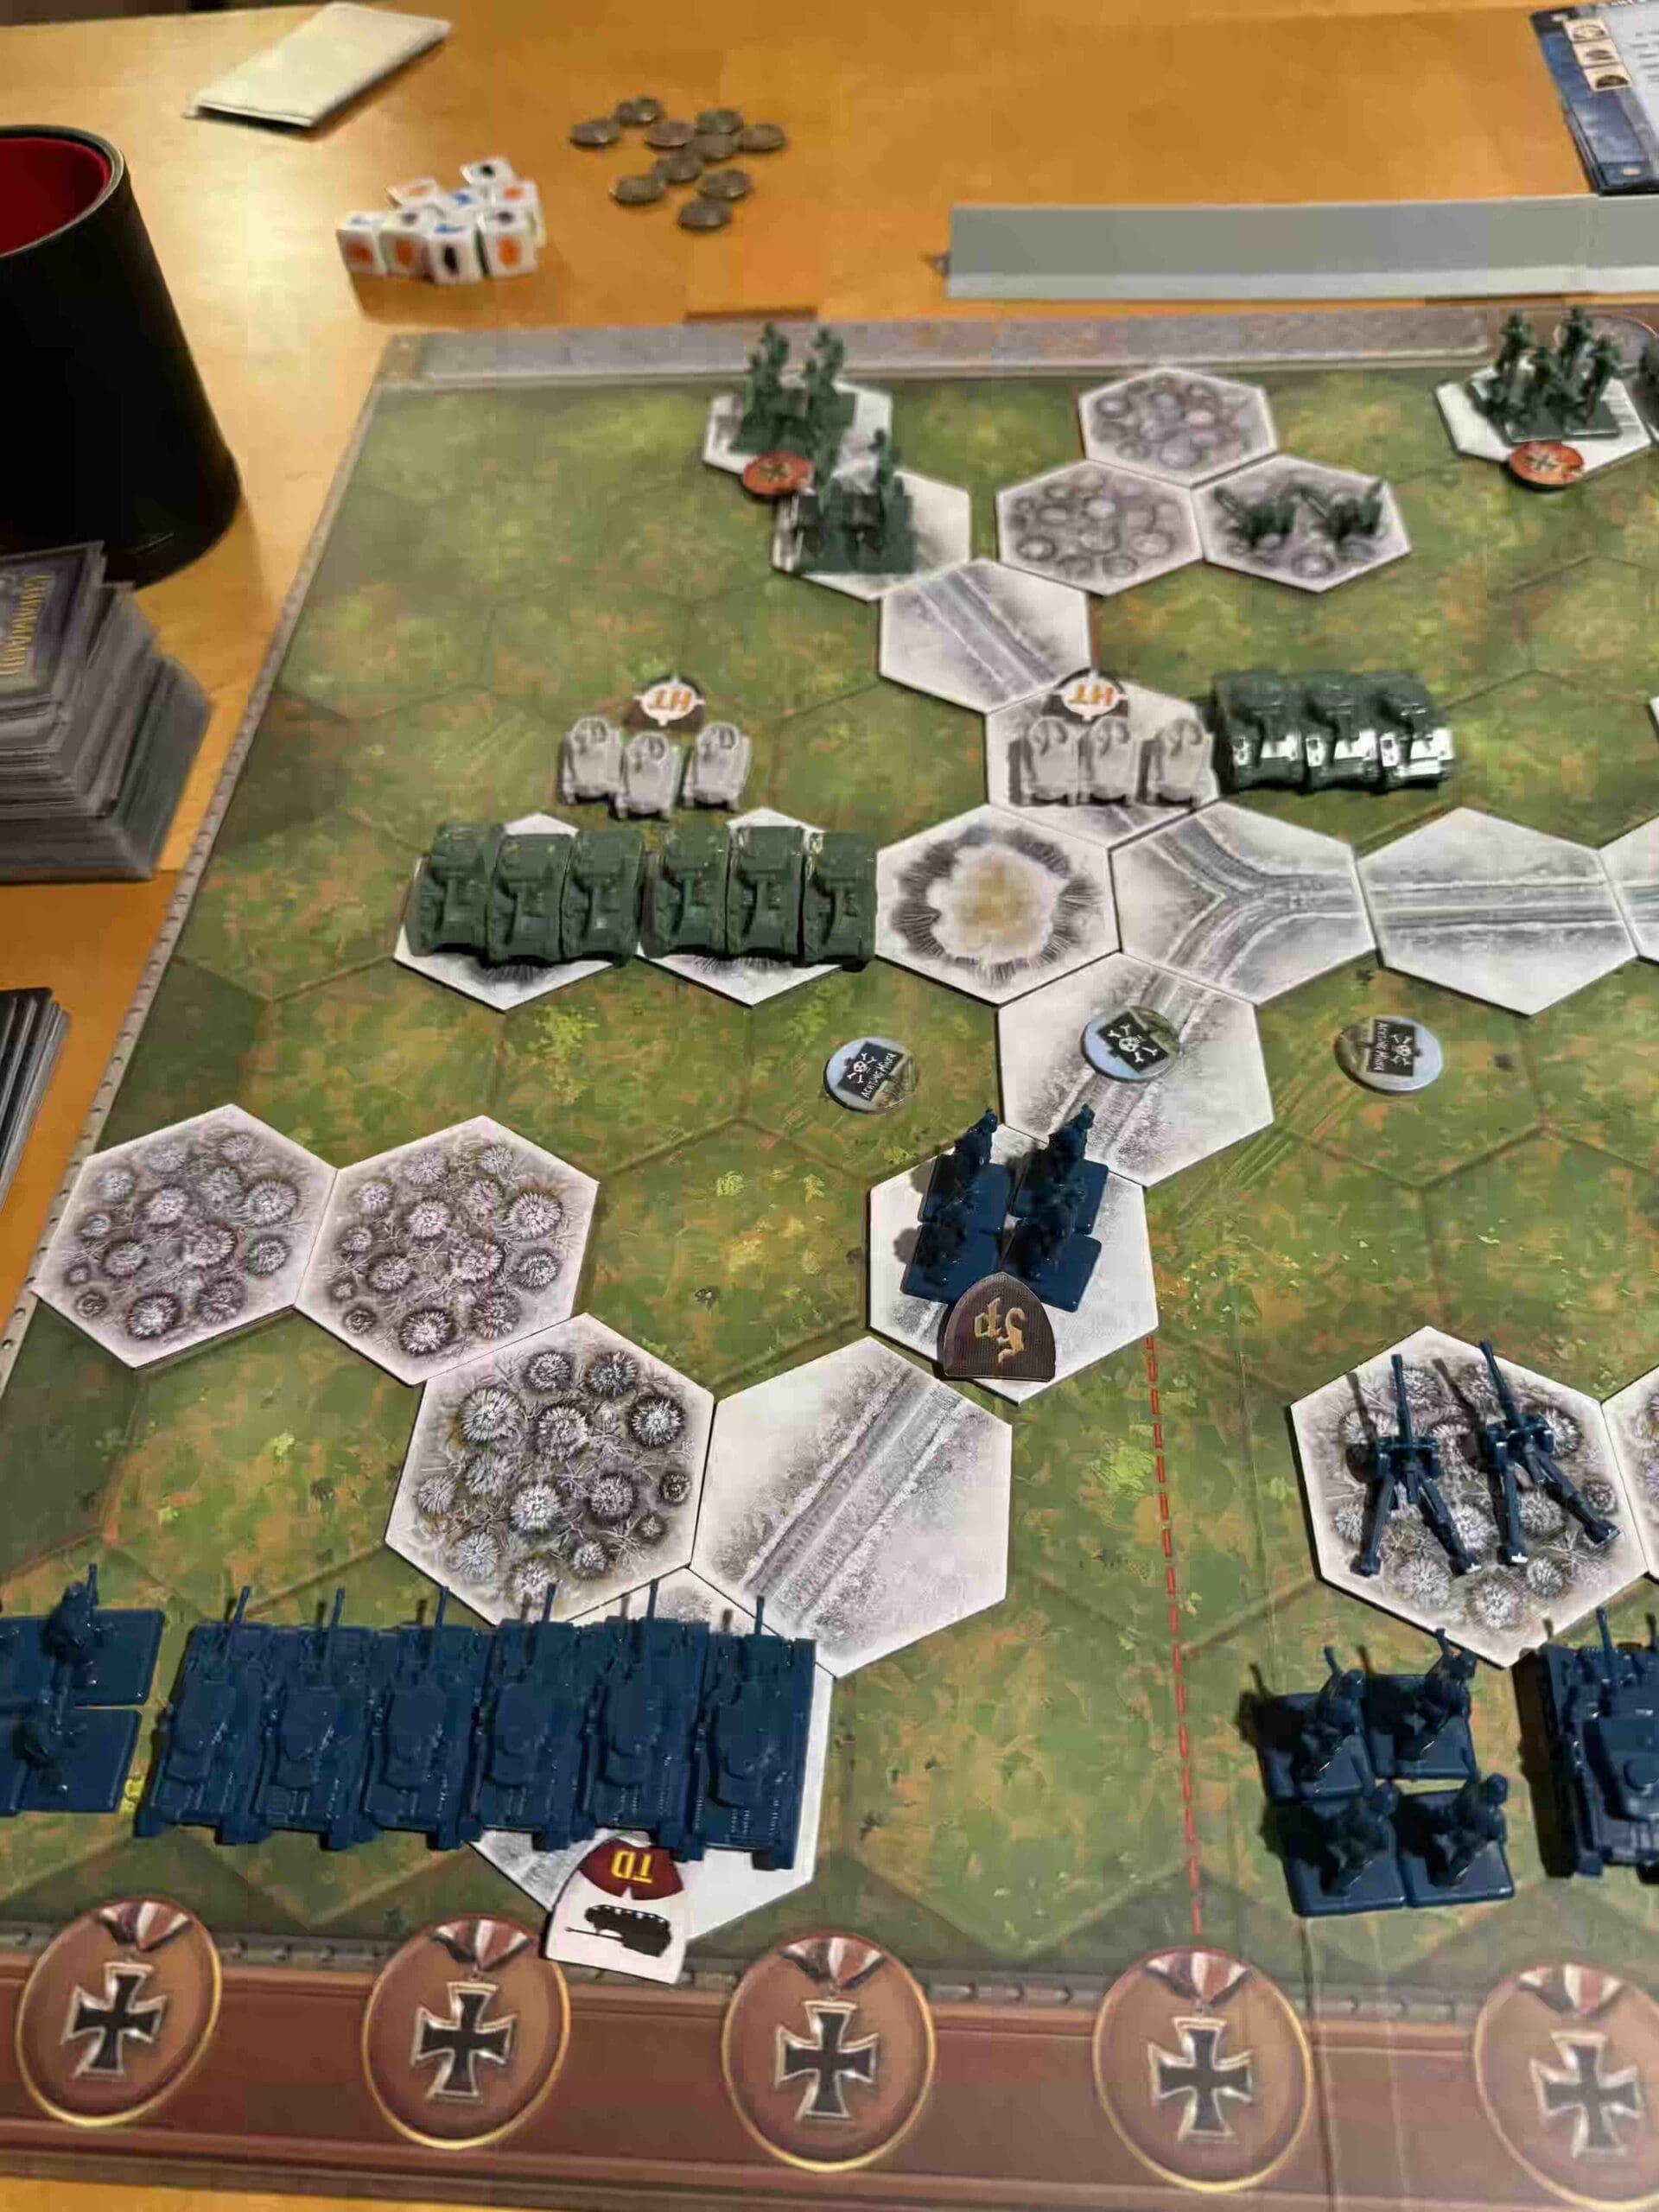
1. Majority Temporary Territorial Control – whomever controls most of the 21-hill hexes gains 1 Medal
2. Exit Row Medals – to any Japanese forces that exit
3. Sudden Death Hex – to any Japanese forces that maintain control of the hex at the start of their next turn, total win for the Japanese

🔥 Winning as Allies
1. Big Picture Plan when defending against the Japanese onslaught, is to reduce every full-power unit by at least one hit in order to cancel our their Seishin Kyoiku Doctrine.
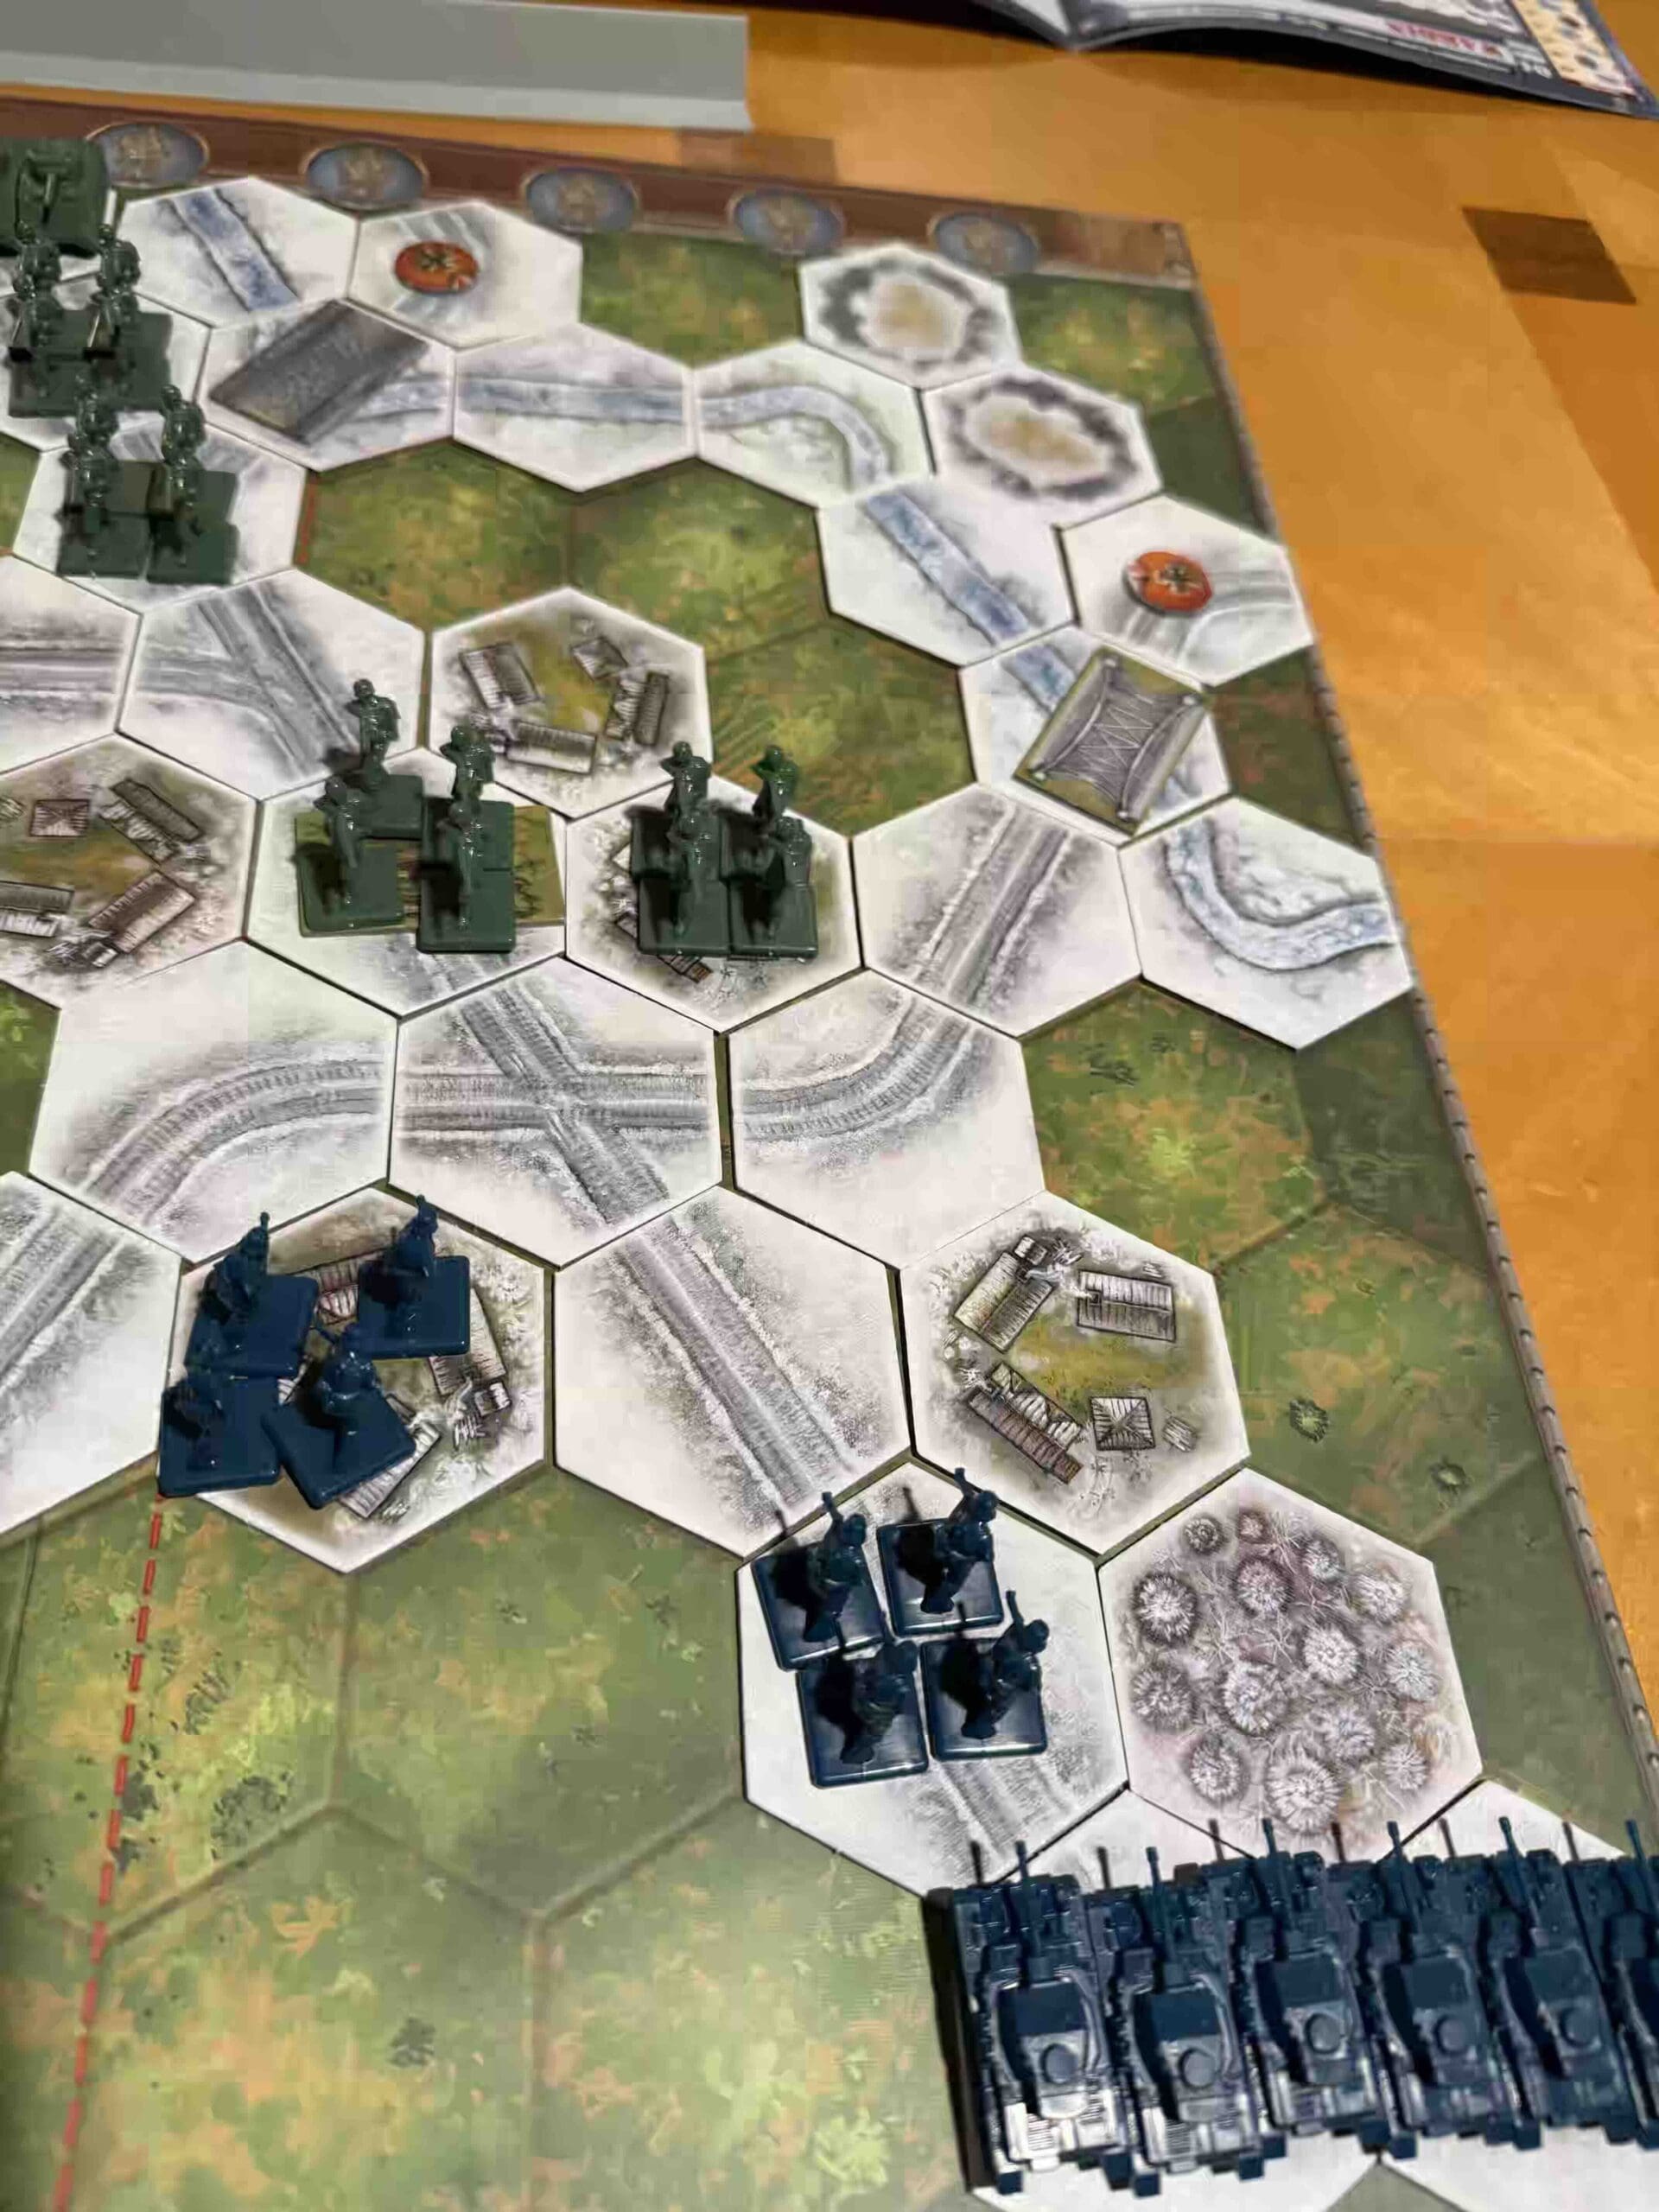
2. Because of the special Rules, it is imperative that the Marines defende the center section, and prevent the Japanese forces from overwhelming the hill, to gain that point; or exiting out the back, to get those points, or most importantly, never let them gain access to the sudden death hex.

🔥 Winning as Axis
1. Big Picture Strategy for Axis; while the flanks provide an excellent attack possibility, if you have the cards, they should always be considered secondary to your primary objective of overwhelming the 21-hex hill and gaining all the extra win points associated with it, and the exit hexes, and the sudden death hex.
2. When given the opportunity on your flanks, move your forces towards the central section to continue to put pressure on the enemy and eventually overrun his position.
Author:
Days of Wonder
Link: