St. Vith, Ardennes
St. Vith
6 VP’s
![]()
Card Balance:
Allies – 4
Axis – 5
Complexity:
4
Conditions:
Countryside

Context:
Historical
Location:
Belgium
Year:
1944
Theater:
Western Front
Campaign:
Ardennes
Context:
Historical
Summary:
Objectives:
6 VP’s
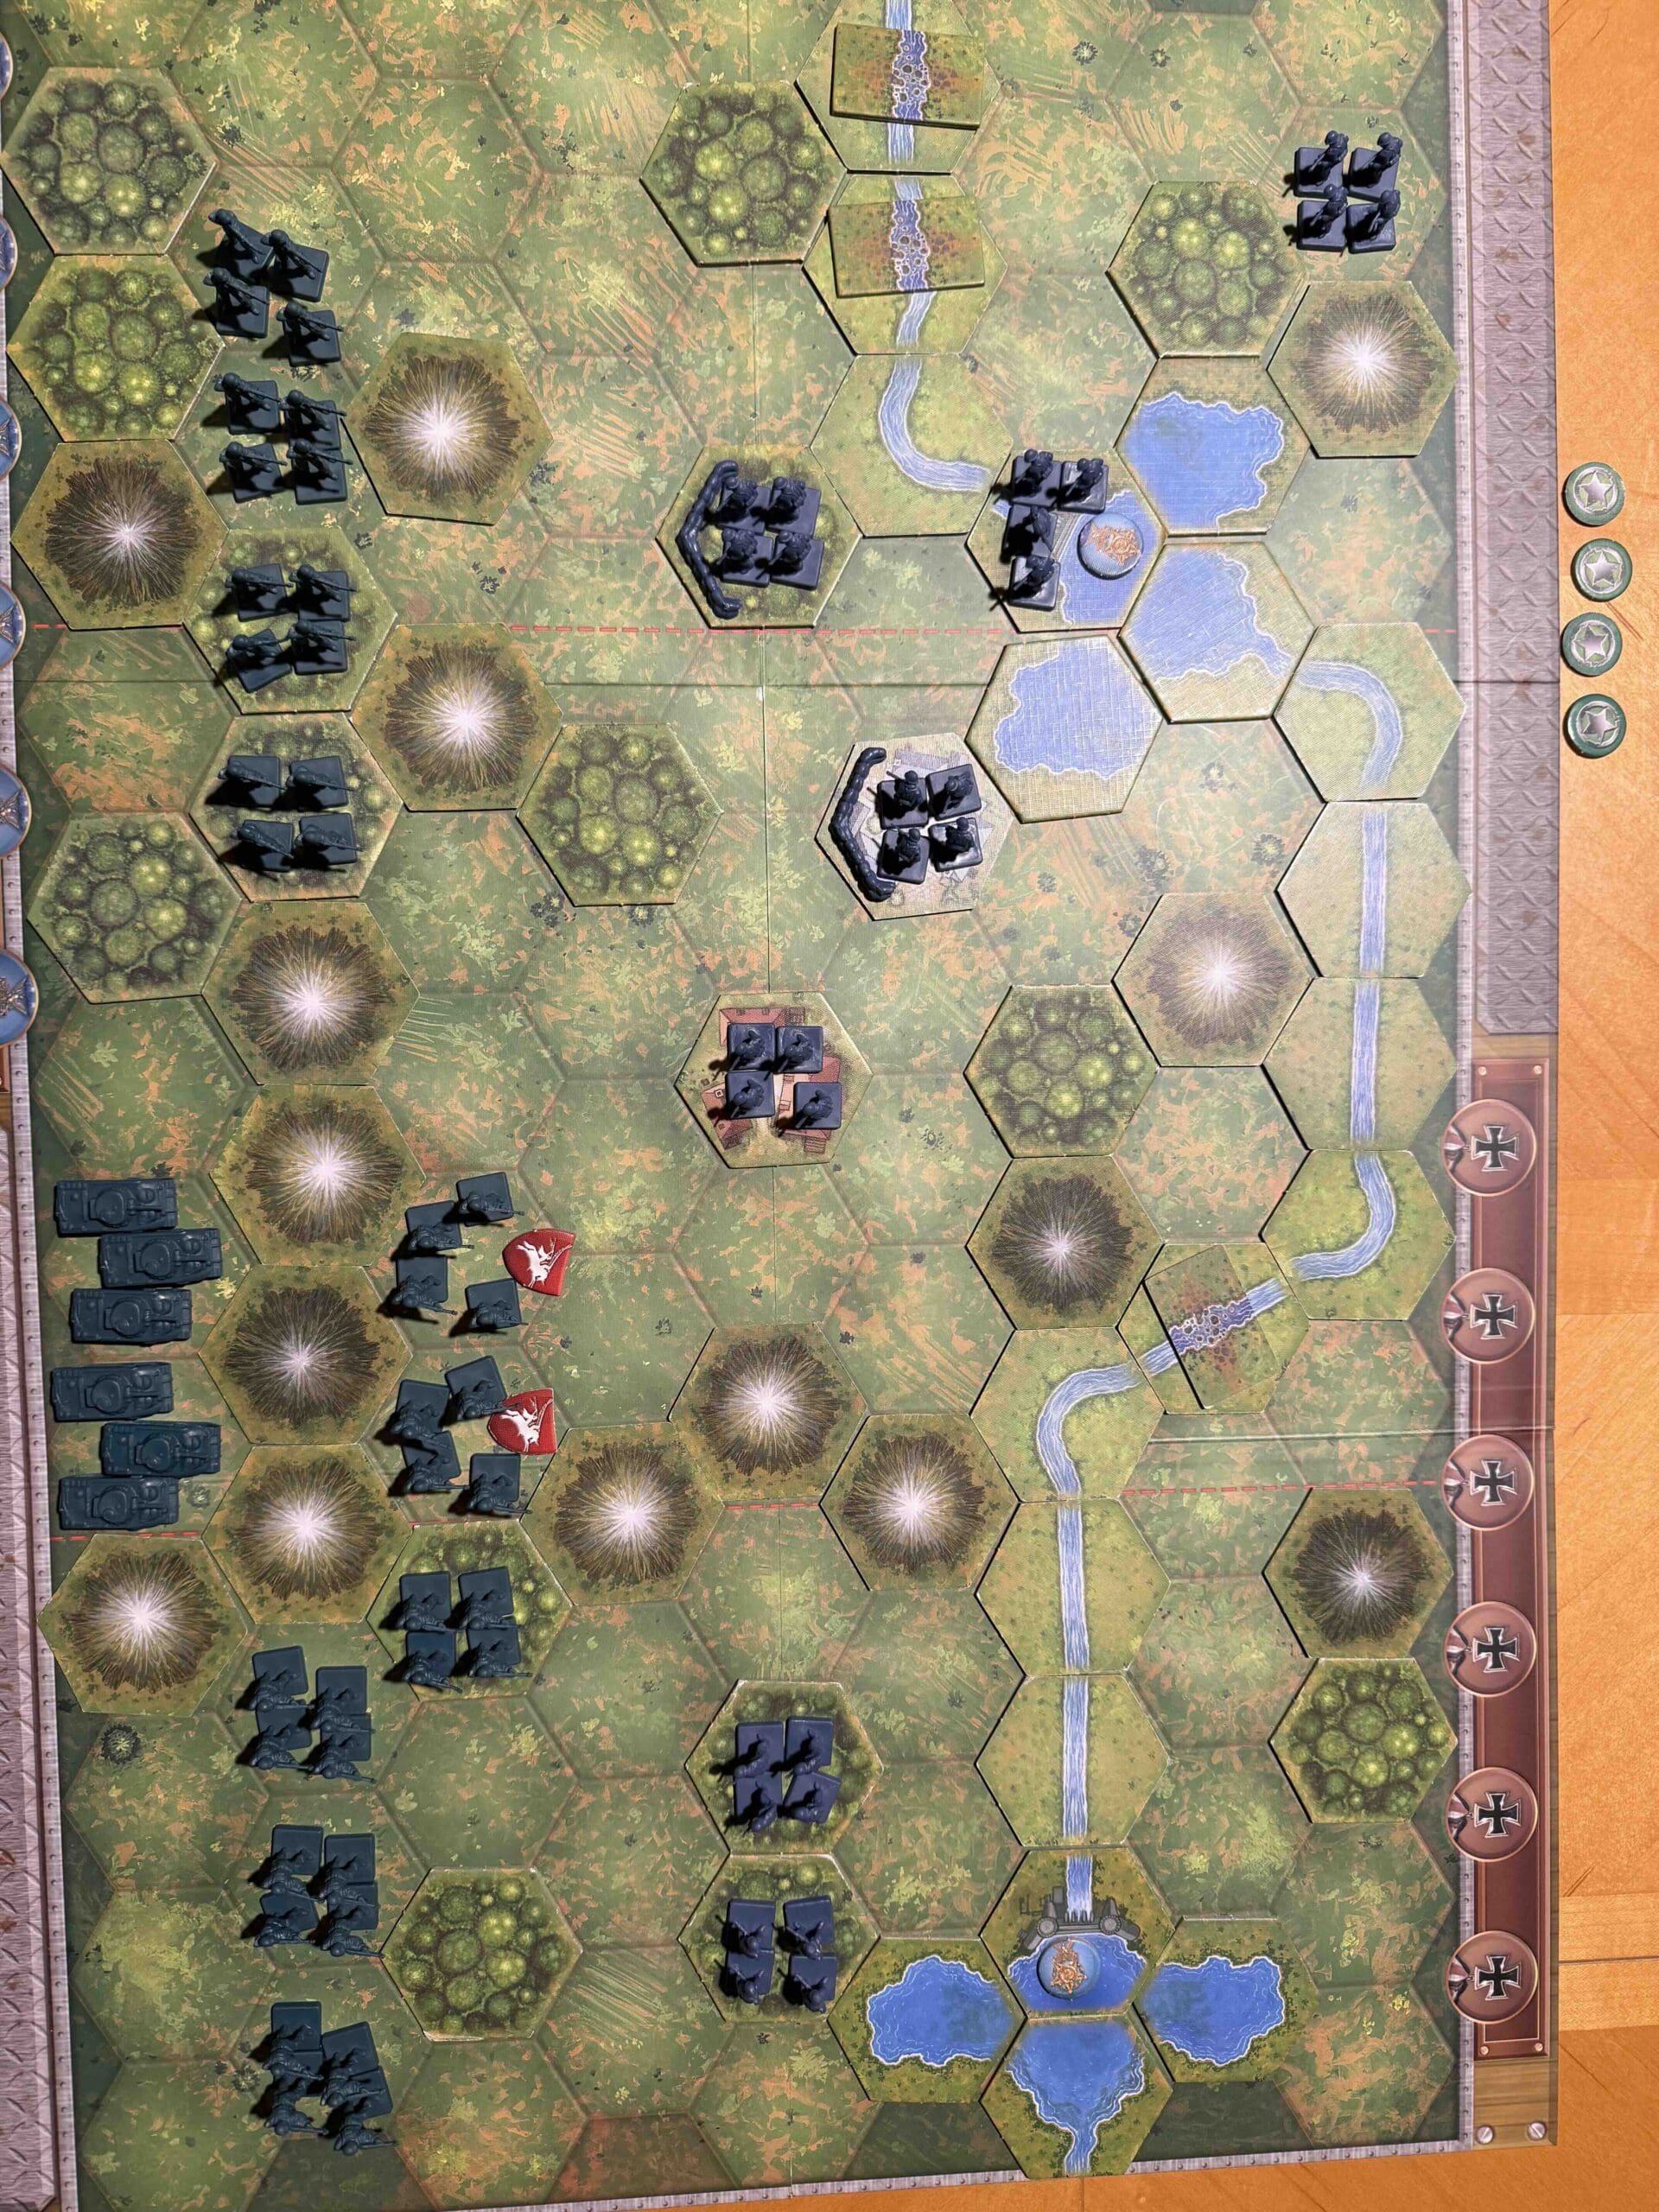
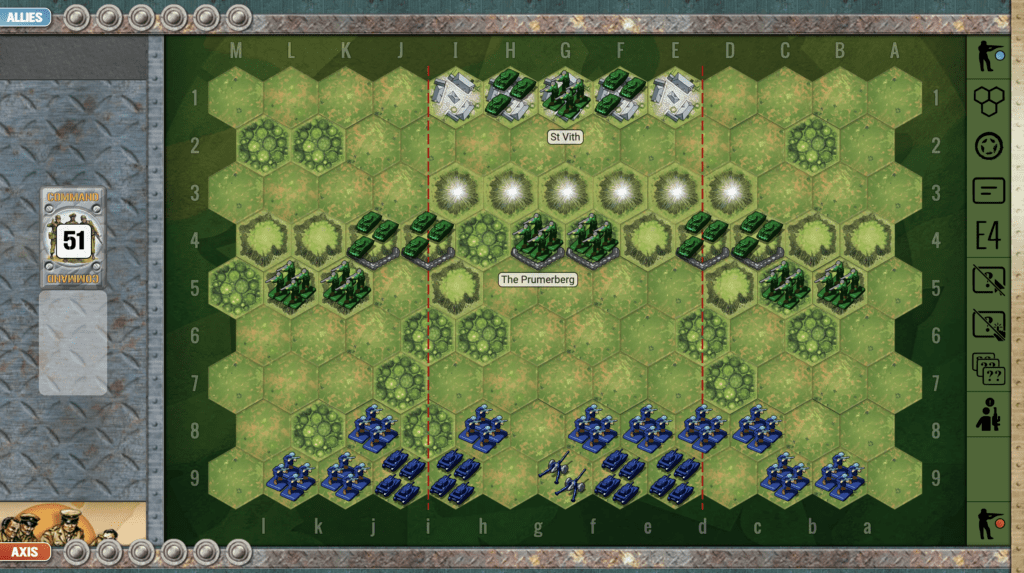
Battlefield:
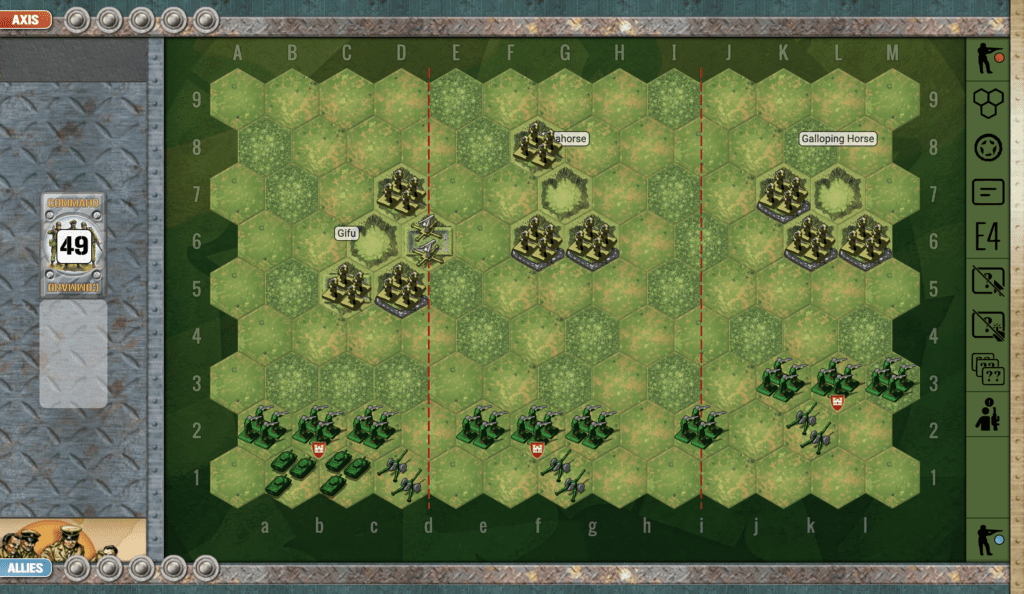
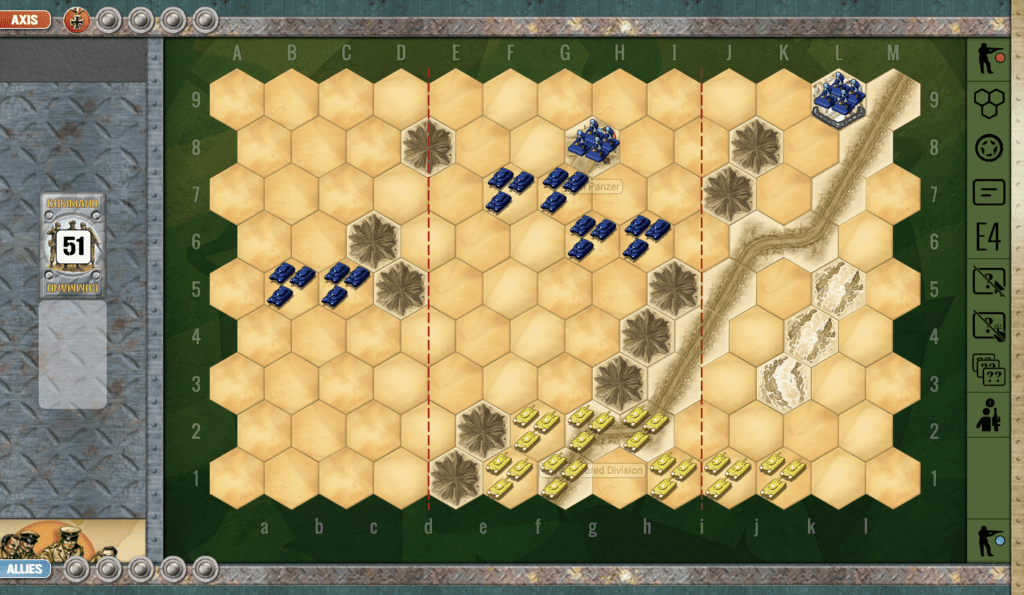
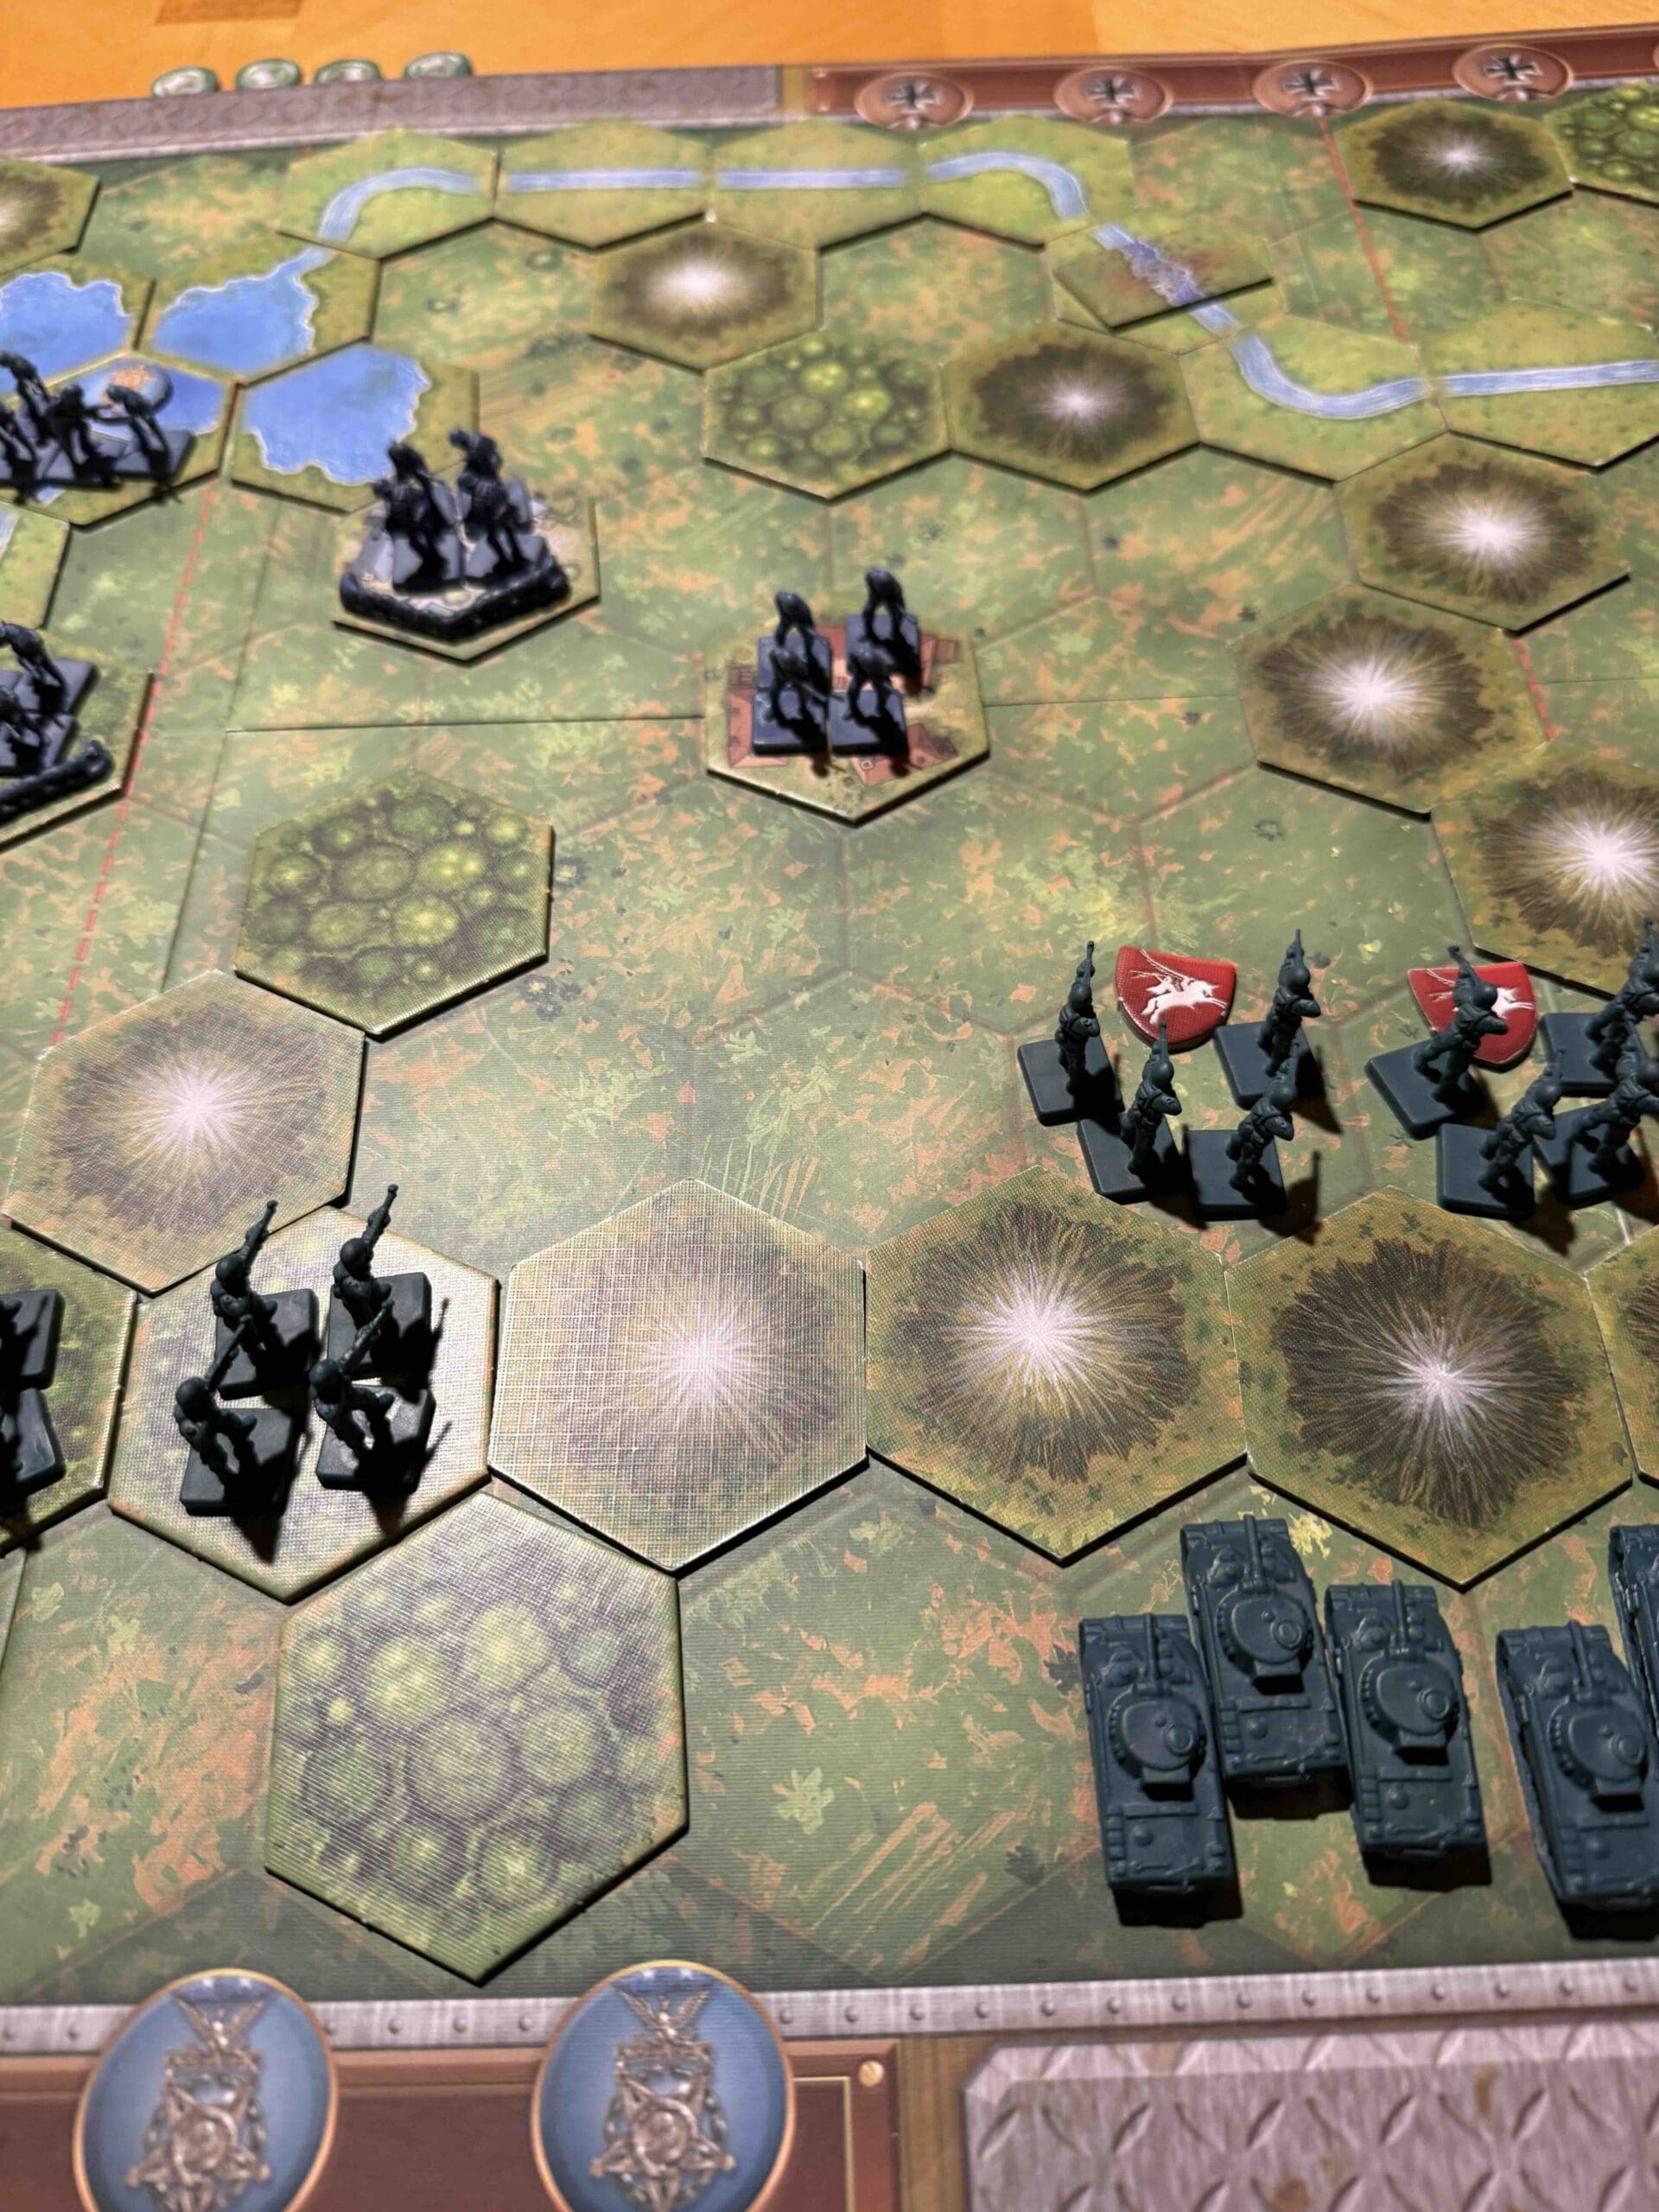
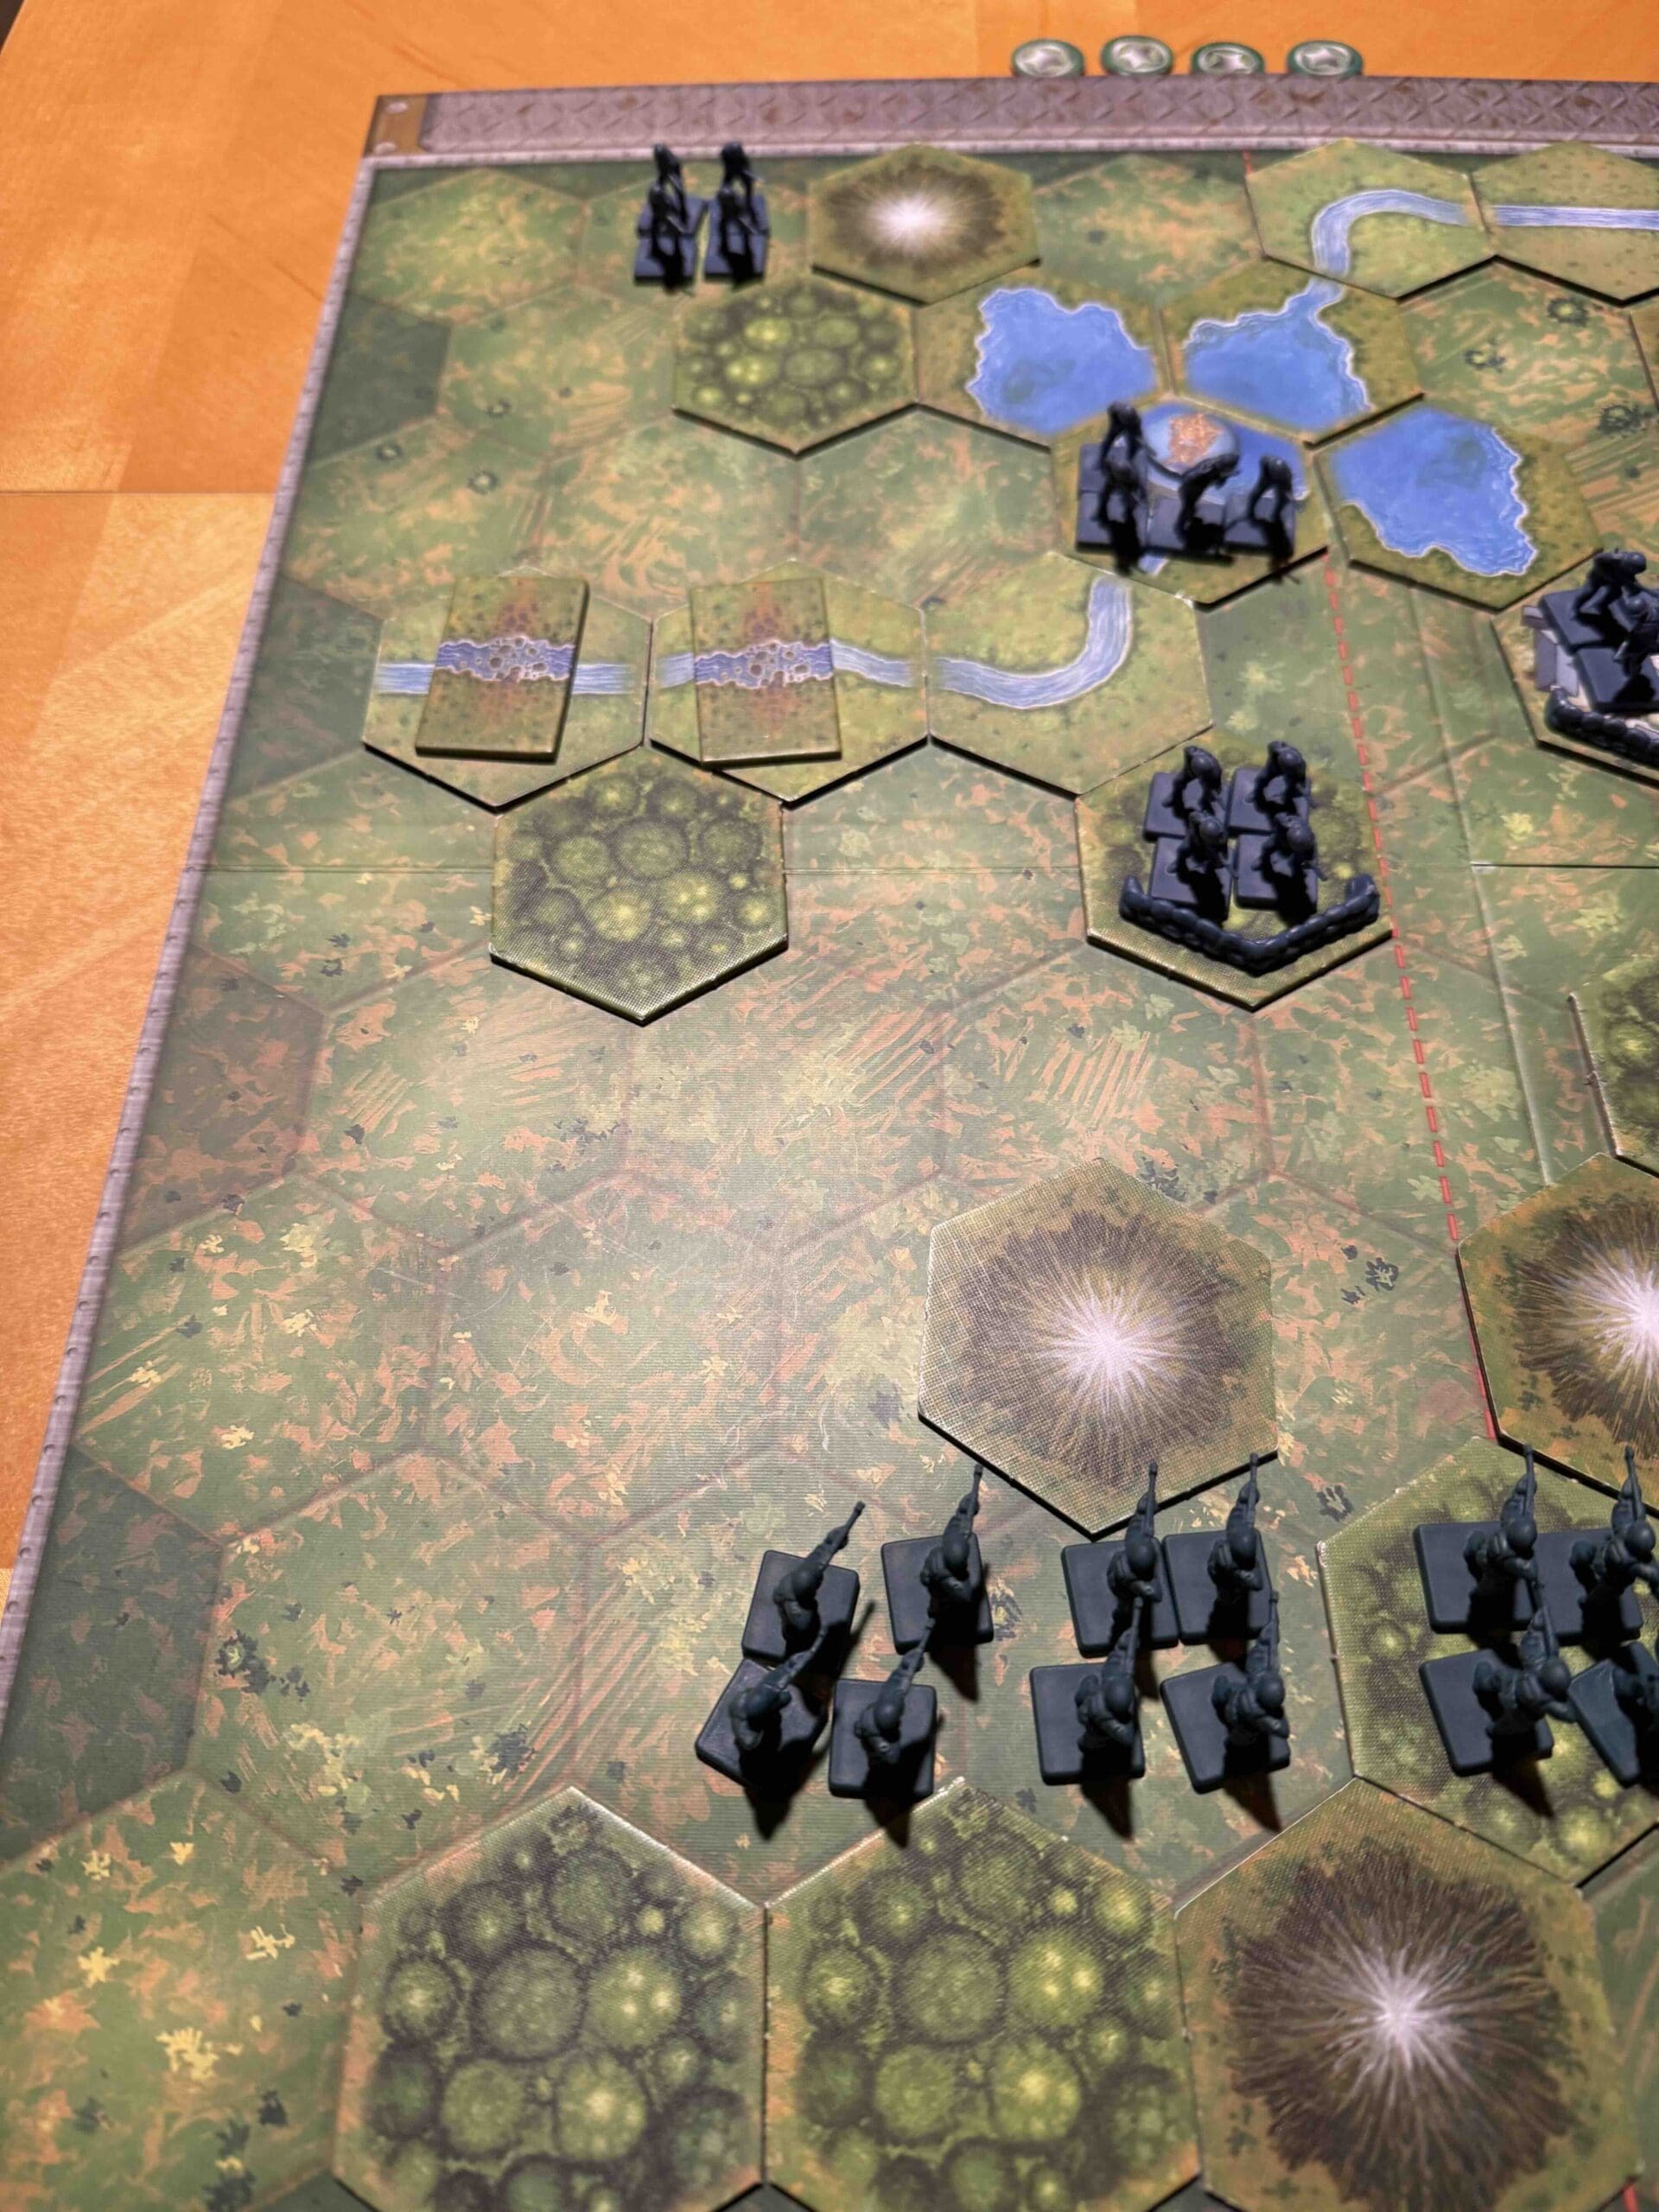
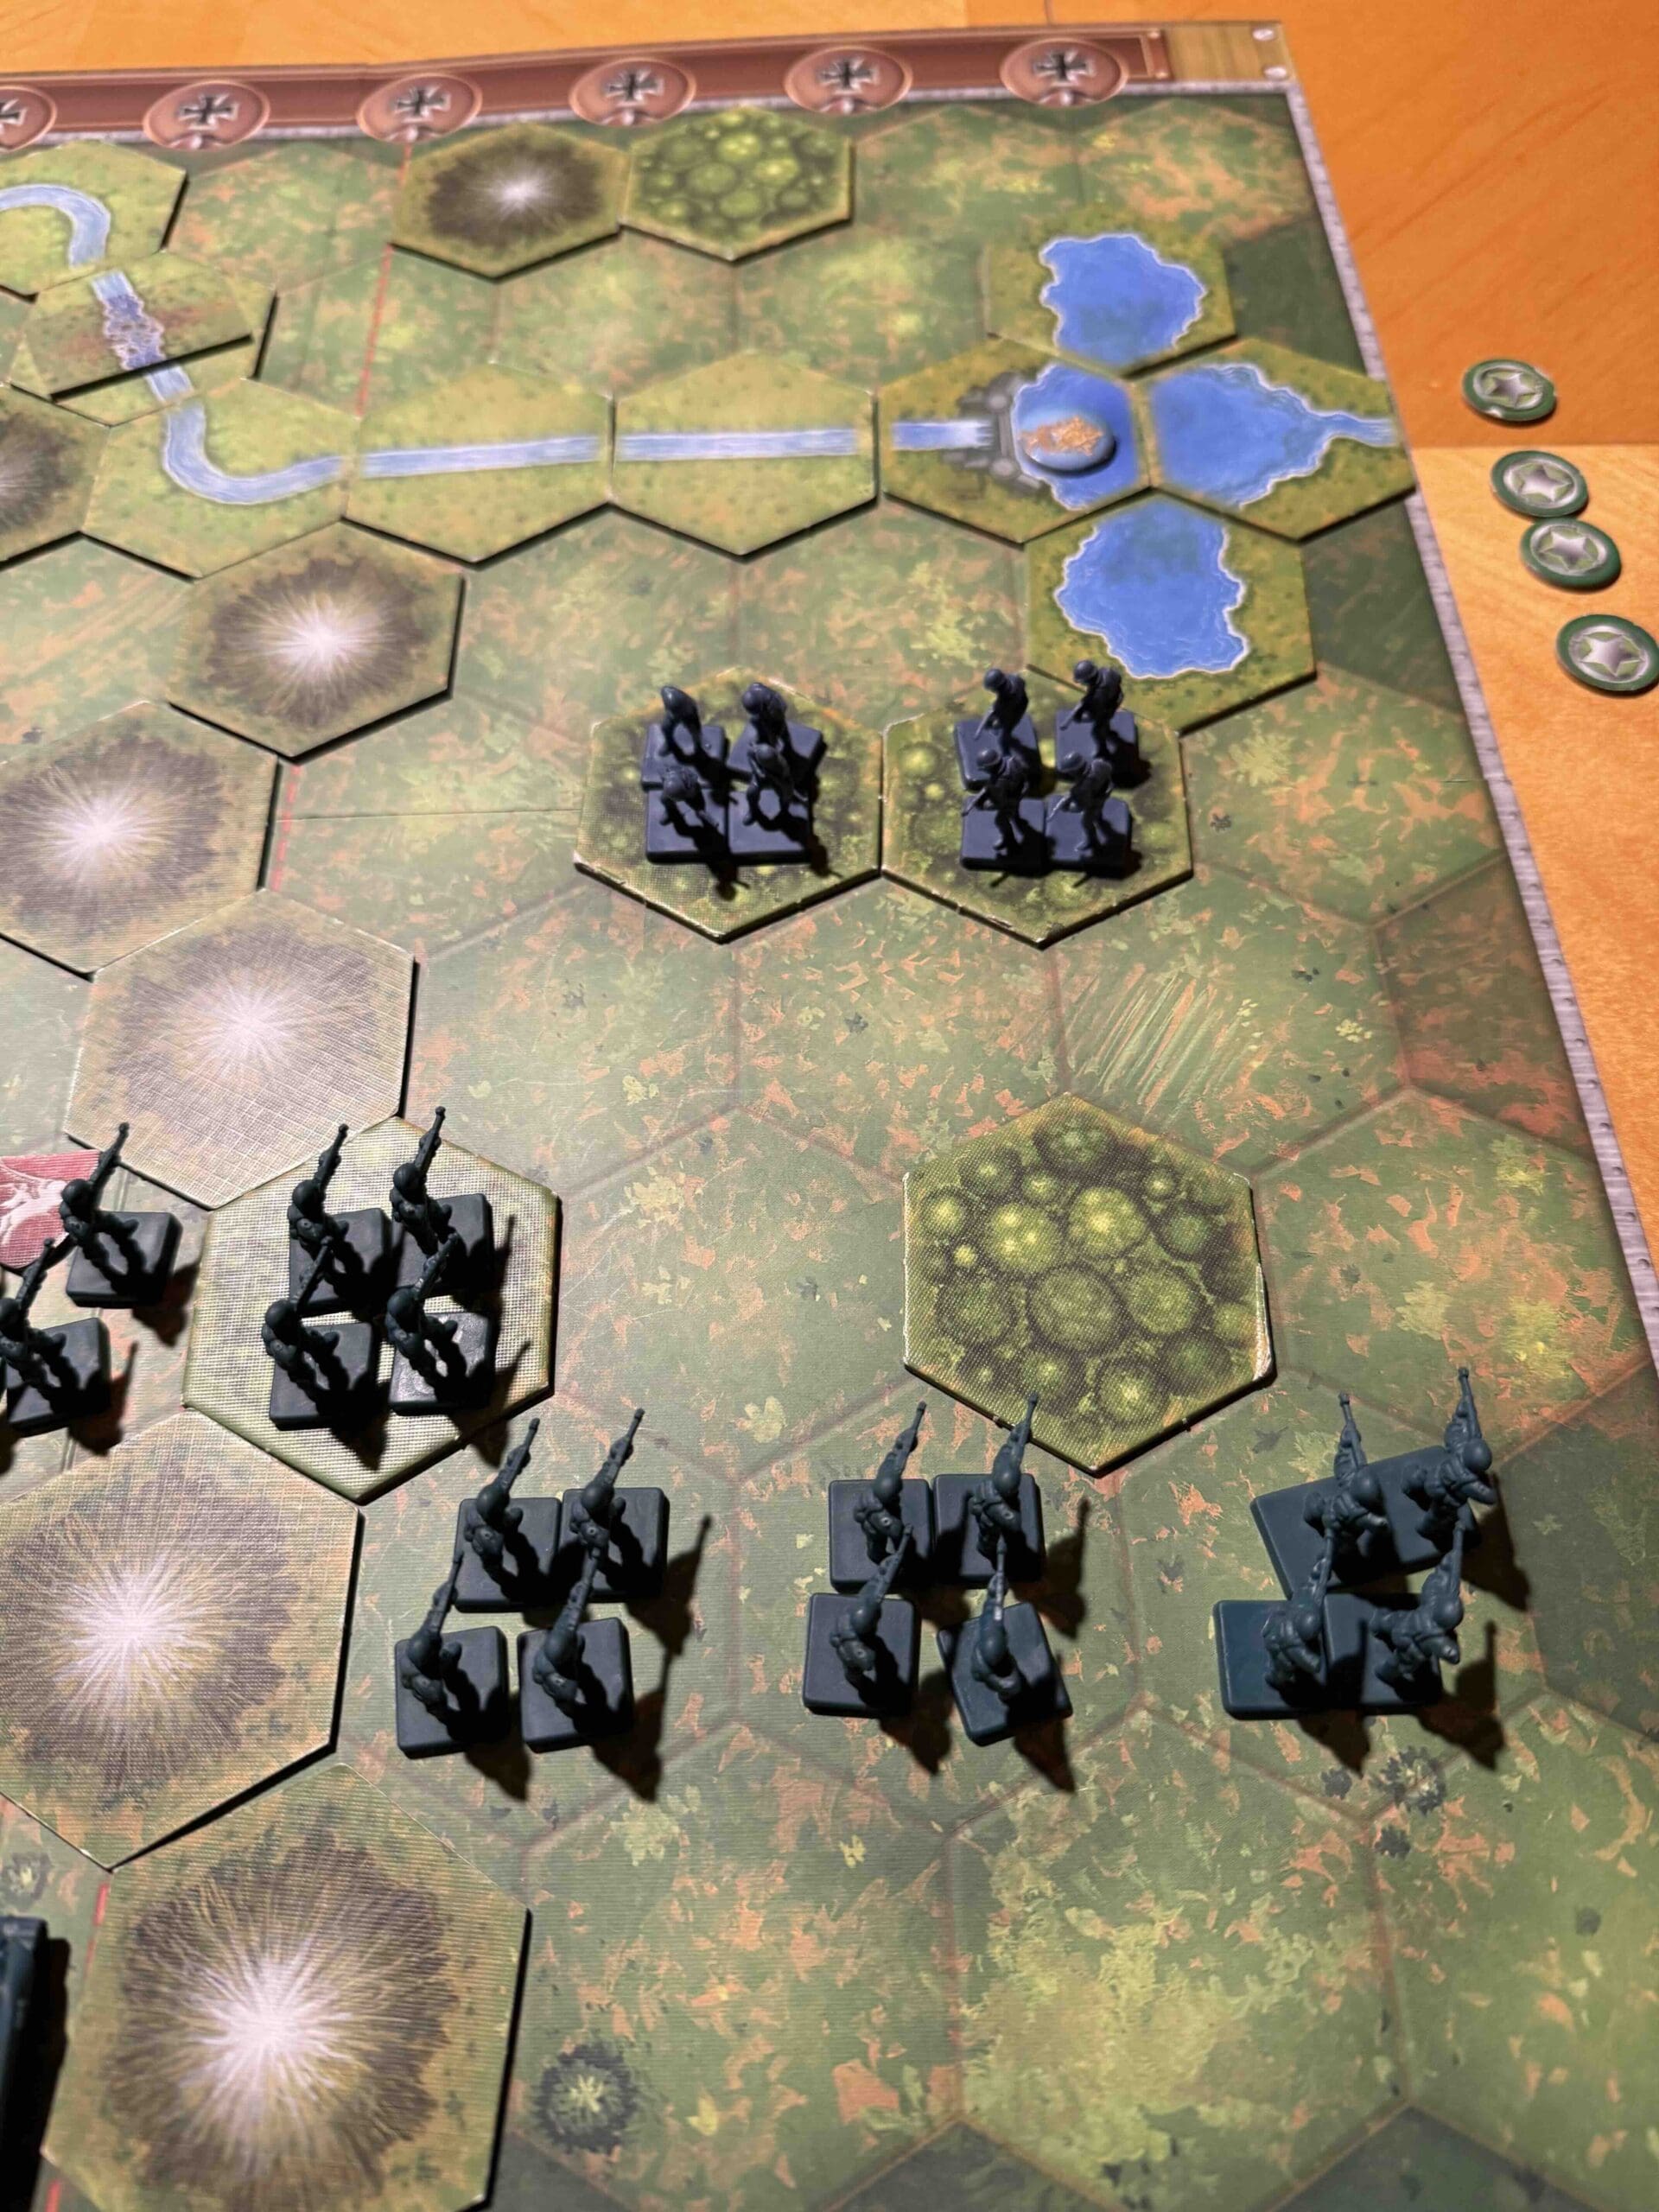
The St. Vith scenario has a large central battlefield surrounded by forests blocking access to each of the flanks, and a long ridge of impassible mountain hexes (the Prumerberg) across the back of the field. It makes for intense warfare of armor, infantry and artillery battling it out for dominance in the center.
Troops:
Allies – 7 Infantry, 6 Armor
Axis – 10 Infantry, 4 Armor, 1 Artillery

Allied Strategy
1. The Allies are on the defensive here, receiving only 4 cards vs. the Axis’ 5 cards. You have sandbags; use them, and don’t be too quick to move out from them.
2. The center section with the impassable mountains behind and the enemy artillery in front is kind of a kill-zone unless you are prepared for it. Your best assault tactics may be found on the flanks.

Axis Strategy
1. Your forces are bunched together making for many no-retreat situaions. Move your Infantry into the woods as soon as possible.
2. Note that the enemy has their backs to the wall with the impassable mountains behind them. Once your infantry are deployed in the woods, use your armor and artillery to hit any forces in the center section. Most of your hits will be enhanced by another 17% because of the no-retreat situation in which the Allied forces find themselves.
3. Note that although the Allies have a 6-4 armor advantage, their two armor in the back center section will be slow to get into the action. If you can hit or eliminate one or more of the forward armor units before the others come into play, it will even out the battle for you.
Battle Reports
(percentage of Allied victories):
45%
Author:
Days of Wonder
Link: