Peleliu Landings [Overlord]

Peleliu Landings (Overlord)

memoir 44 scenario

Listen up. When our boys hit Peleliu, they weren’t stepping onto some quiet stretch of sand — they were walking straight into a hornet’s nest carved out of coral and steel. The Japanese didn’t waste men on the beaches; they dug themselves into the ridges, the caves, and the guts of that island, building a fortress designed to bleed us dry.

The 1st Marine Division landed under murderous fire — artillery, machine guns, everything the enemy could throw. They took casualties by the score, but they kept pushing, clawing their way off those beaches yard by yard. By nightfall, they’d carved out a foothold. Not victory — just a place to start swinging.

Peleliu wasn’t taken in a day. It was a slugging match, the kind where grit and guts matter more than numbers. And the Marines proved that when the chips are down, America’s fighting men don’t back up — they break through.

~~ General Howitzer

13 VP’s

card

Card Balance:

Allies – 11

Axis – 8

Complexity:

5/5

Conditions:

Beach

beach

Context:

Historical

Location:

Palau Islands

Year:

1944

Theater:

Pacific

Campaign:

Guadalcanal Campaign

Summary:

This is an Overlord game, so make use of the Jungle Command cards, two per side.

Objectives:

12 Medals including Territorial Control, and Exit Row medals and a sudden death hex all for the Japanese.

Terrain:

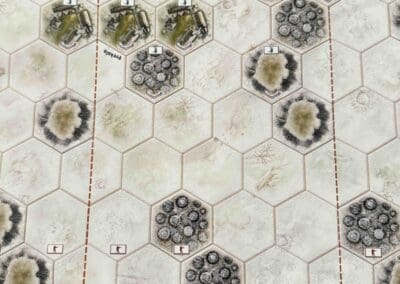
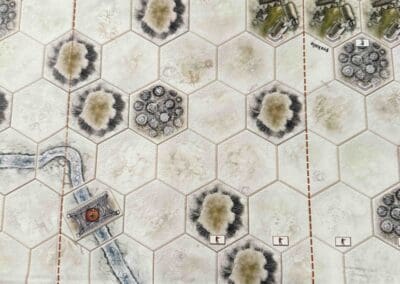
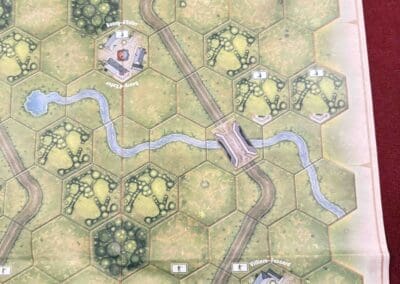
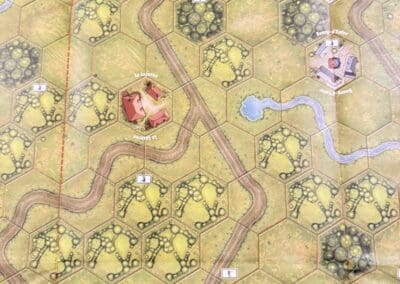
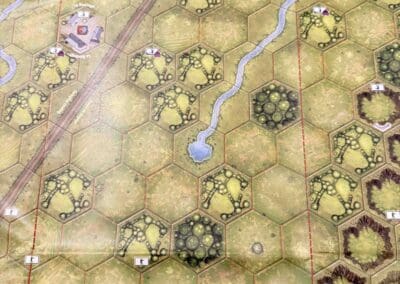
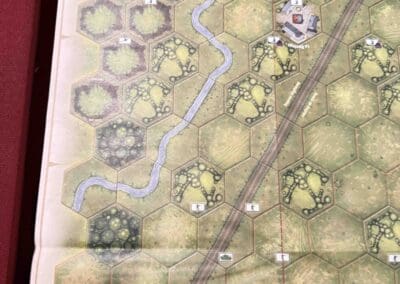
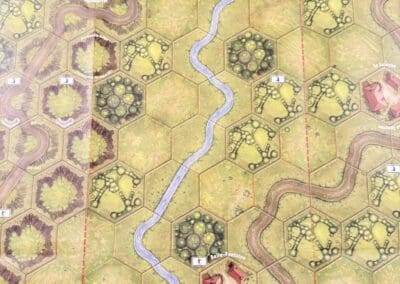
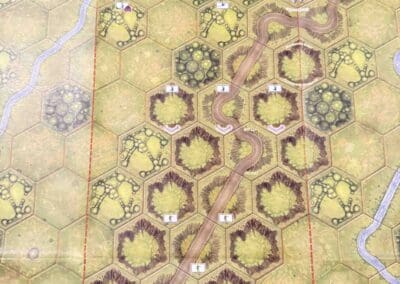
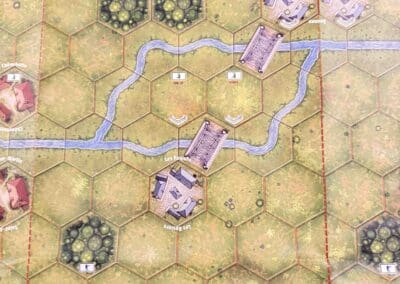
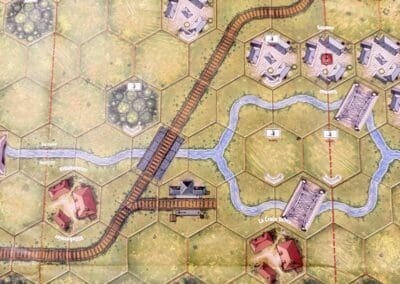
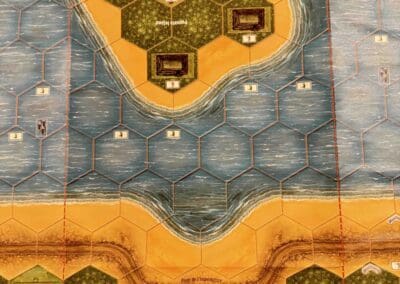
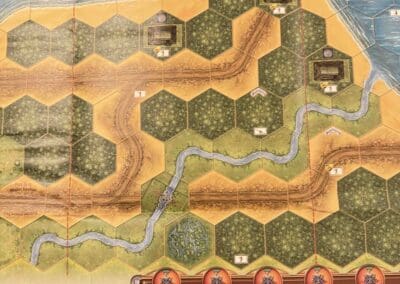
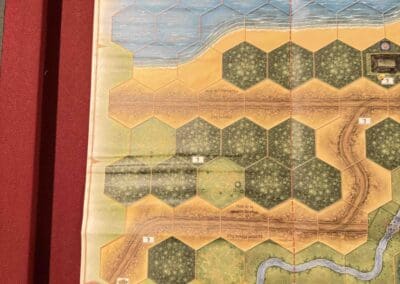
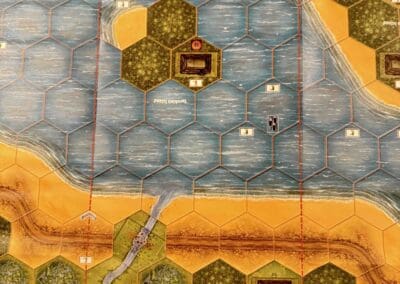
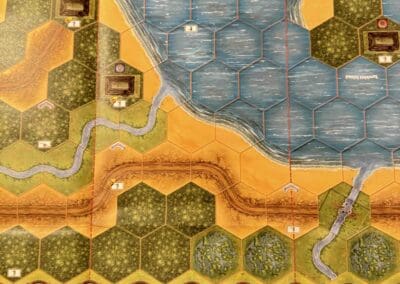
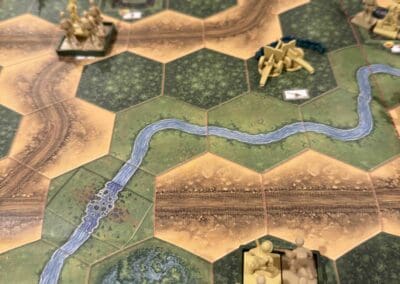
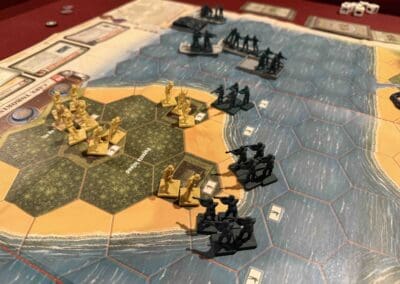
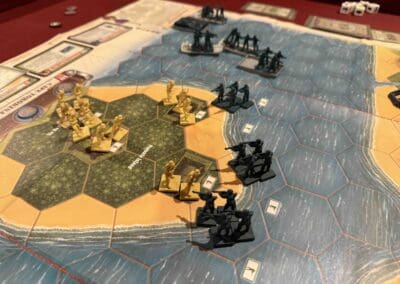
Beach and jungle terrain, and mountains, and an airfield.

Troops:

Allies –  Infantry, Armor, Destroyers

Axis – Infantry, Armor, Artillery

Special Rules:

1. Majority  Temporary Territorial Control  – whomever controls 3 of the 4 buildings of the airfield

2.  Exit Row Medals – to any Marine forces that exit

3.  Imperial Japanese Army Command rules – Seishin Kyoiku Doctrine (SKD), Yamato Dashi Concept (No Surrender), Banzai War Cry

4.  US Marine Corps rules – Gung Ho! rule – activate one extra unit more than the card played indicates

5.  Airfield rules – no movement restrictions, no combat restrictions, no line of site restrictions

6.  Jungles – Movement, must stop; Battle, only if starting in, or adjacent to hex; blocks Line of Sight;

7.  Minefields,

8.  Marshes,

9.  Mountain terrain – only Infantry may move onto Mountains; Battle, up the mountain reduces dice by two; blocks Line of Site

10.  Destroyers – attacks at 3,3,2,2,1,1,1,1


medal allies 

Allied Strategy:

1.  The Marines should avoid the Japanese up in the mountains on their left flank.  There is little to be gained in that sector.  Instead direct your forces at an angle towards the center, to bring pressure to bear towards the airfield.

2.  The two Exit hexes for the Marines are an excellent and achievable goal.  Work your way through the jungle and send some of our boys home to safety!

3. You have a warship at your disposal on your left flank.  Use it at every opportunity to degrade the enemy forces.  It is close enough to the center, that you can provide some good support for the forces fighting on the center beach. 

4.  The Marines are able to use their Gung Ho! ability to command one additional unit – but only in one section at a time.  So the Command-In-Chief (CIC) should decide which sector requires the additional unit to be ordered, to either shore up a section that needs additional defense, or to enhance an attack with one additional unit to command.

5.  You start the battle with three Engineer units.  Get them off the beach and into the jungle as soon as possible. They will be able to overcome the jungle terrain protections, ignoring them at Close Assault, and being able to roll three dice for each attack. This will help to quickly blunt the Japanese SKD abilities. 

BIG PICTURE STRATEGY FOR BOTH SIDES:

1.  Because this is an Overlord game, hand management becomes critical.  At the start of the game, both sides have plenty of cards to fight with. The Allies get 11 cards, and the Axis get 8.  But because they can spend up to three cards per turn, and only get replenished at the rate of 2 cards per turn, each side will begin to run out of playable cards, about half-way through the game, and will have to resort to Initiative Rolls for one of their Field Commanders.

2.  The center two sections are where most of the action is going to take place.  As the Marines push up toward the Airfield, and the Japanese bring their Armor out from behind the mountains, they will all converge for an awesome bloodbath on the central beach.

3.  This is a long scenario with 13 Victory Points.  This means strategic hits, and good defensive moves, so that you are attacking the enemy from places of protection, will slowly build up to a successful attack, unit by unit. This scenario is not won in a single decisive attack.  You will need to use your forces everywhere for a total war attack methodology.

4.  This is an Overlord game, so be sure to understand the rules for how the Commander-In-Chief (CIC) distributes cards, and who is authorized to attack in which sections.  Clarify before the game starts, any special rules for how to apply multi-sectional cards, and Tactic cards.  The official Days of Wonder Overlord rules can be found here on the General Howitzer site.


medal axis

Axis Strategy

1.  You have a number of powerful Armor which are capable of doing great damage to the enemy on the beach. But they are blocked in by your Infantry.  So get the Infantry moved out of the way, and take a couple of turns to attack the unprotected and helpless forces on the beach.

2.  Keep a few forces close to the Airfield, which is a Permanent Majority Medal Objective.  If the enemy controls three of the four building hexes at the end of their turn, this will earn a Permanent Medal Objective.

3.  Also keep a few forces close to the Exit hexes to prevent the enemy from escaping, and earning medals.

4.  Because of the Seishin Kyoiku Doctrine (SKD), your full force Infantry units get to roll one extra dice in Close Assault attacks.  If you move your forces quickly forward onto the beach, you can capture the Marines at their weakest, and with your extra dice rolls, either kill them, or push them back into the sea for retreat kills.  (Although it should be noted that historically, the Japanese attacked the beach from a distance and waited for the Marines to come to them, all the while inflicting heavy losses upon them for each territorial gain.)

5.  You have two Artillery units which can reach all the way to the beach.  Use them at every opportunity to attack the enemy from a distance. Do not move out your forces too early to the beach.  Make them come to you, and keep hitting them with the Artillery as they approach. 

2
BR - Peleliu

Author:

Days of Wonder

Link:

Tigers in the Snow

Tigers in the Snow

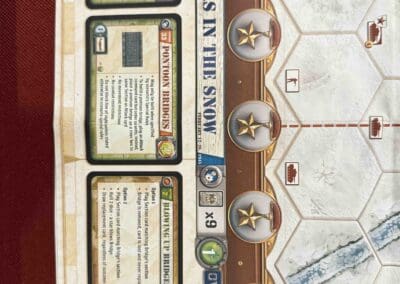
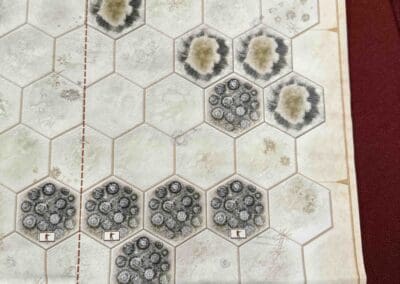
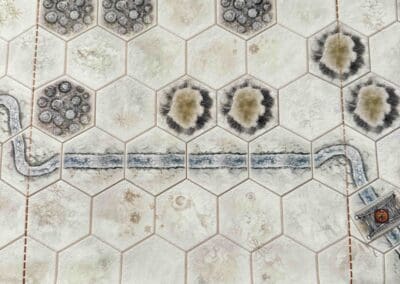
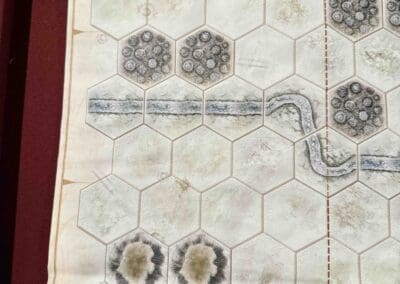
“Tigers in the Snow”—that wasn’t just a clever title, it was the actual truth of what happened in the Ardennes. Peiper and his SS boys came charging with their big, shiny King Tigers, the heaviest brutes the Germans could throw on a battlefield. They thought those monsters would smash through anything in their way.

But tanks don’t win wars by themselves. The snow was deep, the roads were narrow, and fuel was scarce. Our boys—American infantry, artillery, and tankers—kept hammering them from every side, day after day, bleeding them dry. Those great Tigers ended up stuck in the woods, running on fumes, while our men boxed them in.

In the end, Peiper’s vaunted force had to abandon their precious tanks right there in the snow. The lesson? I don’t give a care how thick your armor is—when you run into Americans who won’t quit, you’ll find out that guts, brains, and relentless pressure beat steel every time.

13 VP’s

card

Card Balance:

Allies – 9

Axis – 9

Complexity:

5 (Overlord)

Conditions:

Winter

winter

Context:

Historical

Location:

Normandy, France

Year:

1944

Theater:

Western

Campaign:

Normandy

Codename:

Summary:

Objectives:

13 VP’s, including a bridge Territorial Objective Medal.

Battlefield:

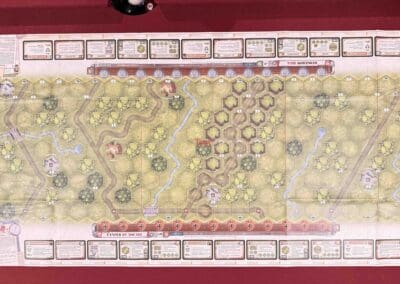
Winter countryside with a river, roads, hills, and many hedgerows.

Troops:

Allies – 13 Infantry, 10 Armor, 4 Artillery

Axis – 14 Infantry, 8 Armor, 4 Artillery


medal allies

Allied Strategy:

1.

medal axis

Axis Strategy

1. 

Battle Reports

1
BR - Tigers in the Snow

Author:

Days of Wonder

Link:
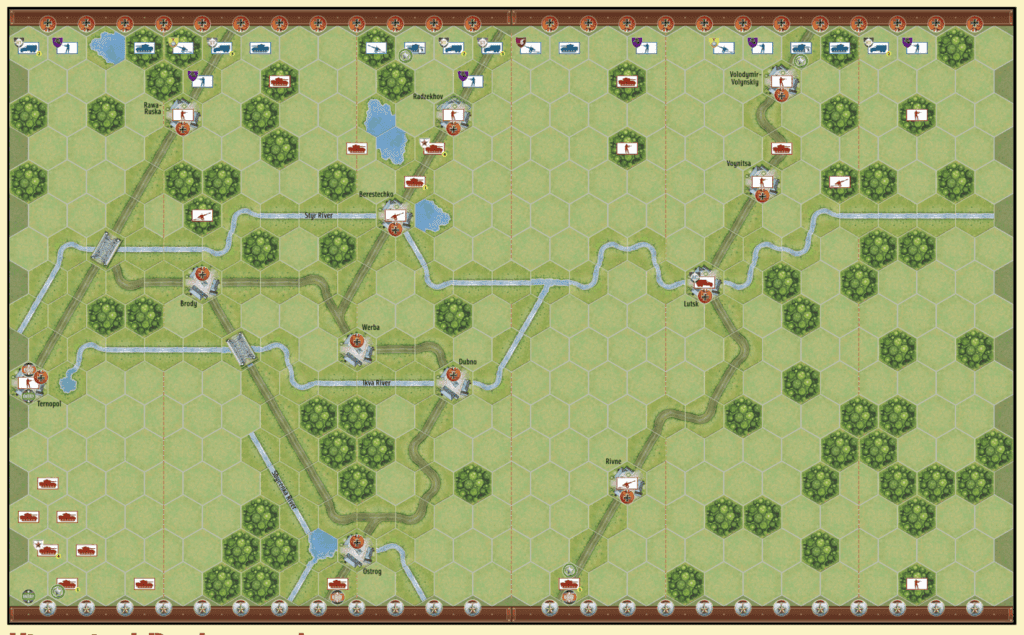
Battle of Dubno – Brody

Force vs. Finesse: Battle of Dubno - Brody

Scenario_Toulon_start_Allies

The Battle of Dubno–Brody (June 23–30, 1941) was one of the largest tank battles of World War II, fought during the opening phase of Operation Barbarossa between Germany’s Army Group South and the Soviet Southwestern Front.

Results:

  • German Panzer forces decisively defeated the numerically superior Soviet armored units, destroying or capturing thousands of tanks.

  • Soviet forces suffered catastrophic losses and were forced into retreat.

Strategy:

  • The Germans used fast, coordinated Panzer thrusts and encirclement tactics to neutralize Soviet armor.

  • Soviet forces, hampered by poor coordination, mechanical breakdowns, and weak communications, failed to execute an effective counteroffensive.

General Howitzer summarizes its impact:
That win at Dubno–Brody blew the road wide open for the Germans into Ukraine and straight toward Kiev. It showed the Soviets their armor doctrine was a mess, and they paid for it in steel and blood. But they’re stubborn—those losses lit a fire under them, and the lessons they learned there would come back to bite the Germans hard later in the war.

24 VP’s (!)
[ This is a ‘break-lord’ scenario ]

card

Card Balance:

Allies –

  • 4 cards for each half of the board

Axis –

  • 6 cards for each half of the board

Complexity:

5

Conditions:

Countryside

countryside

Context:

Historical

Location:

Russia

Year:

1941

Theater:

Eastern Front

Campaign:

Codename:

Operation Barbarossa

Summary:

Objectives:

24 VP’s, plus many other conditions. Read the PDF special rules.

Terrain:

Countryside with rivers and roads 

Troops:  (check the PDF for specific the specific troop deployments)

medal allies

Allied Strategy:

1.  

medal axis

Axis Strategy

1. 

0
BR - Dubno-Brody

Author:

Willem Boersma

Complete Scenario Link:

https://generalhowitzer.com/bsk-pdf-manager/battle-of-dubno-brody/

Hedgerow Hell

Hedgerow Hell

Here’s a brief summary of the Battle of Hedgerow Hell in July 1944:

  • When & Where:
    July 1944, in the dense hedgerow country of Normandy, France.

  • Context:
    After the D-Day landings, U.S. forces faced stiff German resistance in the bocage (hedgerow) terrain, which made attacks and movements extremely difficult.

  • The Battle:
    Fighting was slow and brutal—close-quarters combat with tanks and infantry often forced to blast through thick hedgerows. German forces used the terrain to launch ambushes and hold up the American advance.

  • Outcome:
    Despite the difficulties, American troops adapted with new tactics and overcame German defenses, breaking out of the hedgerows and paving the way for the later launch of Operation Cobra.

Here is General Howitzer’s comments on it:

“Listen up, men! July ‘44 in Normandy—the damn hedgerows were like fighting in a jungle made of dirt and stone, and the Germans knew every inch of it. We called it Hedgerow Hell, and that’s exactly what it was.

We started on July 1st, smashing forward, inch by inch, day by day. Those Germans were dug in like ticks, every hedgerow a fortress, every field a killing ground. But our boys didn’t back down—they learned to blow holes in those hedgerows with explosives, and we turned those obstacles into stepping stones.

Week by week, we kept at it—infantry, tanks, engineers working together, and by the end of July, we’d beaten the bastards back. We learned to fight smarter, and we learned to hit ‘em so hard they couldn’t catch their breath.

July 25th—Operation Cobra—that was the payoff, boys! We broke out of that green hell and took the fight back to where they didn’t have those hedgerows to hide in.

So remember this—no matter how tough the terrain or how deep the enemy’s dug in, we keep pushing, keep killing, and never let the bastards stop us!

13 VP’s

card

Card Balance:

Allies – 8

Axis – 10

Complexity:

5

Conditions:

Countryside

countryside

Context:

Historical

Location:

Normandy, France

Year:

1944

Theater:

Western

Campaign:

Normandy

Codename:

Summary:

Objectives:

13 VP’s, plus Territorial Objective Medals for each side, and Exit hexes for the Allies.

Battlefield:

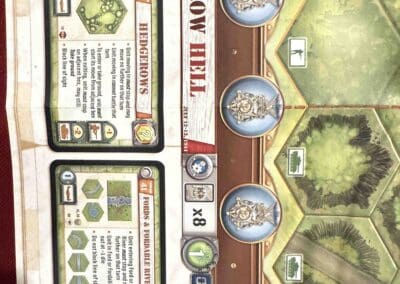
Countryside with rivers, roads, hills, and many hedgerows.

Troops:

Allies – 21 Infantry, 8 Armor and some Trucks, 3 Artillery

Axis – 14 Infantry, 5 Armor, 4 Artillery


medal allies

Allied Strategy:

1.

medal axis

Axis Strategy

1. 

Battle Reports

0
BR - Hedgerow Hell

Author:

Days of Wonder

The Cadets of Saumur

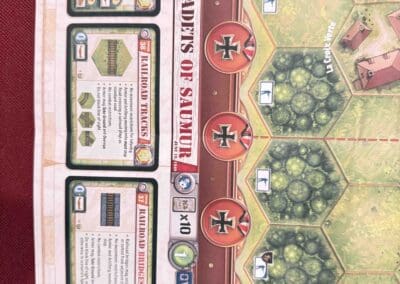
The Cadets of Saumur (Overlord Map)

“Let me give it to you straight, boys—back in ‘39, before the big show kicked off in Europe, there was a damn fine brawl brewing out east along the Khalkhin-Gol River. The Soviets, under that iron bastard Zhukov, took on the Japanese who were itching for a scrap in the borderlands.

Those Russians didn’t just trade blows—they went for the kill. They wrapped the Japanese 23rd Division up tight in a steel trap—tanks on the flanks, artillery in the rear, and air power pounding them into the dirt. No escape, no second chances—just one big, smoking ruin when the Red Army was done.

The result? The Japanese learned a lesson in modern warfare and didn’t forget it, and Zhukov walked out of there with a reputation as the man who could gut an enemy army whole. That’s how you fight a battle, boys—encircle, crush, and leave nothing but wreckage behind!

~~ General Howitzer

Timeline of the Battle:

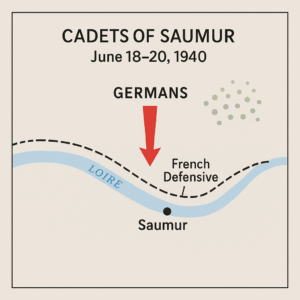
  • June 17, 1940
    German forces approach the Loire River as French defenses collapse elsewhere. Cadets at Saumur are ordered to hold the bridges.

  • June 18, 1940
    The cadets and their instructors begin preparing defenses, mining bridges, and setting up strongpoints.

  • June 19, 1940
    German troops launch assaults to seize the Saumur bridges. The cadets, though heavily outnumbered, fiercely resist throughout the day and destroy bridges to slow the advance.

  • June 20, 1940
    After holding for two days and inflicting delays on the Germans, the cadets receive orders to withdraw. German forces occupy Saumur later that day.

12 VP’s

Card Balance:

Allies (France) – 8

Axis – 10

Complexity:

4

Conditions:

Countryside

countryside

Context:

Historical

Location:

France

Year:

1940

Theater:

Western

Campaign:

Codename:

Summary:

Objectives:

12 VP’s with two Permanent Medal Objectives for the Axis.

Battlefield:

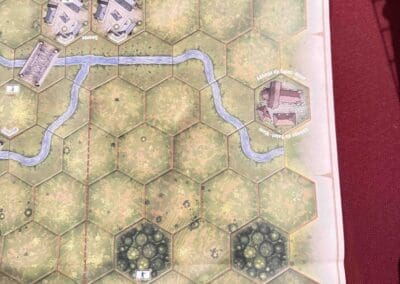
Countryside with many rivers, railroad,  and towns

Troops:

Allies  – 17 Infantry, 2 Armor, 3 Artillery

Axis  – 20 Infanty, 3 Armor, 3 Artillery


Allied Strategy:

1.  

Axis Strategy

1.  

Battle Reports

0
BR - Cadets

Author:

Days of Wonder

Link:

Cape Torokina Landings

Cape Torokina Landings (Overlord Map)

“Listen up, men! On November 1st, 1943, our boys hit those beaches at Cape Torokina like a thunderbolt. Those Marines of the 1st and 3rd Divisions didn’t blink at the sight of jungle, mud, and dug-in enemy troops. They took that beachhead by the throat and held on like bulldogs!

This wasn’t just another island—it was the gateway to busting open Rabaul and cutting off those Japanese forces. The jungle was a green hell, but we cut through it, took the ground, and started building the airstrips and supply bases to keep the hammer coming down.

That’s how you do it, boys—land hard, fight harder, and don’t stop until you’ve got a fortress behind you and the enemy on the run. That’s what those Marines did at Cape Torokina—they paved the road to victory in the Pacific!

~~ General Howitzer

Timeline of the Cape Torokina Landings (Bougainville)

  • November 1, 1943D-Day for Cape Torokina:
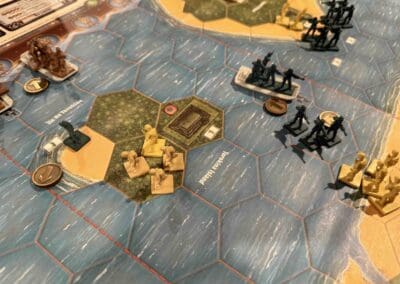
    U.S. 1st and 3rd Marine Divisions land at Cape Torokina. Initial beachhead secured despite Japanese resistance and tough jungle terrain.

  • November 2–3, 1943
    Marines expand the perimeter, clearing Japanese defenses in nearby jungle areas.

  • Mid-November 1943
    Seabees and engineers begin constructing airfields and supply bases within the beachhead.

  • December 1943–January 1944
    Marines fortify positions, repel repeated Japanese counterattacks.
    Japanese strongpoints isolated and bypassed.

  • March–April 1944
    U.S. Army relieves Marines; continuing operations to expand and secure the beachhead.

15 VP’s

Card Balance:

Allies (Marines) – 9

Axis (Japan) – 8

Complexity:

4

Conditions:

Beach

Context:

Historical

Location:

Solomon Islands

Year:

1943

Theater:

Pacific

Campaign:

Bougainville

Codename:

Summary:

Objectives:

15 VP’s with various Medal Objectives for various territorial control.

Battlefield:

Islands with many rivers, roads, jungles, and hills

Troops:

Allies  – 21 Infantry, 4 Armor, 2 Destroyers, with Landing Crafts to bring them ashore

Axis  – 18 Infantry some with Special Weapons, 1 Armor, 1 Artillery


medal allies

Allied Strategy:

1.  There are a number of special rules which you need to be aware as commander of the Allied forces.  First, there are two islands (Torokina & Puruata), which must be taken. Because the enemy begins the battle with forces on the islands, they start the battle with two victory medals.  As soon as you eliminate the enemy from an island, you will cause them to lose a victory medal, but you will NOT gain one.    Also note that because the Landing Crafts (LC’s) leave after dropping off your troops, they will be stranded on that island. So make sure you commit enough troops to win, but not too many.

2.  There are also three Field Bunkers which provide Temporary Territorial Medals to whichever side occupies them.  But you must remain in the bunker to keep the medals. 

3.  What this means then, is that although you begin the battle with overwhelming force, in order to clear the islands, and then occupy the Field Bunkers, you will need to be leaving troops at each of those locations.  So your attack force will be diminished for each parcel of land which you capture.  This must be factored into your planning commander!

medal axis

Axis Strategy

1.  Your primary role in this battle is a defensive one, but that does not mean passive.  You have troops which need to be prepared to fight and brought into the battle arena.

2.  You have an Armor unit stuck in the corner in the right flank. Get it into the action as soon as you can.  

3.  You also have an Artillery which you should use at every opportunity to attack the enemy as they come ashore. 

4.  Make use of the Seishin Kyoiku doctrine to attack with your full force units at every opportunity in order to maximize your extra firepower while they are still strong. 

5. You have a lot of forces on the two islands.  Make the enemy pay for every inch of ground they take on the islands in order to reduce their main attack force.

Battle Reports

1
BR - Torokina

Author:

Days of Wonder

Link: