Schwammenauel Dam

Schwammenauel Dam

Historical Summary

We didn’t fight our way to the Schwammenauel Dam for scenery — we took it because it was choking our advance. The Germans thought they could hold the Roer hostage by flooding the valley and buying themselves time. That was a mistake. American infantry went in, took that dam under fire, and shut the valve on German delay tactics. Once the dam was secured, Operation Grenade could roll forward without interference, and the Roer was crossed on our terms. That action tore down the last real barrier in the Rhineland and put our armies back on the march straight into the heart of Germany — exactly where we intended to go.

~~ General Howitzer

VP’s:

5

Card Balance:

Allies – 5

Axis – 5

Complexity:

4

Conditions: 

Mountains & Countryside

Location:

Germany

Year: 

1945

Theater:

Western Front

Campaign:

Allied Rhineland Campaign

Summary

This is an exciting scenario with some unique features which recreate actual events on the battlefield in 1945.

Objective:

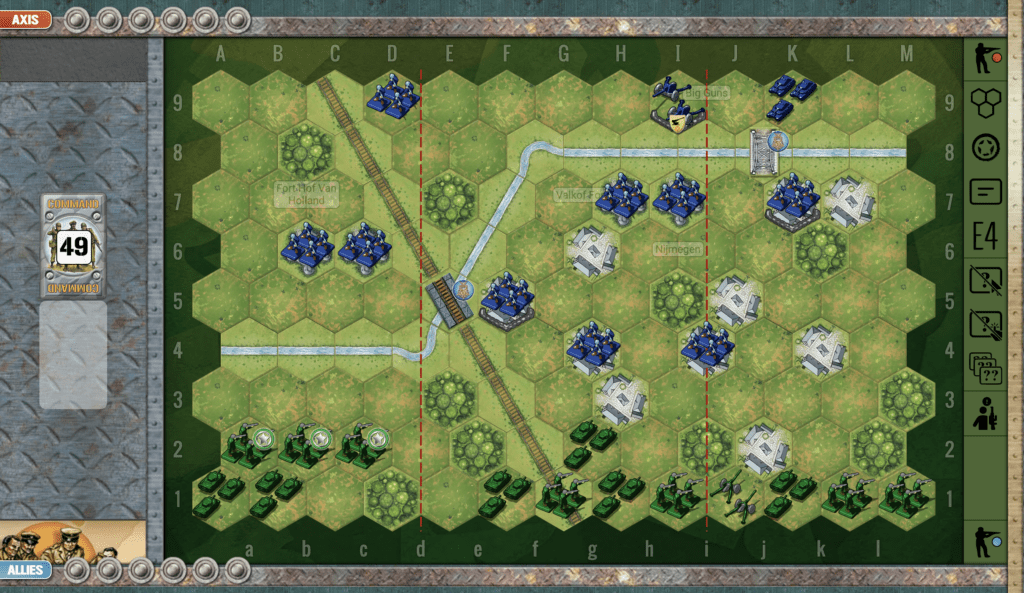
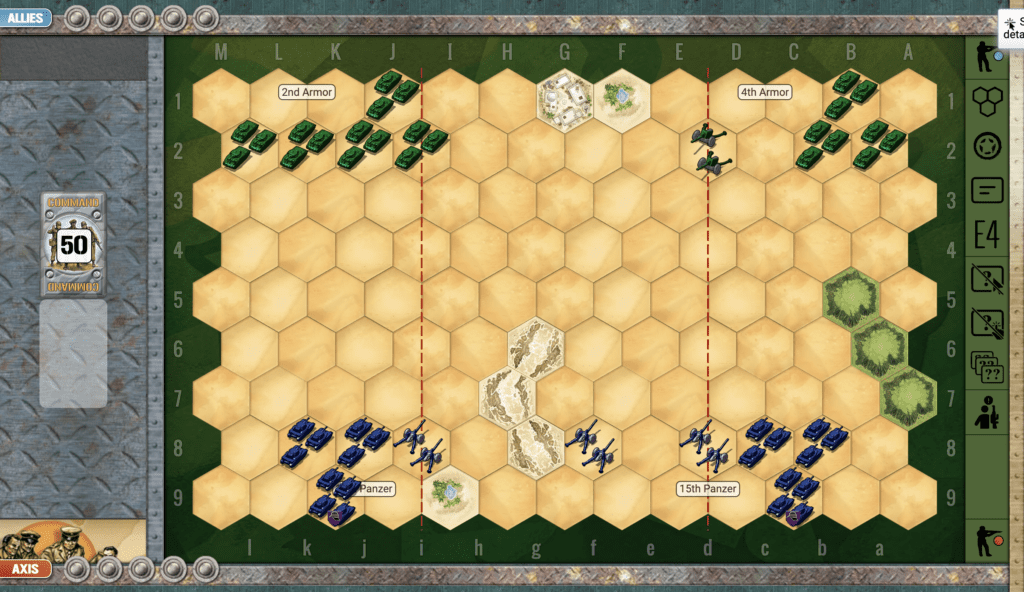
Six Medals will win, but the principle objective for the Allies is to preserve the two dams, Schwammenauel and Urft.  Should either of them get successfully sabotaged by the Germans, and the Allies will likely lose the scenario.
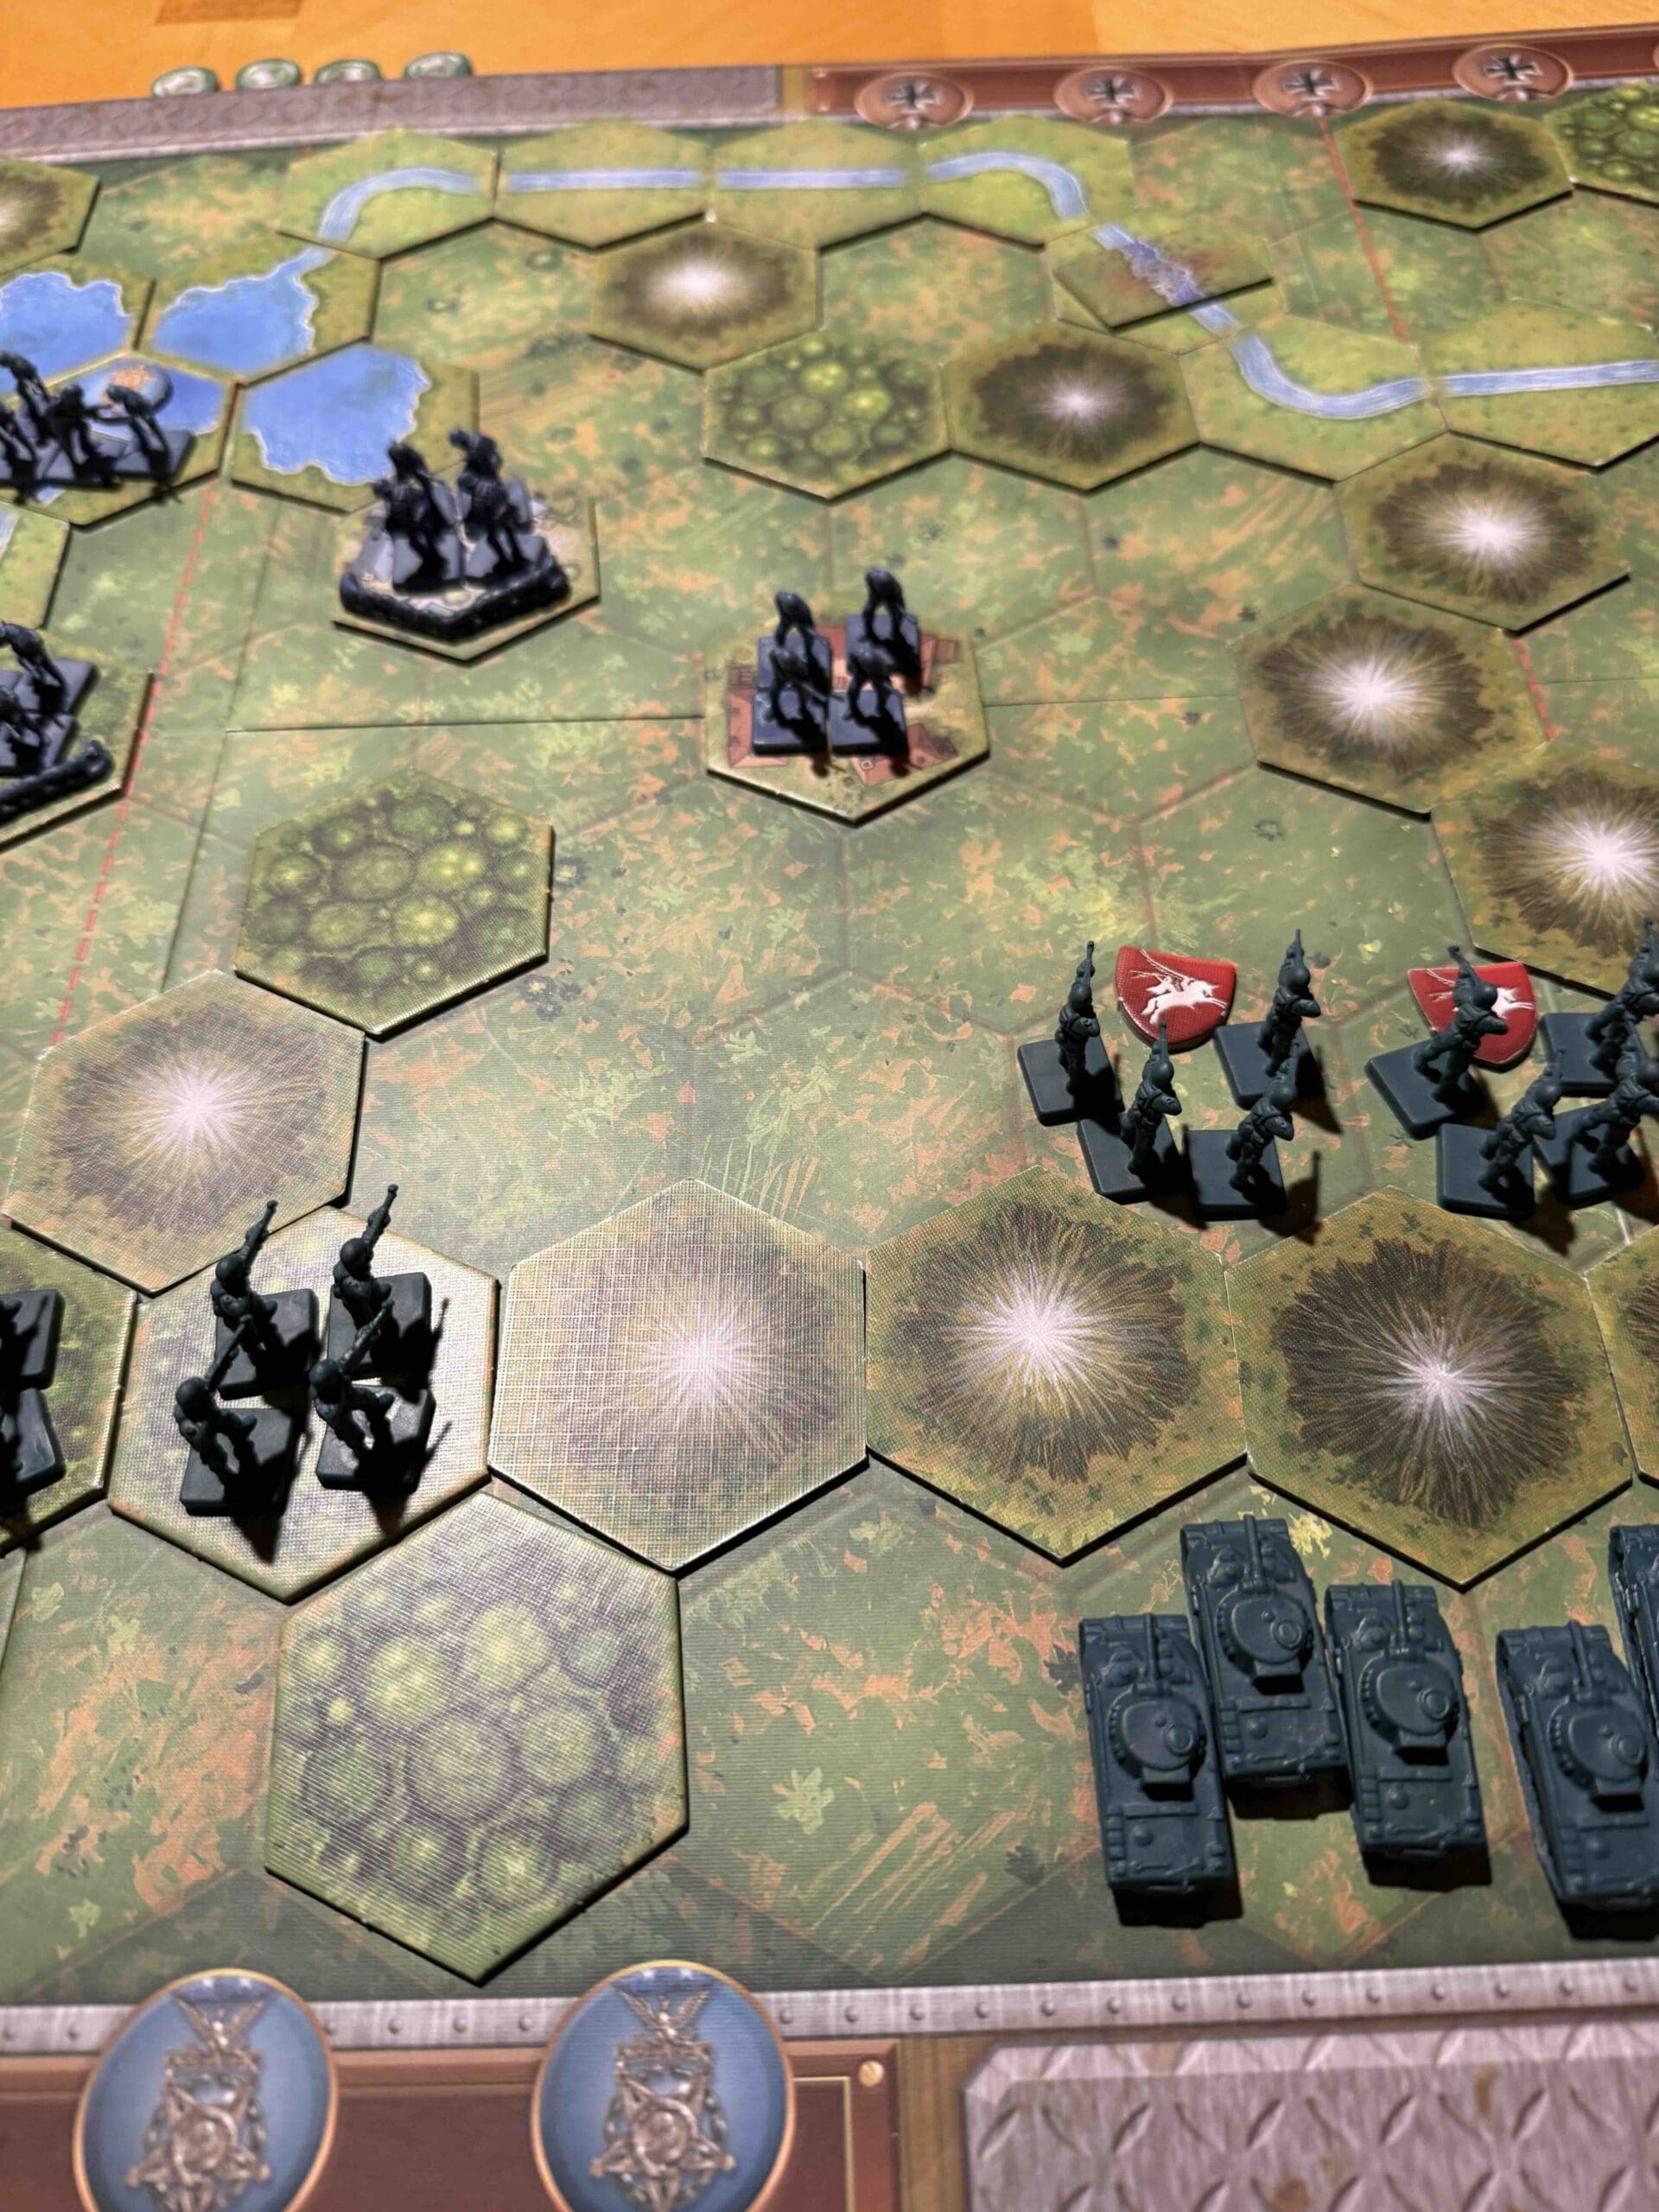
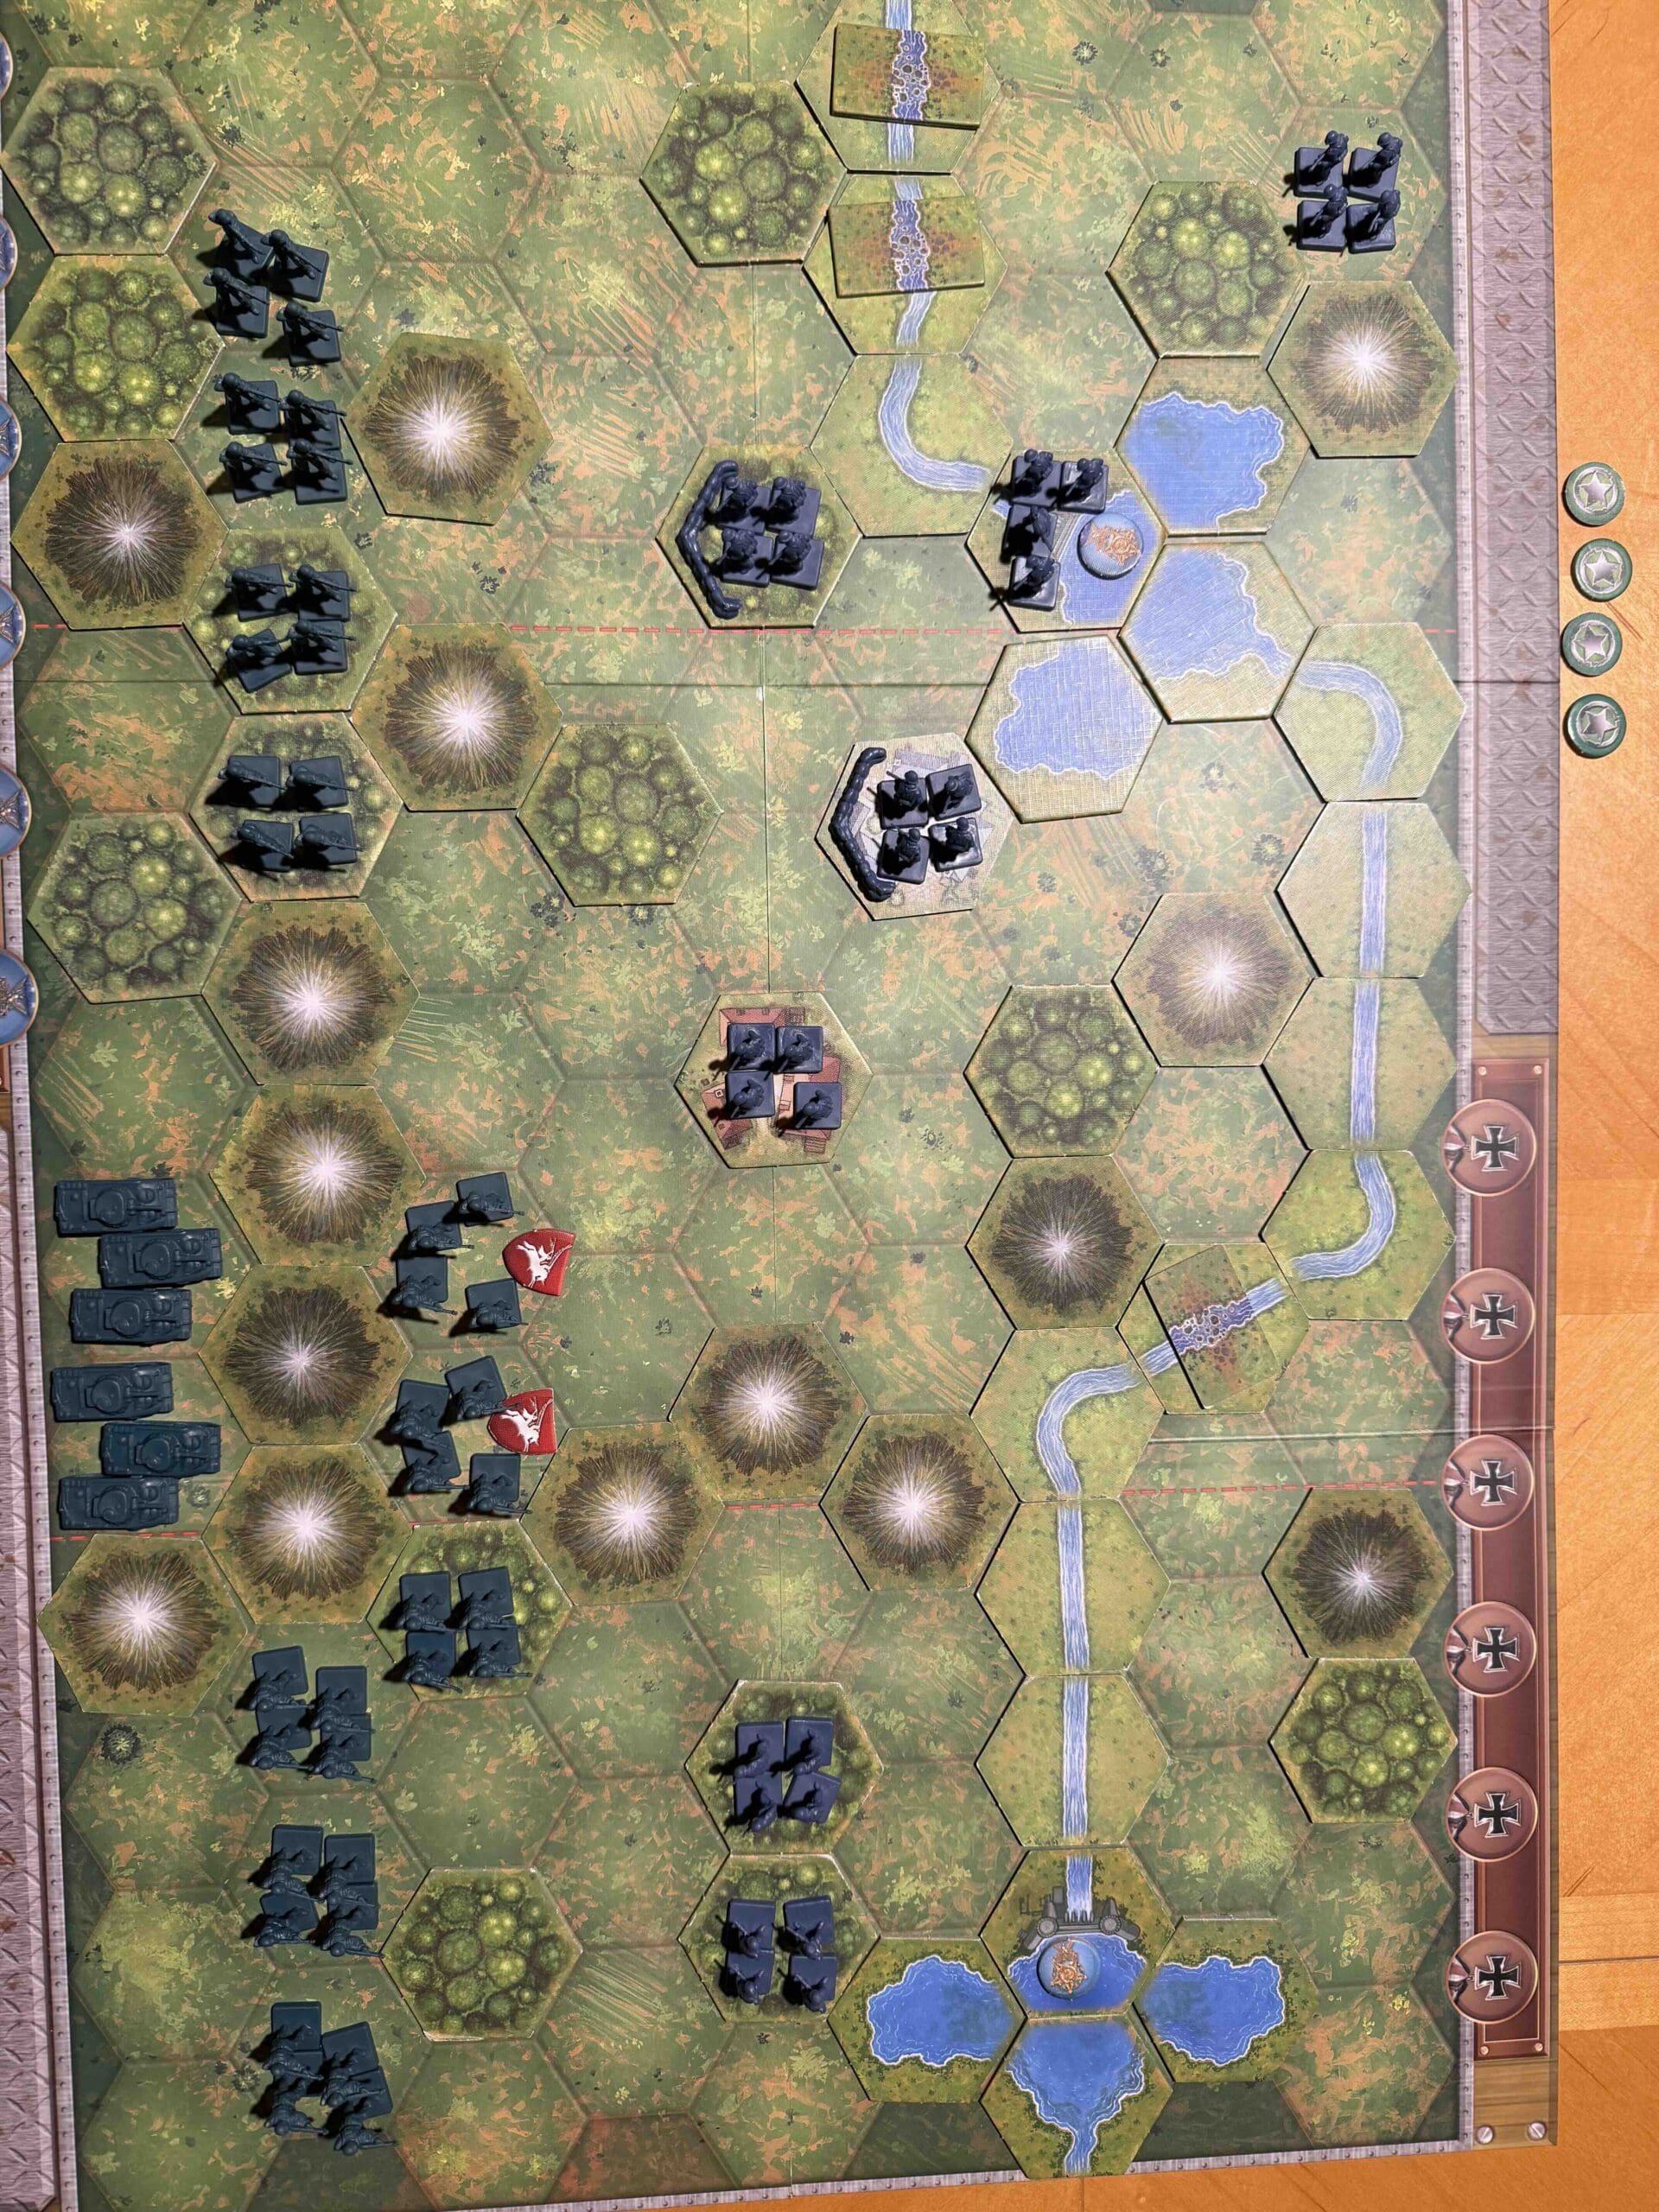
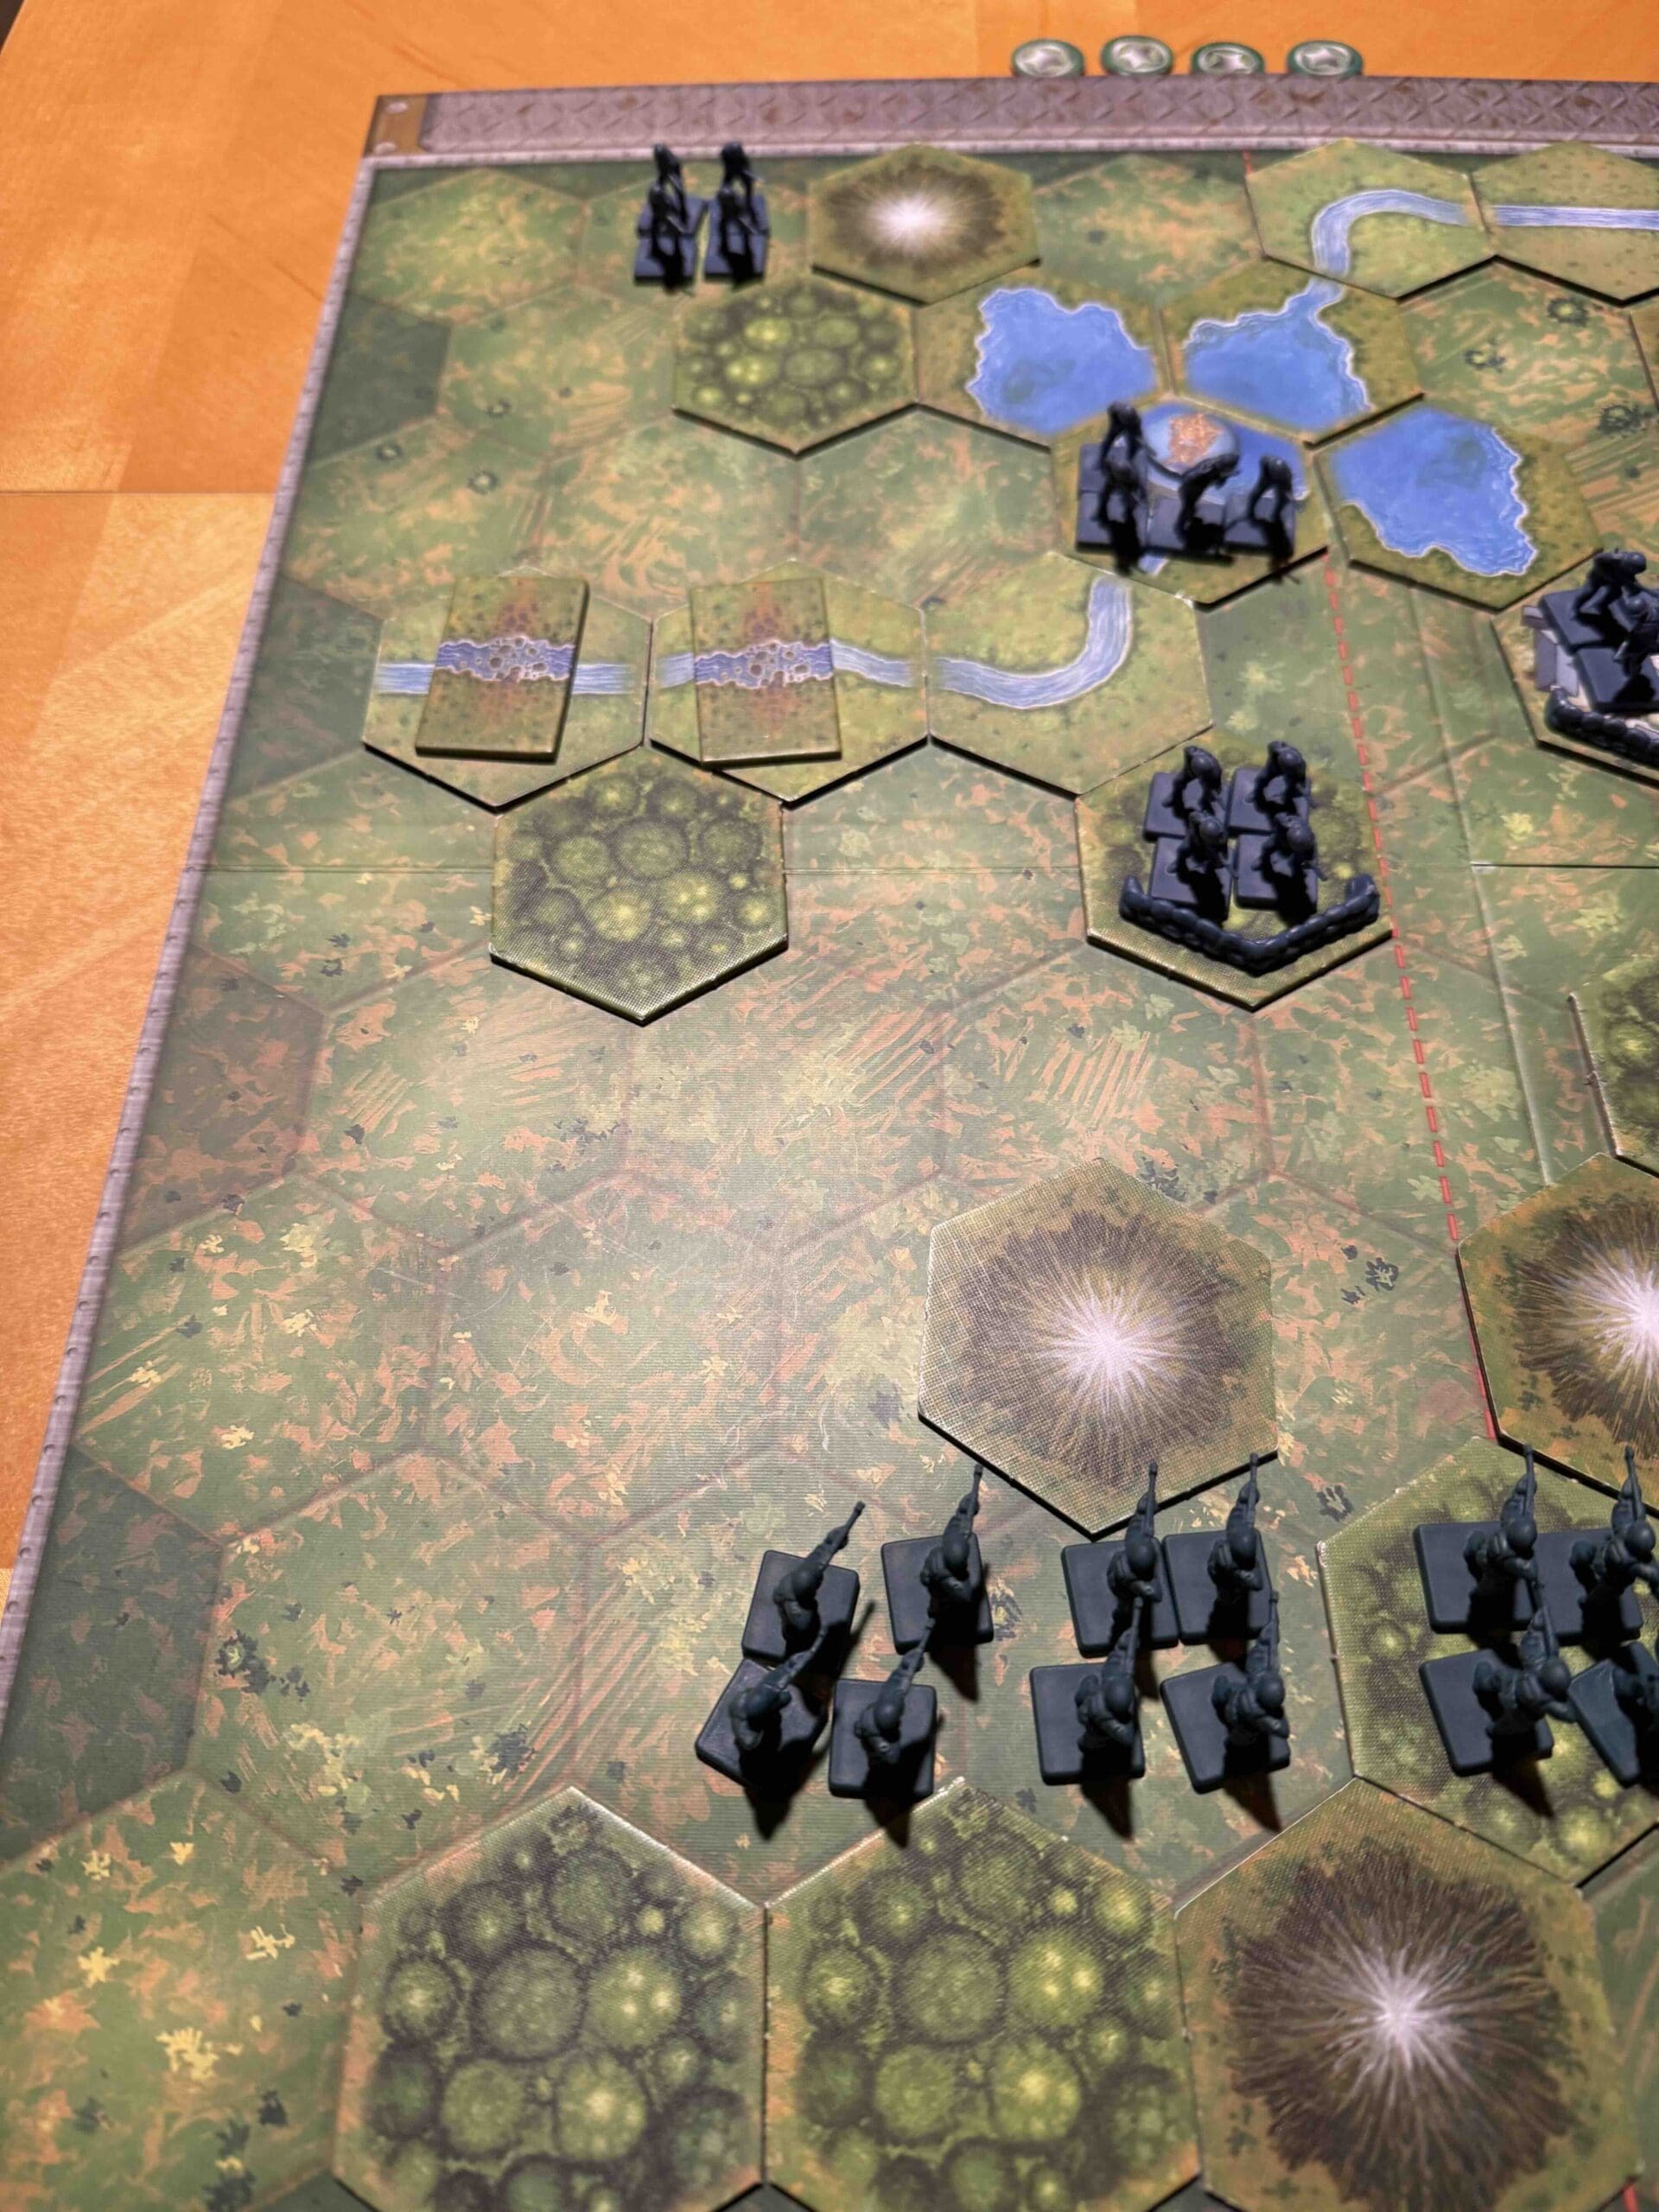
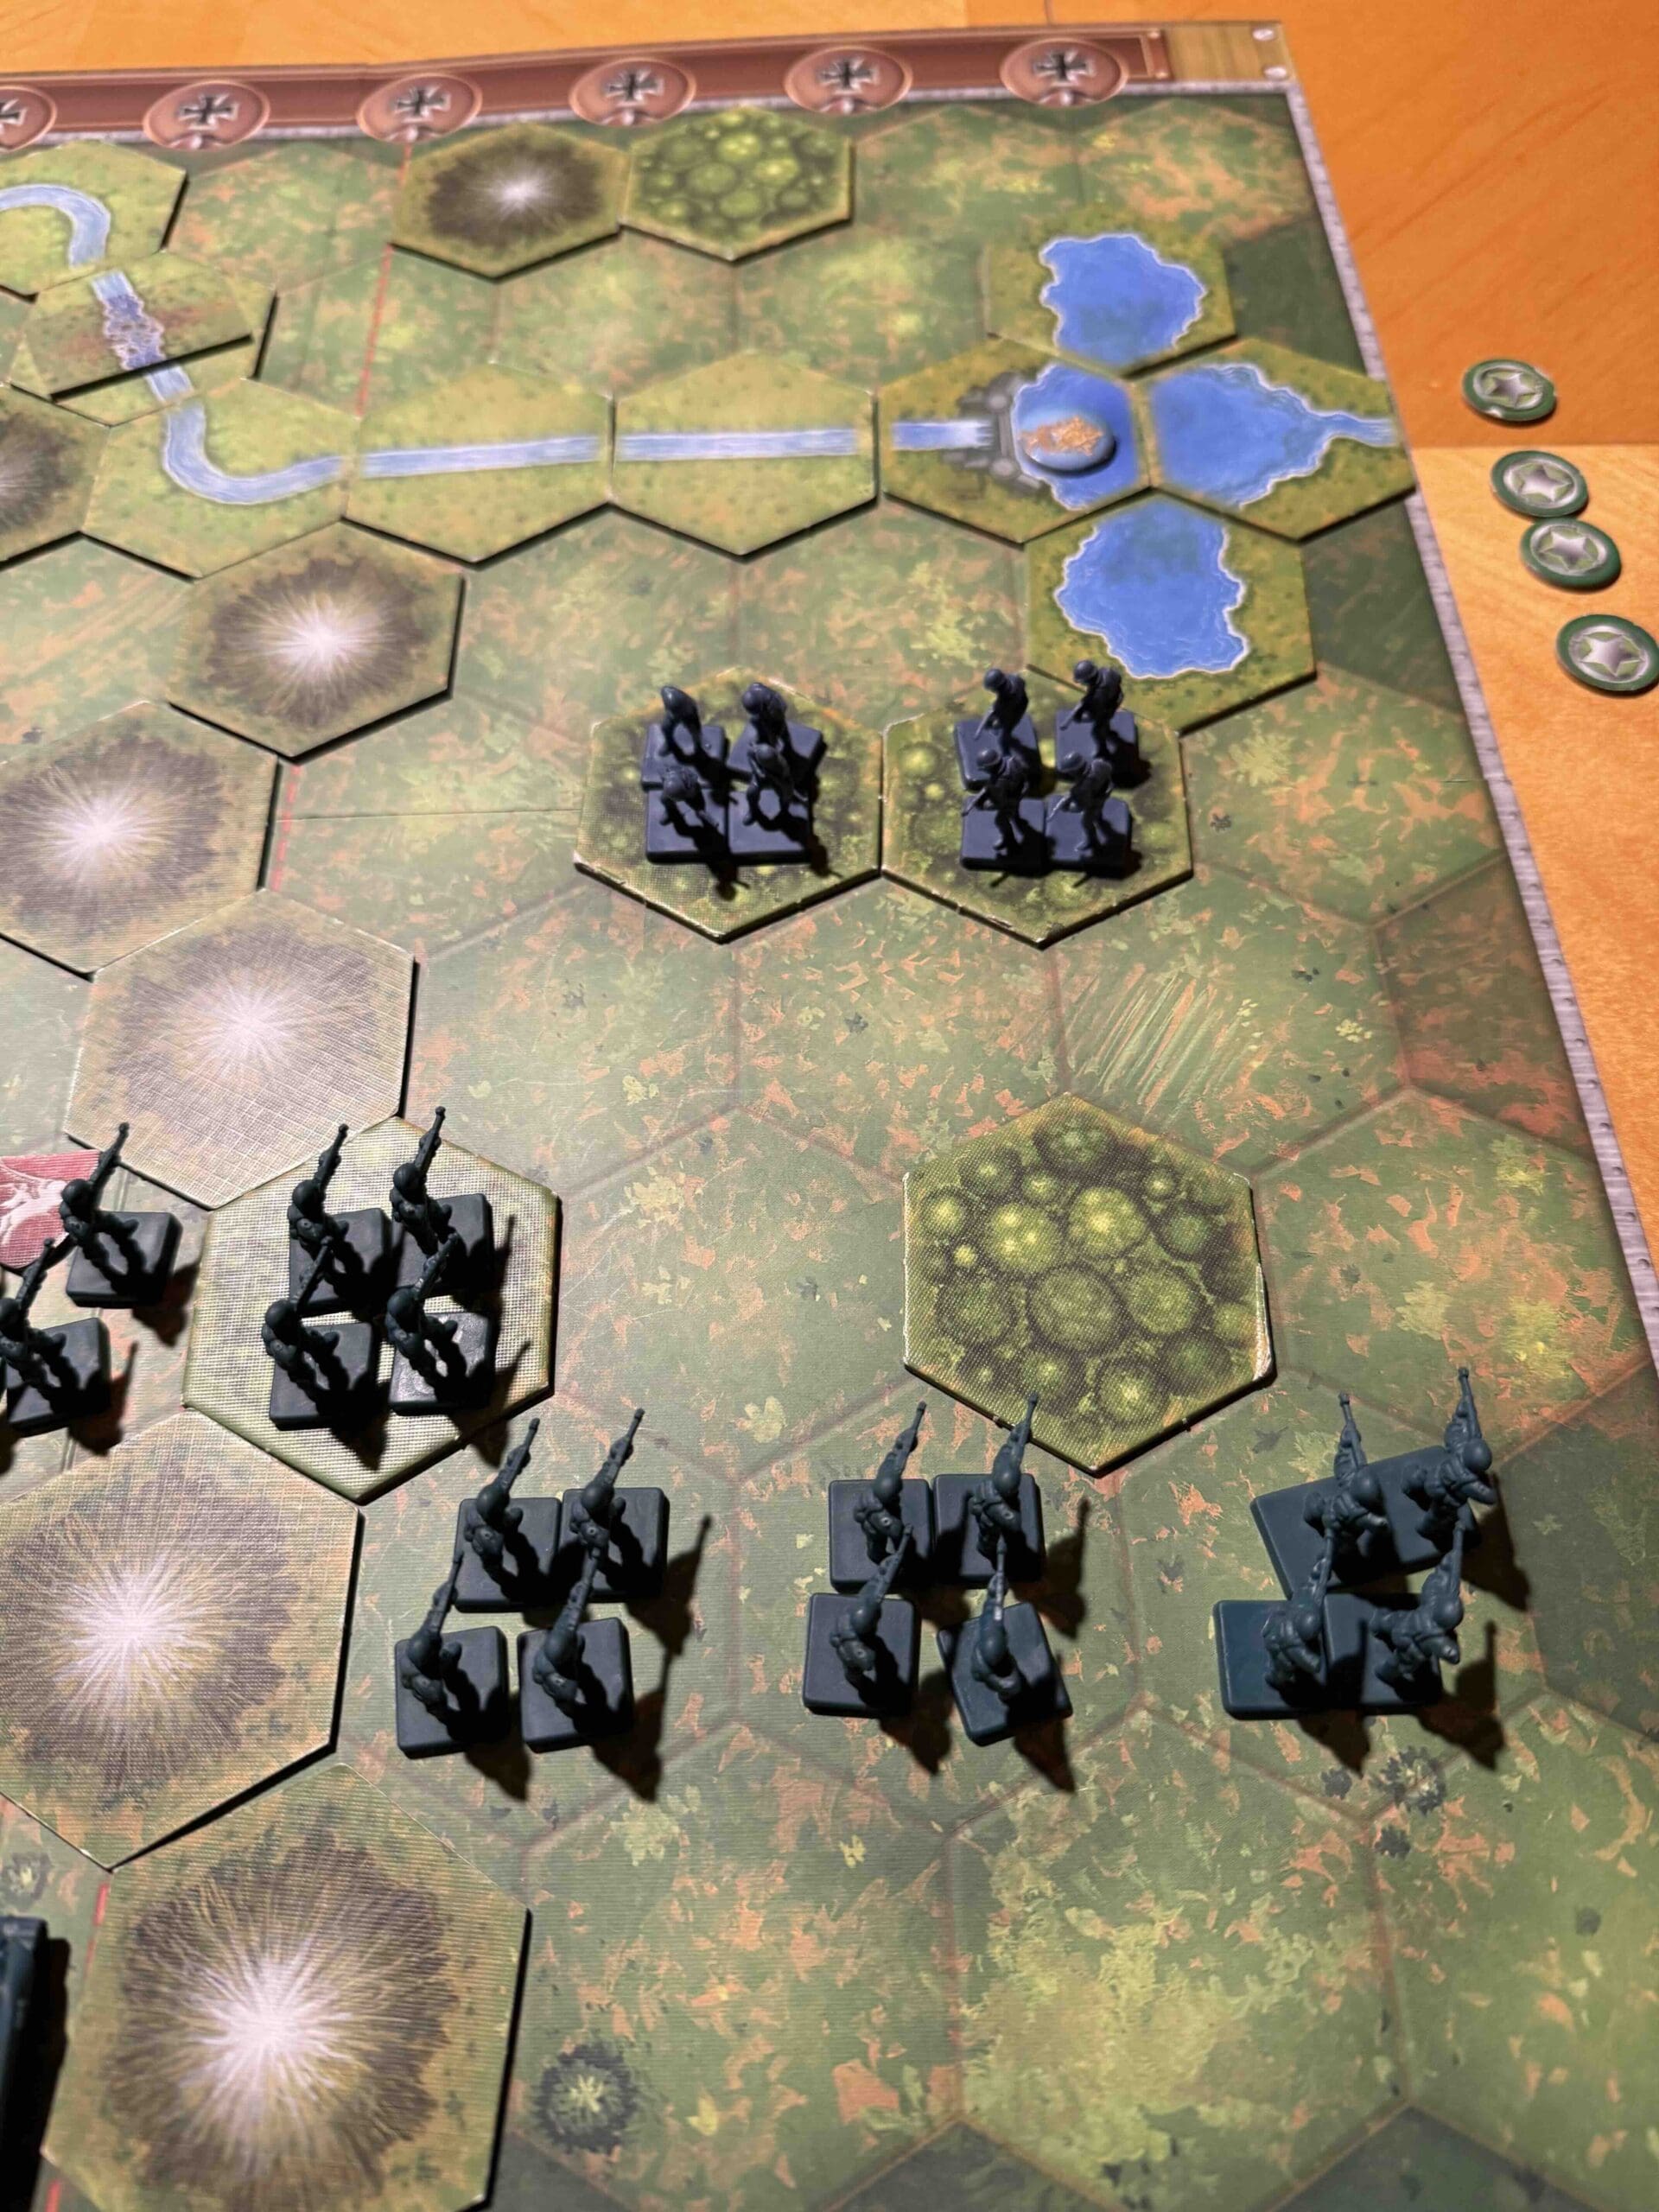
Battlefield:

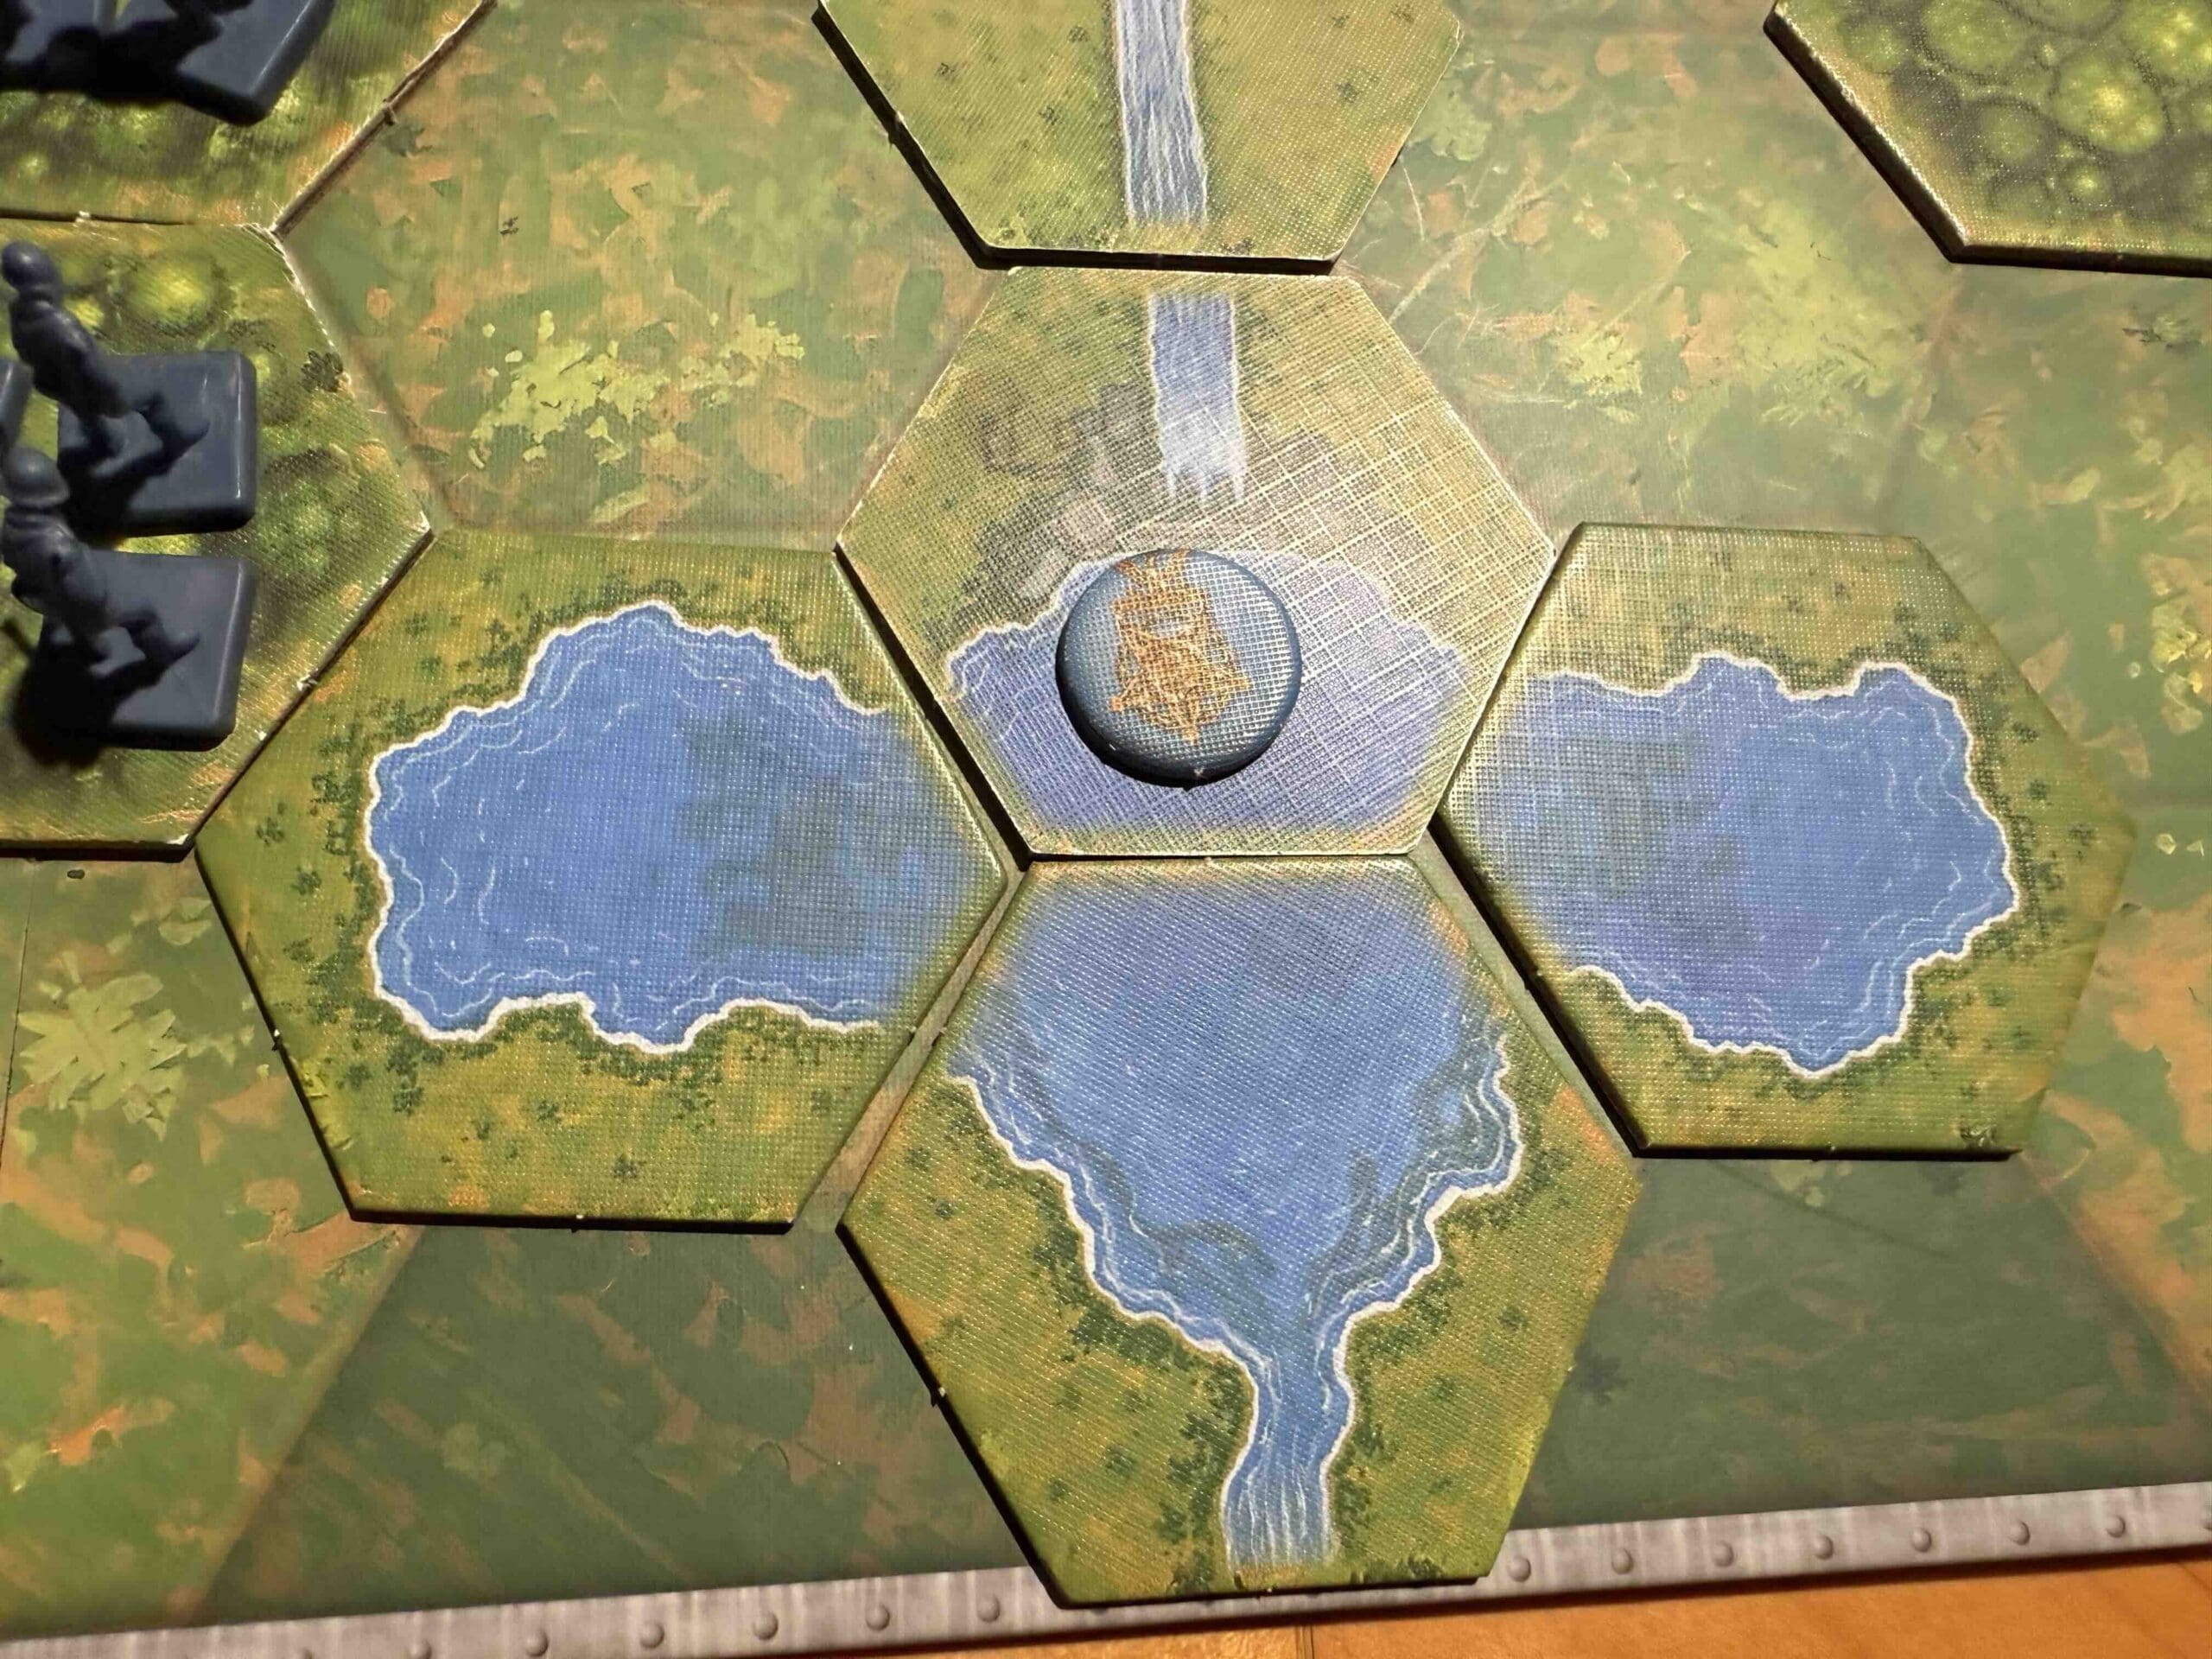
It is rugged mountainous terrain encircled by a river, mountains, and forests, with a dam at either end of the River Roer.

Troops:

Allies: 10 Infantry, 2 Armor

Axis: 8 Infantry

Special Rules:

Sabotaging a Dam – each of the two dams require a total of 4 stars to be destroyed.  At the start of every turn, no matter what cards they hold in their hand, the Axis player rolls two dice, one of each dam.  However, the dice will only count and apply to a dam if an Axis unit is on the actual dam hex.  For each Star rolled, if the dam is occupied by Axis forces, a star icon is placed on that dam. Once a total of four stars accrue, the dam is destroyed, and the Axis player receives 4! victory medals per dam. 

medal alliesAllied Strategy:

1.  Big Picture Strategy:  Destroy the enemy or capture the dams before they are sabotaged. Your best option, historically is to capture the Urft Dam first.

2.  You have two Armor units, but given the rugged terrain, they will be almost useless to you.  If you waste your time trying to get them out from behind the mountain, you will be giving the Axis time to sabotage the dam.

3.  Your paratroopers have landed in a dangerous spot, pressed up against the mountain wall as they are. Move them forward to attack ASAP, before they are destroyed.

4.  Your right flank is your strongest at the start.  Move quickly forward to overwhelm the enemy and secure the  Urft Dam.

medal alliesAxis Strategy:

1.  Big Picture Strategy:  the goal is to delay the Allies (delaying tactics) as long as possible so that you can blow the dam(s).  This will take at least four turns, but in reality, much longer.  If you successfully sabotage one dam, (worth 4 medals!), you only need to take out one other Allied unit to win.  Should you blow both dams, you are guaranteed a win.  (Historically, the Germans were able to blow the discharge valves of the Schwammenauel Dam and flood the Roer River.

2.  The Dam provides no battle protection. The only reason to stay on the hex is to attempt to sabotage the dame.  But once the Allies get close, keep some forces in the woods to attack and slow down the enemy.

3.  The Allied Paratroopers are easy prey, backed up against the mountain.  Take them out quickly before they can attack your forces in the town of Kommerscheit.

1
BR - Schammenauel Dam

Author:

Days of Wonder

URL

Market Garden (Nijmegen Bridges)

Market Garden (Nijmegen Bridges)

scenario_NijmgenBridge_MarketGarden

The Battle of Nijmegen Bridge was a key engagement during Operation Market Garden in September 1944, a large Allied operation aimed at securing key bridges in the Netherlands to create a direct route into Germany.

General Howitzer’s comments:

“Listen up, men! In September of ‘44, at Nijmegen, those bridges over the Waal River were the keys to the kingdom—a direct shot into Germany itself. The plan was big—Operation Market Garden—take the bridges, link up the airborne and the armor, and ram straight for the Ruhr.

But those Germans weren’t just going to hand over those bridges. They had them locked down tight, and it took the 82nd Airborne, those American paratroopers, to cross that river in flimsy little boats under fire like hell itself. They paddled across, outflanked the Germans, and took those bridges with guts and bayonets.

We got the bridges, but we couldn’t hold Arnhem, and the whole damn operation fell short. But don’t let that fool you—the boys at Nijmegen showed what it means to fight with everything you’ve got. That’s how you break the enemy’s back—take the objective, hold it, and never let go until the job’s done!

6 VP’s

card

Card Balance:

Allies – 6

Axis – 5

Allies move first.

Complexity: 4

Conditions:

Countryside

countryside

Context:

Historical

Location:

Netherlands

Year:

1944

Theater:

Western Front

Codename:

Operation Market Garden

Summary:

Objectives:

6 Medals including bridge hex objectives.

Terrain:

Countryside with a river and train tracks cutting across the battlefield.

Troops:

Allies –  7 Infantry, 6 Armor, 1 Artillery

Axis – 9 Infantry, 1 Armor, 1 Artillery

medal allies

Allied Strategy:

1.  Use your armor to attack the many defensive positions of the enemy.  When the time is right, then capture your objective medals.

2.  Take the time to move your artillery into a more centralized position for attack.

3.  The Axis forces are so well-defended that you will need to attack them from a distance and significantly degrade them before direct assaults.  But you need to do this quickly as many of their forward forces are close to your and able to launch some subtantial attacks against you.

4.  The Axis Artillery is a Big Gun! That means that once they hone in on you with one hit, they are able to increase the dice attacks by one. So if they hit you once, and you have any figures remaining in the hex, you need to bug out, and move those figures to a new hex. 

medal axis

Axis Strategy:

1.  The Allies have an overwhelming armored force, so much of your work is defensive in nature, although you should pursue any soft targets you can locate. However, your two advanced infantry forces in the center have the ability to do significant damage to the enemy armor if you can quickly attack them while they are in no-retreat positions.  Be aggressive and you may be rewarded!

2.  There are two bridge objectives which you must protect. Stay close to each of them, and protect them well.

3.  Your Artillery is a Big Gun, so use it on semi-permanent targets so that you can take advantage of the additional die roll.

17
BR - Nijmegen

Author

Knightsbridge, Battle of Gazala

Knightsbridge

scenario_Knightsbridge_start

“Listen up! In early June ‘42, out there in that hot Libyan desert at a place they called Knightsbridge, our British allies were in for the fight of their lives. The place was nothing but a road junction, but it was as valuable as gold when the shooting started.

Rommel came at ‘em with his Panzers and those nasty 88s, aiming to cut ‘em off, encircle ‘em, and finish the job. The British Eighth Army fought back with everything they had, but those German guns chewed up their tanks like a buzz saw through dry timber.

Even though the Brits took a beating and left a lot of metal in that desert, Rommel couldn’t crack the line. He overreached, and the whole thing bogged down into a stalemate.

Let that be a lesson, boys—in the desert, mobility is king. You gotta hit hard, move fast, and never let the enemy pin you down. Knightsbridge wasn’t the final blow, but it sure as hell was the warning shot that the real fight was just getting started!”

~~ General Howitzer

5 VP’s

Card Balance:

Allies – 4

Axis – 6

Complexity:

2

Conditions:

Desert

Location:

Libya

Year:

1942

Theater:

Mediterranean Theater

Campaign:

Western Desert Campaign

Context:

Historical

Summary:

Objectives:

5 Victor Points

Battlefields:

Knightsbridge is an almost open desert battlefield in which tanks engage in head-on warfare, interspersed with the occasional artillery fire and infantry assault.

Troops:

Allies – 8 Infantry, 1 Artillery

Axis – 6 Infantry, 3 Artillery

Allied Strategy:

1.  Big picture goal for Knightsbridge, like many desert scenarios is to hit first and hit hard.  

2. The Axis have three Artillery which will assist the Armor if you venture too close.  With your limited movement, it would be best to keep your forces together on your end of the battlefield.

3.  Get to the ridge on your left section as quickly as possible. You cannot move as fast as the Axis, so you need to start right away.  Do not get caught back against the border, or the enemy will wipe you out with the additional flag hits. 

4. You are strong on your right flank, so move your units forward together to defend against the on-coming Axis attack.


Axis Strategy:

1.  Because of the wadi in the middle of your end of the battlefield, your forces are divided.  Your Armor on the left flank is outnumbered five to two, but you do have your artillery.  If you can entice the Allies to move forward, you can get some support from your Artillery fire.

2. Take advantage of the ridgeline on your right flank by parking your units there and wait for the Allies to attack. The height advantage may count in your favor in the ensuring battle. 

3.  Grab the heights on the ridge as quickly as you can. Whoever gets on top of the hill first will gain a 17% hit advantage.


Battle Reports

22
BR - Knightsbridge

Author:

Days of Wonder

Link: