Utah Beach [Breakthrough]
Utah Beach [Breakthrough]

UtahBeach-Breakthrough

UtahBeach-BrThr-CenterAxis2

UtahBeach-BrThr-CenterAxis
UtahBeach-BrThr-Center1
UtahBeach-BrThr-Center
UtahBeach-BrThr-Left1
UtahBeach-BrThr-RightAxis2
UtahBeach-BrThr-RightAxis

UtahBeach-BrThr-Right1
UtahBeach-BrThr-LeftAxis3
UtahBeach-BrThr-LeftAxis2
UtahBeach-BrThr-LeftAxis
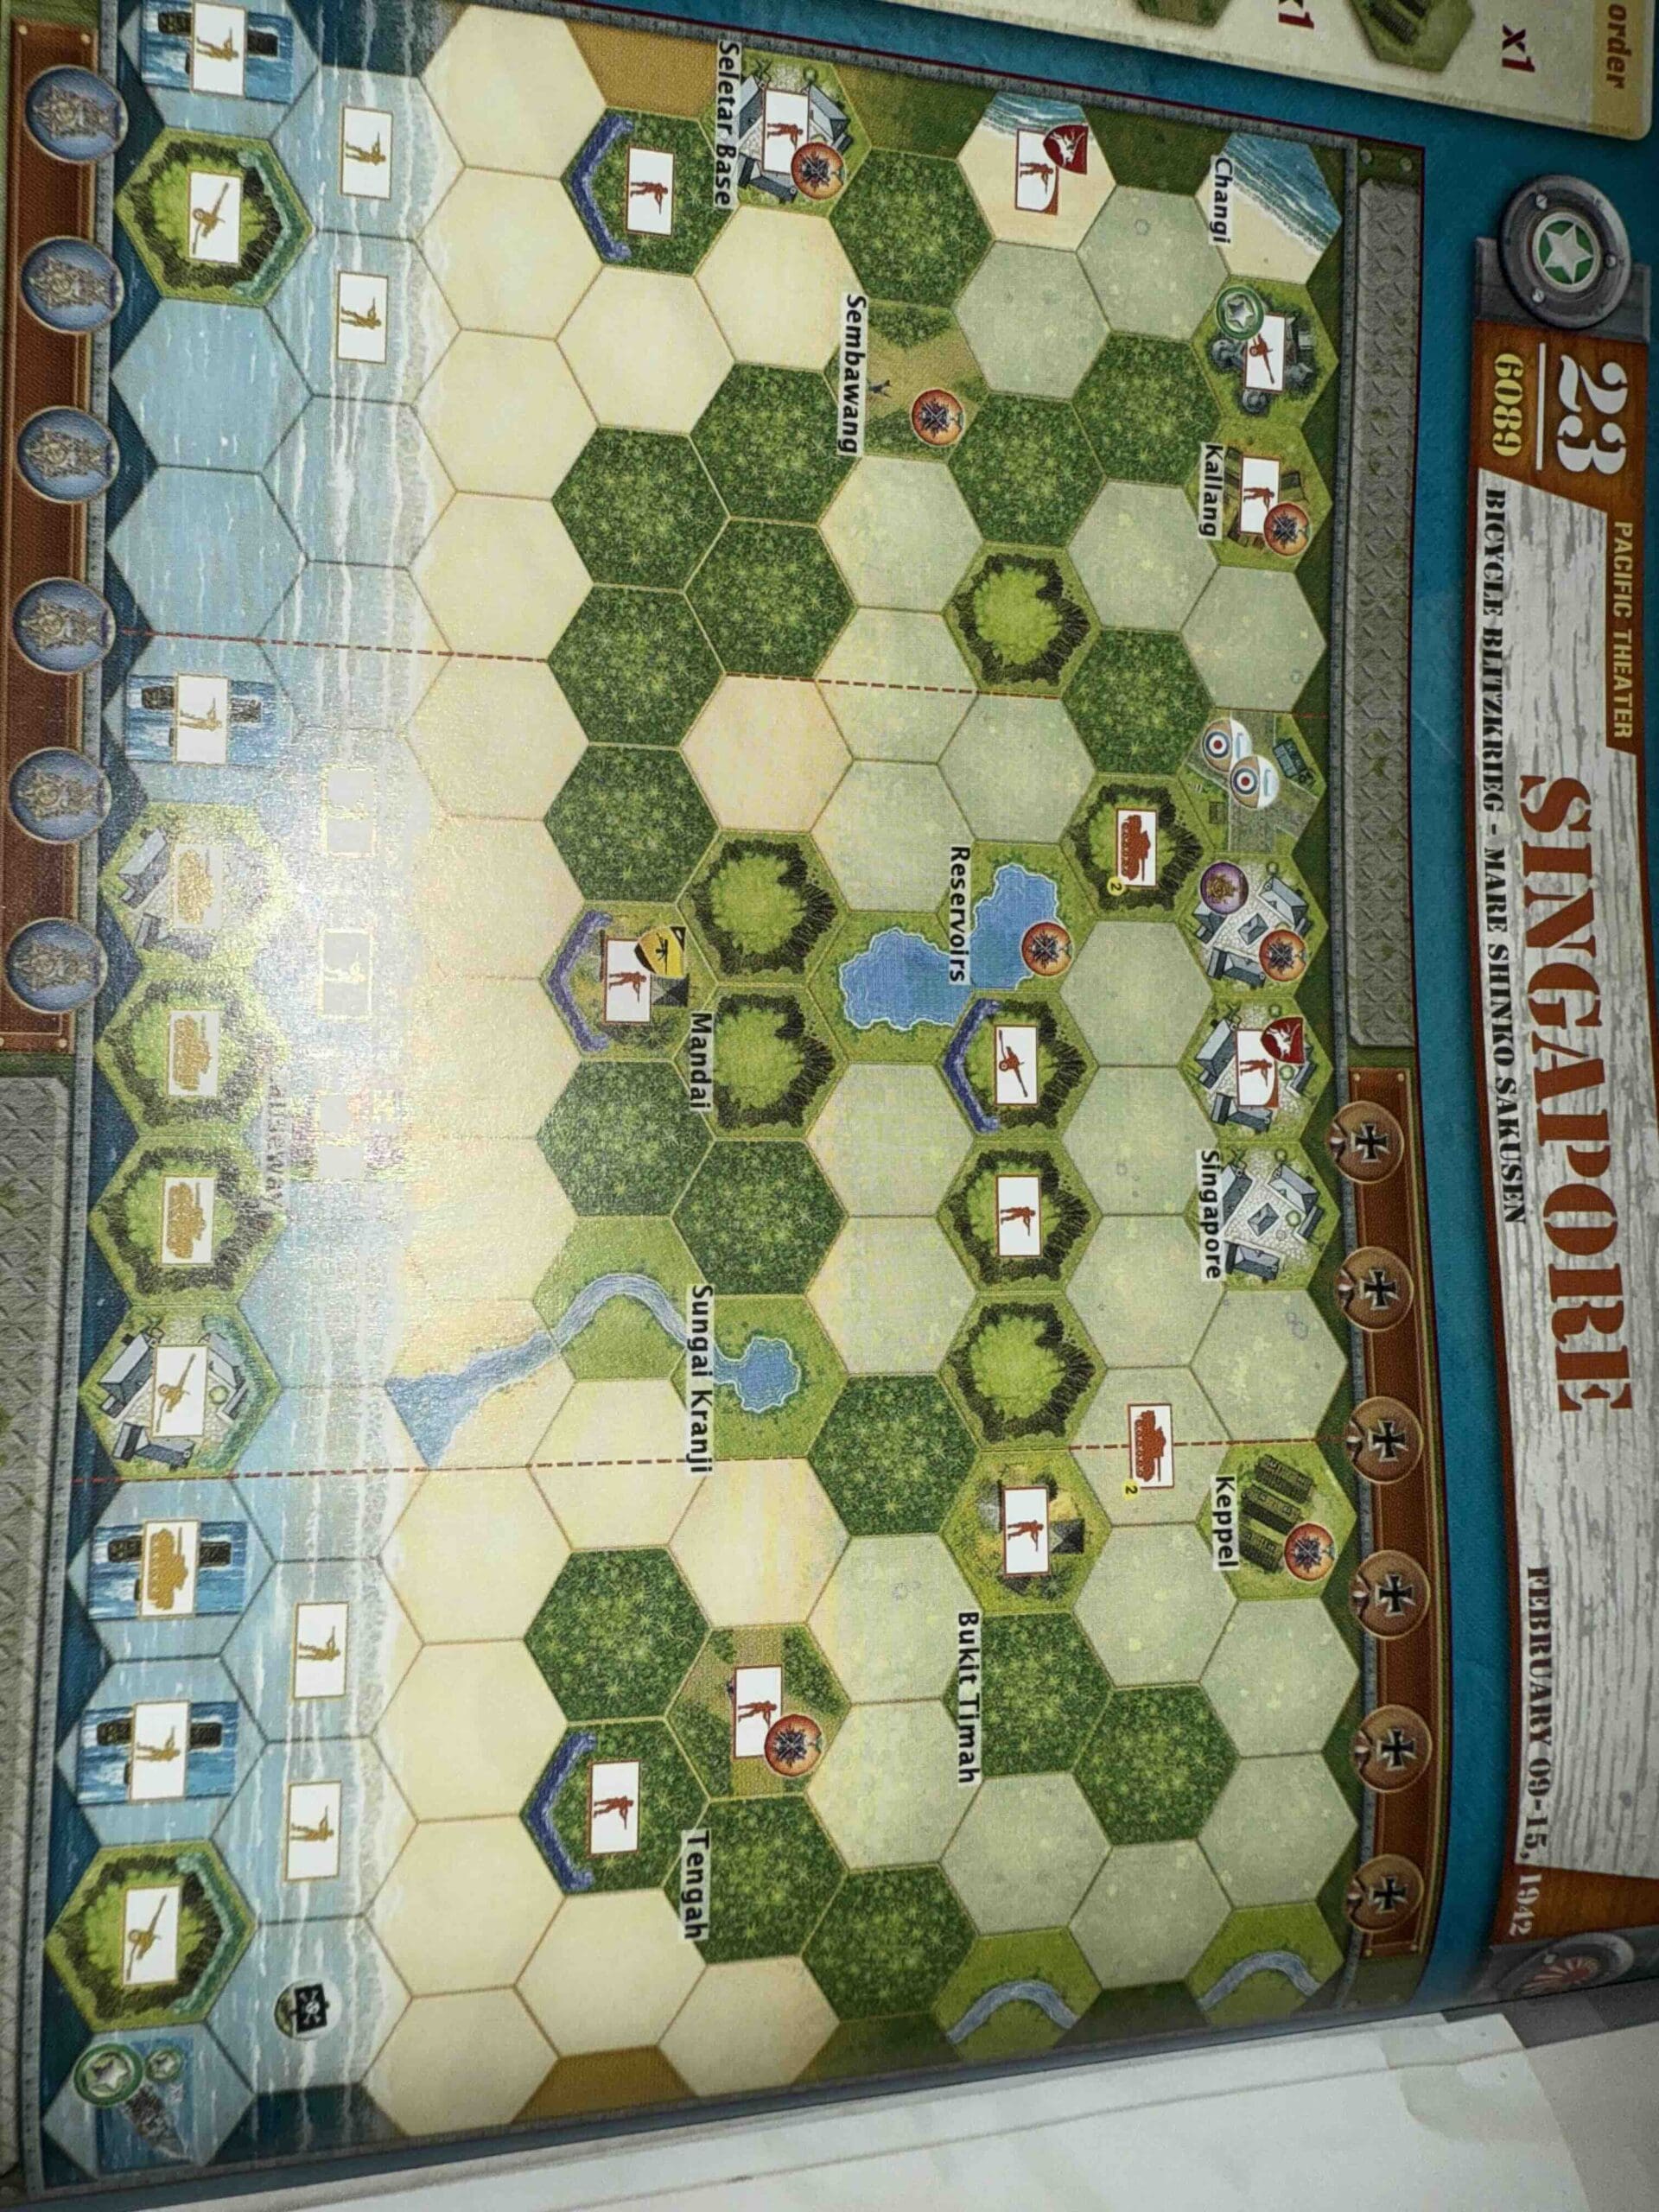
12 VP’s
![]()
Card Balance:
Allies –
Axis – 5* (first turn starts with 4)
Complexity:
4/5
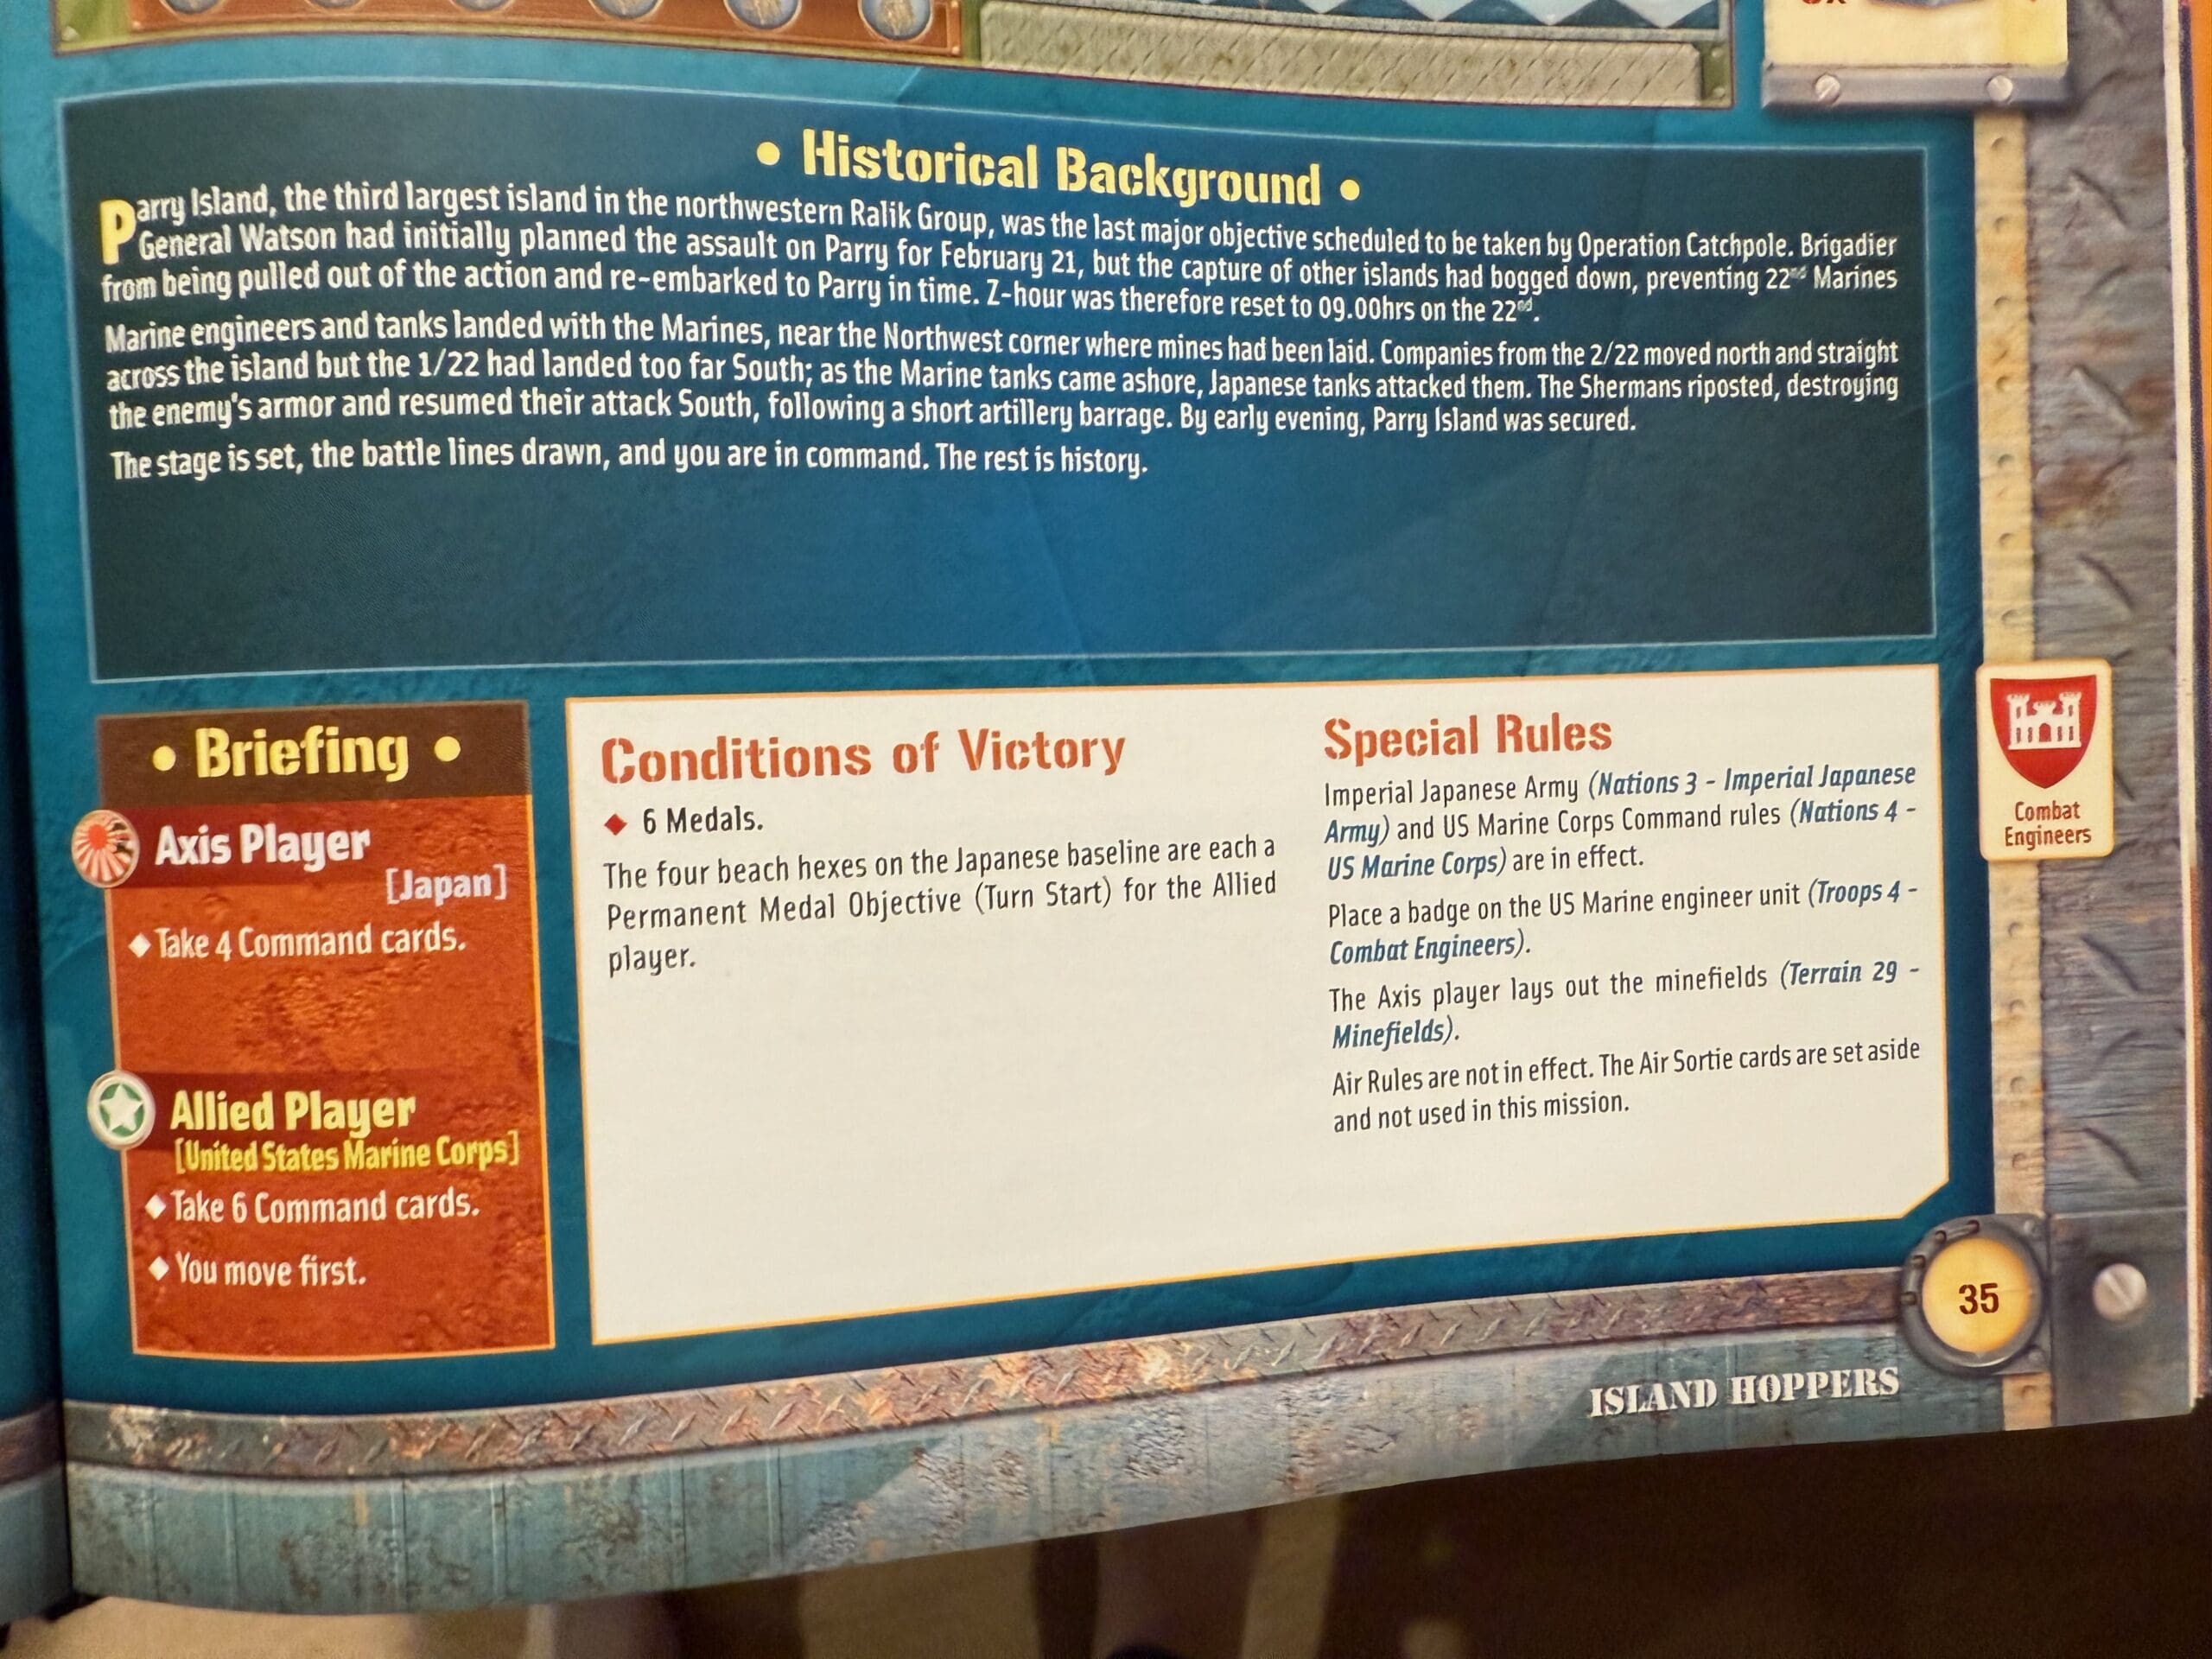
Conditions:
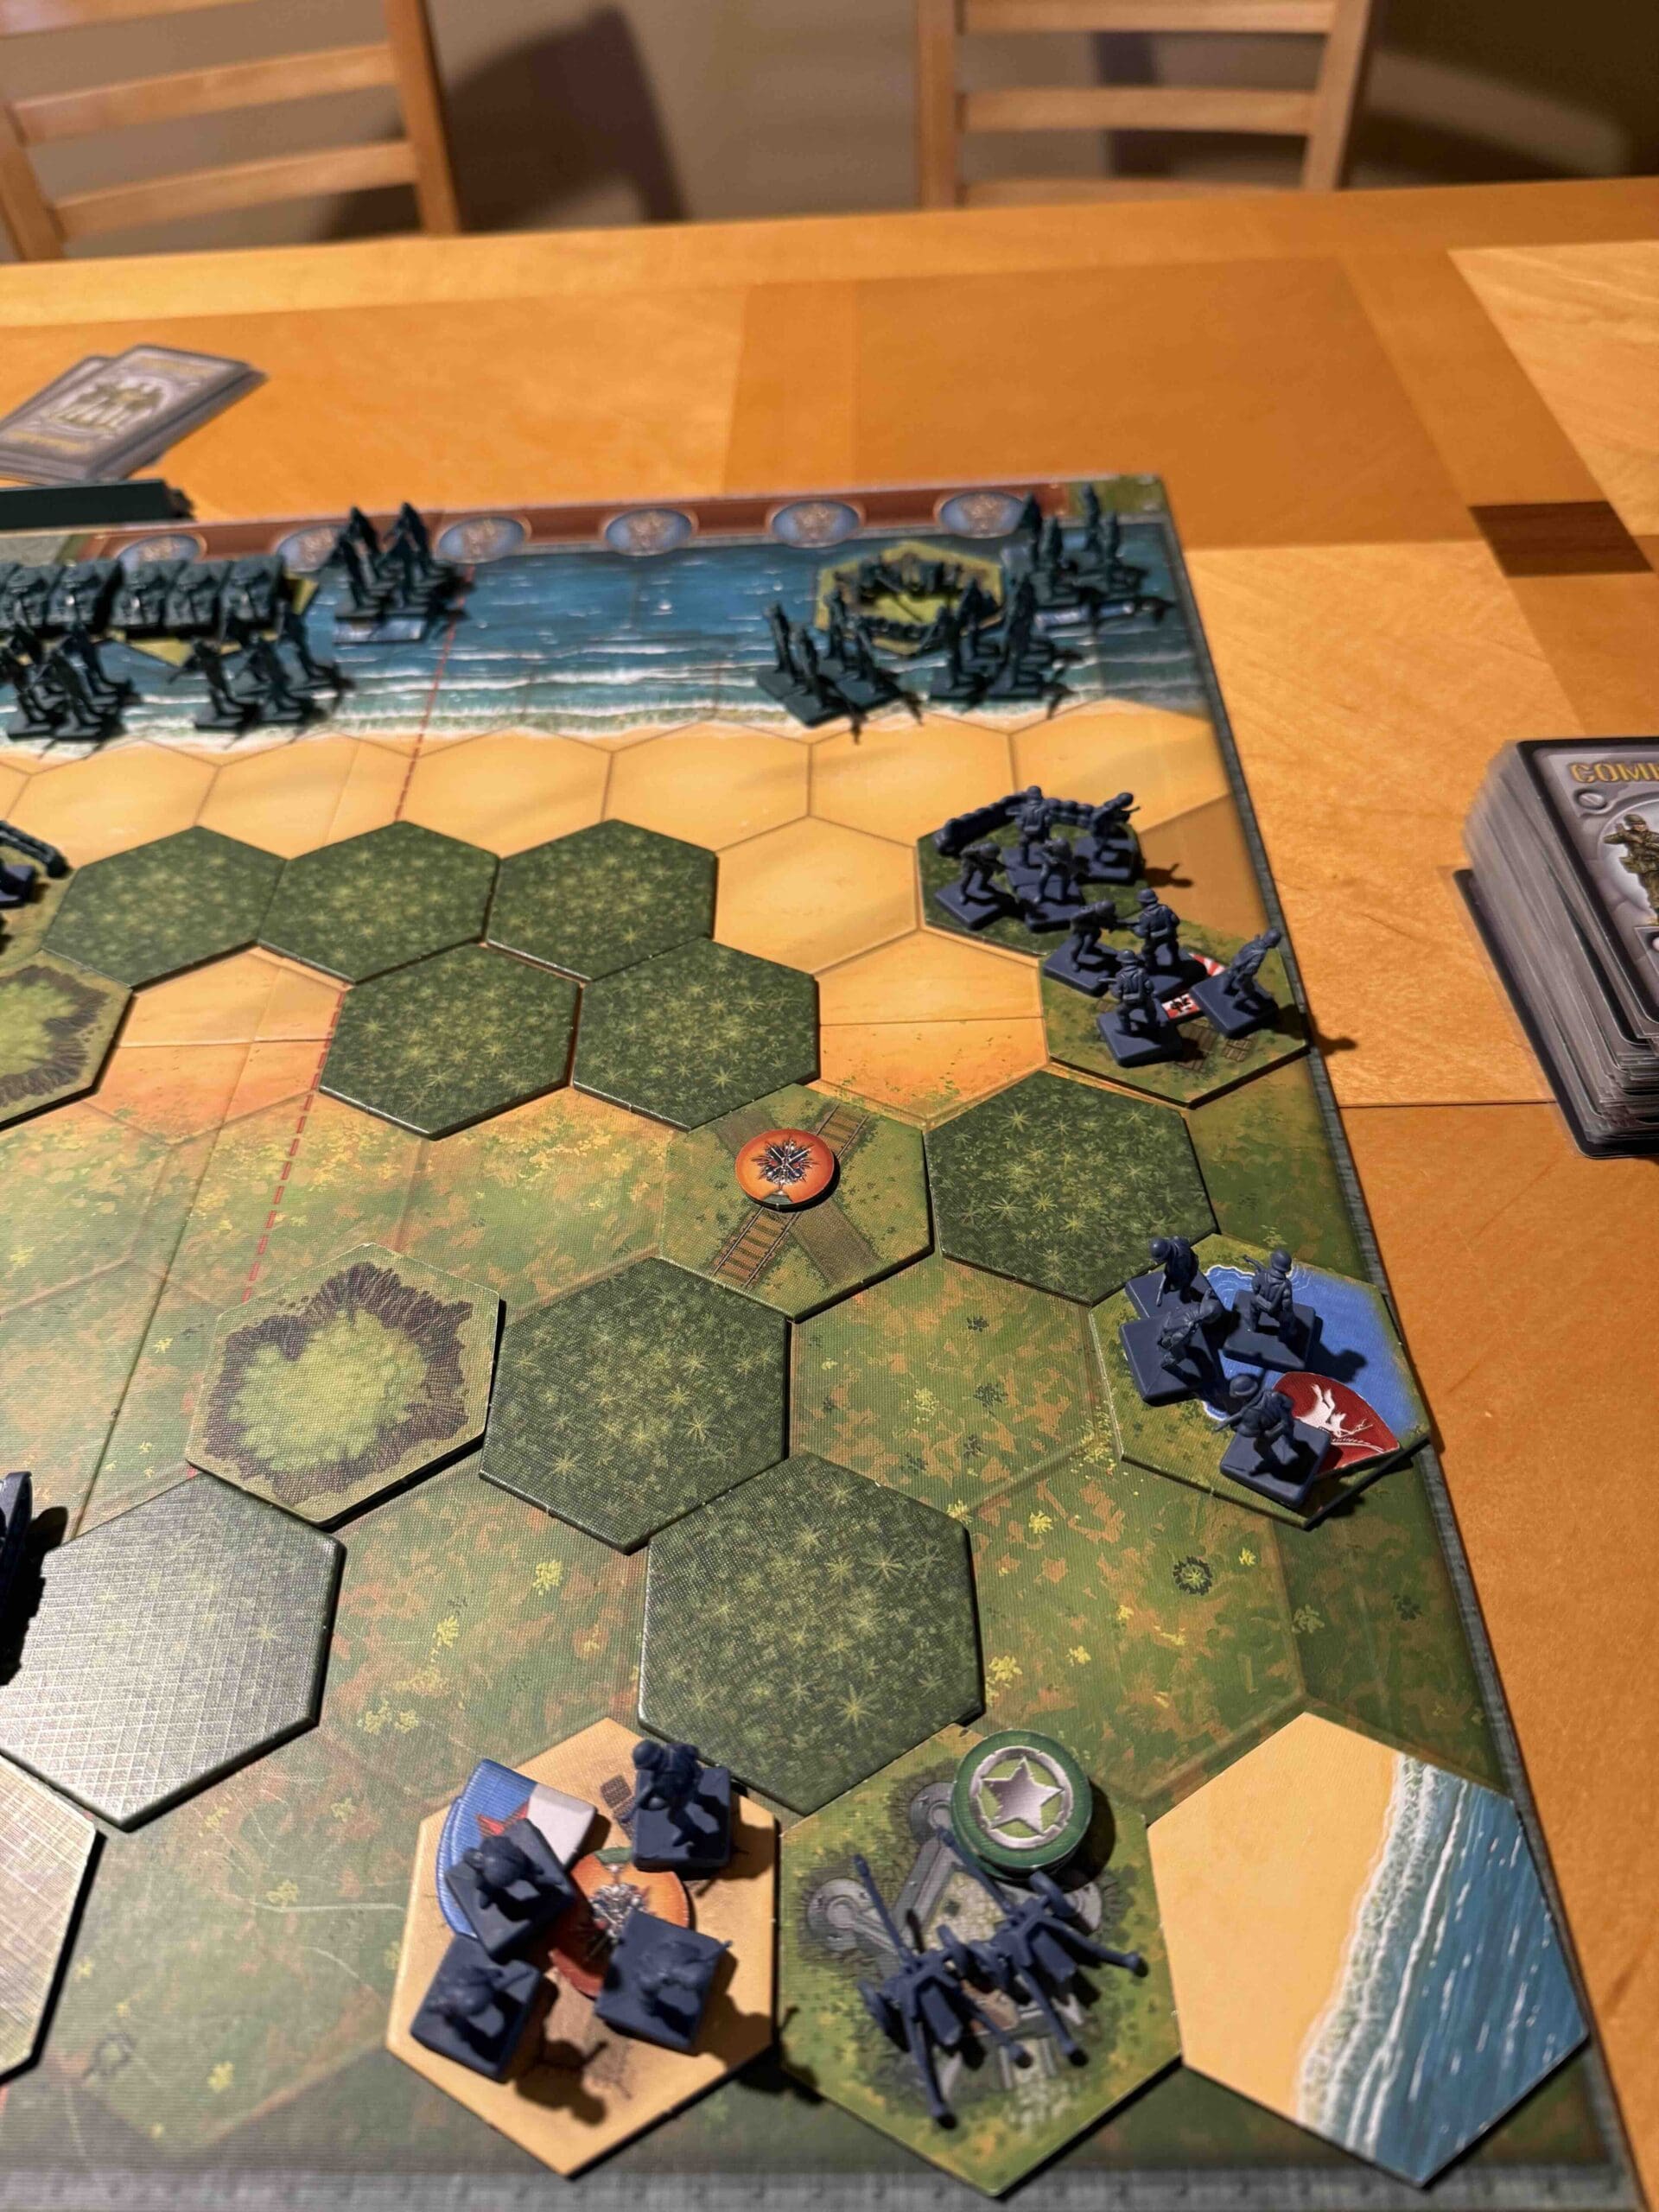
Beach

Context:
Historical
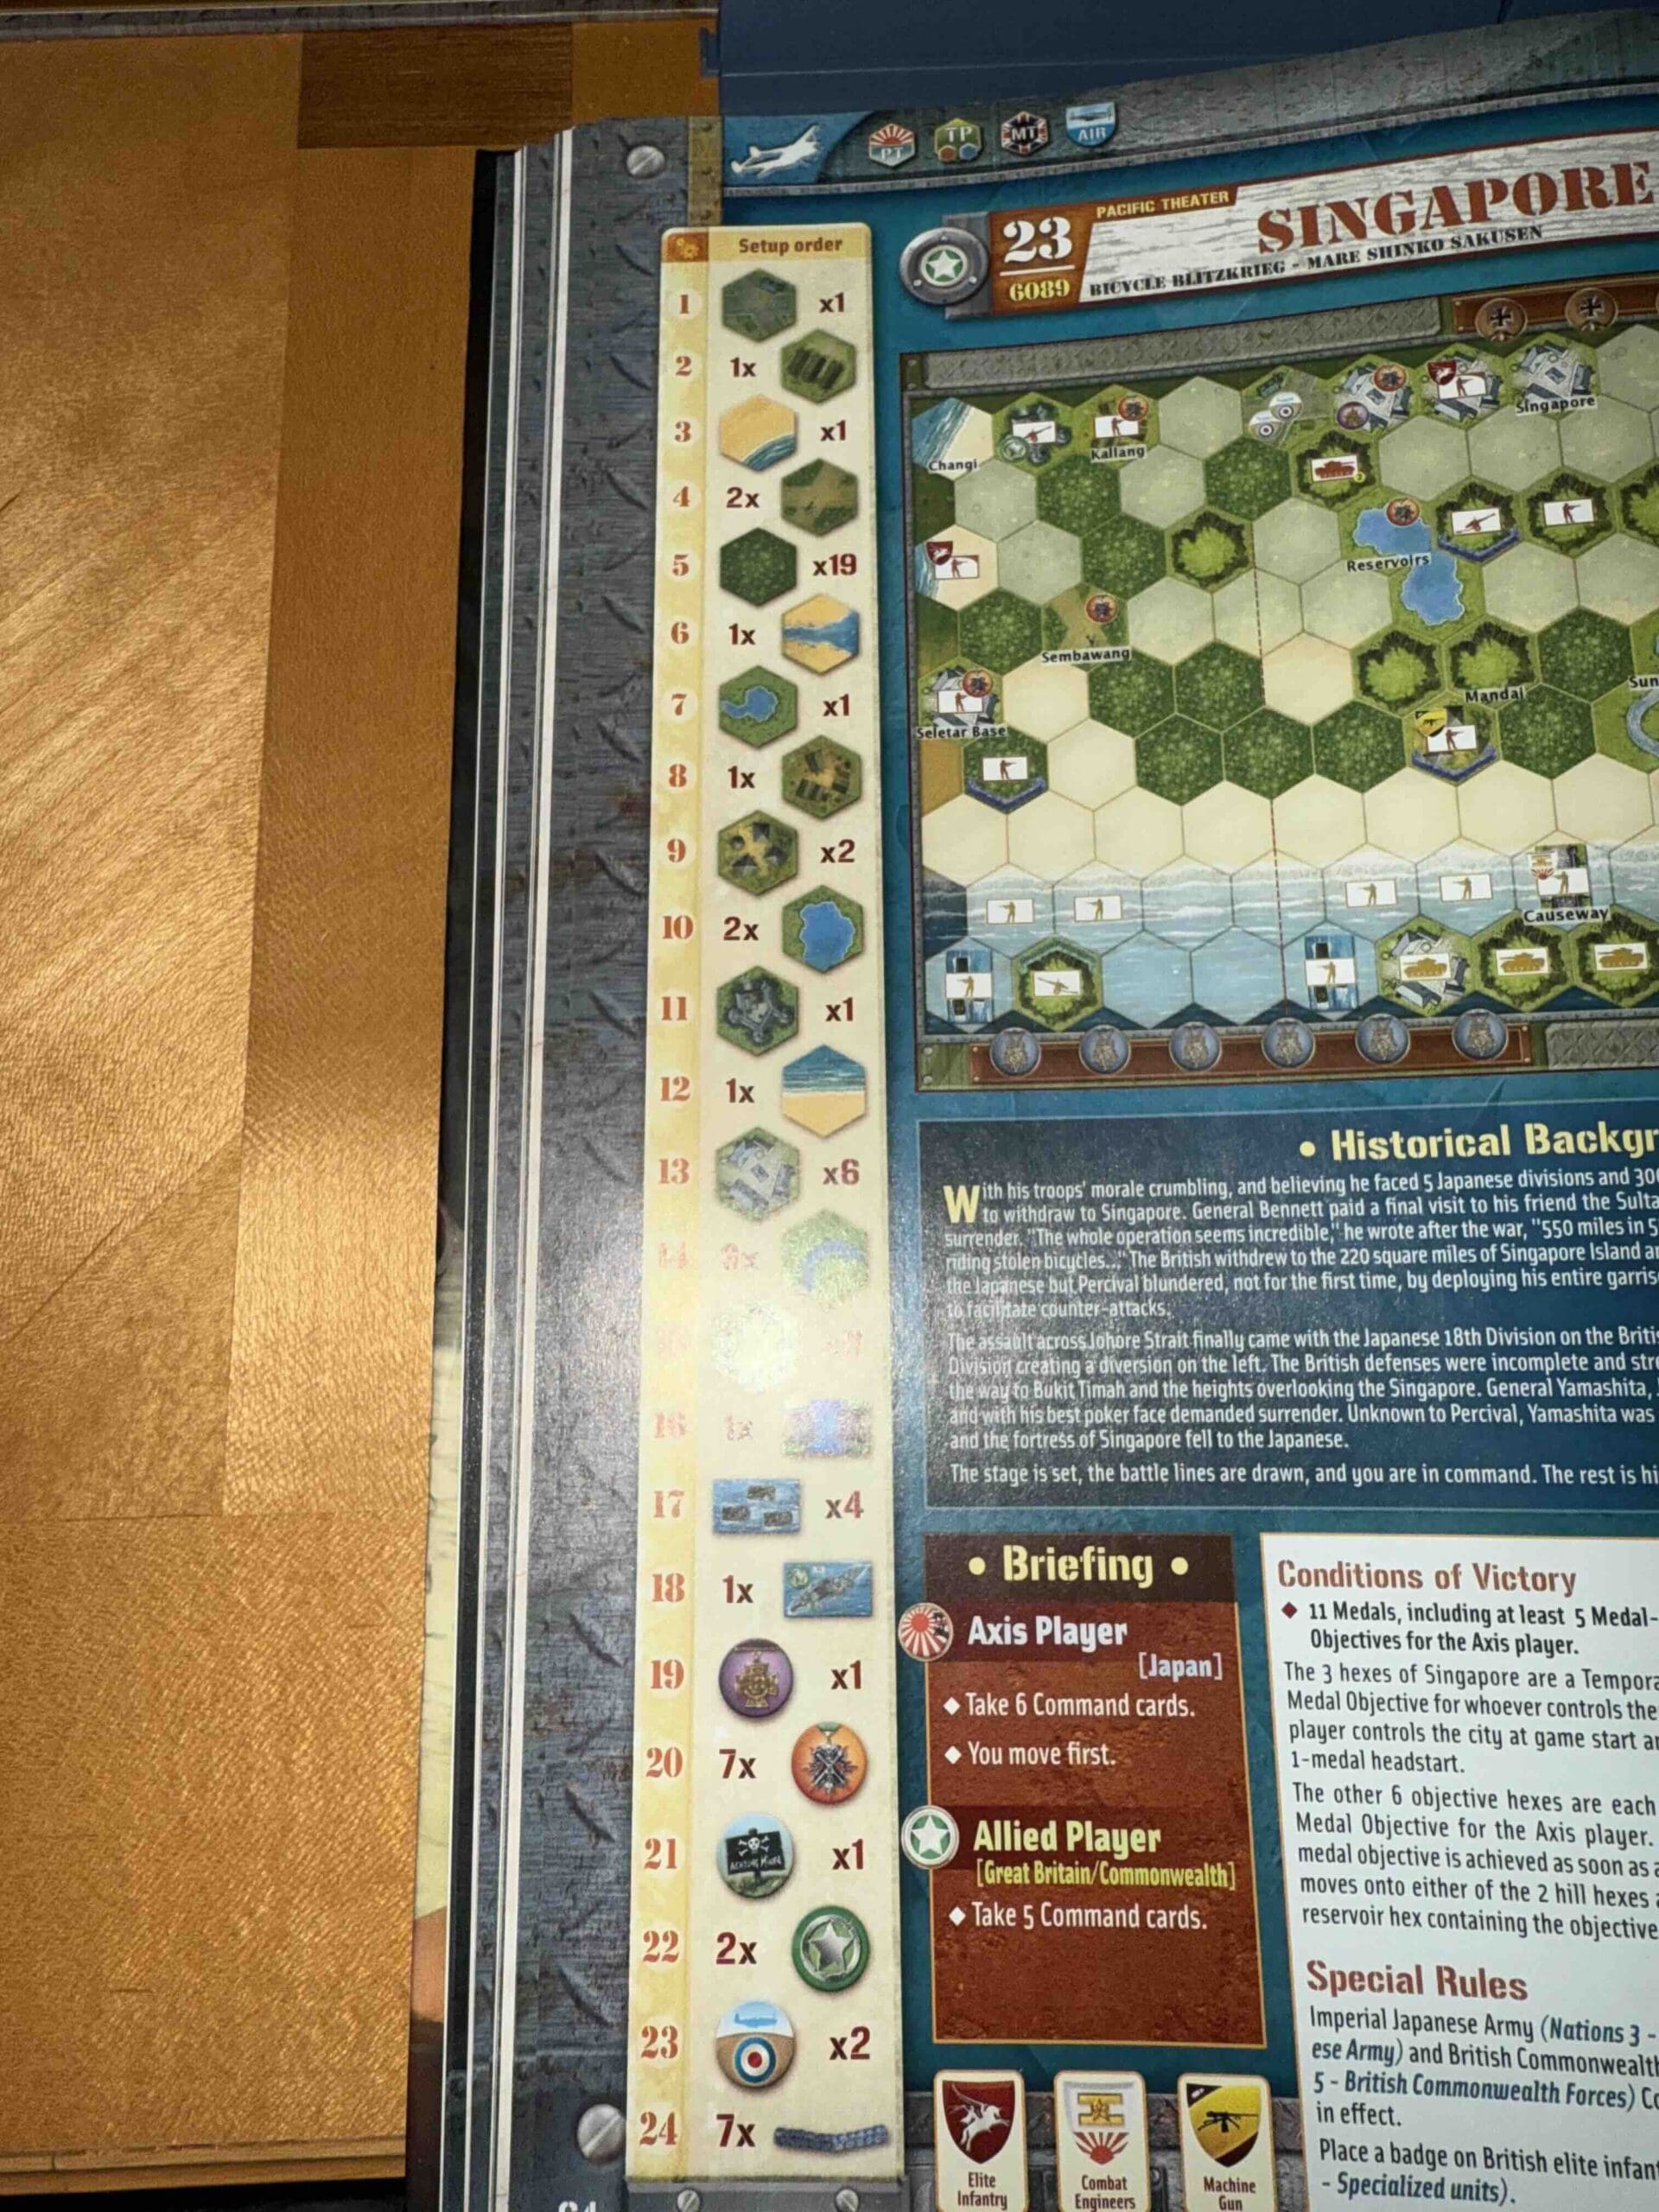
Location:
Normandy
Year:
1944
Theater:
Western
Campaign:
D-Day
Summary:
This is an Breakthrough game, so make use of the Breakthrough Command cards.
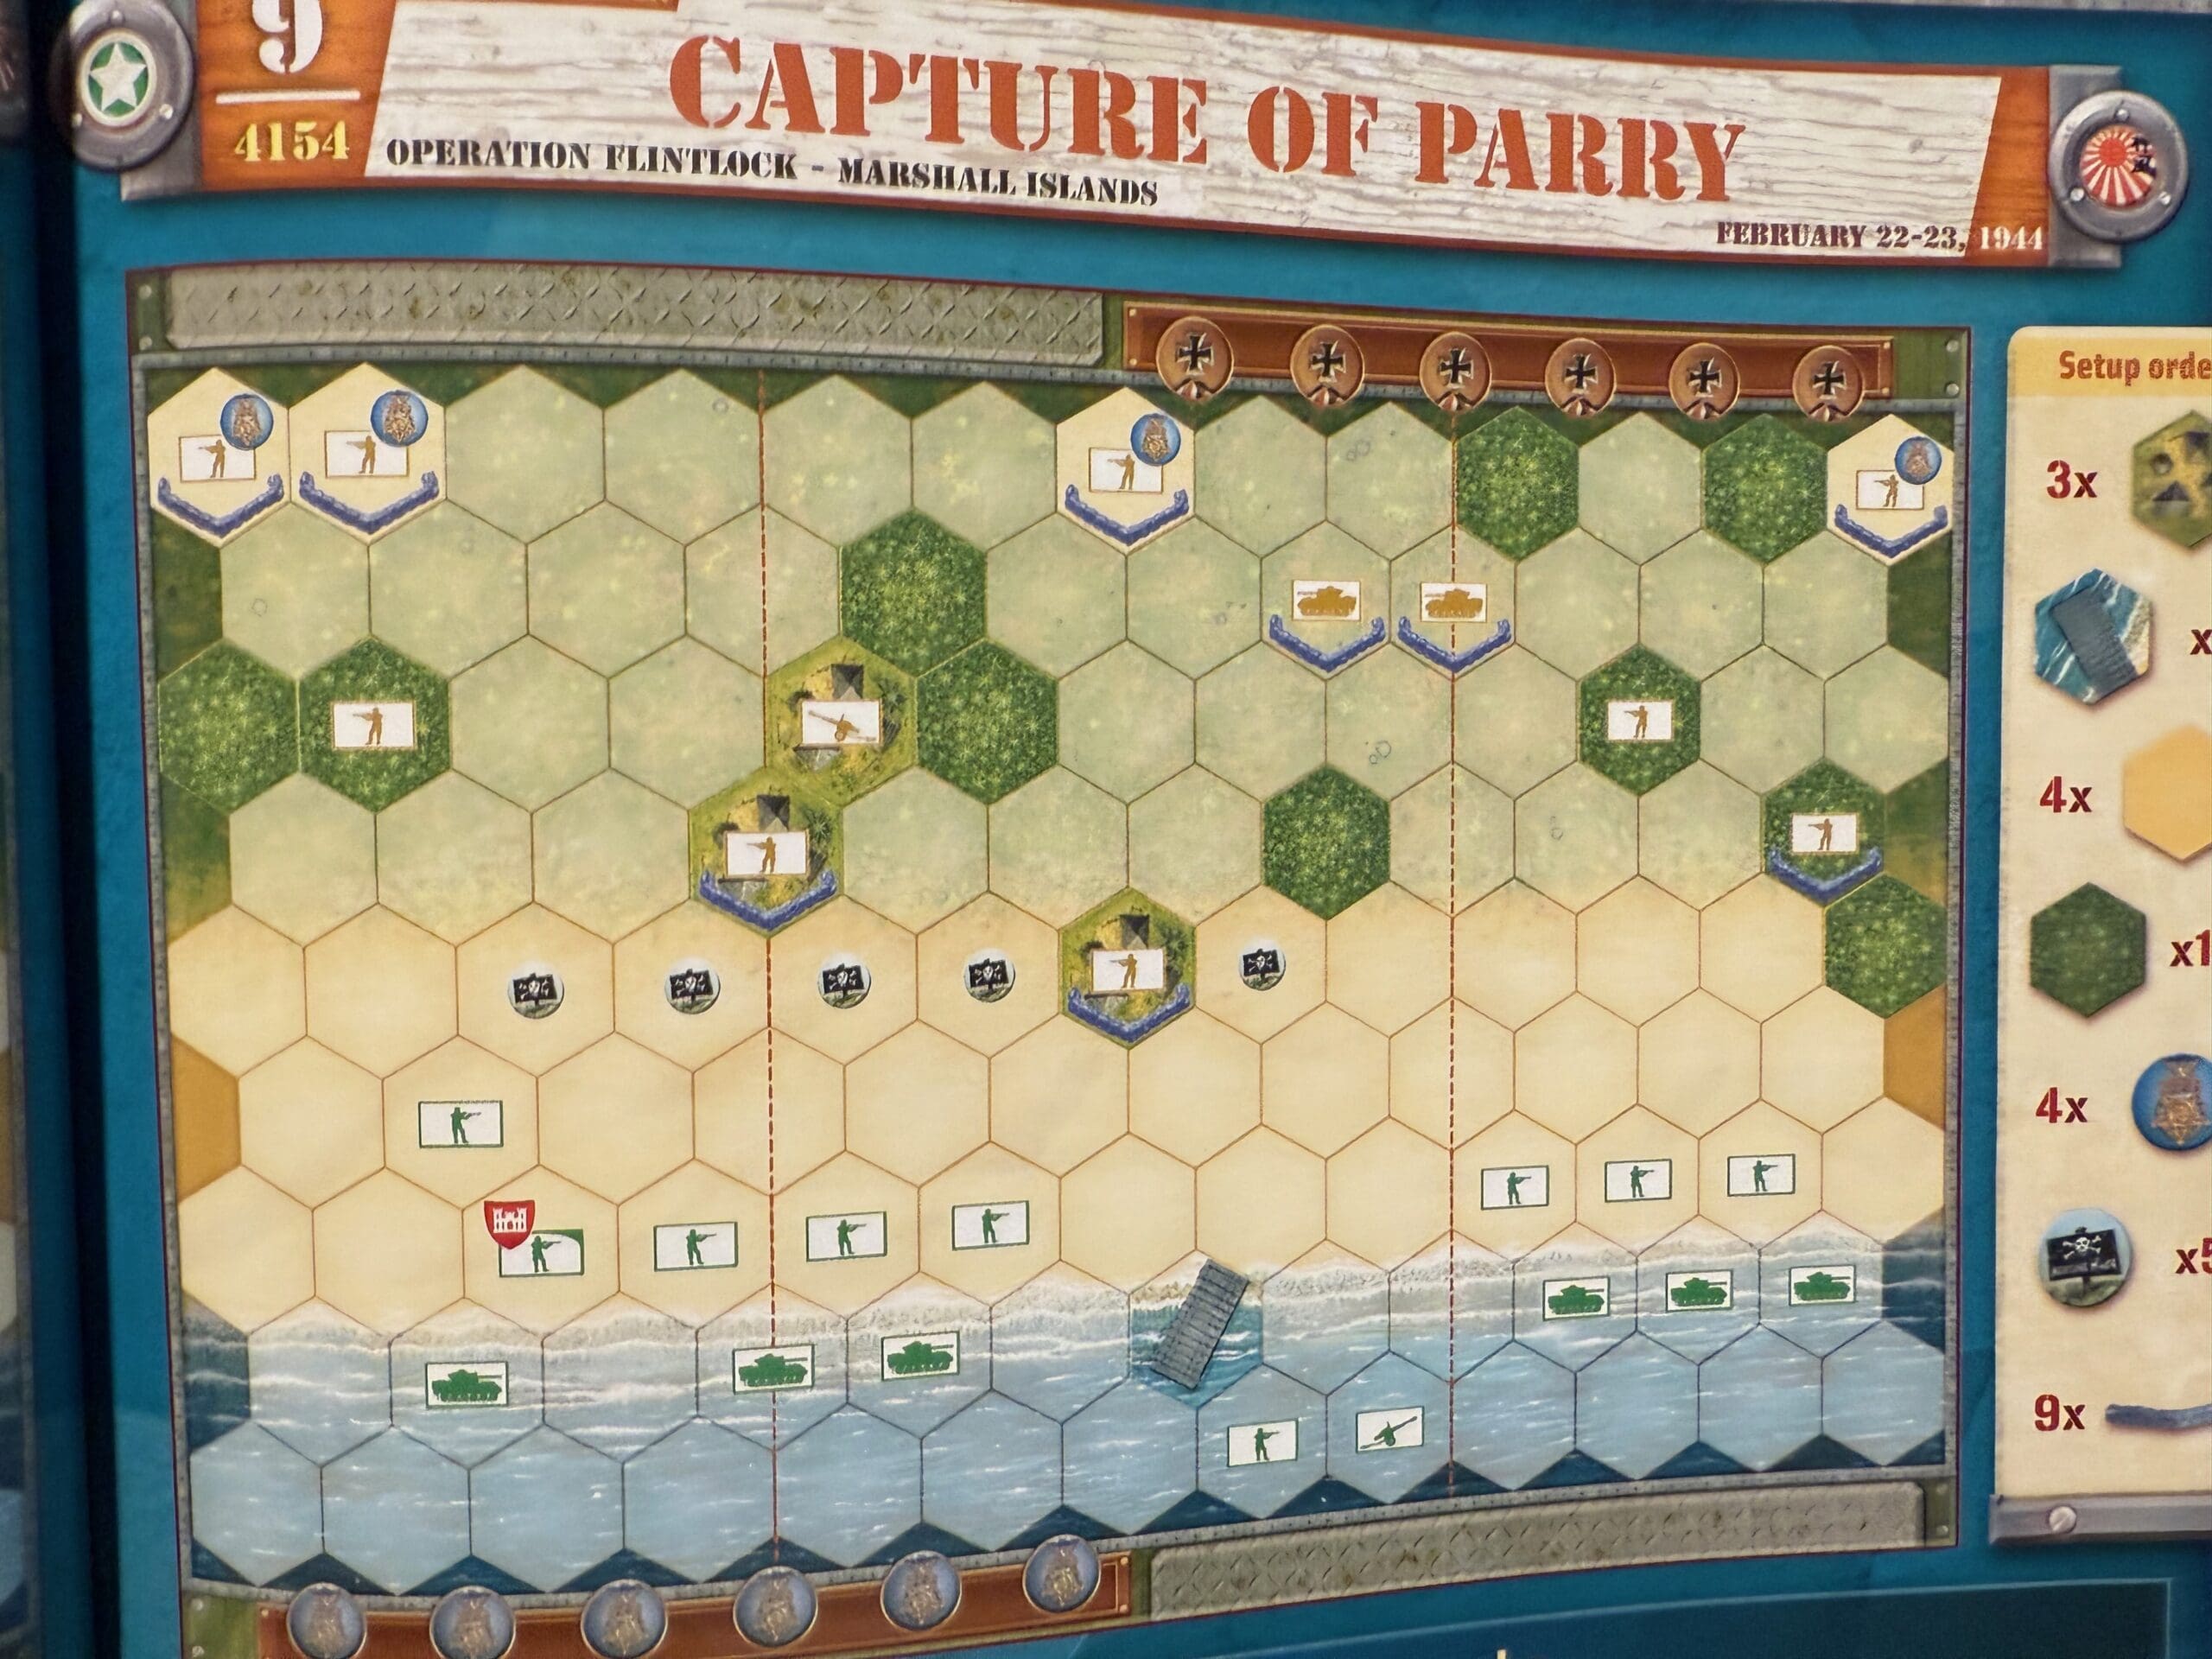
Objectives:
12 Medals
Terrain:
Beach terrain
Troops:
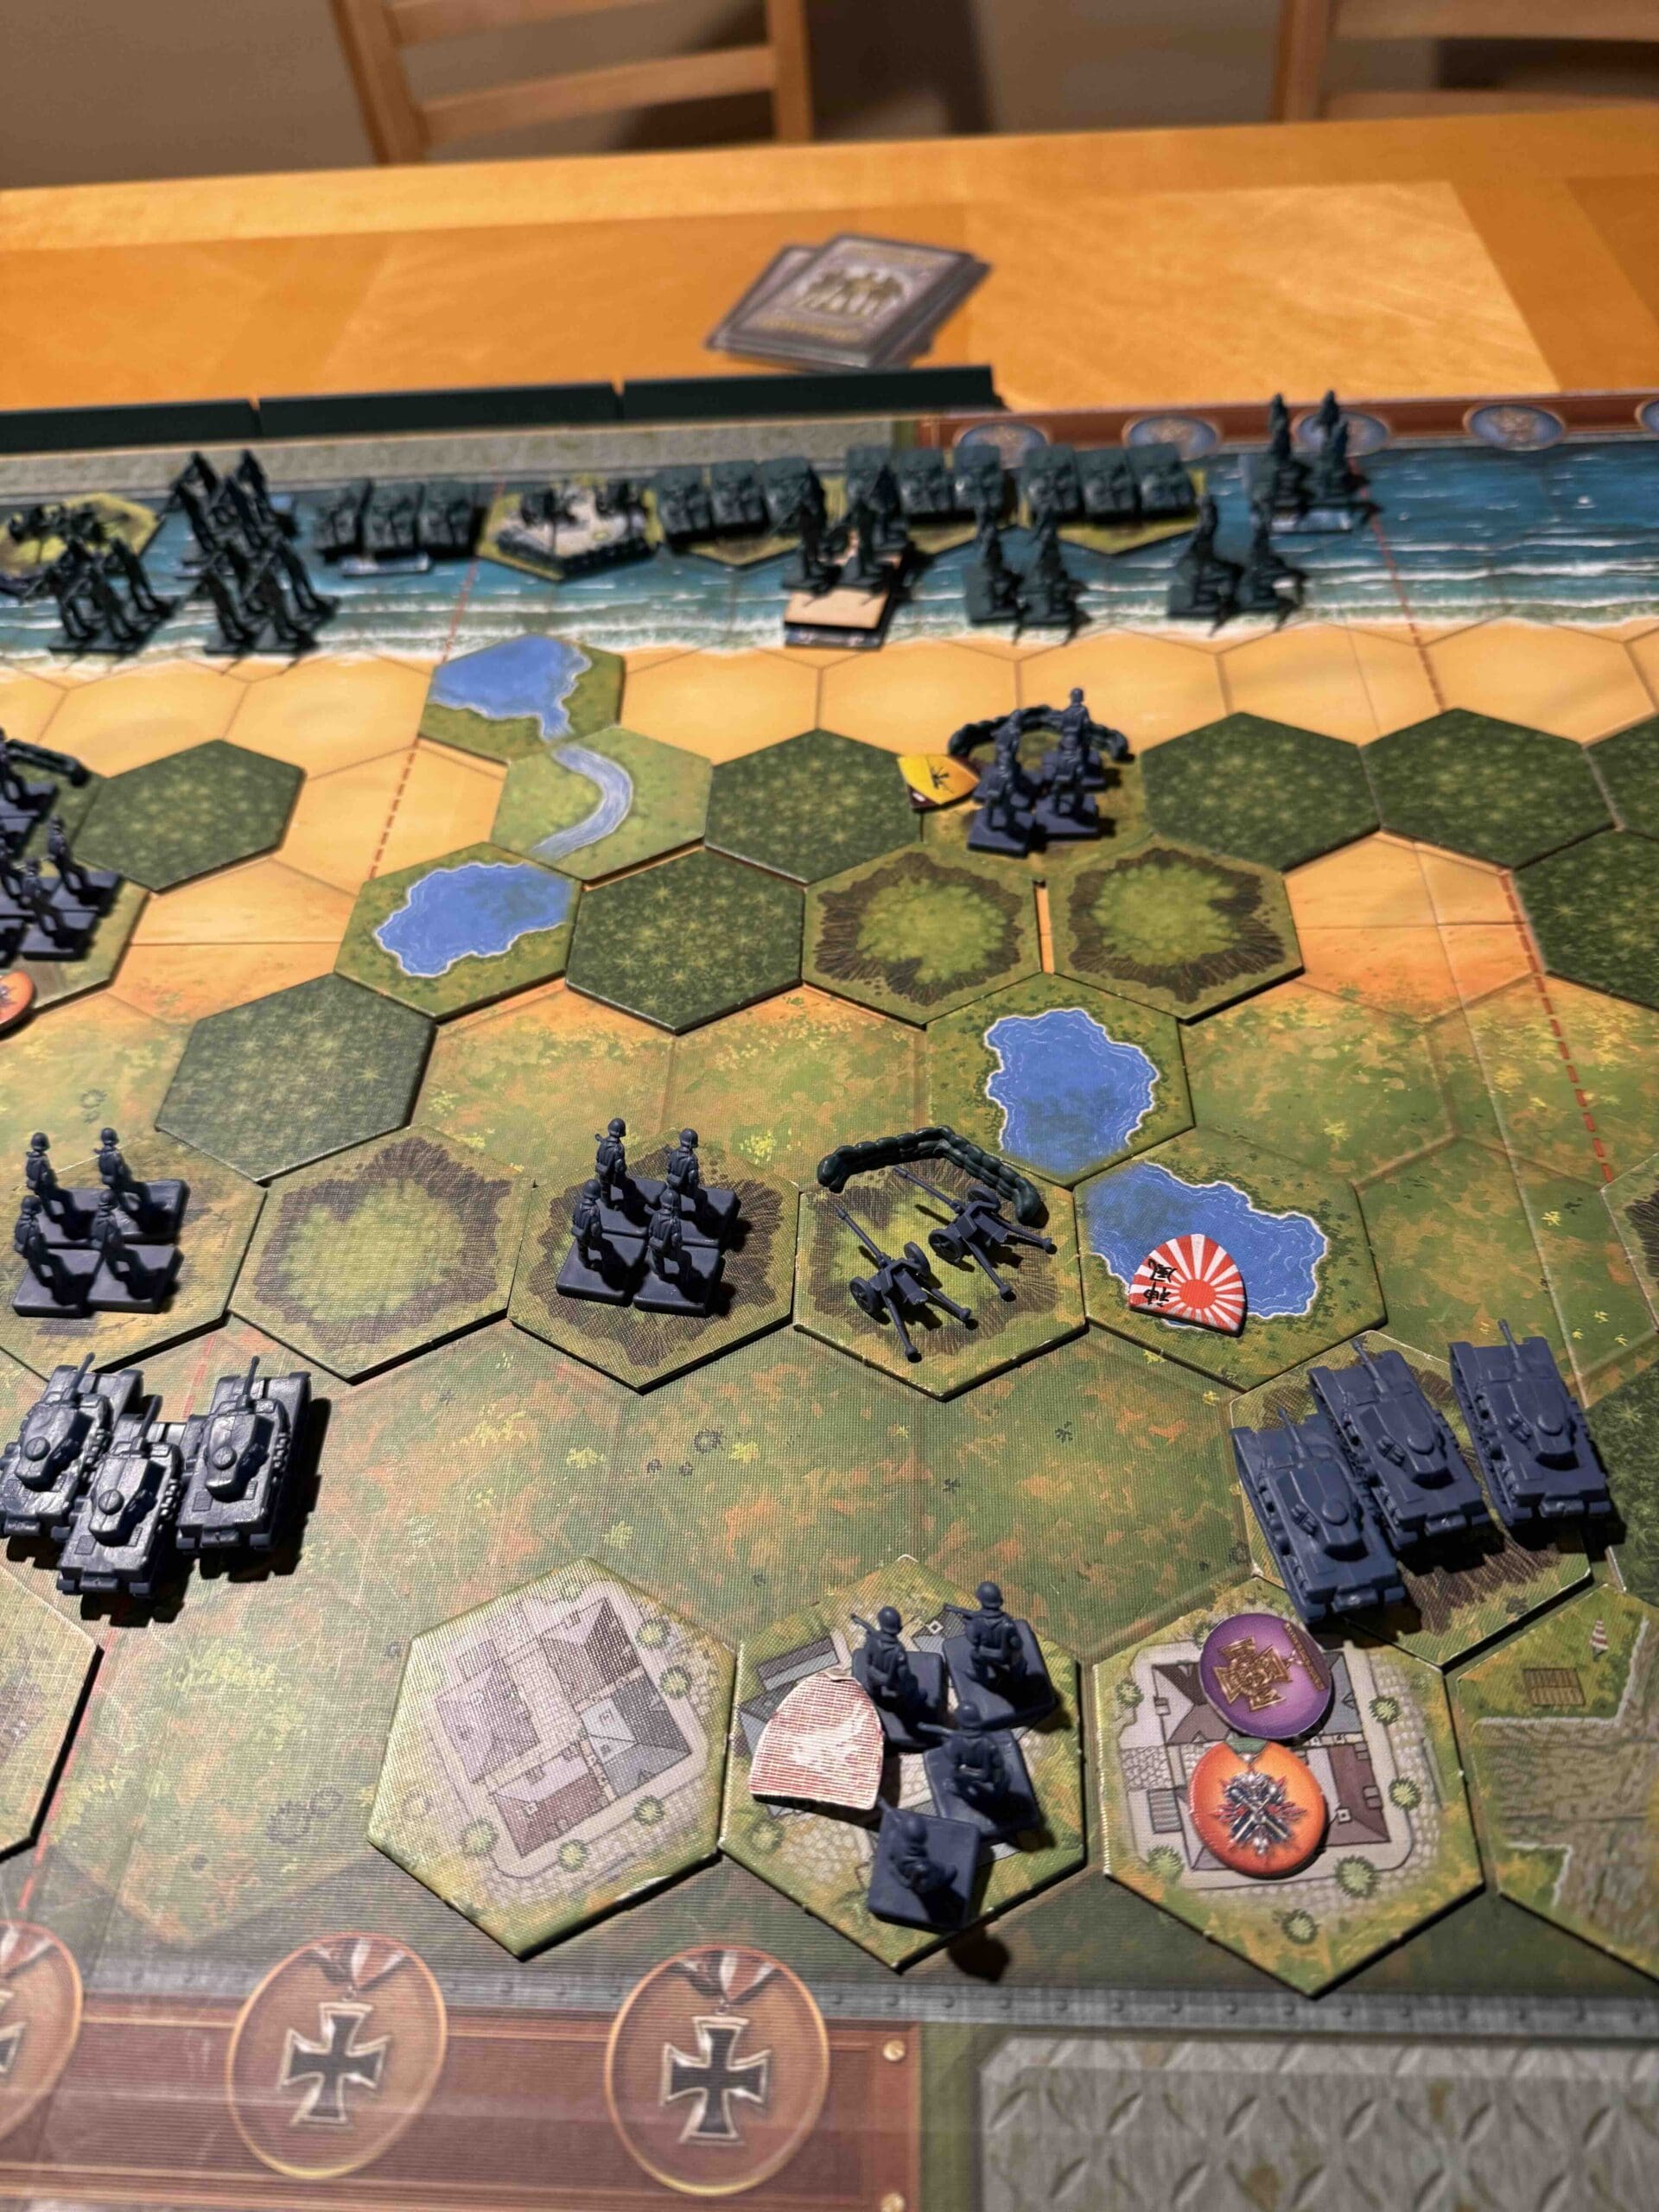
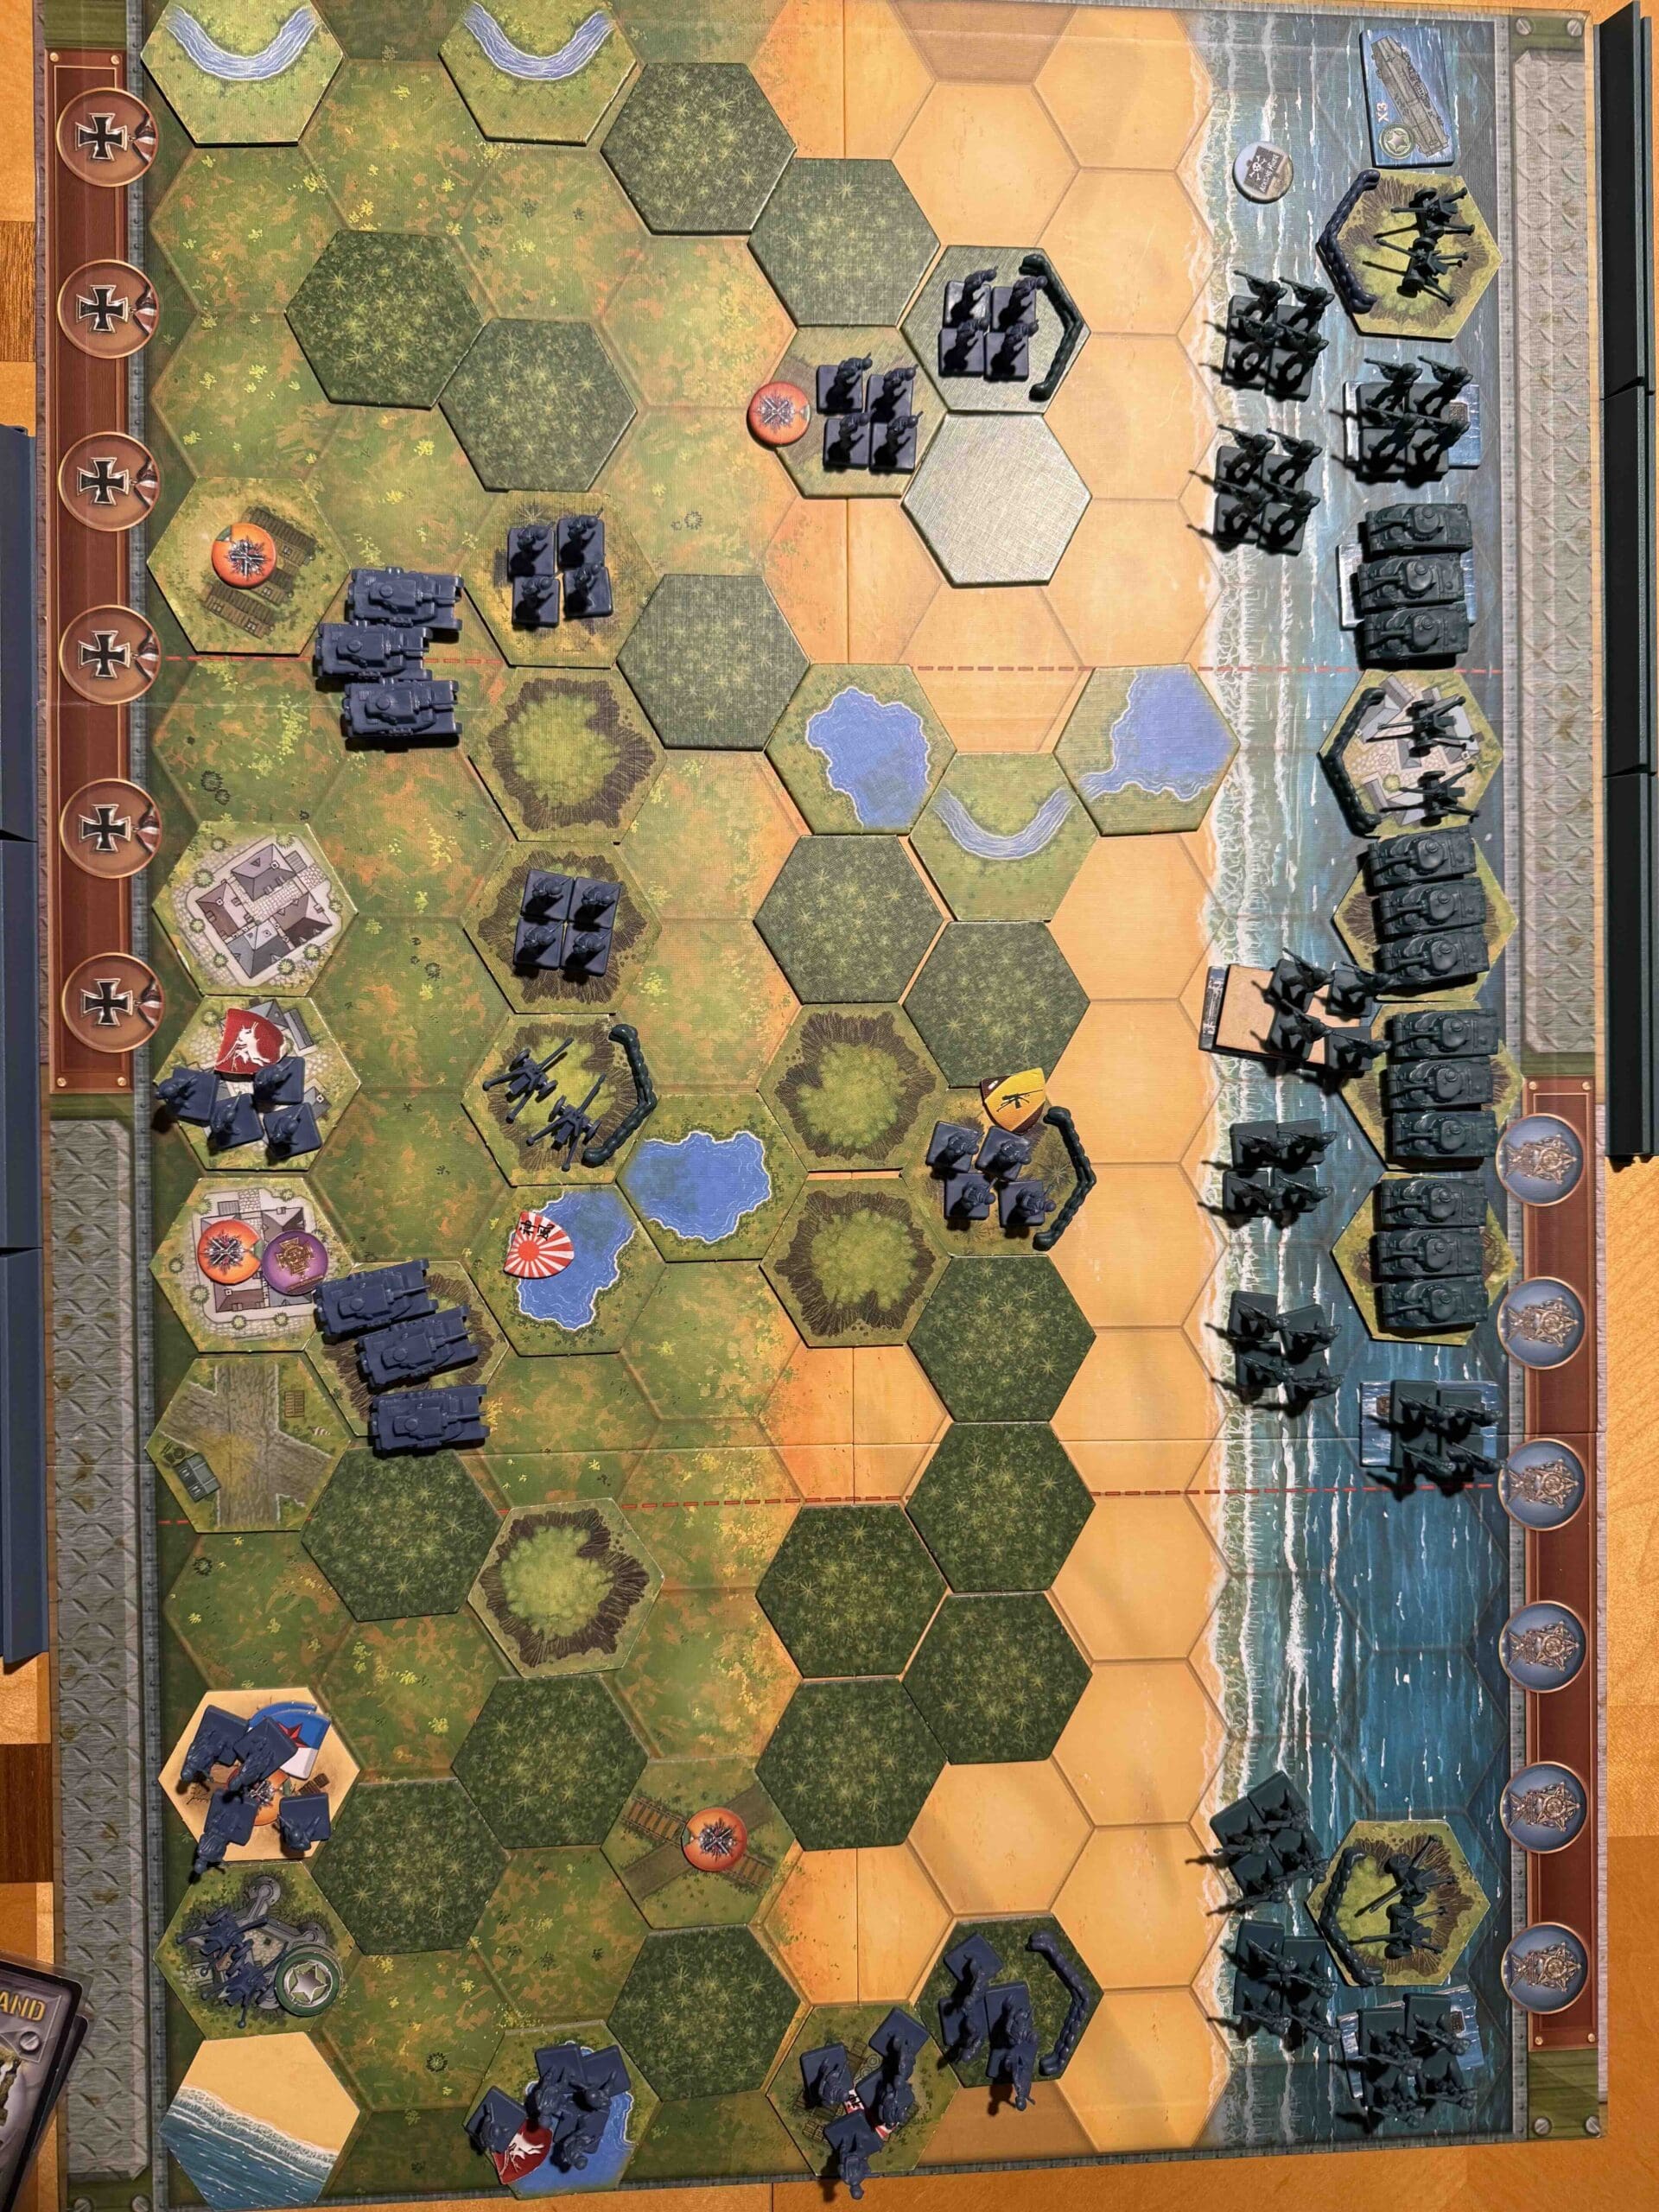
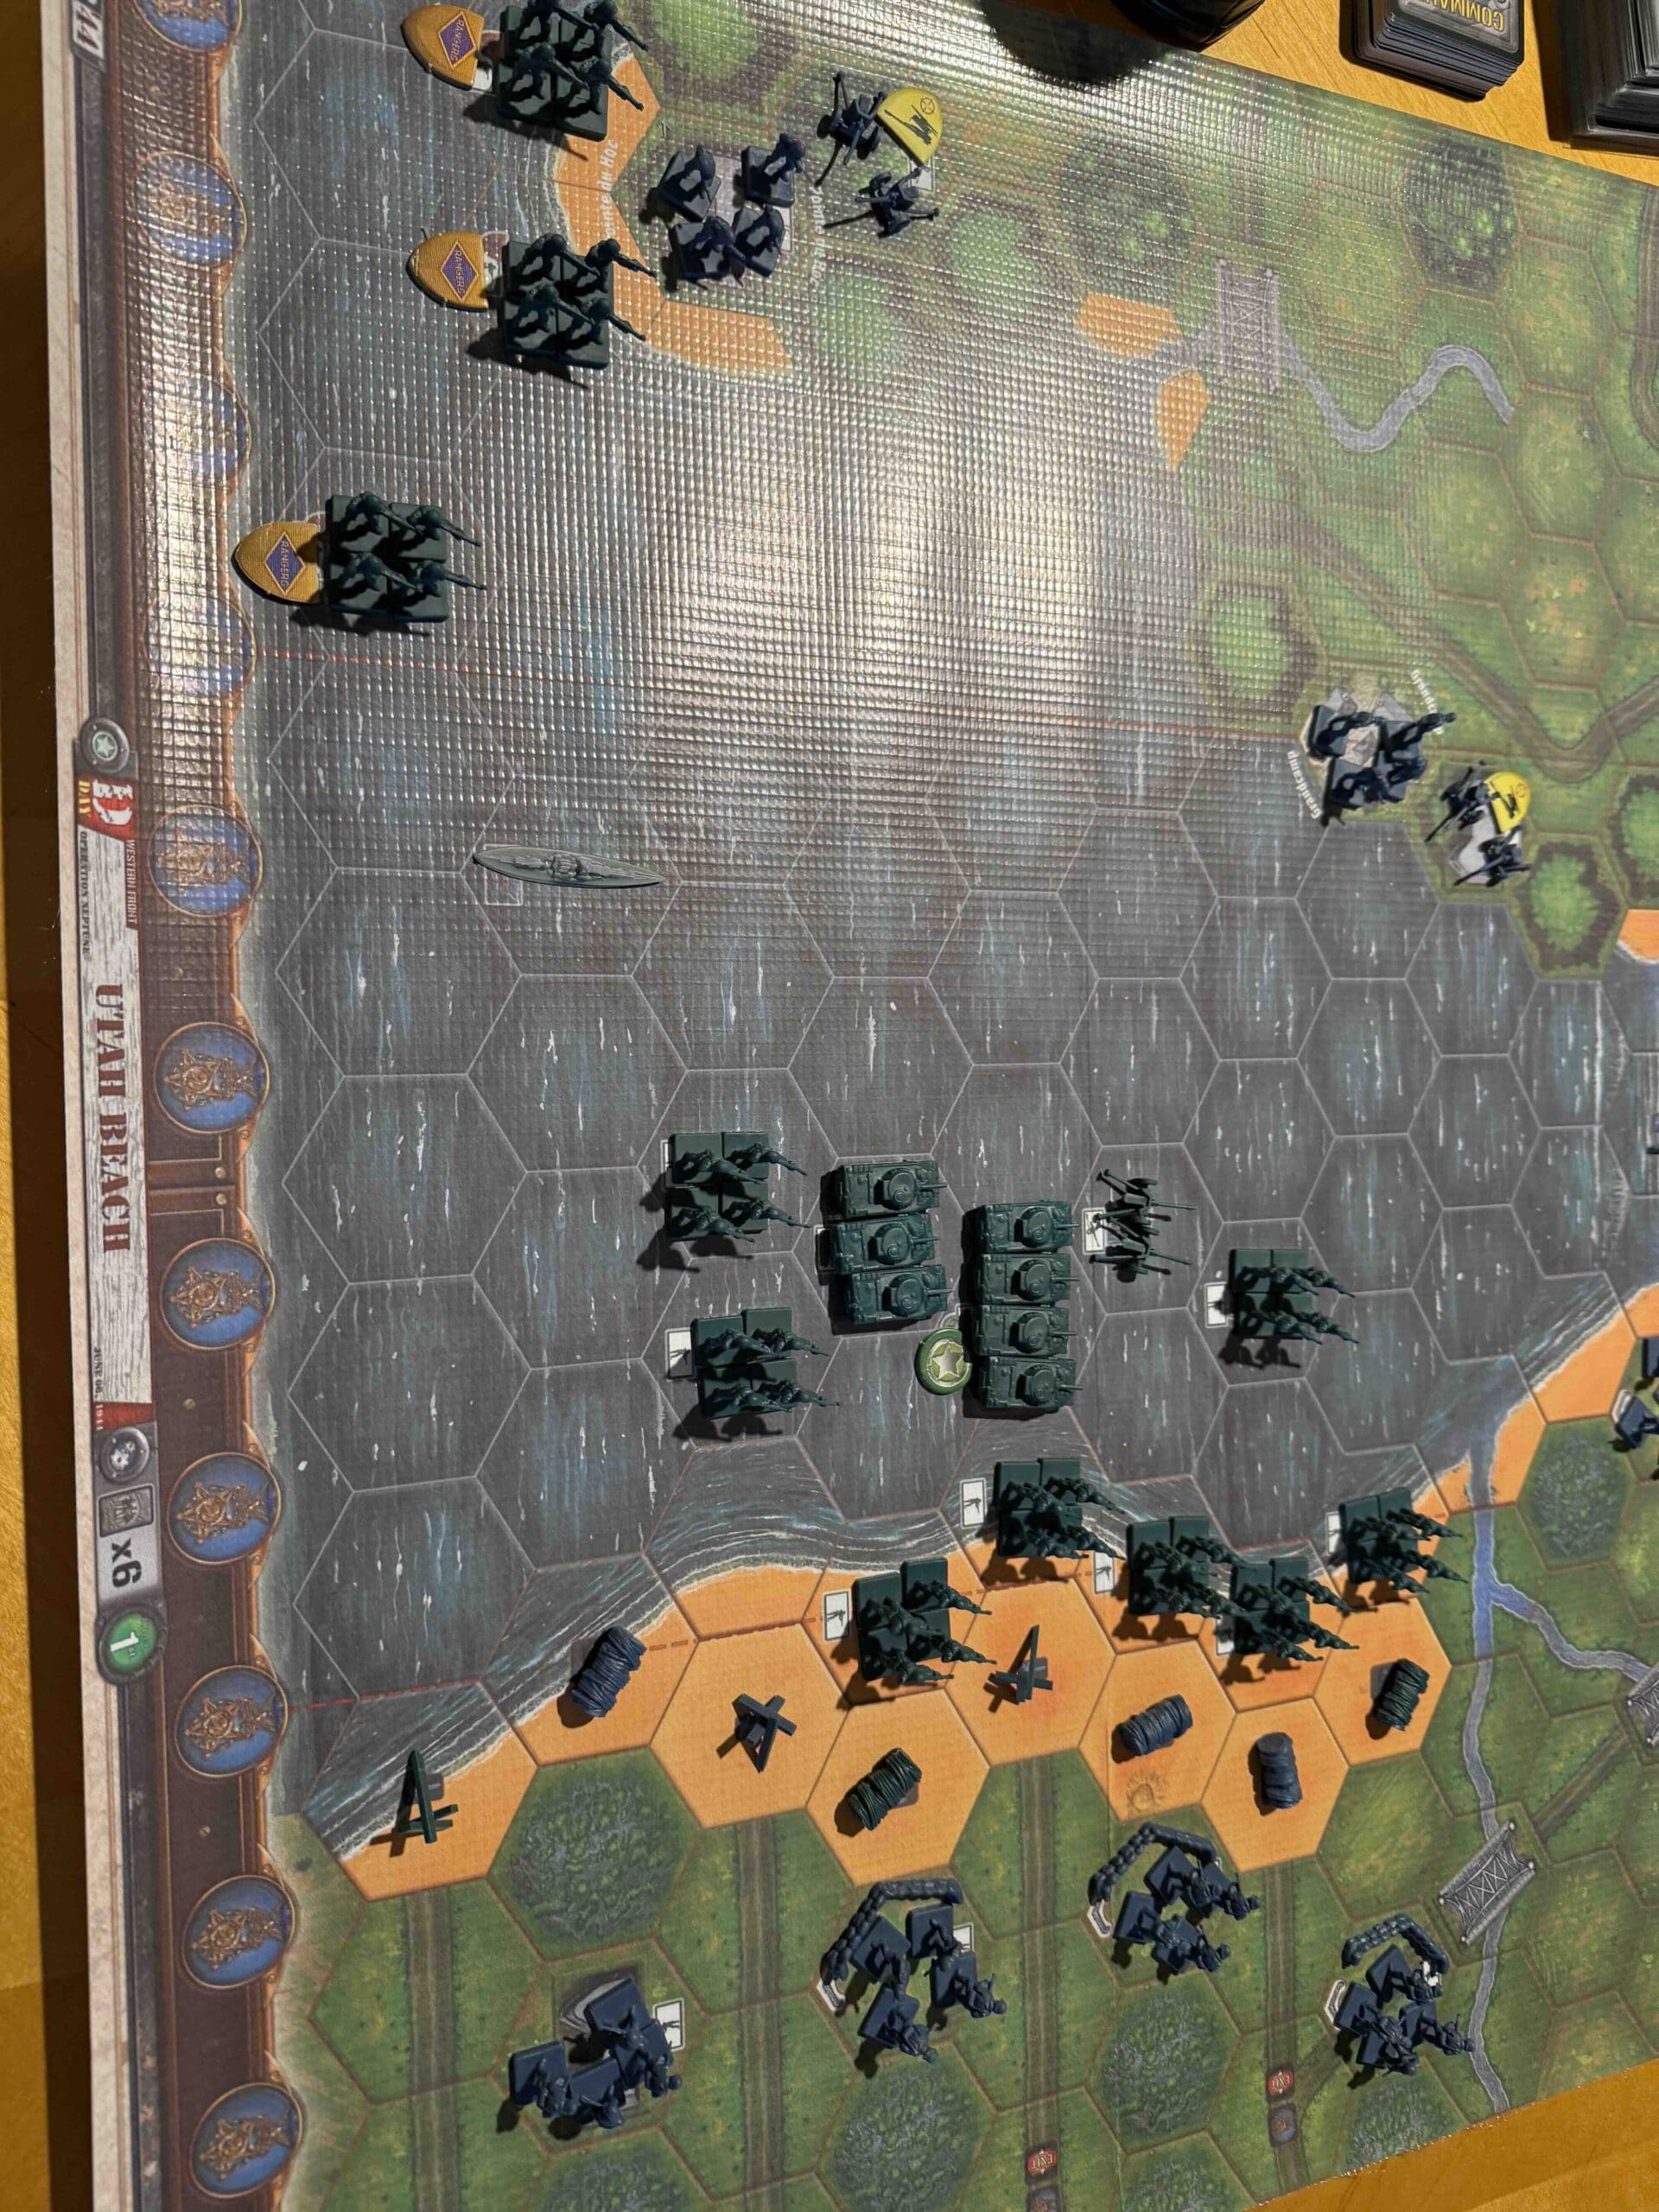
Allies – Infantry, Armor, one Destroyer
Axis – Infantry, Armor, Artillery with Big Guns
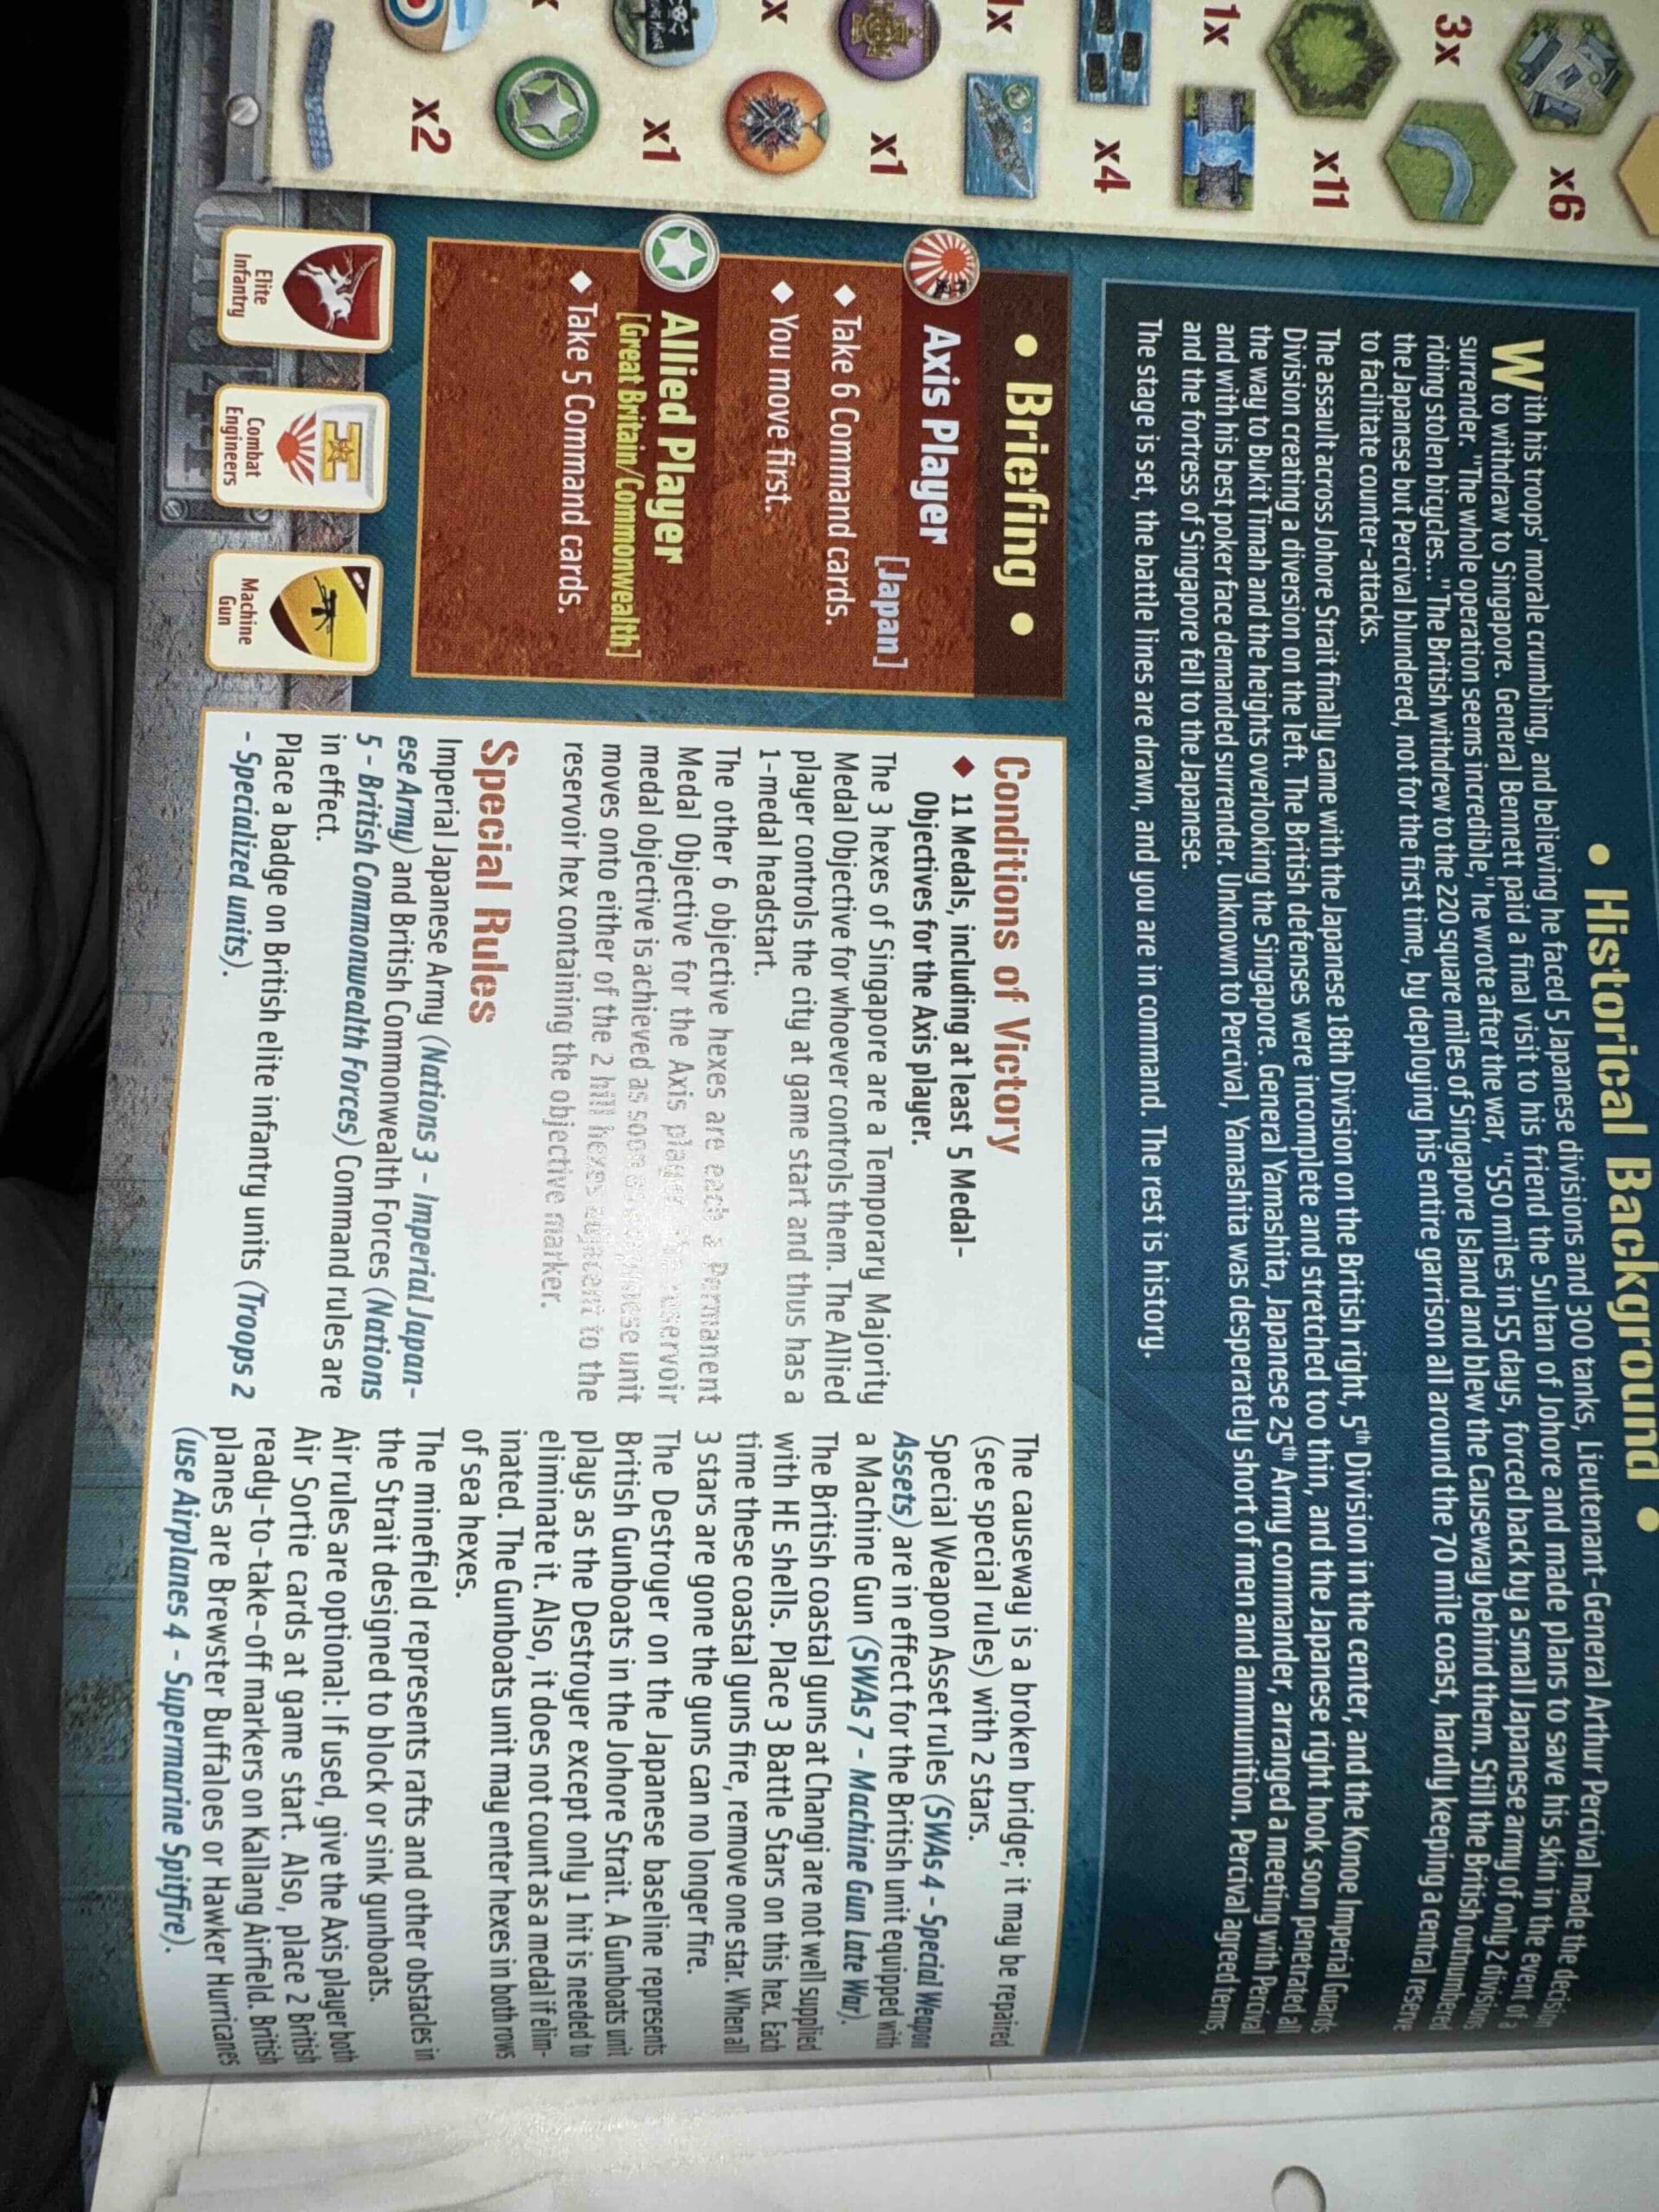
Special Rules:
1. Destroyer – attacks at 3,3,2,2,1,1,1,1 (with a locked in targeting reticule upon a successful hit)
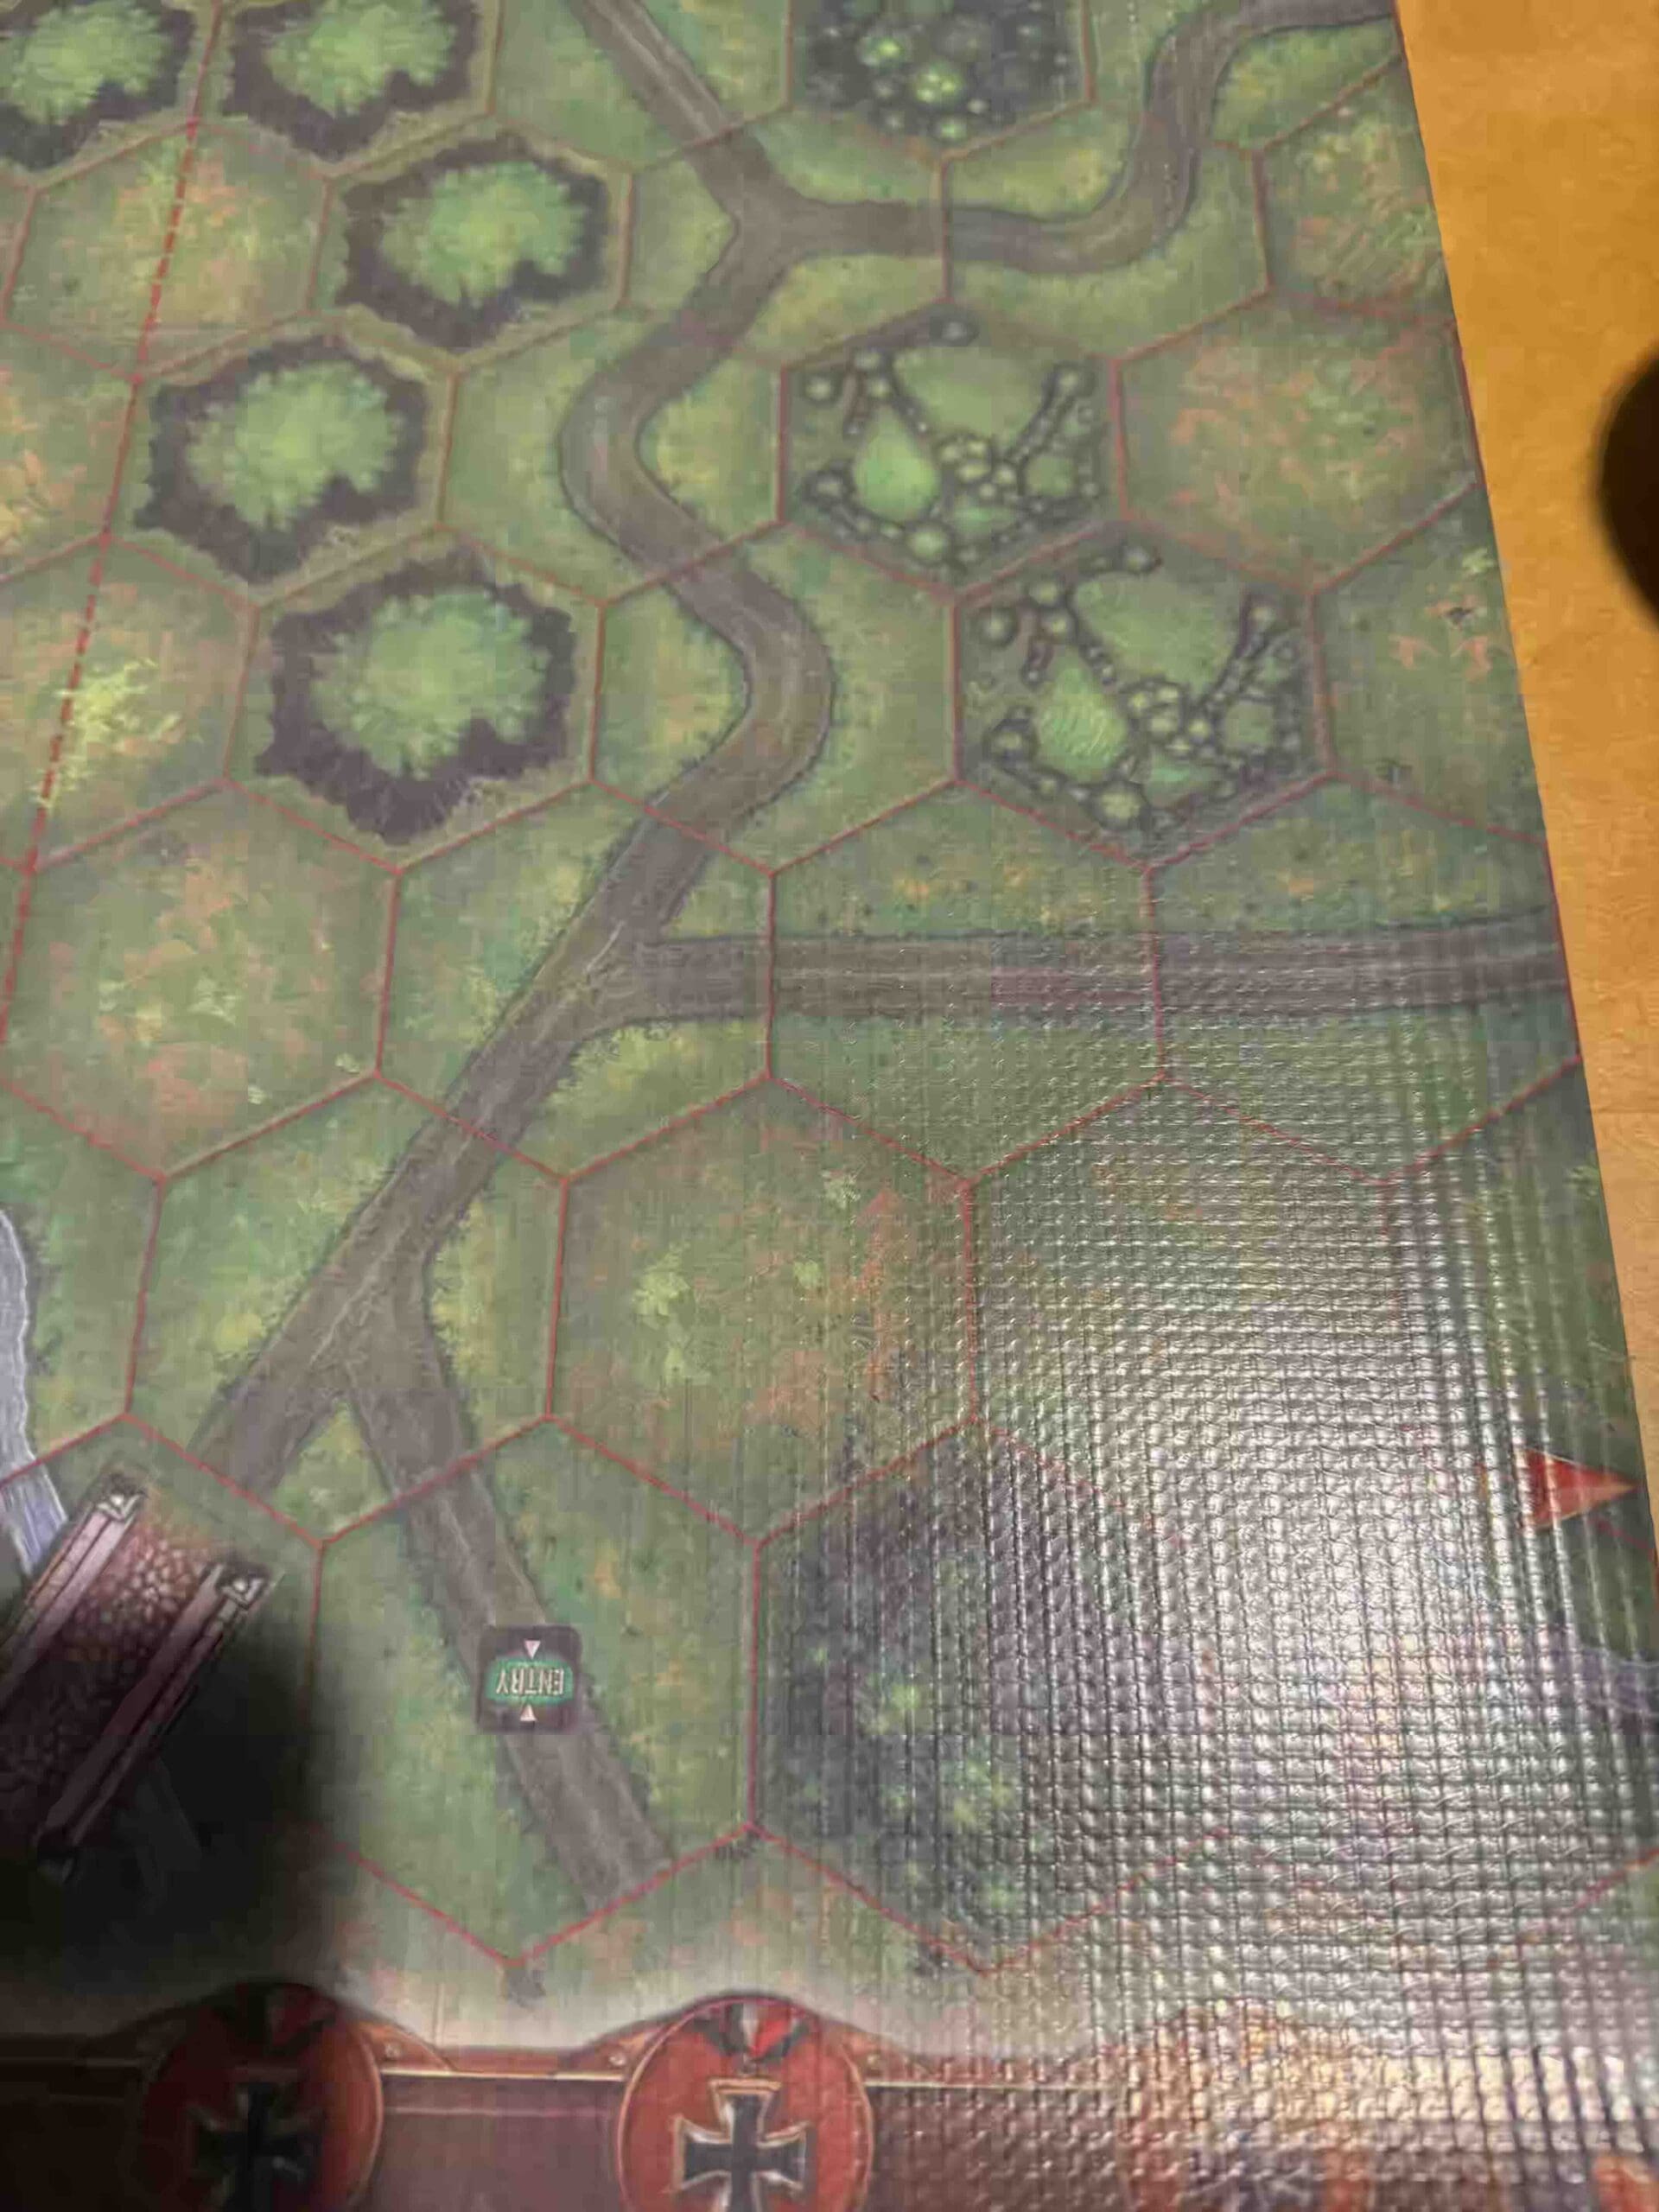
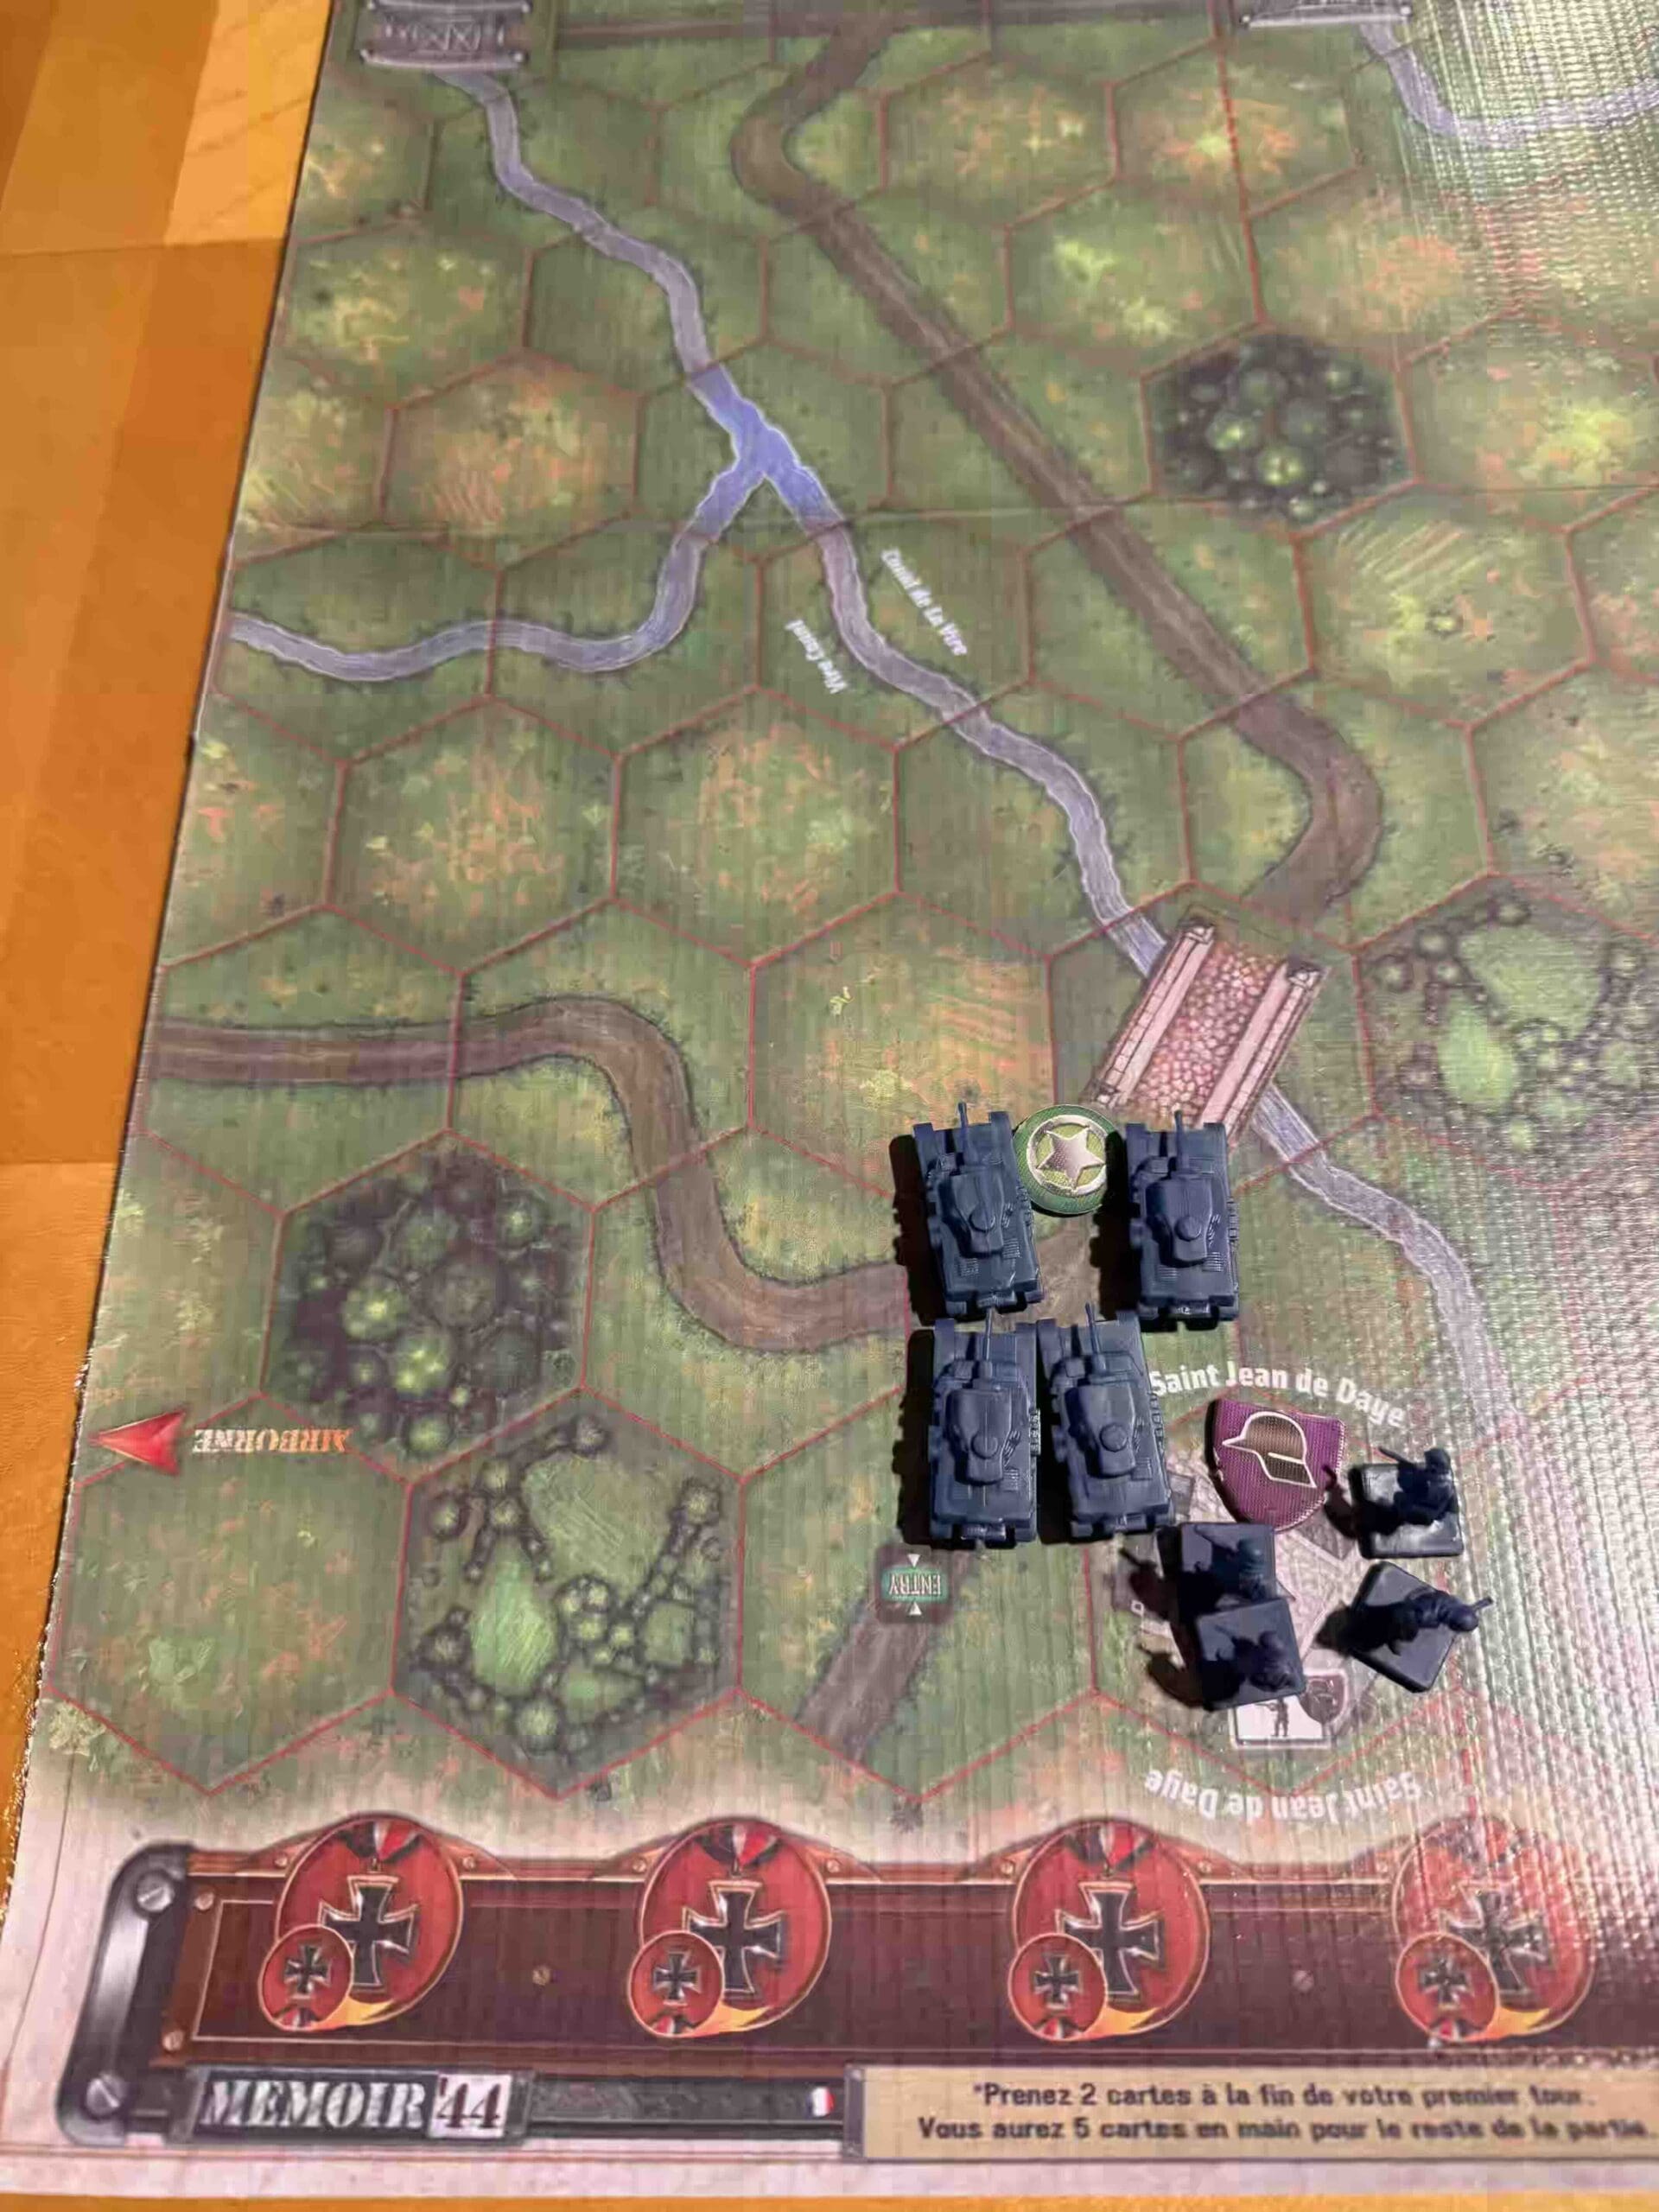
2. Entry hexes for the Axis (Use one initiative roll [see Overlord rules] before each turn for the Axis.)
3. Big Gun rules – attacks at 3,3,2,2,1,1,1,1 (with a locked in targeting reticule upon a successful hit)

Allied Strategy:
1. You have a Destroyer in the bay. Use it as much as you can to target the enemy Big Guns. Once you hit them once, you can assign a Target Reticule to the hex if you make one hit, allowing you to roll one extra Dice until the unit is eliminated or moves from the hex. Do not move the Destroyer too close, or the two enemy Big Guns can eliminate you.
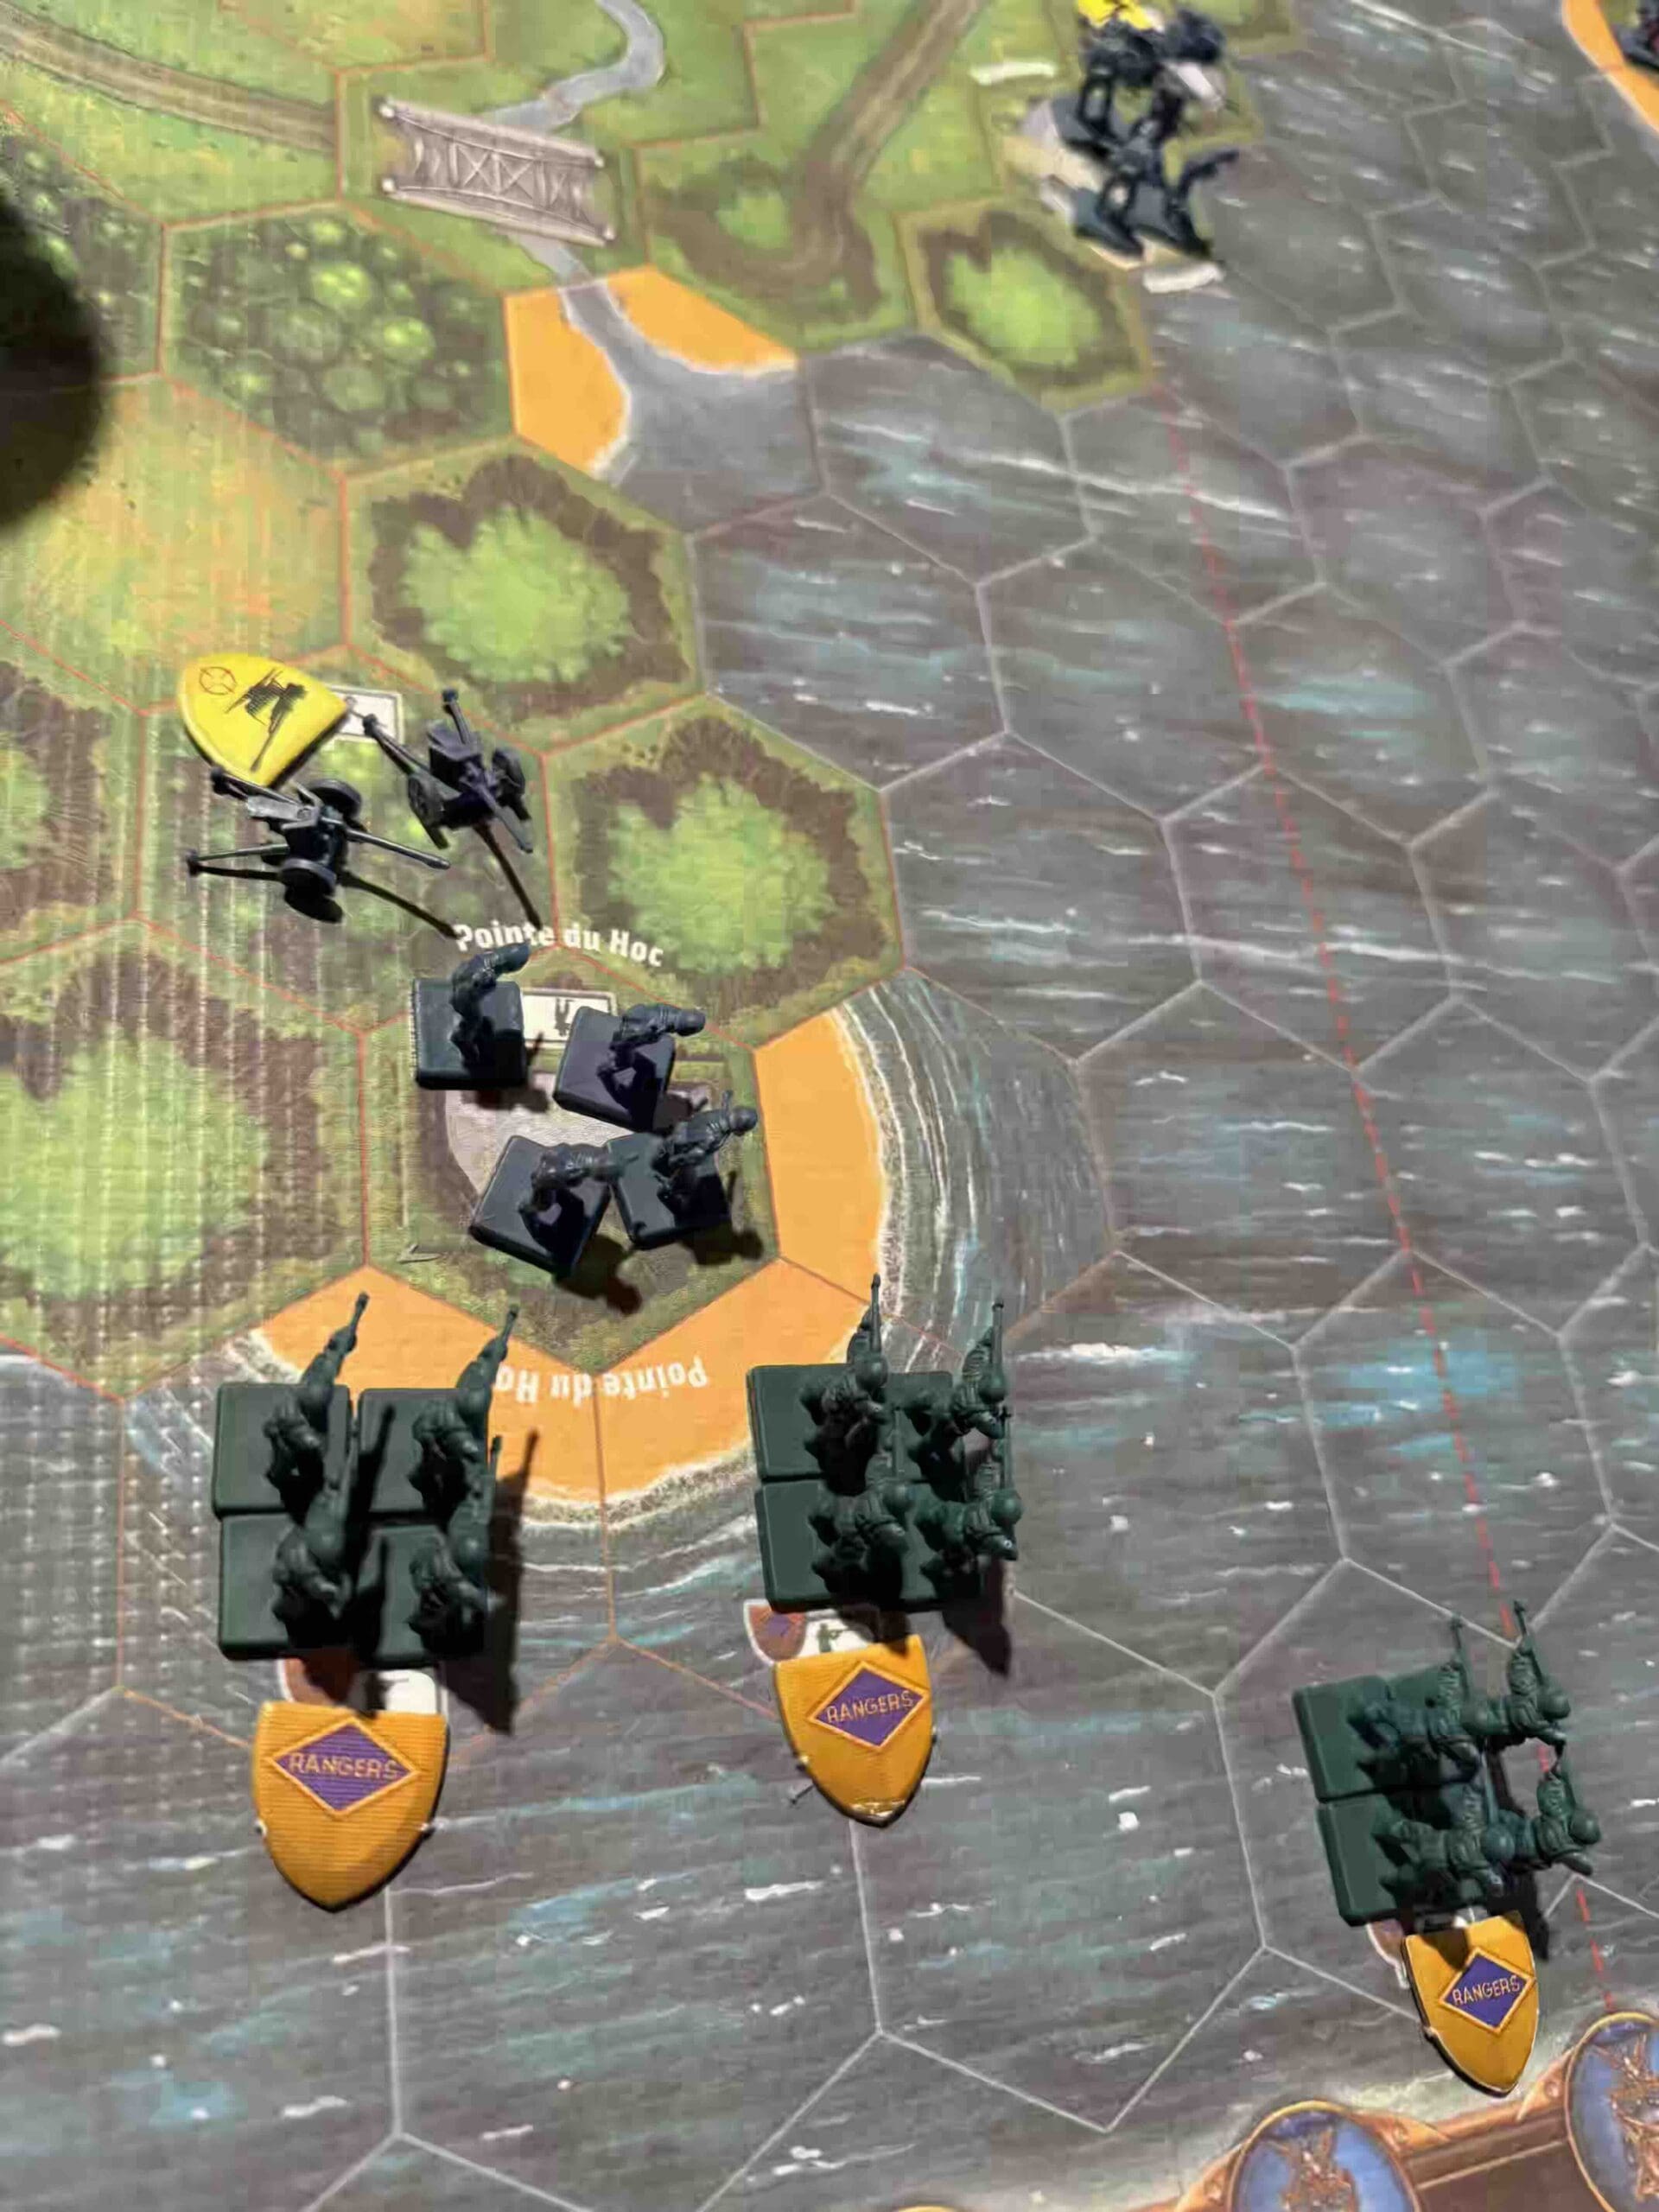
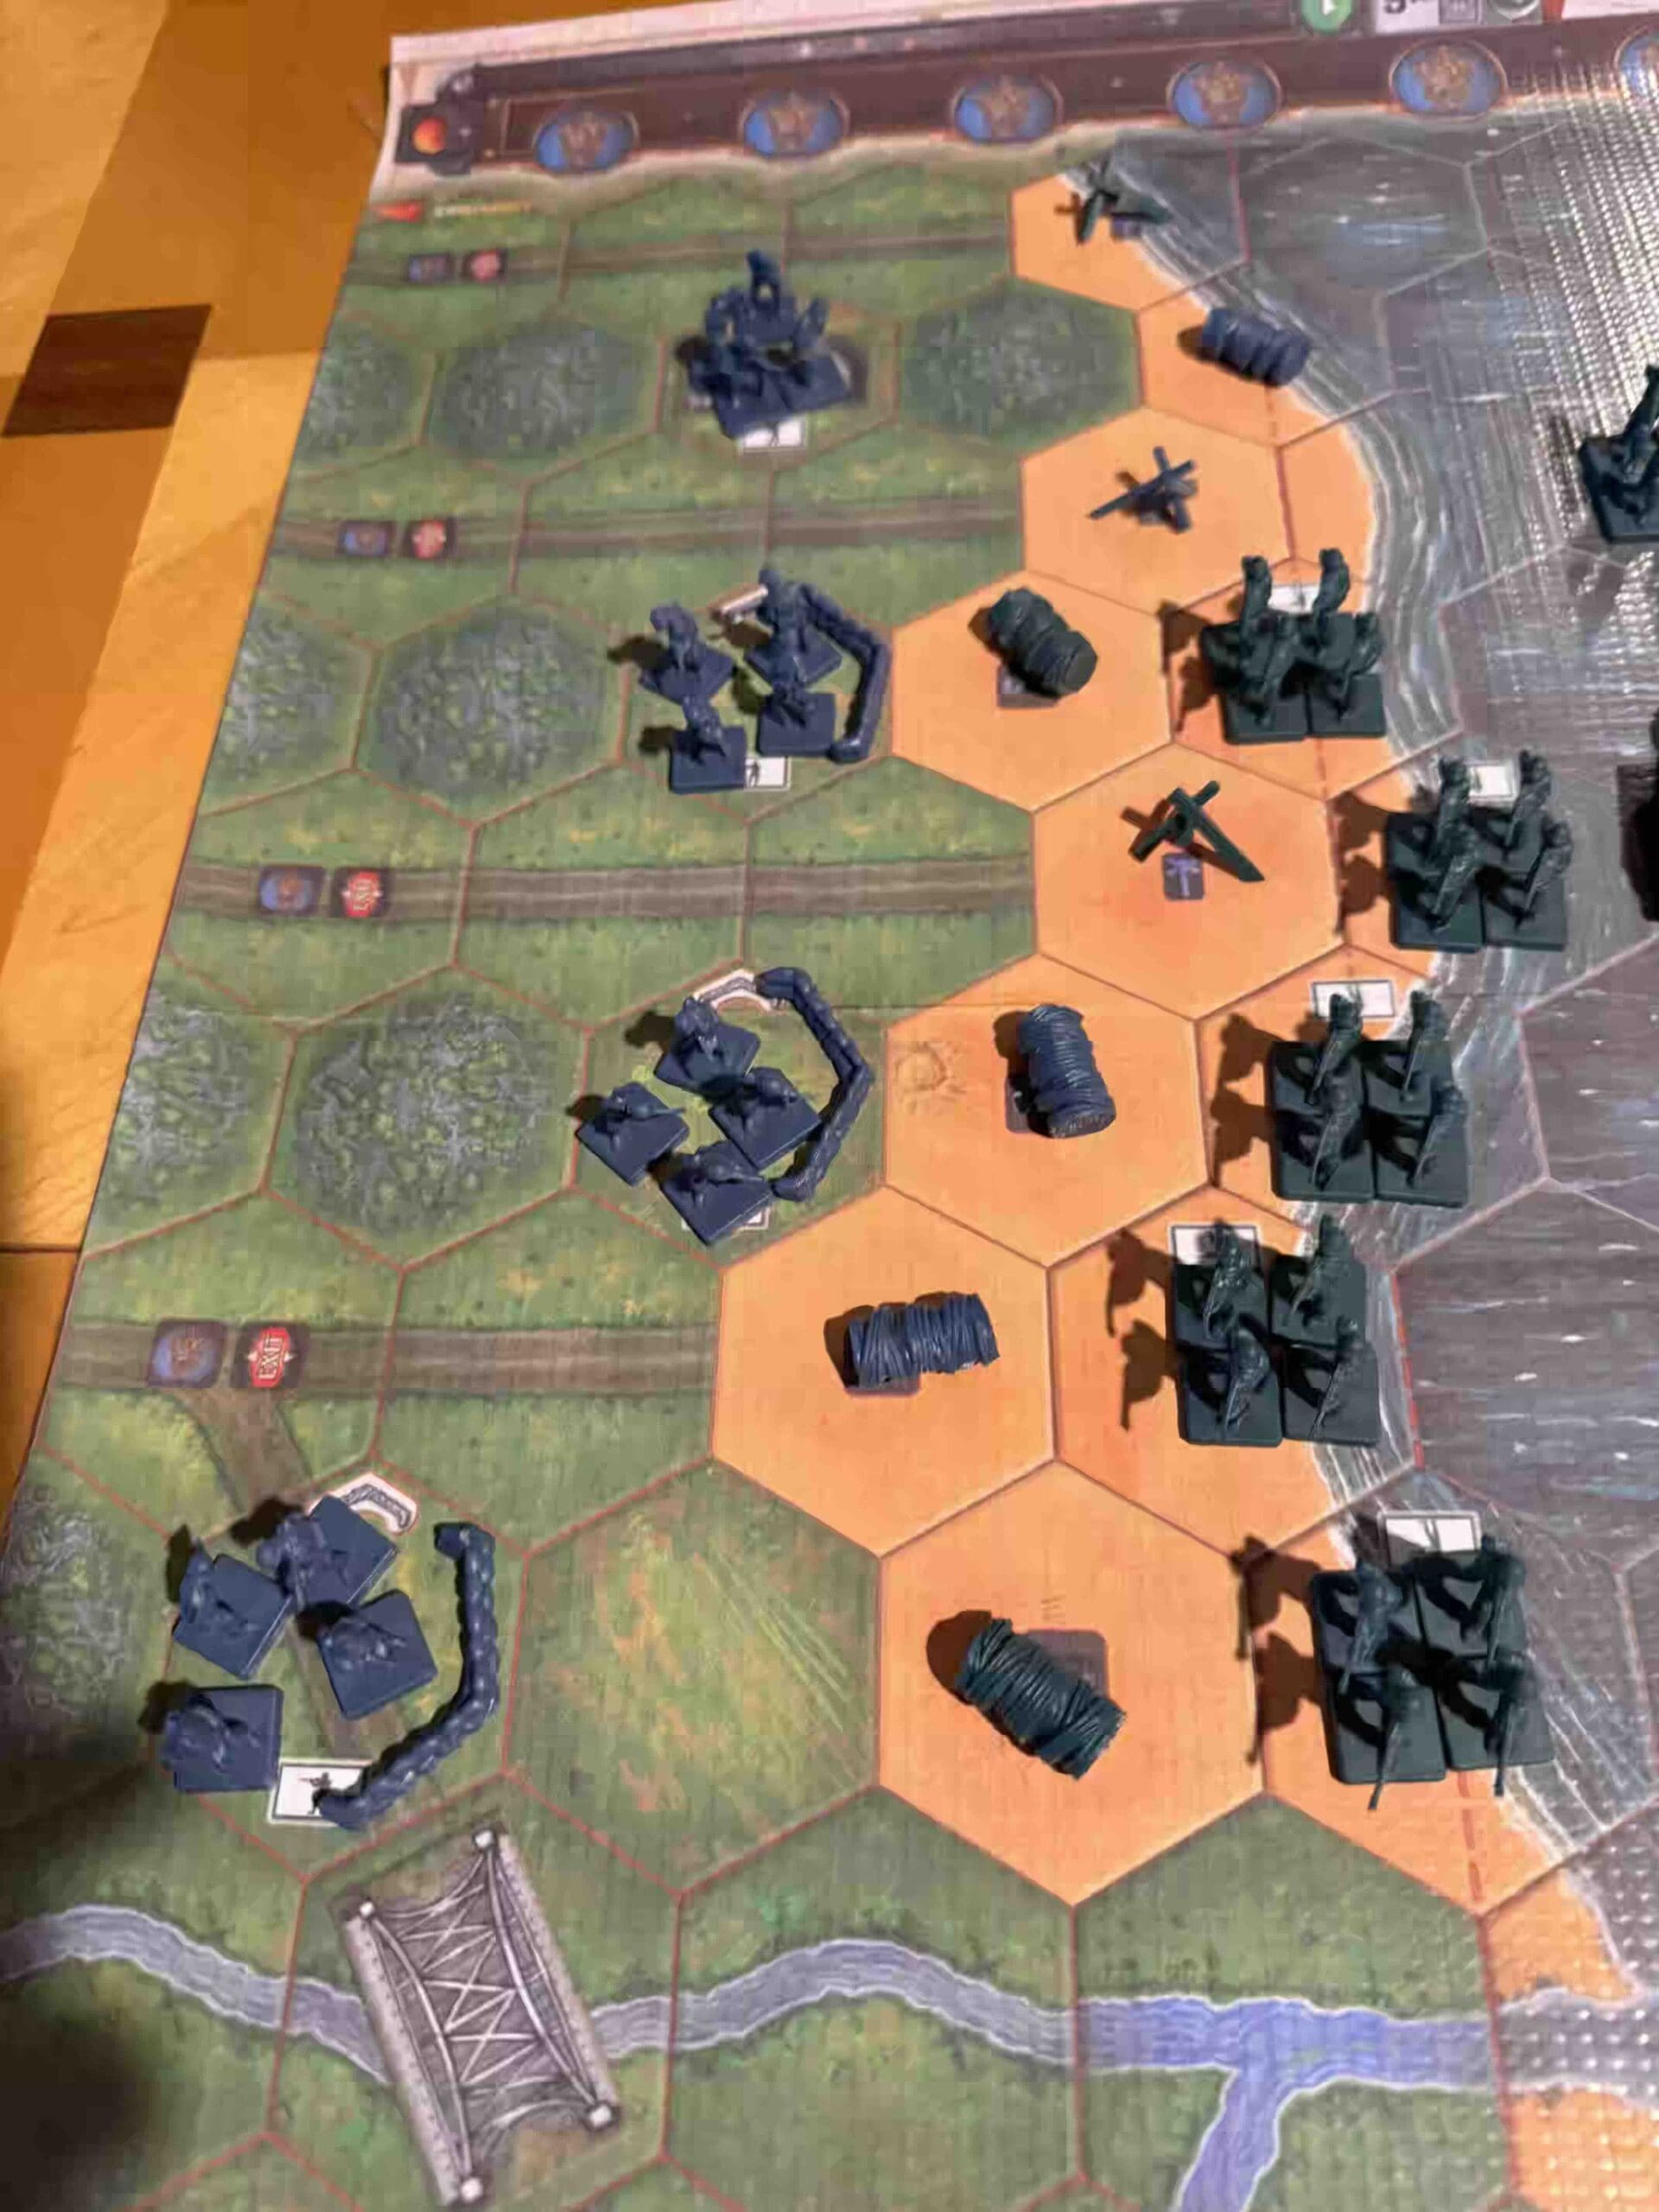
2. You need to break through all the Infantry blockades in the bunkers and sandbags, and escape out the Exit Hexes as soon as you can before the tanks show up.
3. Take the time to remove the barb wire lining the beach. It will take one turn to remove it, but it will speed up the escape for all the troops who follow.
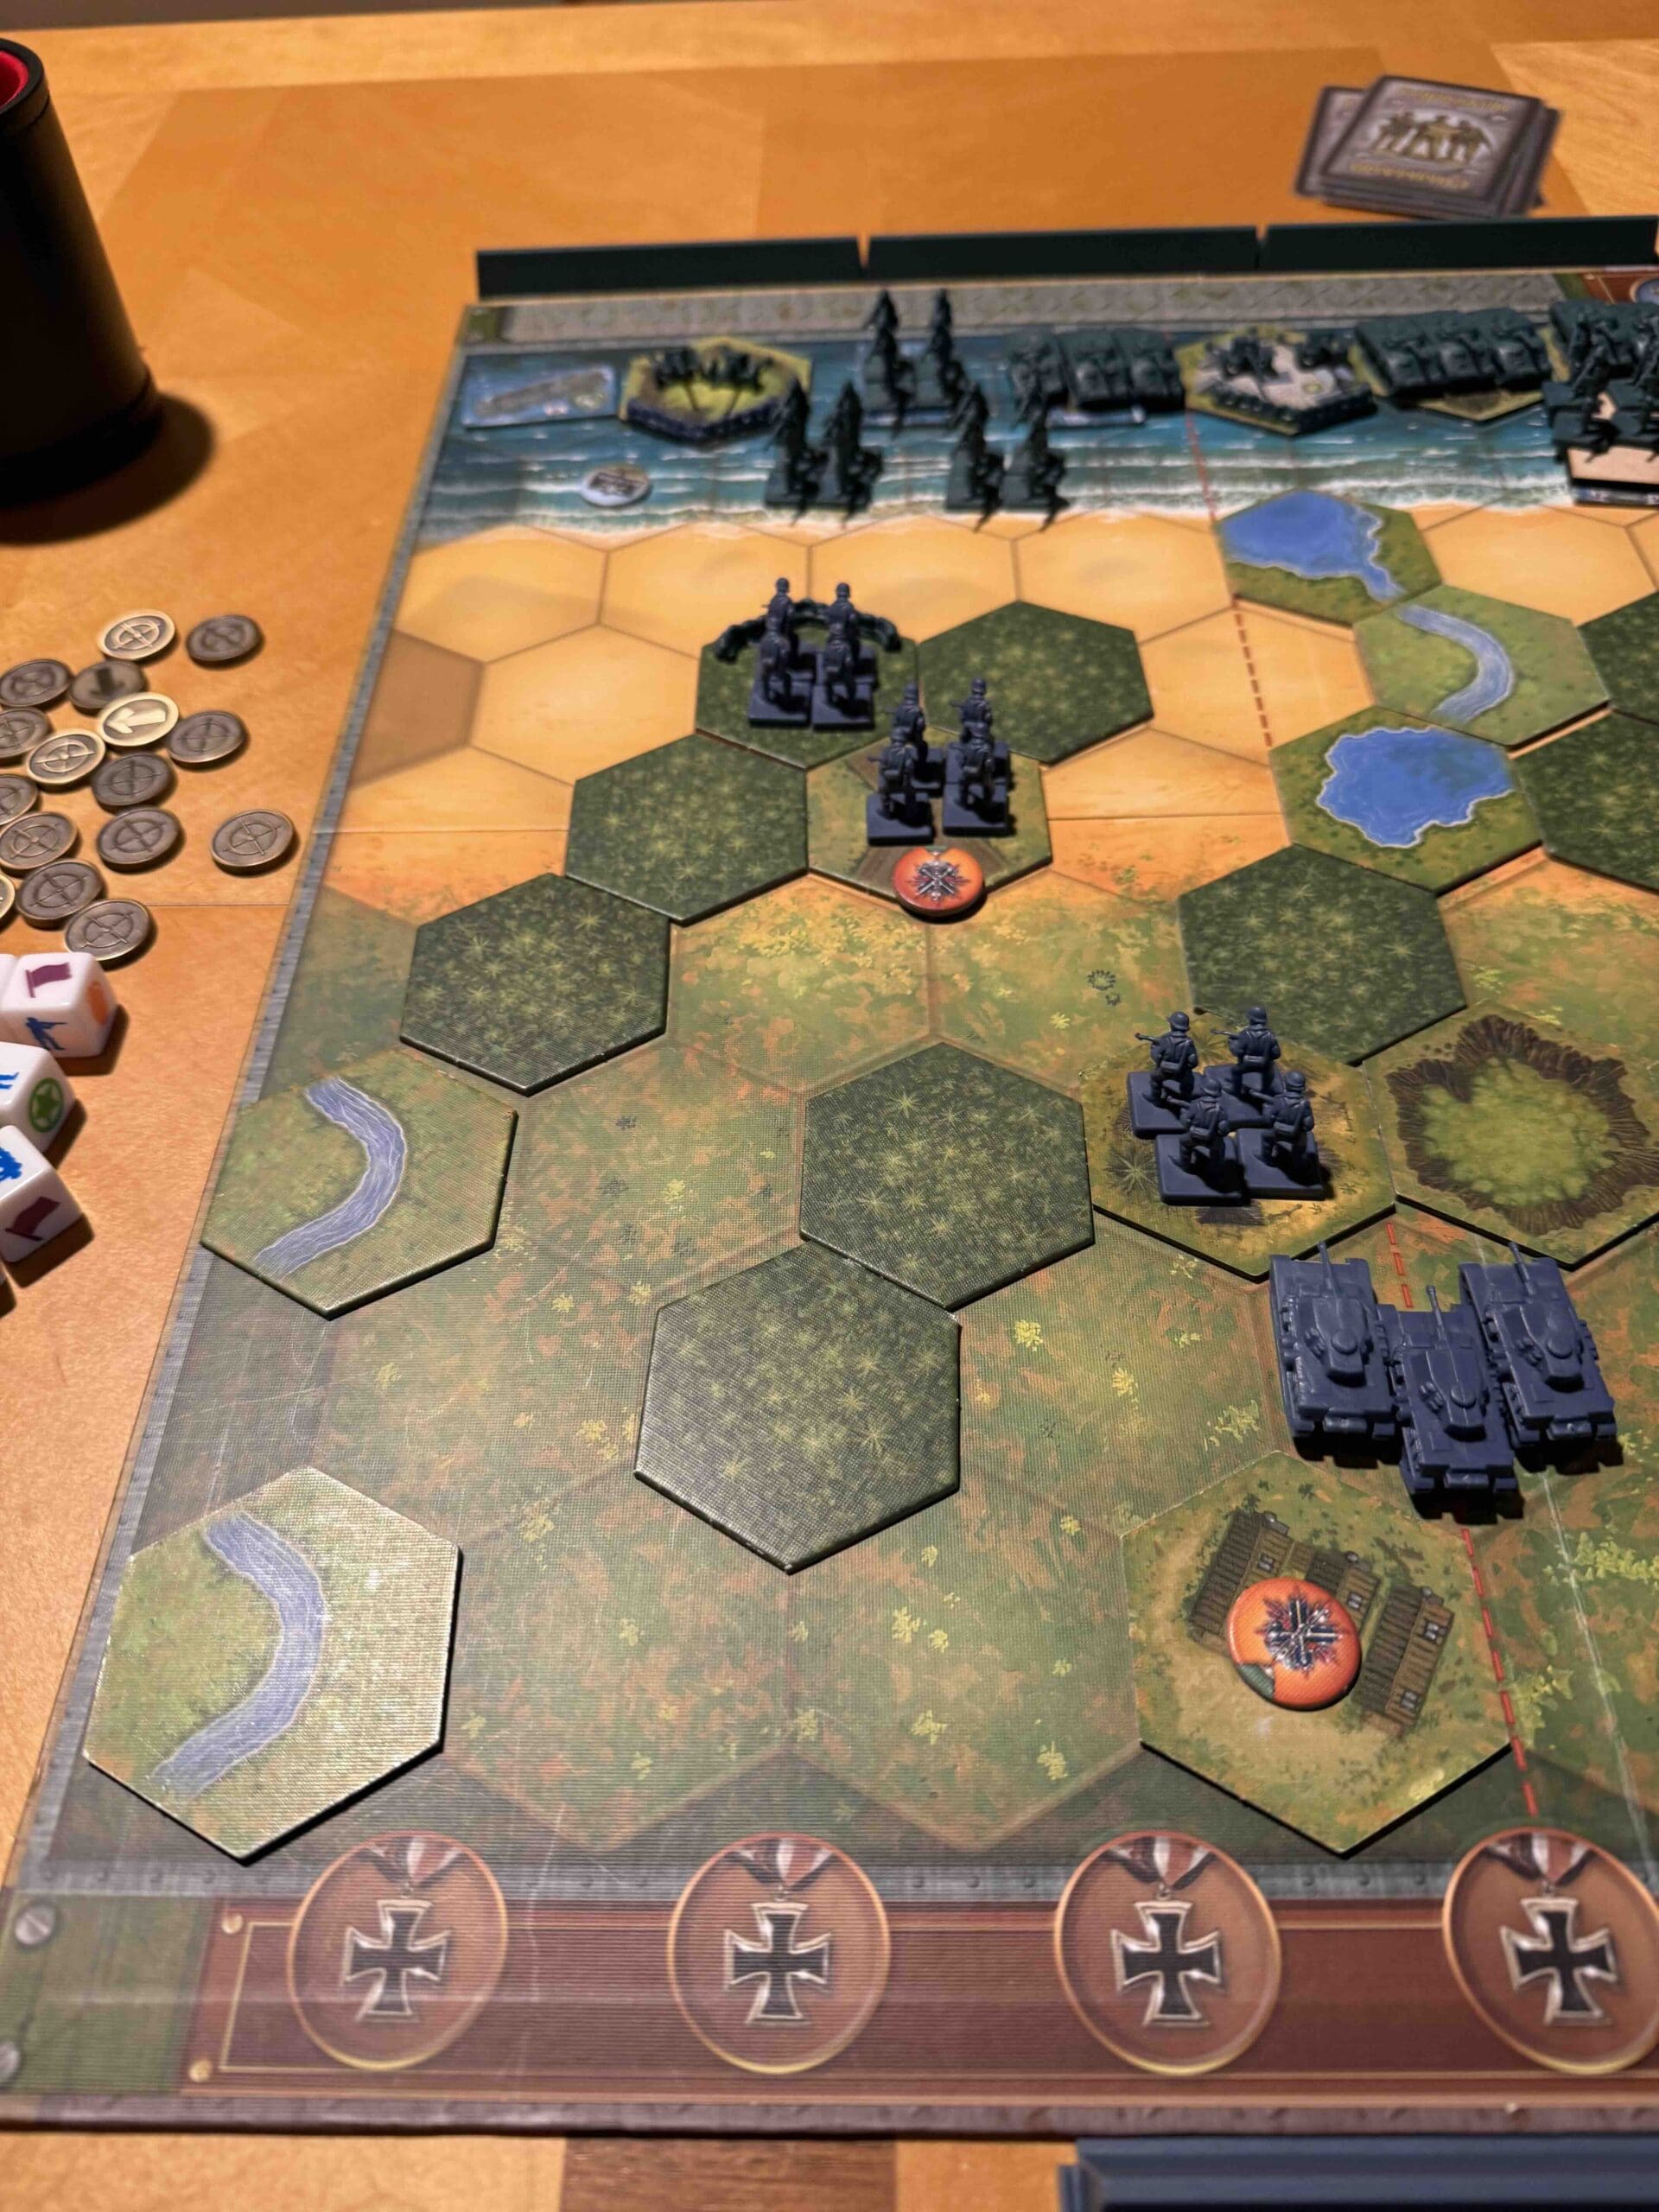
4. You can win this scenario and never venture beyond row twelve. Make use of the Exit Hexes.
BIG PICTURE STRATEGY FOR BOTH SIDES:
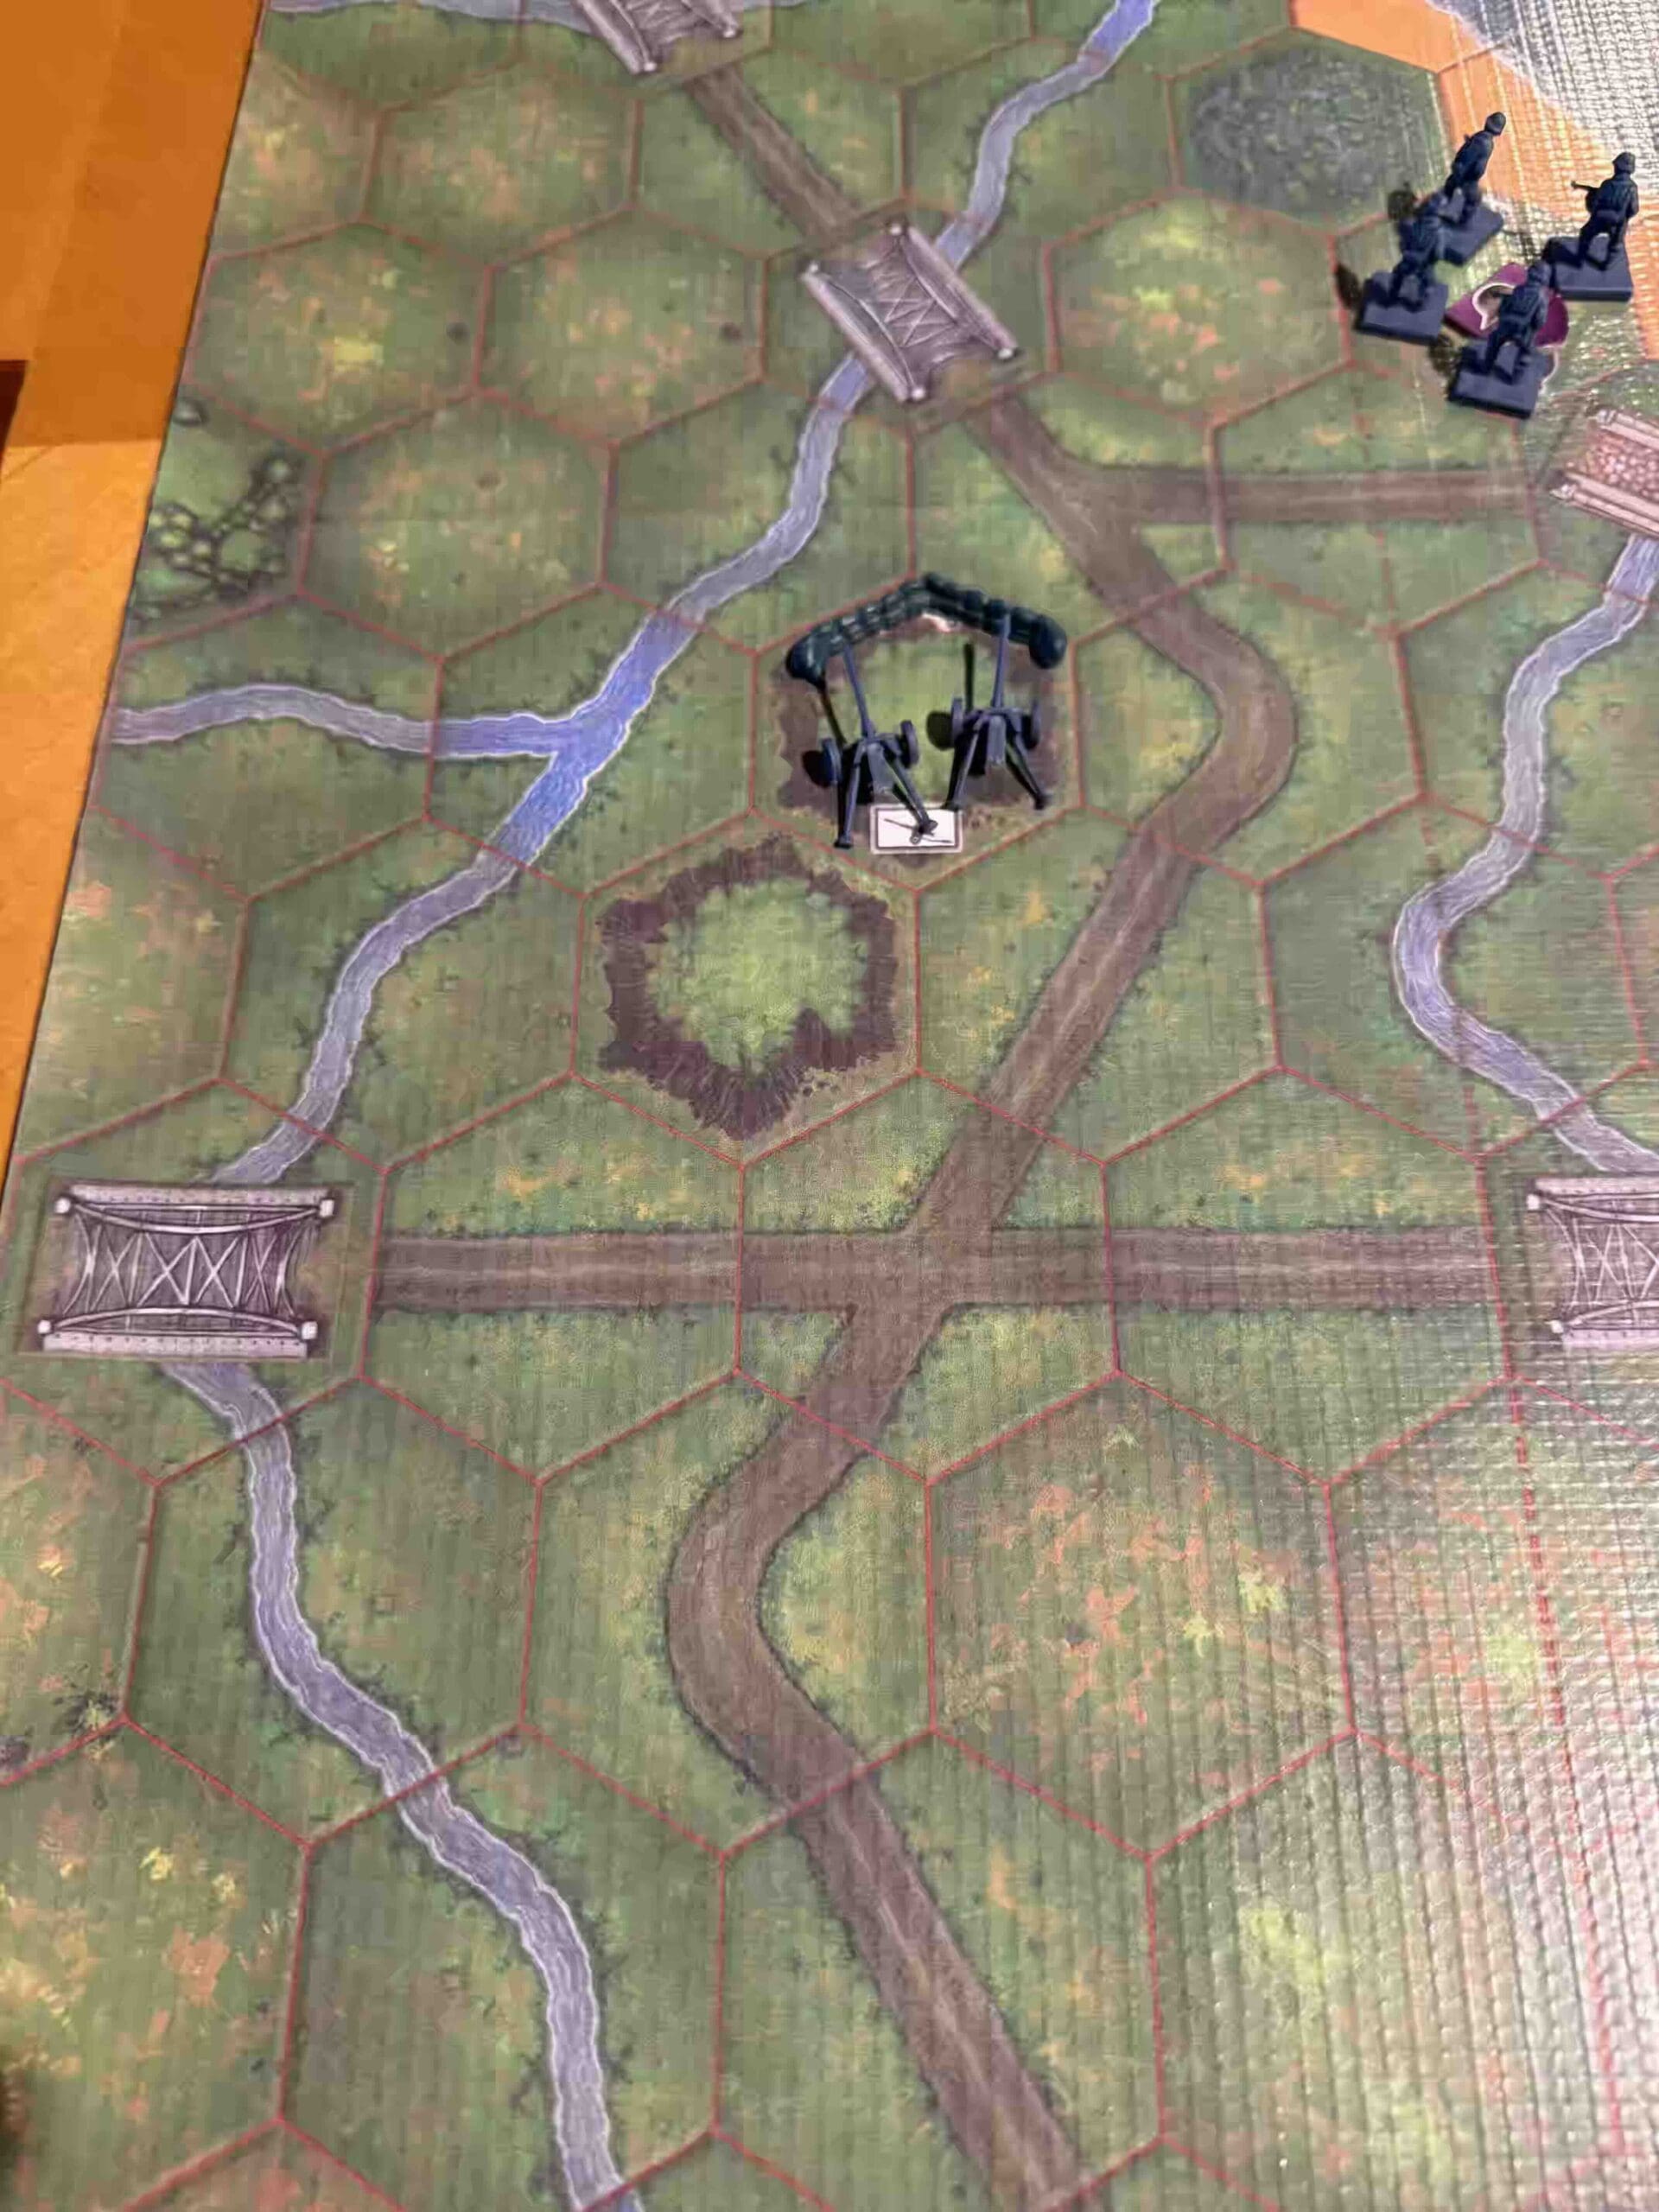
1. This is a Breakthrough version of the Utah Beach attack, so it is long, 12 hexes, and you will need to use the Breakthrough cards, to get some additional movement options for each side.

Axis Strategy
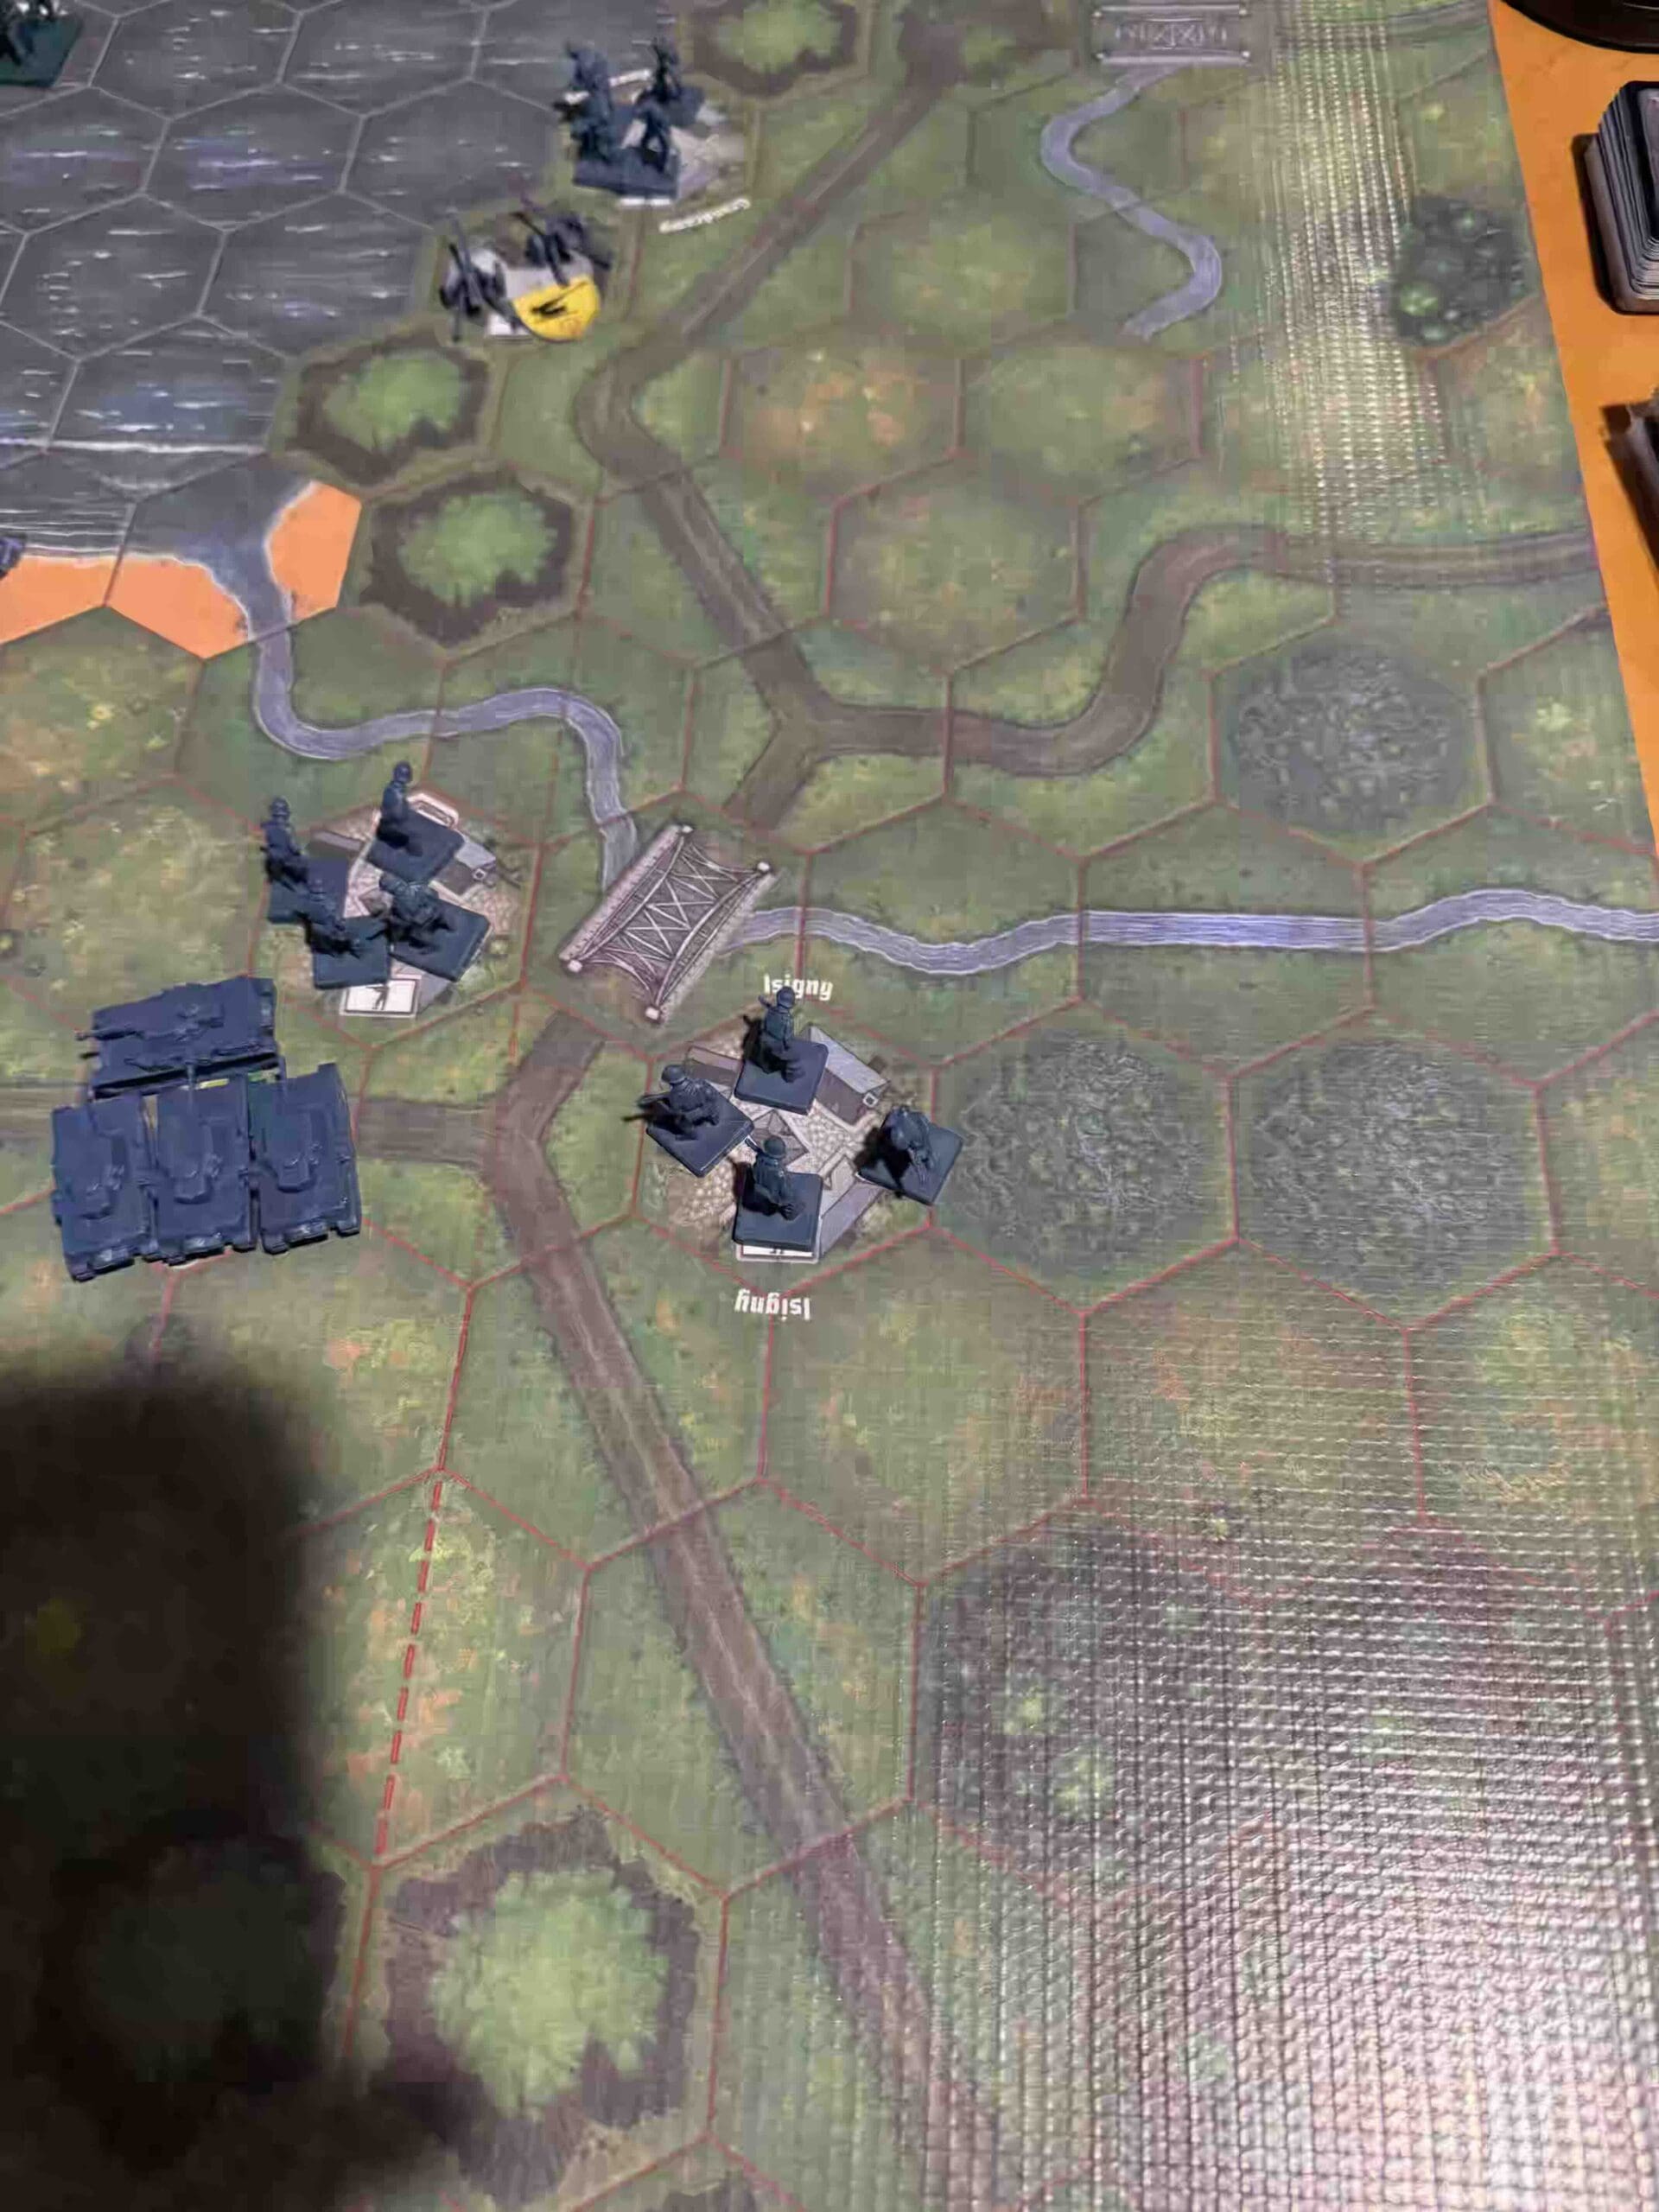
1. You will need to get your troops down to the Allied Exit hexes in the upper part of your left section, ASAP. Move all Armor up the road to block the Exit Hexes. If you succeed in rolling any Armor on your initiative roles, start them at the Entry Hex on your left section to try to get as many forces as you can into play near the Exits.
2. You have two Big Guns alongside the bay. You can wipe out a lot of troops if you use them at every chance.
Author:
Days of Wonder
Link: