Closing the Falaise Gap
Closing the Falaise Gap
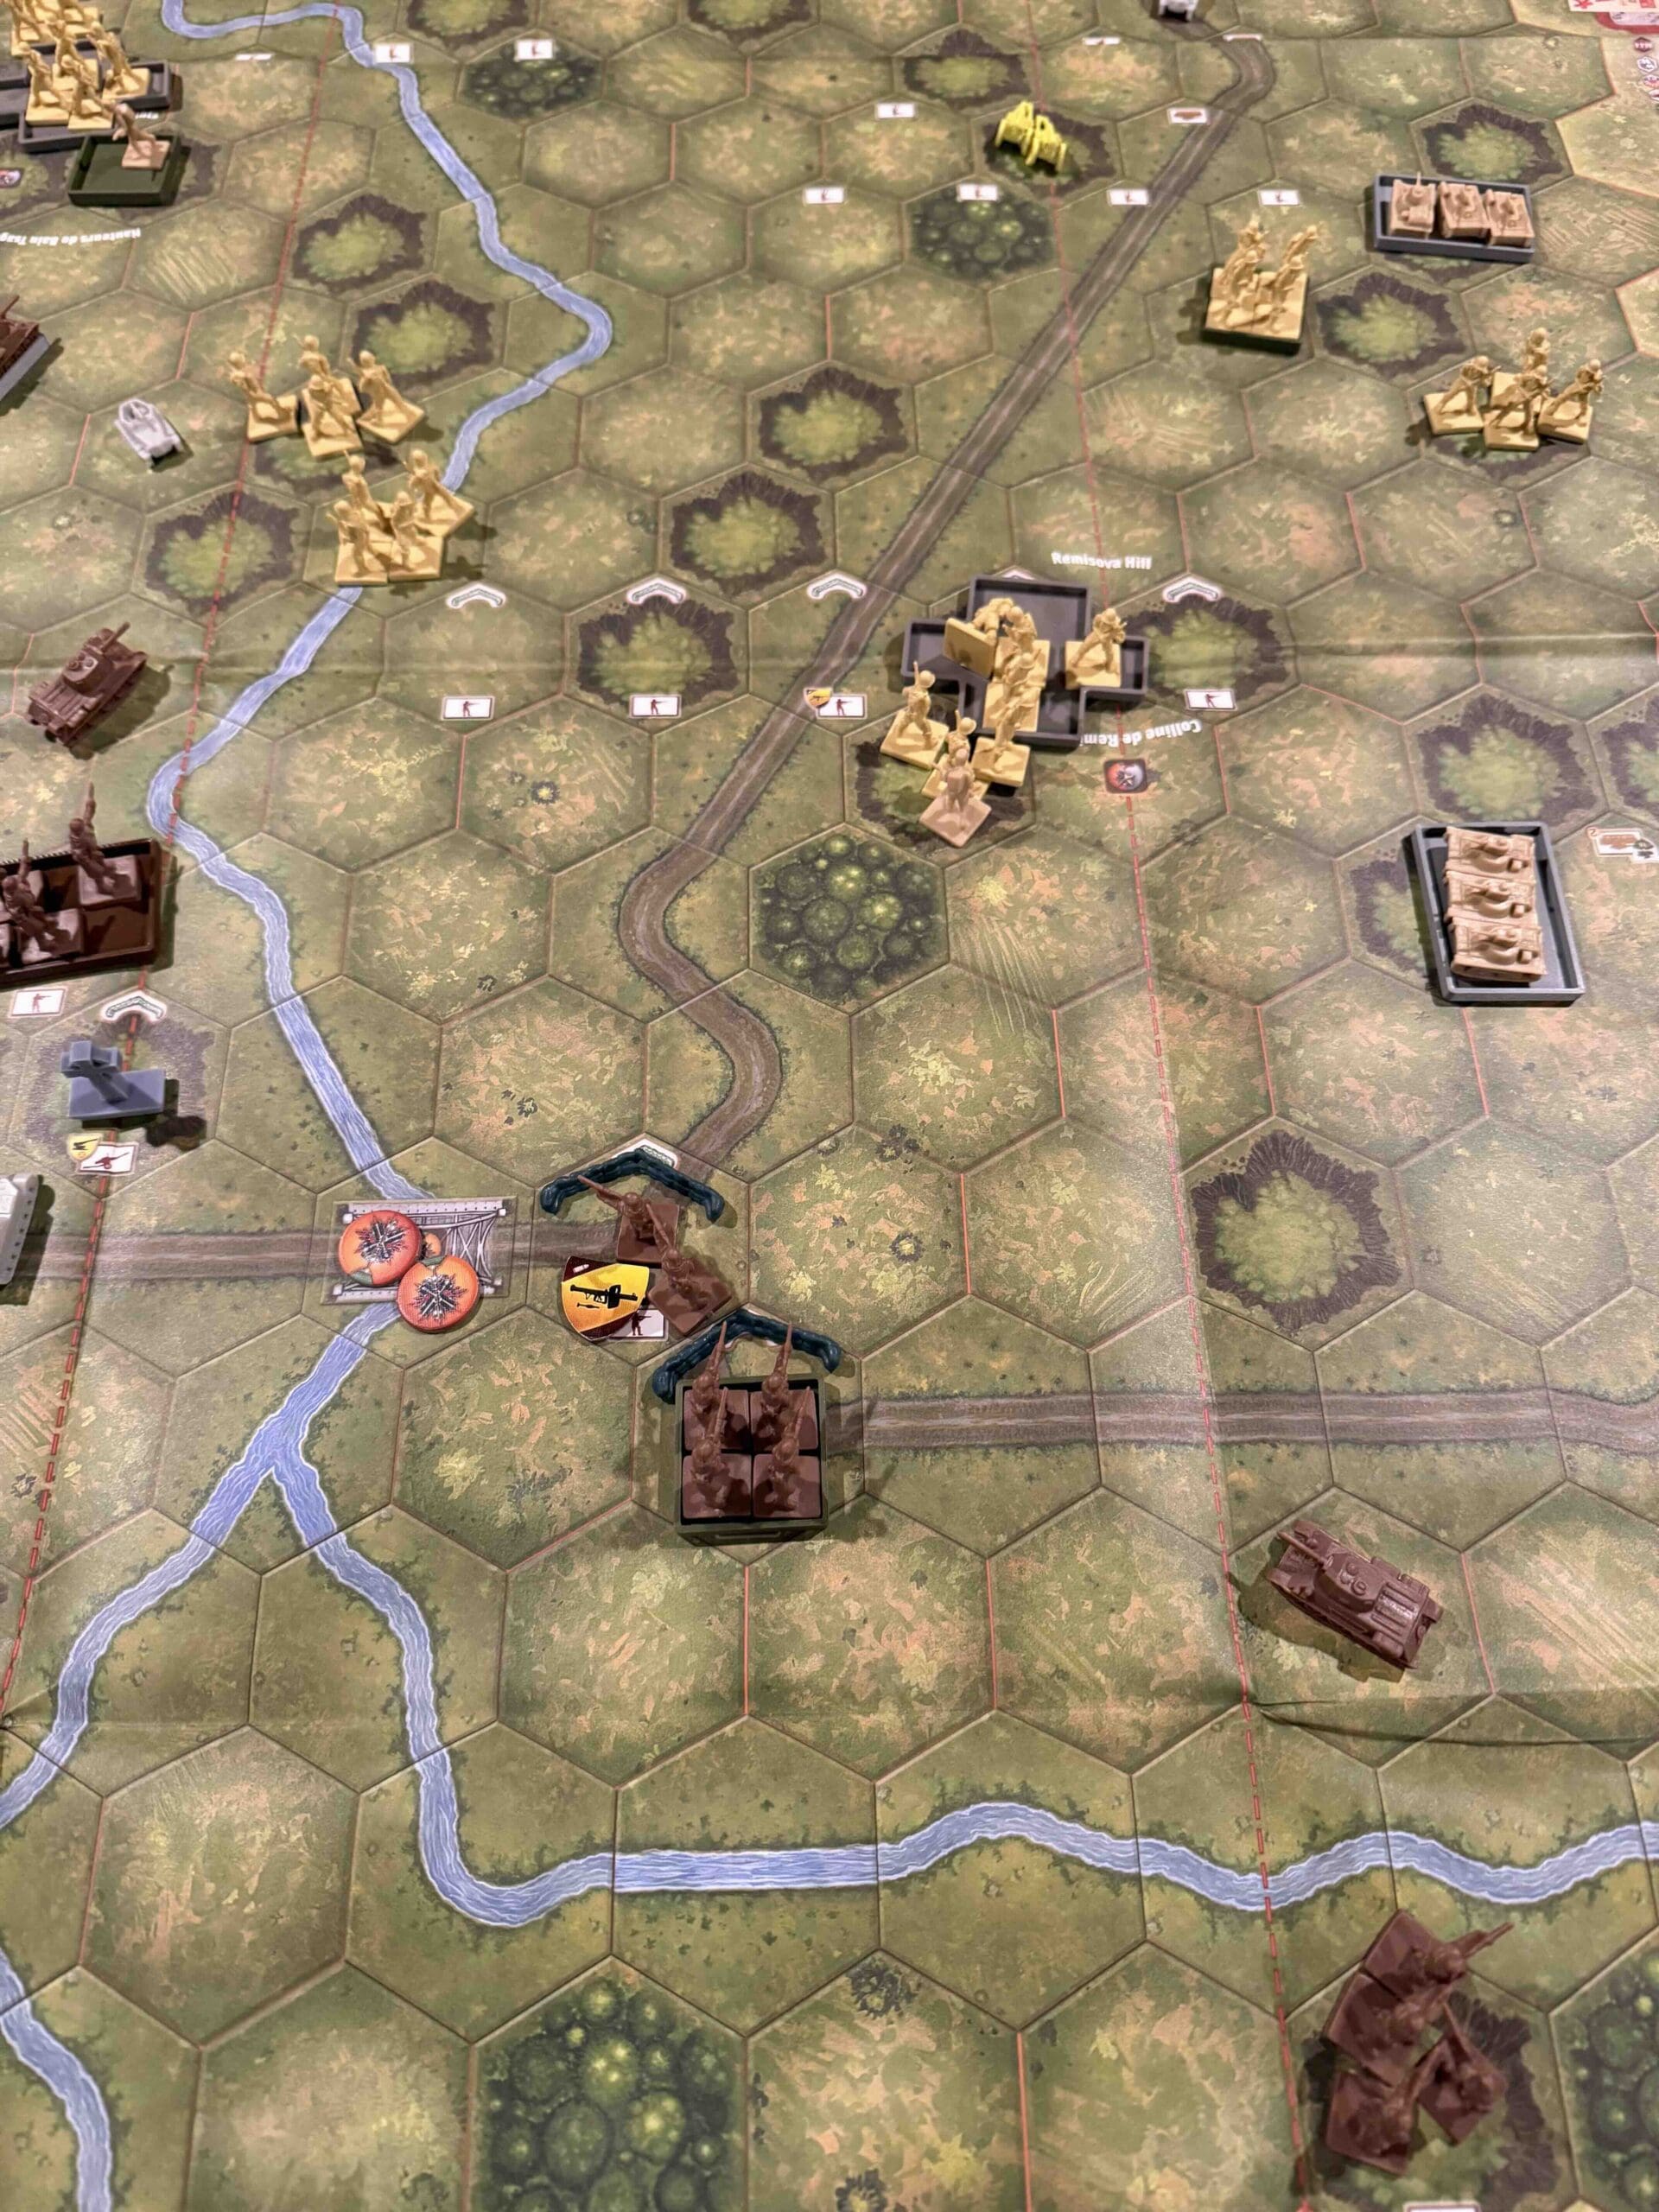
August 1944—Falaise. The trap was nearly shut, and the Germans knew it. Hell, they could smell it.
By the 18th, the Canadians had taken Trun and St. Lambert, putting the lid on the Falaise Pocket. But it wasn’t locked down yet—hell no. The line was thin, the crossroads fragile, and both Allied and Axis forces were stampeding toward Chambois. It wasn’t just a battle—it was a goddamn race: the Germans racing to escape, and us racing to slam the door shut on their sorry rear ends.
The Poles and Americans came in hard, shoulder-to-shoulder, pushing east while the Germans were pushing west—like two trains headed for a crash in a one-track tunnel. The enemy made one last hellbound breakout near the Polish lines, and yeah, some of them got out—but not for long.
Because on the 19th, the line was reinforced. And in St. Lambert, one man—Major David Currie, a Canadian, led from the front like a true warrior. Under fire from both sides—his own artillery damn near clipping his boots—he stood his ground, gave no quarter, and turned that village into a graveyard for the Wehrmacht. He earned the Victoria Cross, and every inch of it.
By the time we closed that pocket, the Normandy campaign was finished—two months of blood, steel, and grit had paid off. The Liberation of Paris was just days away. Looked like it was over for Hitler’s goons—but we weren’t fooled.
The war wasn’t done until the last Nazi was crawling out of a foxhole with his hands in the air. And that took till ’45.
The lines are drawn, the orders are yours, and the clock is ticking.
Now go finish the job.
~~ General Howitzer
7 VP’s
Card Balance:
Allies – 5
Axis – 5
Complexity:
4
Conditions:
Countryside
Context:
Historical
Location:
France
Year:
1944
Theater:
Western
Campaign:
The Invasion of Normandy
Codename:
Summary:
Objectives:
7 VP’s, including Exit Row Objectives for the Axis
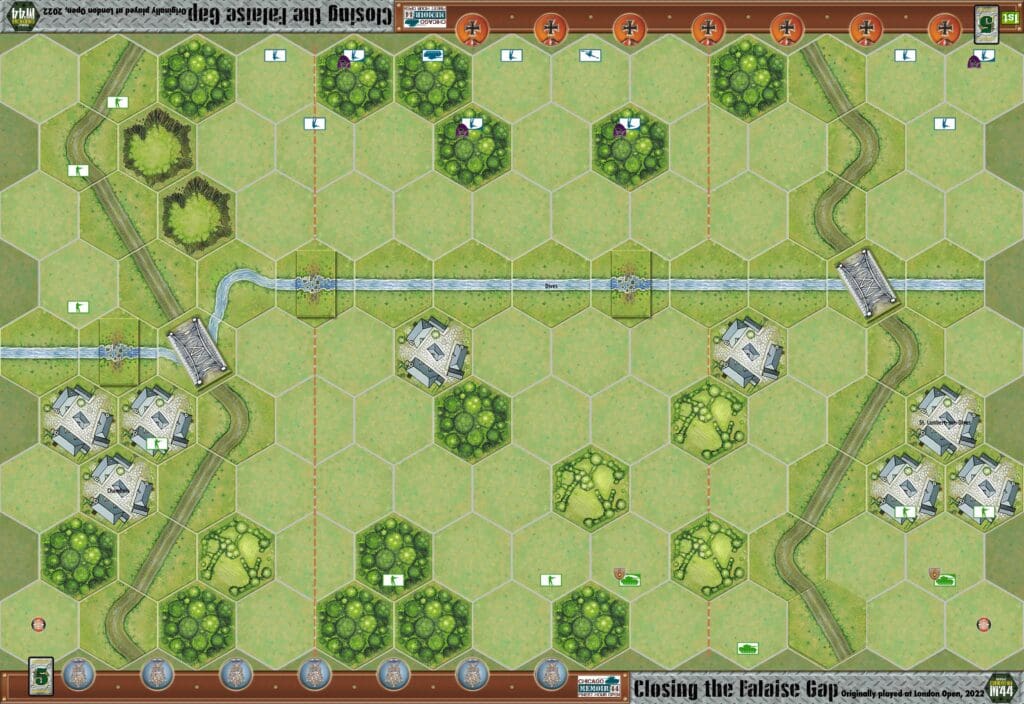
Battlefield:
Countryside with an impassible (except for bridges and fords) river going across the battlefield.
Troops:
Allies – 8 Infantry, 3 Armor
Axis – 9 Infantry, 1 Armor, 1 Artillery
Allied Strategy:
1.
Axis Strategy
1.
Battle Reports
Author:
Originally developed for the London Open, 2022. Also played at The Finest Hour Open, Chicago, 2025.
Link: