Disaster at Dieppe
Disaster at Dieppe (Overlord Map)
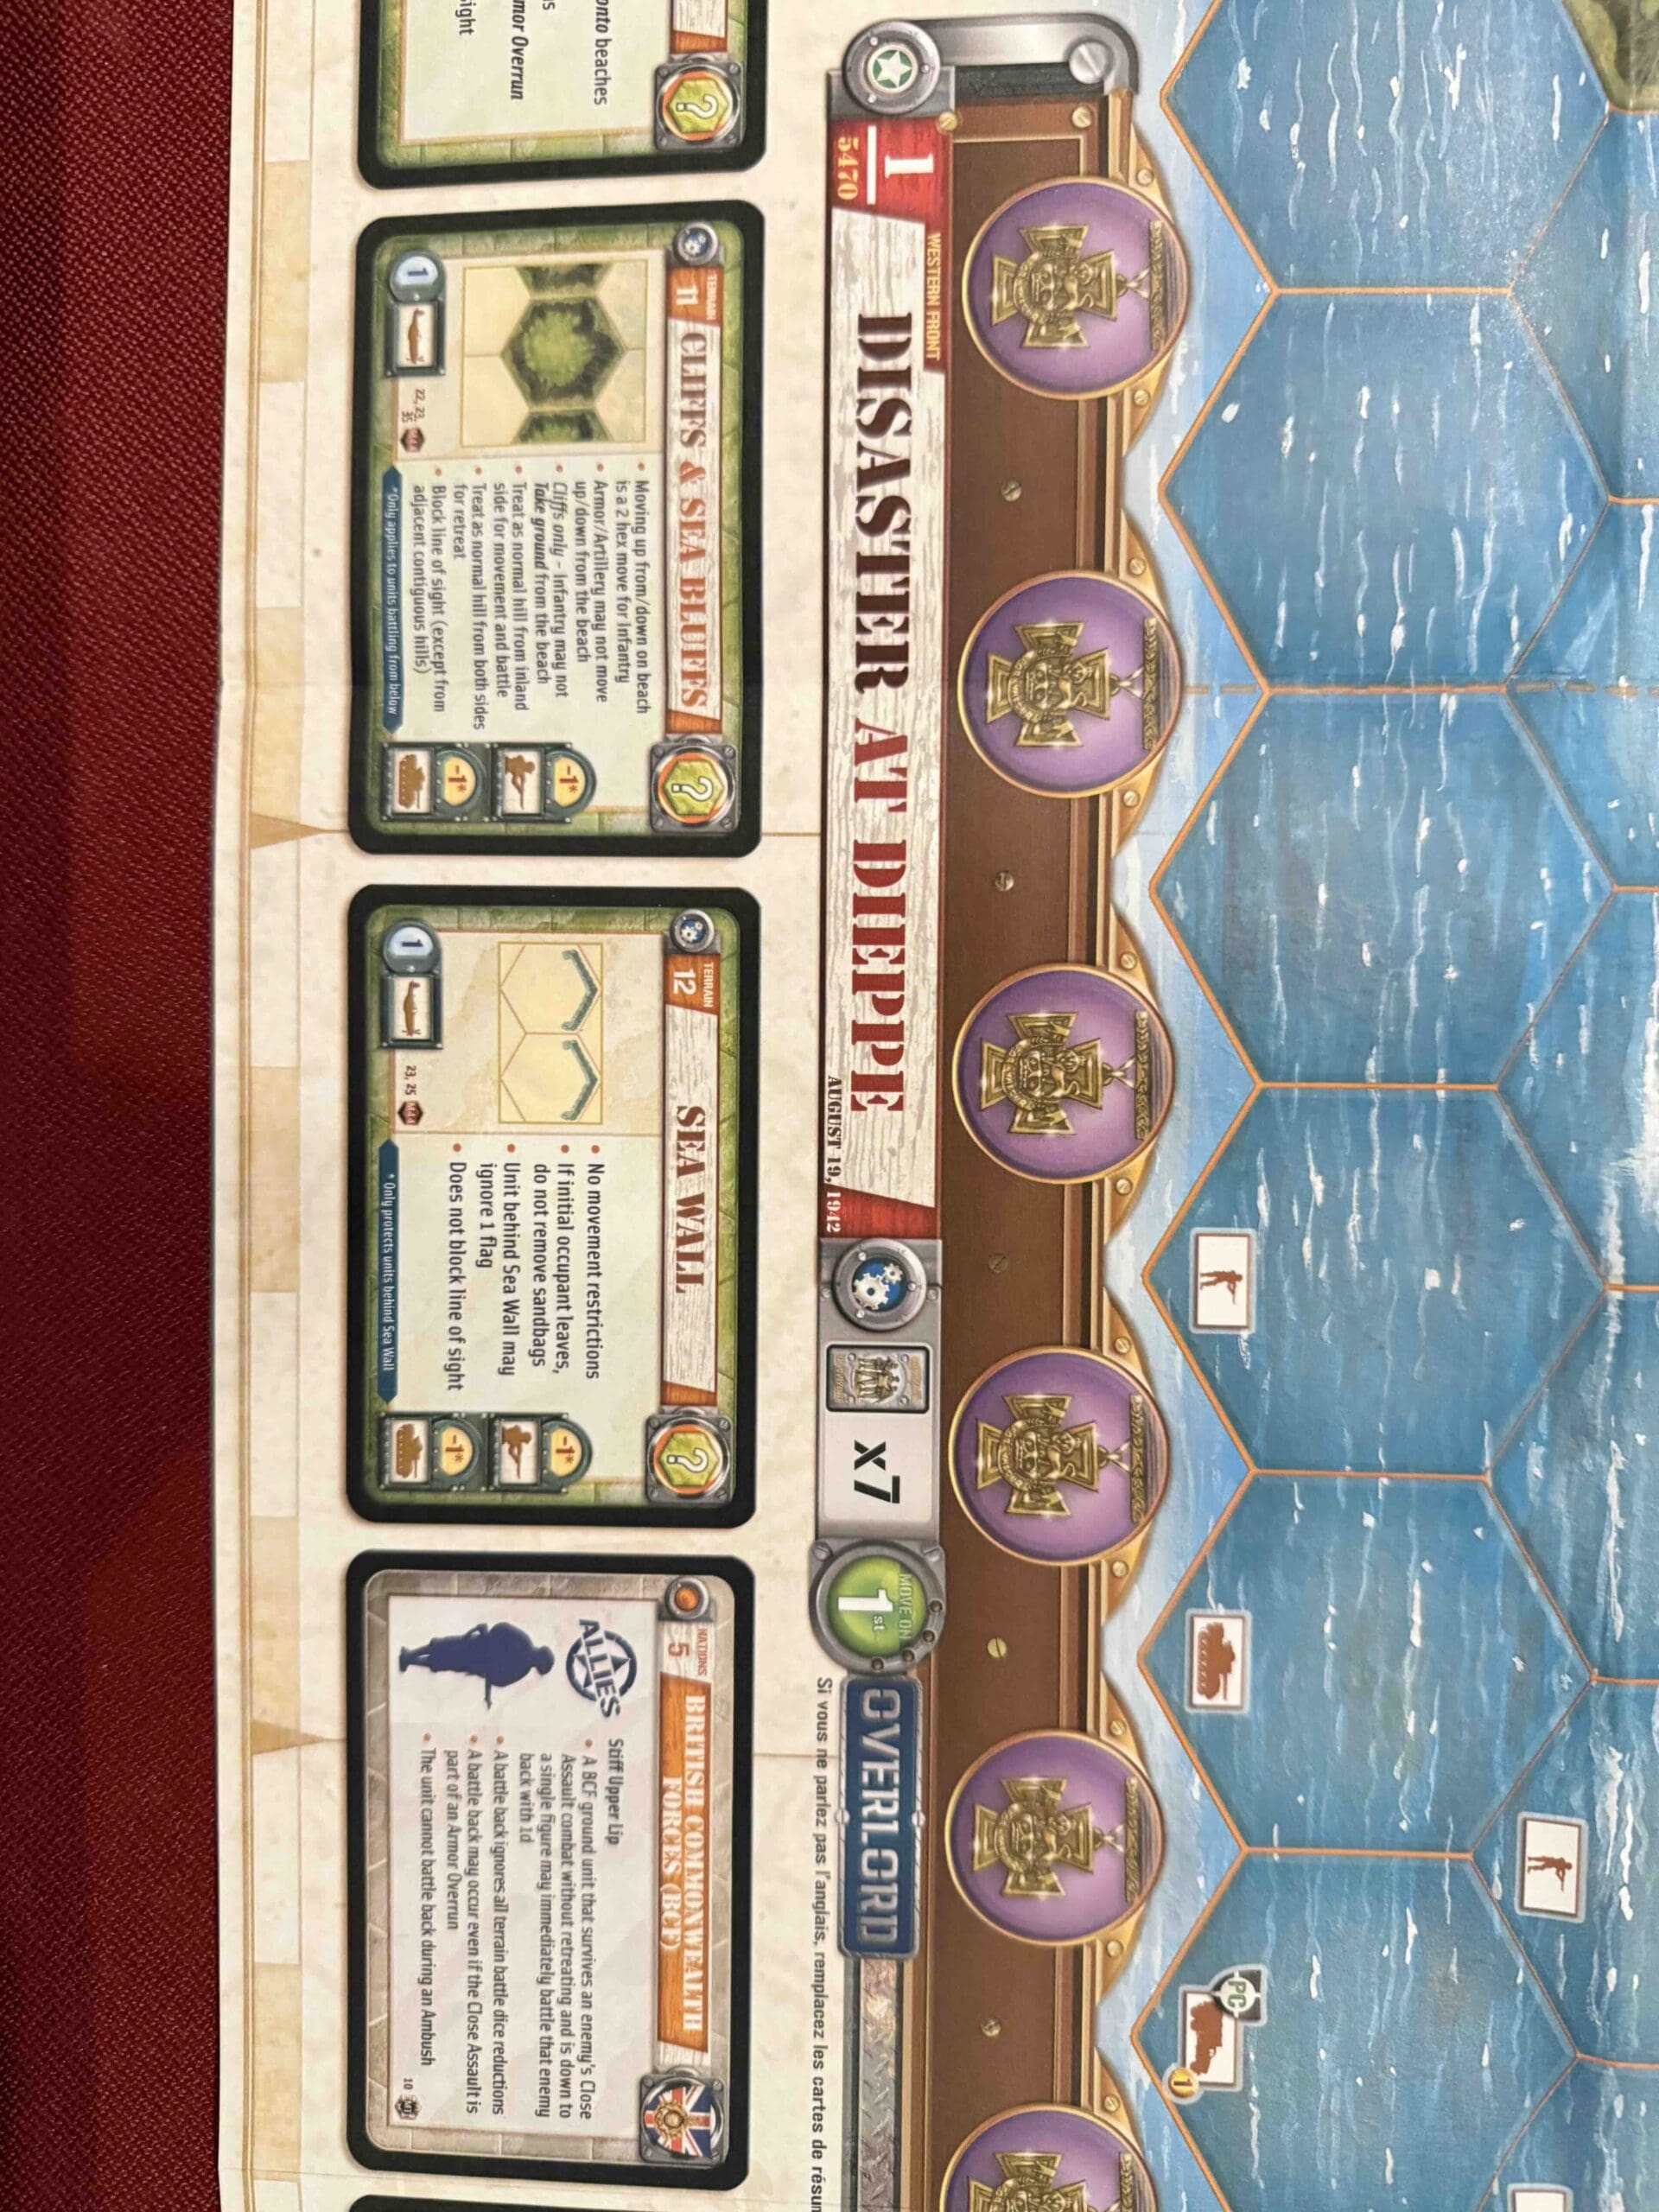
Disaster_titlejpg
Disaster_Right2
Disaster_Right1
Disaster_Left2
Disaster_Left1
Disaster_Center2
Disaster_Center1
Alright, listen up—
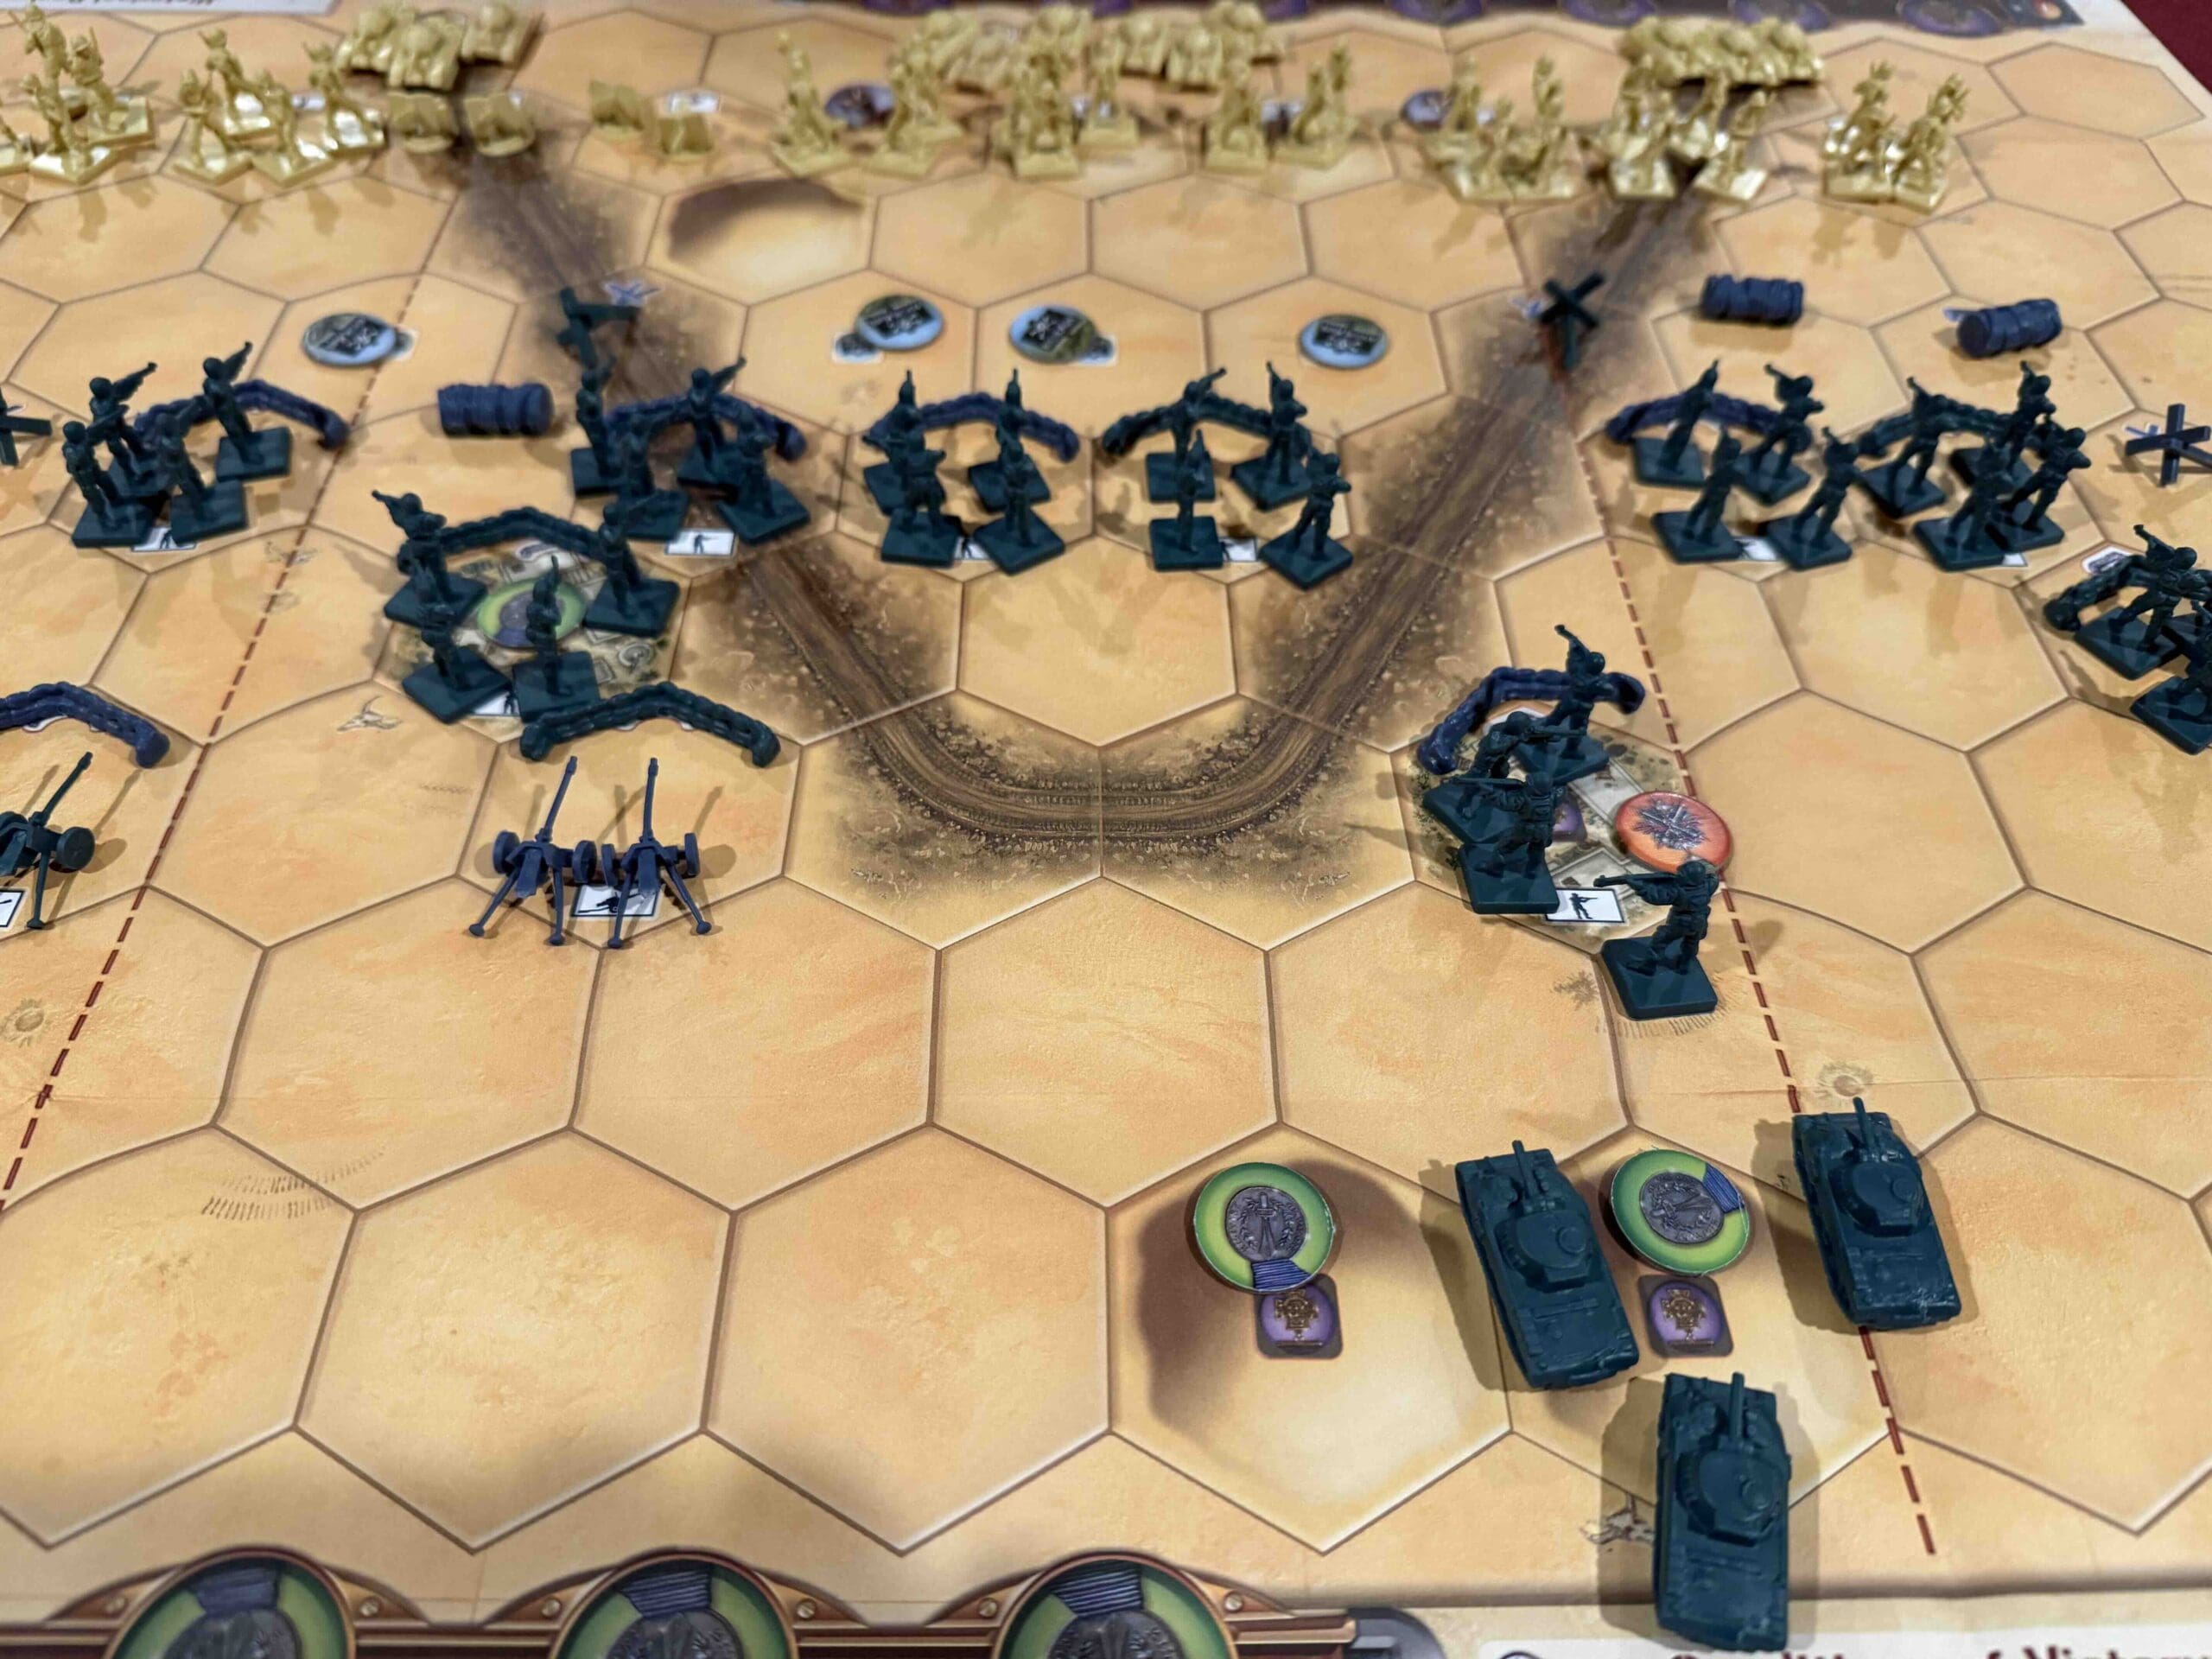
The raid on Dieppe? That was a damn mess. We sent in brave boys—mostly Canadians—straight into a meat grinder without proper prep, cover, or firepower. The plan? Hit the Germans fast, grab intel, wreck their defenses, and get out. But hell, it was all wrong from the get-go. No real surprise, no heavy bombing to soften ’em up, and we landed right on their gun barrels.
The beaches were narrow, rocky deathtraps. Our tanks got stuck, the infantry got chewed up, and the Navy couldn’t do a damn thing once the chaos started. Over half the force was wiped out, captured, or bleeding in the surf. It was a bloody disaster—but those boys fought like hell.
And I’ll tell you this: we learned. We learned what not to do. Next time, we brought the whole hammer—air, sea, tanks, everything. That’s how you do it. That’s how we did it on D-Day. Dieppe was a painful lesson—but it paid off in Normandy.
~~ General Howitzer
10 VP’s
Card Balance:
Allies – 7
Axis – 8
Complexity:
4
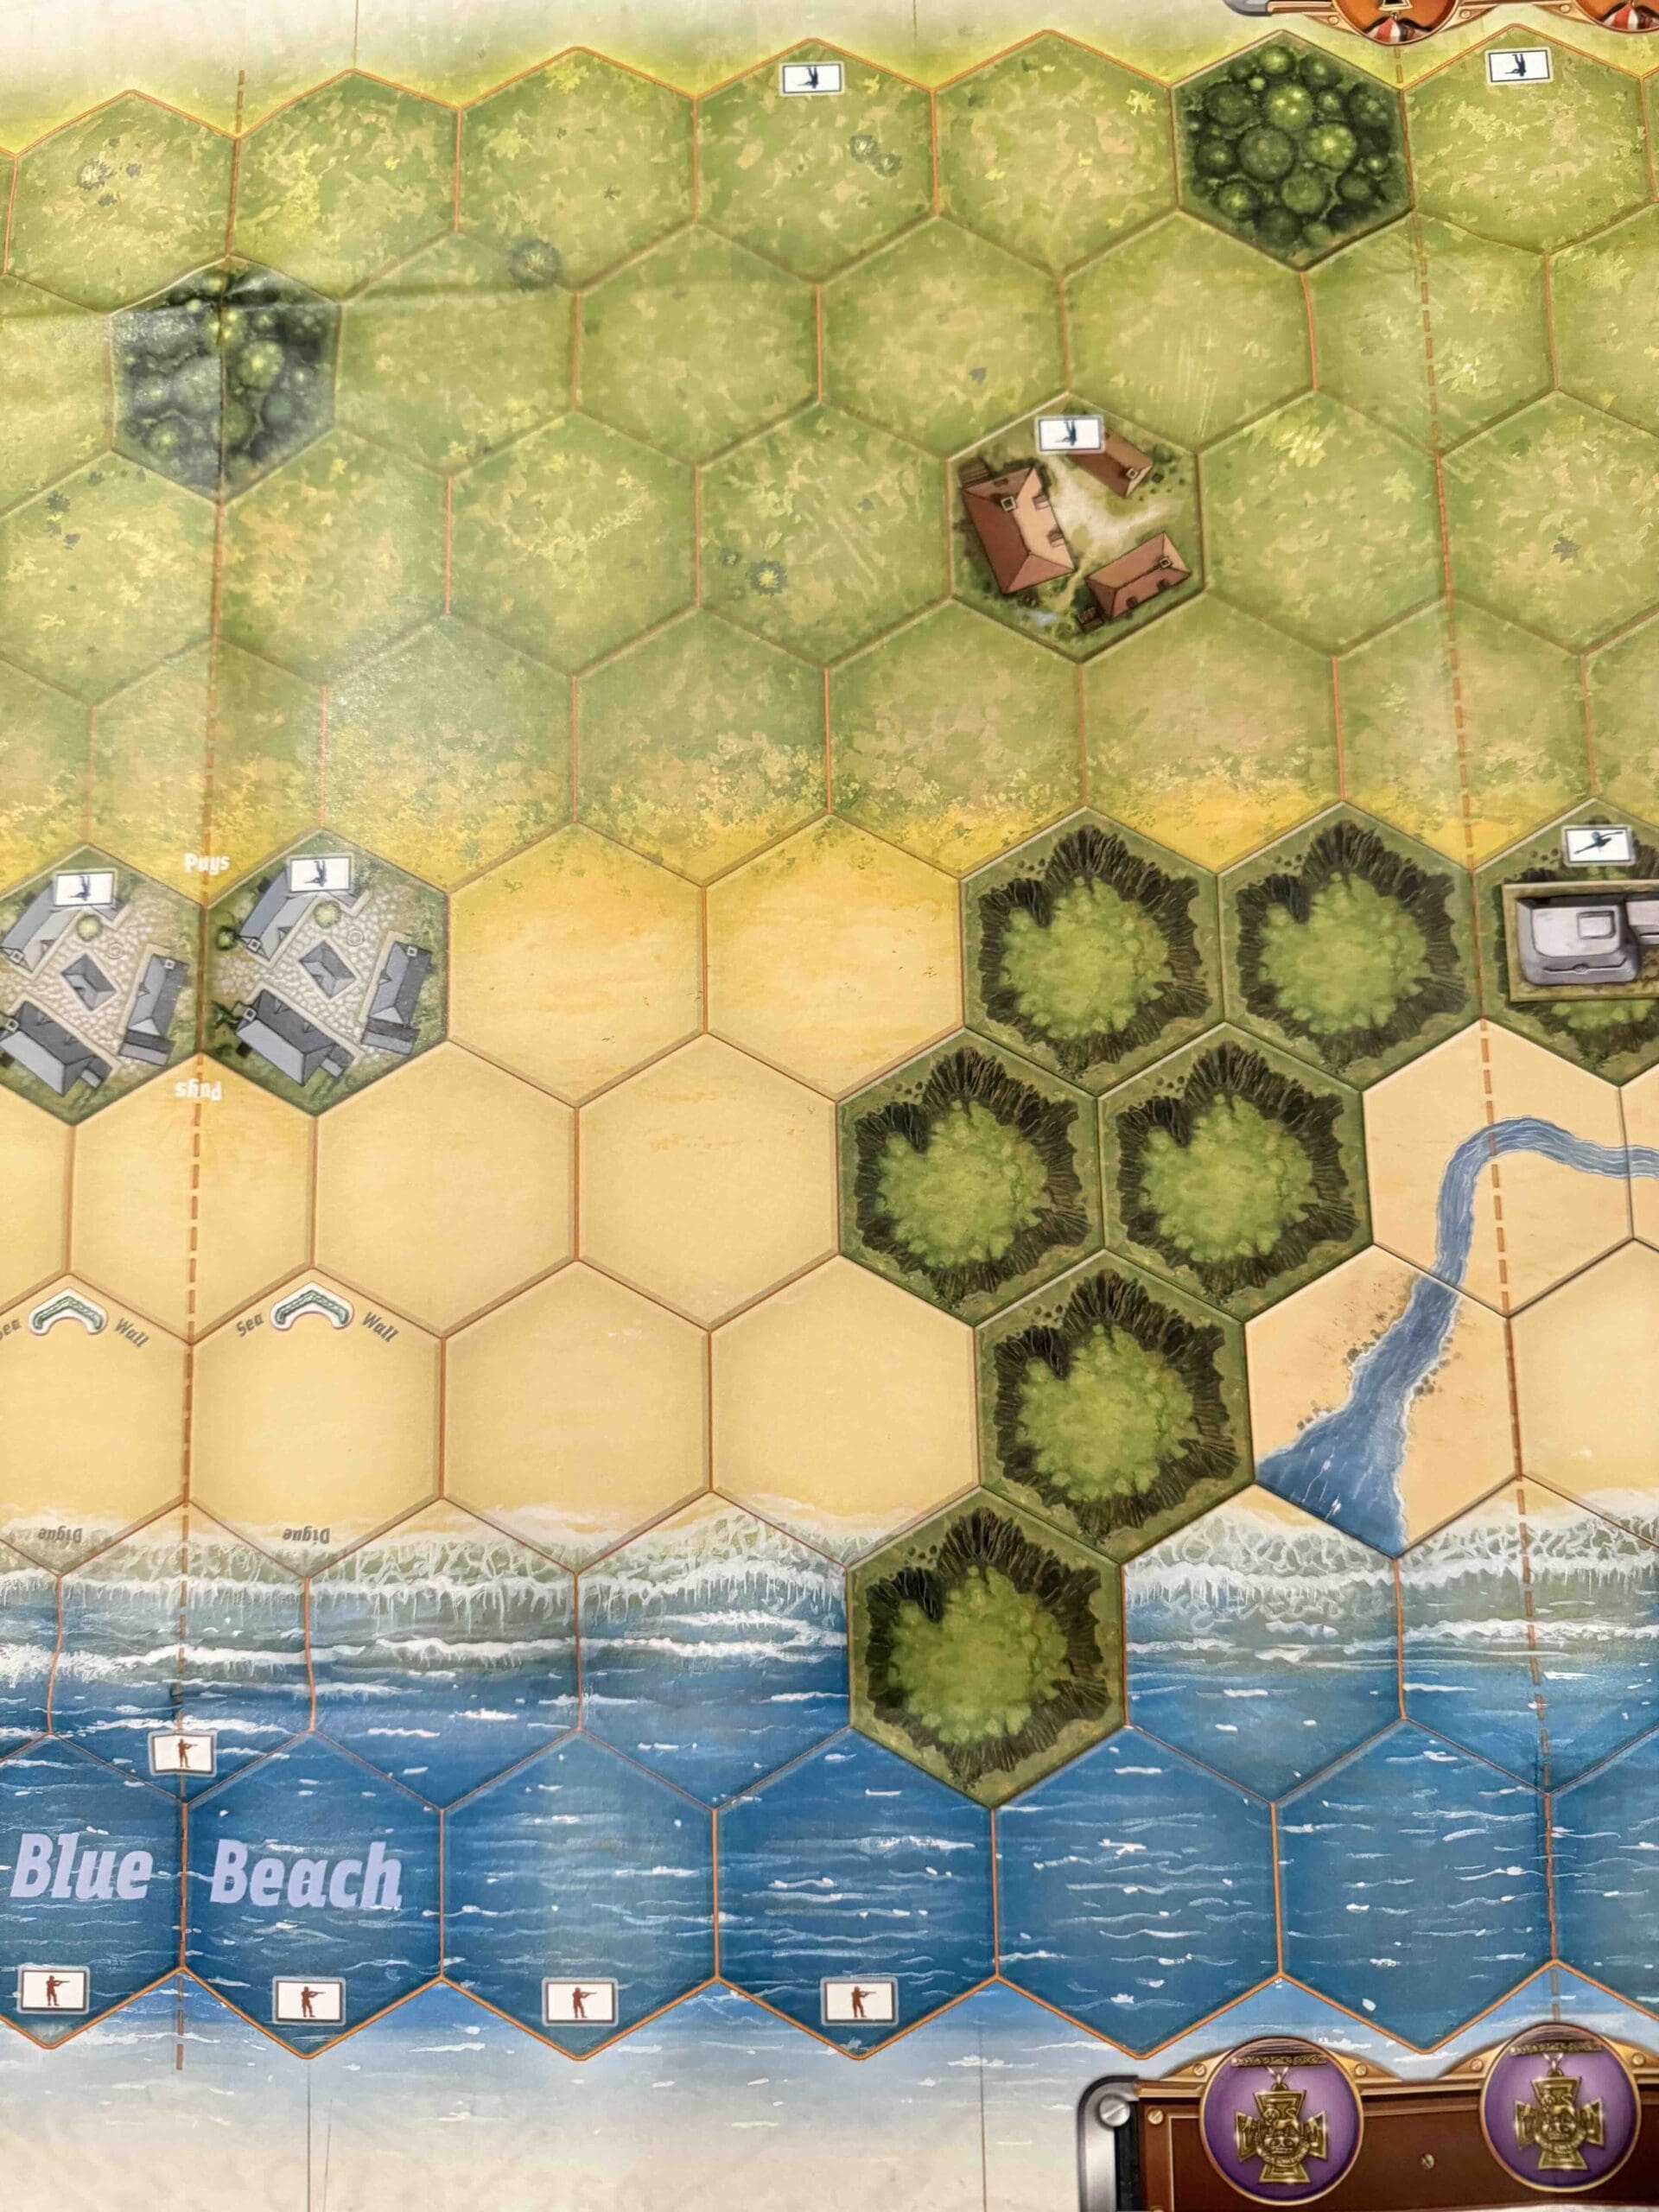
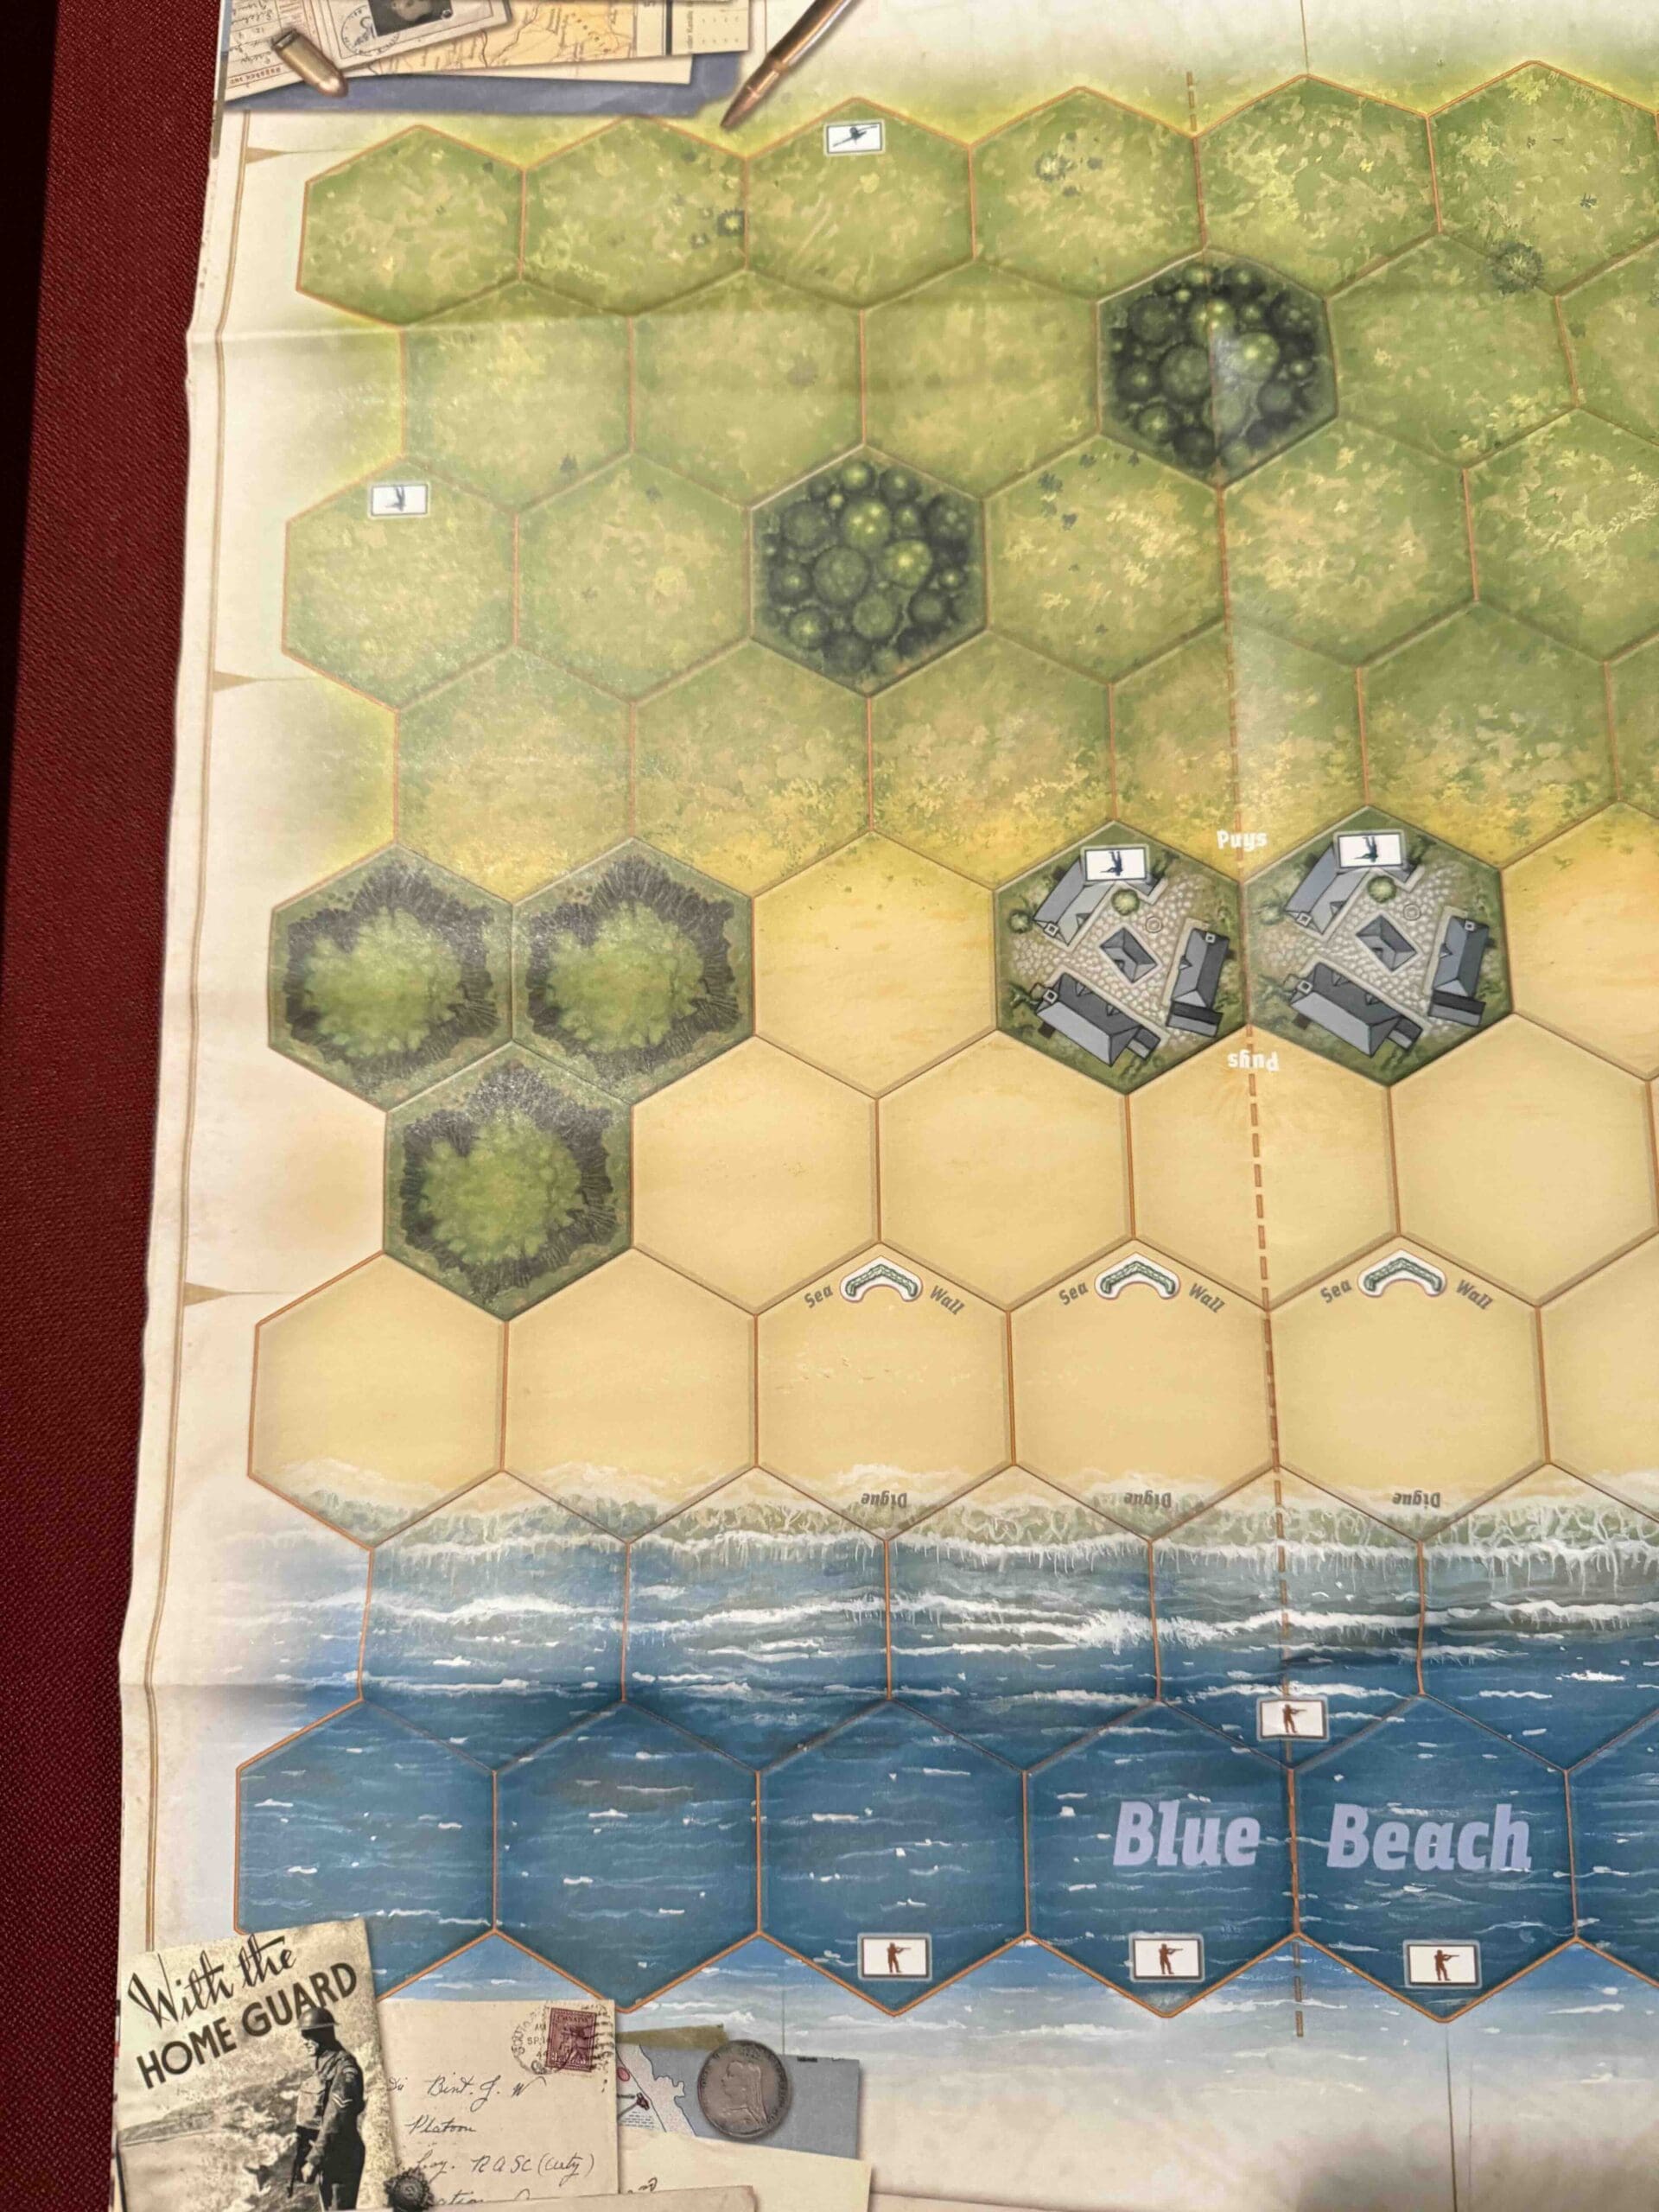
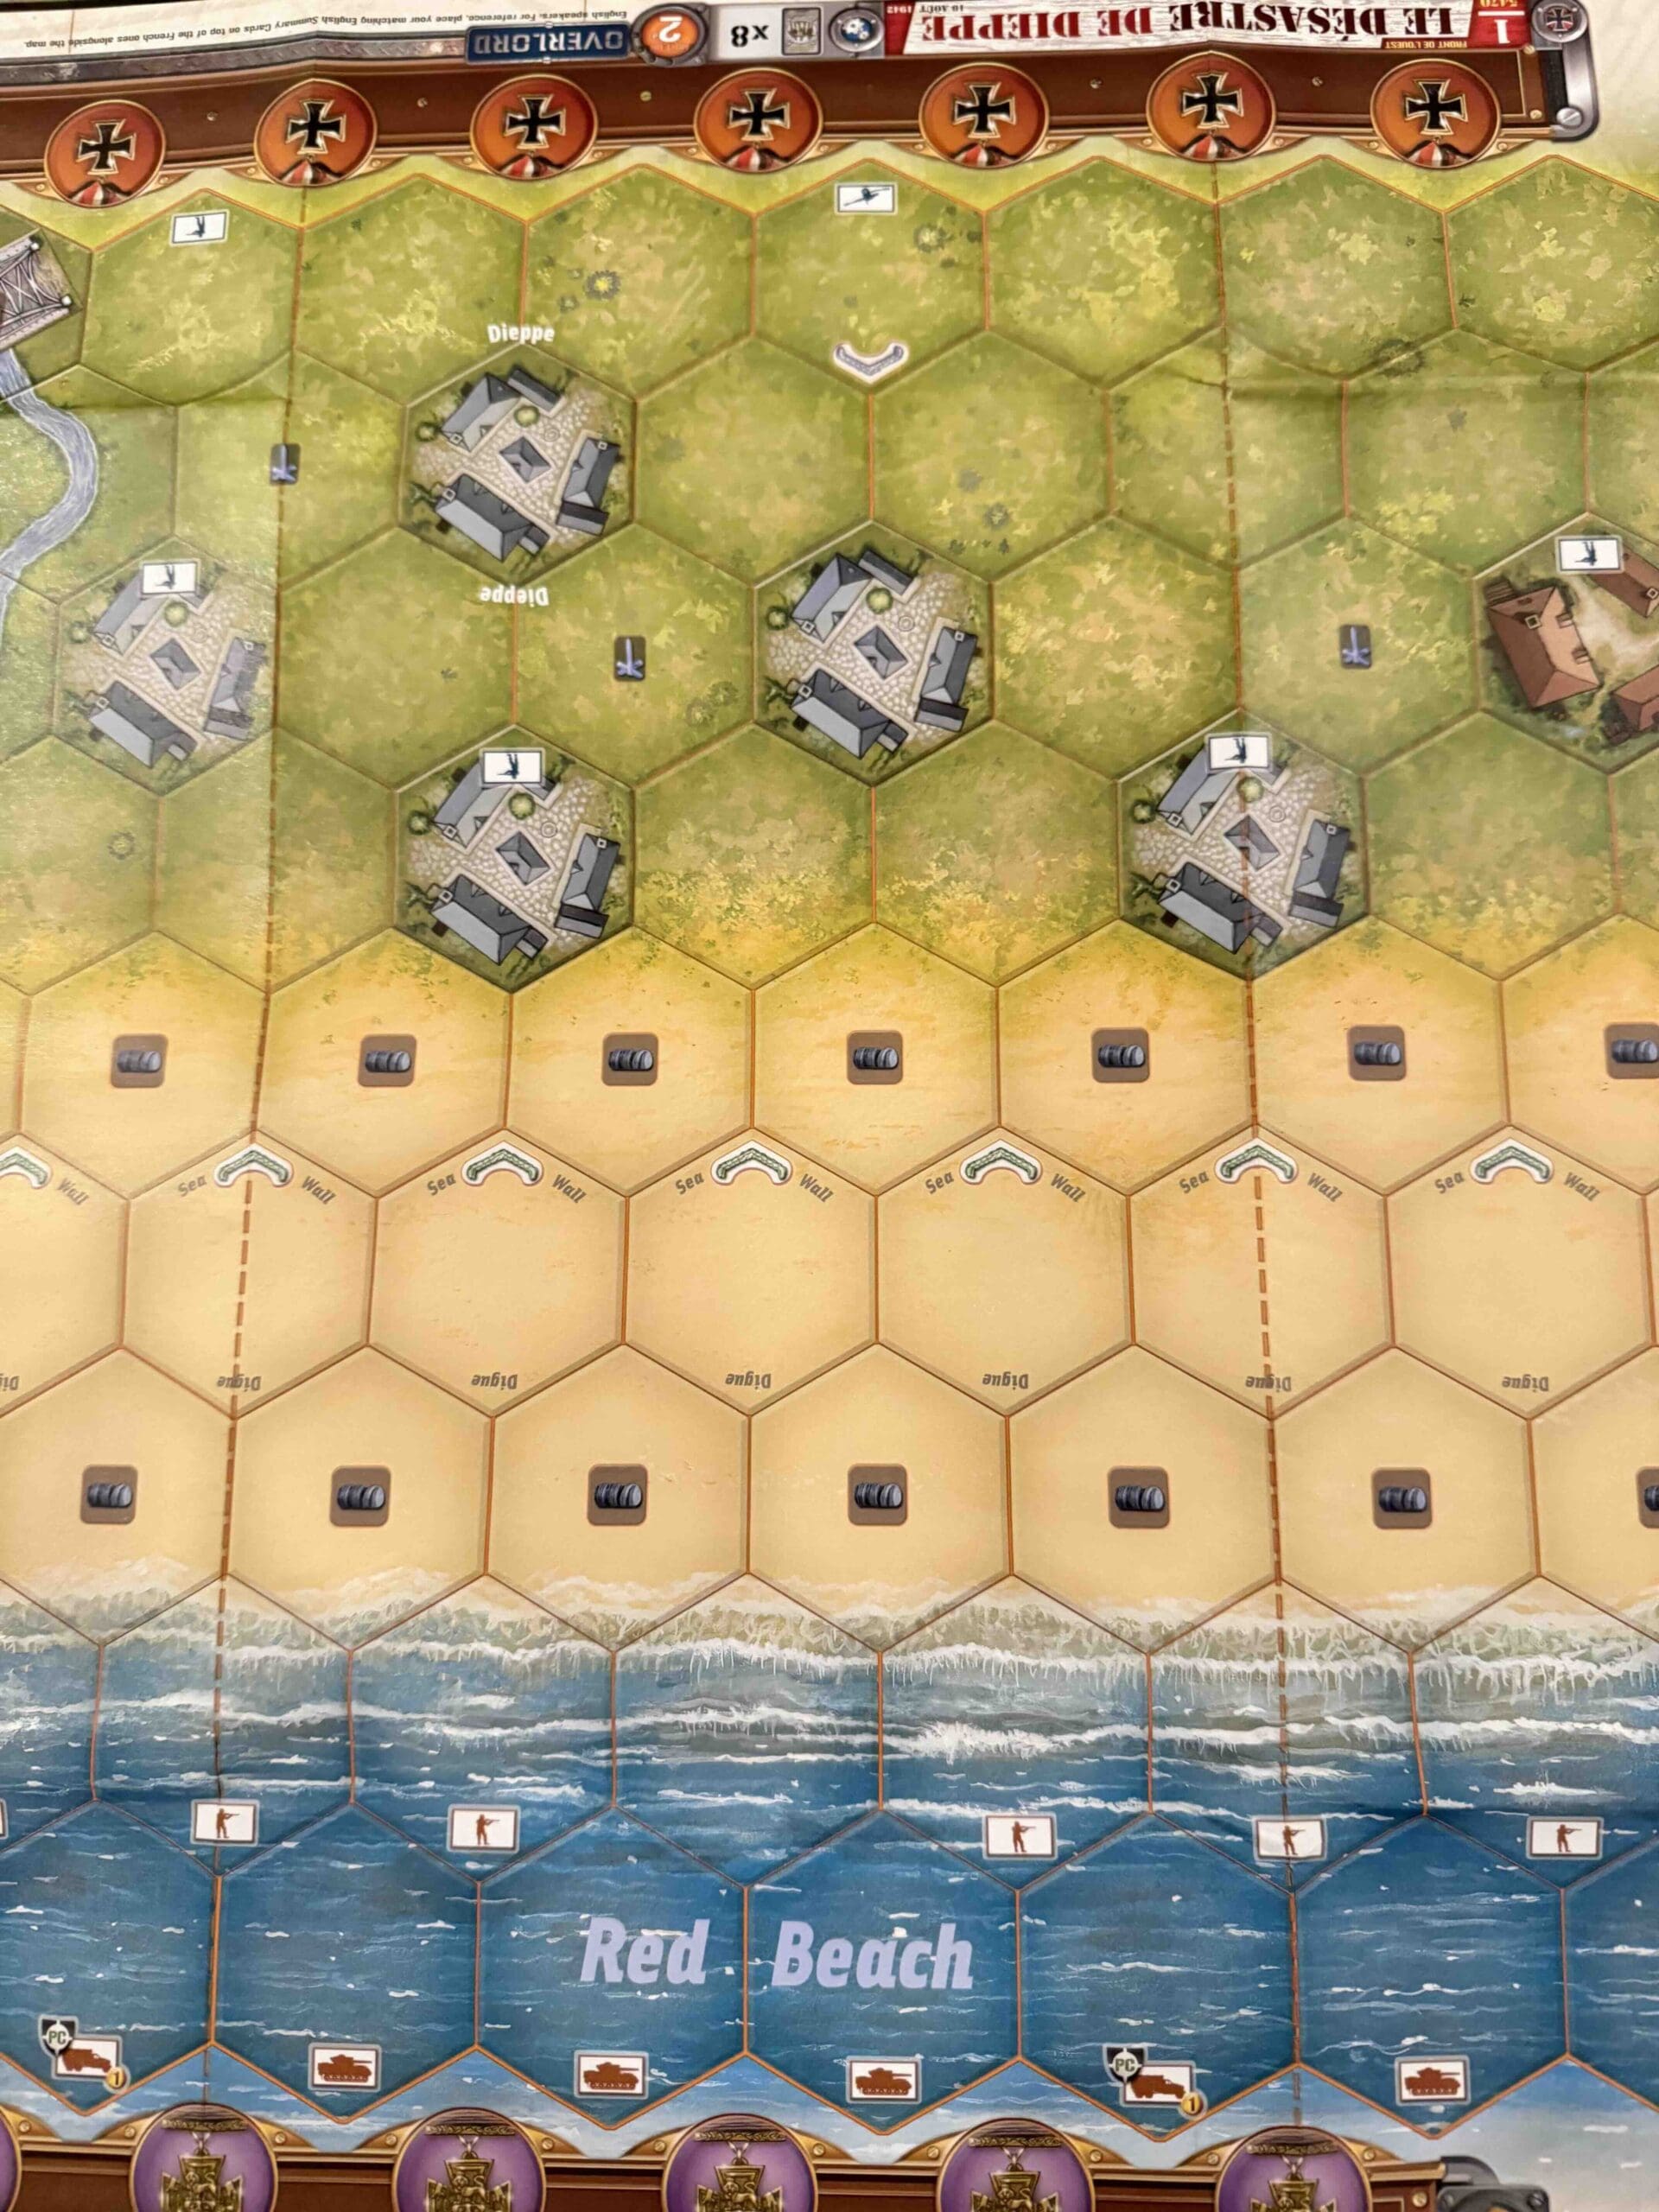
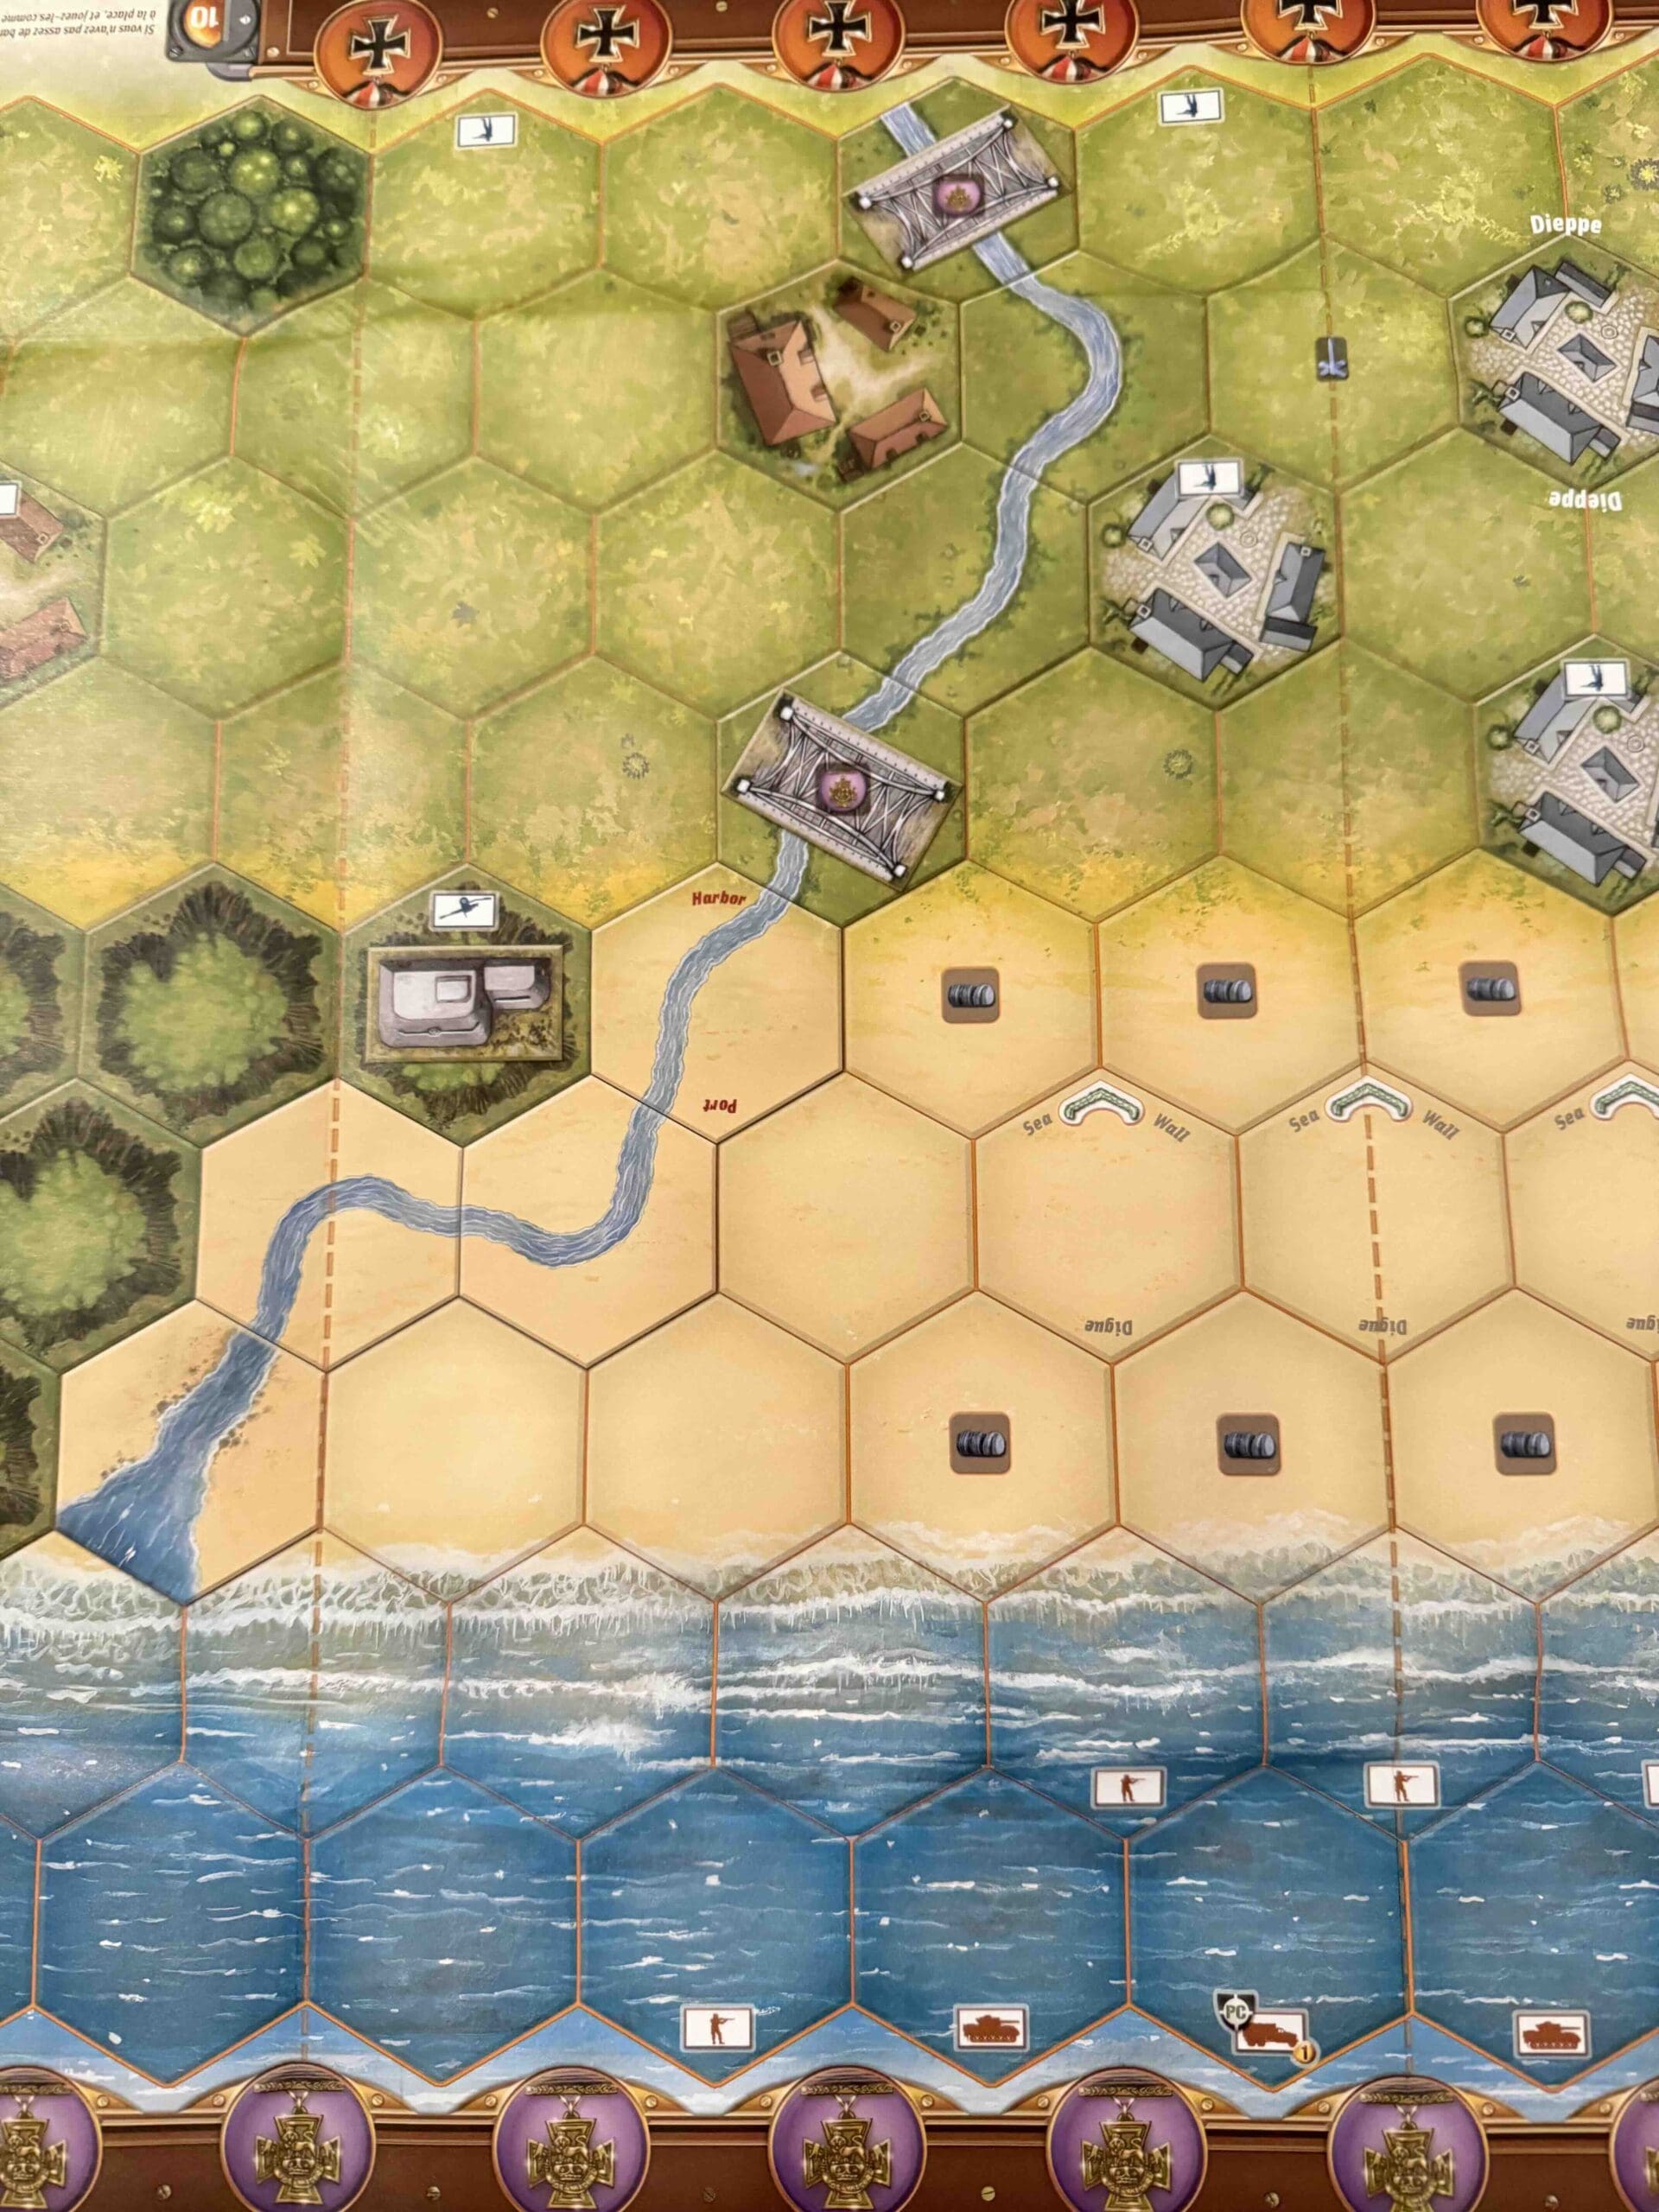
Conditions:
Beach

Context:
Historical
Location:
Baltic area
Year:
1944
Theater:
Eastern
Campaign:
Codename:
Operation Jubilee
Summary:
Objectives:
10 VP’s with Temporary Medal Objectives for two bridges, a casino, and a chateau.
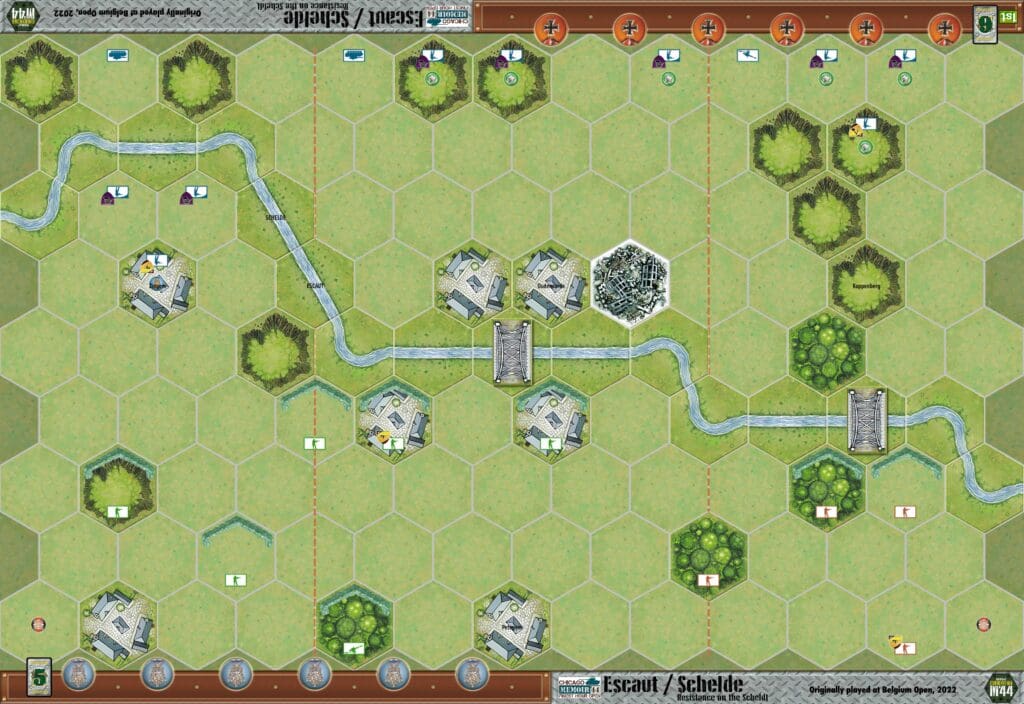
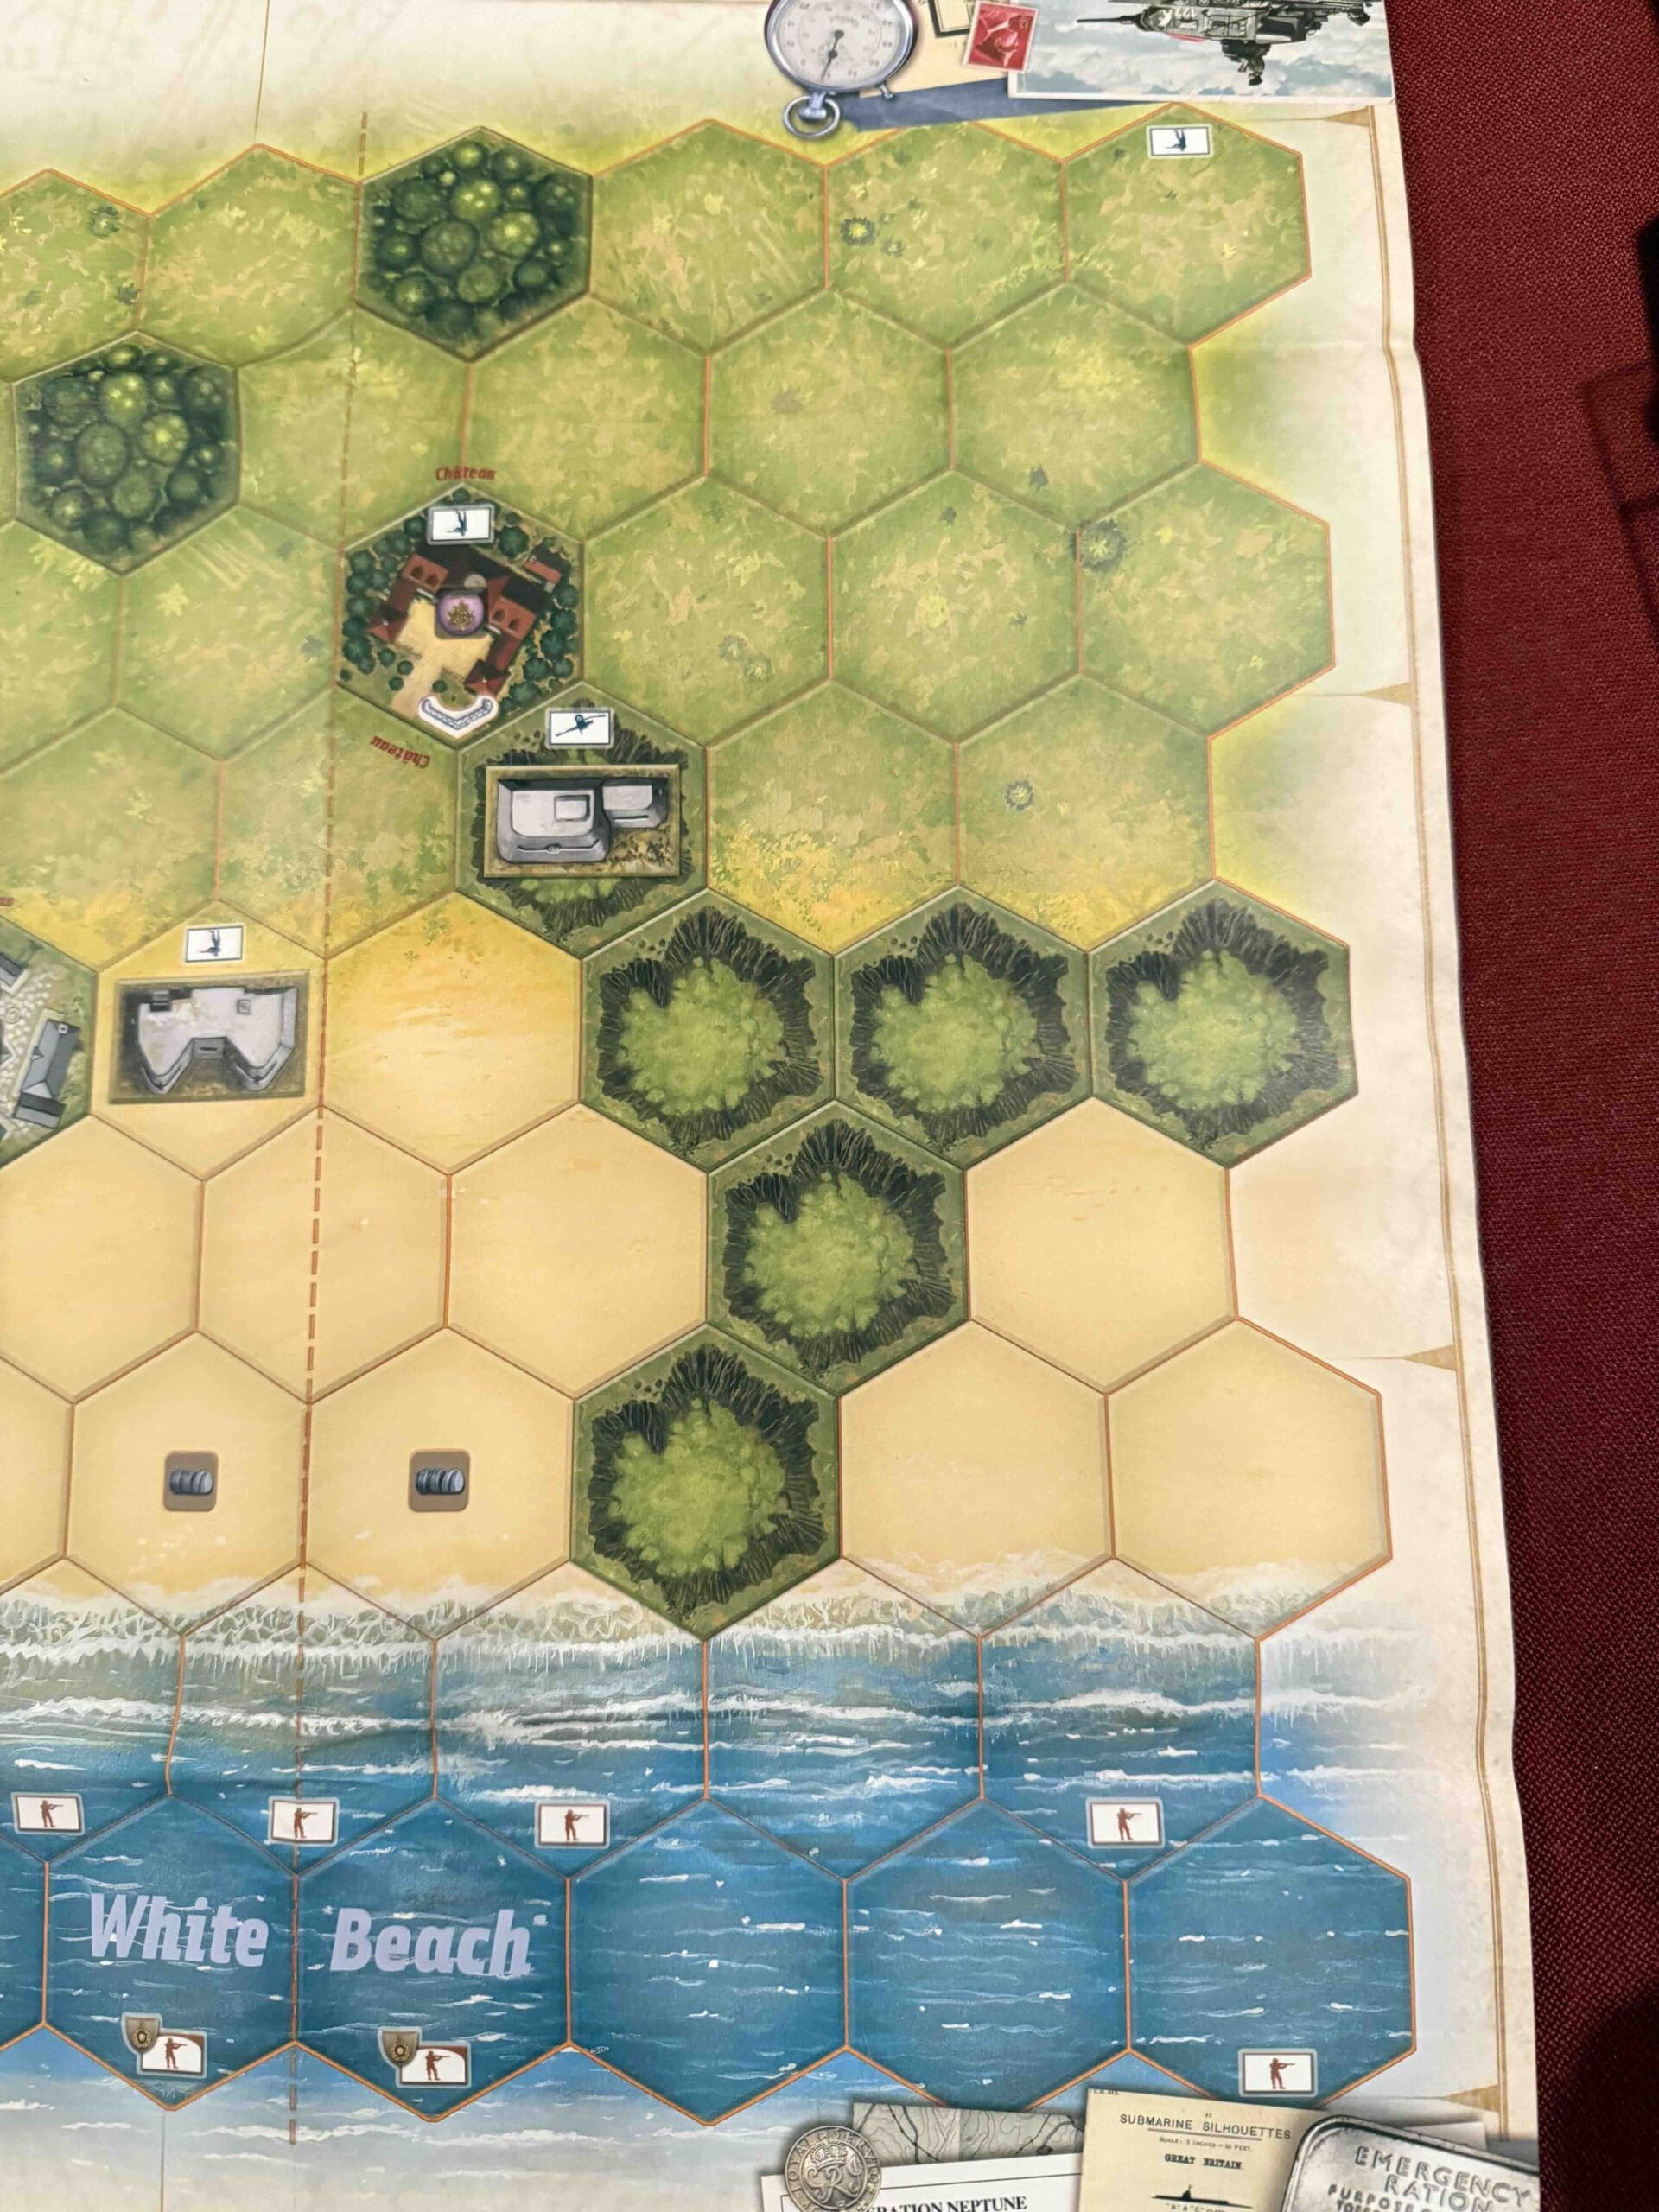
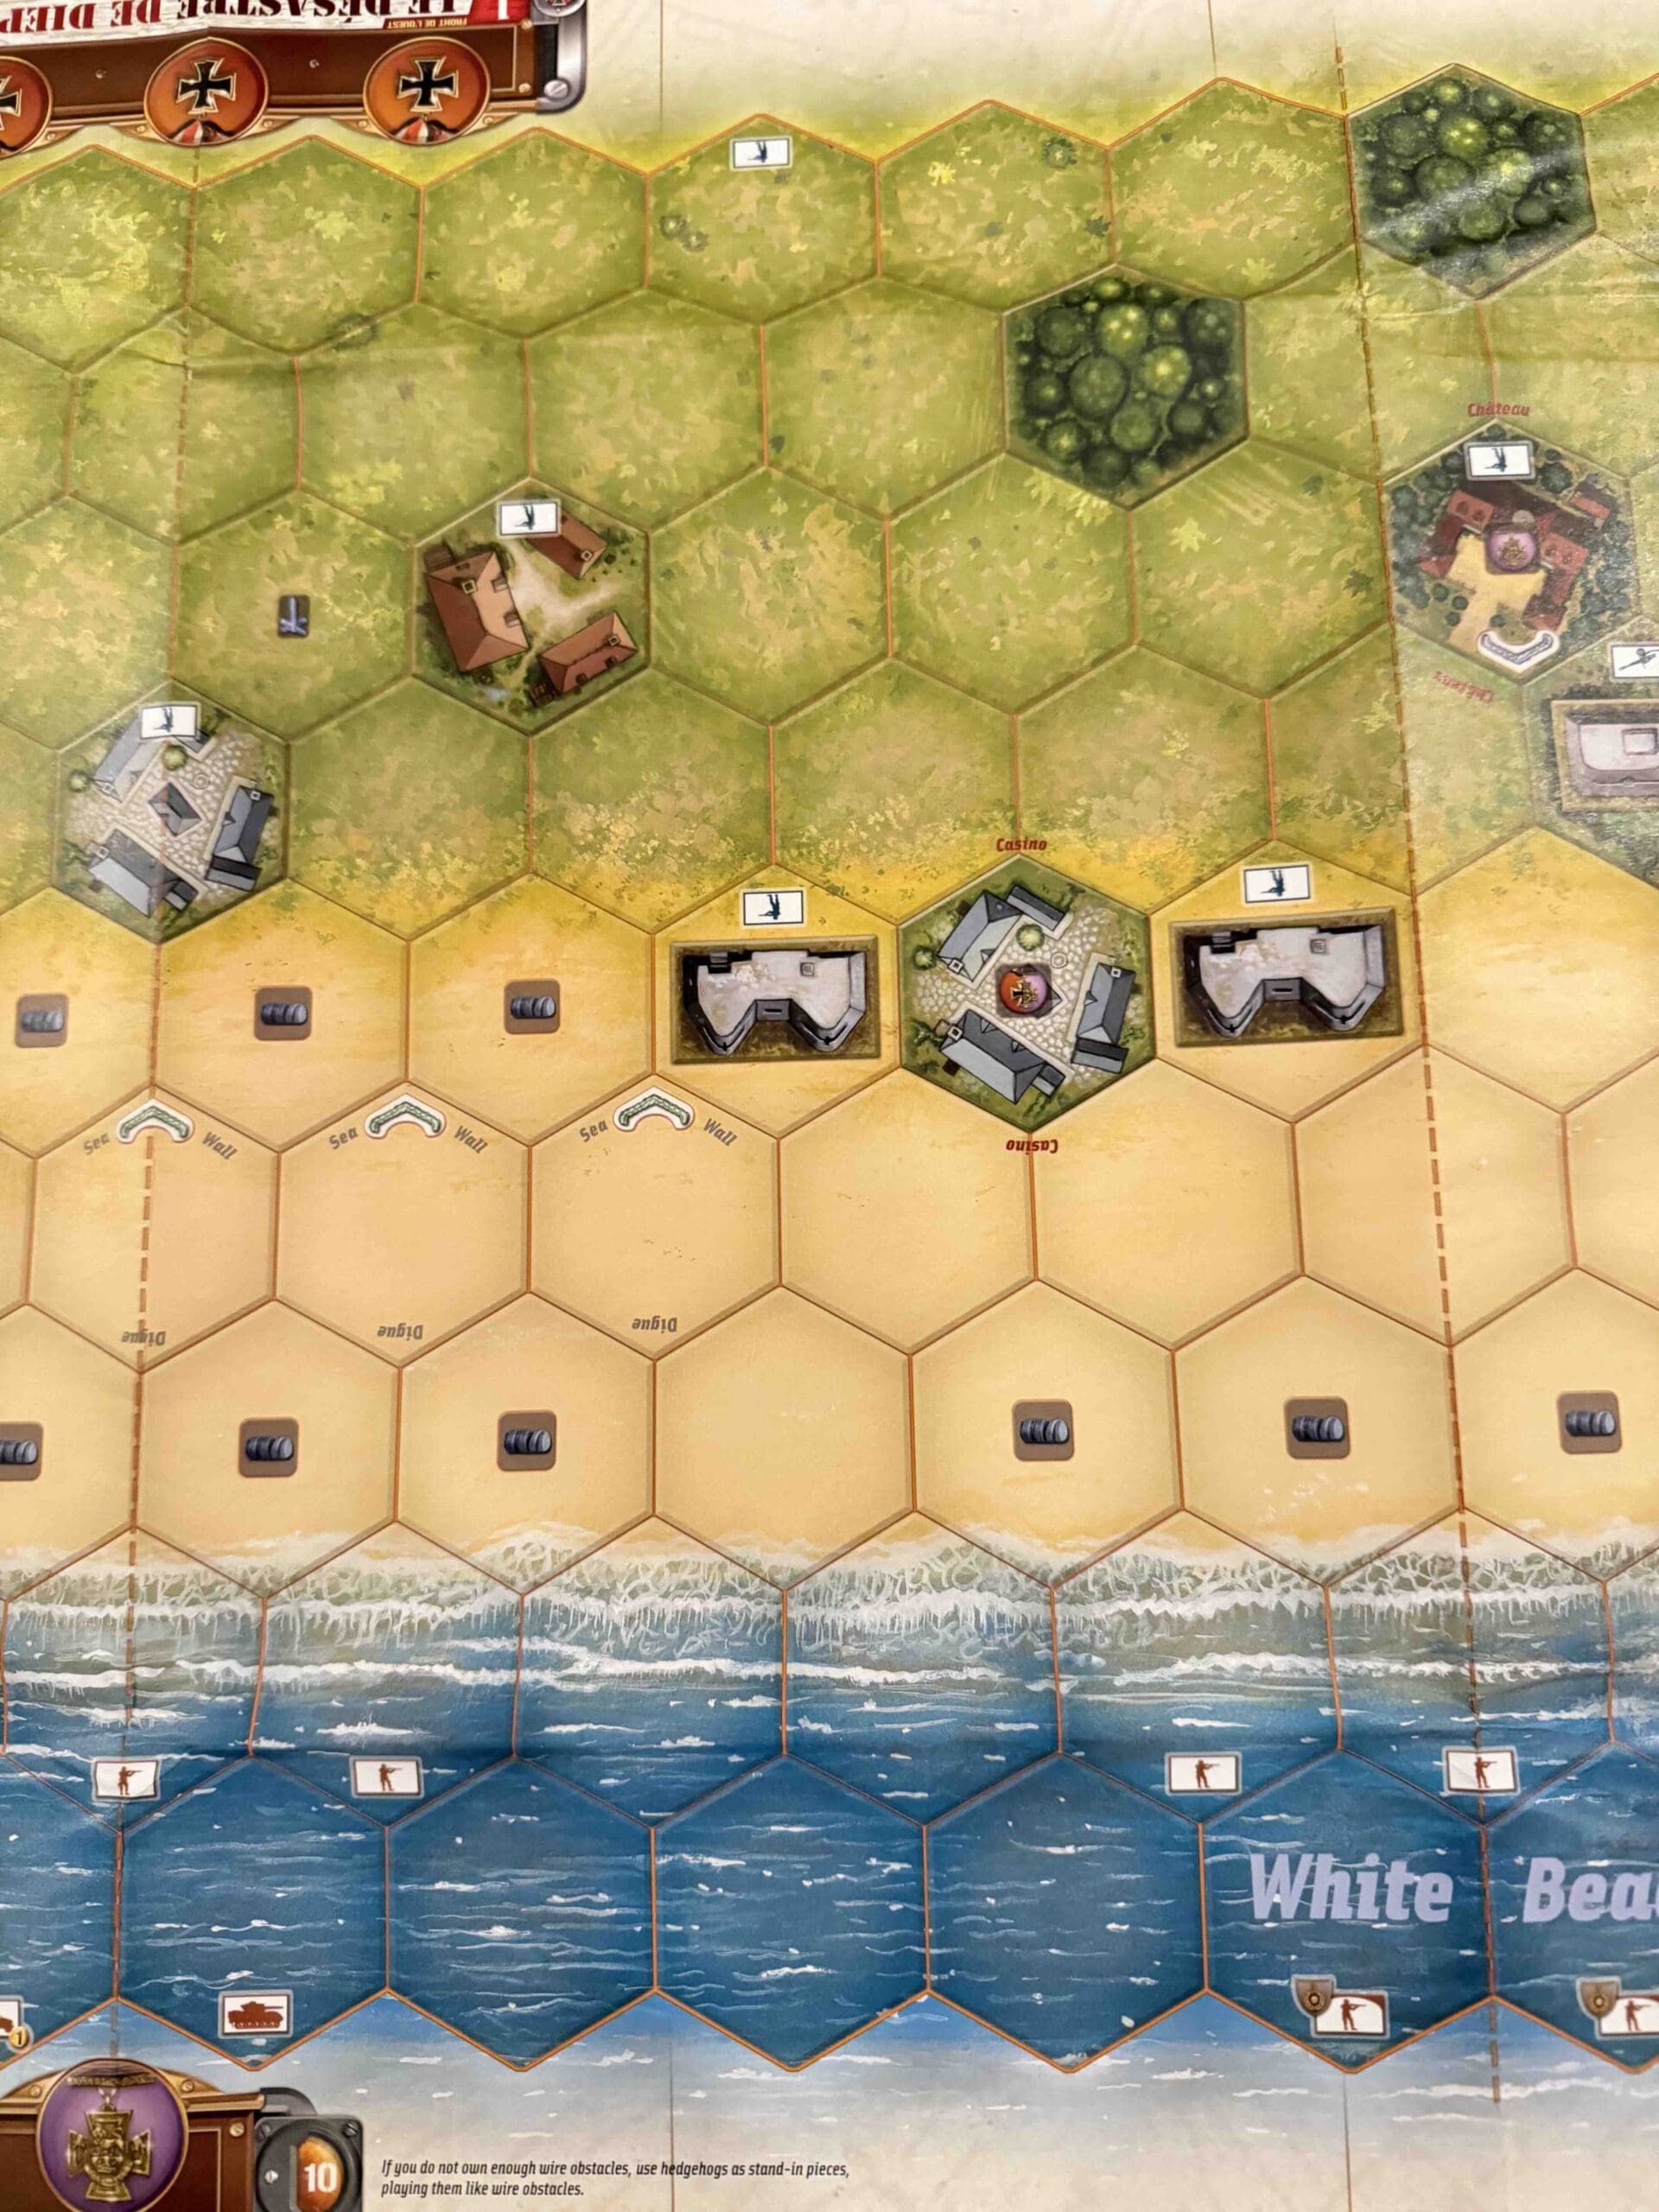
Battlefield:
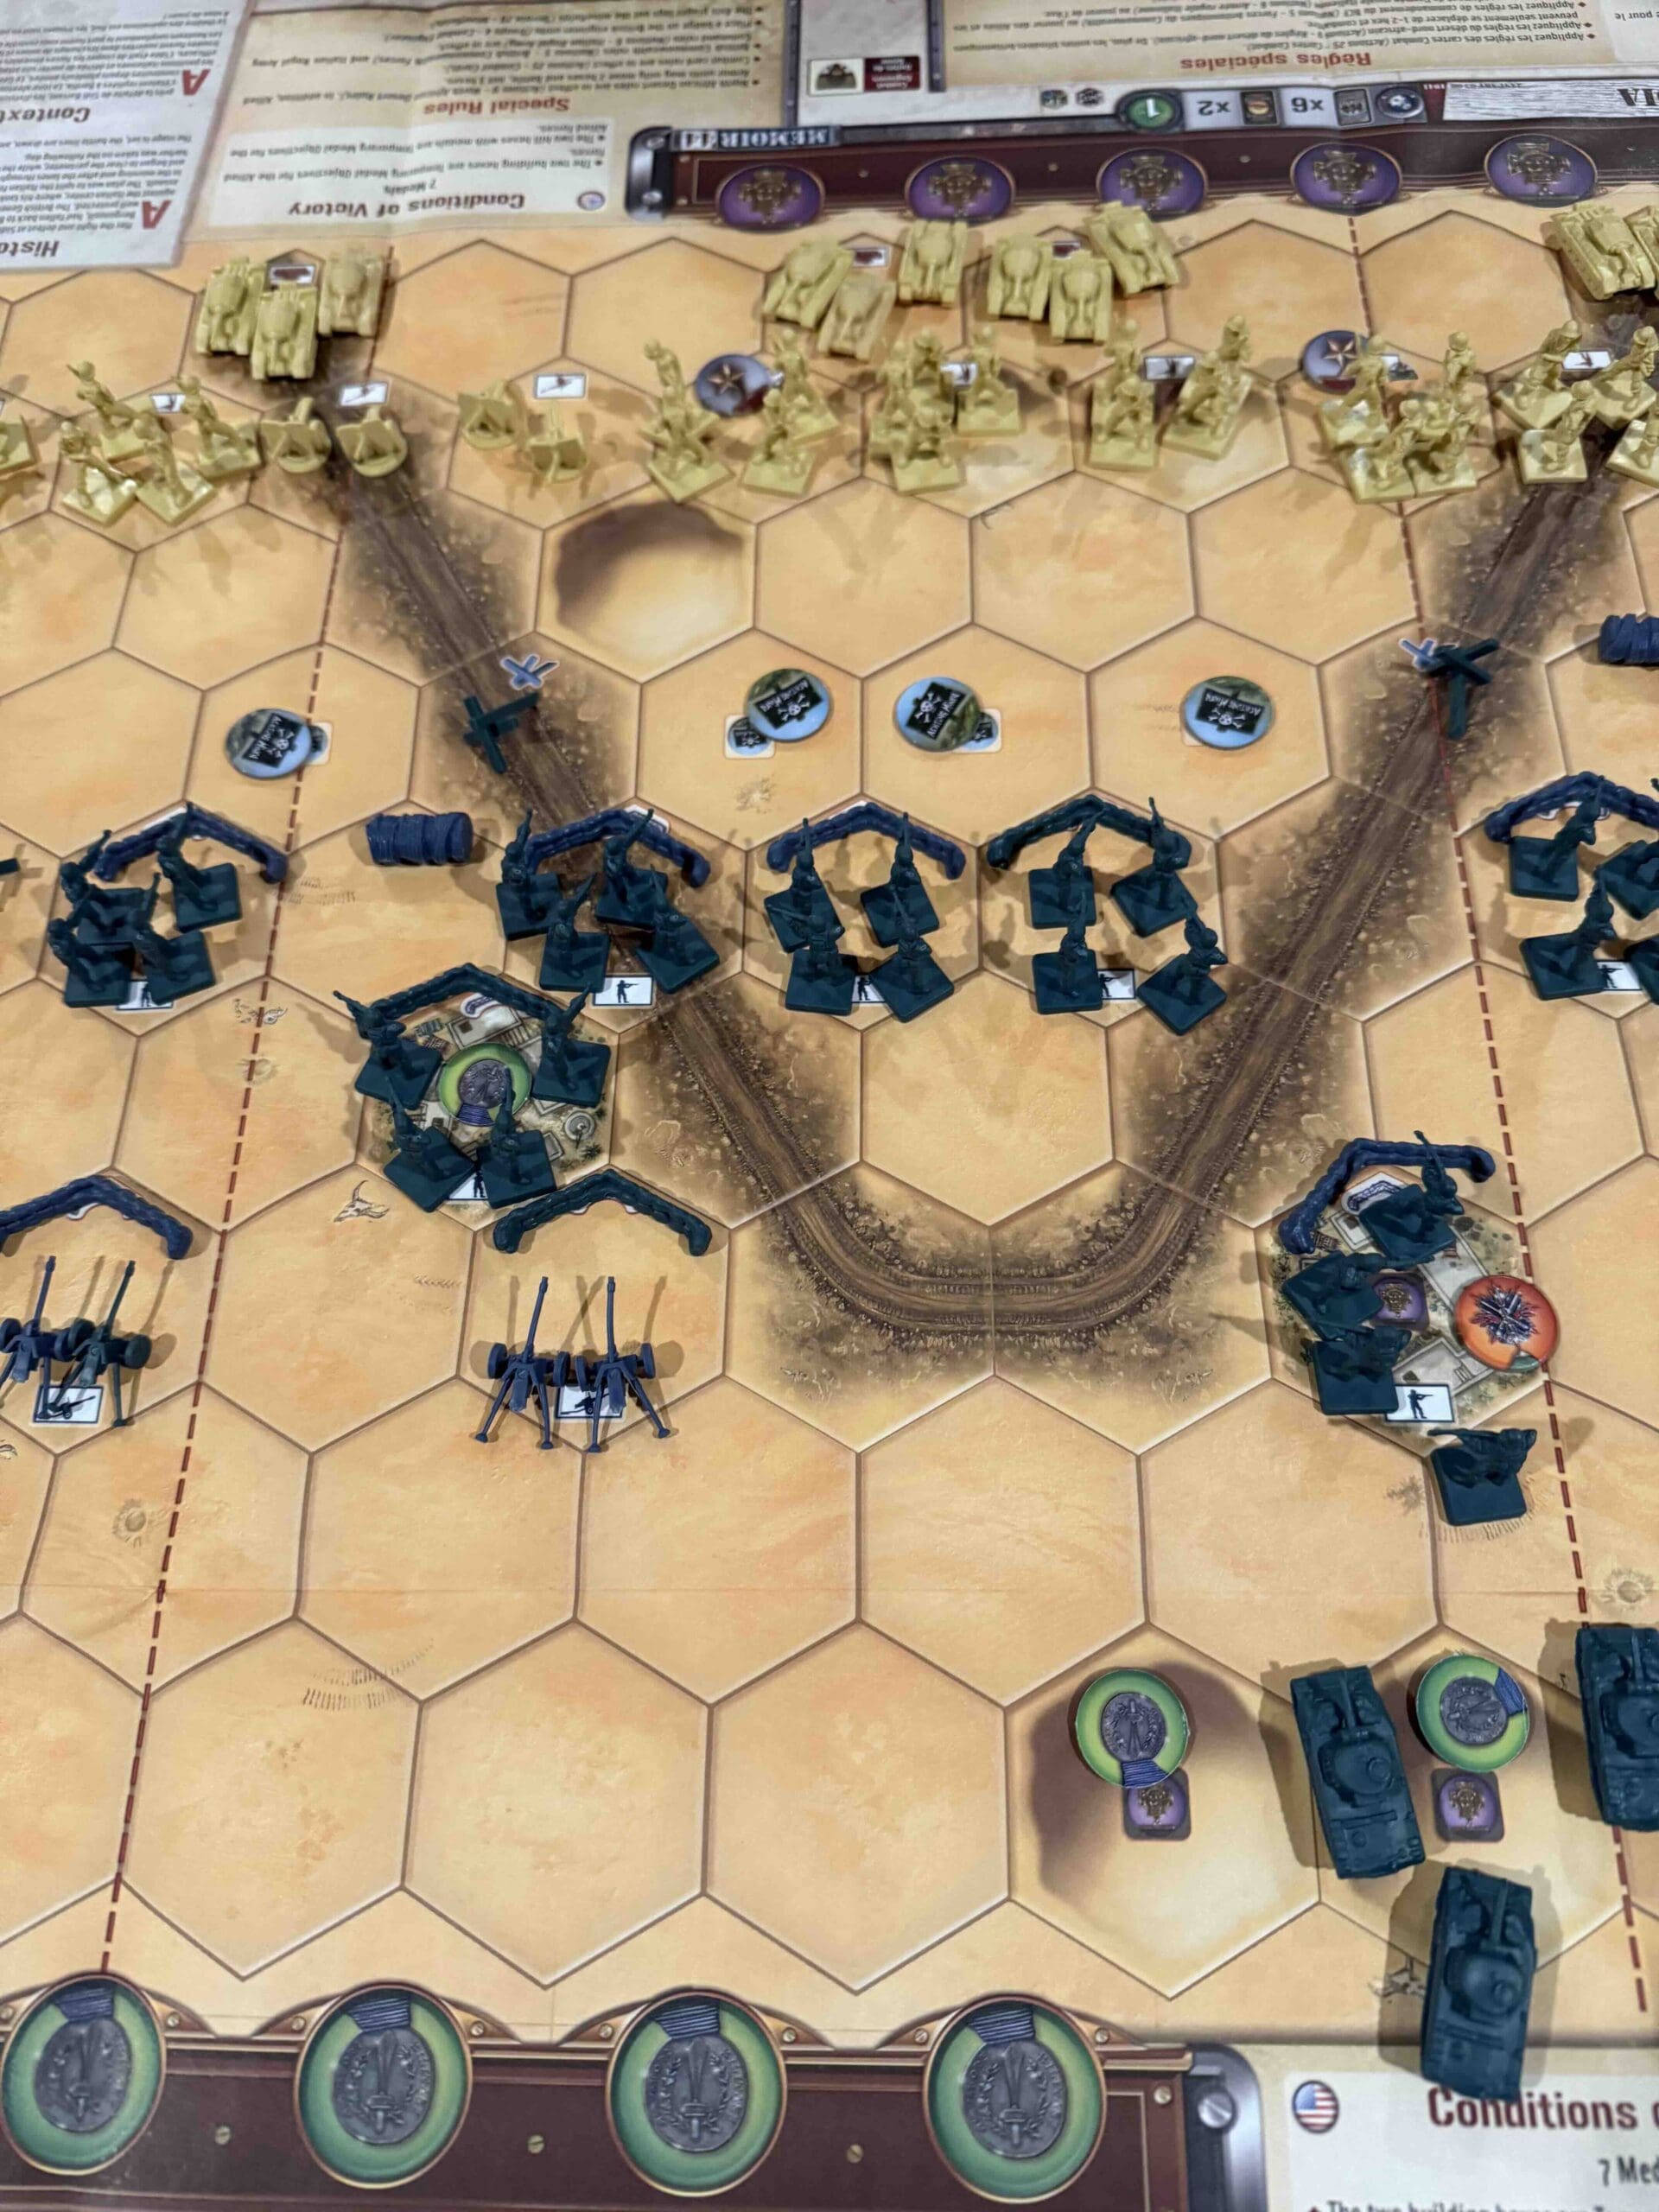
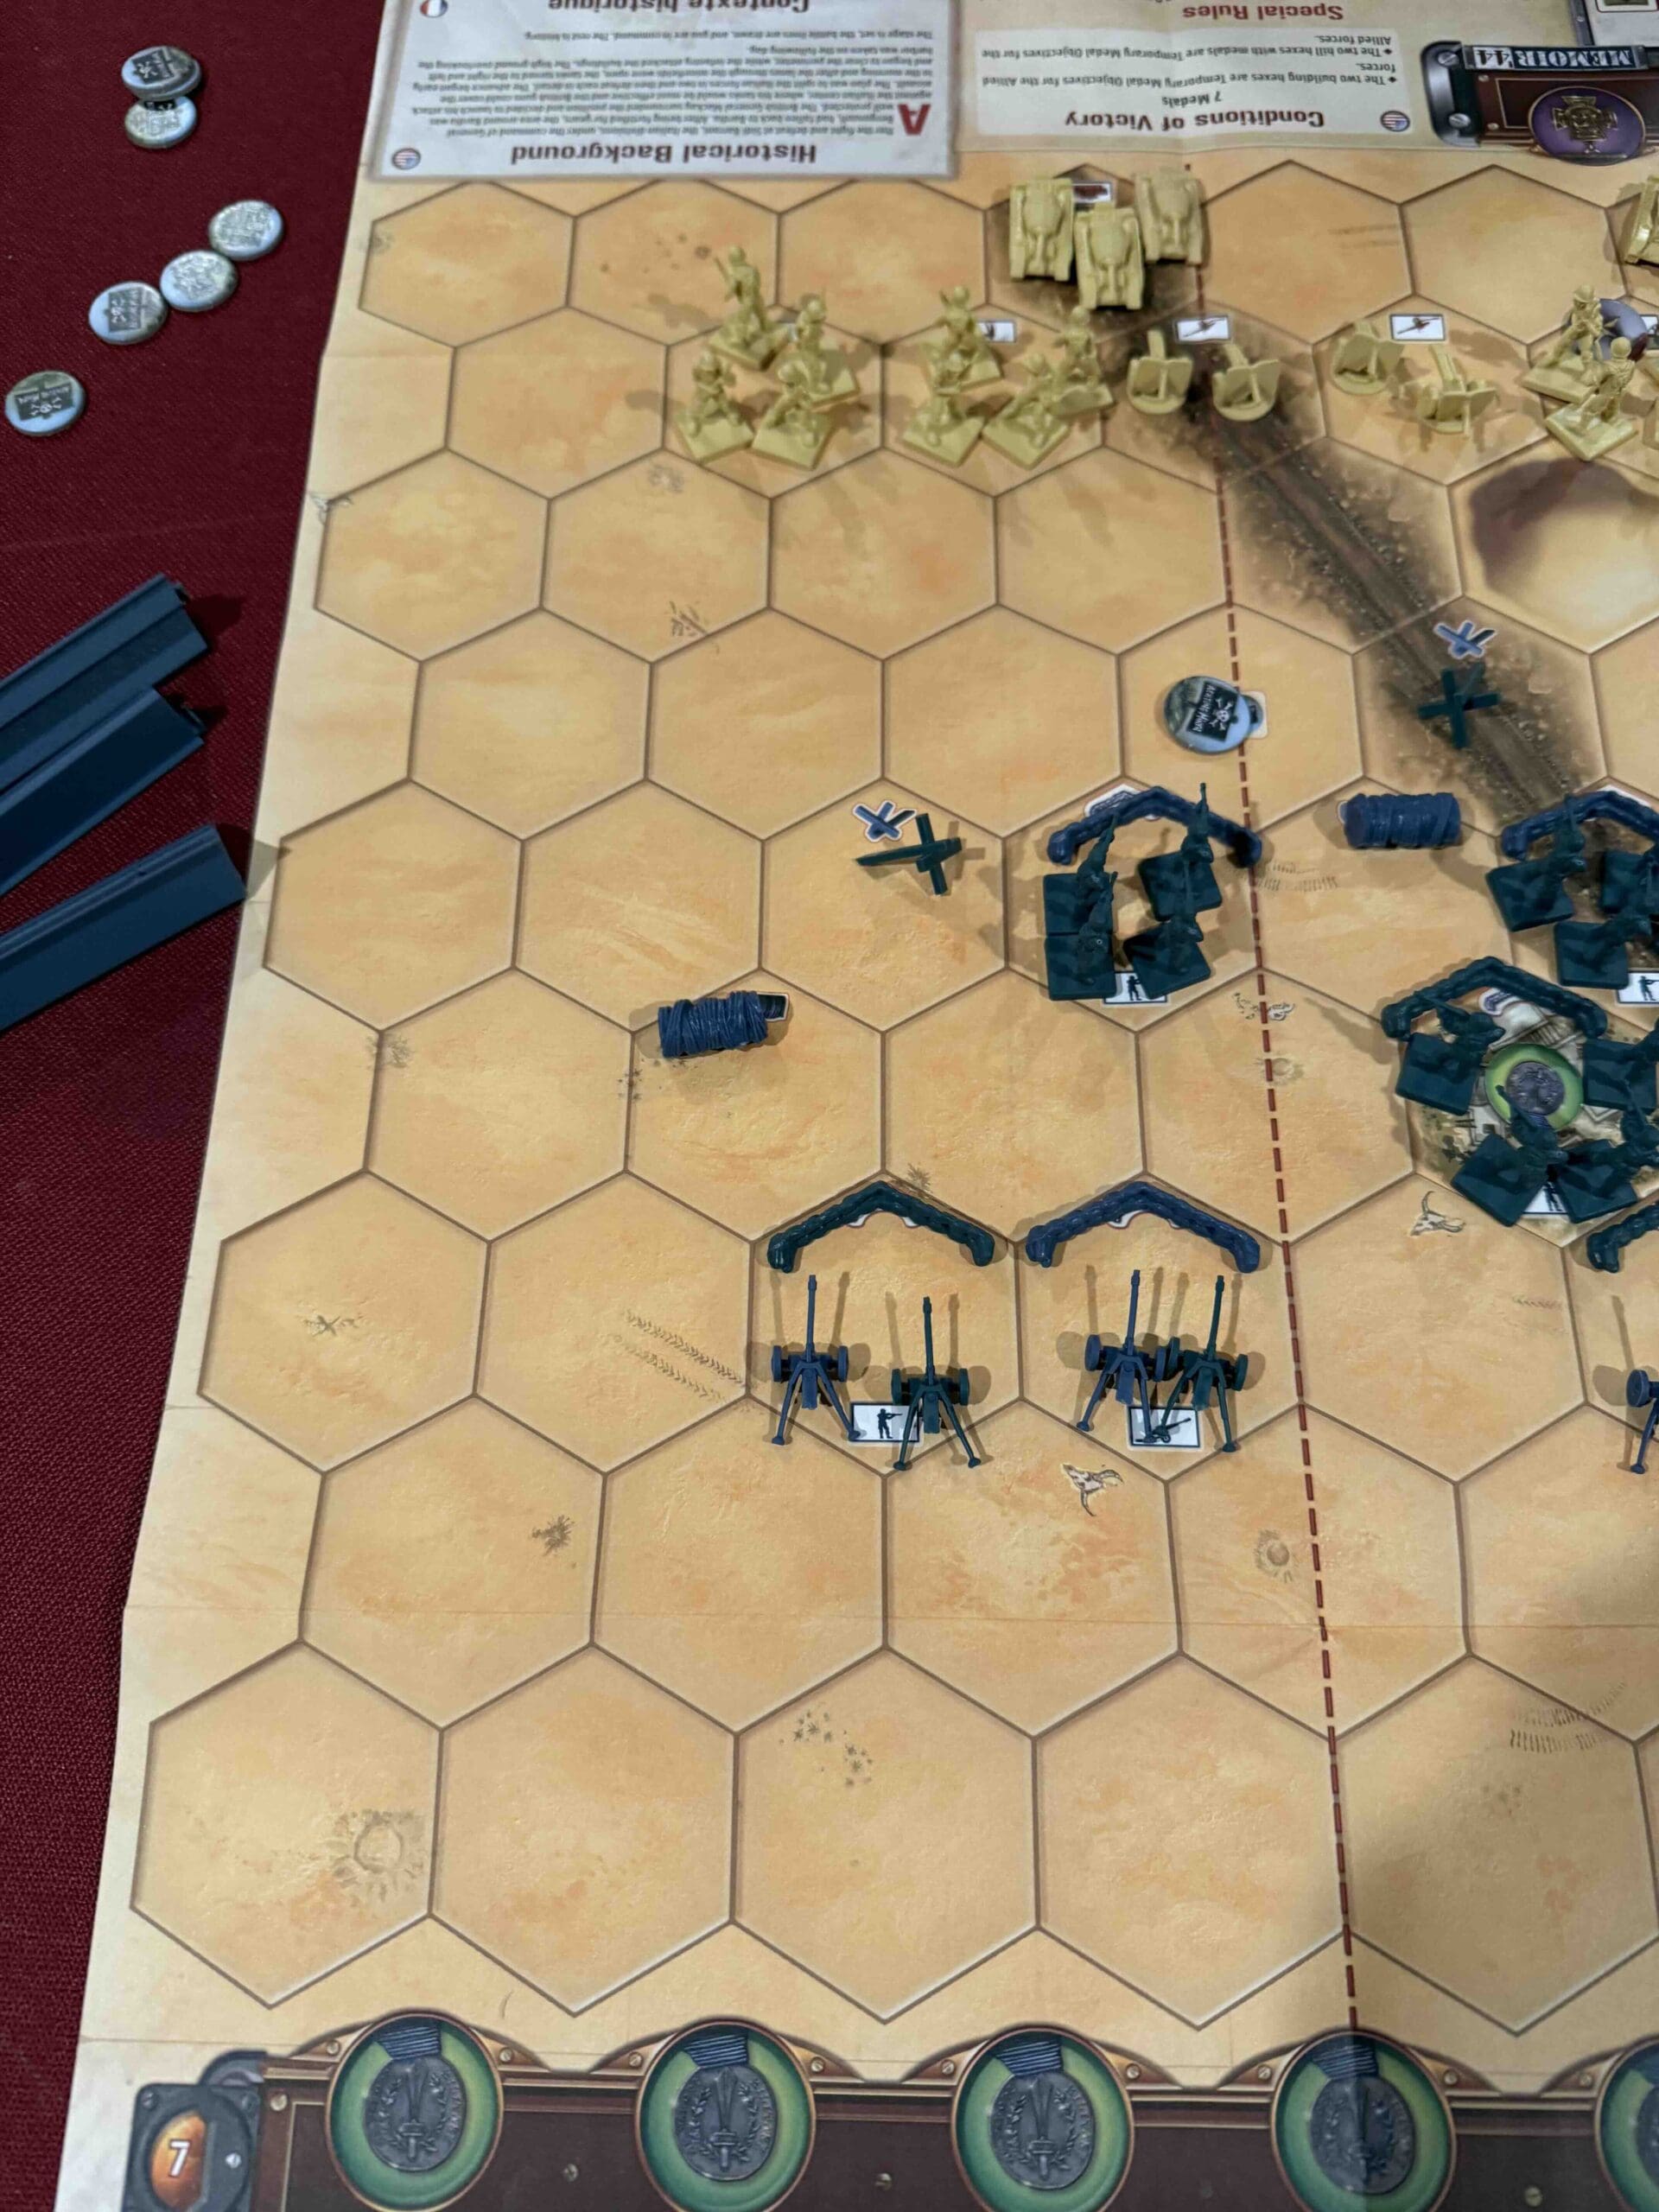
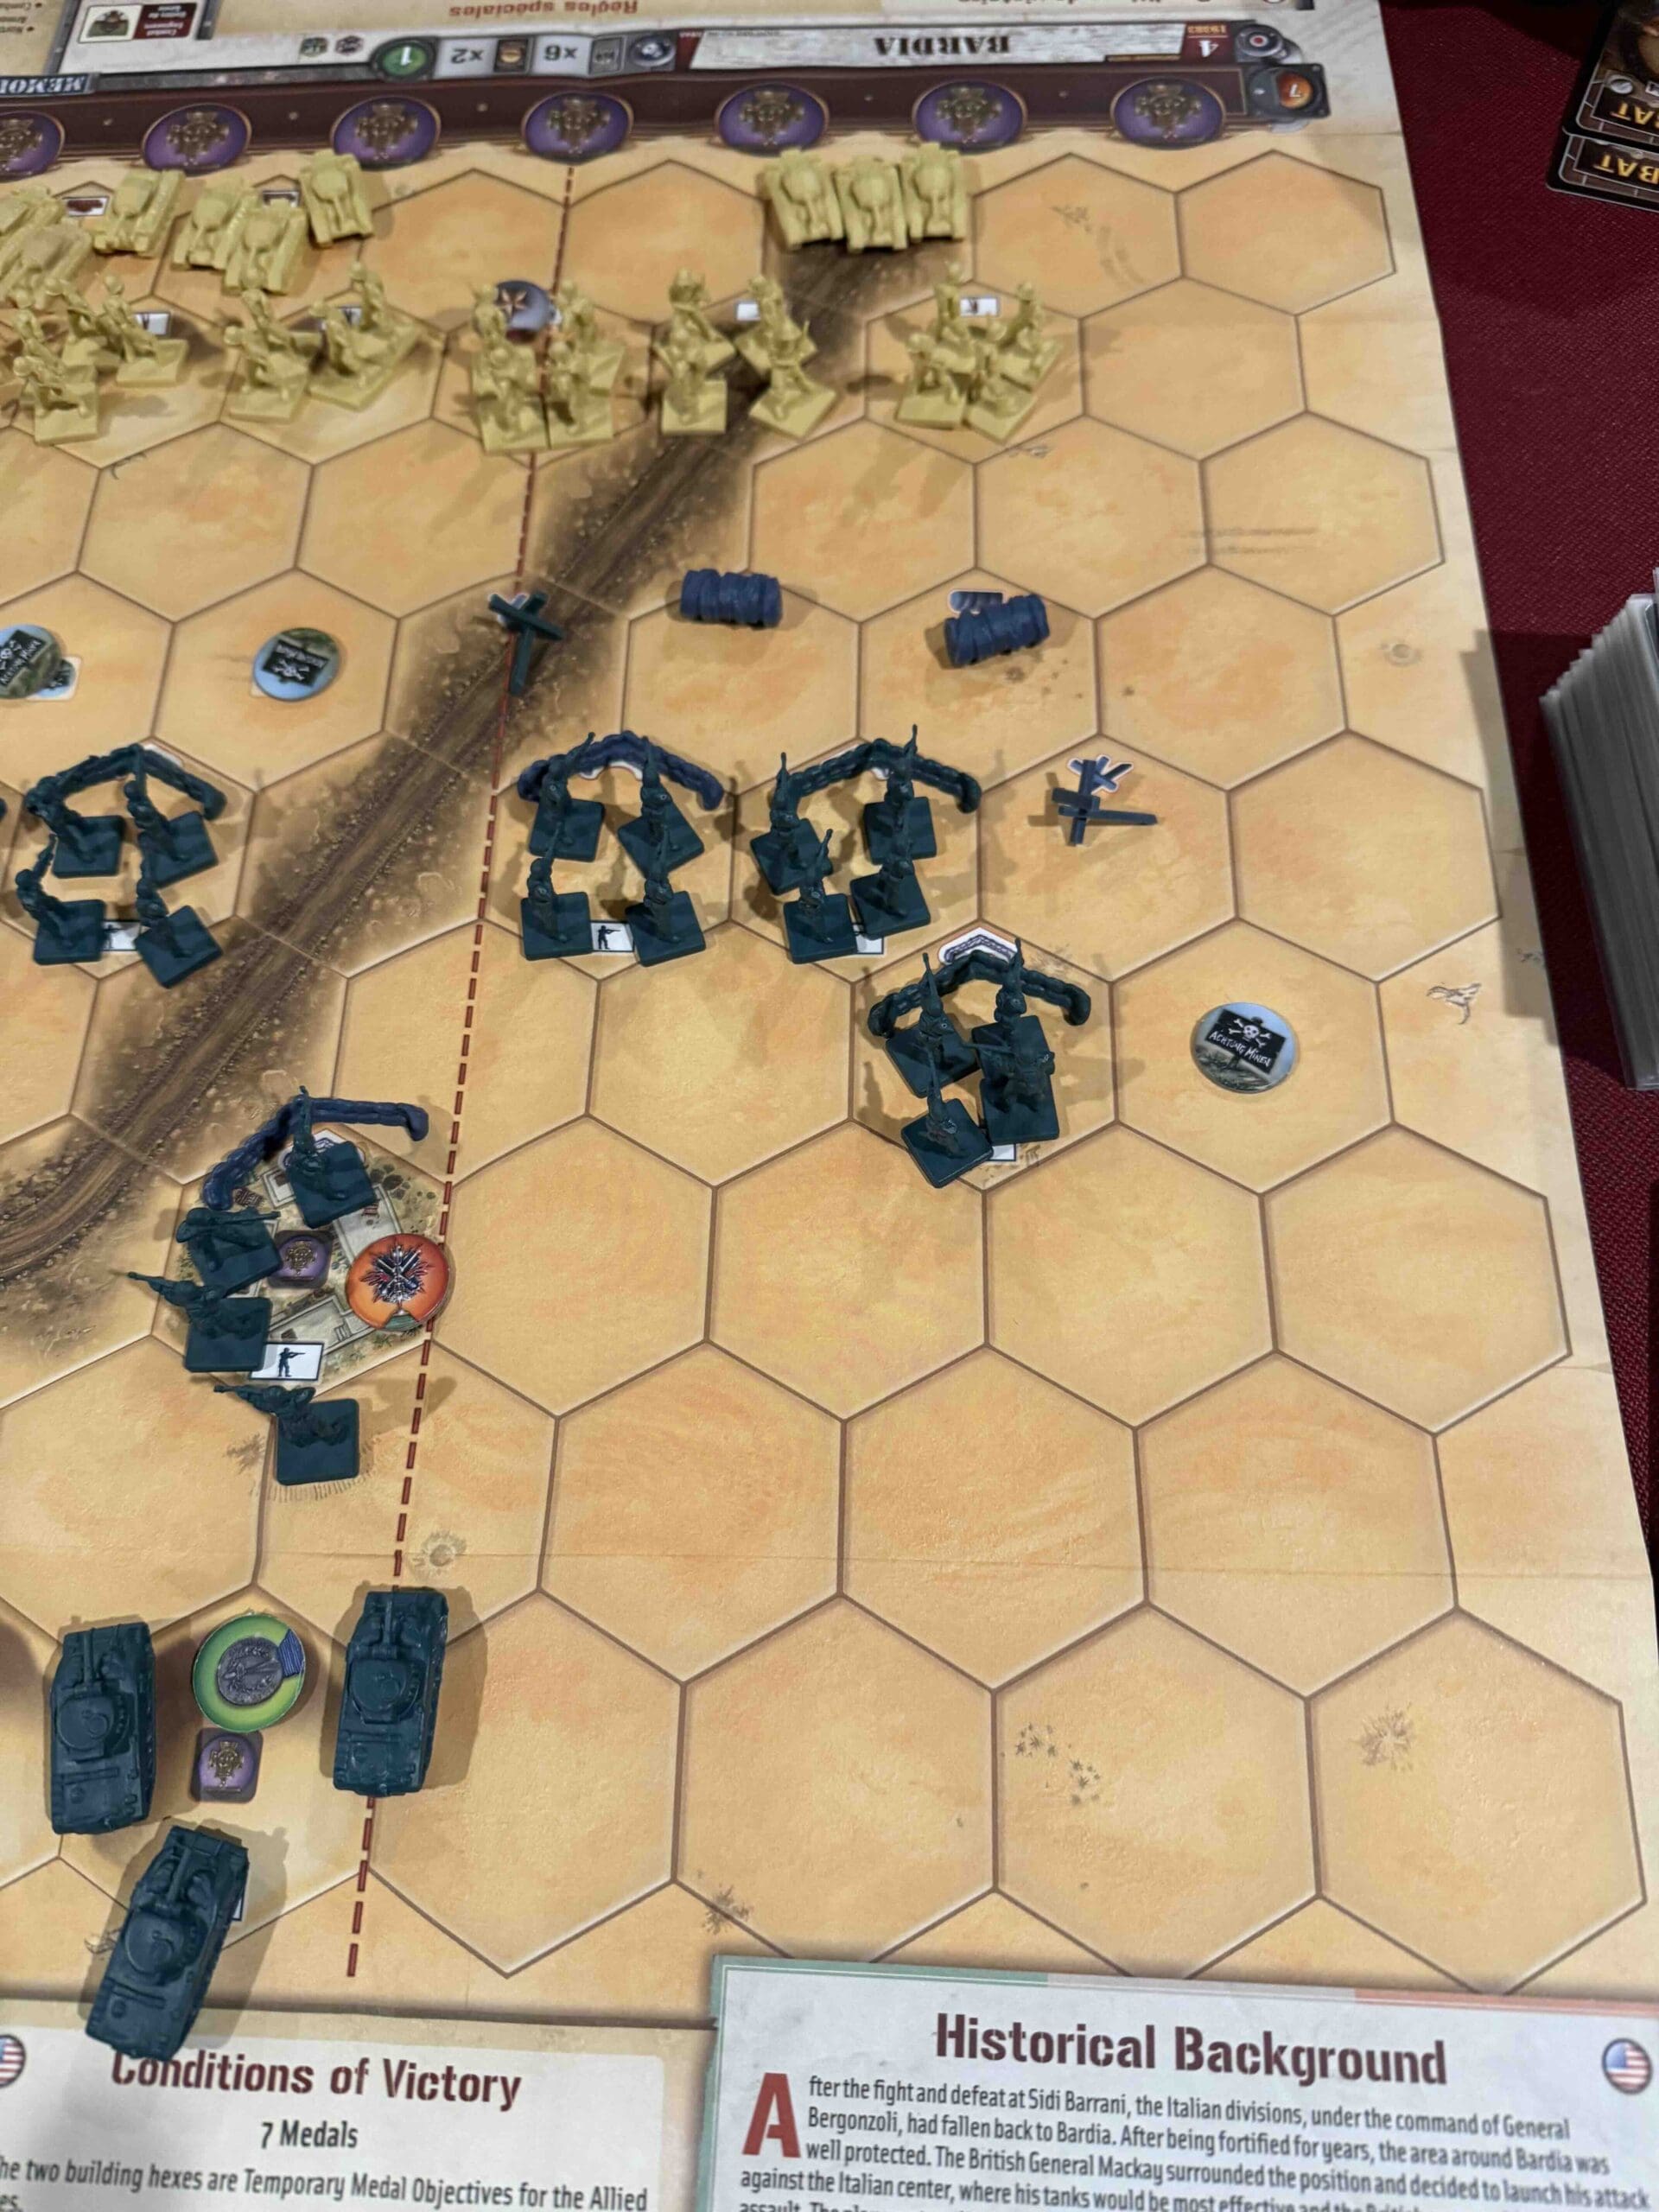
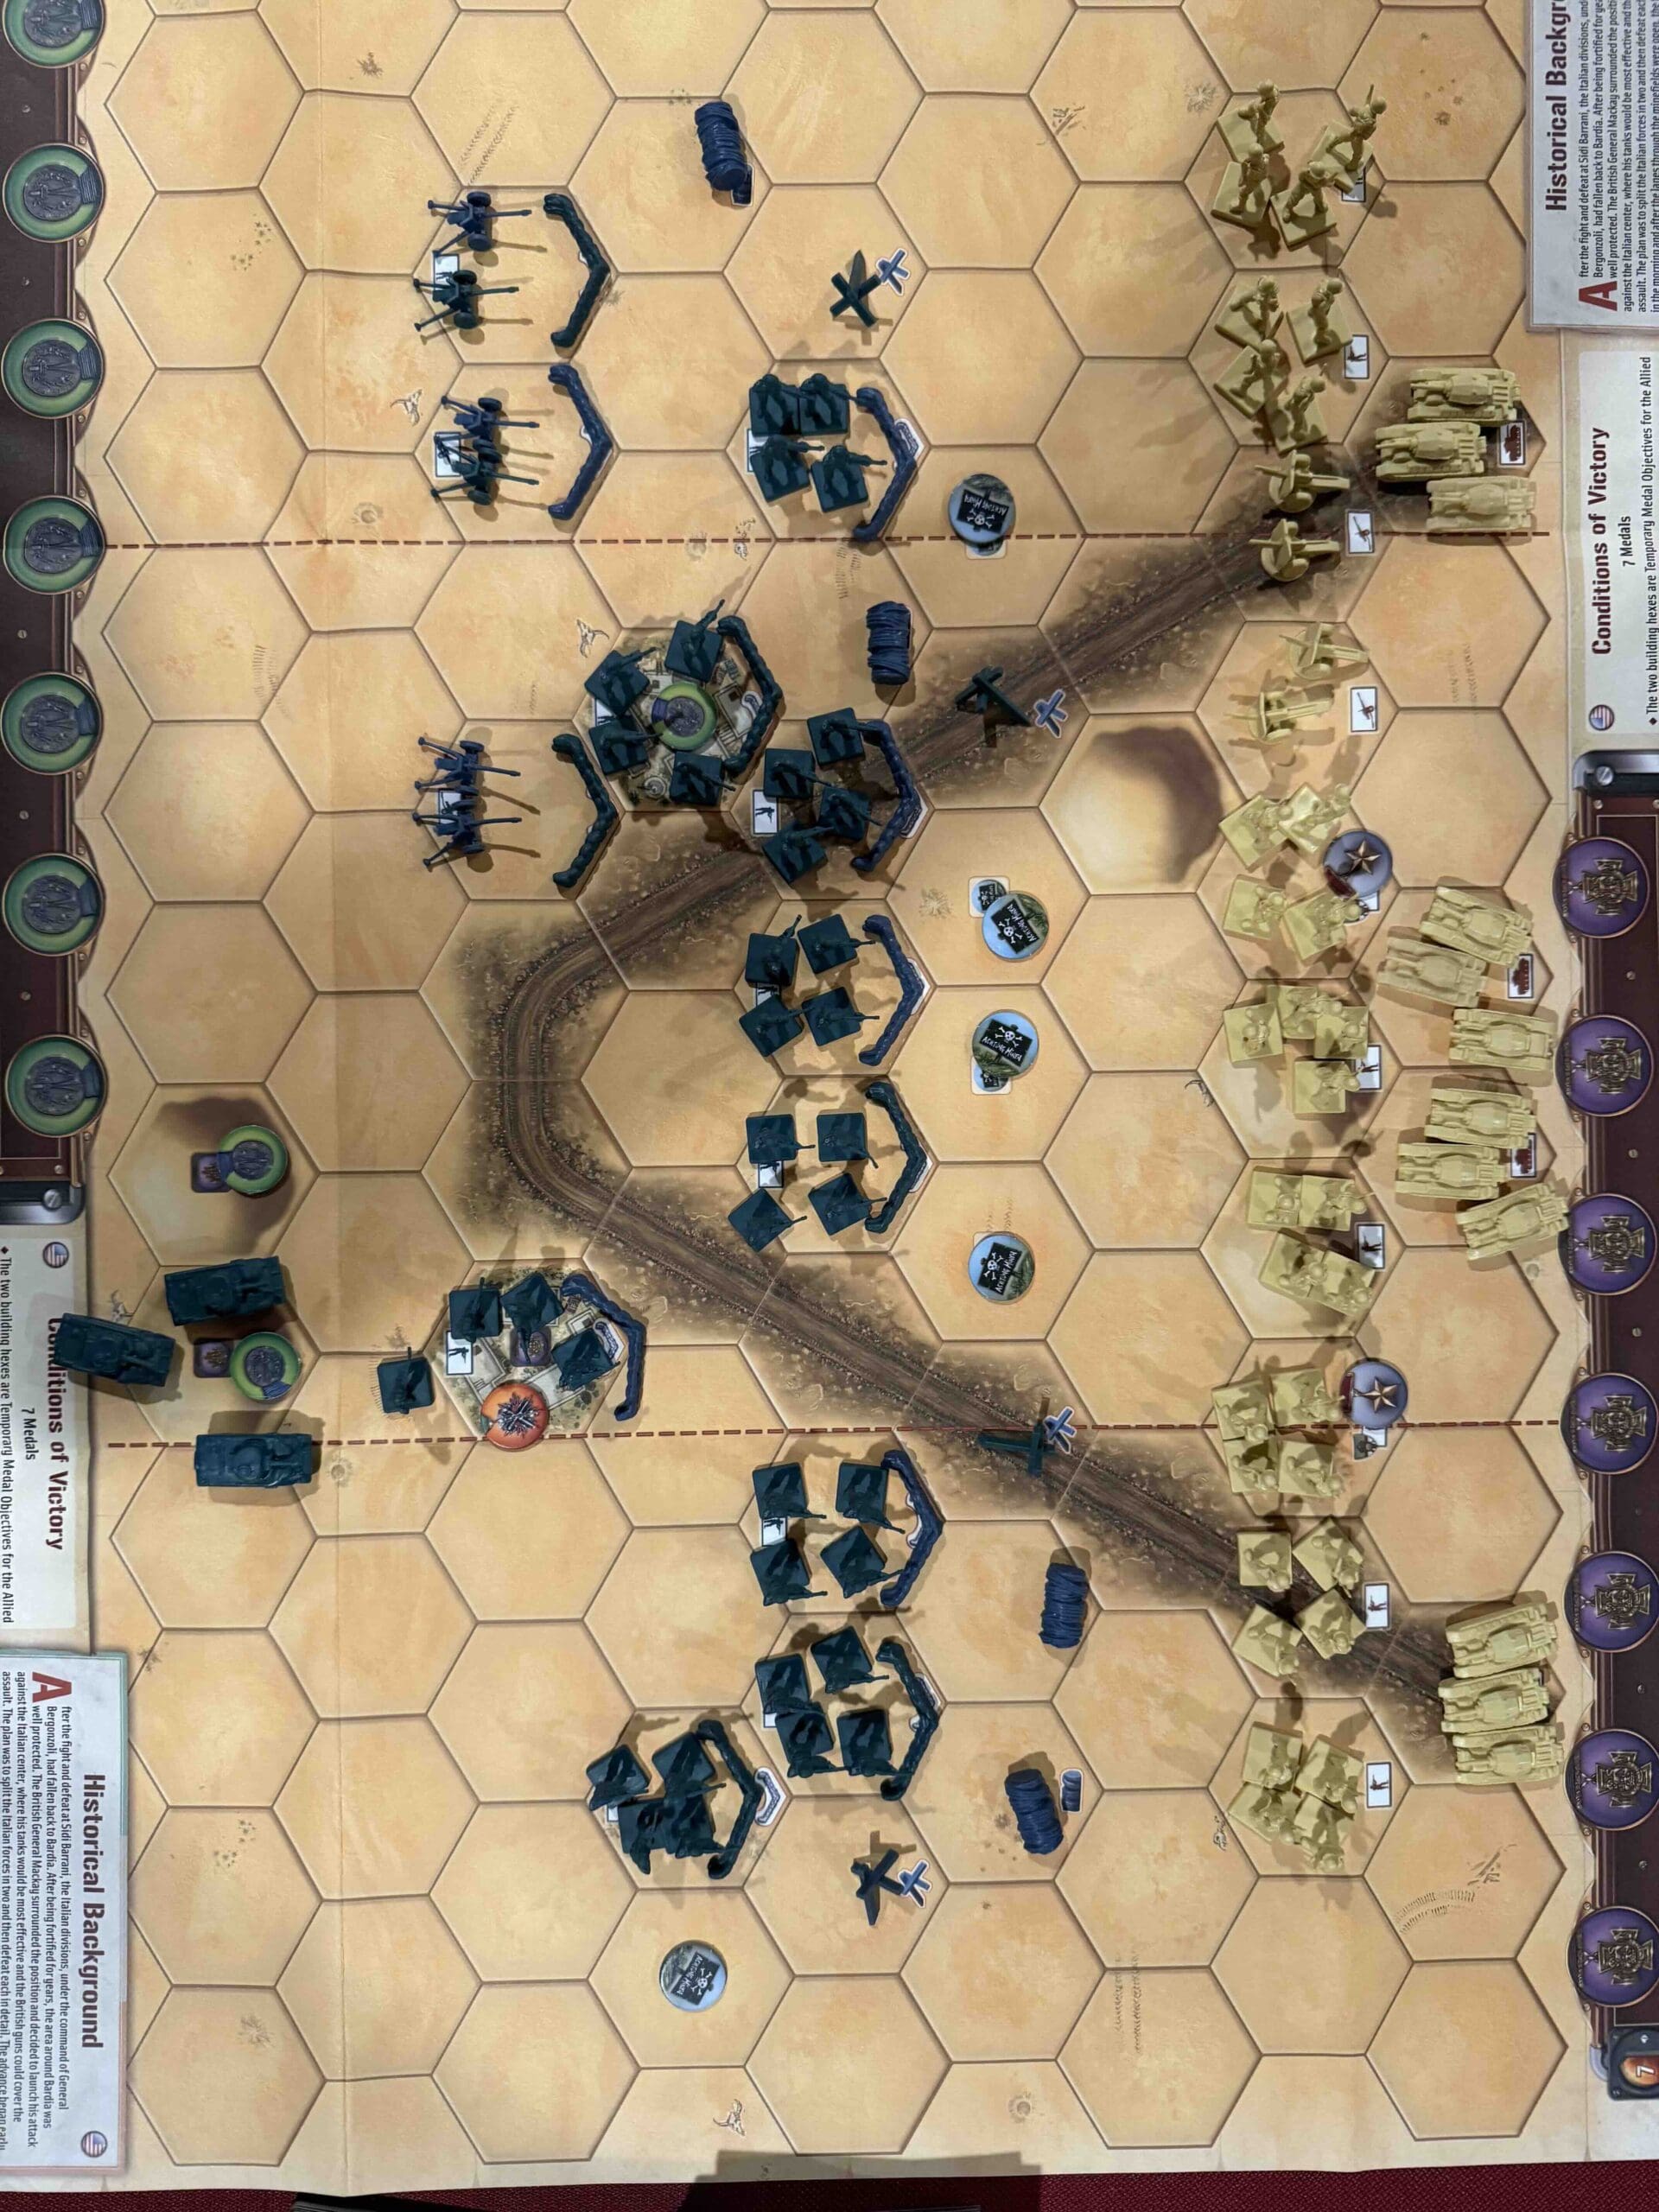
A beach with towns, ridges, and a river cutting through the center.
Troops:
Allies – 20 Infantry, 5 Armor, 2 Half-Tracks
Axis – 15 Infanty, 4 Artillery
Allied Strategy:
1.
Axis Strategy
1.
Battle Reports
Author:
Days of Wonder
Link: