Coldstream Hill
Coldstream Hill

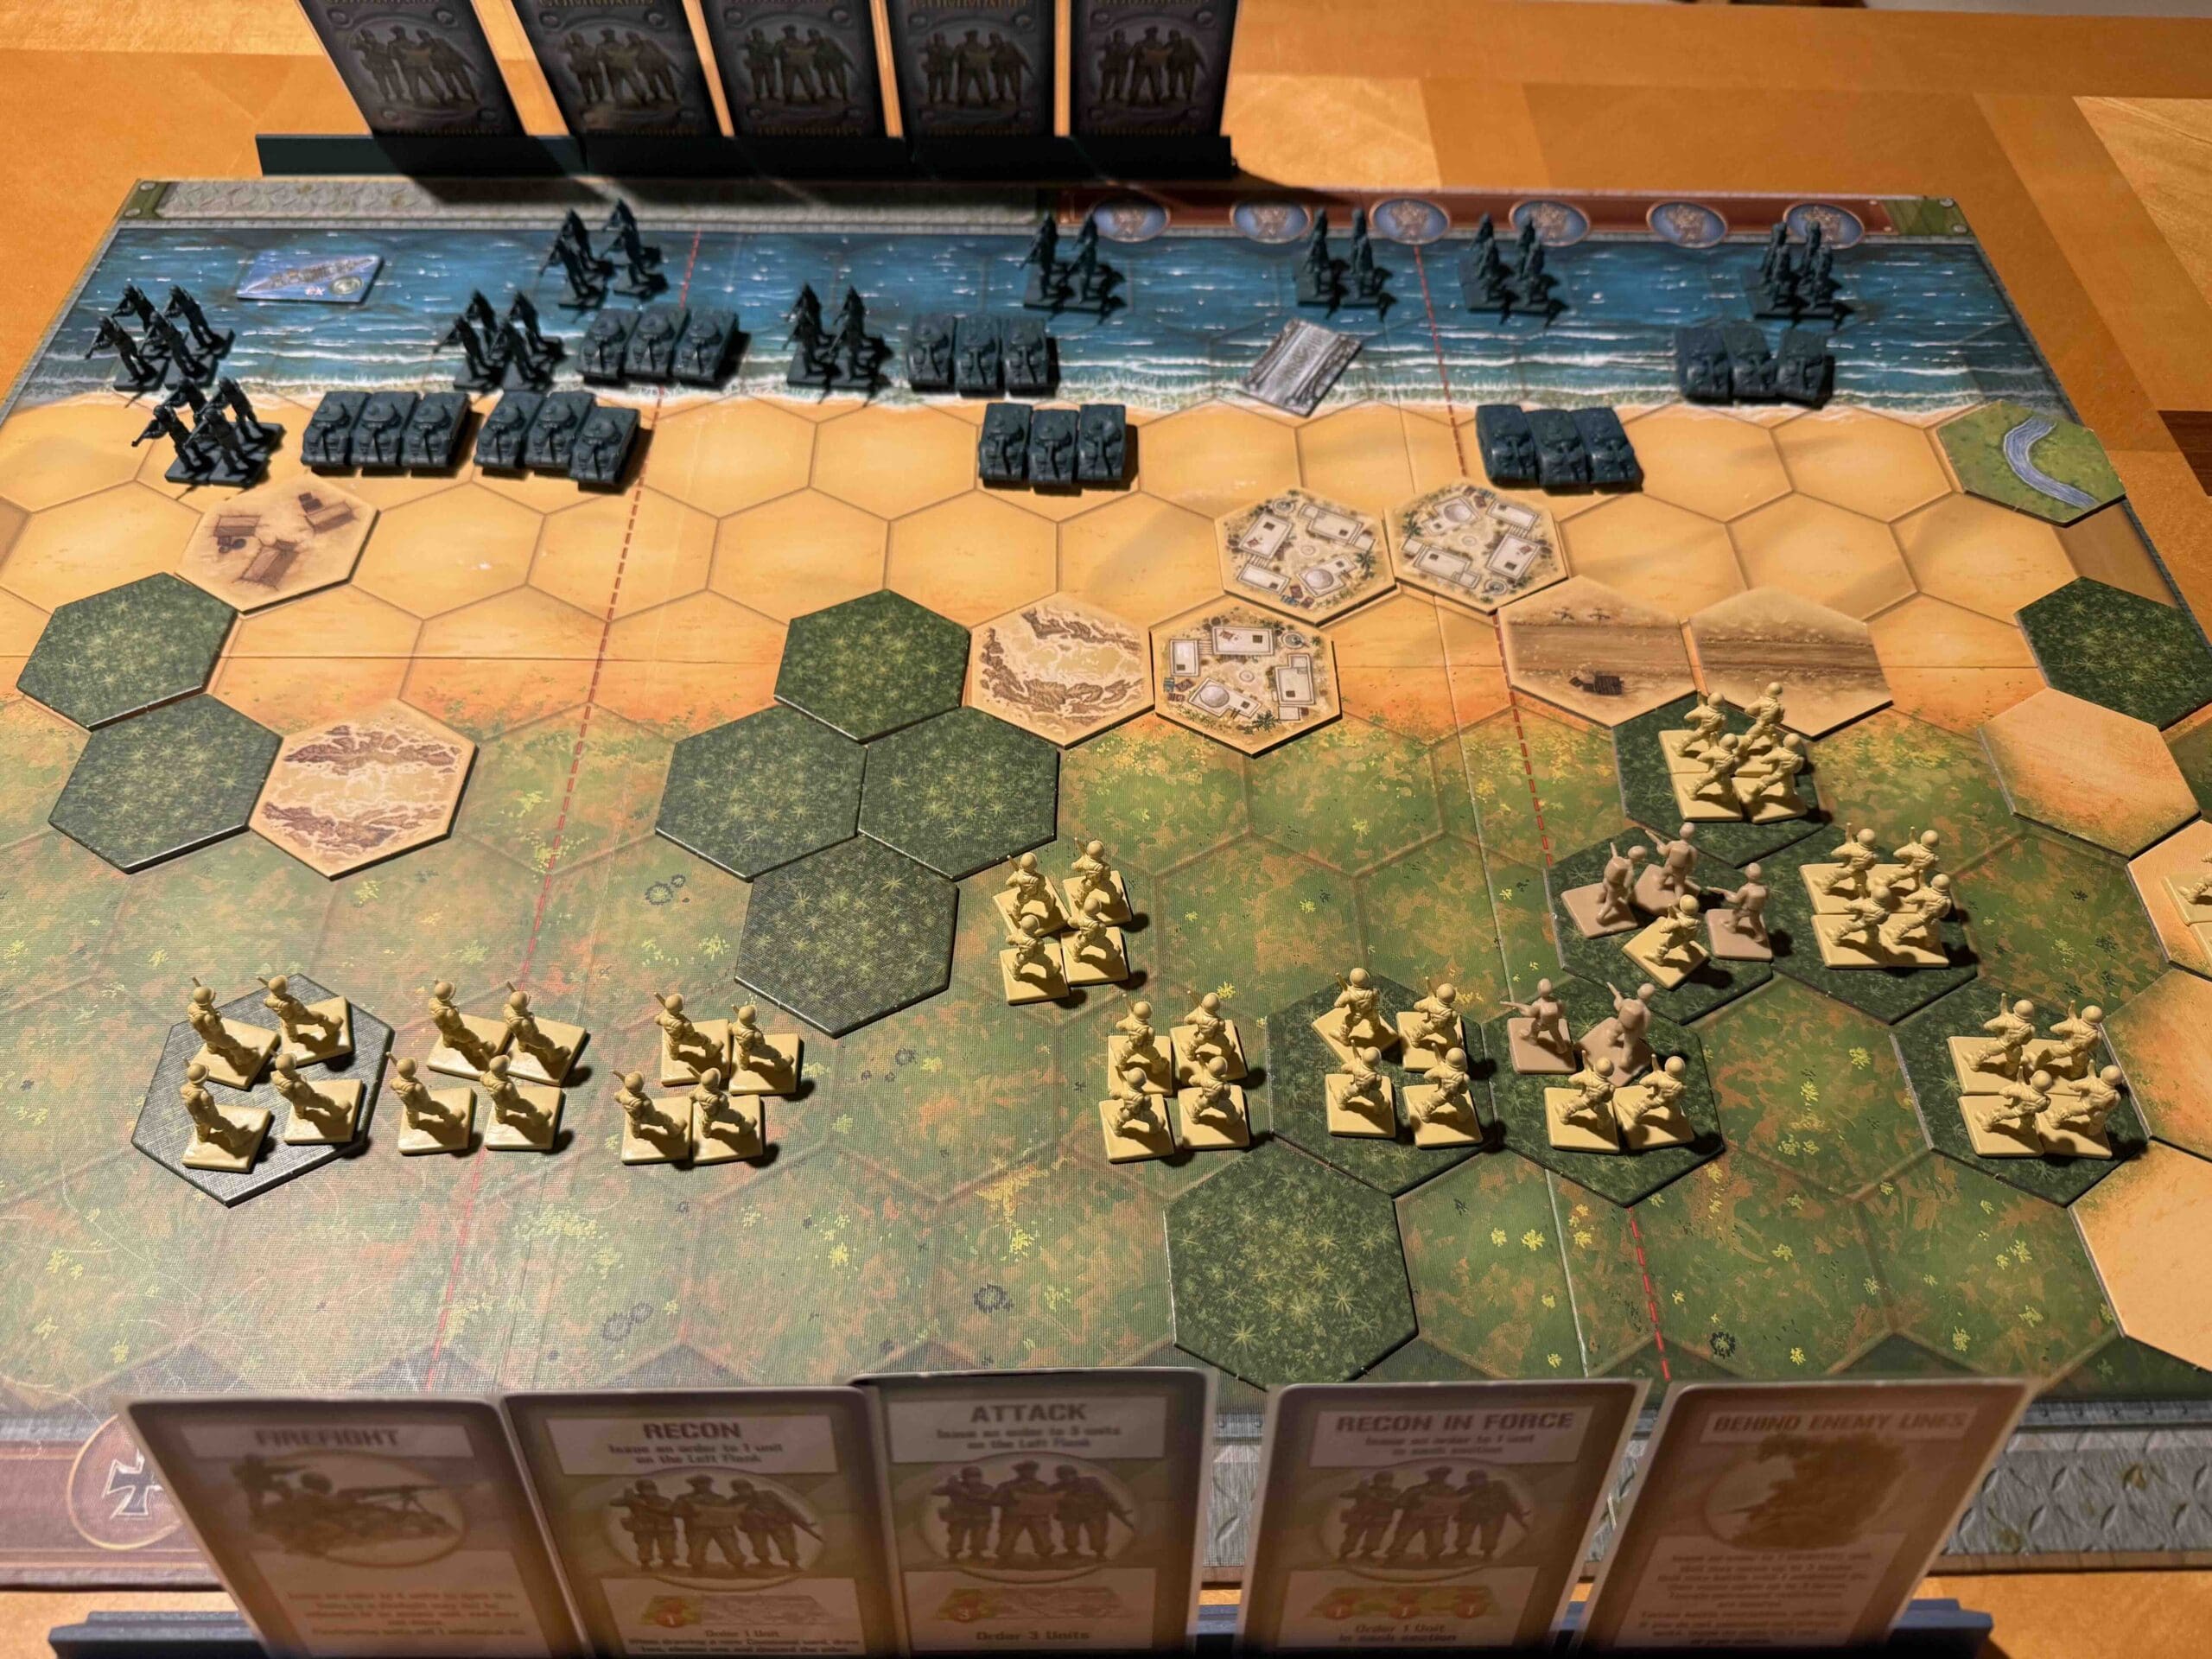
Hill 309 in Normandy wasn’t just another patch of dirt—it became Coldstream Hill because the 4th Battalion, Coldstream Guards, stormed it on July 30, 1944, and planted their flag in blood and steel. This was part of Operation Bluecoat—launched while the Germans were shuffling their tanks west to plug the hole blasted open by the Americans in Operation Cobra.
Make no mistake—this wasn’t some grand “battle” on its own, but a vicious, close-quarters fight inside the bigger Normandy campaign. Grabbing that hill gave the British a grip on key ground in the bocage, helped stabilize the line, and reminded the Germans that every inch of France would be paid for with their retreat. Coldstream Hill stood as proof that the Guards didn’t just hold tradition—they made history under fire.
~~ General Howitzer
VP’s
12
![]()
Card Balance:
Allies – 6
Axis – 5
Complexity:
3
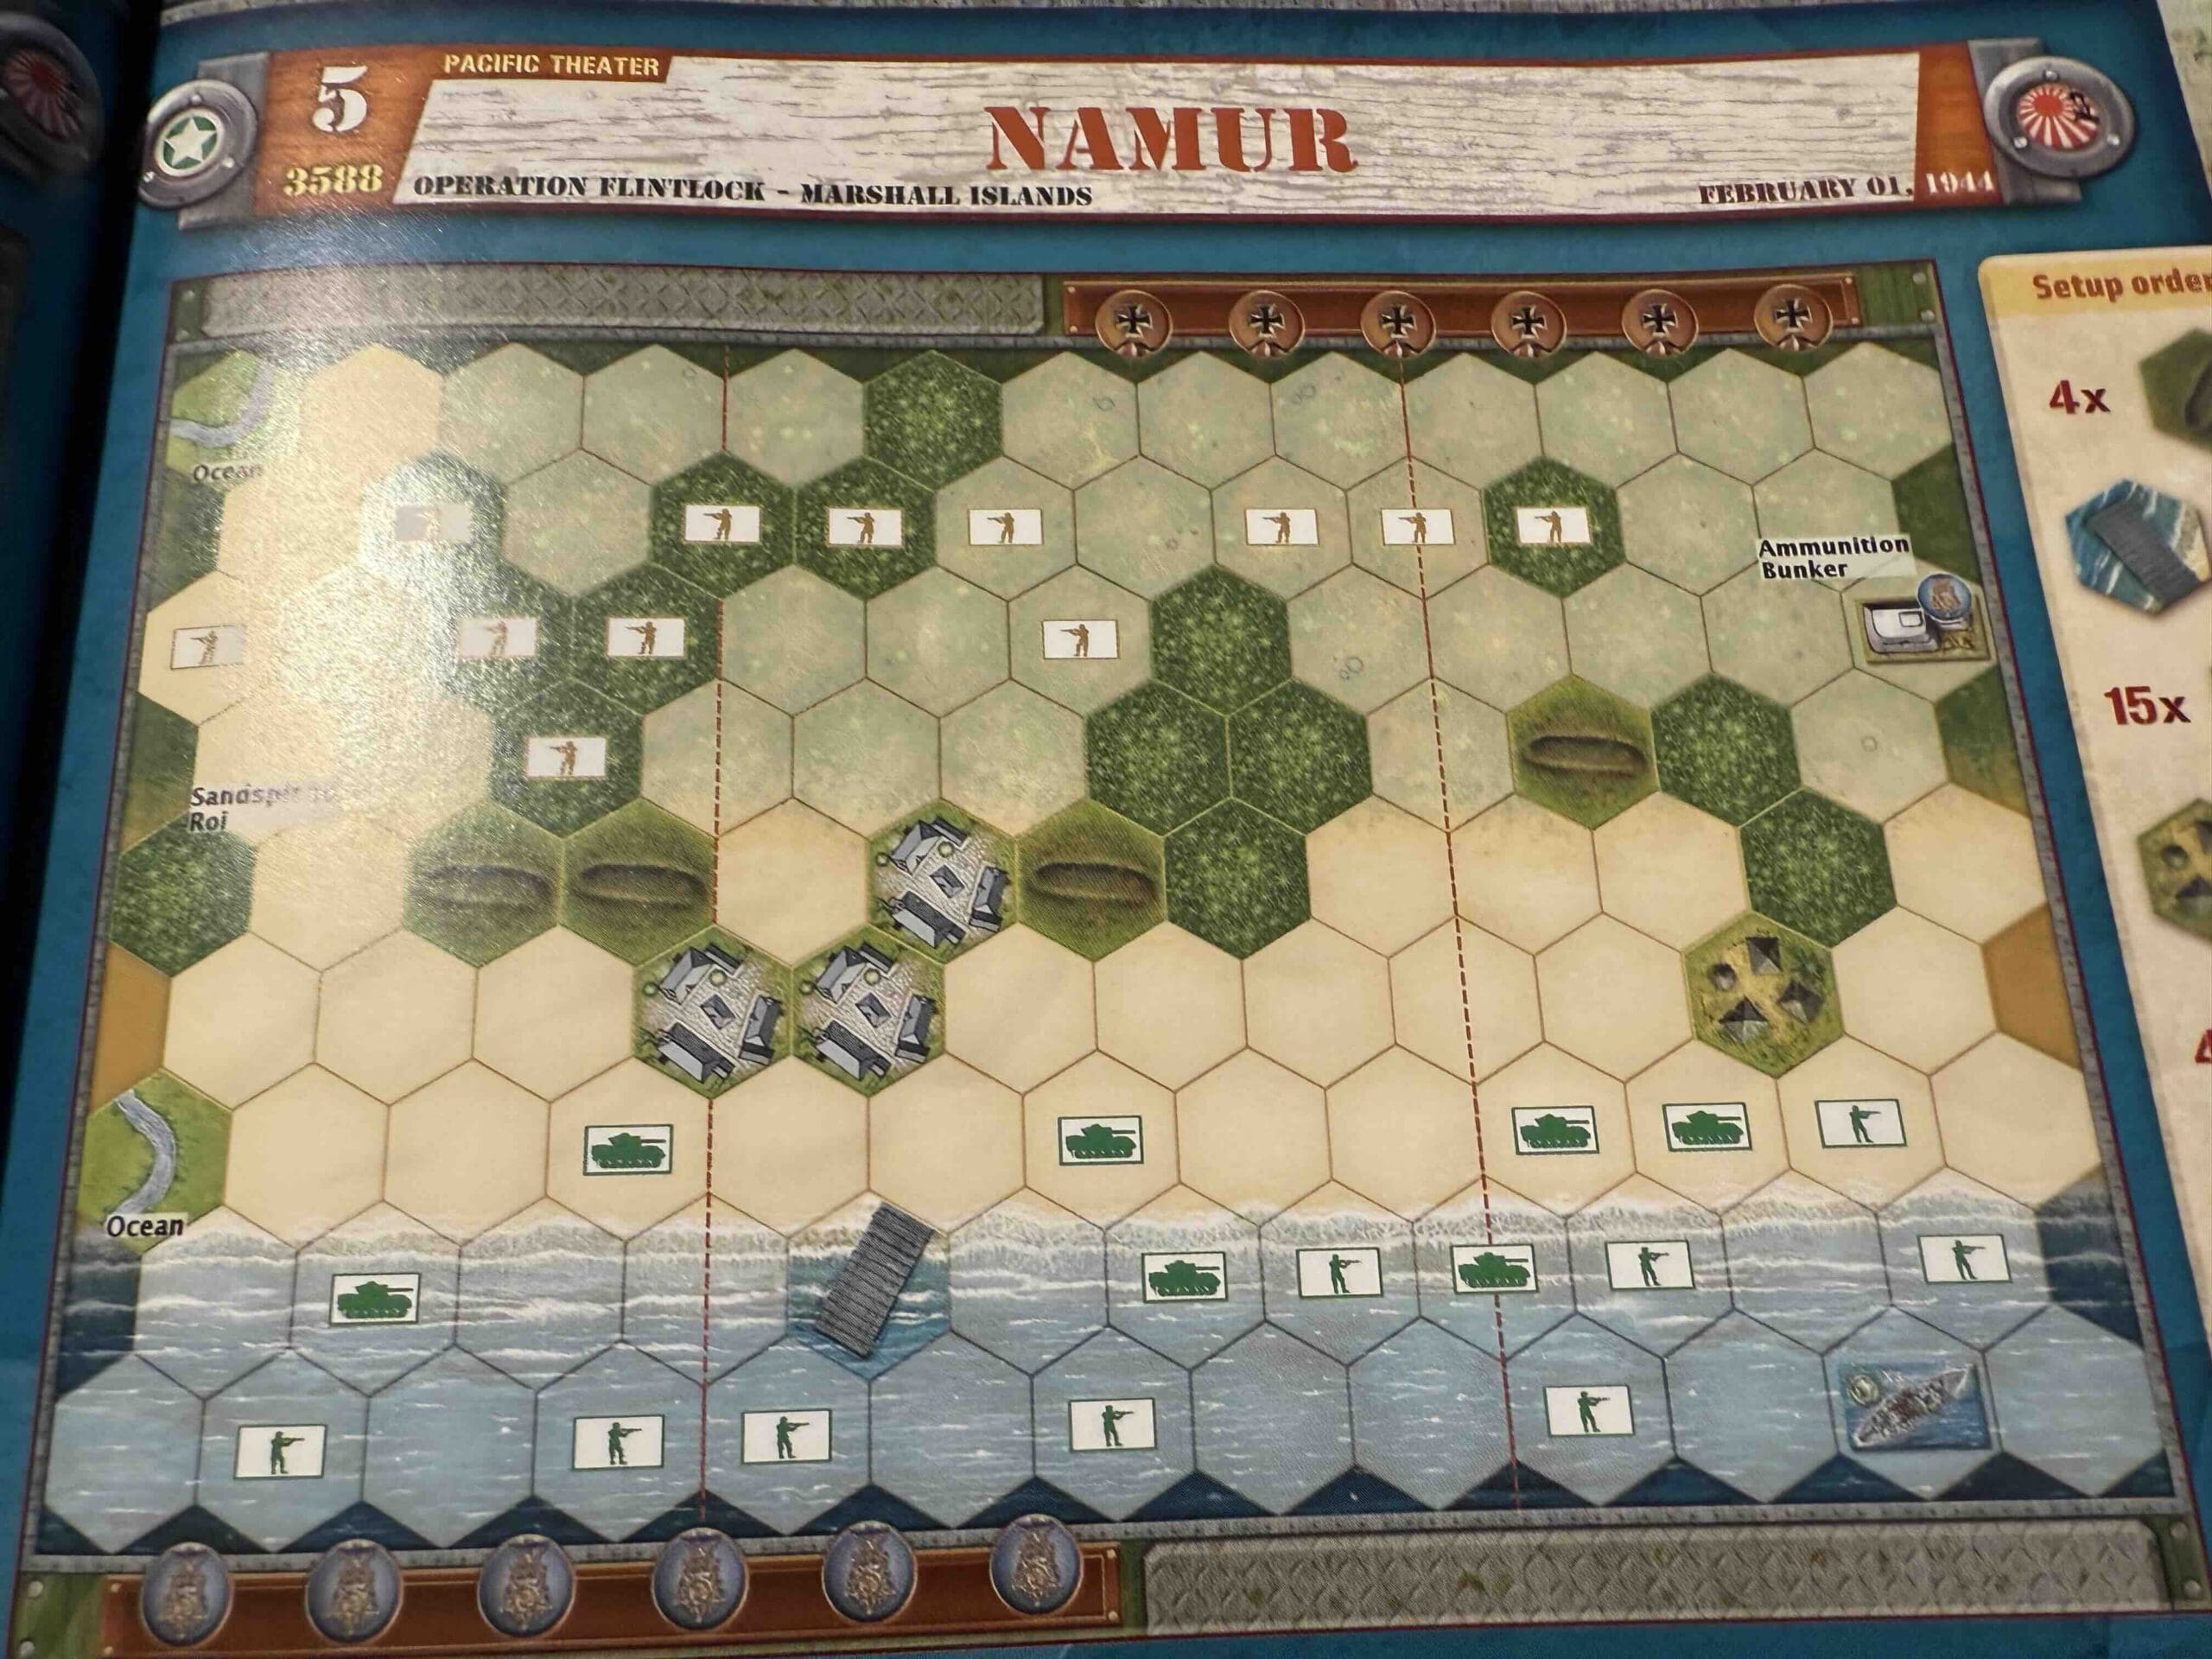
Conditions:
Countryside

Context:
Historical
Location:
France
Year:
1944
Codename:
Operation Bluecoat
Summary:
Victory Points:
12 Medals
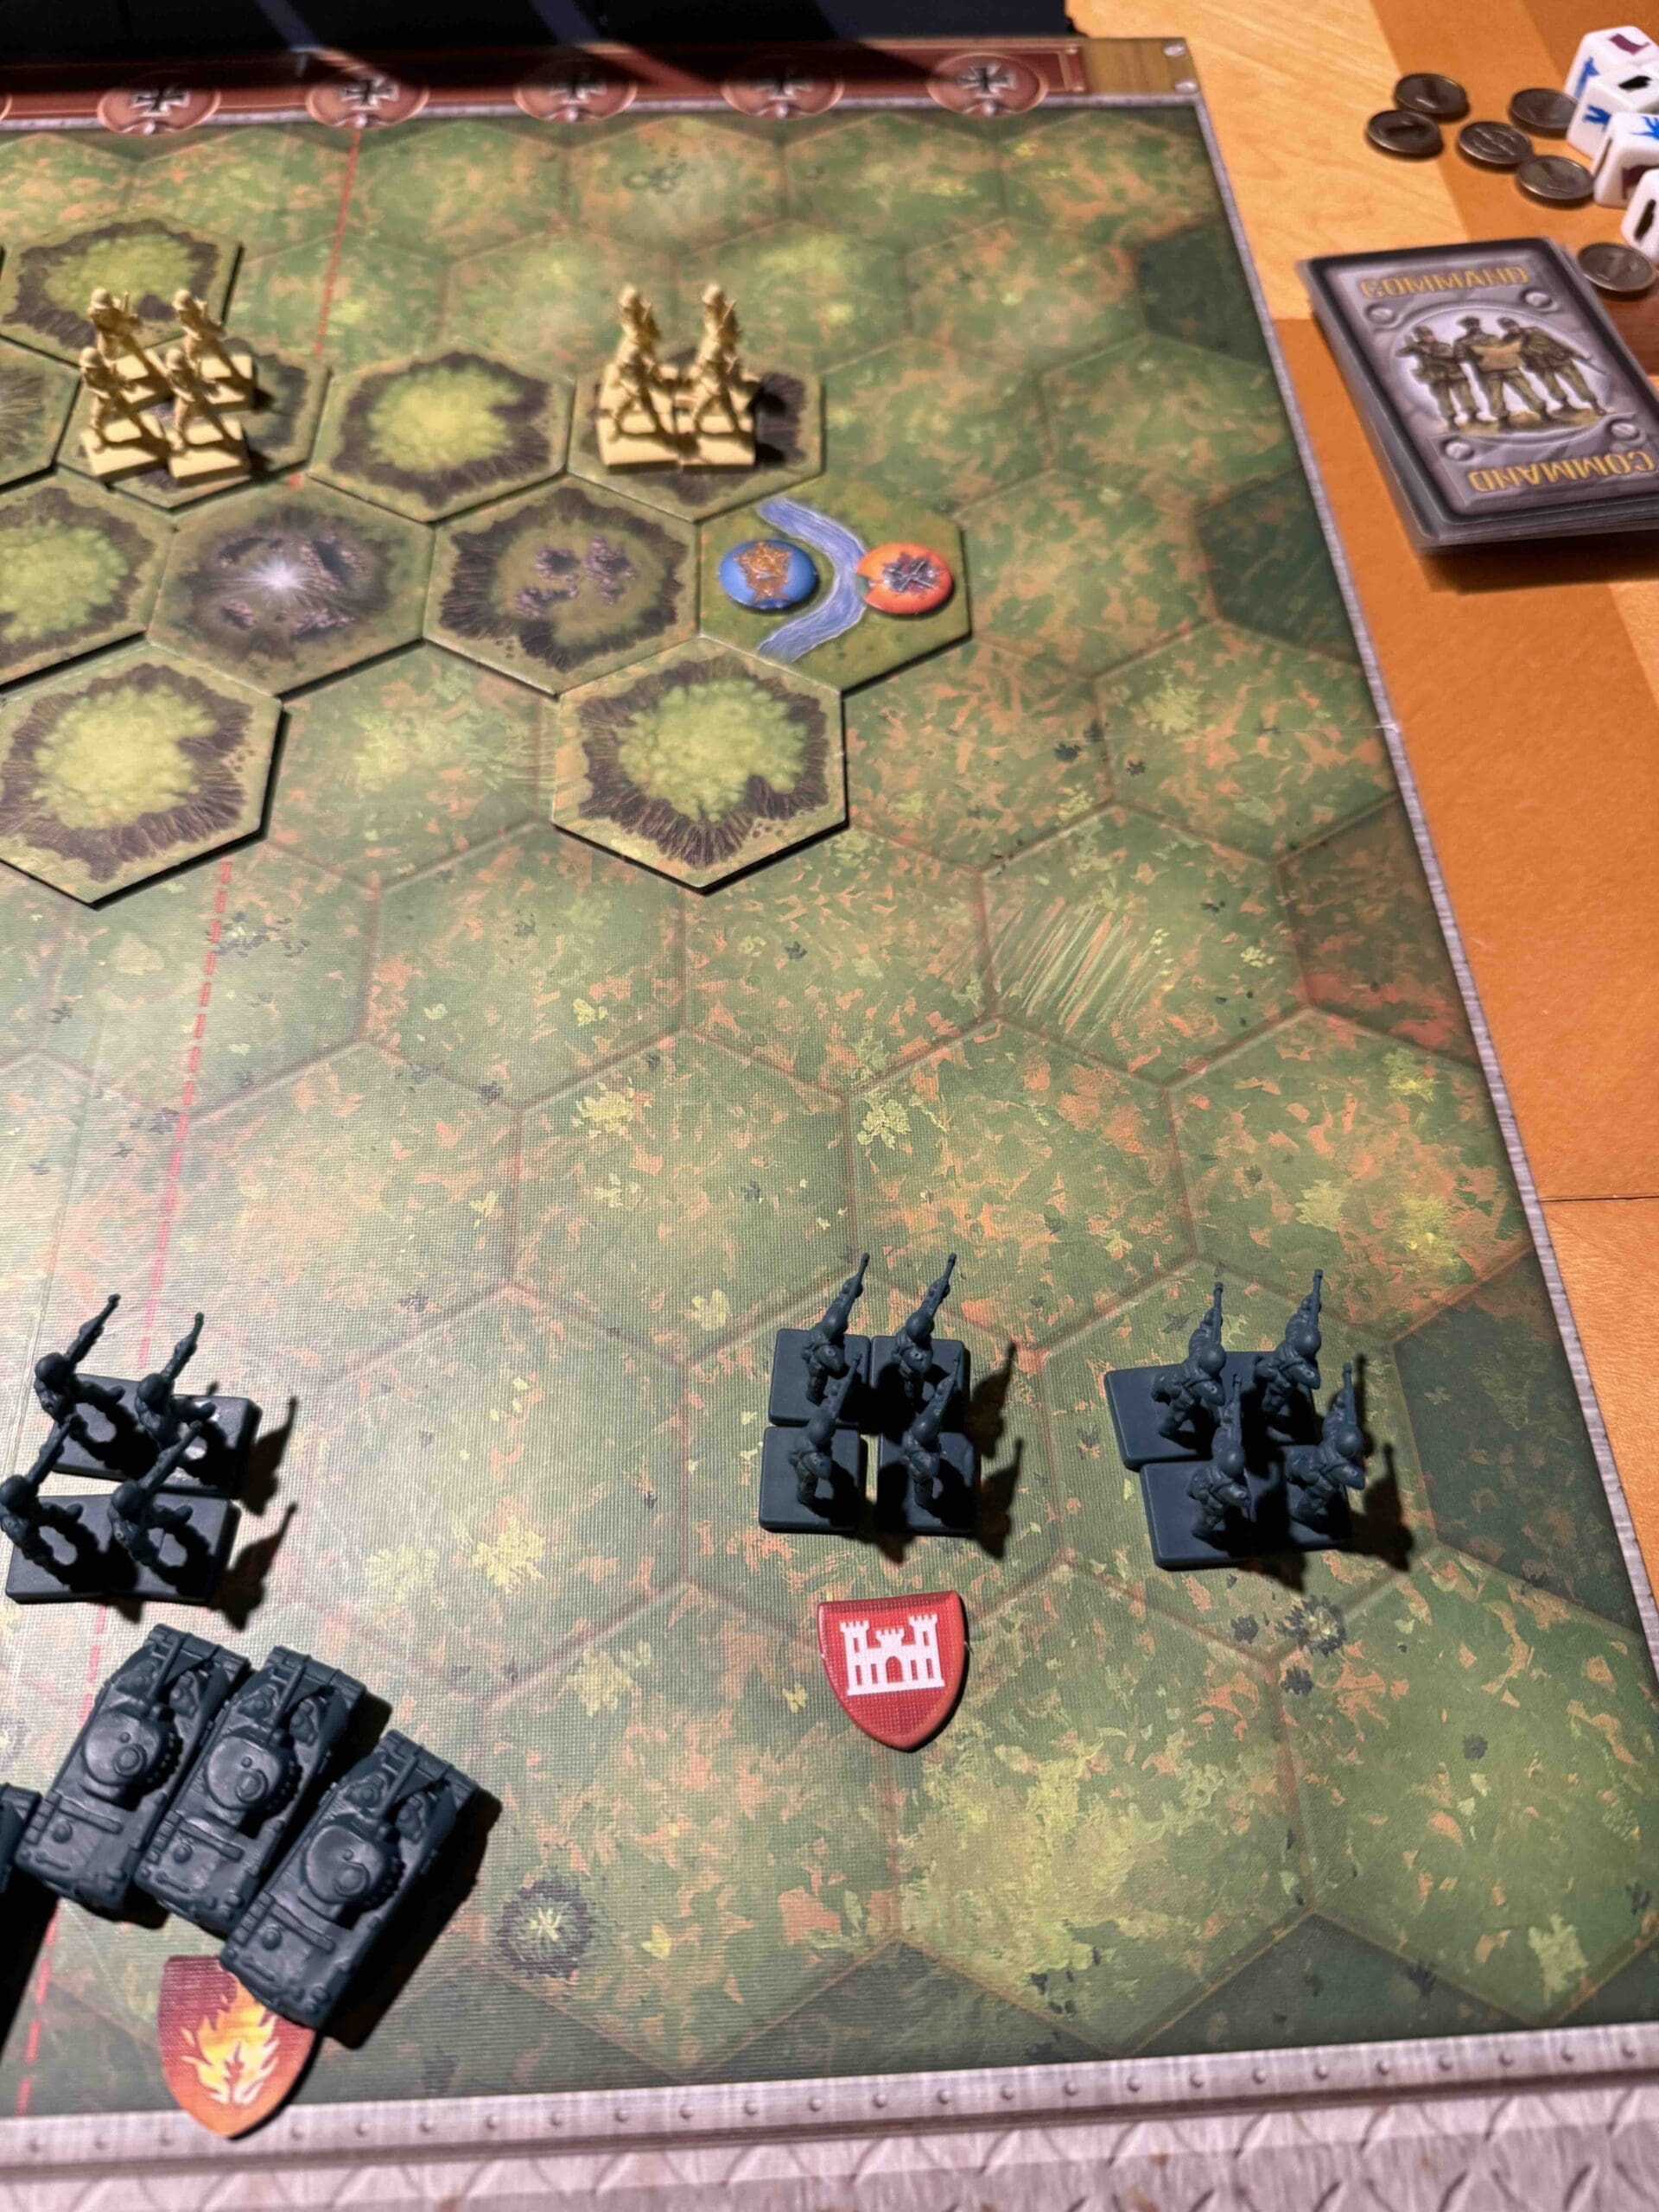
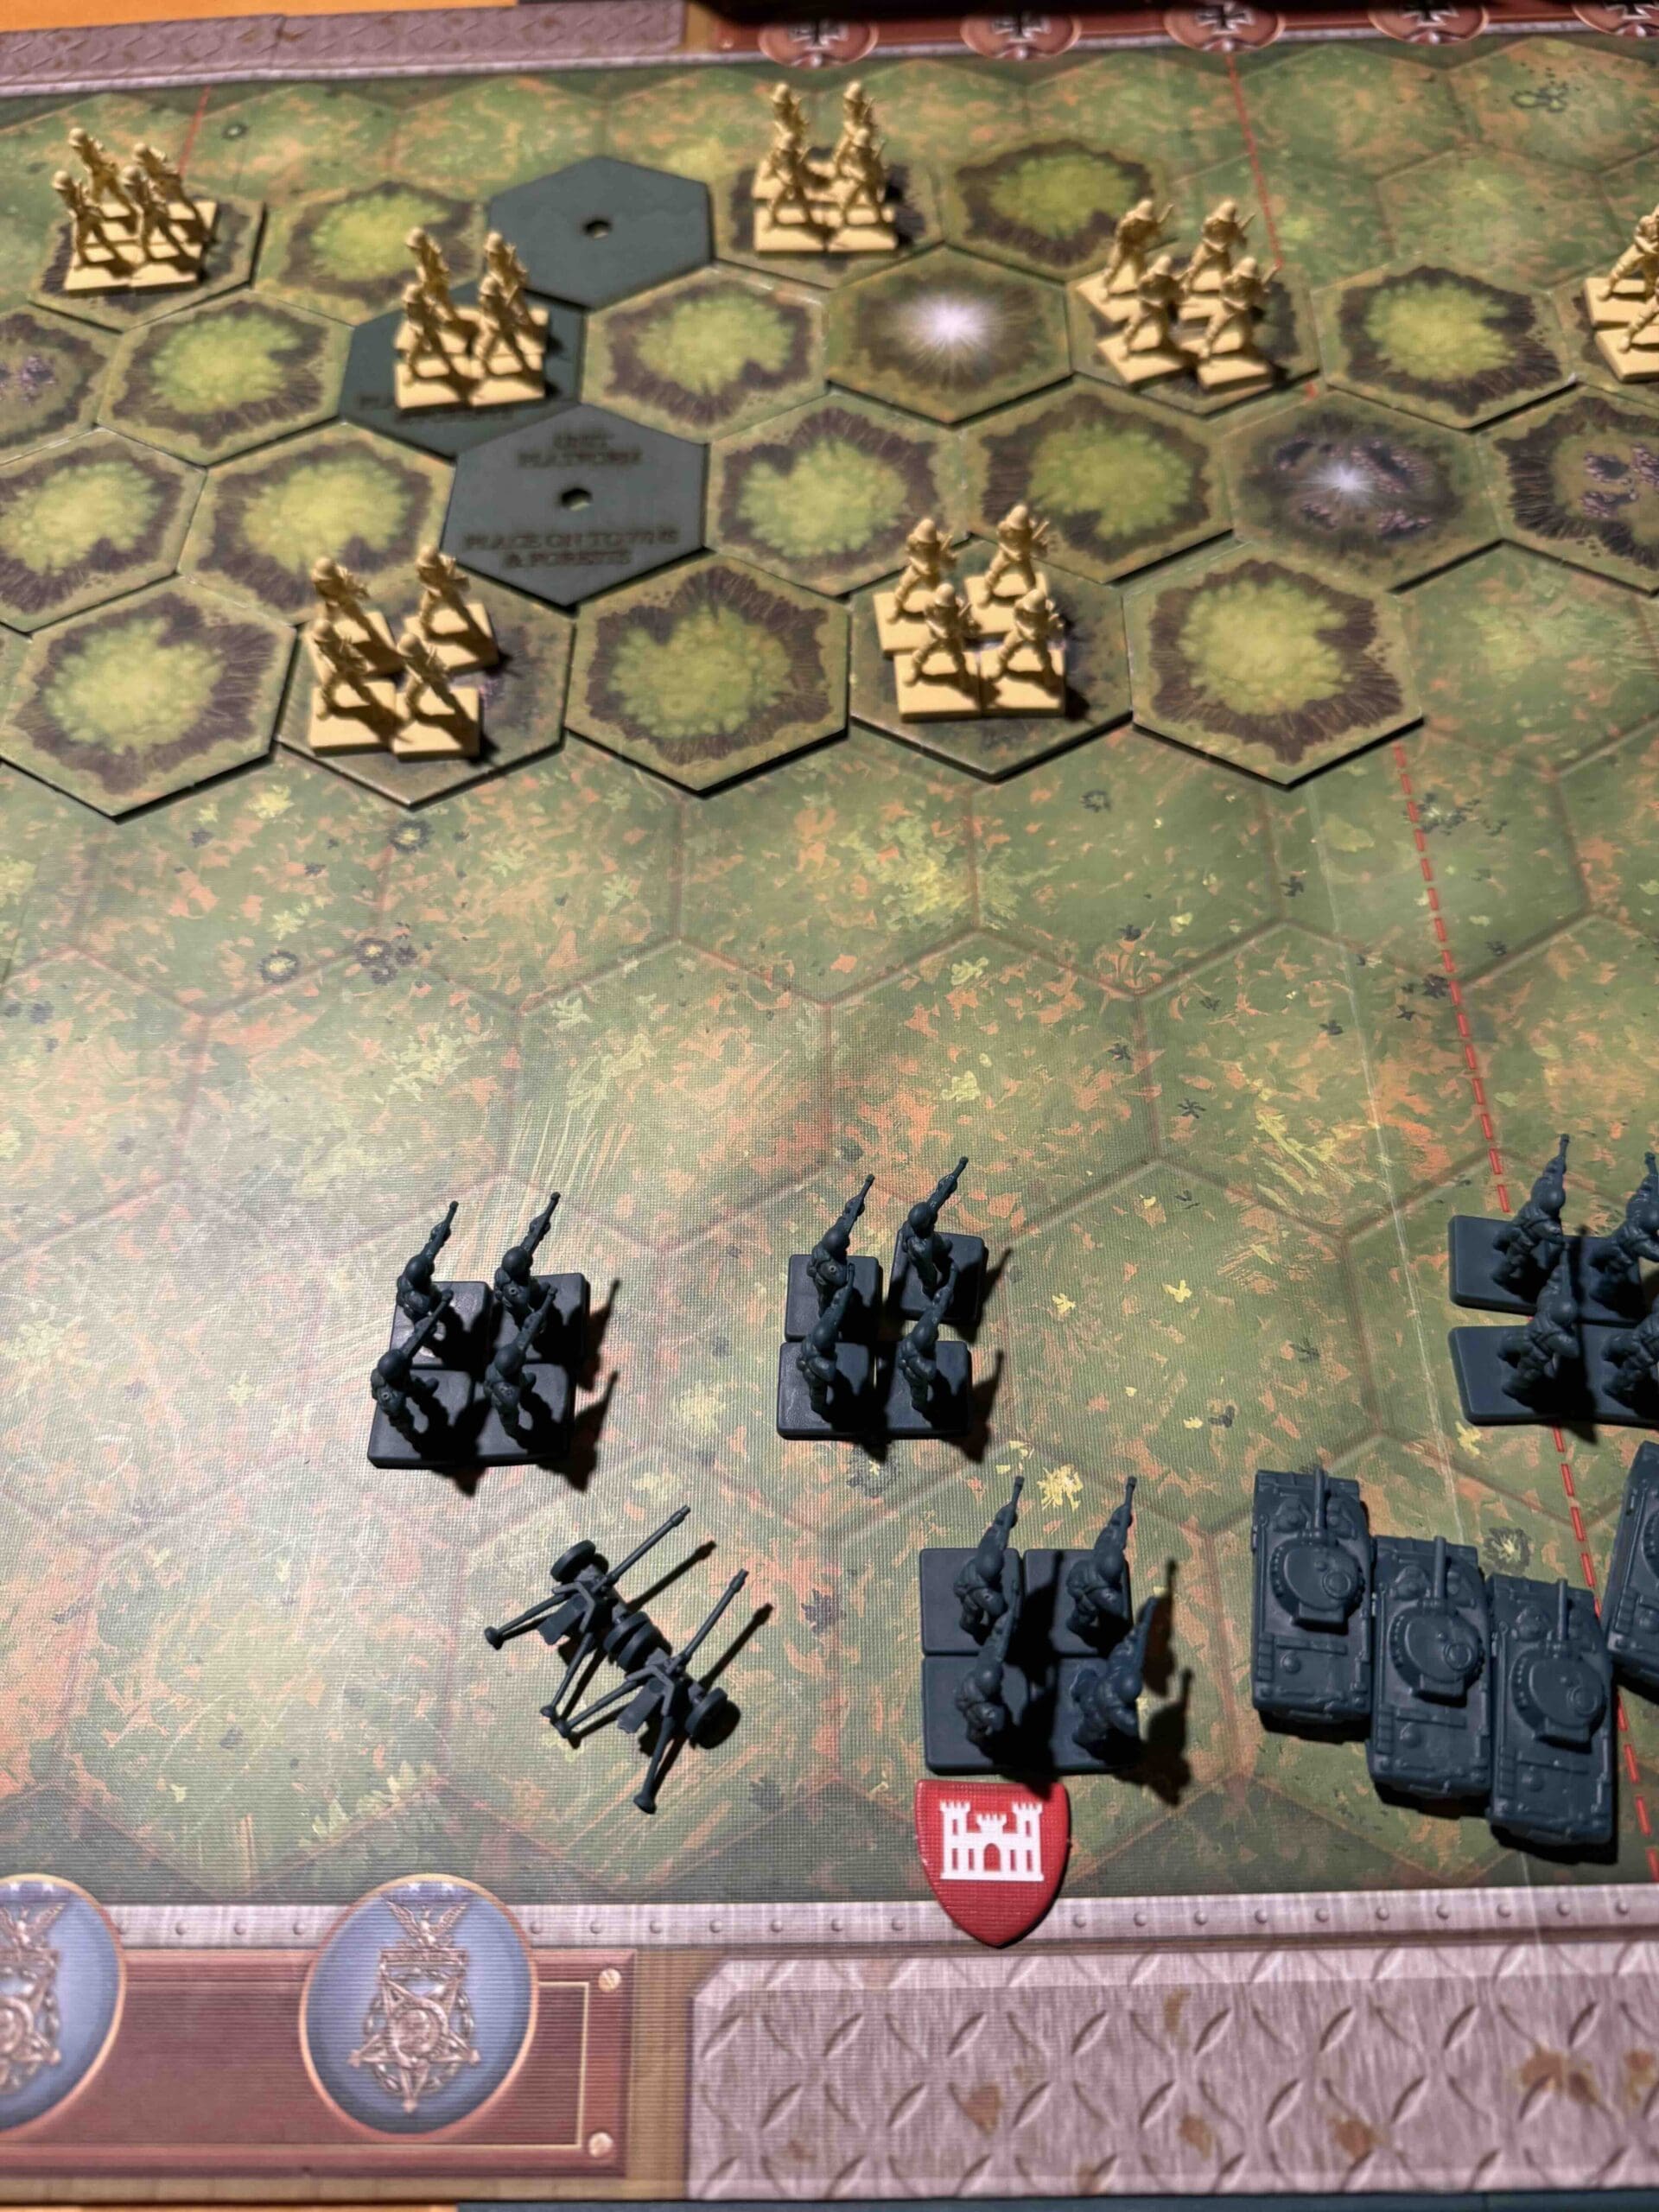
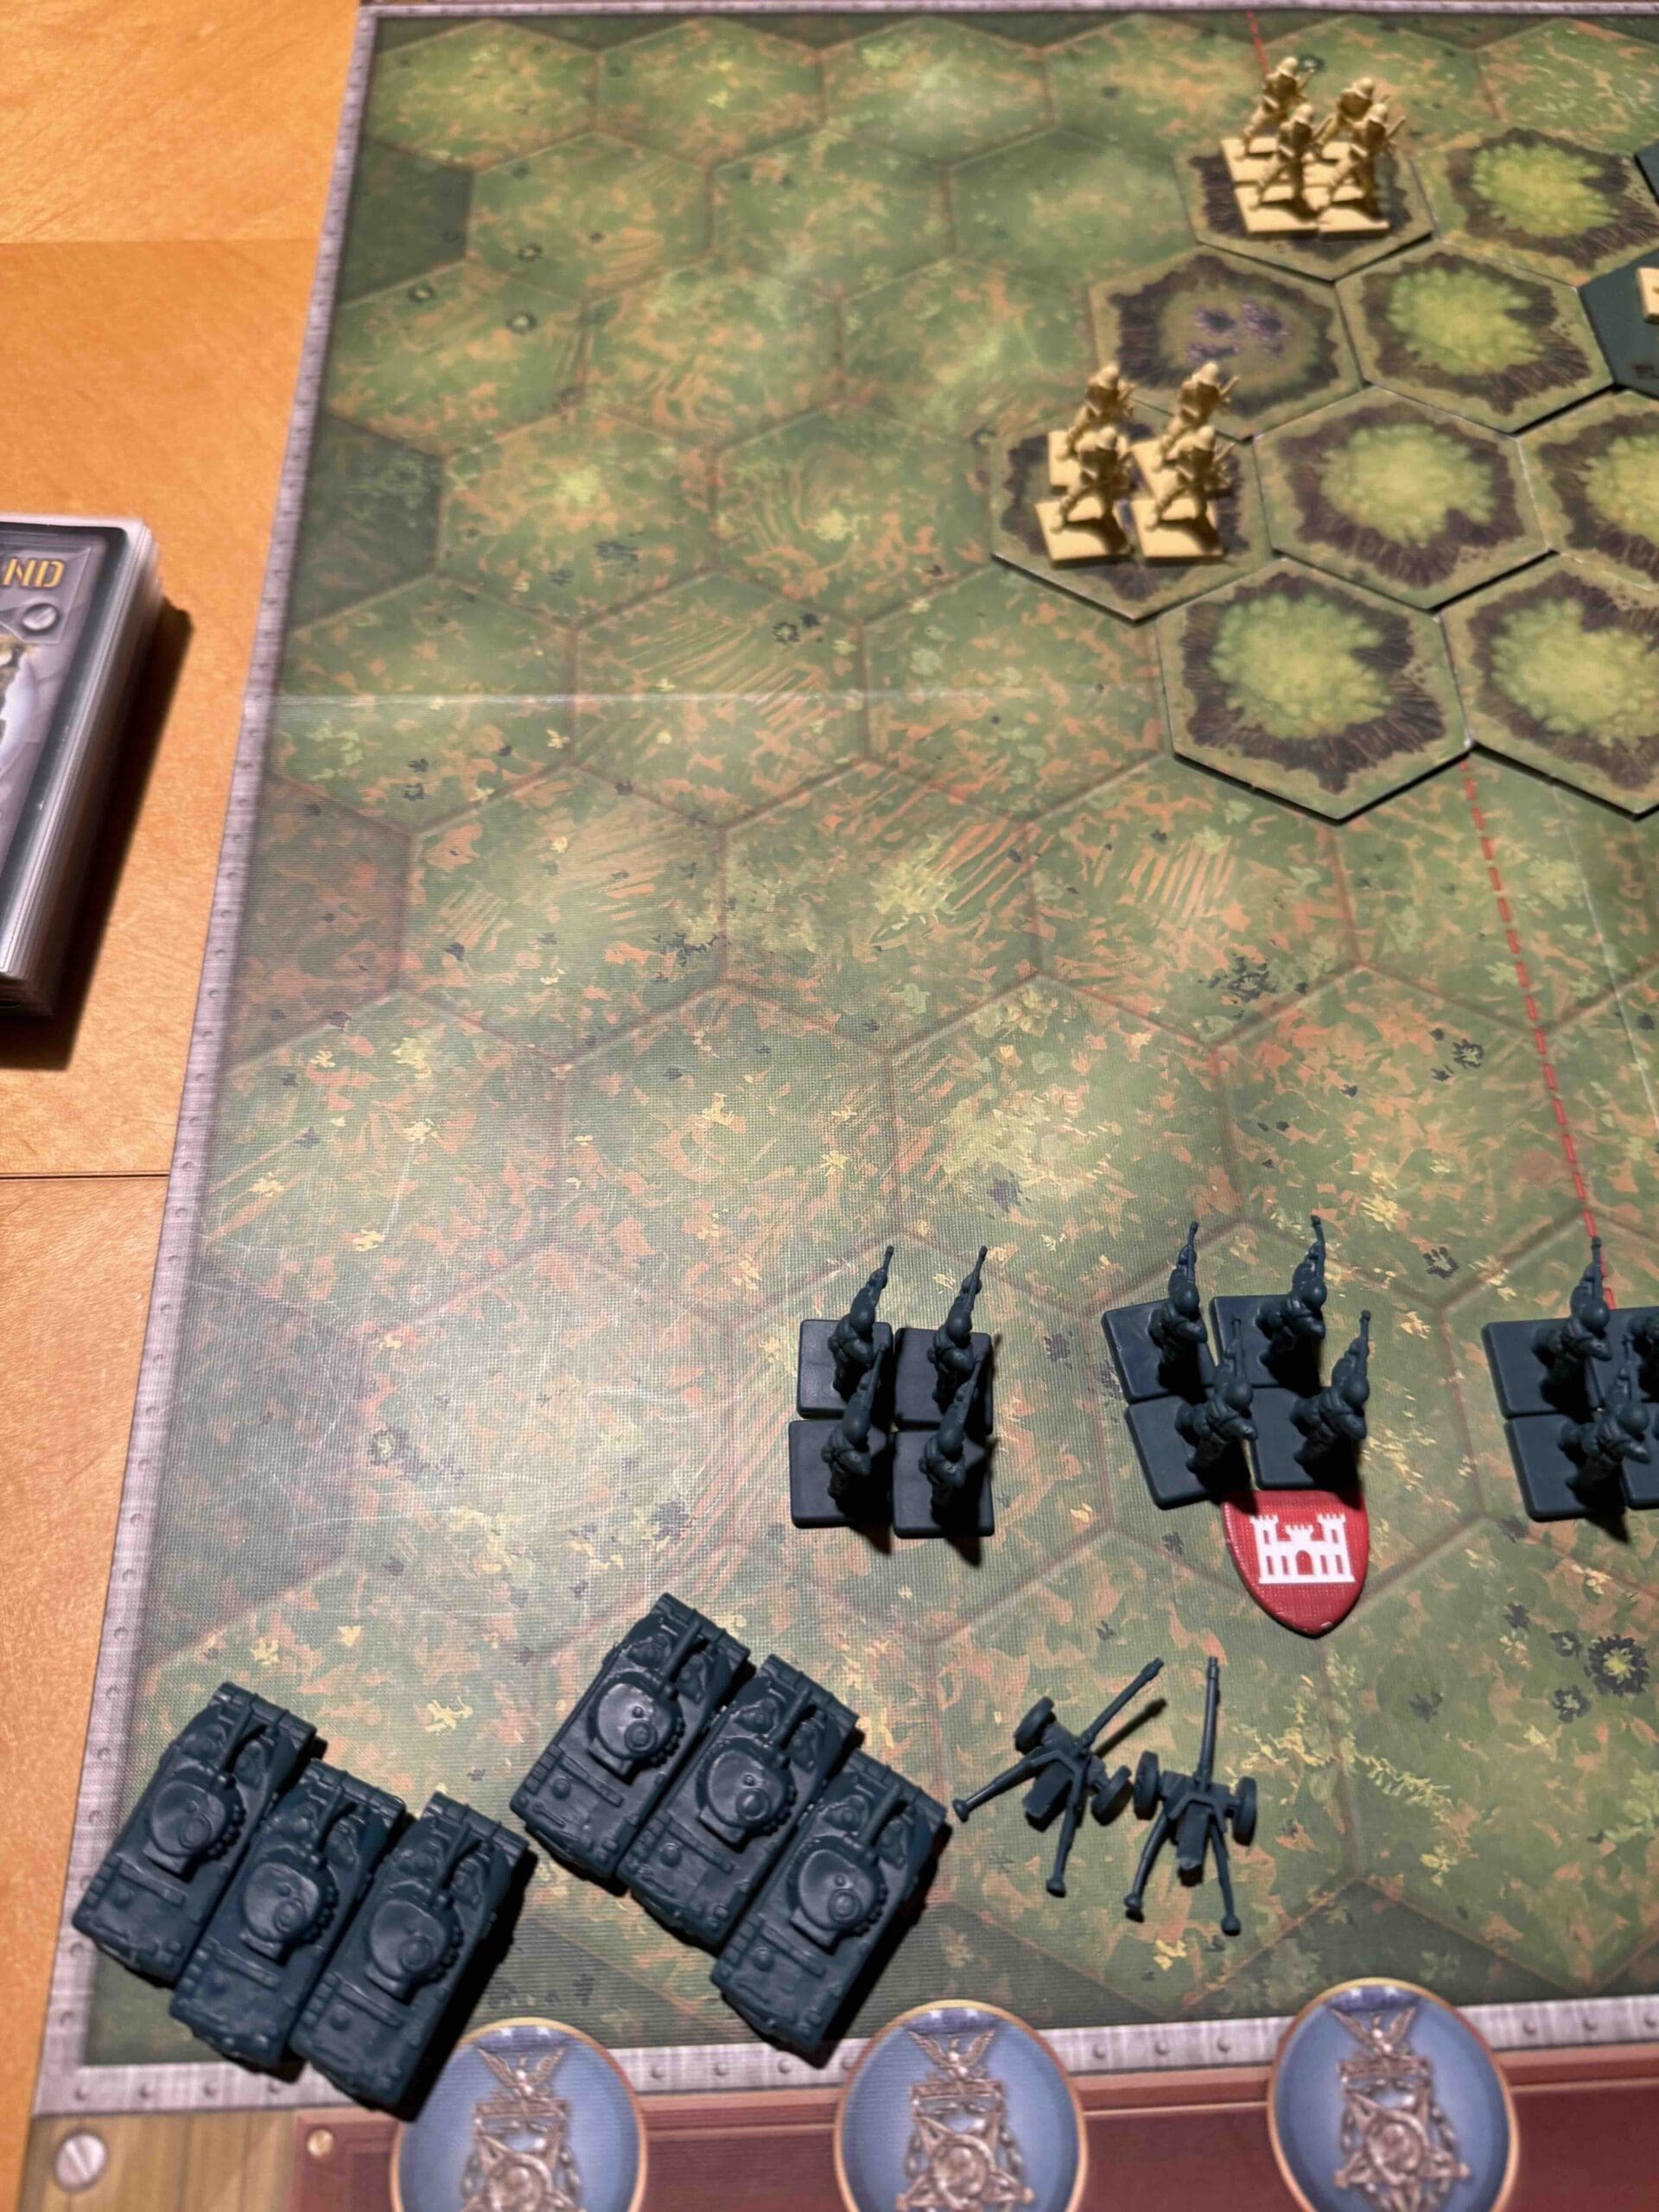
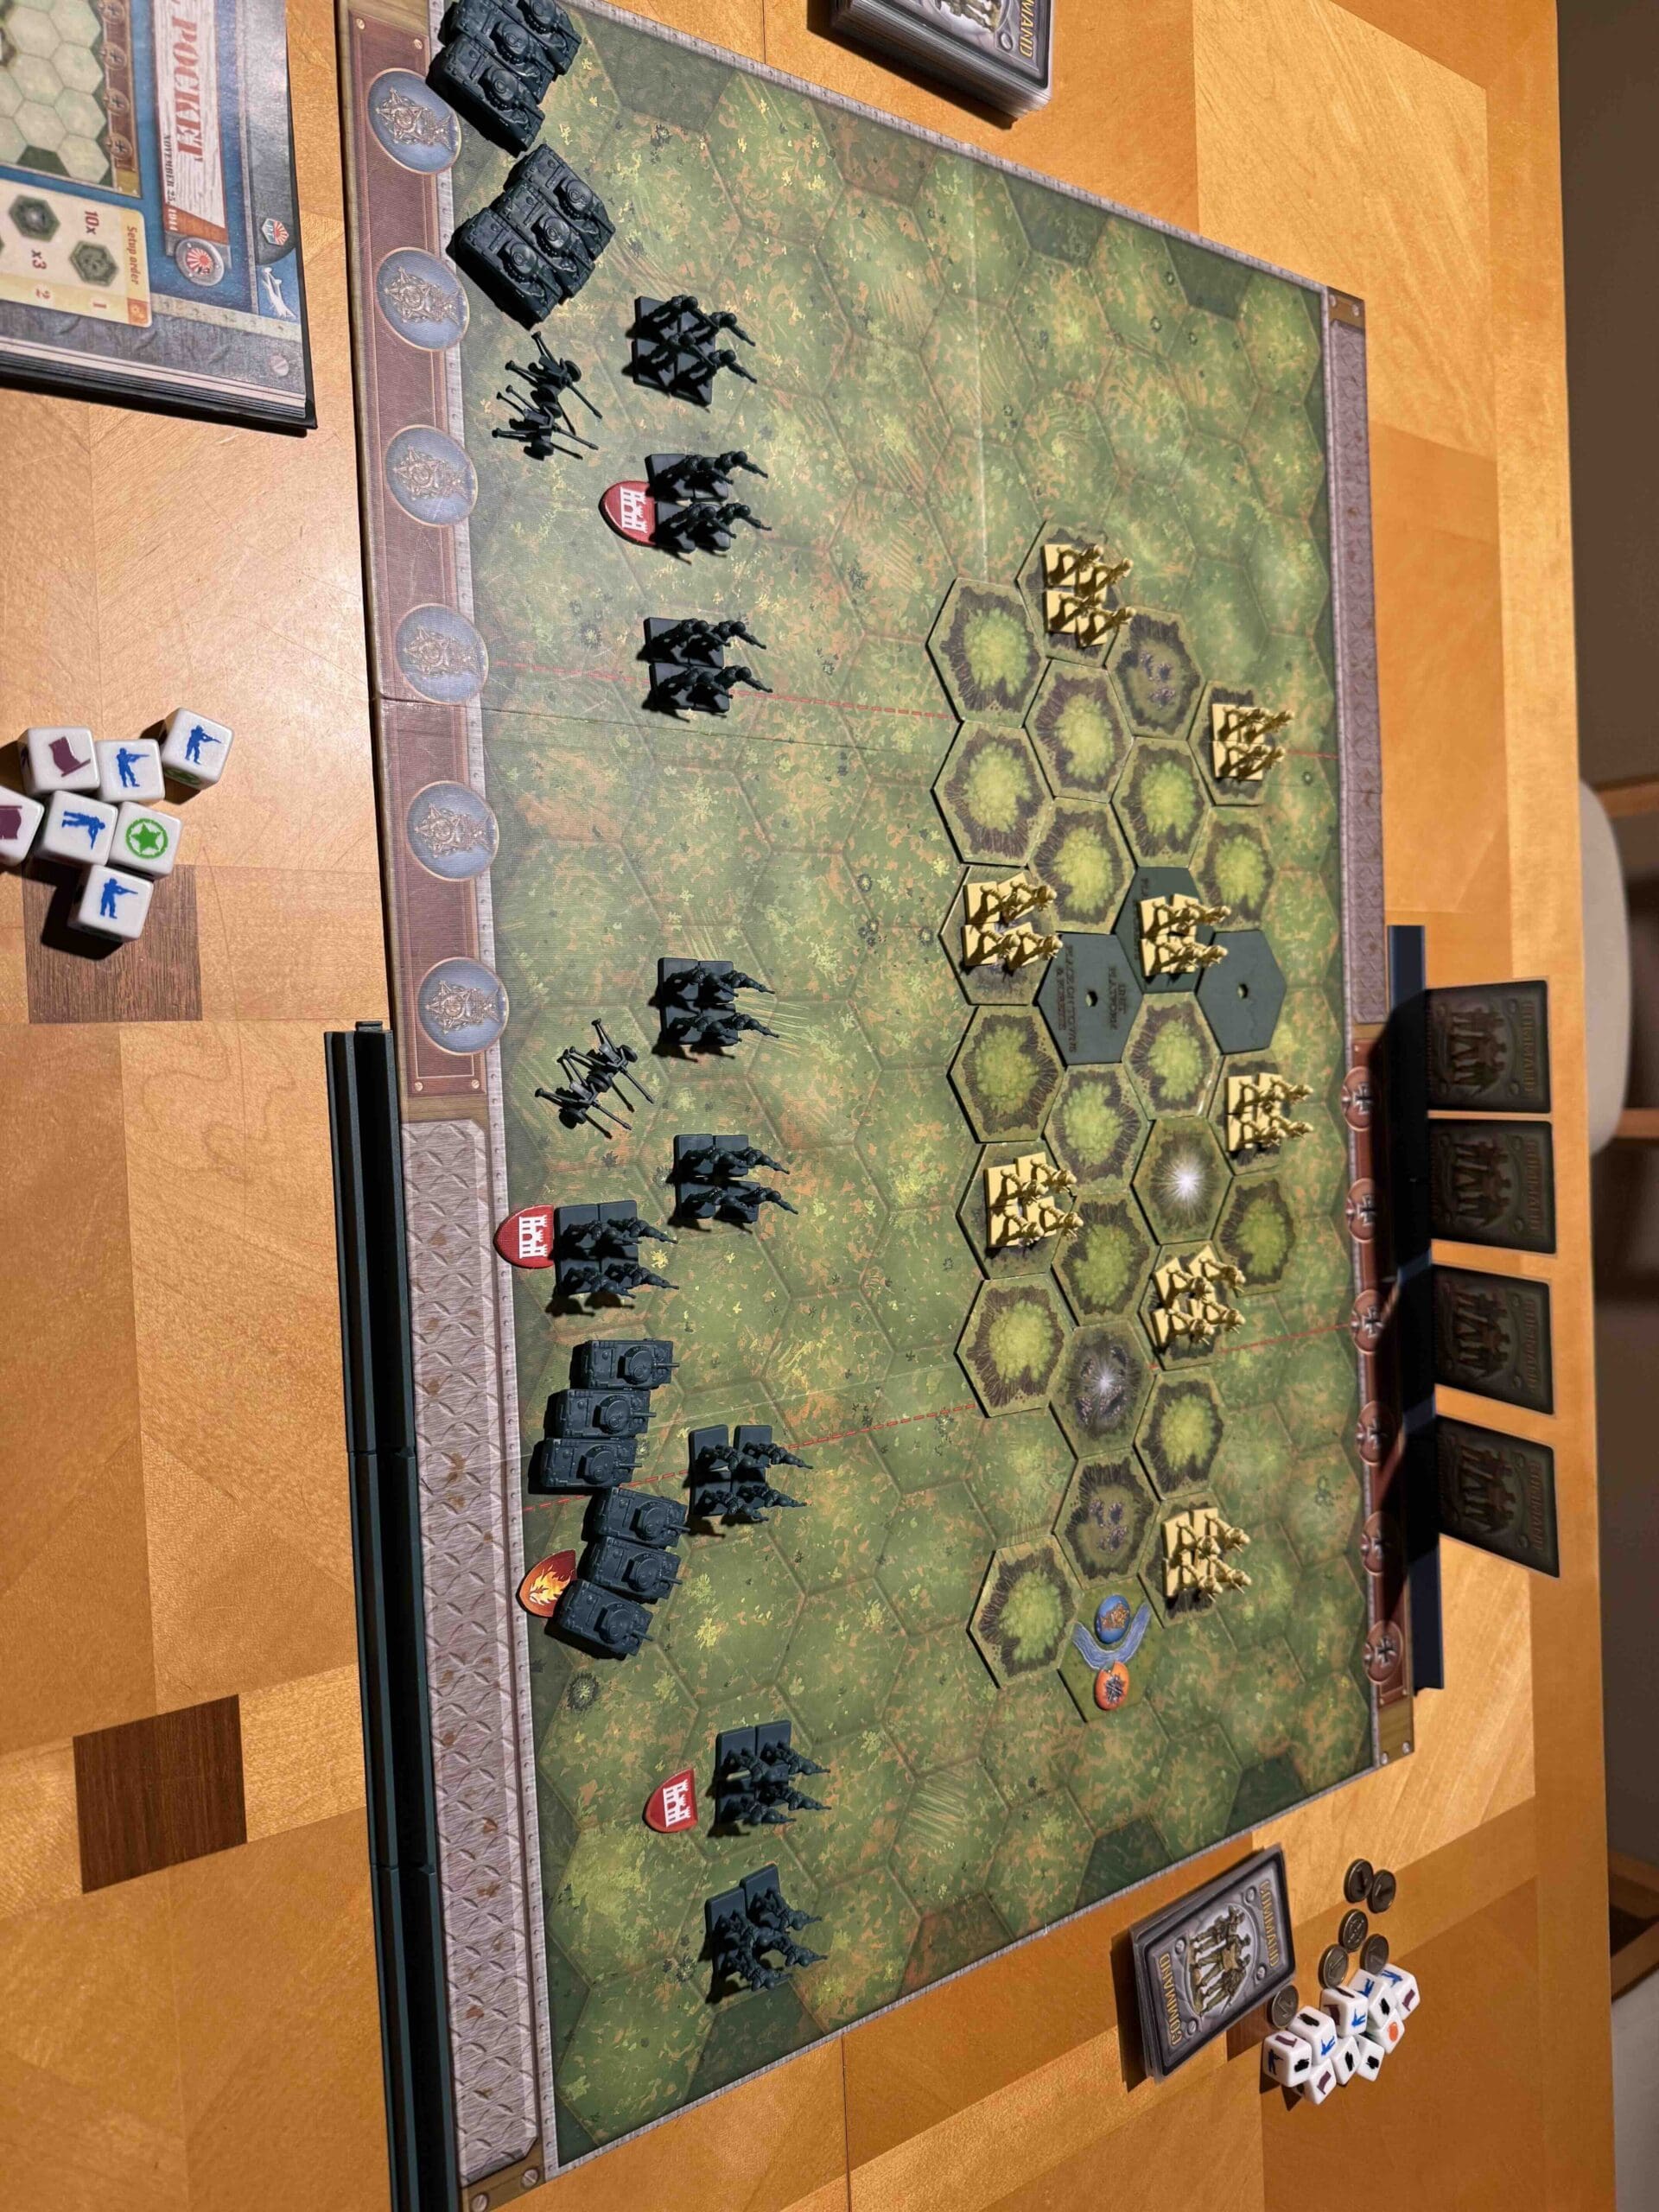
Terrain:
Open terrain with a few hills and towns
Troops:
Allies – 10 Infantry, 8 Armor, 2 Artillery
Axis – 10 Infantry, 3 Armor, 1 Artillery

Allies:
1. Big picture strategy: You need to get your troops untangle, uncluttered, and mobilized before the Axis show up. They have a few advance troops you will have to deal with as your mobilize your troops.
2. Get your engineers into action so that they can clear those mines which are blocking your trooops from getting out.

Axis:
1. Big picture strategy: You need to do two things at once; get your forces down the battlefield as quickly as you can, and also use your advance forces to attack, harass, and slow down the enemy’s advancement.
Author.
URL