Operation Crusader
Operation Crusader
“Listen up, men! In November ‘41, the British Eighth Army—under the command of General Auchinleck—thundered across the sands of the Marmaric Desert like a damn hurricane, aimed straight at those Italian-German armored divisions. Cunningham’s boys rolled out with 700 tanks, ready to grind the Germans and their Italian buddies into the dirt and lift the siege at Tobruk.
For three weeks, it was a seesaw slugfest around Sidi Rezegh, with that garrison at Tobruk busting out to join the main show. The German Panzergruppe fought like devils, but they were no match for the sheer weight of British armor and artillery.
Rommel might have been a cagey fox, but even he had to admit defeat when he saw the Eight Army rolling over his battered panzers. He ordered the survivors to pull back to Gazala, leaving Tobruk free and the British in charge of the field. That’s what happens when you bring overwhelming firepower to a knife fight, boys—you don’t just win, you drive the enemy clean out of the desert!”
~~ General Howitzer
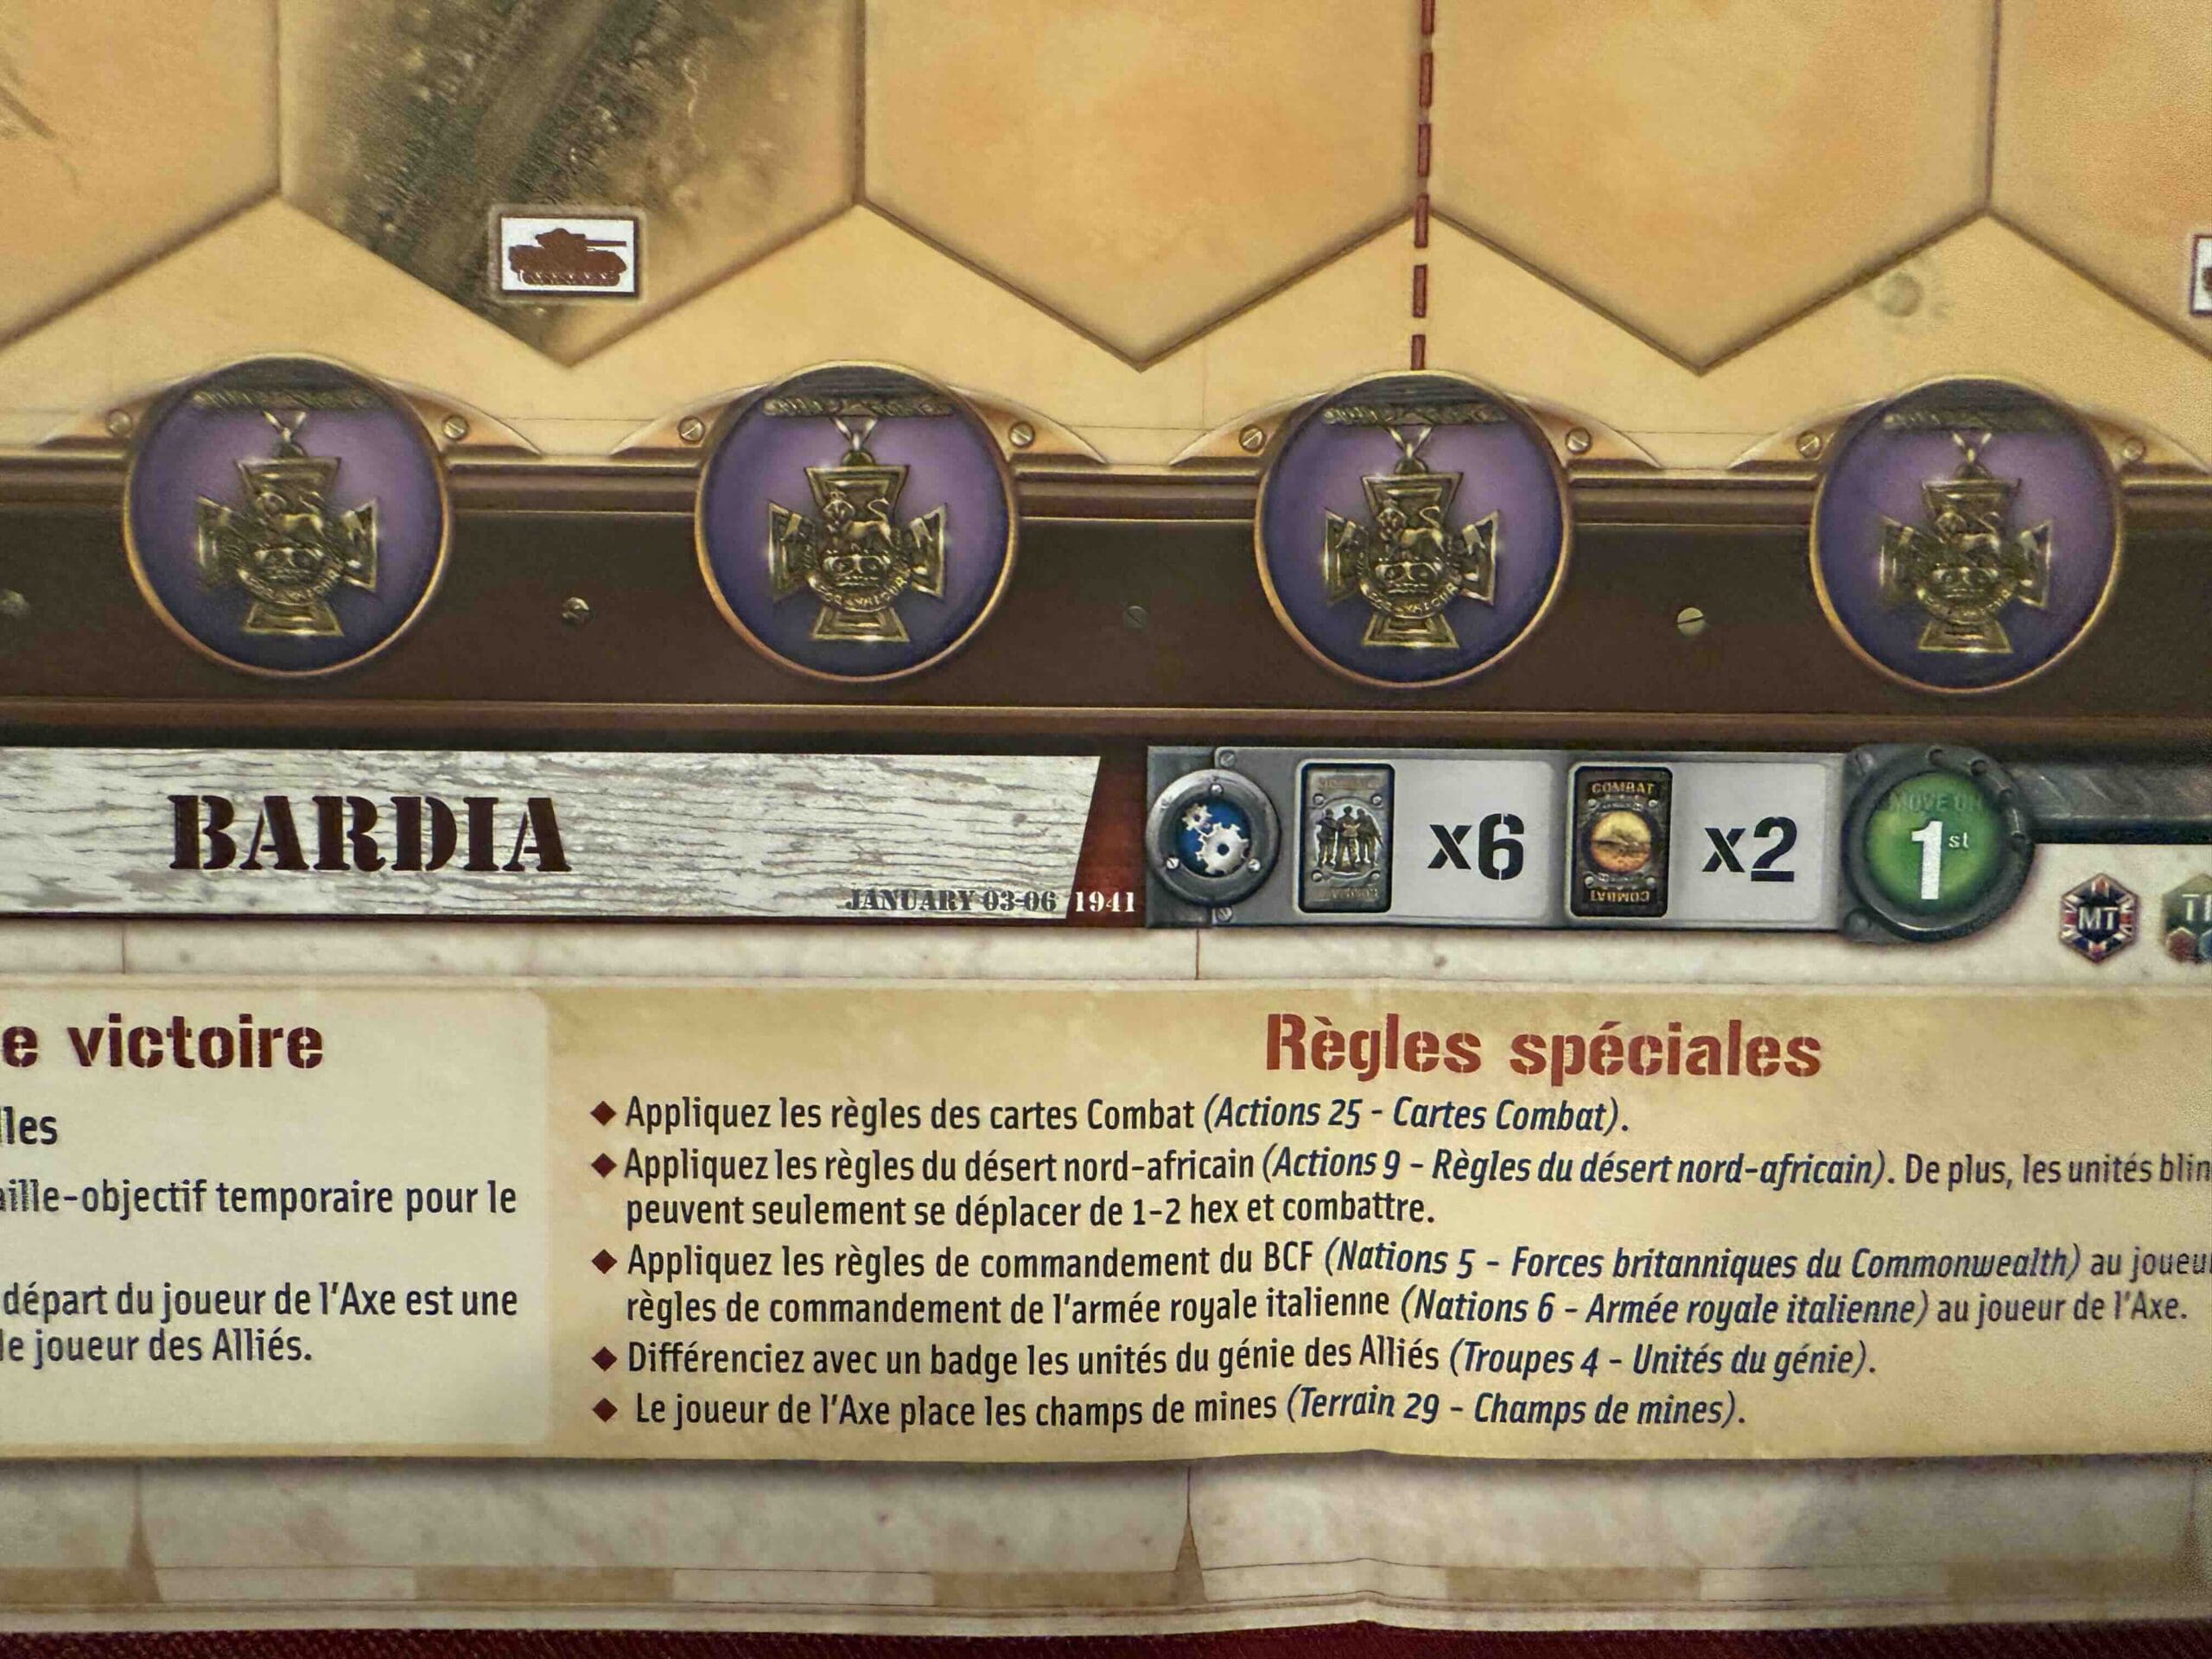
12 VP’s
Card Balance:
Allies – 6
Axis – 6
Complexity:
4
Conditions:
Desert

Context:
Historical
Location:
Libya
Year:
1941
Theater:
Mediterranean
Campaign:
Tobruk Breakout
Codename:
Operation Crusader
Summary:
Objectives:
12 VP’s, plus a Territorial Objective Medal for the Axis.
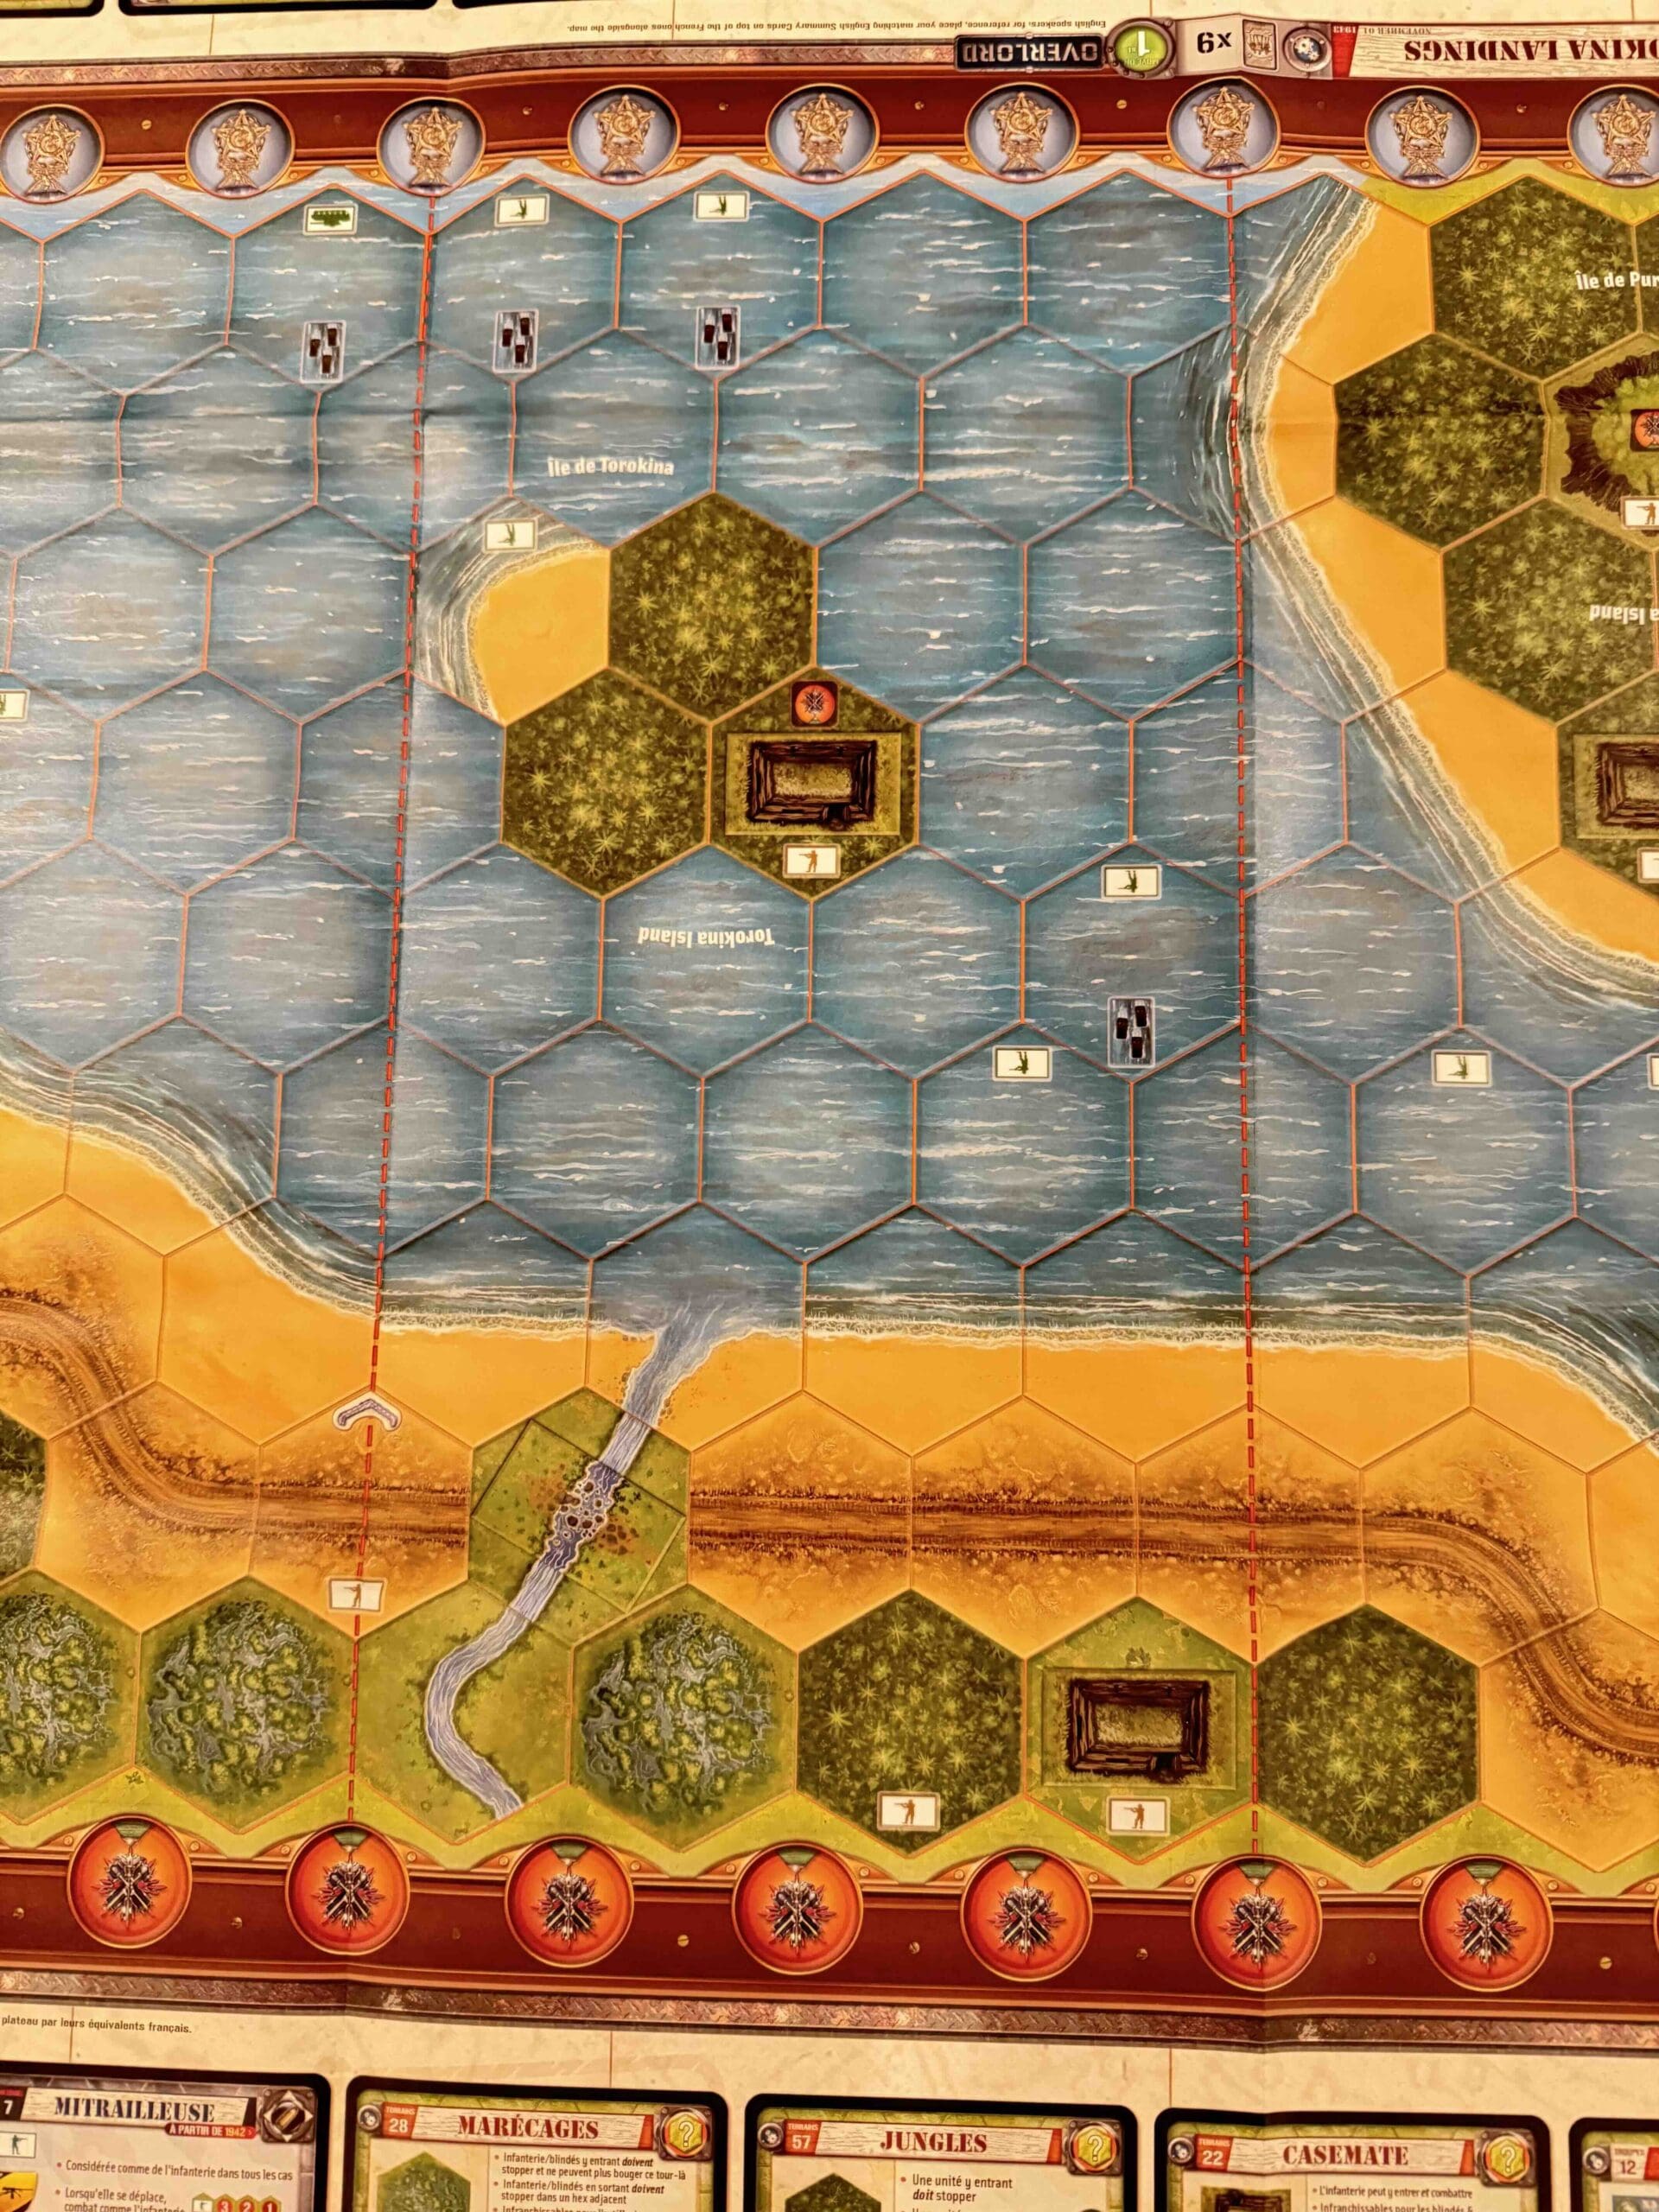
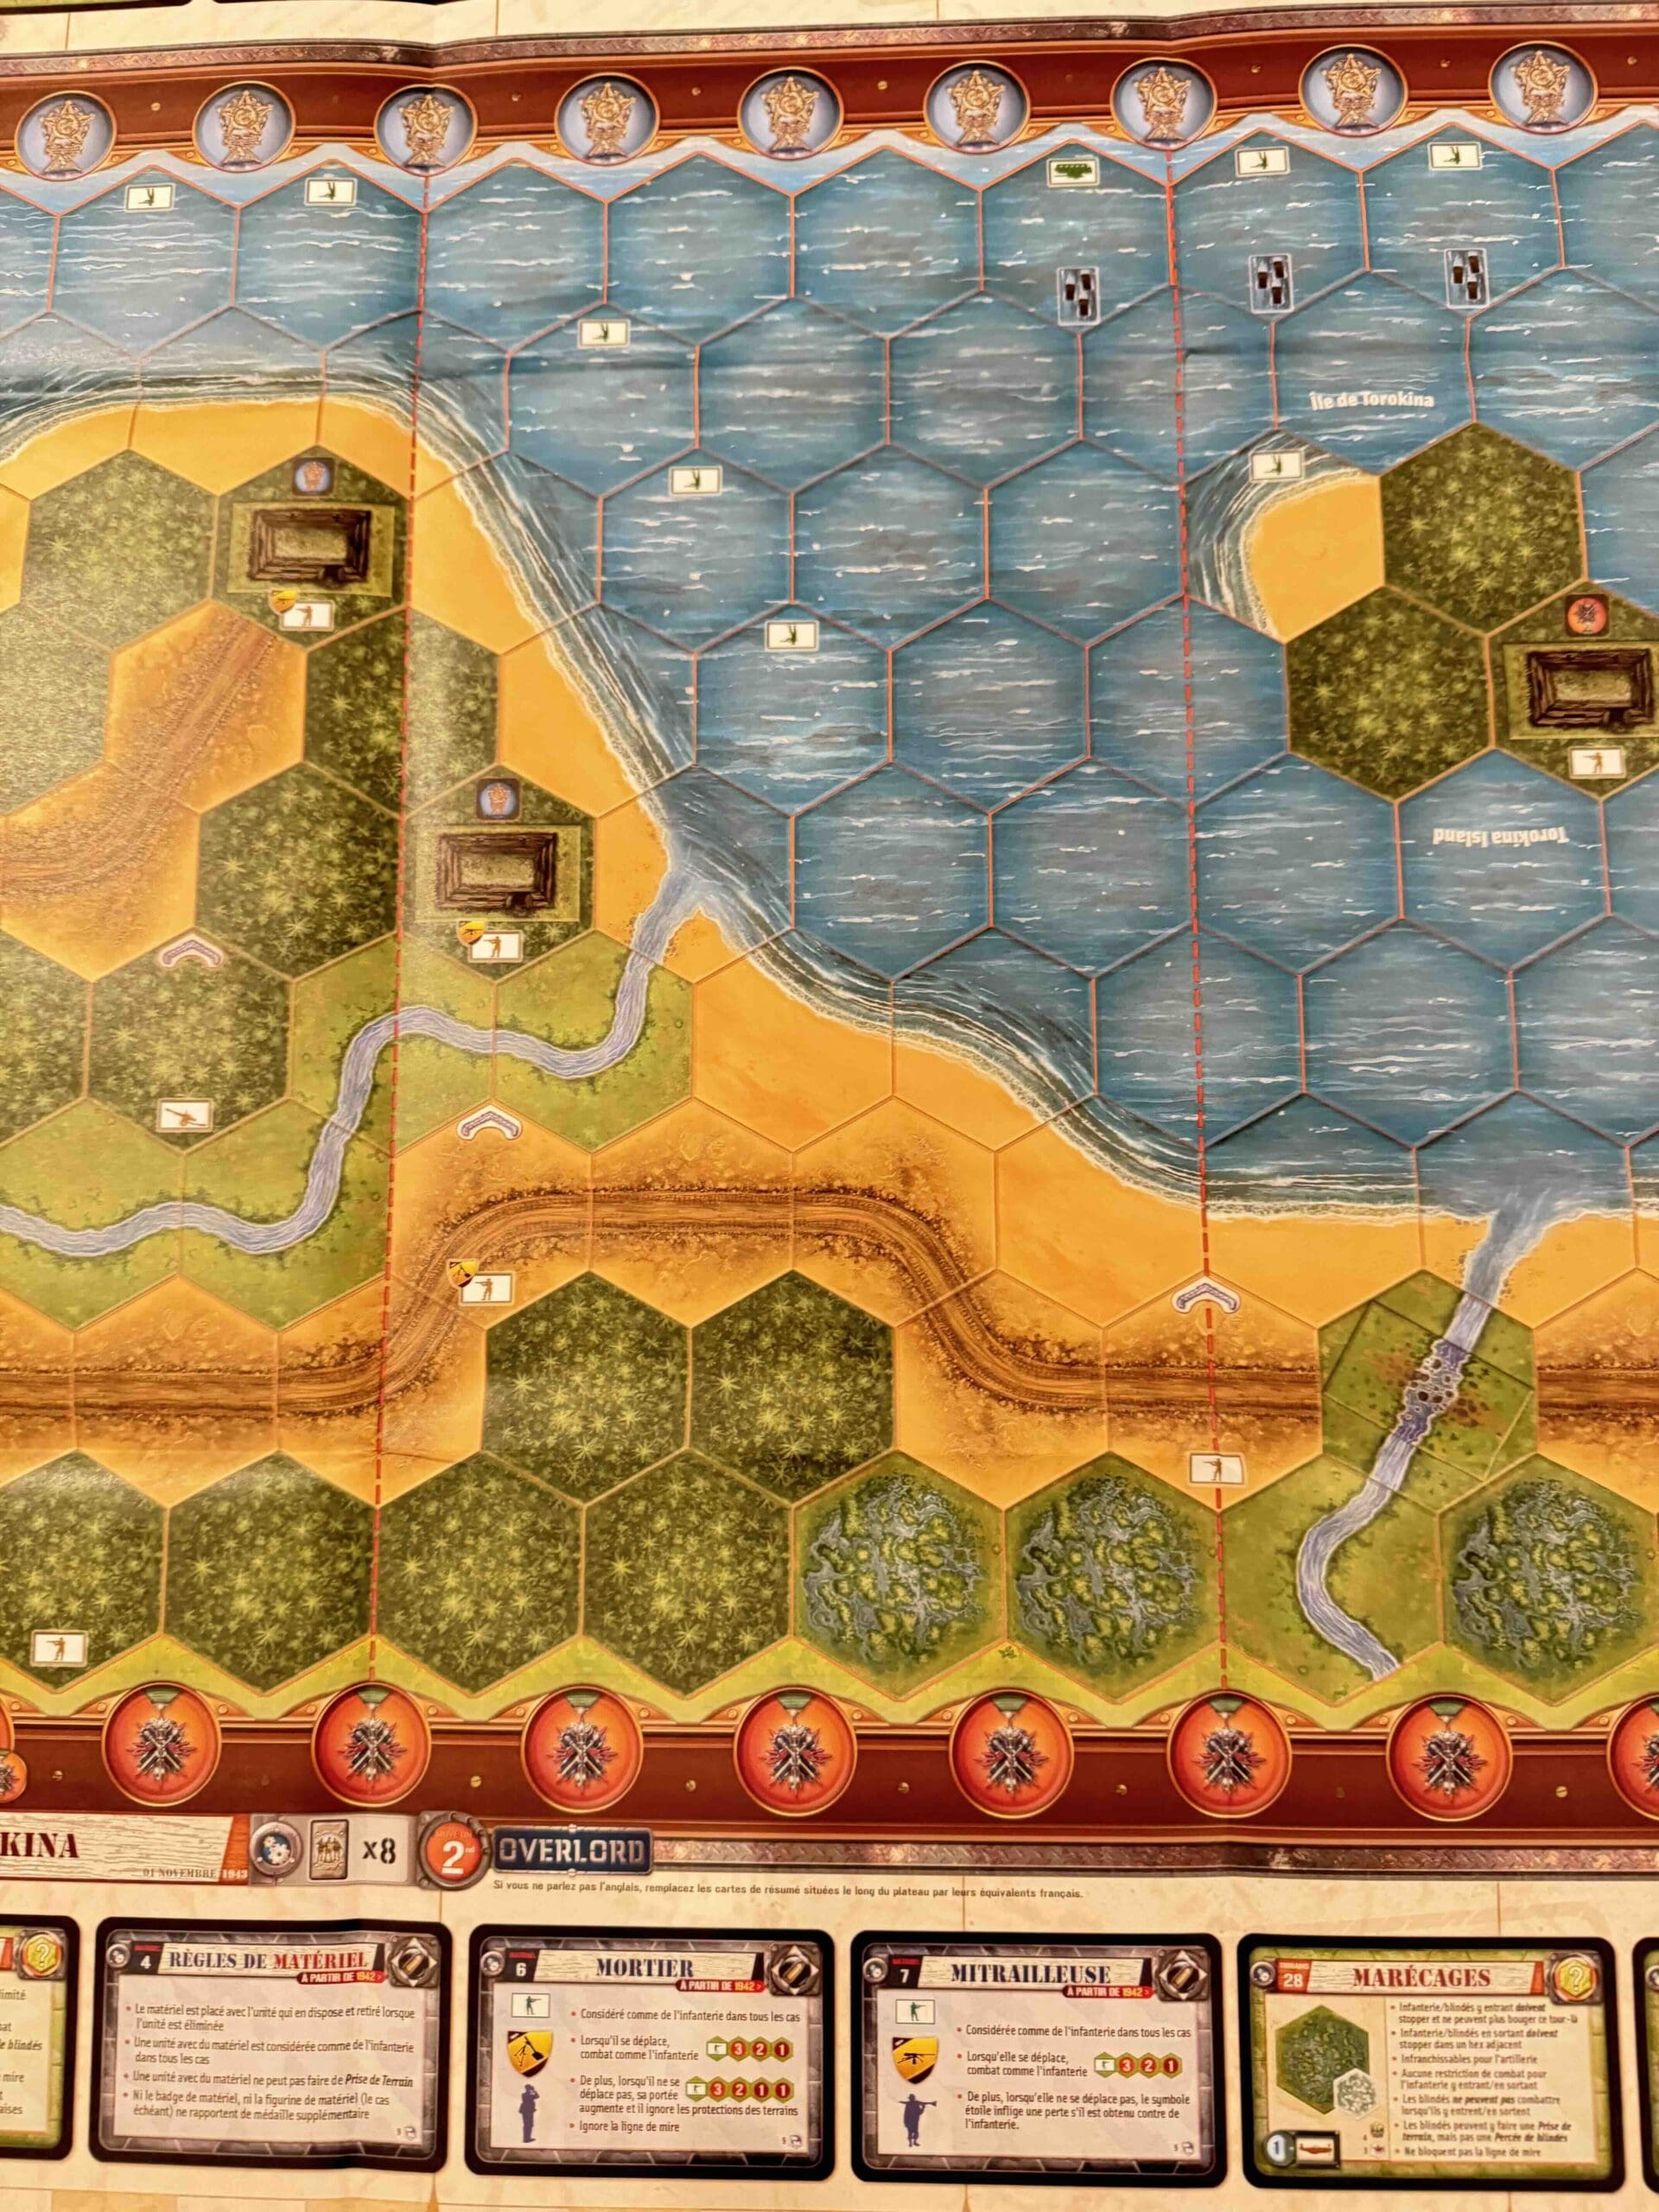
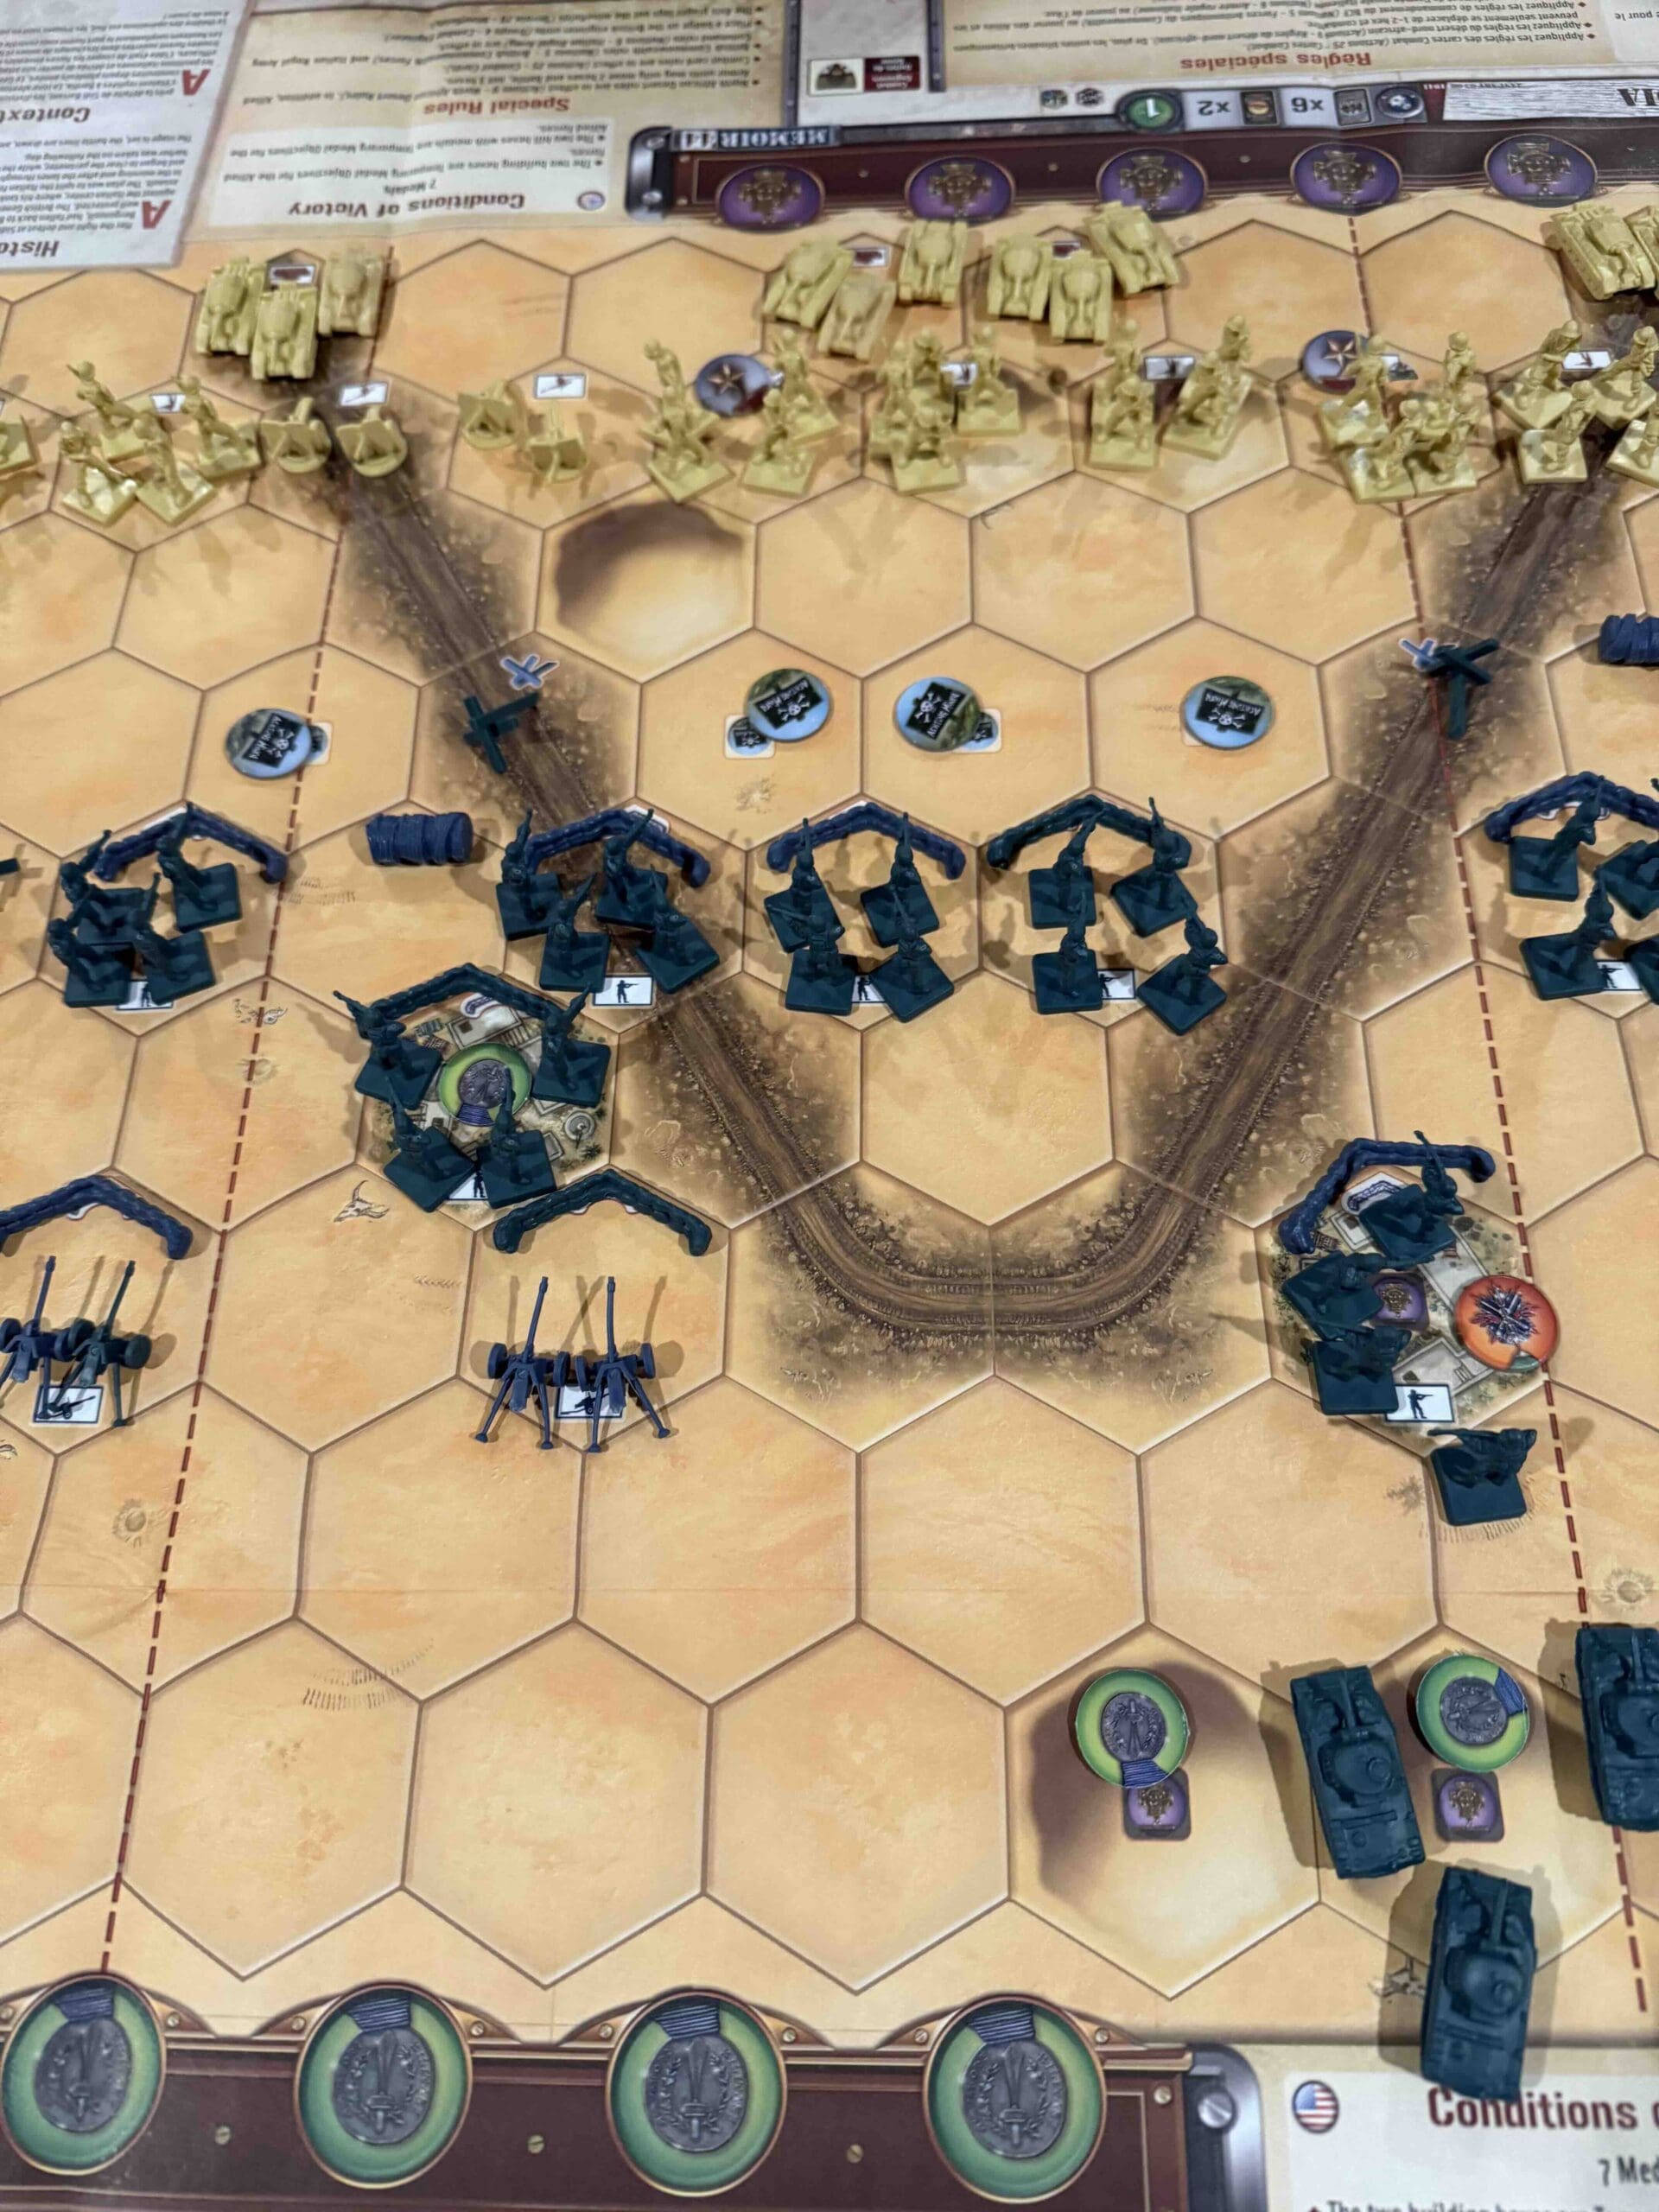
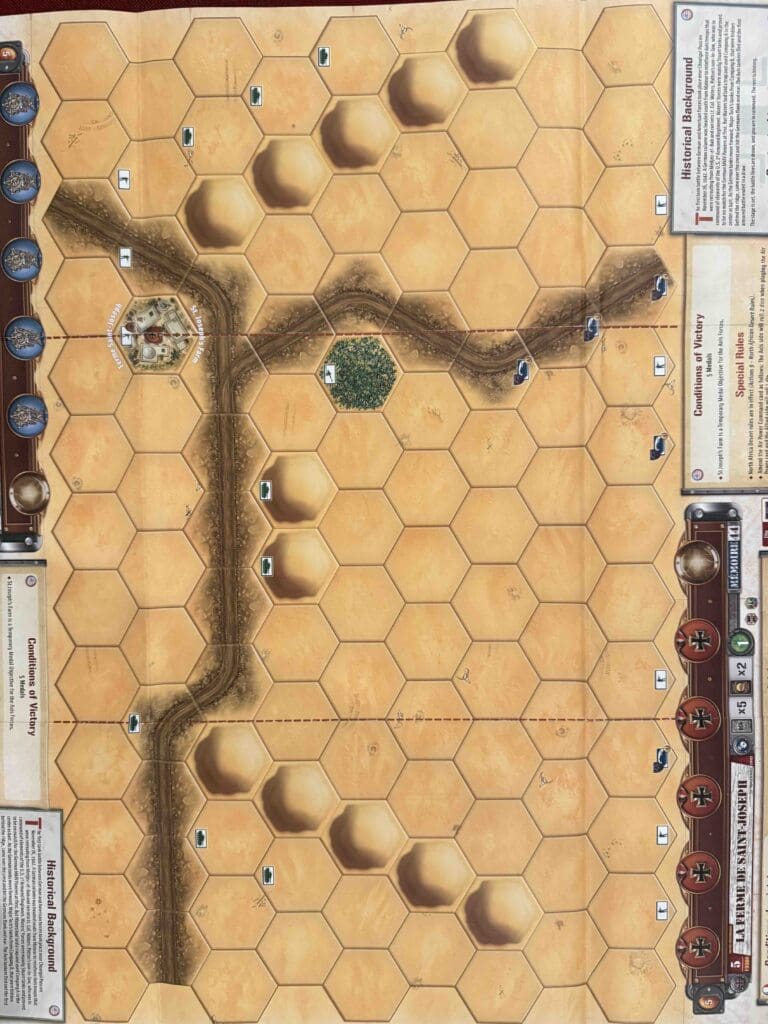
Battlefield:
Desert with a ridge of hills in the center of the battlefield.
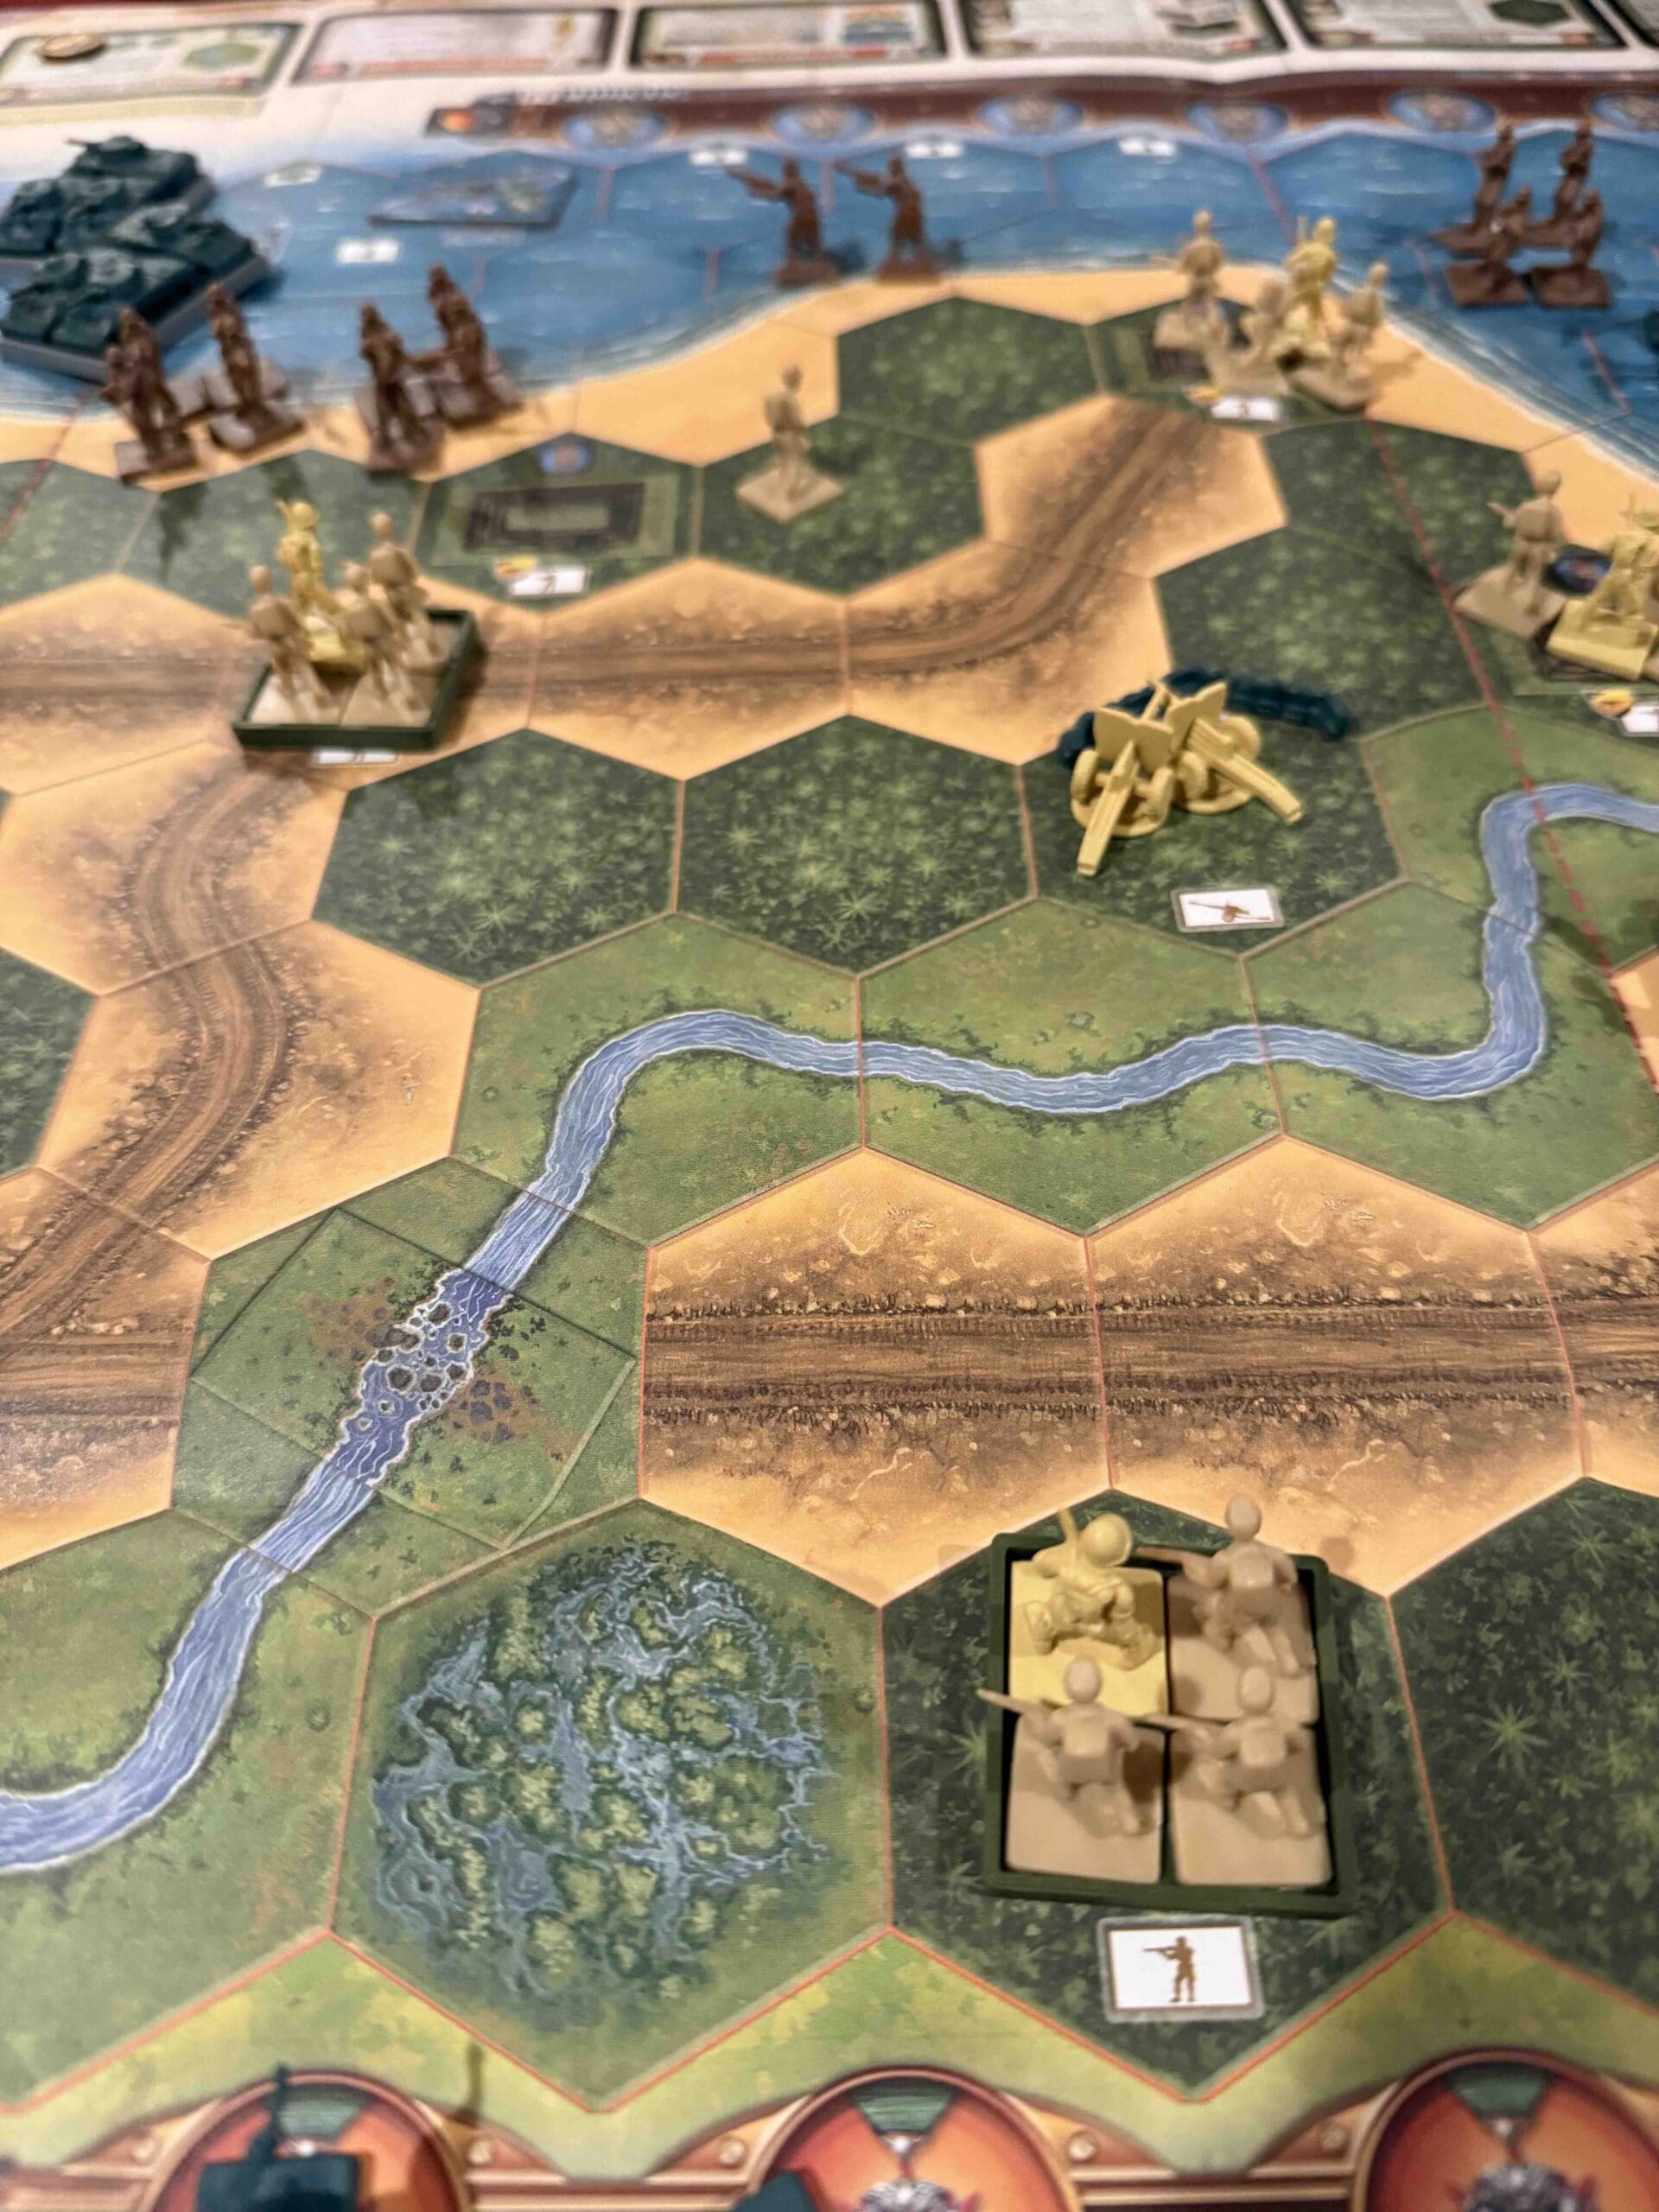
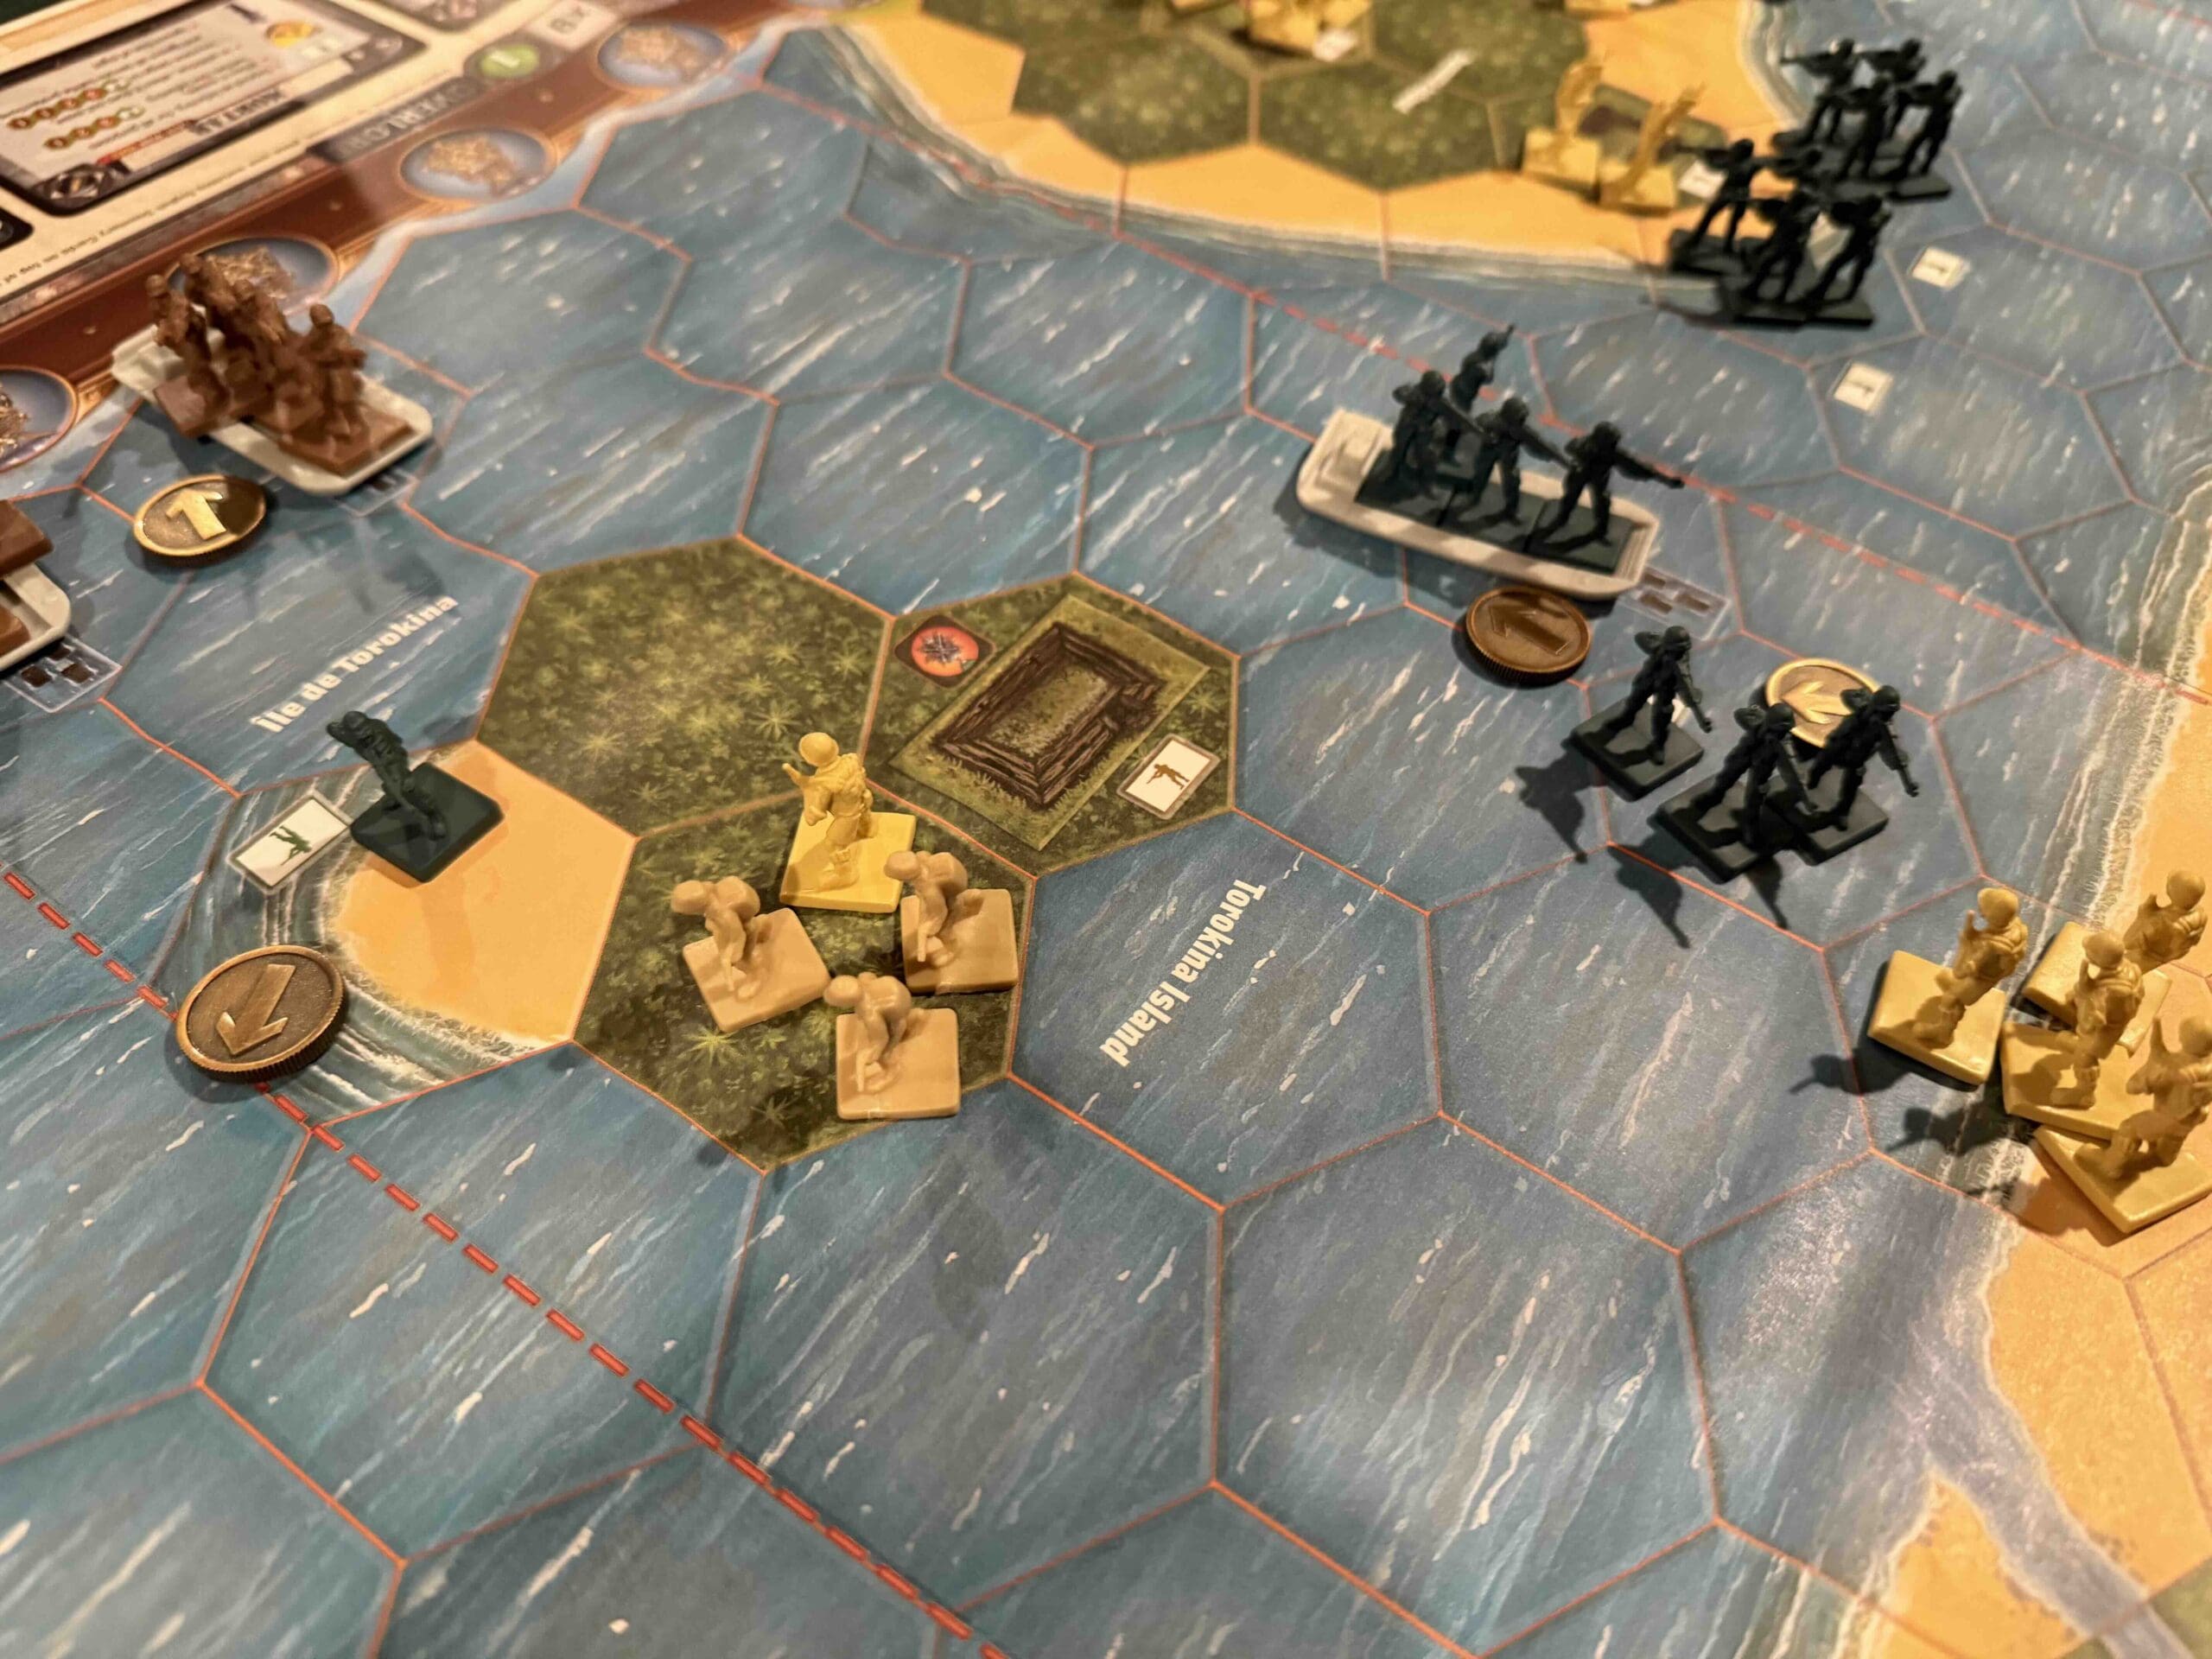
Troops:
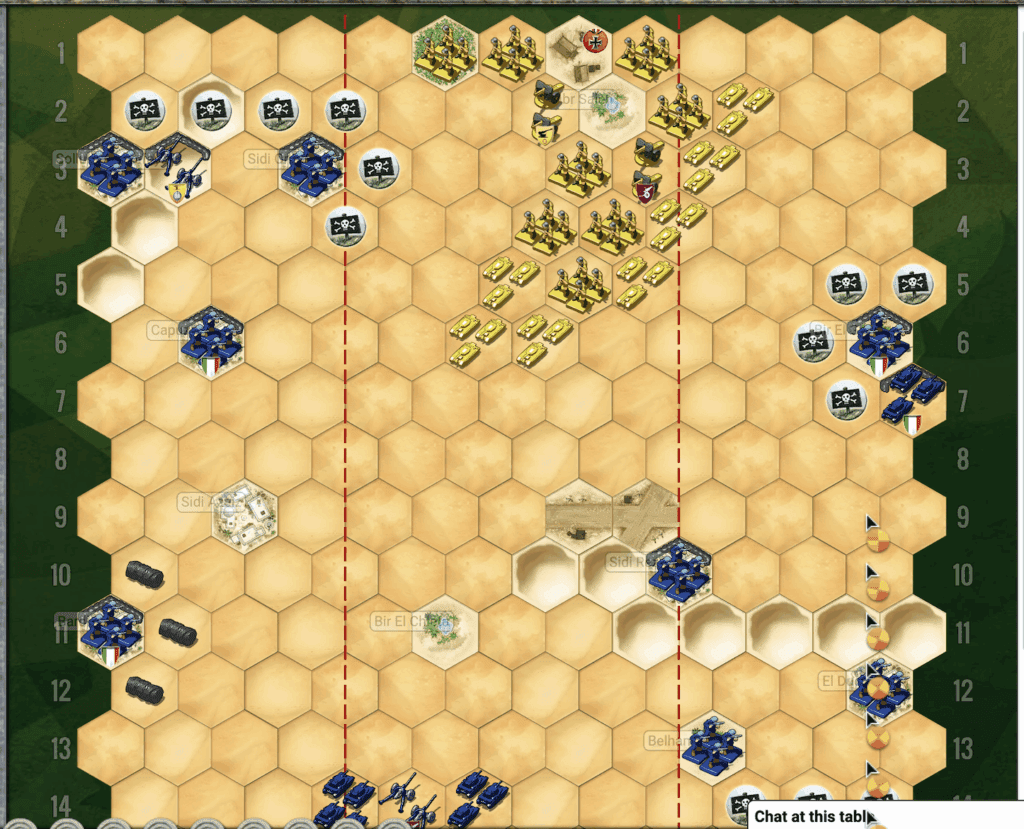
Allies – 10 Infantry, 8 Armor, 3 Artillery (Big Guns and Mobile)
Axis – 10 Infantry, 5 Armor, 3 Artillery (including a Flak88 and a Big Gun)

🔥 Winning as Allies
1. Make use of your Tobruk forces and especially the Artillery as much as possible.
2. You have a massive force gathered together in the center section. You will need to peel off a few to deal with the isolated Axis forces at hex 6 and 7 on your right section, and the rest towards the Axis forces on the other side.
Overall Strategy
1. Both sides have to make immediate decisions on overall strategy. Do the Allies move straight for Tobrouk, or the Axis main force, or do they clean up the battlefield from A to M as they go? [~Admiral Frigate]
2. There are four Oasis hexes; two primarily in Allied territory and two mainly in the Axis territory. This is a long scenario, so take the opportunity to restore your units back to strength.

🔥 Winning as Axis
1. If you can surround and wipe out the forces at Tobrouk quickly, then your forces can swing around and assist your brothers at arms further north.
2. Your Big Gun at I15 is in range to attack the units in Tobruk. Once you get one hit, your permanent targeting reticule will give you one extra dice roll for that hex. Through the course of a long game, you can earn one or two medals this way if you faithfully fire it at every opportunity given.
3. You have a Mobile Artillery, keep moving it forward at every opportunity. You can make for the hills to your right. It will server you well against the mass of Allied forces headed your way.
Battle Reports
Author:
Days of Wonder
Link: