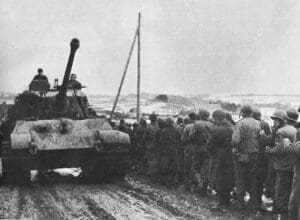
Battle in the Schnee Eifel
Battle in the Schnee Eifel
6 VP’s
Card Balance:
Allies – 4
Axis – 6
Complexity:
4
Conditions:
Winter

Context:
Historical
Location:
Belgium
Year:
1944
Theater:
Western
Campaign:
Battle of the Bulge
Summary:
Objectives:
6 VP’s, plus three Permanent Medal Objectives for the Axis (Turn Start) for Roth by Prum, Auw by Prum and Pleialf), plus a Sudden Death Exit hex for the Axis
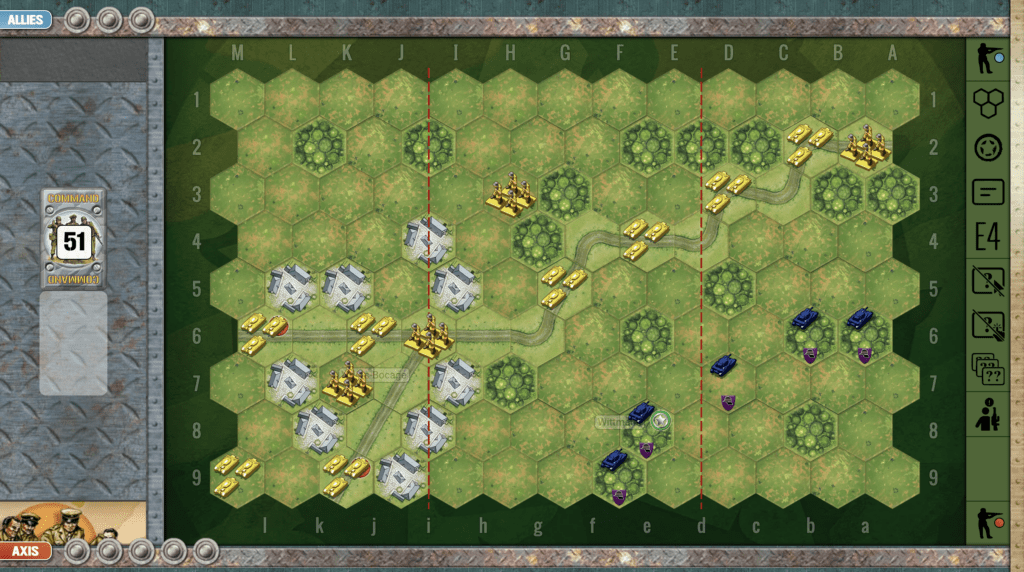
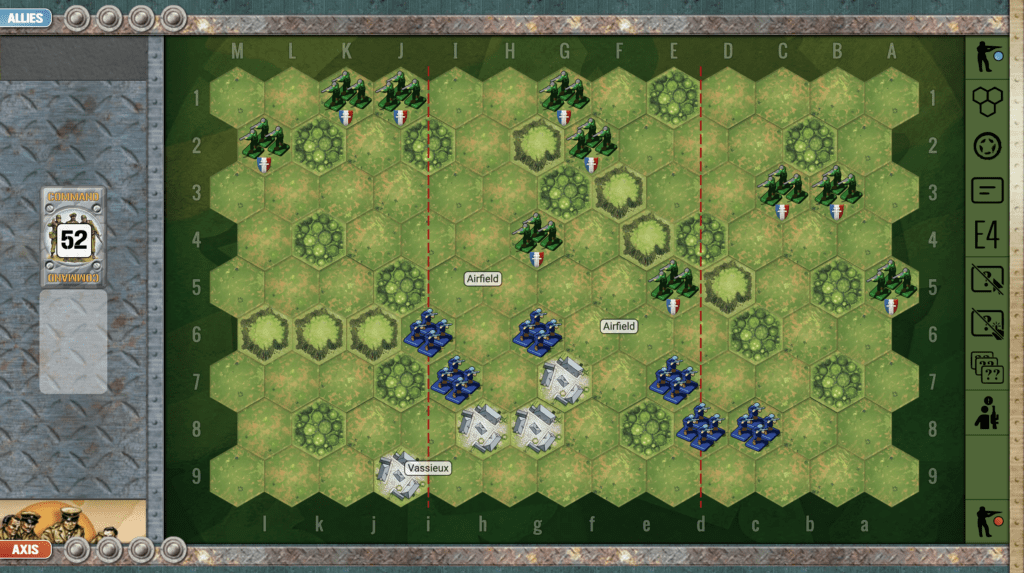
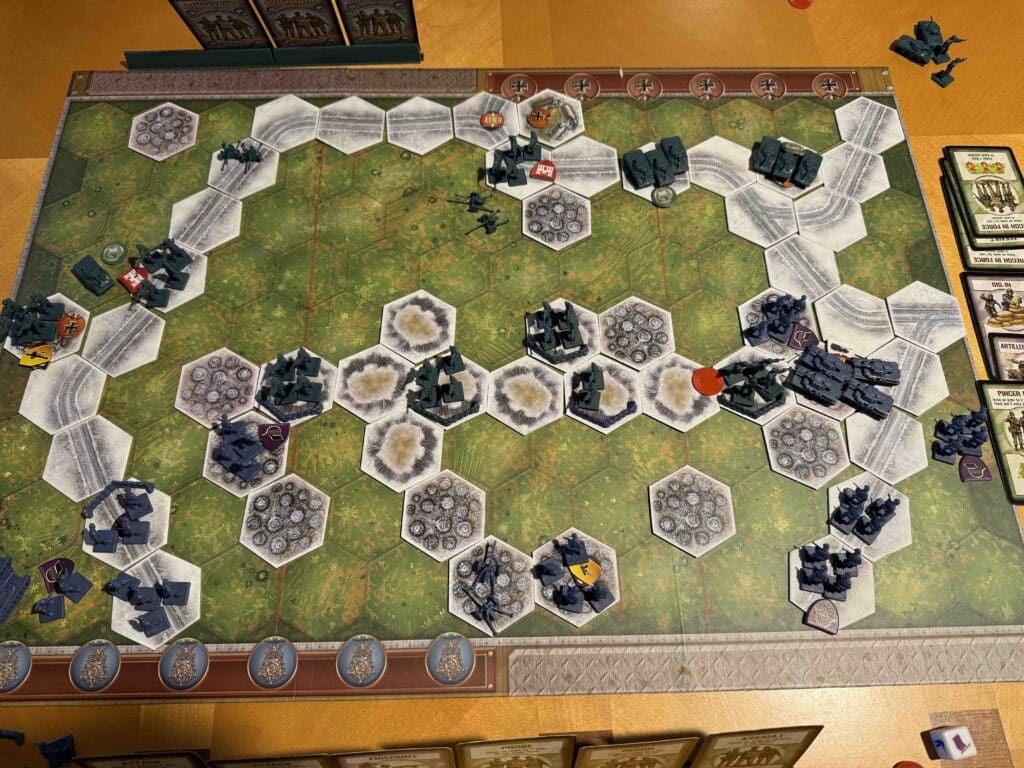
Battlefield:
Winter countryside with a hilly ridge across the center, with scattered forests, and a road encircling almost the entire battlefield.
Troops:
Allies – 8 Infantry including two Engineers, 3 Armor (Tank Destroyers), 2 Artillery
Axis – 9 Infantry including one Machine Gun unit and five Elites, 2 Armor, including one Tank Destroyer, 1 Artillery
Special Weapons: Tank Destroyers, Machine Guns.

Allied Strategy:
1. Historically, the Allies got routed, so the primary goal here is to protect the permanent medal objectives and the exit hex.
2. Get your two Artillery into play quickly and use them as much as you can to take out the enemy.
3. Your two Tank Destroyers on the left flank should move forward, in and around to defend the city of Roth by Prum, which is a Permanent Medal Objective.
4. Your other Tank Destroyer and two Artillery should defend the city of Blelaif, which is another Permanent Medal Objective.

Axis Strategy
1. Historically, the Axis had the largest victory of the war in this battle, so speed and attack are your principle tools.
2. Get your Tank Destroyer and Infantry on the right flank mobile and engaging the enemy as soon as you can.
3. On your left flank, you have overwhelming advantage with your four Infantry units, and one Armor. Use it to overwhelm the defenses at the town of Blelaif to gain the Permanent Medal Objective.
Author:
Days of Wonder