Operation Crusader

Operation Crusader
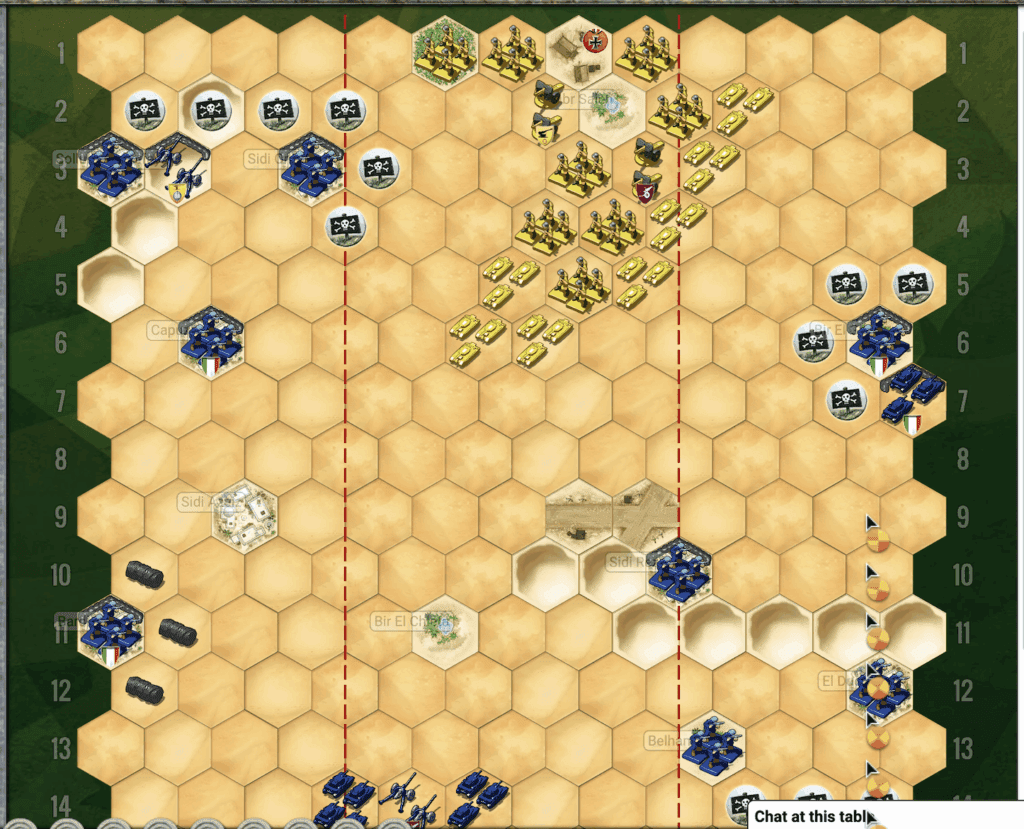
scenario_Operation-Crusader_1

“Listen up, men! In November ‘41, the British Eighth Army—under the command of General Auchinleck—thundered across the sands of the Marmaric Desert like a damn hurricane, aimed straight at those Italian-German armored divisions. Cunningham’s boys rolled out with 700 tanks, ready to grind the Germans and their Italian buddies into the dirt and lift the siege at Tobruk.

For three weeks, it was a seesaw slugfest around Sidi Rezegh, with that garrison at Tobruk busting out to join the main show. The German Panzergruppe fought like devils, but they were no match for the sheer weight of British armor and artillery.

Rommel might have been a cagey fox, but even he had to admit defeat when he saw the Eight Army rolling over his battered panzers. He ordered the survivors to pull back to Gazala, leaving Tobruk free and the British in charge of the field. That’s what happens when you bring overwhelming firepower to a knife fight, boys—you don’t just win, you drive the enemy clean out of the desert!

~~ General Howitzer

12 VP’s

Card Balance:

Allies – 6

Axis – 6

Complexity:

4

Conditions:

Desert

Context:

Historical

Location:

Libya

Year:

1941

Theater:

Mediterranean

Campaign:

Tobruk Breakout

Codename:

Operation Crusader

Summary:

Objectives:

12 VP’s, plus a Territorial Objective Medal for the Axis.

Battlefield:

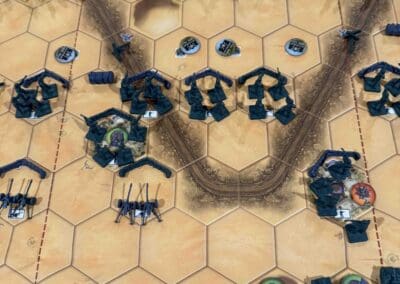
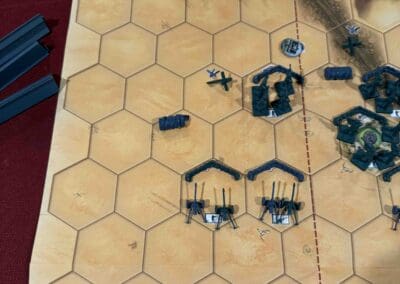
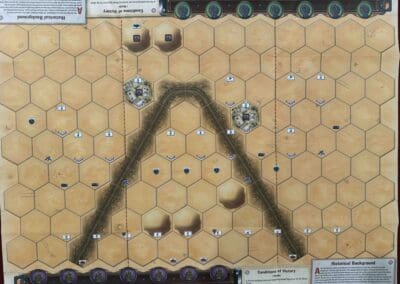
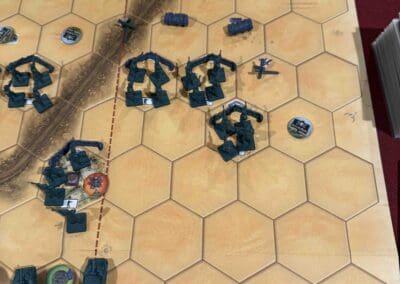
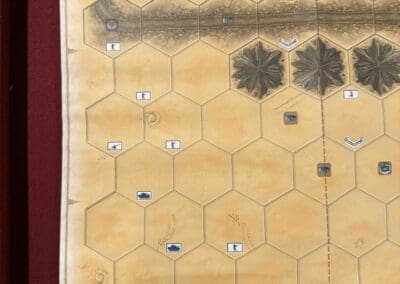
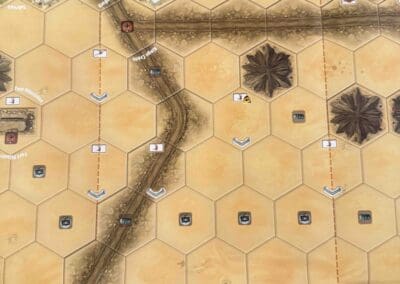
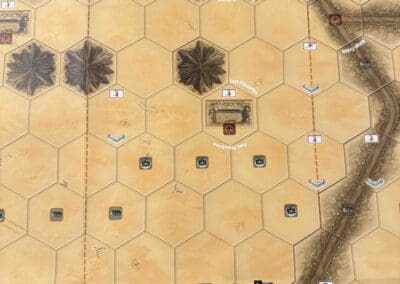
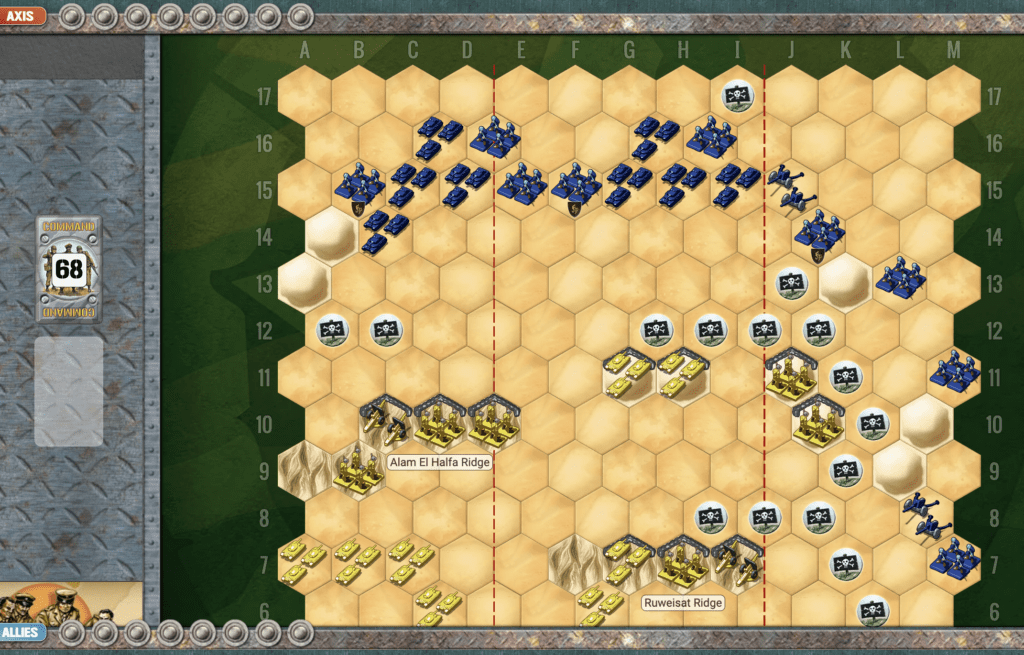
Desert with a ridge of hills in the center of the battlefield.

Troops:

Allies  – 10 Infantry, 8 Armor, 3 Artillery (Big Guns and Mobile)

Axis  – 10 Infantry, 5 Armor, 3 Artillery (including a Flak88 and a Big Gun)


medal allies

Allied Strategy:

1.  Make use of your Tobruk forces and especially the Artillery as much as possible.

2.  You have a massive force gathered together in the center section.  You will need to peel off a few to deal with the isolated Axis forces at hex 6 and 7 on your right section, and the rest towards the Axis forces on the other side. 

Overall Strategy

1.  Both sides have to make immediate decisions on overall strategy. Do the Allies move straight for Tobrouk, or the Axis main force, or do they clean up the battlefield from A to M as they go?  [~Admiral Frigate] 

2.  There are four Oasis hexes; two primarily in Allied territory and two mainly in the Axis territory.  This is a long scenario, so take the opportunity to restore your units back to strength. 

medal axis

Axis Strategy:

1.  If you can surround and wipe out the forces at Tobrouk quickly, then your forces can swing around and assist your brothers at arms further north. 

2.  Your Big Gun at I15 is in range to attack the units in Tobruk.  Once you get one hit, your permanent targeting reticule will give you one extra dice roll for that hex.  Through the course of a long game, you can earn one or two medals this way if you faithfully fire it at every opportunity given. 

 3.  You have a Mobile Artillery, keep moving it forward at every opportunity. You can make for the hills to your right. It will server you well against the mass of Allied forces headed your way. 

Battle Reports

10
BR - Crusader

Author:

Days of Wonder

Link:
Bardia

Bardia

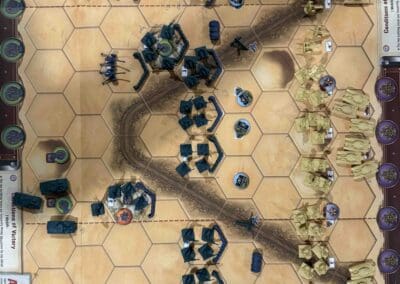
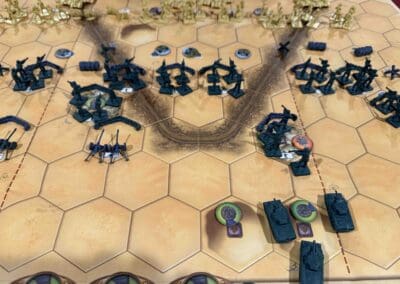
Bardia, January 1941—now that was a proper kick in the teeth for the Italians, and the Aussies delivered it with style.

This was the first big ground fight cooked up and led by an Australian outfit—6th Australian Division, under General Mackay—and let me tell you, those boys weren’t there to play games. Their target? Bardia, a heavily fortified Italian stronghold in Libya. Italians thought they were sitting pretty behind wire, guns, and concrete. Big mistake.

The 16th Brigade hit ’em from the west—smart move, weakest spot in the line. The engineers crawled through hell, cut through barbed wire, filled anti-tank ditches, and cleared a path like pros. Then came the punch: Matilda II tanks from the Brits’ 7th Royal Tank Regiment rolled in with the infantry. After that, it was a hammer-and-anvil job—17th and 19th Brigades came crashing in to finish the job.

By the end, Bardia was ours. Thousands of Italians surrendered, and the whole damn front cracked wide open. That victory let the Allies charge deeper into Libya and gave Rommel a reason to pack his bags for North Africa.

The Aussies proved two things at Bardia: one, they could plan and fight like hell; and two, when you combine tanks, grit, and coordination—you win. That’s the kind of war I like: fast, bold, and overwhelming.

~~ General Howitzer

7 VP’s

card

Card Balance:

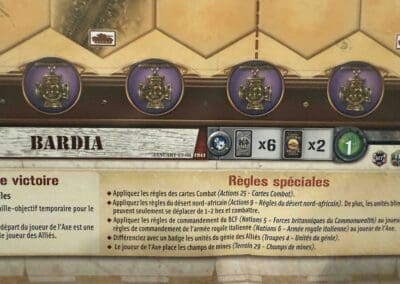
Allies – 6 + 2 Combat Cards

Axis – 6 + 2 Combat Cards
(Note that Italian rules call for a loss of one Command Card for every Italian unit/hex lost, until 3 remain.)

Complexity:

2

Conditions:

Desert

Context:

Historical

Location:

Libya

Year:

1943

Theater:

Mediterranean

Campaign:

Western Desert Campaign

Codename:

It was part of Operation Compass

Summary:

Objectives:

7 VP’s, including two building territorial objectives and two hill territorial objectives for the Allies

Battlefield:

Desert terrain with a branching roads running through it, and some dunes.

Troops:

Allies – 8 Infantry, 4 Armor, 2 Artillery

Axis – 10 Infantry, 1 Armor, 2 Artillery


medal allies

Allied Strategy:

1.  Big Picture Strategy:  follow the roads that points like an arrow to your targets in the center section, which contains four territorial medals awaiting you at the two towns and two hills.

2.  Watch out for your right half of the battlefield which is dominated by the Italian artillery.  

medal axis

Axis Strategy

1.  Big Picture Strategy: stay behind the sandbags!  The Italians are in a defensive posture, and tactical wins are not worth the cost to your forces should you venture forth from your sandbags.

2.  Be aware that the rules of engagement for the Italian nation is that for every unit/hex which gets destroyed, you lose one command card, down to three cards in your hand.  This makes the loss of any unit devastating to your offensive capabilities.

3.  You have a strong set of Artillery on the left side of the battlefield. Use them at every opportunity.

Battle Reports

1
BR - Bardia

Author:

Days of Wonder

Link:
Sbeitla Tunisia

Sbeitla Tunisia

Sbeitla Tunisia

Operation Frühlingswind—February 1943. The Krauts thought they had us dead to rights in central Tunisia. They were wrong.

Rommel’s boys hit us hard at Sidi Bou Zid, busted through, and kept pushing west toward Sbeitla. On February 17, they grabbed the town—but that’s where the party stopped.

Because in rolled the 1st U.S. Armored Division—Combat Command B—and they didn’t come to retreat. They dug in, fought smart, and hit the Germans with a counterattack they didn’t see coming. It wasn’t perfect, but it was bold—and it threw a wrench into the Nazi gears. They didn’t push any farther.

Sure, we took our lumps. Our tactics were green, our command still learning the ropes. But what matters is we learned. Fast. That fight at Sbeitla was a baptism by fire—and it forged better soldiers, better leadership, and a better army.

The message was clear: the Americans might get hit, but by God, we hit back—and next time, we’d be coming out swinging.

~~ General Howitzer

6 VP’s

Card Balance:

Allies – 5 + 2 Combat Cards

Axis – 5 + 2 Combat Cards

Complexity:

2

Conditions:

Desert

Context:

Historical

Location:

Tunisia

Year:

1943

Theater:

Mediterranean

Campaign:

Tunisia Campaign

Codename:

Operation Frühlingswind (Spring Wind)

Summary:

Objectives:

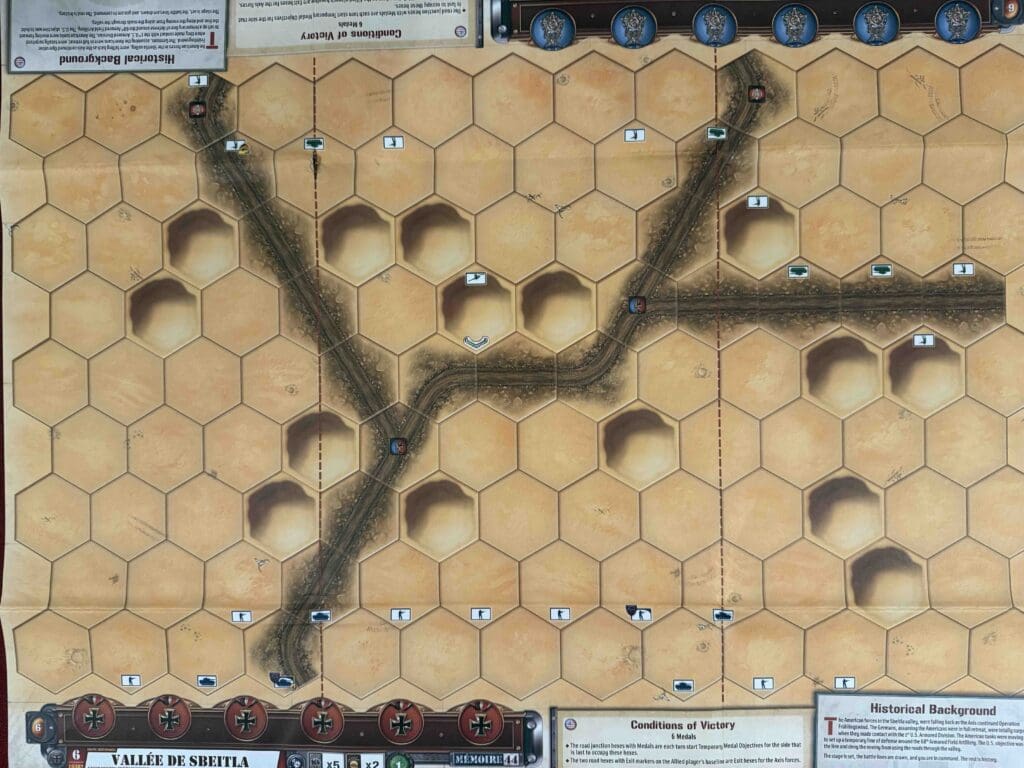
6 VP’s, including territorial objectives, and exit hexes.

Battlefield:

Desert terrain with a branching roads running through it, and dunes everywhere.

Troops:

Allies – 7 Infantry, 4 Armor, 1 Artillery

Axis – 8 Infantry, 5 Armor


Allied Strategy:

1.  

Axis Strategy

1. 

Battle Reports

2
BR - Sbeitla Tunisia

Author:

Days of Wonder

Link:
St. Joseph’s Farm

St. Joseph's Farm

St. Joseph's Farm

Chouigui Pass—November 1942. One hell of a day for the U.S. Army, and the first time our boys showed the Krauts what American steel could do.

We were green, no doubt about it. The 1st Battalion, 1st Armored Regiment—part of my beloved 1st Armored Division—rolled into action near a place called Chouigui Pass, northwest of Tebourba. The brass might call it St. Joseph’s Farm, but I’ll tell you—there was nothing holy about what went down there.

Our men, riding those M3 Stuarts and M4 Shermans, spotted a German convoy and didn’t hesitate. They tore into it with everything they had. And wouldn’t you know it? A short time later, they ran into the 10th Panzer Division—real hardened bastards—but our boys didn’t back down.

We hit ’em hard. Burned up their vehicles, shattered their lines, and let ’em know the Americans were here and we weren’t playing. It wasn’t some grand campaign-ending victory, but it mattered. It was the first time U.S. armor took the fight to the Wehrmacht and came out standing.

That fight at Chouigui Pass proved something: our tanks could run, our boys could fight, and American grit was just getting started. North Africa wasn’t going to be easy—but after that day, the Germans knew we were in the game.

And from there, we only got meaner, faster, and a whole lot more dangerous.

~~ General Howitzer

5 VP’s

Card Balance:

Allies – 5 + 2 Combat Cards

Axis – 5 + 2 Combat Cards

Complexity:

2

Conditions:

Desert

Context:

Historical

Location:

Tunisia

Year:

1942

Theater:

Mediterranean

Campaign:

Tunisia Campaign

Codename:

Summary:

Objectives:

5 VP’s, including St. Joseph’s Farm as a Temporary Objective for the Axis.

Battlefield:

Desert terrain with a branching road running through it, and ridges on each flank, which provide the defensive surprise that historically occurred.

Troops:

Allies – 3 Infantry, 8 Armor, 1 Artillery

Axis – 5 Infantry, 5 Armor


Allied Strategy:

1.   Historically, the Allies surprised the Germans by hiding their Armor reserves behind the ridges.  In this scenario, the enemy obviously knows you are there, but you can still use the ridges as defensive protection until the Axis Armor gets close enough for you to launch your Armor assault, and maybe recreate history with an Allied victory. 

Axis Strategy

1. Historically, the Axis were surprised by the Allied forces hiding behind the ridges.  You know they are there, and they outnumber your forces, so you will need to score some quick hits against the forces in the center, to take them out of the action before their support shows up on the flanks.  

Battle Reports

0
BR - St. Joseph's Farm

Author:

Days of Wonder

Link:
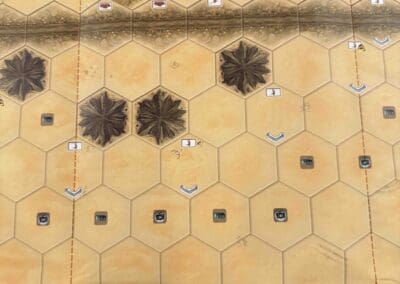
The Capture of Tobruk

The Capture of Tobruk (Overlord Map)

June 21, 1942—Tobruk falls, and Rommel gets his moment in the sun.

The Desert Fox came tearing across North Africa like a bat outta hell, and when he set his sights on Tobruk, he didn’t waste time. That place had held out before—but not this time. Rommel hit it hard, fast, and surgical. In no time flat, he smashed through the lines, bagged 30,000 Allied troops, and scooped up a mountain of supplies.

It was a gut punch to the British—morale wrecked, command shaken, and the enemy thumping their chests from Berlin to Rome. Tobruk was supposed to be a fortress. Instead, it became a prize.

But here’s the truth: Rommel’s victory was real—but it was short-lived. You don’t win a war with flash and headlines. You win it by bleeding the enemy dry, taking ground, and never letting up. And that’s what we did.

By the time we met him again at El Alamein, the tables had turned. Rommel’s advance stalled, and the Allies came back with a vengeance.

You want to take a city? Fine. But you’d better be ready to hold it when the real fight starts.

~~ General Howitzer

15 VP’s

Card Balance:

Allies – 7

Axis – 11

Complexity:

3

Conditions:

Desert

Context:

Historical

Location:

North Africa

Year:

1942

Theater:

Mediterranean

Campaign:

Codename:

Summary:

Objectives:

15 VP’s with many territorial Medal Objectives, some Temporary and some Permanent.

Battlefield:

A desert with a couple of roads crossing the area in both directions

Troops:

Allies  – 17 Infantry some with Special Weapons, 5 Armor, 2 Artillery

Axis  – 17 Infanty, 16 Armor including some Half-Tracks, 6 Artillery


Allied Strategy:

1.  

Axis Strategy

1.  

Classic Battle Reports

45% Allied Wins

1
BR - Capture of Tobruk

Author:

Days of Wonder

Link:
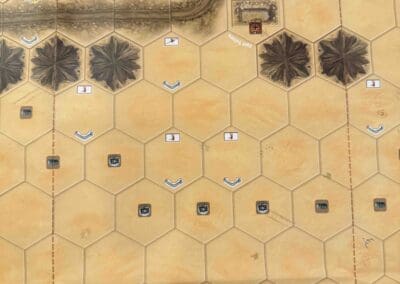
Battle of Alam el Halfa

Battle of Alam el Halfa

scenario_Battle-of-Alam-El-Halfa

Aug 29 – Sep 6, 1942

Alam el Halfa was Rommel’s last real chance to win the desert war and grab Egypt, and he knew it. His numbers were thinning, his supplies were running dry, and time was about to turn against him. So he did what gamblers always do when the clock is running out—he rolled the dice one more time and tried the same wide flanking punch he’d used at Gazala.

But this time, the British weren’t blind. ULTRA told them exactly what was coming, and Montgomery finally did something smart: he stopped chasing glory and prepared to fight on ground of his choosing. He planted his forces on the Alam el Halfa and Ruweisat ridges, dug tanks into the sand like steel bunkers, and told Rommel, “Come get it.”

This wasn’t a battle of fancy maneuvers—it was a battle of discipline. Rommel charged in from the south and smashed straight into prepared defenses, air power, and fuel shortages he couldn’t overcome. His attack burned itself out, and with it went his last hope of victory in North Africa.

The lines are drawn, the enemy is committed, and now it’s your fight. Hold the ground, let the enemy break himself, and remember this: when the enemy makes his last move, you make sure it’s his last mistake.

~~ General Howitzer

VP’s

8

card

Card Balance:

Allies – 6

Axis – 6

Complexity:

3

Conditions:

Desert

Context:

Historical

Location:

North Africa

Year:

1944

Summary:

8 Victory Points:

8 Medals, including three Permanent Medal Objectives for Axis control of three town hexes. 

Terrain:

Desert with some ridges and a railroad track.

Troops:

Allies – 7 Infantry, 8 Armor, 2 Artillery

Axis – 10 Infantry, 8 Armor, 2 Artillery

medal allies

Allies:

medal axis

Axis:

2
BR - Alam El Halfa

Author: Days of Wonder

URL