Capture of Parry
Capture of Parry
Capture-of-Parry_title
Capture-of-Parry_description
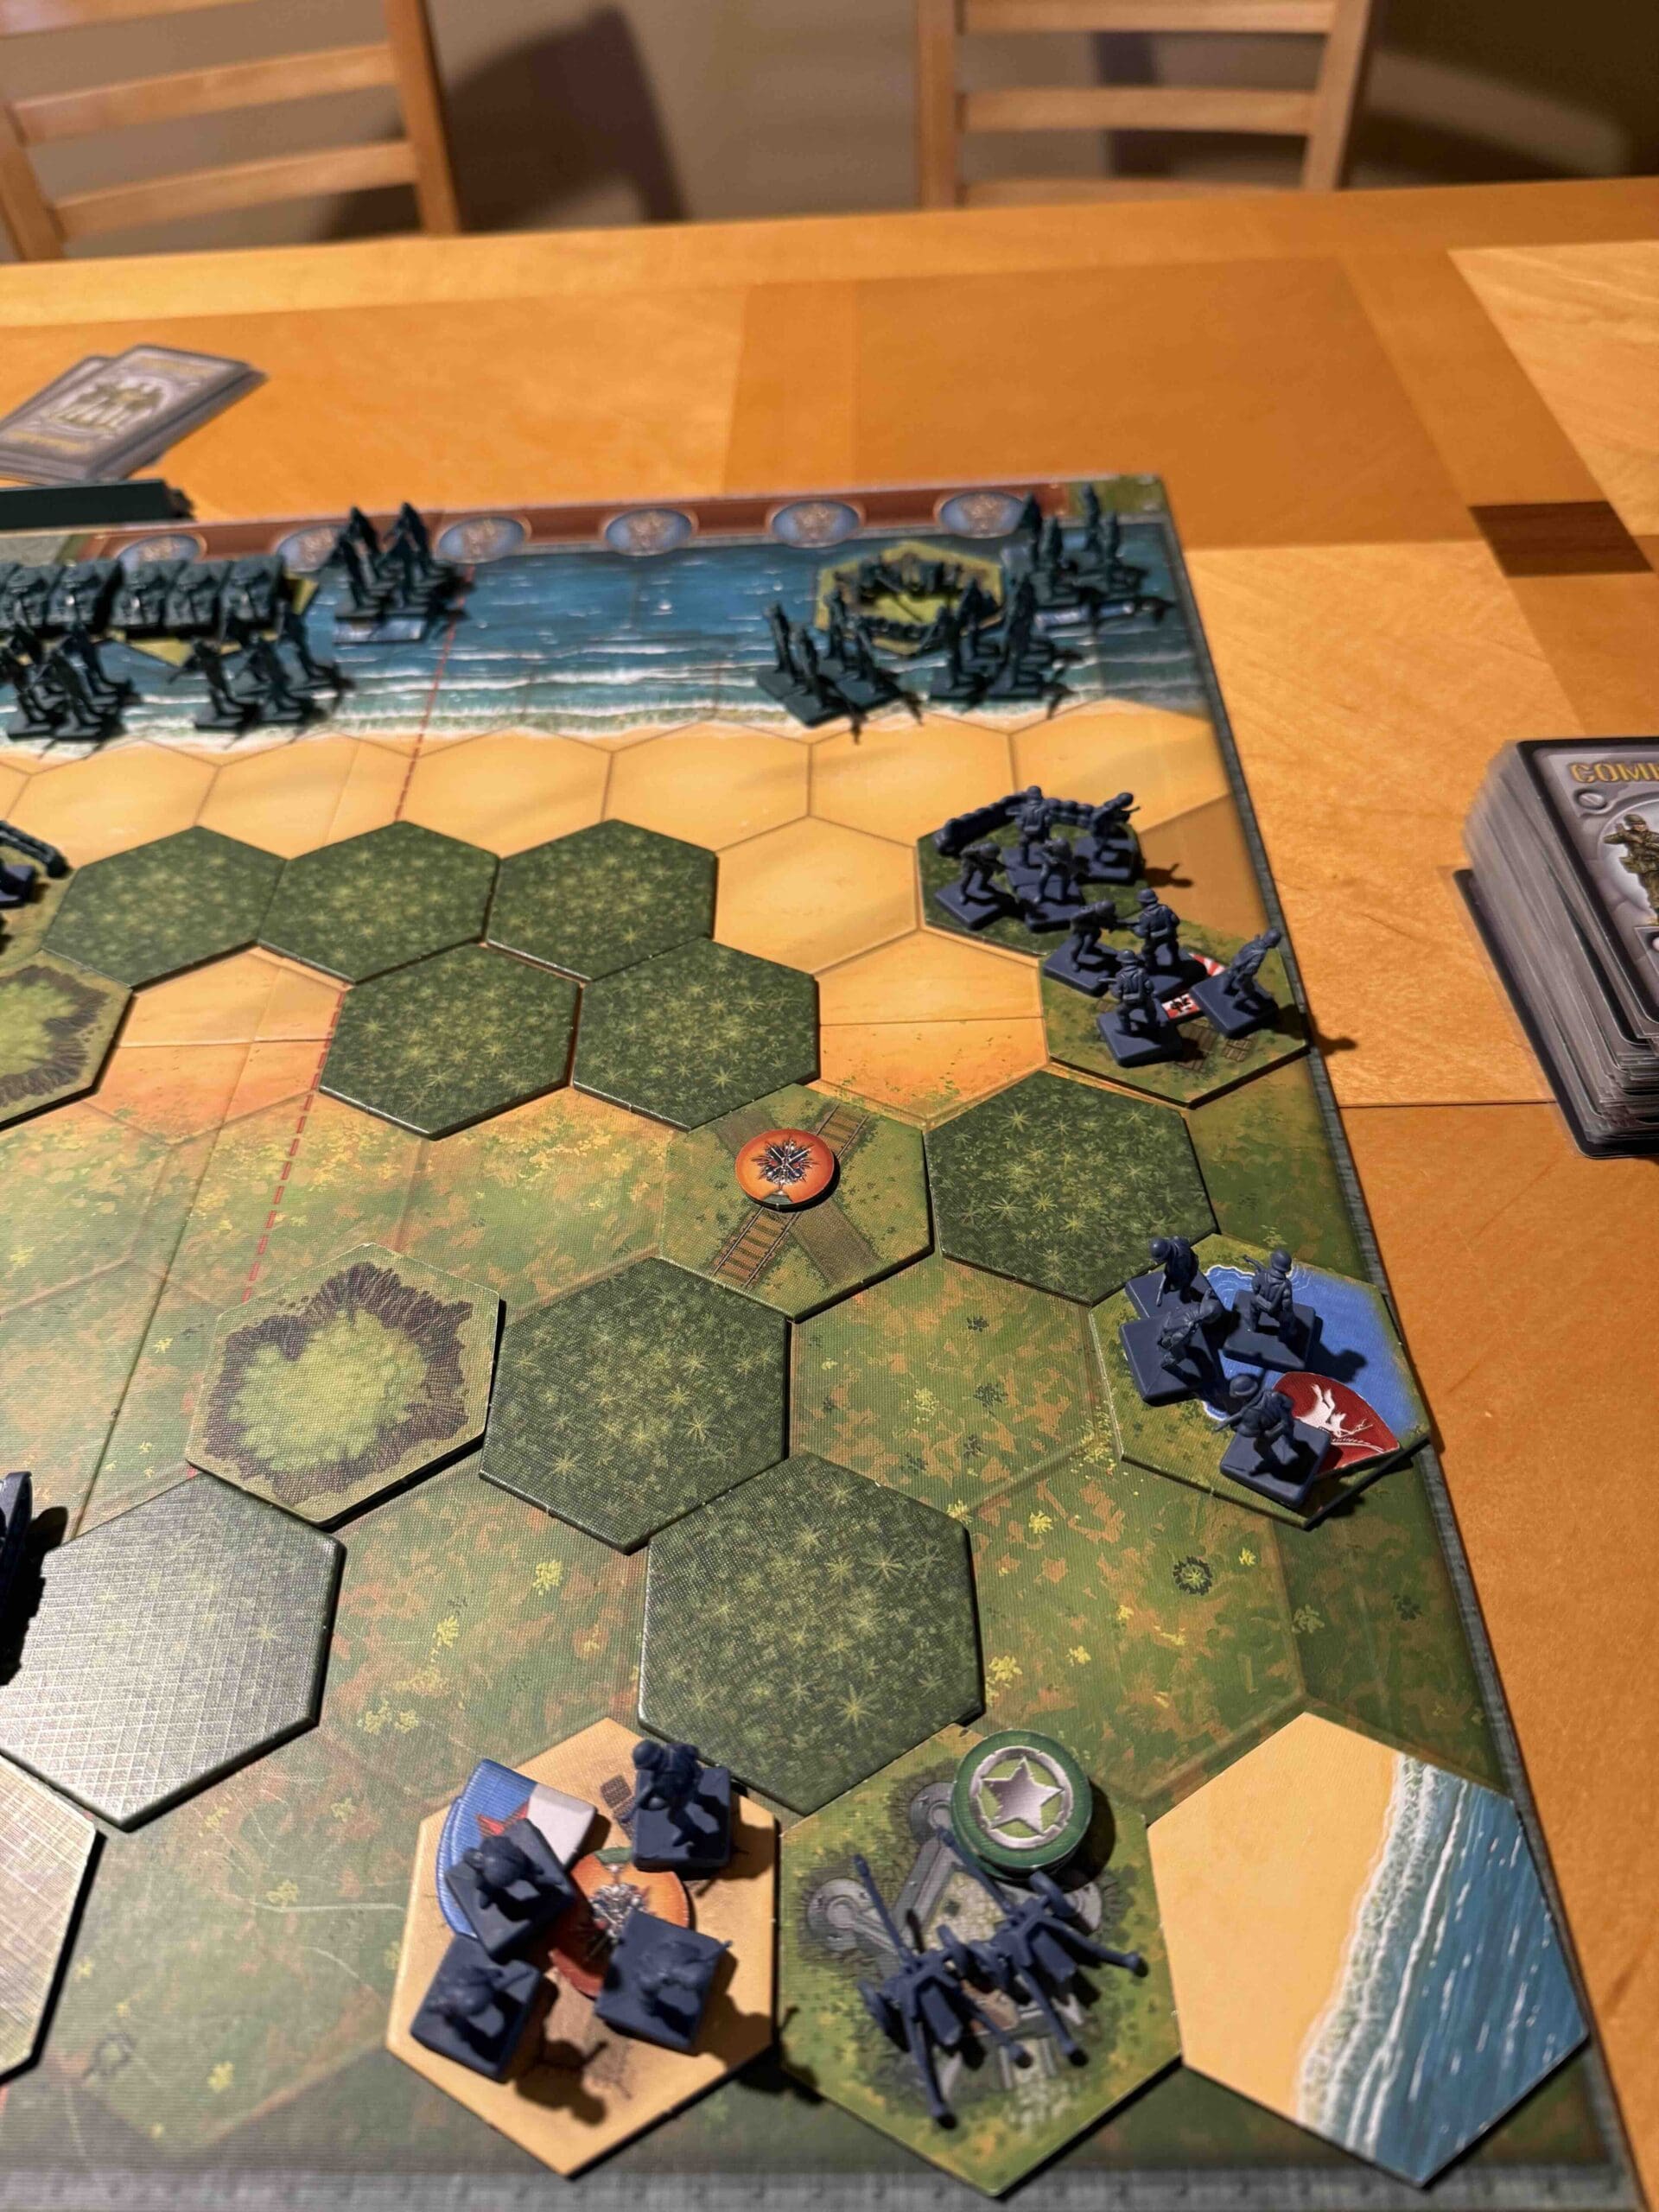
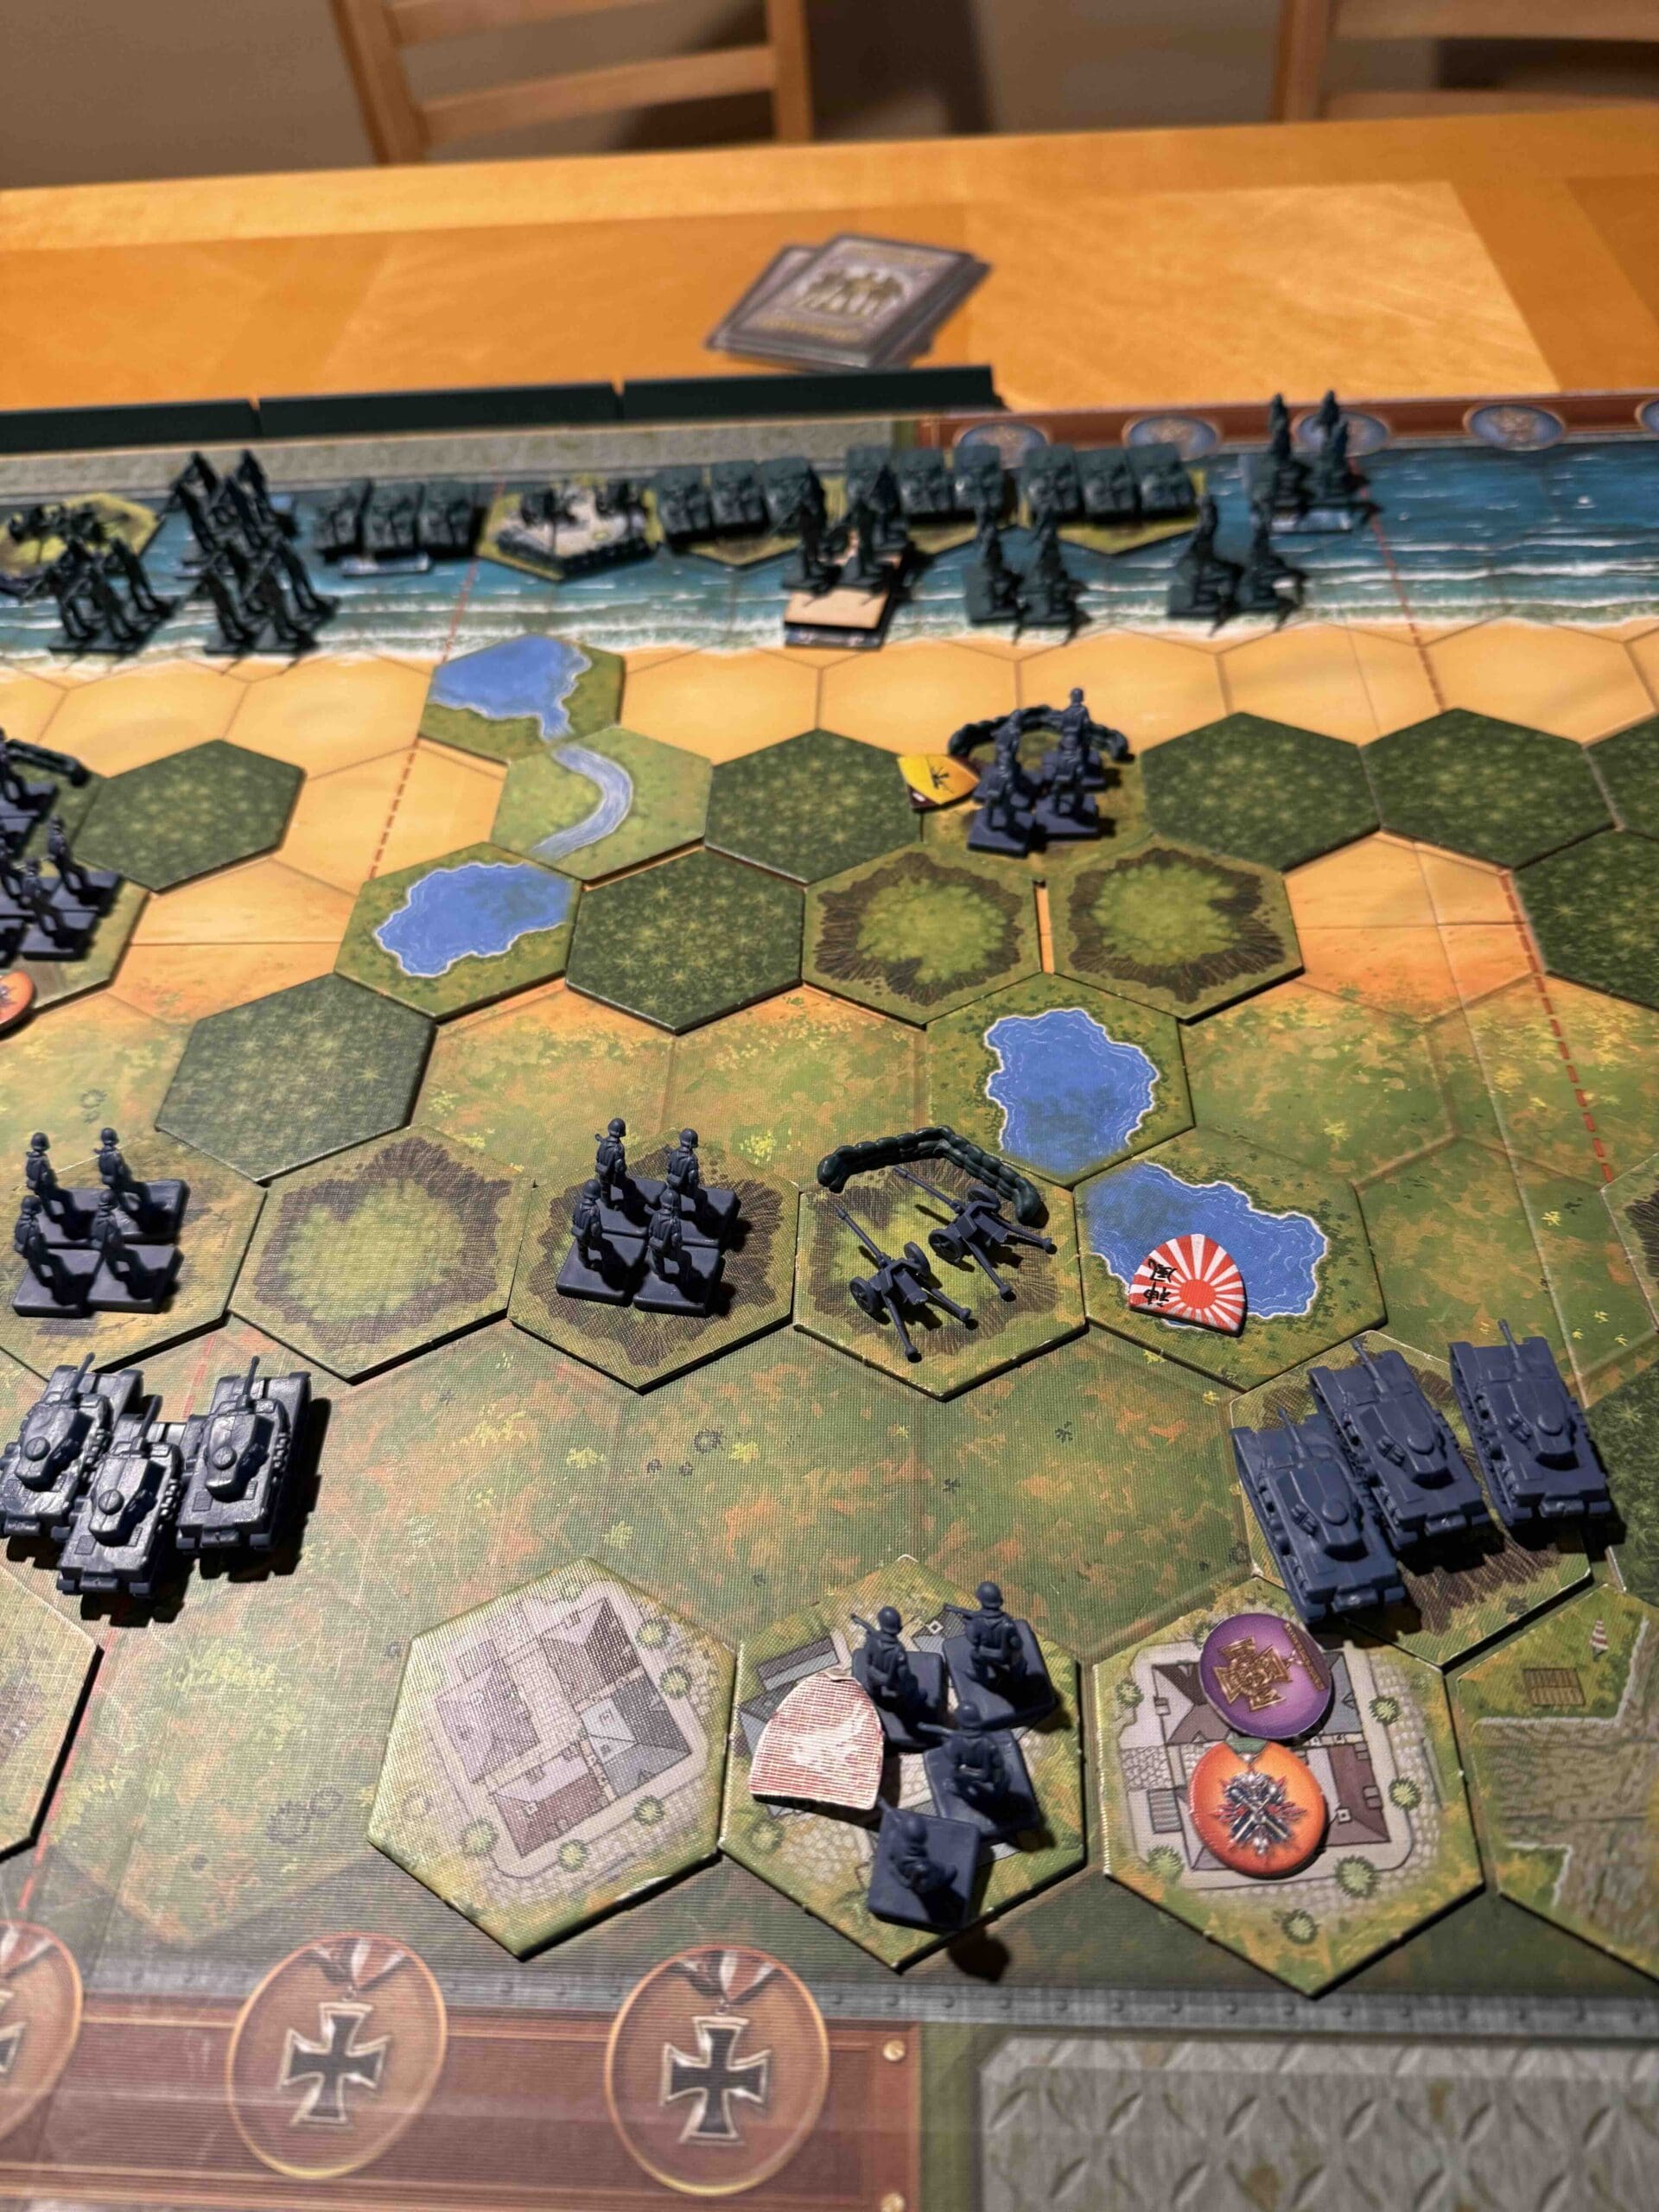
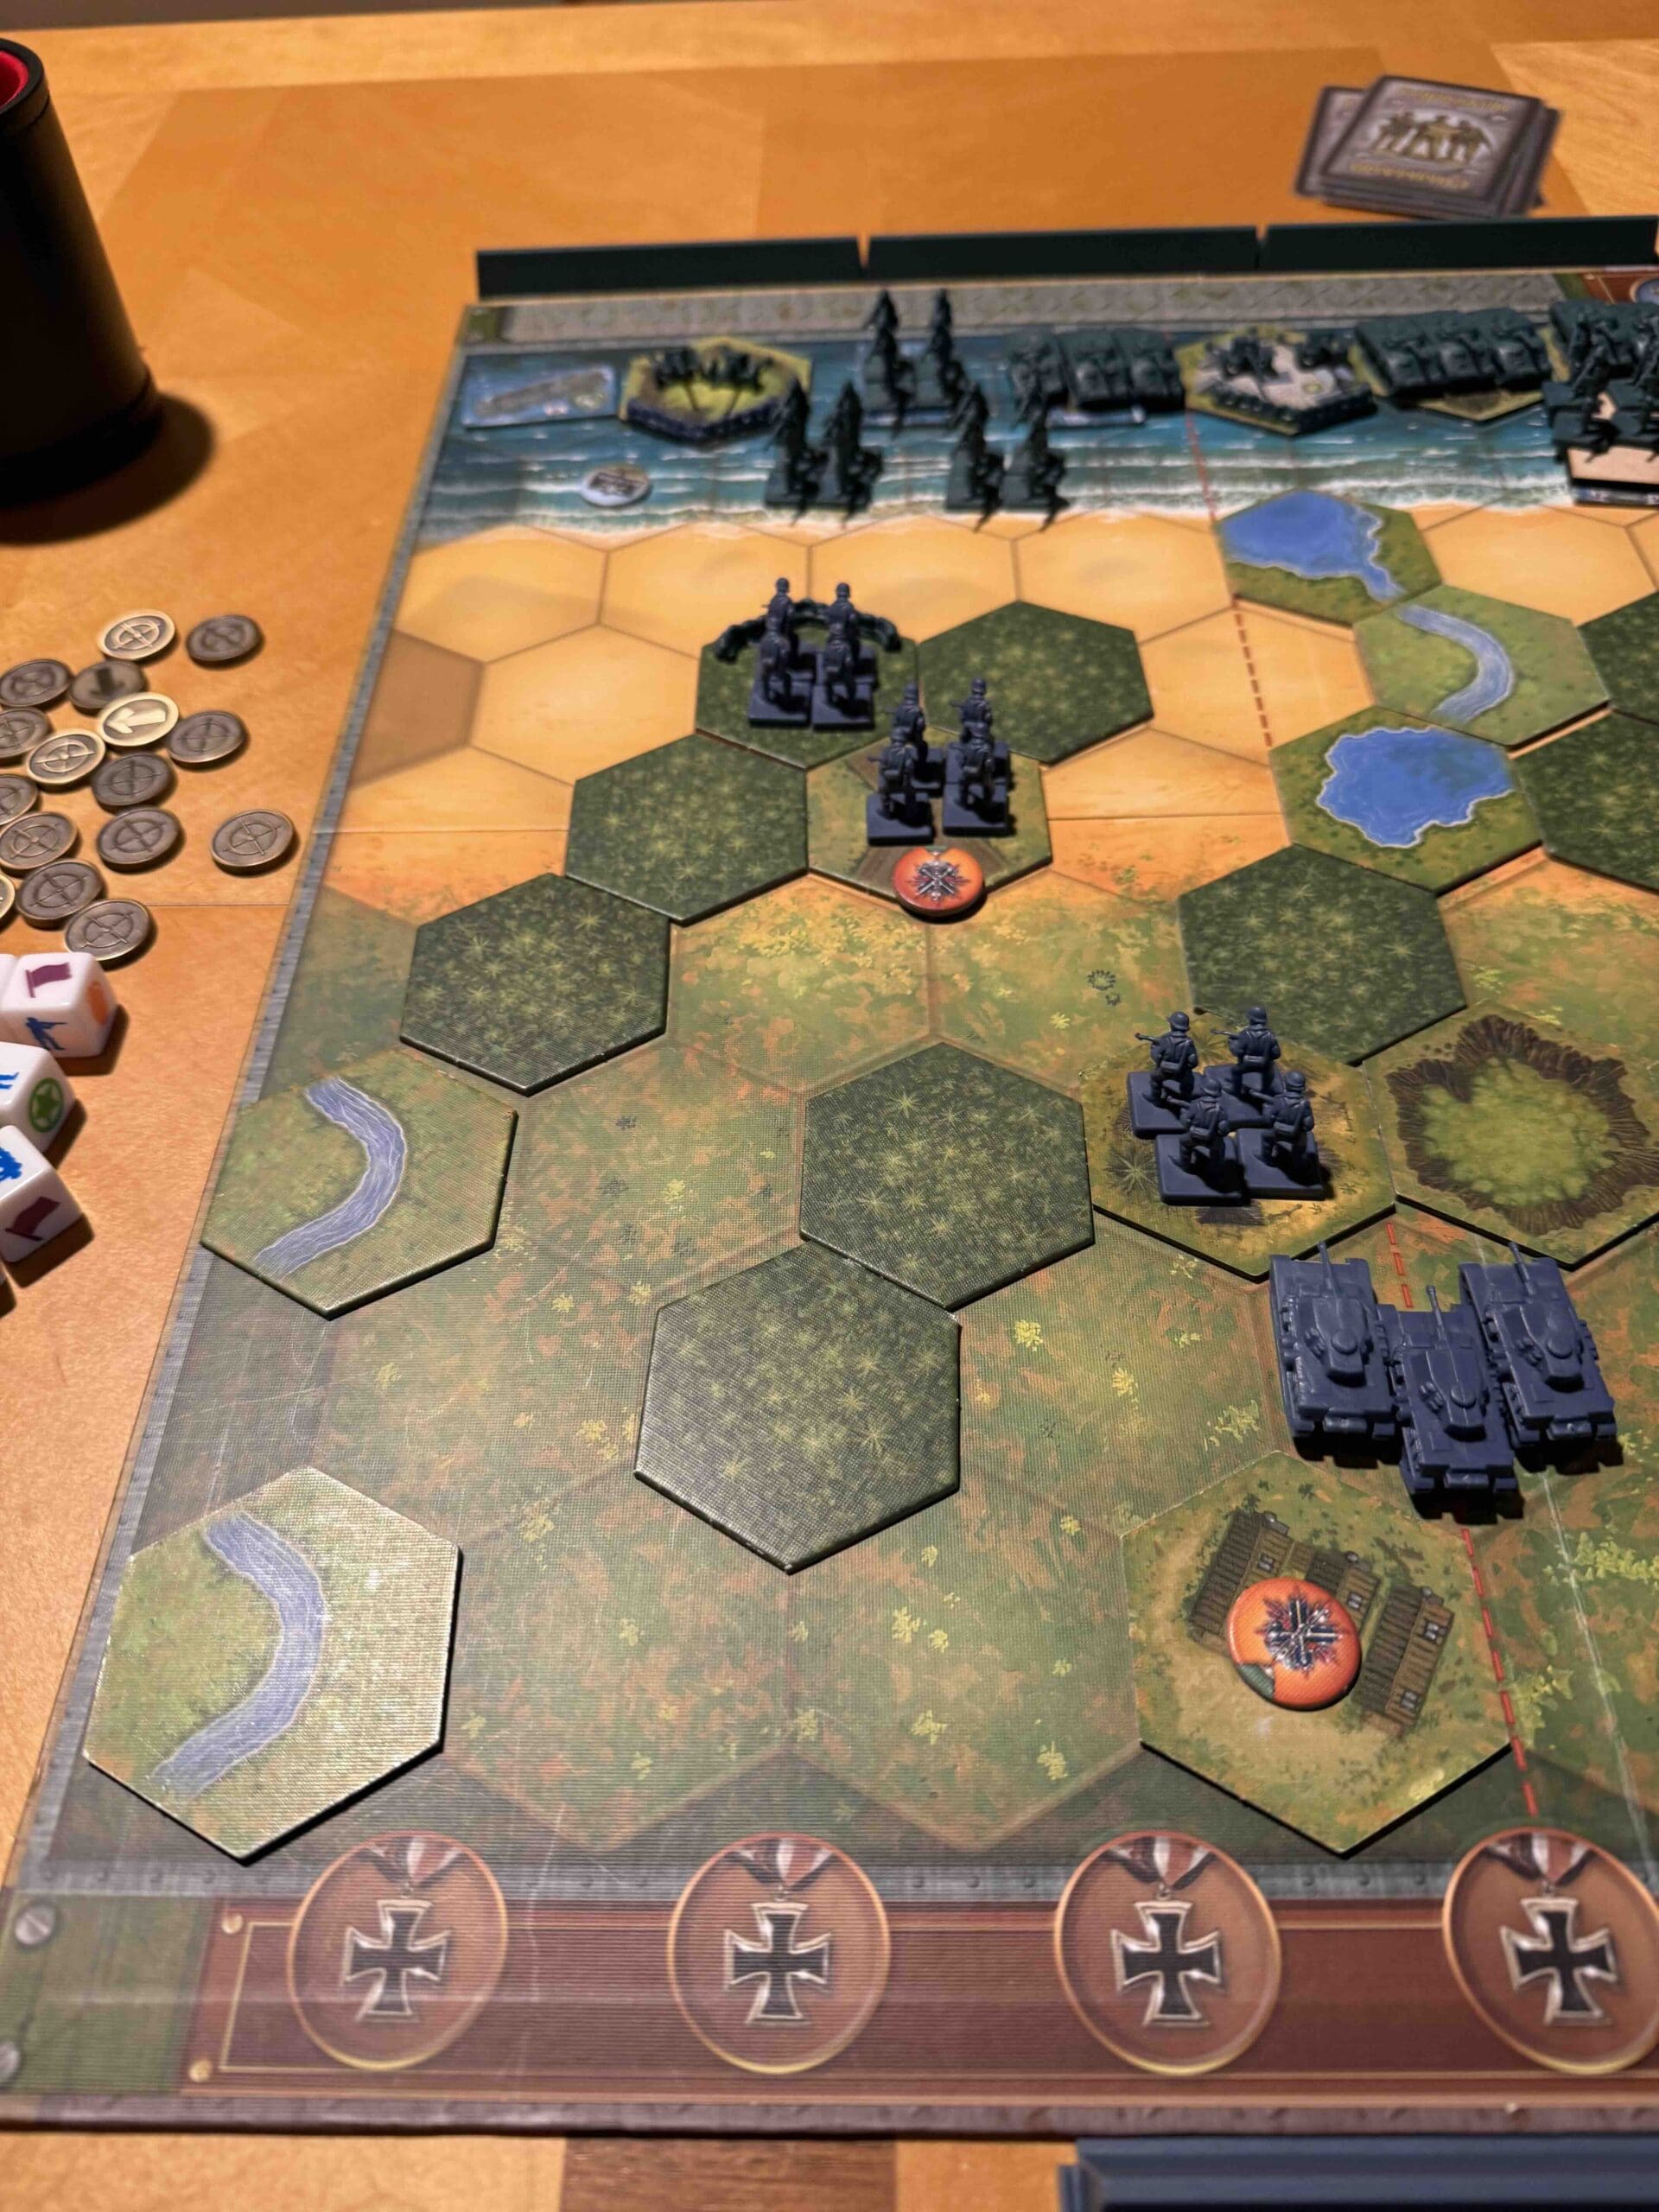
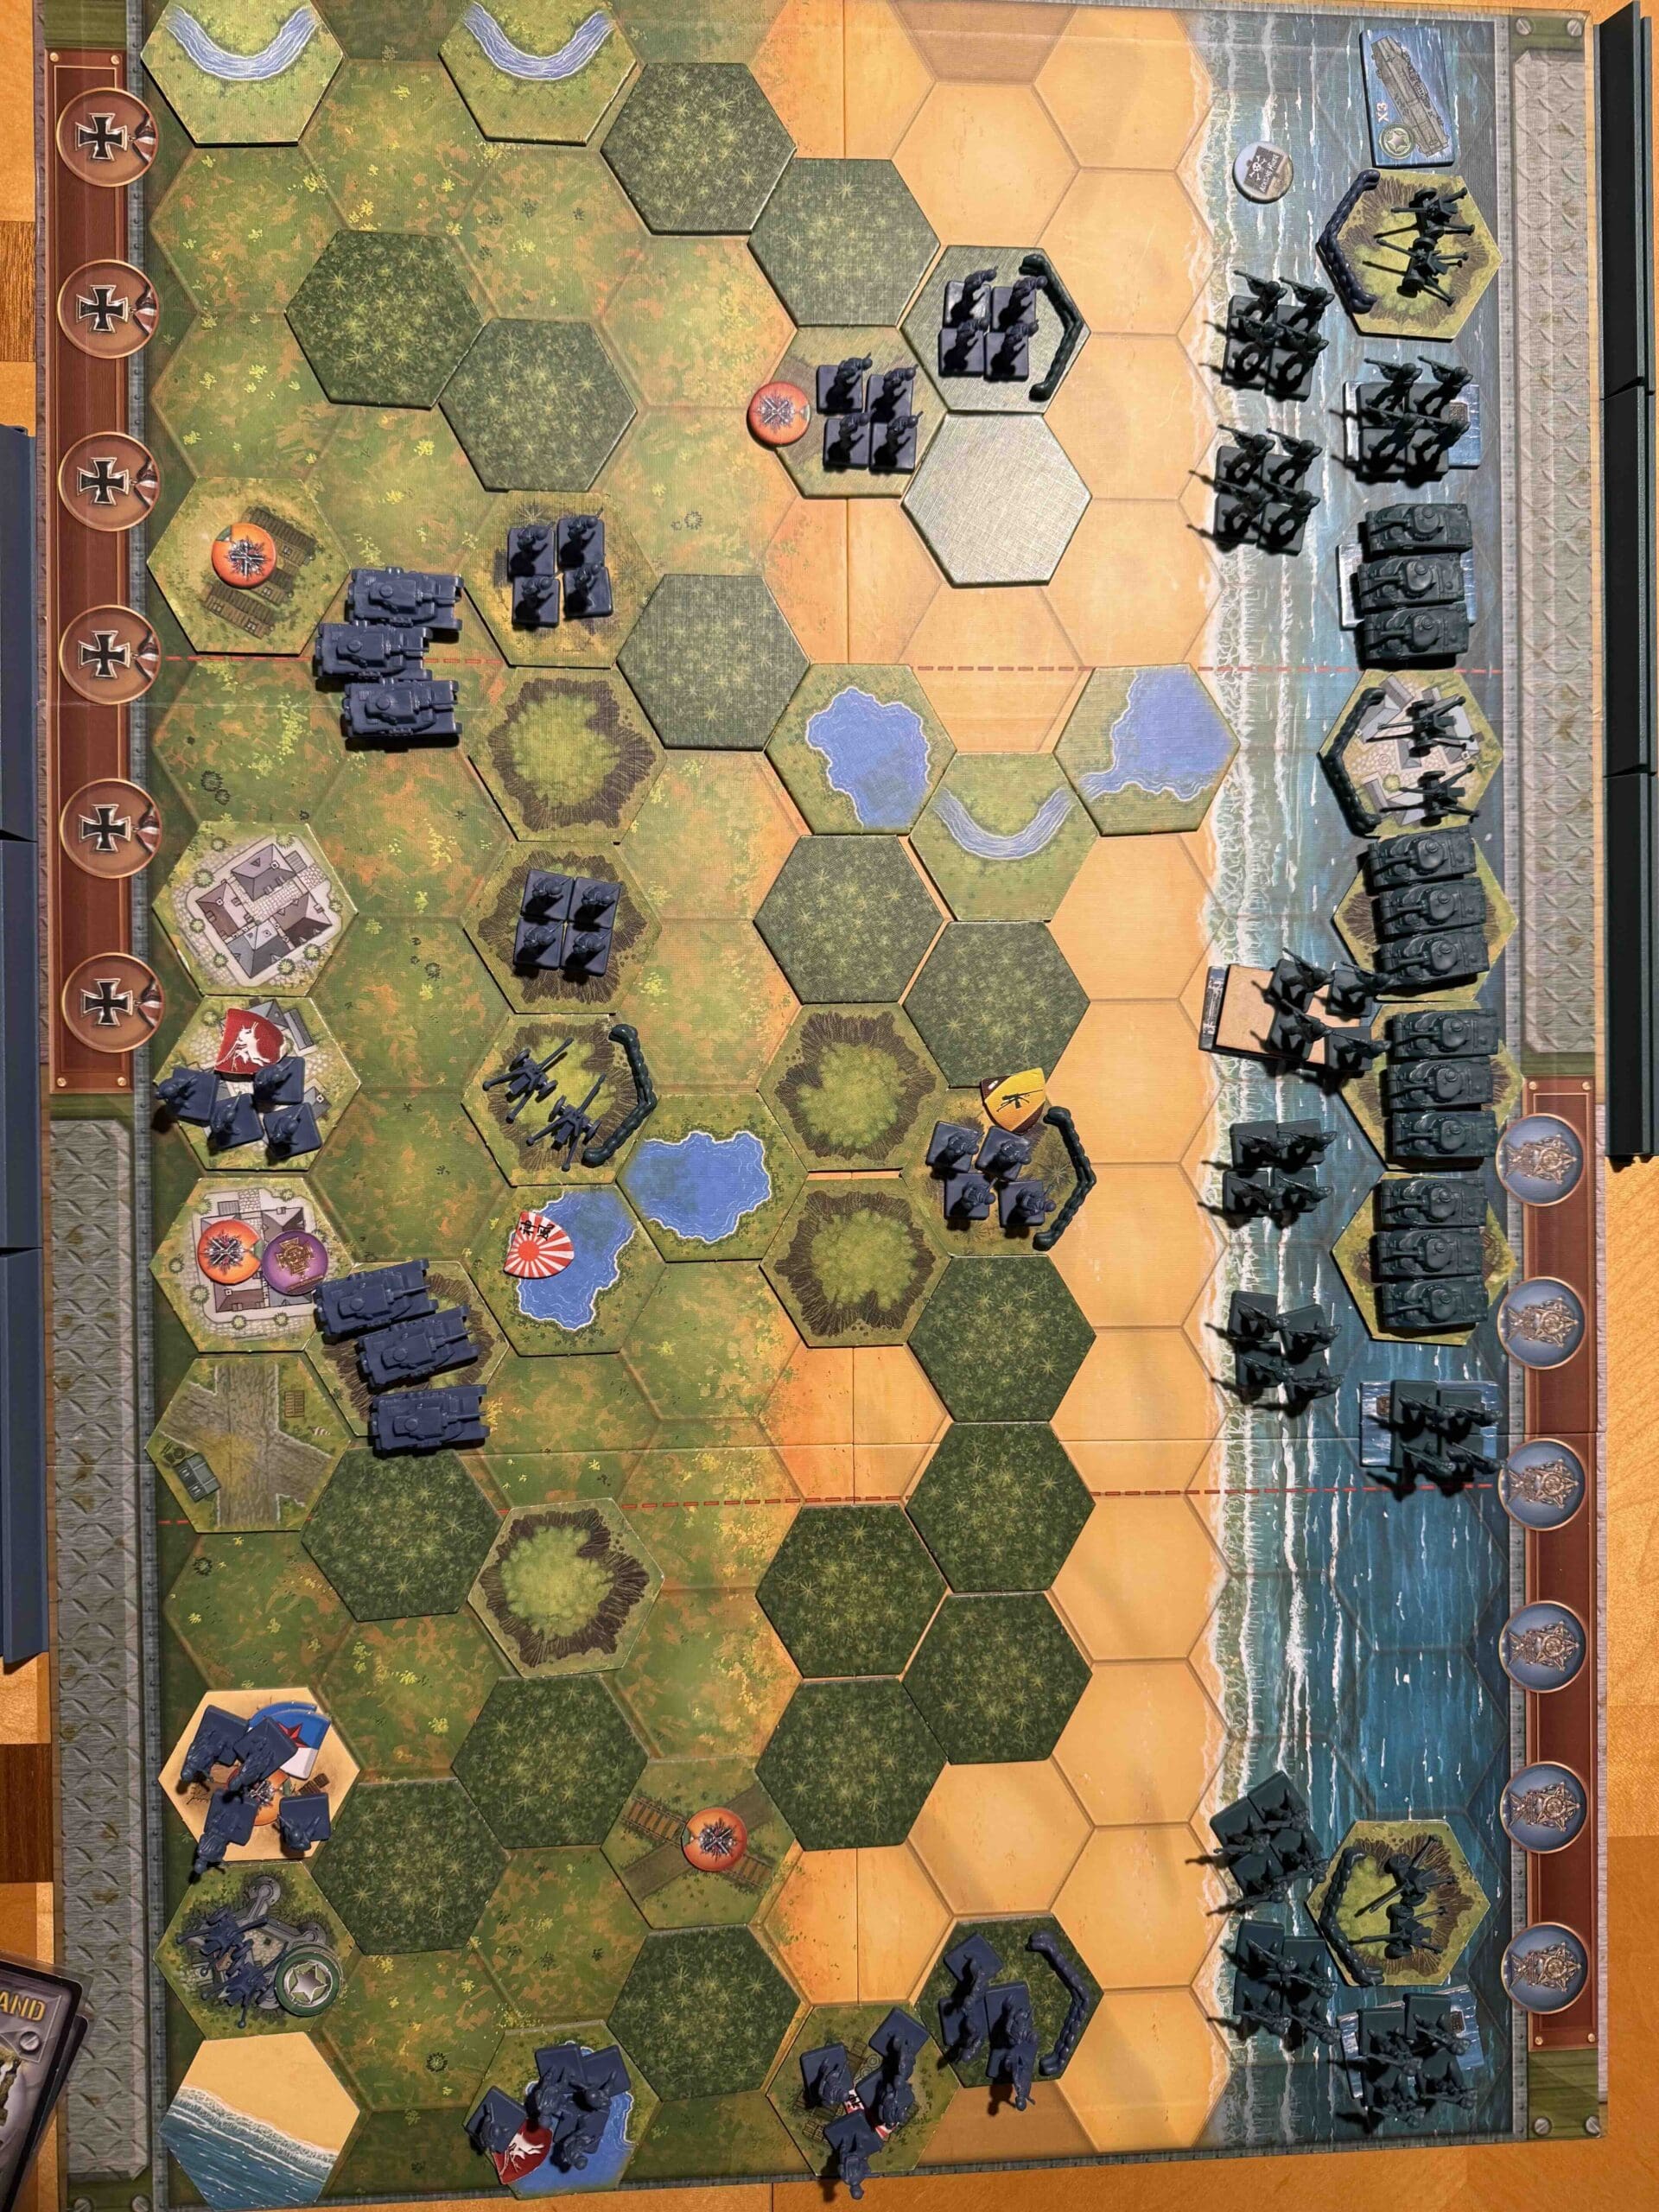
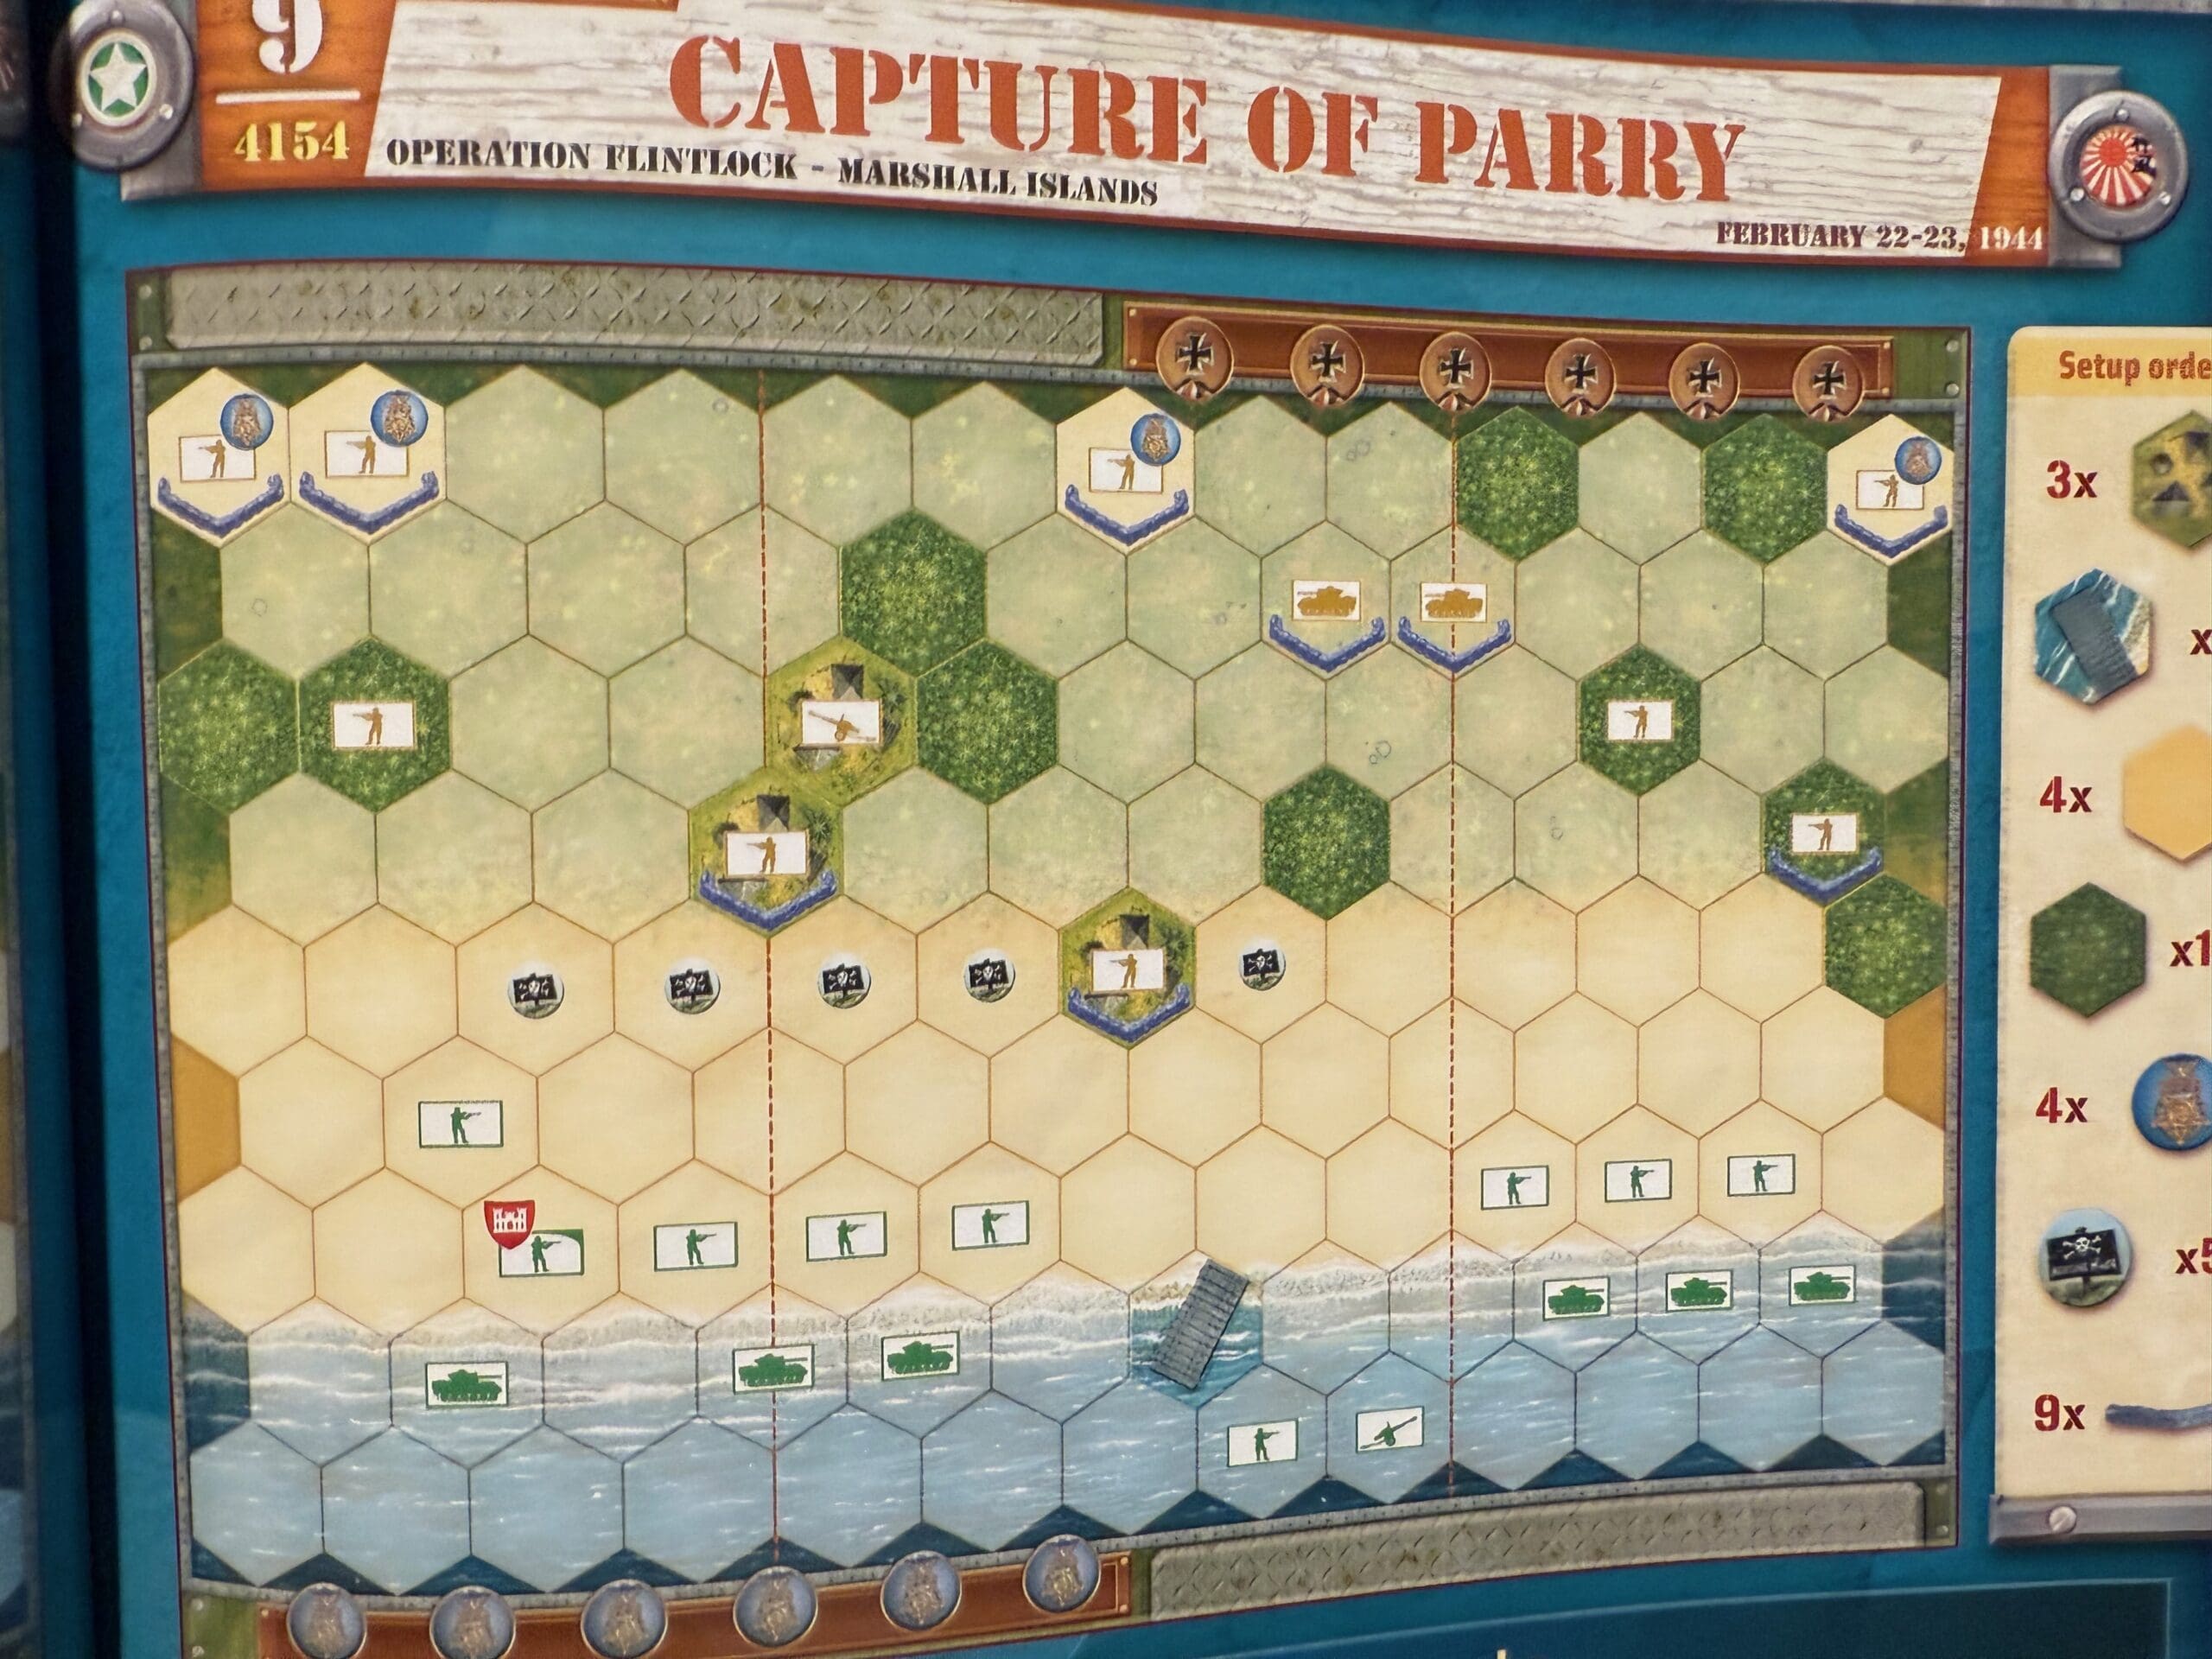
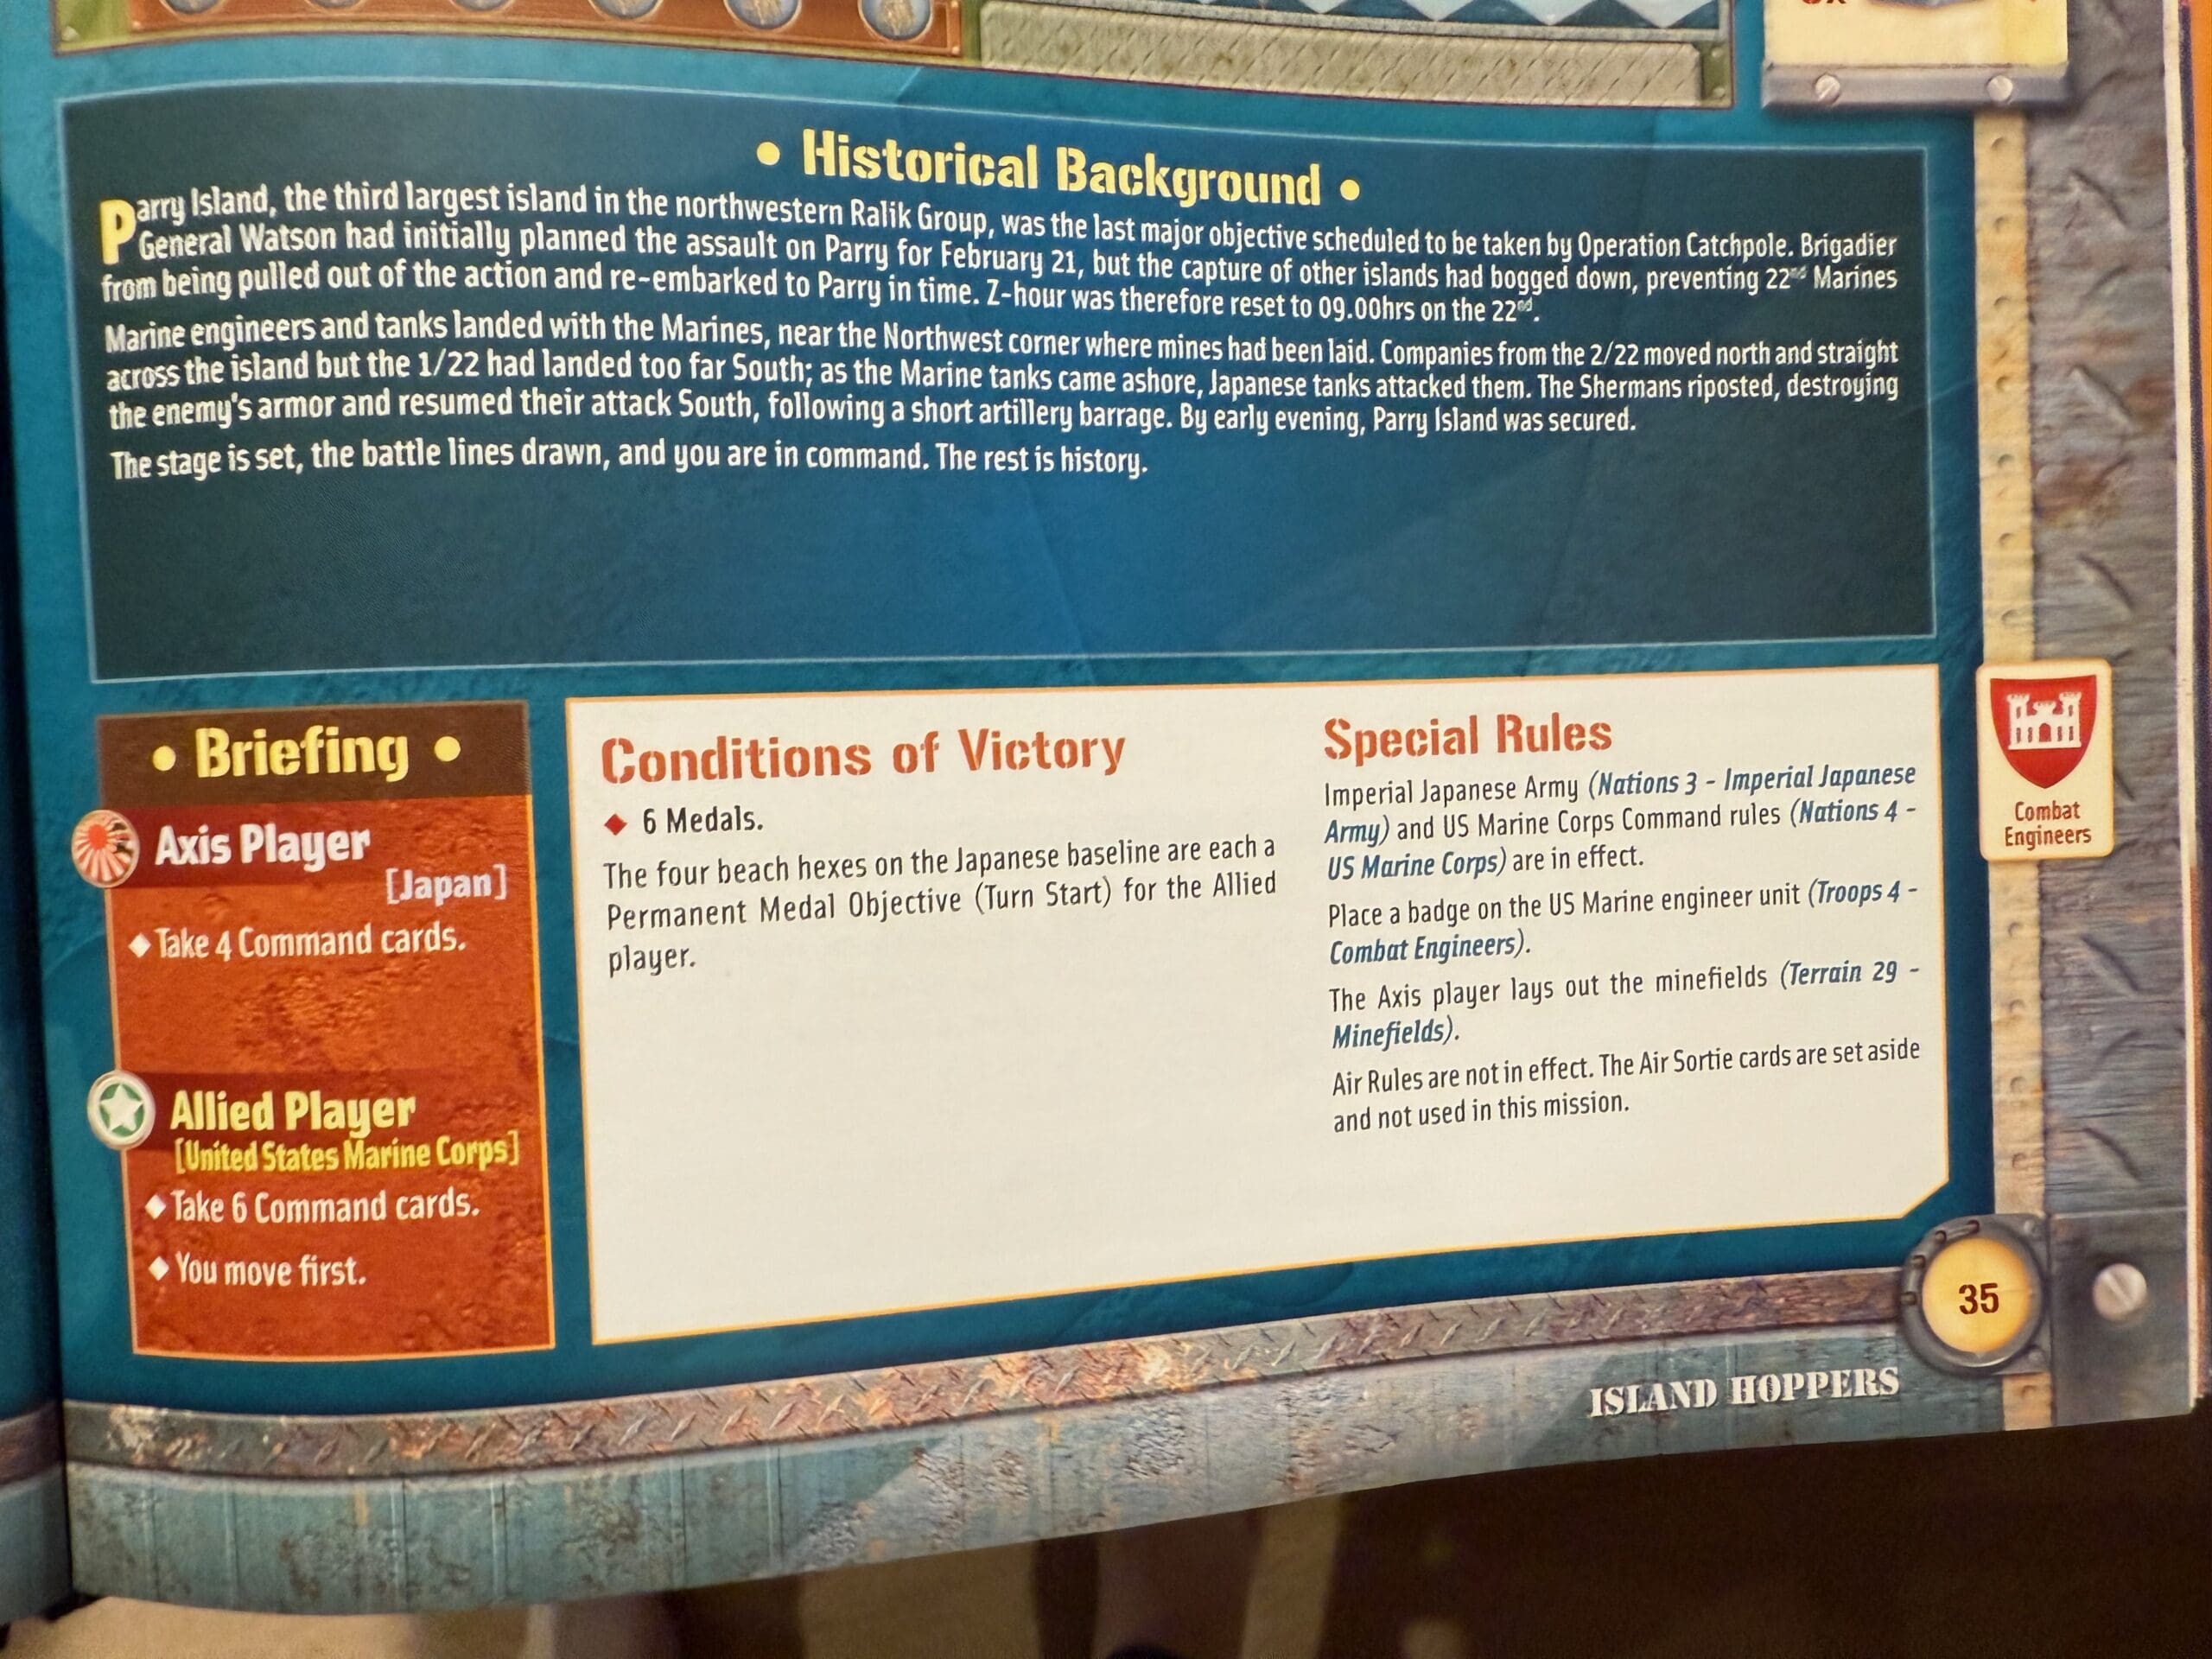
Parry Island was a textbook assault—our 4th Marines hit the beach with tanks rolling, guns blazing, and the Navy pounding from offshore. The enemy was dug in and ready to die, and they did—every last one of them. In just over a day, we turned their fortress into a smoking ruin. That win locked down Kwajalein and put us one step closer to Japan’s front porch. Fast, brutal, and effective—just the way war ought to be fought.
~~ General Howitzer
6 VP’s
![]()
Card Balance:
Allies – 6
Axis – 4
Complexity:
3
Conditions:
Beach & Jungle
Context:
Location:
Marshall Islands
Year:
1944
Theater:
Western
Campaign:
Marshall Islands
Codename:
Operation Flintlock
Summary:
Objectives:
6 VP’s
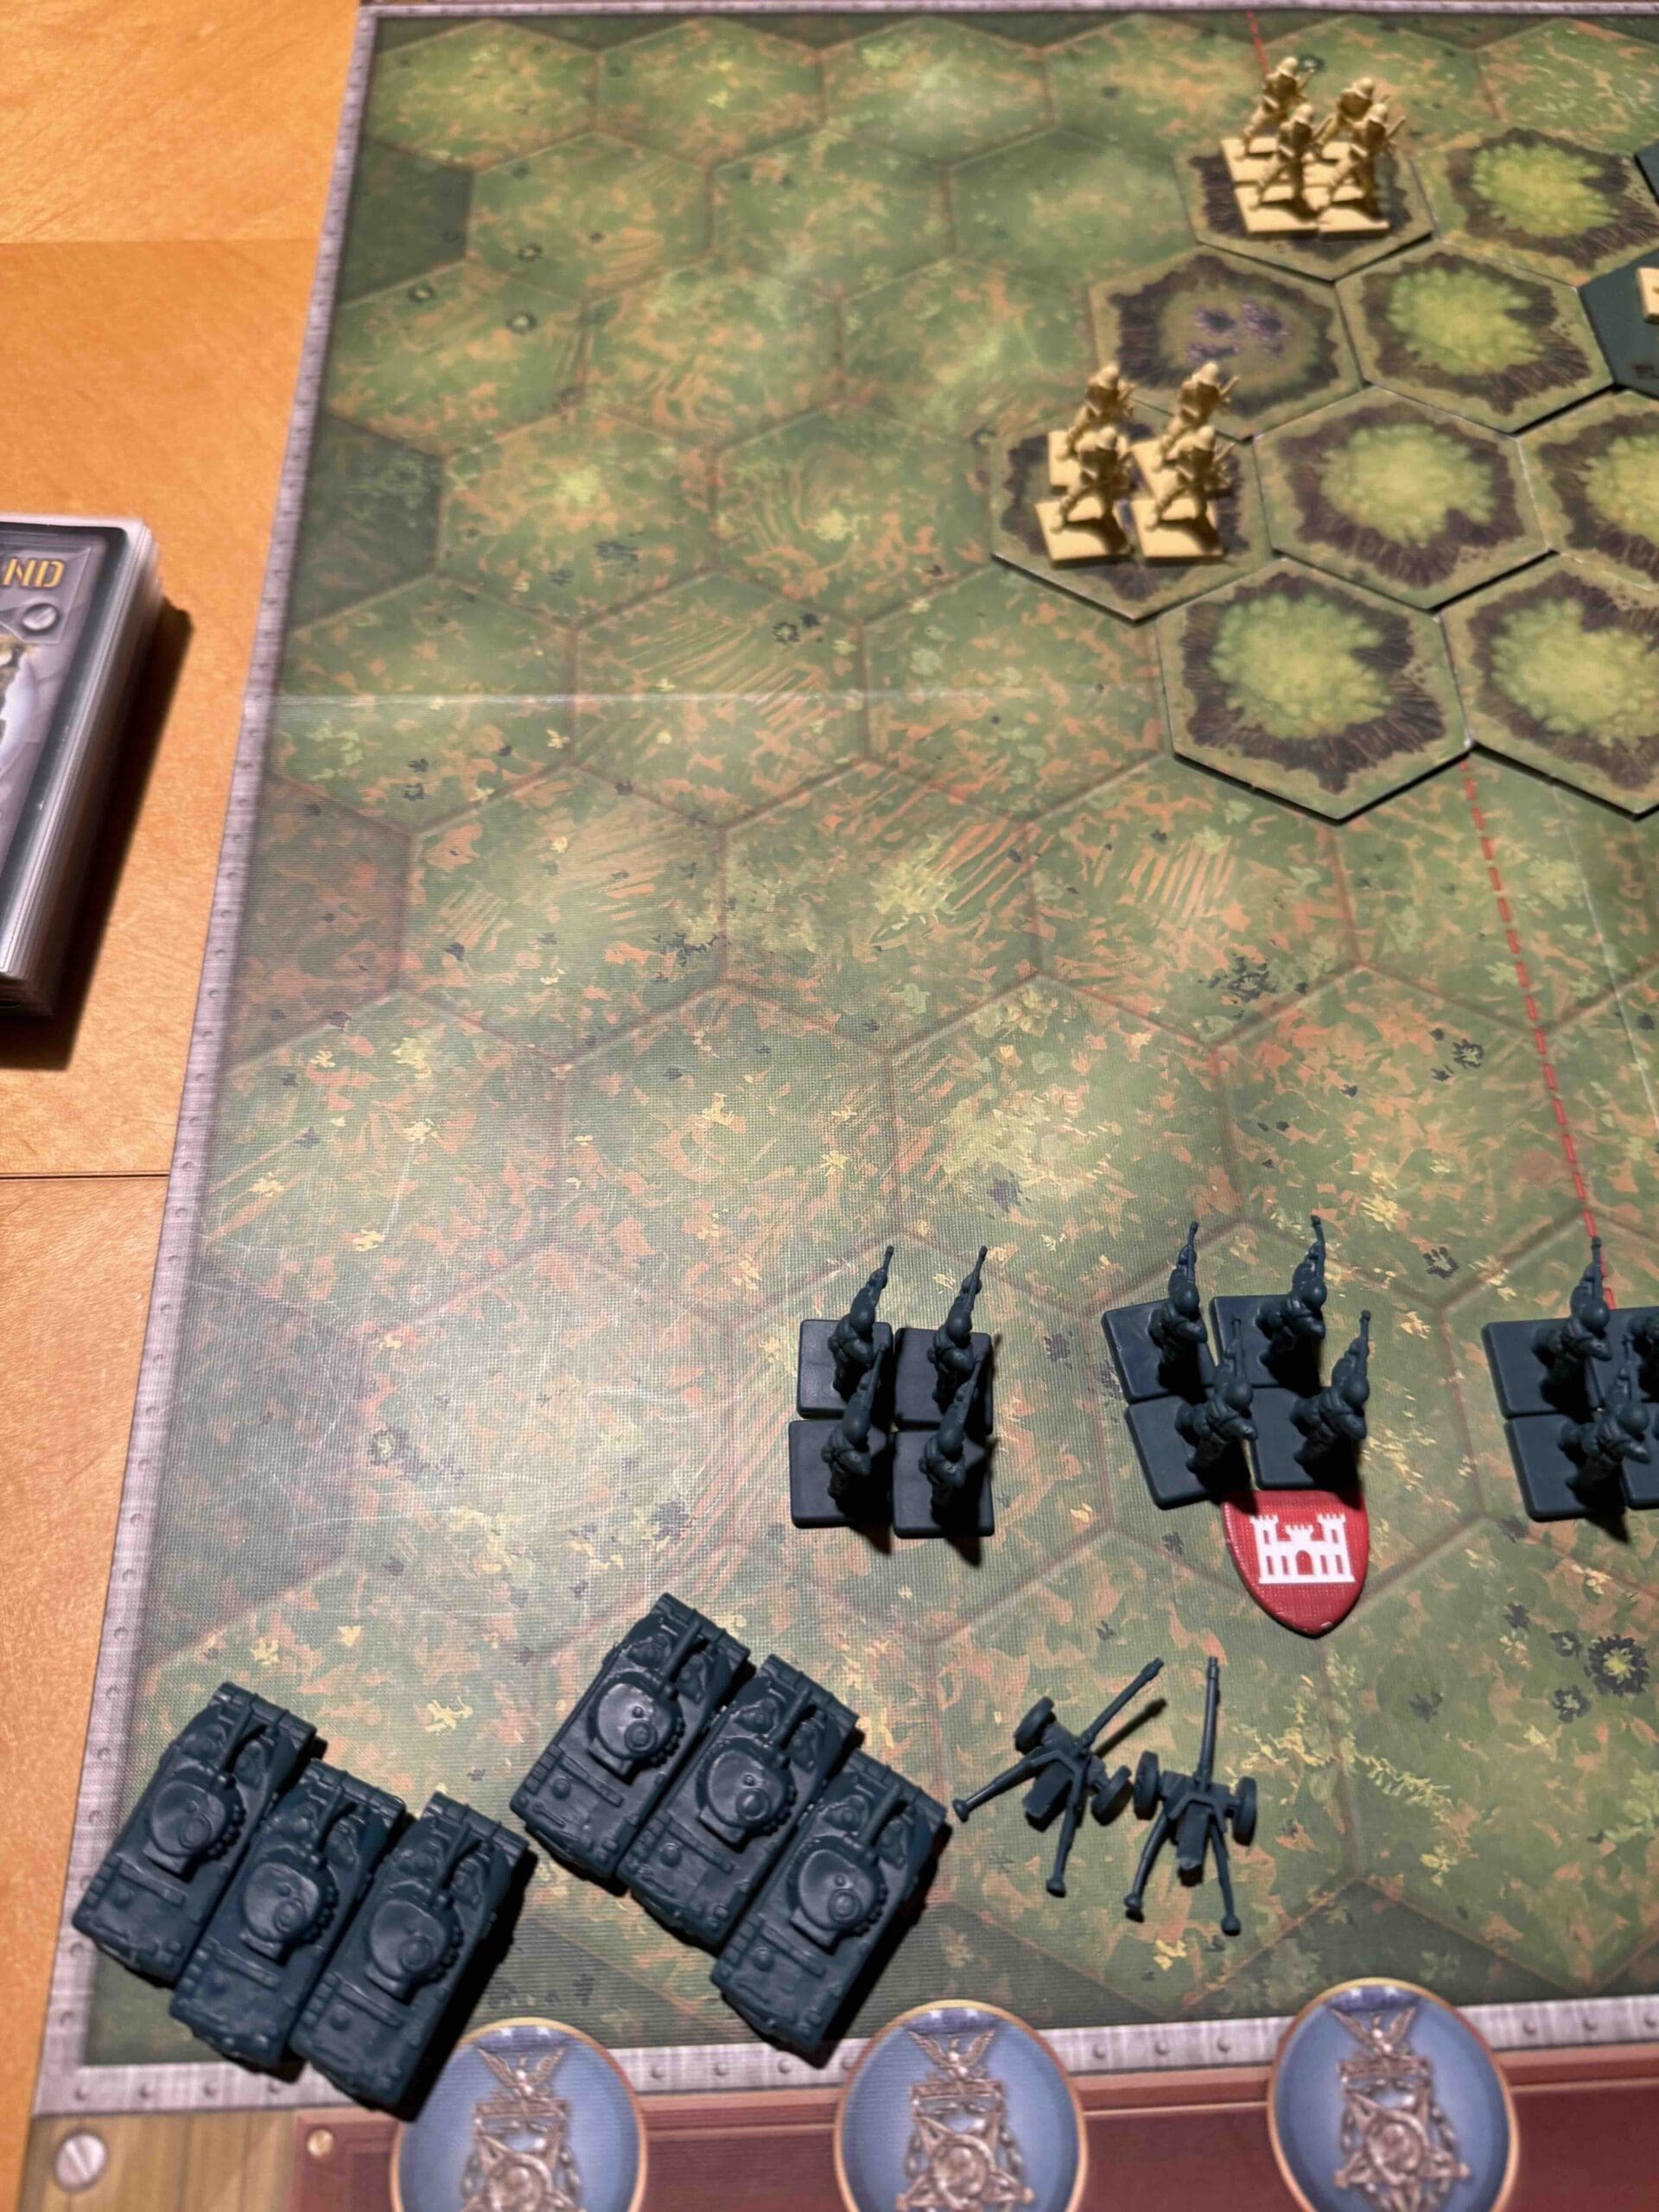
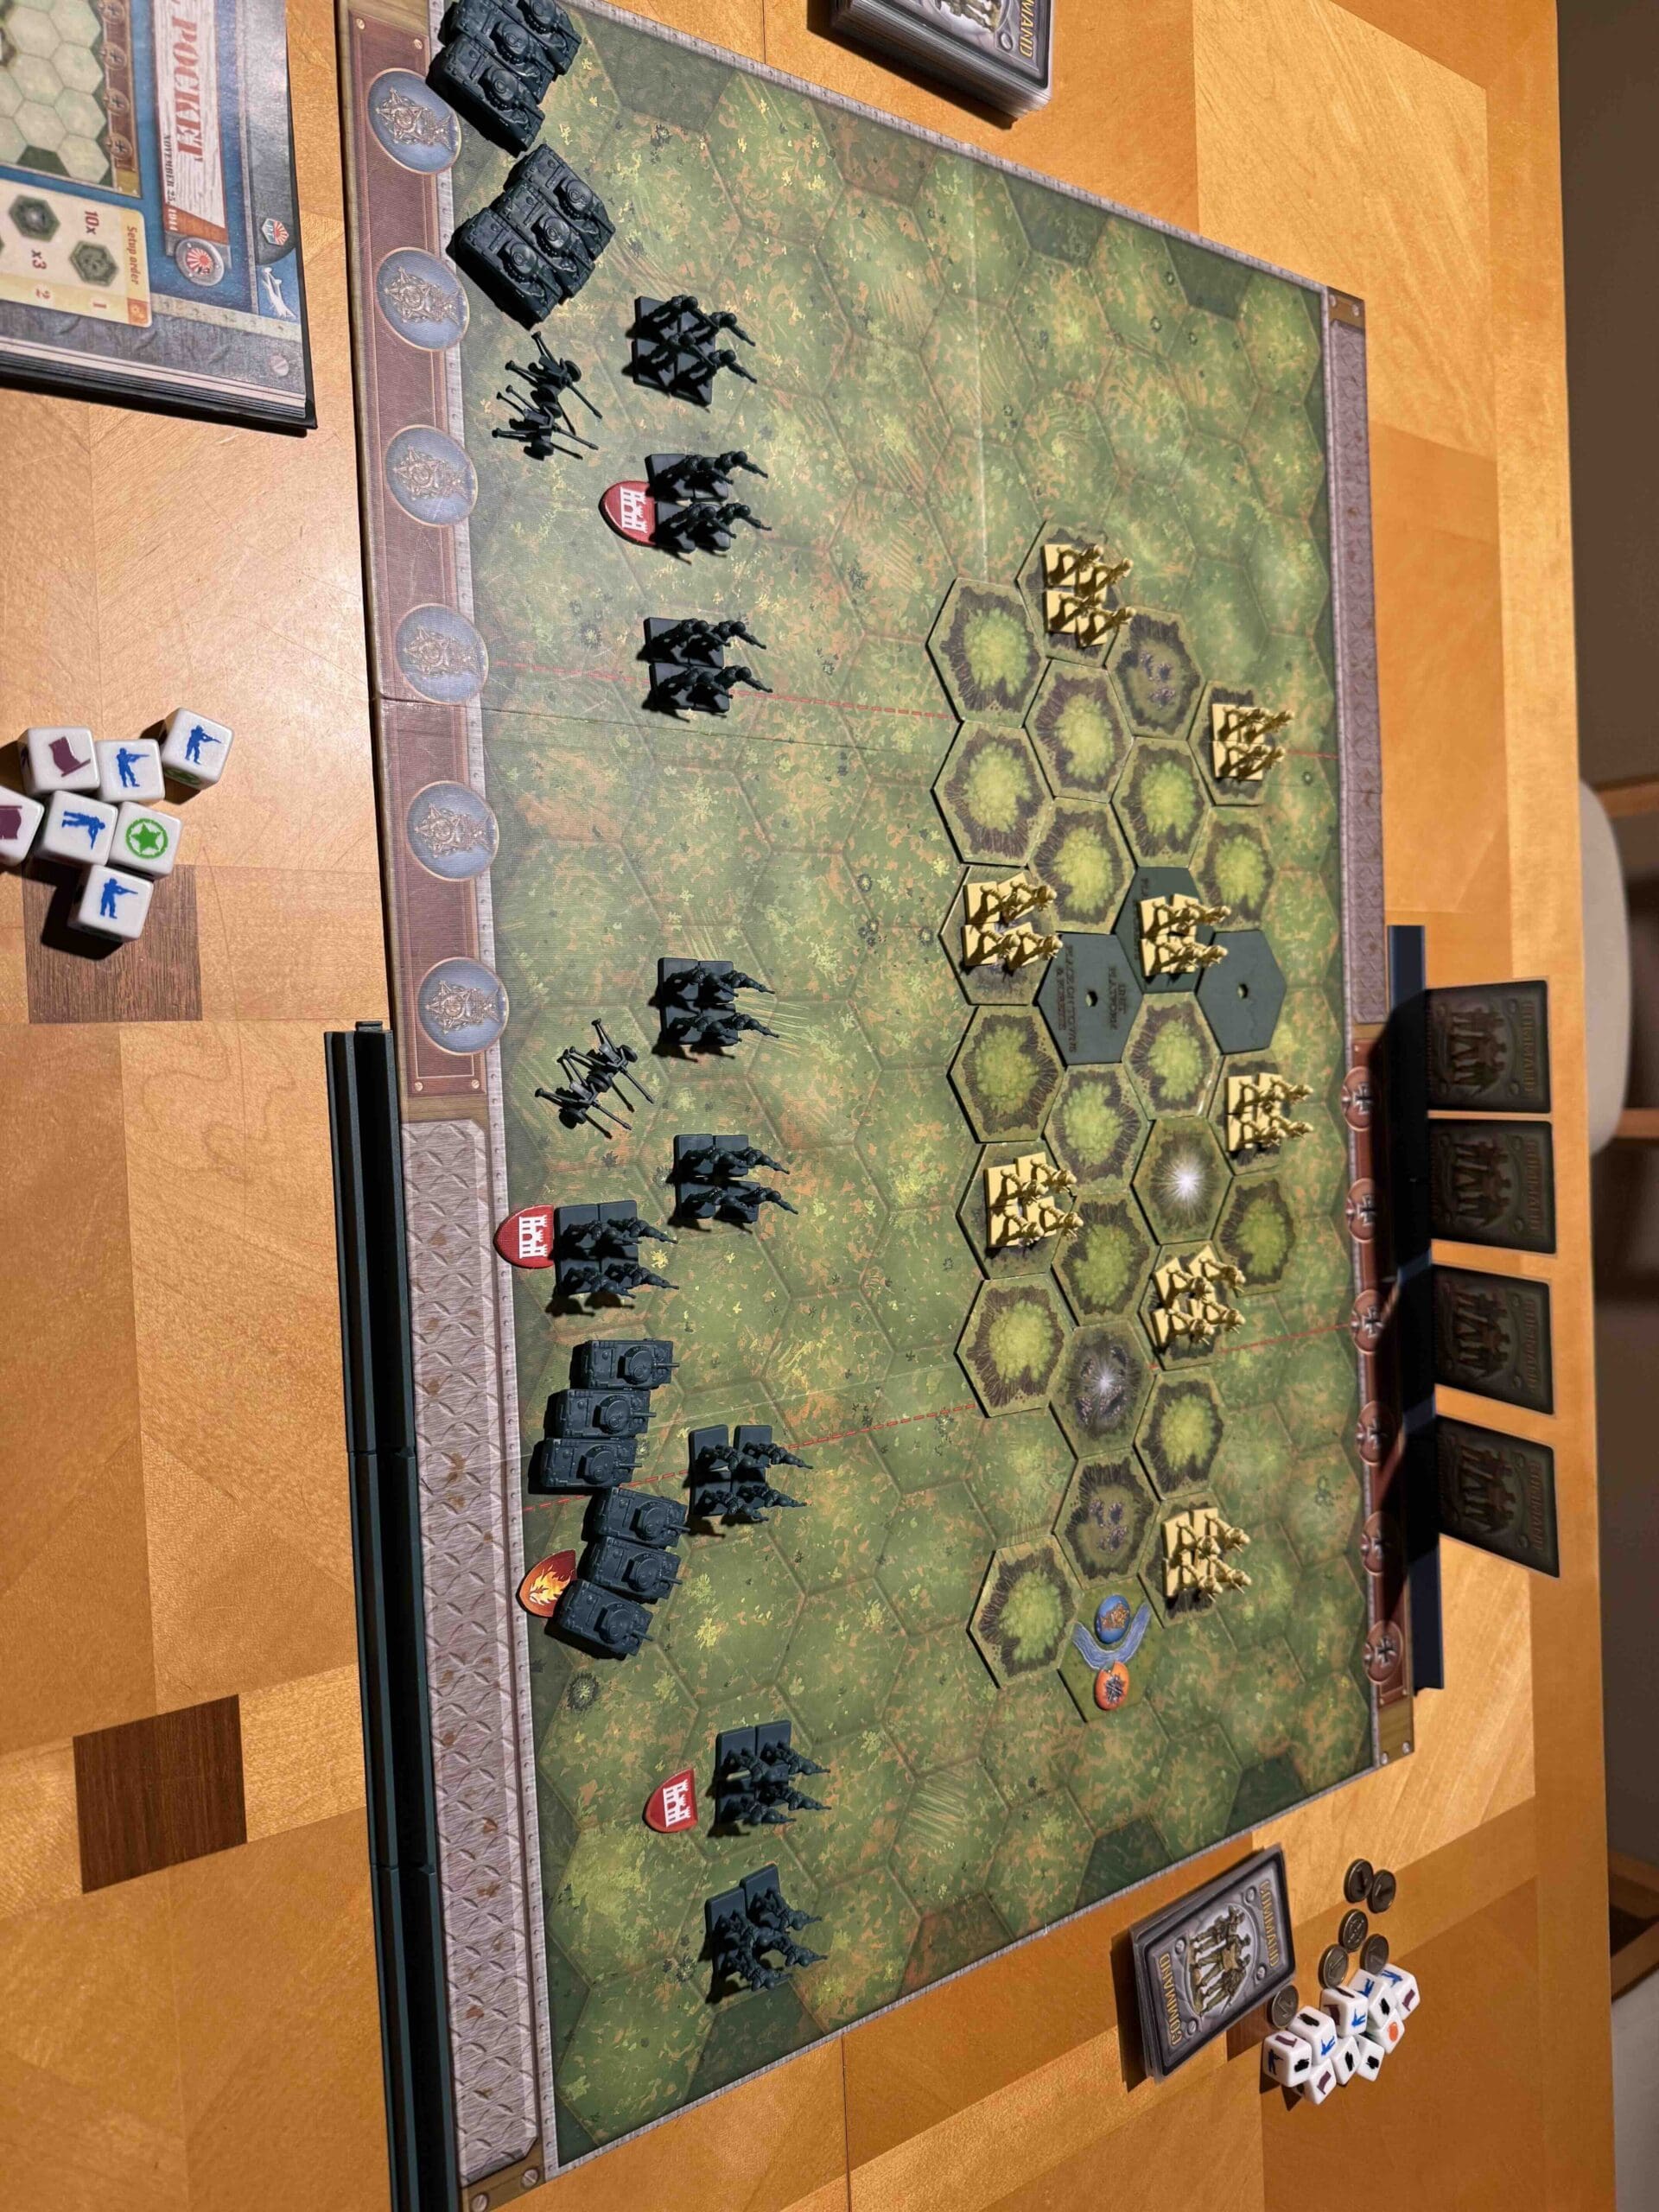
Battlefield:
Beach.
Troops:
Allies – 9 Infantry, 6 Armor, 1 Artillery
Axis – 9 Infantry, 2 Armor, 1 Artillery

Allied Strategy:
1.

Axis Strategy
1.
Battle Reports
Author:
Days of Wonder
Resource:
Campaign Book, Volume 2