Payback! – Operation Bagration, Phase 1
Payback! - Operation Bagration, Phase 1

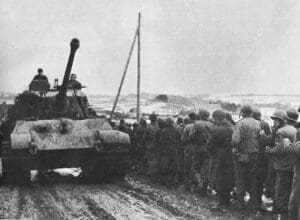
Exactly 4 years after the Nazi invasion of the Soviet Union, the Russians were now ready to pay back the Germans in kind! The Allies had finally landed in France and the German forces were stretched thin. Moreover, an elaborate campaign of deception had the Germans convinced the Russian Summer Offensive would be launched further to the South in Ukraine. Therefore, Army Group Center had been stripped of much of its armour and artillery. The main objective of the offensive was to liberate Belorussia and its capital Minsk. The success was to prove so enormous, however, that by the end of Operation Bagration the Soviets found themselves at the gates of Warsaw and the shores of the Baltic. German Army Group Center, which three years earlier, had come so close to capturing Moscow, had ceased to exist. Will you be able to duplicate this success as the Russian player or will you be able to slow them down and thereby save a substantial number of German troops, playing the Germans? The battle lines are drawn, you are in command and the rest is history!
36 VP’s (!)
![]()
Card Balance:
Allies –
- Allied player [ Soviet Union ]
- 6 Command cards for each Breakthrough board
- You move first.
Axis –
- Axis player [ Germany ]
- Start with 3 Command cards for each Breakthrough board
- Draw 2 cards each turn until you have 5 for each Breakthrough board
Complexity:
5
Conditions:
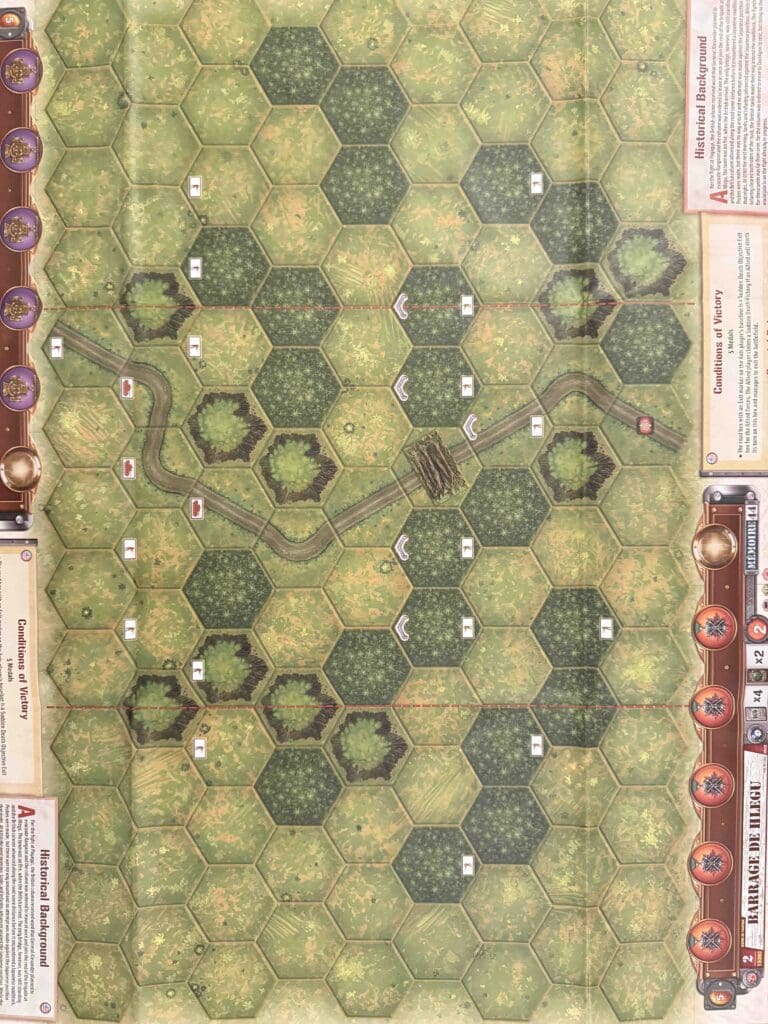
Countryside

Context:
Historical
Location:
Year:
1944
Theater:
Eastern Front
Campaign:
Codename:
Operation Bagration
Summary:
Objectives:
36 VP’s, plus many other conditions. Read the PDF special rules.
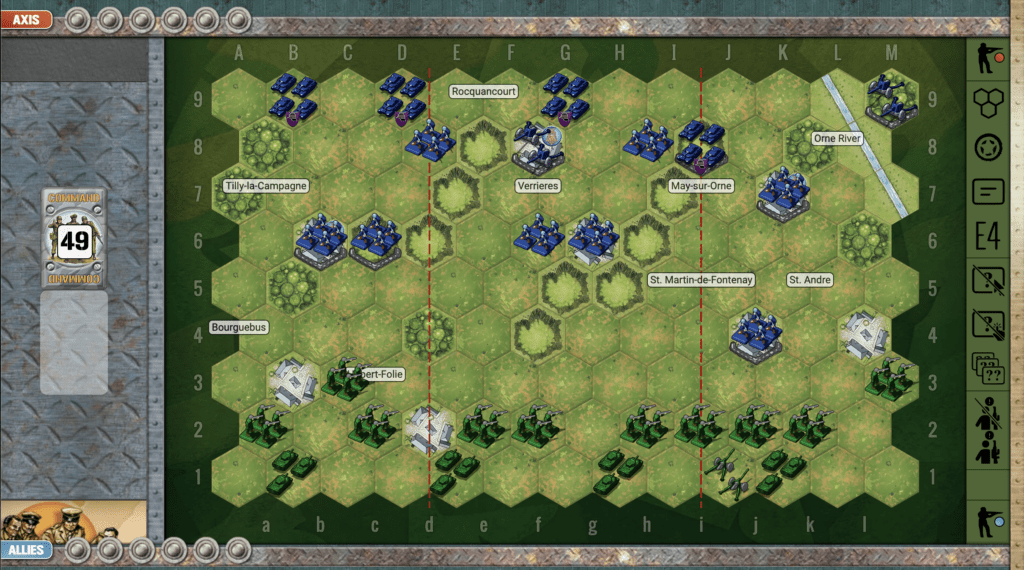
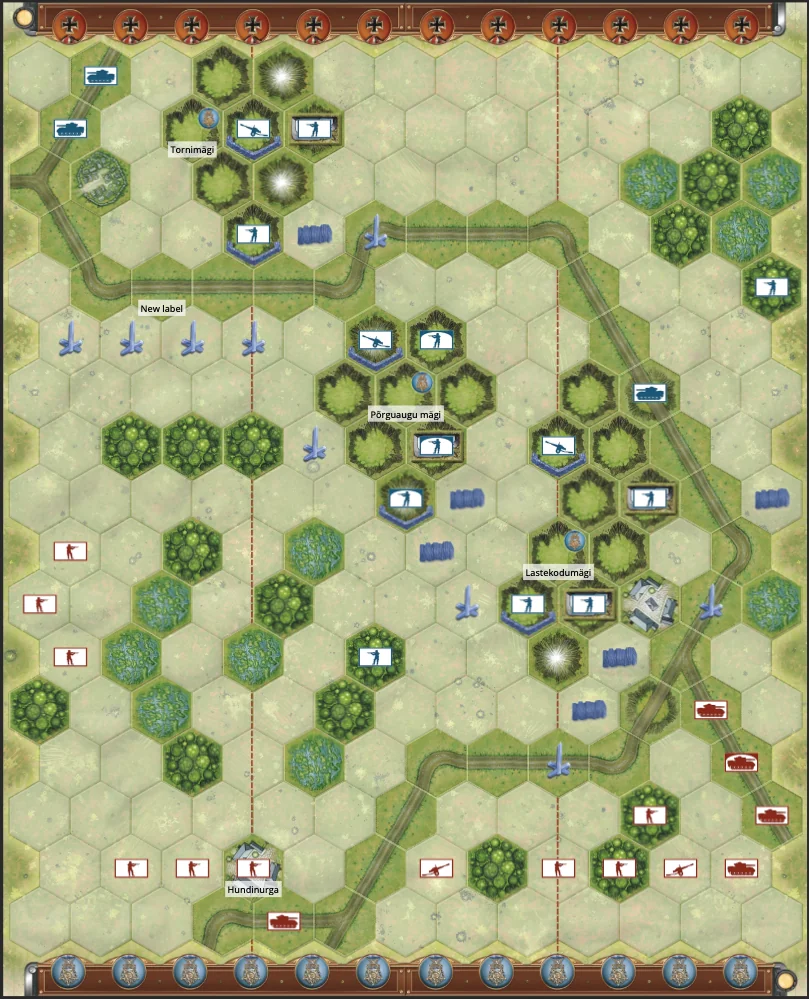
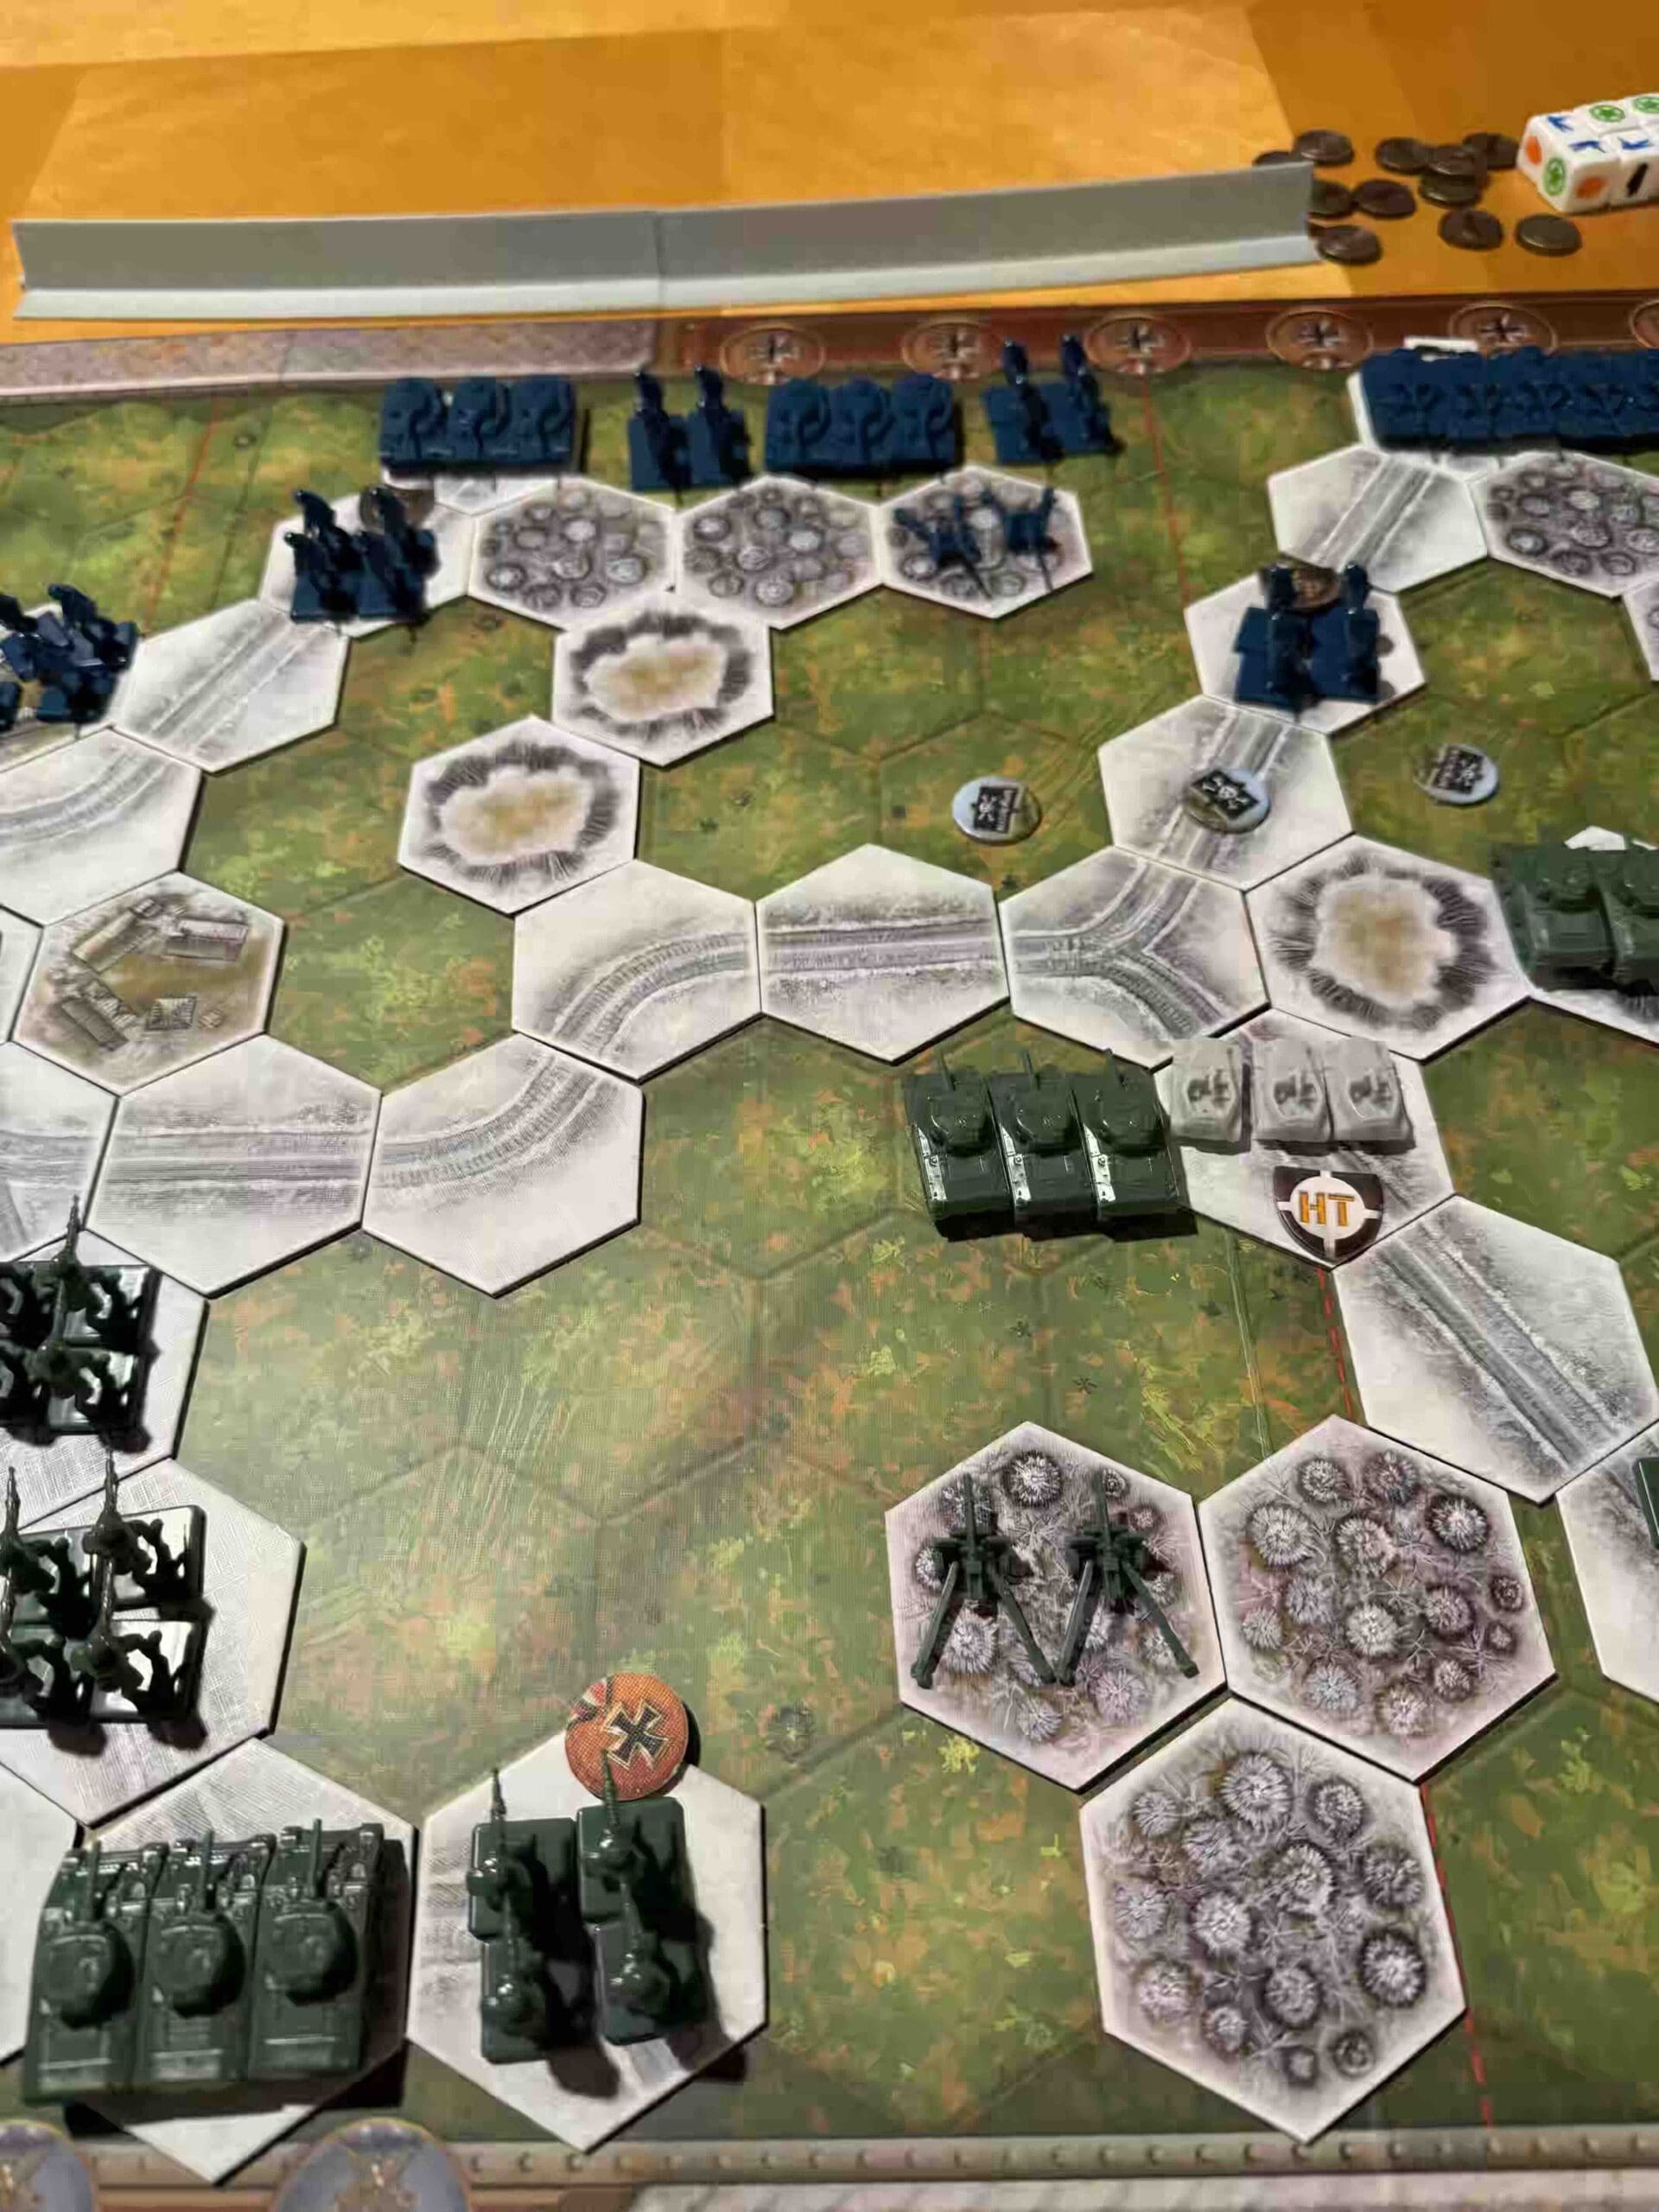
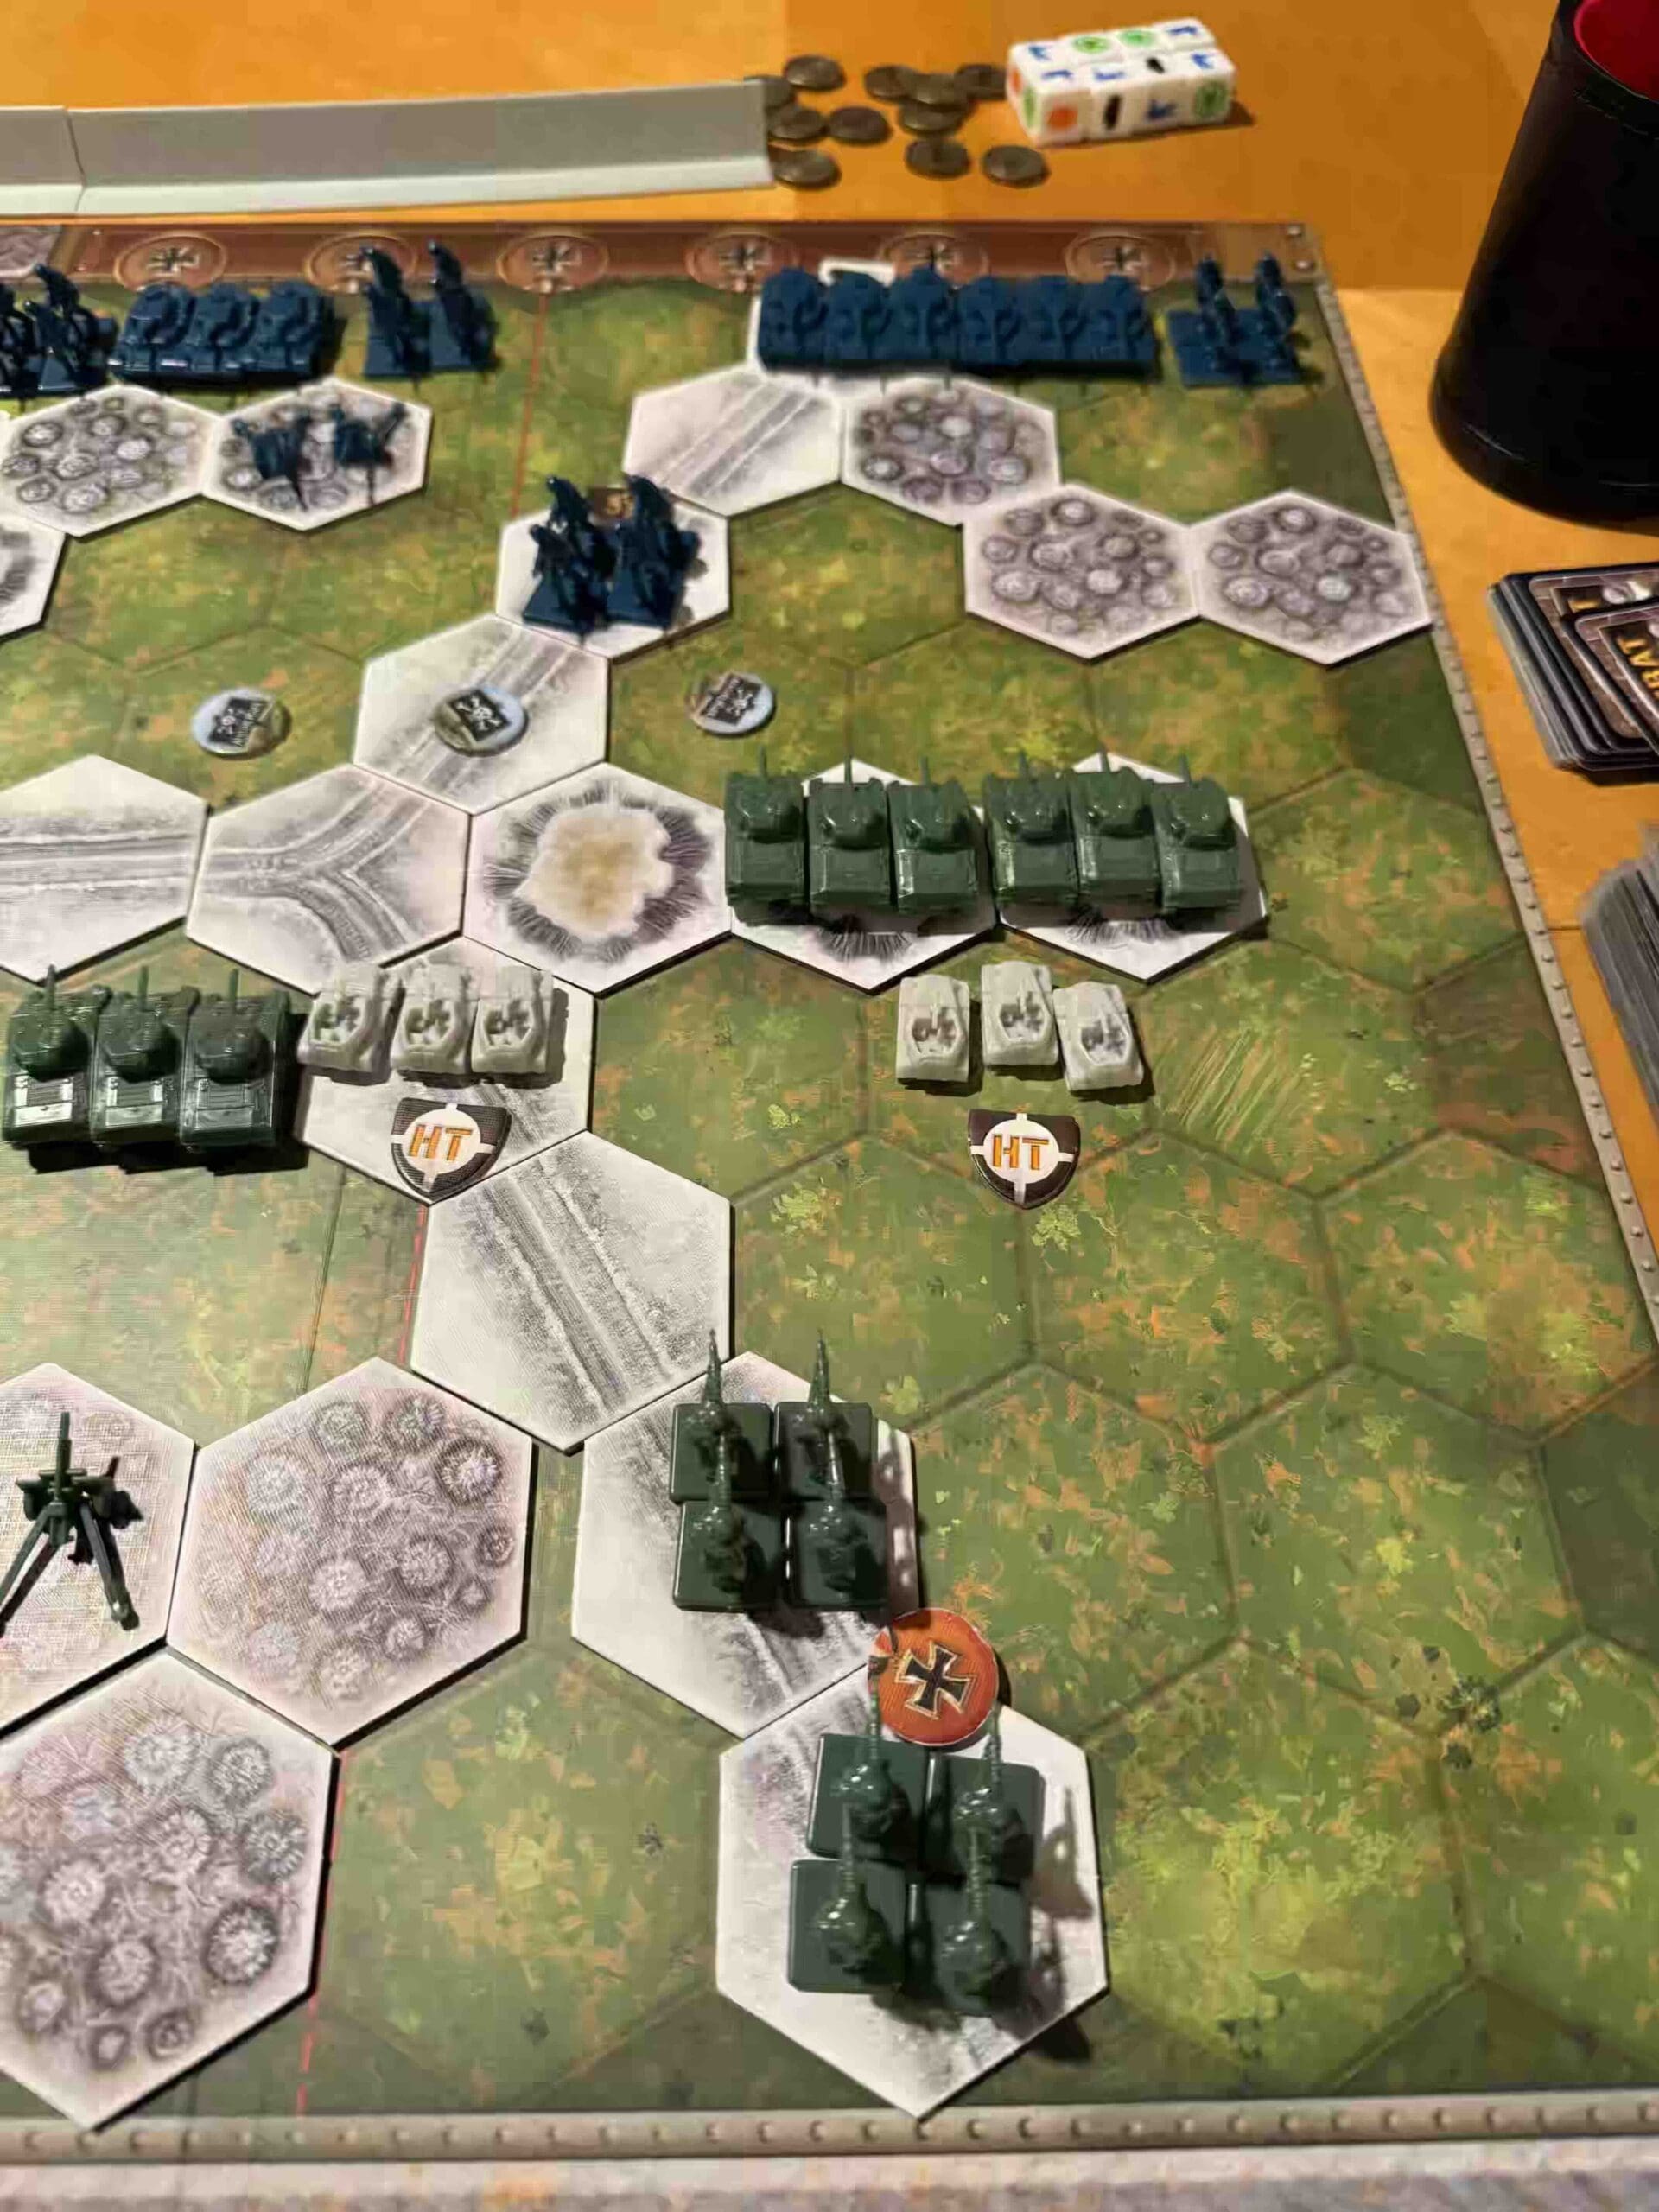
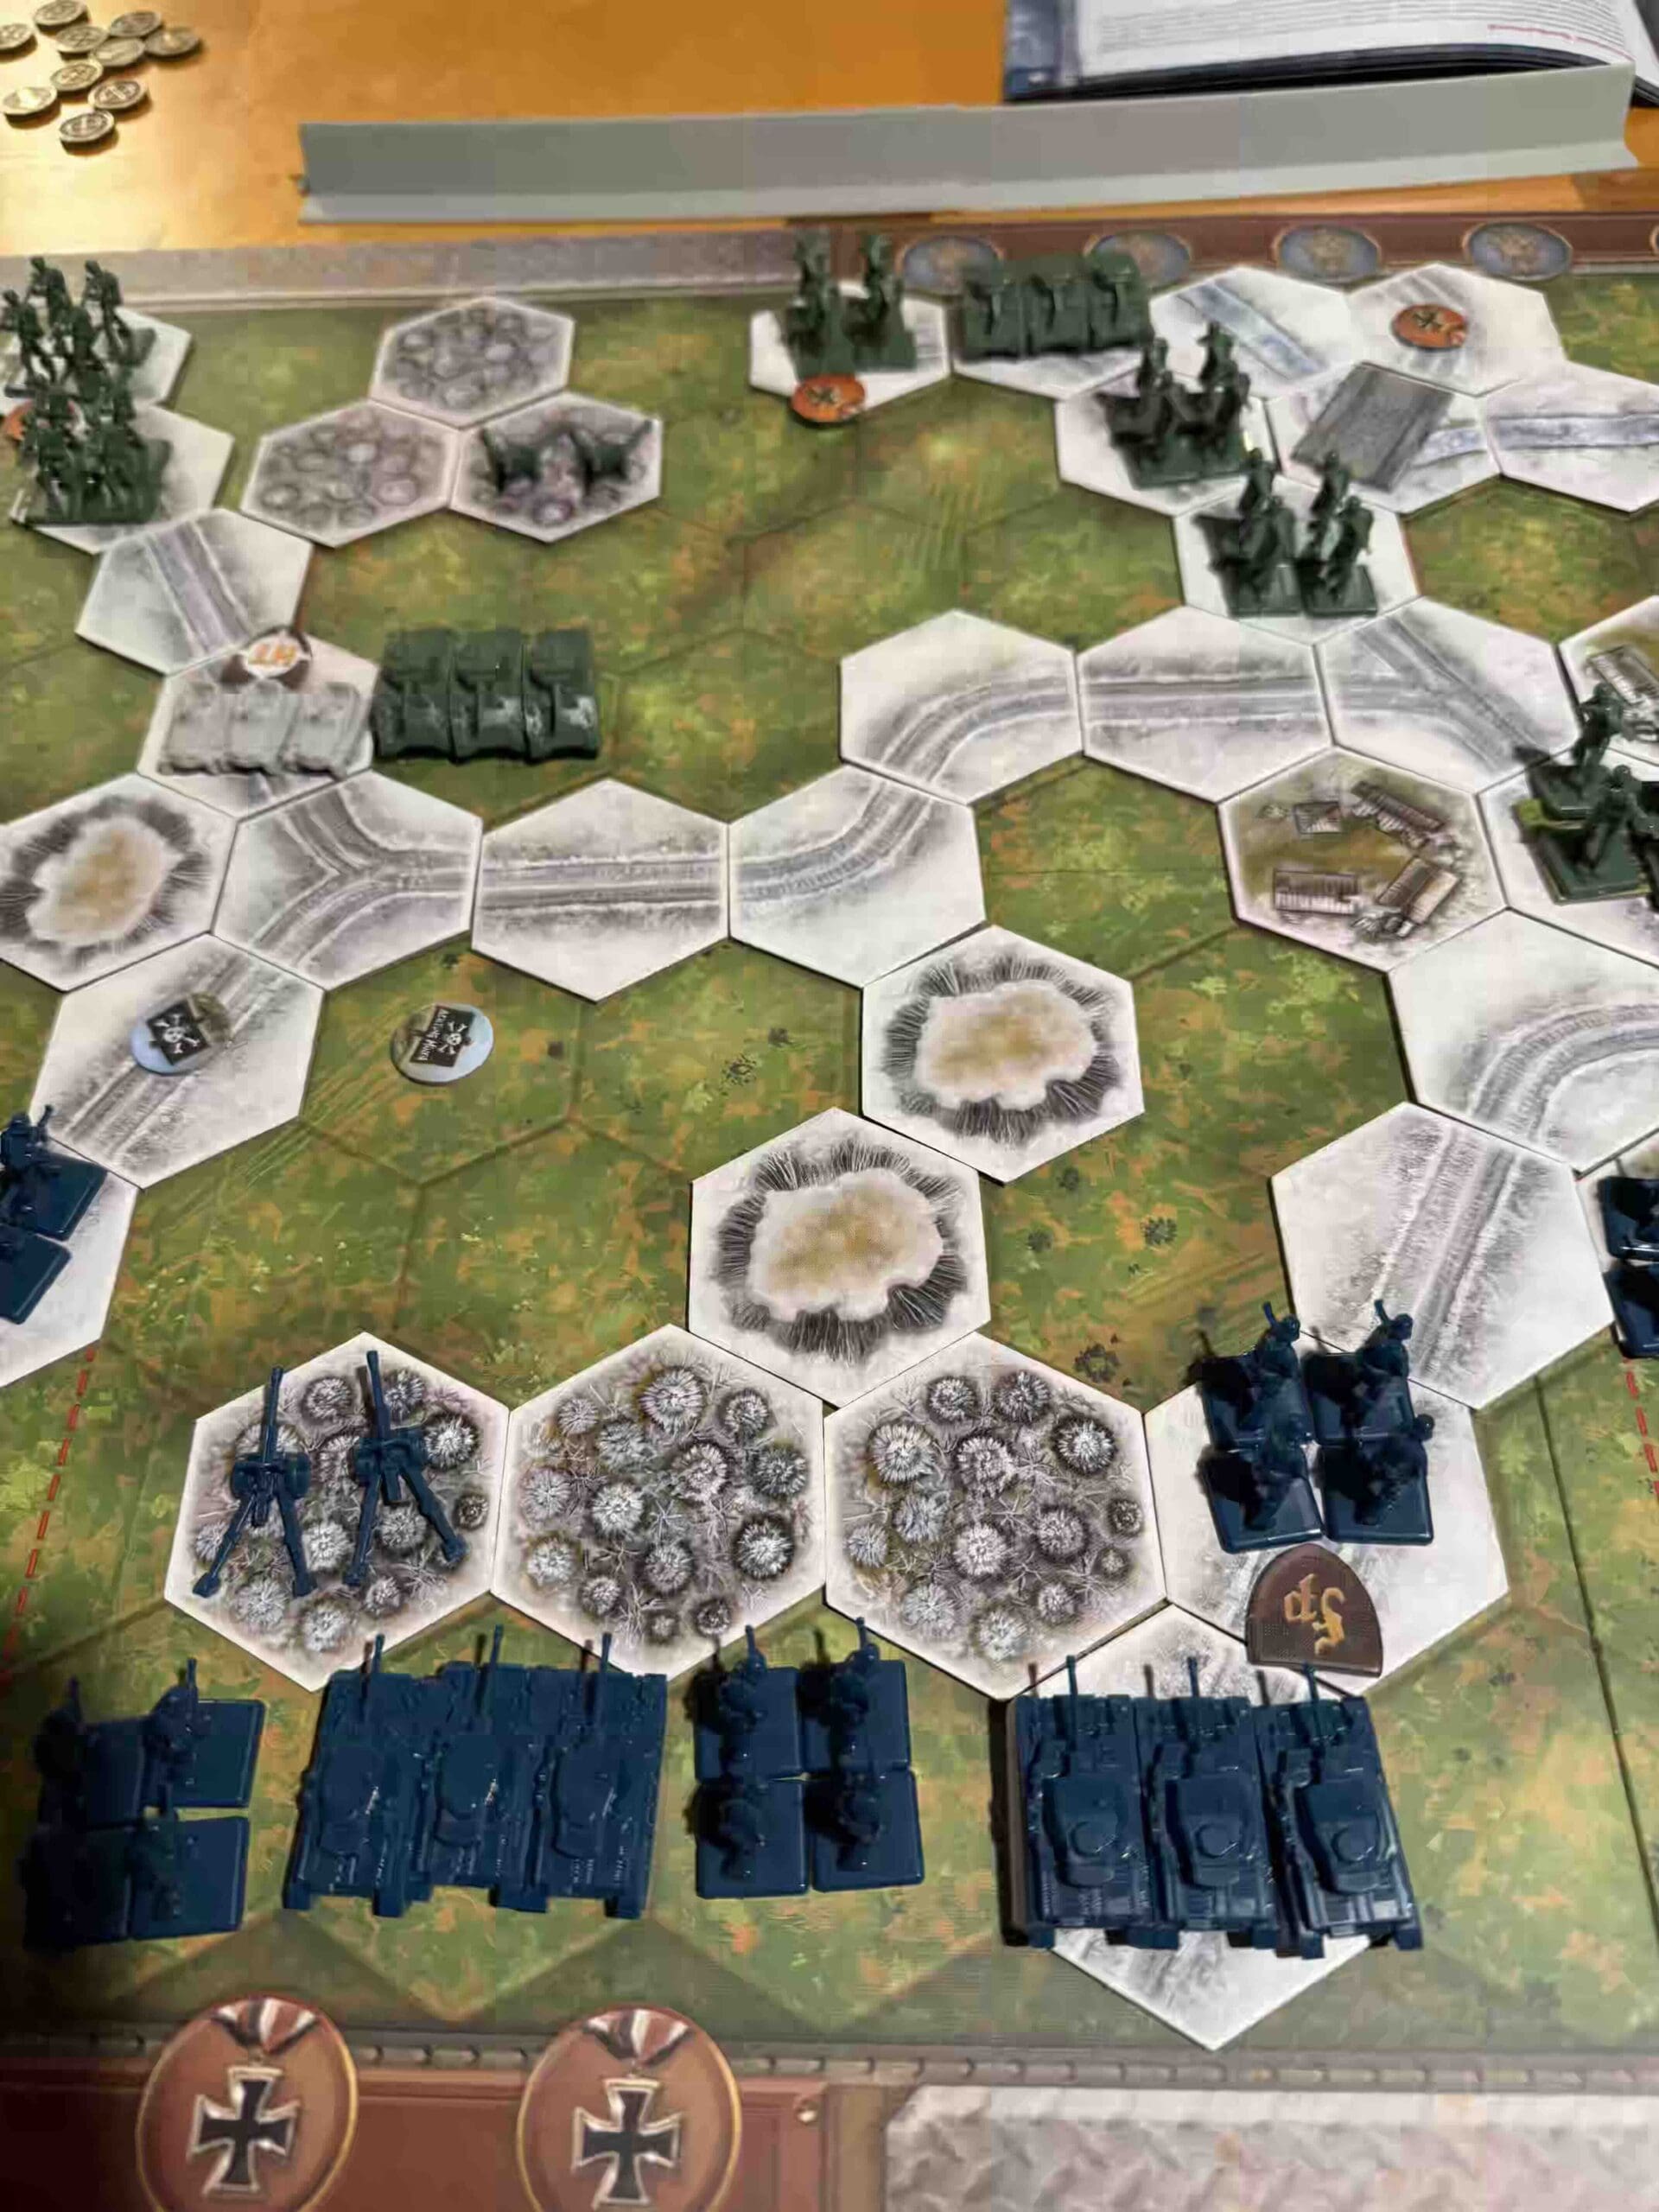
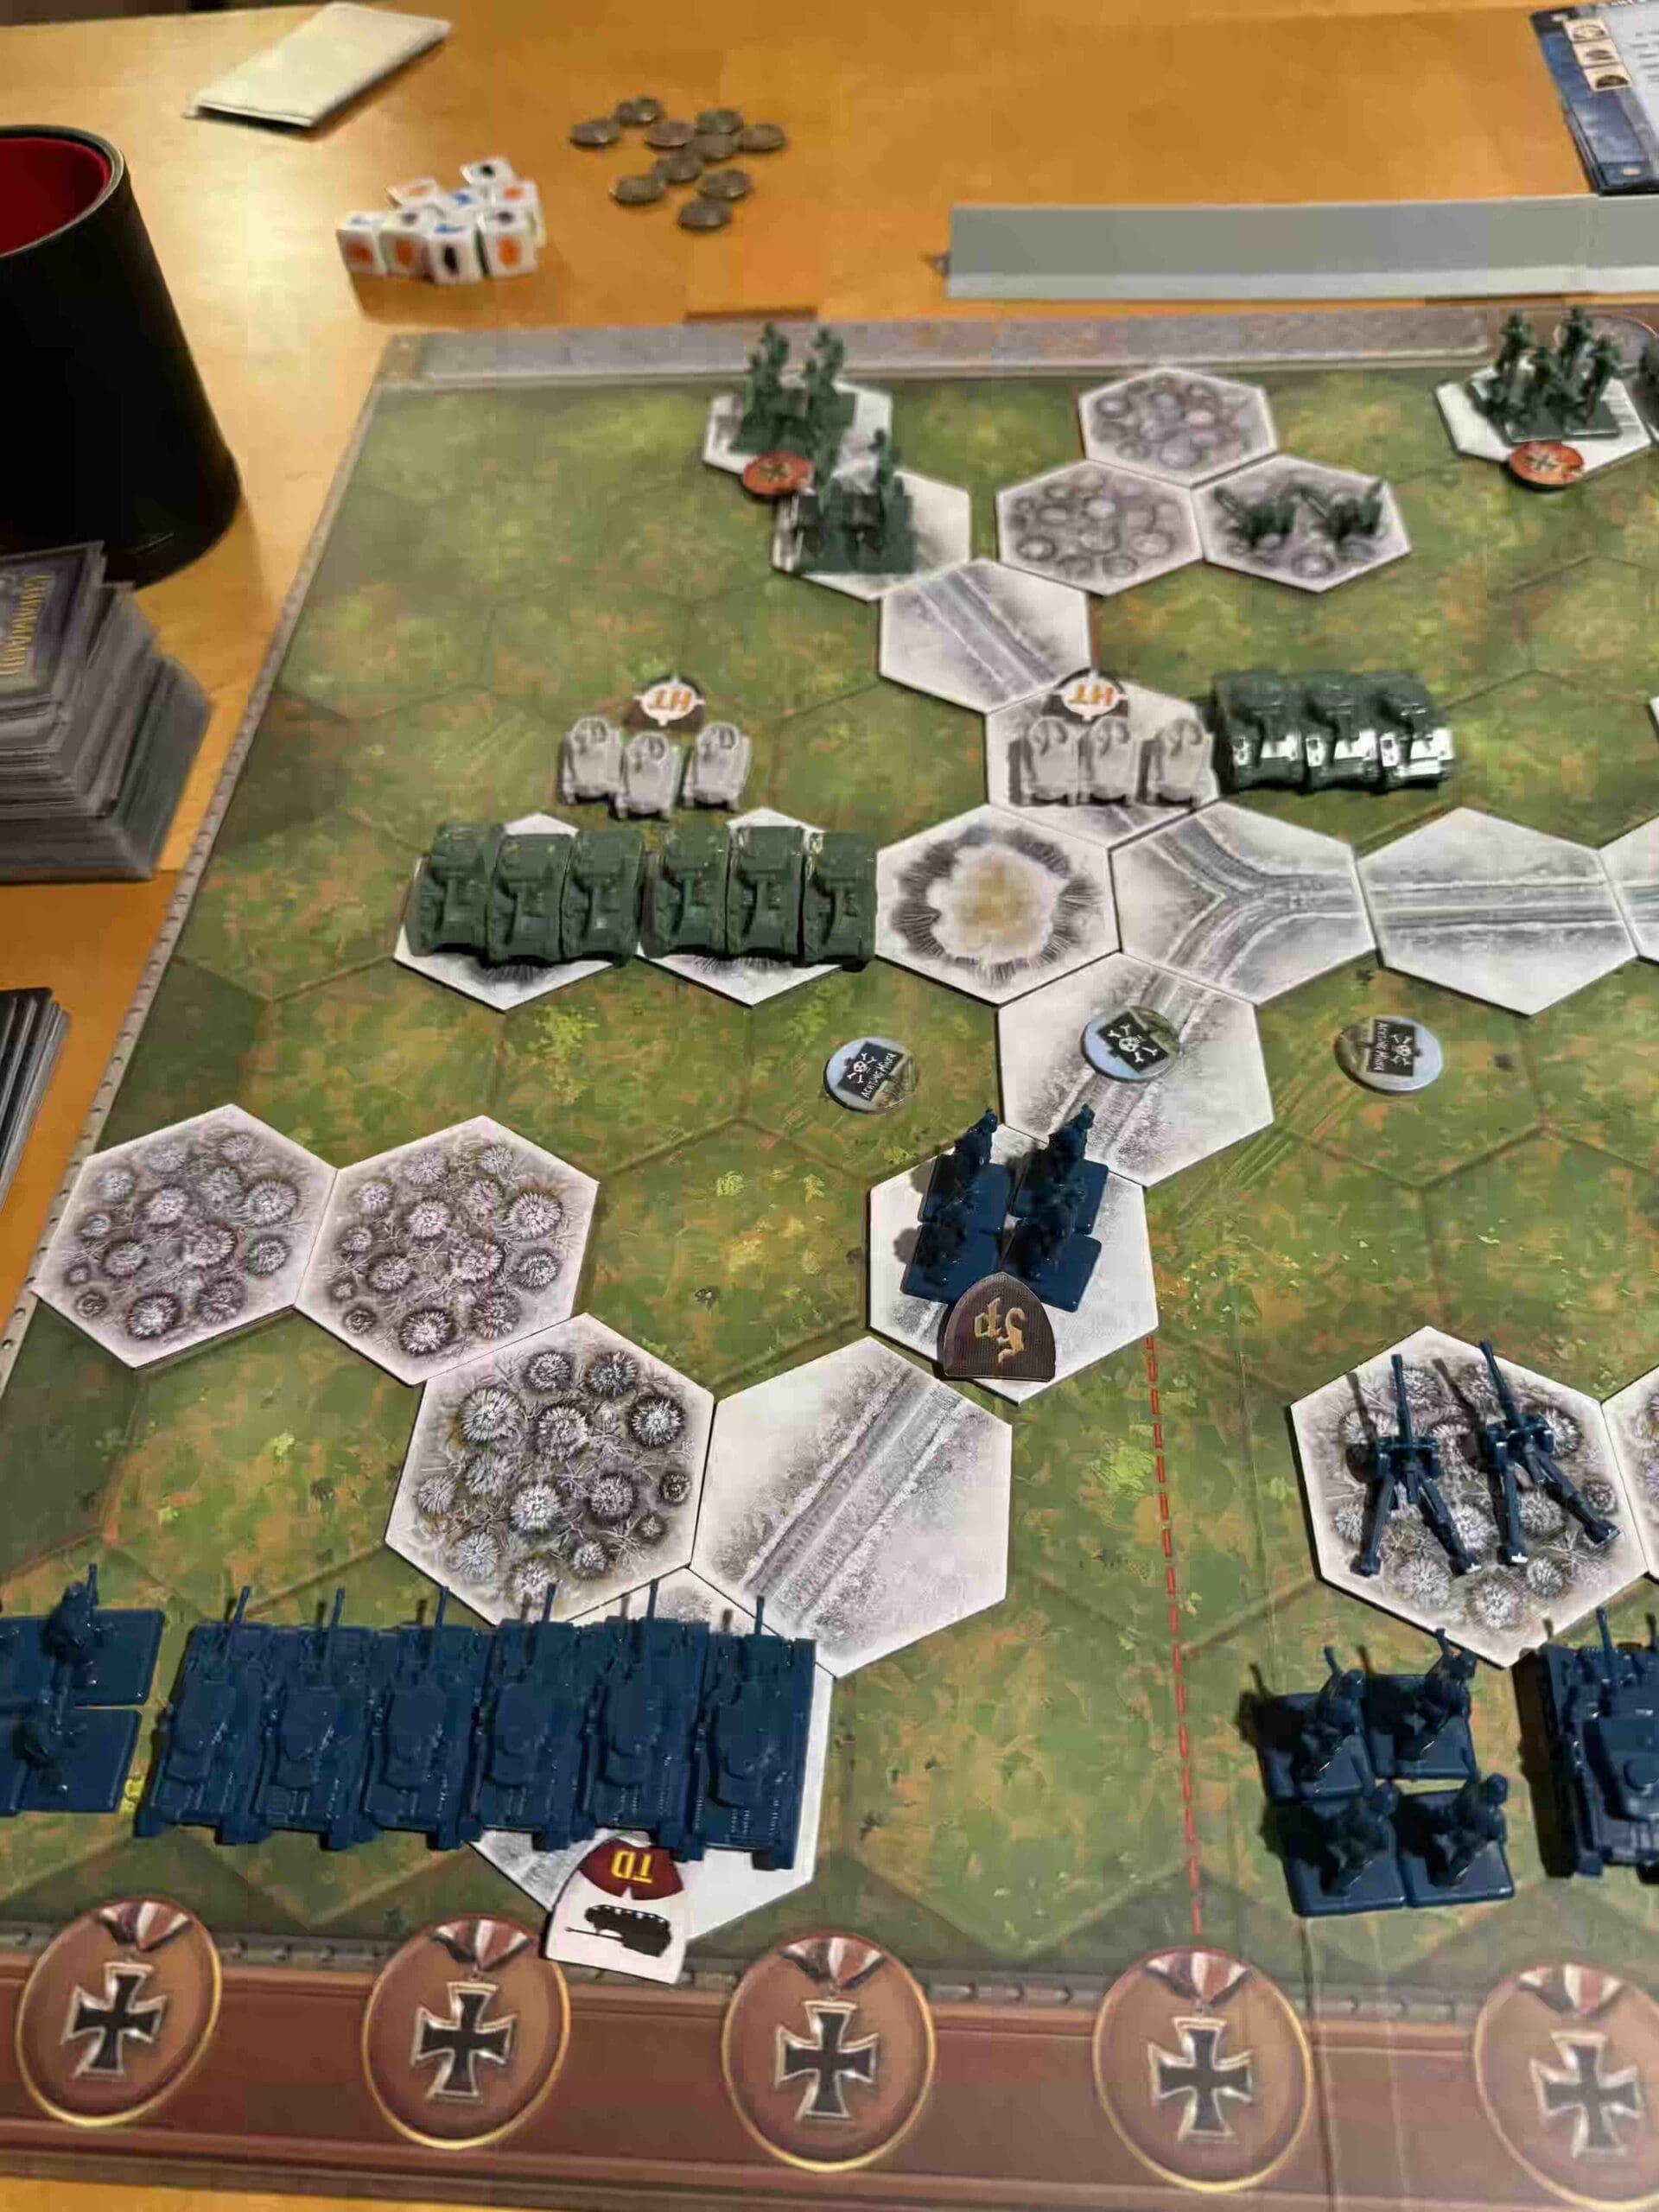
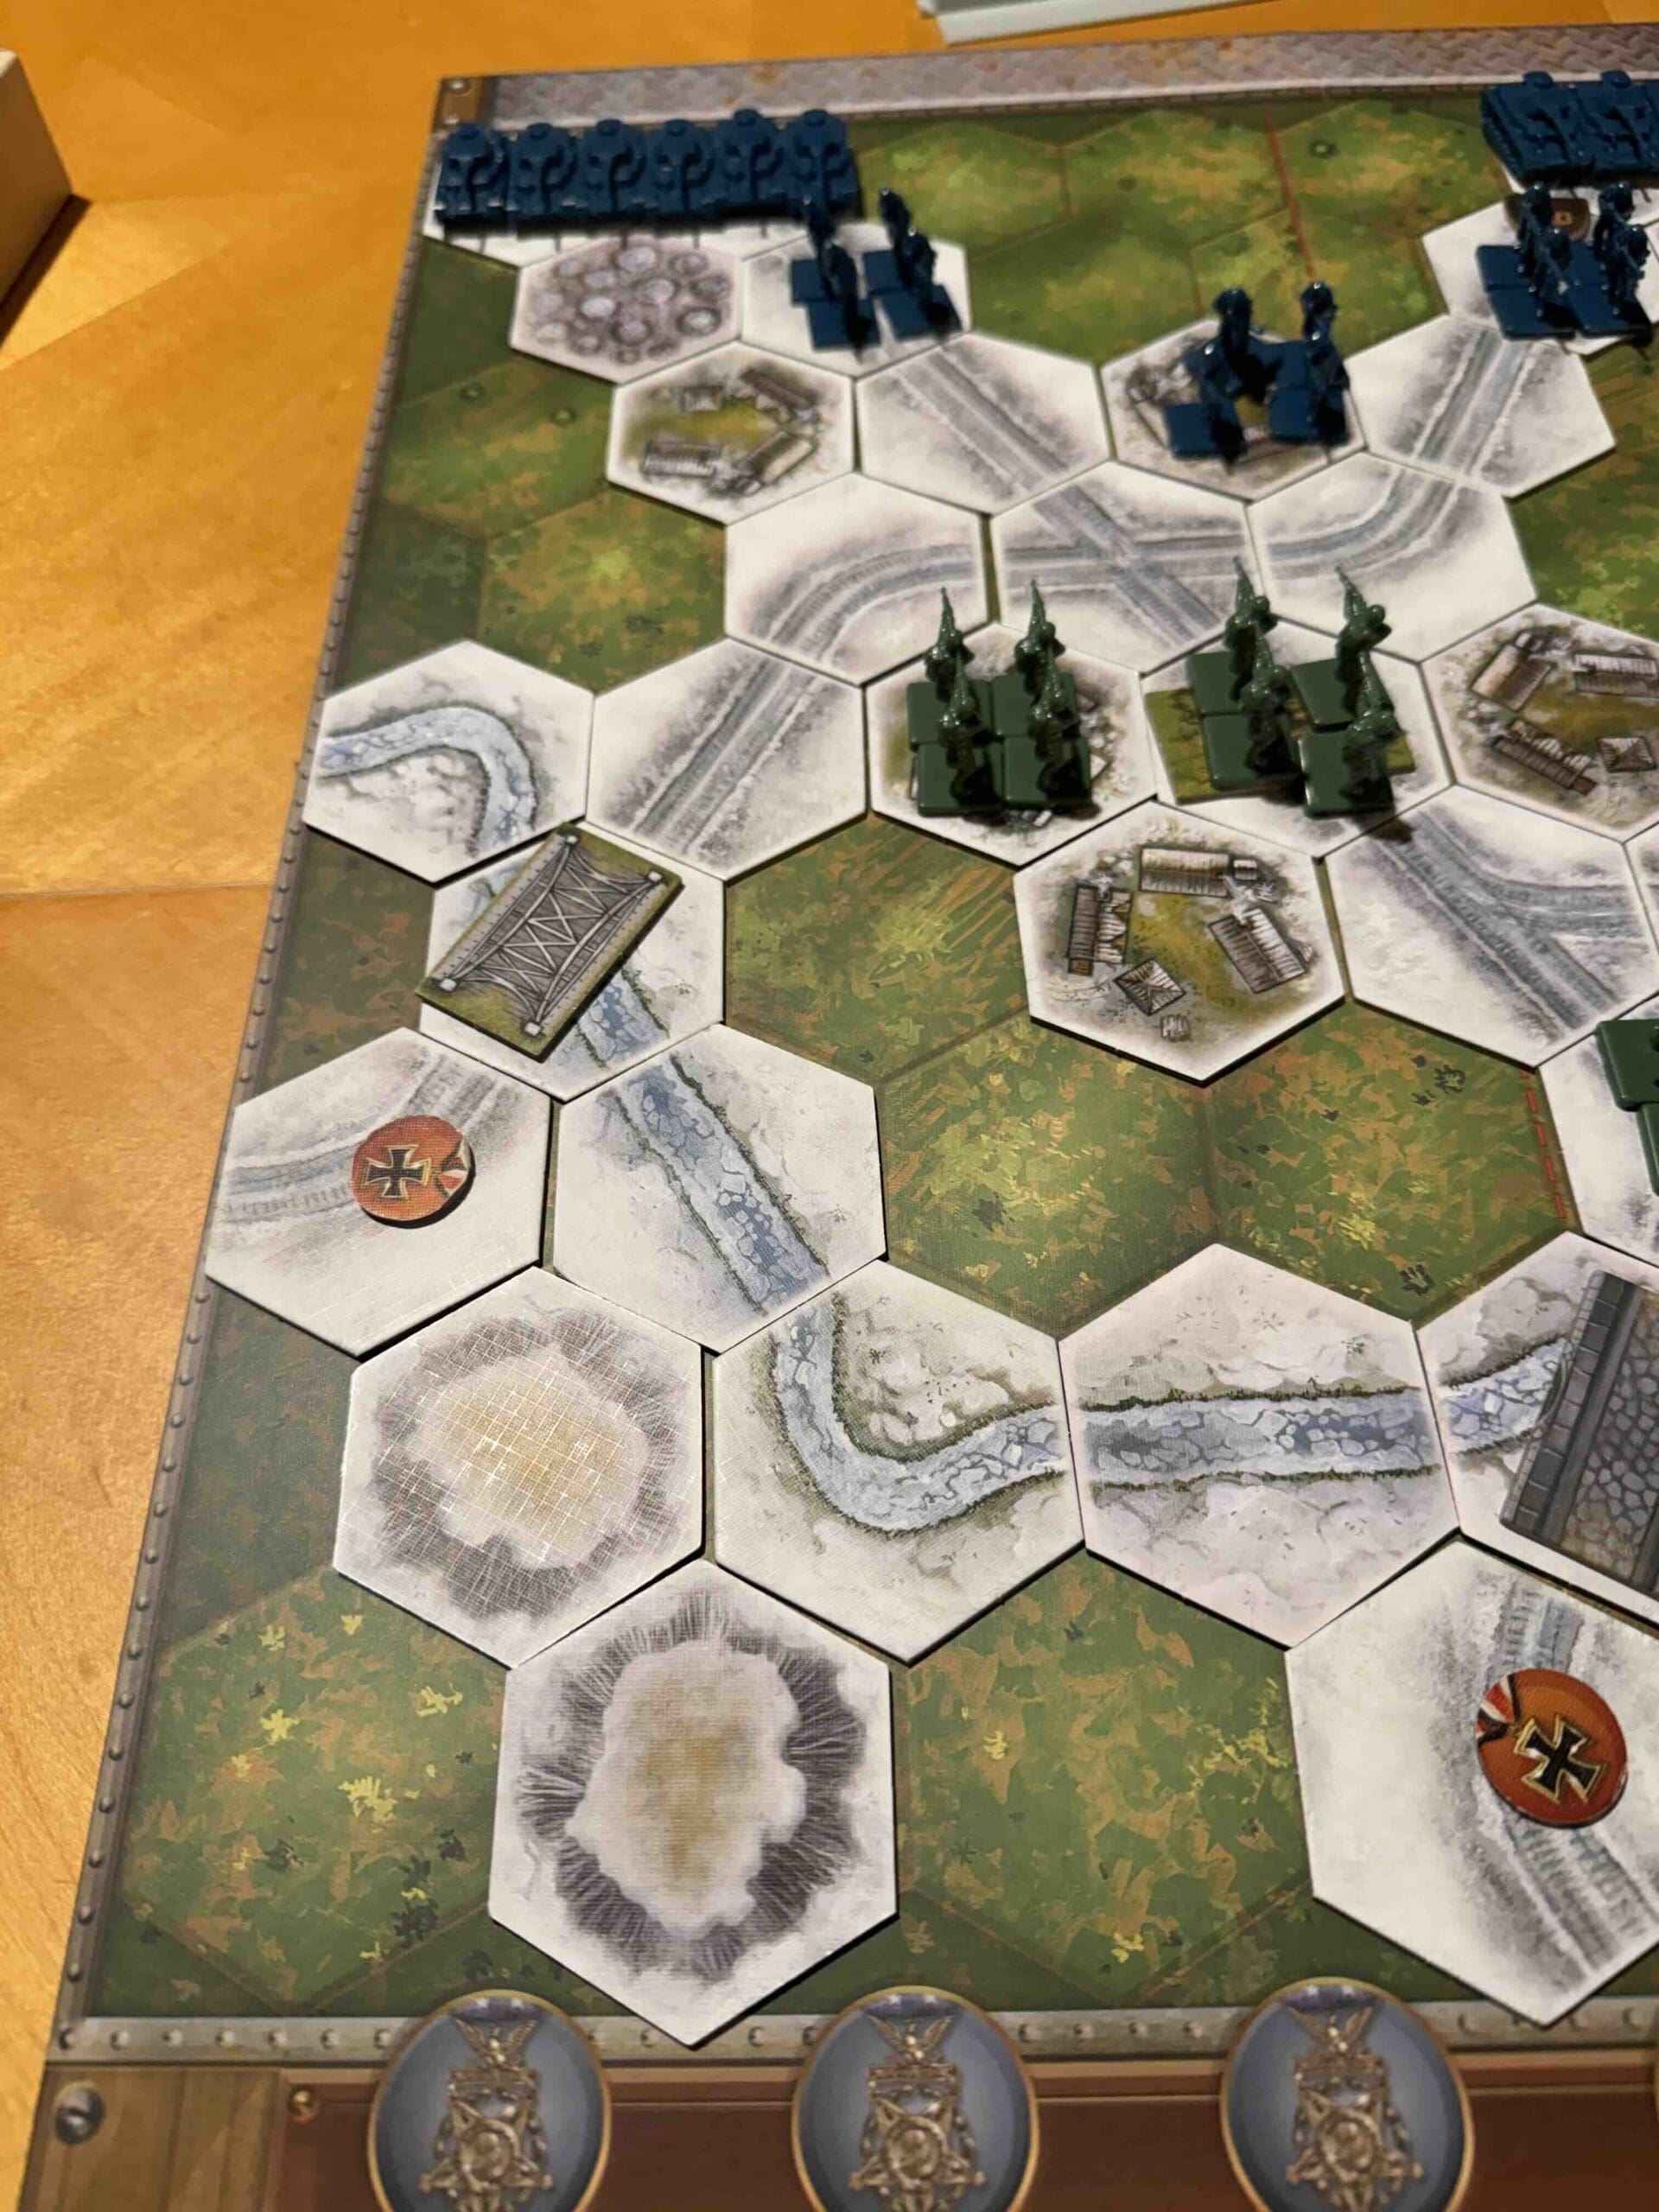
Terrain:
Countryside with rivers and roads
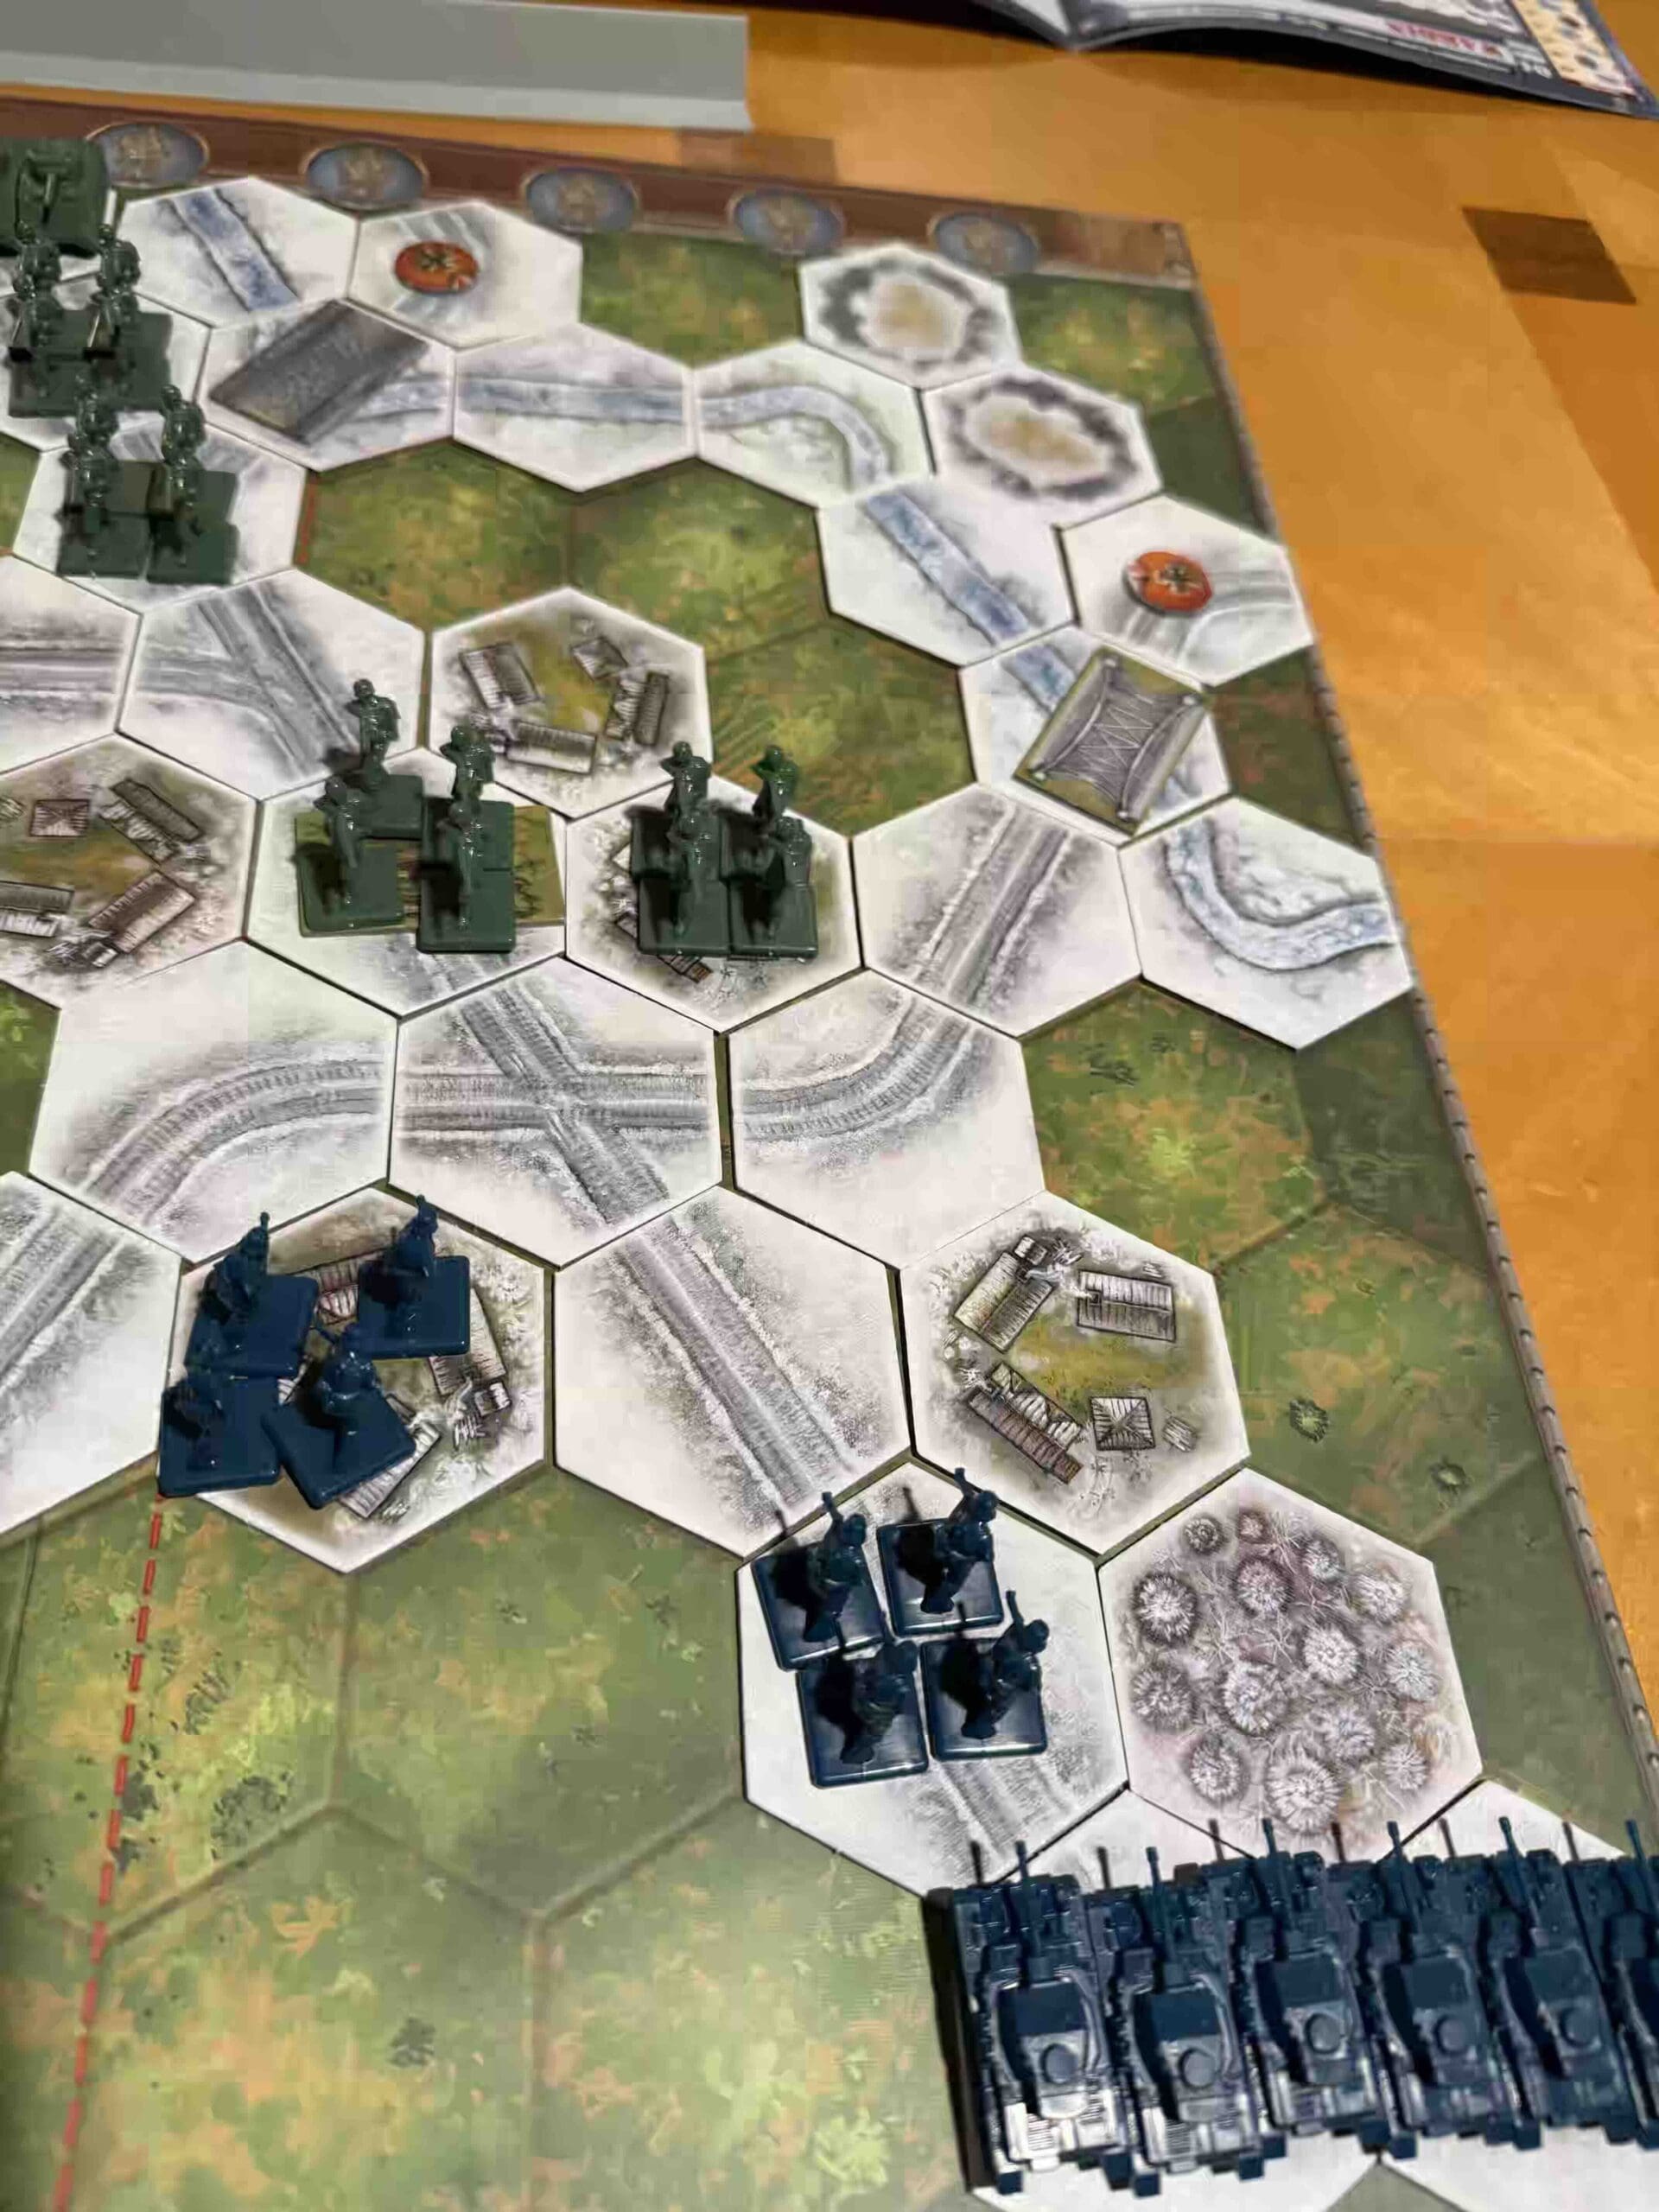
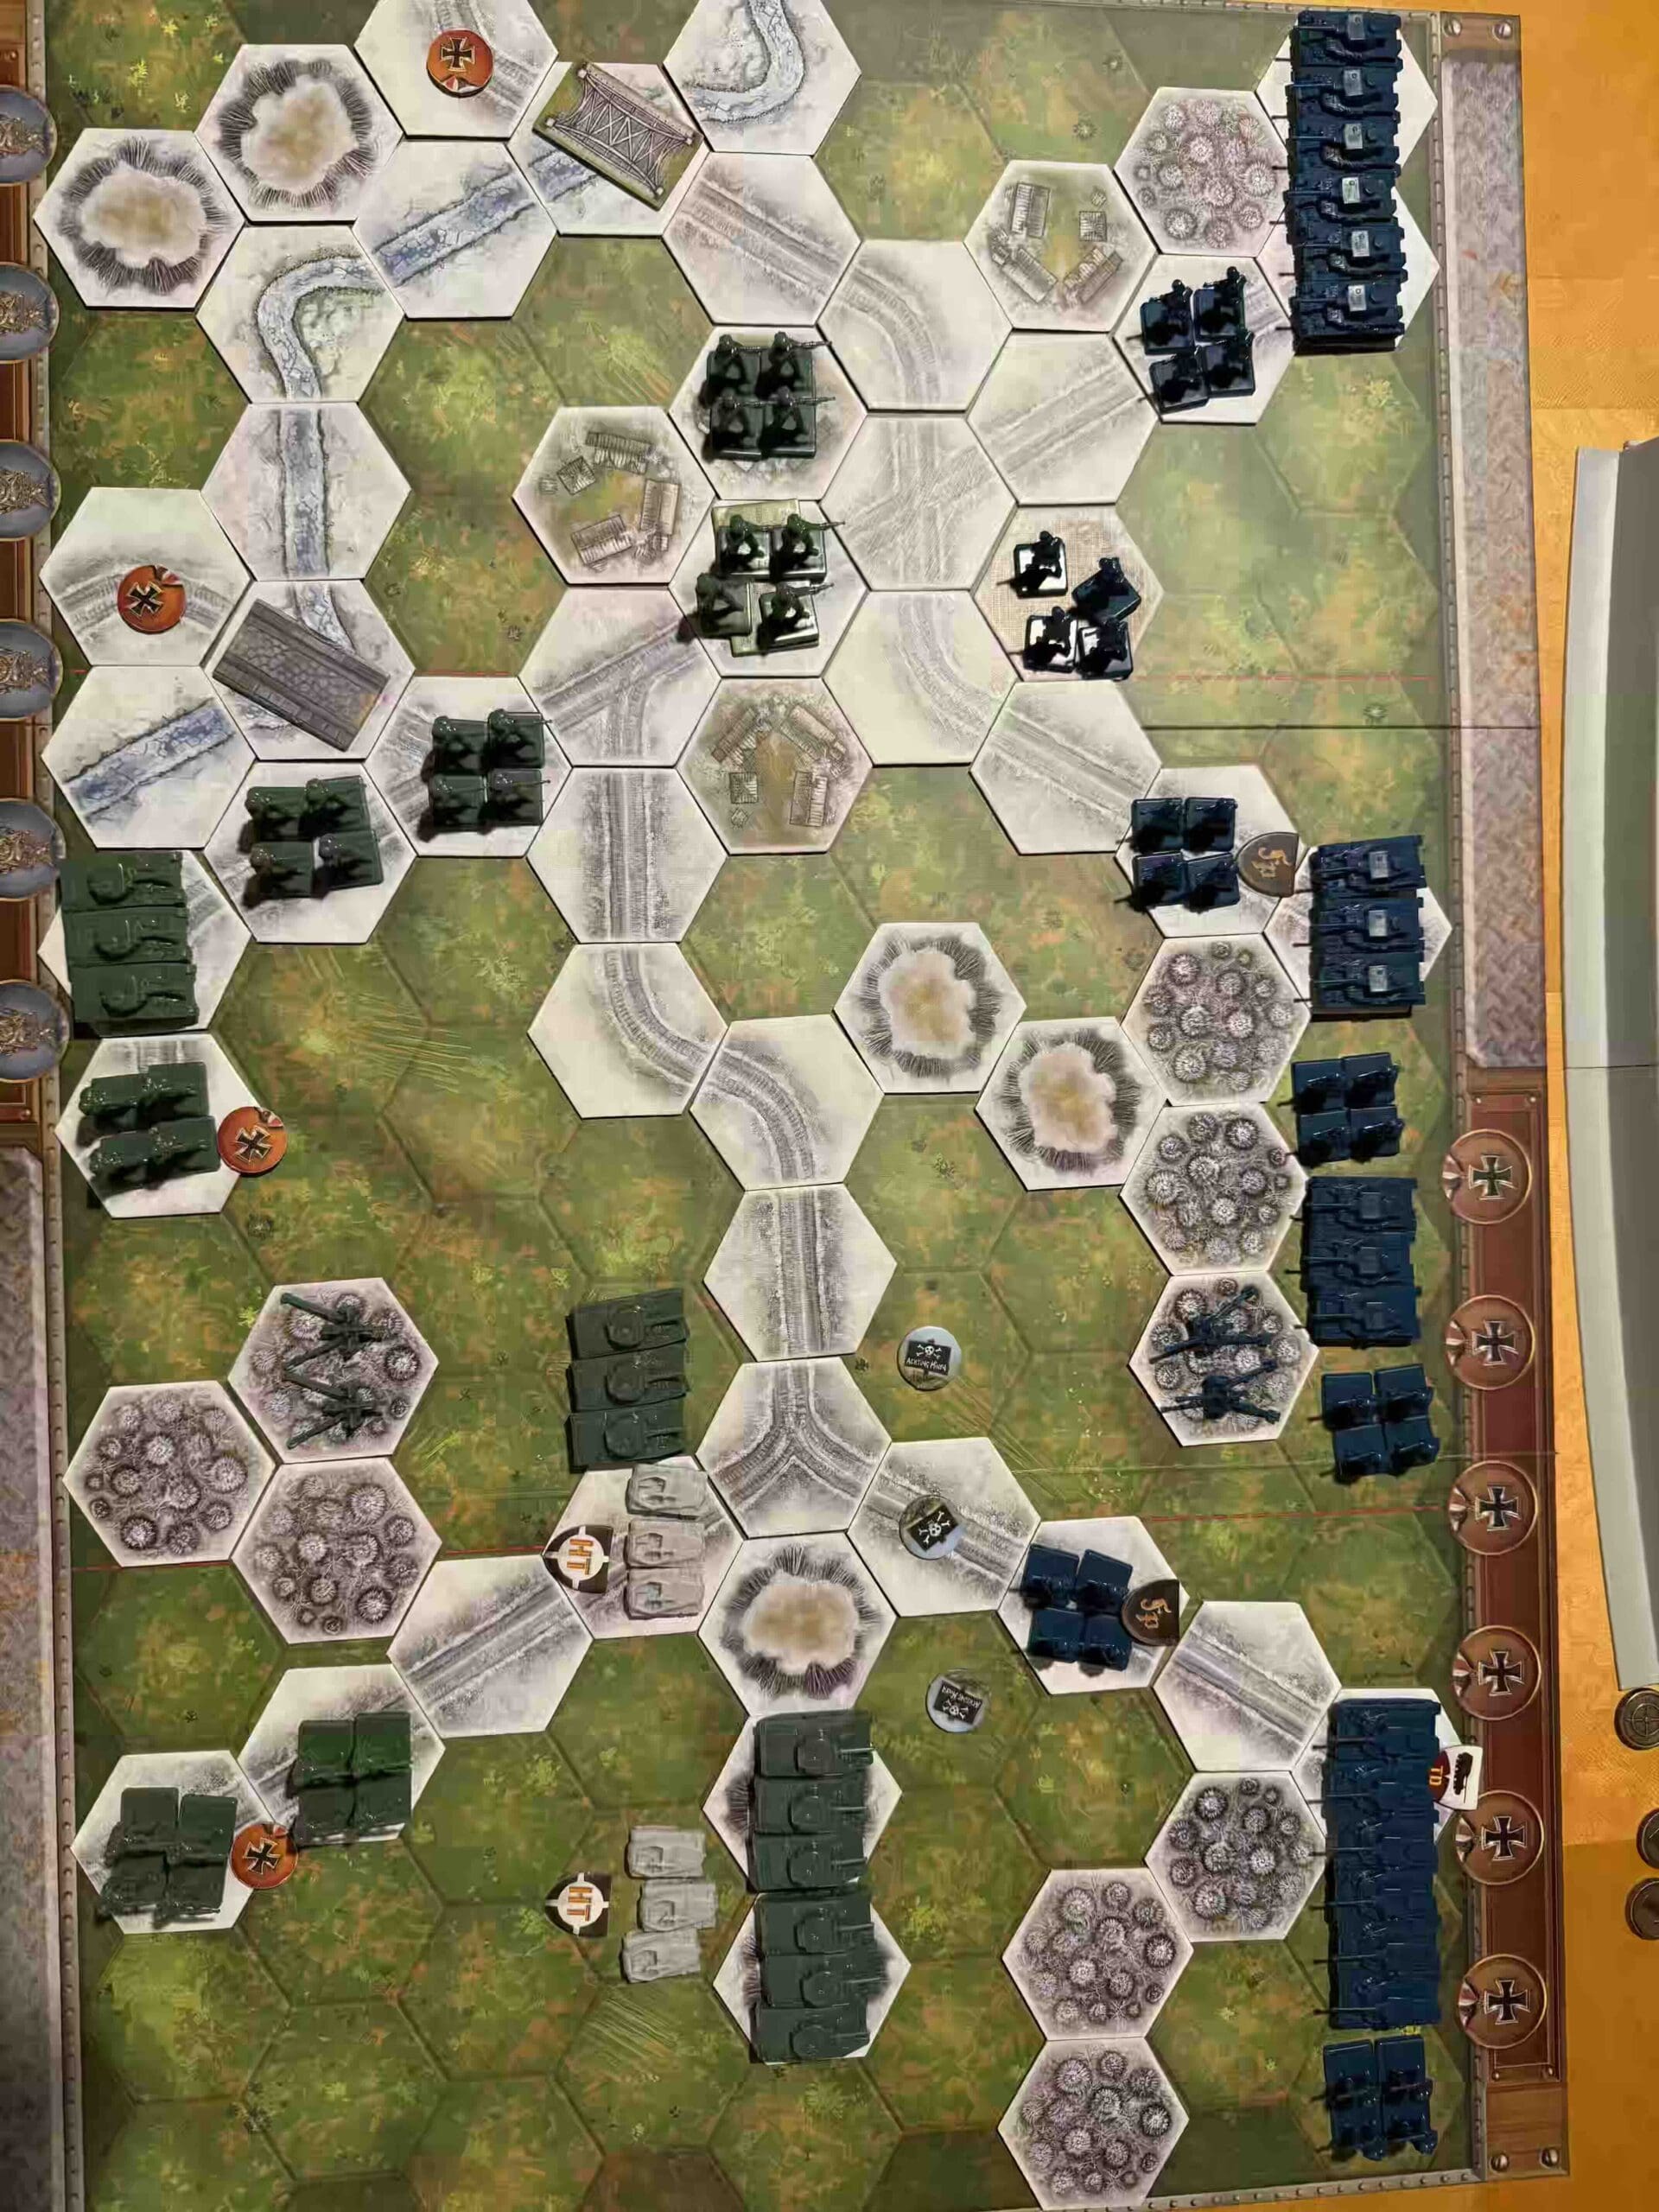
Troops: (check the PDF for specific the specific troop deployments)

Allied Strategy:
1.

Axis Strategy
1.
Author:
Willem Boersma
Complete Scenario Link:
https://generalhowitzer.com/62ne