The Defense of Wanssum Woods
The Defense of Wanssum Wood


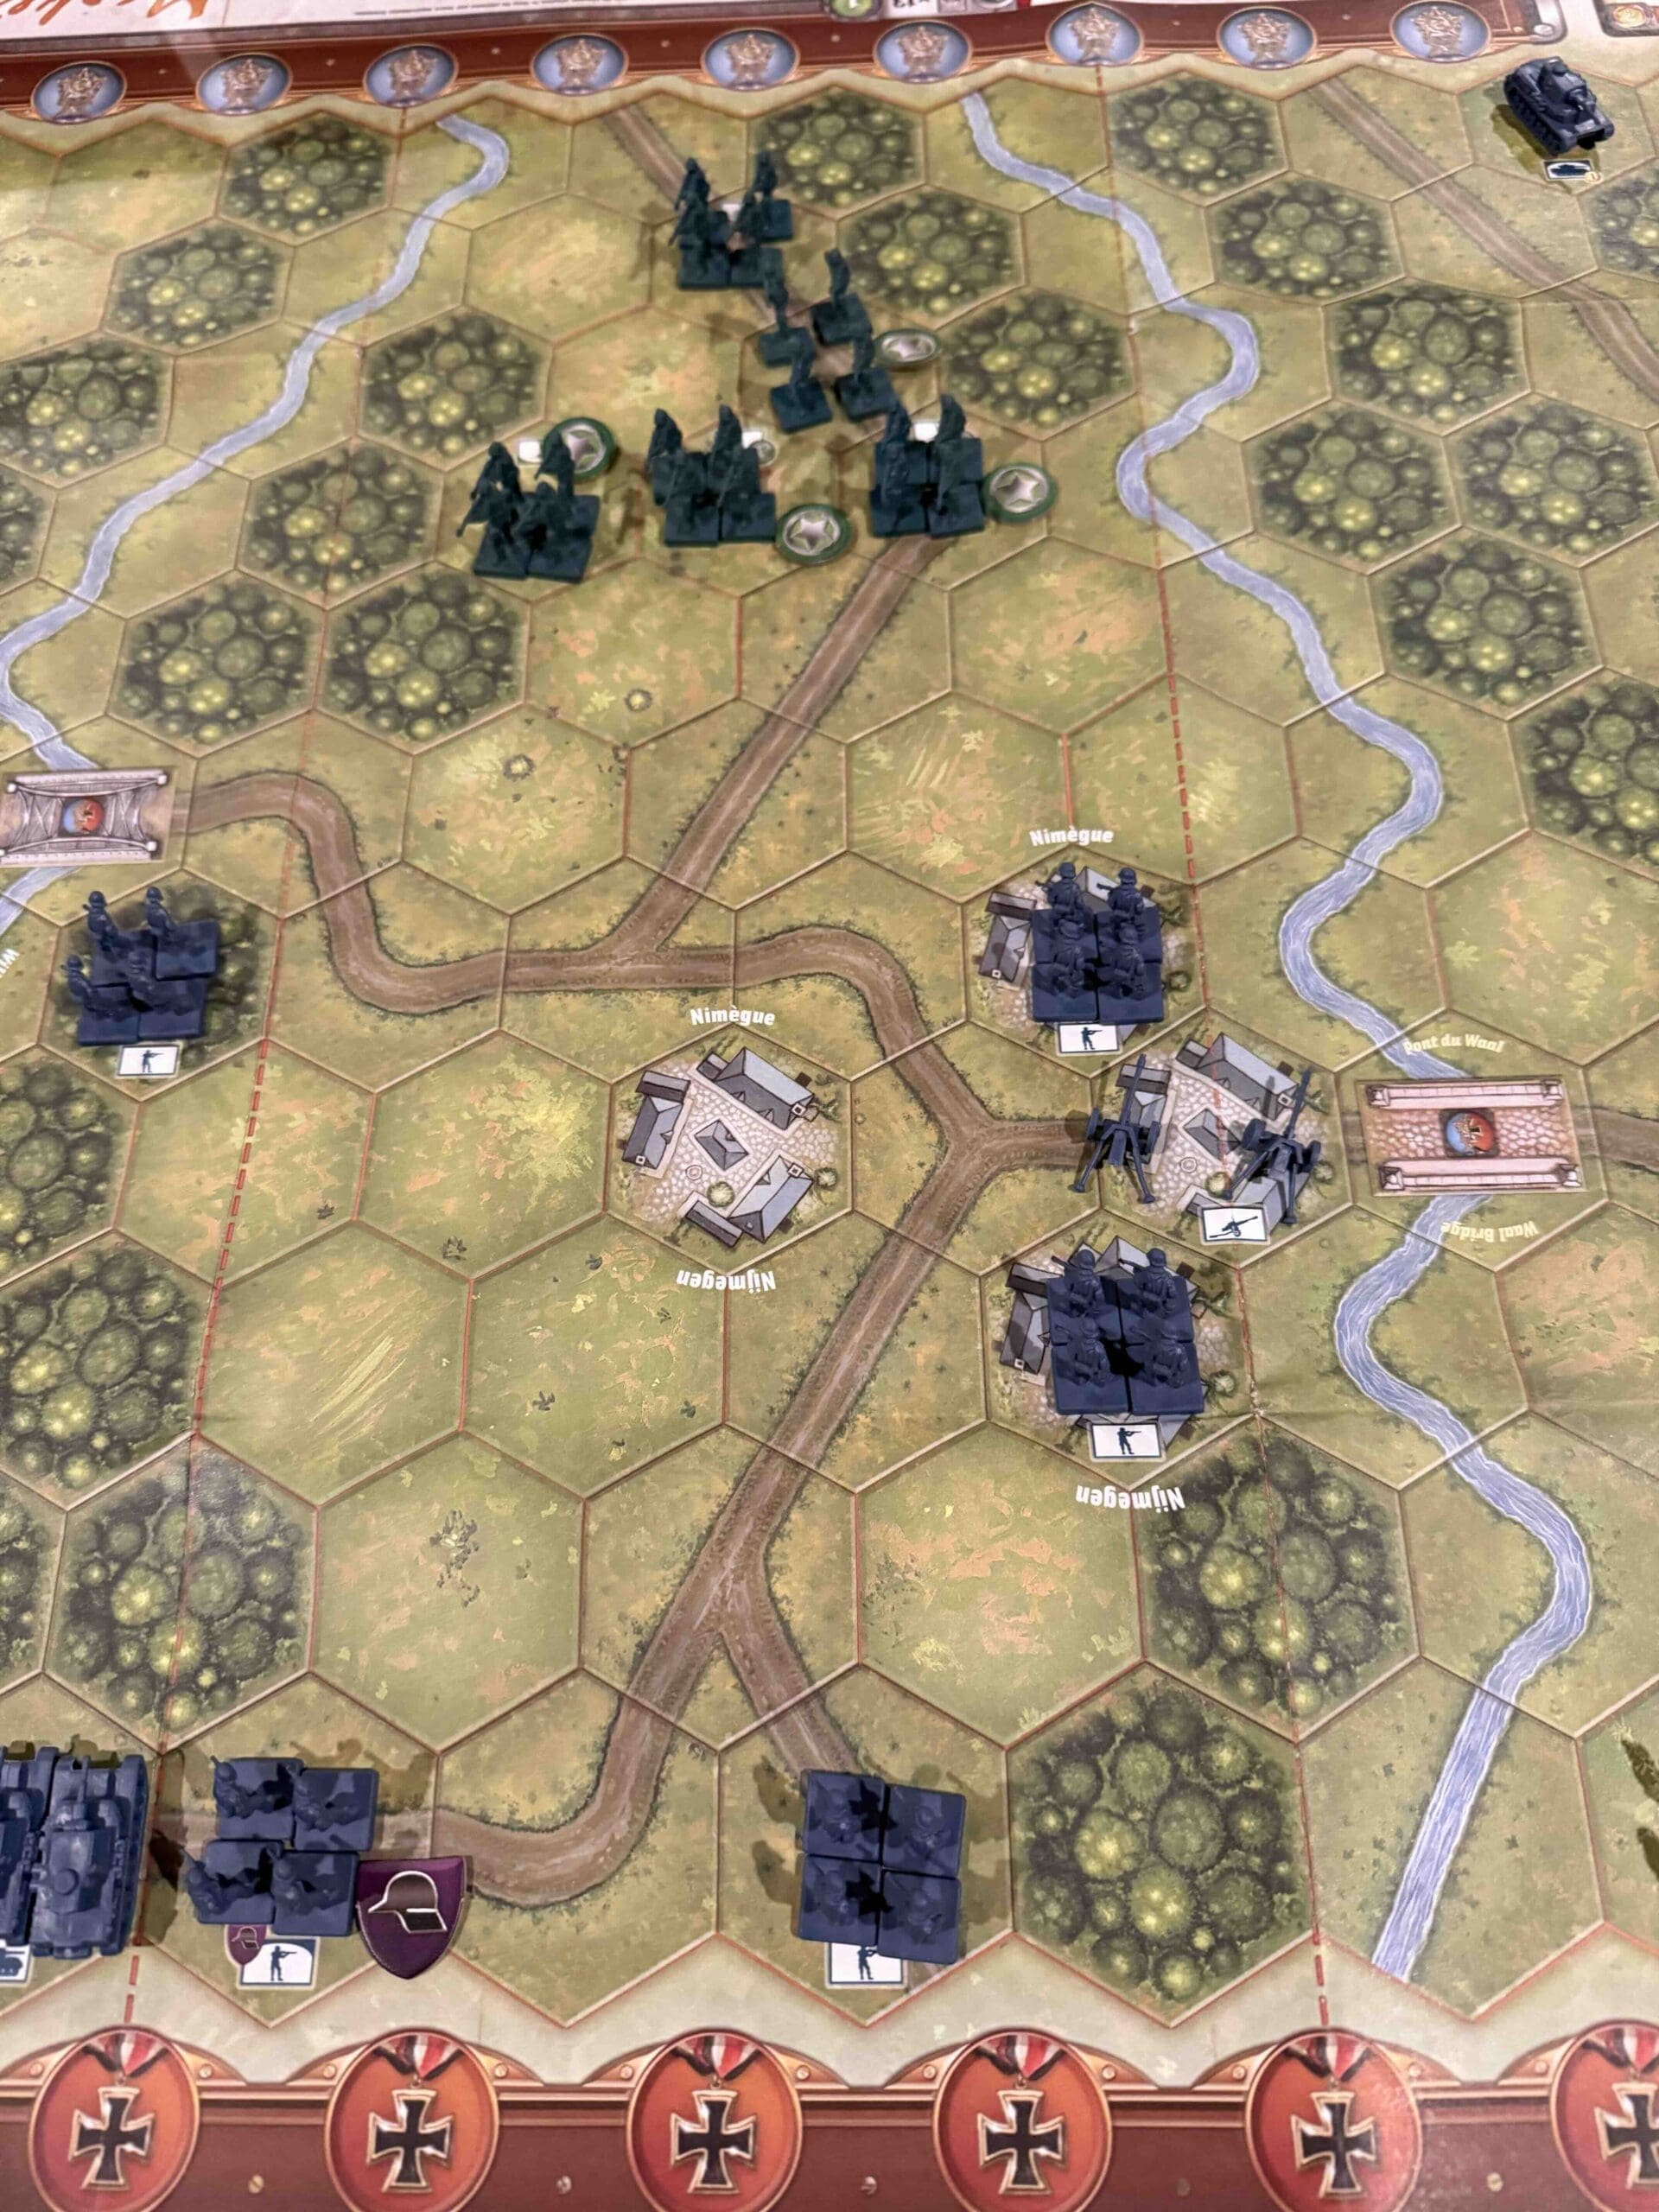
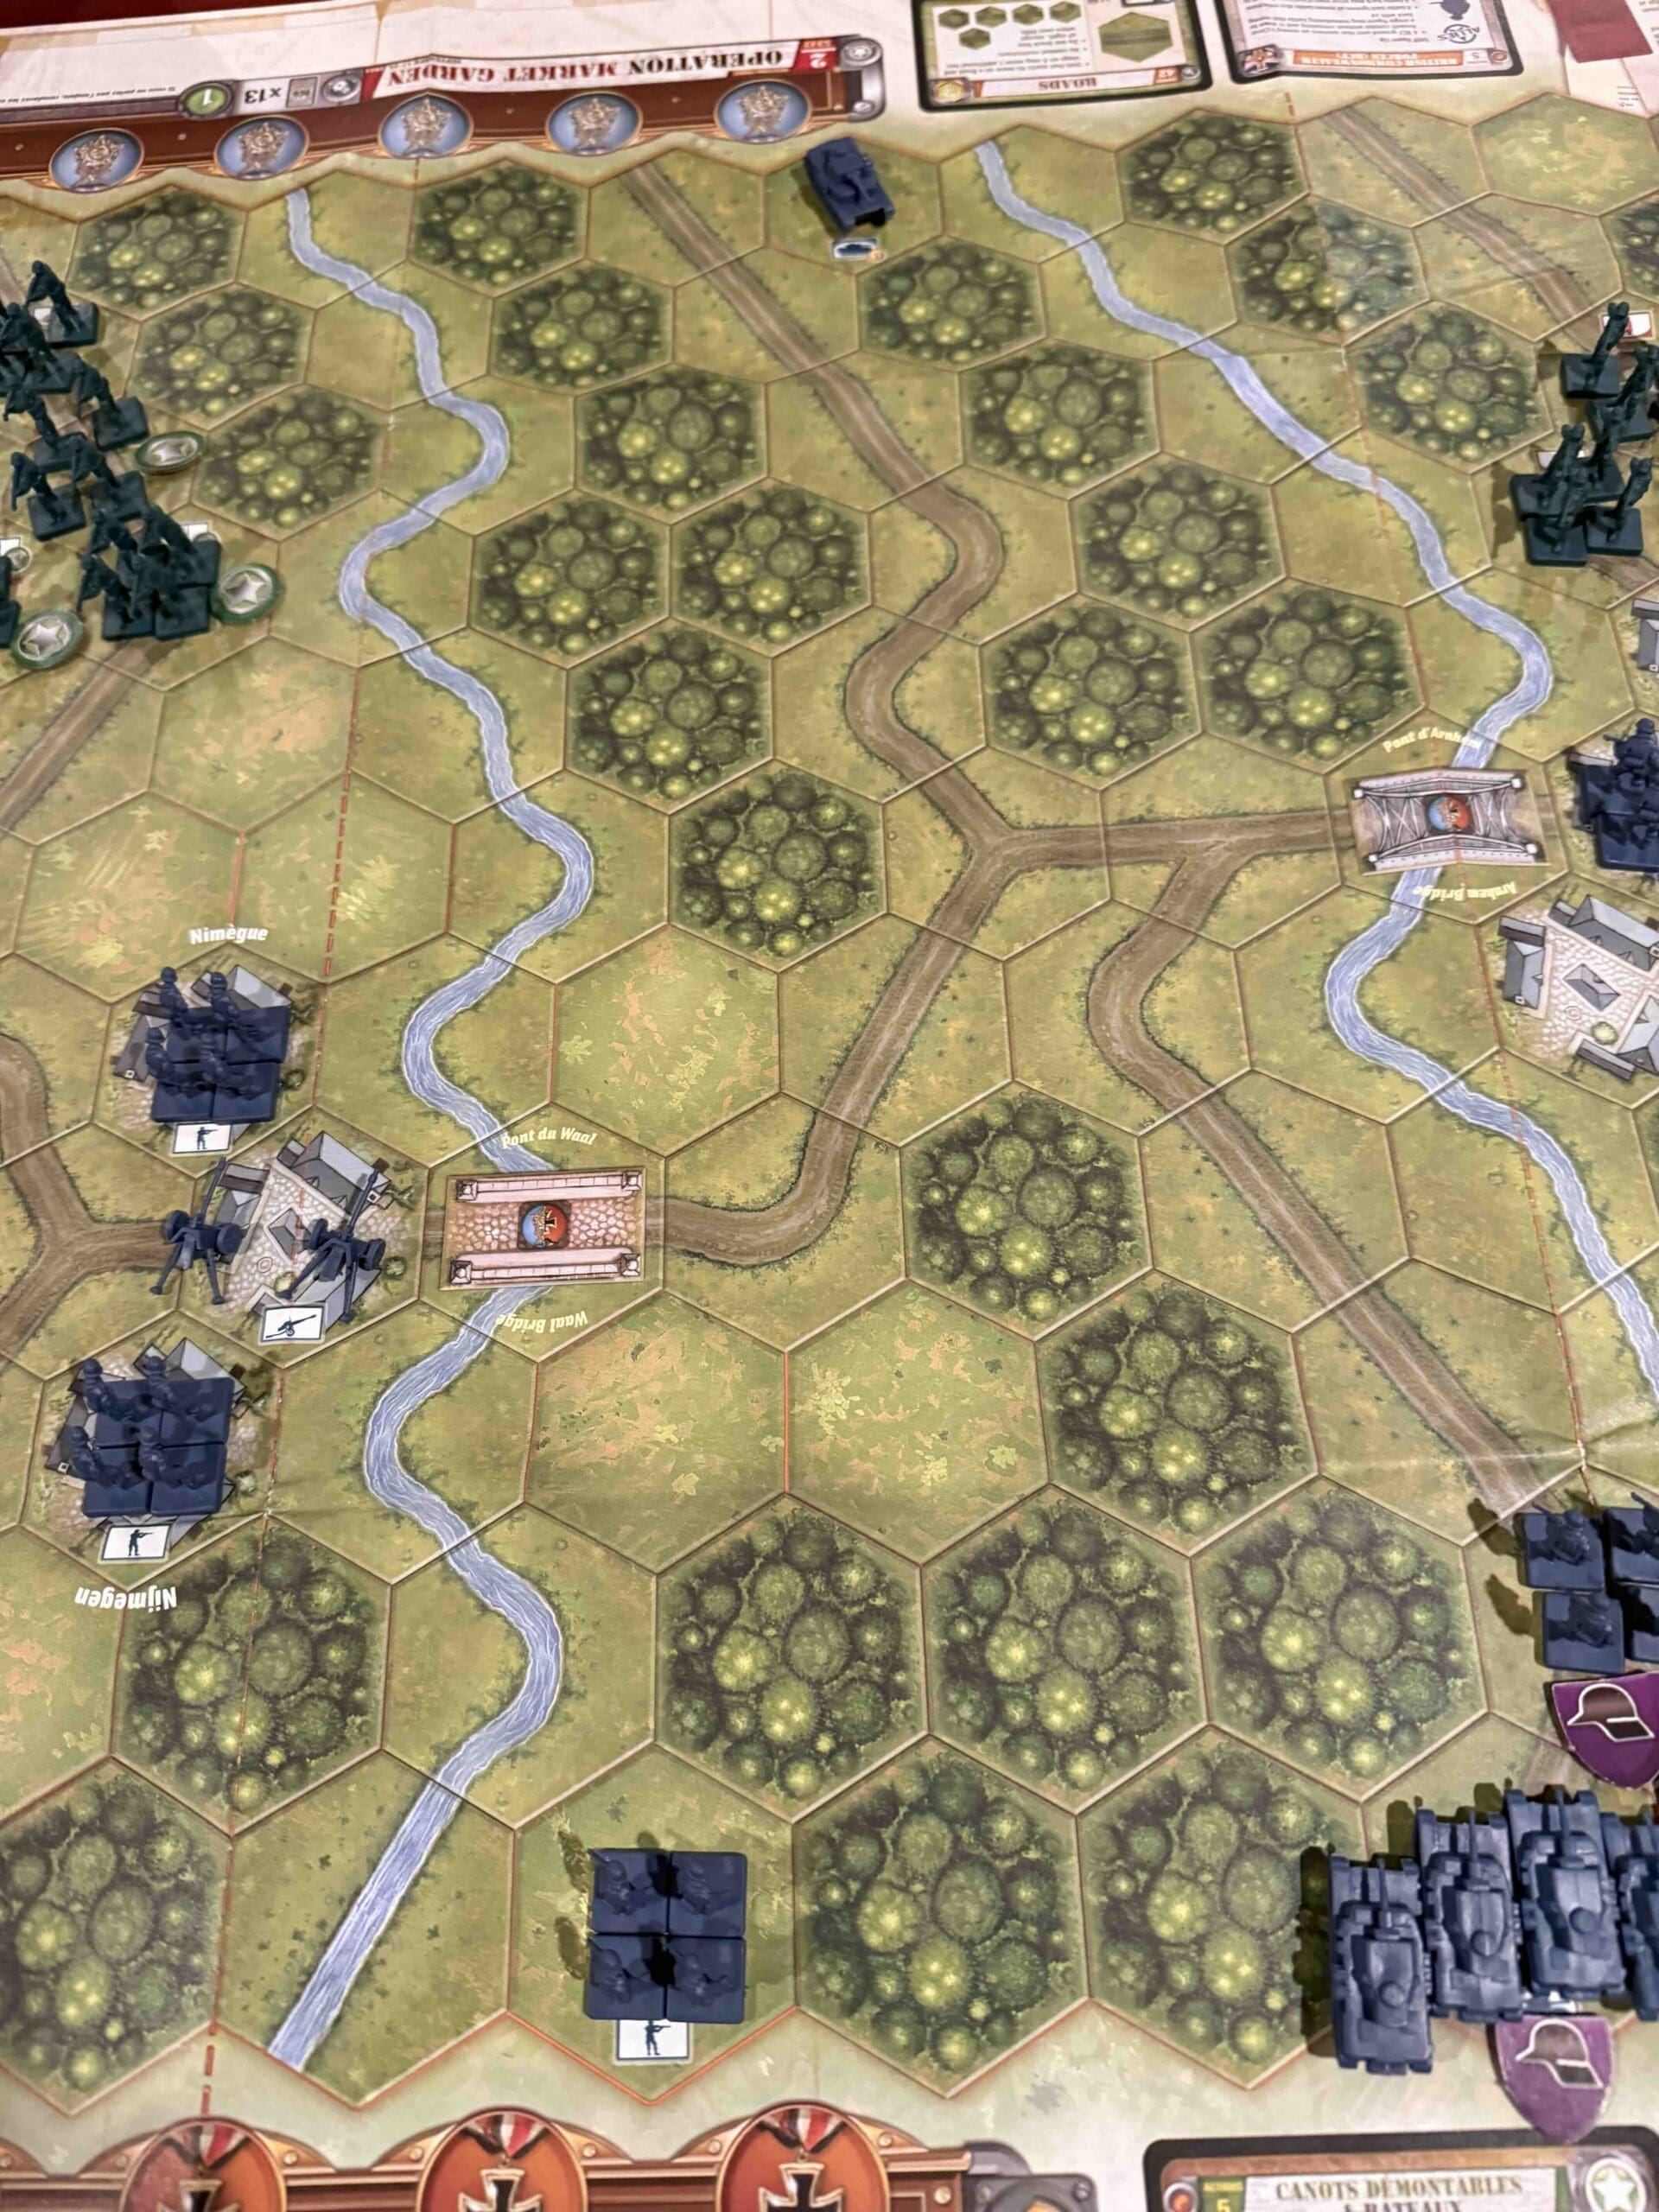
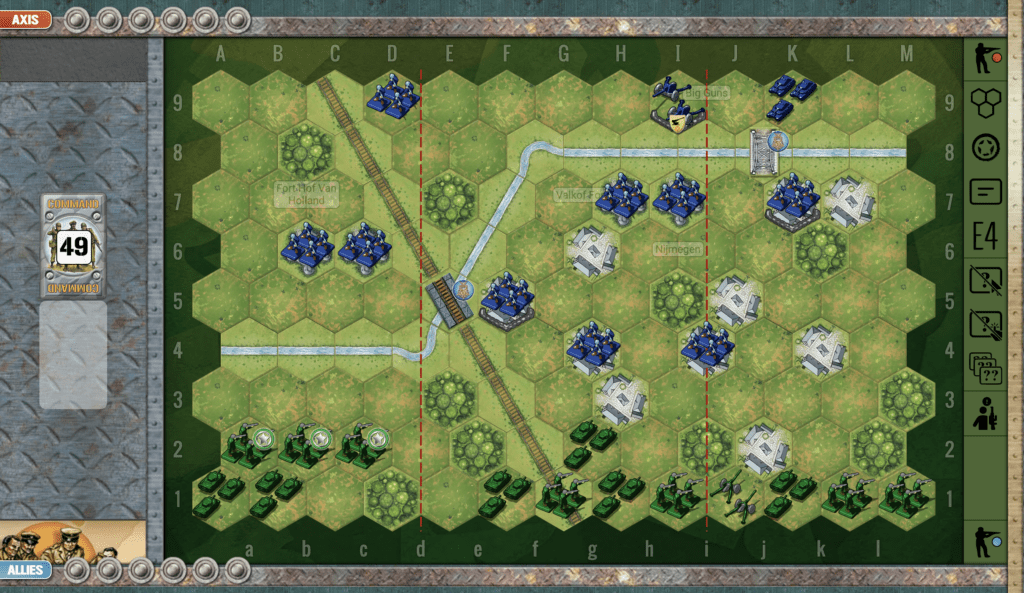
The Defense of Wanssum Woods in 1945 was part of Operation Snowman, a late World War II engagement in the Netherlands. German forces mounted a stubborn defense in the wooded area near Wanssum to delay the Allied advance.
General Howitzer has some thoughts on this battle:
Wanssum Woods was a thick, muddy brawl—Germans dug in deep, using every tree and shadow to stall us. The Brits and Canucks had to fight for every damn yard, ambush after ambush. But they didn’t quit. They rooted the enemy out, inch by inch, and kept the advance rolling into northern Germany. Forest or no forest, when you’re relentless, no defense holds.
6 VP’s
![]()
Card Balance:
Allies (Great Britain) – 6
Axis – 5
Complexity:
3
Conditions:
Winter Forest
Context:
Location:
Netherlands
Year:
1945
Theater:
Western
Campaign:
Codename:
Summary:
Objectives:
6 VP’s
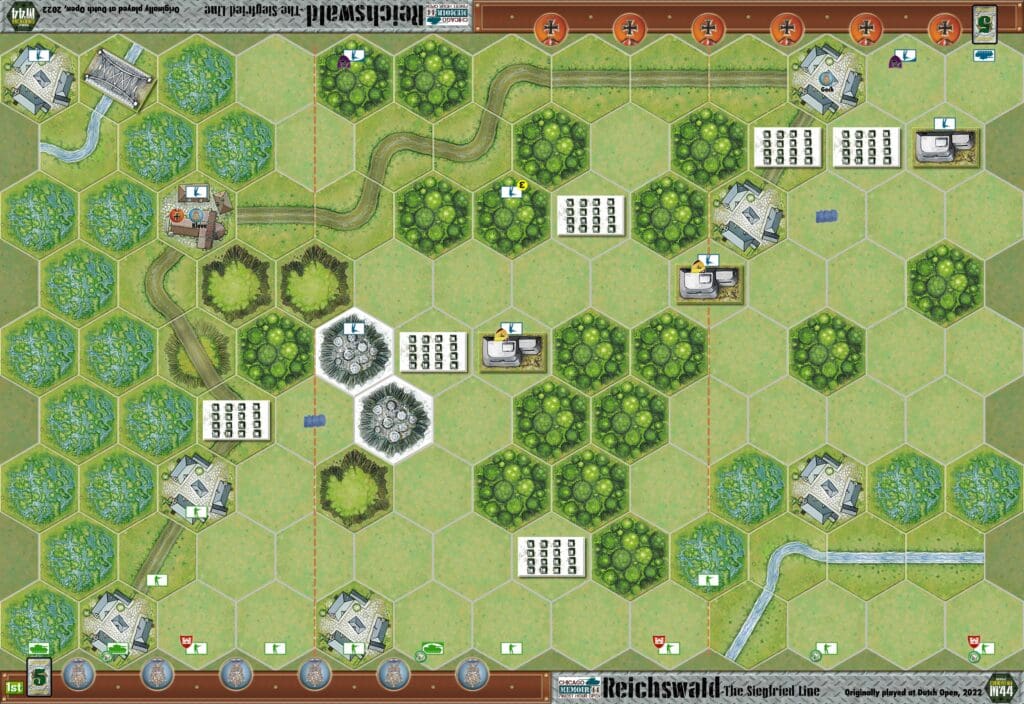
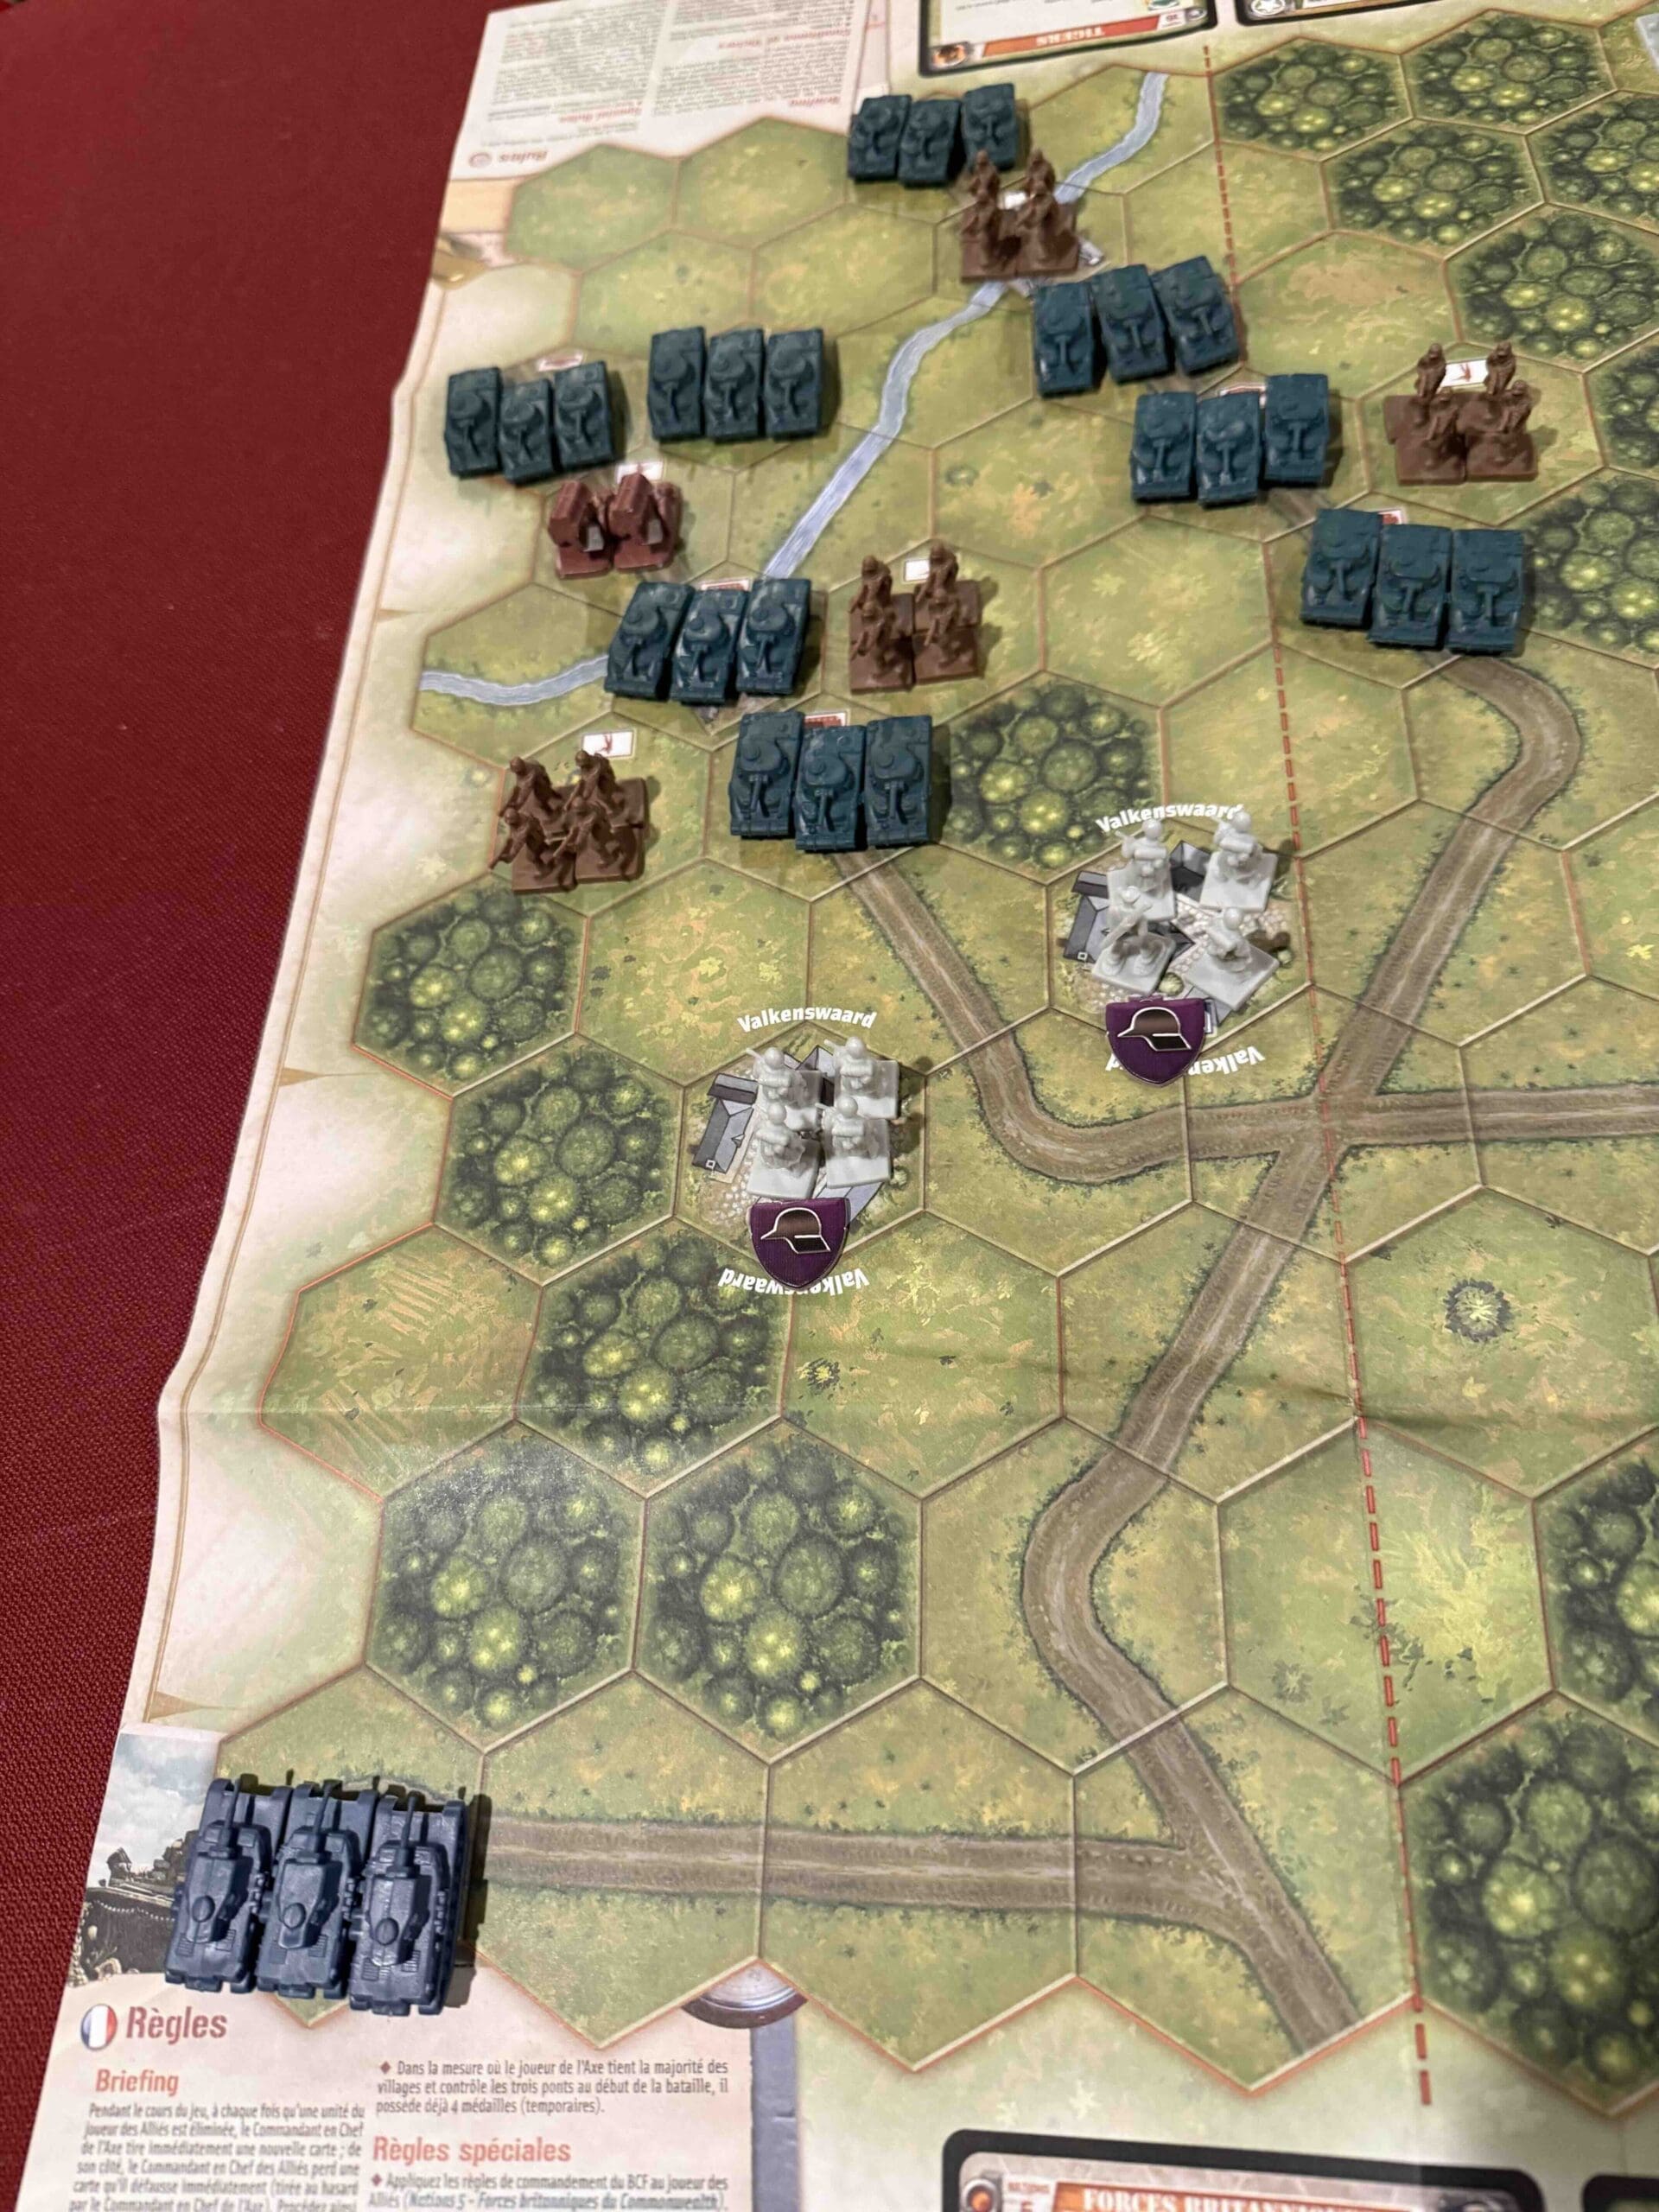
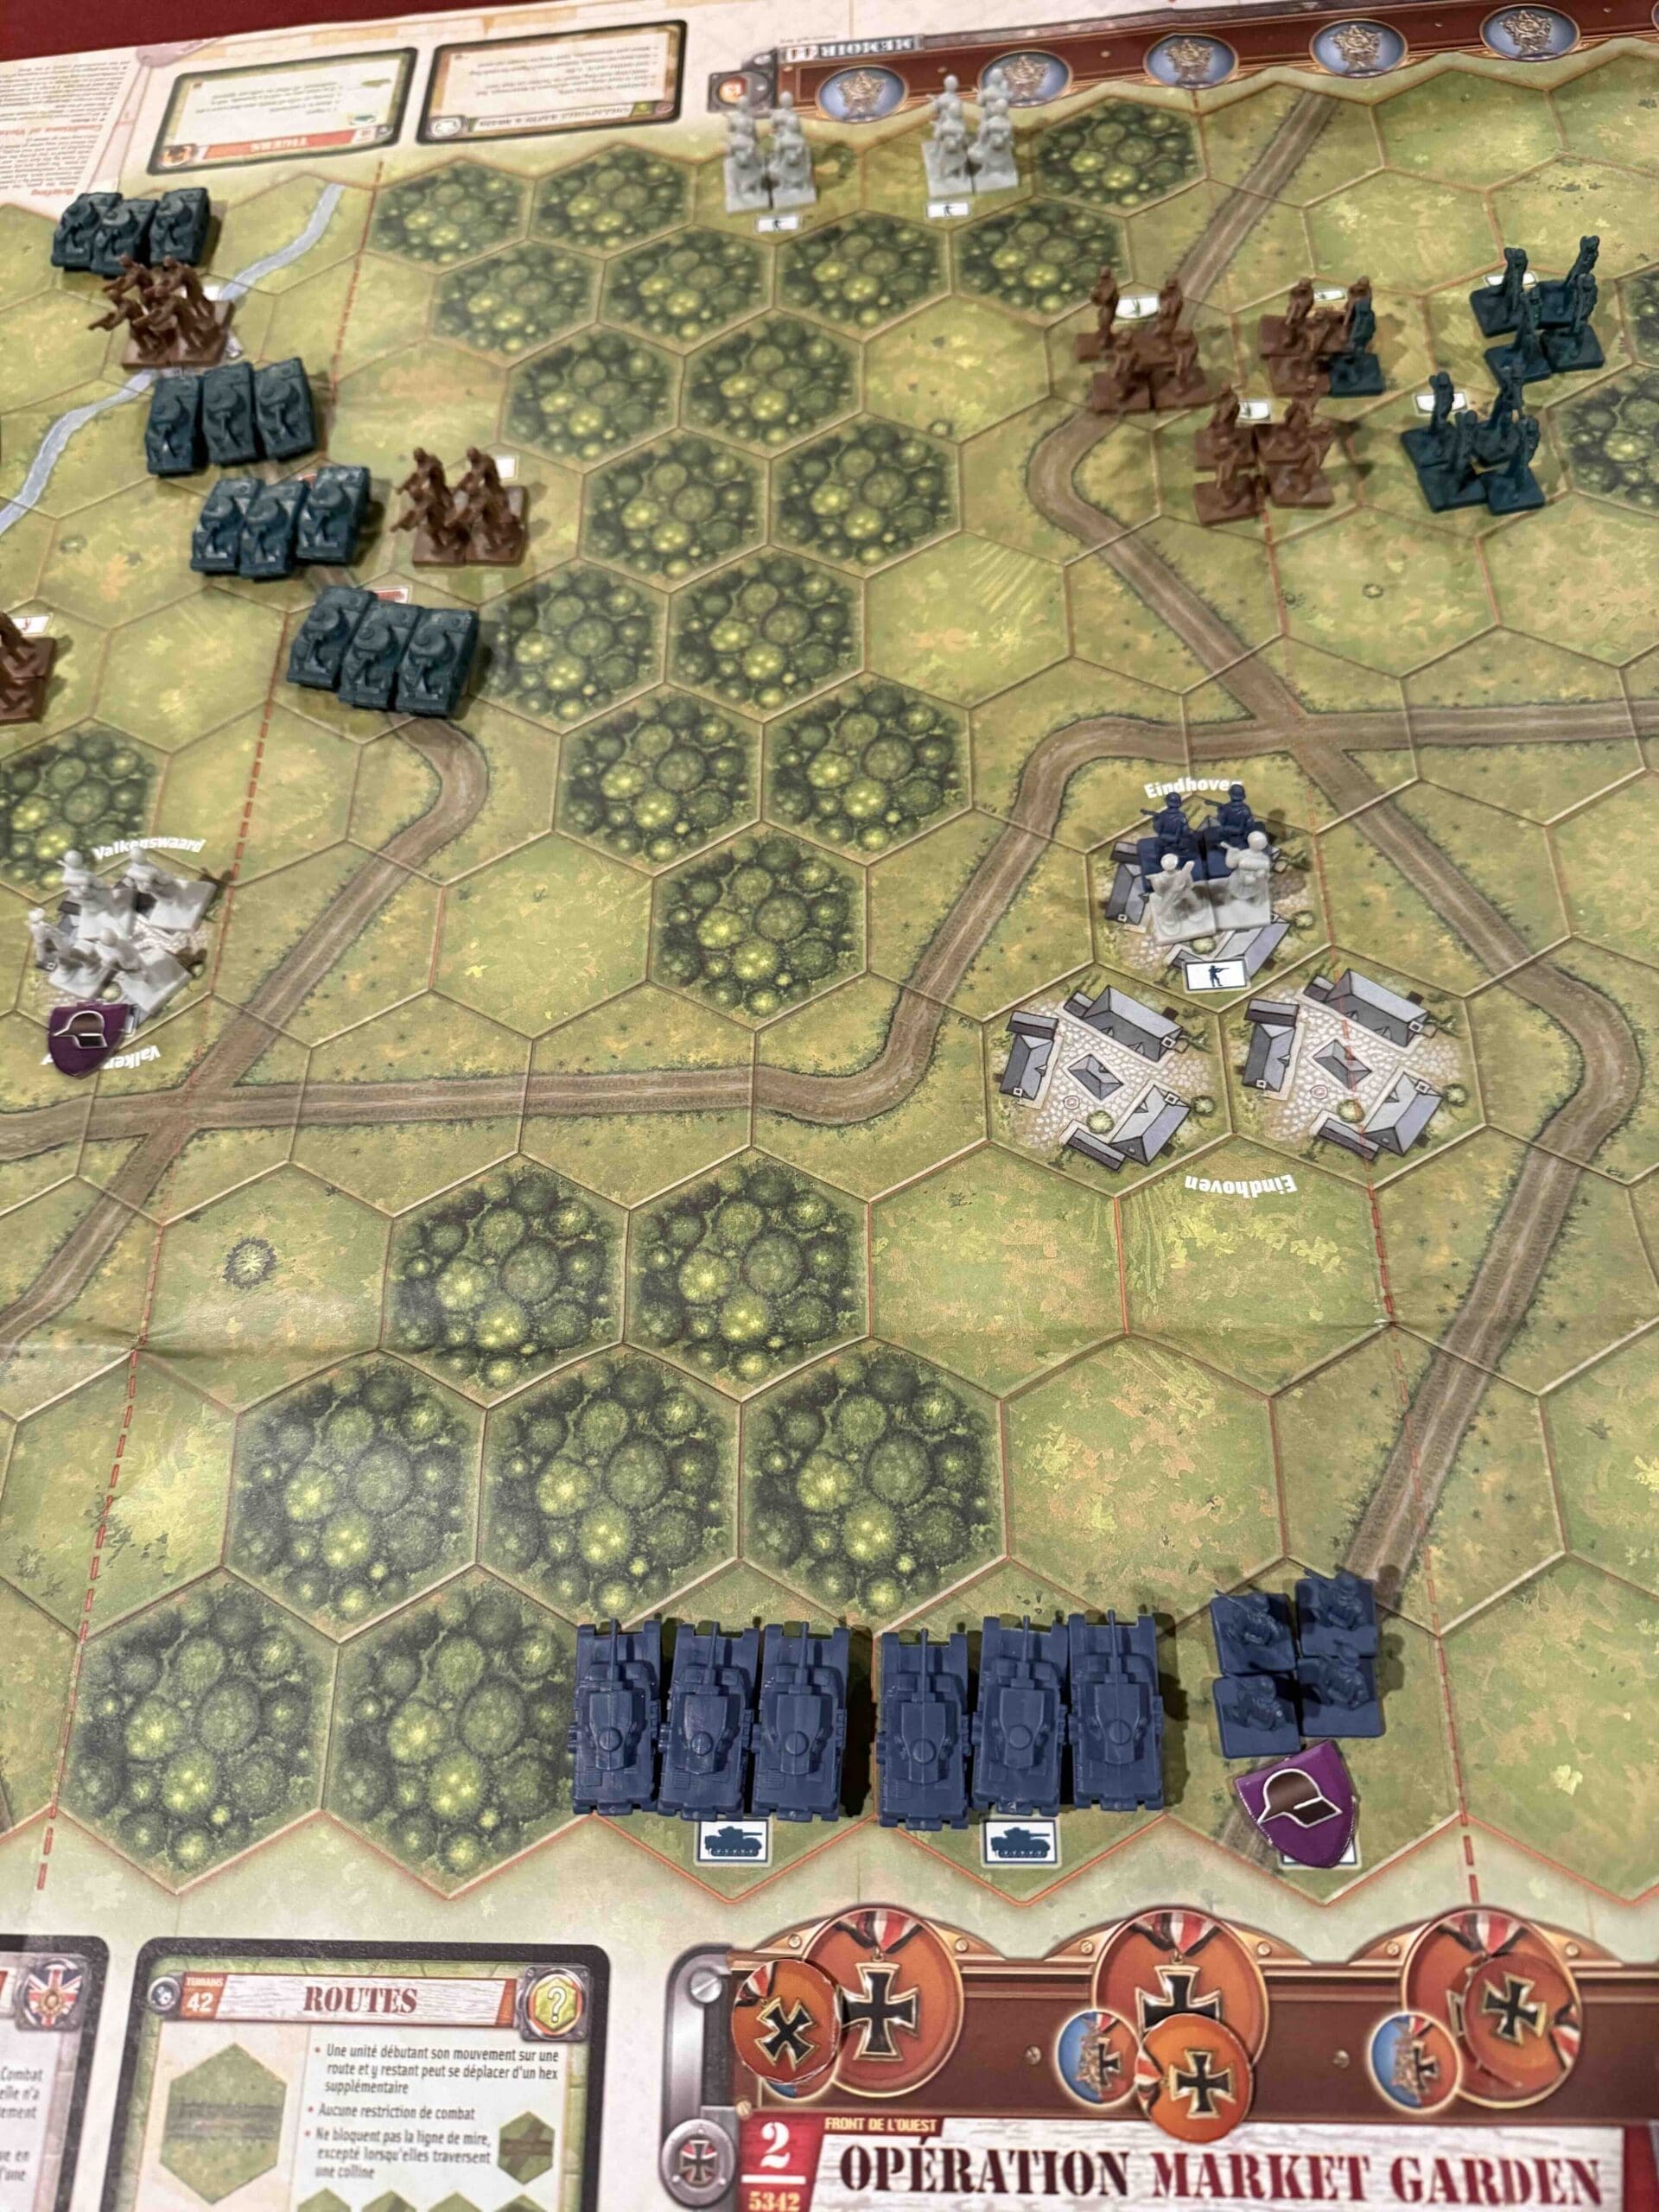
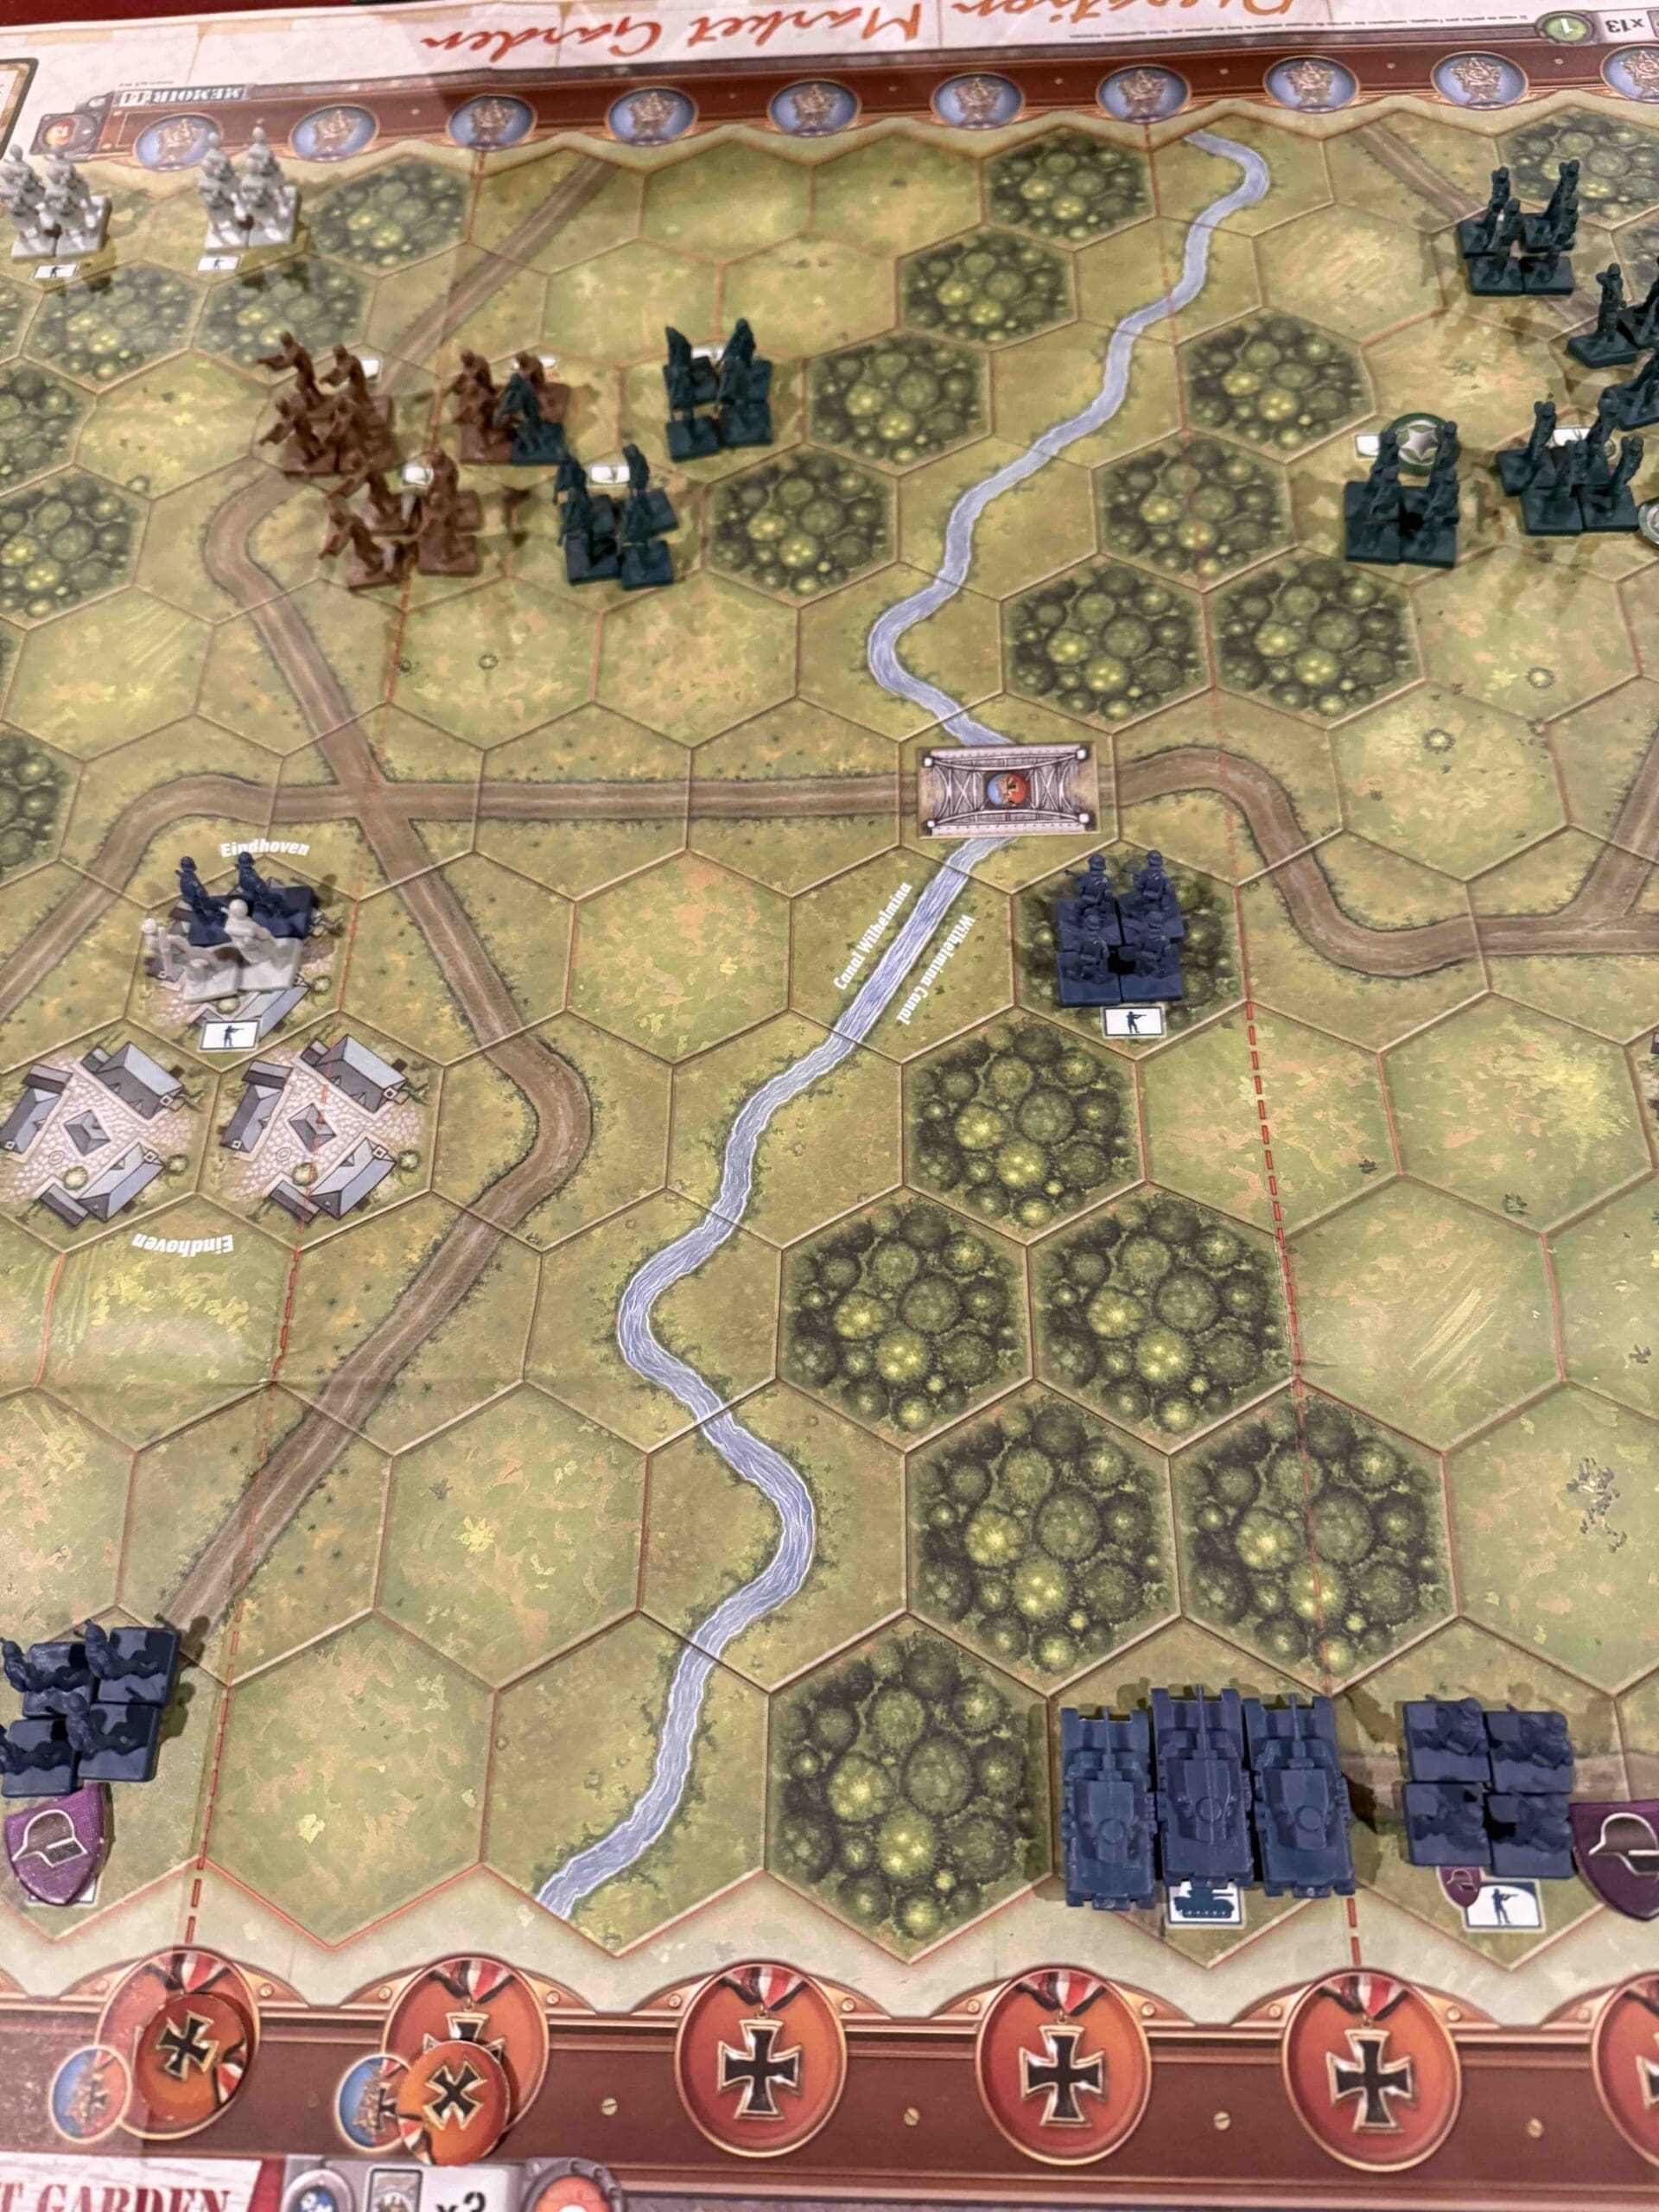
Battlefield:
Combination of woods and winter.
Troops:
Allies – 13 Infantry
Axis – 9 Infantry

Allied Strategy:
1.

Axis Strategy
1.
Battle Reports
Author:
Days of Wonder
Resource:
Campaign Book, Volume 2