General Howitzer’s Field Guide to Memoir 44

A Memoir 44 Strategy & Tactics Community

GENERAL HOWITZER

Scenarios

Explore Memoir ’44 battlefields, maps, and player statistics.

GENERAL HOWITZER

Campaigns

Relive historic campaigns through linked Memoir ’44 battles.

GENERAL HOWITZER

Strategy Tips

Sharpen your tactics and take command of the battlefield.

GENERAL HOWITZER

Field Manuals

Explore field guides and manuals for your next battle.

GENERAL HOWITZER

Tournaments

Find Memoir ’44 tournaments, events, and fellow commanders.

GENERAL HOWITZER

My War Room

Track your battles, campaigns, achievements, and next mission.

The Sausage War [Winter War]

The Sausage War [Winter War]

The Sausage War [Winter War]

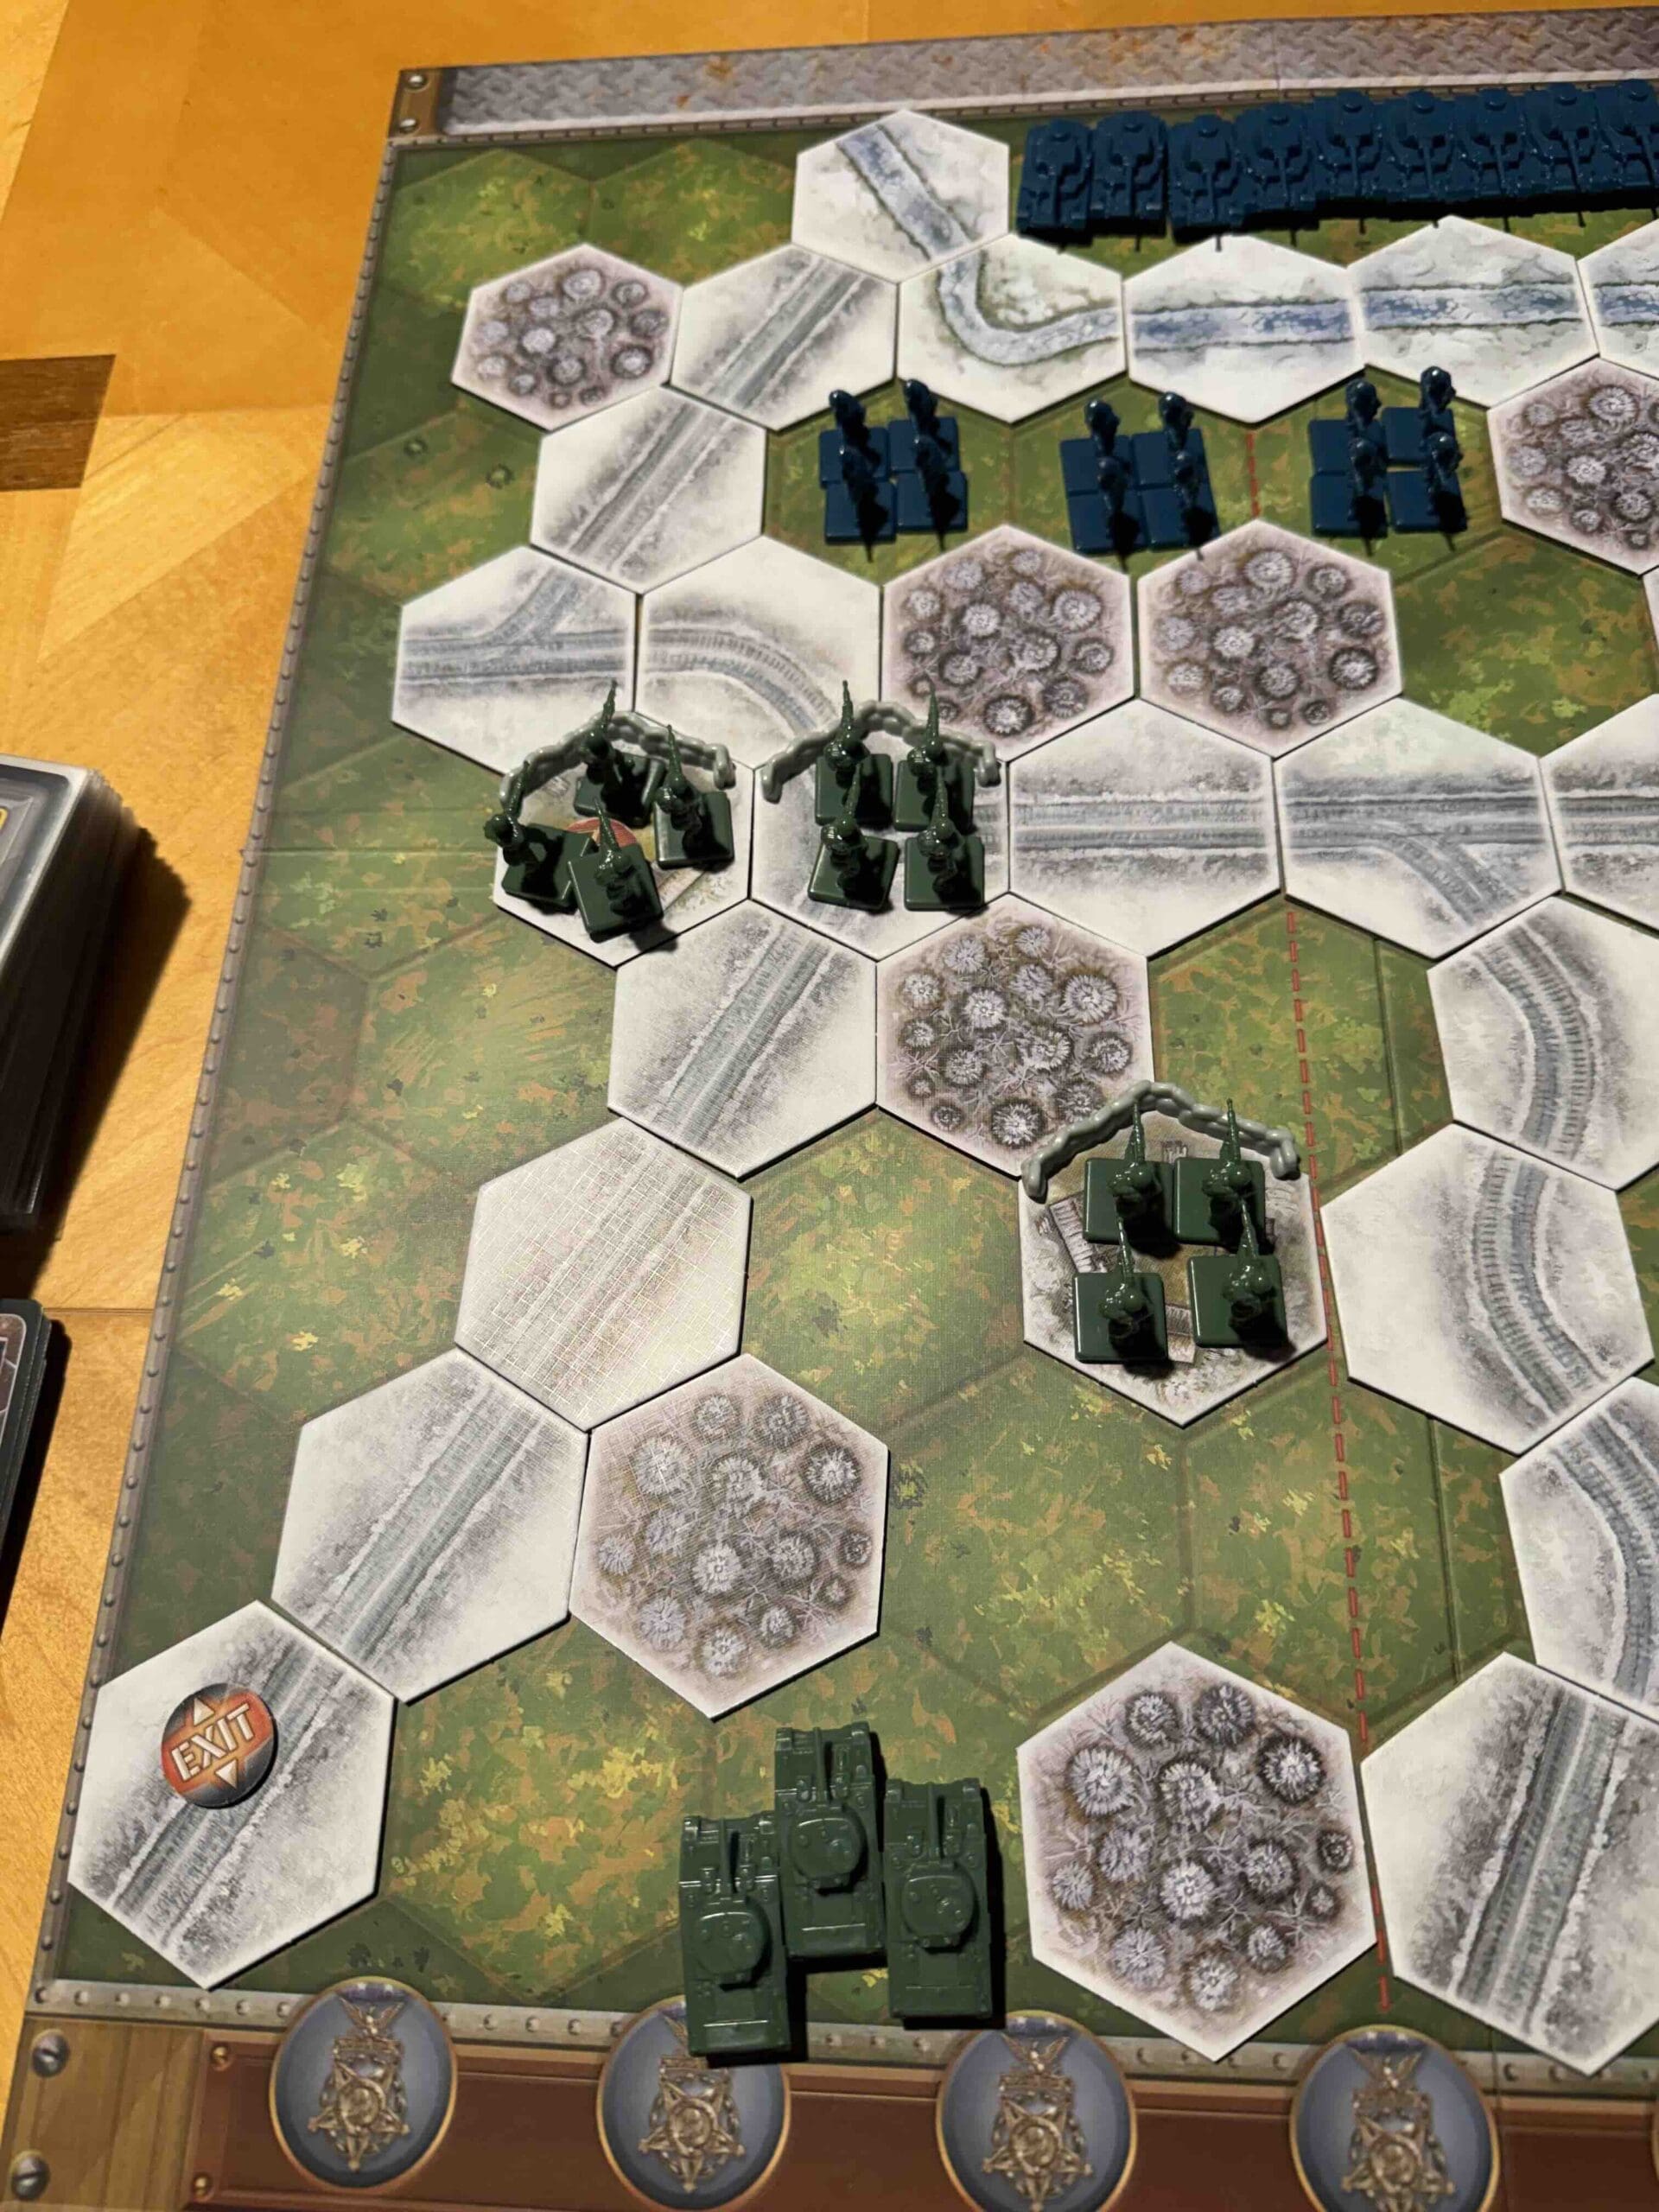
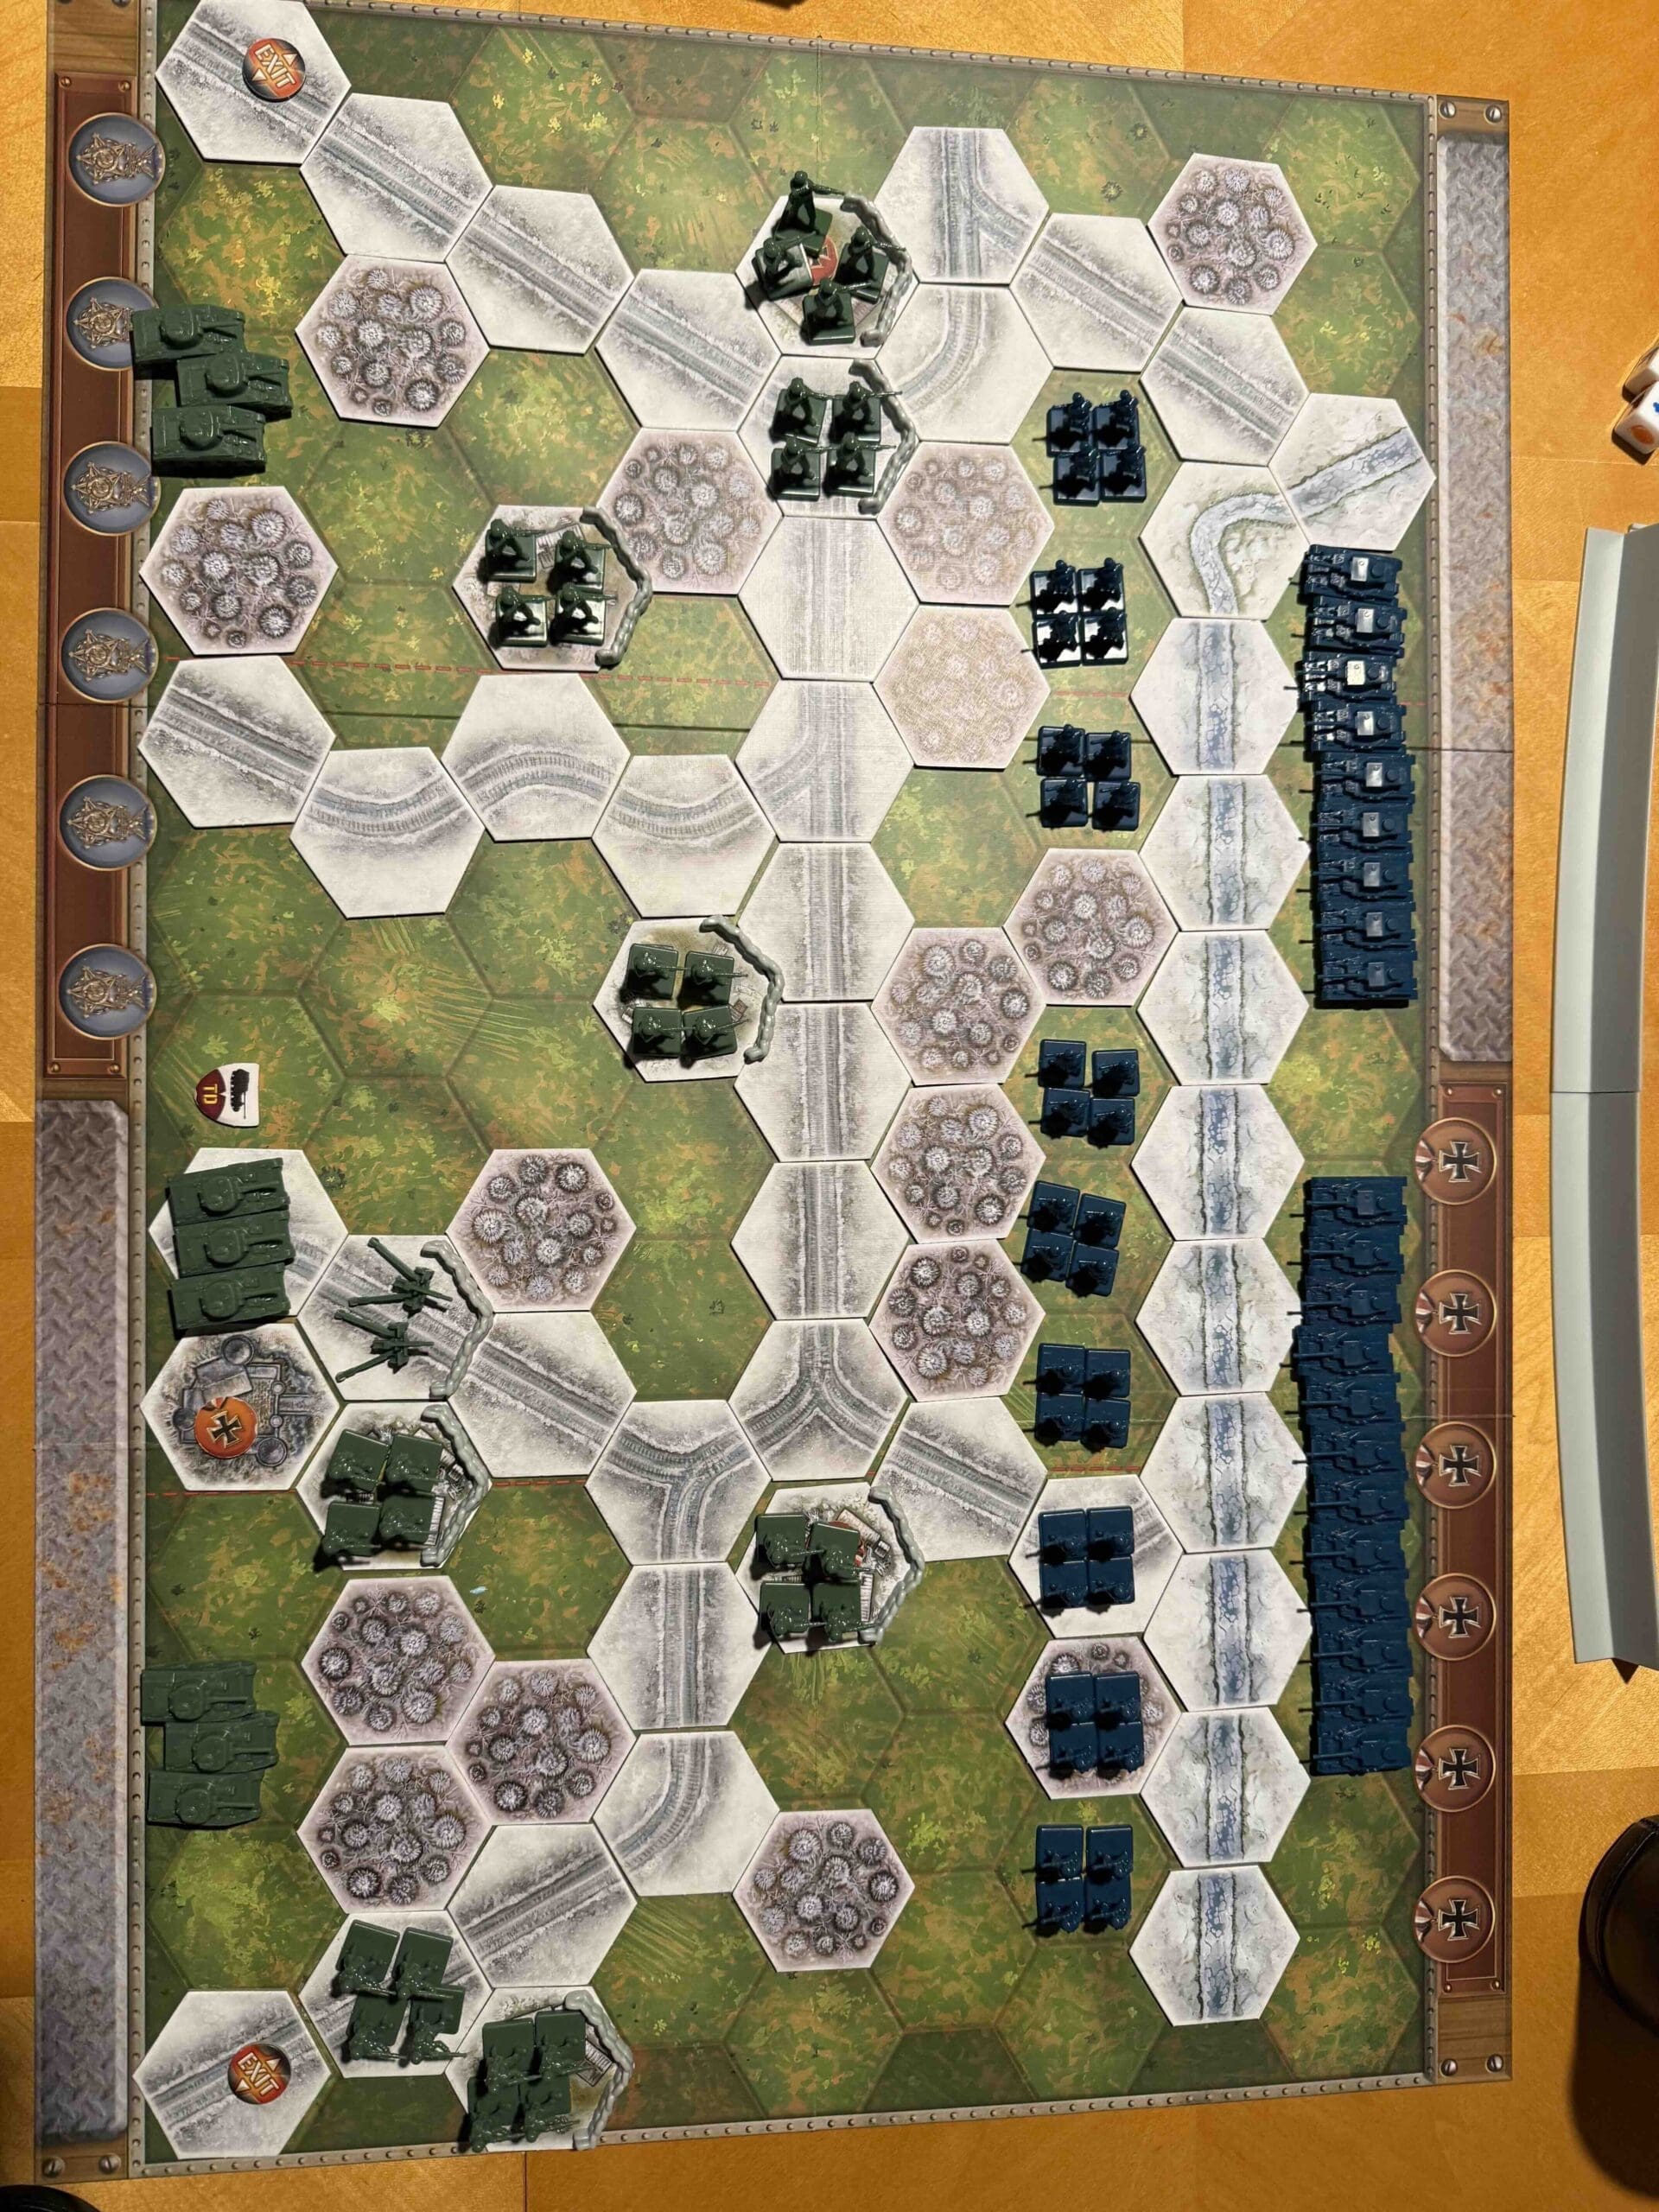
The Sausage War scenario map

Victory
6 Medals

Card Balance
Finnish: 5
Soviet: 5

First Player
Soviet

Conditions
Winter

Date: December 10–11, 1939   Location: Finland

Theater: Eastern Front   Campaign: Winter War

Historical Background

On the evening of Sunday 10 December, as the Finns continued to hold the vital Tolvajärvi village, news of a threat to their rear reached Commander Talvela. After a long march, the Soviet 718th Rifle Regiment had finally arrived in the area. Instead of settling down to rest, these troops had immediately pressed on. Swinging west around the side of Tolvajärvi village, they were now about to encircle the Finns, threatening the undefended supply columns.

Despite their initial success in overcoming the surprised defenders, the Soviet attack halted as soon as the Finnish soup kitchens had been secured. After their five-day forced march, the men of the 718th Rifle Regiment were so hungry and tired that they now forgot all about fighting and proceeded to gorge on hot sausage stew.

As luck would have it, Commander Pajari also happened to be in the area. The unwitting Soviets had given the Finns the respite needed to organise their defences by pausing their attack to feast. Now, with his usual alacrity, Pajari formed up a couple of ragtag companies from cooks, clerks and other rear-echelon staff who had been previously scattered by the Soviet assault.

In the dead of night, the Finns began their counter-attack; this soon turned into fierce hand-to-hand combat.

In the cold light of dawn, it came apparent that the supply troops had emphatically blocked this Soviet pincer movement. During the fighting, the Finns had lost 20 dead and 55 wounded, but left over 100 dead Red Army troops on the field. Pieces of sausages were recovered from the freezing bodies of the fallen foes; the surprise had been so complete that some had even died with food still in their mouths. This episode was spoken of afterwards by the Finns as the “Sausage War”.
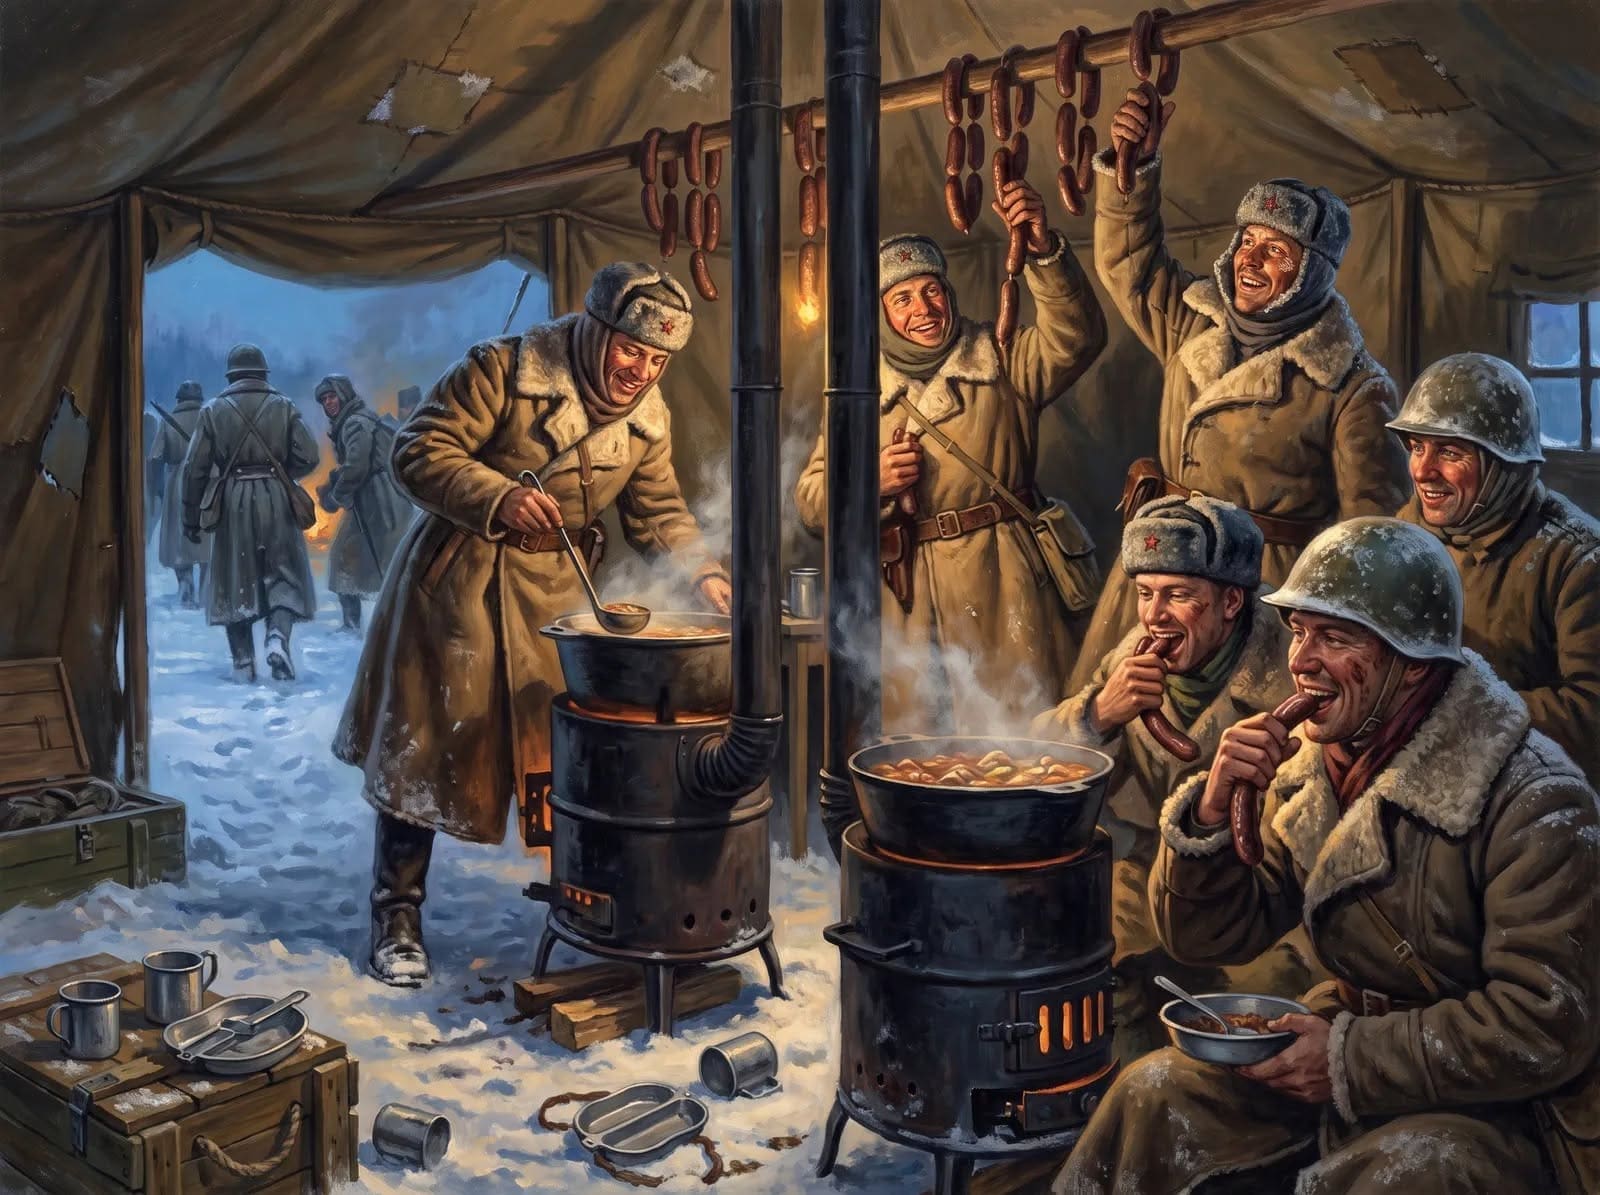
Illustration of Soviet soldiers eating at a captured field kitchen

Briefing

Finnish Player: Take 5 Command Cards.

Soviet Player: Take 5 Command Cards. You move first.

Conditions of Victory

6 Medals

Tolvajärvi village is a Temporary Objective Victory Medal for the Soviet Player.

The kitchen trench is a Temporary Objective Victory Medal for both players.

Special Rules

Russian Command Rules [Nations 2] are in effect.

Finnish Ski Troops [Troops 9] rules are in effect for only the Finnish units marked with the badges. The other three figure units represent the supply and kitchen troops.

Heroic Leader rules [Actions 8] are in effect for the Finnish unit marked with the Battle Star, representing Commander Pajari.

The Marsh hexes represent the frozen lakes. The ice was not thick enough for tanks, so these hexes are impassable for tanks. Infantry may enter the hexes with no effect upon them, except that any unit on a Frozen Lake Hex is considered exposed and is thus also hit by any Stars rolled against it.

When the Soviet Player occupies the kitchen trench hex, flip the Commissar token as you would a coin. On heads, there is no effect; the Commissar keeps the hungry troops in line. If it lands on the star though, that unit may not be ordered on the Soviet players next turn. (It can also not use an Ambush card if targeted by the Finns). At the beginning of the turn, repeat the process to see if they get their act together or keep feasting into the next turn. Repeat the process again next turn if needed.
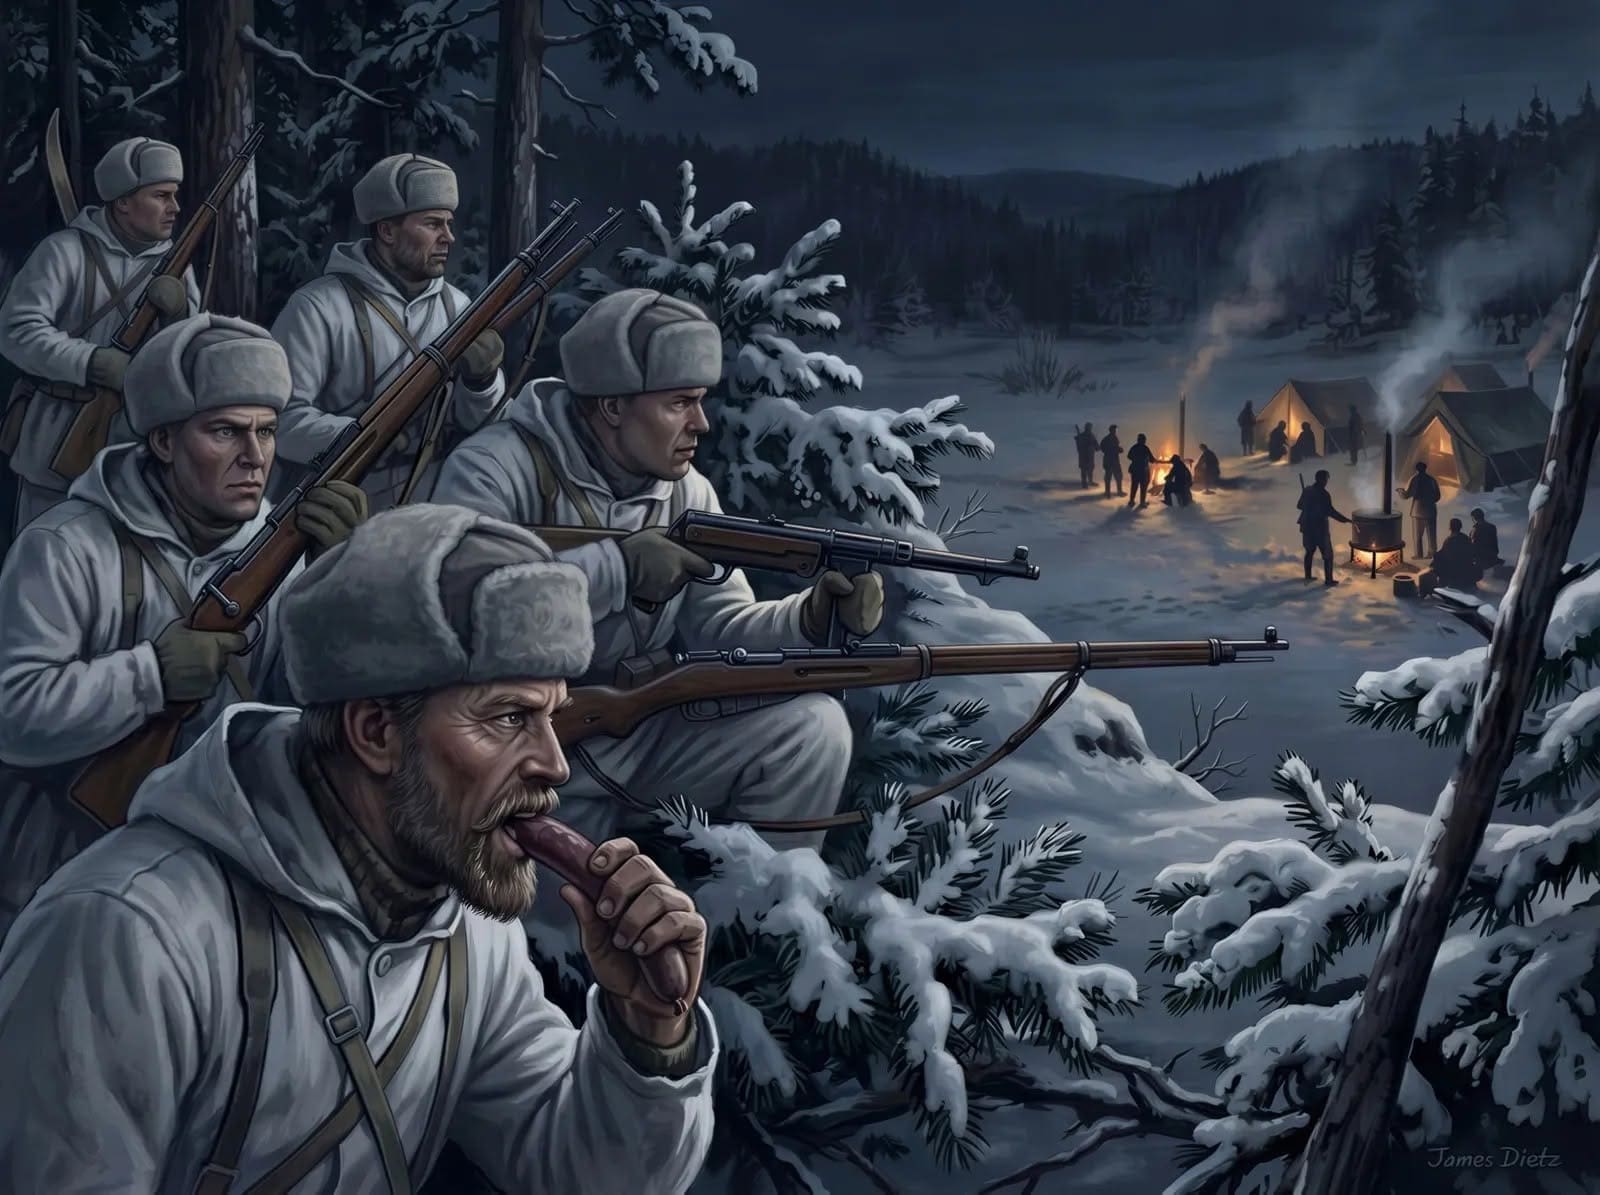
Illustration of Finnish soldiers approaching a winter field kitchen at night

Source/Authorship:  Harley Southwell

Scenario map and text reproduced from the supplied scenario PDF. Symbols & Graphics Copyright (c) 2004–2026 Days of Wonder, Inc. Produced with permission, for non-commercial use only.

Uomaa Village [Winter War]

Uomaa Village [Winter War]

Uomaa Village [Winter War]

Uomaa Village scenario map

Victory
6 Medals

Card Balance
Finnish: 5
Soviet: 5

First Player
Soviet

Conditions
Winter

Date: December 5, 1939   Location: Finland

Theater: Eastern Front   Campaign: Winter War

Historical Background

The Soviet 208th Rifle Regiment encountered strong fortified positions at Uomaa, where the Finns prepared to fight a delaying action. In front of Uomaa they were faced with barbed-wire obstacles, behind these was a minefield, and on the edge of the village there were dugouts for forward observers. Brigade Commander Kondrashev gave orders for a series of direct attacks, but they all failed. Two Soviet tanks hit mines and were destroyed. Machine-gun fire mauled the soldiers. At noon the Soviets dragged up their heavy howitzers; they struck the machine-gun dugouts with direct fire. By the evening they had nearly surrounded the village. The Finns started to burn down the houses and then headed into the woods, retreating toward Kitila where they would make their next stand.

Briefing

Finnish Player: Take 5 Command Cards.

Soviet Player: Take 5 Command Cards. You move first.

Conditions of Victory

6 Medals

Exit medal rules are in effect for the Soviet Player.

Uomaa village is a Temporary Objective Victory Medal for the Soviet Player

Special Rules

Russian Command Rules [Nations 2] are in effect.

Finnish Ski Troops [Troops 9] rules are in effect for only the Finnish units marked with the badges.

The Finnish player lays out the minefields.

The Marsh hexes represent the frozen lakes. The ice was not thick enough for tanks, so these hexes are impassable for tanks. Infantry may enter the hexes with no effect upon them, except that any unit on a Frozen Lake Hex is considered exposed and is thus also hit by any Stars rolled against it.

Source/Authorship: Harley Southwell

Scenario map and text reproduced from the supplied scenario PDF. Symbols & Graphics Copyright (c) 2004–2026 Days of Wonder, Inc. Produced with permission, for non-commercial use only.
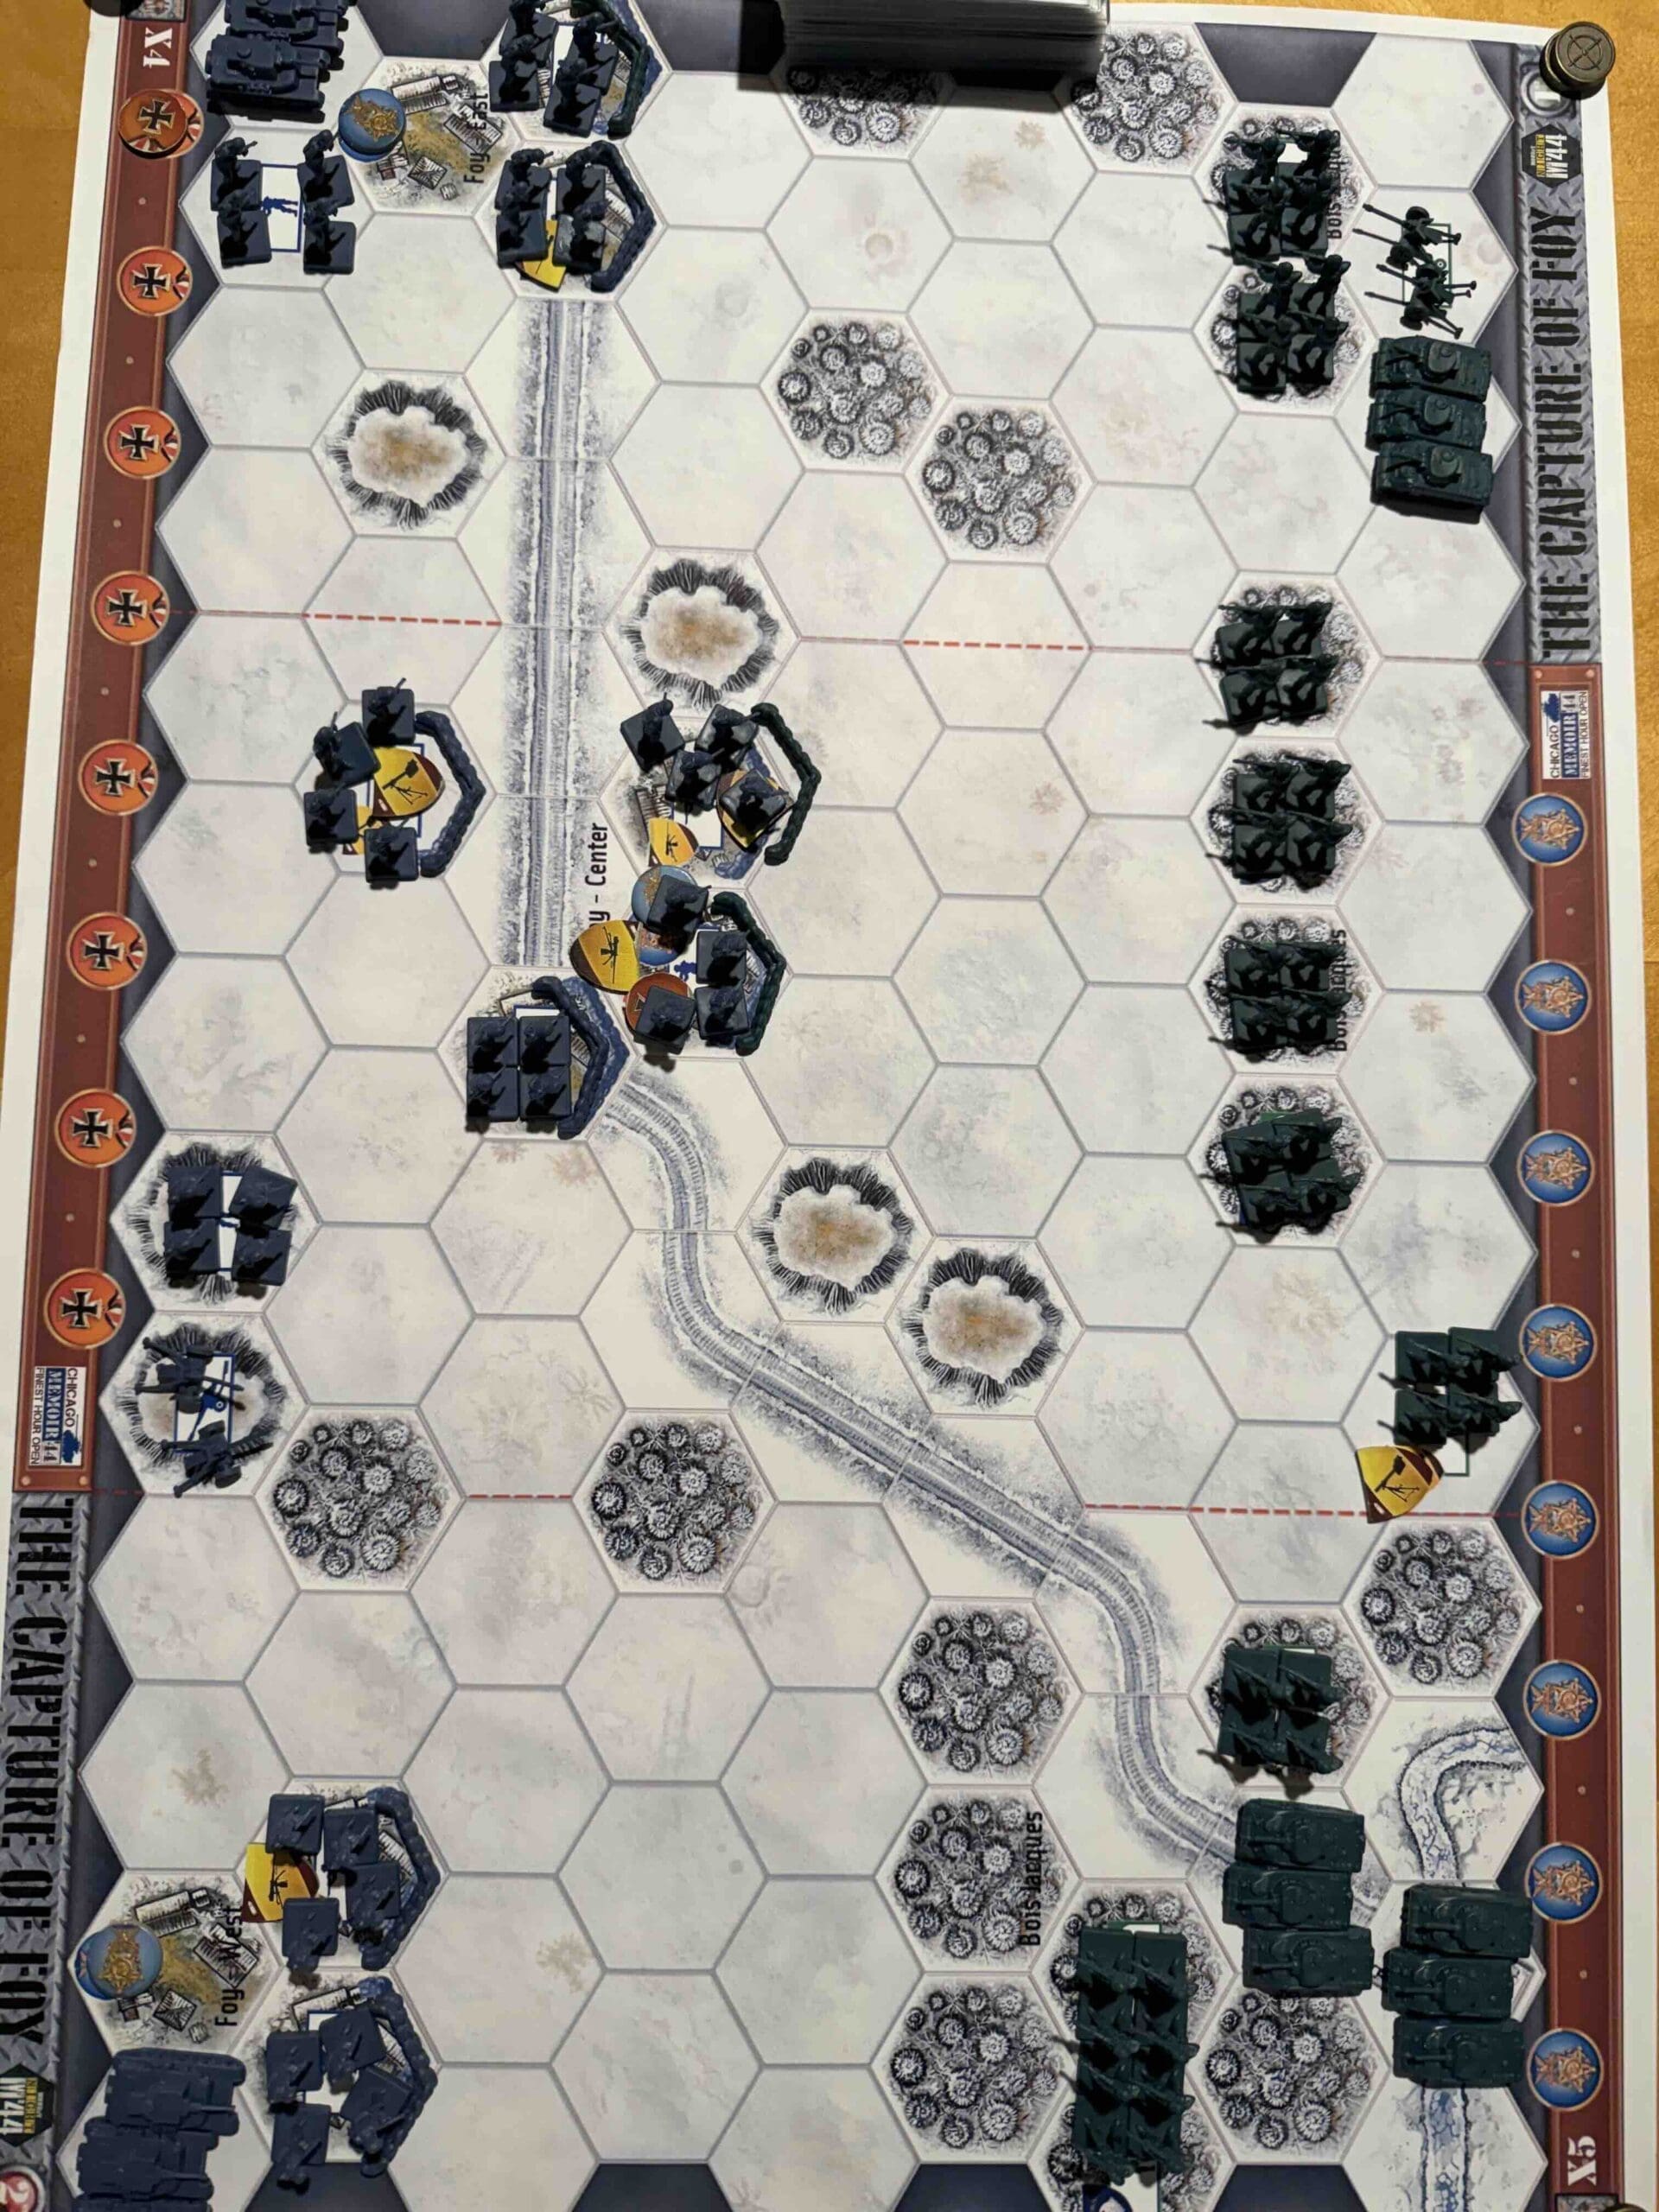
Capture of Foy

Capture of Foy

Capture of Foy

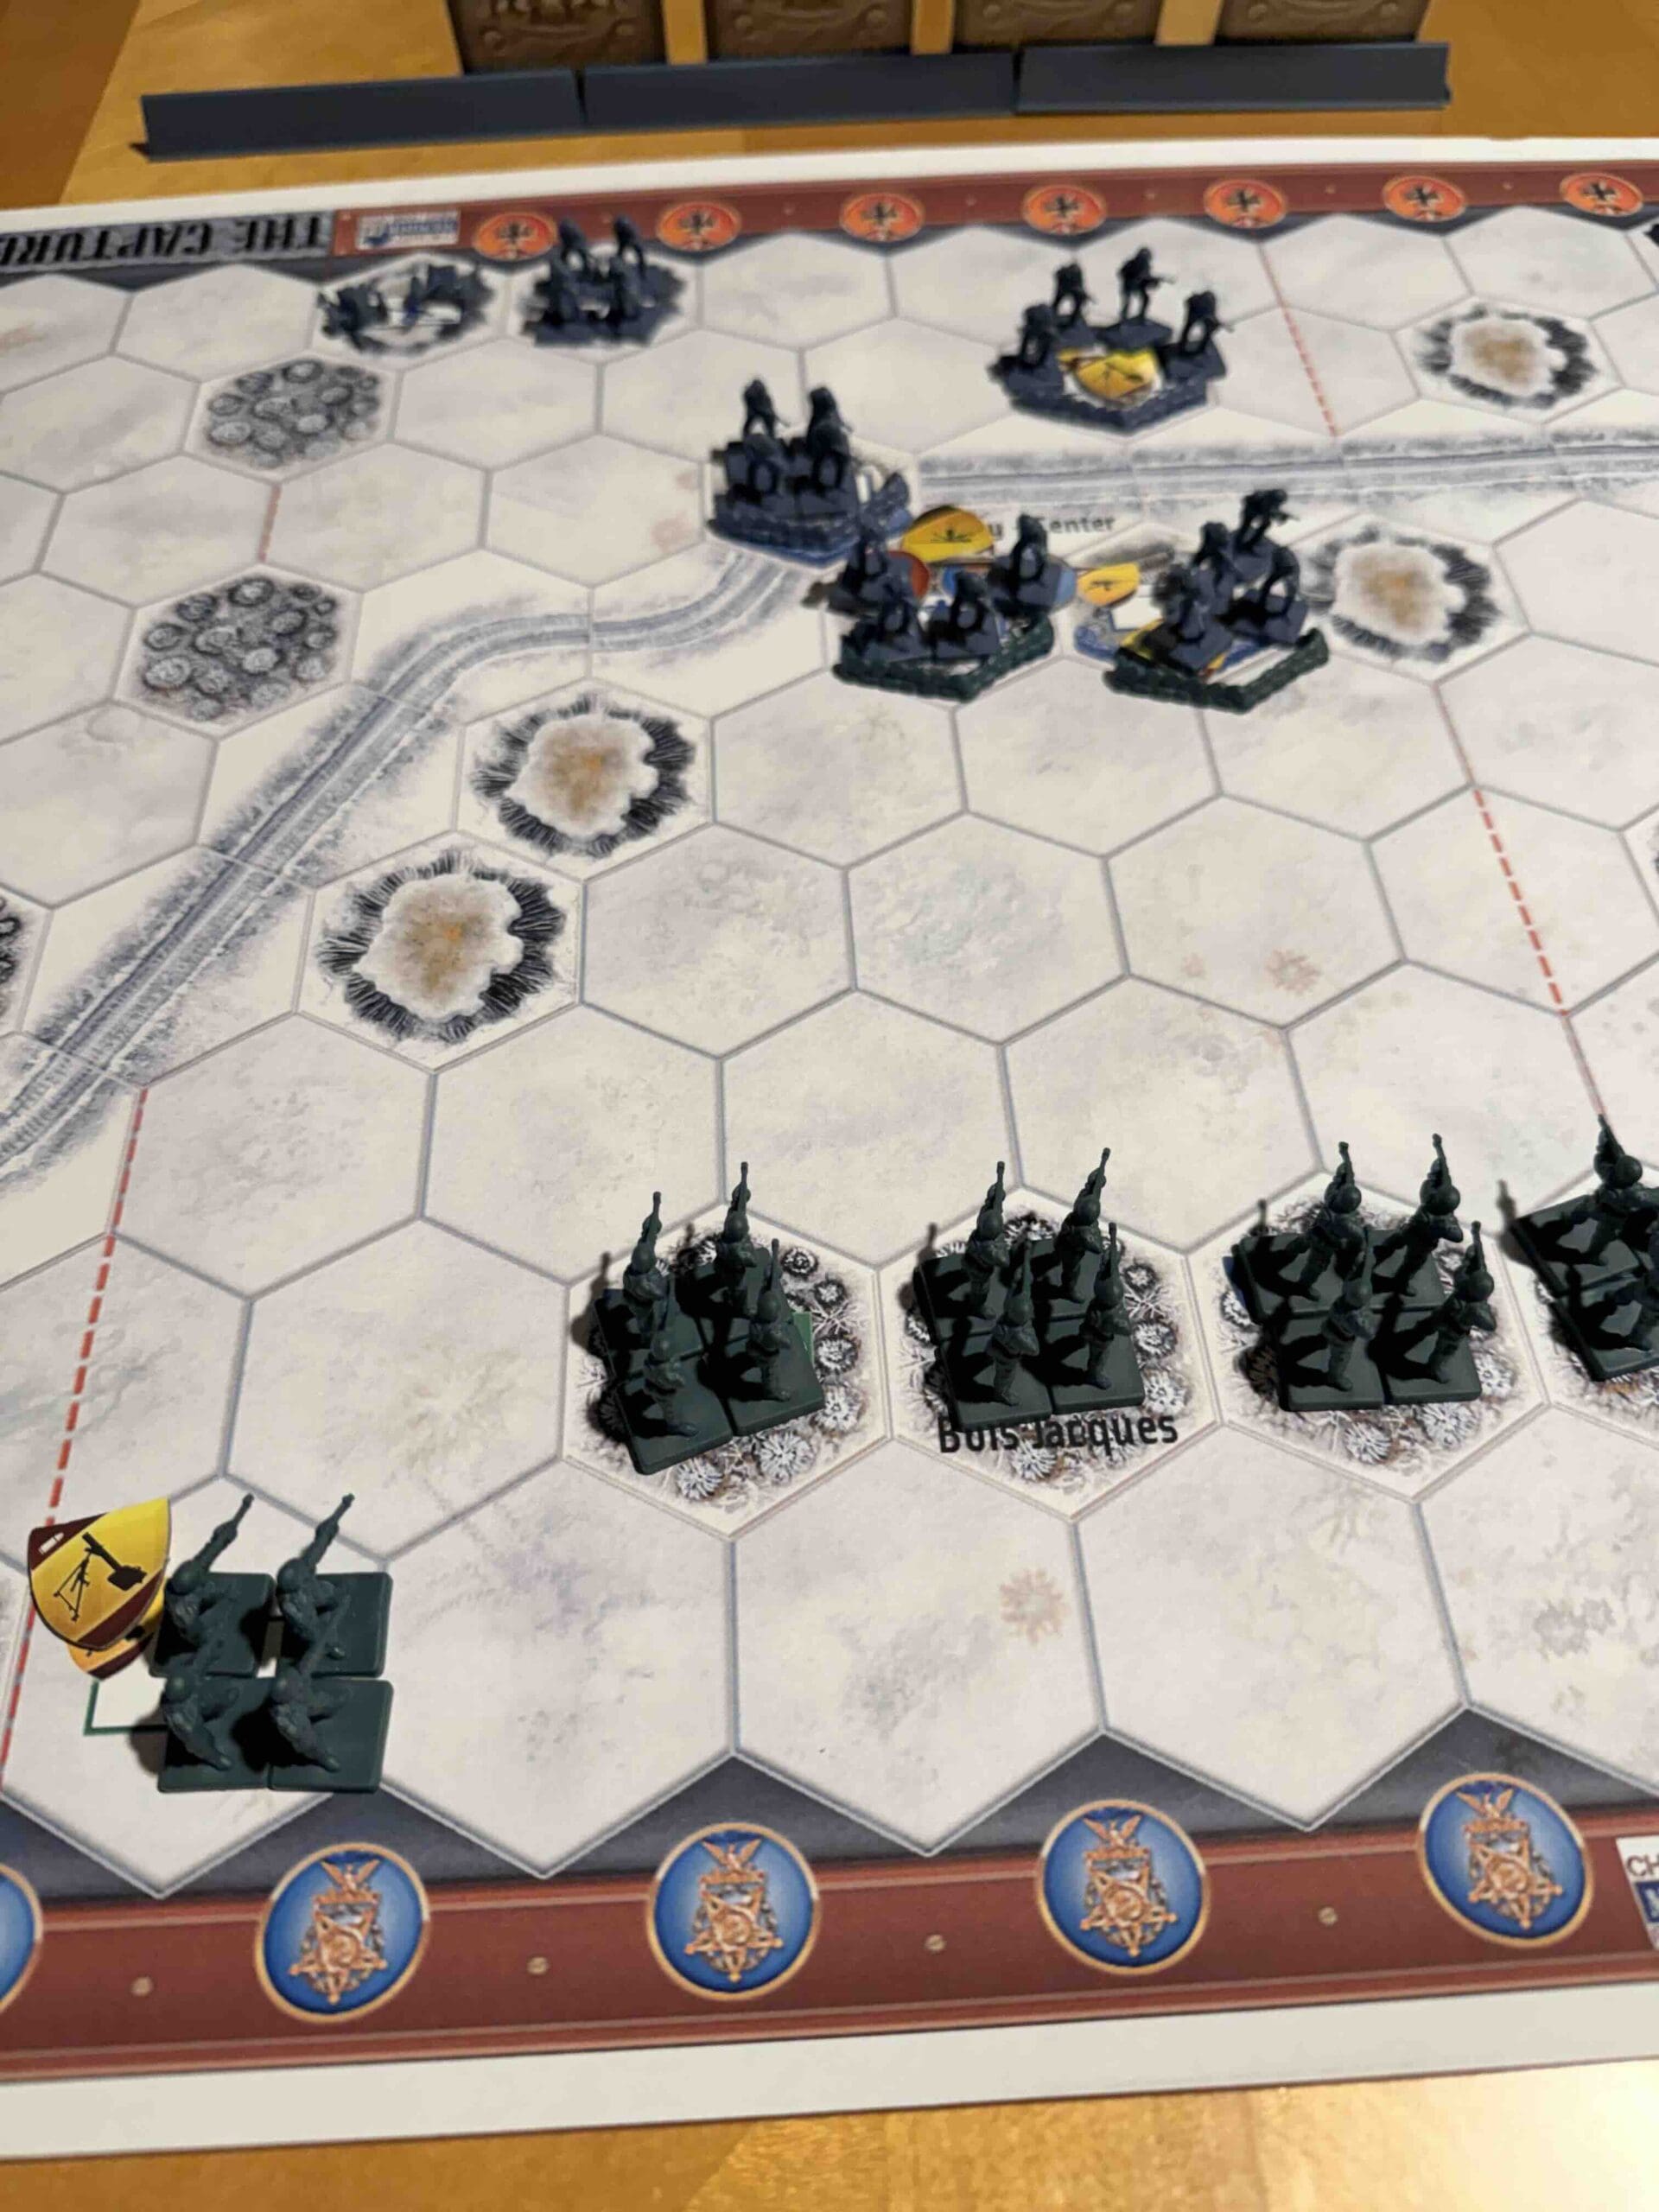
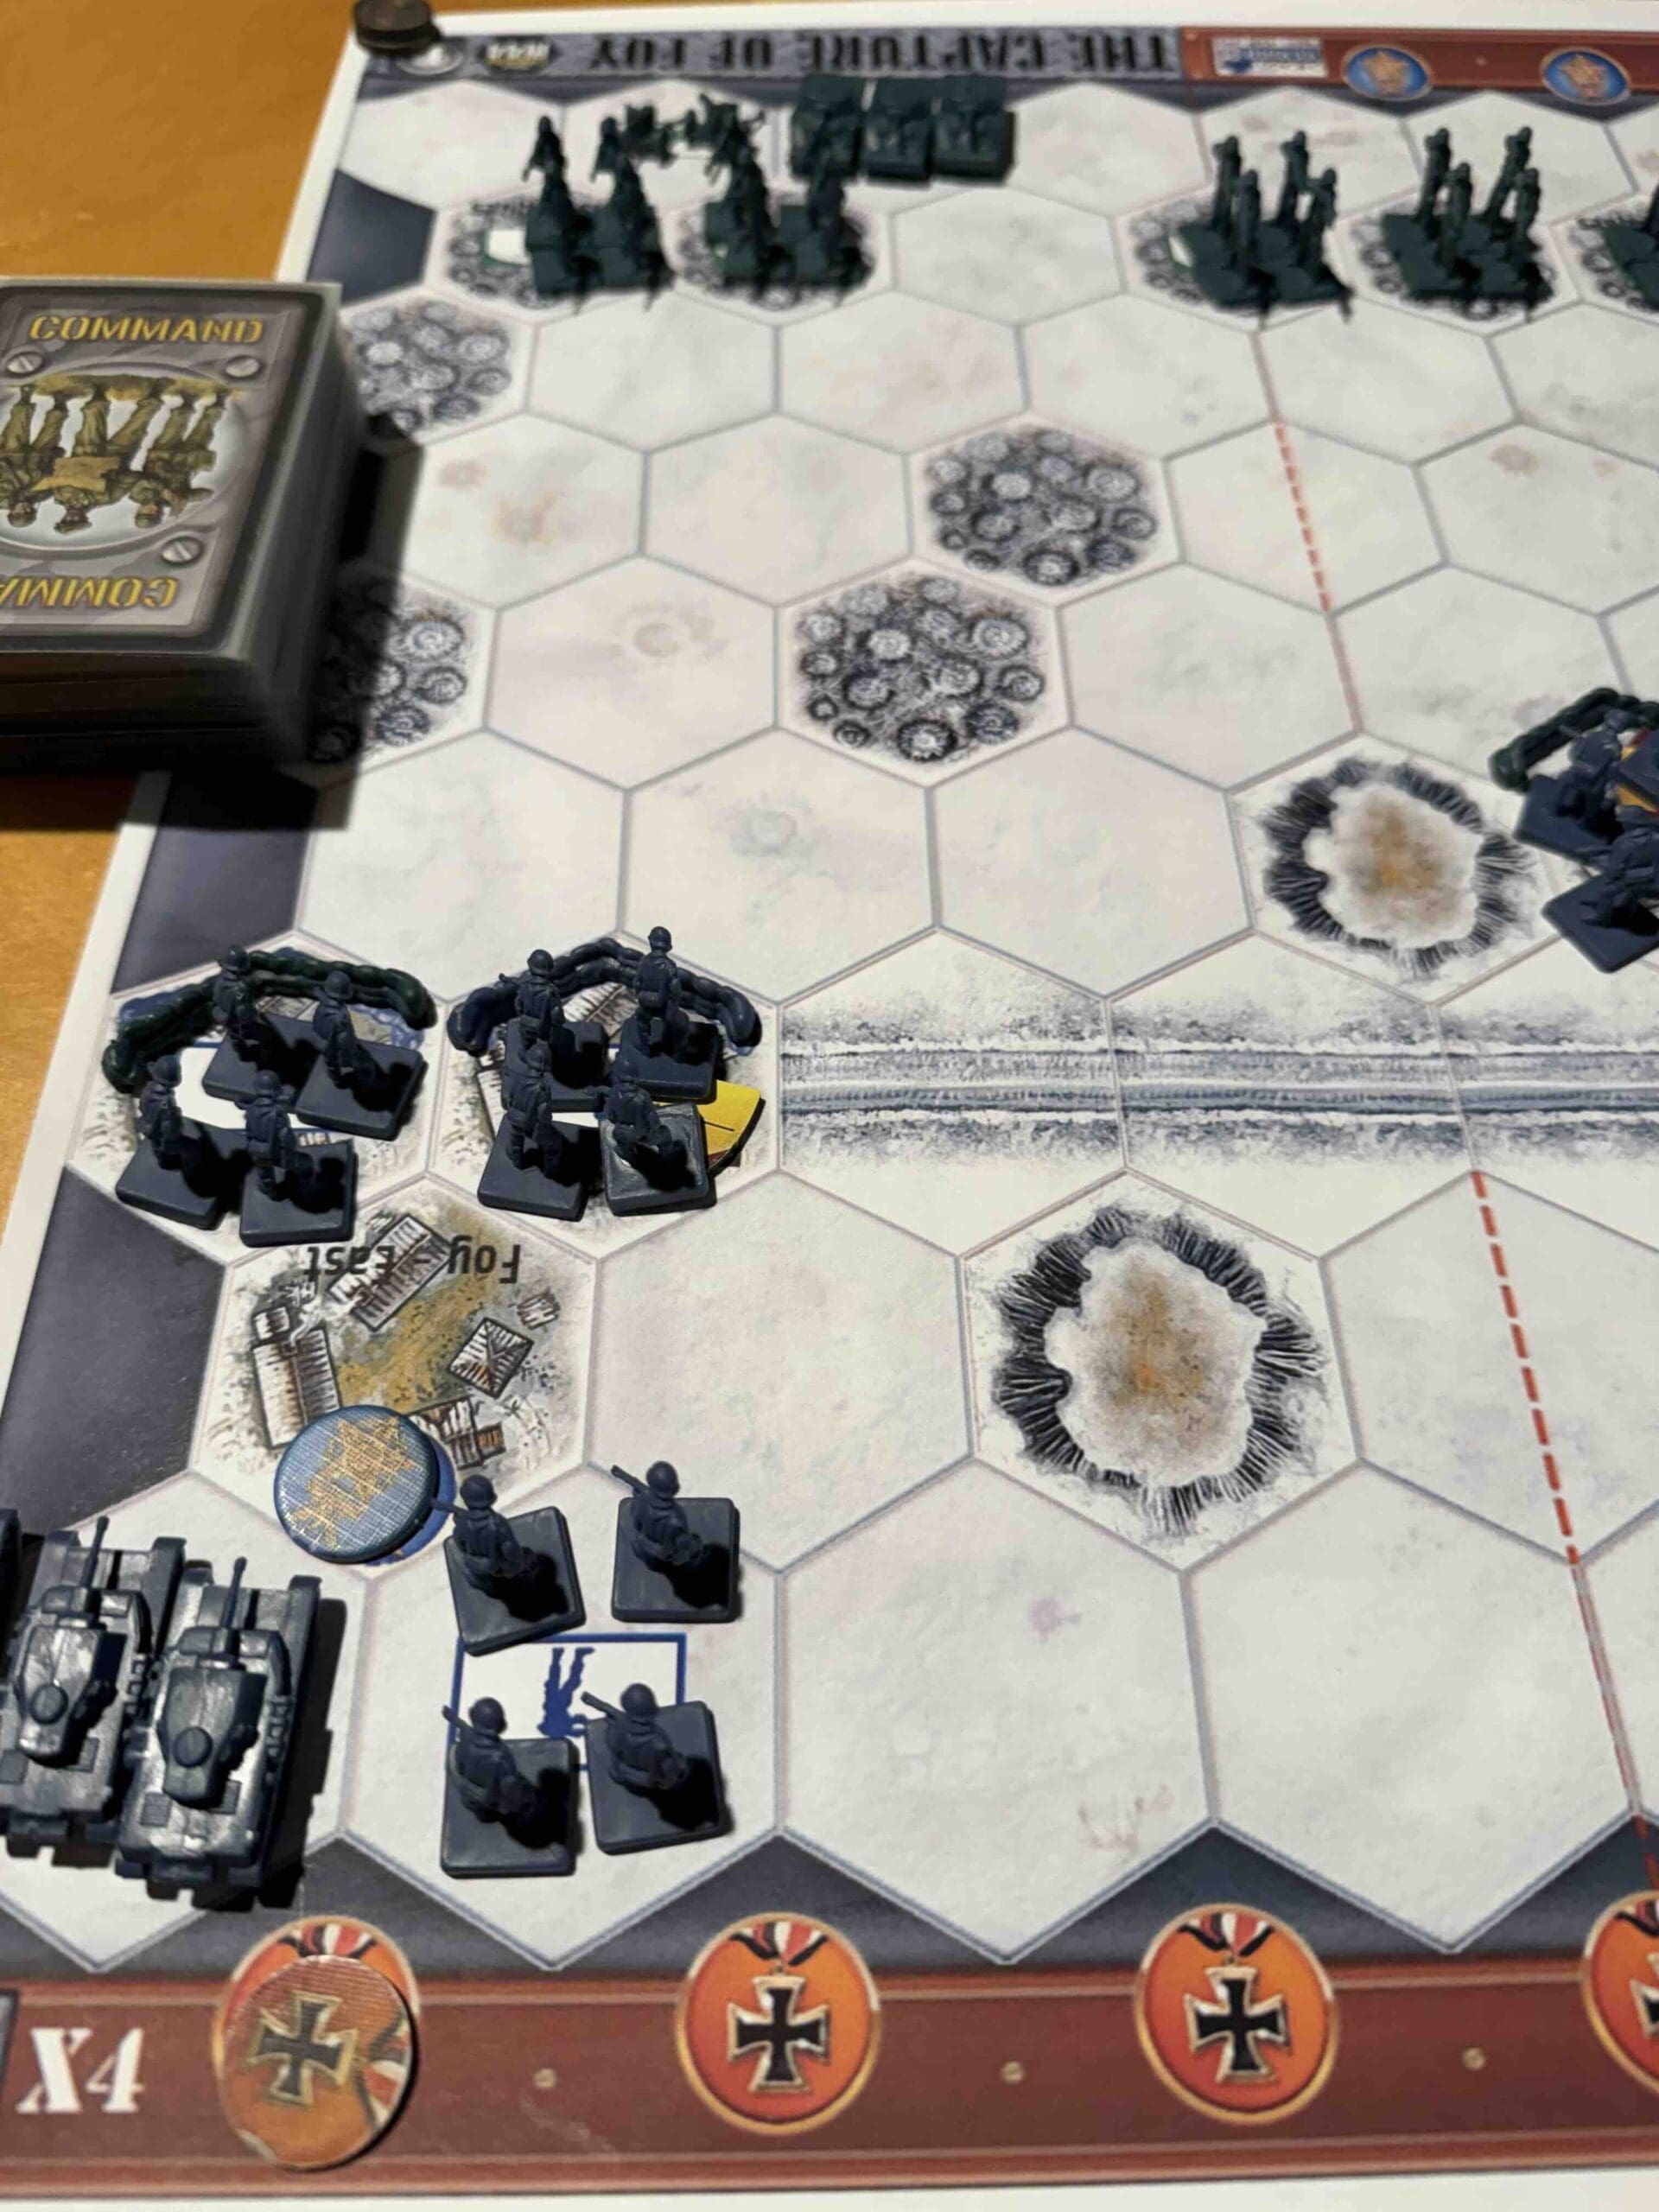
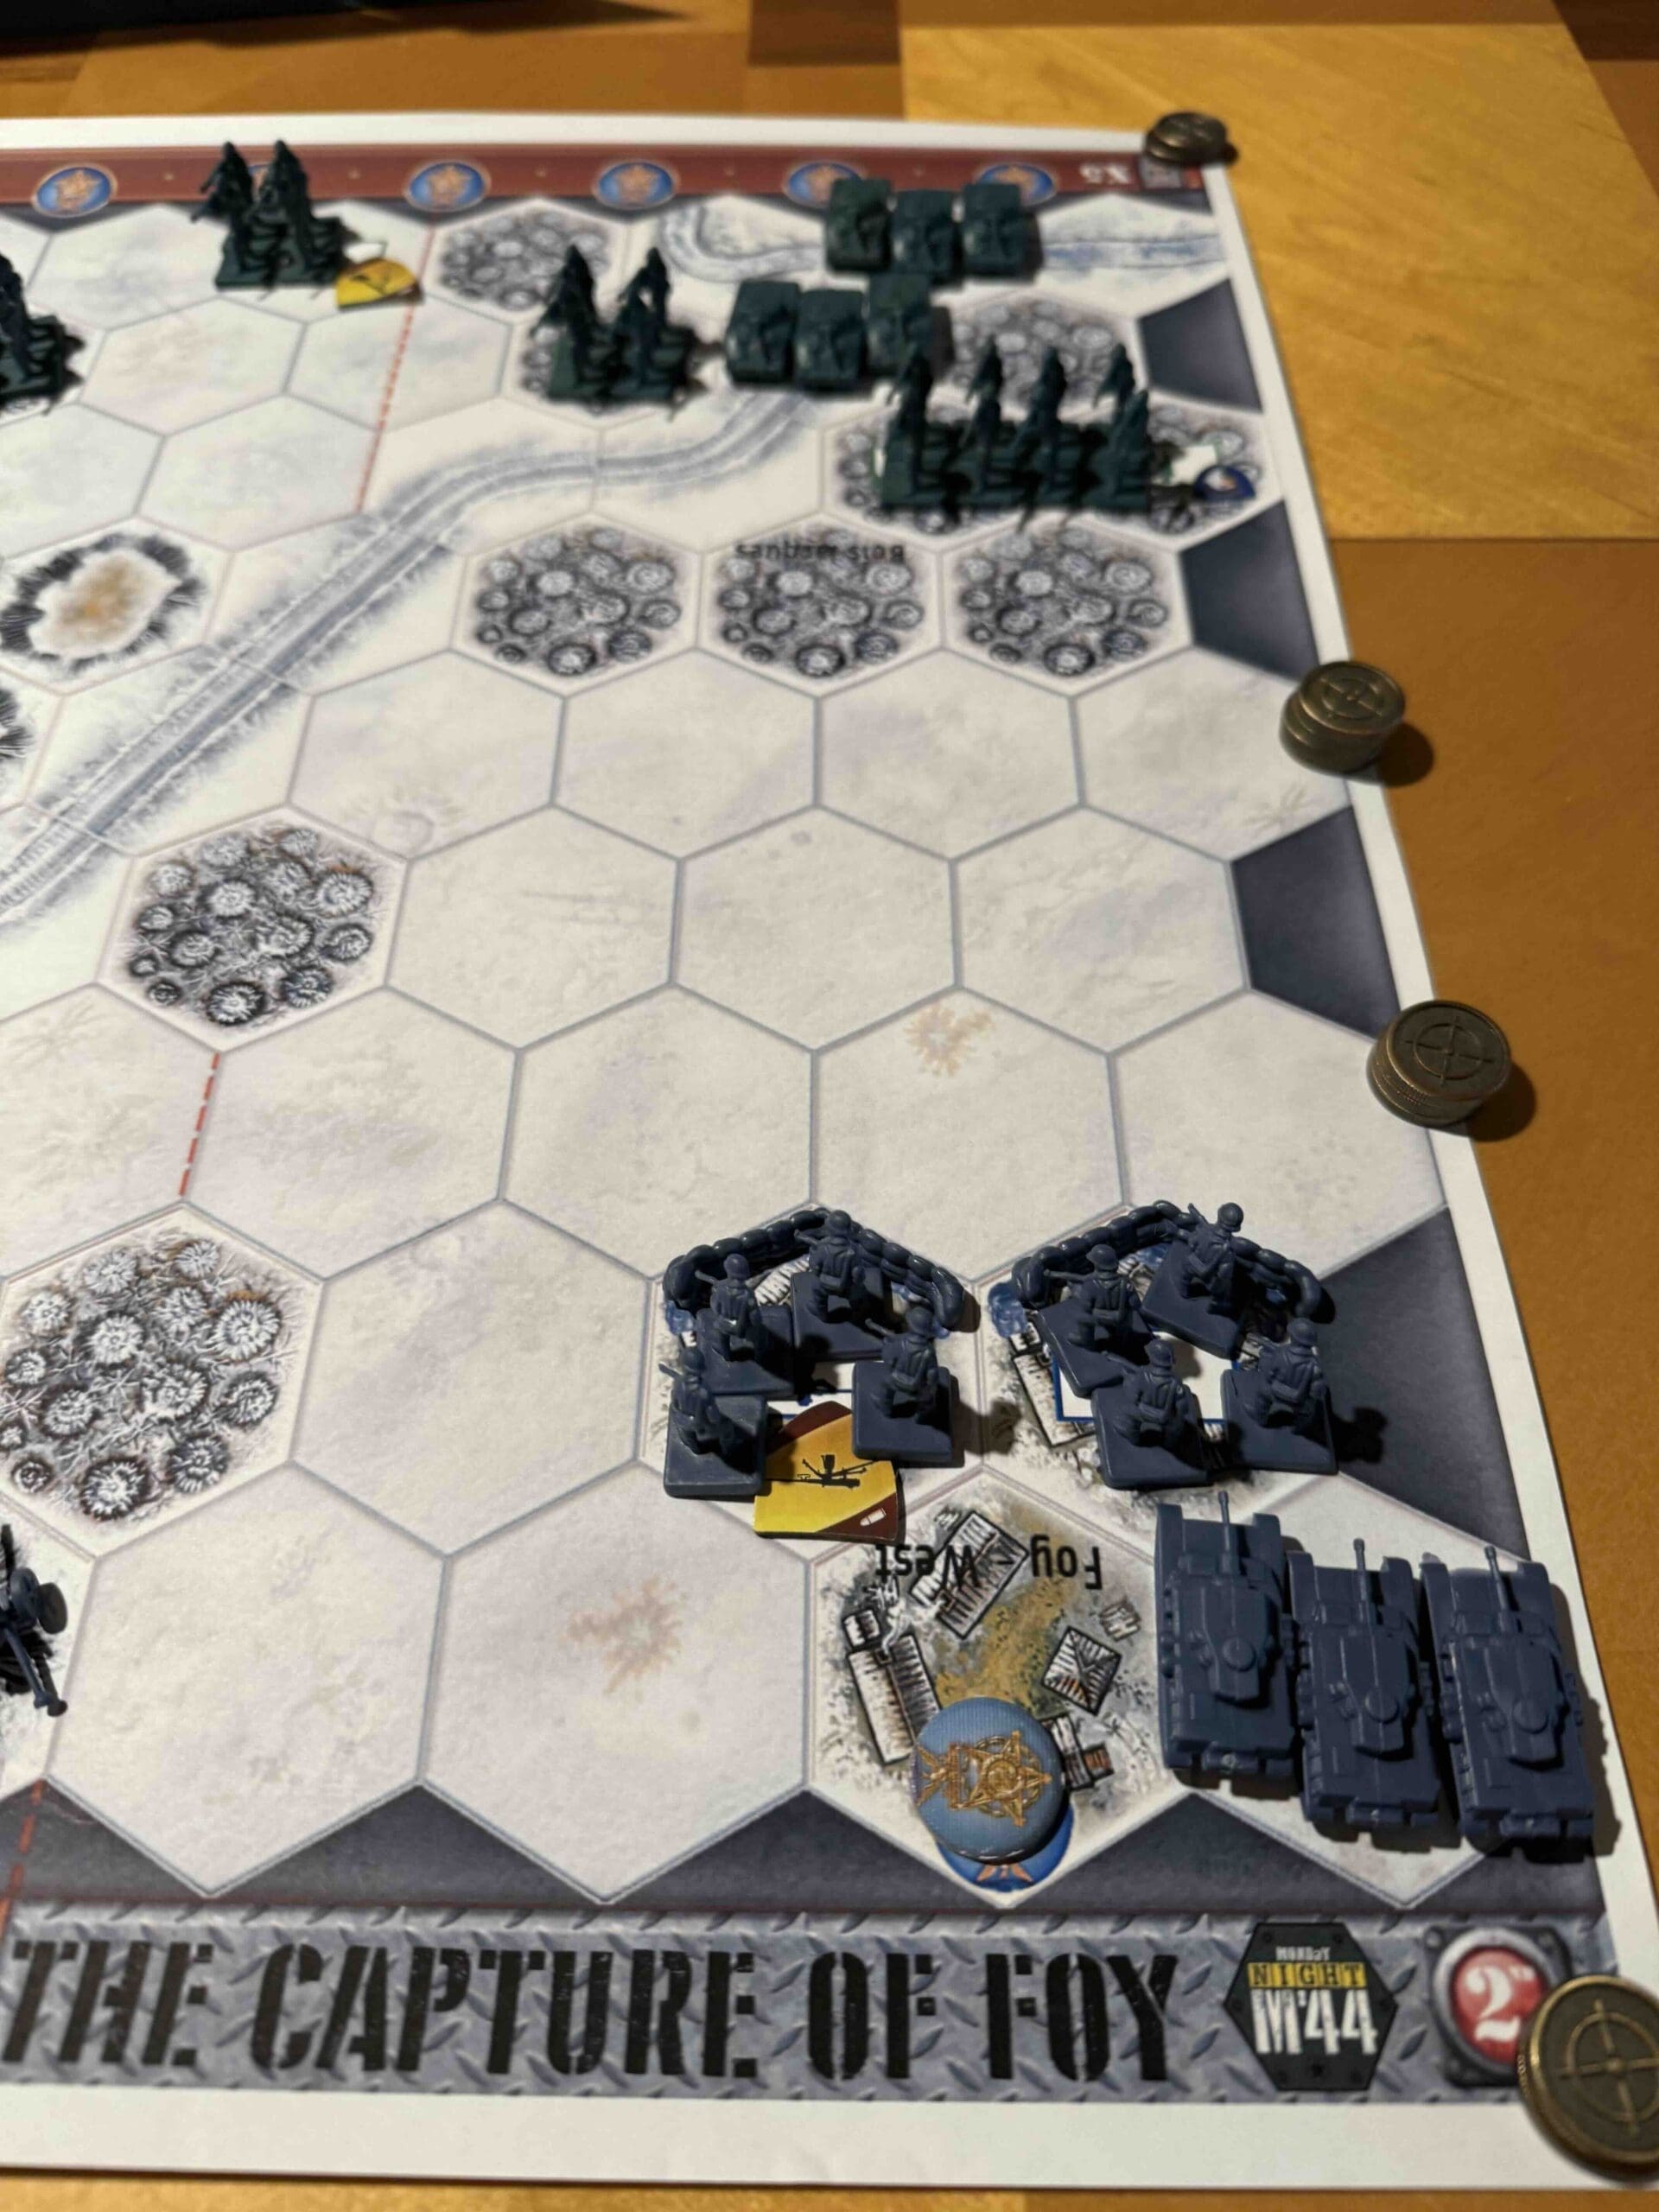
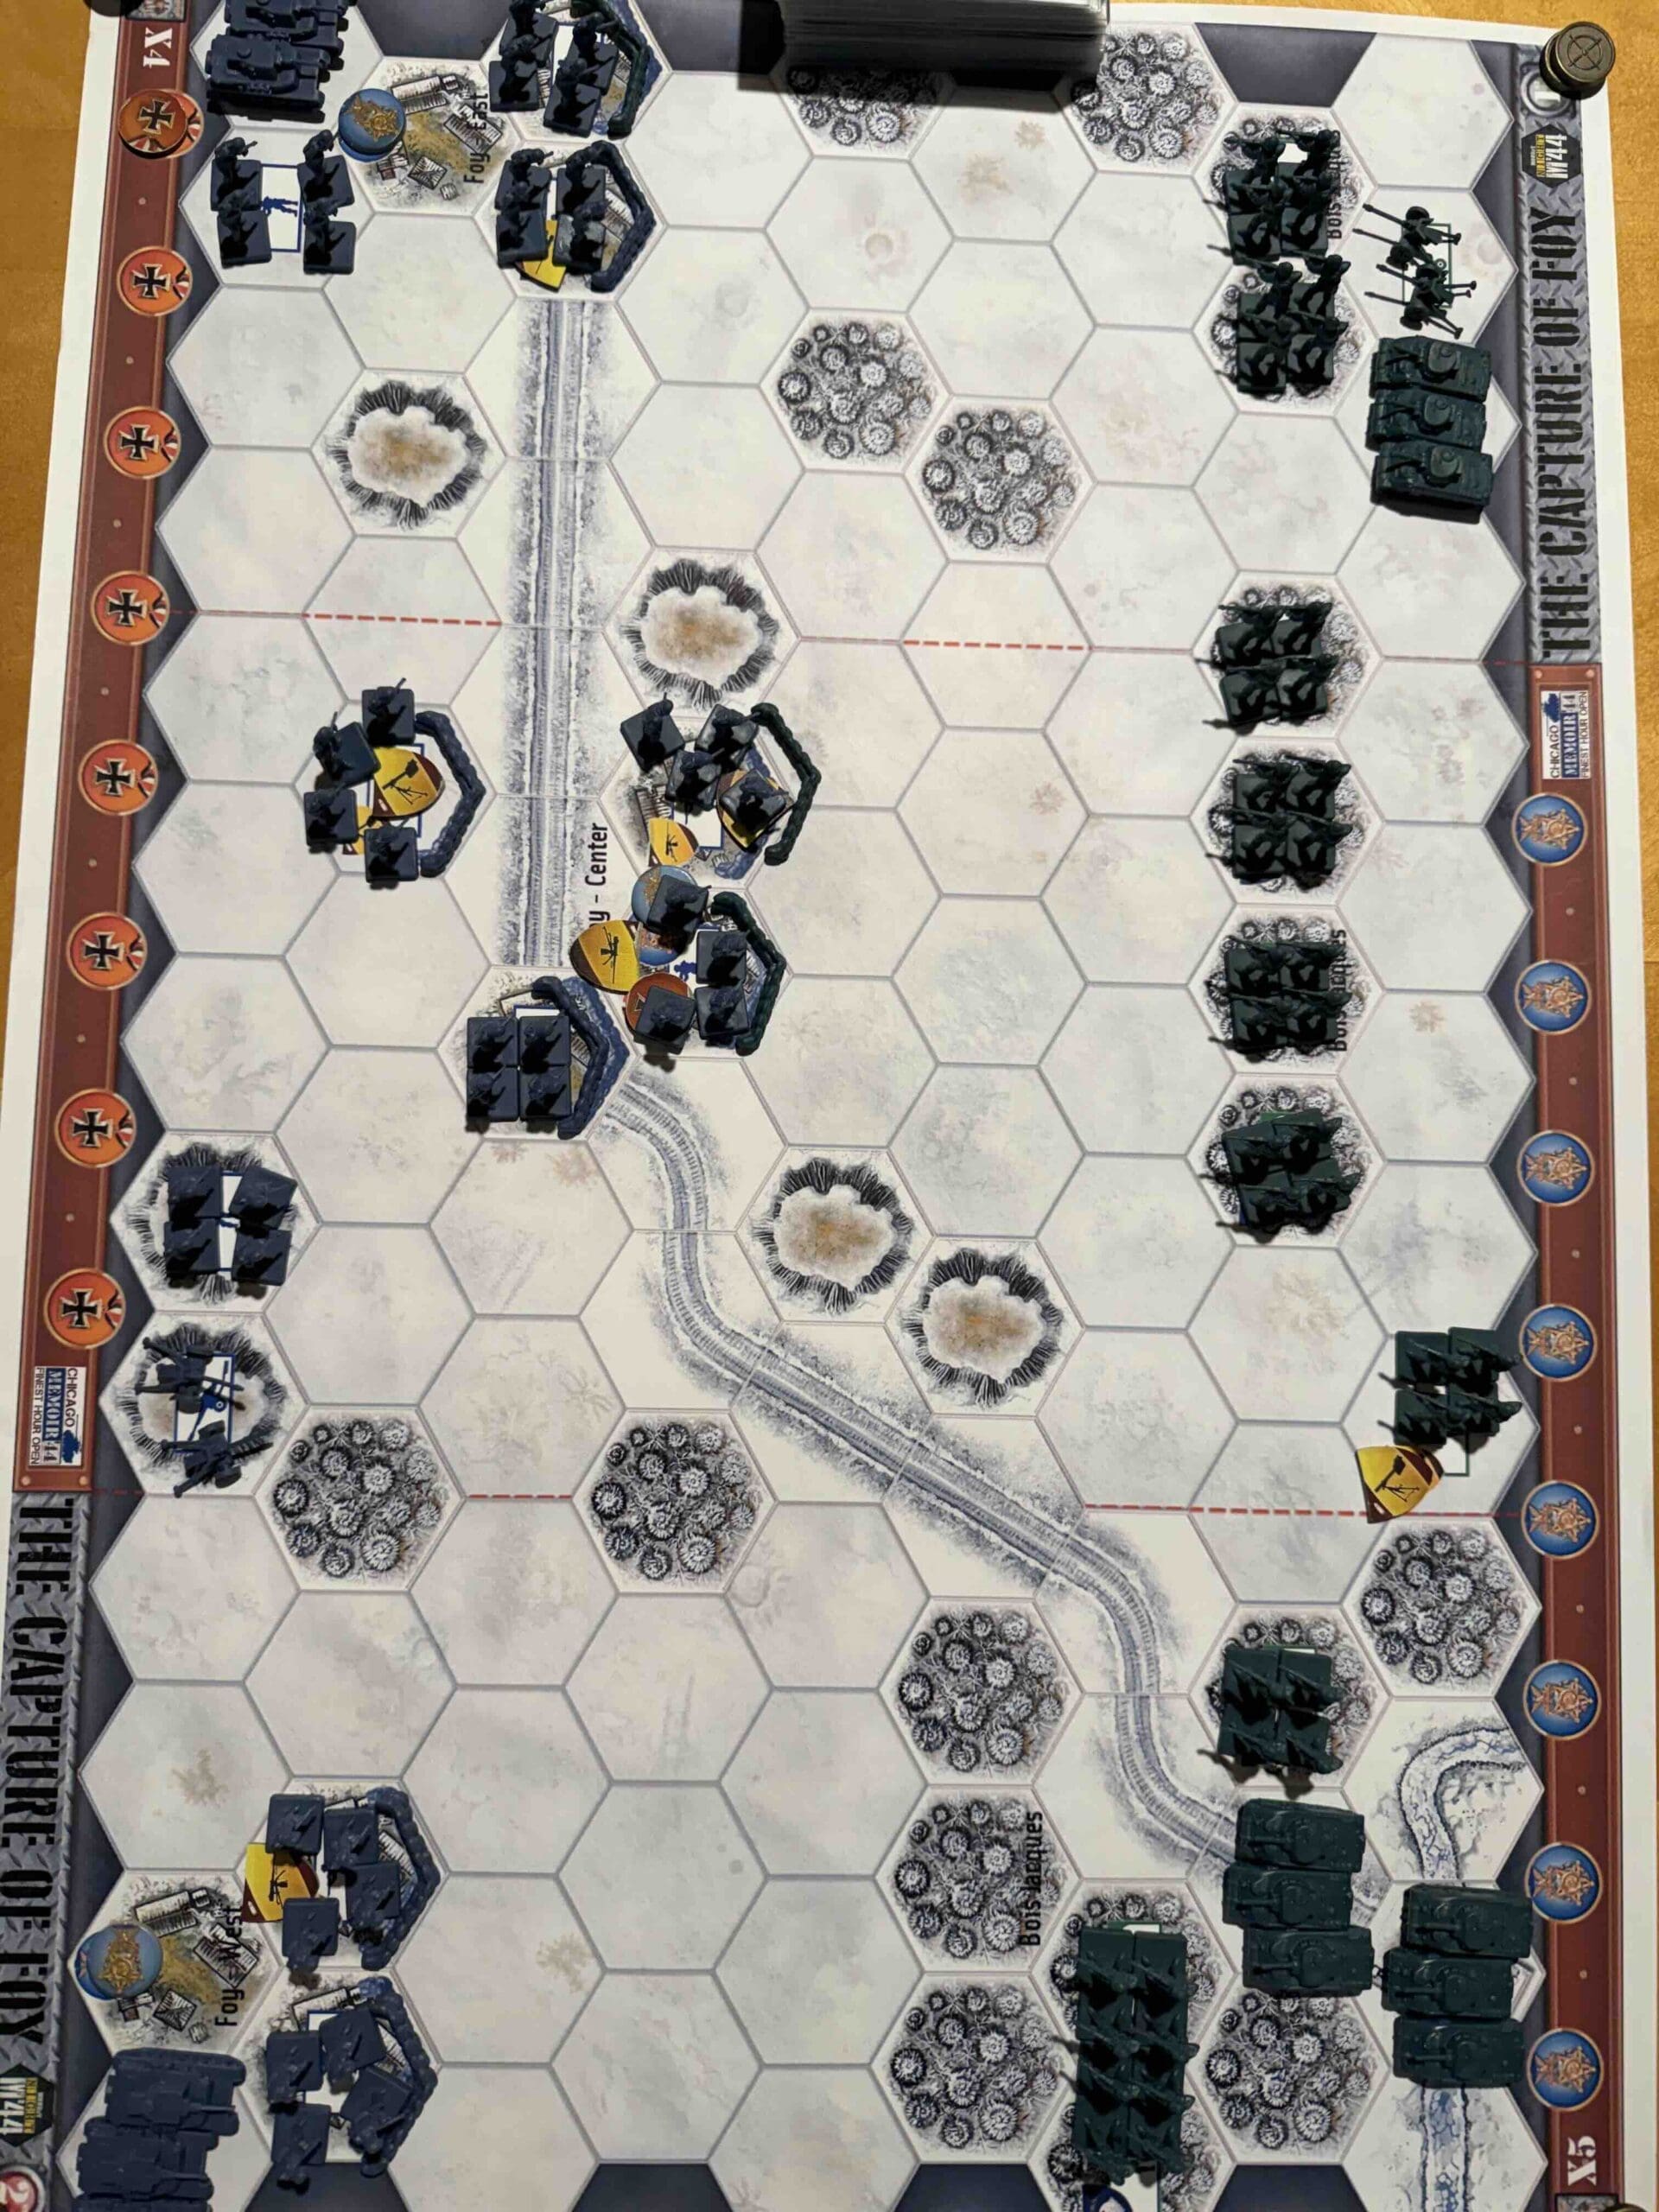
By January 1945, the Germans were battered but still fighting. Holding Foy was their last attempt to cling to the Ardennes. The men of the 101st Airborne, hardened by weeks of cold, shellfire, and misery in the woods of Bois Jacques, were ready to finish the job.

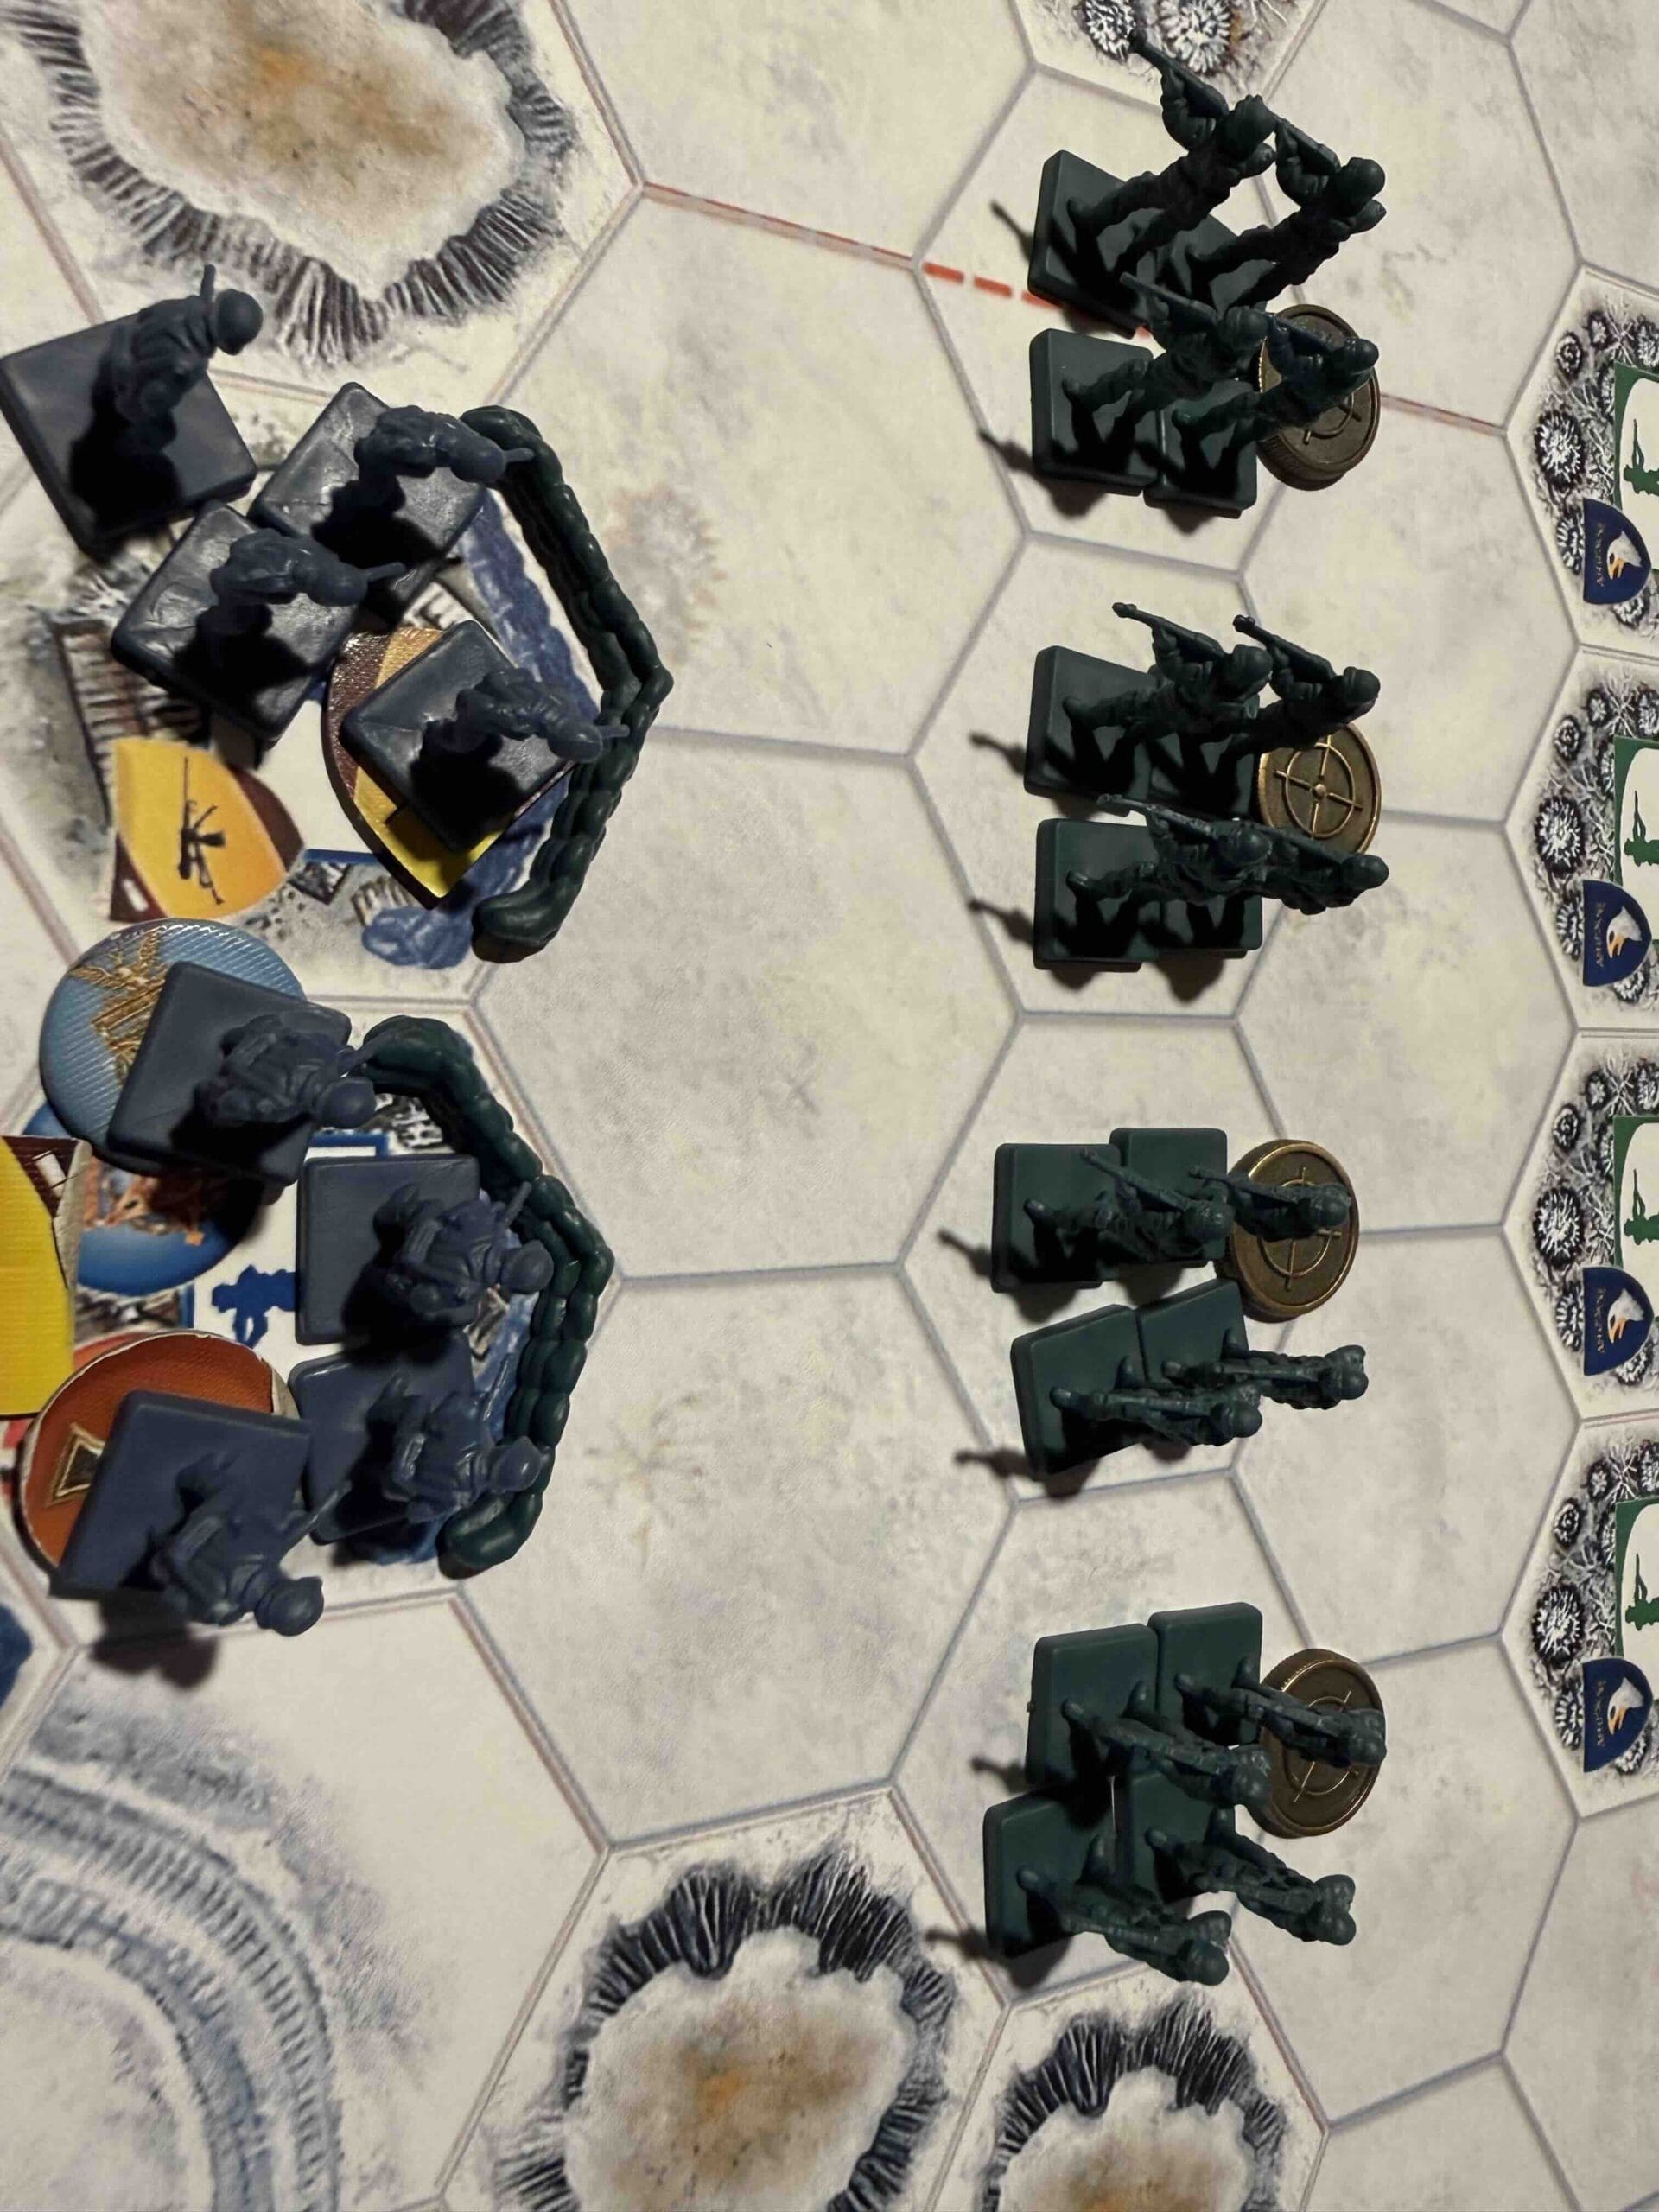
On January 13th, those paratroopers charged across open snow under enemy fire and slammed into Foy. They fought house to house, room to room, until the village was ours and the Germans were either prisoners or running for their lives.

The enemy tried to take Foy back the next day. He failed. Once American airborne troops seize ground, they do not give it back.

Foy mattered because it marked the moment we stopped defending and started hunting. The Germans were pushed farther from Bastogne, their offensive was broken, and the road to victory led straight through the Ardennes and into Germany. That’s how wars are won—by attacking, advancing, and never letting the enemy catch his breath.

~~ General Howitzer

8 VP’s

Card Balance:

Allies – 5

Axis – 4

Complexity:

3

Conditions:

Countryside – Winter

winter

Context:
Historical

Location:
Belgium

Year:
1945

Theater:
Belgium

Summary:

Objectives:

8 VP’s

There are three Medal Objectives for the Allies, and one for the Axis.

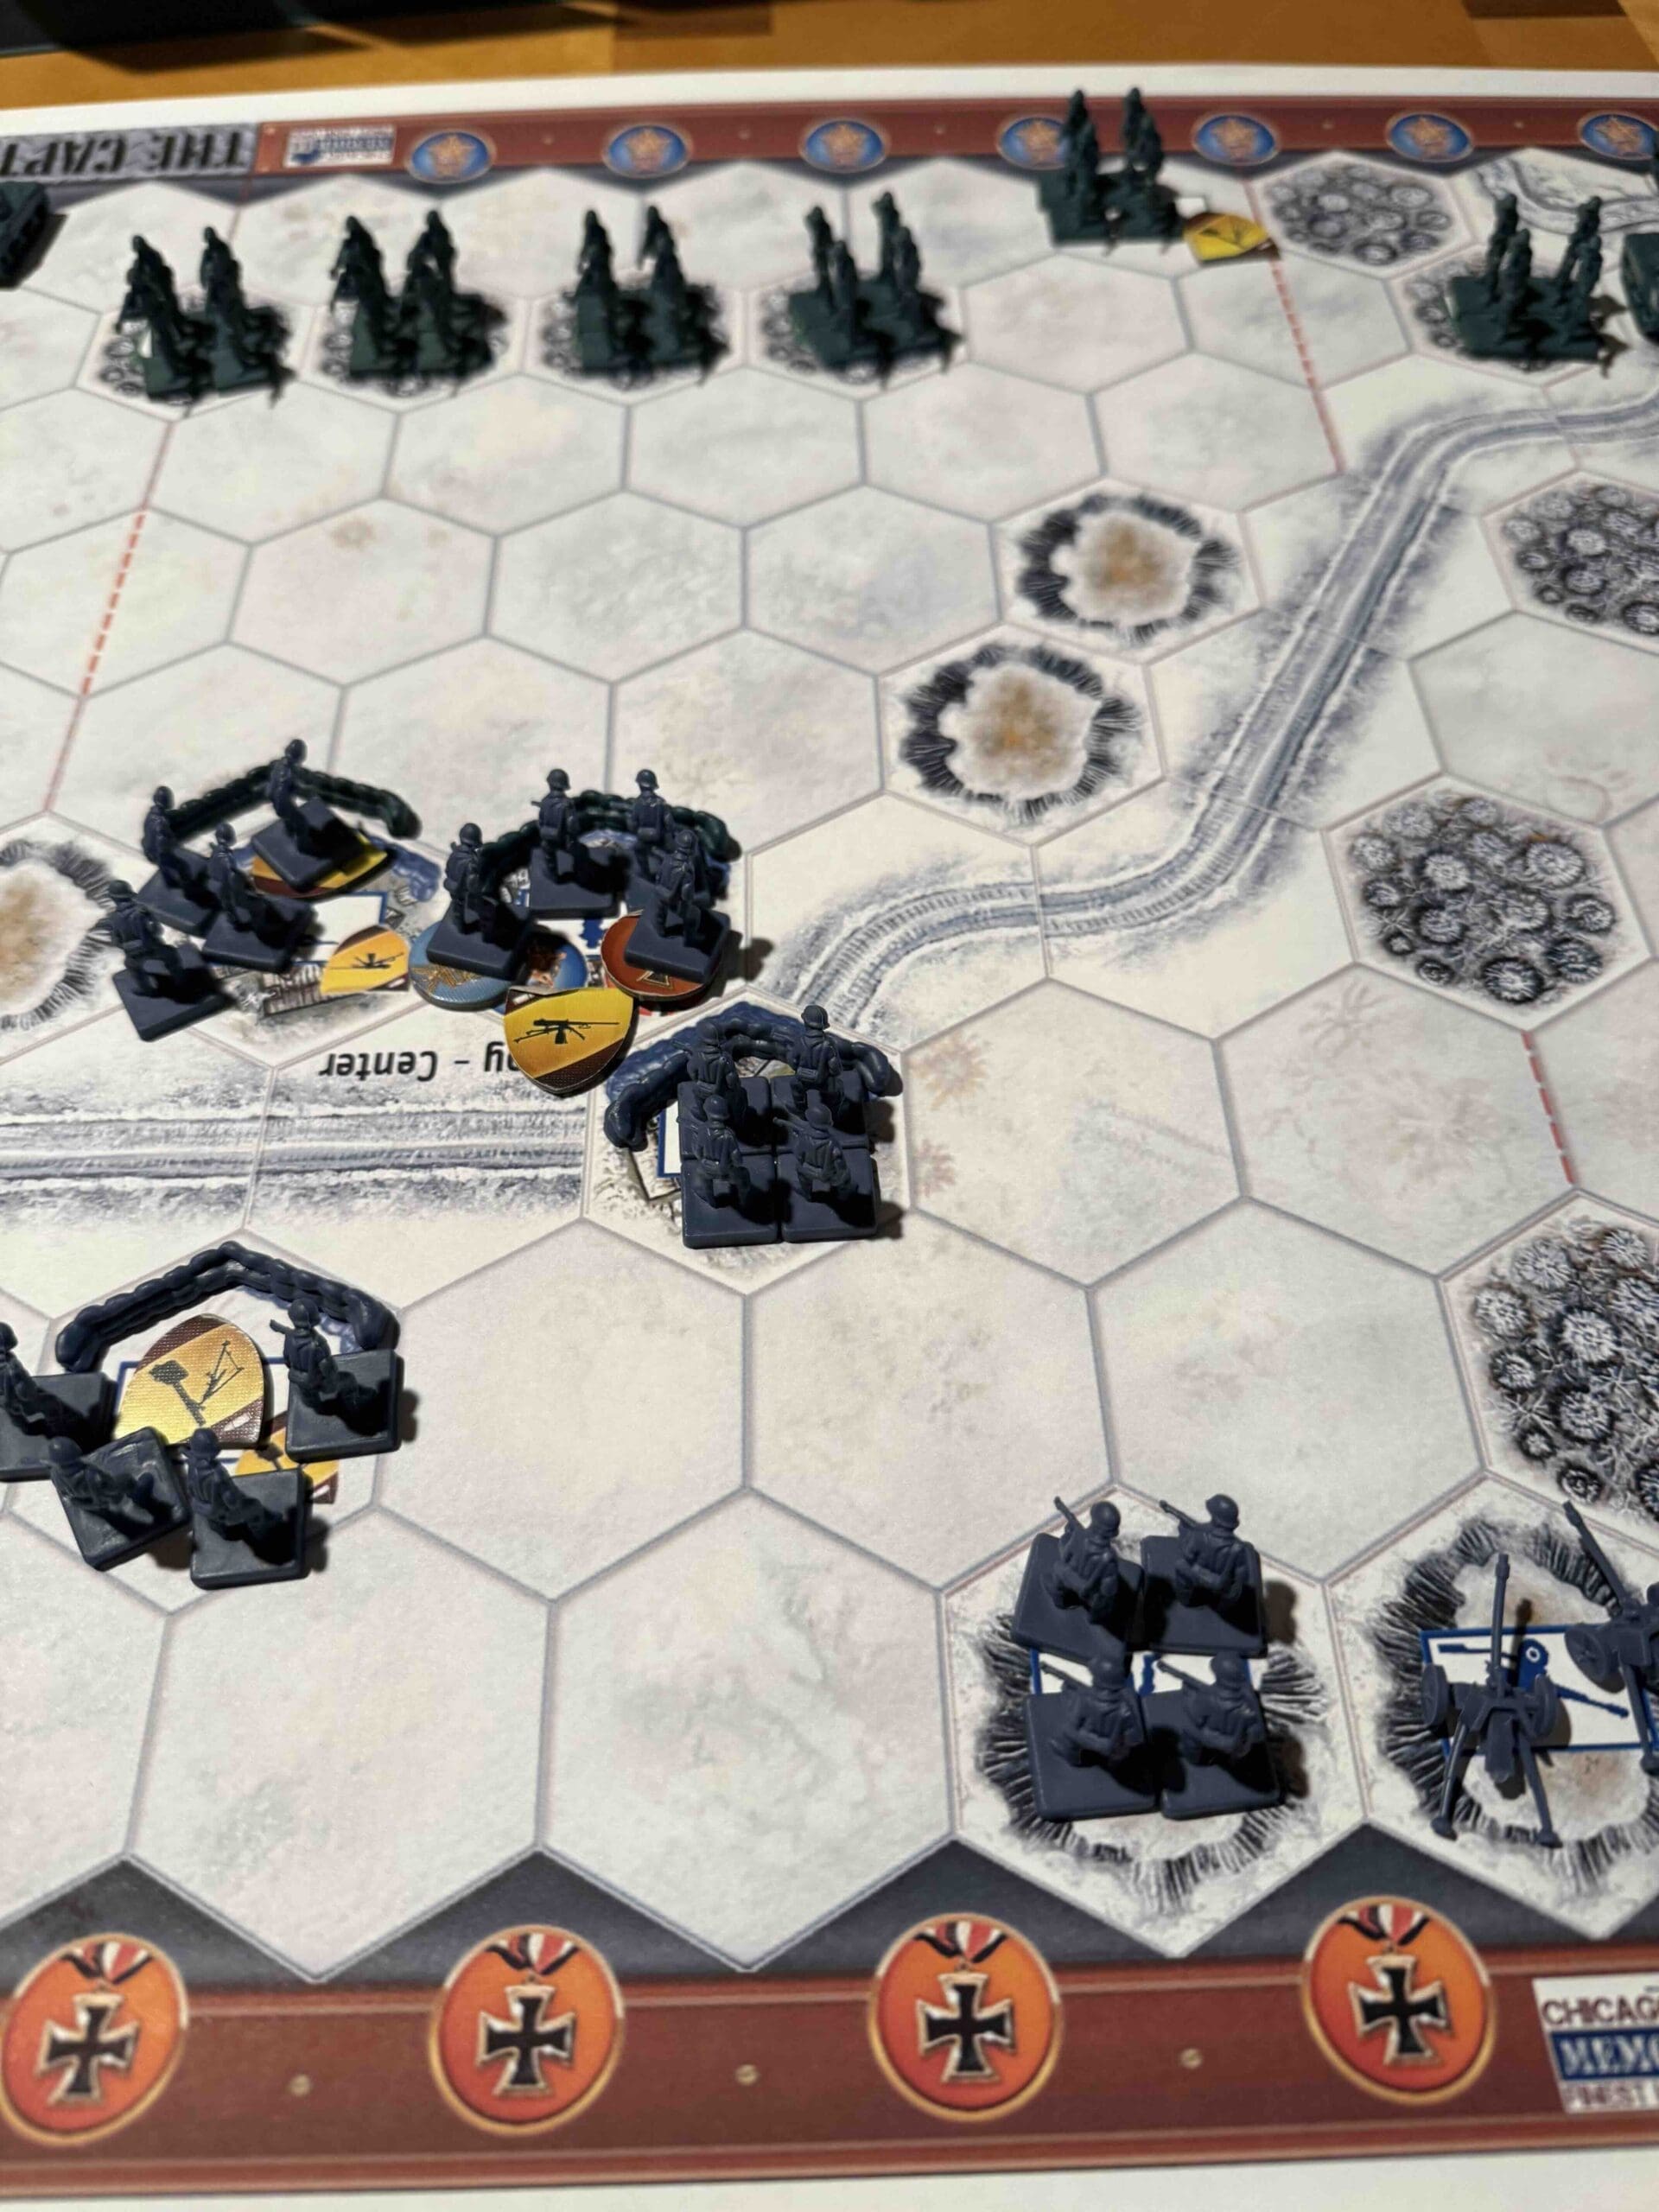
Foy has three sections, Center, West & East.  Each has three hexes and count as a Temporary Medal Majority Objective.  Axis gets one by maintaining possession of Foy Center, but Allies can obtain all three.

Battlefield:

Winter countryside with forests, hills, and a road runnng through the center.

Troops:

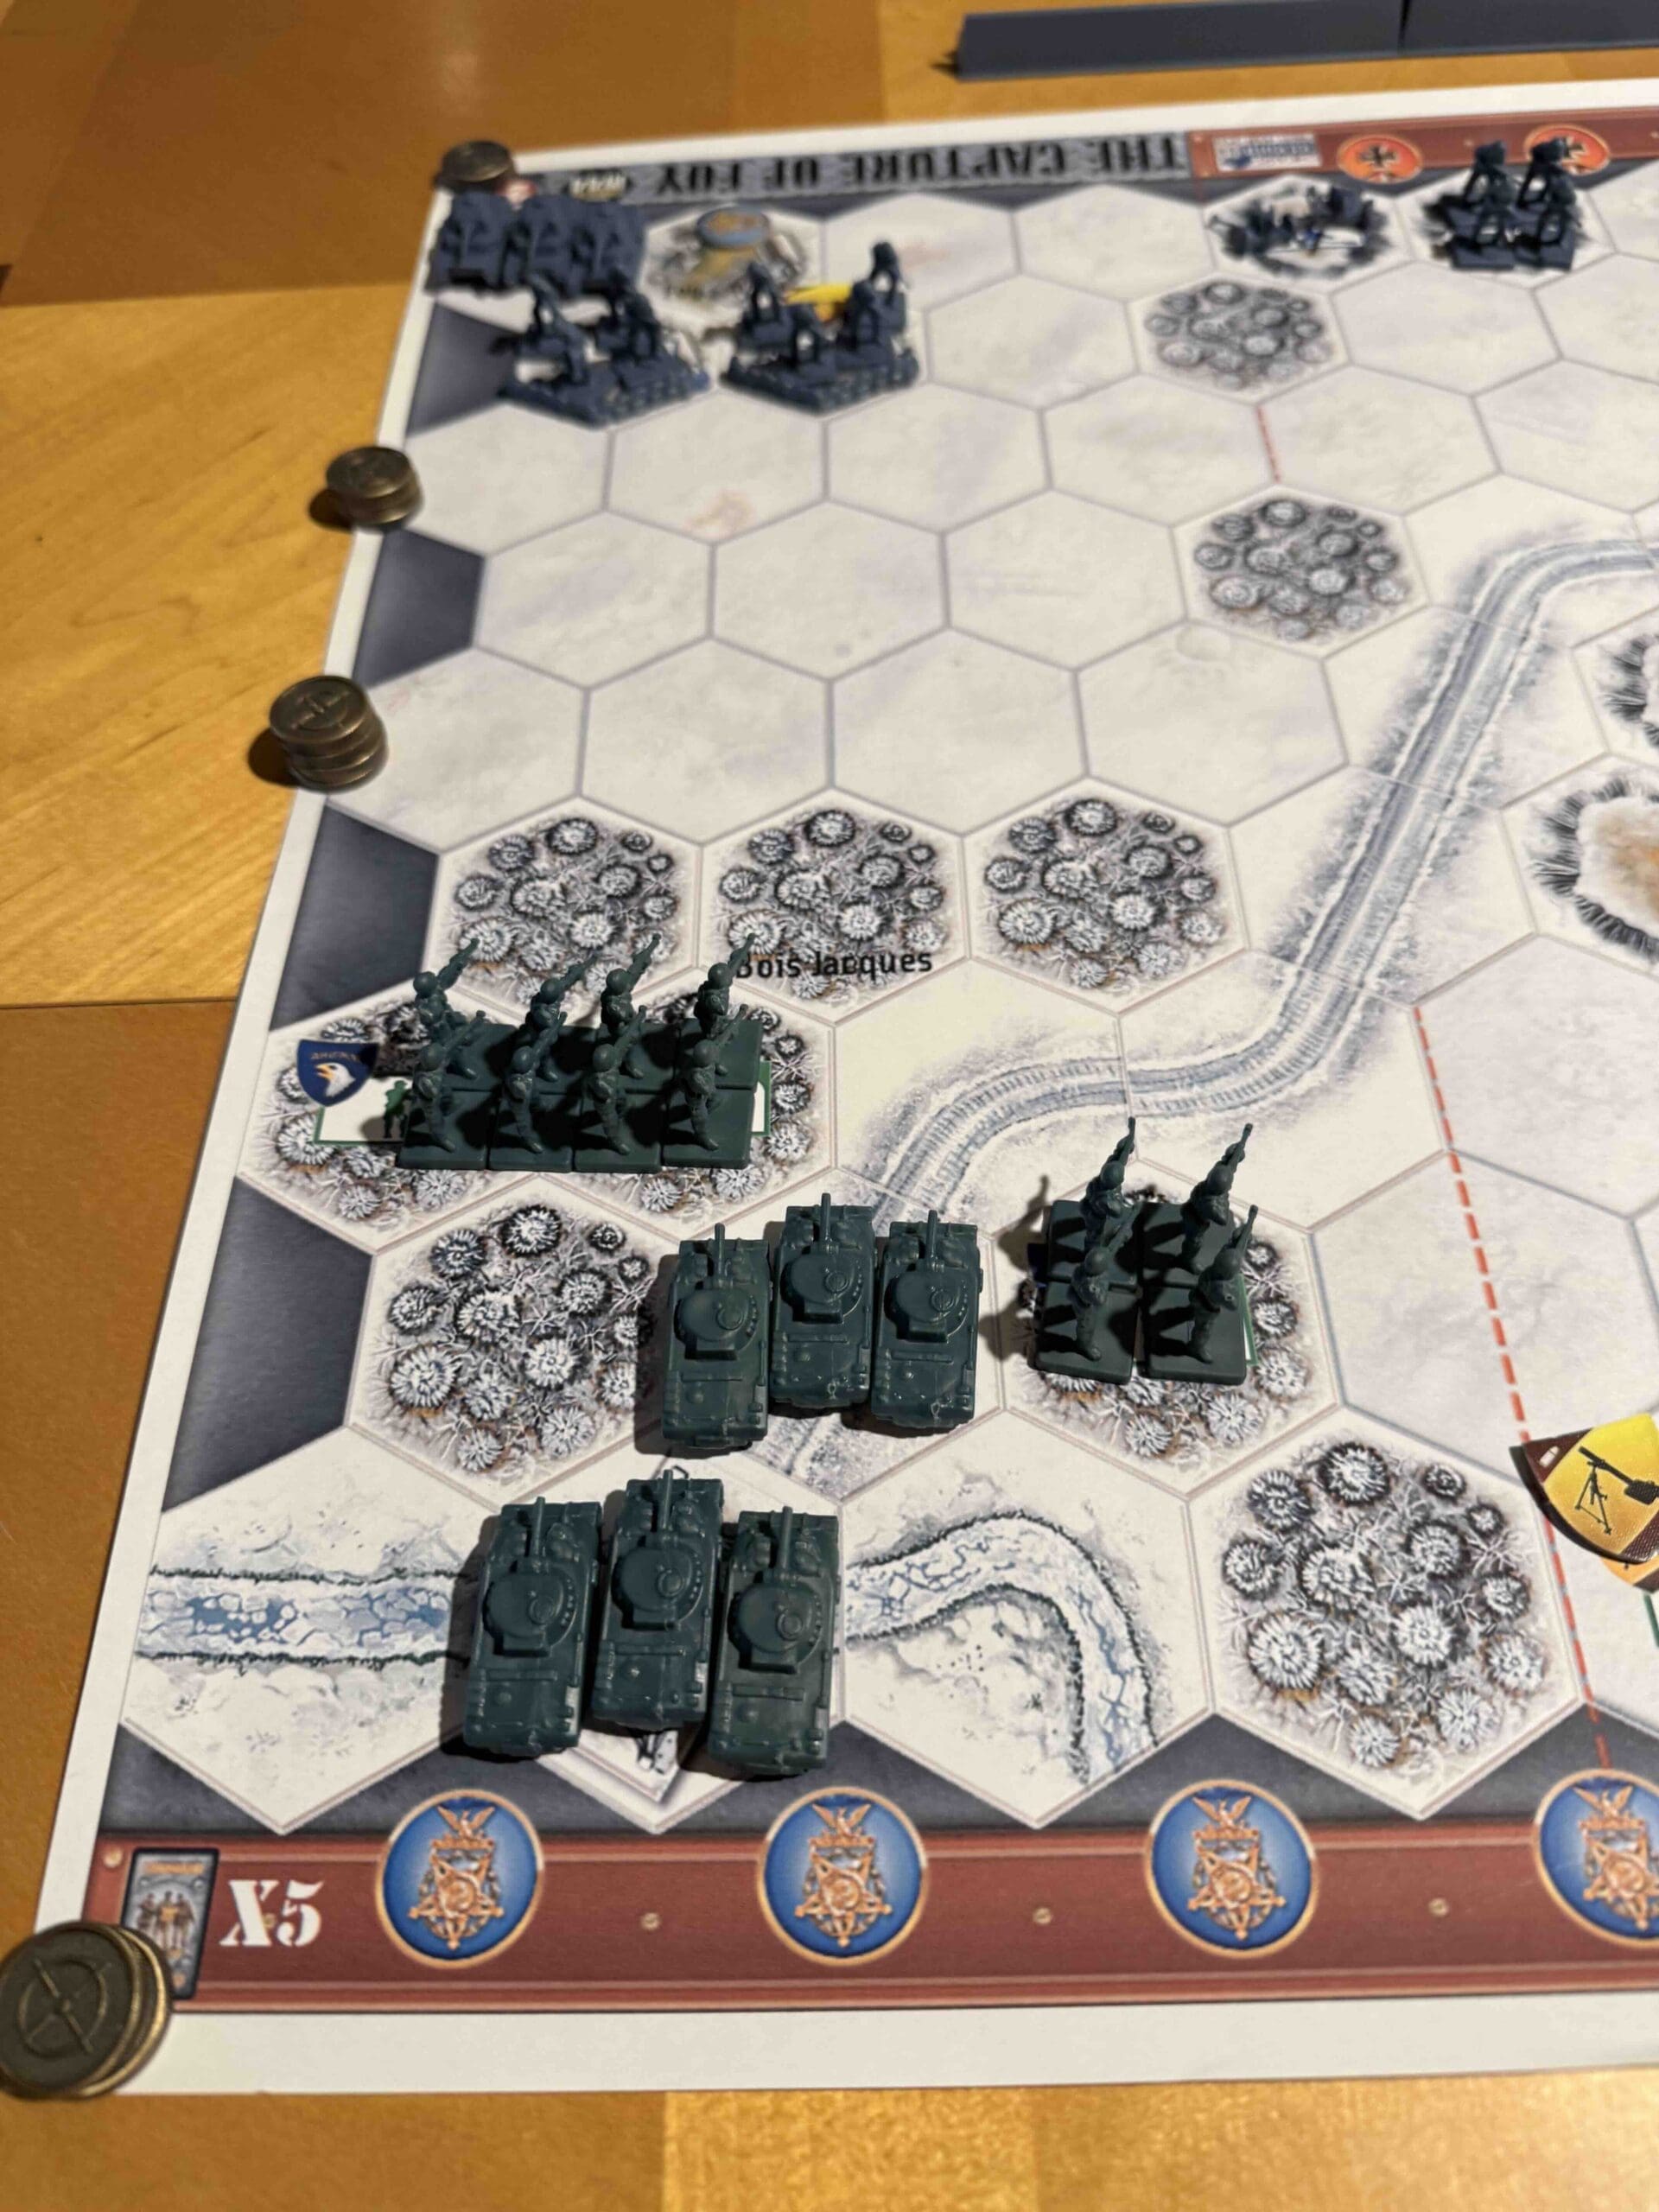
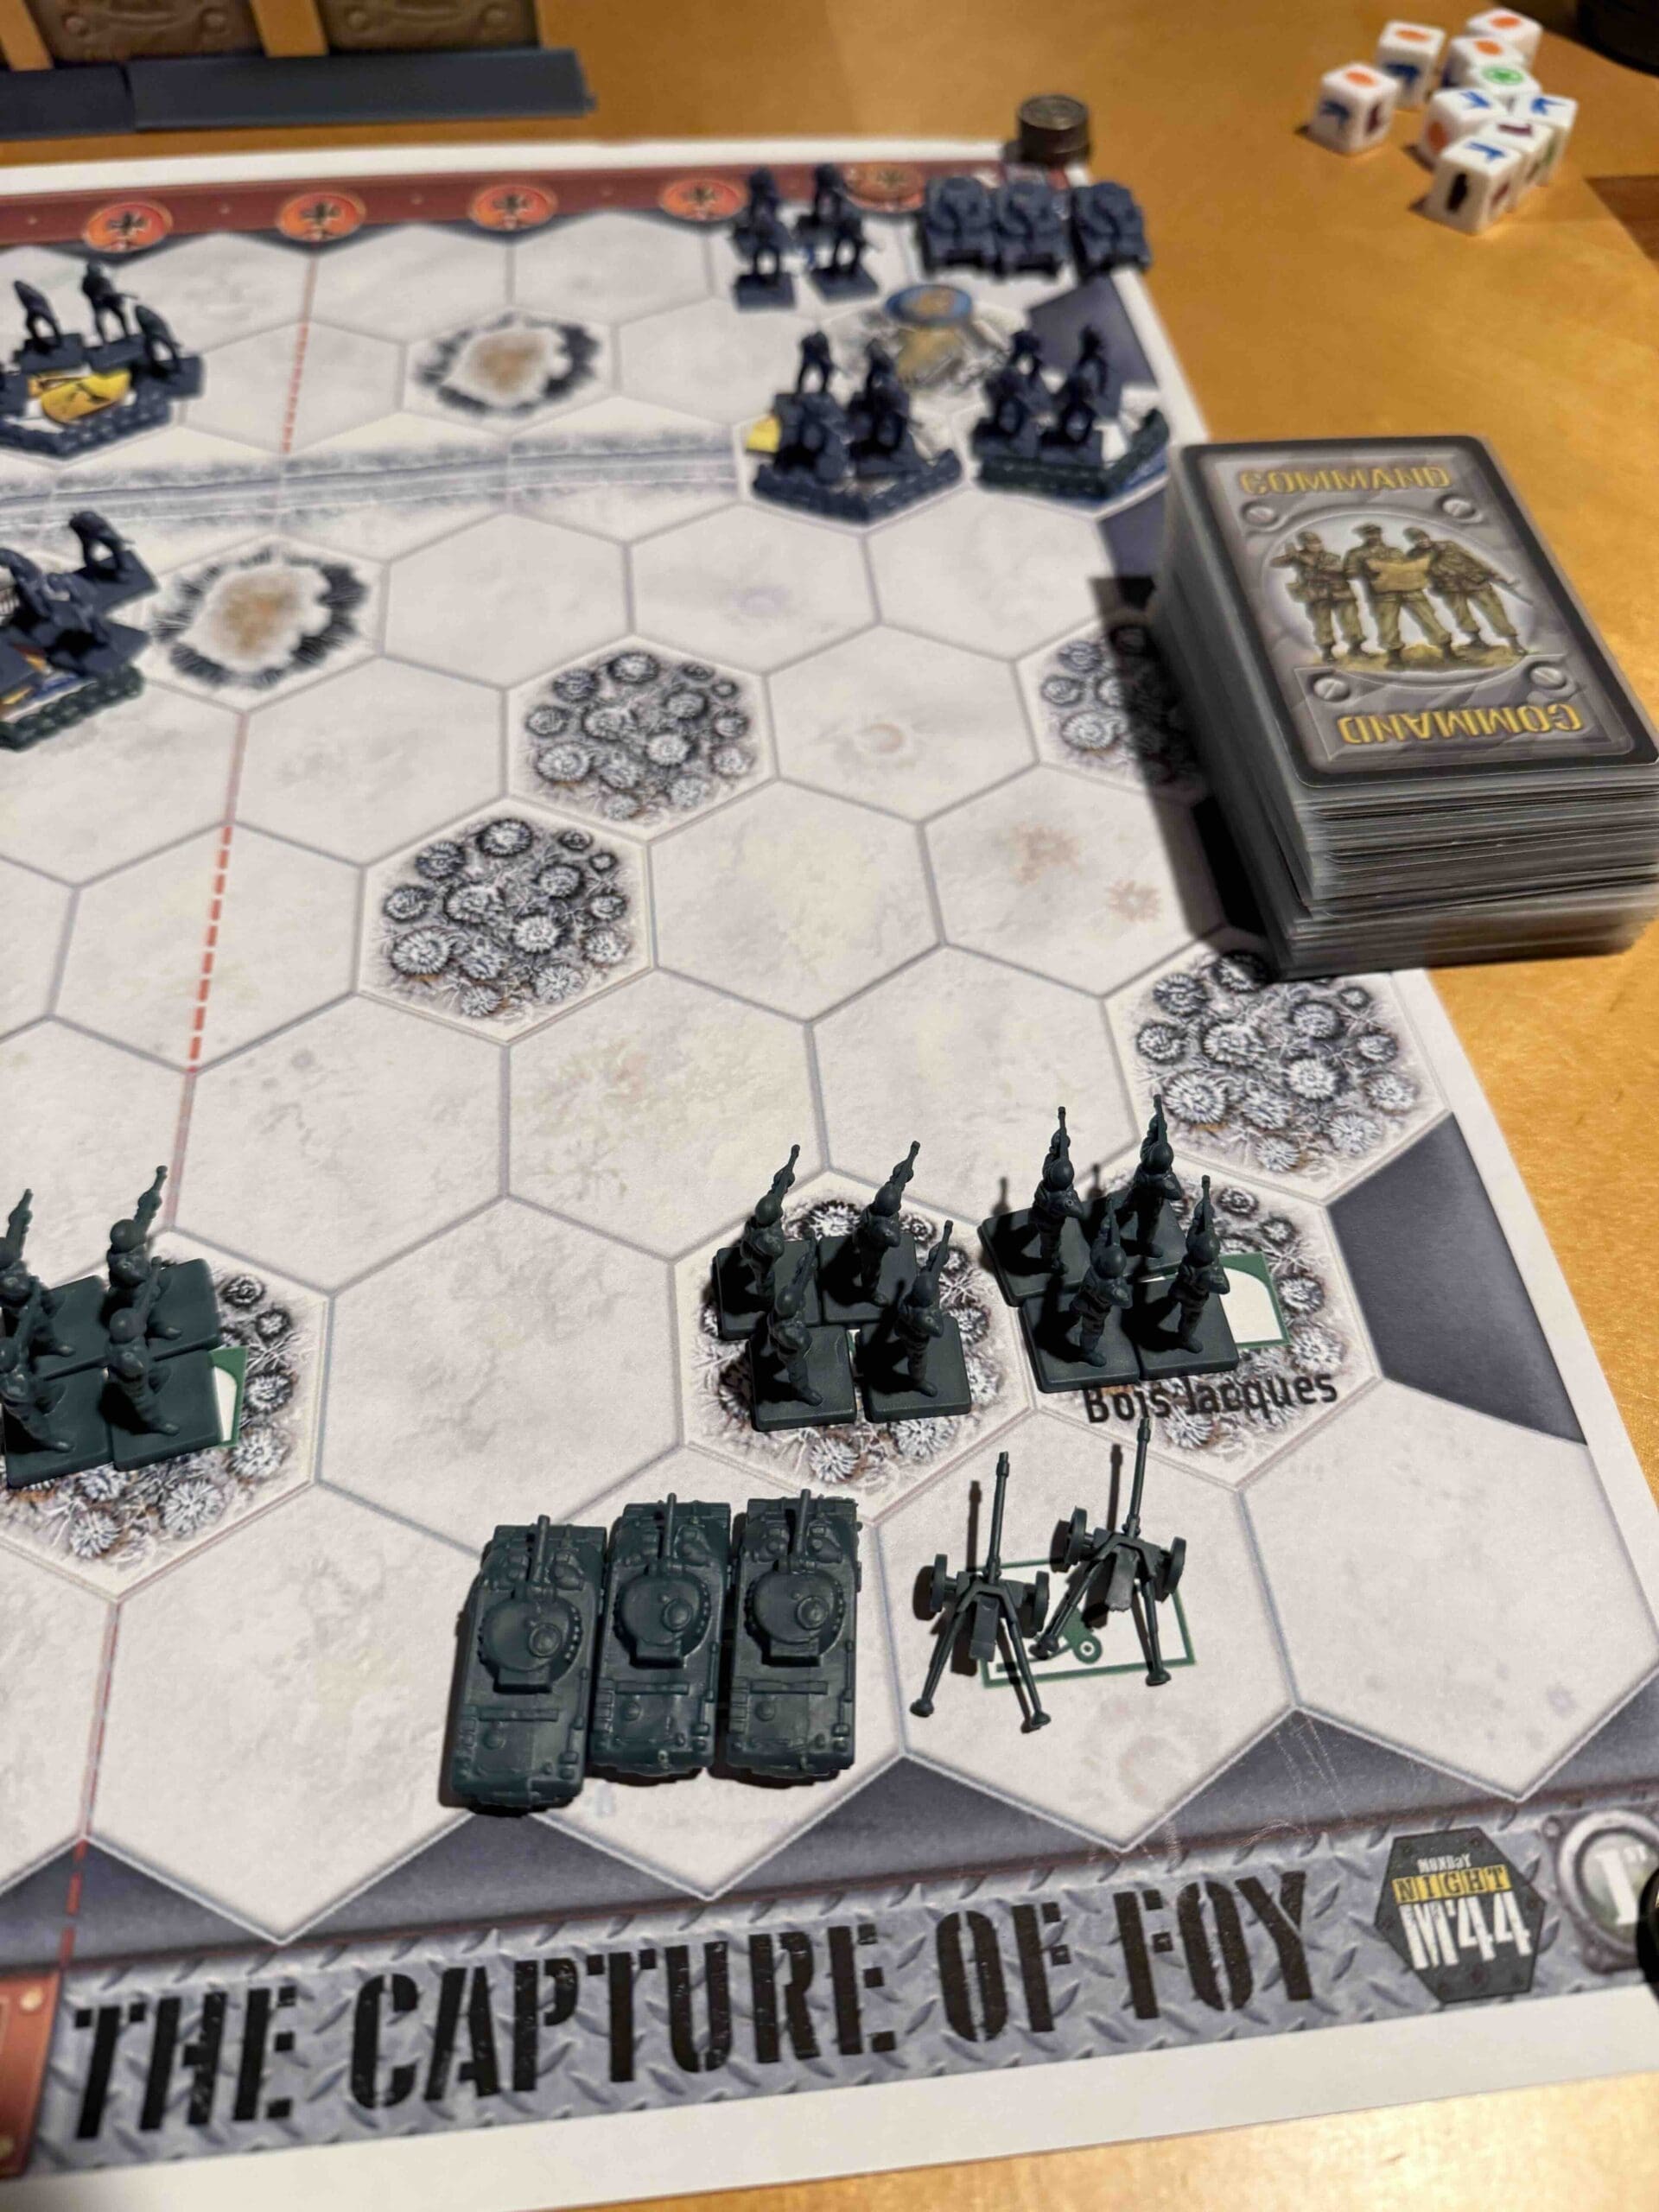
Allies – 10 Infantry including 1 Mortar, 3 Armor, 1 Artillery

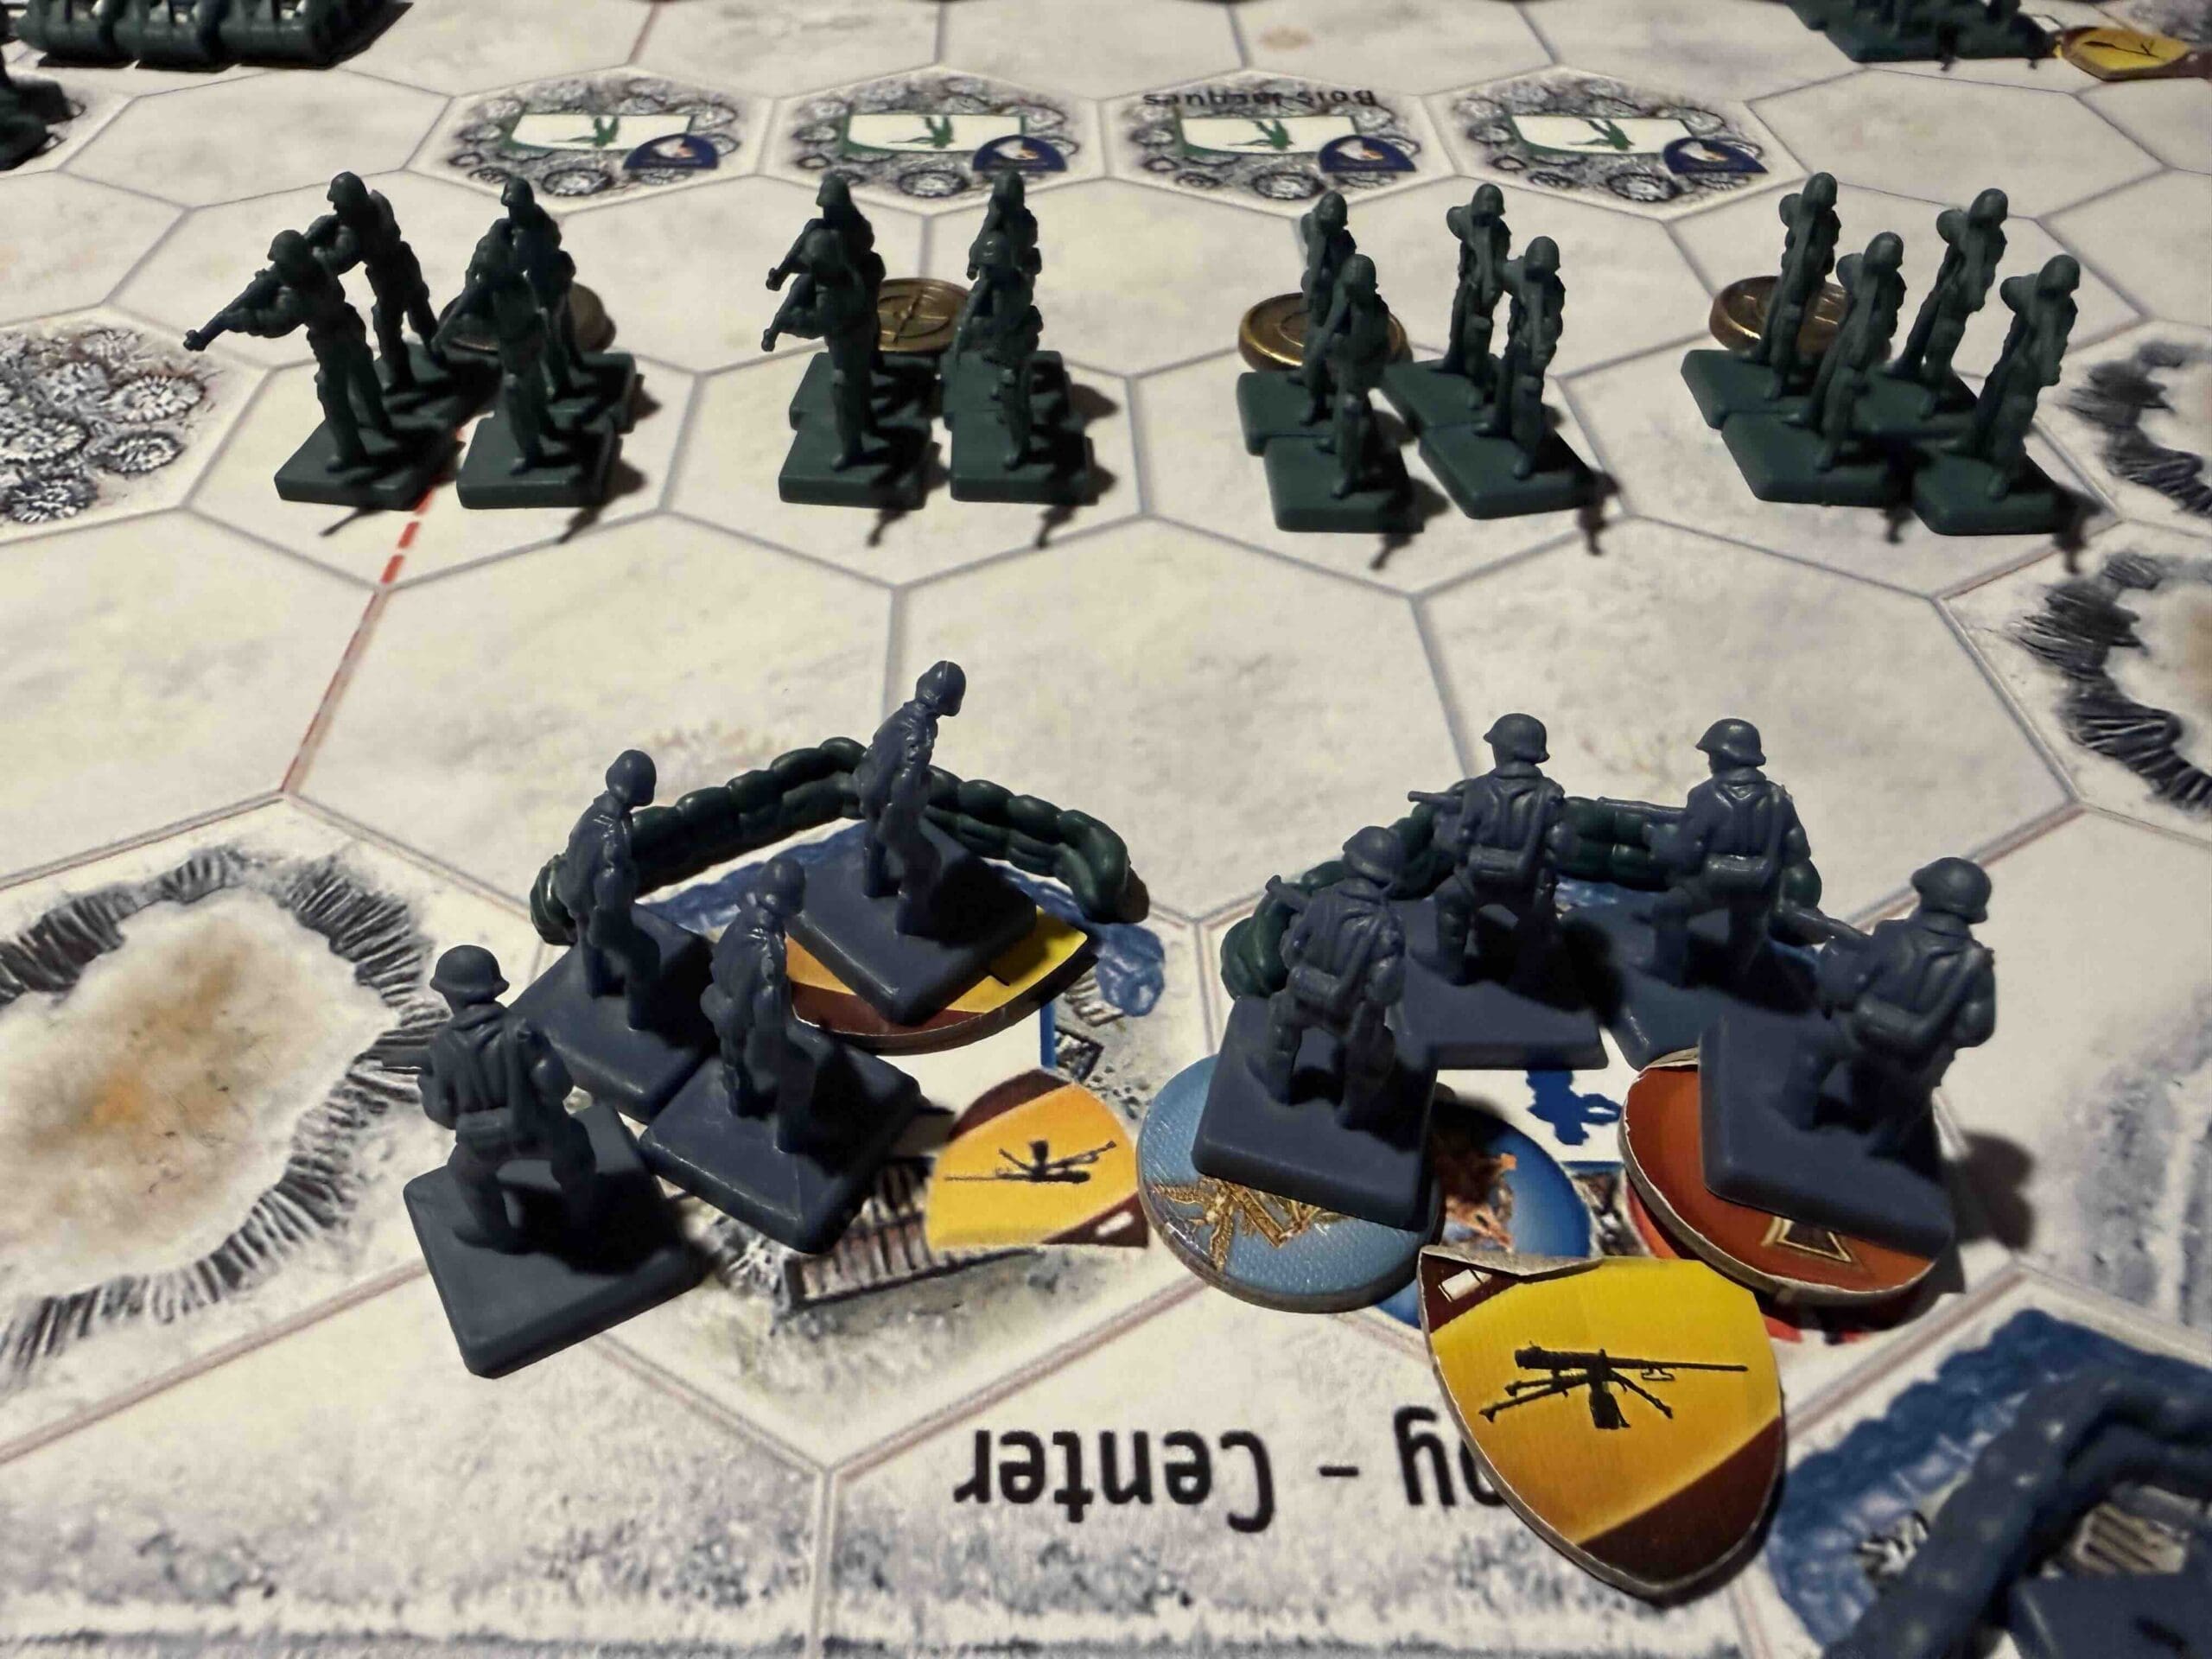
Axis – 8 Infantry including three Machine Gun units, and one Mortar, 2 Armor, 1 Artillery. There are two Machine Gun units in Foy Central.

Special Rules: 

1.  Nightime Rules – Start with daylight and roll two dice at the end of each turn; Stars increase darkness.

2.  Special Weapon Assets:

– Machine Guns hit Infantry on Stars, if the unit hasn’t moved

– Mortars hit at 3,2,1,1 and ignore terrain restrictions

3.  The river is impassable

medal allies

Allied Strategy:

1.  Big Picture Strategy:  Foy Center presents the best opportunity for attack.  But it needs to be supported by bringing up your forces from both your right and left flanks. Once you bring your Armor in from the left along the road, and move your Infantry and Artillery from the right, then you will be ready to move your Infantry in the center forward to attack Foy Center.

2.  All of your Infantry are Airborne special forces, and therefore can move two hexes and then attack.

3.  Get your Armor on the left into action ASAP. The road will help you to move one extra hex for each unit.

4.  Progressively advance forward your Artillery on the right so that you can attack Foy Center and Foy East with 2D rolls.

medal axis

Axis Strategy:

1.  Big Picture Strategy: The primary battles in this scenario will surround Foy Center.  Bring as many of your forces as you can to support and defend Foy Center. 

2.  You have Armor hidden away in both of your flanks. Move them out and get them into the battle as soon as possible.  

3.  Your Artillery needs to be moved forward at least one row in order to better defend Foy Center.

Battle Reports

Source:  Chicago’s Finest Hour Open

Link:

Place Battle Reports on a scenario page, or specify its scenario name in the shortcode.

Capture of Sapun Ridge

Capture of Sapun Ridge

Capture of Sapun Ridge

Scenario_Toulon_start_Allies

6 VP’s

Card Balance:

Allies (Soviet Union) – 6

Axis (Germany) – 5

Complexity:

2

Conditions:

Countryside

countryside

Context:

Historical

Location:

Crimea

Year:

1944

Theater:

Eastern

Campaign:

Codename:

Summary:

Objectives:

6 VP’s

Battlefield:

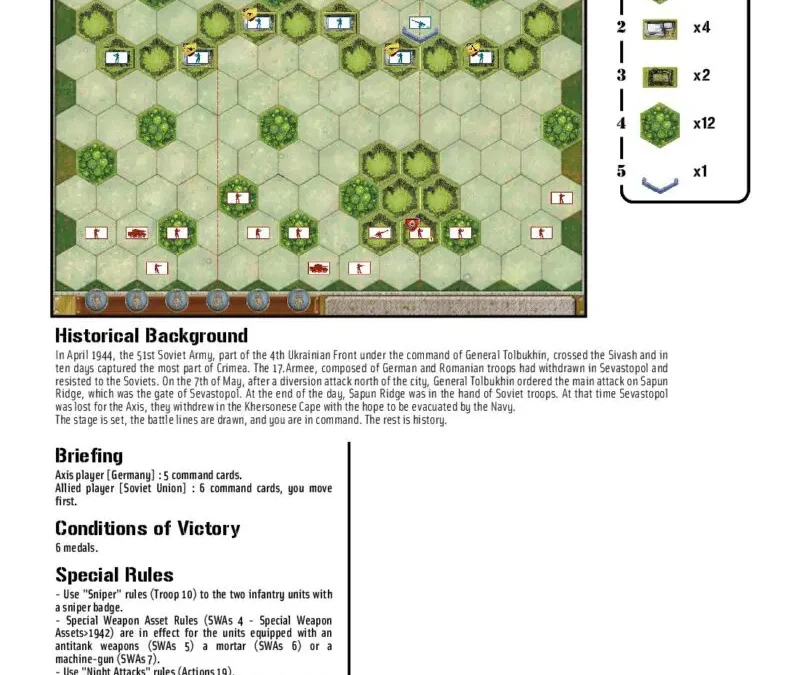
Countryside with trees and hills

Troops:

Allies – 11 Infantry, 2 Armor, 1 Artillery

Axis – 9 Infantry, 1 Artillery

Special Rules: 

1.  Sniper

2. Special Weapons

3. Night Attacks

4.   Steep Hills

medal allies

Allied Strategy:

medal axis

Axis Strategy:

Author:

Link:

Download

Place Battle Reports on a scenario page, or specify its scenario name in the shortcode.

Easy Company – Paradrop in the Night

Easy Company – Paradrop in the Night

Easy Company - Paradrop in the Night

They dropped our boys all over hell and back—but that didn’t stop them. The 506th Parachute Infantry hit the Normandy bocage scattered, disorganized, and under fire. But Americans don’t wait for perfect conditions—we make them. Lieutenant Richard Winters pulled together what he had—35 men—and went looking for the fight. Through hedgerows thick as walls and Germans lurking in every field, they pushed forward, linked up, and took the initiative.

At first light, Winters and his men didn’t hesitate—they struck. That German artillery battery at Brécourt Manor? Neutralized. Clean, aggressive, textbook assault under pressure. That’s how you win: move fast, hit hard, and never let the enemy regain his footing. Easy Company didn’t just survive the drop—they turned chaos into combat power. And from that moment on, they were on the march to victory.

~~ General Howitzer

Medals

7 VP’s

card

Card Balance:

Allies – 6

Axis – 5

Complexity:

3

Conditions:

Countryside

Location:

France

Year: 
1944

Theater:

Western Front

Summary:

The asymmetrical starting pattern of this game makes for an interesting and challenging battle for both sides.  The many bocages means that both sides will need to be patient as they slowly attack and degrade enemy forces.

Objectives: 7 Medals

There are three Objective Medals available for the Allies, one Temporary Medal, and a Double Permanent Medals award if they are able to take out the Artillery unit near Grand Chemin.

Terrain: 

Countryside with hedgerows and forests.

Troops:

Allies – up to 10 Infantry units

Axis – 8 Infantry, 1 Artillery

Special Rules:

1.  Paradrop Rules

2.  Night Attack Rules

3.  Heroic Leader Rules

medal allies

Allied Strategy:

1. 

medal axis

Axis Strategy:

1. 

Battle Reports

Author: Jdrommel

Link:

Place Battle Reports on a scenario page, or specify its scenario name in the shortcode.

Clervaux – The Road to Bastogne

Clervaux – The Road to Bastogne

Clervaux - The Road to Bastogne

December 16-17th, 1944:

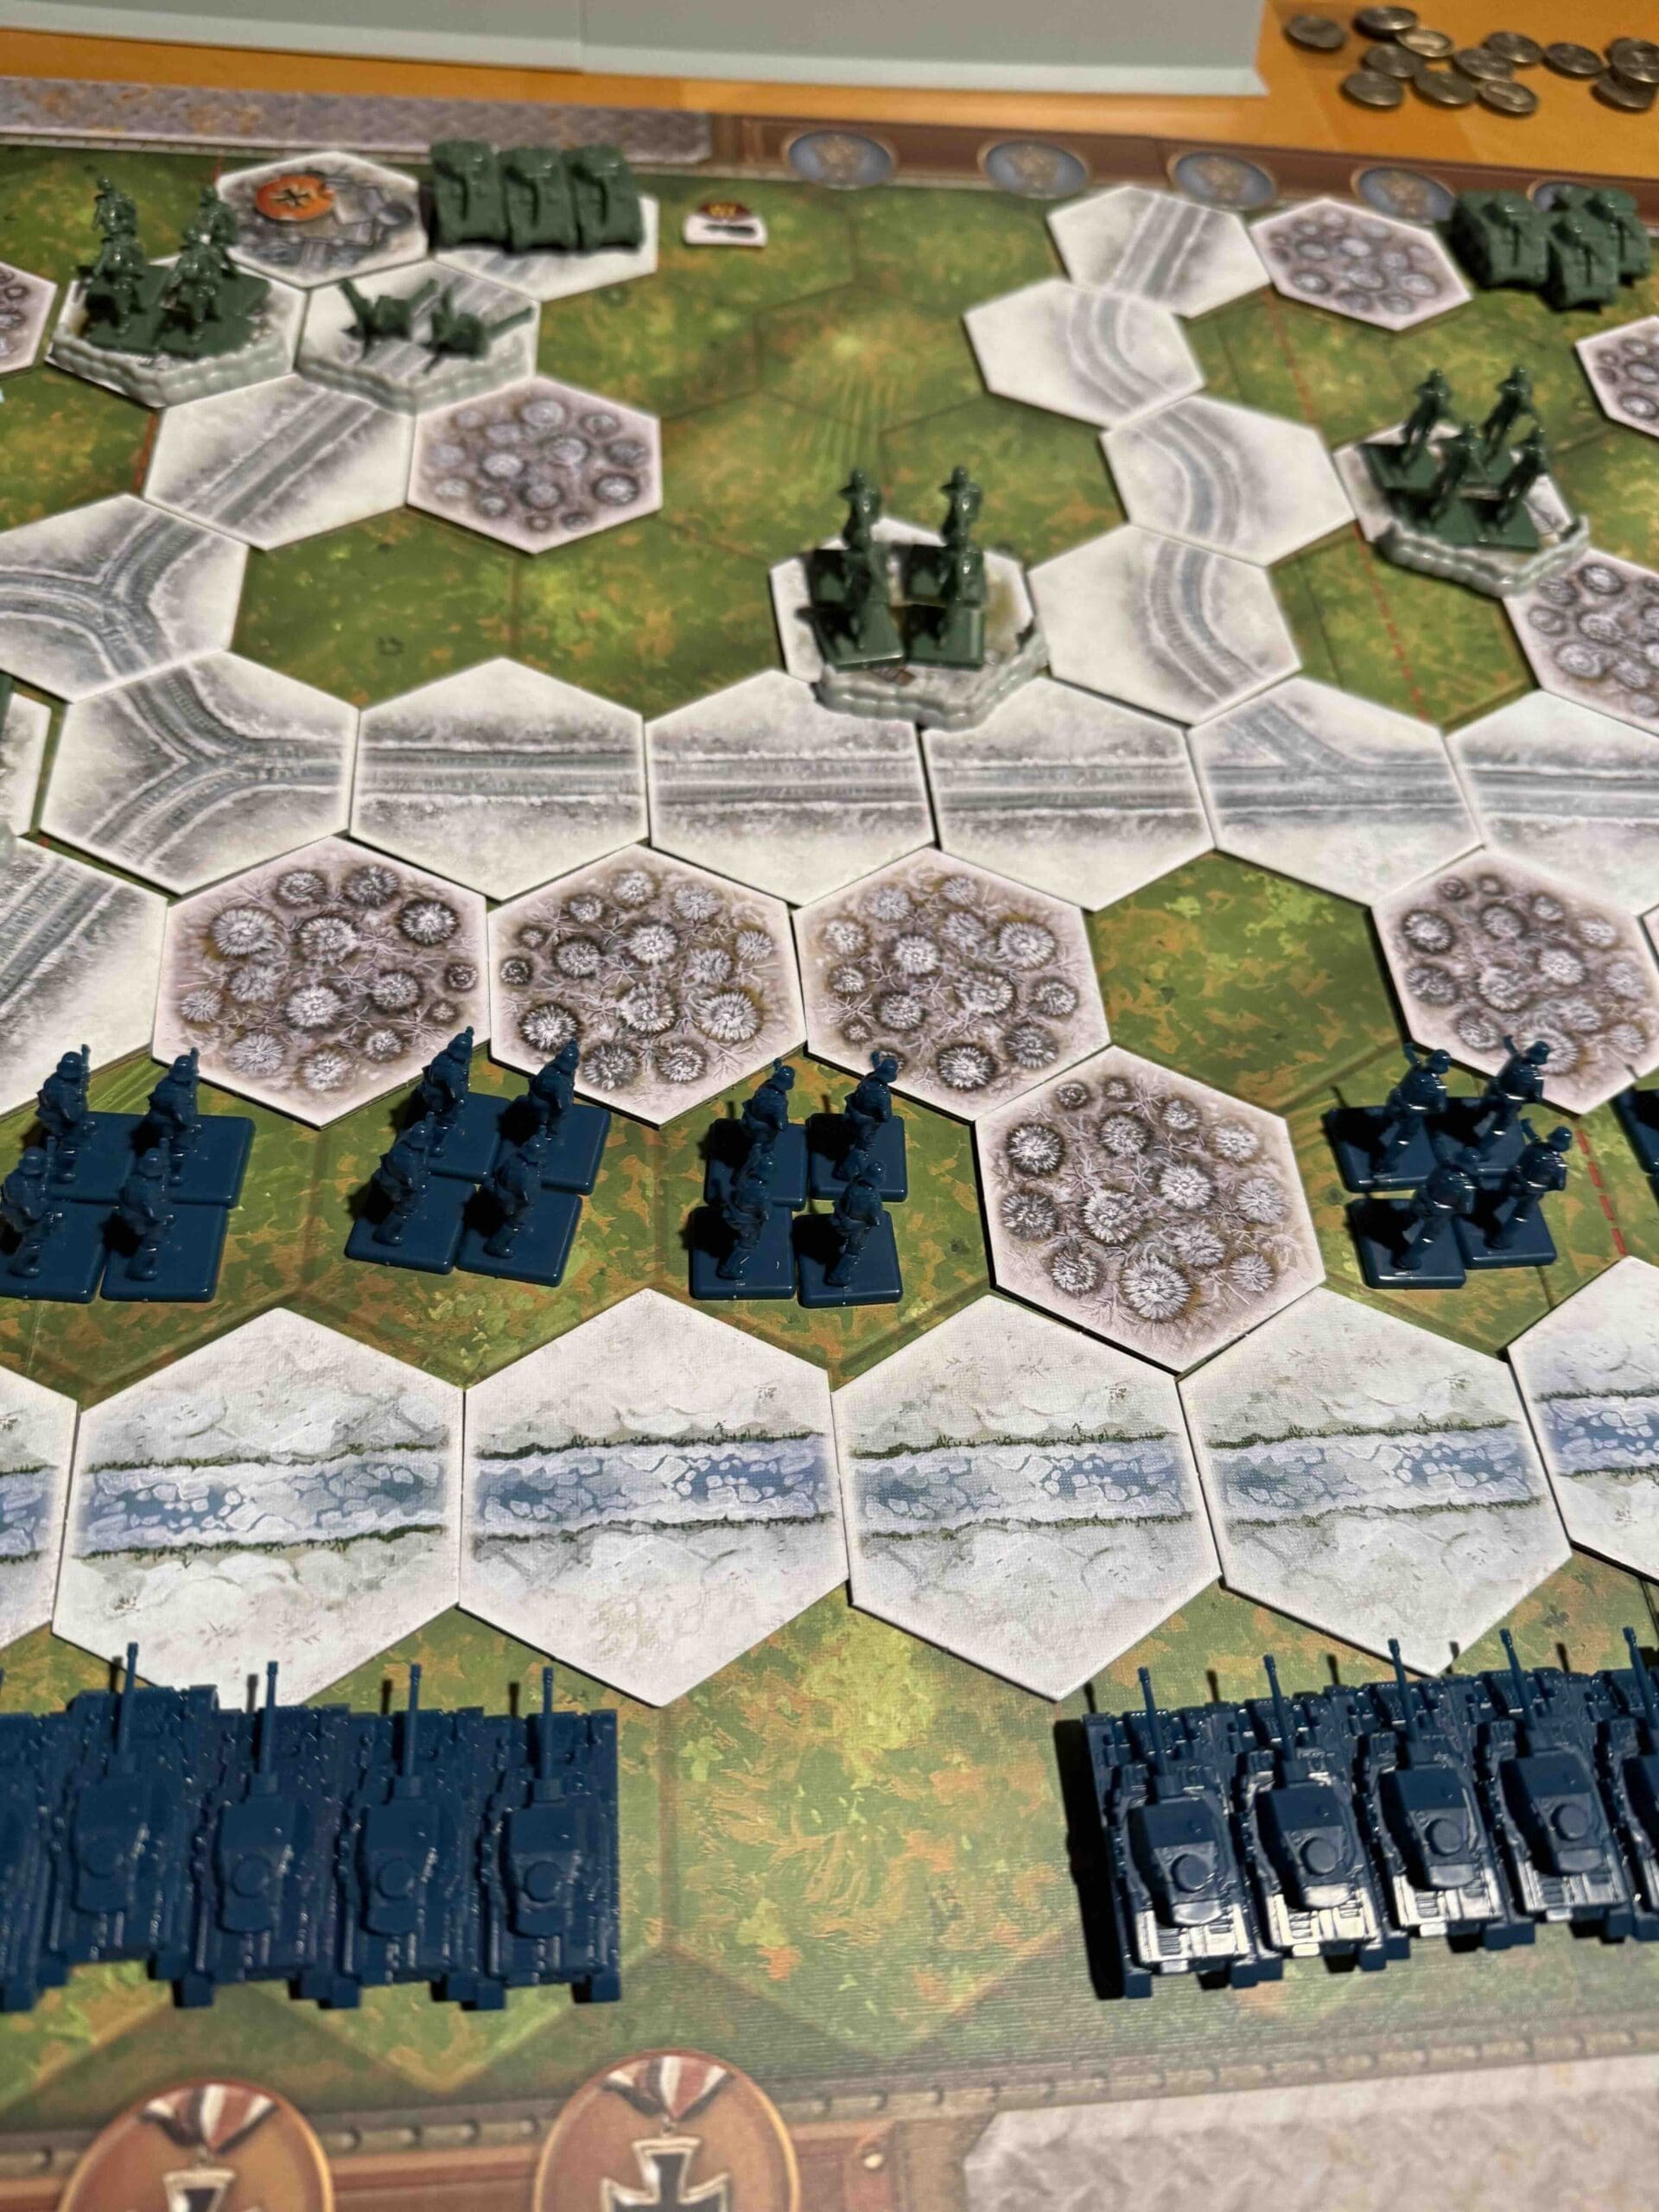
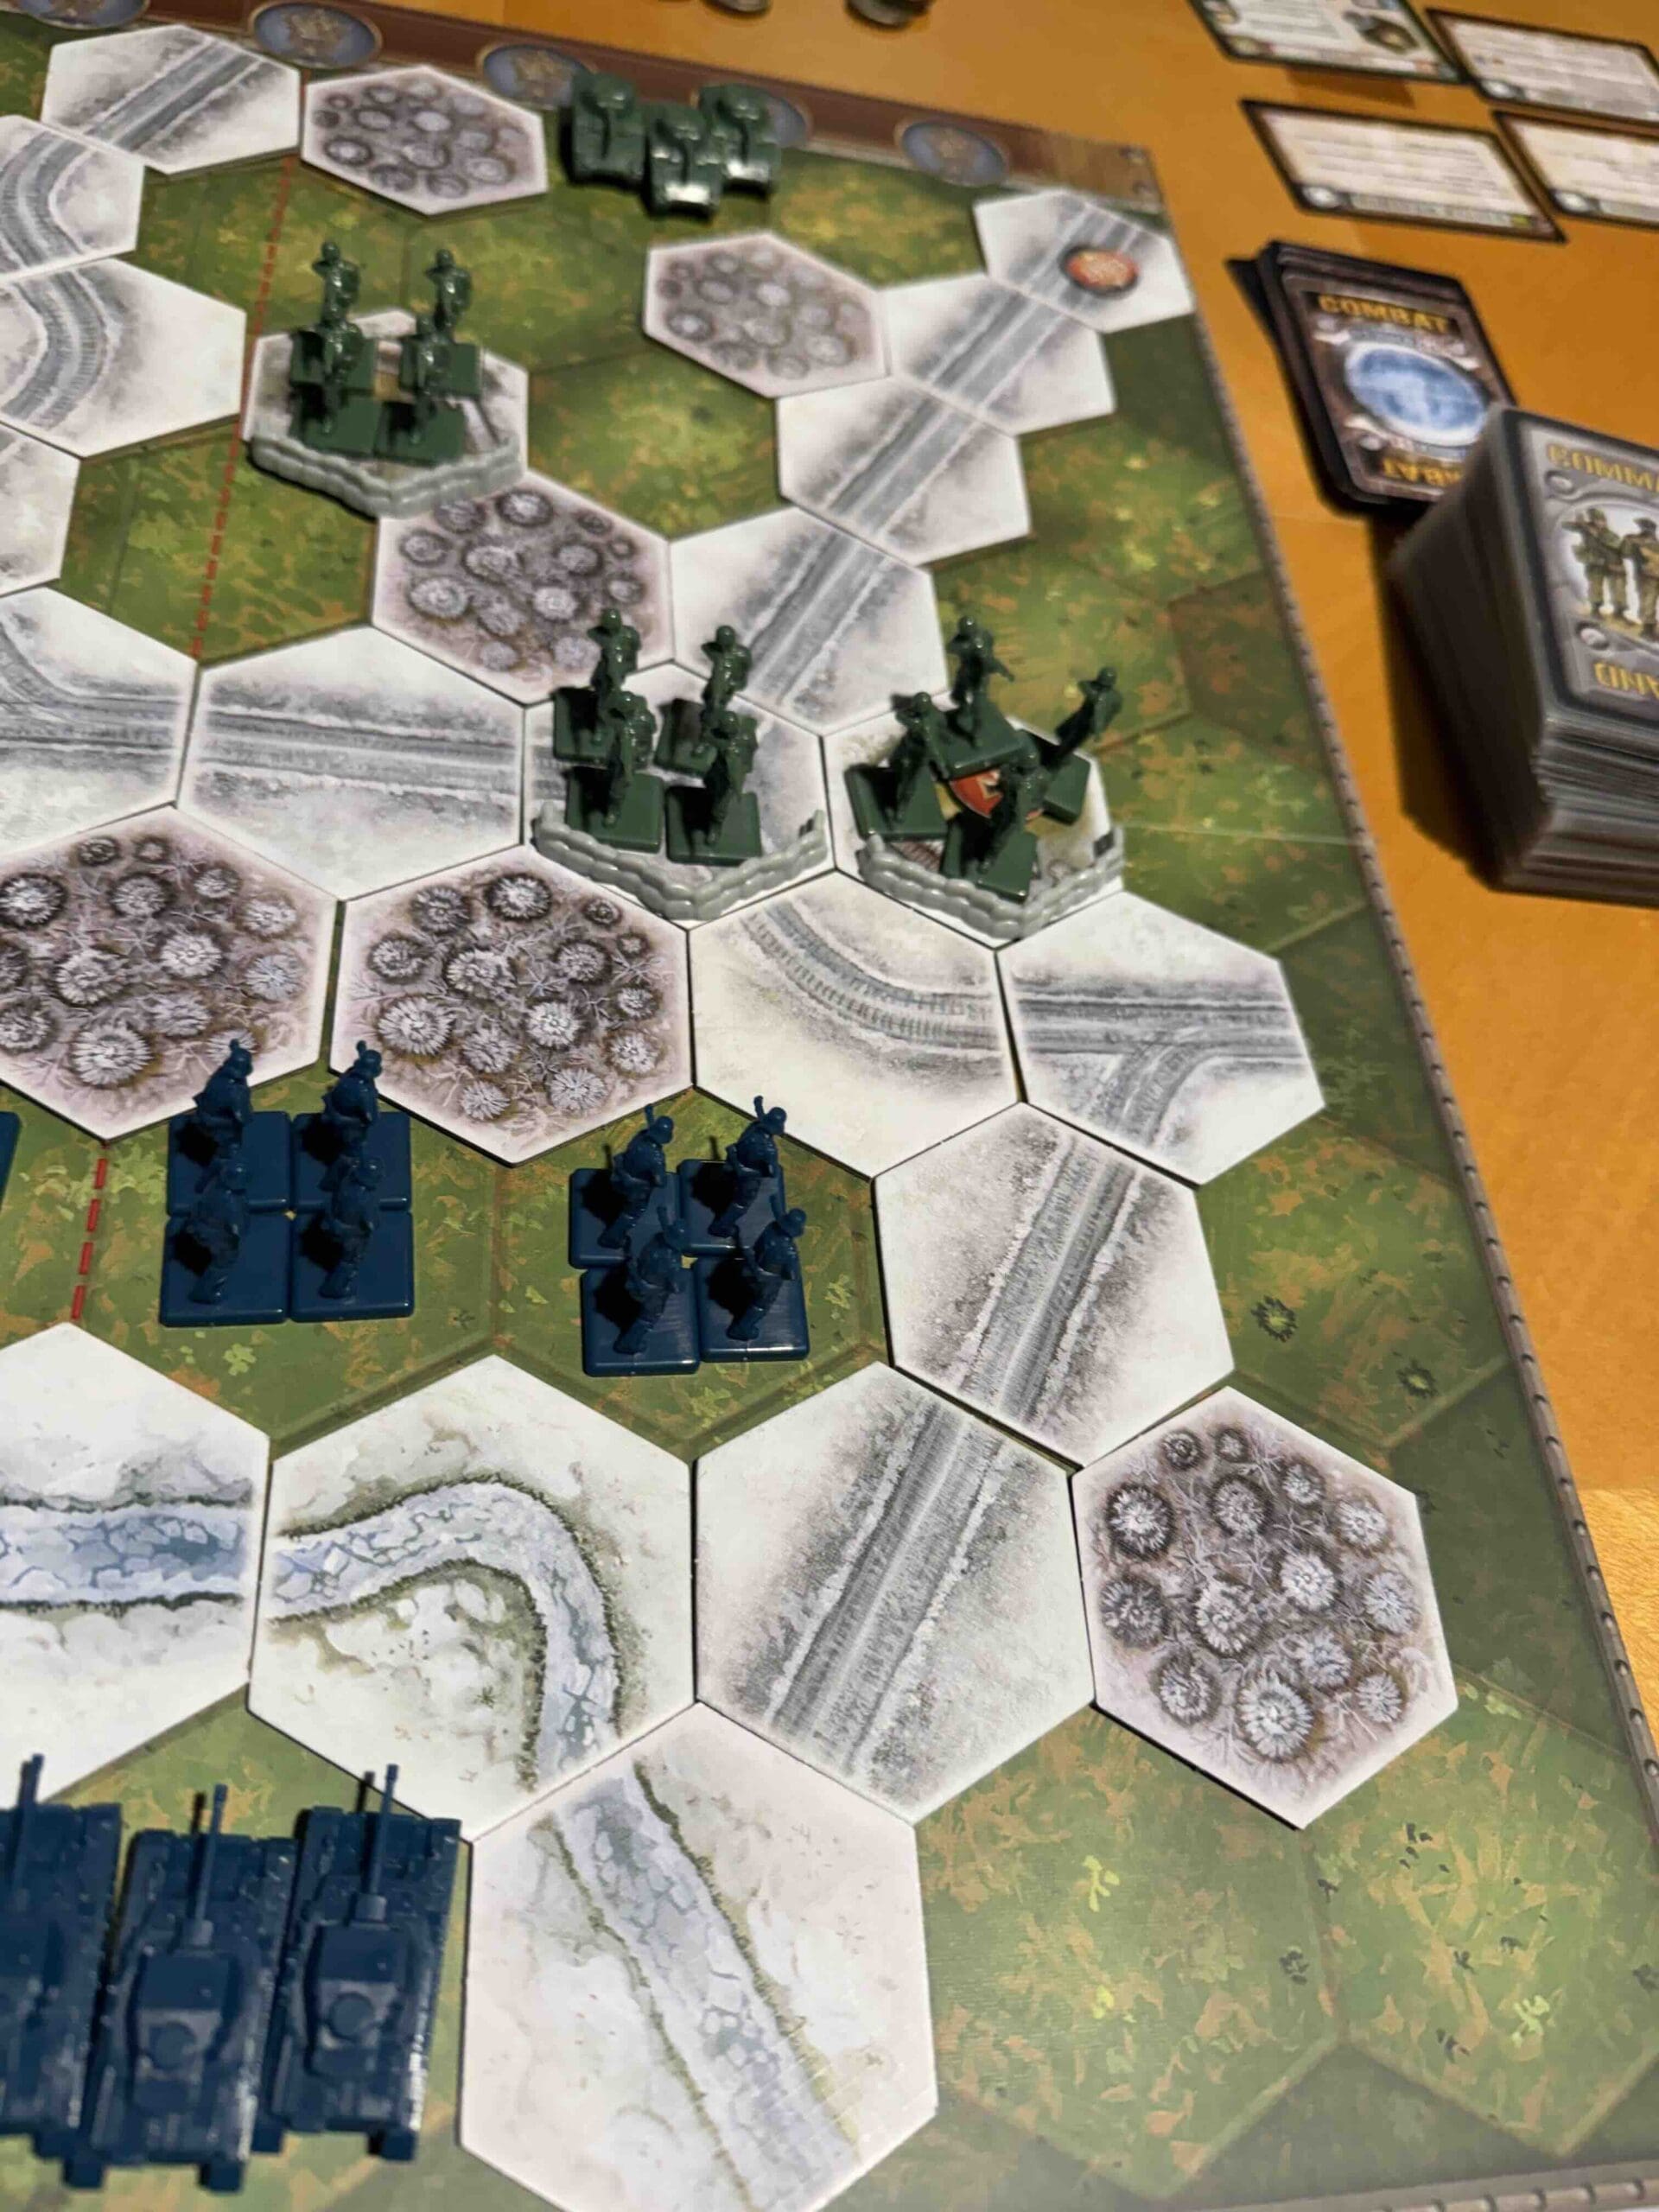
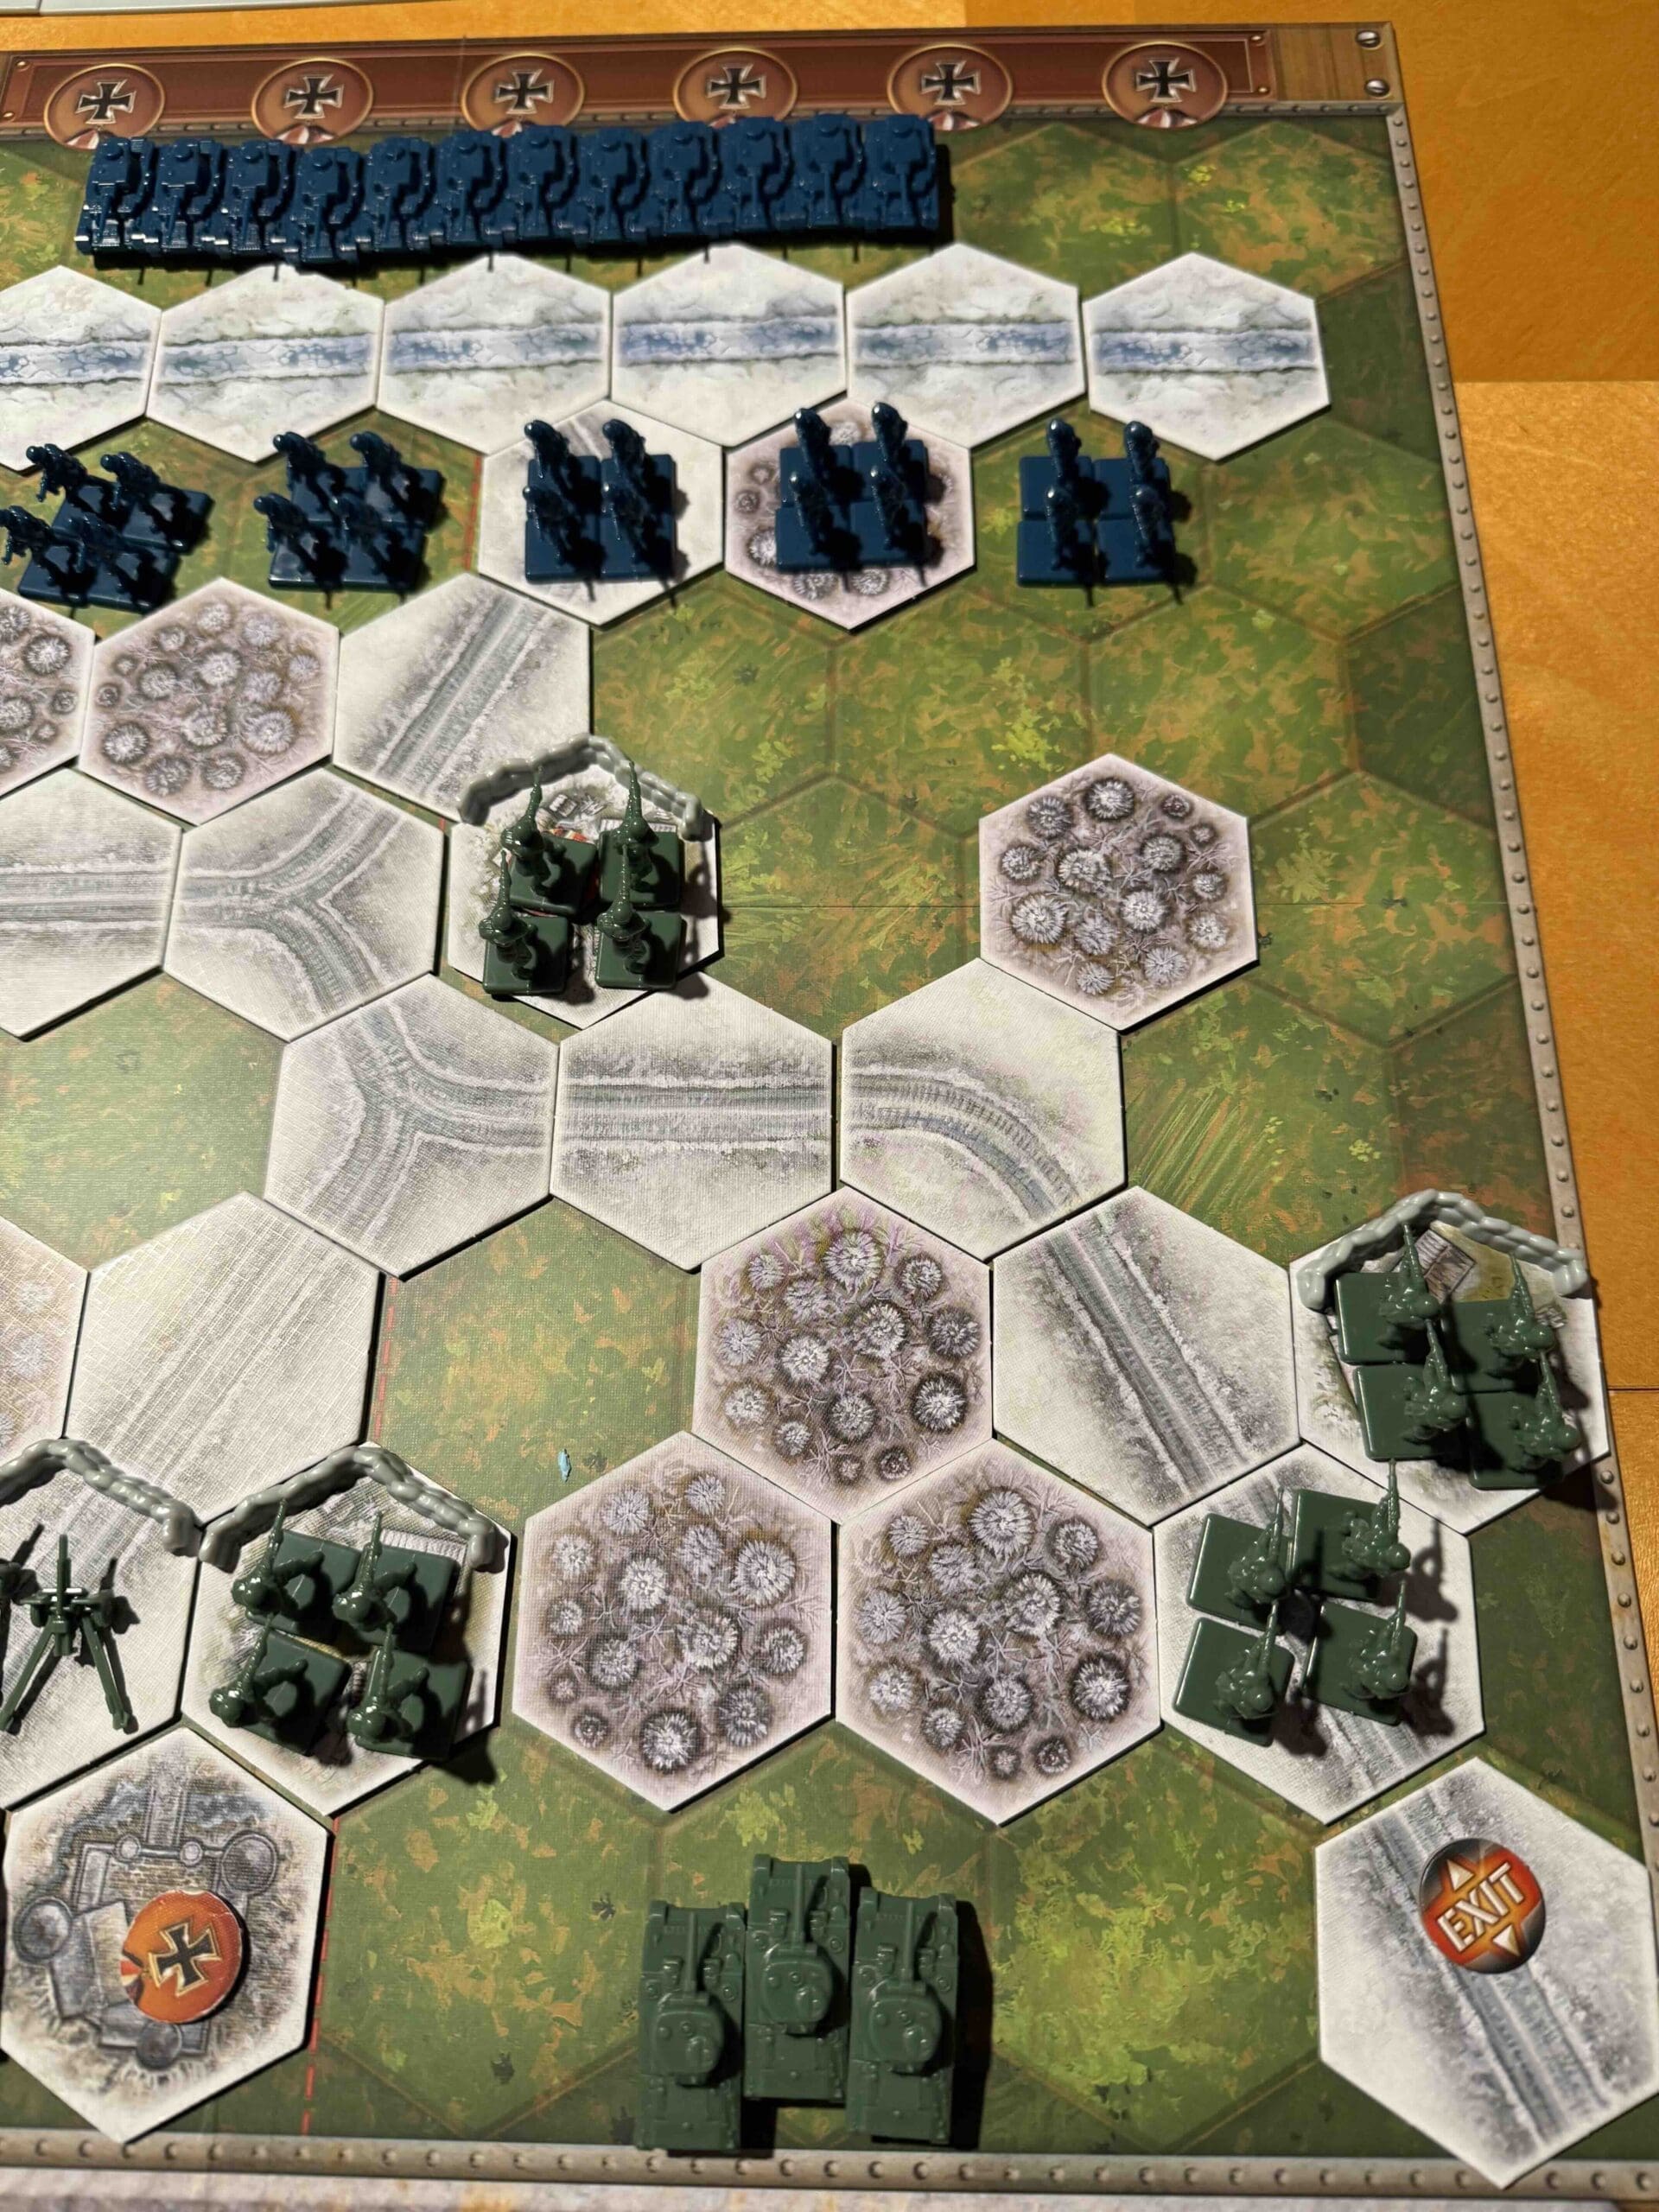
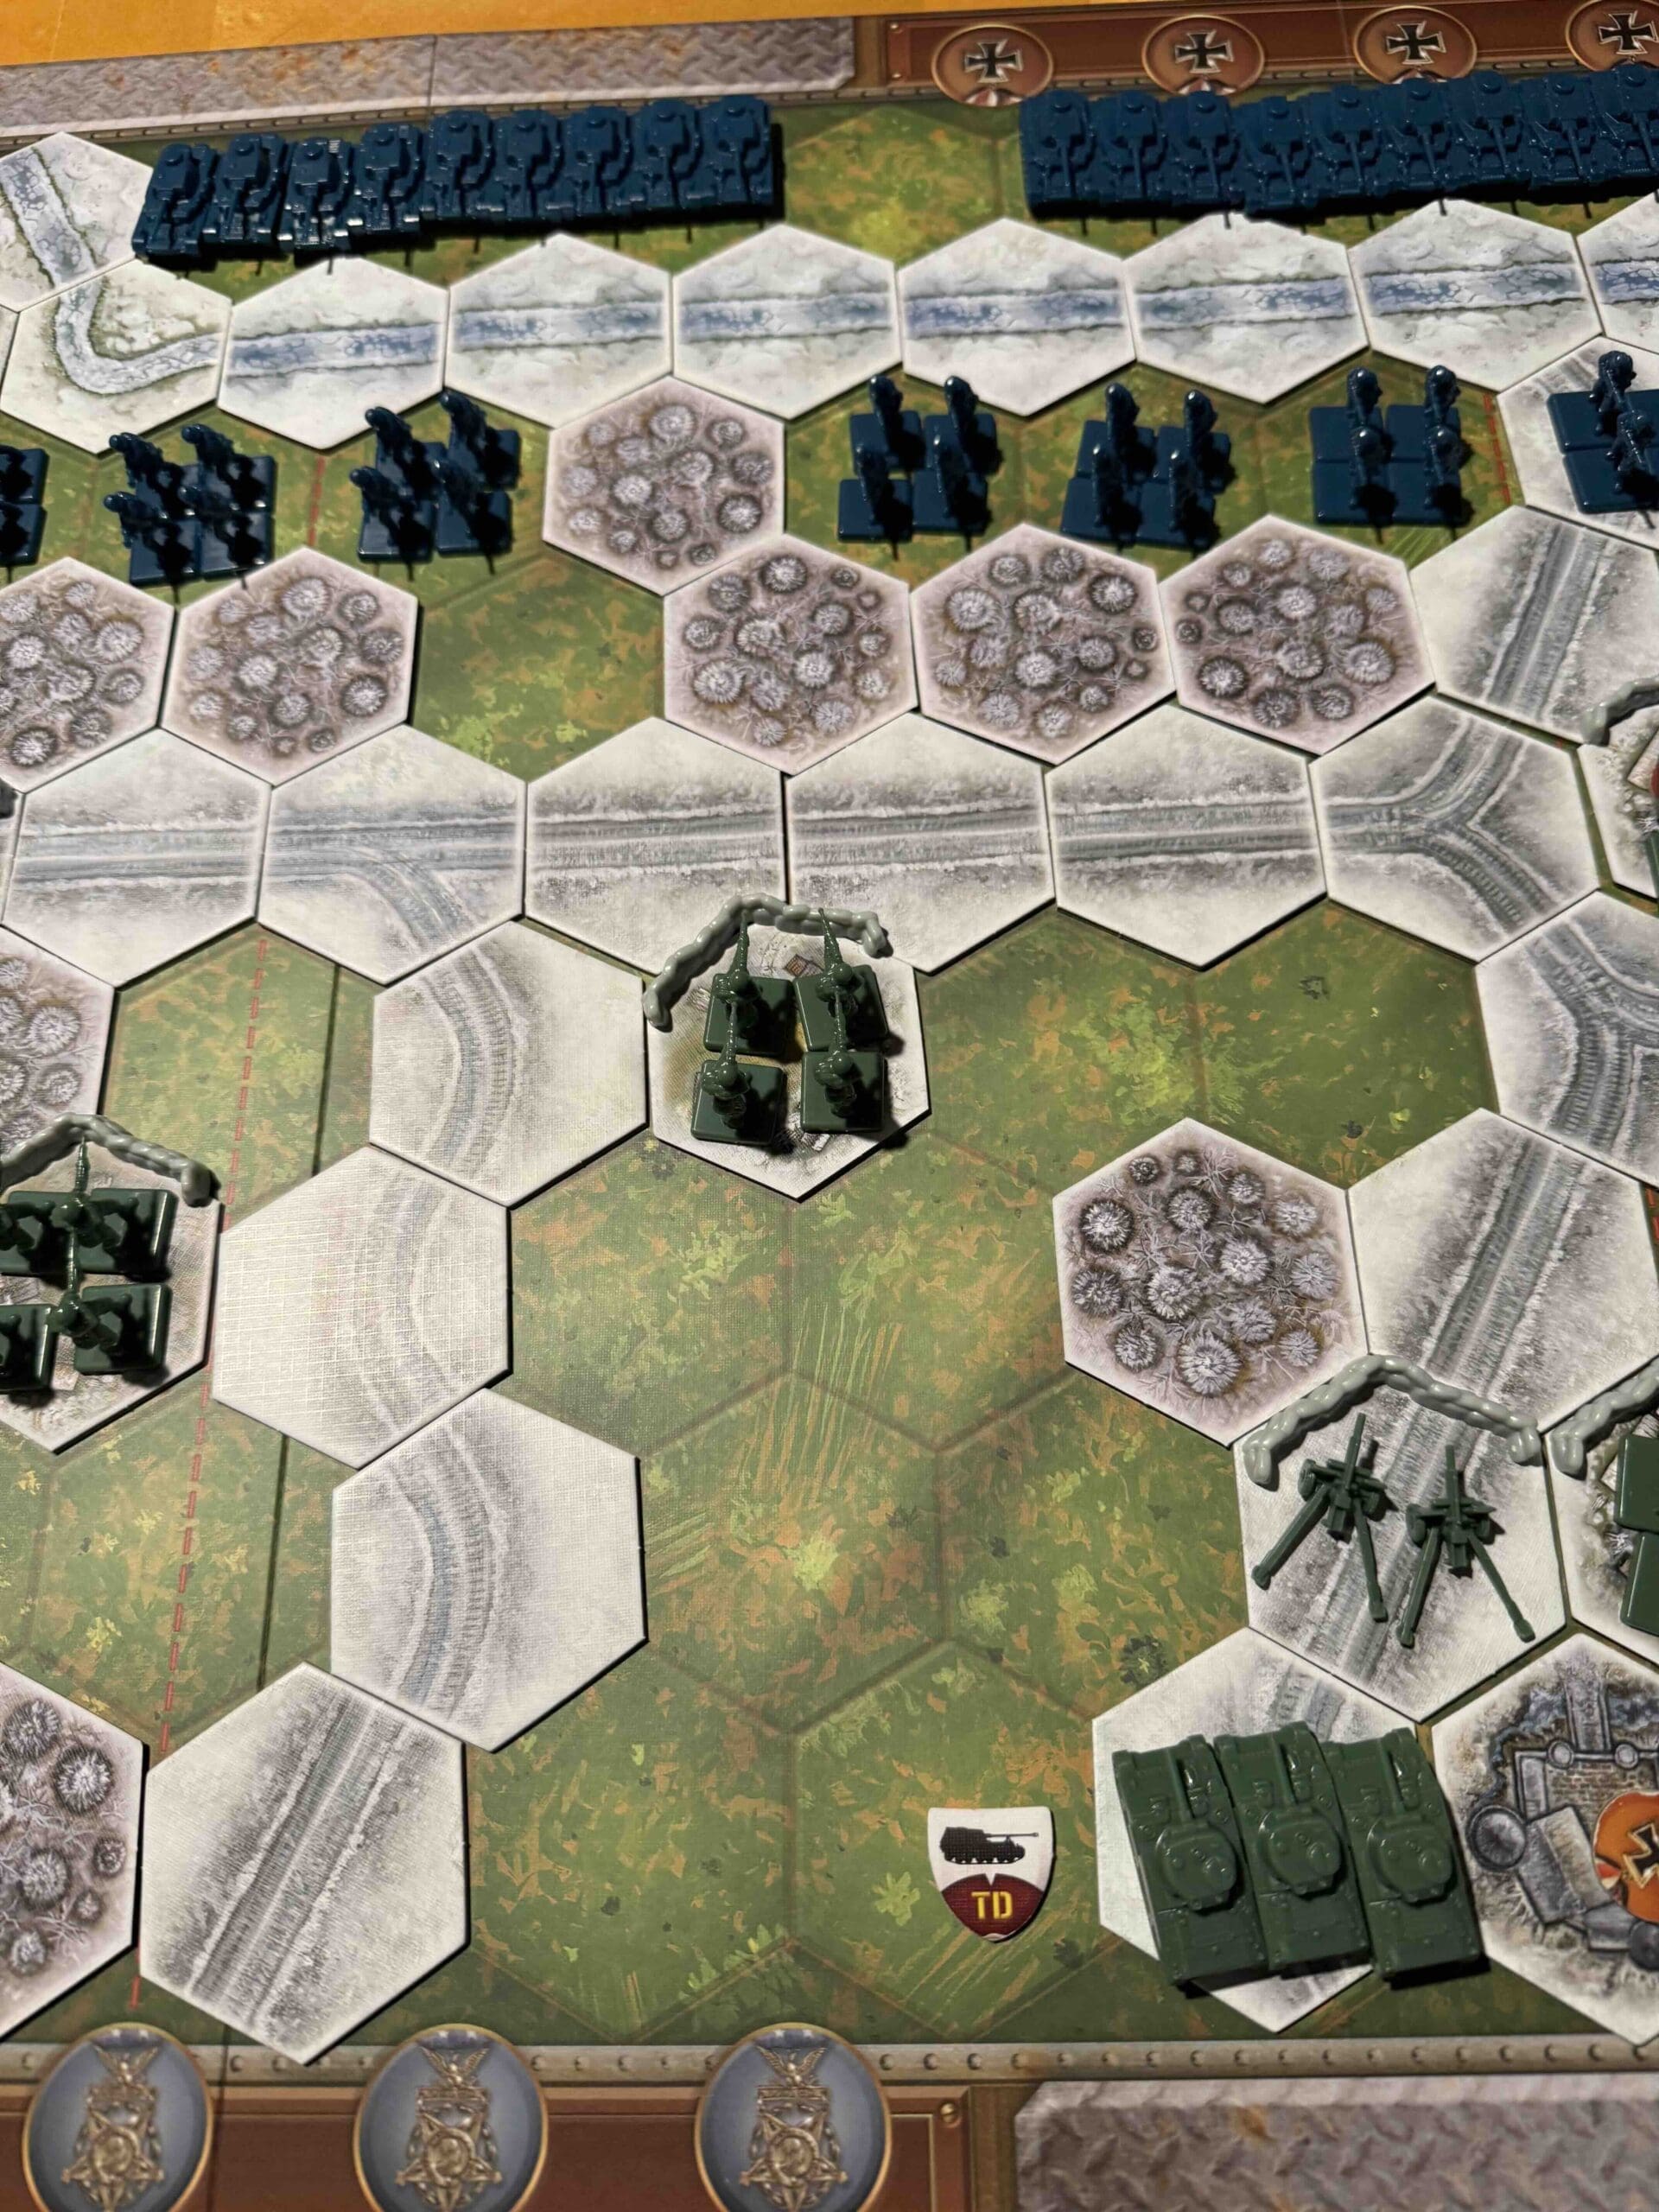
Clervaux was the first hard punch the Germans threw on their dash toward Bastogne during the opening of the Battle of the Bulge, and our boys met it head-on.

At Clervaux, the men of the 110th Infantry Regiment were badly outnumbered and staring down German armor—but they didn’t blink. They fought from roadblocks, stone buildings, and that old castle like seasoned professionals, squeezing every minute they could out of the enemy. They knew the mission wasn’t to win ground; it was to bleed time.

Clervaux fell, but it fell hard—and that delay threw sand in the German gears. Those precious hours helped seal Bastogne’s defenses and turned a German gamble into a fight they couldn’t win. That’s how wars are won: not by retreating fast, but by making the enemy pay for every damned mile.

~~ General Howitzer

VP’s: 8

Card Balance:

Allies – 5

Axis – 6

Complexity:

3

Conditions:

Winter

winter

Location:

Belgium

Year:

1944

Theater:

Western 

Campaign:

Battle of the Bulge

German Name:

Unternehmen Wacht Am Rhein

Summary:

This is a fun and exciting scenario as the Americans attempt to hold off a German onslaught of tanks and infantry in the Battle of the Bulge.

Objectives:

Eight Medals.  There are also two Exit Medals for the Germans to breakthrough, and three Permanent Medal Objective (Turn Start), including the castle at Clervaux.

Battlefield:

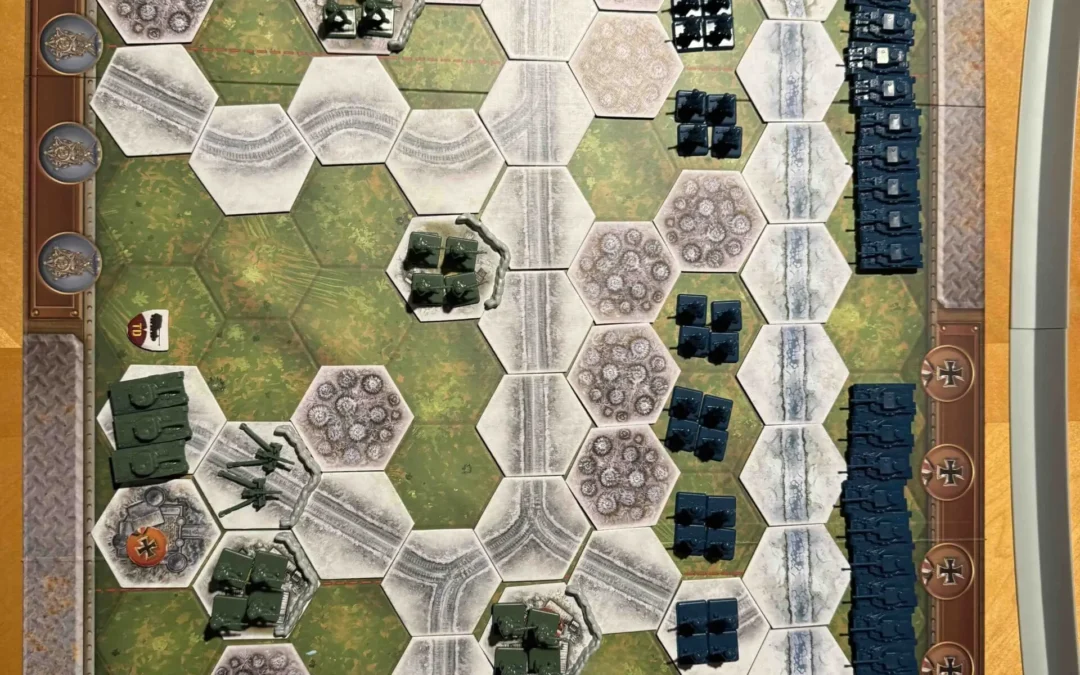
Winter conditions, with roads and rivers cutting through the battlefield.

Troops:

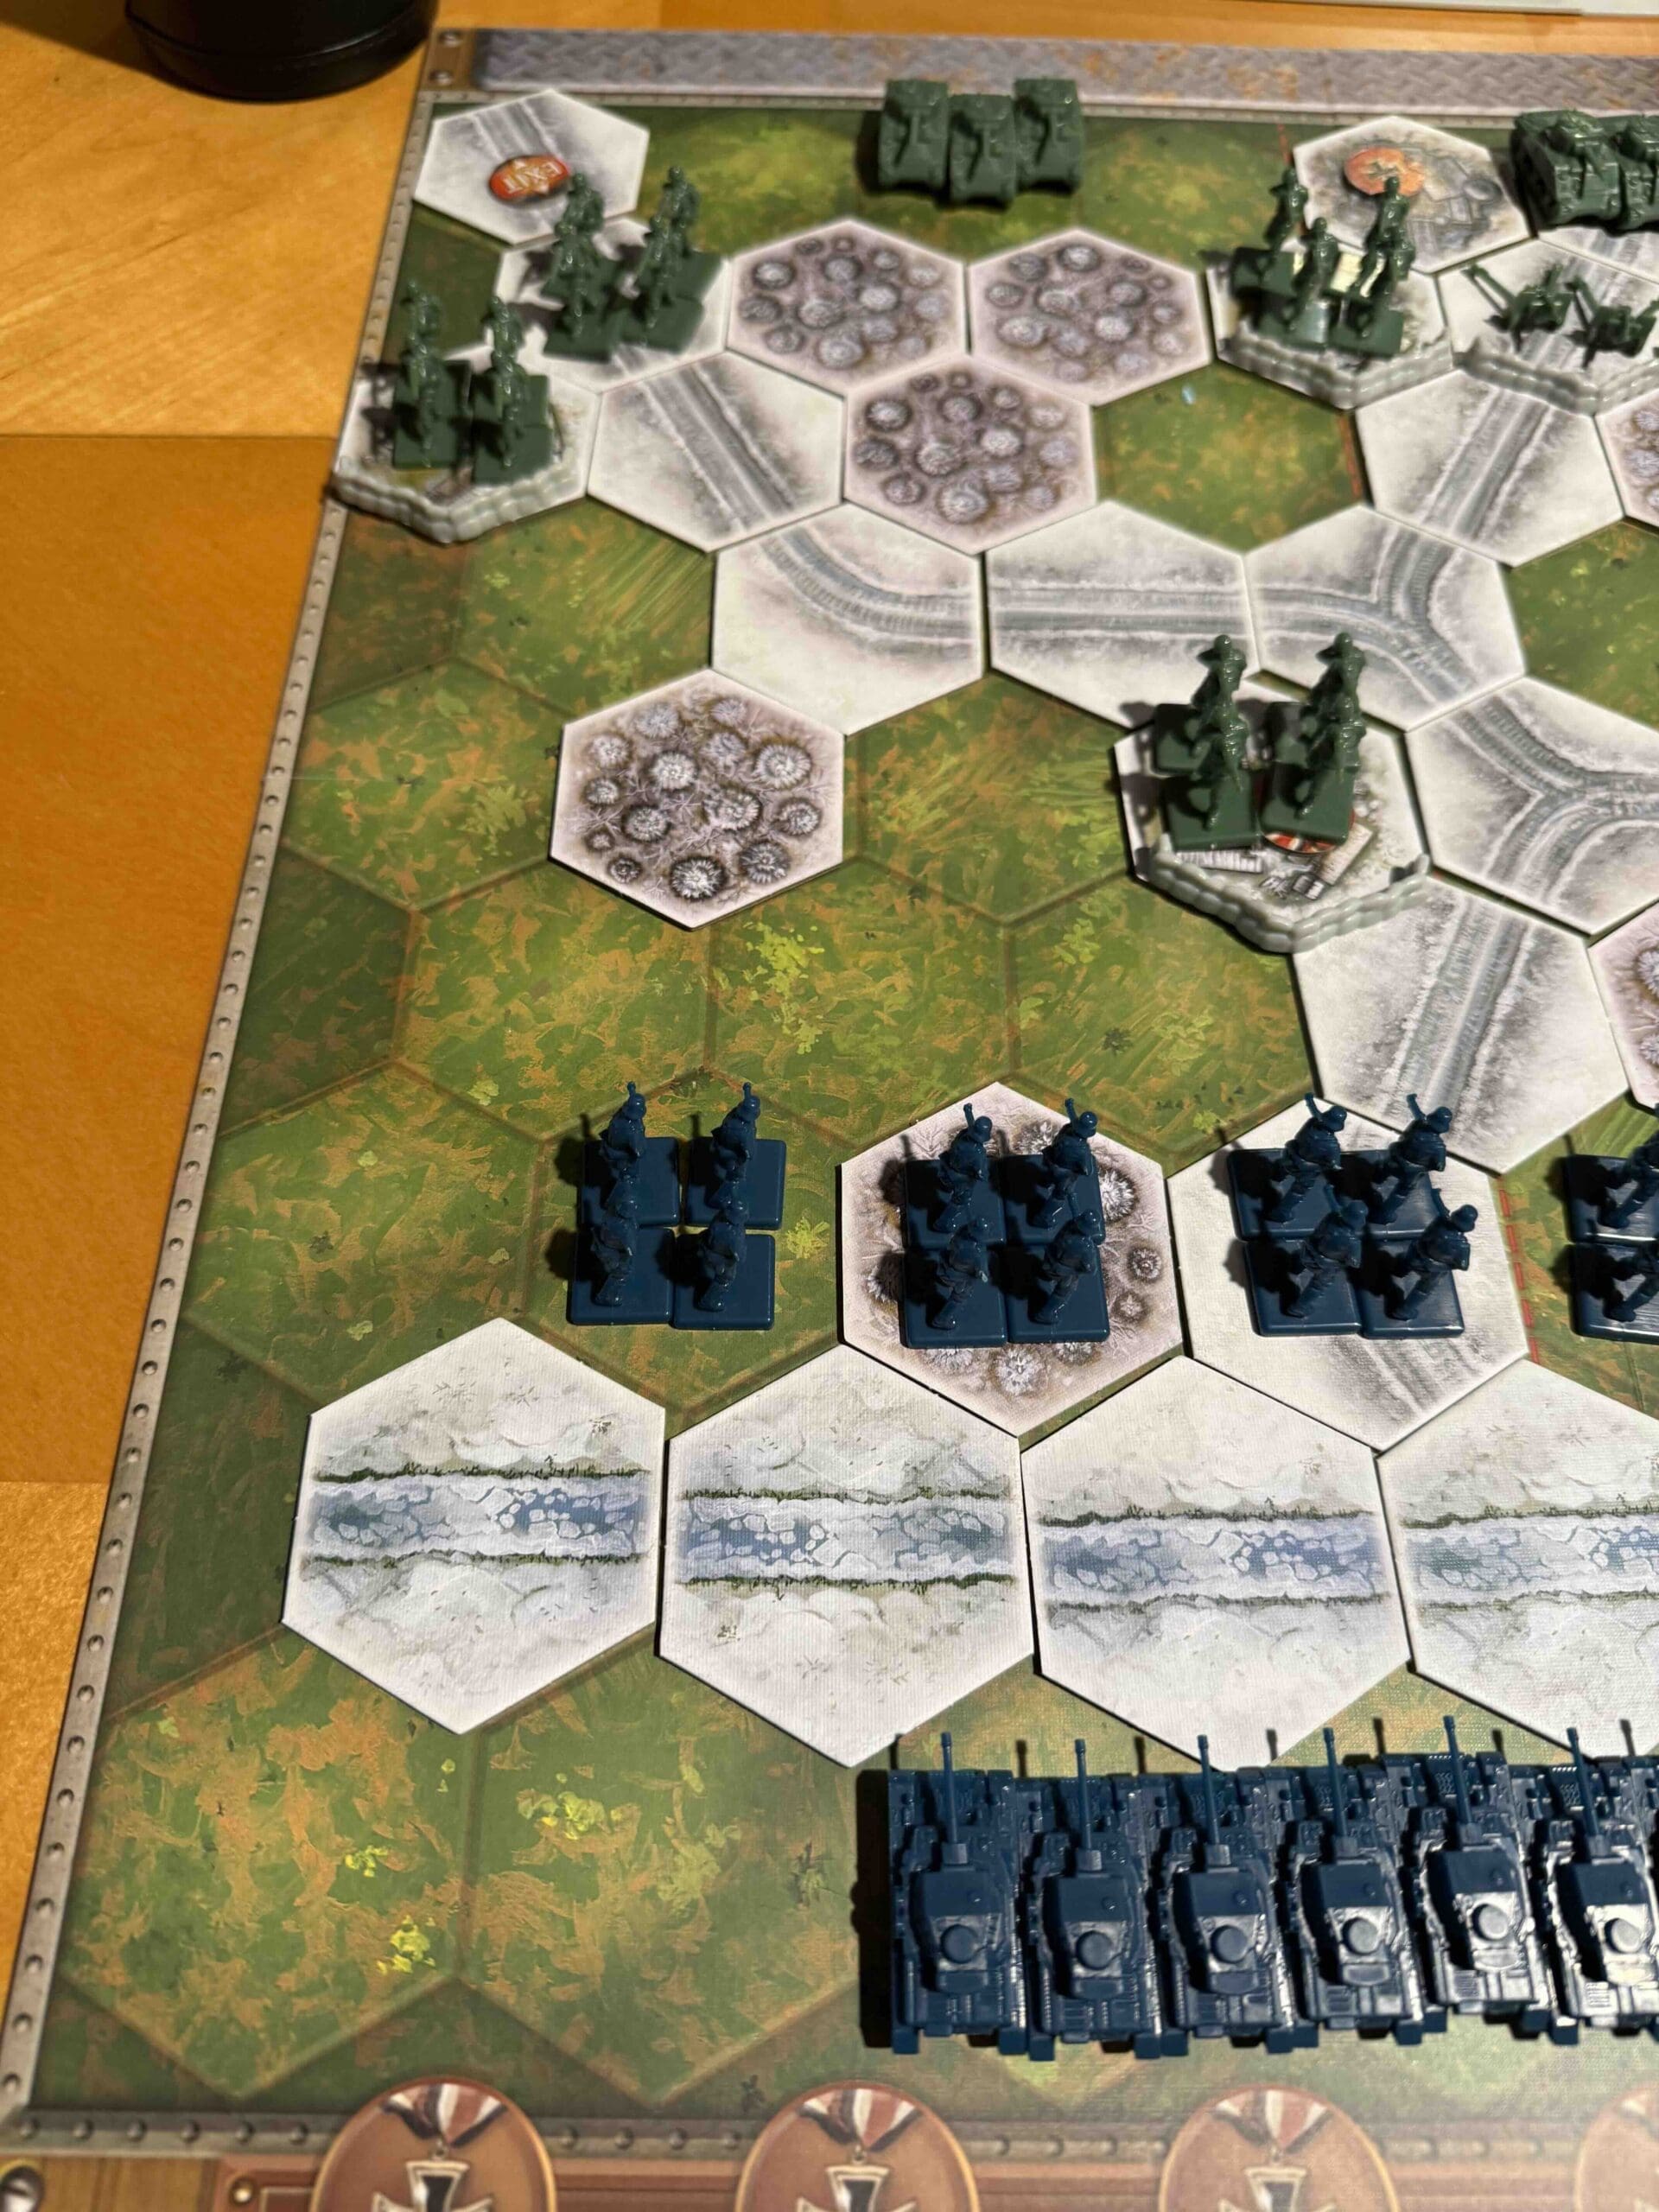
Allies – 8 Infantry, 3 Armor, 1 Artillery

Axis – 9 Infantry, 7 Armor

Special Rules:

1.  Winter Weather rules – two hex armor movement

2.  Reduced Visibility rules – only hit with Grenades unless in Close Assault

3.  Tank Destroyer (2,2,2,2), and hits Armor on Stars

3.  The river is frozen, but impassable.

4.  Pontoon Bridge rules – use an Attack card to build a bridge; instead of moving three units, build one Pontoon Bridge.

5.  Also play with Winter Combat cards in addition to regular Combat cards

6.  Winter Combat Cards – two per player; 

medal allies

🔥 Winning as Allies

1.  The enemy has overwhelming force against you – if they can get their Armor across the river. So your strategy includes two phases; Phase One: Attack while you can before the Armor shows up.  Phase Two: once the Armor makes it into the battle, then retreat to defensive positions.

2.  Defend the Exit Hexes.

3.  Defend the three Permanent Medal Objectives.

medal axis

🔥 Winning as Axis

1.  First priority is to get some bridges built across the impassable Our River, so that your tremendous tank force can make a difference in this battle.  Play an Attack card, and instead of moving three units, build a Bridge in that section. The goal will be to build one bridge in both the left and right sectors.

2.  Once you have the Pontoon Bridge built, get your Armor across immediately and start pushing towards the Objective Medal Hexes on both your right and left sectors.  They are Permanent Objectives (Turn Start), so you will need to get your forces onto the hex and hold out for one turn to win it.

Author: Days of Wonder

URL

Place Battle Reports on a scenario page, or specify its scenario name in the shortcode.

Secret Link