Wittmann’s Final Battle
Wittmann’s Final Battle

Wittmann’s last ride came on August 8, ’44, when the Canadians kicked off Operation Totalize south of Caen. He rolled out in his Tiger, thinking he’d stop the Allied push cold—but this wasn’t the Eastern Front, and the Allies weren’t amateurs anymore.
Somewhere near Saint-Aignan-de-Cramesnil, his luck ran out. A Sherman Firefly—packing that damn fine 17-pounder—put a round through his armor and ended the fight before it started. Wittmann and his crew never saw it coming.
That day didn’t just take out Germany’s star tank ace—it proved the tide had turned, and our boys could kill Tigers just as fast as they came at us.
~~ General Howitzer
6 VP’s
![]()
Card Balance:
Allies – 5
Axis – 5
Complexity:
3
Conditions:
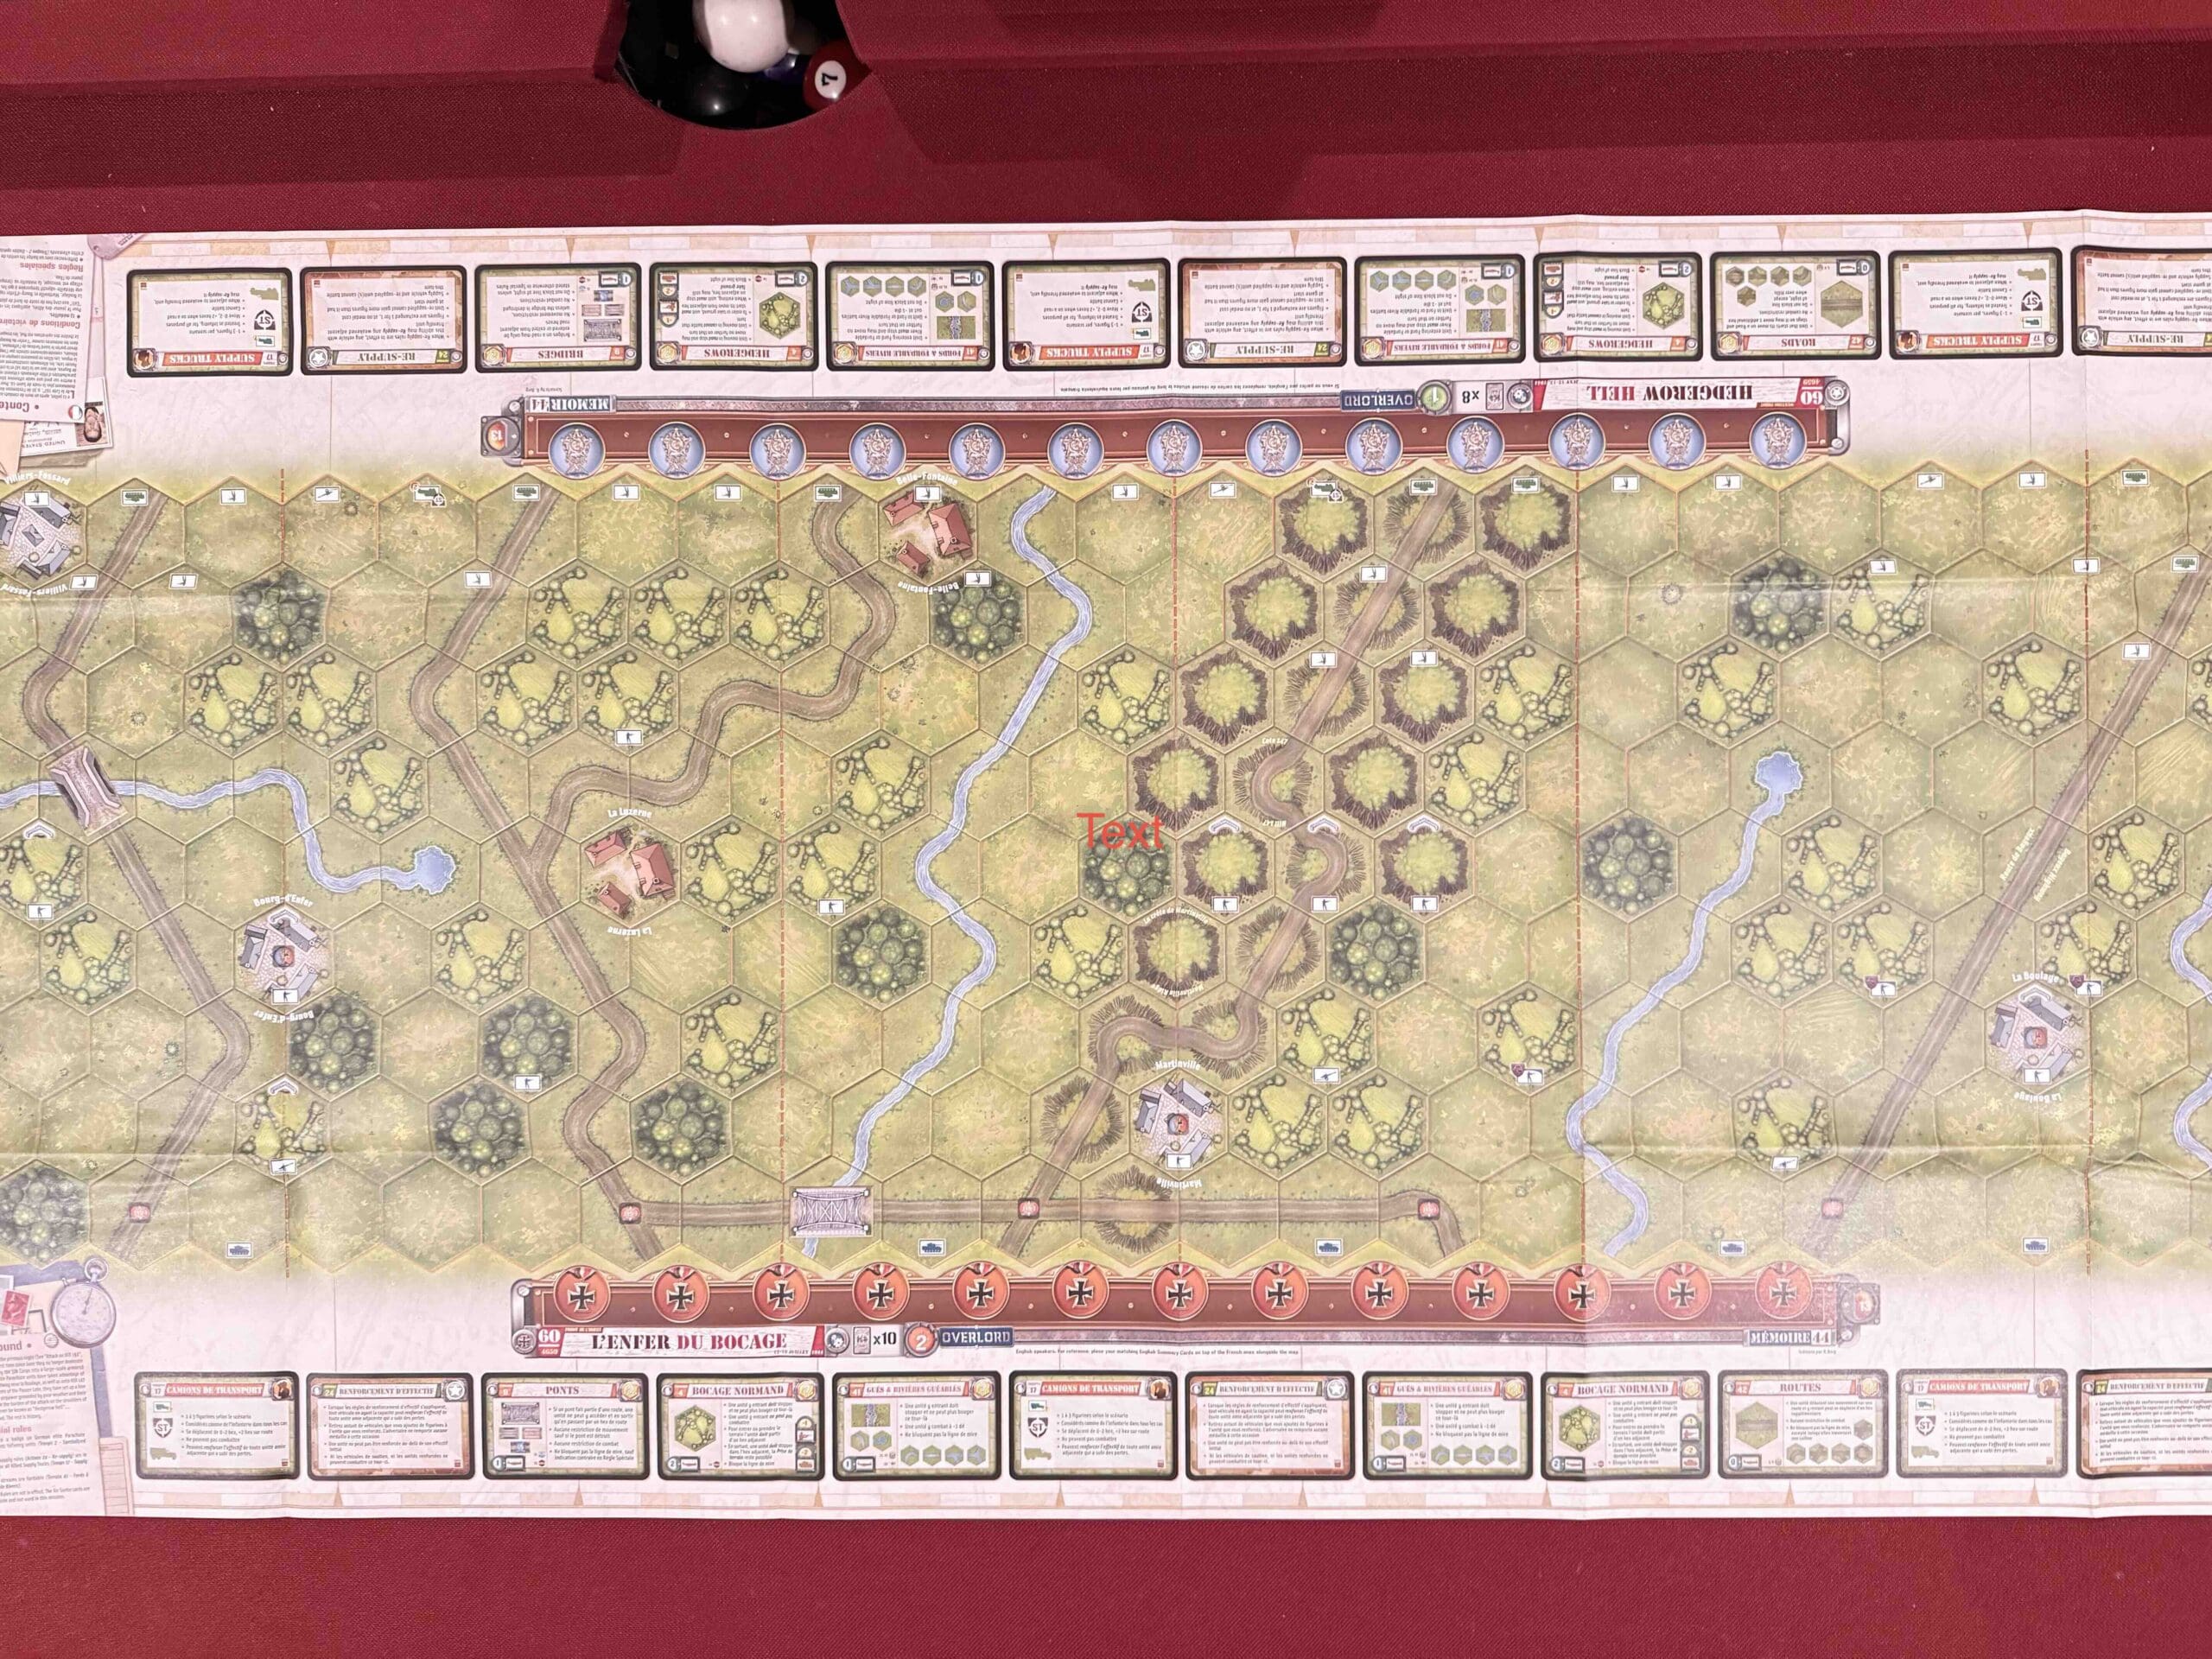
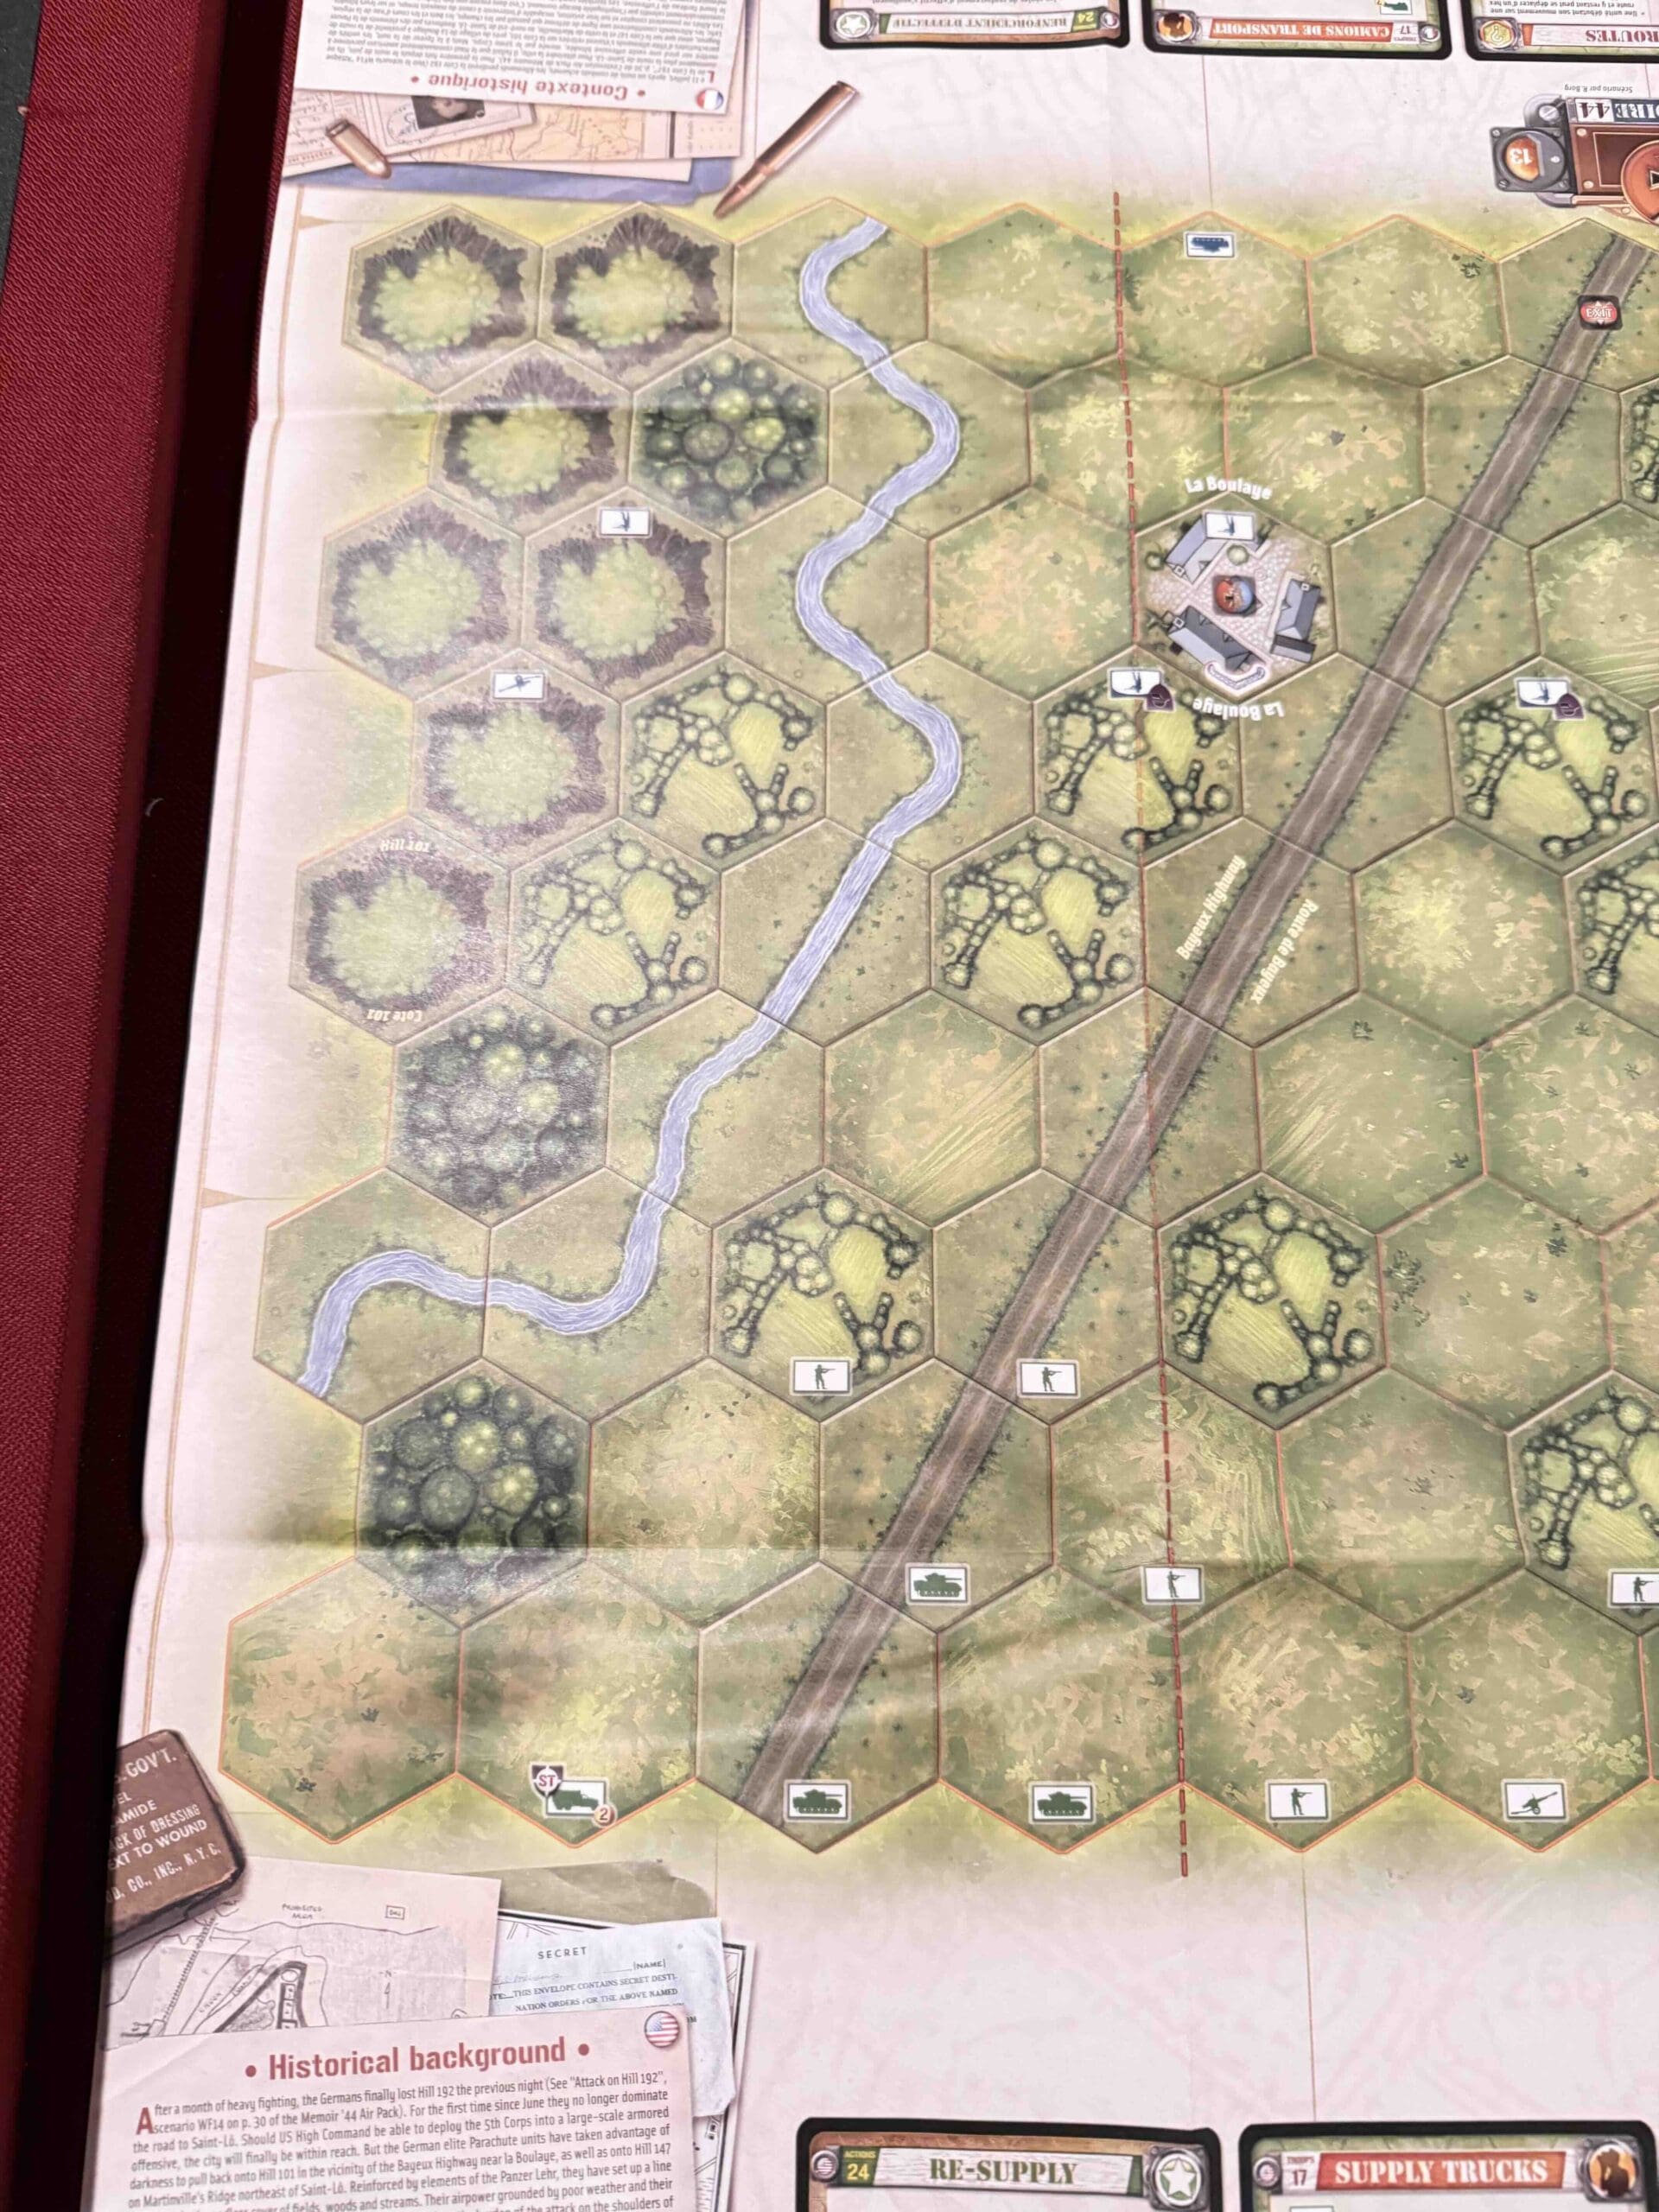
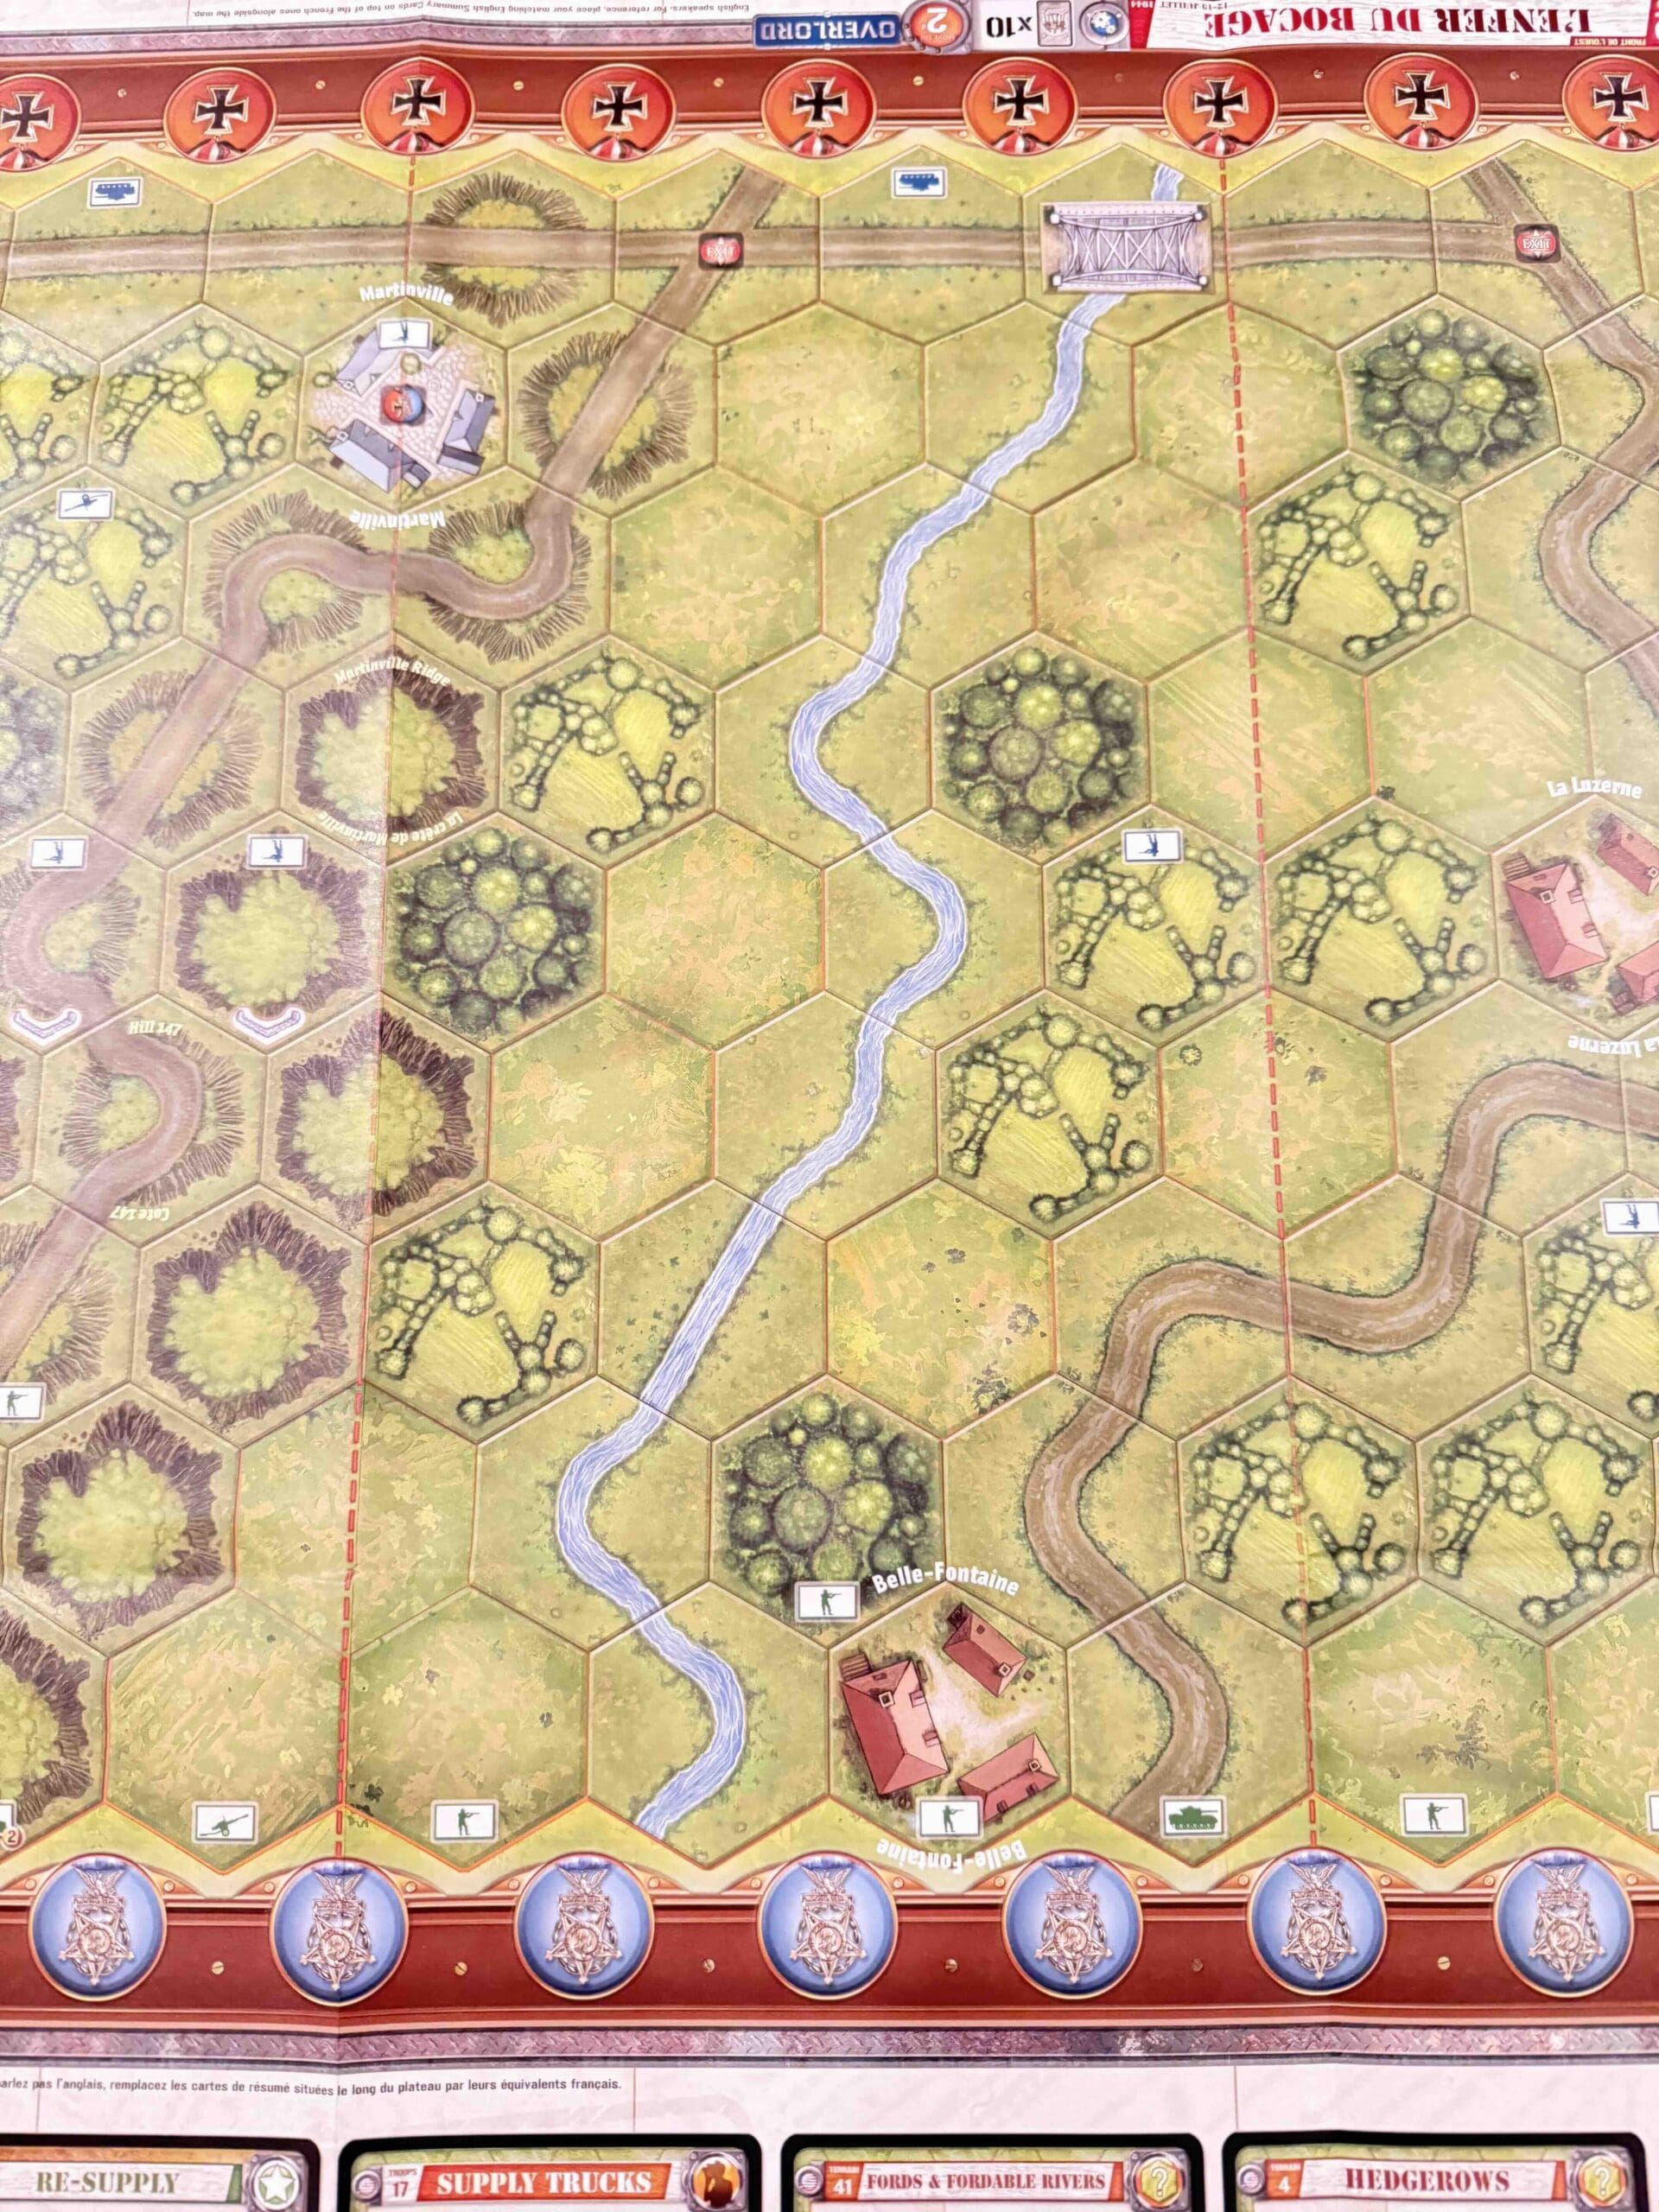
Countryside
Context:
Historical
Location:
France
Year:
1944
Theater:
Western
Campaign:
Battle of Normandy
Codename:
Operation Totalizer
Summary:
Objectives:
6 VP’s
Battlefield:
Countryside
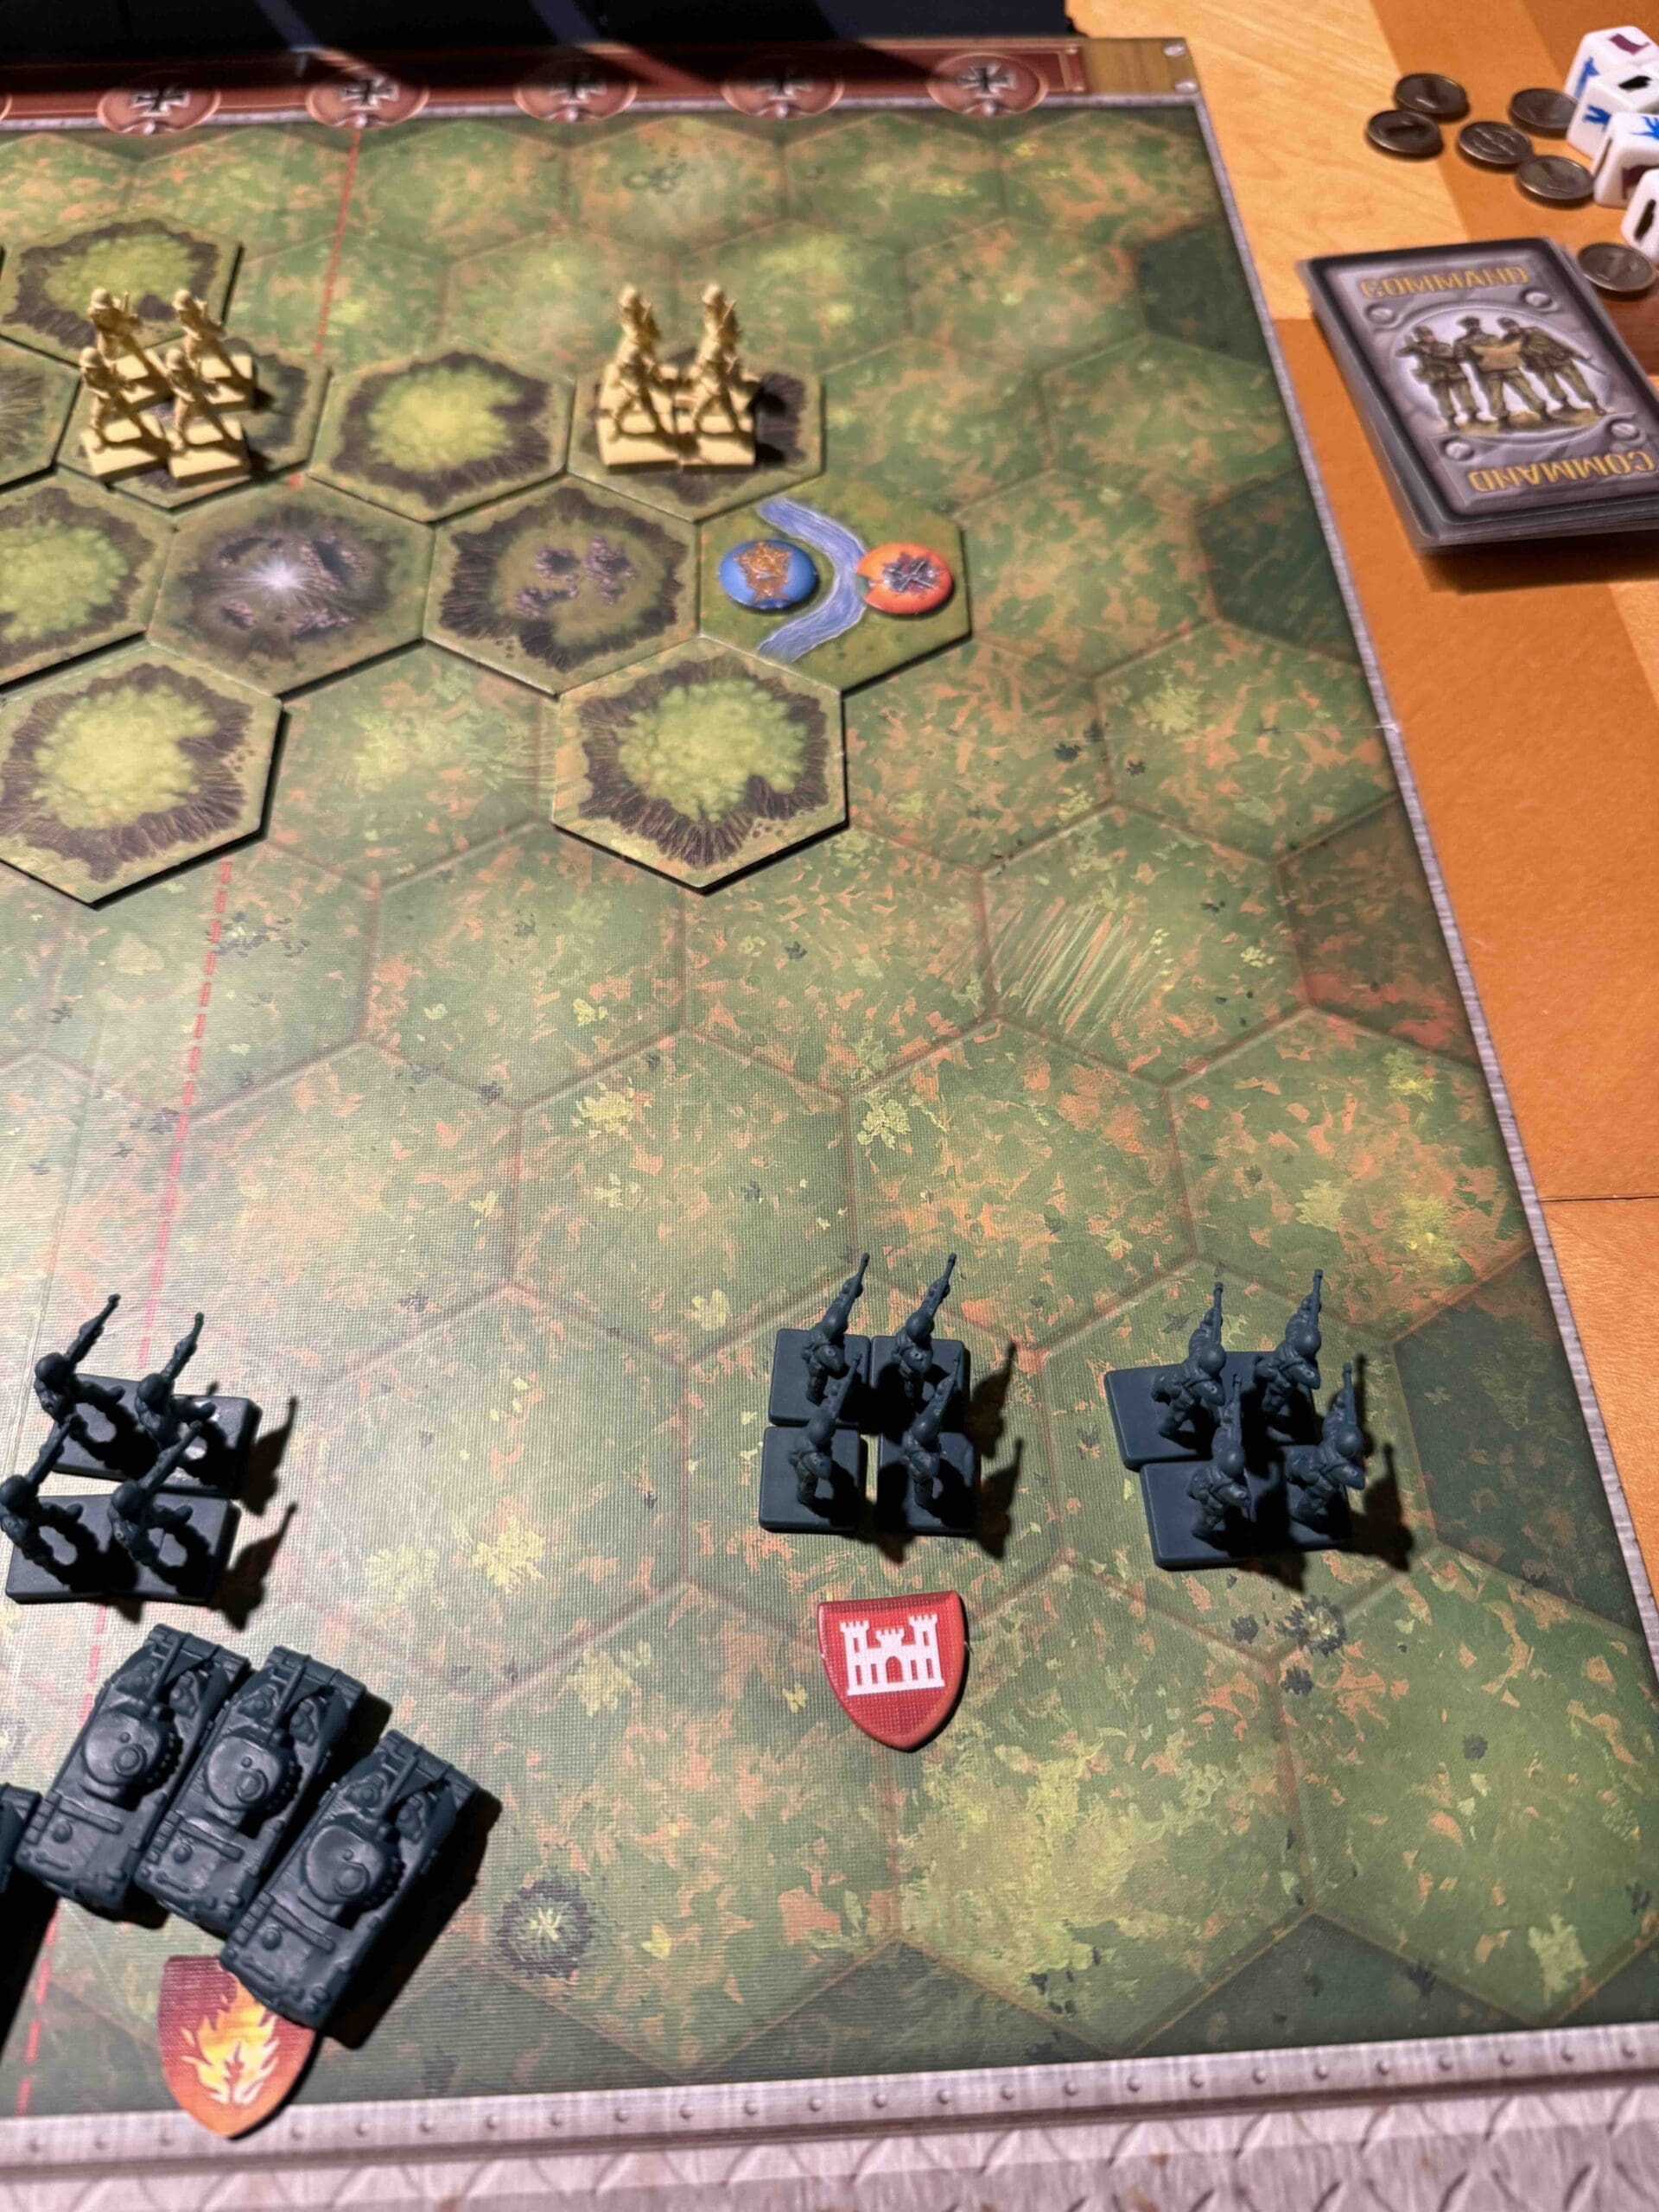
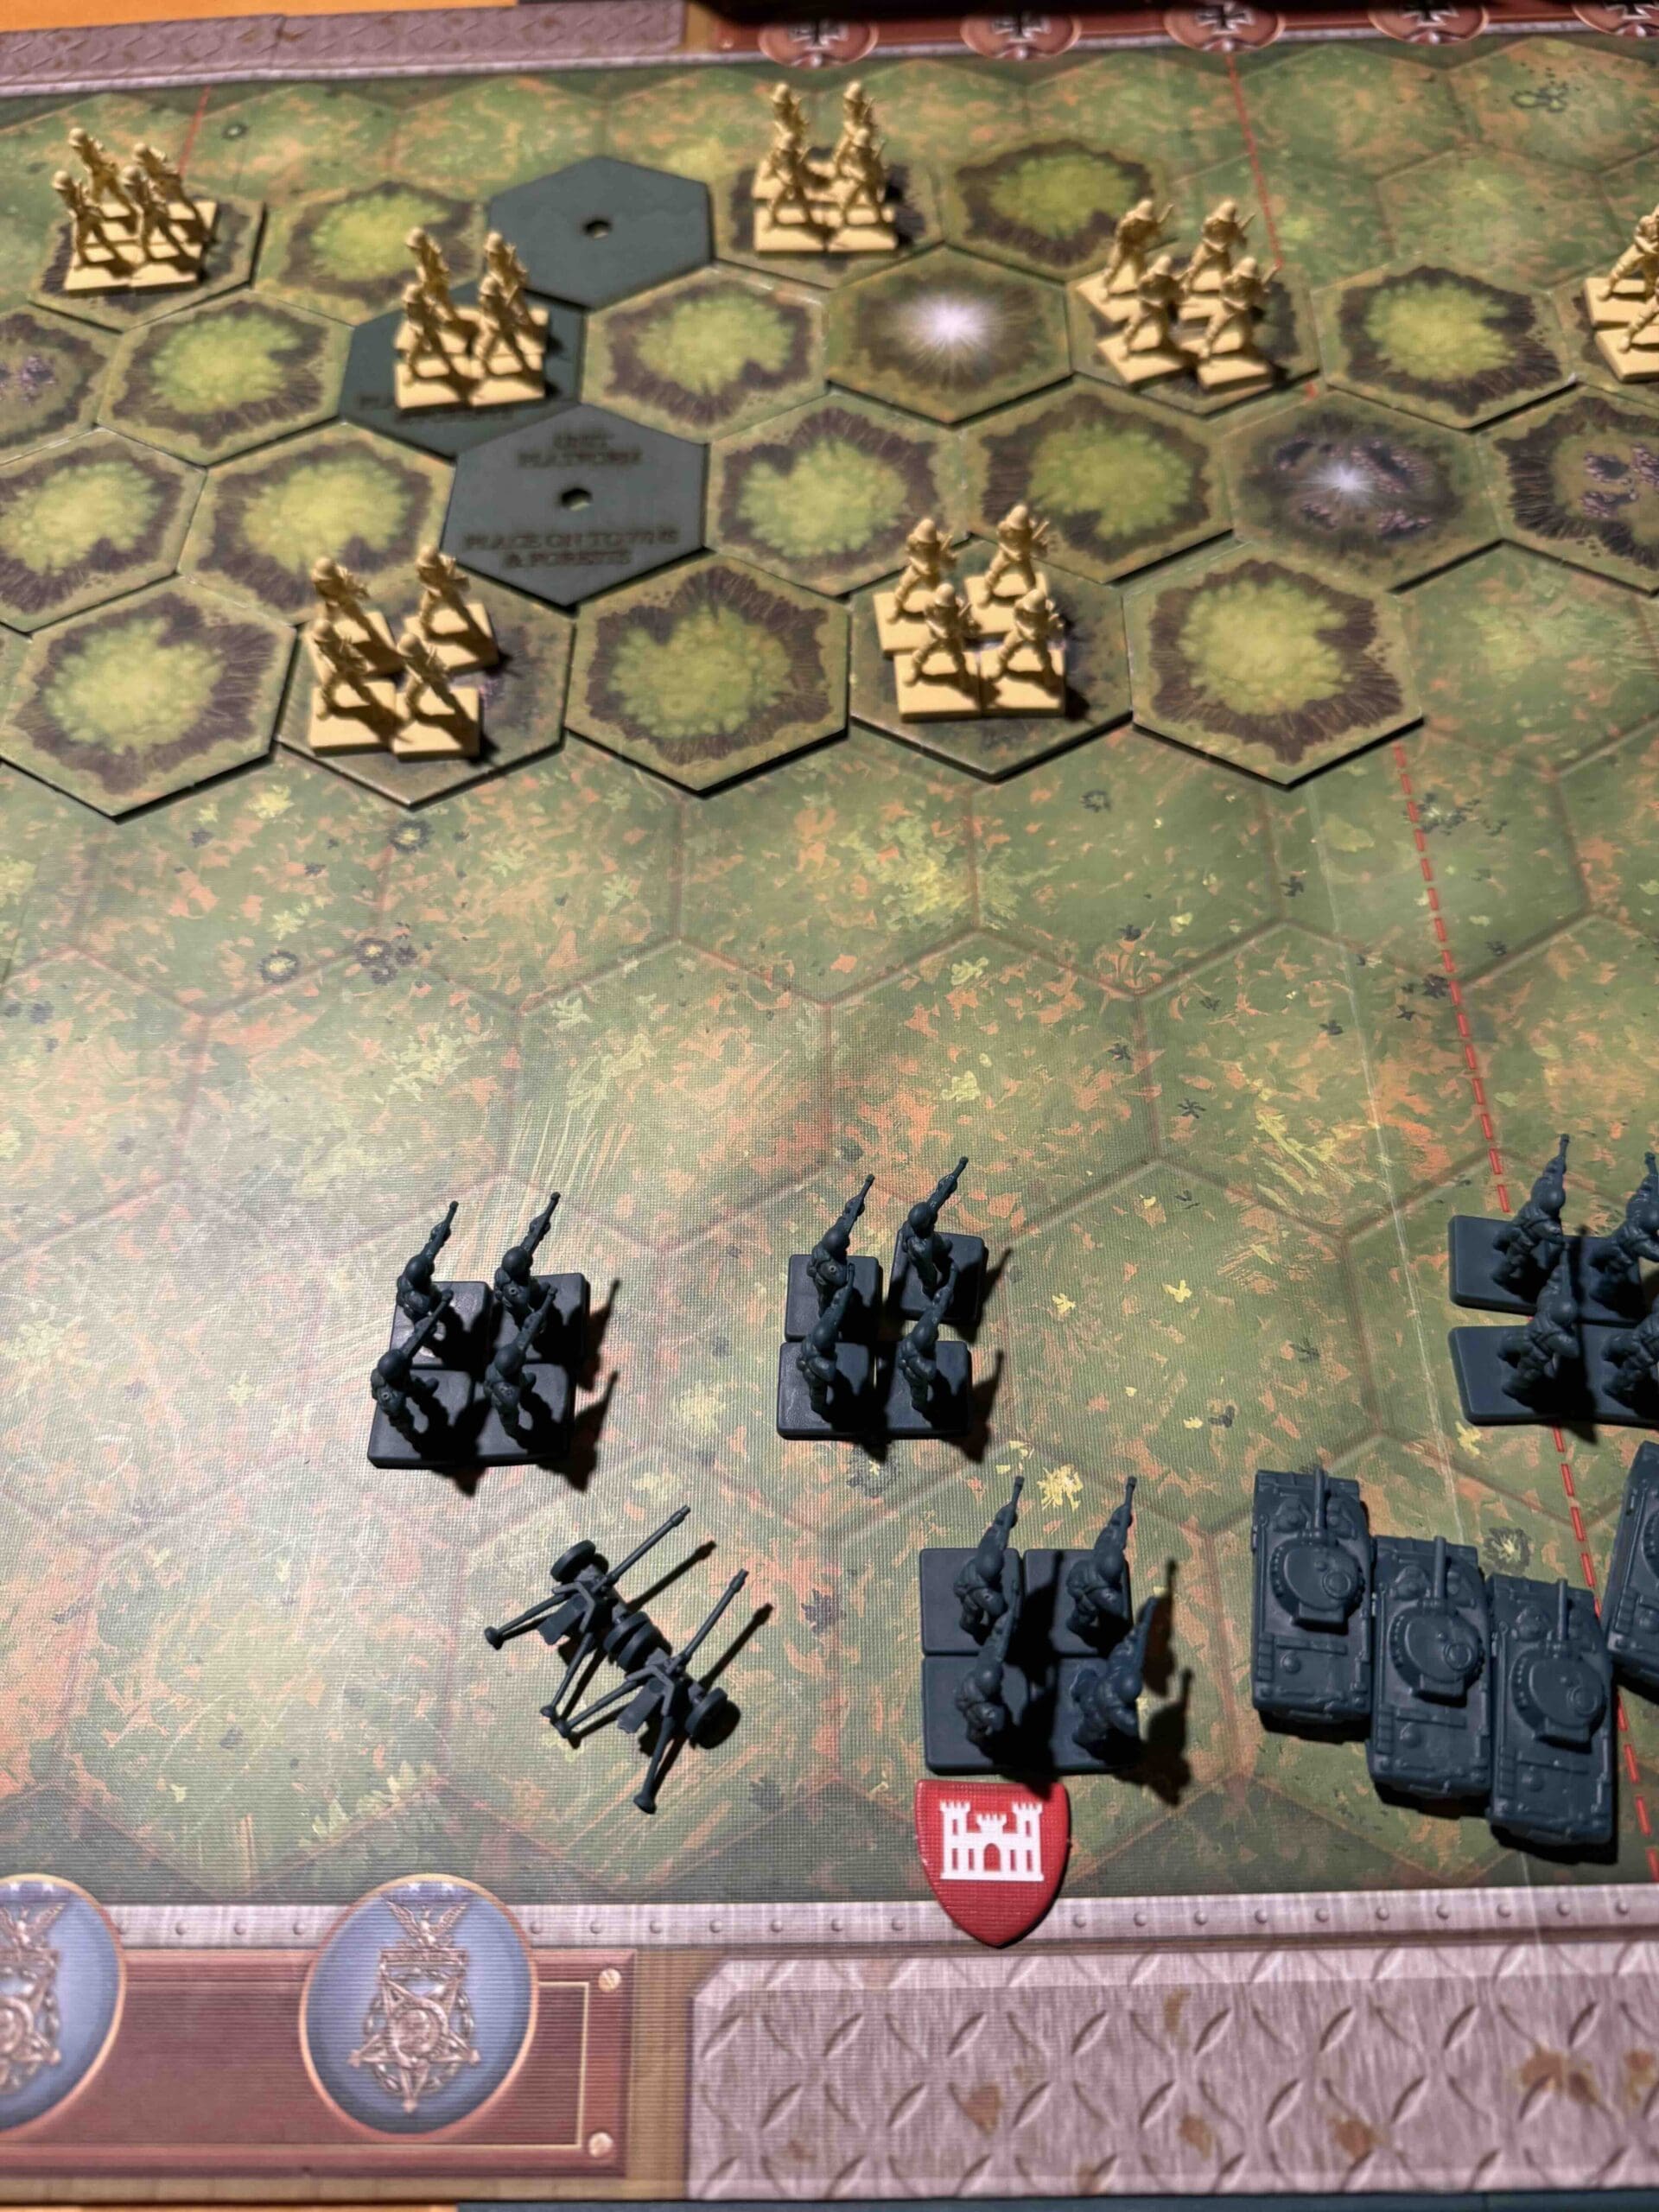
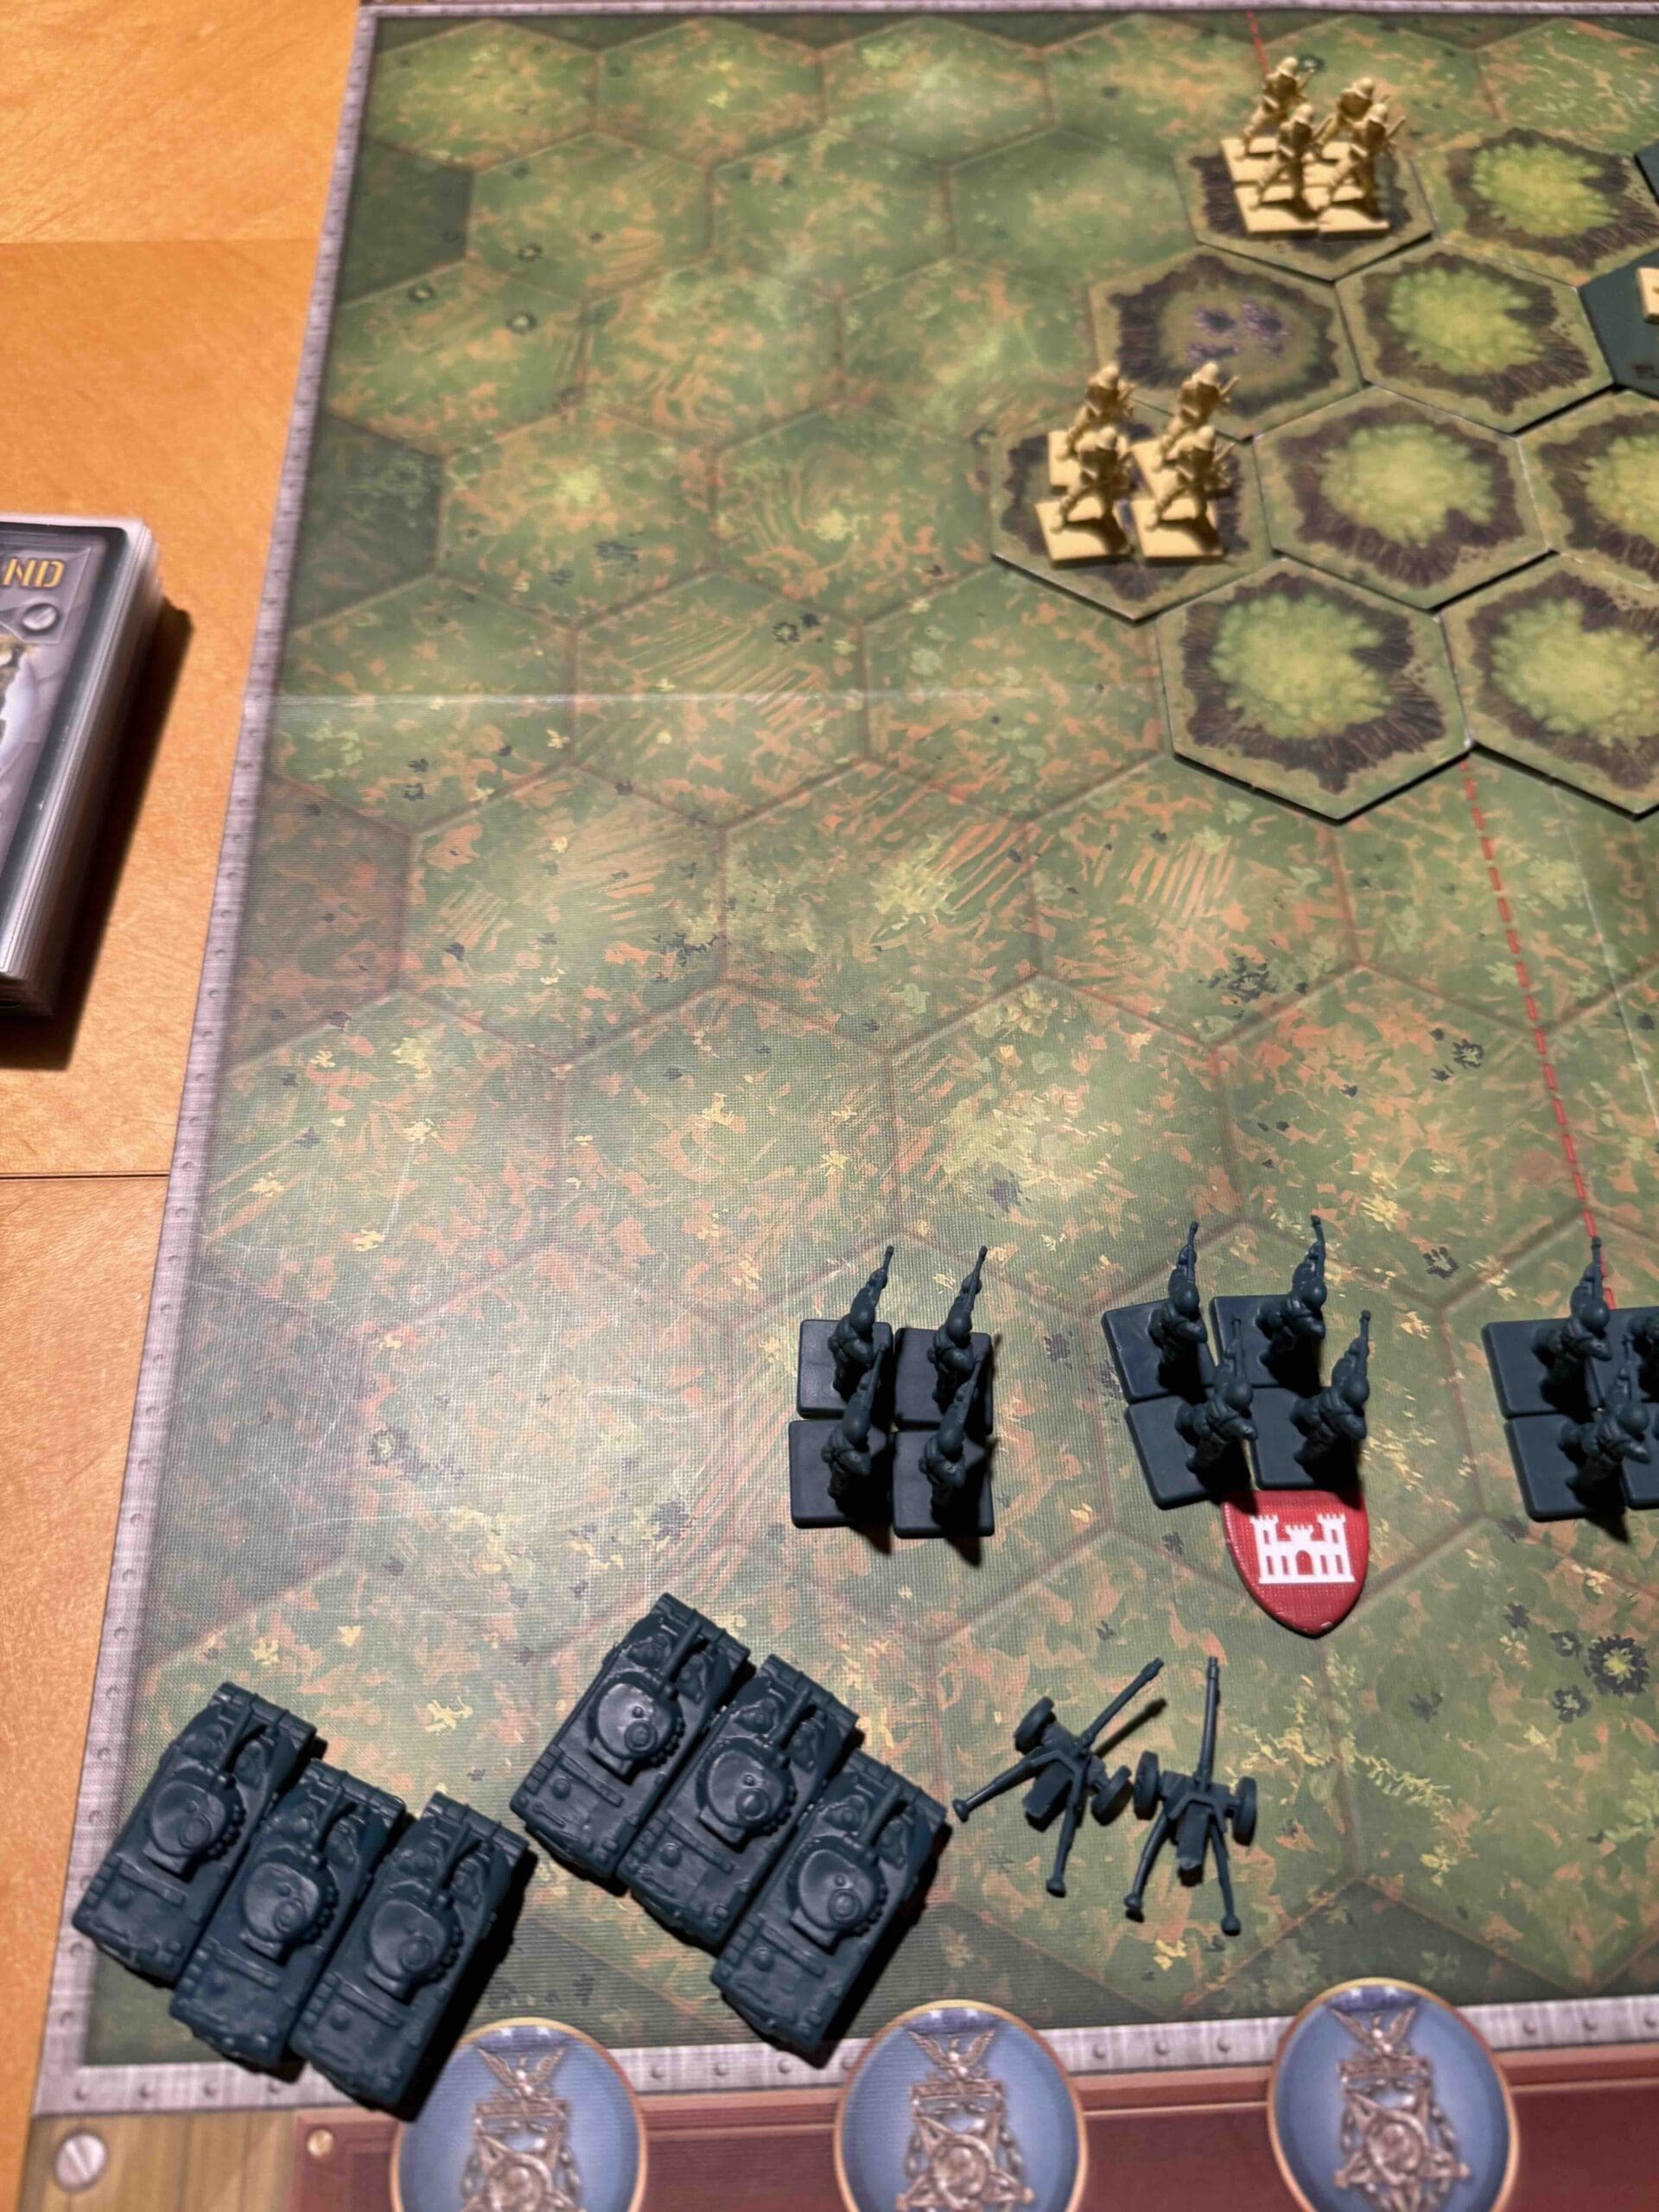
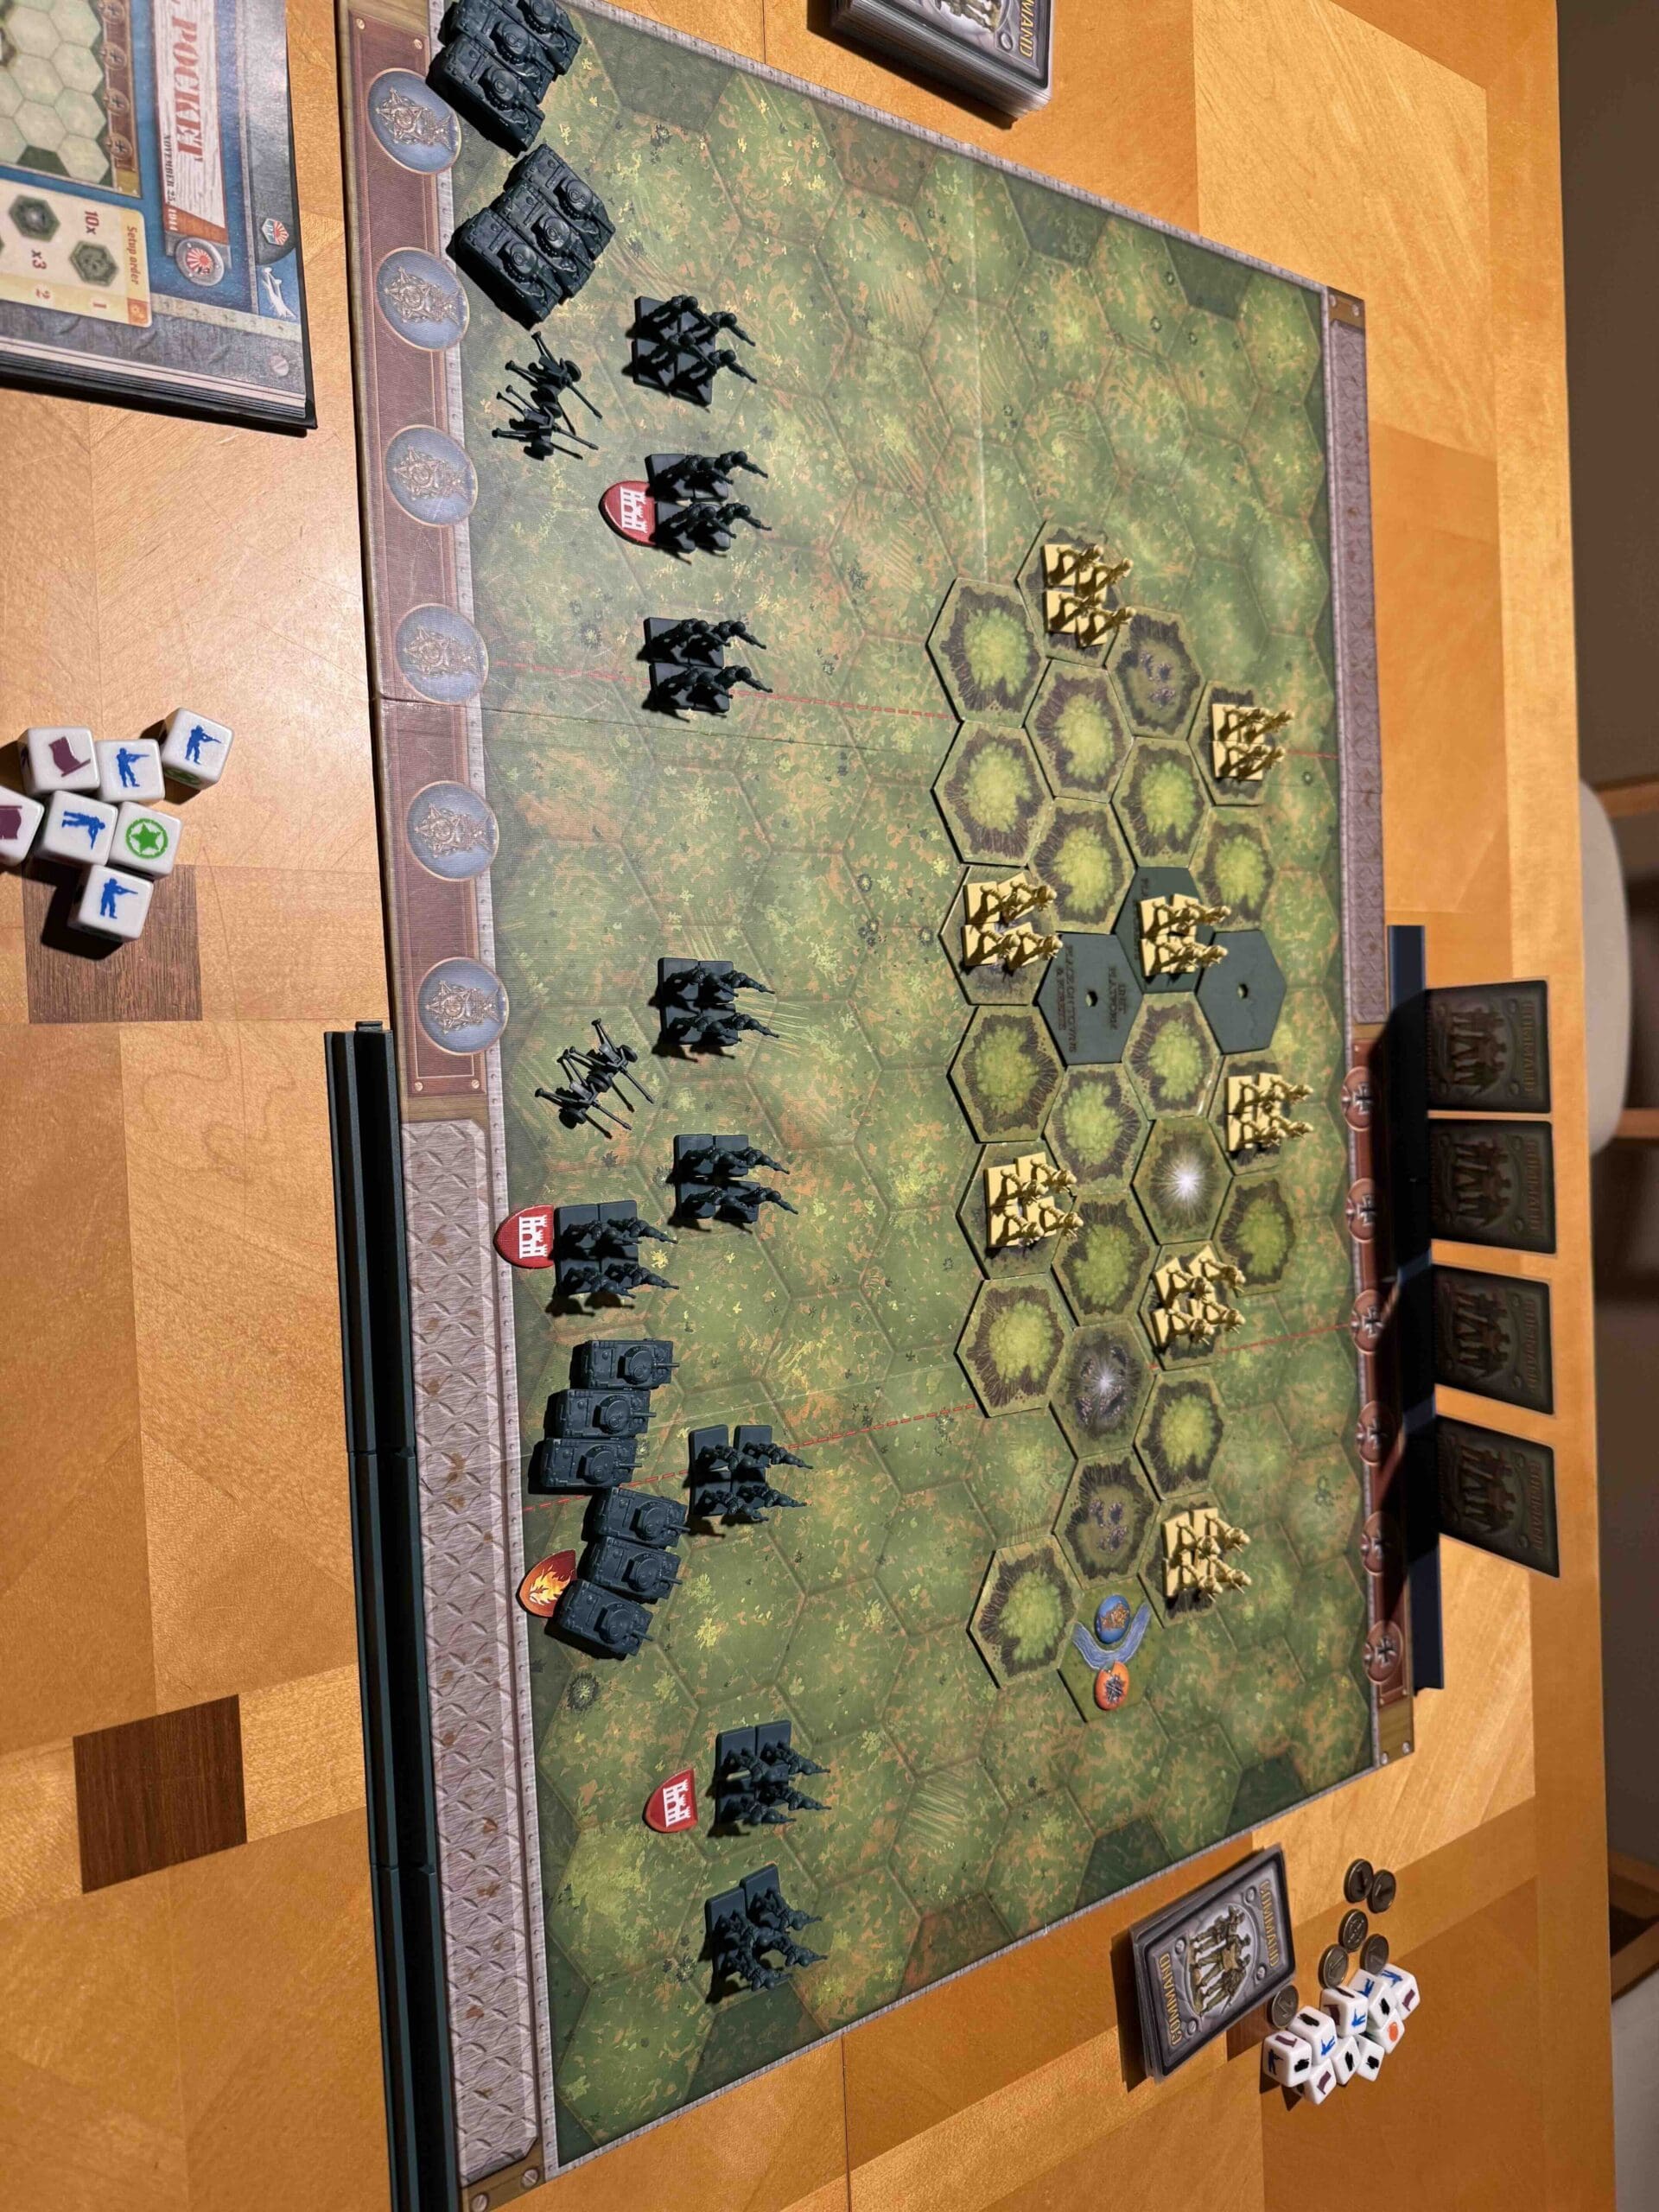
Troops:
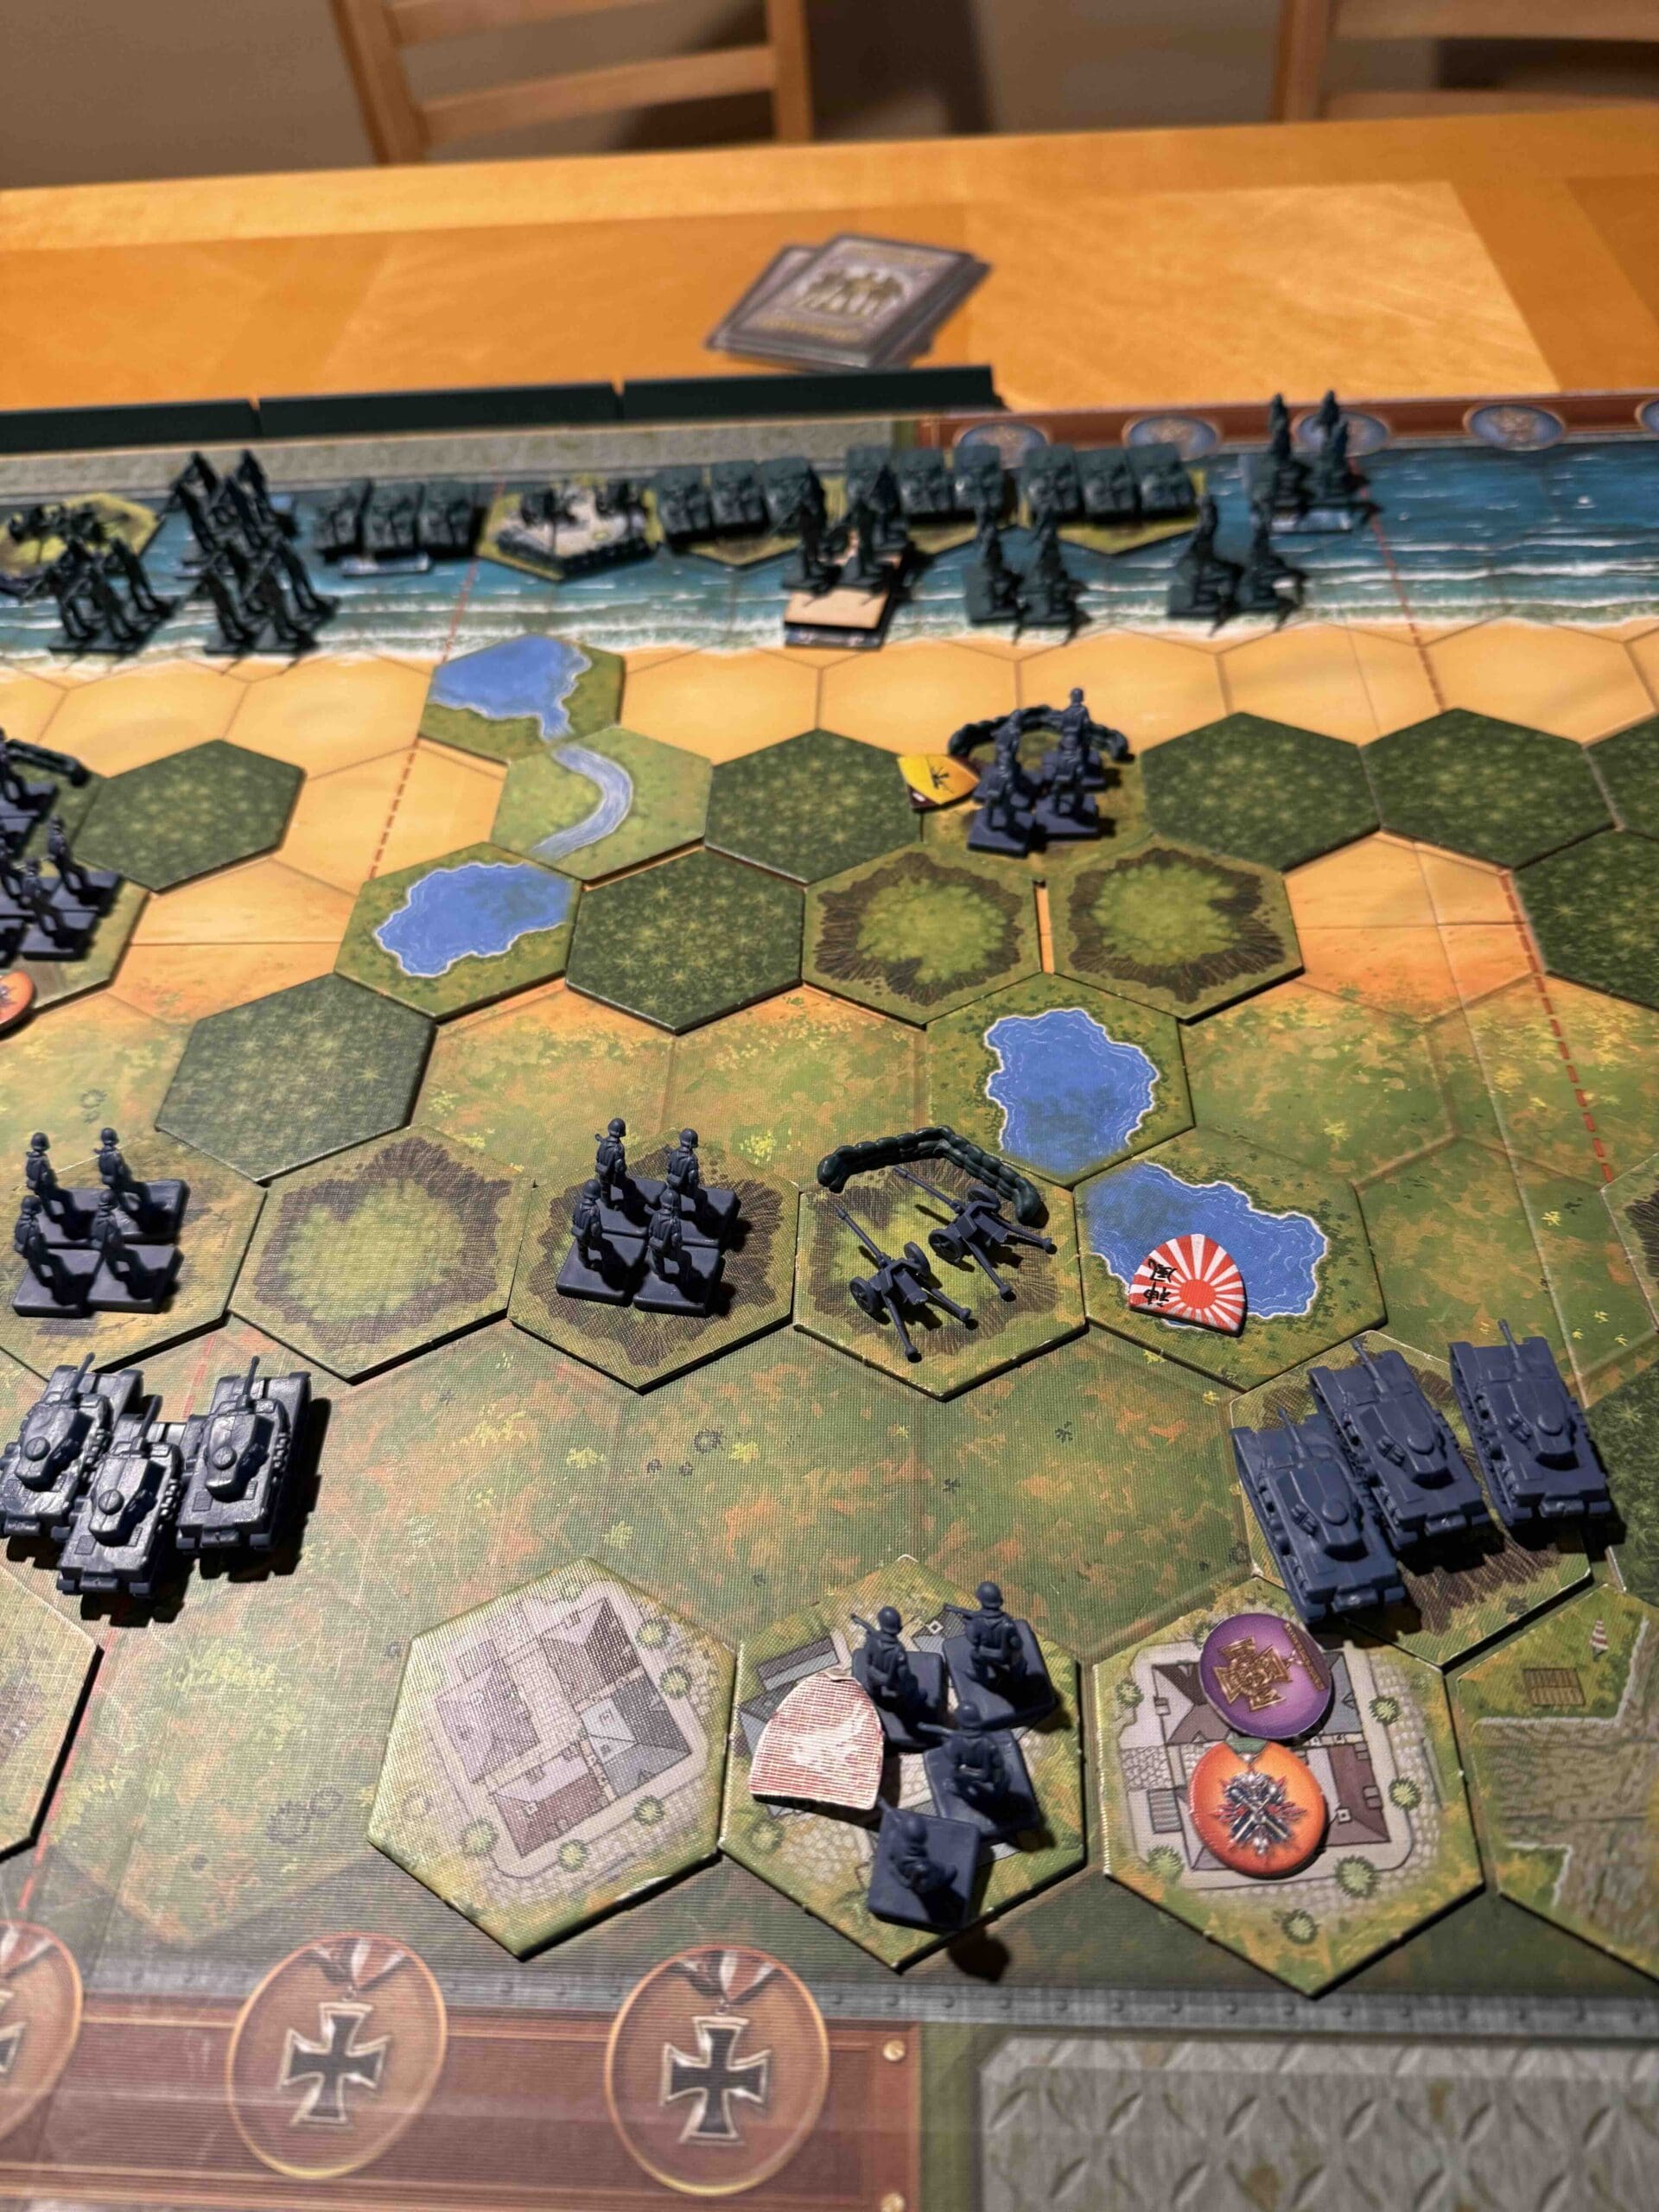
Allies – 9 Infantry, 4 Armor
Axis – 8 Infantry, 2 Armor, 1 Artillery

Allied Strategy:
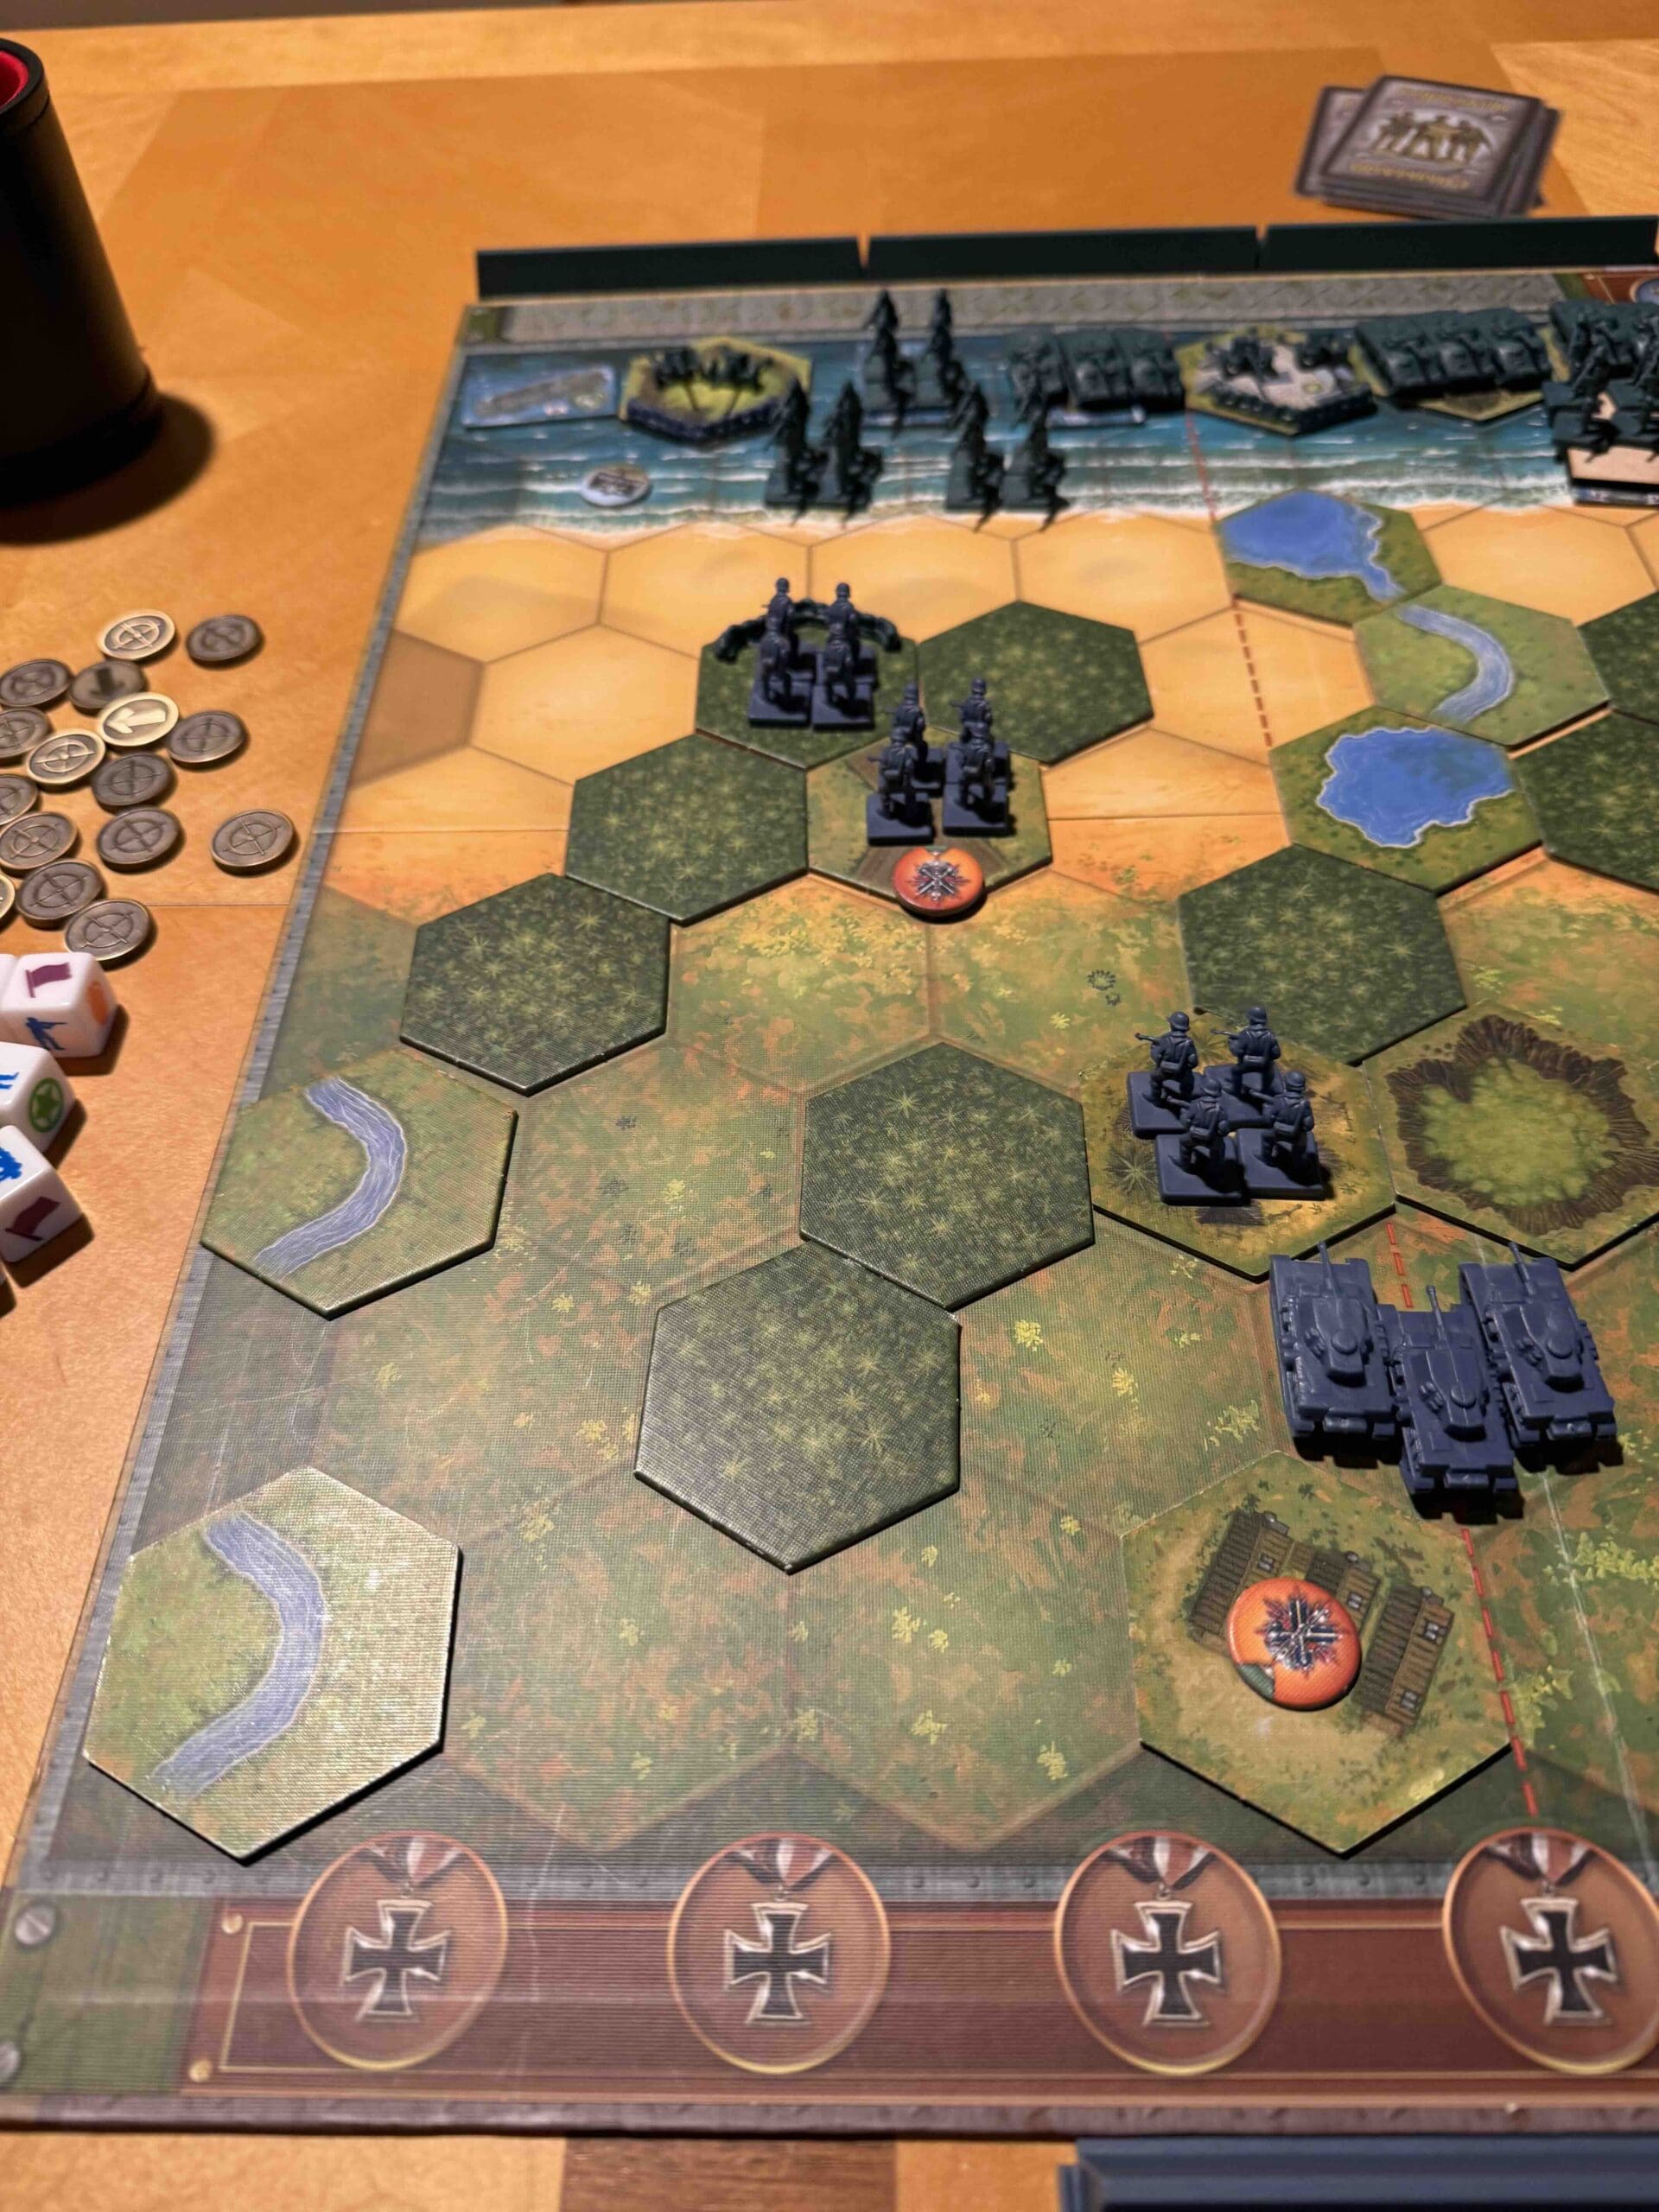
1. Big Picture Strategy: You need to move fast during the cover of night. Every turn there is a possibility of getting a star which will increase daylight and extend the range of the enemy artillery.
2. You have four special forces units which can very quickly move in range to attack.
3. There are two objective medals in the right flank. You can keep pushing your forces in that direction as you have opportunity.

Axis Strategy
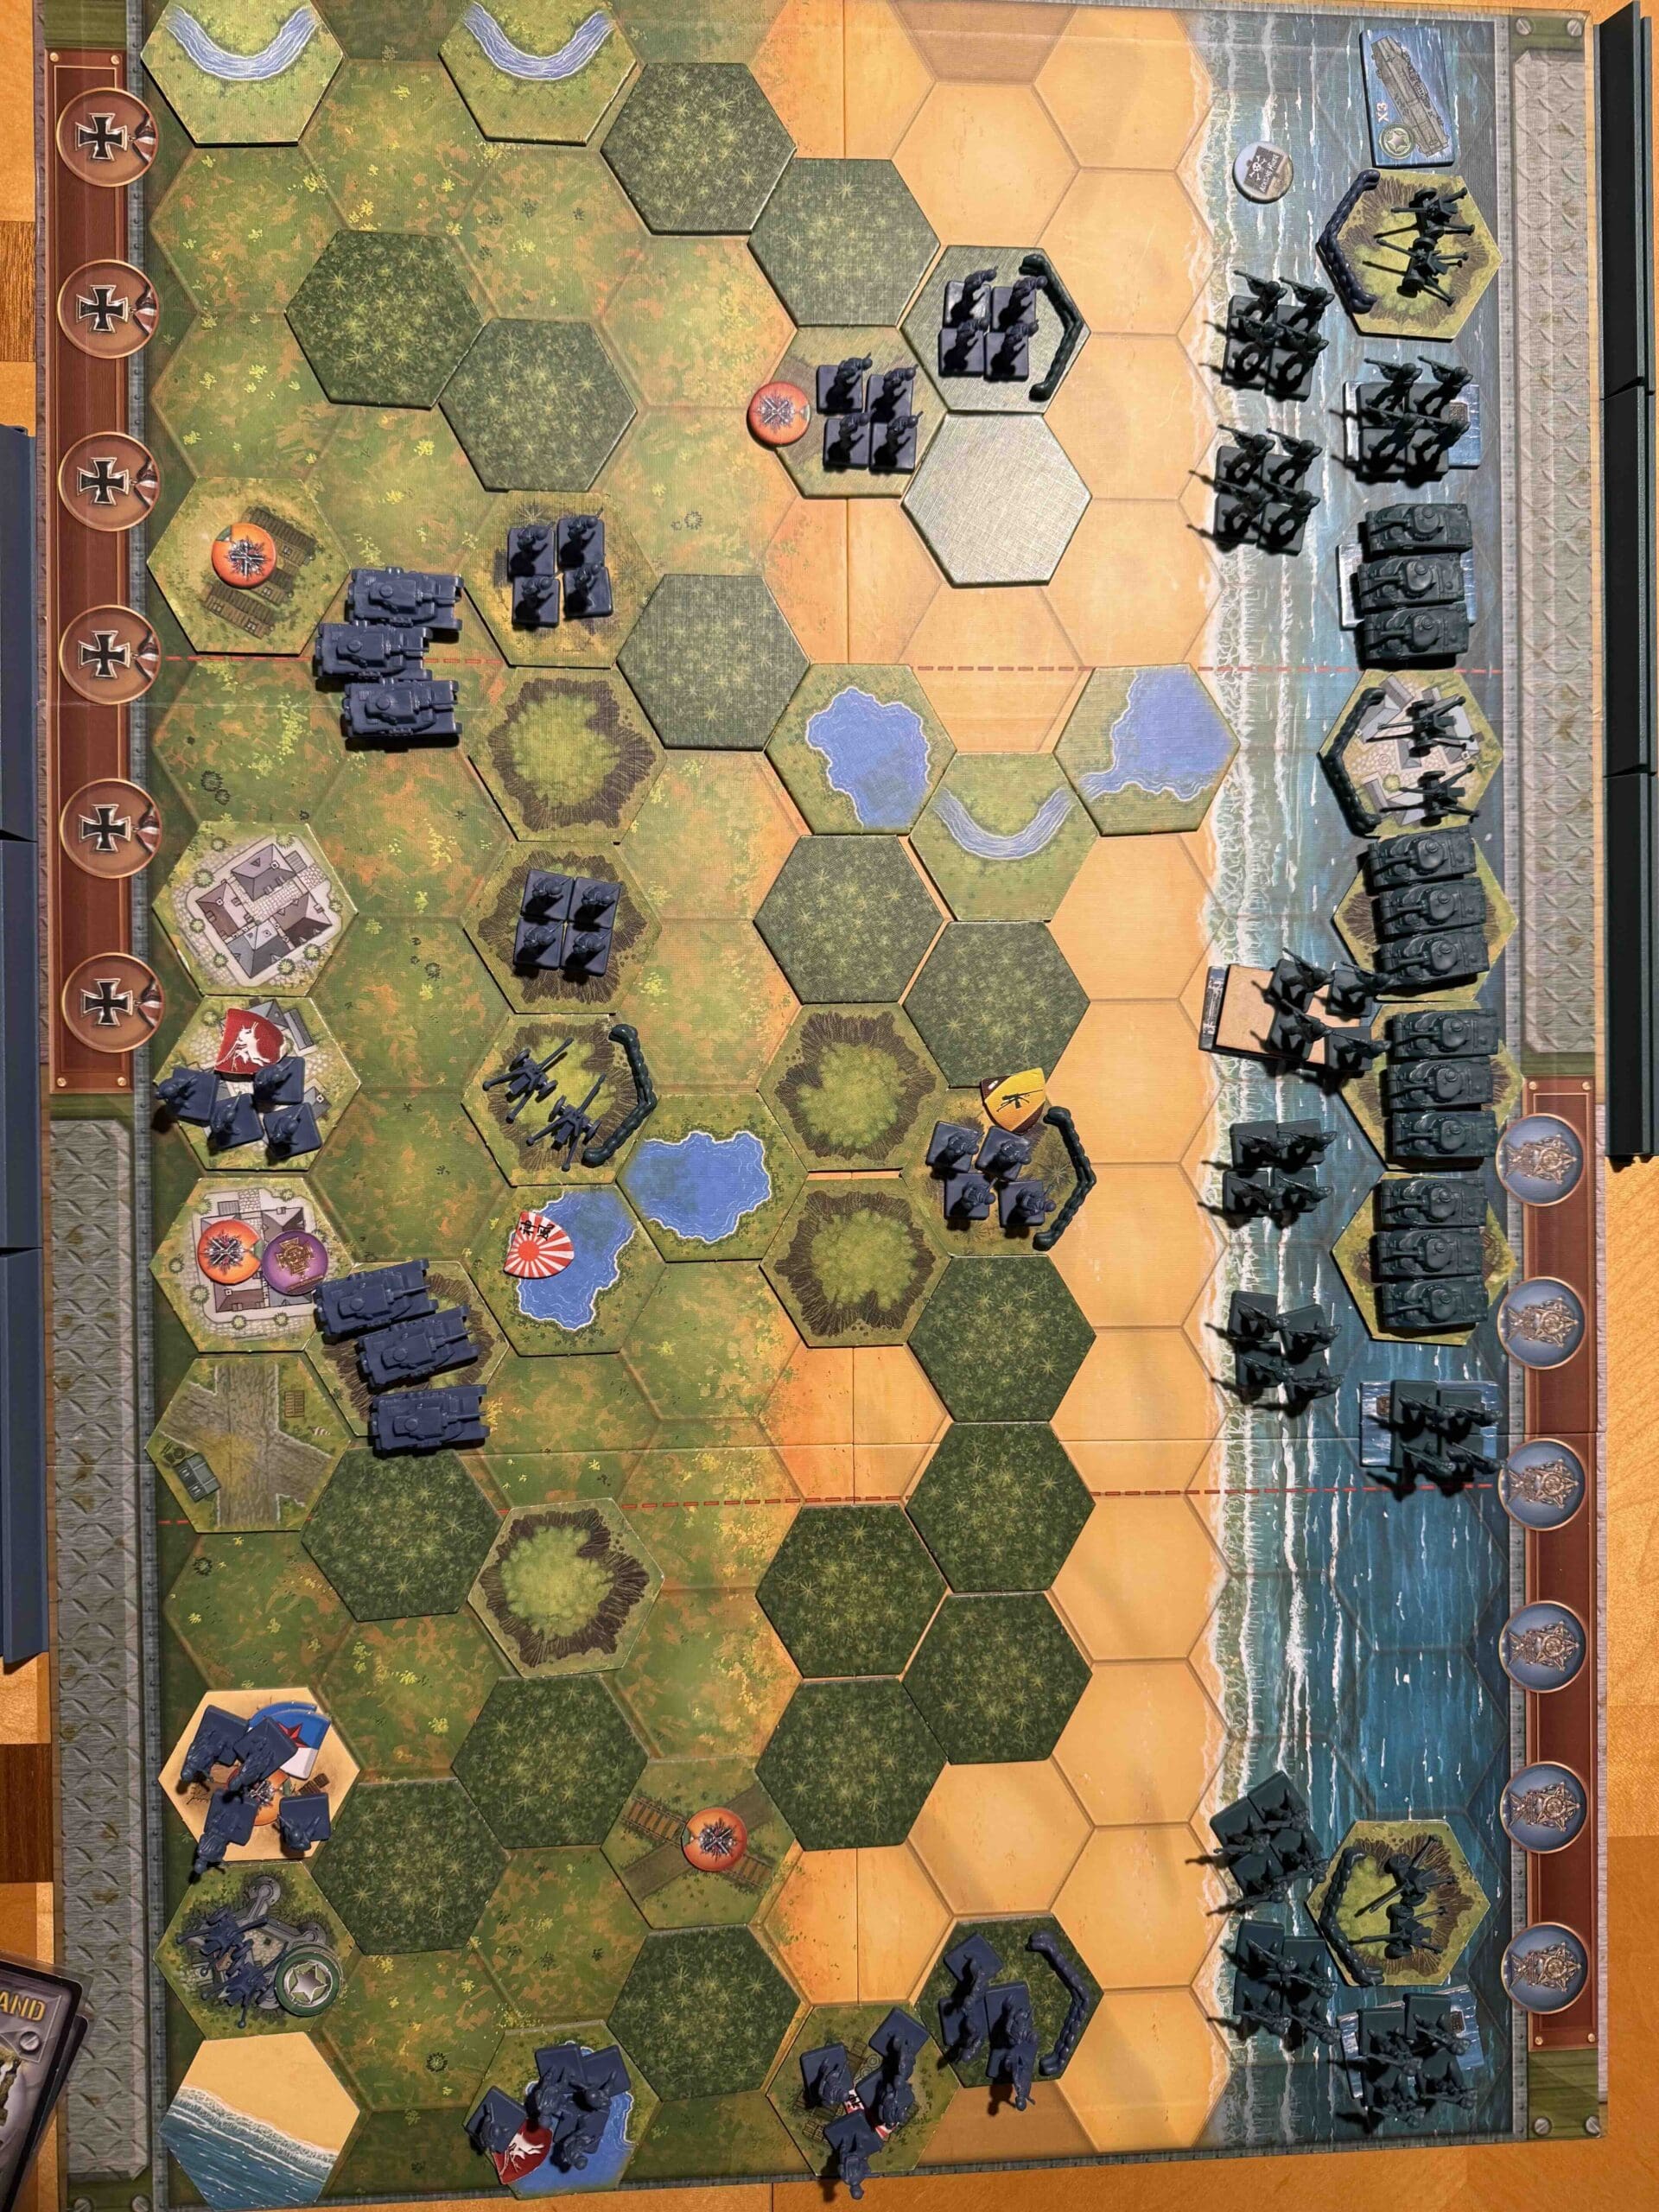
1. Big picture strategy; you will do well to delay and allow the presence of daylight to assist your defensive forces with your artillery. Do not rush out to attack. Allow several turns to take place so that you get more daylight and thus more range for your artillery.
2. Wittmann’s battalion is the four-tank unit with the special medal. It can ignore the first retreat flag, which can assist you in close quarters battles with enemy armor.
Battle Reports
Author:
Days of Wonder
Resource:
BGA