Clervaux – The Road to Bastogne
Clervaux - The Road to Bastogne

Clervaux Axis Left
Clervaux Axis Center
Clervaux Axis Right
Clervaux Allies Right

Clervaux Allies Center
Clervaux Allies Left
Memoir 44 Clervaux
December 16-17th, 1944:
Clervaux was the first hard punch the Germans threw on their dash toward Bastogne during the opening of the Battle of the Bulge, and our boys met it head-on.
At Clervaux, the men of the 110th Infantry Regiment were badly outnumbered and staring down German armor—but they didn’t blink. They fought from roadblocks, stone buildings, and that old castle like seasoned professionals, squeezing every minute they could out of the enemy. They knew the mission wasn’t to win ground; it was to bleed time.
Clervaux fell, but it fell hard—and that delay threw sand in the German gears. Those precious hours helped seal Bastogne’s defenses and turned a German gamble into a fight they couldn’t win. That’s how wars are won: not by retreating fast, but by making the enemy pay for every damned mile.
~~ General Howitzer
VP’s: 8
Card Balance:
Allies – 5
Axis – 6
Complexity:
3
Conditions:
Winter

Location:
Belgium
Year:
1944
Theater:
Western
Campaign:
Battle of the Bulge
German Name:
Unternehmen Wacht Am Rhein
Summary:
This is a fun and exciting scenario as the Americans attempt to hold off a German onslaught of tanks and infantry in the Battle of the Bulge.
Objectives:
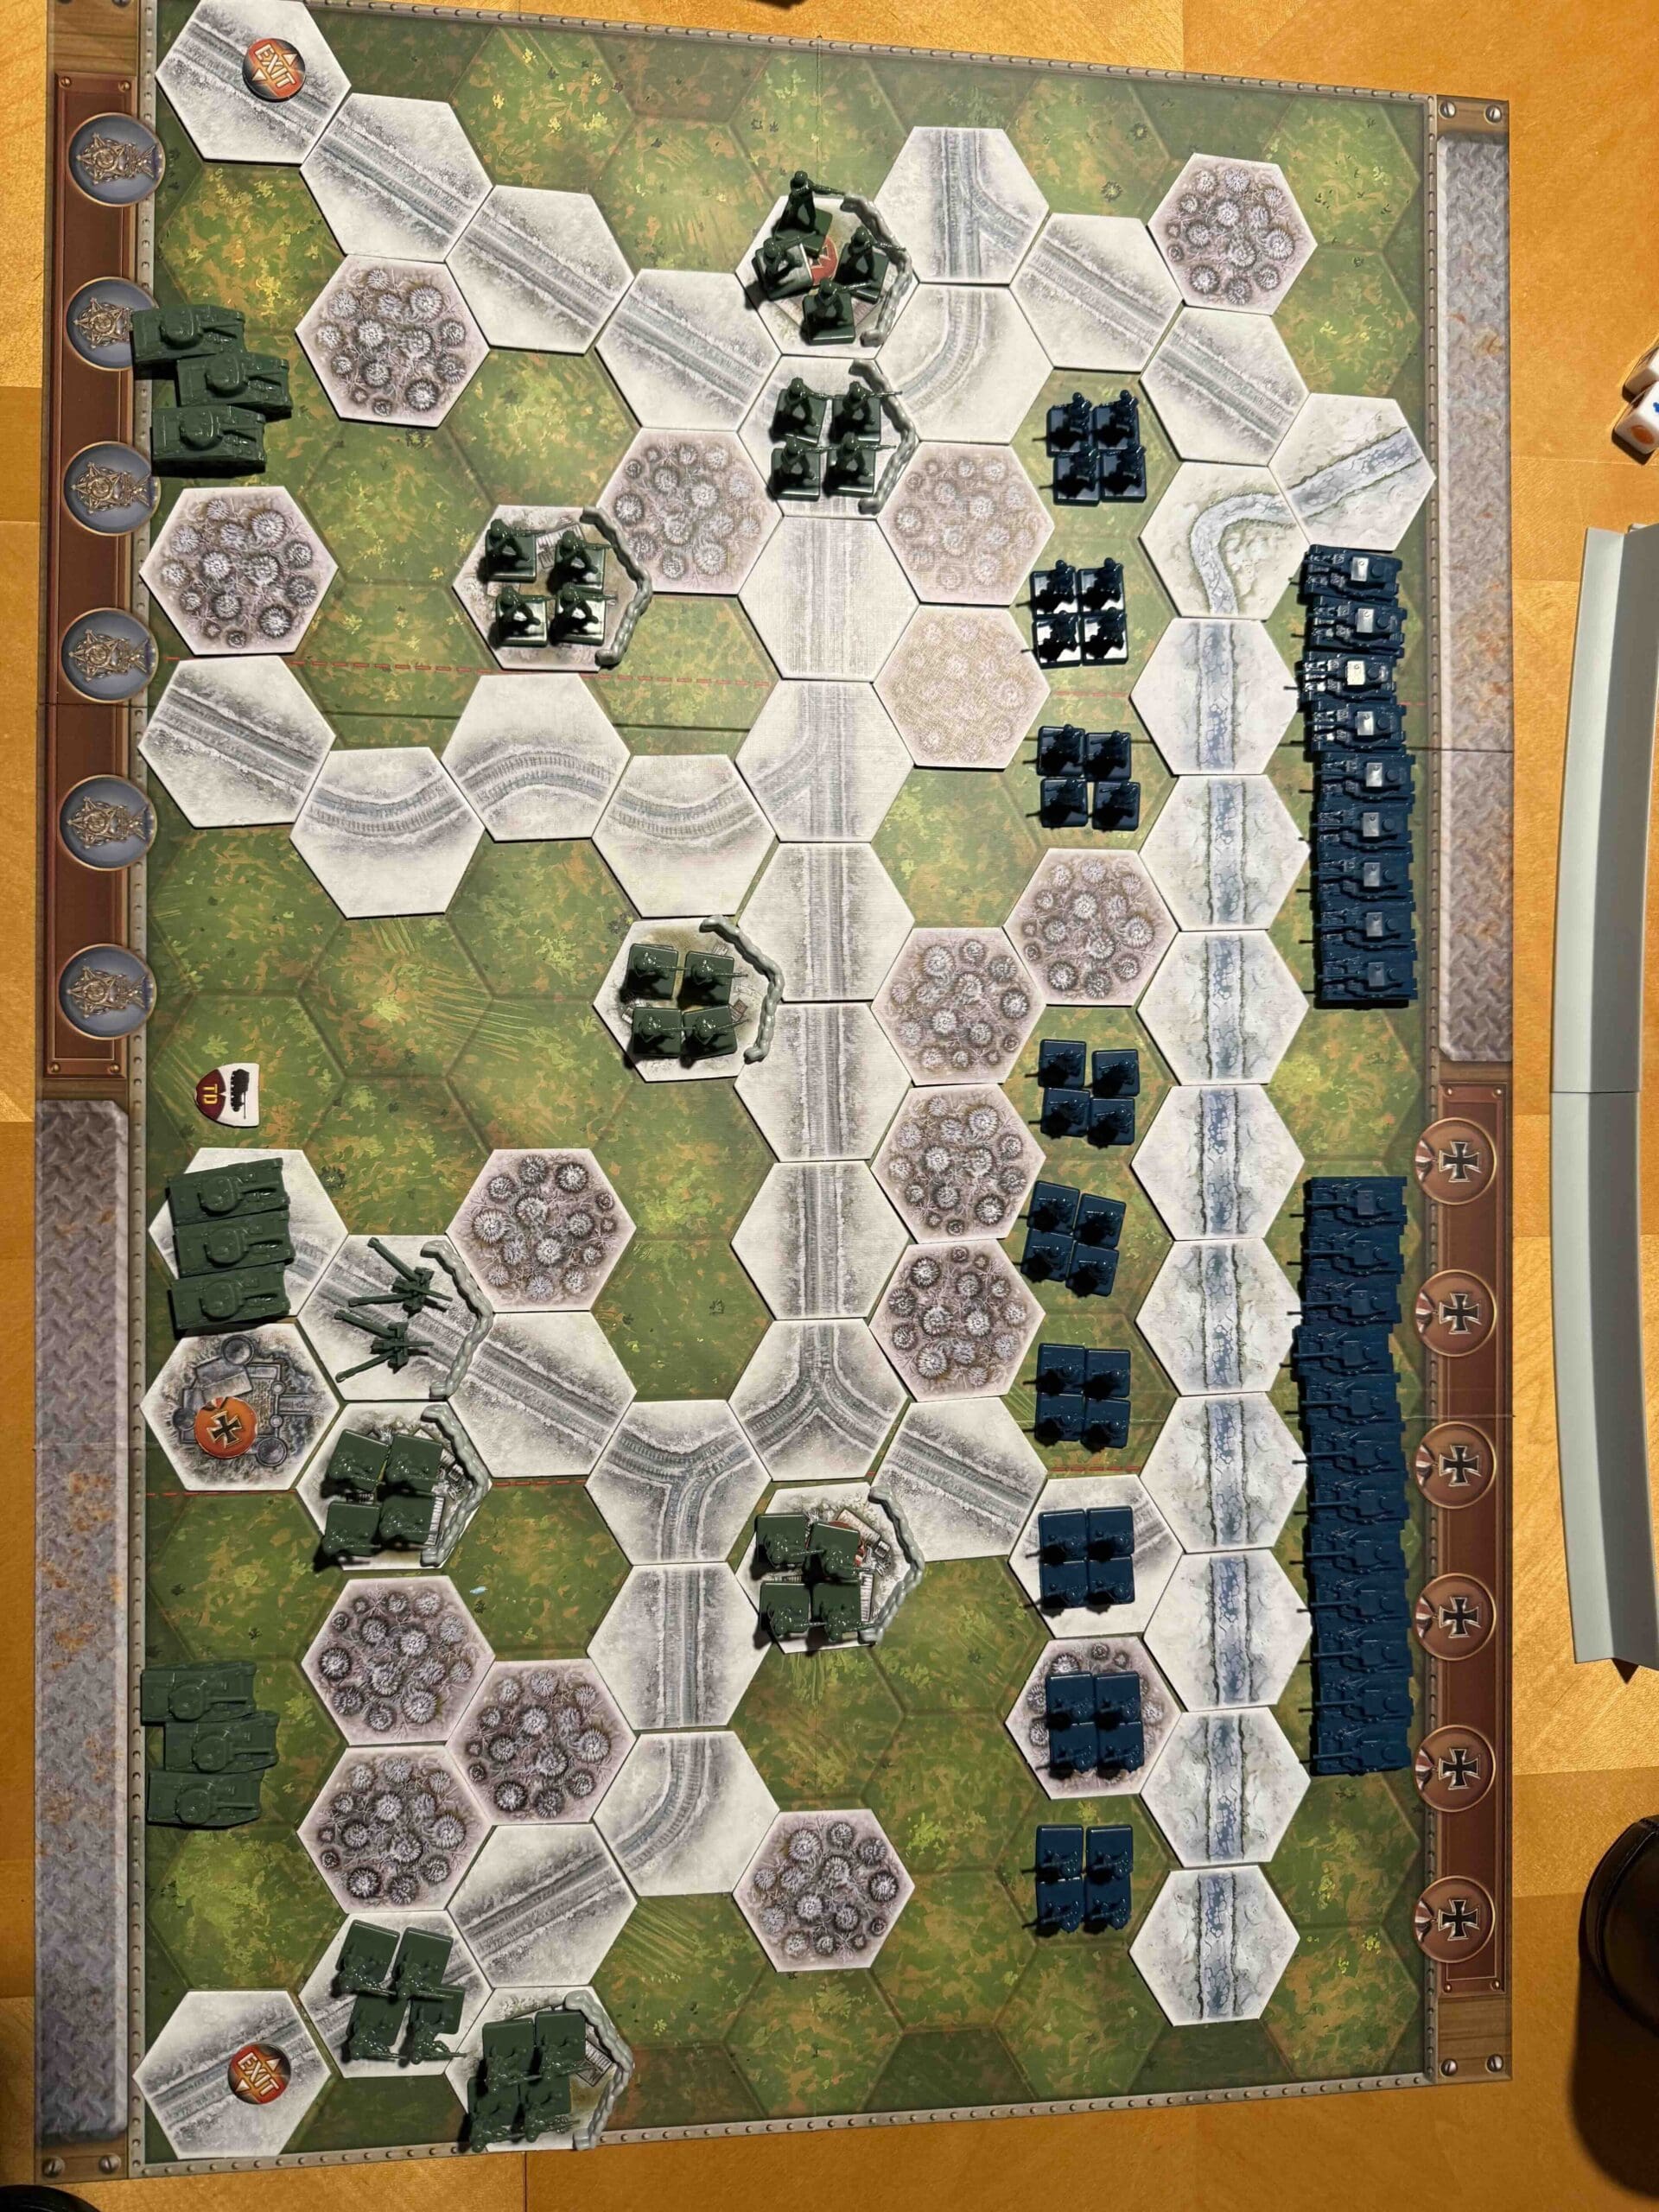
Eight Medals. There are also two Exit Medals for the Germans to breakthrough, and three Permanent Medal Objective (Turn Start), including the castle at Clervaux.
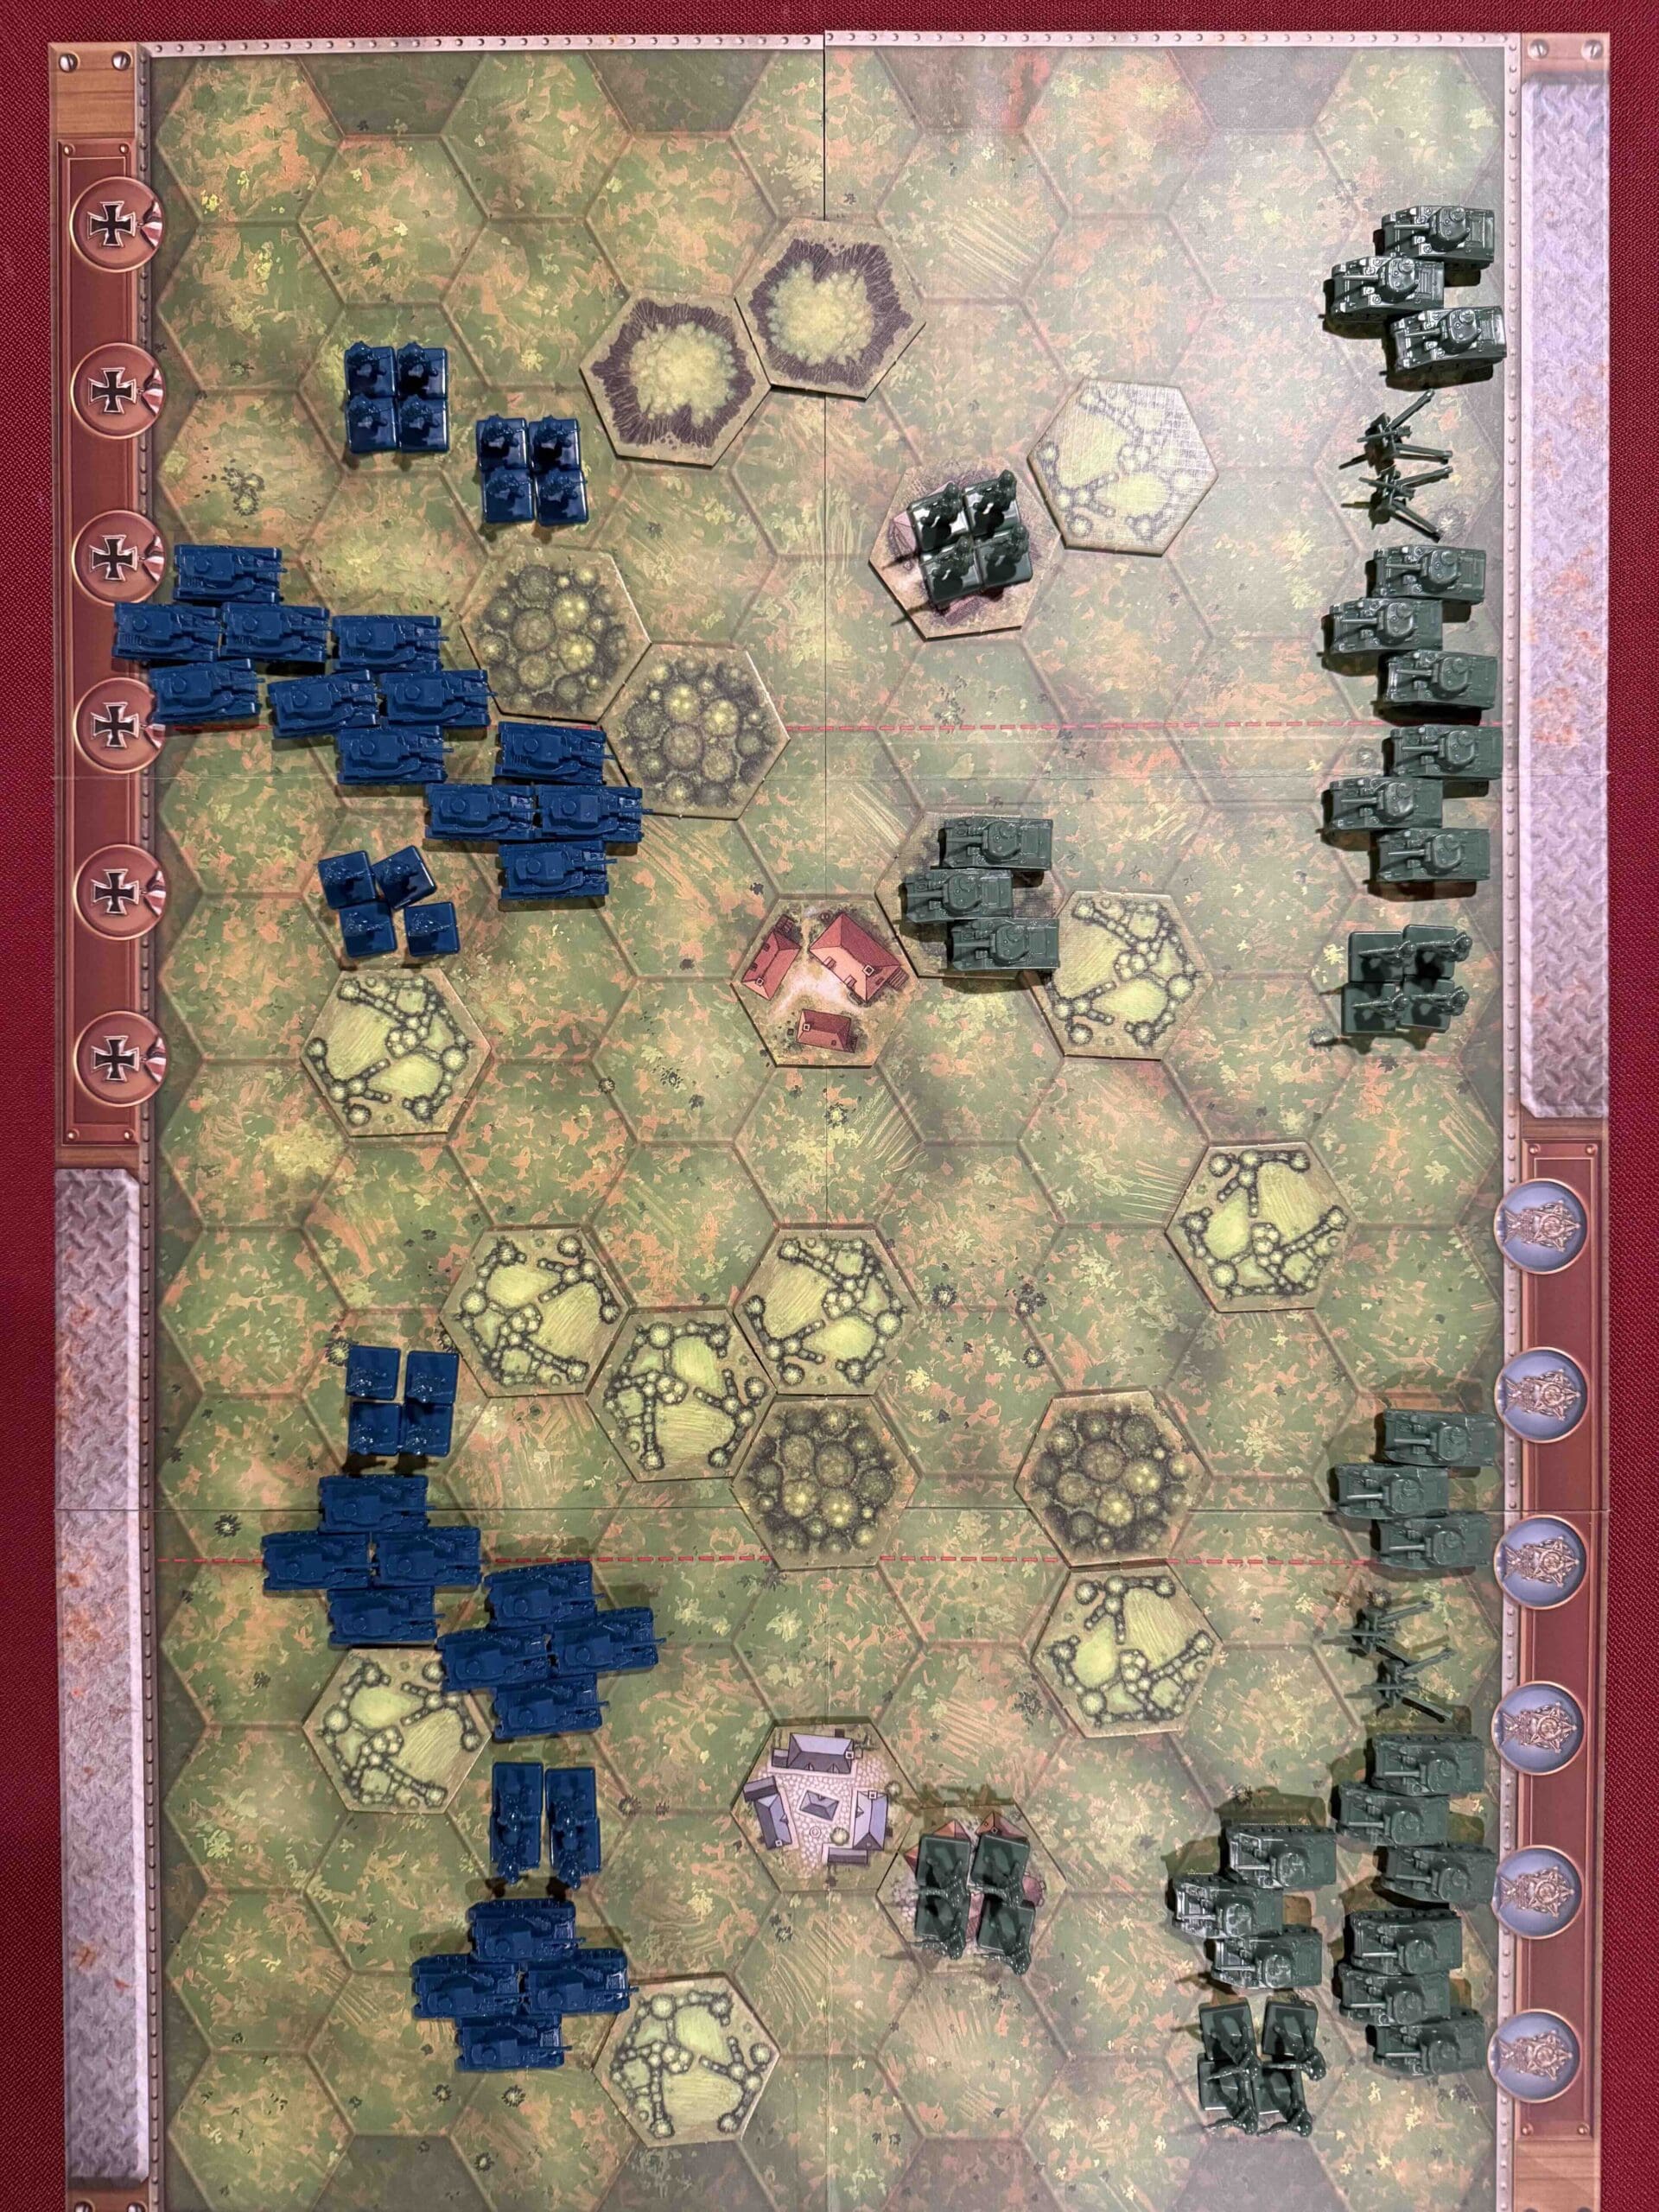
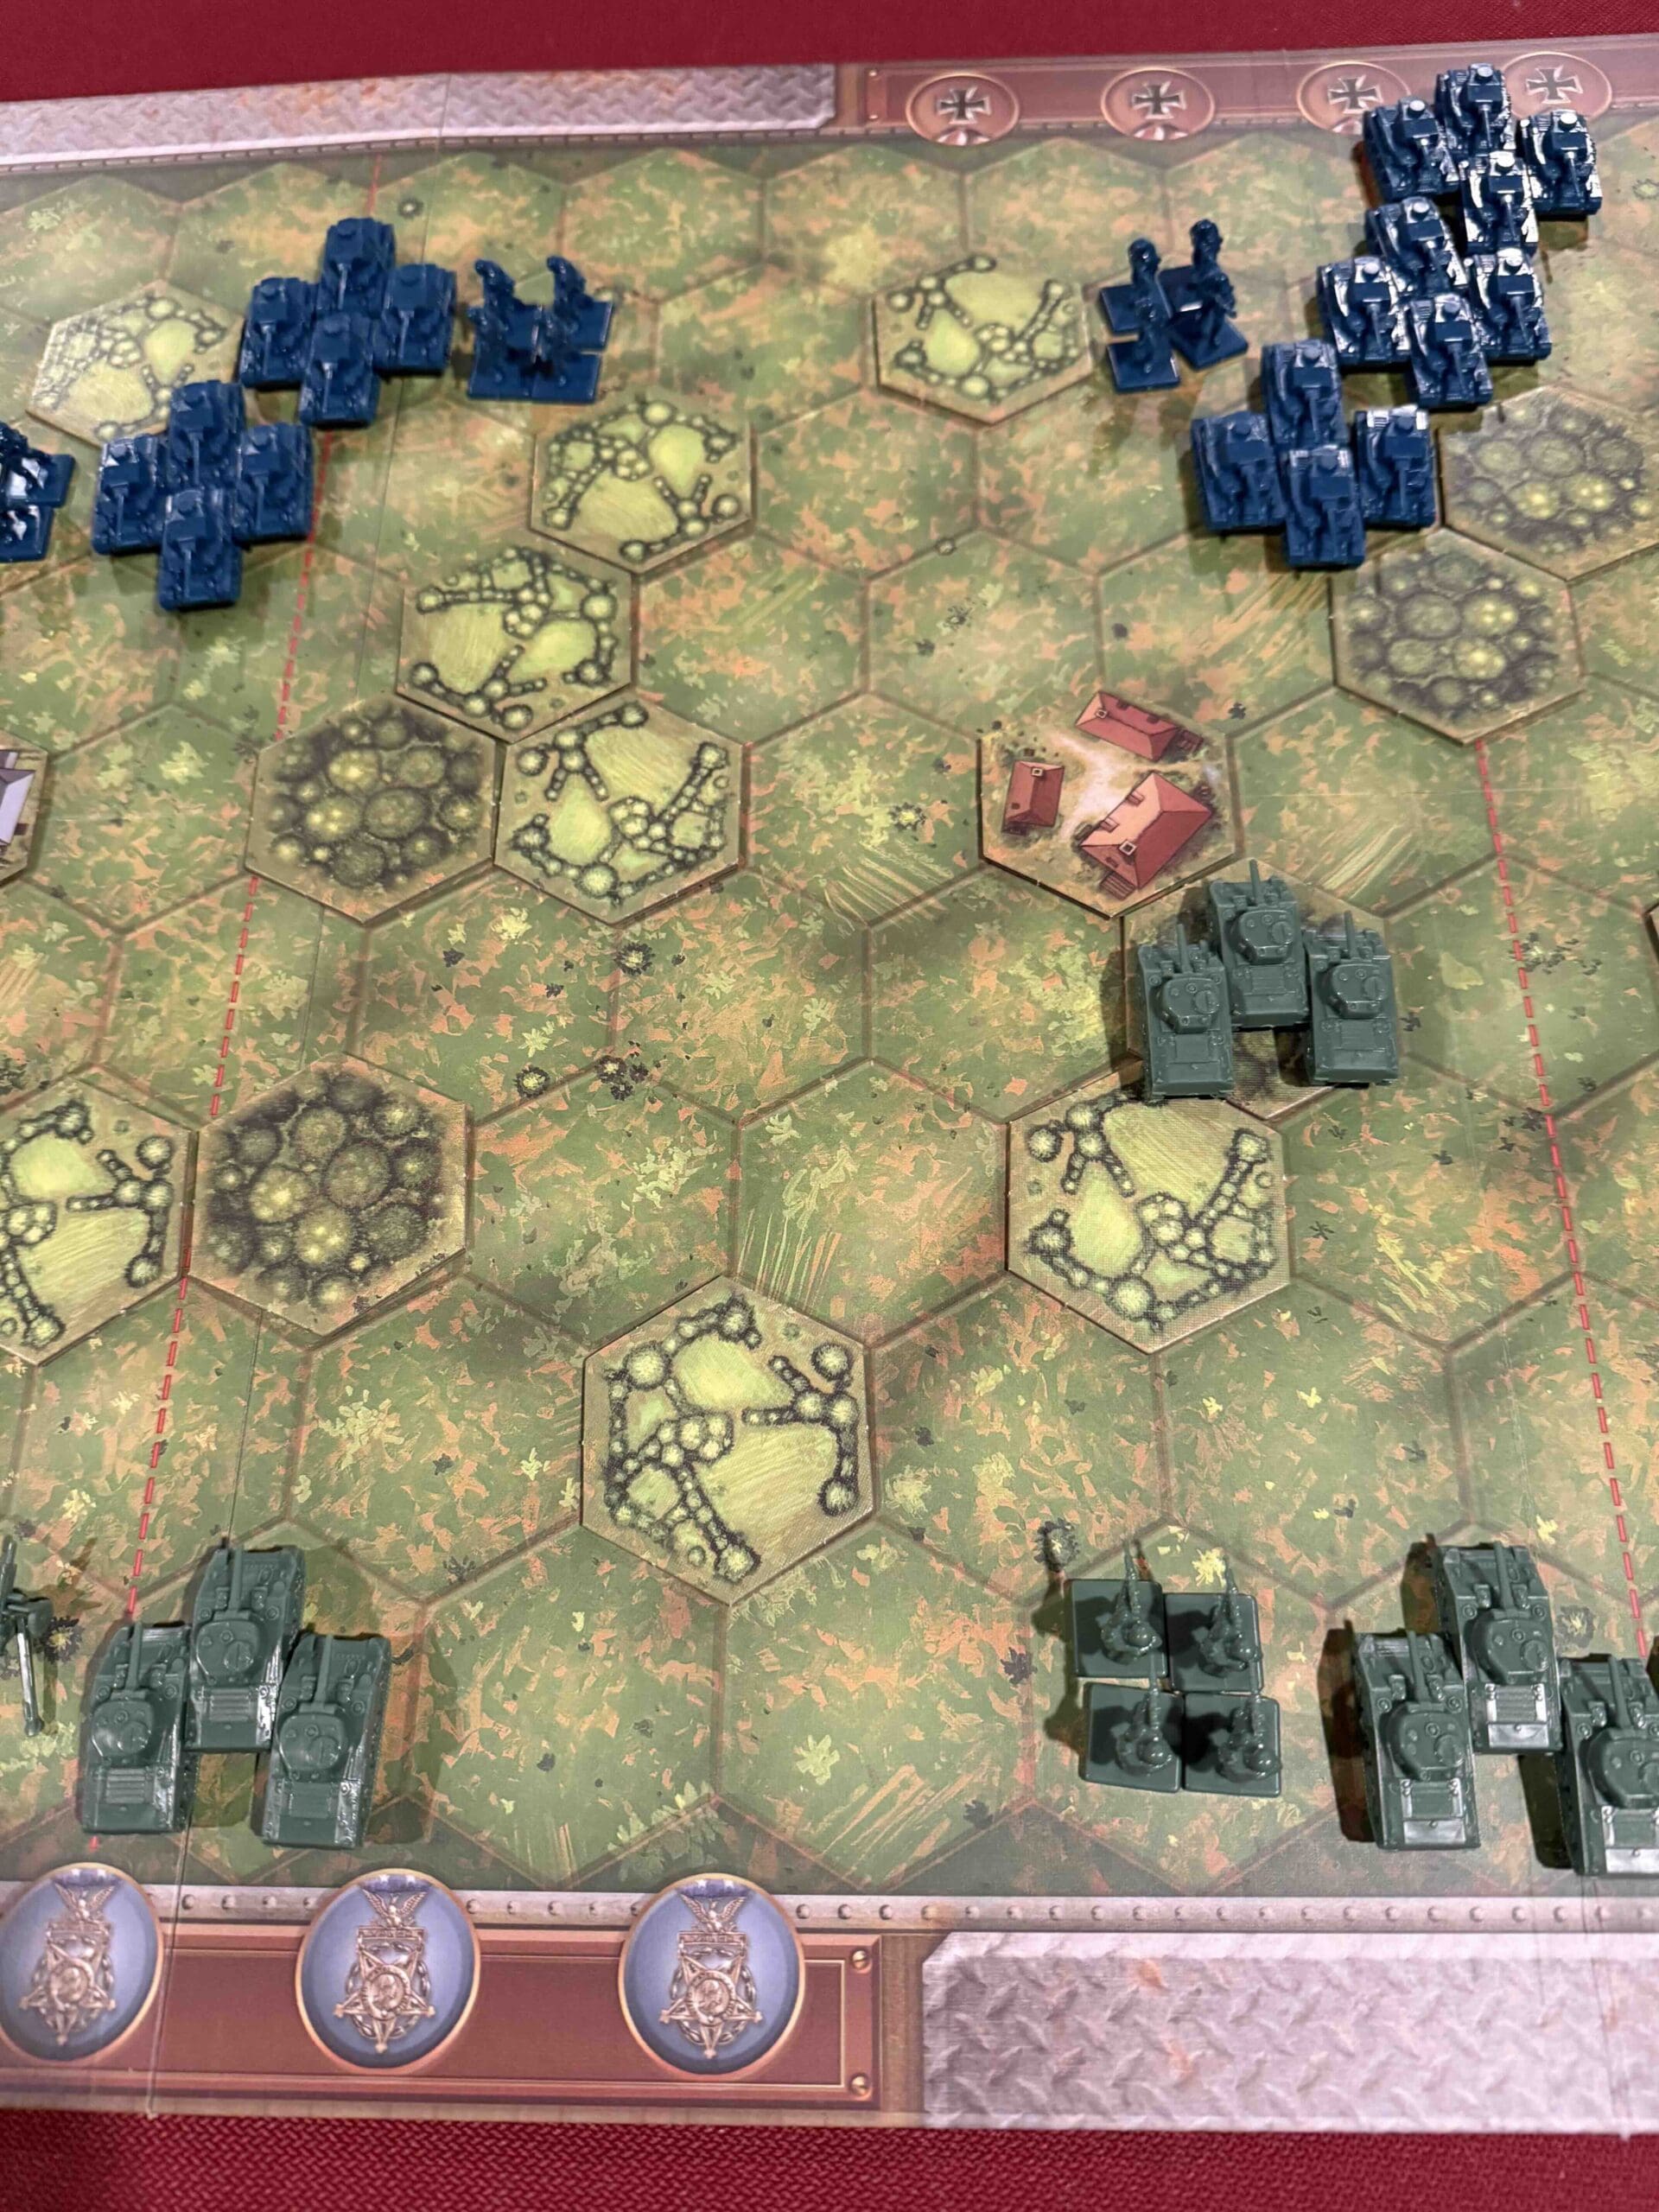
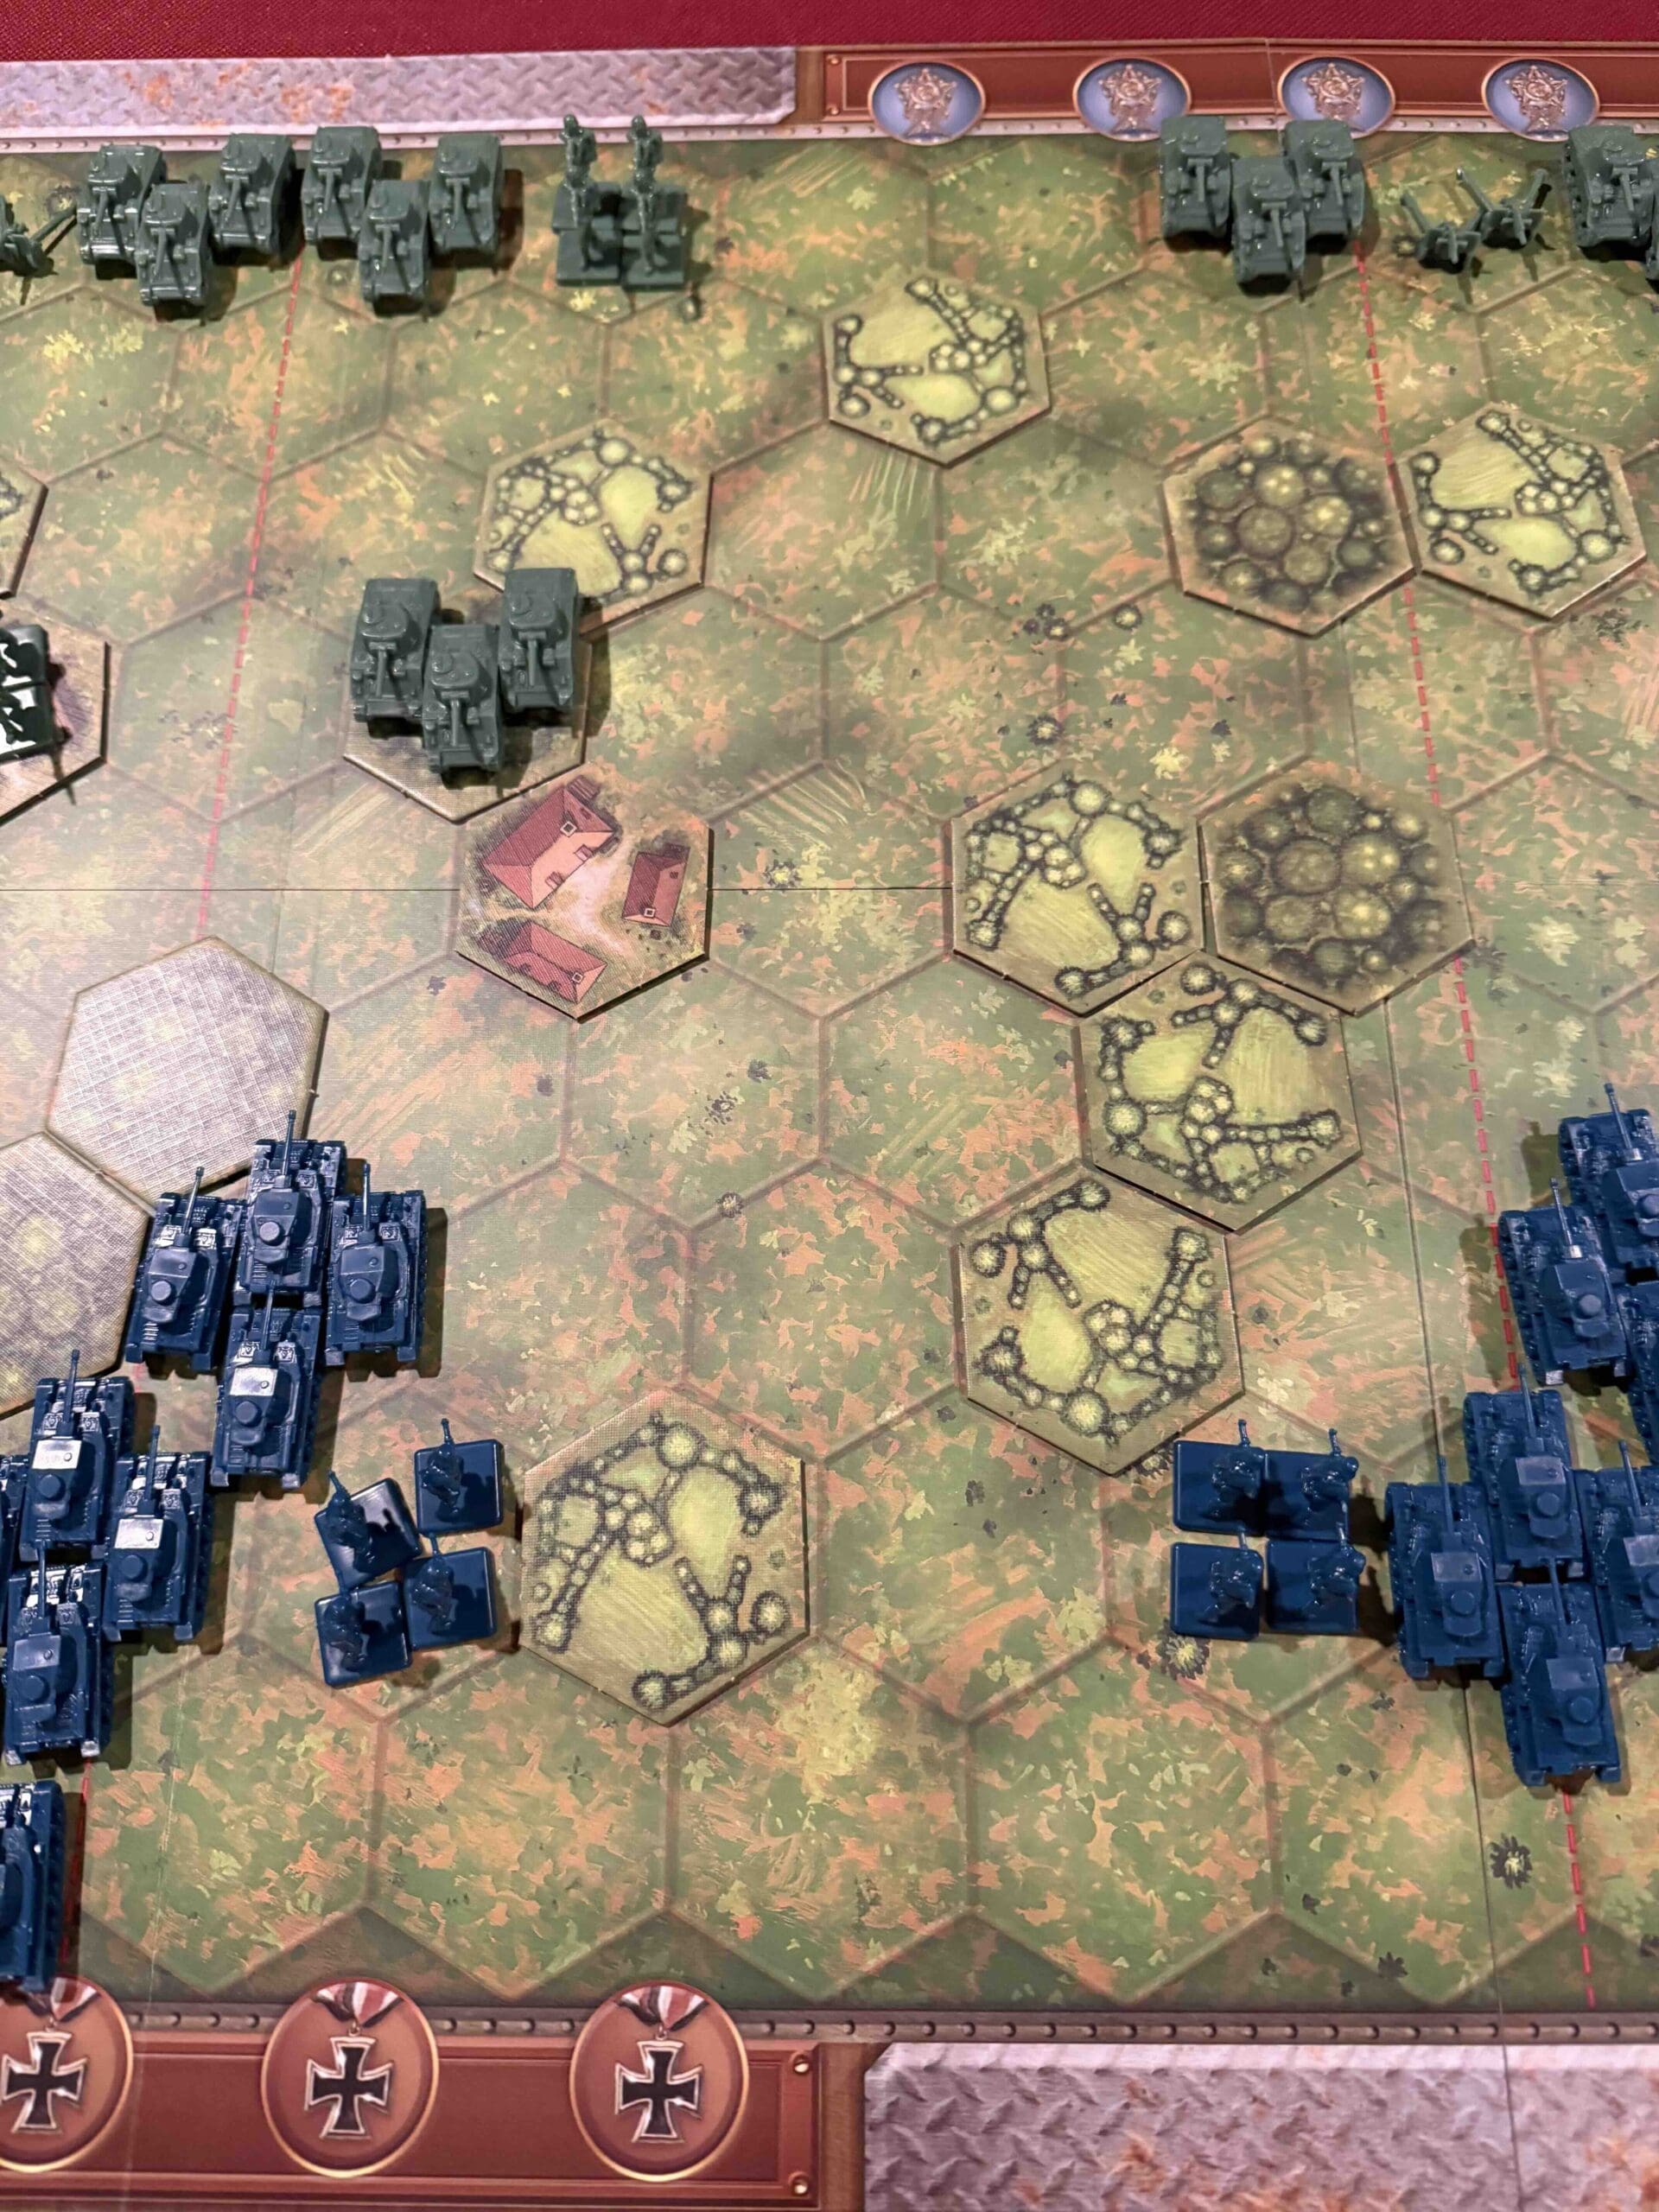
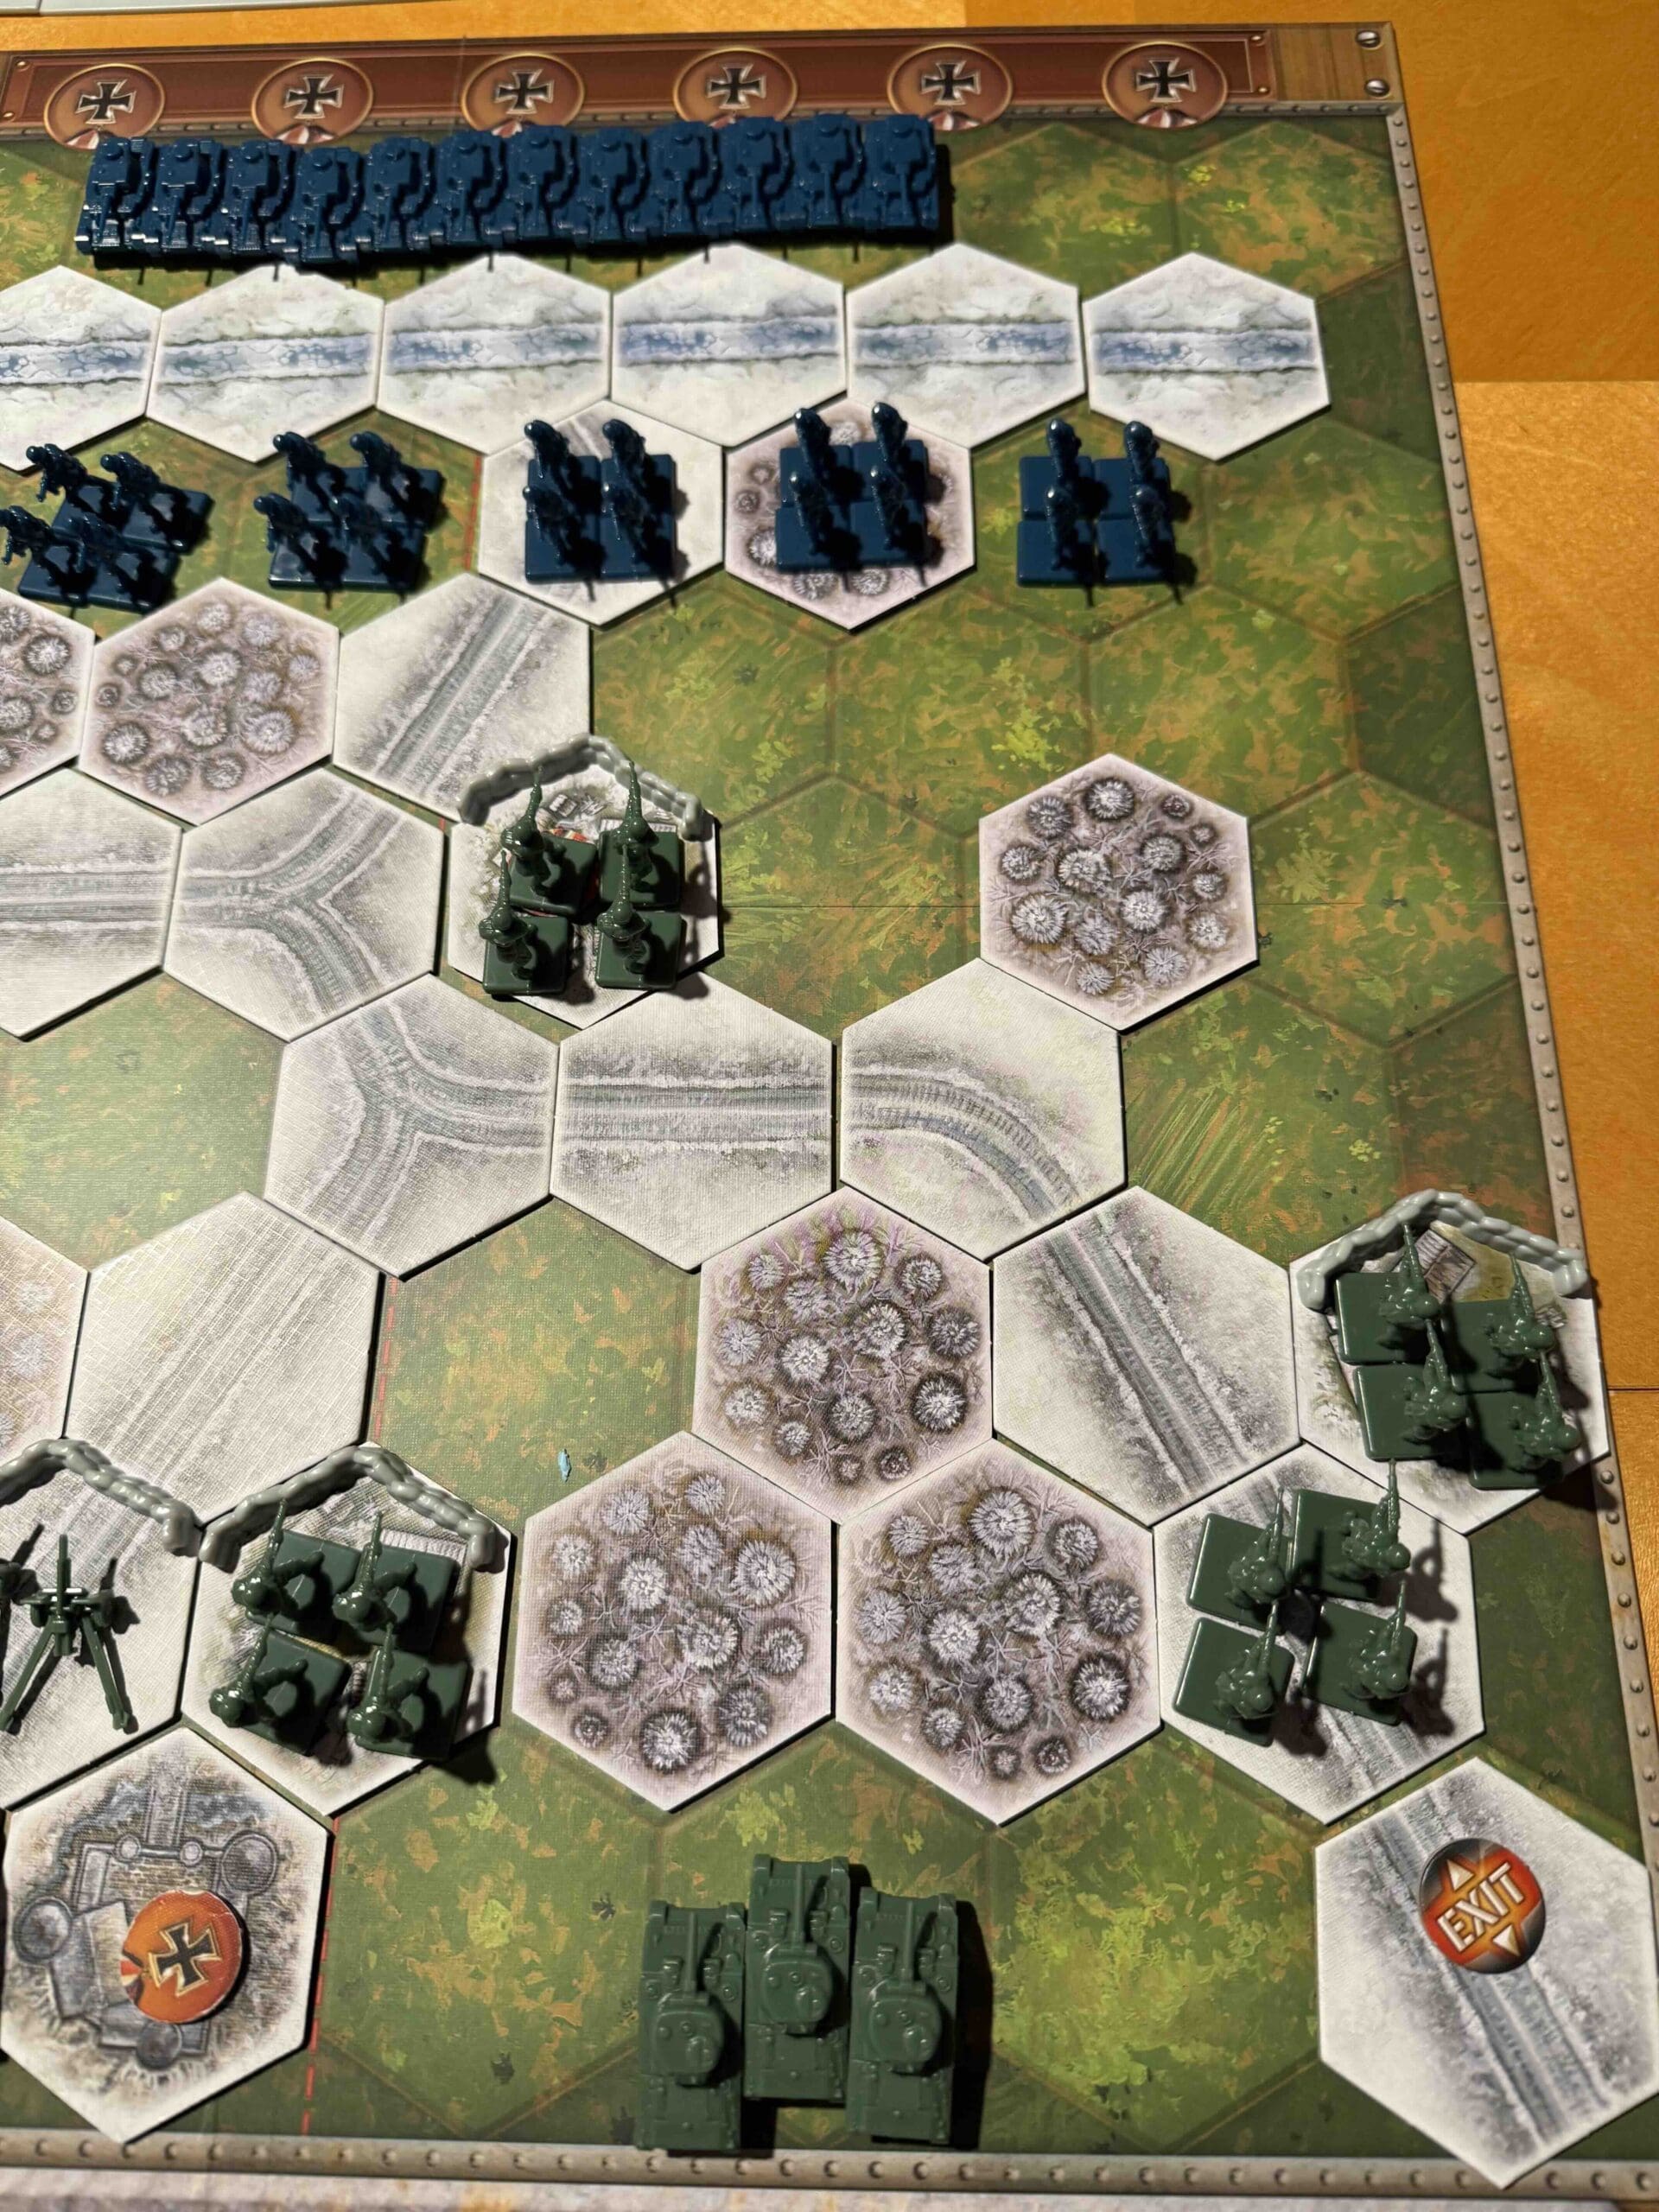
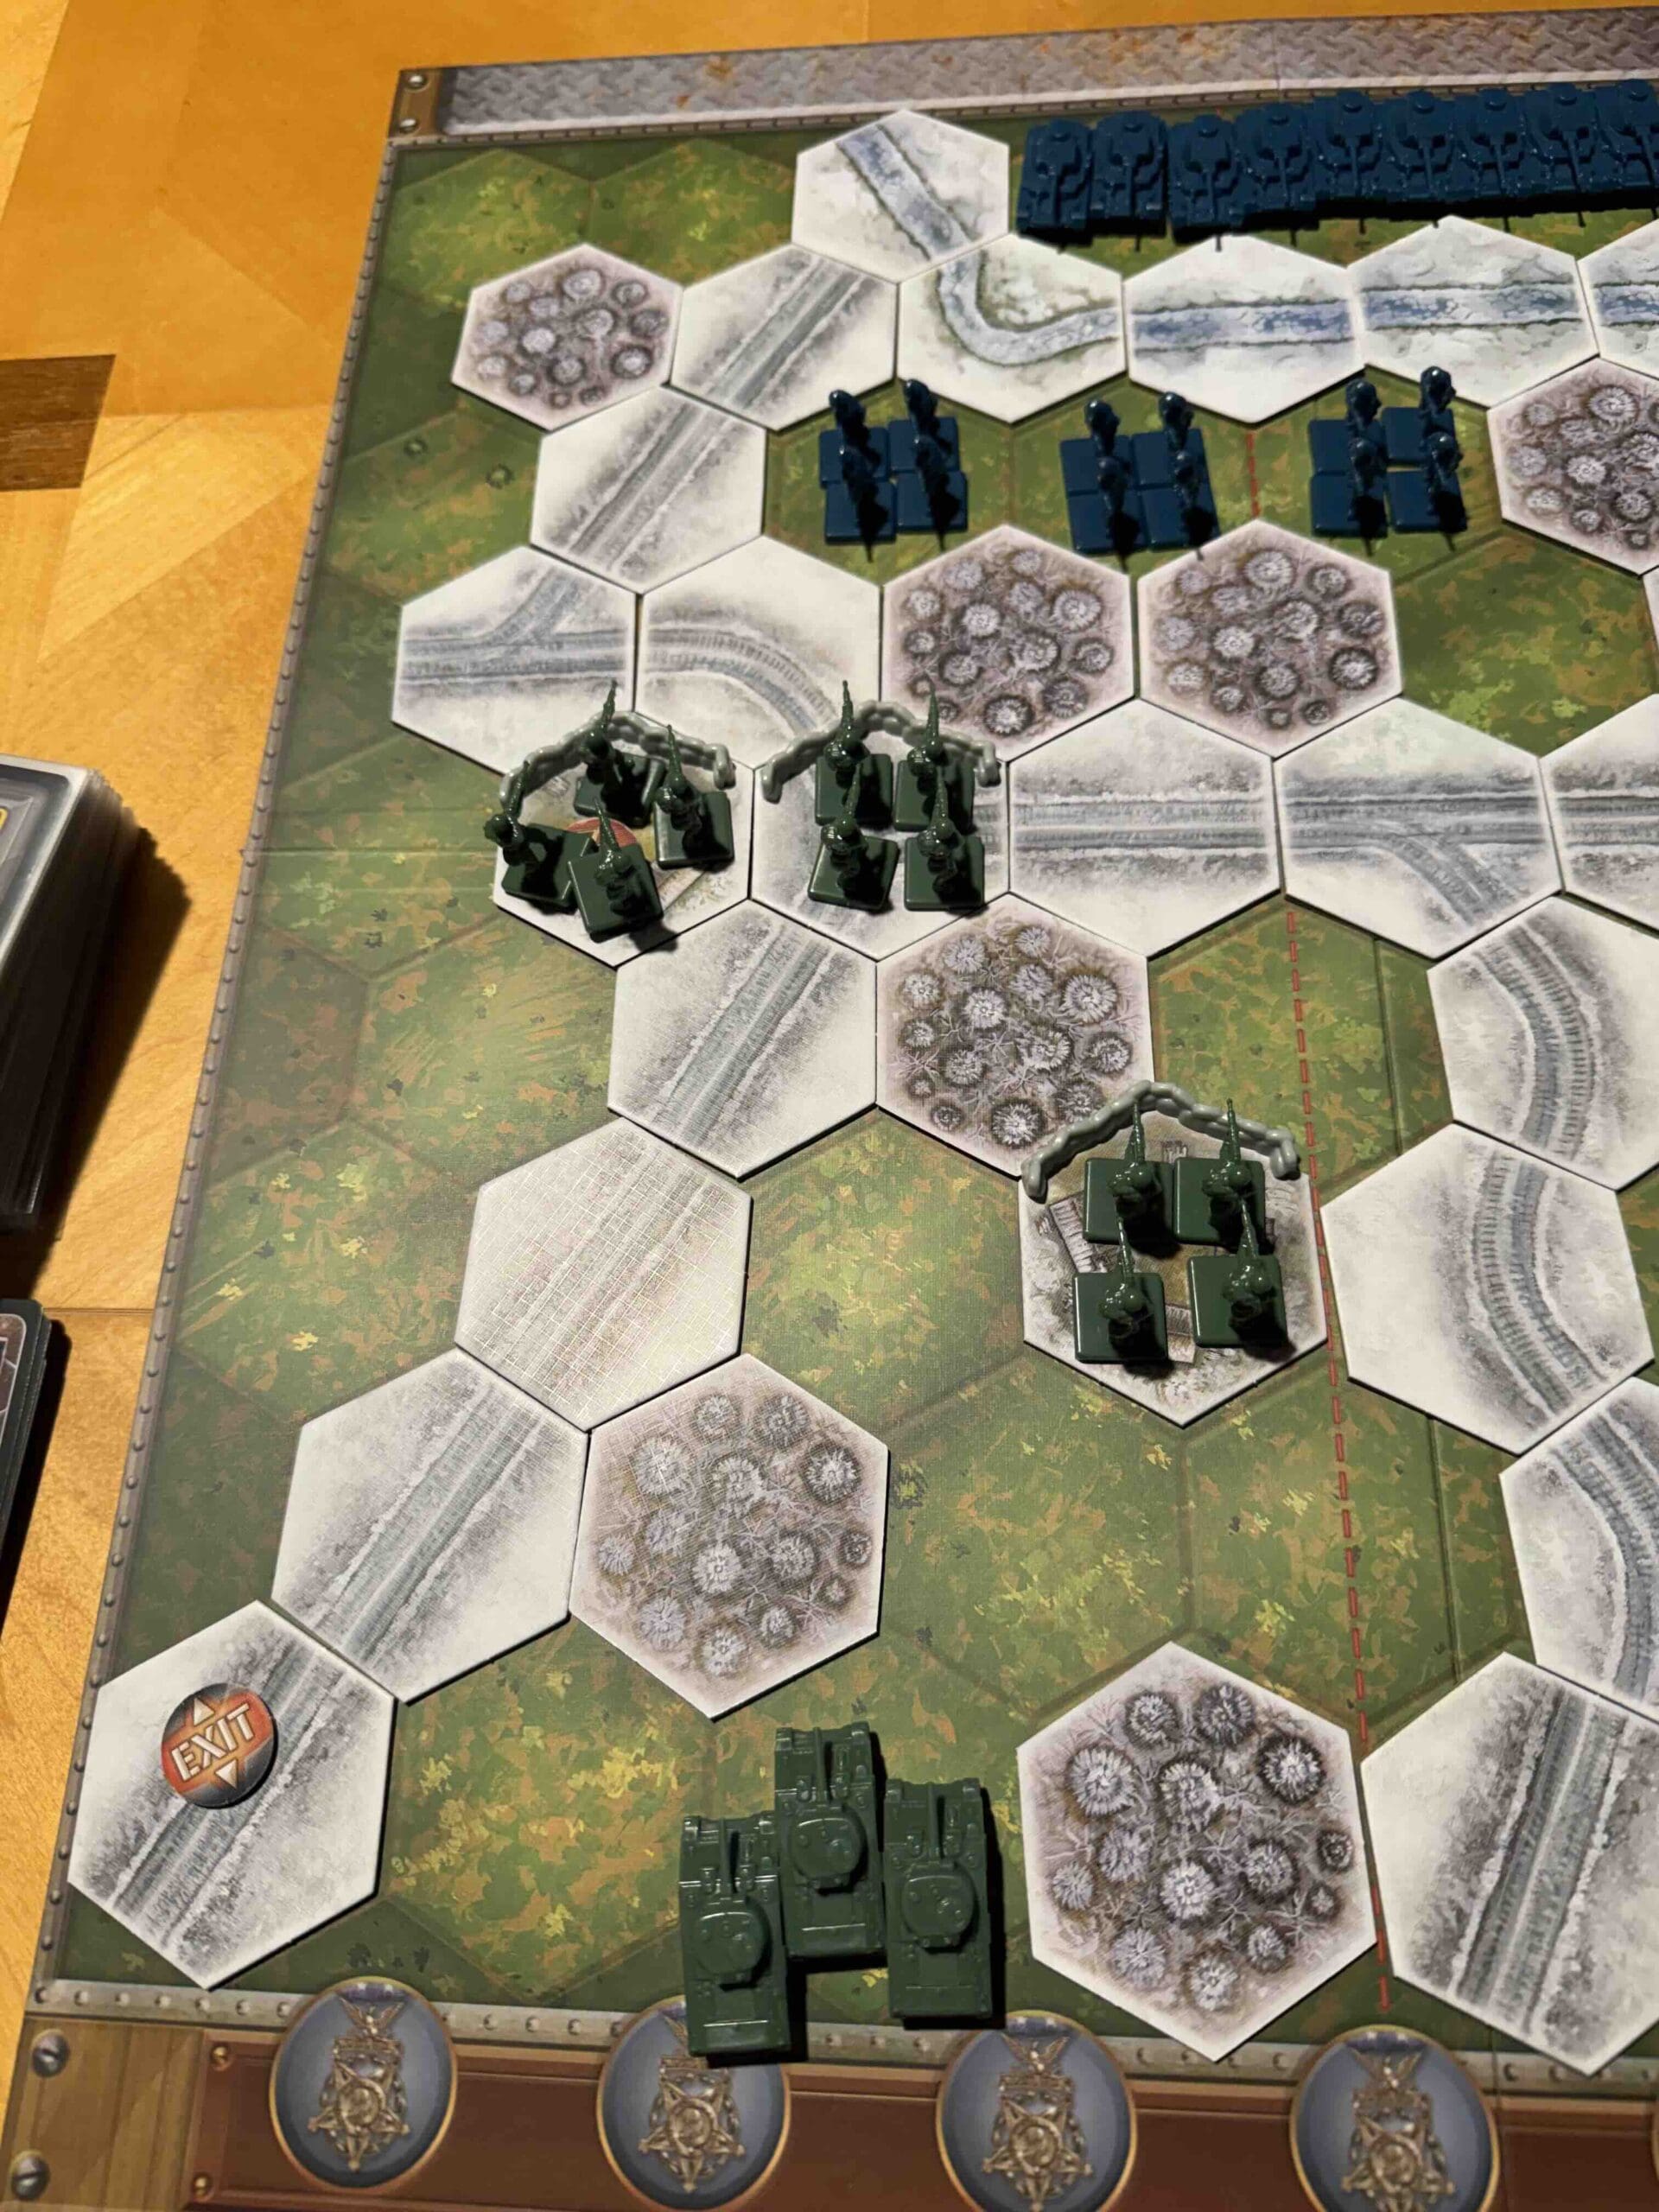
Battlefield:
Winter conditions, with roads and rivers cutting through the battlefield.
Troops:
Allies – 8 Infantry, 3 Armor, 1 Artillery
Axis – 9 Infantry, 7 Armor
Special Rules:
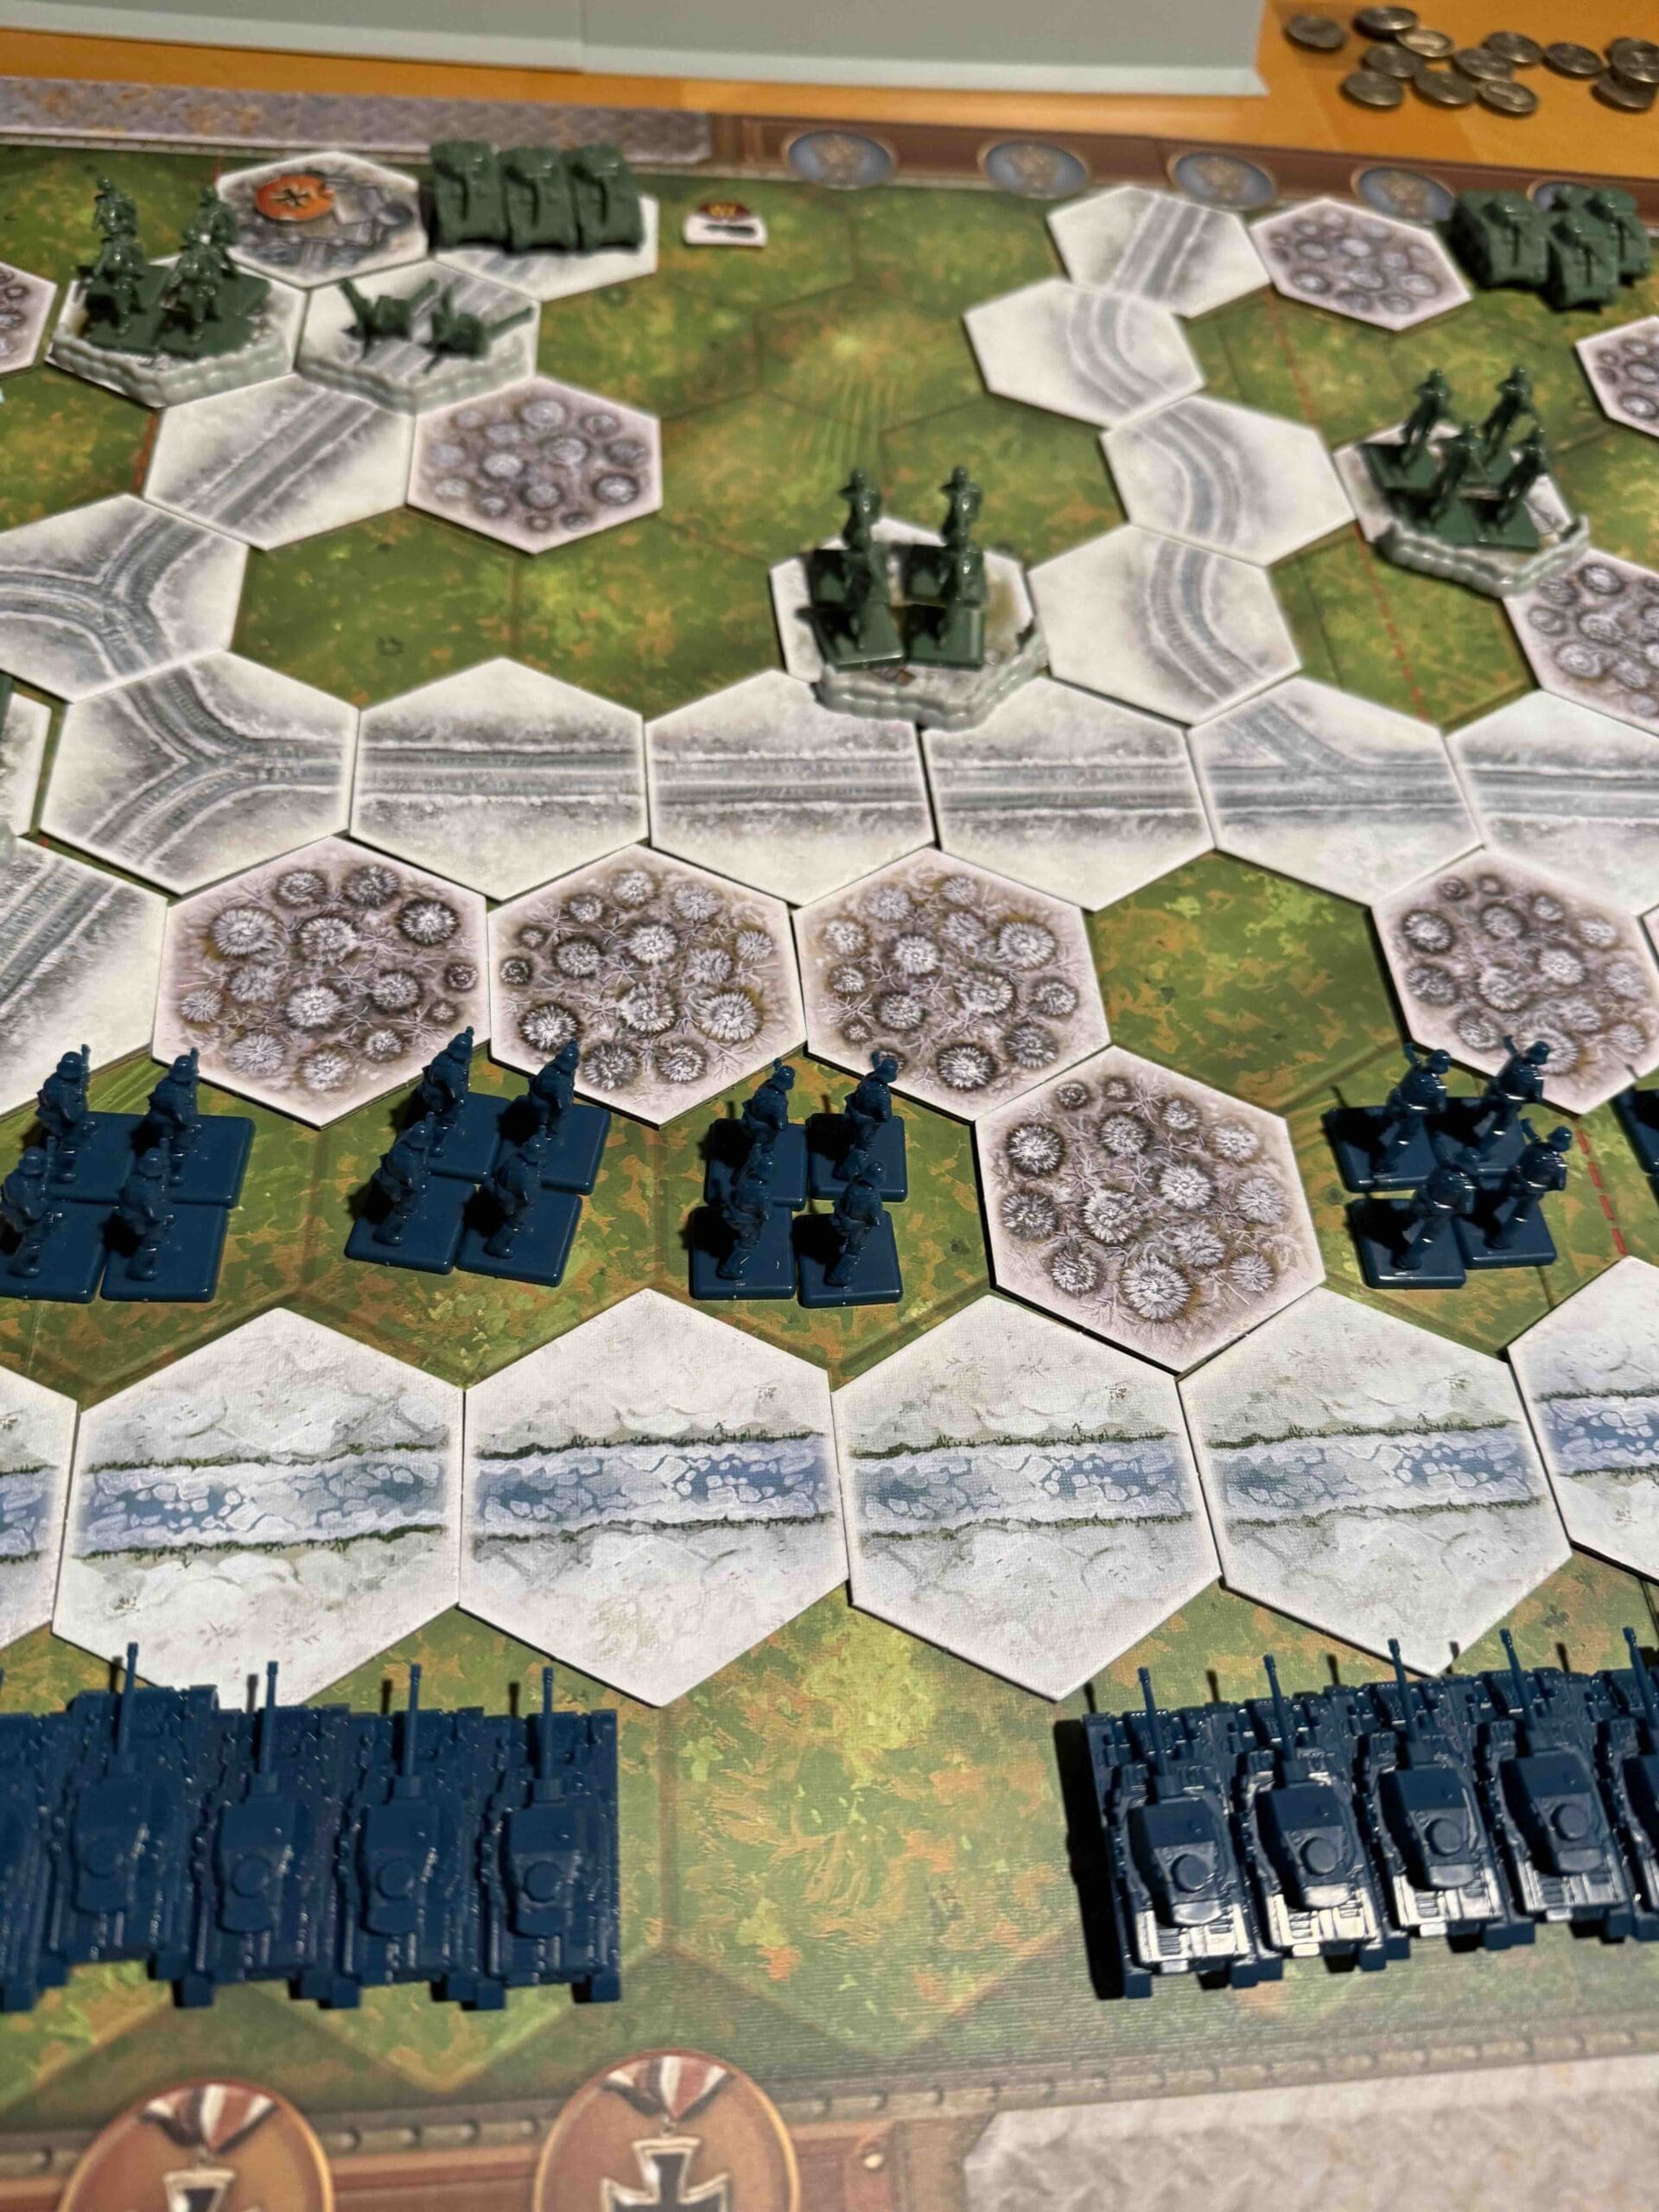
1. Winter Weather rules – two hex armor movement
2. Reduced Visibility rules – only hit with Grenades unless in Close Assault
3. Tank Destroyer (2,2,2,2), and hits Armor on Stars
3. The river is frozen, but impassable.
4. Pontoon Bridge rules – use an Attack card to build a bridge; instead of moving three units, build one Pontoon Bridge.
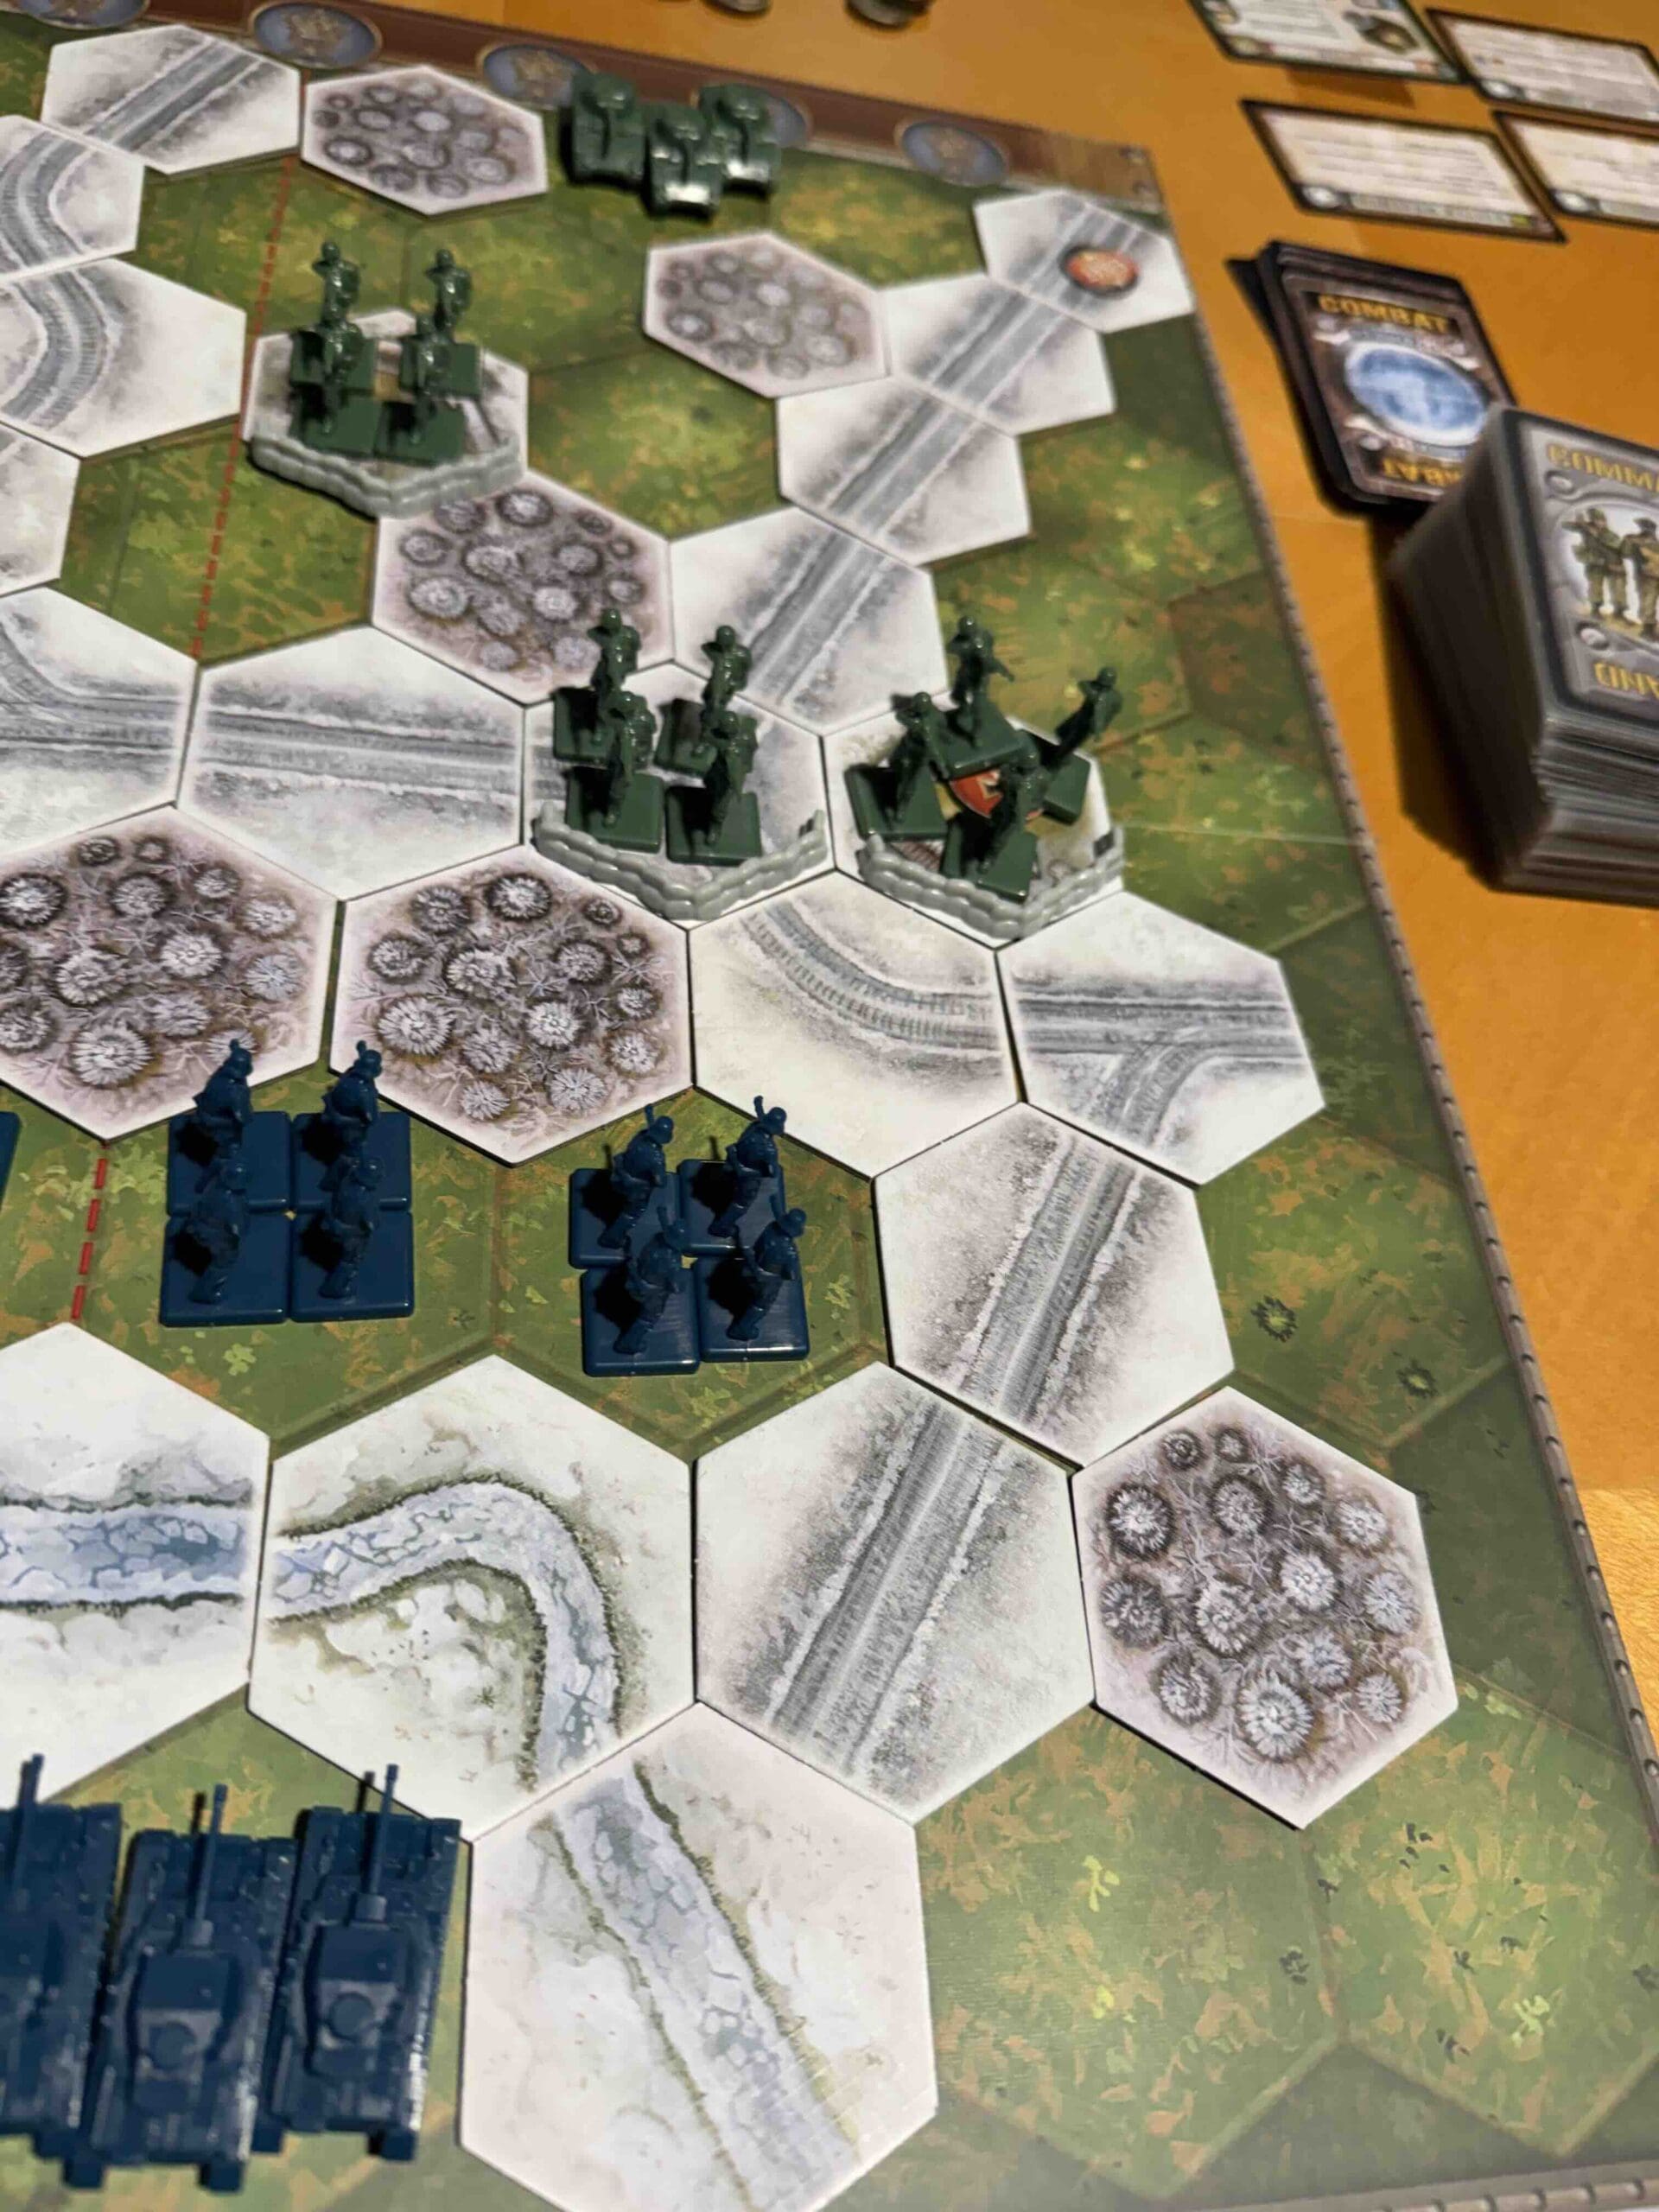
5. Also play with Winter Combat cards in addition to regular Combat cards
6. Winter Combat Cards – two per player;

🔥 Winning as Allies
1. The enemy has overwhelming force against you – if they can get their Armor across the river. So your strategy includes two phases; Phase One: Attack while you can before the Armor shows up. Phase Two: once the Armor makes it into the battle, then retreat to defensive positions.
2. Defend the Exit Hexes.
3. Defend the three Permanent Medal Objectives.

🔥 Winning as Axis
1. First priority is to get some bridges built across the impassable Our River, so that your tremendous tank force can make a difference in this battle. Play an Attack card, and instead of moving three units, build a Bridge in that section. The goal will be to build one bridge in both the left and right sectors.
2. Once you have the Pontoon Bridge built, get your Armor across immediately and start pushing towards the Objective Medal Hexes on both your right and left sectors. They are Permanent Objectives (Turn Start), so you will need to get your forces onto the hex and hold out for one turn to win it.
Author: Days of Wonder
URL